How to Make a Pretty DIY Window Privacy Screen
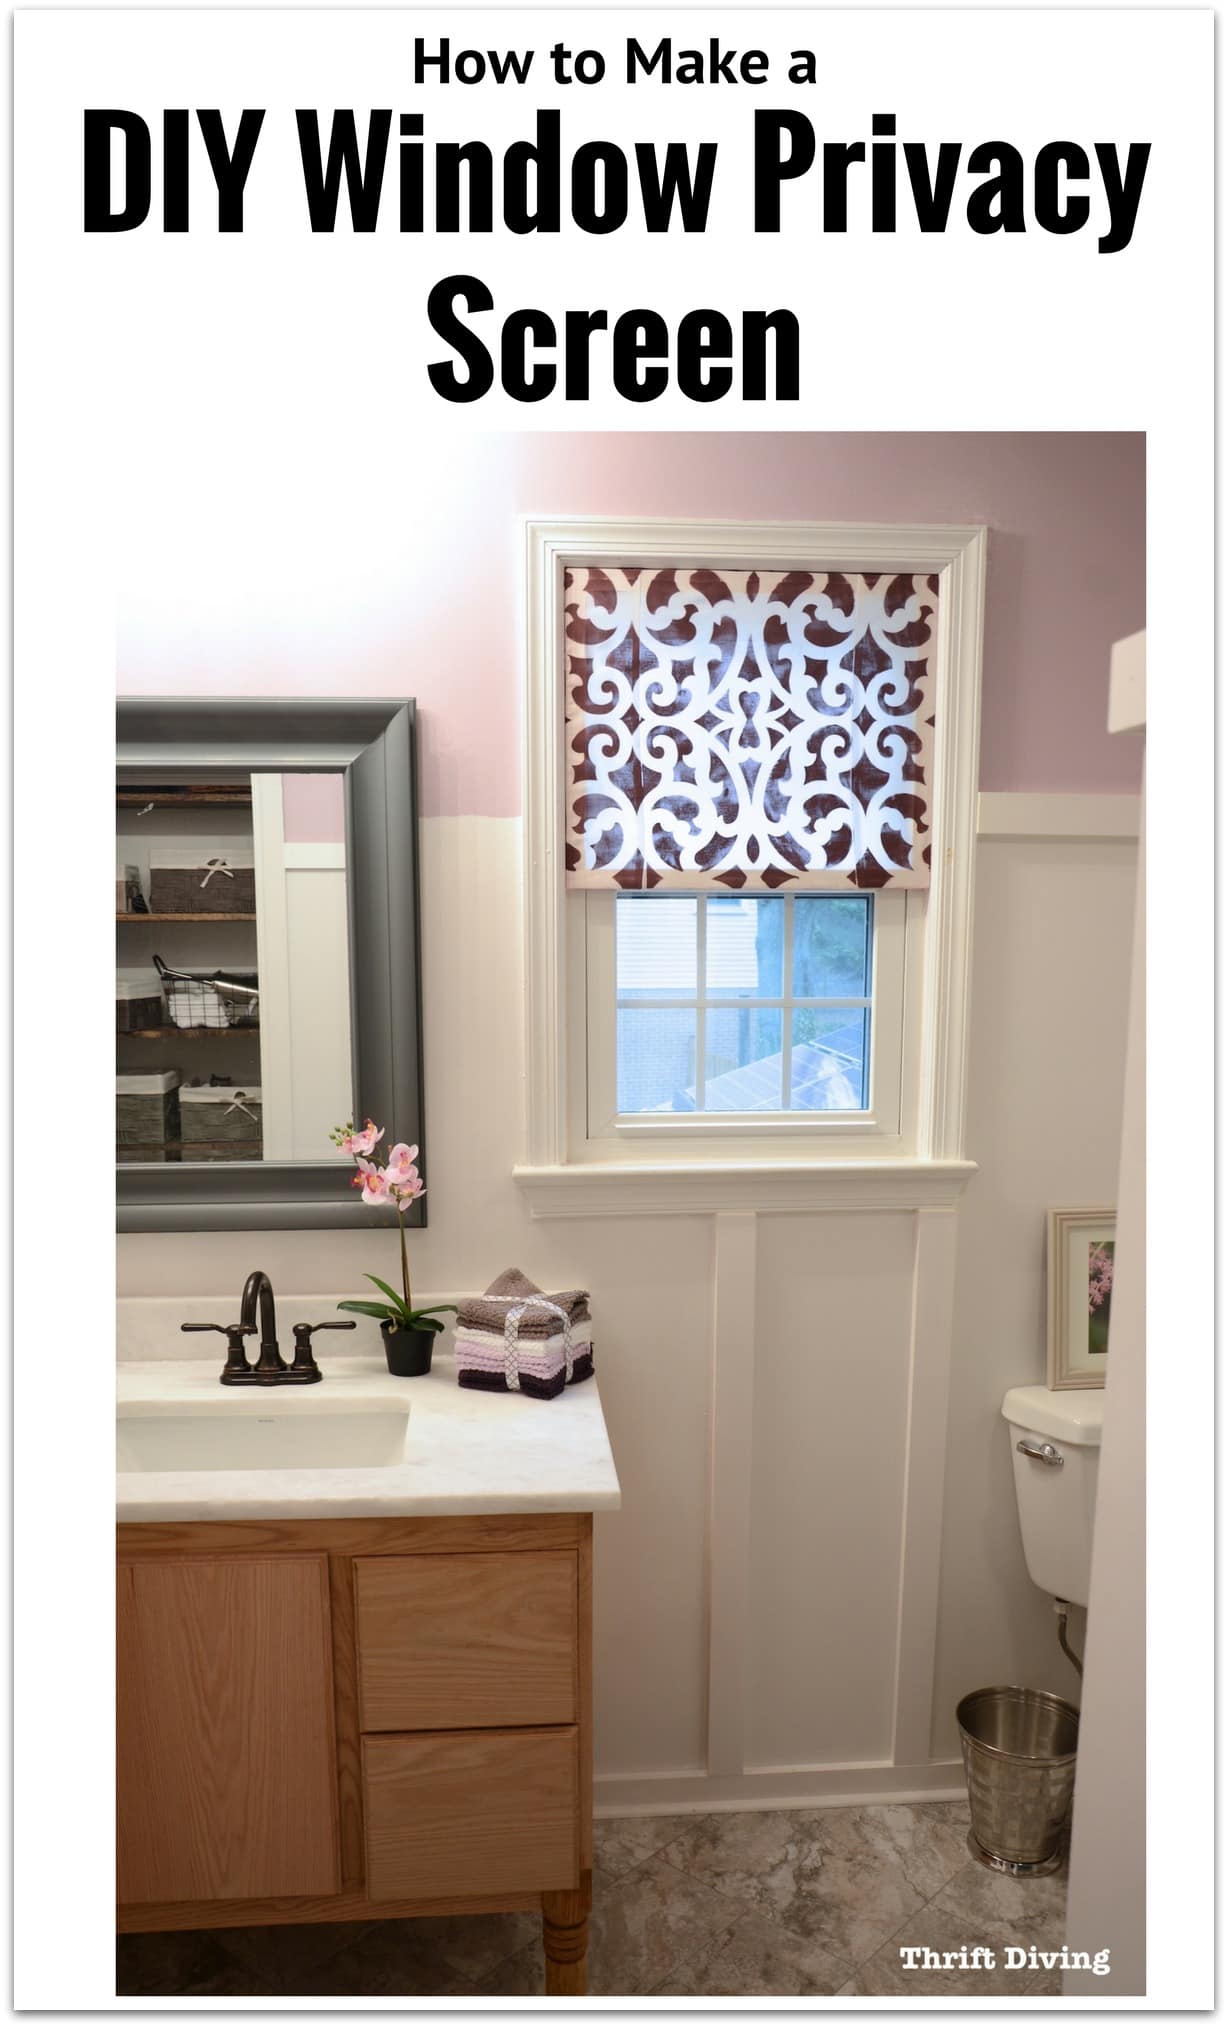
Making a DIY privacy window screen is the perfect DIY window treatment (it’s even easier than making DIY roller shades!). If you can’t hang curtains, have an odd-shaped window, or would love to remove the privacy screen to let in light during the day but easily put it back in place at night, then a privacy window screen that you can make yourself is the way to go!
Click here to SAVE this privacy window screen on Pinterest.
Do you remember my excitement when I saw this privacy window screen during a home tour?
I had gone to the DC Design House home tour, and I wrote a post called 10 Ways to Decorate Your House Like the Pros. I was blown away by this idea alternative window treatment idea of using a removable privacy window screen, so I included it on my list as #8!
Usually, I’m obsessed with curtains because I love sunlight and the way curtains on a bare window can expose the whole view.
But the idea of a window privacy screen that can easily be removed or moved up and down was so cool that I decided one day I’d make my own for my master bathroom makeover!
Below I share with you the tutorial, along with some “lessons learned” when you’re ready to make your own DIY window privacy screen.
Materials Needed for a DIY Privacy Window Screen
This is a simple project, but there are a few things you’ll need.
(I participant in the Amazon Services LLC Associates Program, an affiliate advertising program designed to provide a means for me to earn fees by linking to Amazon.com and affiliated sites).
- Strips of plywood or inexpensive pine.
- Sheer fabric (like lining fabric or muslin)
- Jigsaw or some other tool to cut your wood to size.
- Rotary cutter or scissors
- Cutting mat
- Tape measure and ruler or straight edge
- Paint and stencil (I used my favorite stencil)
- Glue gun or spray adhesive
STEP 1: Grab Your Tape Measure
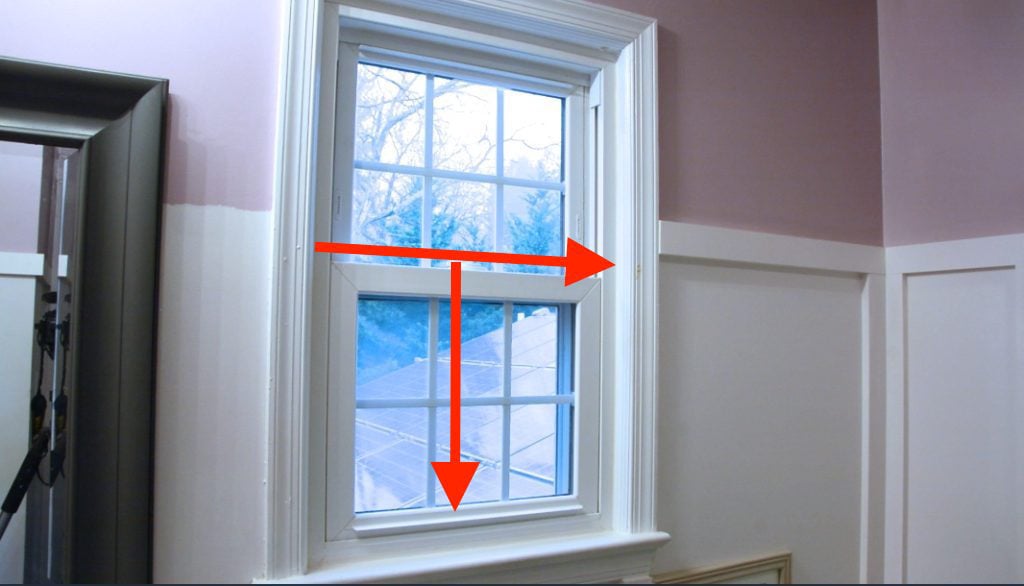
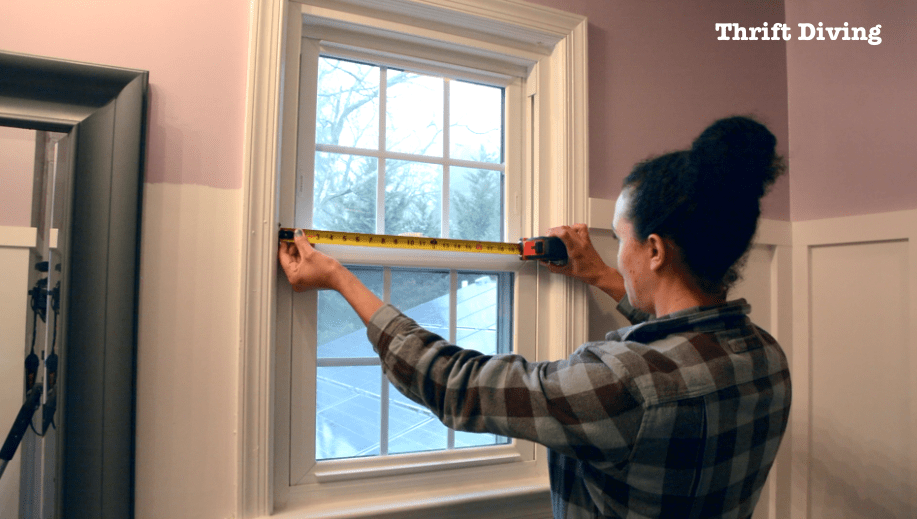
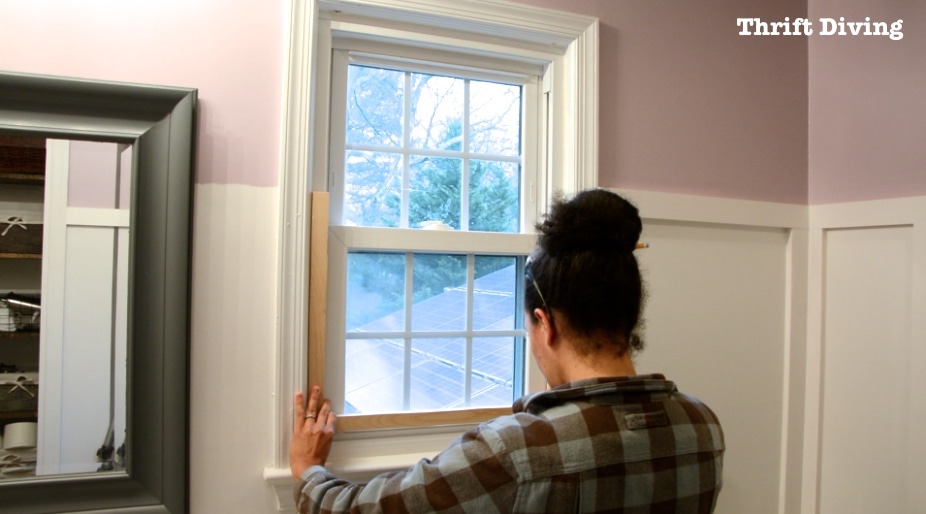
The first thing you have to do to make a privacy window screen is to measure your window in 2 places: the width of your window and how high you want your DIY privacy window panel to be.
I wanted mine a little more than half the window, so I measured in these areas: across and down.
Here’s what you have to remember, though.
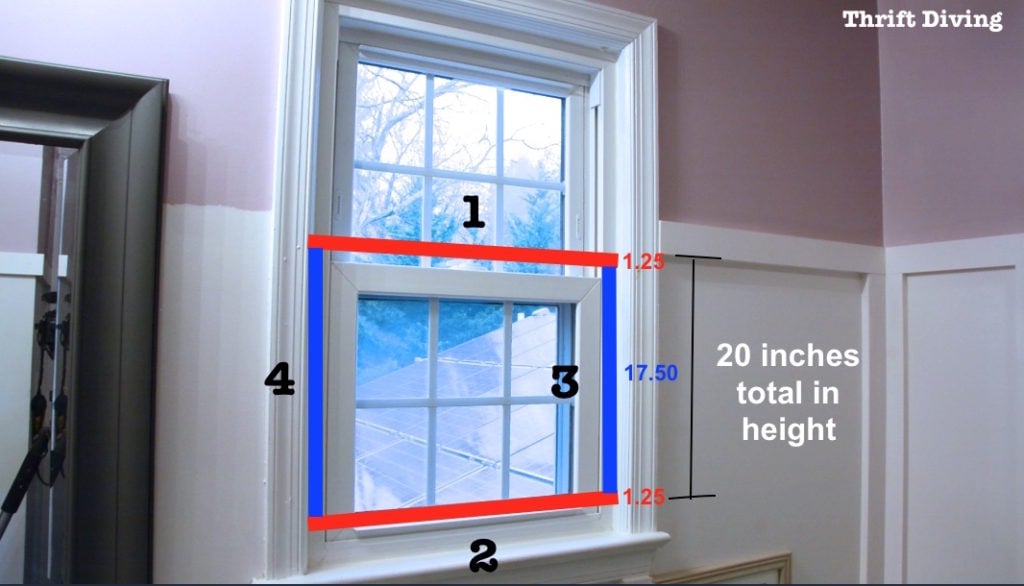
Whatever height and width you want your window privacy screen to be, you’ll need to account for the thickness of the wood. If you’d like the total height to be 20 inches high, then the side pieces, the top, and the bottom must total 20 inches.
For example, as seen in the picture below, if my top piece and bottom piece of wood are 1.25 inch each, my side pieces must be 17.5 inches. Add it all up and you get 20 inches. (1.25 + 1.25 + 17.50 = 20 inches total in height).
Easy, right?
When I did my measurements, I forgot to keep this in mind and made mine a tad too tall. LOL
Aren’t you glad you can learn from my careless mistakes?? 😉
TIP: Click here to watch this YouTube video for tips on how to take measurements inside of windows and other awkward spaces!
STEP 2: Cut Out Your Wood
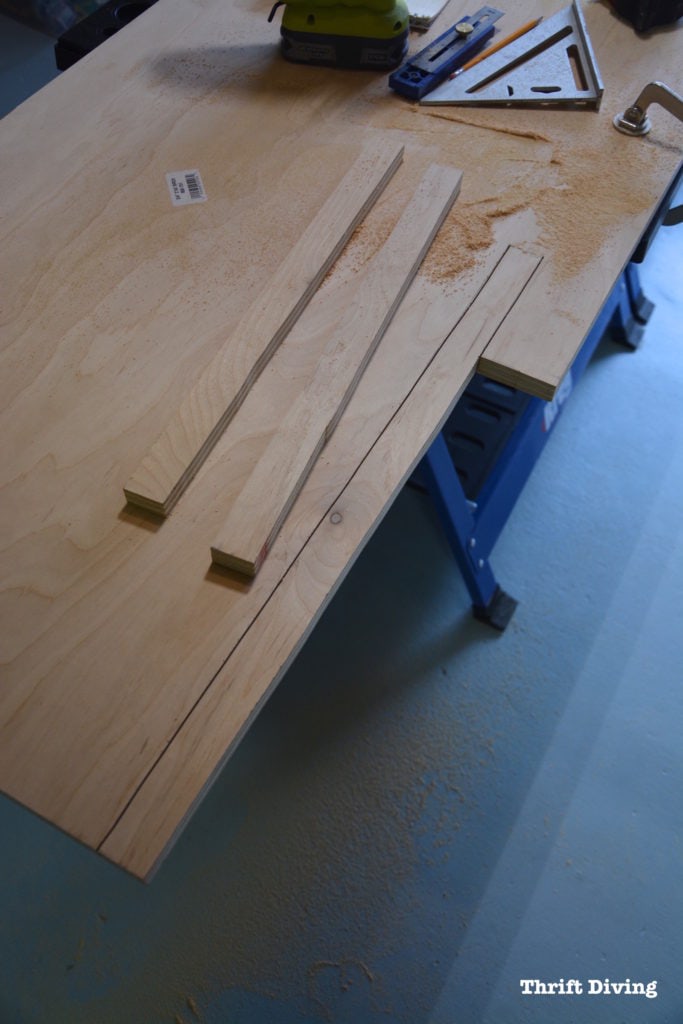
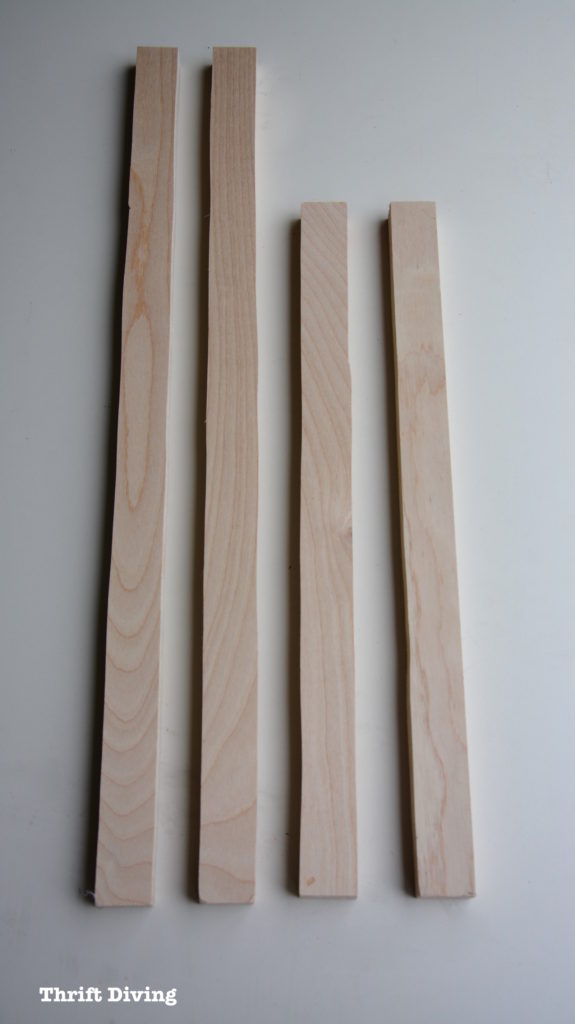
This is what will make up the DIY window privacy screen frame: just 4 pieces of skinny wood that you’ll glue and/or nail together.
You don’t have to cut yours out like I did with a jigsaw. I only used this 3/4″ plywood because it’s what I had on hand.
If you go to your local home improvement store, they sell skinny pieces of wood in 1 inch x 2 inch sizes like this that would work just as well.
And if you don’t have a power tool, don’t worry!
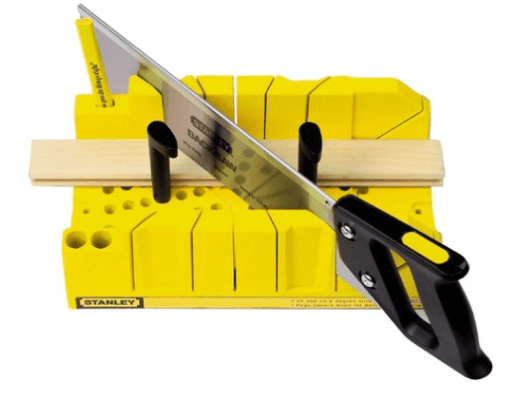
You can use a handsaw, like this miter box, which makes cutting small pieces of wood super easy. Just set your wood on it and cut!
I think they range from $8 – $16, which is super affordable.
Read: How to make picture frames without power tools (only using a miter box).
STEP 3: Test Fit the Pieces of Your Privacy Screen
Before you glue or nail them together, make sure you test fit them.
You’ll want your pieces to fit snuggly, but not so snug that you won’t be able to adjust the privacy screen in the window.
When I test fitted my pieces, I realized that the bottom and middle of the window were larger than the top part of the window. It was going to be much too tight!
STEP 4: Glue or Nail It Together
Now you just have to glue or nail the pieces of the frame together.
It will make a nice square or rectangle, depending on the size you make.
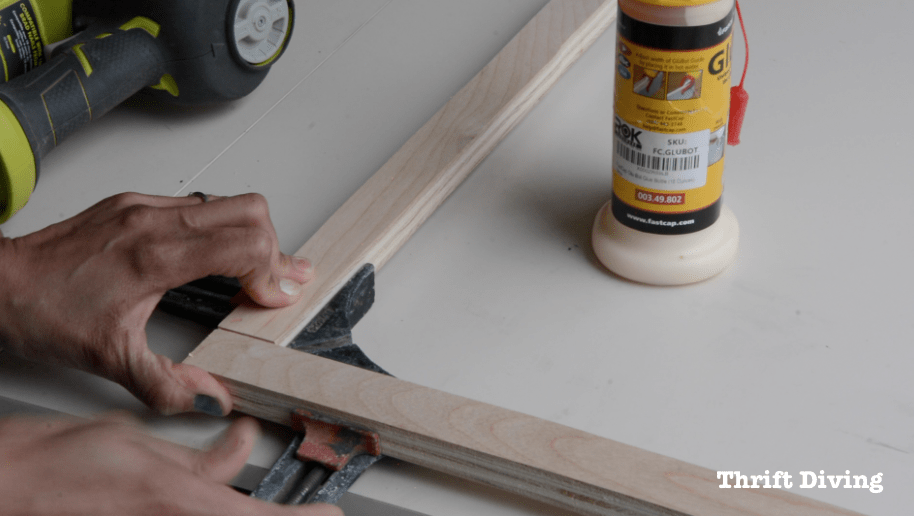
I like to use corner clamps so that I get a nice 90-degree angle Otherwise, I tend to mess up my angles and things get wonky! You see–we DIYers make just as many mistakes! LOL
STEP 5: Cut Out Your Fabric
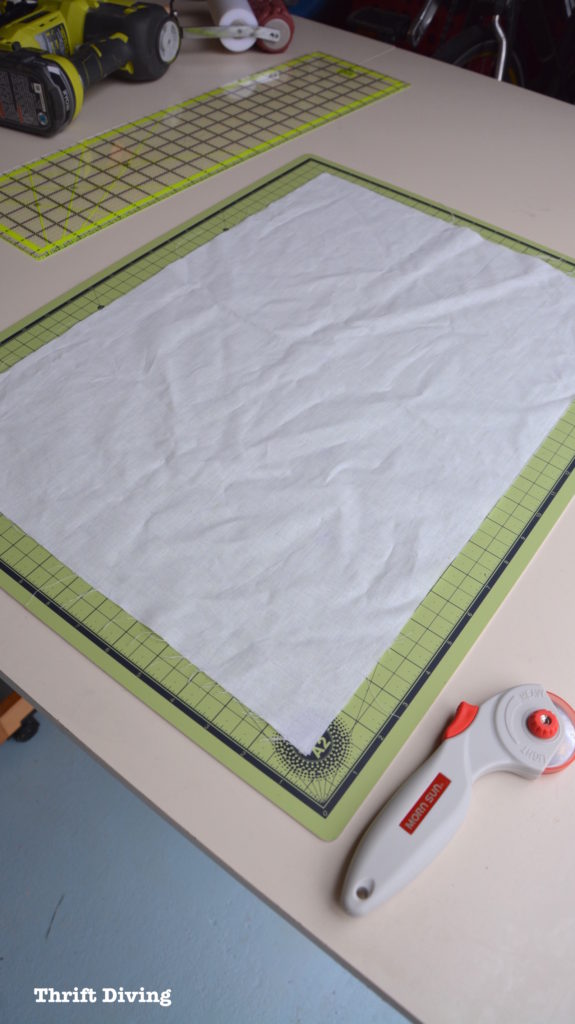
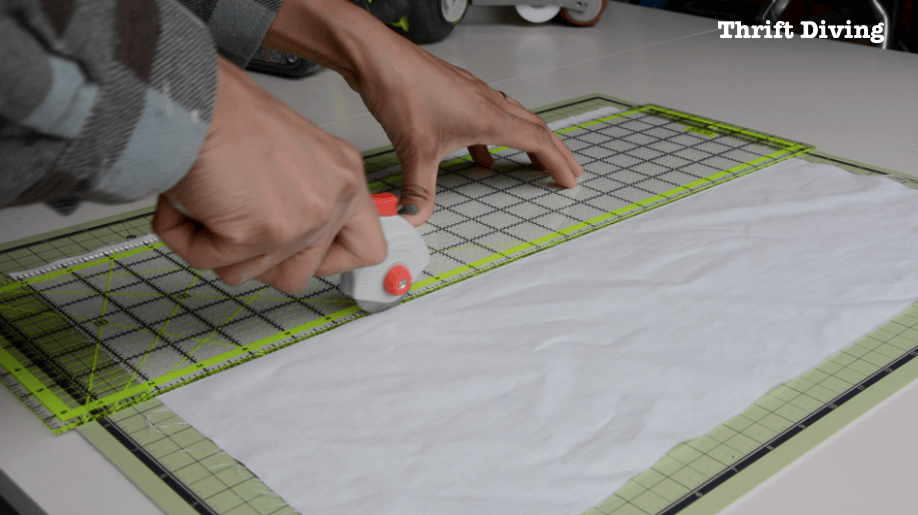
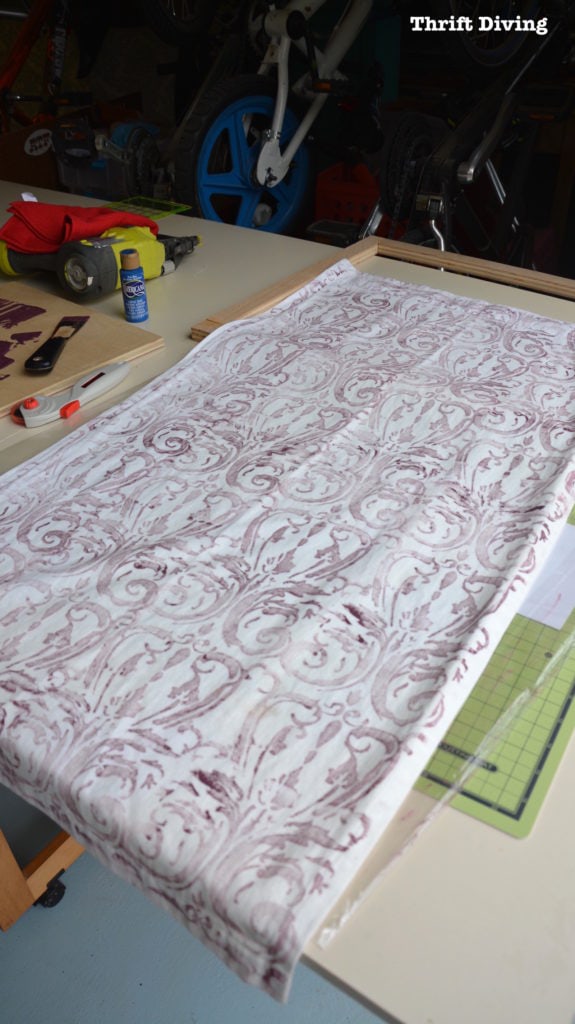
If you’re using sheer fabric that won’t need cutting out, then you can skip this step. For me, I had to not only cut my fabric, but I had to join it together with Heat ‘n Bond fusible iron-on tape so that it created a larger piece to fit over the wood privacy screen frame.
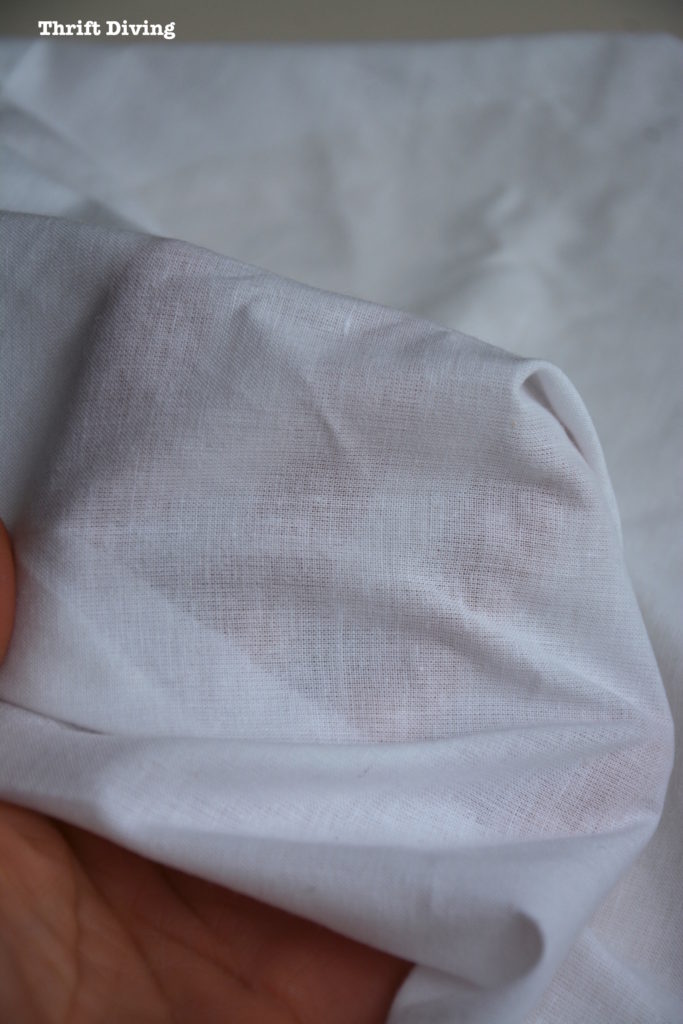
Be sure to use thin lining material (or thin muslin) so that you don’t block the sunlight coming through your windows.
I already had this fabric on hand, but there wasn’t very much.
TIP: A reader had a great idea: You can also use a thin white lining material on the back if you’re worried about colorful fabric showing through to the exterior of your home.
I have a larger cutting mat, but because it’s so big, I never pull it out. It’s too cumbersome!
Use a small self-sealing cutting mat and a rotary cutter which I find it easiest for cutting.
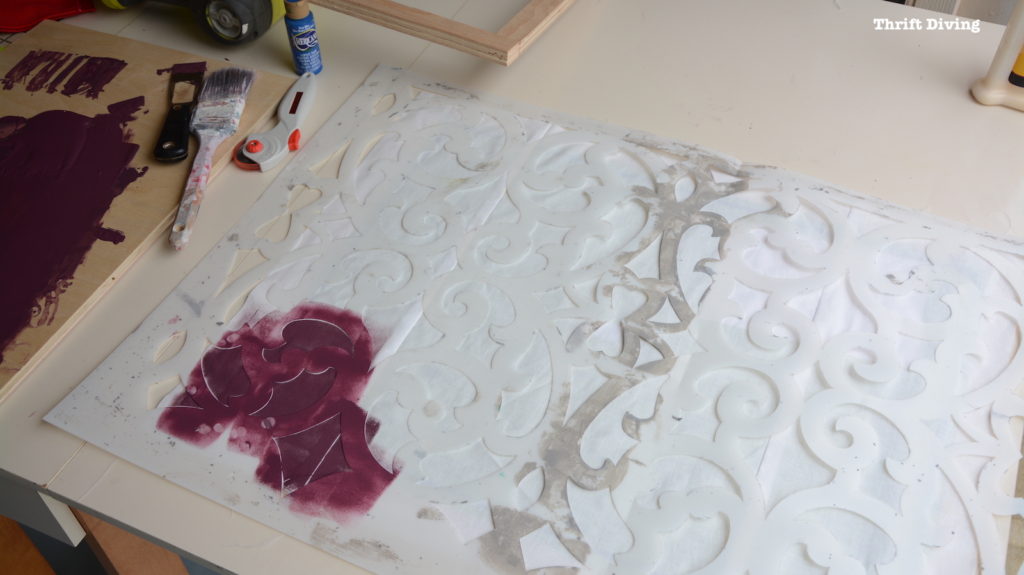
STEP 6: Stencil Your Fabric
I decided to use one of my favorite trellis stencils for the window privacy screen.
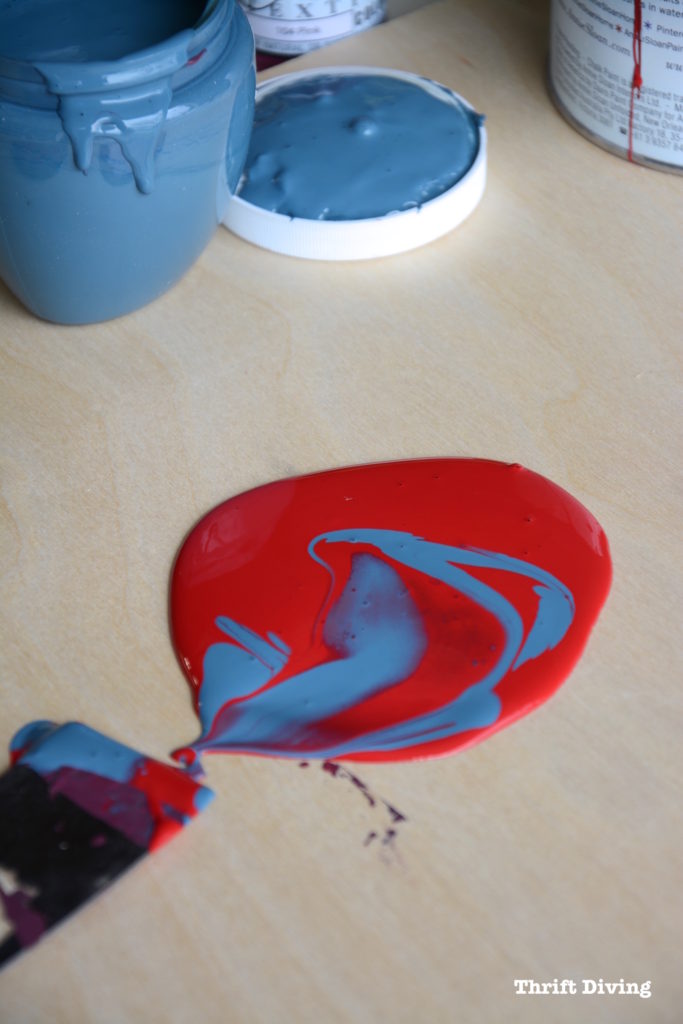
But first, I mixed my own paint to get the shade of purple that would compliment the lavender in my bathroom.
I had some chalked paint on hand and just mixed red and blue.
Related: What’s the Best Paint for Furniture?
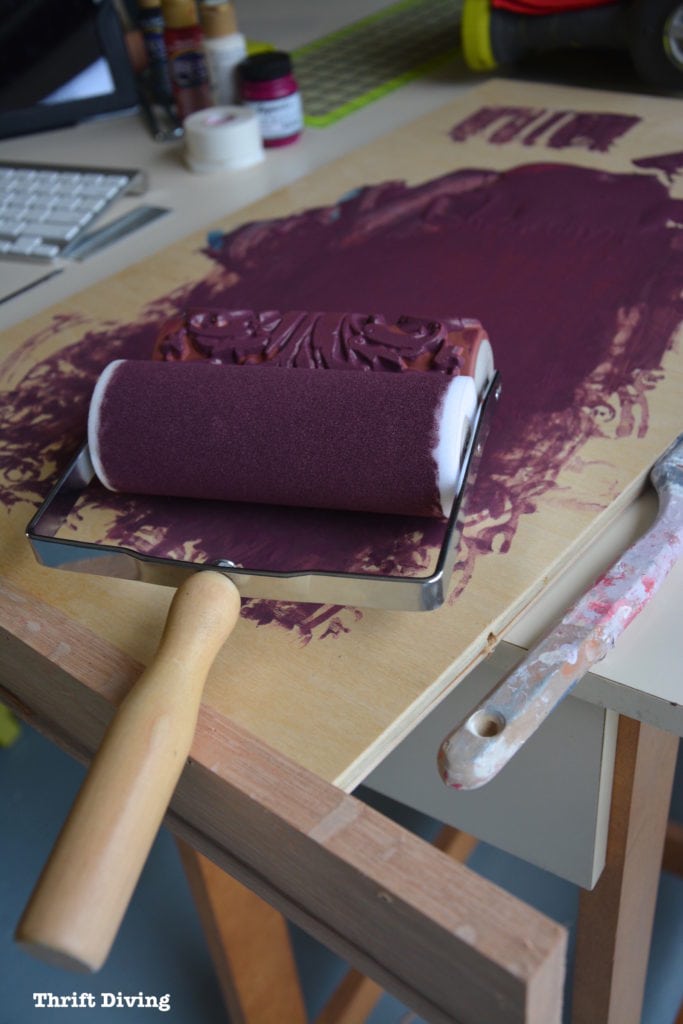
I thought I was going to use my roller stamp, but I didn’t like the outcome when I did a test fabric.
Blehhhhh, not really all that cute! A bit blotchier than I would have liked…
So I went with my tried and trusted favorite trellis stencil.
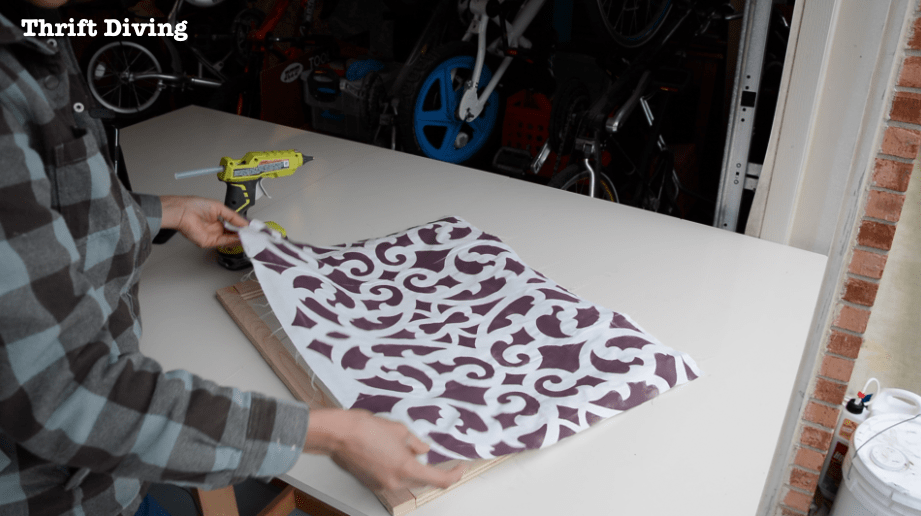
STEP 7: Glue the Fabric to the Frame
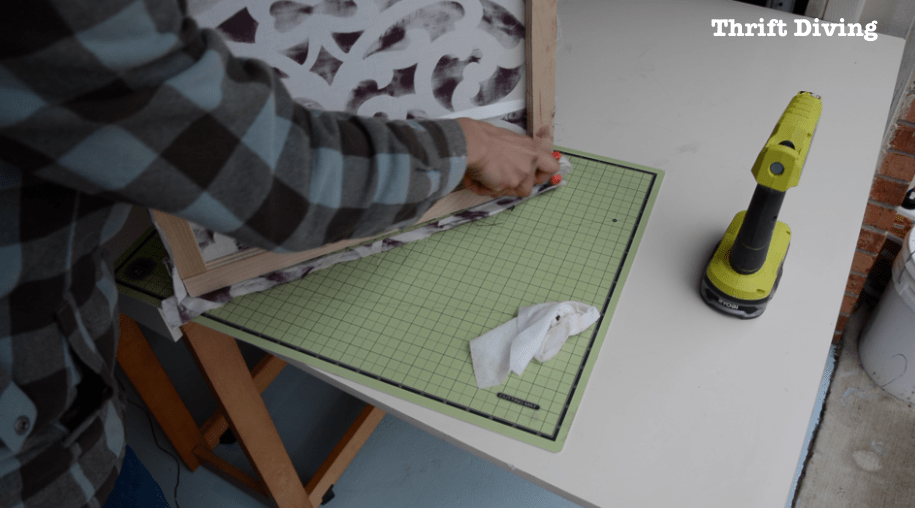
You can use hot glue like I did or spray adhesive for fabric.
Just make sure the fabric is evenly spaced so that you’ve got enough fabric to glue on each side.
I would recommend you have a large piece of fabric that will allow you to wrap it around to the back side.
I didn’t have enough to do that, though.
You can use the rotary cutter to easily trim off the excess if you’d rather it be flush with the edge of the wood frame.
STEP 8: Fit the Privacy Screen In the Window
This is the true test!
Did you take the right measurements?
Is your fabric too bulky and now the perfectly measured DIY window privacy screen won’t fit?
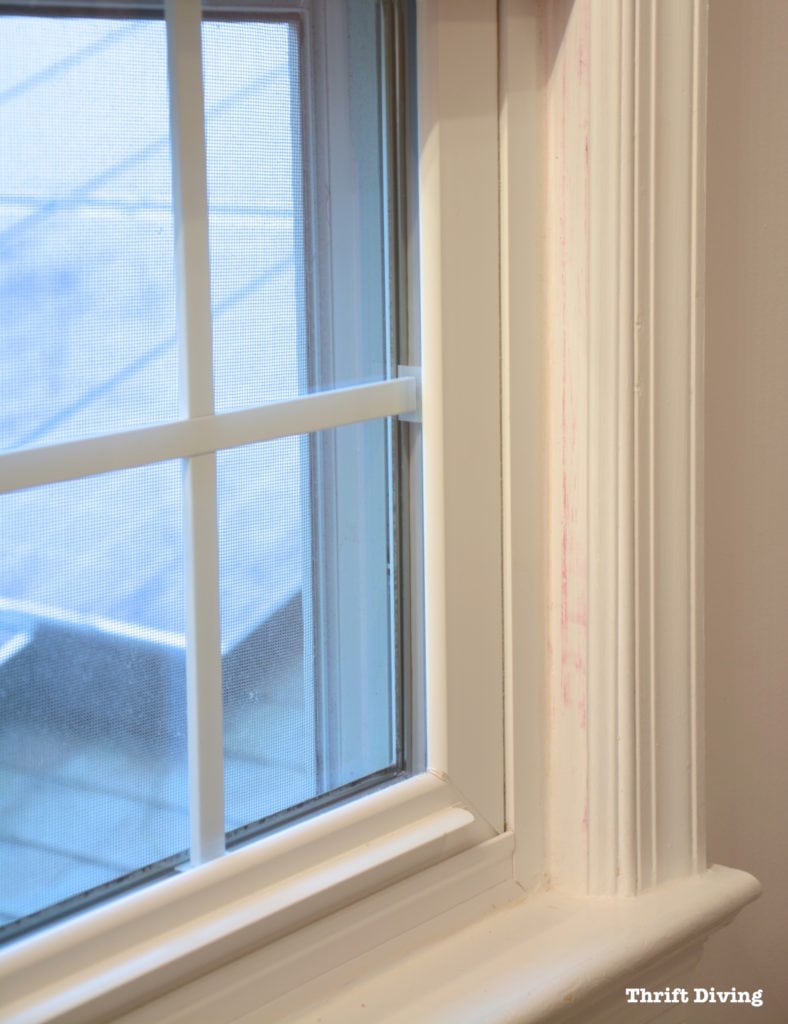
Because my window is more narrow at the top, it was a tight squeeze for it to get in, so I made some adjustments, including sanding down the side a bit. But since it was just hot glued on, it wasn’t a problem to adjust it.
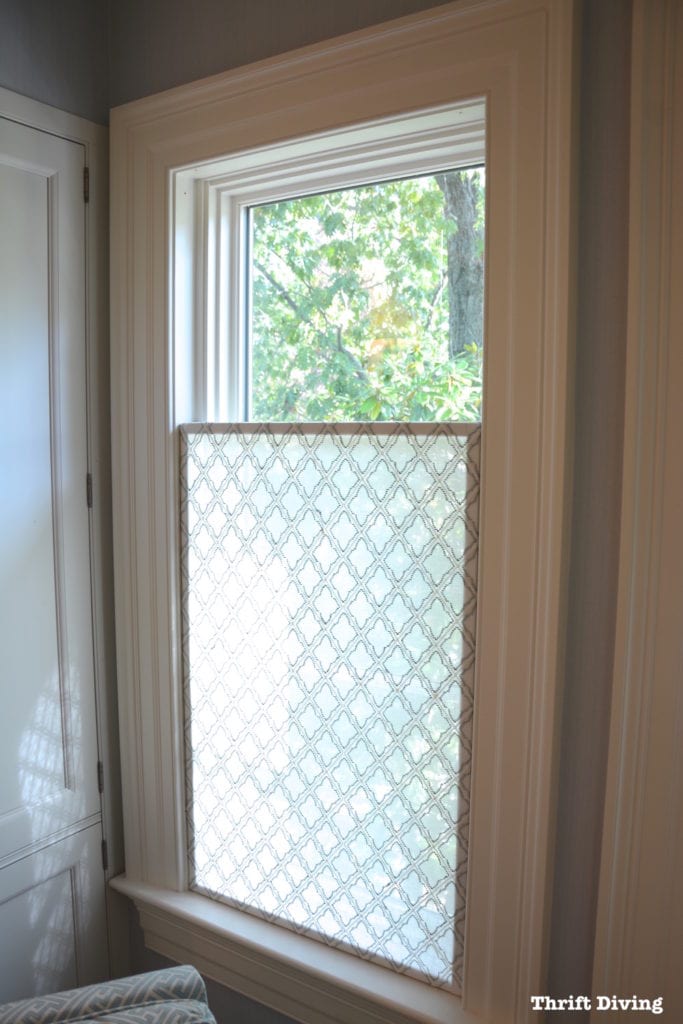
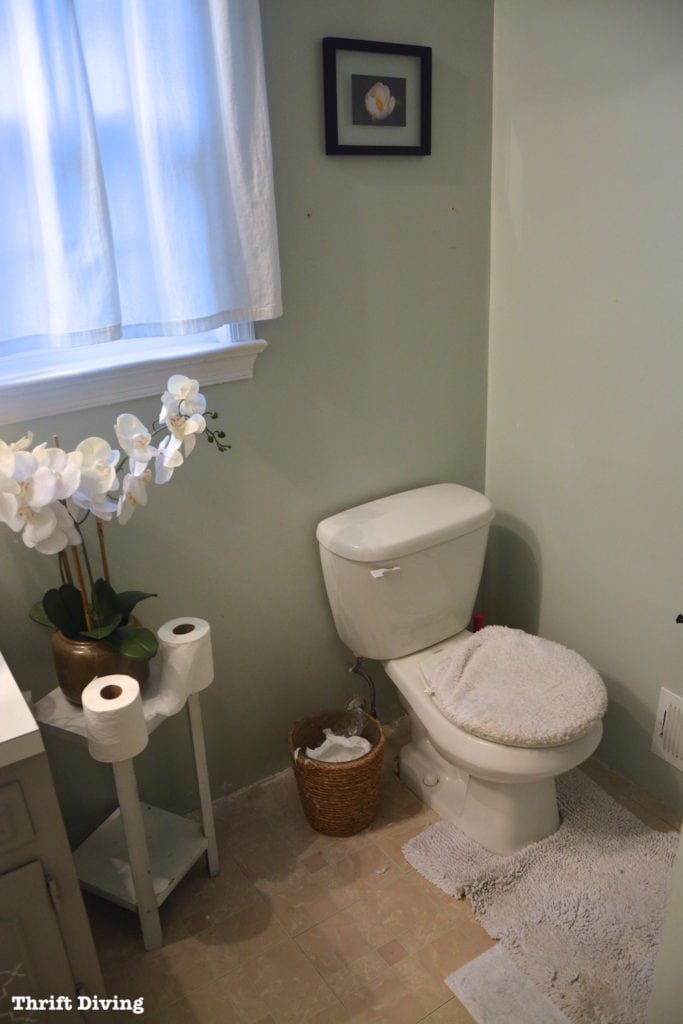
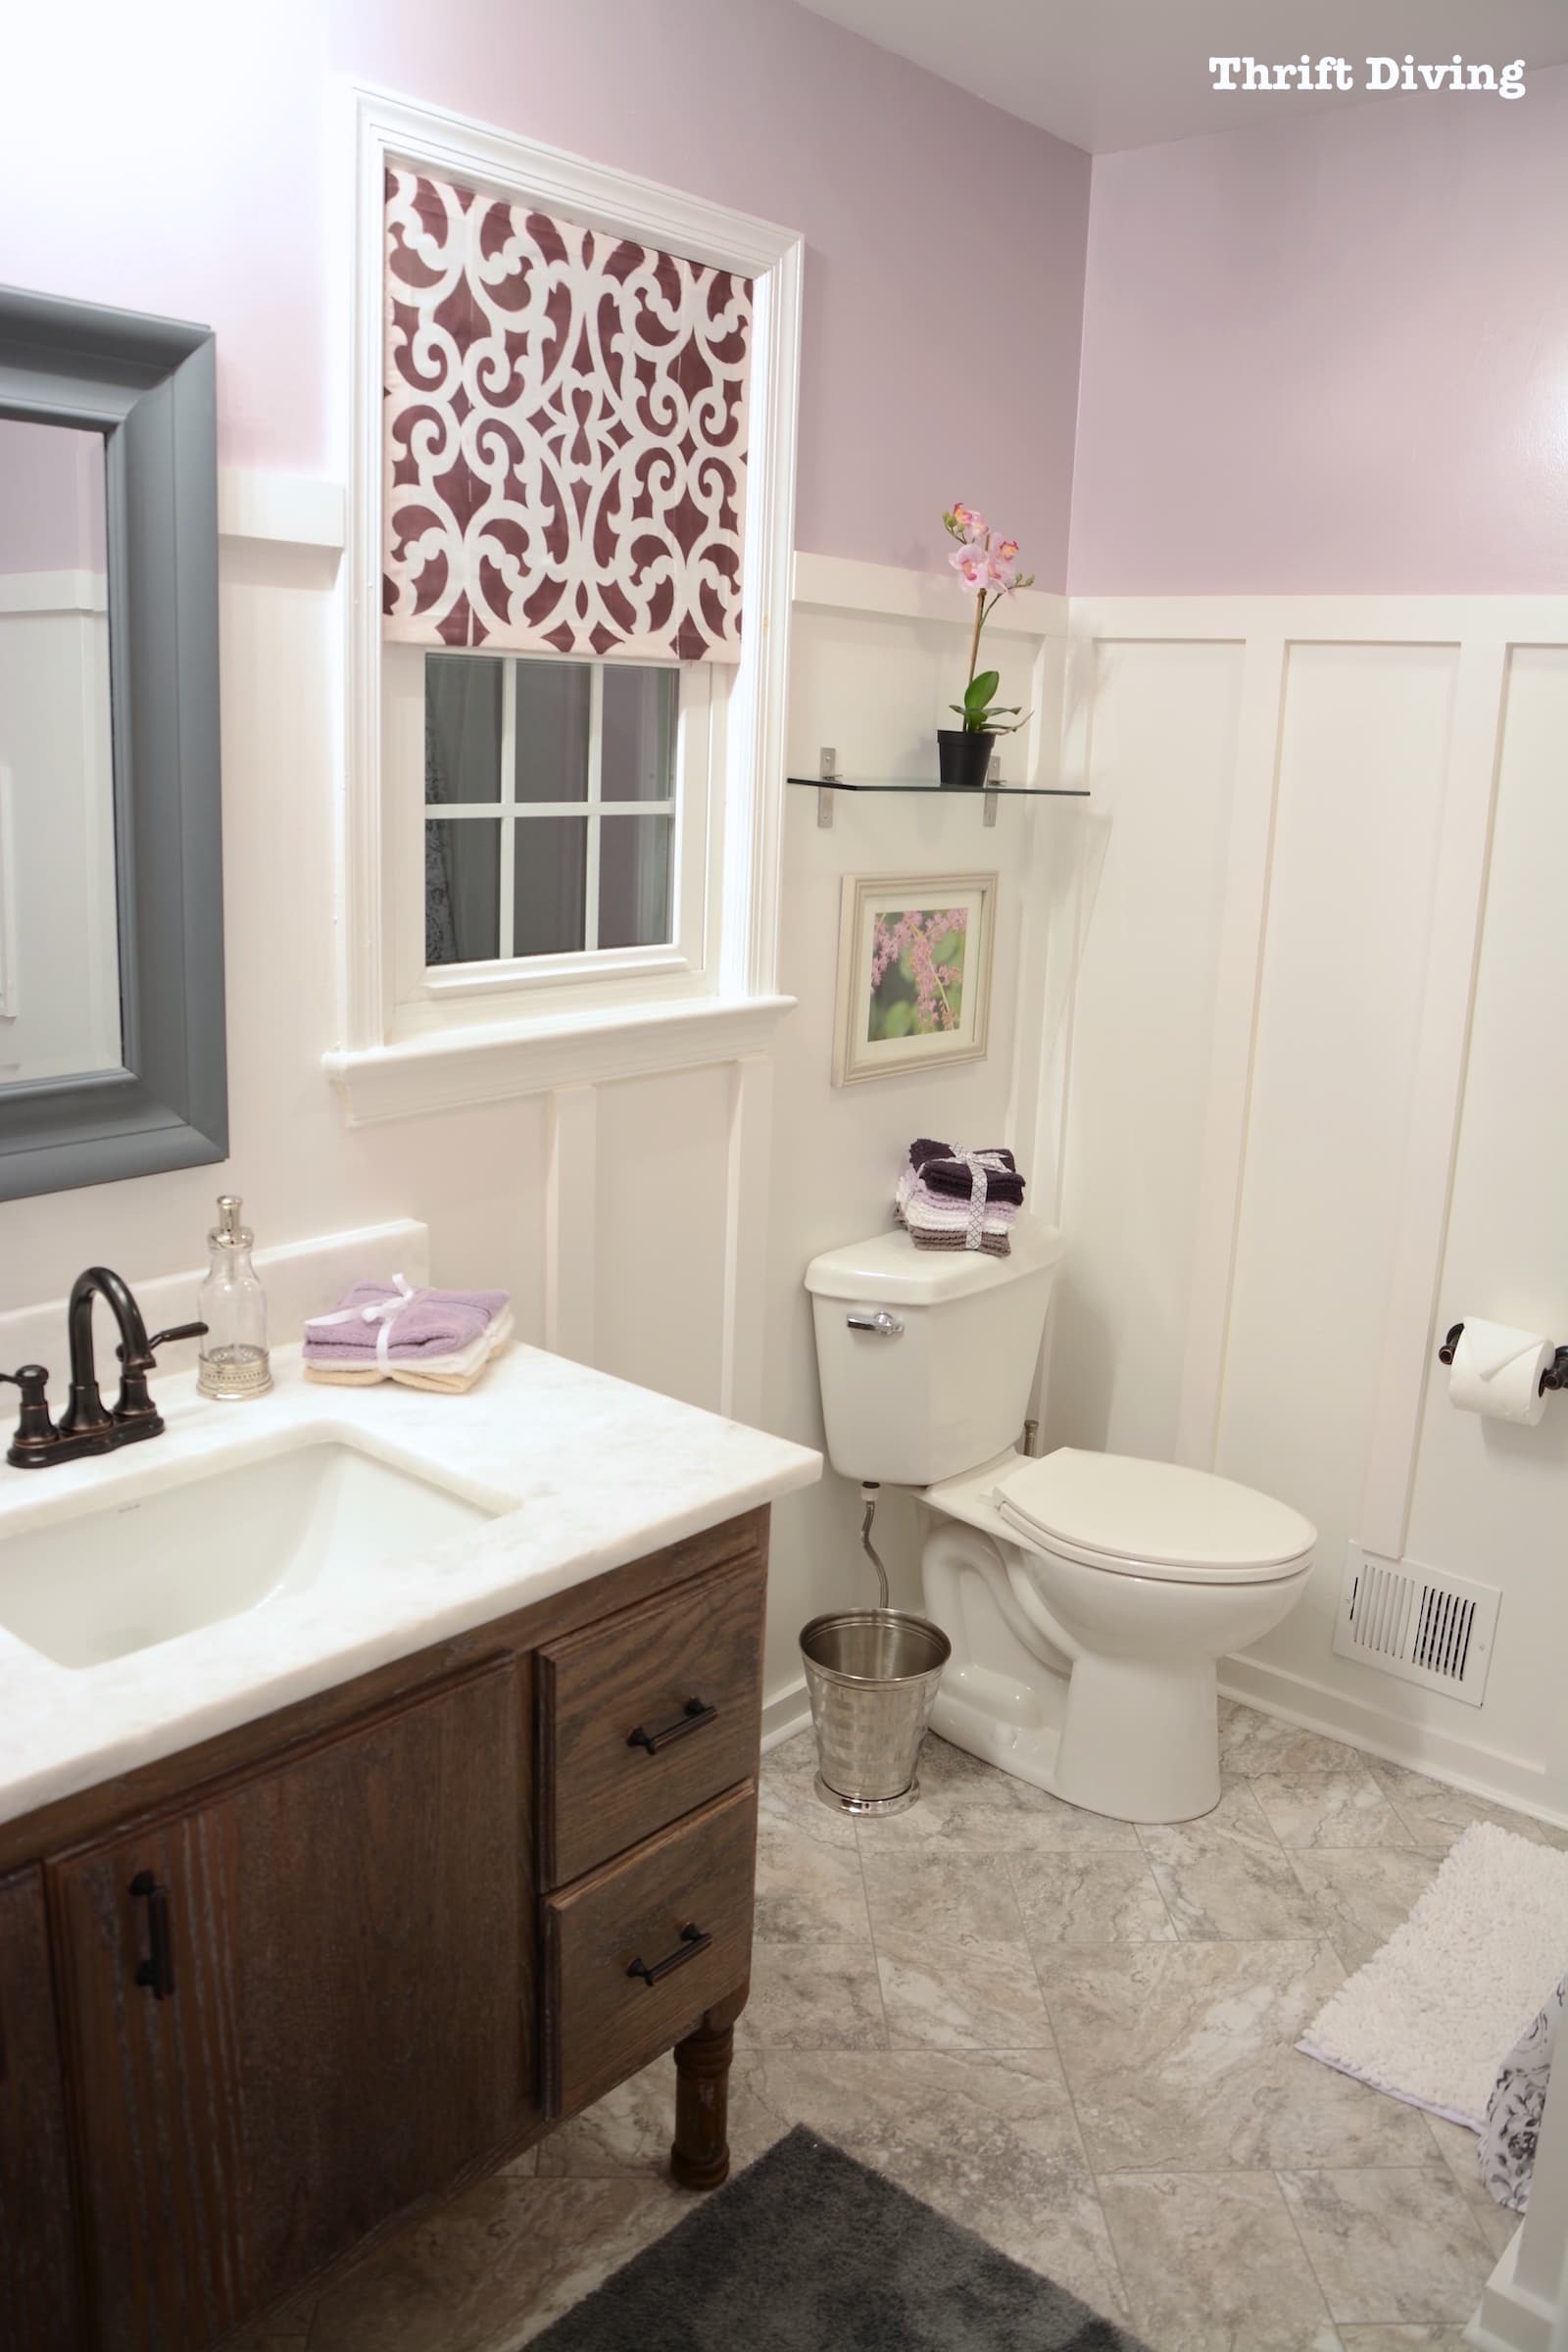
Let’s take another look at the BEFORE and AFTER.
BEFORE
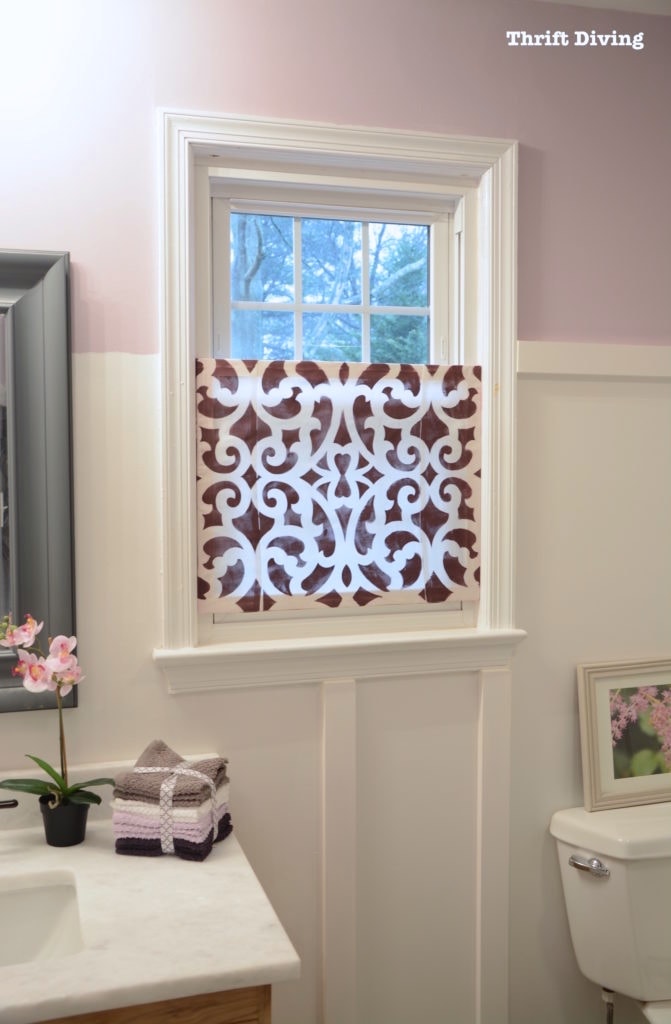
AFTER!
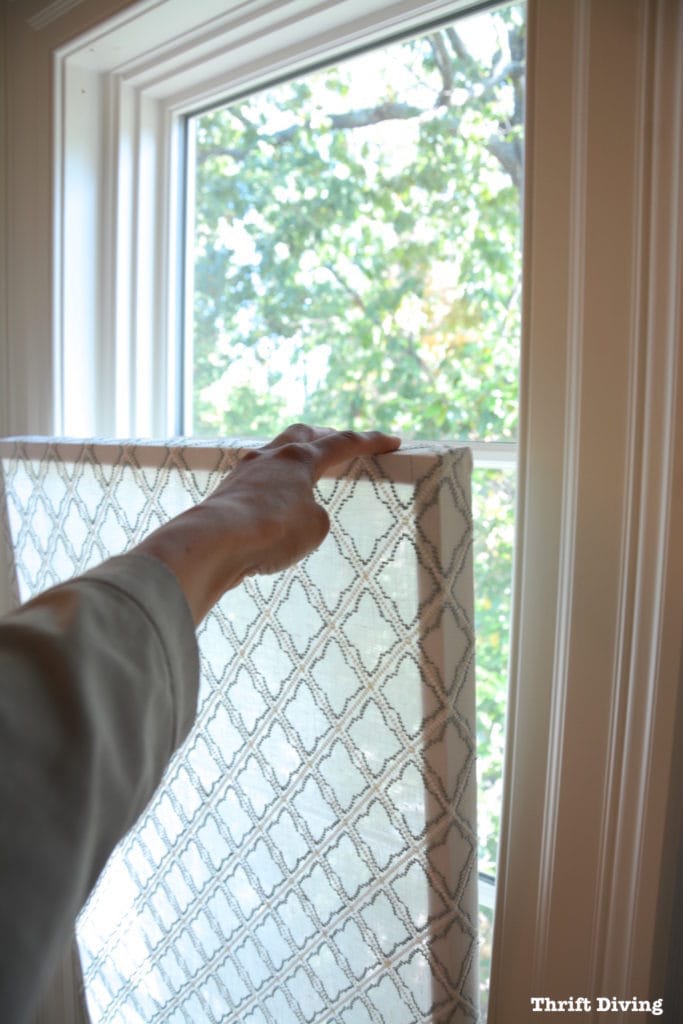
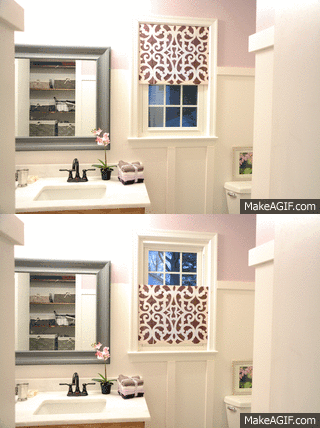
Since it’s adjustable, you can slide it up or down when you need or don’t need privacy!
Because my window is a little snug at the top, it takes a little bit more effort for me, but I’ll make those adjustments so it slides more easily. Love that!
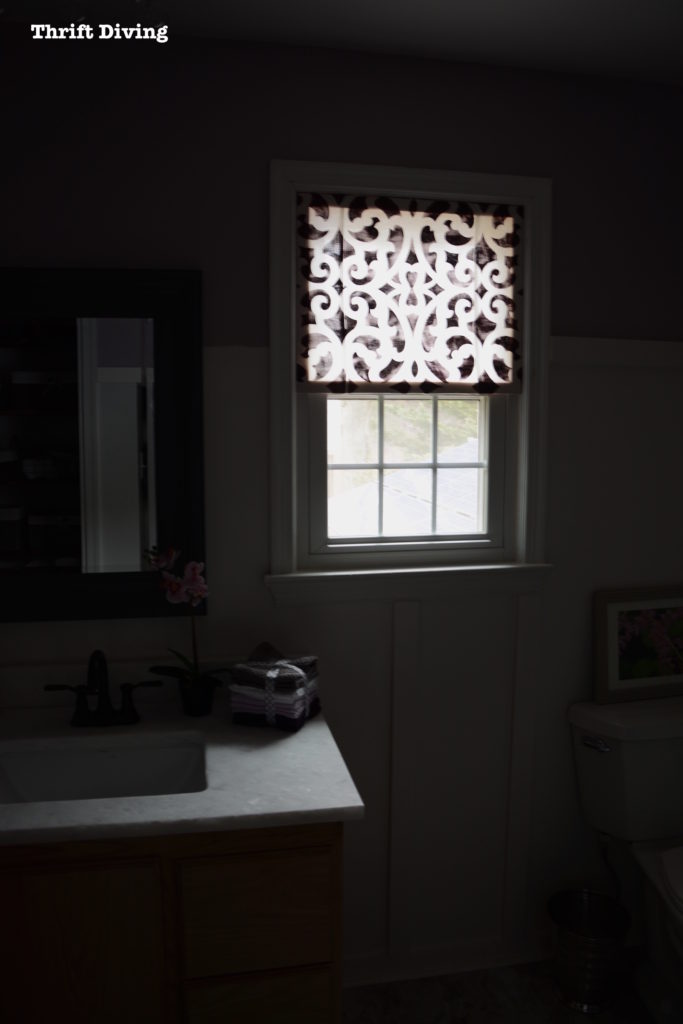
See how you can move it up and down? 🙂 Keep it up during the day to see outside. Put it down at night for privacy. Love it!
Love this project?? Click here to SAVE it!
I loved how it looked when I turned off the bathroom light, too!
Lessons Learned
There were definitely some things I would do differently next time.
- Don’t stencil the edges of the window privacy screen. Because it’s such a tight fit (and because the paint hadn’t totally dried by the time I tried to fit it in), the paint started rubbing off on the window sill. Either wait until your stenciled fabric is totally dry before fitting it, or leave the edges un-stenciled.
- Use one whole piece of fabric. Of course, I used what I had and used fusible iron-on tape to make a large piece. But I think it looks better if you use a whole piece of fabric.
My bathroom makeover turned out great! I build my own 60″ DIY bathroom vanity from scratch for this master bathroom makeover.
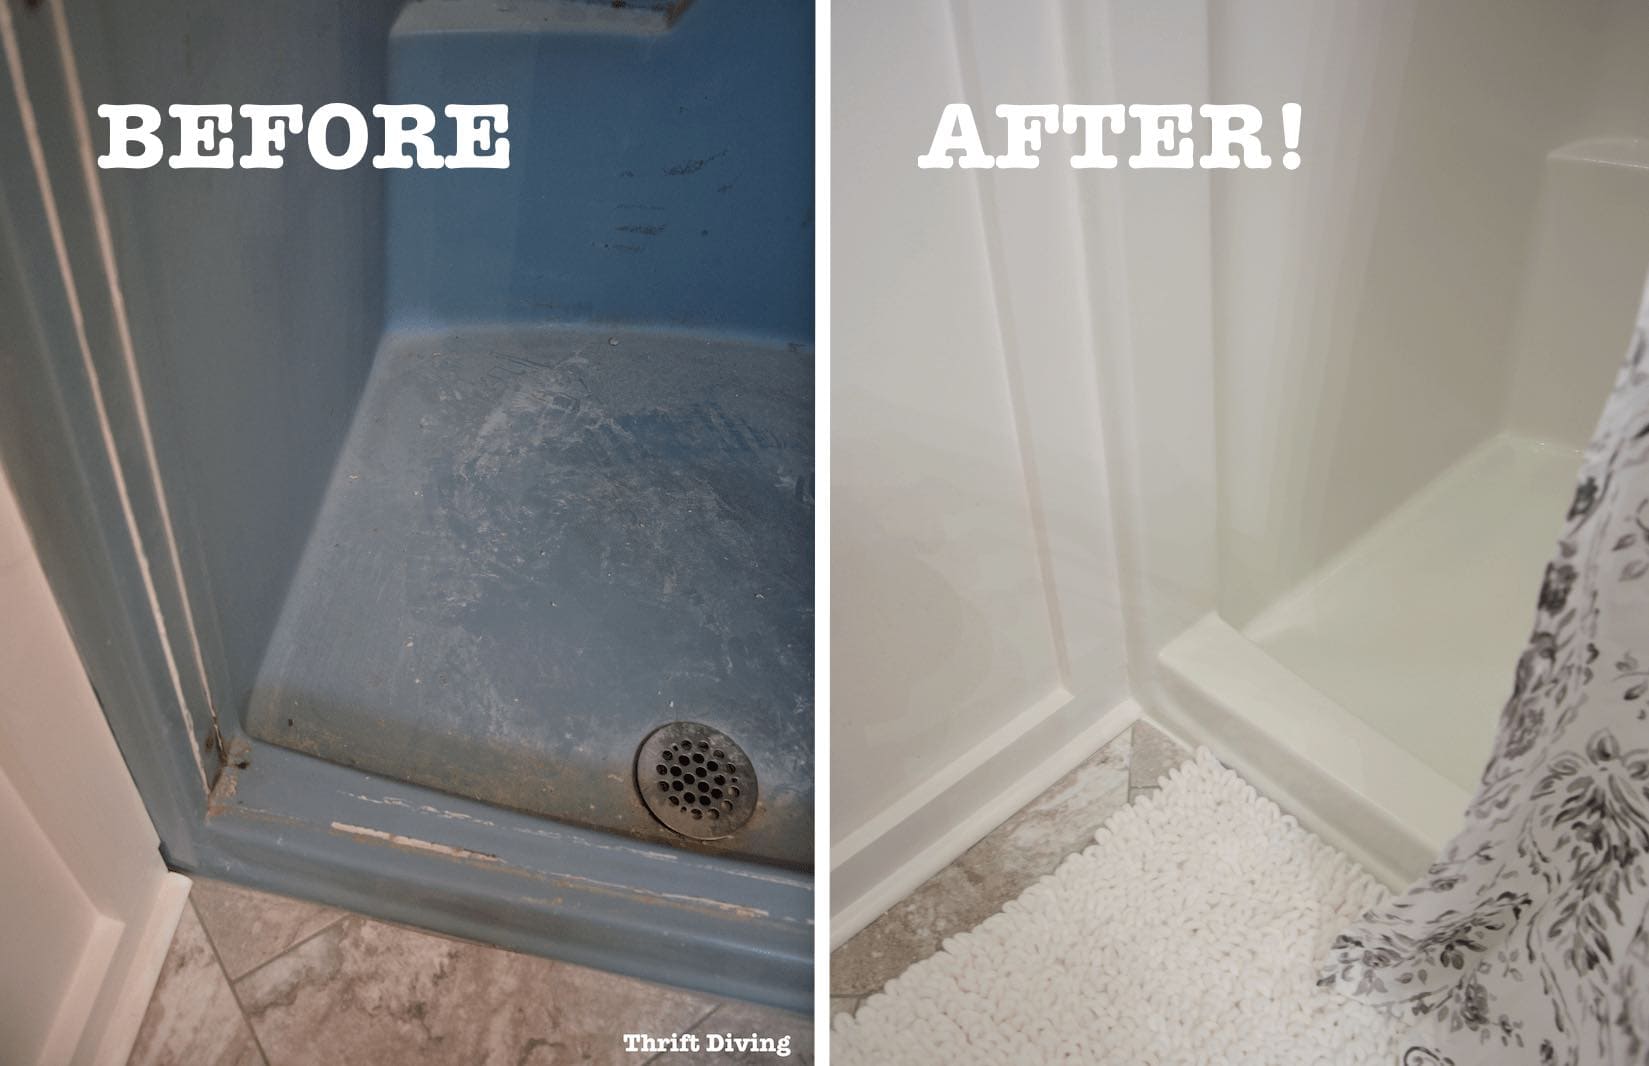
I also painted my shower and got rid of this ugly 70’s turquoise shower! You can see the entire video tutorial on how I refinished my shower using a tub refinishing kit.
If you want to see everything that’s been done in the bathroom to get ideas and inspiration, check out the posts below!
Read the Rest of this Bathroom Makeover Series!
Catch up on this entire master bathroom makeover series!
DAY 1: The Evolution of a Master Bathroom Makeover
DAY 4: Picking Out New Flooring: Which One Do You Like?
DAY 6: How to Remove an Old Bathroom Vanity
DAY 27: Removing Wallpaper, Repairing Walls, and Removing an Old Toilet
DAY 29: Installing New Flooring in Our Master Bathroom
DAY 49: The Bathroom Makeover That Would Never End (An Update!)
Day 52: How to Remove a Toilet Yourself
DAY 57: How to Install a Toilet Yourself
Build a DIY Bathroom Vanity – PART 1 – Attaching Legs and Base
Build a DIY Bathroom Vanity – PART 2 – Attaching the Sides
Build a DIY Bathroom Vanity – PART 3 – Creating the Partitions
Build a DIY Bathroom Vanity – PART 4 – Making Drawers
Build a DIY Bathroom Vanity – PART 5 – Making Cabinet Doors
Build a DIY Bathroom Vanity – PART 6 – Adding a Granite Vanity Top
Build a DIY Bathroom Vanity – PART 7 – The Final Finishing Coat
BEFORE & AFTER: The Final Master Bathroom Makeover Reveal!
So what do you think? Do you think you could make this privacy window screen?
Download the 5 freebies!

Thrift Diving inspires women to decorate, improve, and maintain their home themselves...using paint, power tools, and thrift stores! Use these 5 printables, checklists, and ebooks to get started!




That looks great! I love it! I would have thought your fabric came that way rather than being applied with a stencil. Call me impressed! Pinned.
Thanks, Florence, I’m happy it turned out so well! I did buy some extra fabric and I’ll probably make another one instead. I didn’t have much fabric so I had to join it together. The next fabric panel will be large enough. Glad you like it! Thanks for pinning it.
Lovely project presentation!
Thank you, Julia! 🙂
I made 2 of these last spring using store bought fabric but I like your painted design.
Very pretty.
Amazing privacy screen! Where did you get the stamping wheel? Thanks!
Thanks, Olivia! A company called Iron Orchid Designs had sent it to me, but I can’t find the product online!
What a great idea. You did a great job with the stenciling. I’m concerned though about the up and down movement eventually scratching the paint. Unfortunately where I live, I’d need privacy at the top and bottom of the window.
Hey, Syl! You know, the up and down movement is fine. The only thing I noticed is that because I stenciled the sides and I tried to put it together while it wasn’t fully dry, it did leave some paint on the window sill. But if you left it to dry, or didn’t stencil the sides, it would be fine! 🙂
Serena:
What a clever way to dress a window and give privacy to a bathroom window. My only concern is when you slide it up and down, will it scrape the woodwork? I have a window in our new bathroom that I think this would work great.
I just love receiving your videos and great tips.
JoAnn
Hey, Joann!
Nope, it doesn’t scrap the window! The paint wasn’t dry on the stencil and did get on the window sill a little. But it also didn’t scratch the window, thankfully. You could probably also put some sort of felt under the fabric, between the wood and the fabric, just to give it some padding. But you’d have to account for that in the measurements! 🙂
Serena:
I forgot to ask you the make of your tape measure and I would like to order one. I love that it has the 3 1/2″ beginning measurement.
JoAnn
Omgosh I love the DIY privacy window. As soon as I returned home to cold Boise, Id I’m going to make one for my kitchen window. Not because I need the privacy but because certain times of the day the sun hits that window and blinds me. This project is perfect.
Oh, then this would be perfect, Letia! I’m glad I could offer a good solution for you! 🙂
awesome project Serena! I could use one of these in my kitchen… and the guest room…. 🙂
great video!
gail
They’re so useful everywhere, Gail! You can even do it with larger windows. The key is getting it snug with the width of your windows without it being TOO snug! 🙂 Thanks for commenting!
RIght now the vanity top looks great. I asked myself, “Did I miss when you installed the top and sink? I like this shade. It is very uncluttered and neat. I bet you have loads of “self-satisfaction” over jobs well done! That should put you in a good mood all the time! You are very successful!
LOL, Sherry, you didn’t miss the vanity top! I posted in the “wrong” order. I hadn’t gotten to that post yet about the top, but I REALLY wanted to do this post about the DIY window screen. I’m going to keep going with the vanity posts, and they’ll all be linked up. So glad you like it! I just can’t seem to finish it, though, because I don’t know what type of finish I want on the outside. Well, I DO know….I want a natural weathered oak finish, but can’t seem to figure out how to get it to look the way I want it to look. So I haven’t touched the outside of the vanity yet, for fear of messing it up. I’ve done several sample boards so far, and none of them are looking the way I want it to look. SIGH….. lol
Awww…thanks for the comment on the shade! Yes, I love seeing my projects that turned out well! I’m actually going to make another window screen. I went to get a larger piece of fabric that will cover it more nicely! lol. Maybe I’ll make one for another room, too!
a great DIY! I like the look so much, I may just do this one myself too!
You totally should, Linda! It’s actually very simple. No big tools needed. If you go to Home Depot for wood, look for the 1×2 size pieces of pine. If you know your window measurements, you could probably have them cut it down for you. But just make sure your measurements are really good. If they cut the wood too short, you could probably put felt on the sizes to “bulk” it up so it fits snugly. If it fits too tight, use sandpaper to “shave” off some of the wood so that it fits. 🙂 Good luck!