DAY 28: Installing New Flooring in Our Master Bathroom!
This post is brought to you by Carpet One, a sponsor of the 30-Day Room Makeover Challenge.
In the previous post for Day 27 of my master bathroom makeover, I shared with you all the work I had to get done in my master bathroom before the Contract Carpet One Flooring installers (the awesome location here in Maryland) would be installed on Day 28 of the challenge.
I didn’t want to have anything “dirty” to do once that pretty flooring was installed!
If you remember, in my other post about choosing flooring, I wasn’t sure what kind of flooring I wanted but ended up going with the Verostone™ flooring. (Keep reading to find it’s a good flooring option!

The day of installation couldn’t come fast enough!
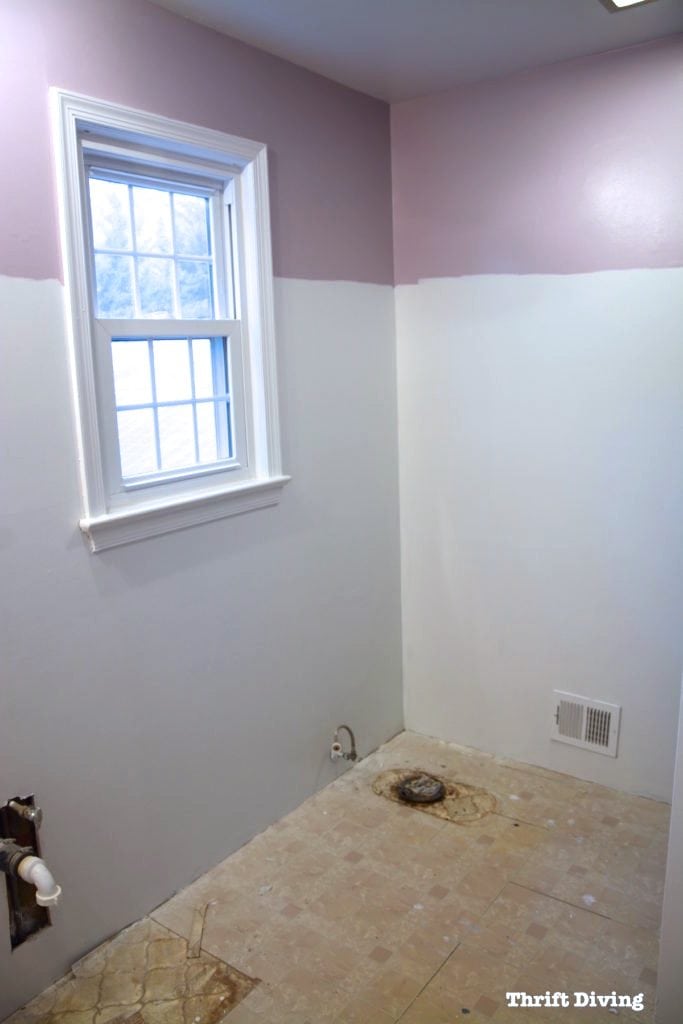
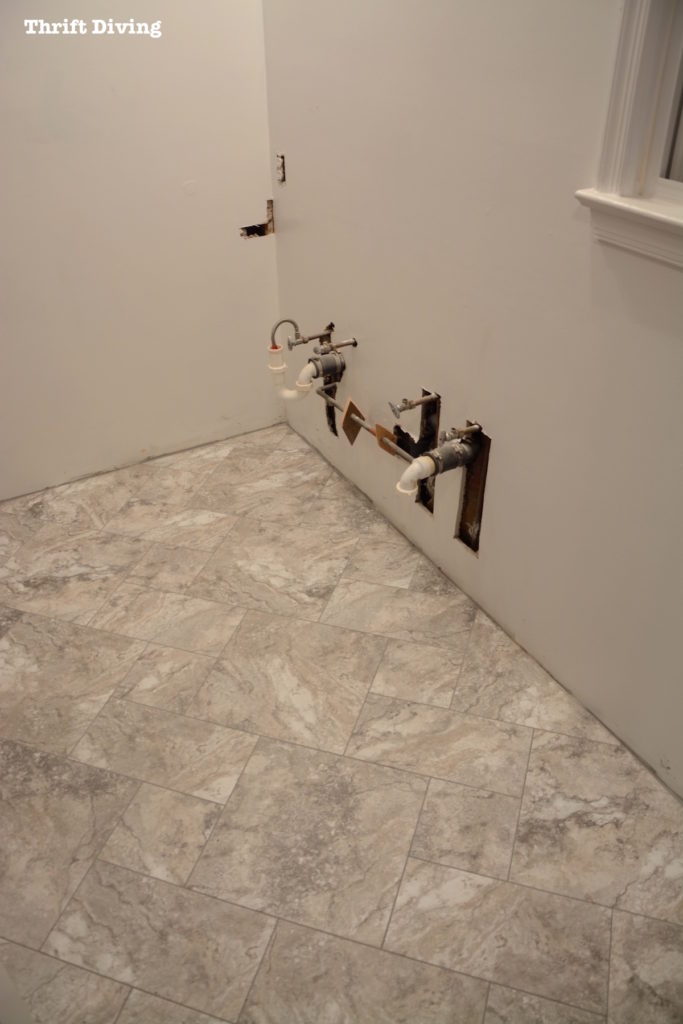
This was the status of how things were before they came:
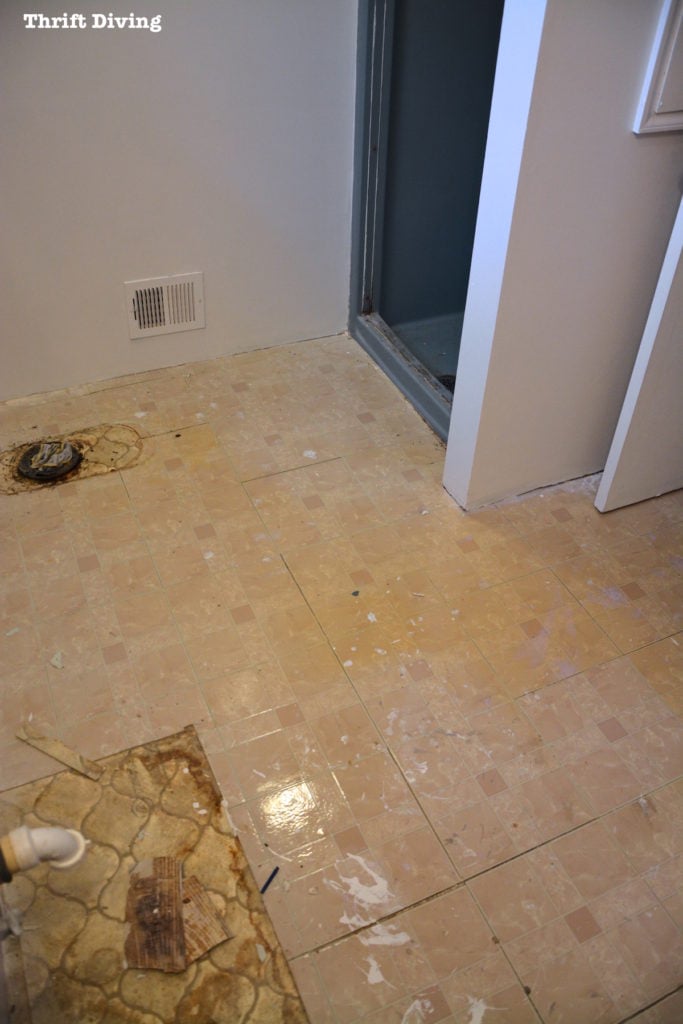
BEFORE
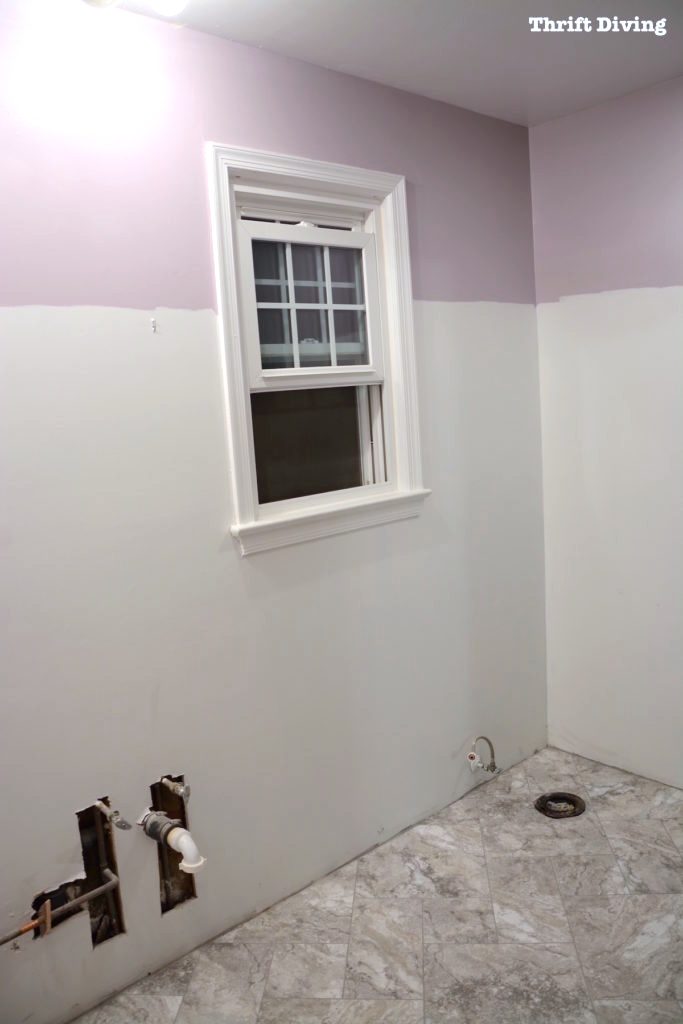
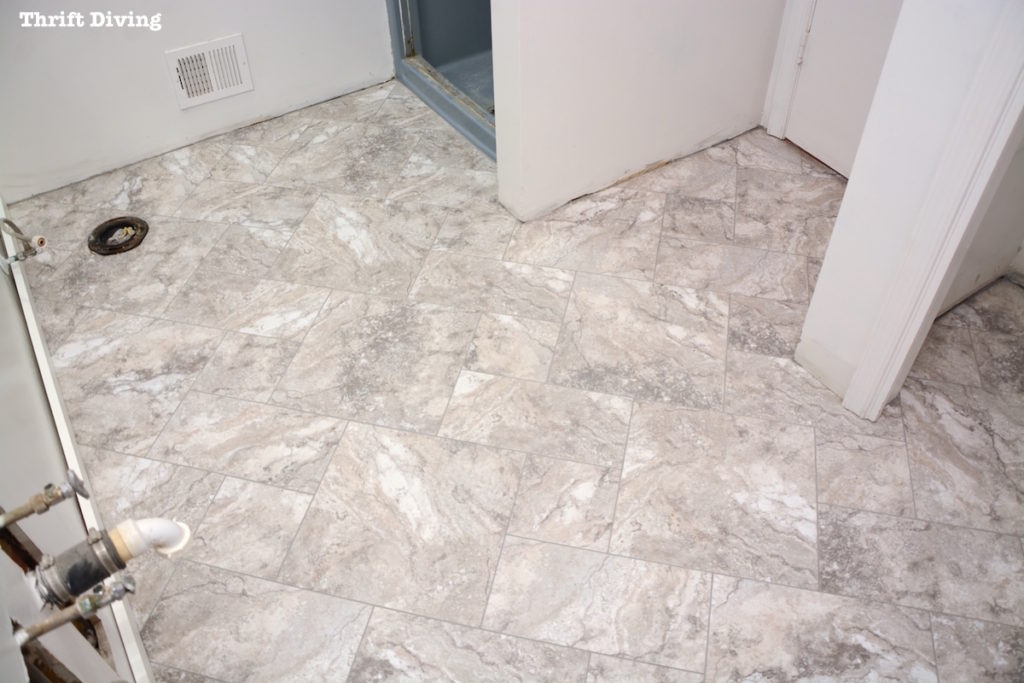
AFTER!
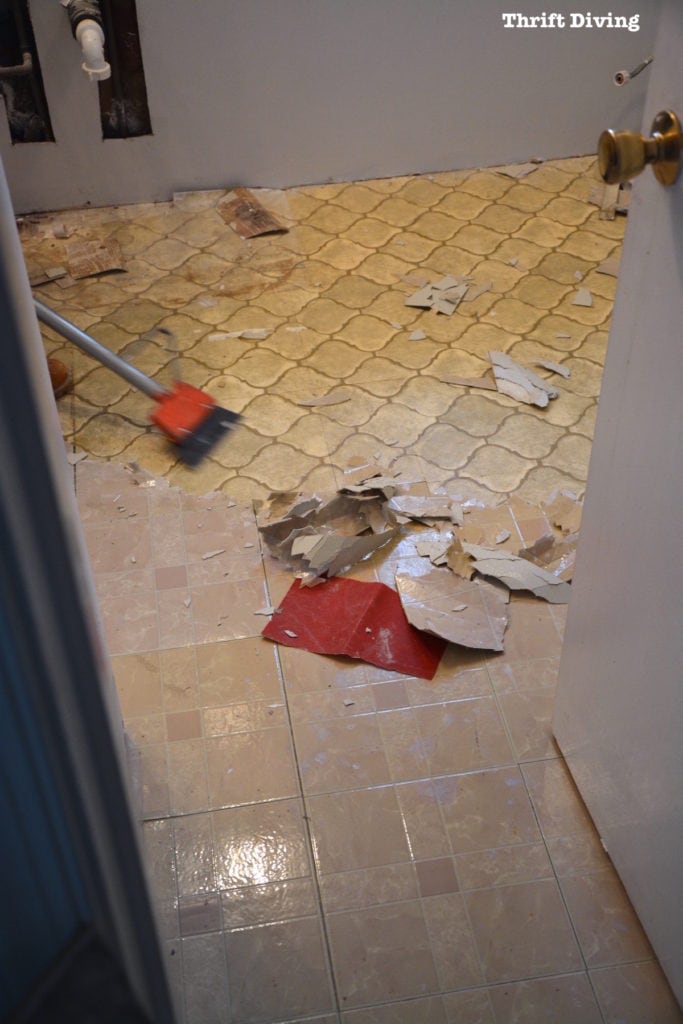
The previous tenants were probably lazy DIYers (hey–I don’t blame them…I’ve done it myself!) and left the old 1970’s vinyl flooring underneath the “new” 1990’s peel-and-stick tiles that they probably laid themselves.
Horrible, just horrible I tell ya!
I couldn’t wait to see it gone!
BEFORE
AFTER!
Removing the Old Floor
One thing I love to do is to stand over the shoulders of home improvement professionals that come to my house.
I’m probably perceived as the Annoying Homeowner at first, before explaining that I am simply soaking in every tool, every move, every decision, every technique. After all, I love home improvement!
Having my master bathroom floor installed was no exception.
I don’t know what I expected here, but I guess I thought the “old-floor” removal would be a gentle one. HA!
Perhaps some heat to gently peel away the old vinyl….
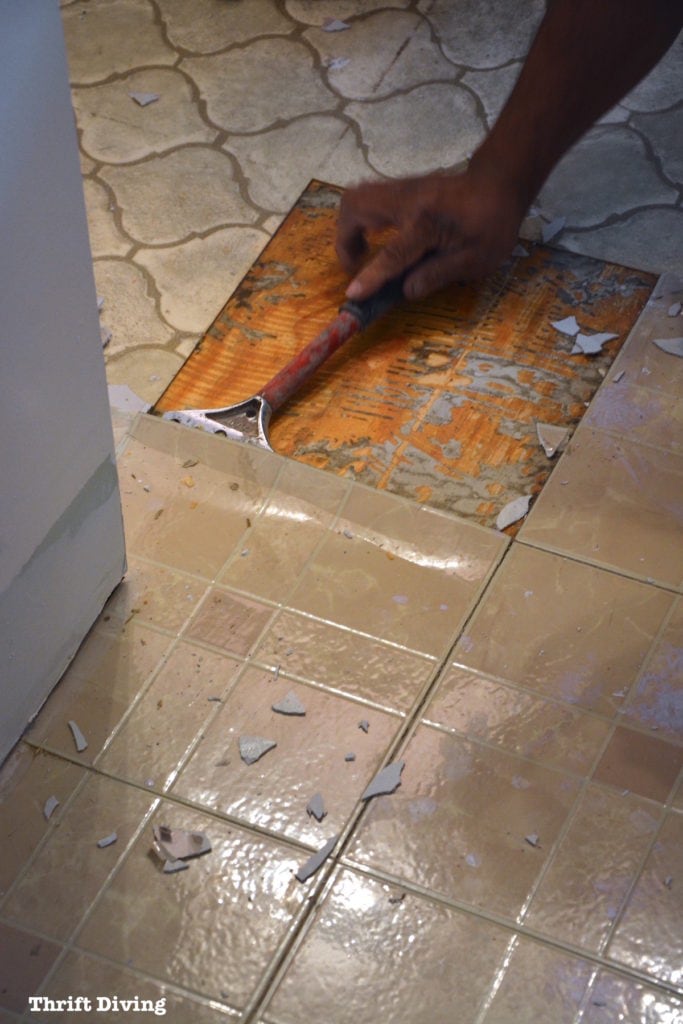
Instead, it’s much like scraping your icy windshield in 20-degree temperatures! HA!
They chipped and scraped…chipped and scraped….
It was back-breaking work and took the bulk of the time during the 1-day installation.
In fact, you can see a little video clip here of one of the installers peeling and chipping away at my old tile!
It was very satisfying to watch! (16-second clip).
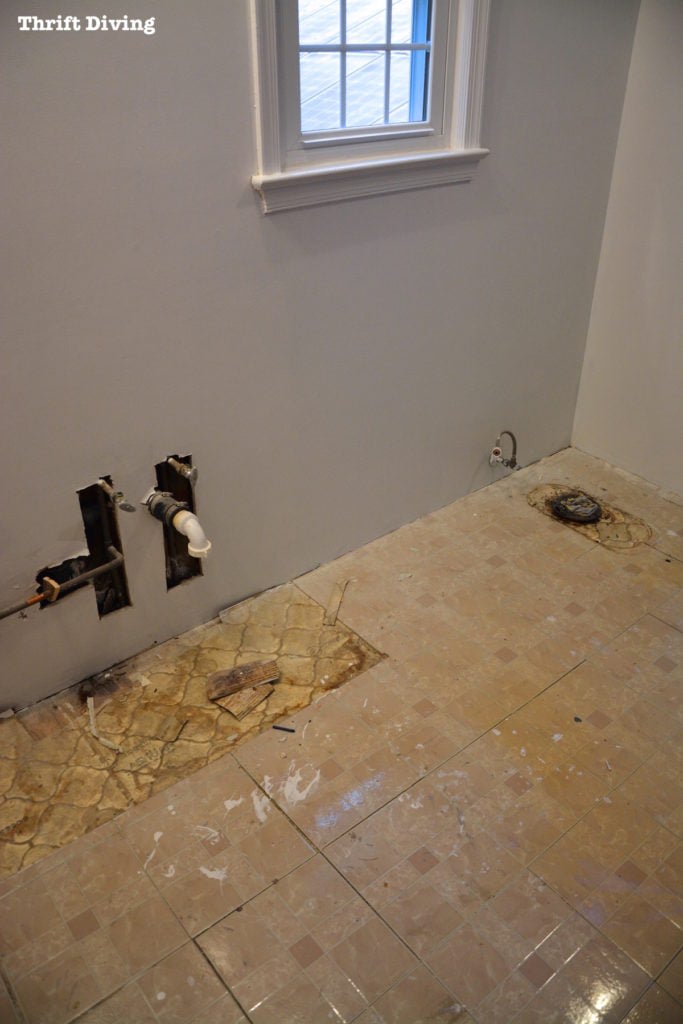
This part was such a mess. It gave new meaning to the word “manual labor.”

It was hard to imagine these materials have been here for so many years. I have to admit, it felt good seeing all the “old” stuff being tossed in the trash.
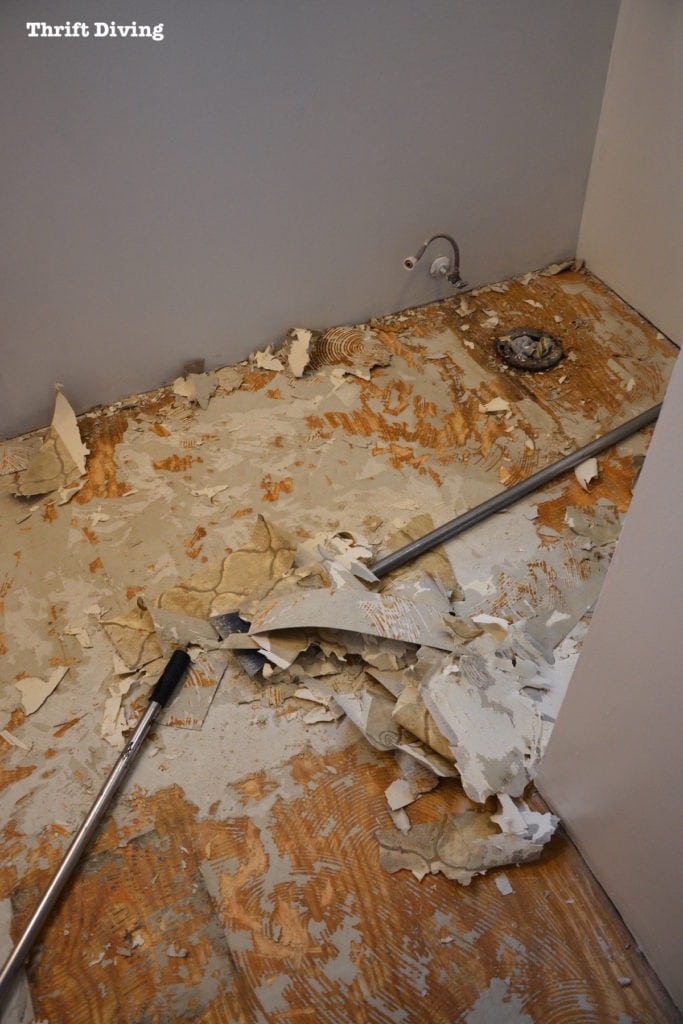
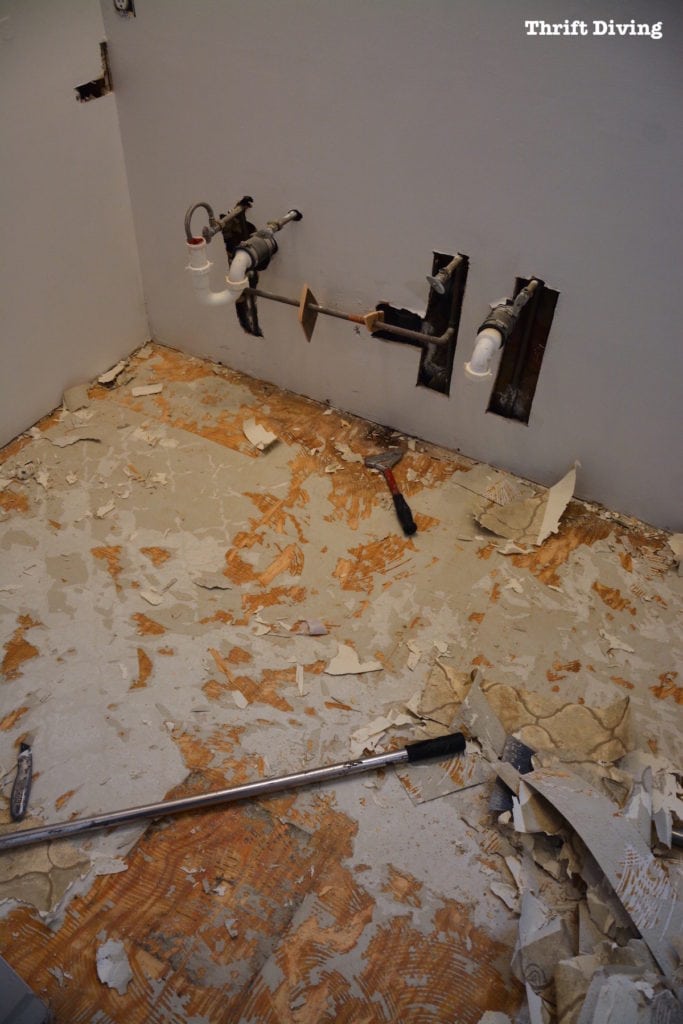
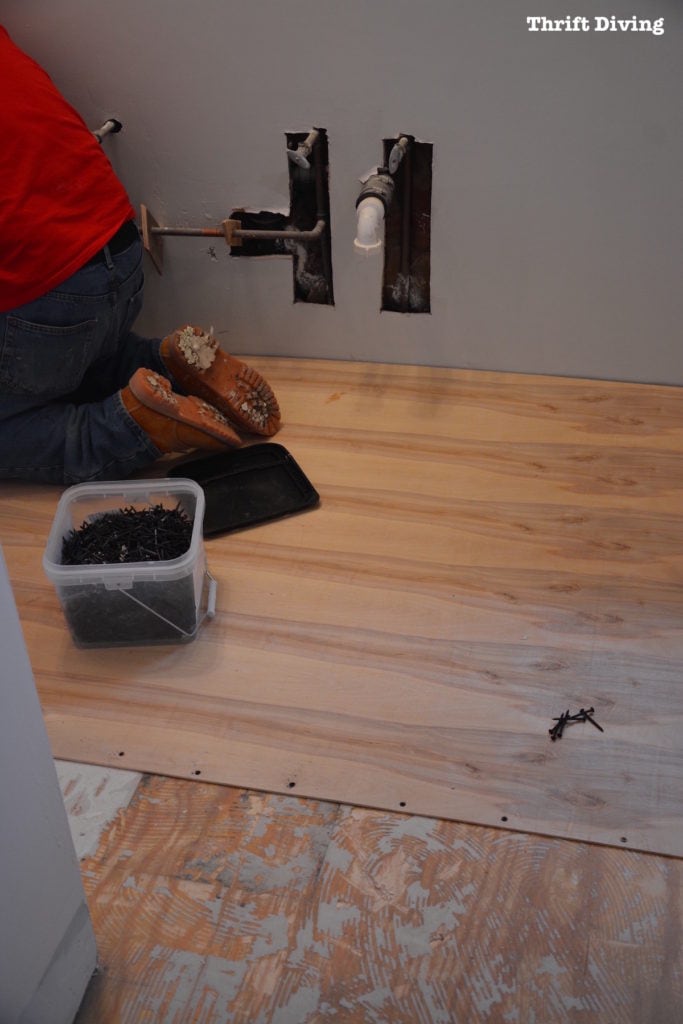
Helllllllooooo, Sub-floor!
Once all the old flooring and gunk was removed, the guys cut a thin sheet of plywood to nail down on top of the old sub-floor.
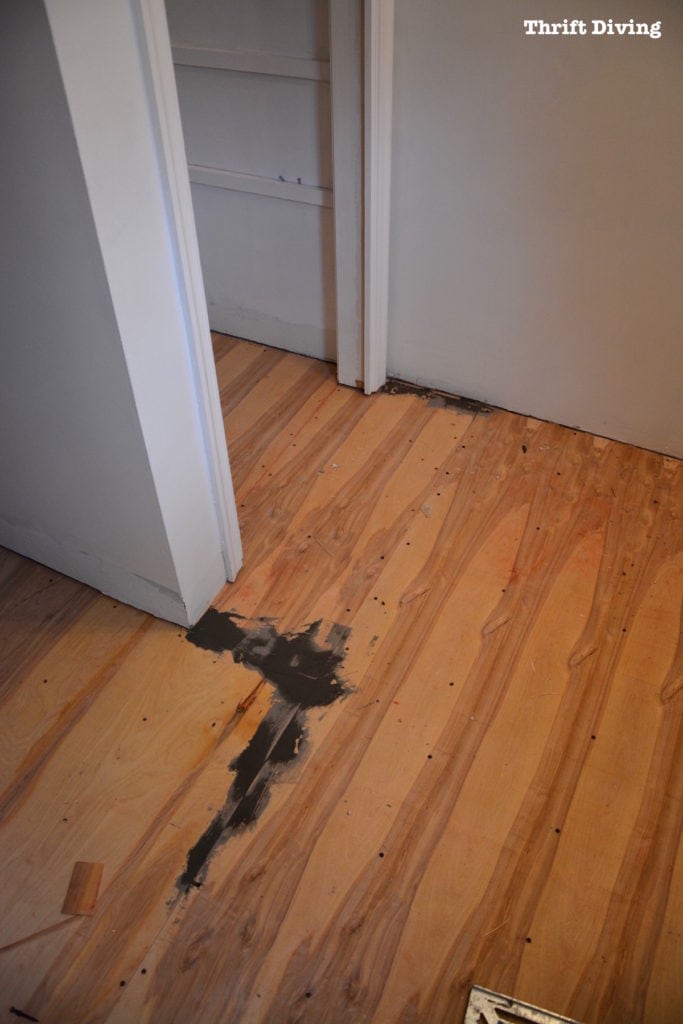
I’m not sure what this black stuff is, but it’s either got to be something to patch the pieces together or maybe it was a low spot that needed filling. I’m not sure. I wish I would have asked!
Whatever it was, the floor was looking fabulous already! LOL
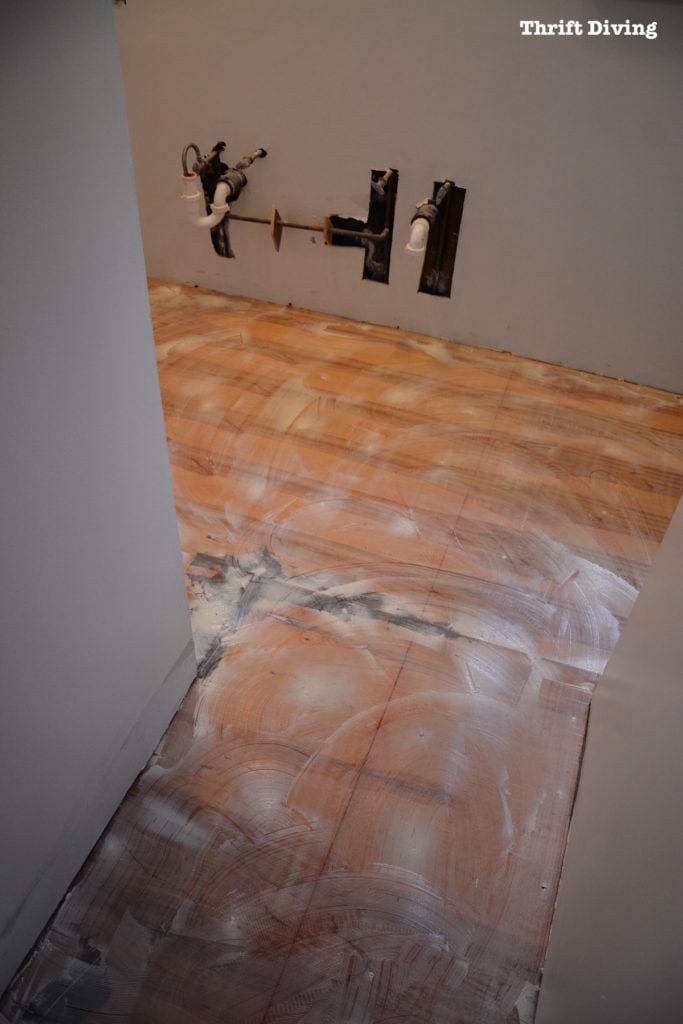
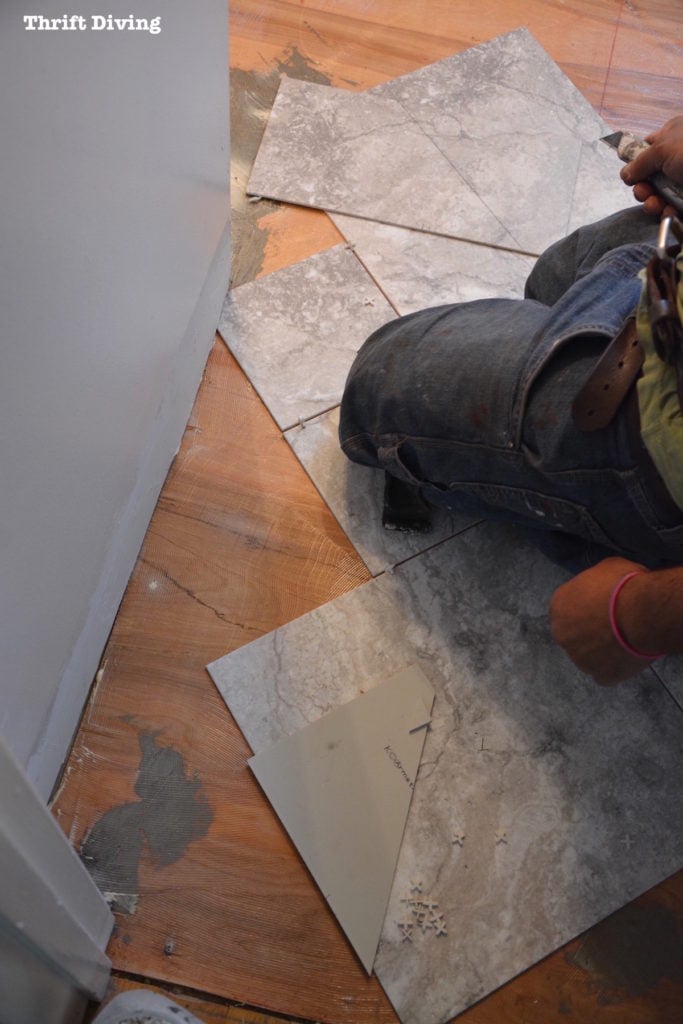
The next part of the installation was simply laying down the glue.
They did it before lunch time, let it “set” for a little, and about 20-30 minutes later, came back. They were now ready to lay down the Verostone™ tiles.
What I Like About Verostone™
I like my home to feel warm and cozy.
So one thing I hate is walking on cold tiles, especially first thing in the morning!
Verostone™ is engineered stone floor that’s warmer to the touch and softer than natural stone, which I like. Plus, it’s easy to maintain! I’ve got 3 boys. The last thing I want it to worry about something that could easily get scratch, dinged, or chipped. This is a great family (and pet!) option!
During the installation, I noticed that they only had to use utility knives to cut small pieces to fit along the wall. That seemed like such an easier option to install than having to use a tile cutter or wet saw for stone!
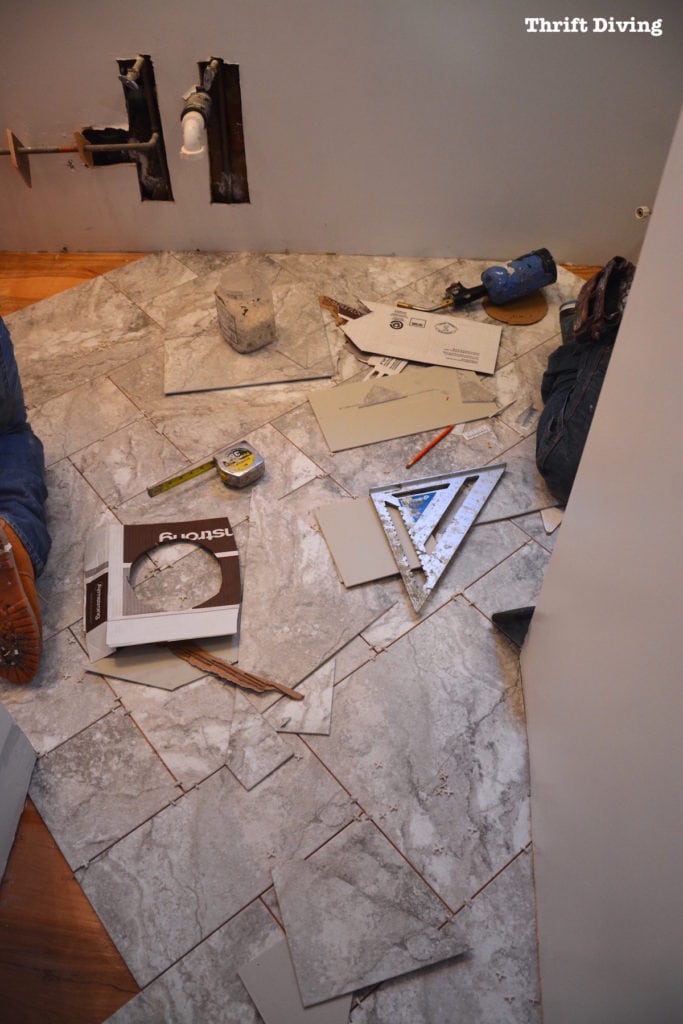
The last step was to grout the tiles, which I missed because I had to do kid pick-ups from the bus stop and daycare.
But when I got home, I was so excited to see the finished result!
BEFORE
Bye-bye, outdated orange-stained flooring!
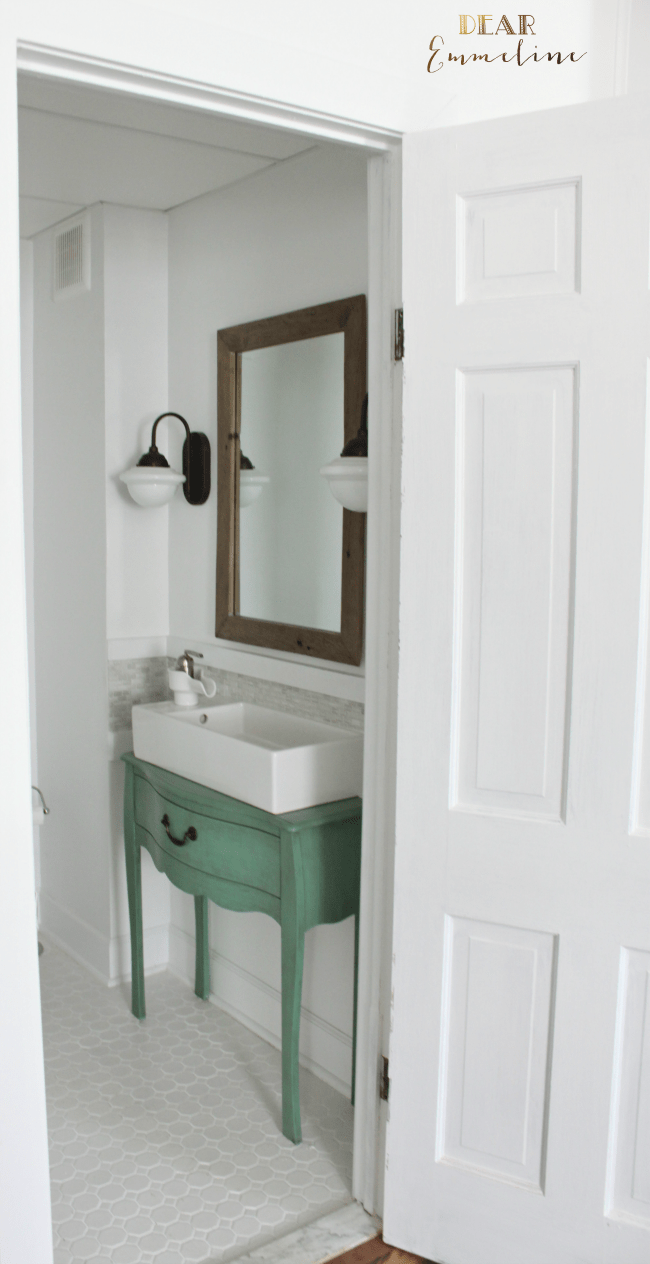
AFTER!
Hello, pretty cool gray!
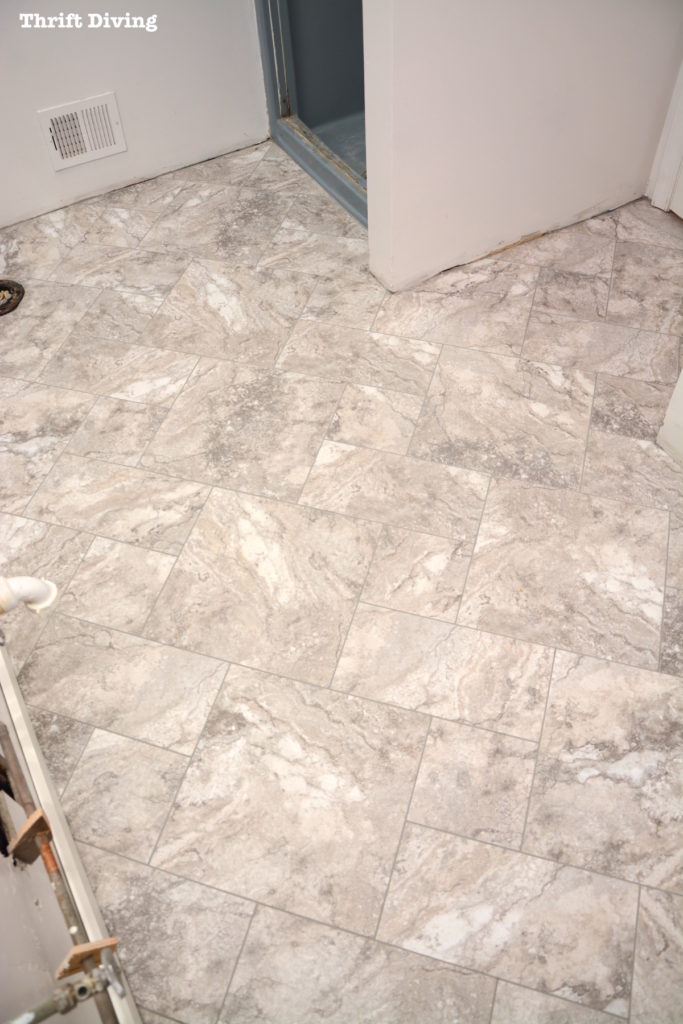
You can see in this wide-angled picture the layout of the bathroom.
And let’s not forget how my master bathroom looked prior to this makeover starting:
BEFORE
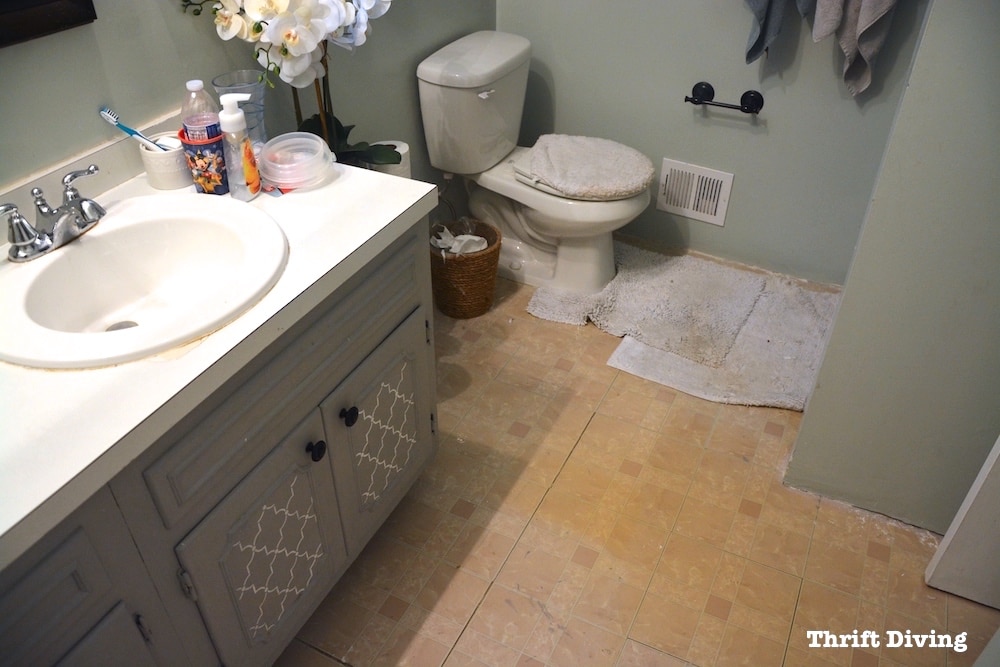
IN PROGRESS!
Things Left to Do
I still have to:
- add the new toilet from Mansfield Plumbing
- add the baseboards and decorative wall trim
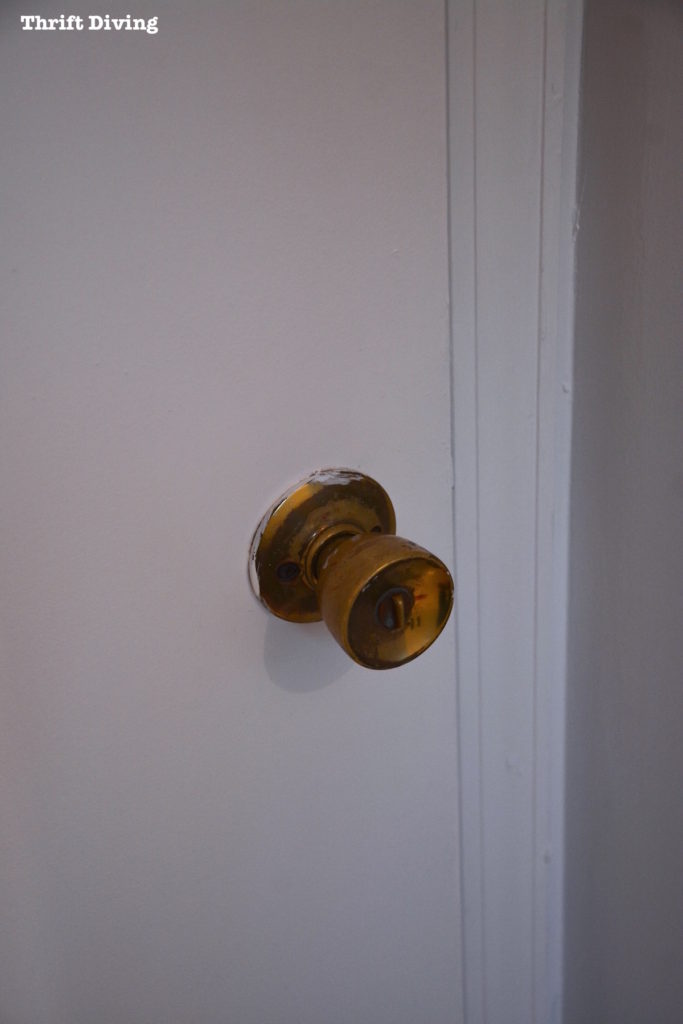
- change the door knob (my kids have figured out how to “pick” the existing old ugly one. LOL)
- Add shelving to the closet
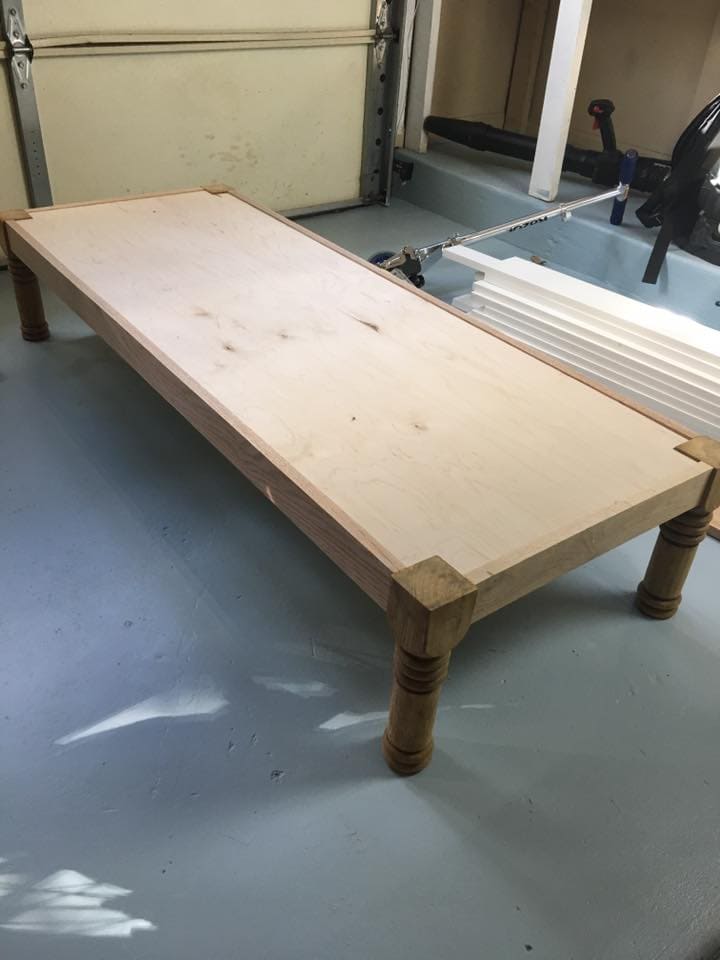
- Build a vanity (yikes!!!)
- Add decorative pictures
- Rip out the shower, but that’s going to be next month. In the meantime, I’ll just hang a curtain.
- Paint the mirror gray
- Make a DIY privacy screen (see #8 on this post for a picture)
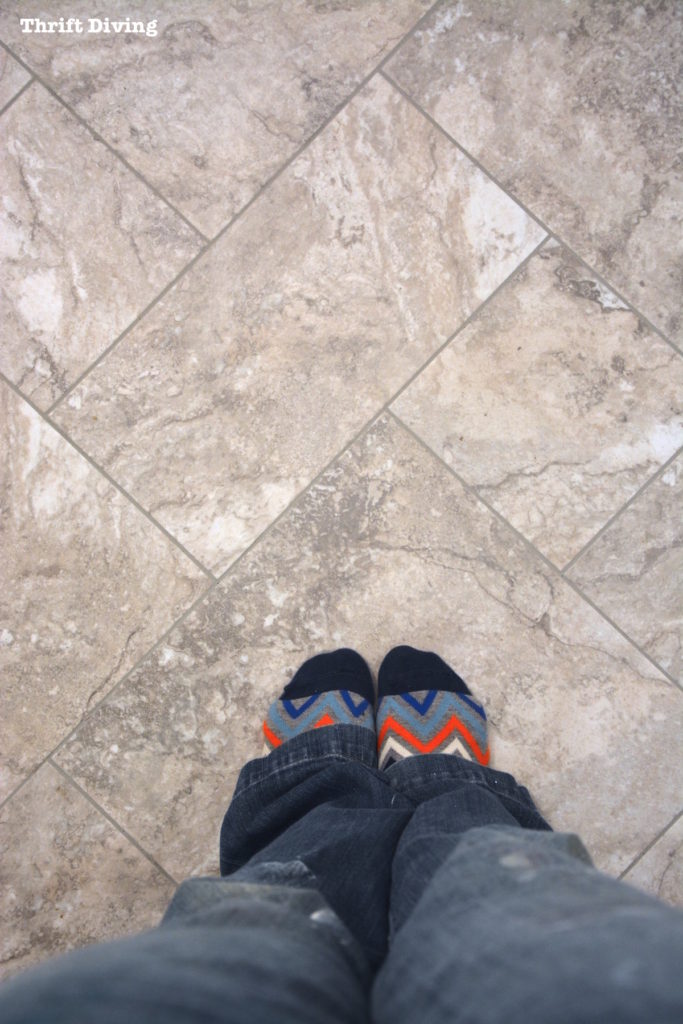
I Stand Here
Carpet One likes to inspire people to upload pictures of where they stand (#istandhere), which I think is genius marketing.
So I was inspired to share my own “before” and “after” of where I’m standing in my master bathroom.
BEFORE
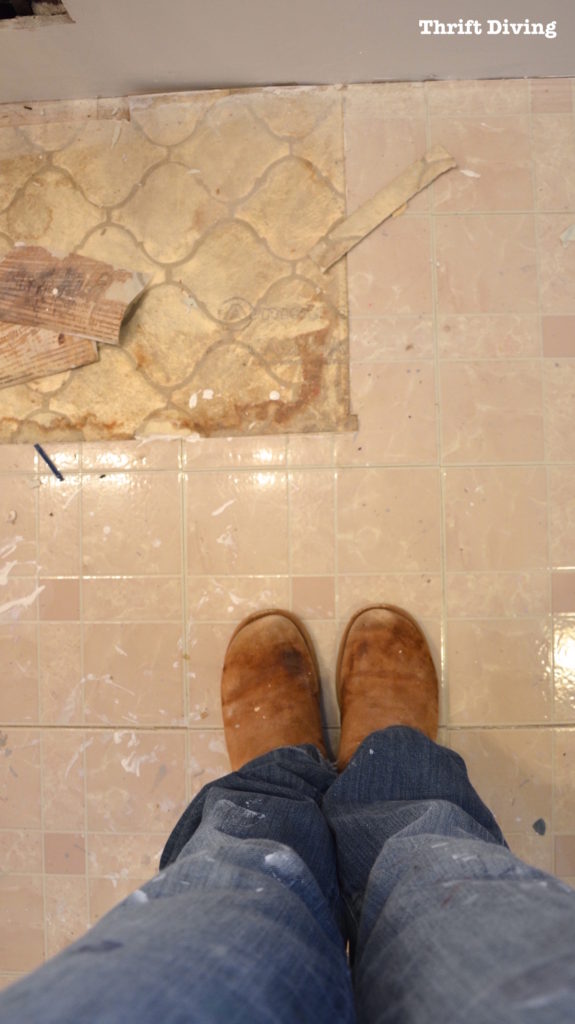
AFTER!
Huge difference, huh??
Not to mention I recently bought the cutest socks and I think I’m developing a “wacky sock” obsession. But that’s a whole ‘nutha post…
These next 10 days of the challenge are going to be crazy busy!
Especially considering I’ve never built a vanity before. GULP!
I better get to plannin’!
In the meantime, head over the Carpet One on Facebook, and be sure to check their website for your nearest location. They specialize in not just carpet, but all your flooring needs, including tiles, hardwood flooring, and more.
I’ve worked with them on several projects, including my bedroom makeover and family room makeover, and have only had positive experiences with my local store!
Stay tuned over this next week as I document my master bathroom progress in this 30-Day 40-Day Room Makeover Challenge!
Keep Up With the Entire 30-Day Master Bathroom Makeover Series!
DAY 1: The Evolution of a Master Bathroom Makeover
DAY 4: Picking Out New Flooring: Which One Do You Like?
DAY 6: How to Remove an Old Bathroom Vanity
DAY 27: Removing Wallpaper, Repairing Walls, and Removing an Old Toilet
DAY 29: Installing New Flooring in Our Master Bathroom
DAY 49: The Bathroom Makeover That Would Never End (An Update!)
Day 52: How to Remove a Toilet Yourself
DAY 57: How to Install a Toilet Yourself


Download the 5 freebies!

Thrift Diving inspires women to decorate, improve, and maintain their home themselves...using paint, power tools, and thrift stores! Use these 5 printables, checklists, and ebooks to get started!

whew! I am exhausted just looking at all the photos! Imagine how much work – well, now that I think of it, I could stand to lose about 25 pounds, and I’d much rather accomplish something like this, than exercise on a stationary bike or something… it’s all good work yer doin’!
Hey, Linda! You’re right–this floor was a big scraping job! After seeing them do it, I feel like this is one job I’m glad that I hired out! 🙂 It would have taken me 5 times as long to do it! And I could have been second-guessing myself all along the way. lol
love the tile and the tile style everything looks like its going well.” should be done in no time” I also love the lavender paint, Very pretty.
Serena. I love the picts of “where you stand.”
I see in your future – Pair of Duluth socks that say DULUTH across the toe!
http://women.duluthtrading.com/store/womens/womens-underwear/wm-socks/23603.aspx?processor=content
BTW – I saw the your Duluth commercial on TV! CONGRATULATIONS
I’ve never met any other woman who said, “are those Duluth pants you are wearing?”
Bathroom floor looks great. I picked a similiar design for my floor. The design you stripped off is the same peel and stick I have in my half bath. What a coincidence. It has been on their about 15 years and should be removed but did hold up. Good luck Judy Marks
It looks so great, warm and pretty. I redid my master bathroom with tile similiar to yours. I am looking forward to seeing the finished room.