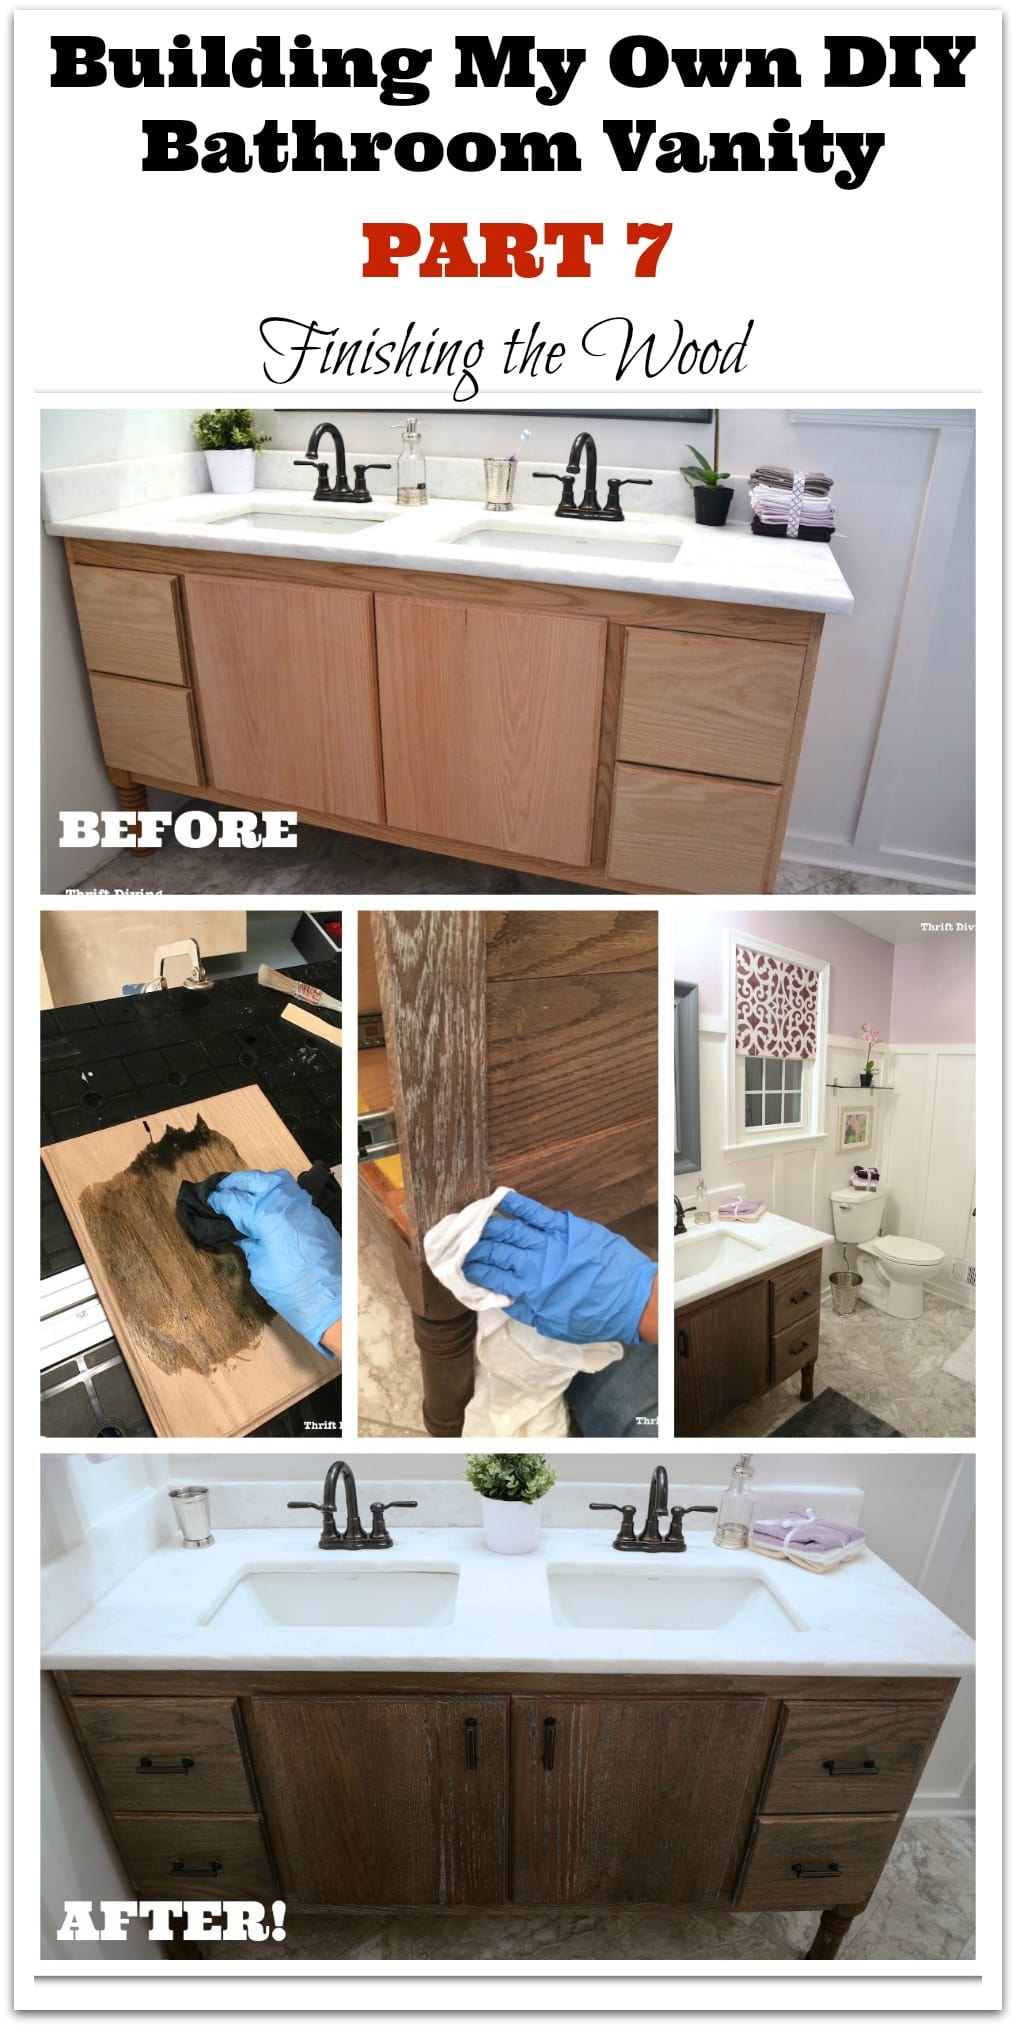
Build a DIY Bathroom Vanity – Part 7 – Finishing the Oak Vanity
This post is Part 7: Finishing the Oak Vanity in the series where I am building a 60″ DIY bathroom vanity from scratch. Be sure to check out the other parts in this series:
- Part 1: Attaching Legs and a Base
- Part 2: Attaching the Sides
- Part 3: Creating the Partitions
- Part 4: Making Drawers
- Part 5: Making Cabinet Doors
- Part 6: Fitting the Granite Vanity Top
- Part 7: Finishing the Oak Vanity
- BEFORE & AFTER: The Final Master Bathroom Makeover Reveal!
Build a DIY Bathroom Vanity: Finishing the Oak
SKIP AROUND THIS POST
No time to read the entire post? No problem! Skip around each section! 🙂
Watch the Videos
Materials
STEP 1 – Apply water to raise the grain.
STEP 2 – Sand the grain back down.
STEP 3 – Clean up the dust.
STEP 4 – Mix a glue size and add it to the end grain.
STEP 5 – Apply water-based wood dye.
STEP 6 – Seal in the dye with shellac.
STEP 7 – Add two coats of top coat.
STEP 8 – Smooth on liming wax.
STEP 9 – Add a coat of clear wax.
STEP 10 – Drill for your hardware.
STEP 11 – Show off your work!
Read this entire bathroom makeover series
PIN THIS
Subscribe for Free
Watch This Project In Action
PART 1 – Raising and sanding the grain, including applying wood dye!
PART 2 – Applying sealer, top coats, and liming wax!
Materials*
- Wood dye – Homestead TransFast water-based aniline dyes
- Distilled water
- Lots of lint-free rags
- Briwax liming wax
- Clear wax
- General Finishes High Performance top coat
- Sponges
- Wood glue
- Finishing clear wax – Fiddes and Sons
- Sandpapers (150-, 180-, 400-grit)
- Wire brush or vacuum to remove the dust from the grain
- Dust mask
*Amazon affiliate links are used throughout this post which support this blog.
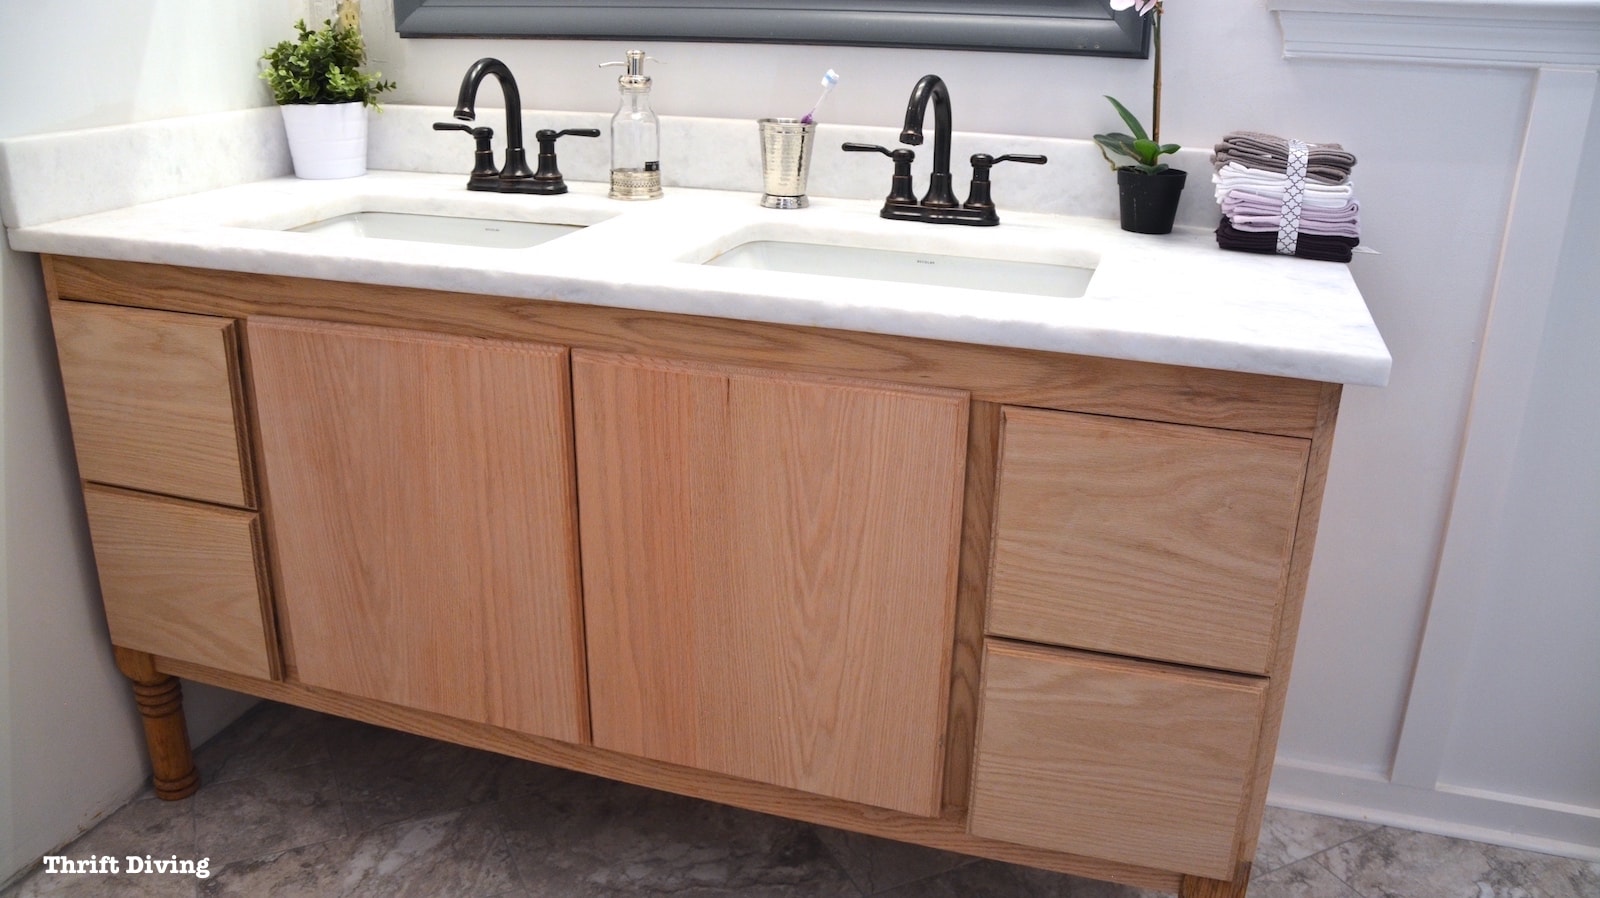
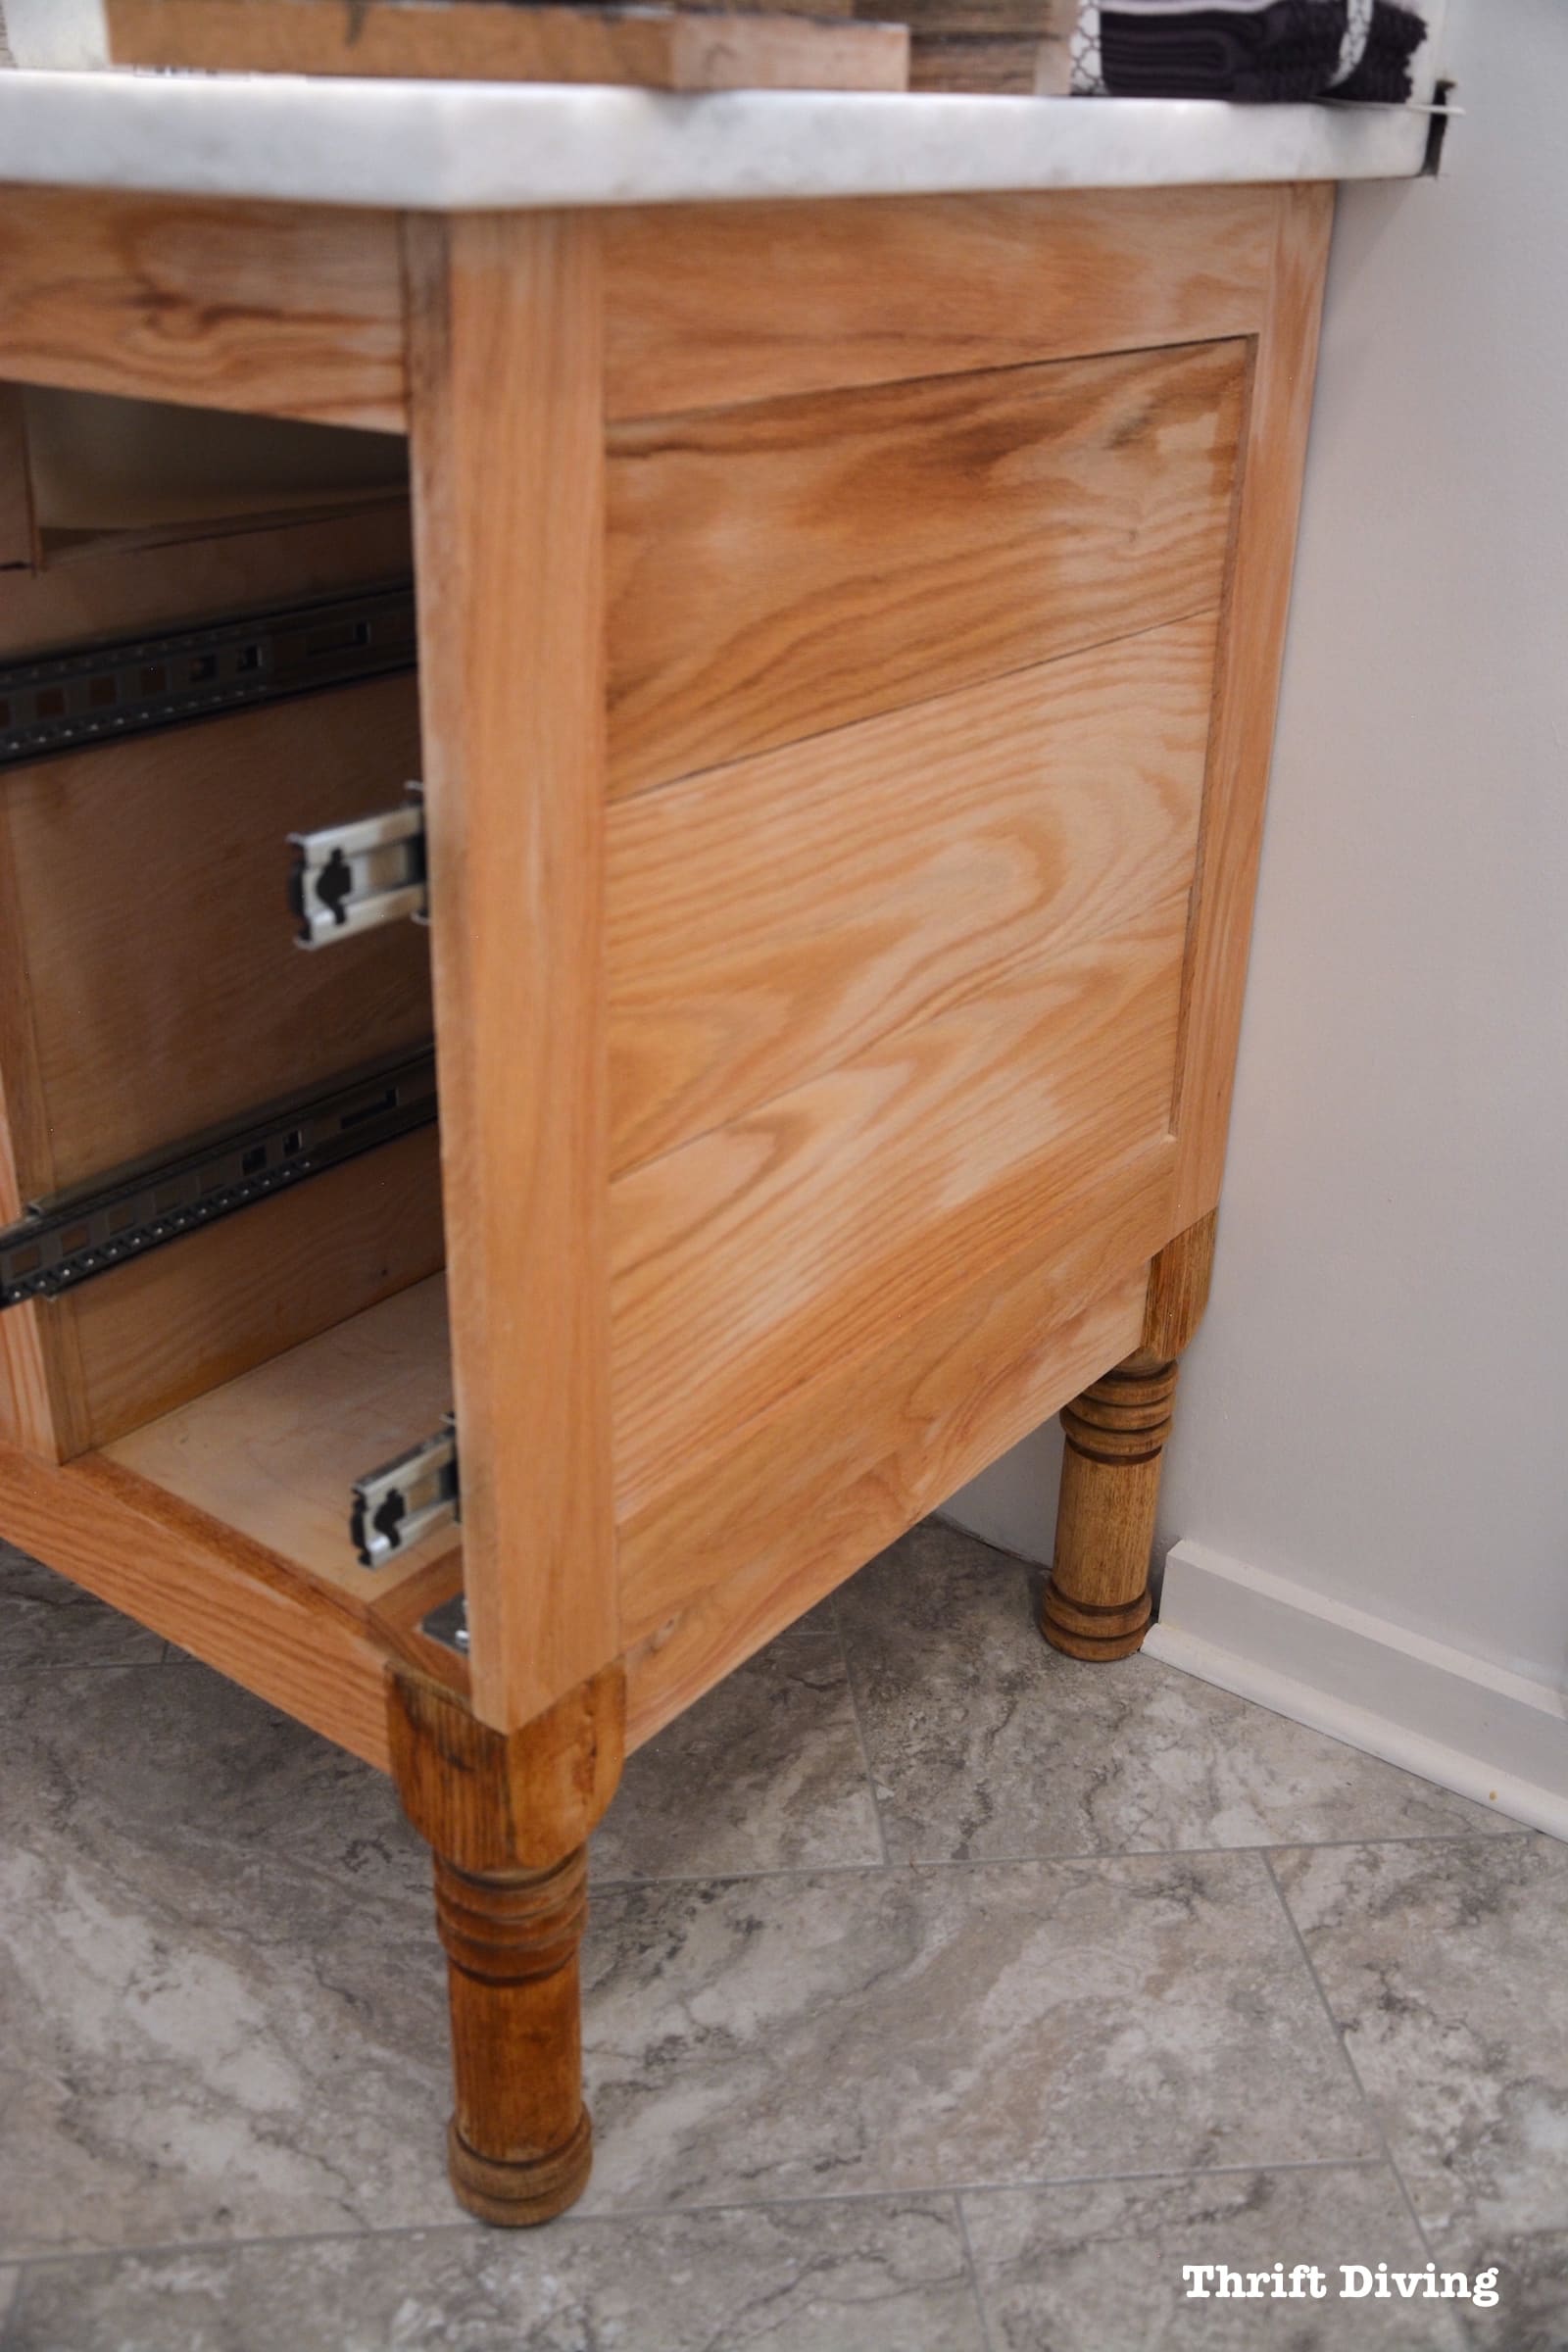
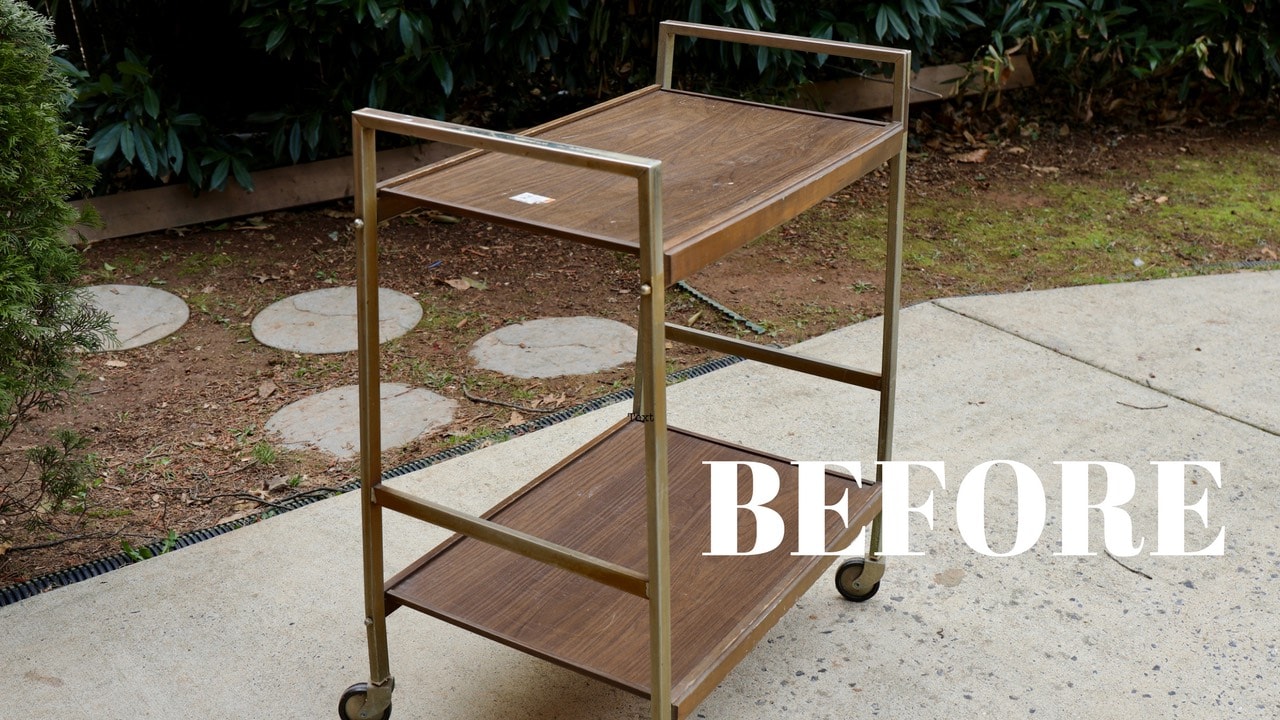
This is what the vanity looked like all fresh and clean, ready to be adorned with wood dye, top coats, and wax!
BEFORE
STEP 1 – Apply water to raise the grain.
In my other post on how to use wood dye and liming wax, I mentioned to you the reason why I have been experimenting with wood dyes. Unlike pigments, they don’t settle into the cracks, grain, or grooves of the wood; the color actually penetrates the wood, leaving the wood grain open and not obscured.
Since I was going to be using liming wax to settle into the grain to create a white accent, I knew that wood dye was the best option to use. Water-based dyes, from what I’ve read, are much easier to use and dry less quickly than alcohol-based dyes, giving you time to apply and change it.
The thing about Red Oak and other porous wood, though, is that the minute water touches it for the first time, it raises the grain.
I’d rather raise that grain with plain, distilled water instead of waiting for our water-based wood dye to raise the grain. And the beautiful part is that once grain raises once, it’s less likely to raise again, which means the wood dye will look nicer and require no sanding after the dye has been applied.
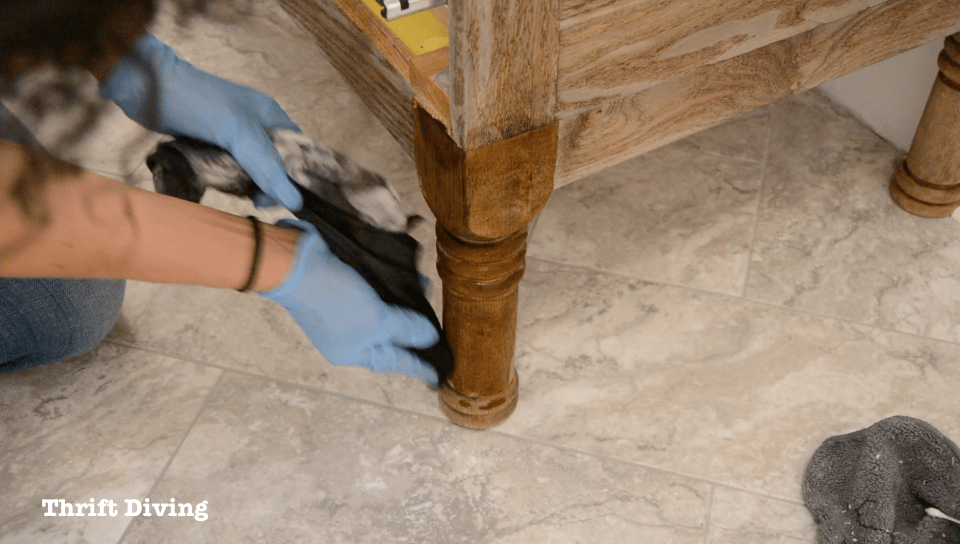
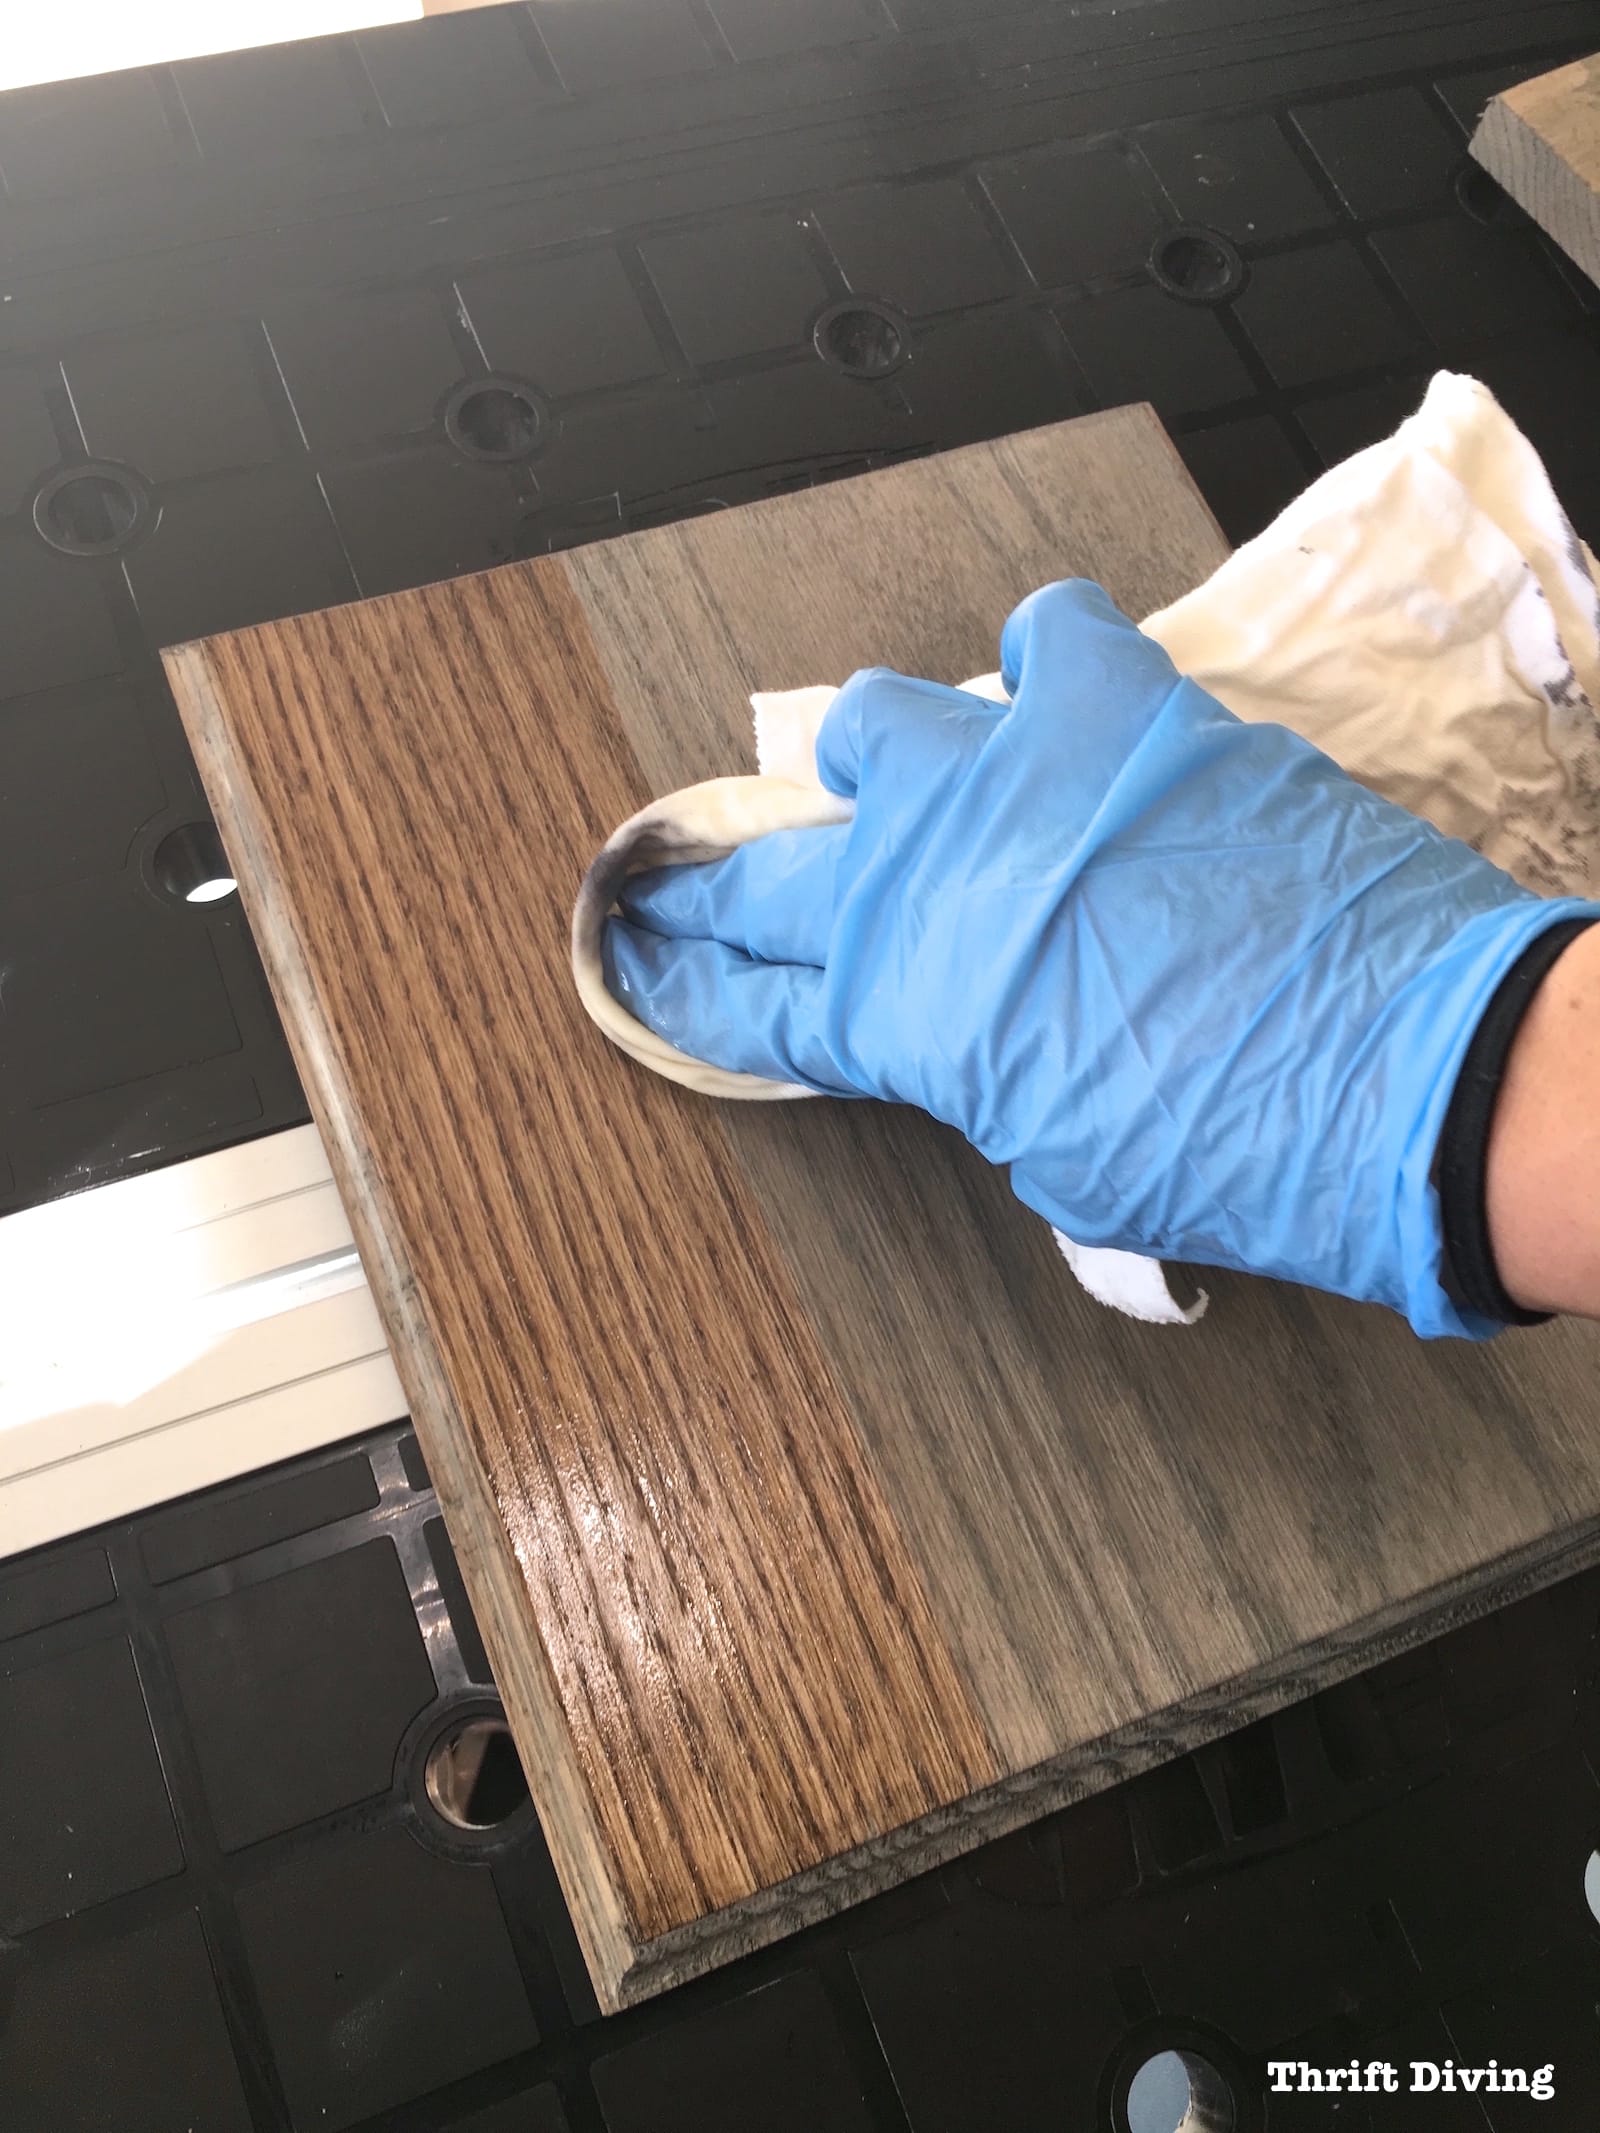
So the first step in finishing my Red Oak DIY bathroom vanity was to wipe it with distilled water to raise the grain.
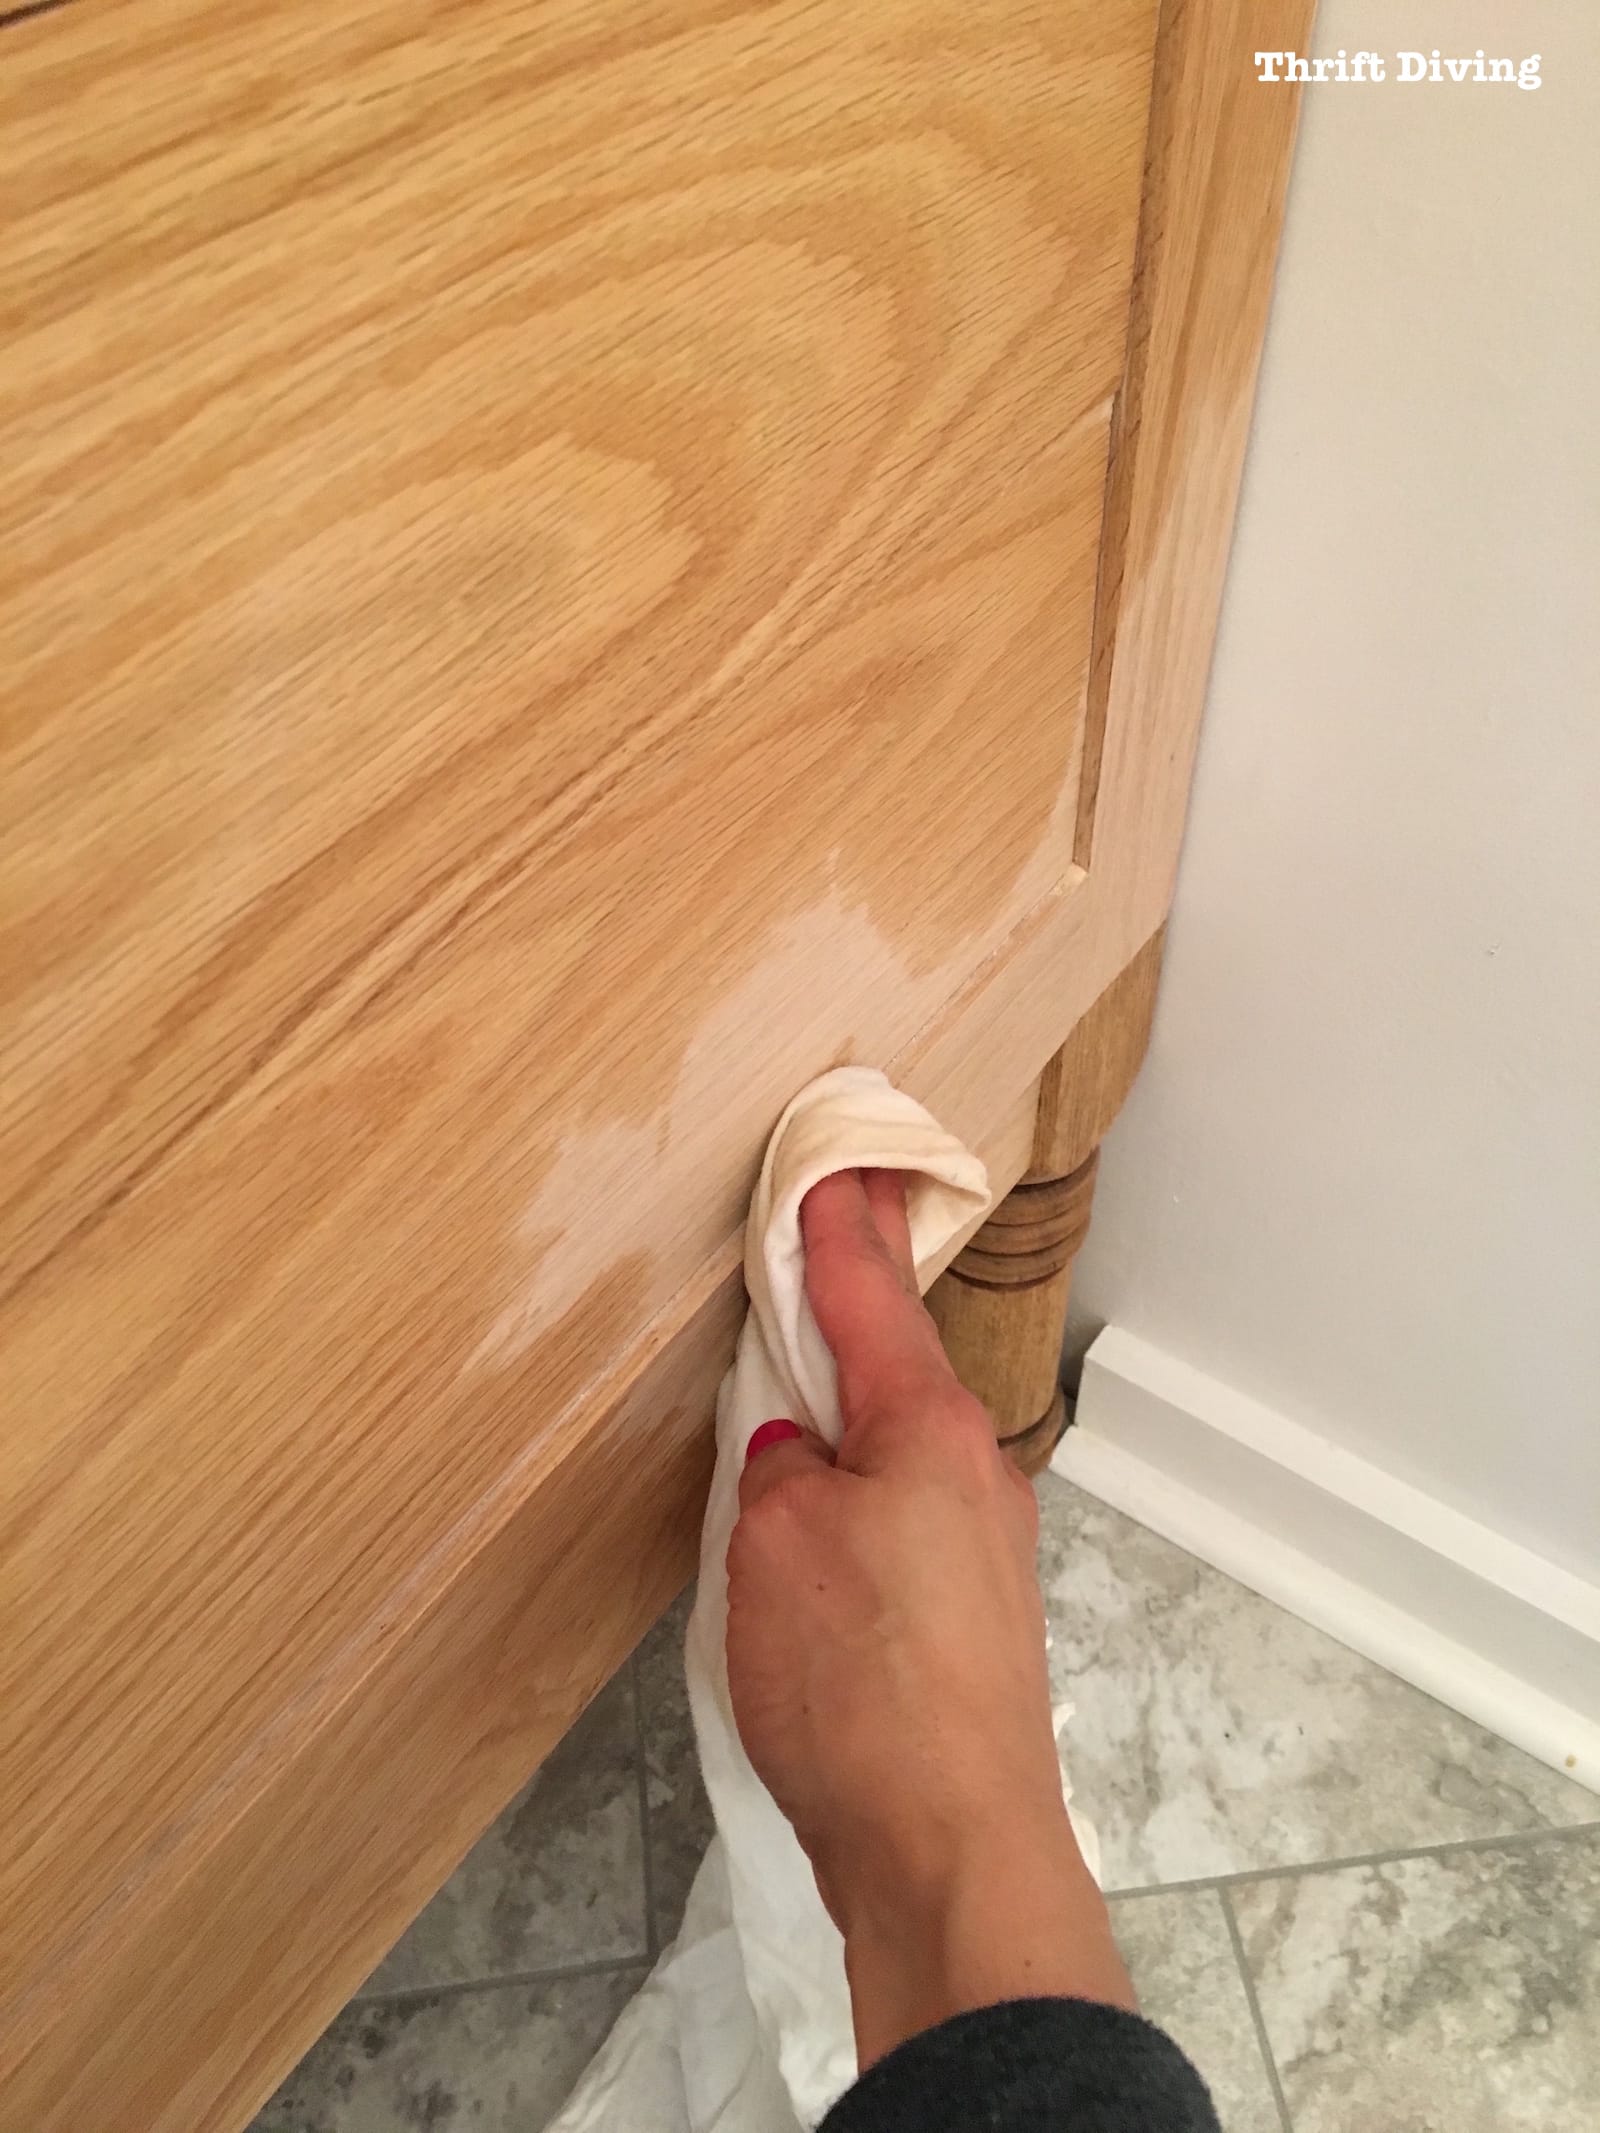
I wiped water over the sides, stiles, and rails of the vanity, including the cabinet doors and drawer fronts.
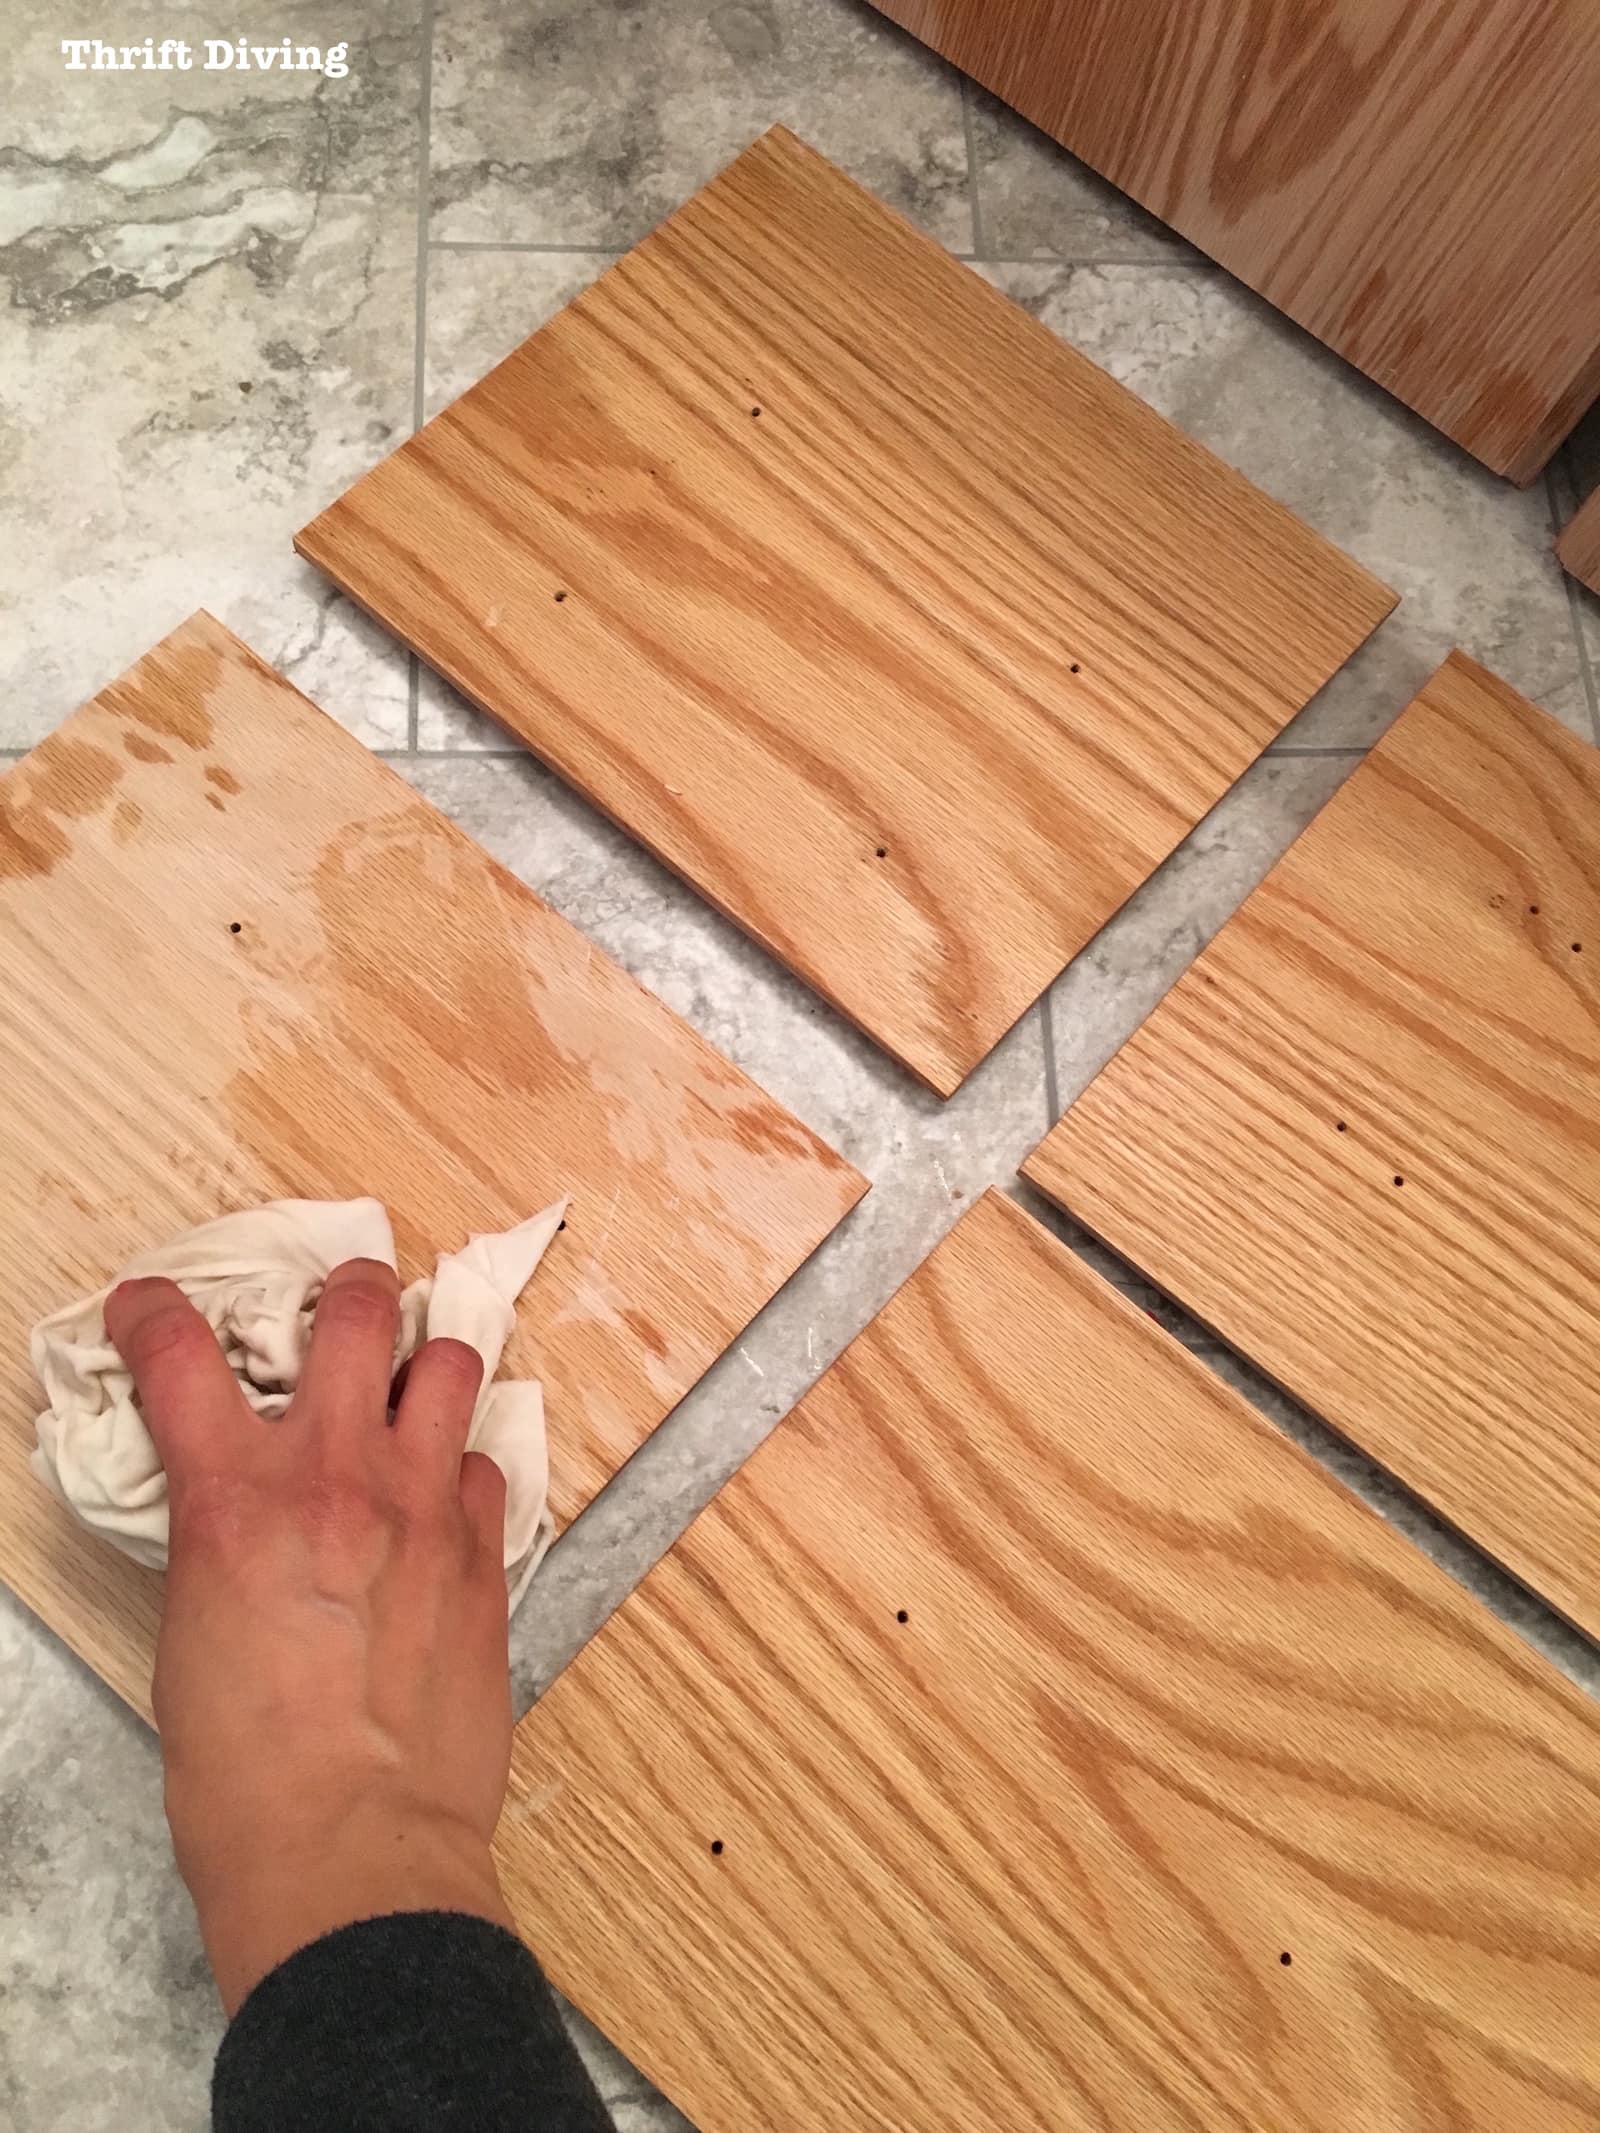
I made sure to let it thoroughly dry a few hours.
Almost immediately as it dried, you can see how the grain started to raise and get really fuzzy and furry looking.
This is exactly what we want it to do now before we apply water-based wood dye on the wood.
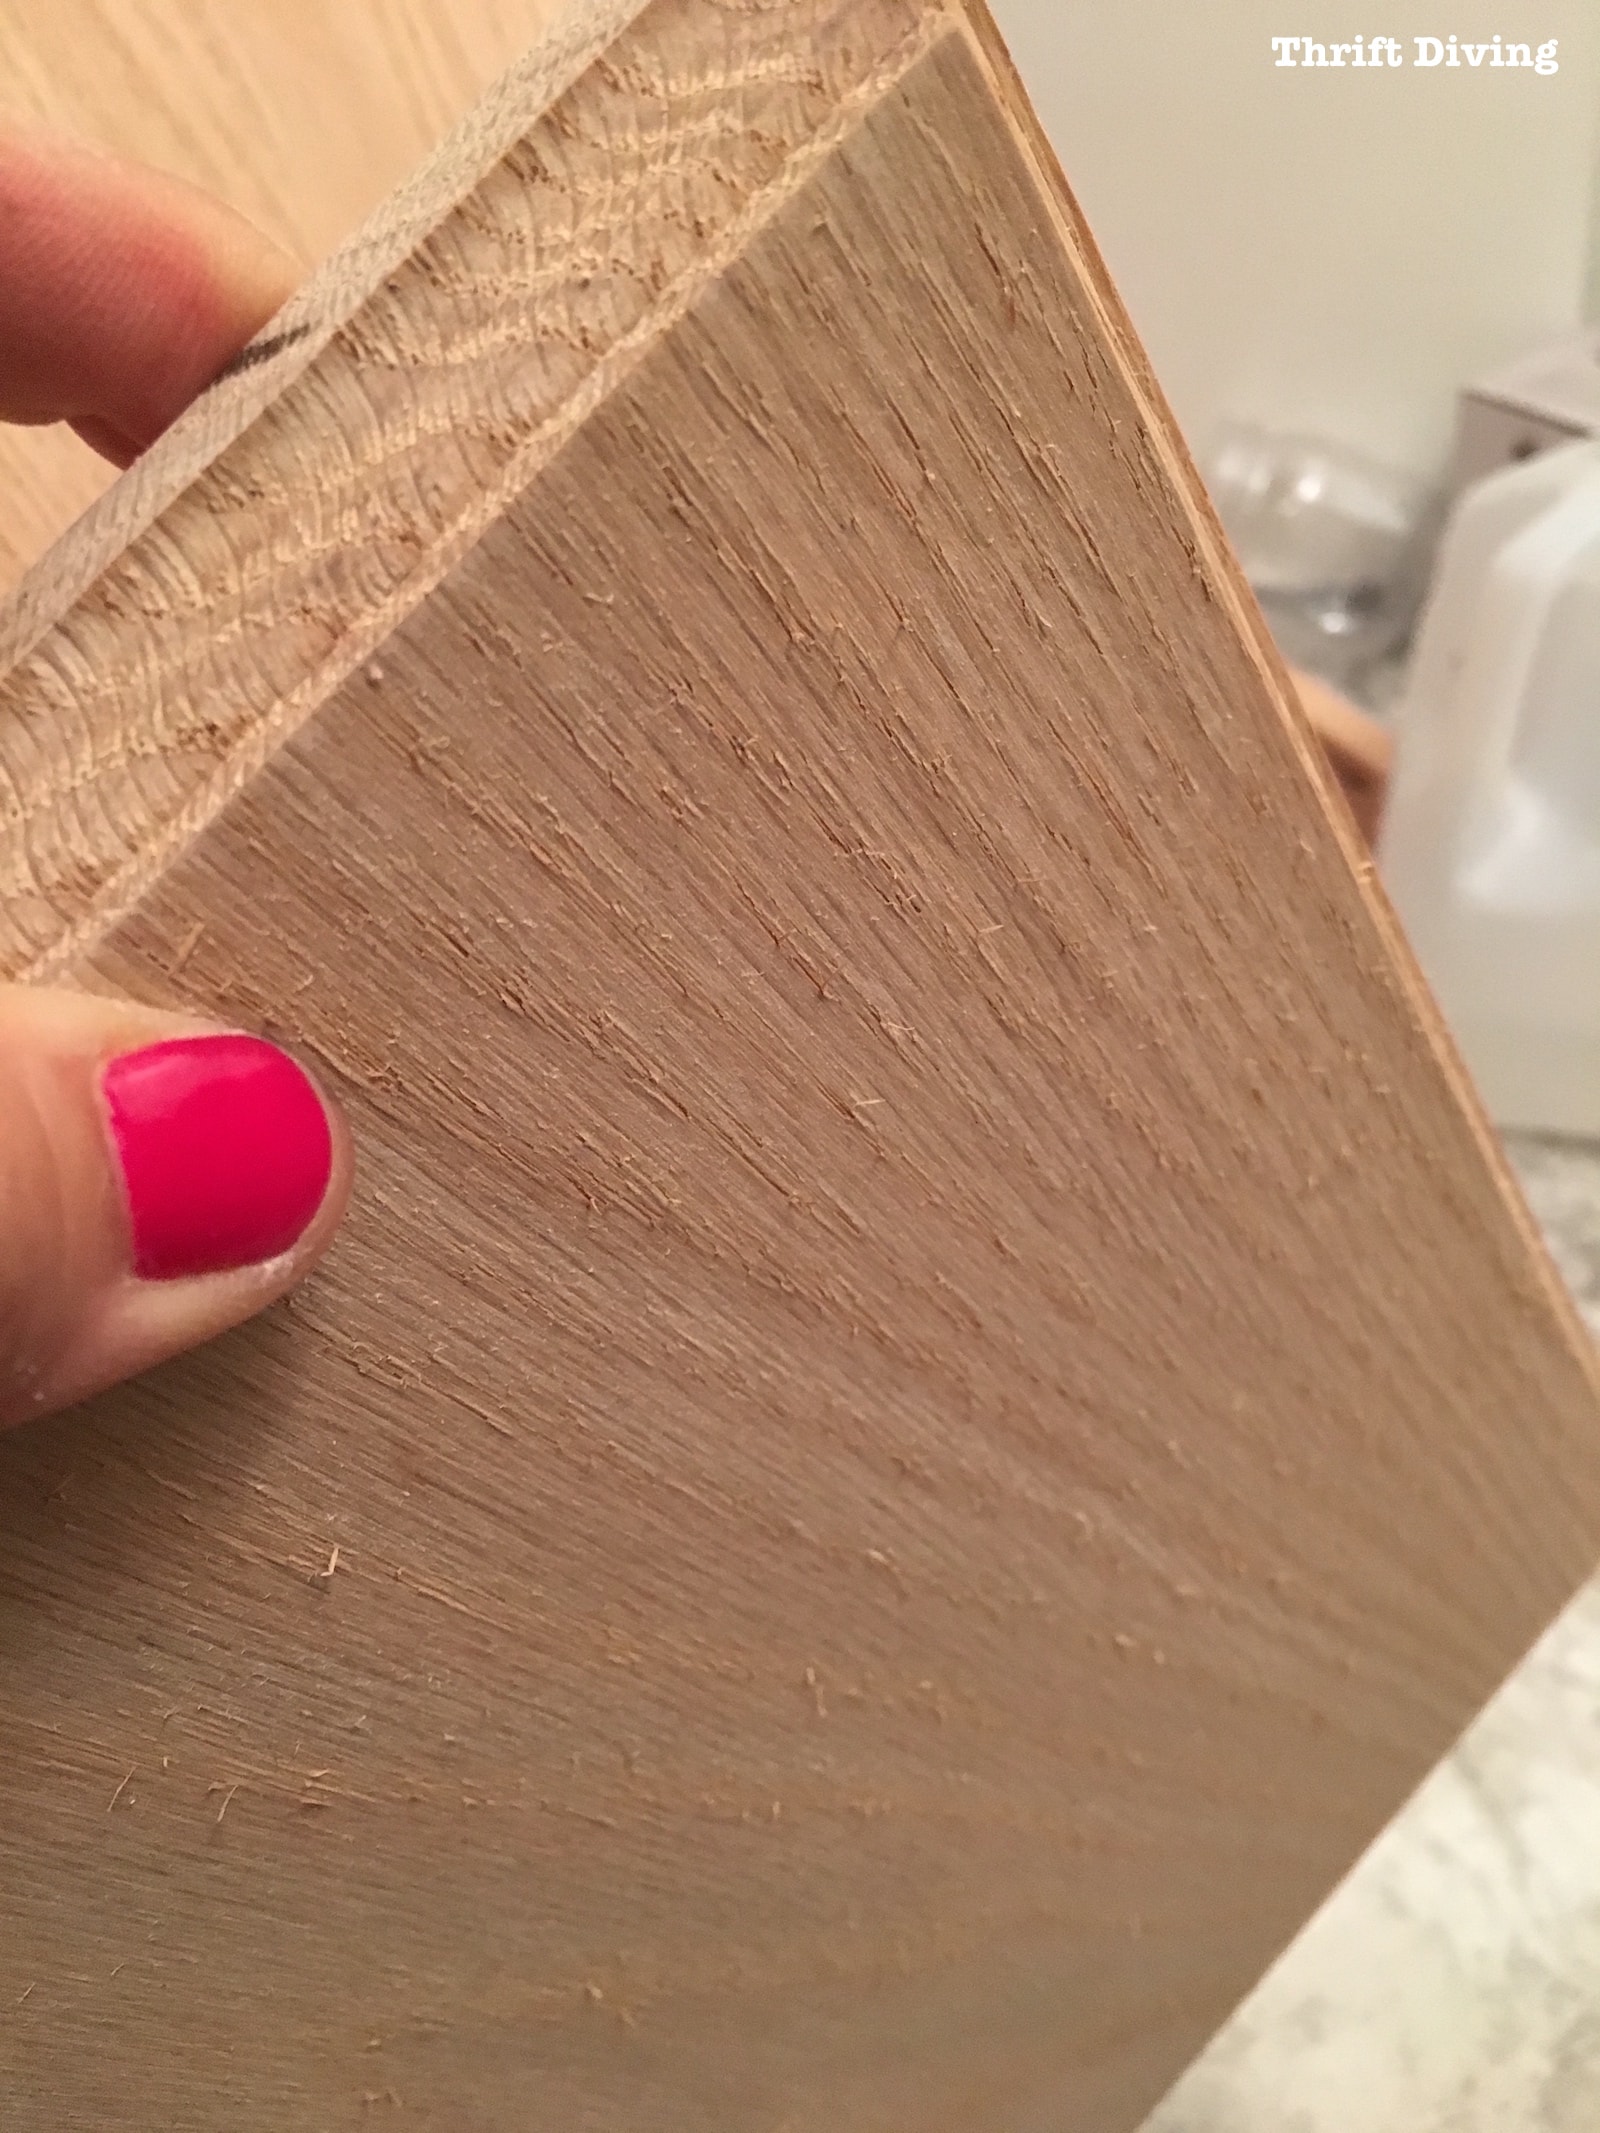
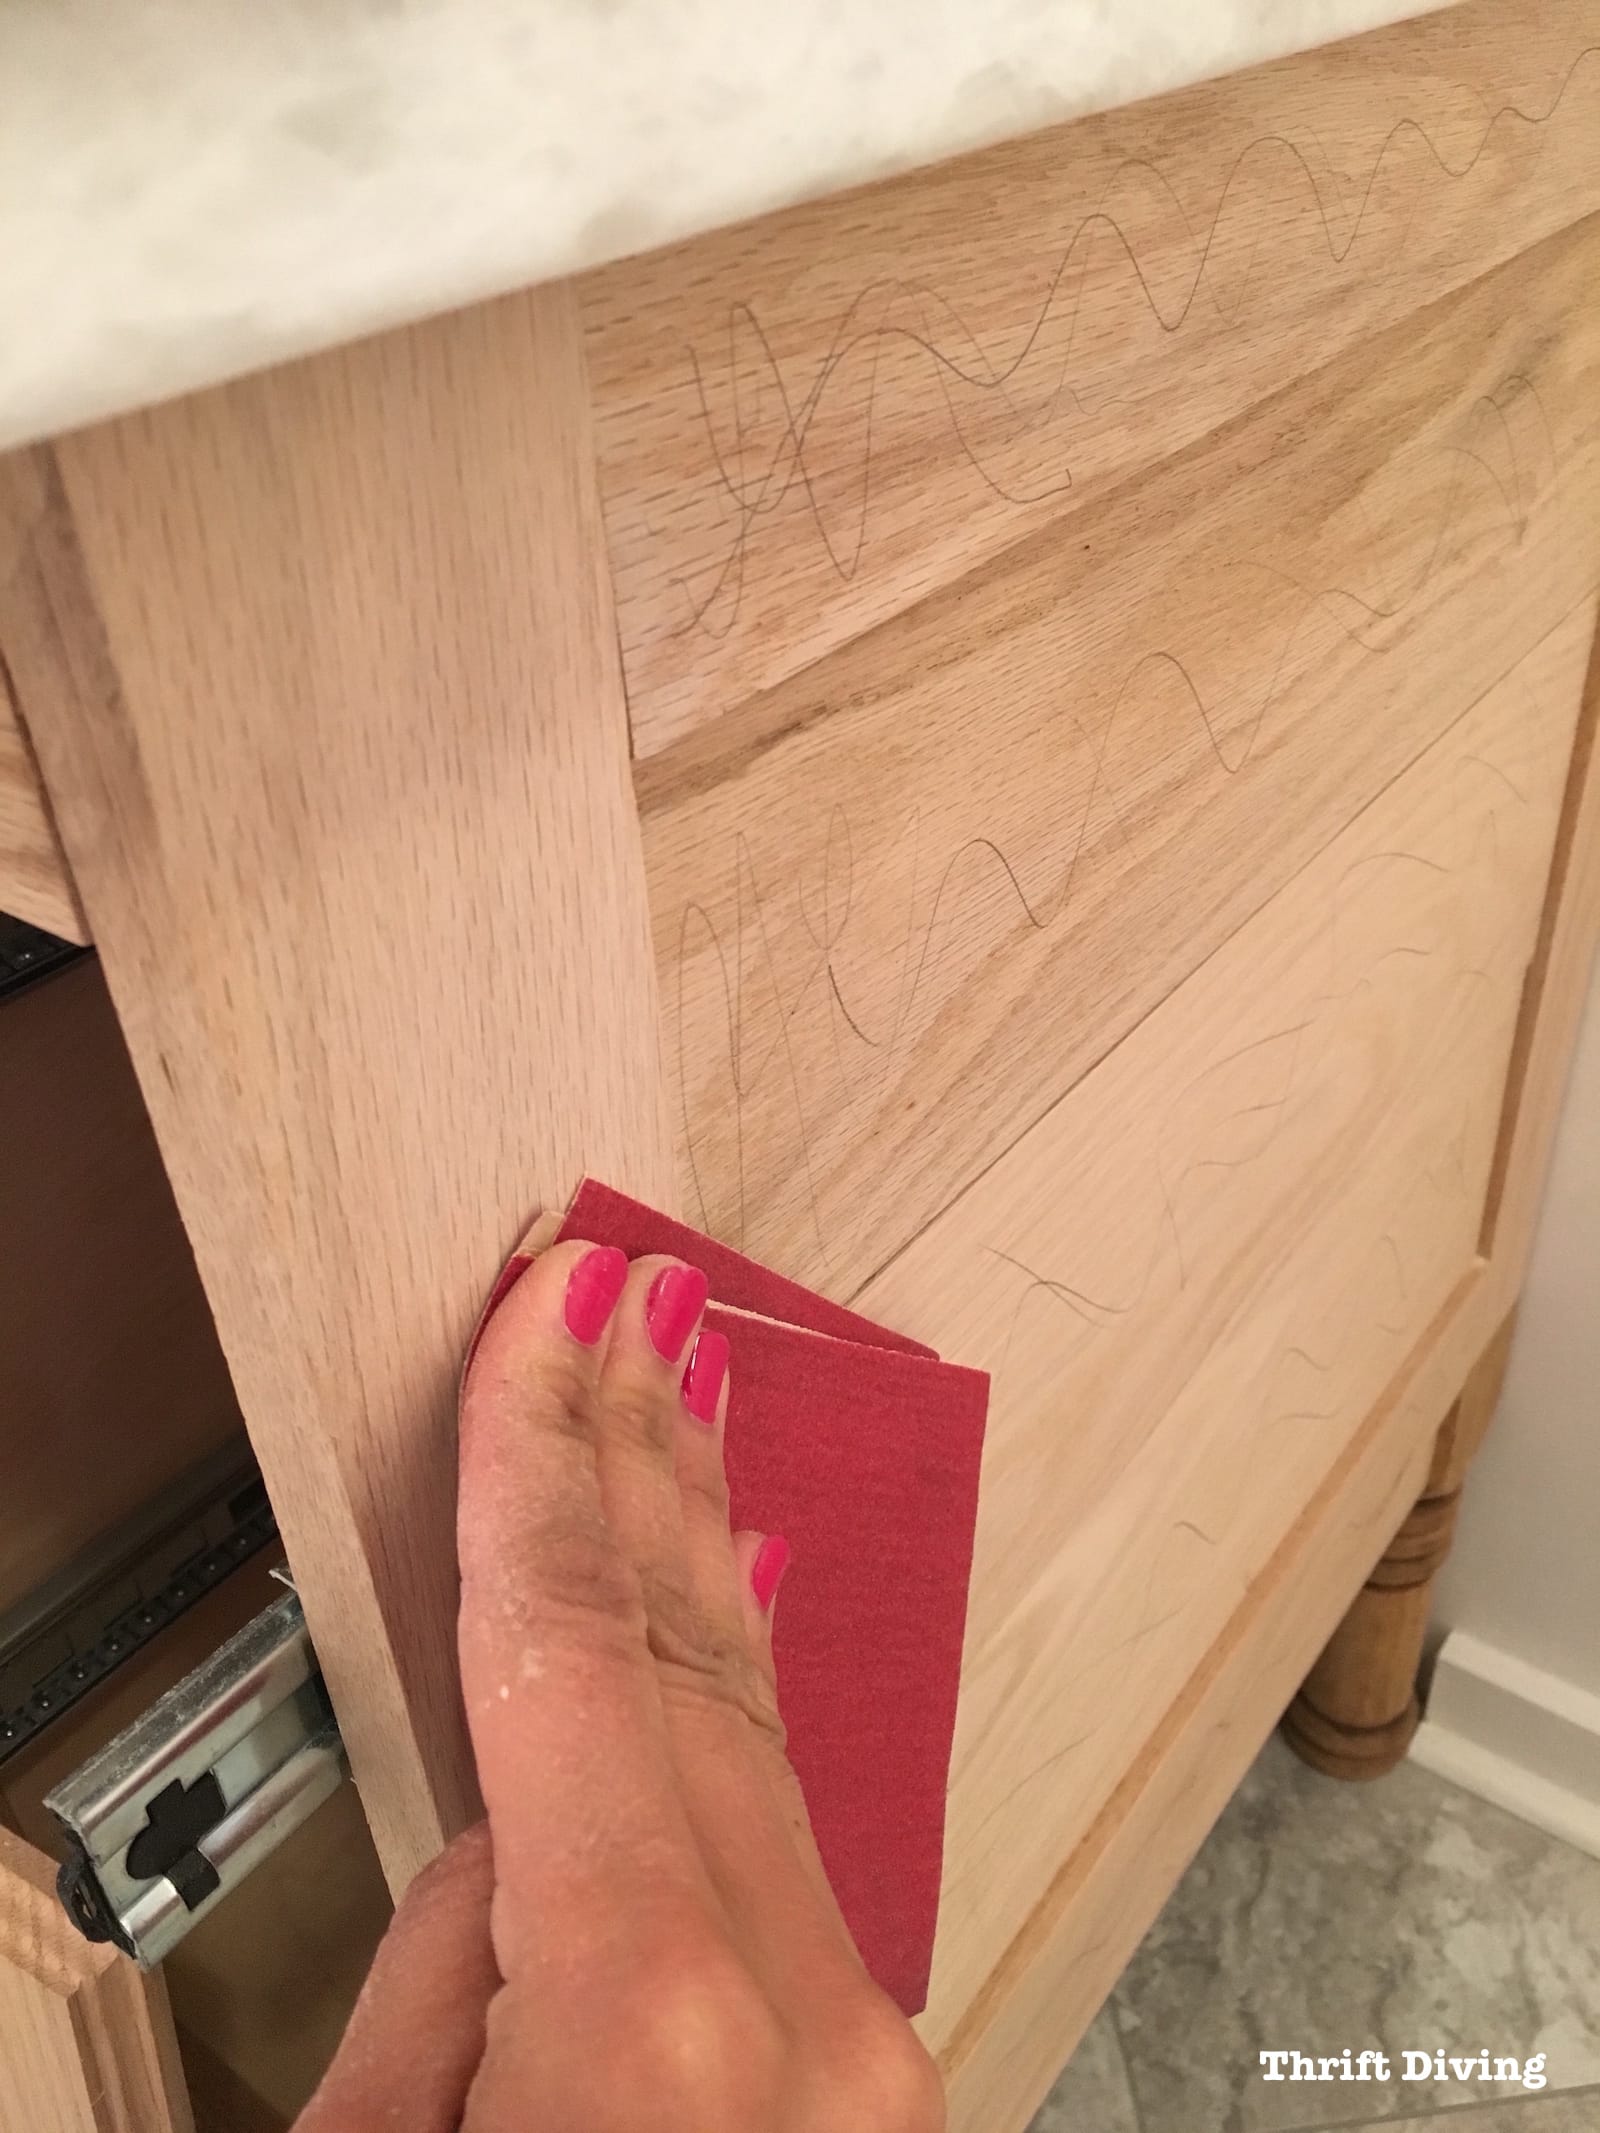
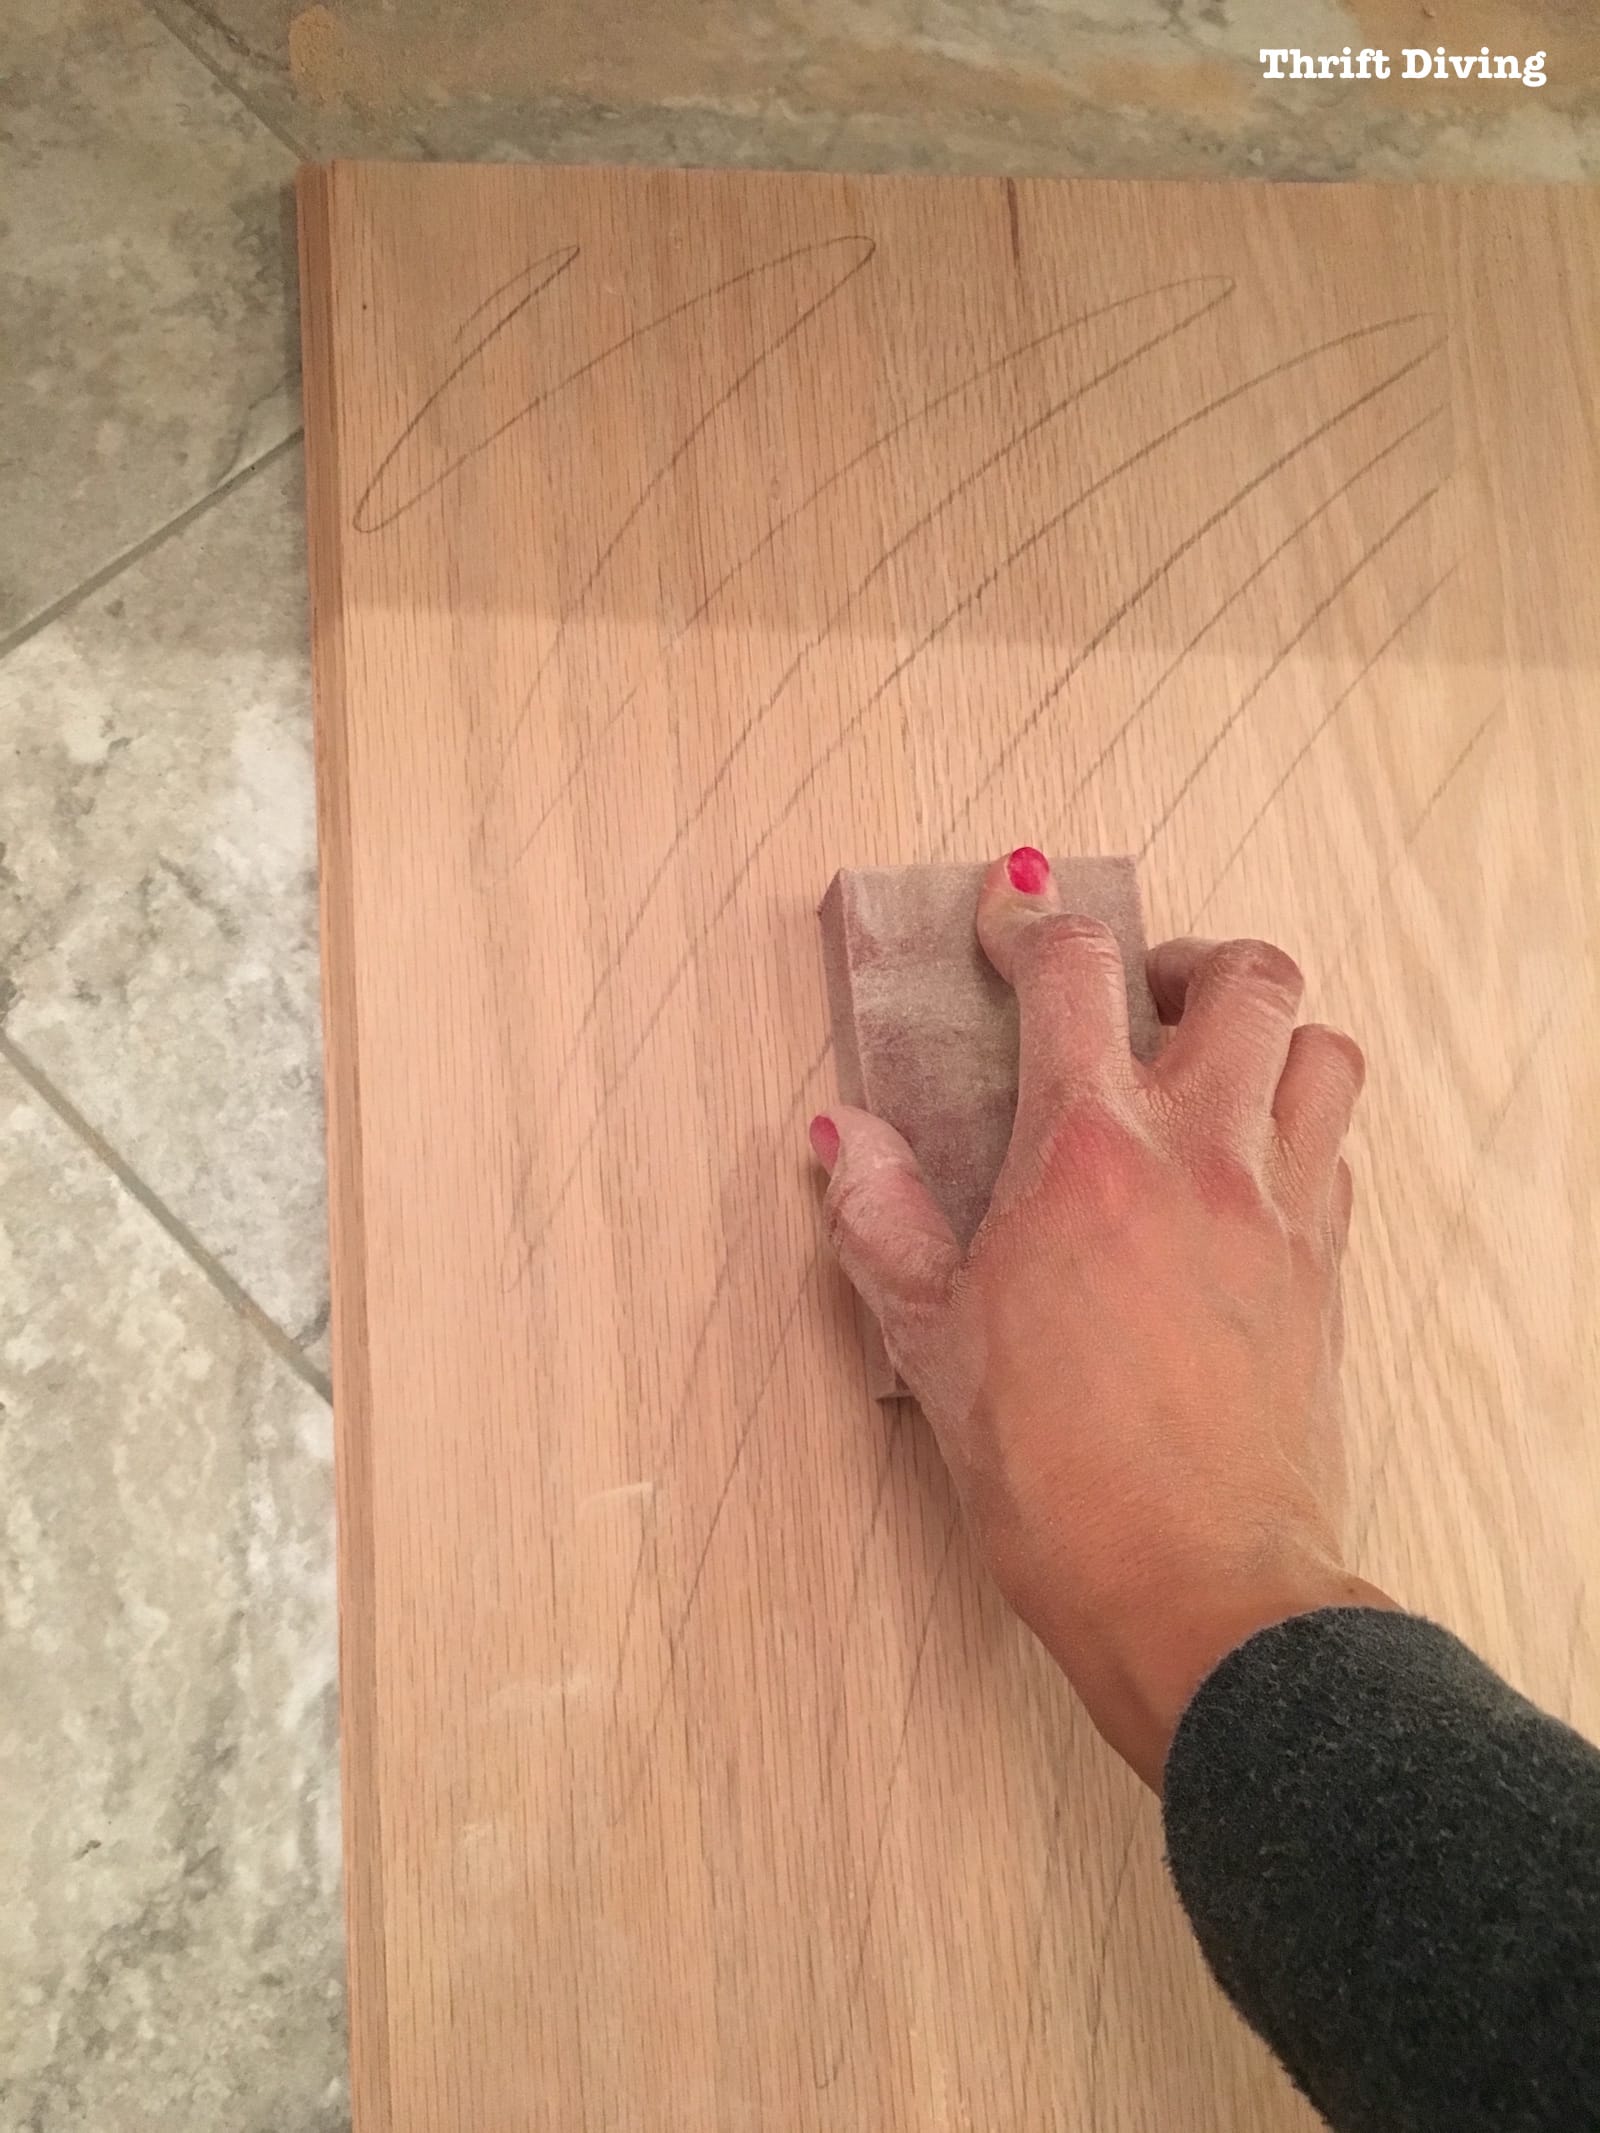
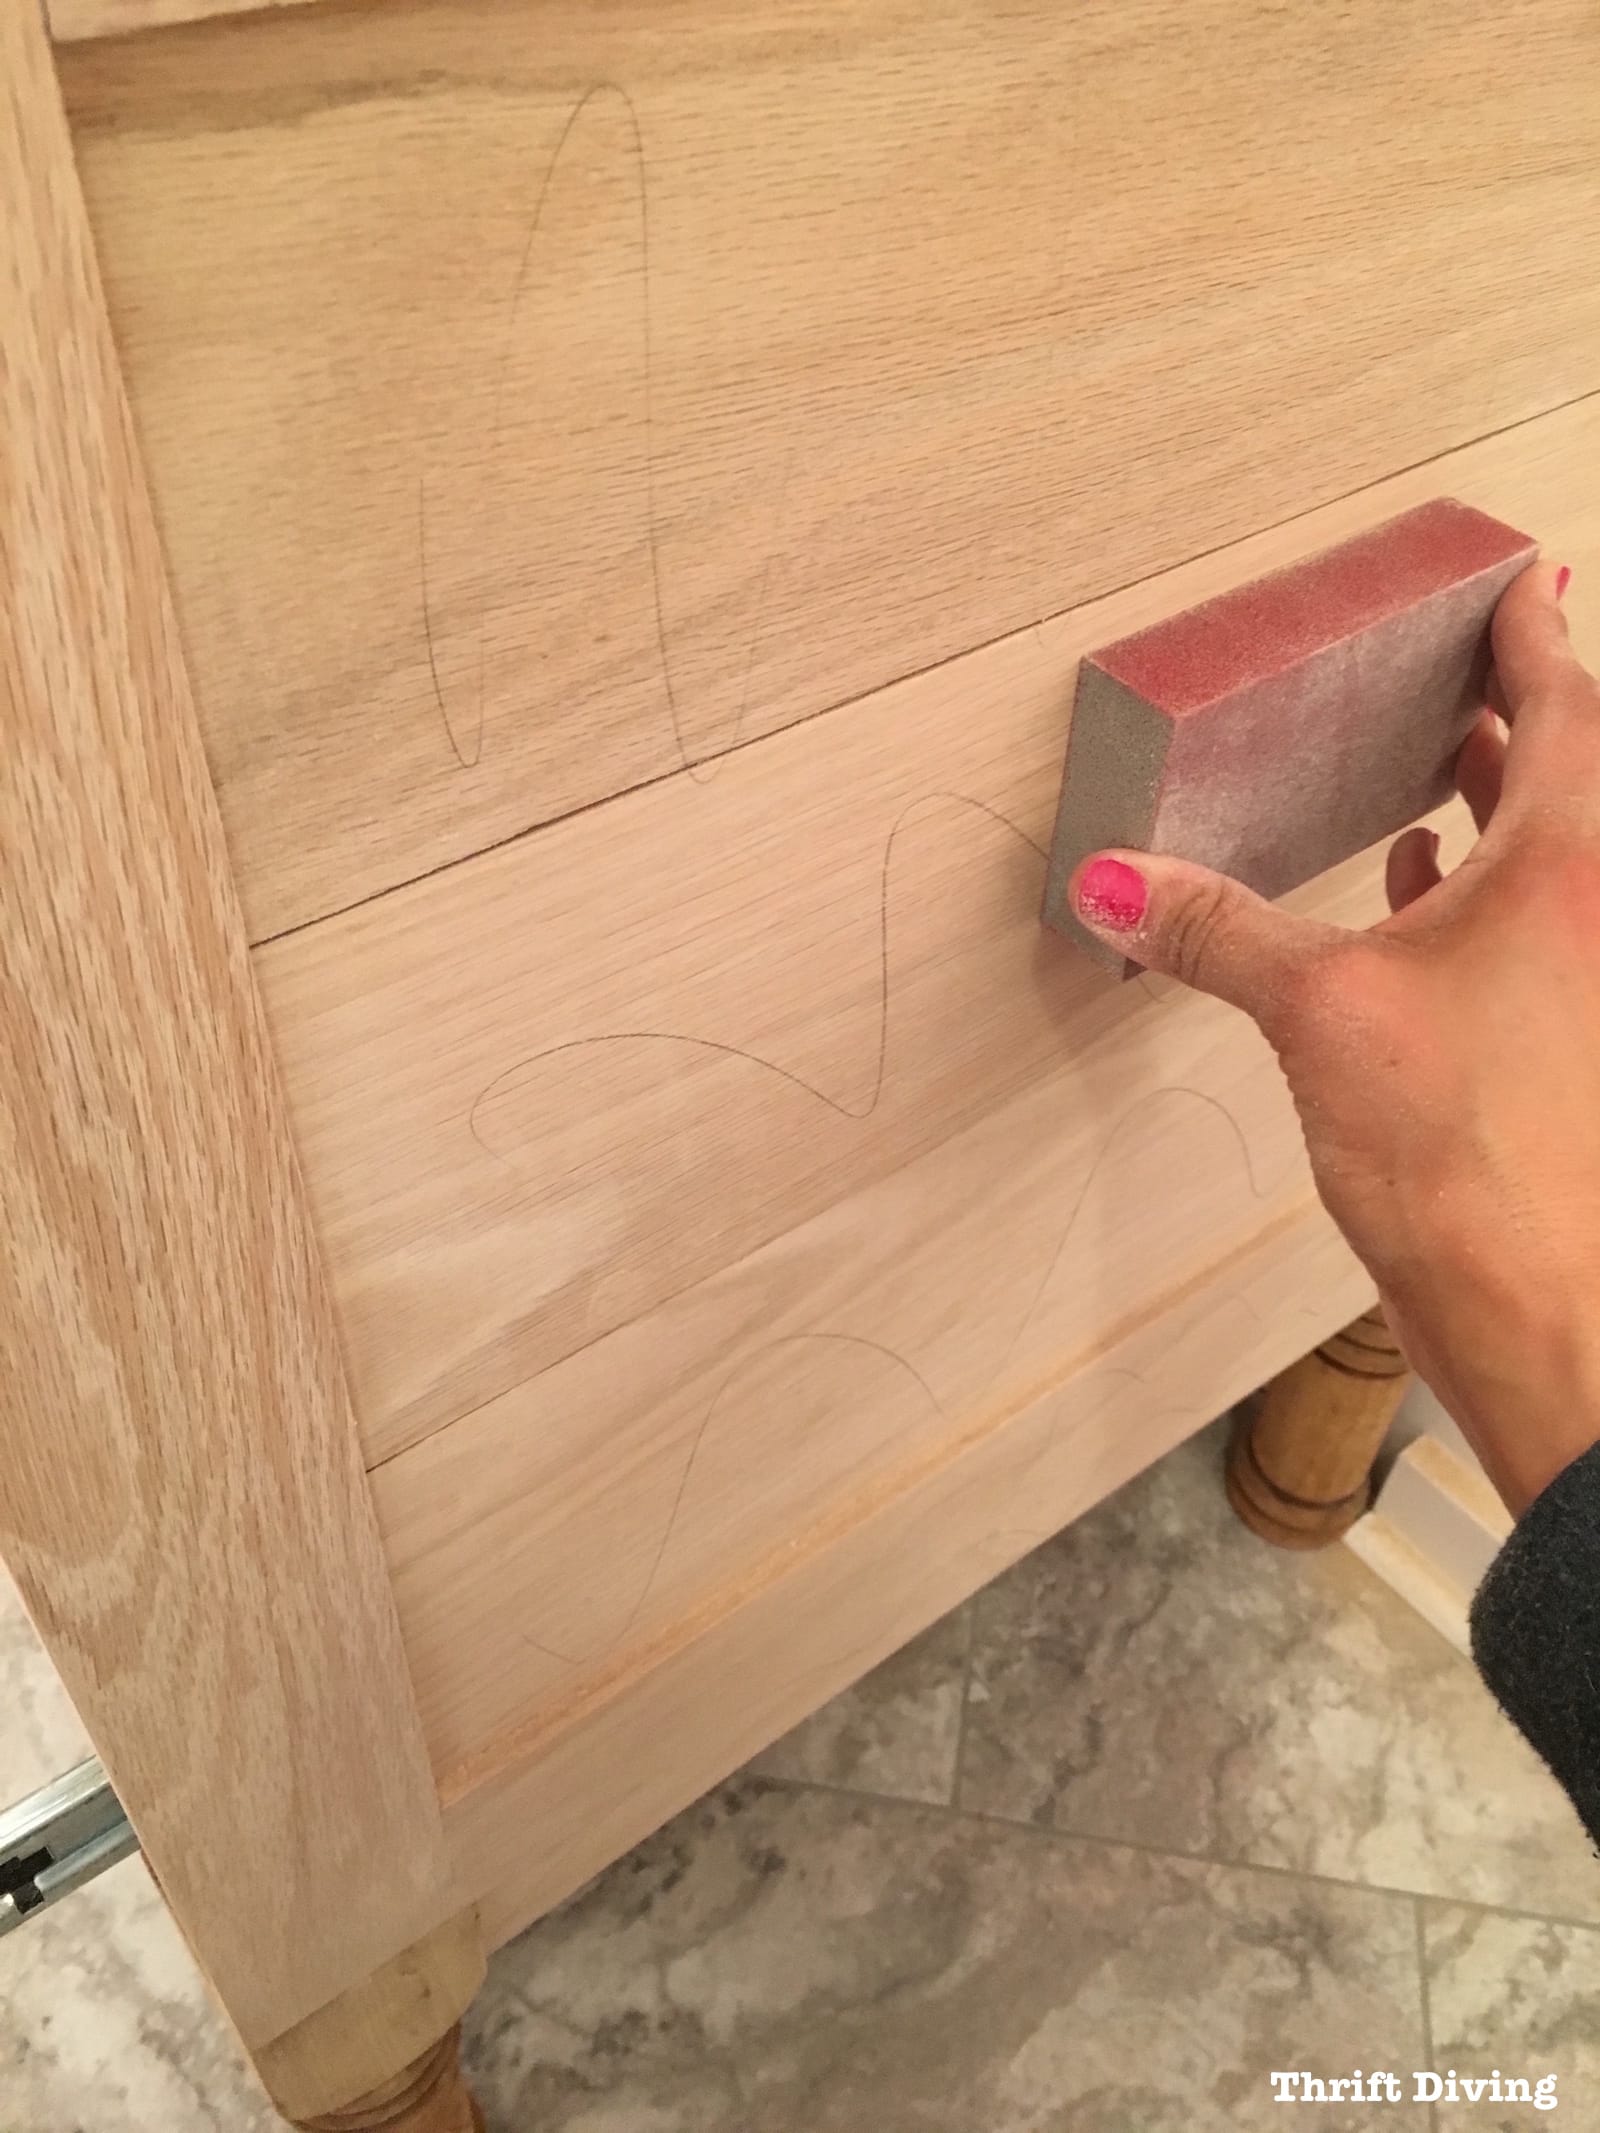
STEP 2 – Sand the grain back down.
Now that the grain is raised and fuzzy, it’s time to sand it back down.
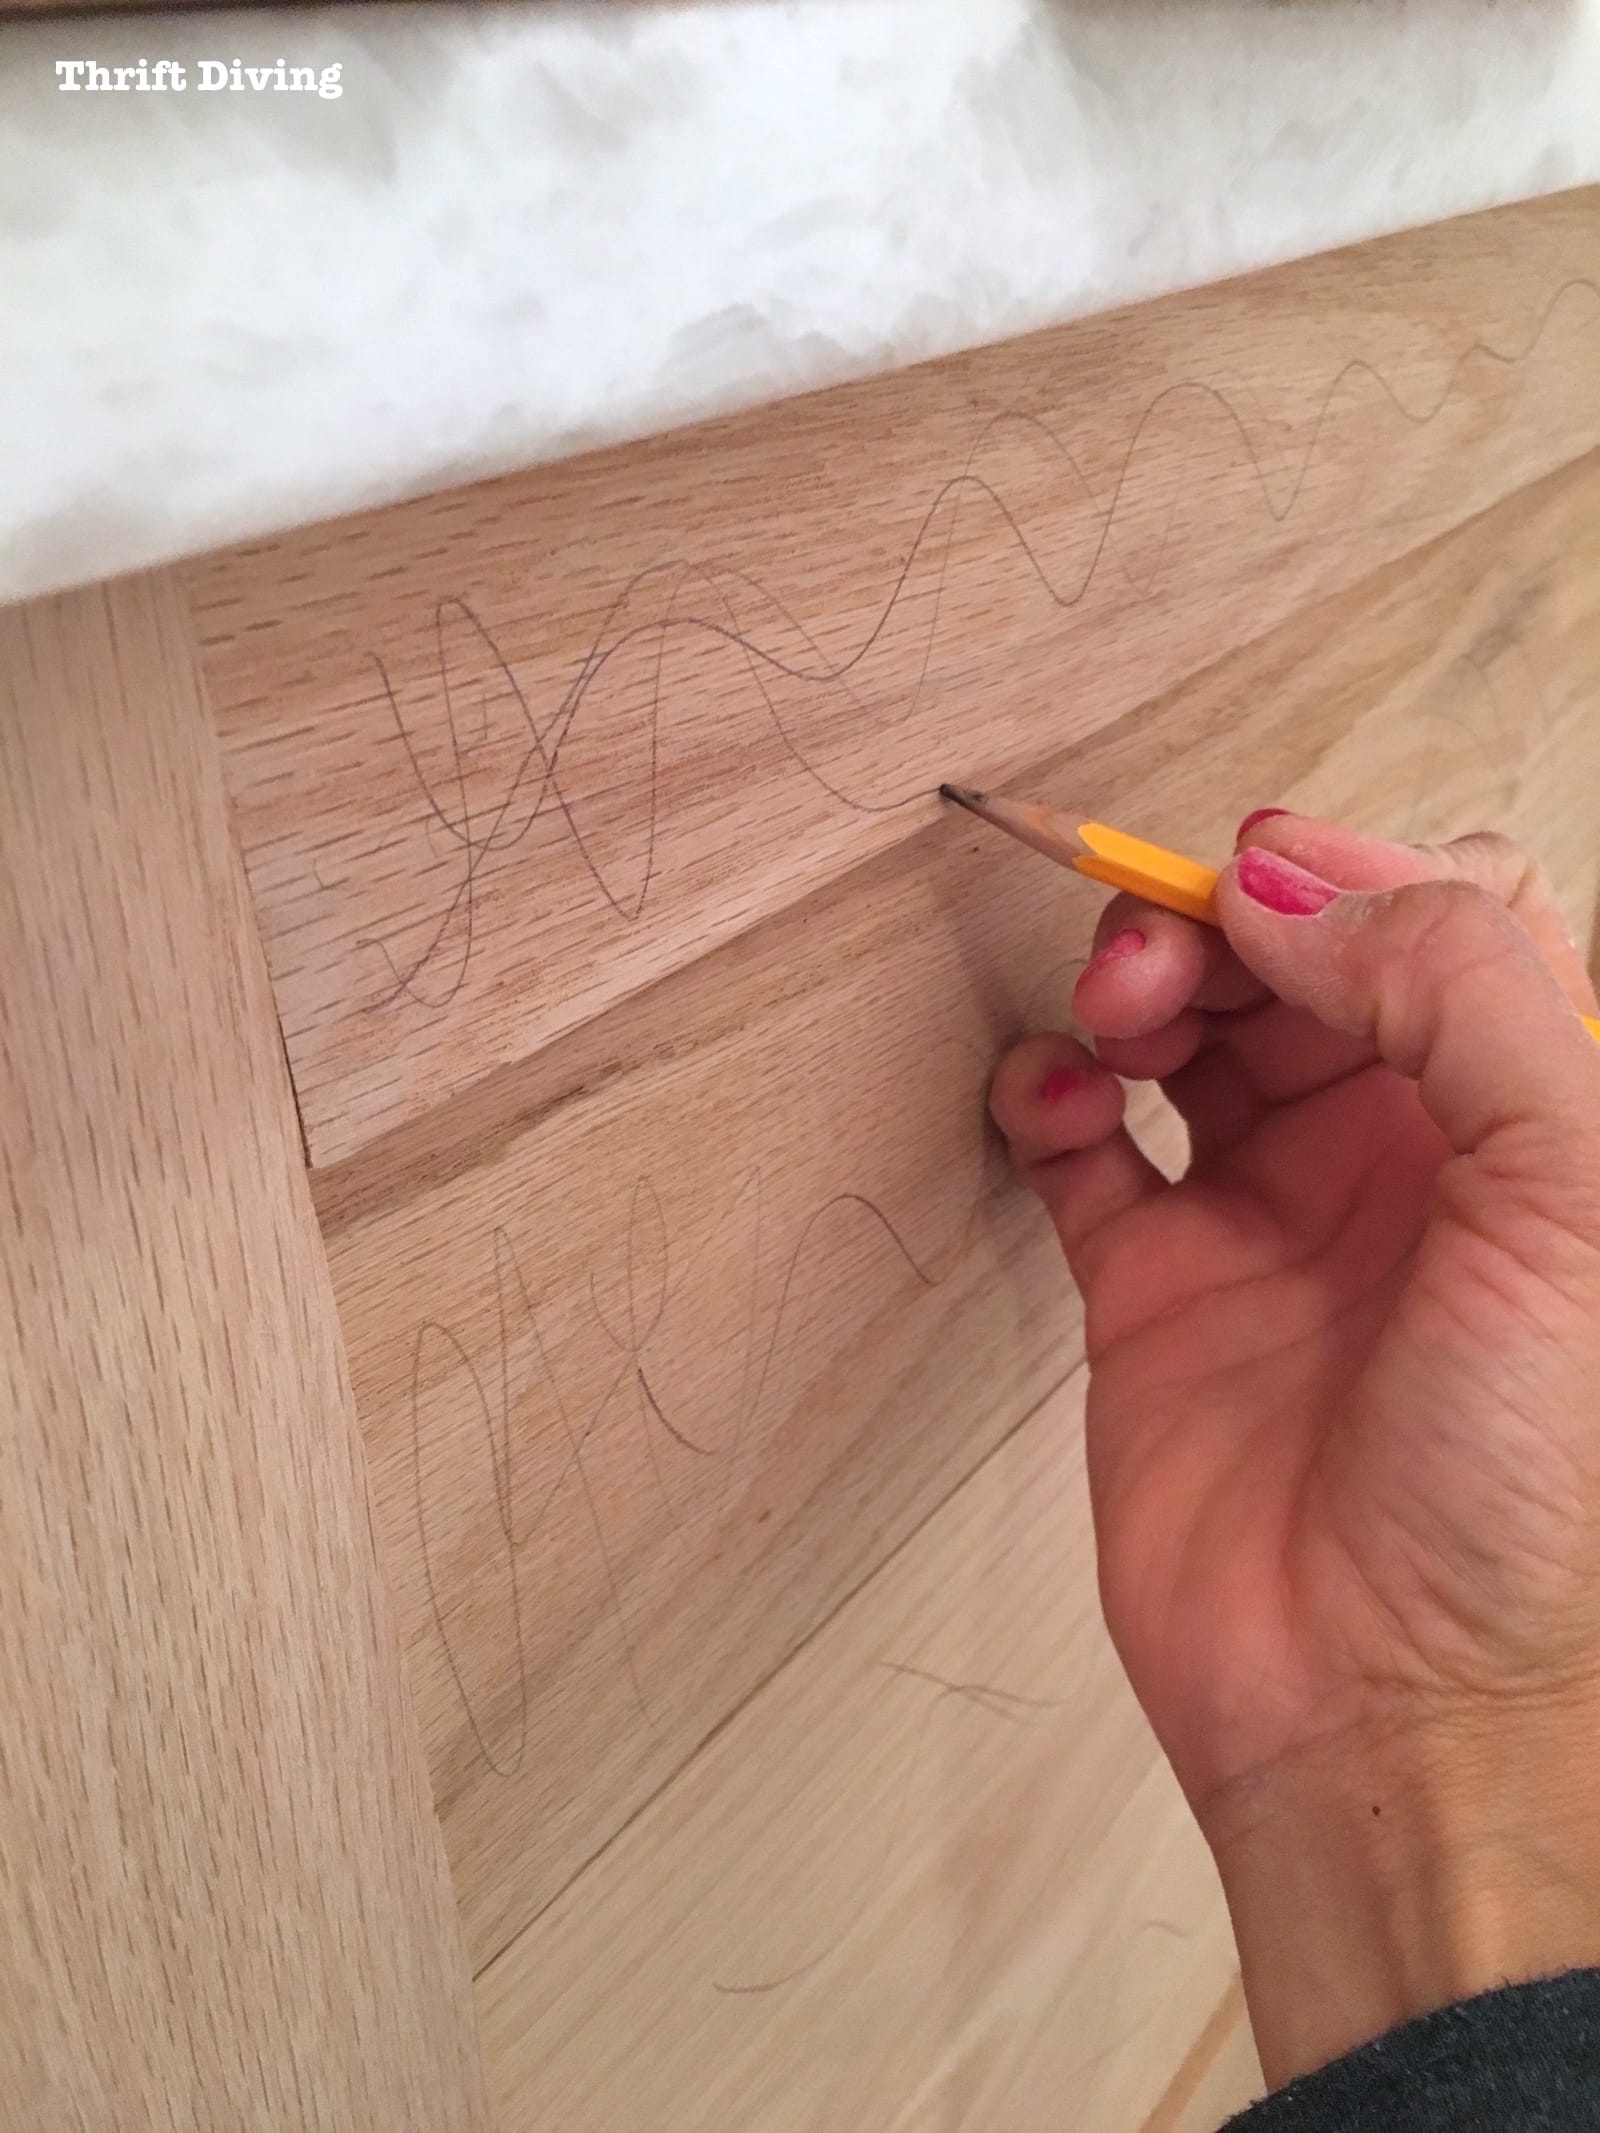
Here’s a little tip I learned along the way: Use a pencil and draw on your wood. As you sand away, once the pencil is all clear, you’ll know that it’s time to move on to the next grit of sandpaper.
Pretty cool, huh?
I started with 180-grit, and once that was cleared away, finished with a 150-grit sanding block.
STEP 3 – Clean up the dust.
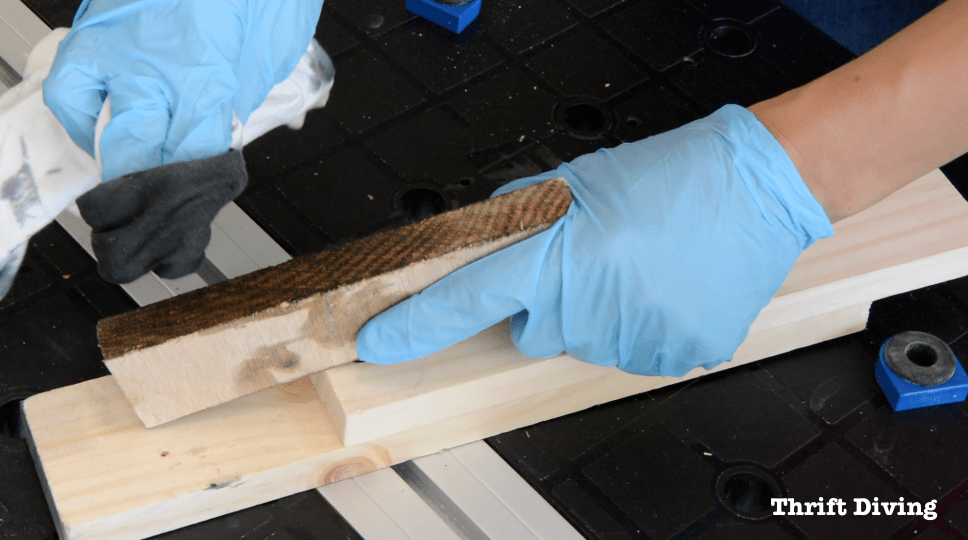
Because there are so many deep pores in Red Oak, after sanding, you’ve got to get that dust out of the pores.
I didn’t have my wet-dry vac nearby, so I used a wire brush in order to brush out the debris.
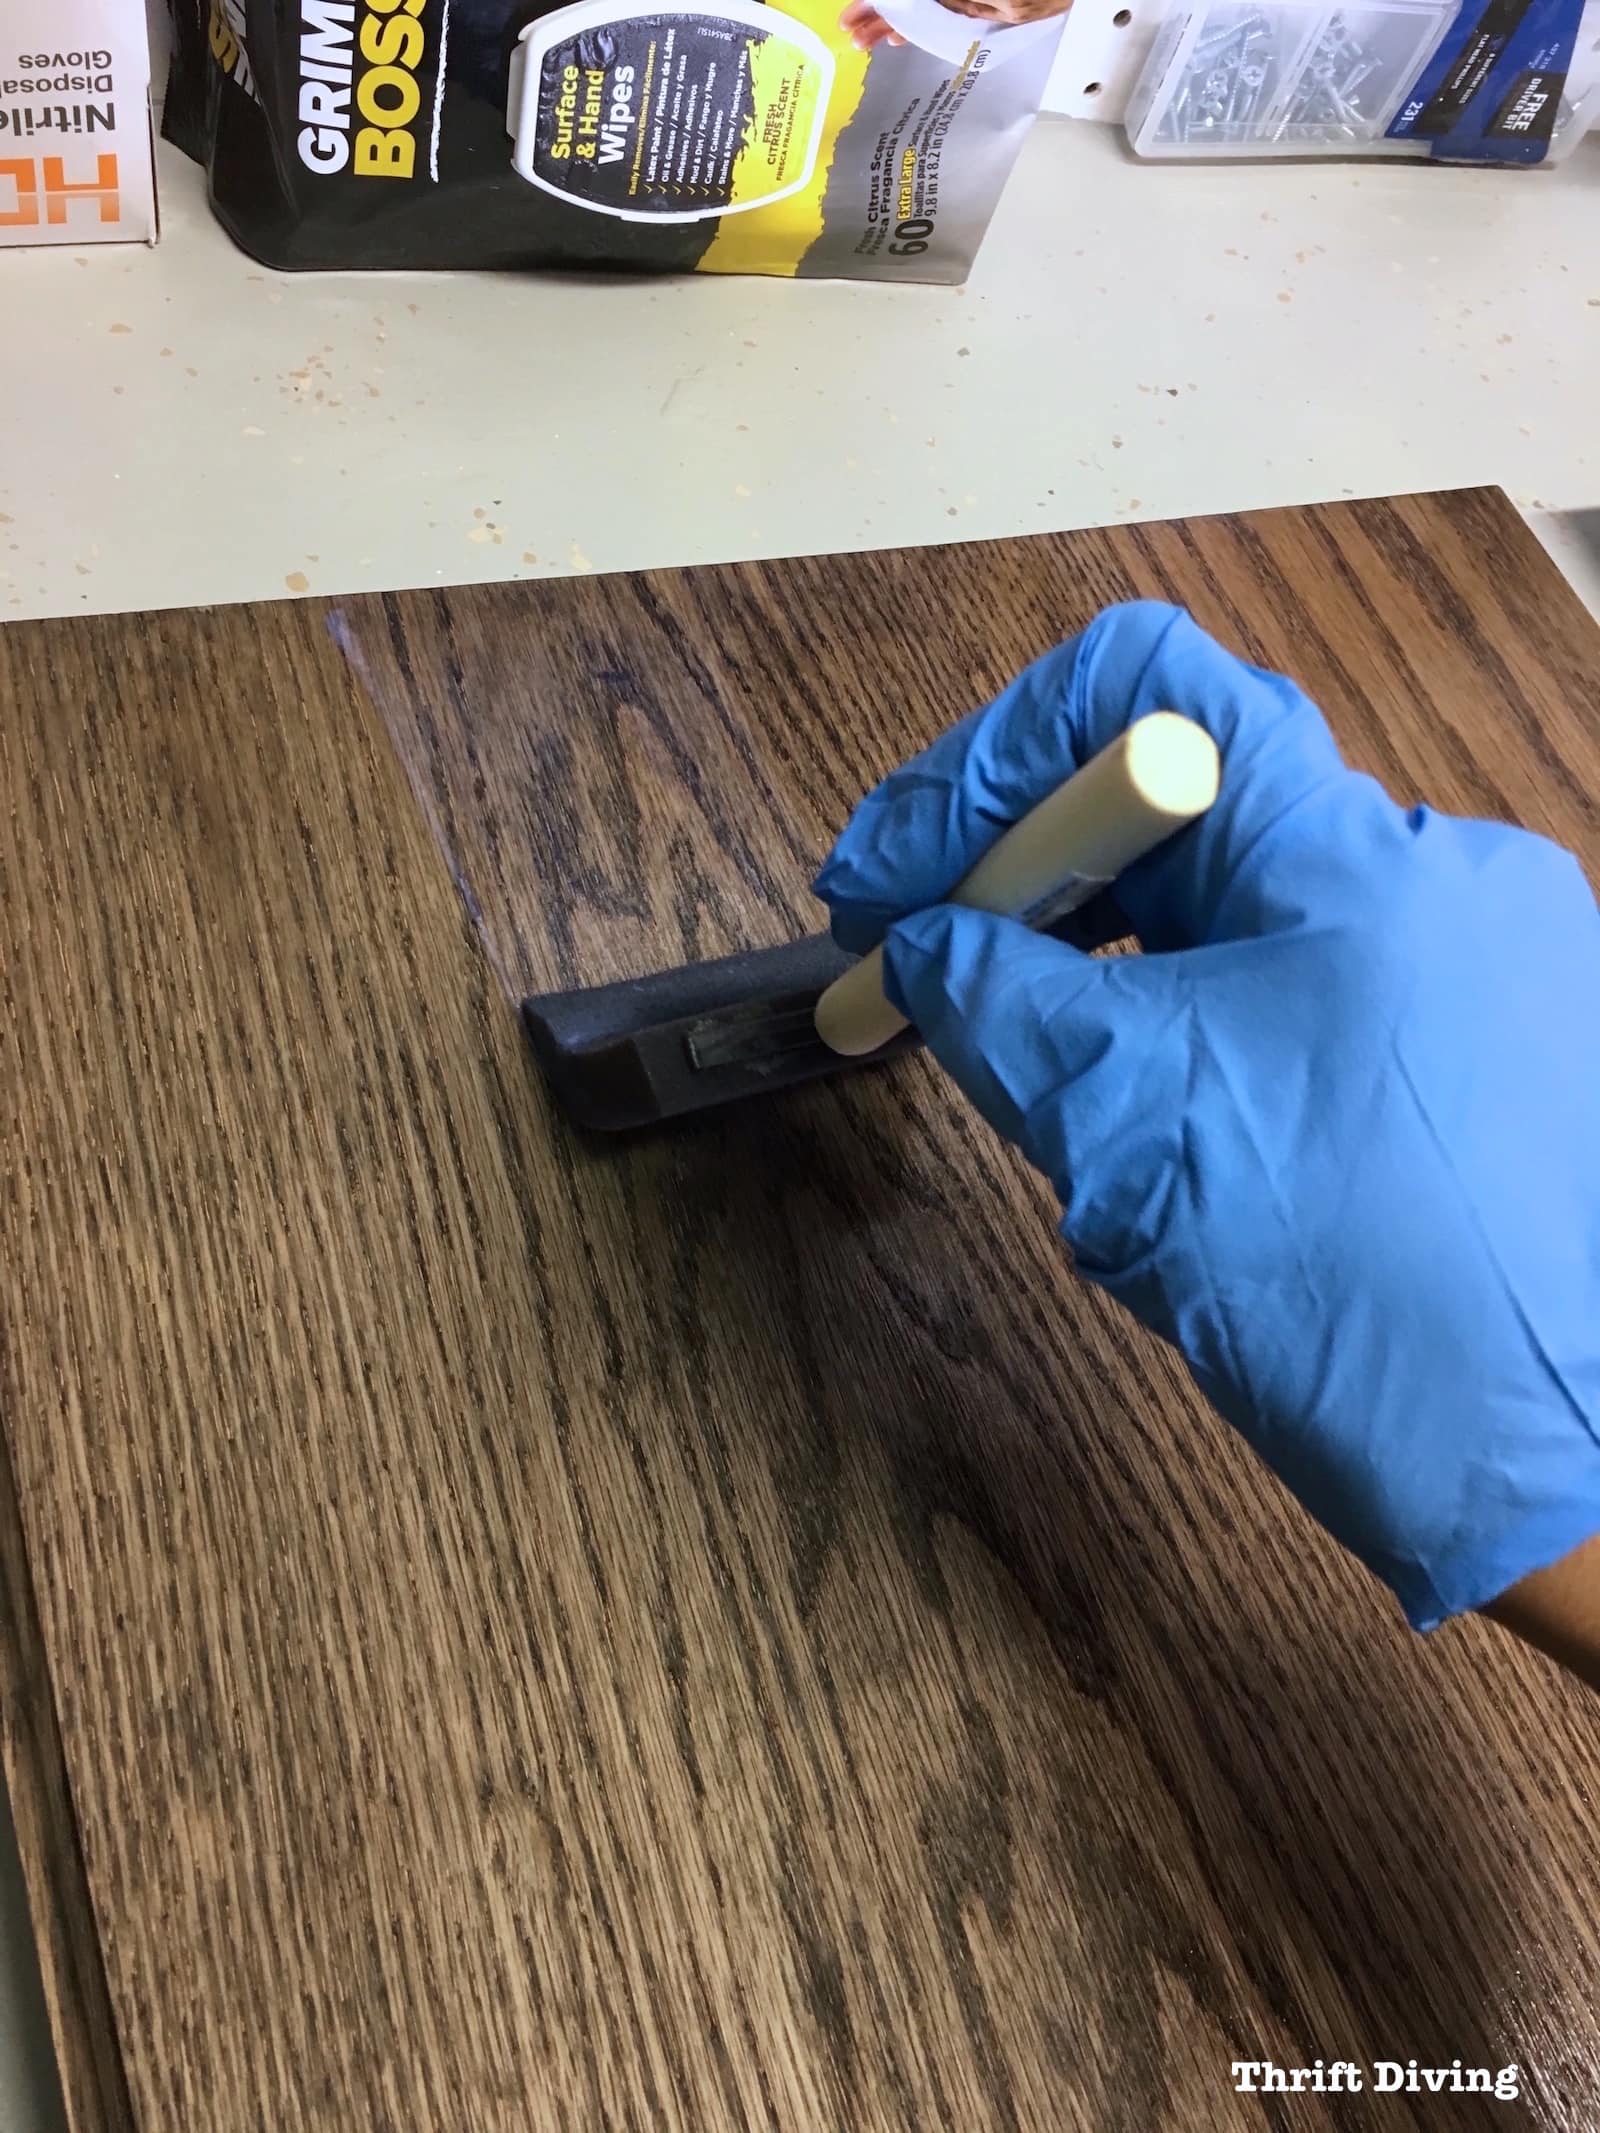
STEP 4 – Mix a glue size and apply it to the end grains.
If you’ve stained wood before, then I guarantee this has happened to you:
You go to apply stain to the end grain of a board and–BOOM!–it turns blacker than midnight, right?
That’s what happened with the test board when I applied dye to the end grain, as you can see below!
That’s because the end grain of a board is like a bunch of straws. It’s how the tree sucked up water in nature. So it will suck up dye the same way and it will soak in much faster and easier than the face of your boards.
Then you’re left with a project that has a darker, uneven end grain, which isn’t what you want.
I surely didn’t want that for my vanity doors or drawer fronts!
So this is where you’ll mix a glue size of 50% wood glue and 50% water.
I had some Titebond wood glue around, so that’s what I used.
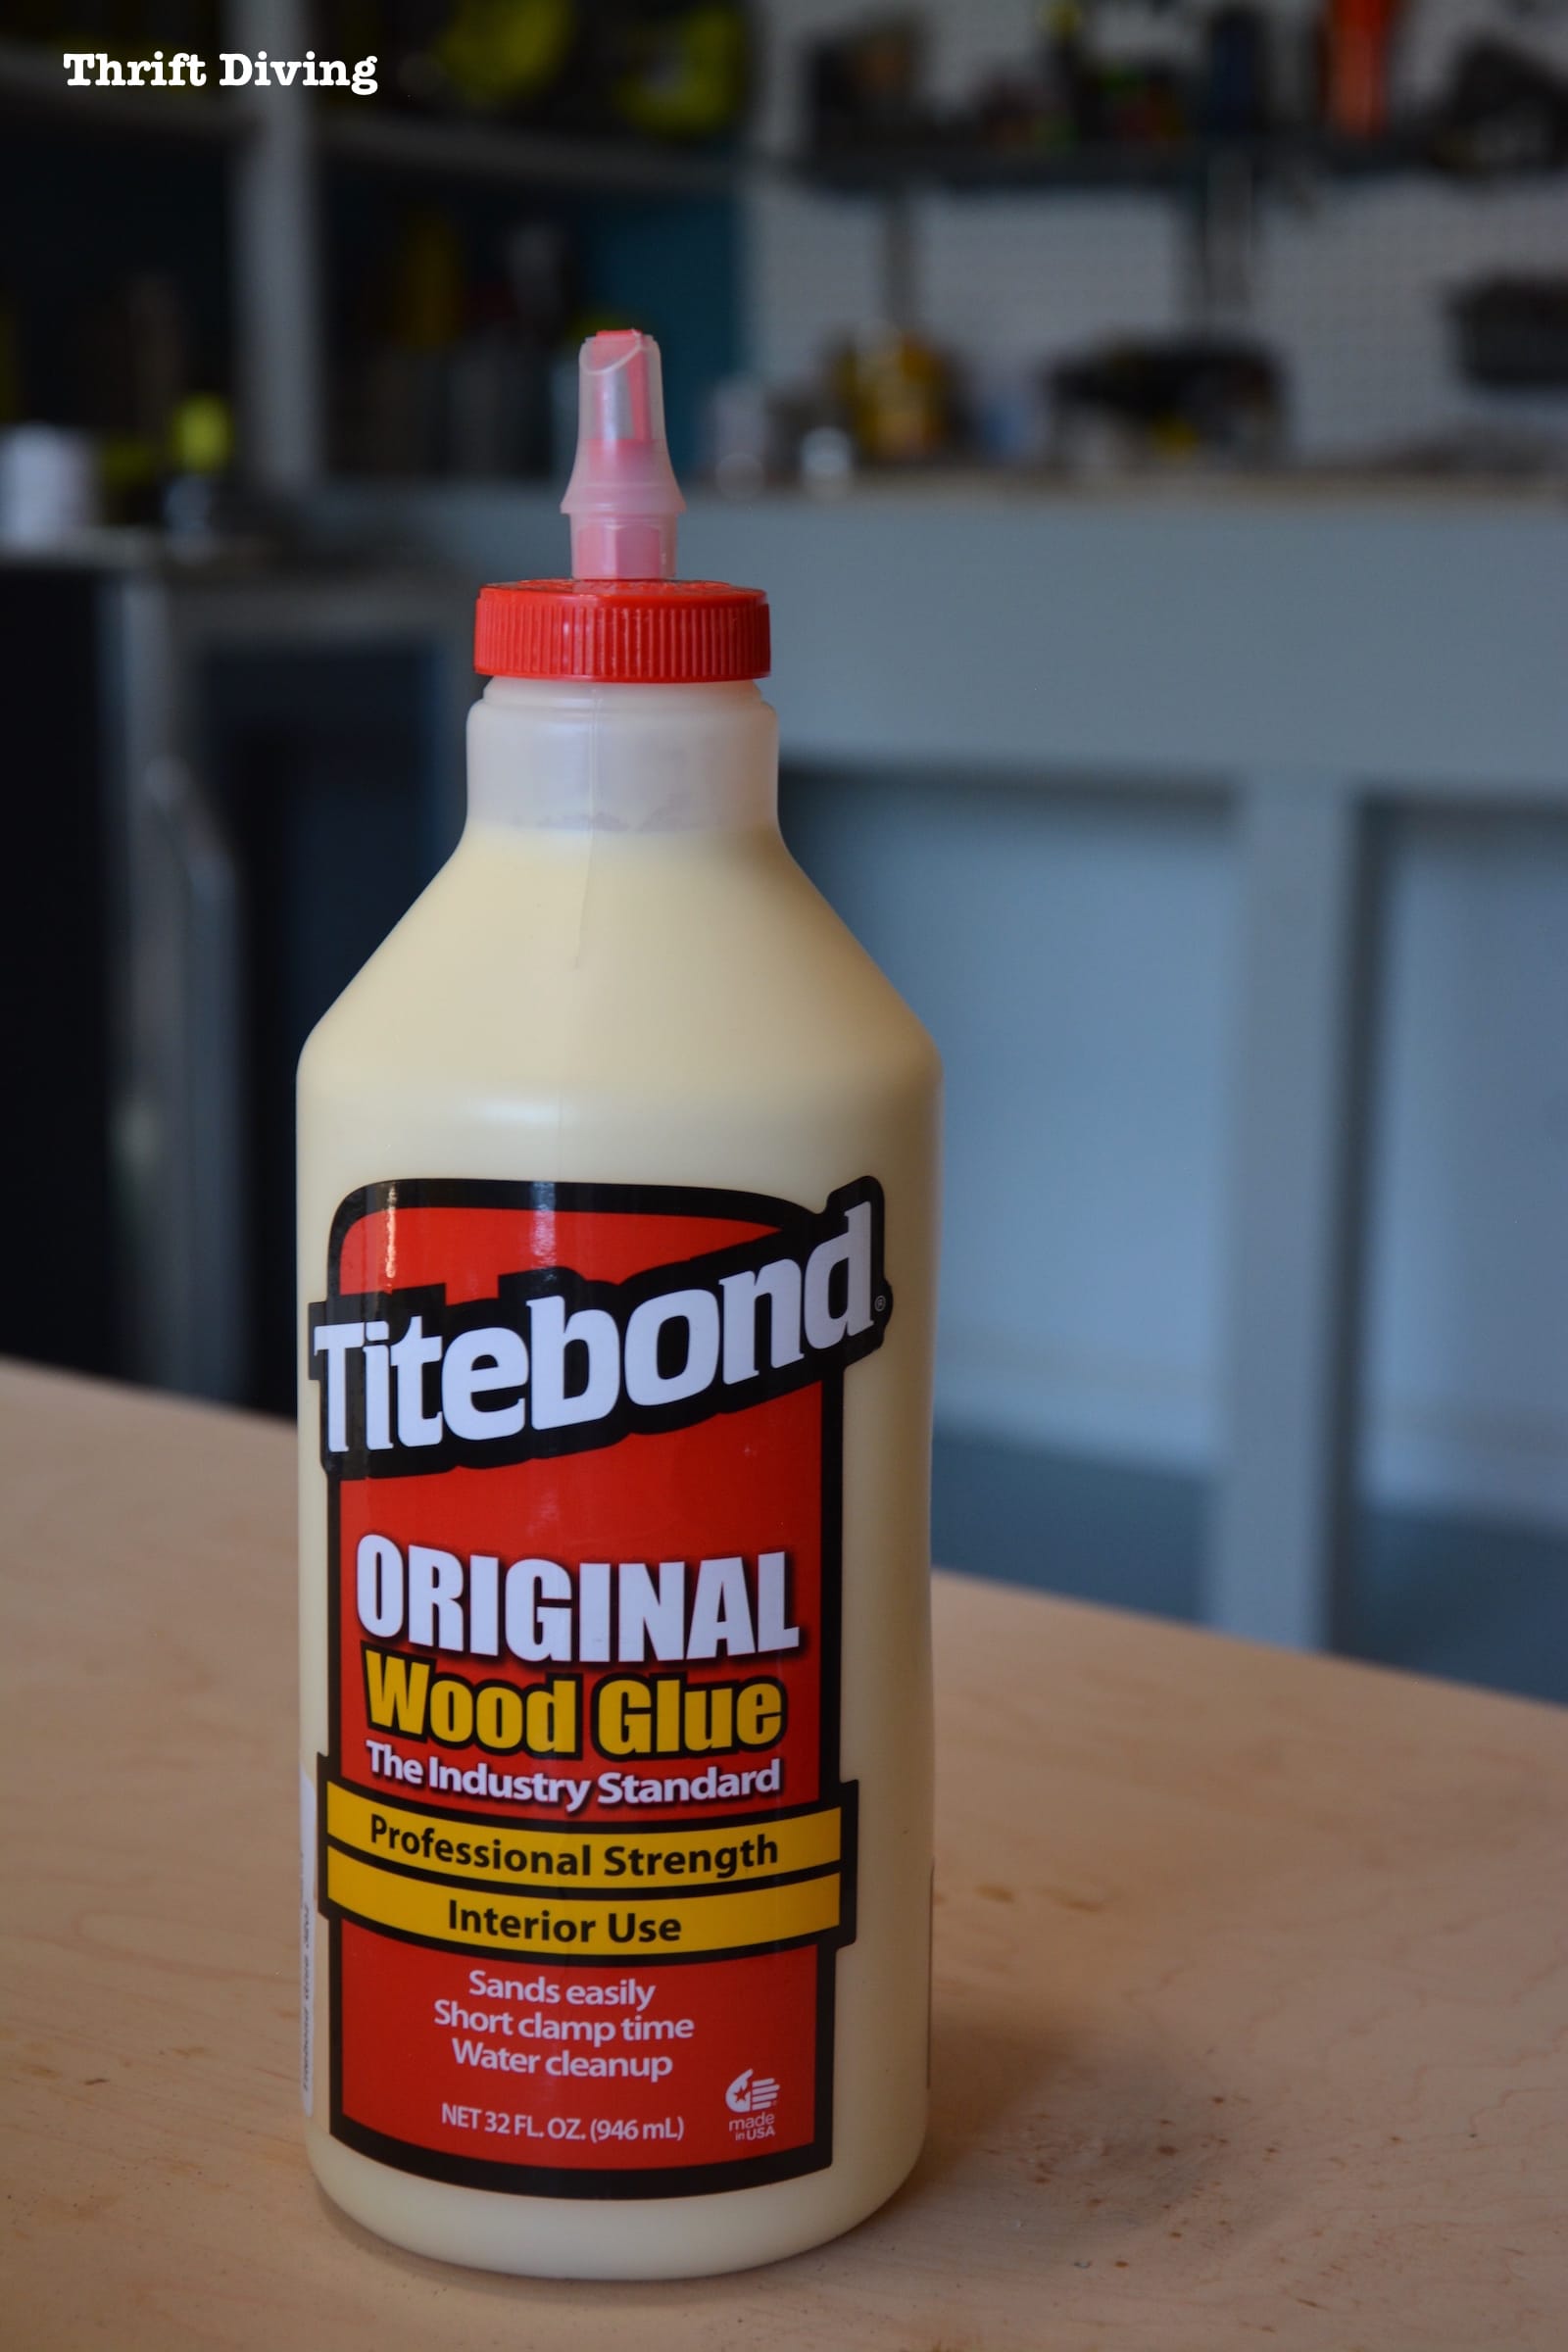
I only made a small batch because I didn’t need much.

I applied the glue size only to the end grains of the cabinet doors and drawer fronts, where I knew it would get really black and dark with the dye!

I let it thoroughly dry before I moved on to applying the water-based wood dye.
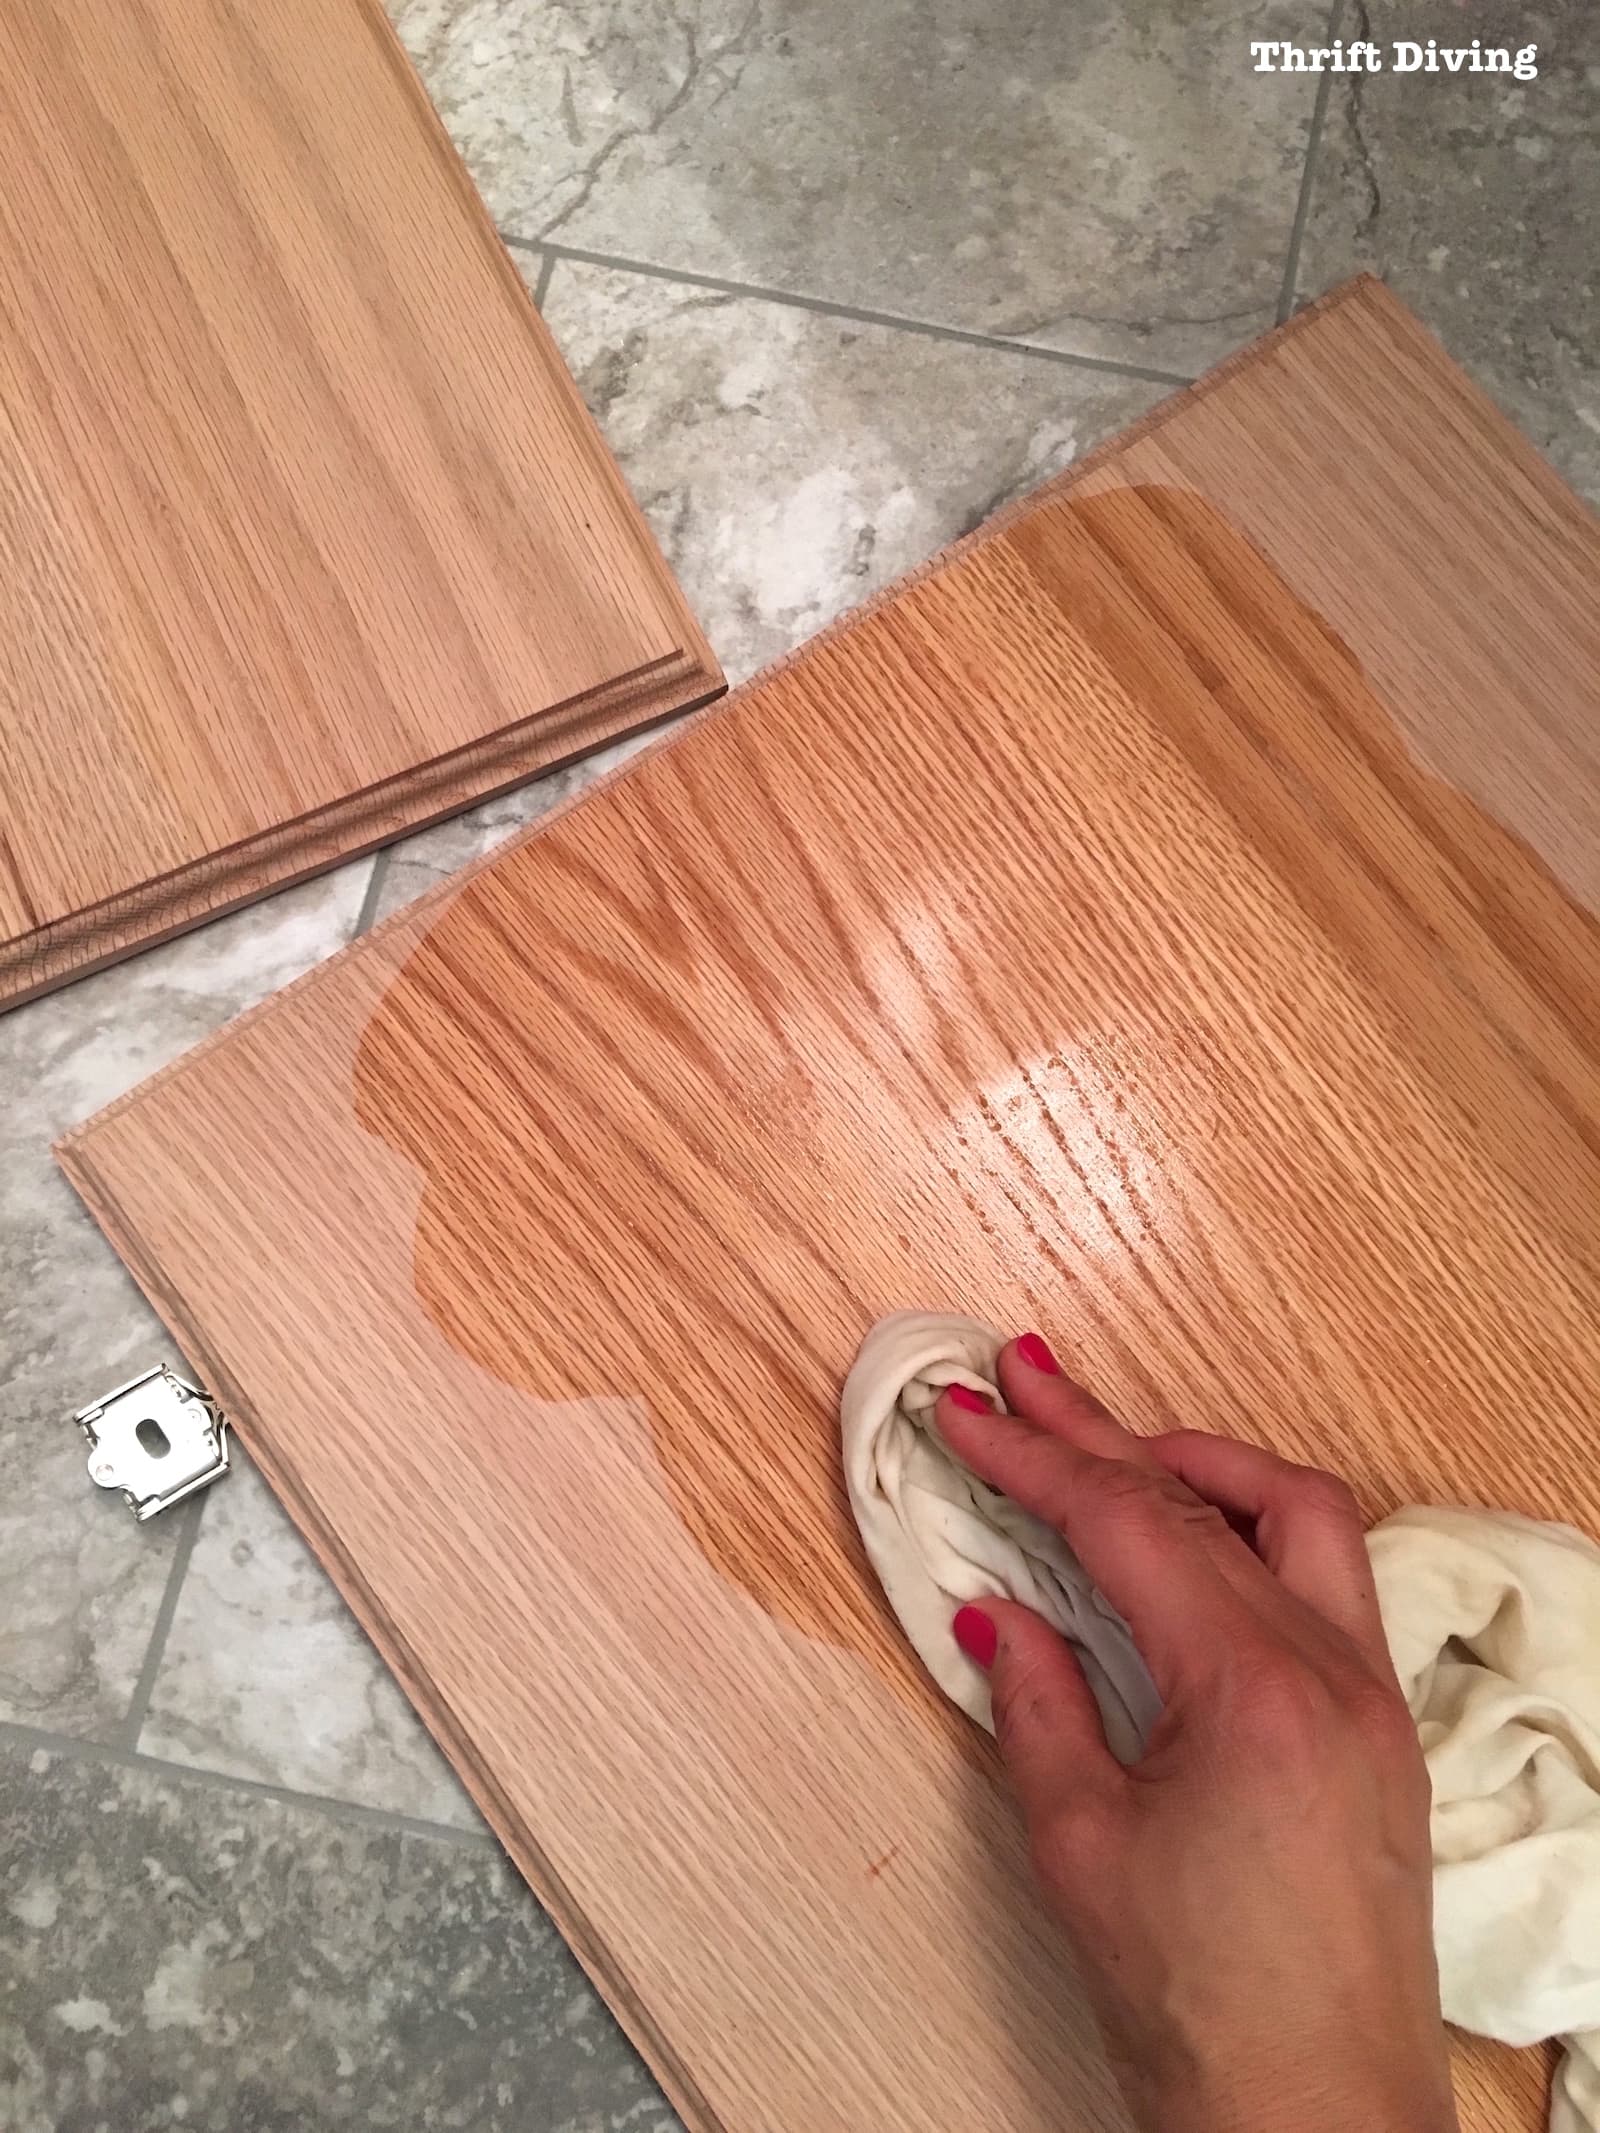
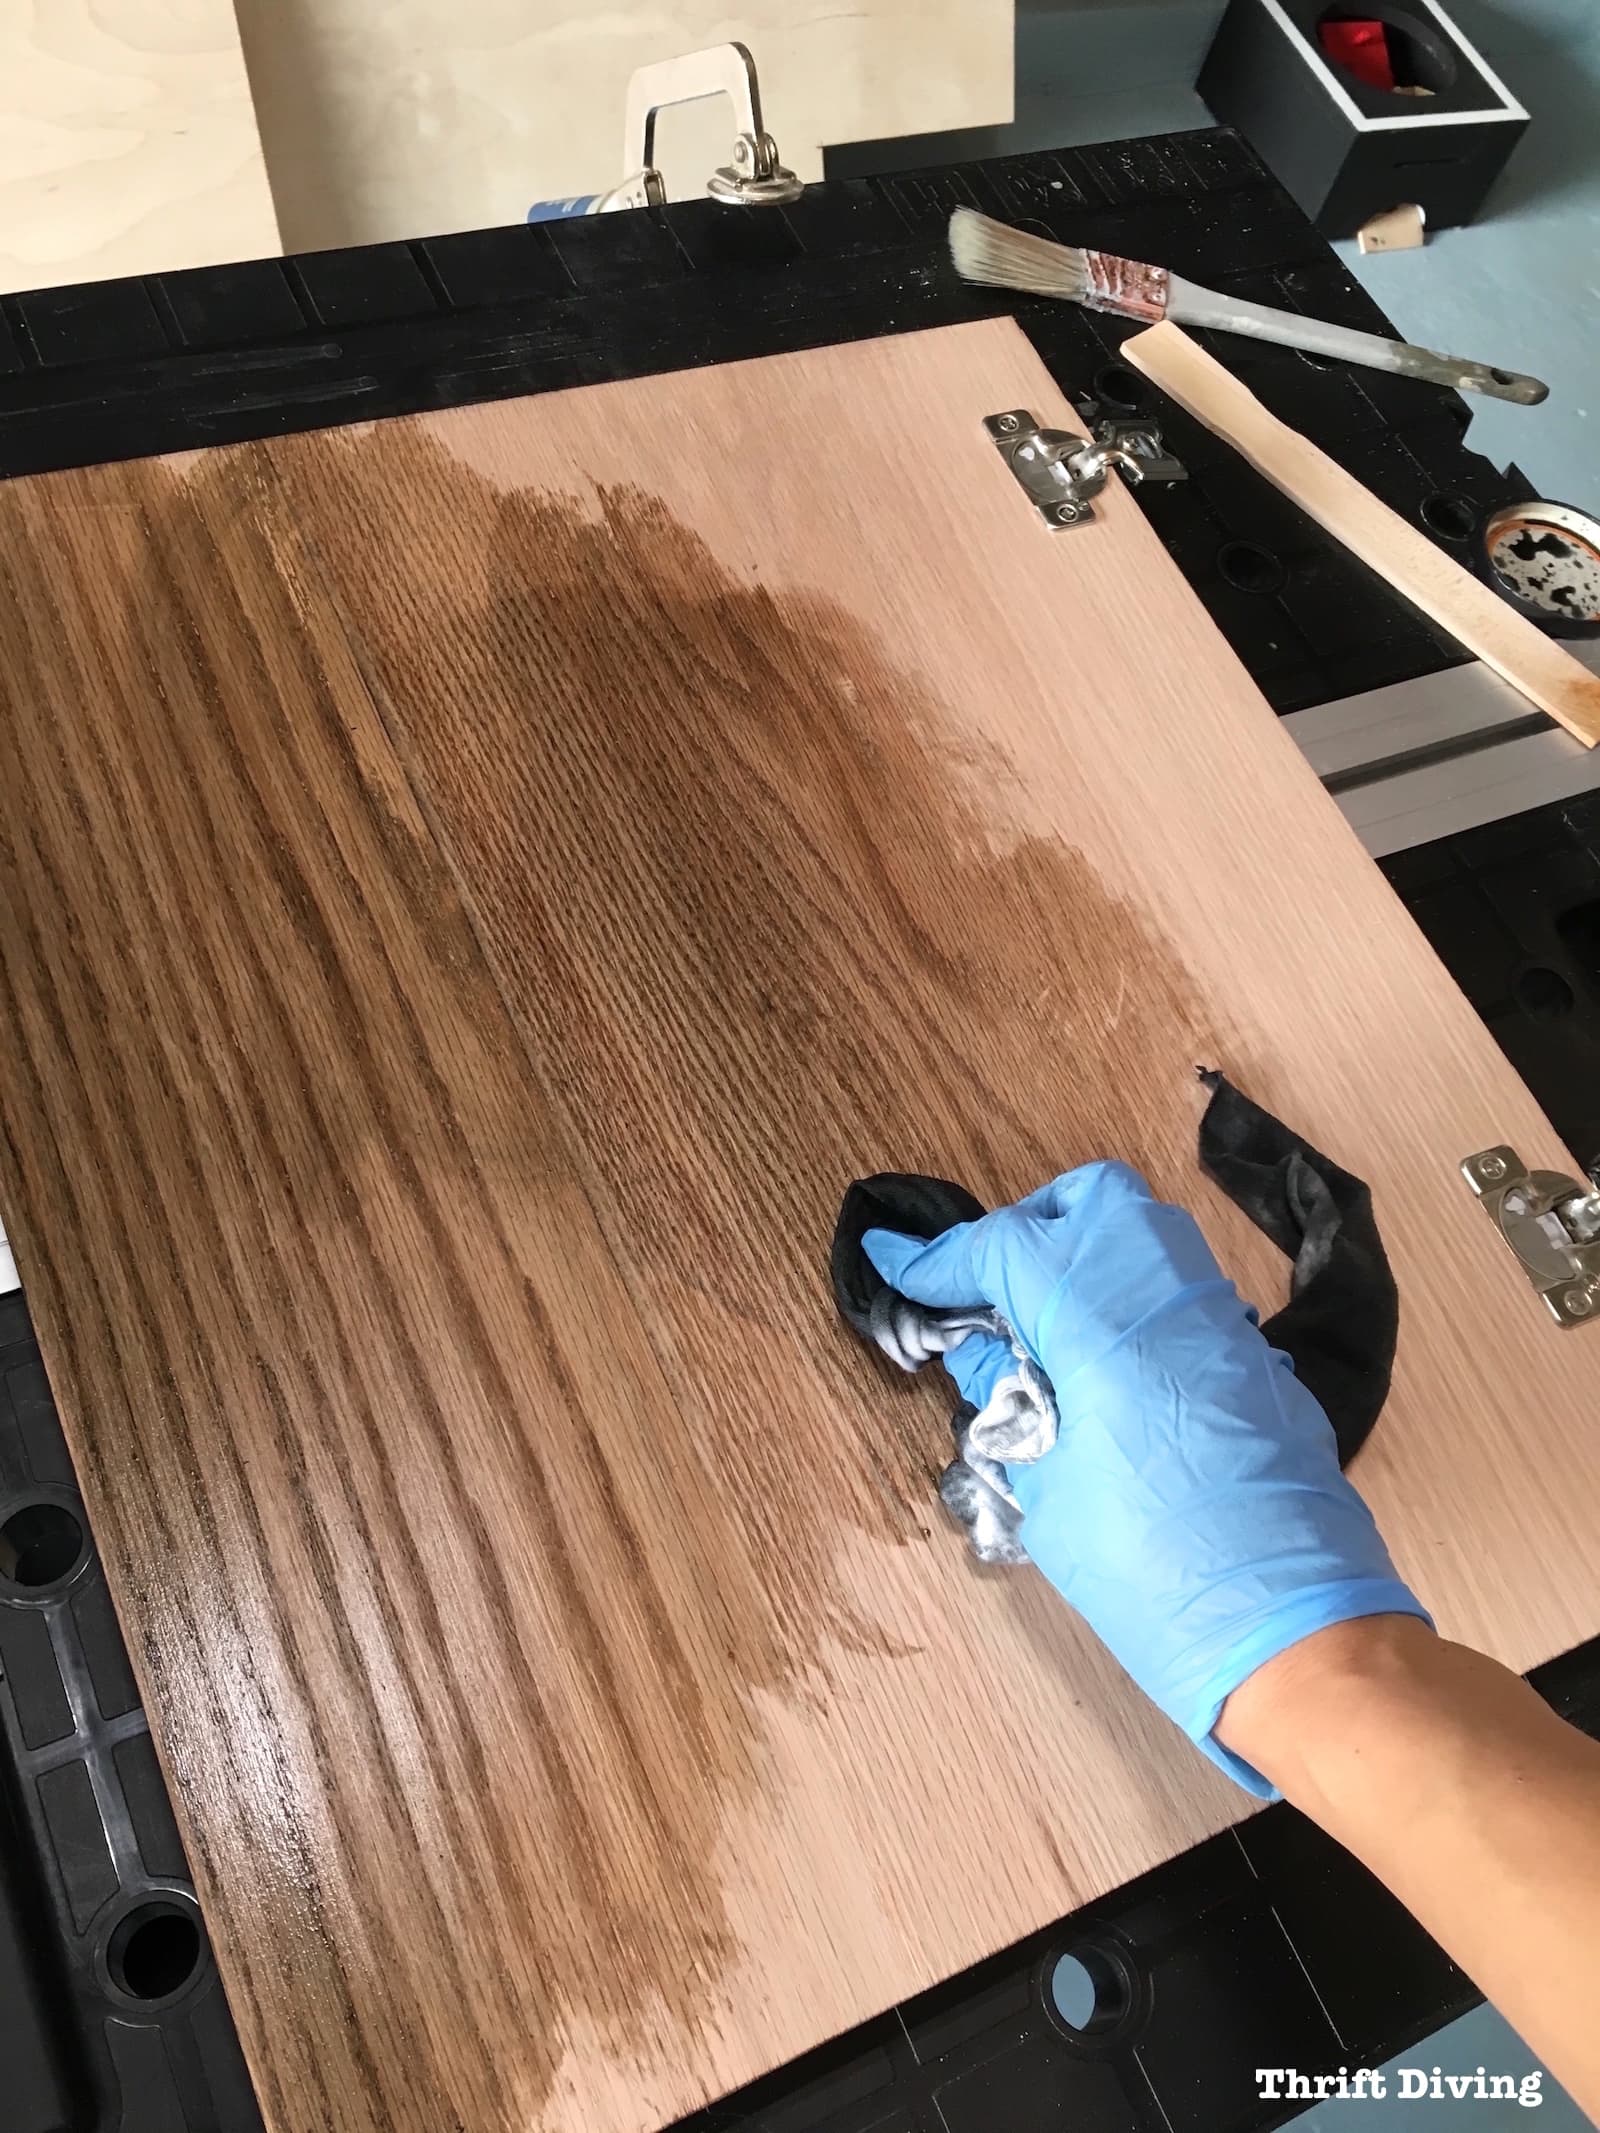
STEP 5 – Apply water-based wood dye.
Once the vanity was cleaned up, free of dust, it was time to apply the wood dye.
As I mentioned in a previous post, I just started experimenting with water-based wood dyes recently, which are powders that are mixed with water. One of the most helpful resources about wood dyes is from Fine Woodworking magazine, which you can find here:
Dyes Can Do It All: Color bare wood without blotching, tint topcoats, and touch up blemishes.
This was the part that was scary to me!
After all this time of building the vanity, I was deathly afraid of making some error that would ruin the entire finish.
Although I had done numerous sample boards, those were only small samples; this was the real thing!
(Resource: Click here to learn how I mixed these water-based dyes).

The dyes I used are Homestead TransFast water-based dyes. I was using Grey.
I started on the backs of the cabinet doors and the backs of the drawer fronts, just in case I made a mistake. Since those parts aren’t really visible, they were a great starting point. 😉
There were a couple things I learned in this process.
- Wipe with the grain.
- Don’t let the stained rag dangled all over your wood.
- Don’t let the dye sit and pool on your wood.
First, anytime you can go with the grain when working with wood, do it. You will get better results. There are acceptions, of course, like when you’re using liming wax (see below). But generally, when applying stains, dyes, protective finishes, etc., go with the grain.
Secondly, don’t let the tail of the rag dangle around on the wood, especially in parts that are already done.
I kept doing that, only to find that I was leaving a mess in finished areas, which required me to go back over finished areas.
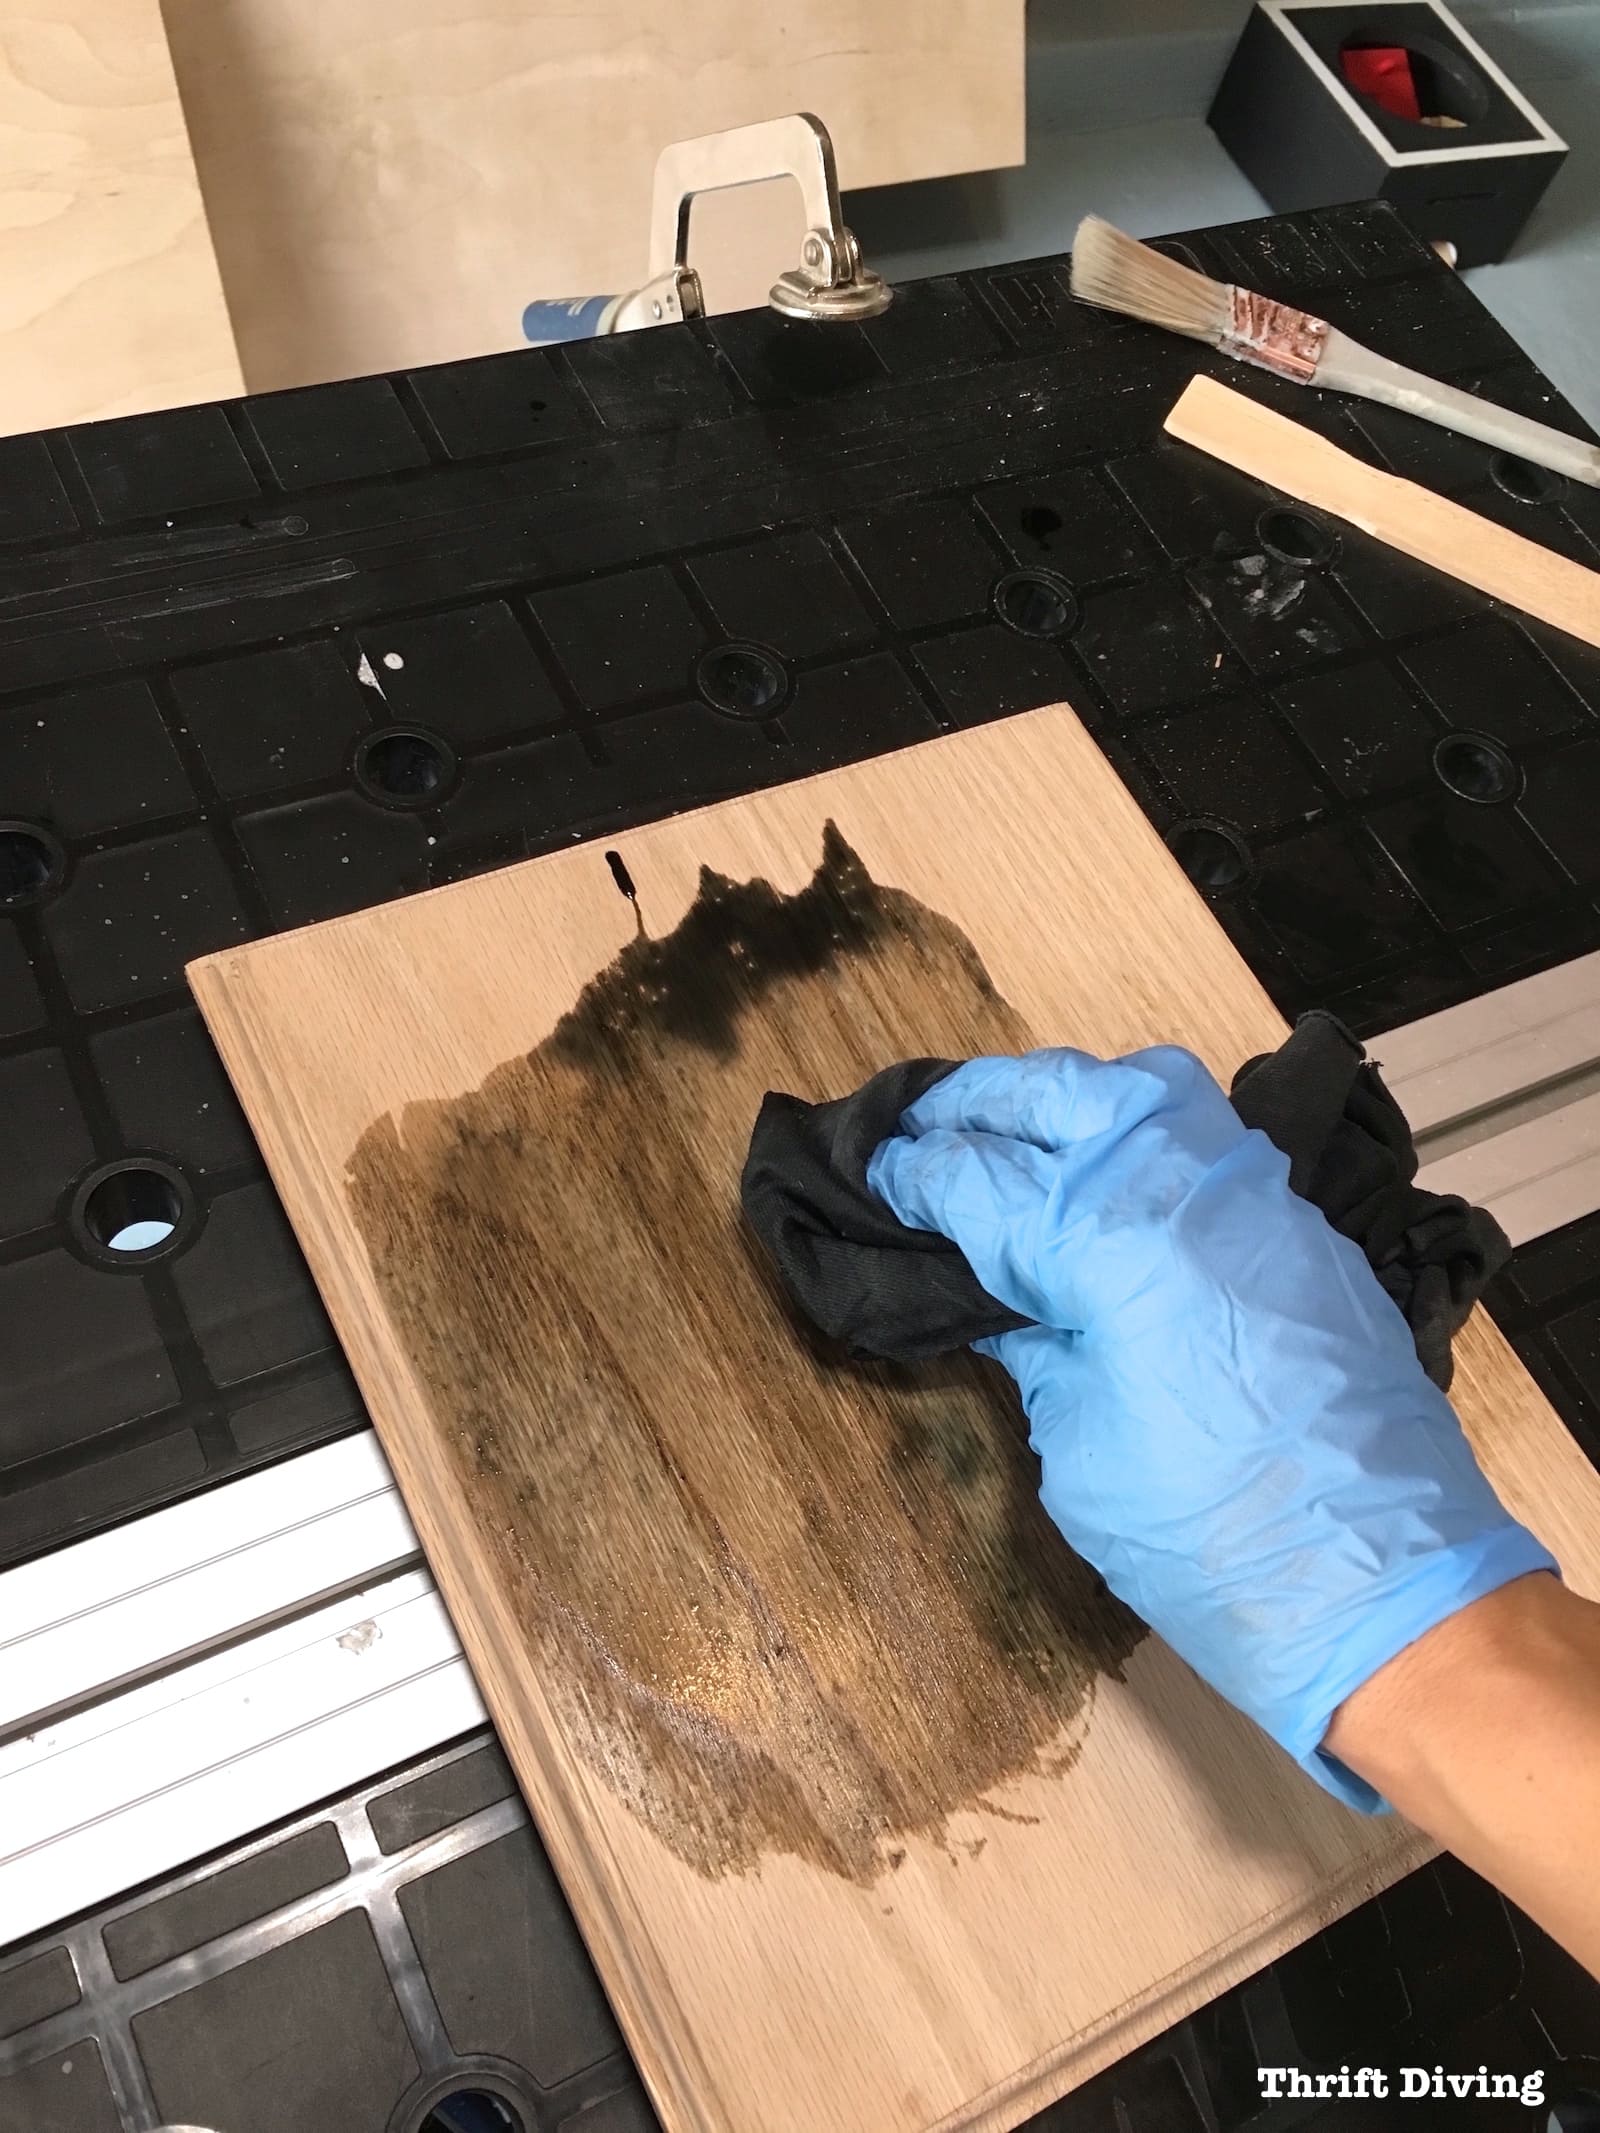
And then, what you can’t see in this picture below is that I slopped the wood dye on and then stopped to take a picture really quickly, only to realize that the split second of sitting on the wood, it caused some discoloration and unevenness.
See that dark puddle just sitting there?
That’s a big no-no.
Simply wipe it on and keep going!
I also learned to work in small sections. I started with one area first, then moved on to another area.

One thing I noticed is that the upcycled legs were much darker when the wood dye was applied. I had a feeling that would happen, but I was okay with it, and later, the difference wasn’t too noticeable. It also helped to use a clean, damp rag to wipe some of the wood dye off.
(Good to Know: If your wood dye is too dark on your project, wiping it down with a damp cloth will remove some of the dye and lighten it).
And what made me super excited was that the glue size totally worked!
The end grain wasn’t darker! YAY! This was my first time using glue size for end grains, so I wasn’t sure how it work turn out.
But I can guarantee this won’t be my last time using it. It works perfectly!
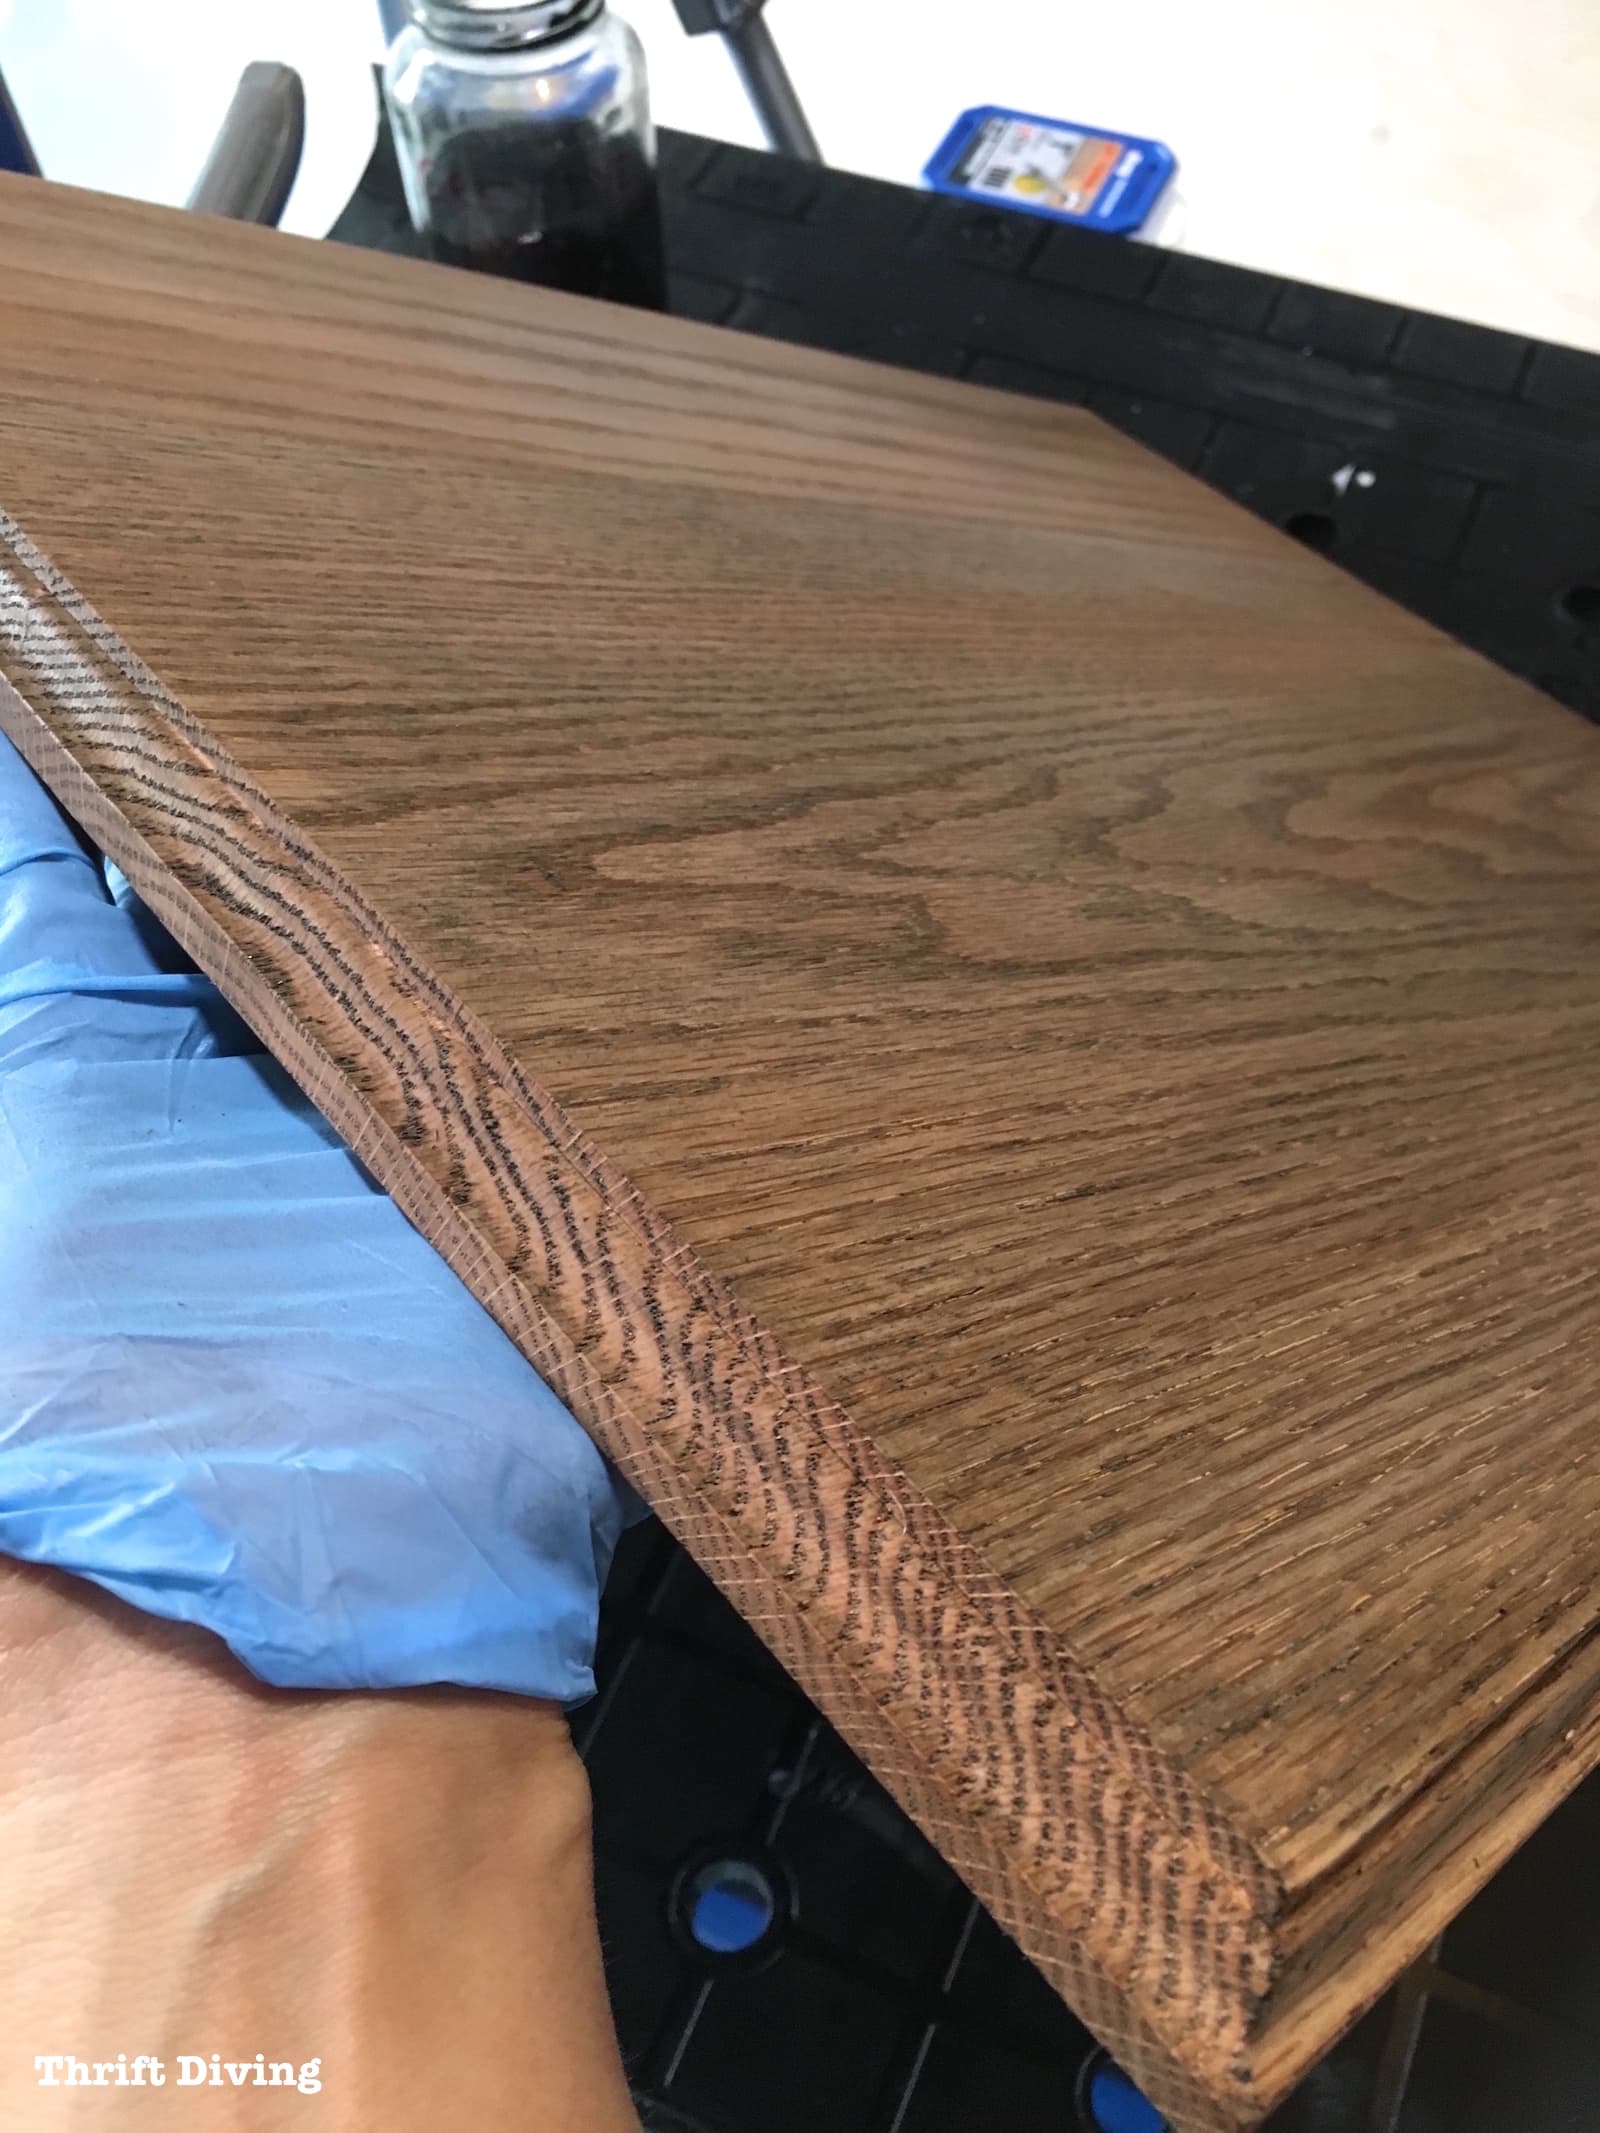
Once the wood dye started to dry, it looked more gray, which I liked!

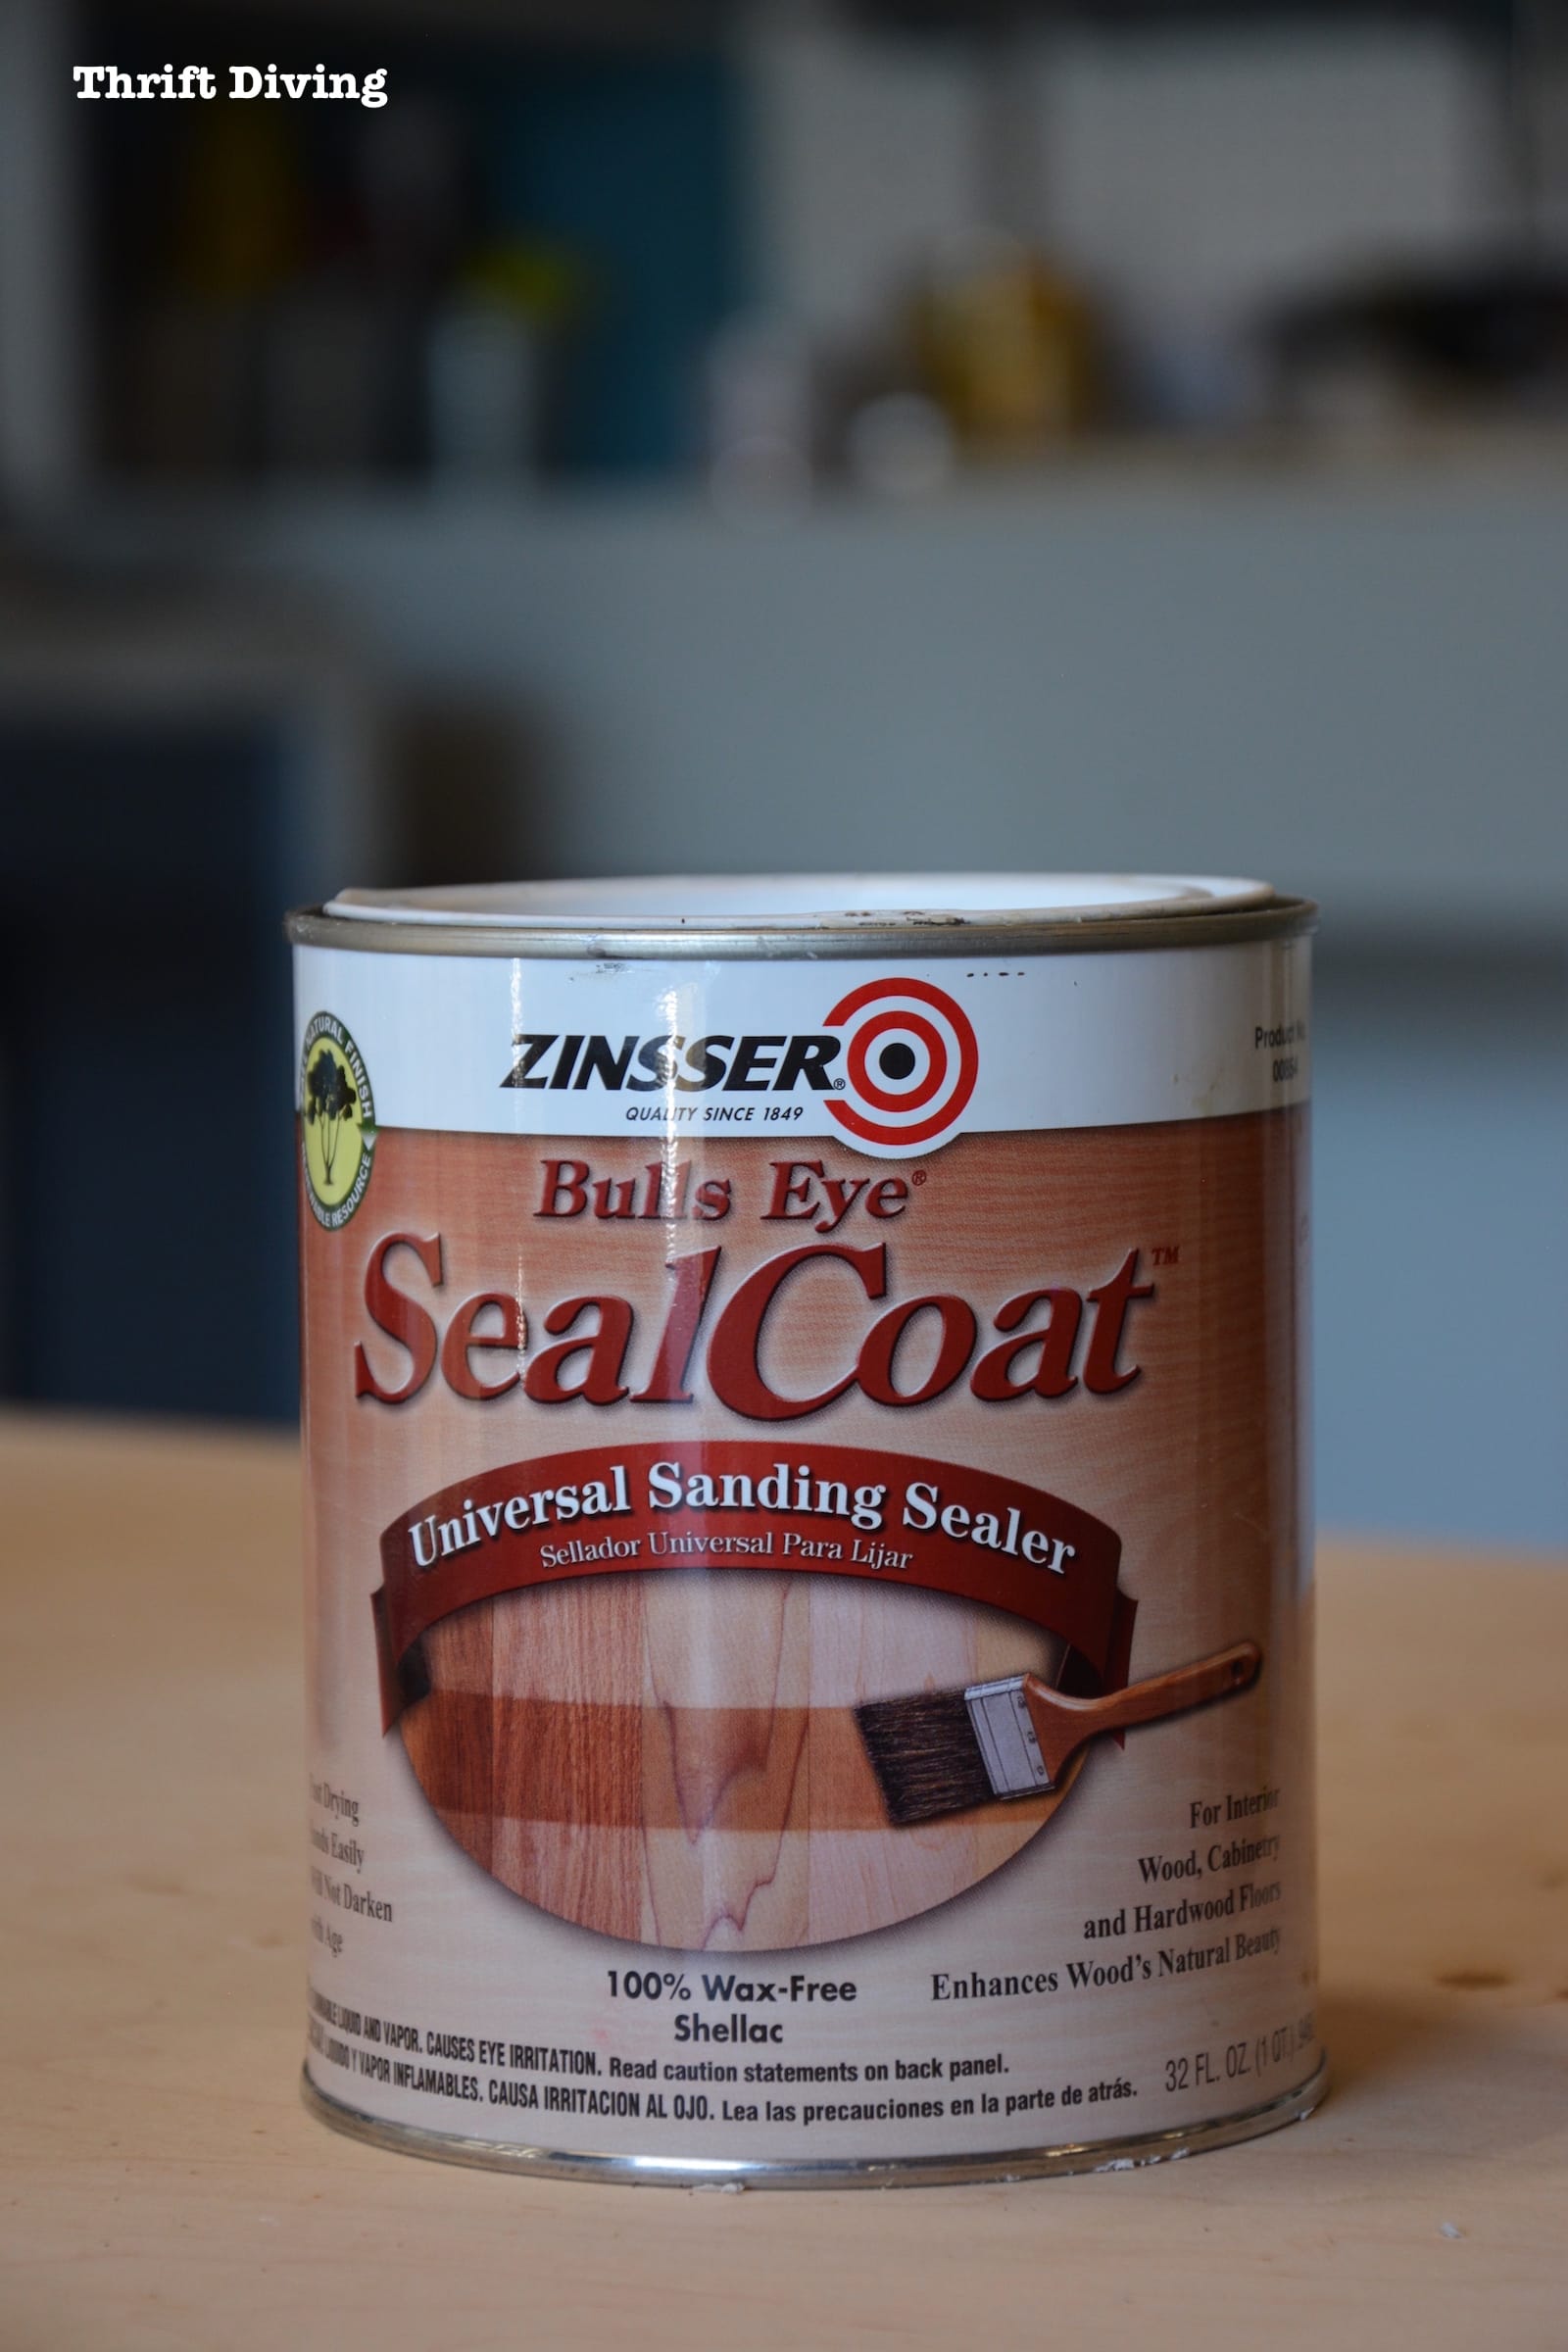
STEP 6 – Seal in the dye with sanding sealer.
Sanding sealer is something that I just learned about. It’s a dewaxed shellac that does a great job of creating a barrier coat between finishes.
In this project, it’s what I needed to use to help seal in the wood dye. Water-based top coats over a water-based wood dye can break down the dye. The dewaxed shellac over the dye creates a barrier for top coats.
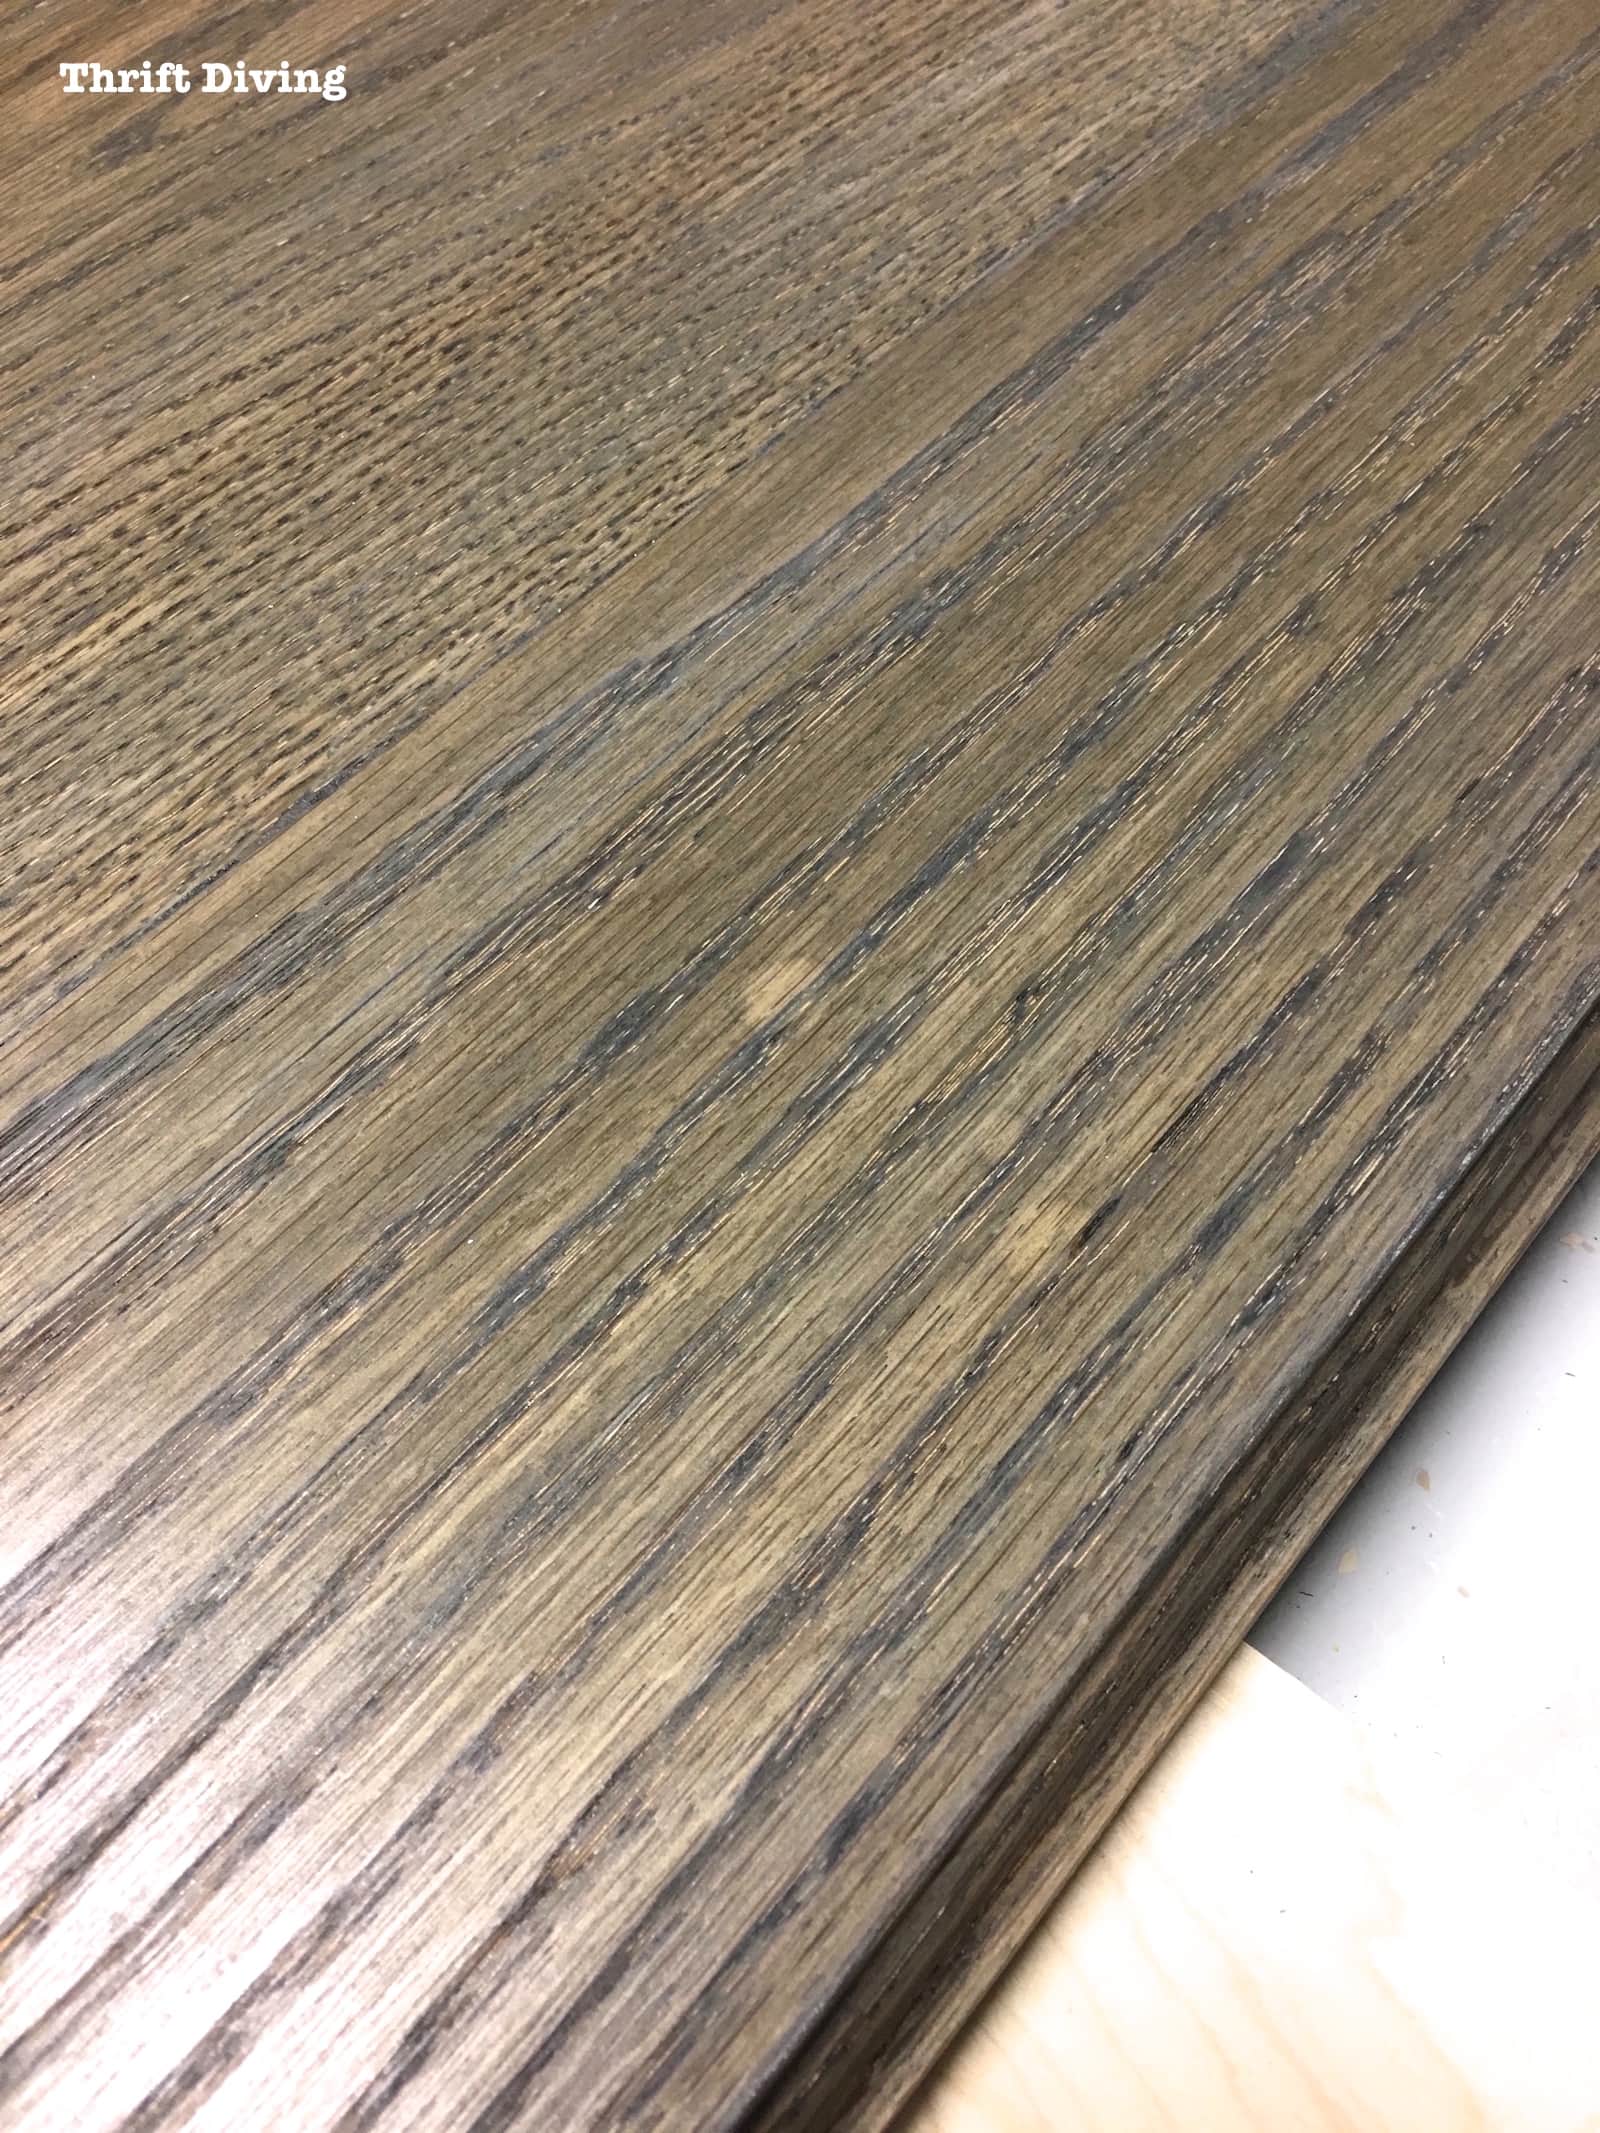
But here’s what it also did: it changed the color of my wood dye!
In all the research I had done, even on the sample boards I did, I didn’t learn that the shellac can actually change the color of your wood dye a little bit.
So what started off as gray ended with brown.
Crap.
I think the reason why is because the sanding sealer has an amber color to it. Plus, adding something that makes the wood look “wet” is going to change it.
So, next time, I would possibly try a spray shellac, which is also dewaxed because it’s in a can (they don’t add wax to shellac in cans because the spray function won’t work).
I’m okay with the brown, because I think it ended up working out anyhow. But this is something important to know if you’re dead-set on wanting a certain color.
Just be sure to do lots of sample boards first so you know how it will turn out.
Just be careful not to drip any of the shellac onto your wood, or else it will leave blotches like what happened to one of my cabinet doors.
STEP 7 – Add two coats of top coat.
I allowed the dewaxed shellac to dry for a few hours.
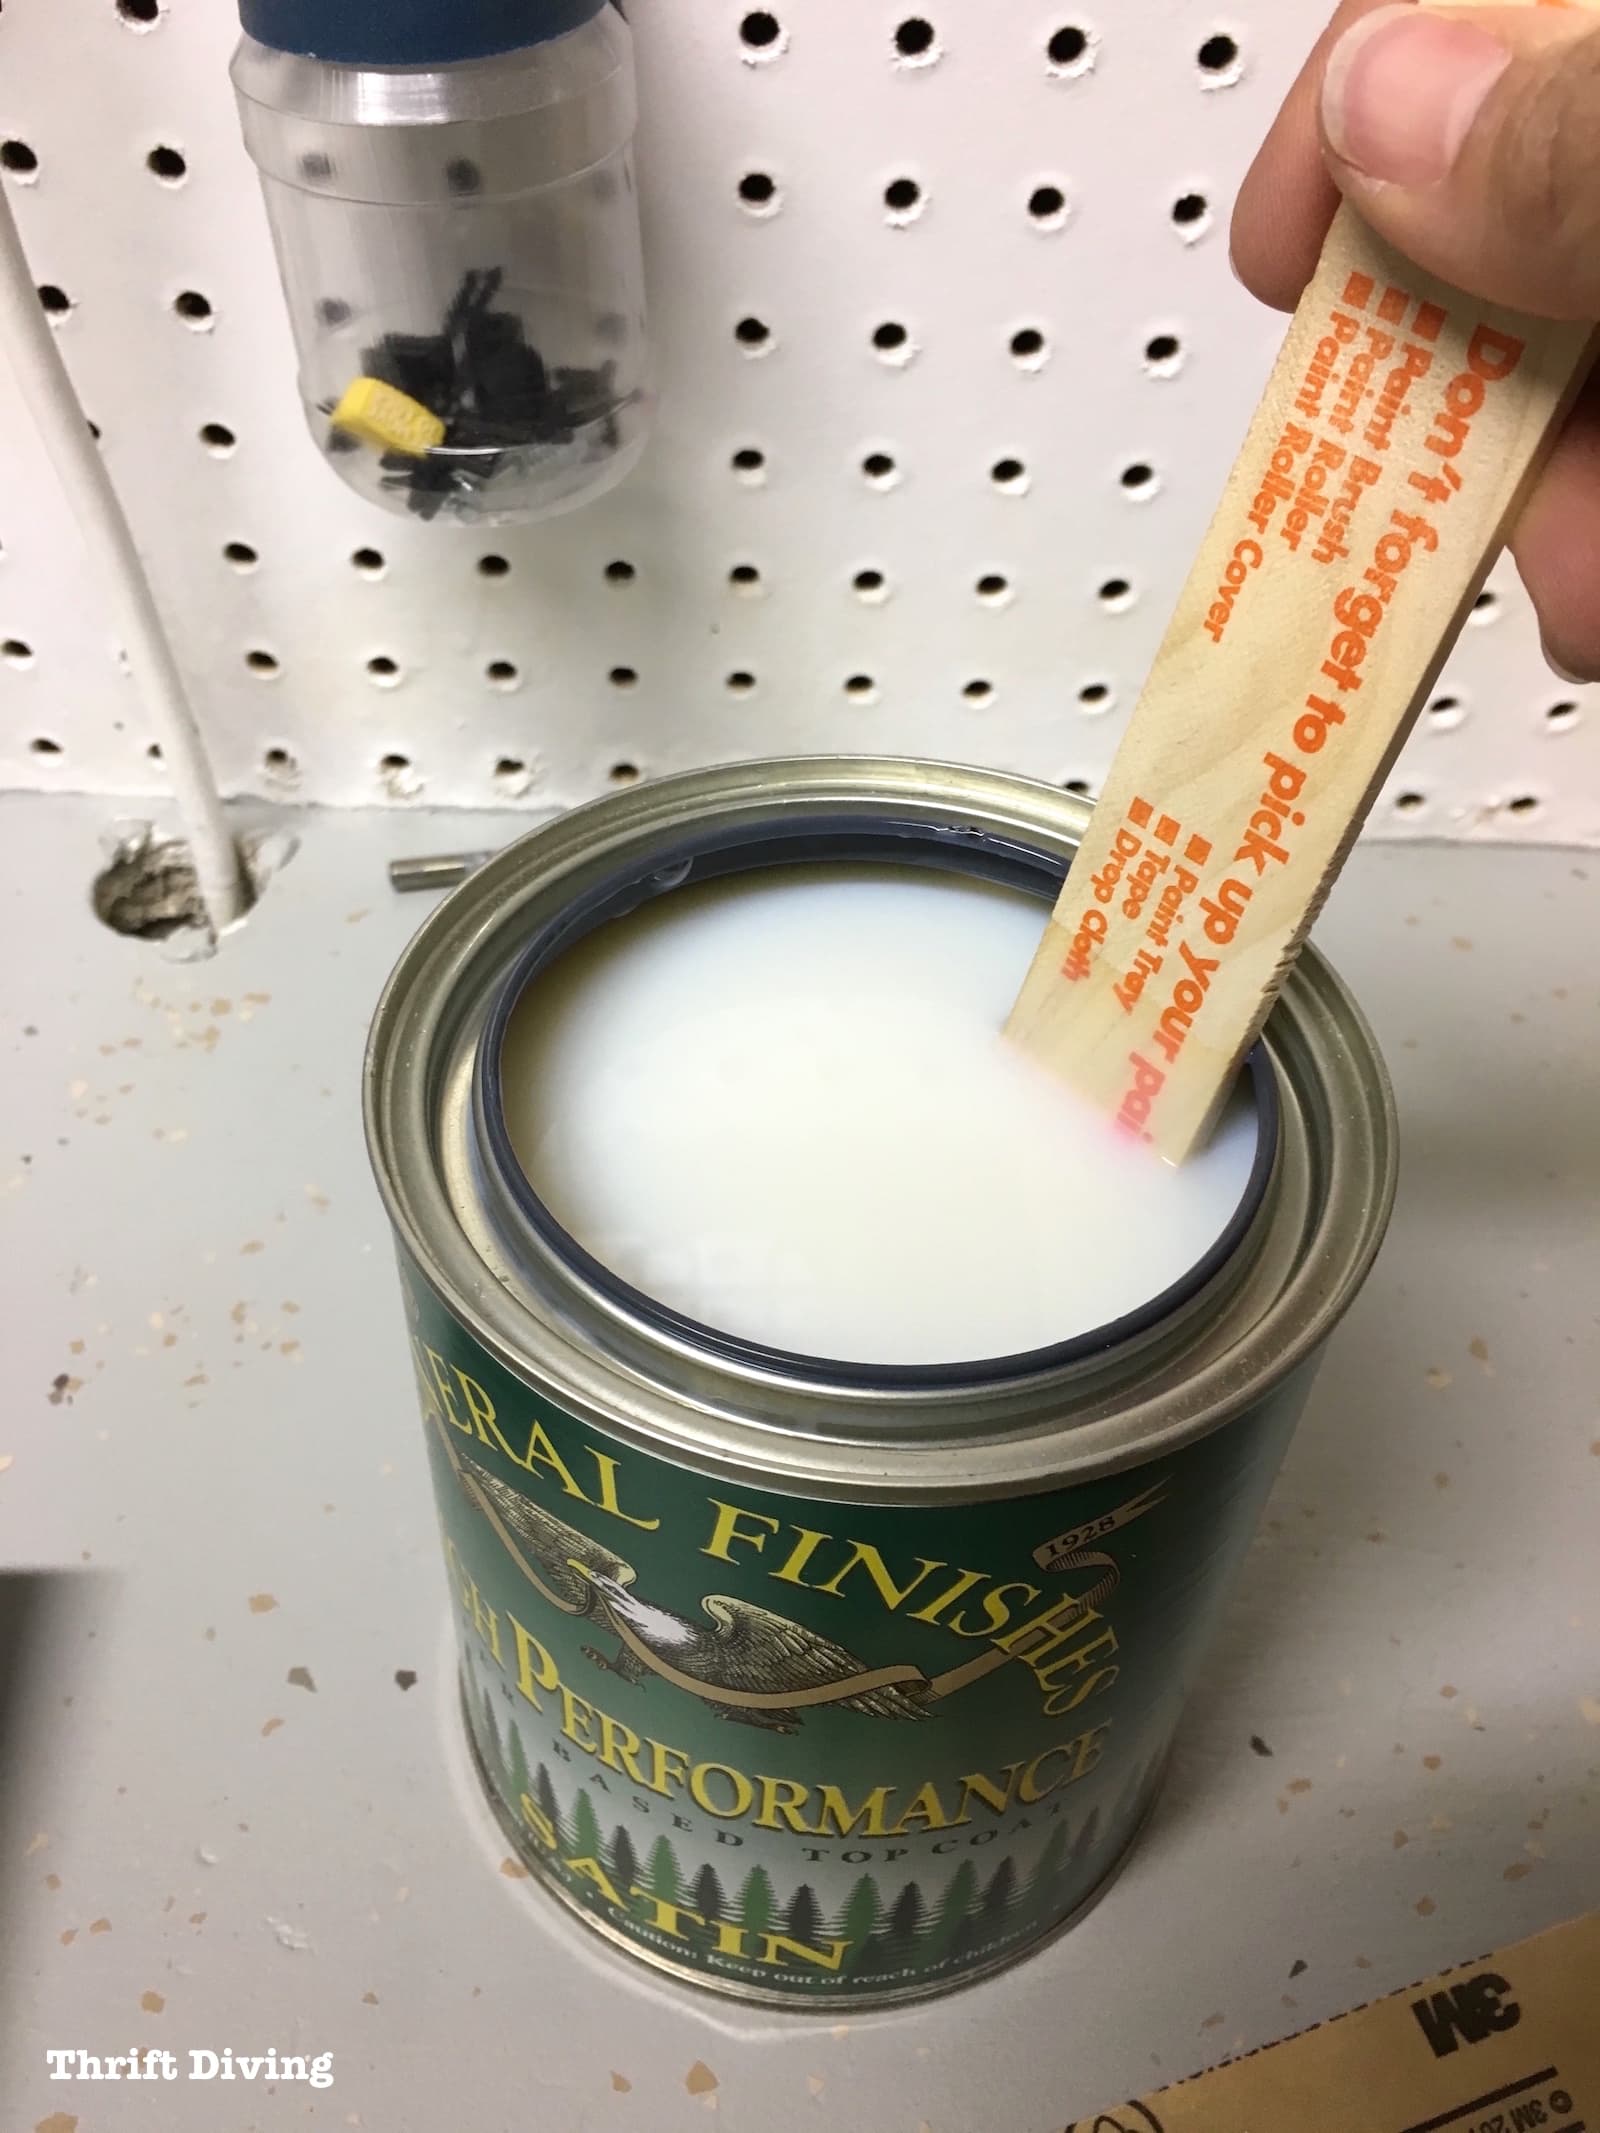
Next, it was time for a couple coats of General Finished High Performance Satin top coat.
The can recommends 3 coats, but since I wanted to add liming wax (and didn’t want the top coat to take up too much space in the grain), I only did 2 coats.
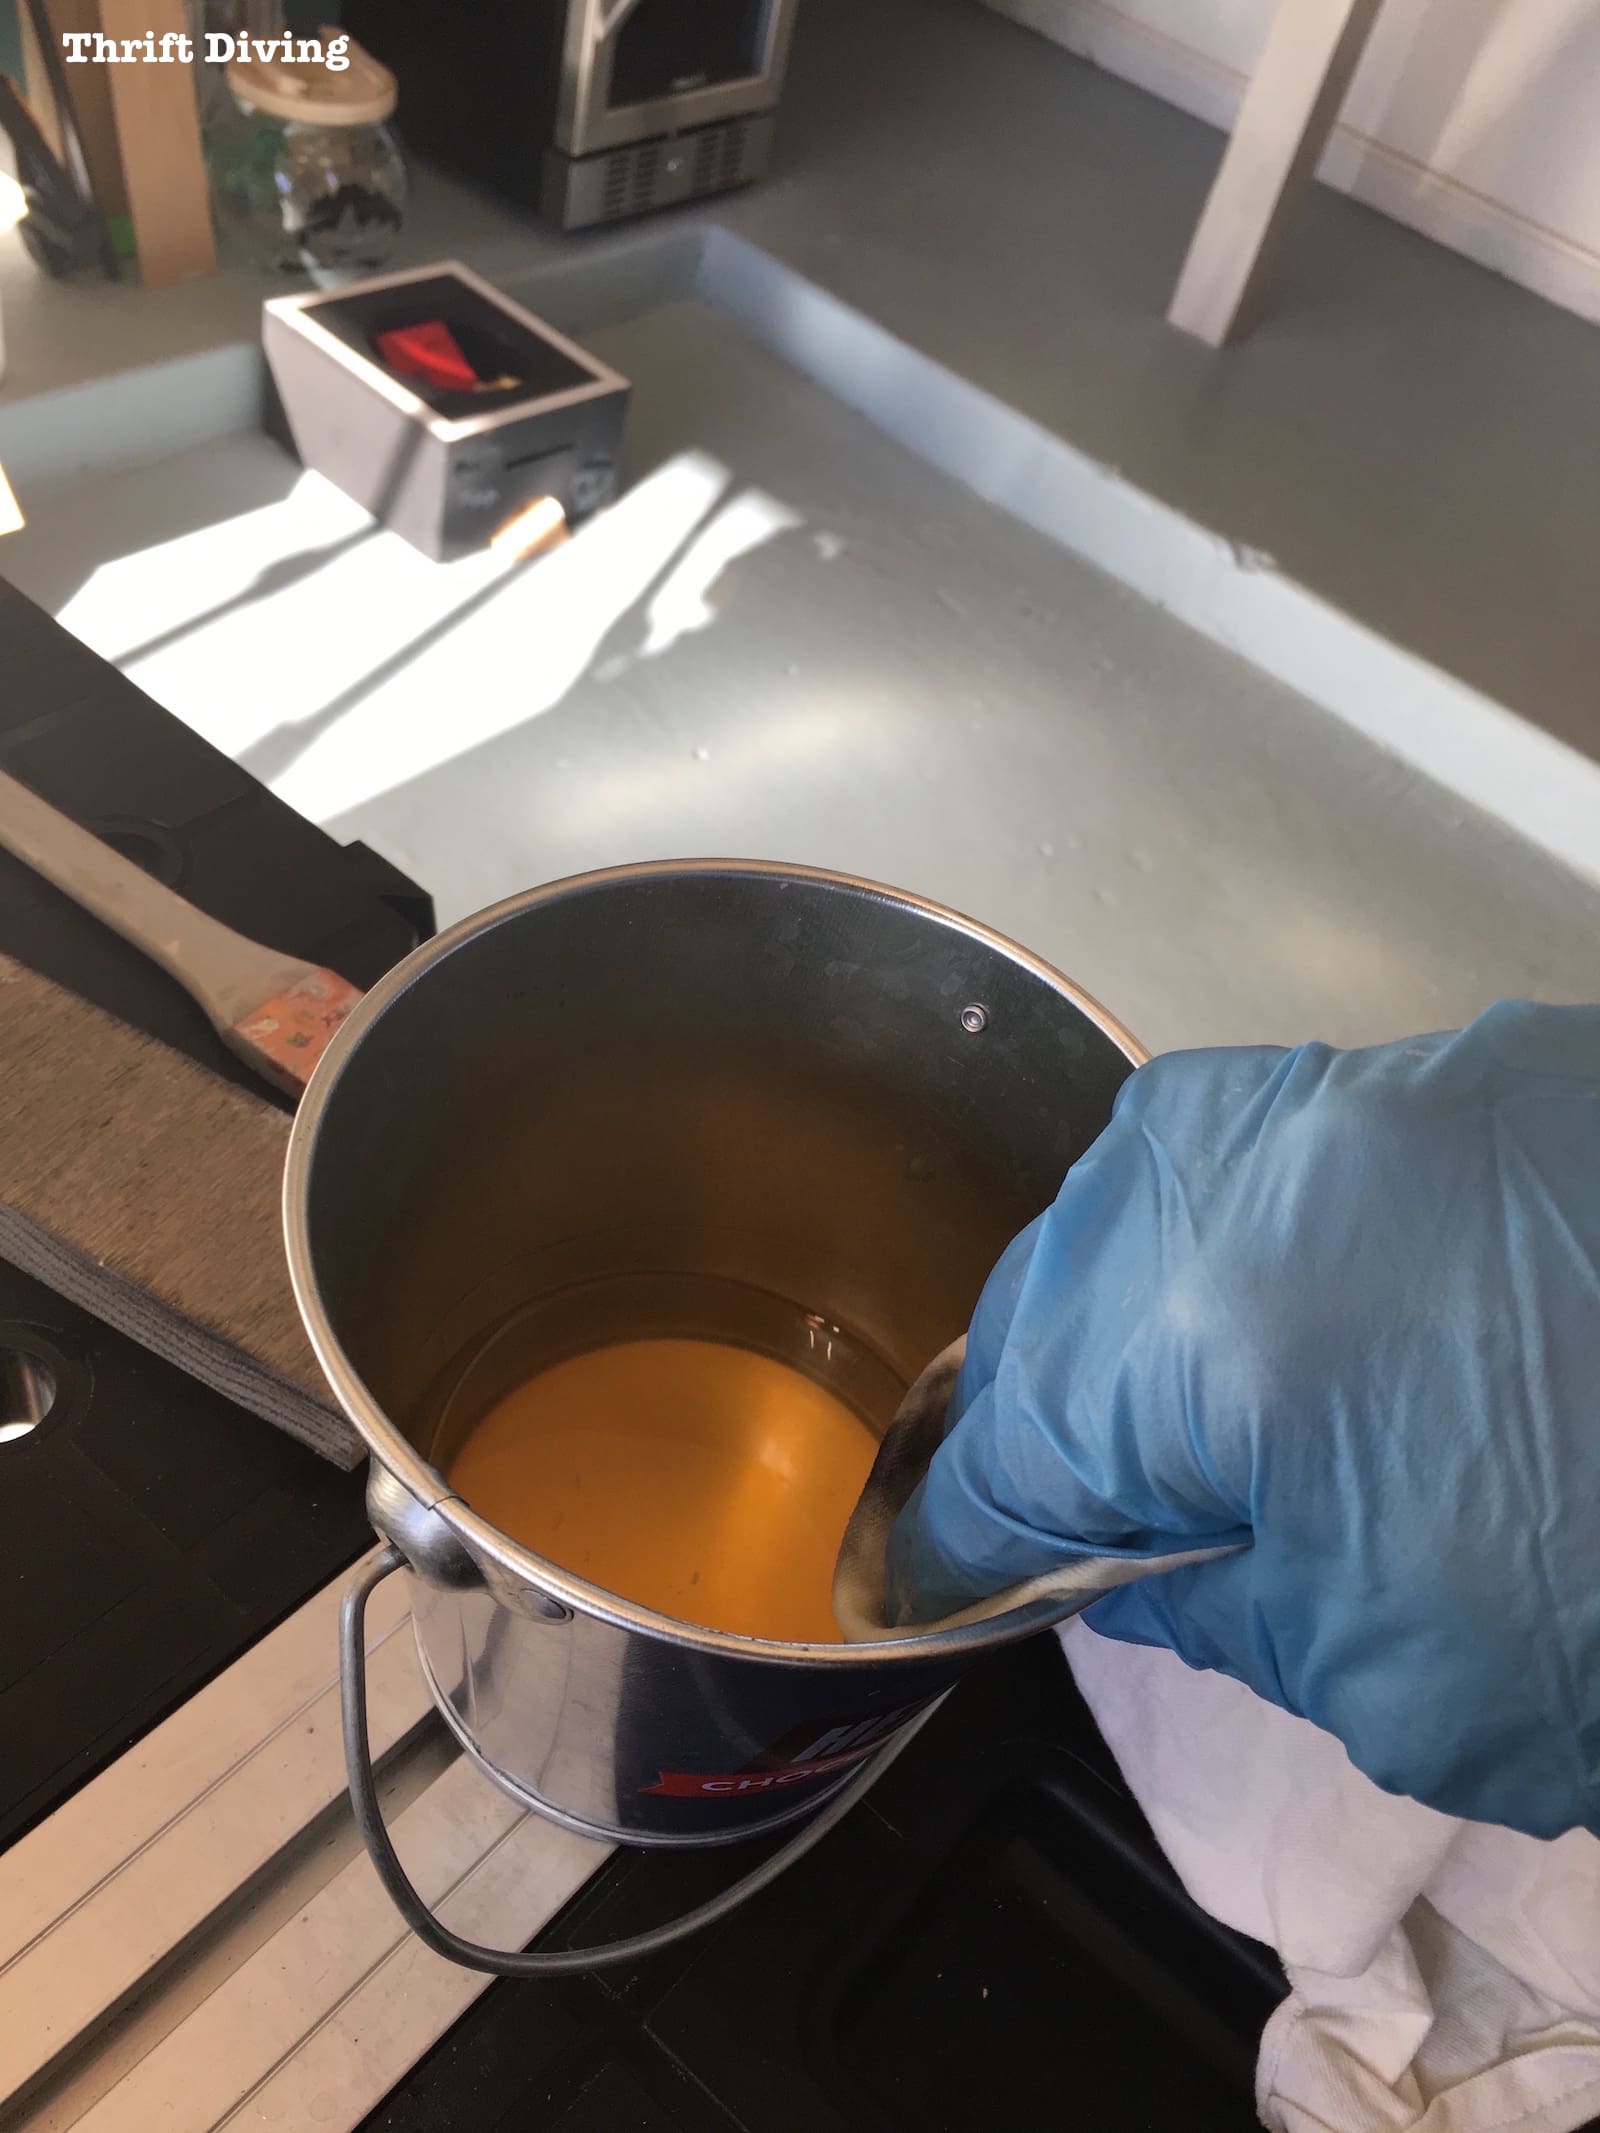
Stir it up well (don’t shake it or else you’ll get bubbles in your finish).
Then just brush it on with a sponge.
The key is to use long, even strokes. And don’t work the finish too much. Just go over it a couple times to smooth it out, and then keep going.
I loved the soft sheen on the wood once it dried!

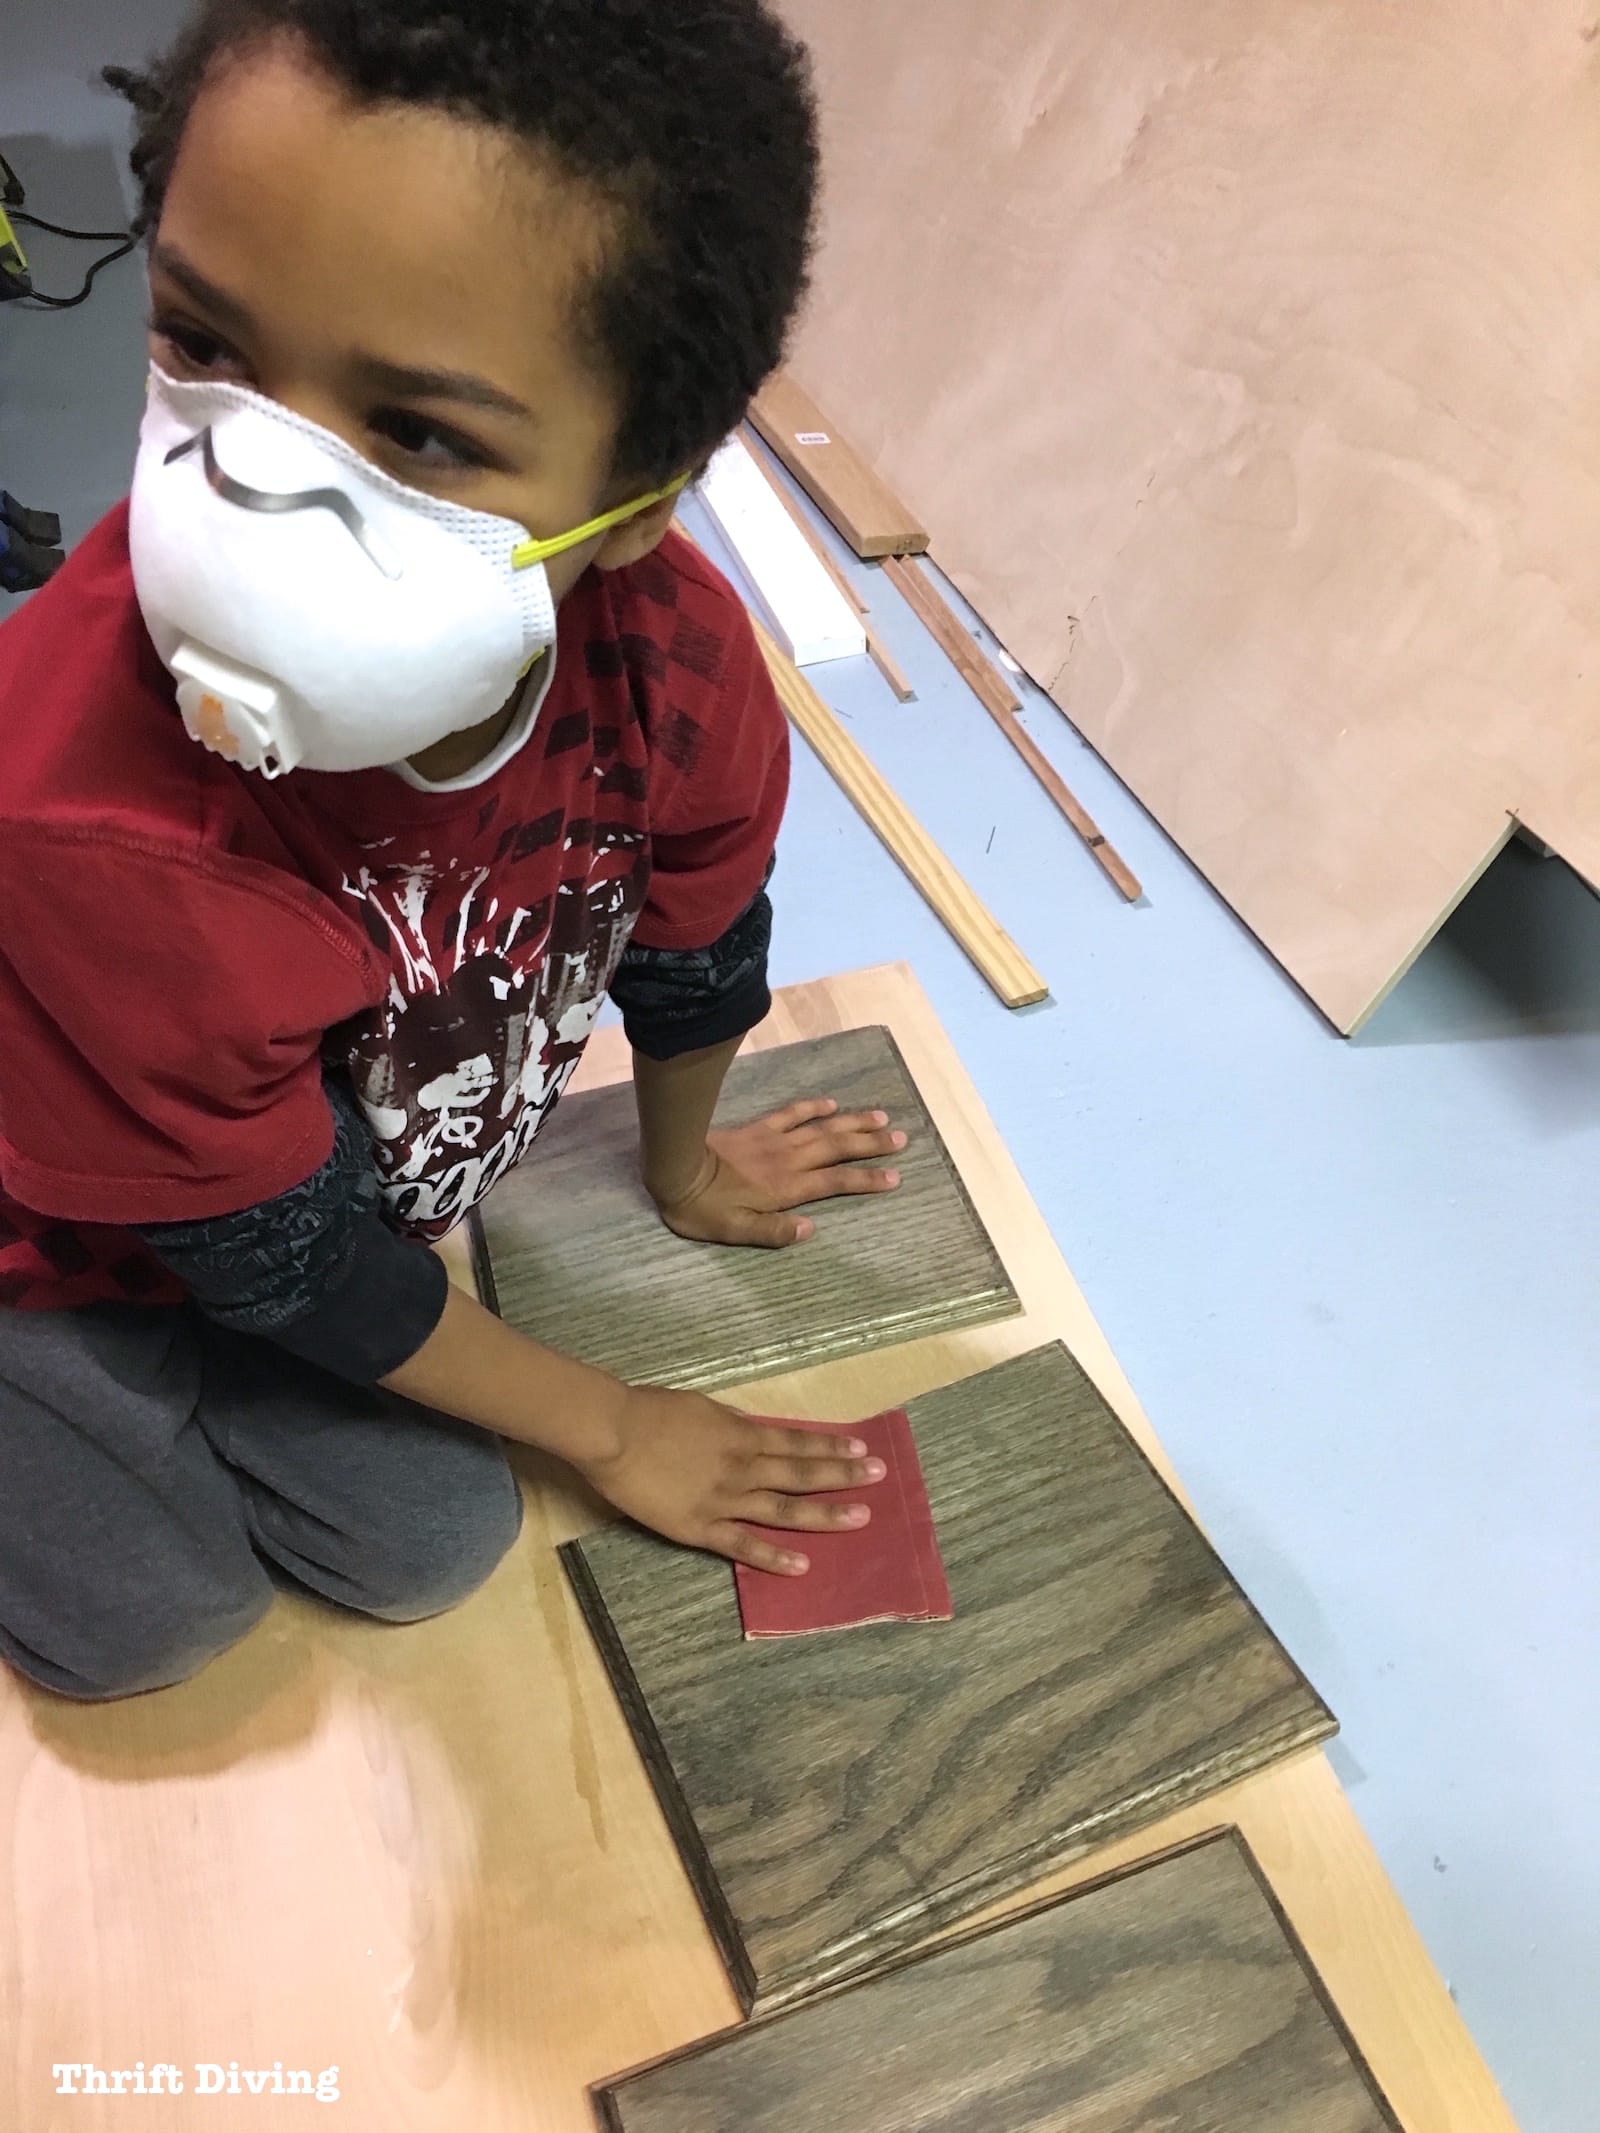
My 7-year-old was “bored” after I made him turn off his electronics, LOL.
So the next best thing was helping me to sand in between the two coats of top coat, using 400-grit sandpaper and sanding very lightly.
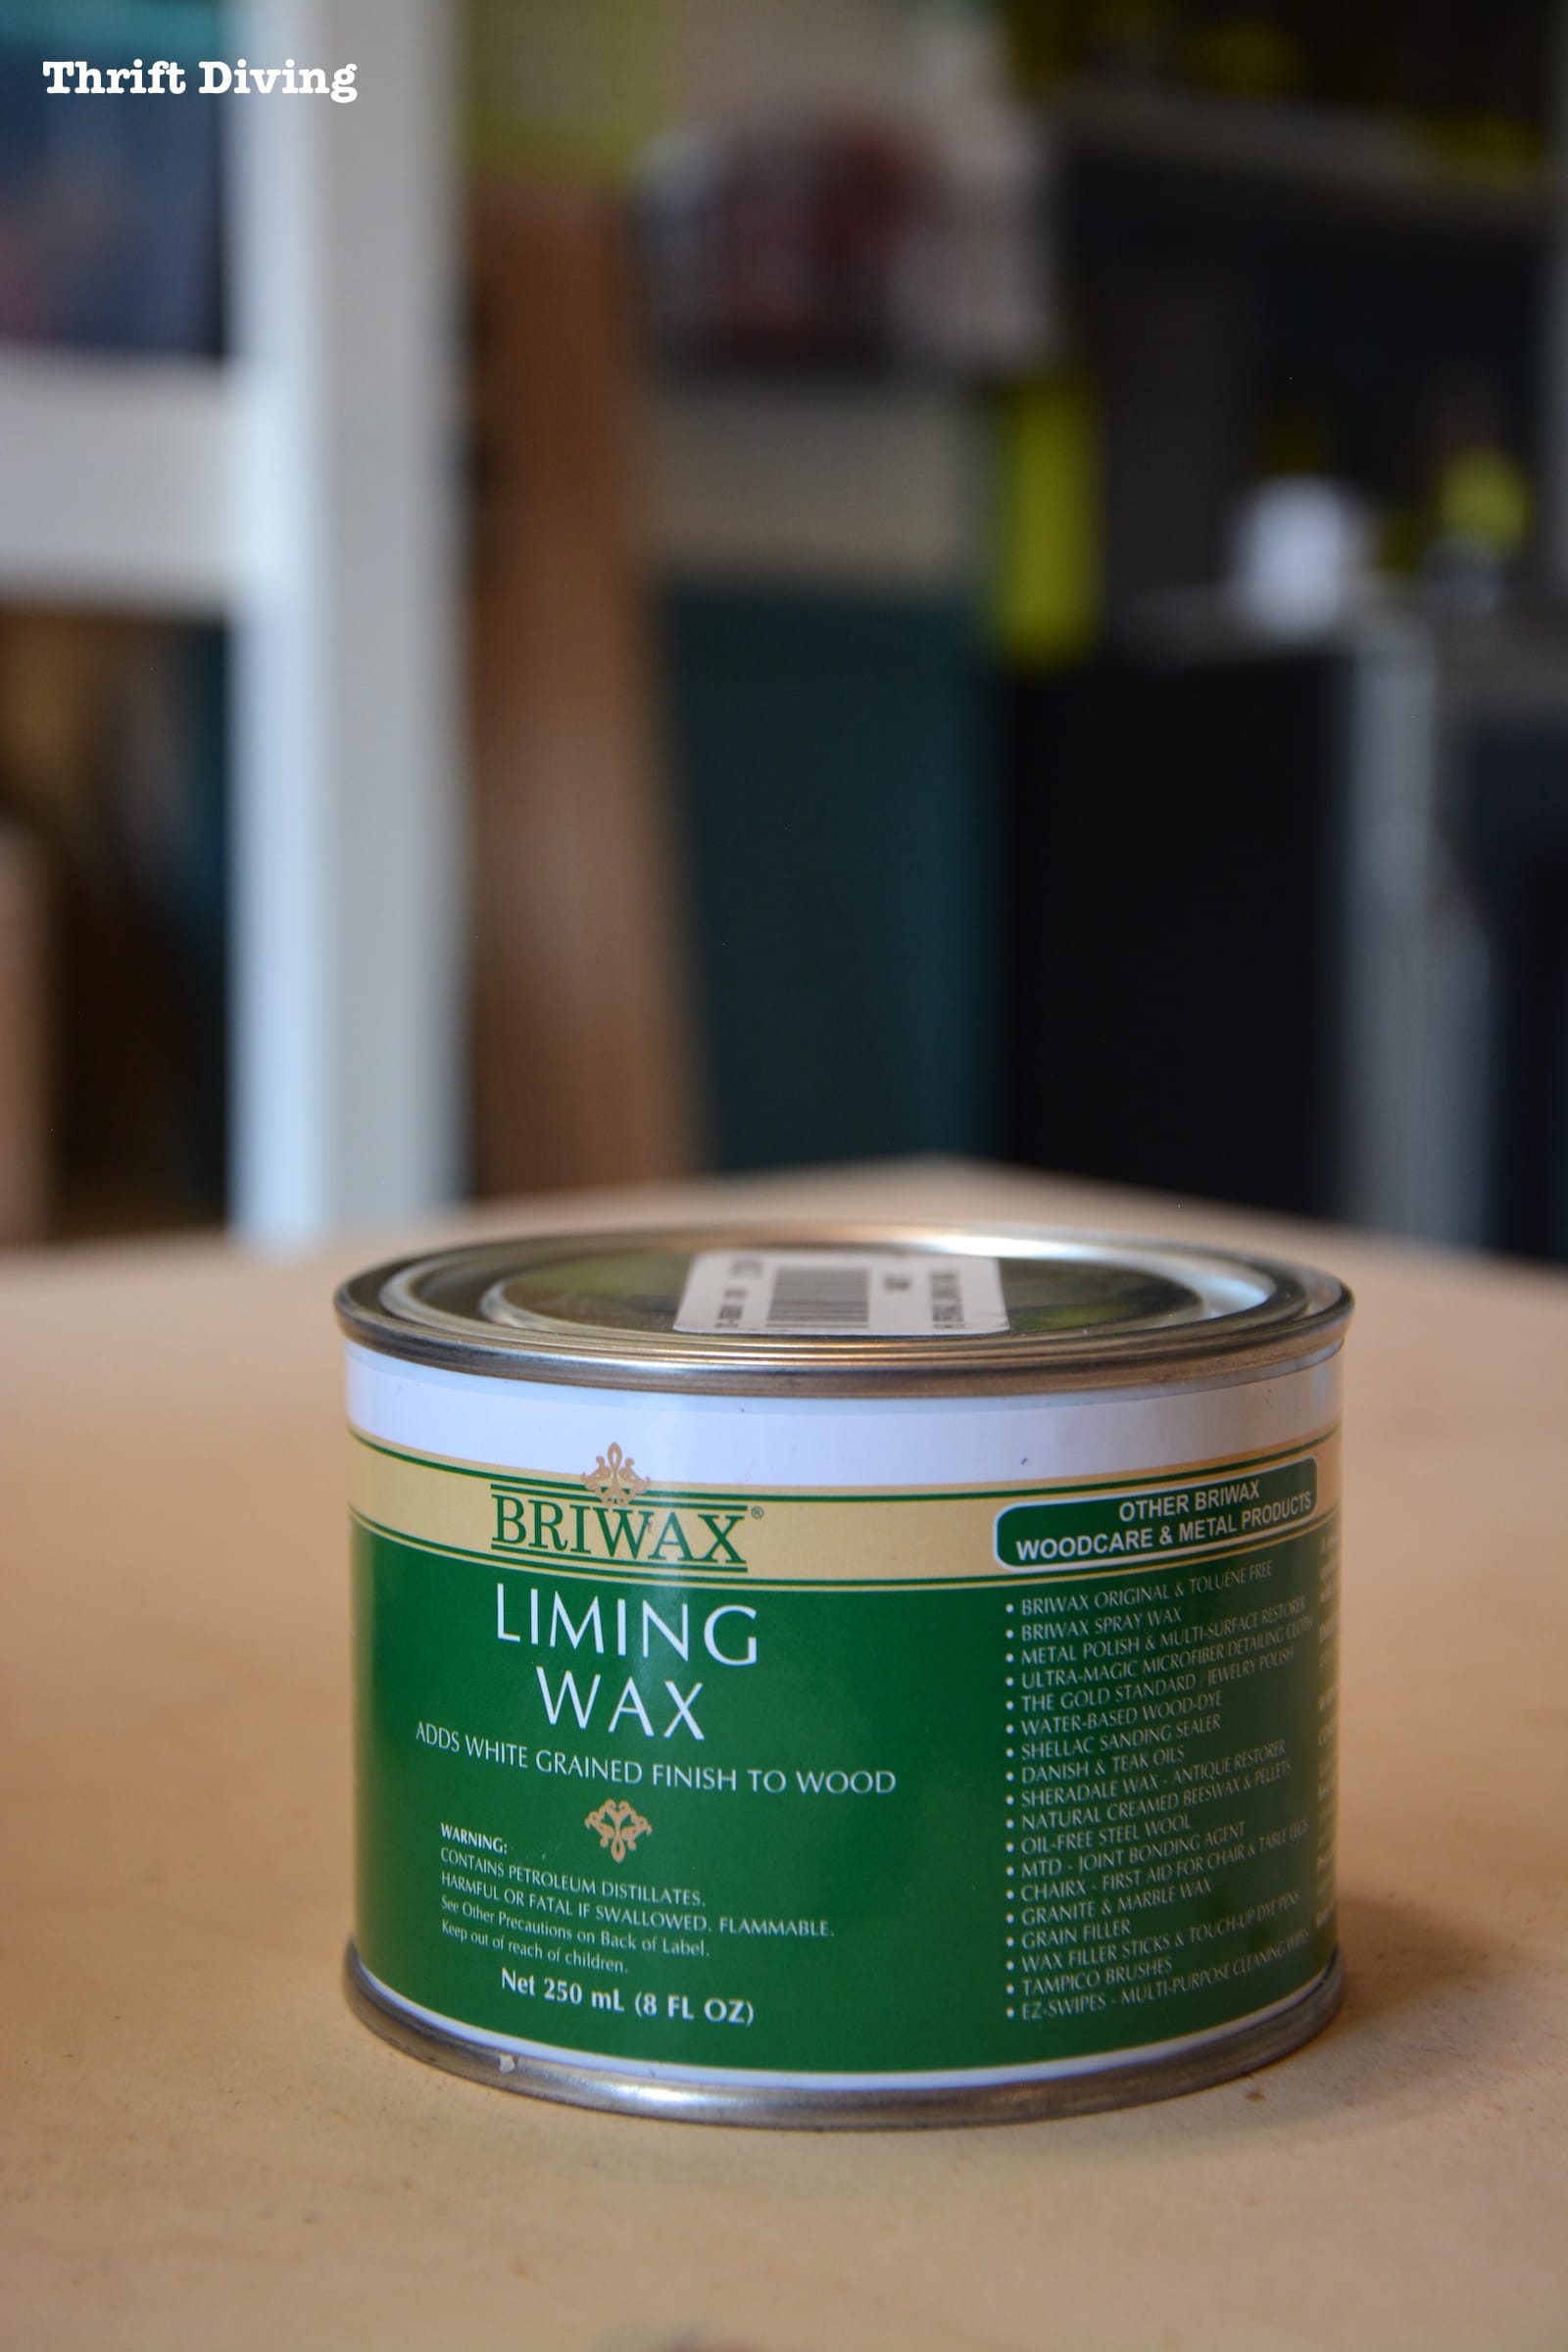
STEP 8 – Smooth on liming wax.
After the wood was completely smooth, it was time to smooth on the liming wax.
I used Briwax liming wax which sooooooo reminds me of Noxema!
I was a little worried about how this would go because I had used two coats of top coat underneath of the liming wax.
The reason I did that was because liming wax and clear wax isn’t protective enough for a bathroom vanity.
It really needed something more “hearty” to protect it, which is where the General Finishes High Performance top coat came in.
The only potential problem was not knowing how much of the top coat settled into the pores. Would there be enough space for the liming wax to highlight the grain?? I sure hoped so!
Red Oak is very porous, and even after finishing it, you will still be able to see a dimpling across the surface. I just didn’t know how much dimpling would be left for me to fill it in with white wax! 🙂
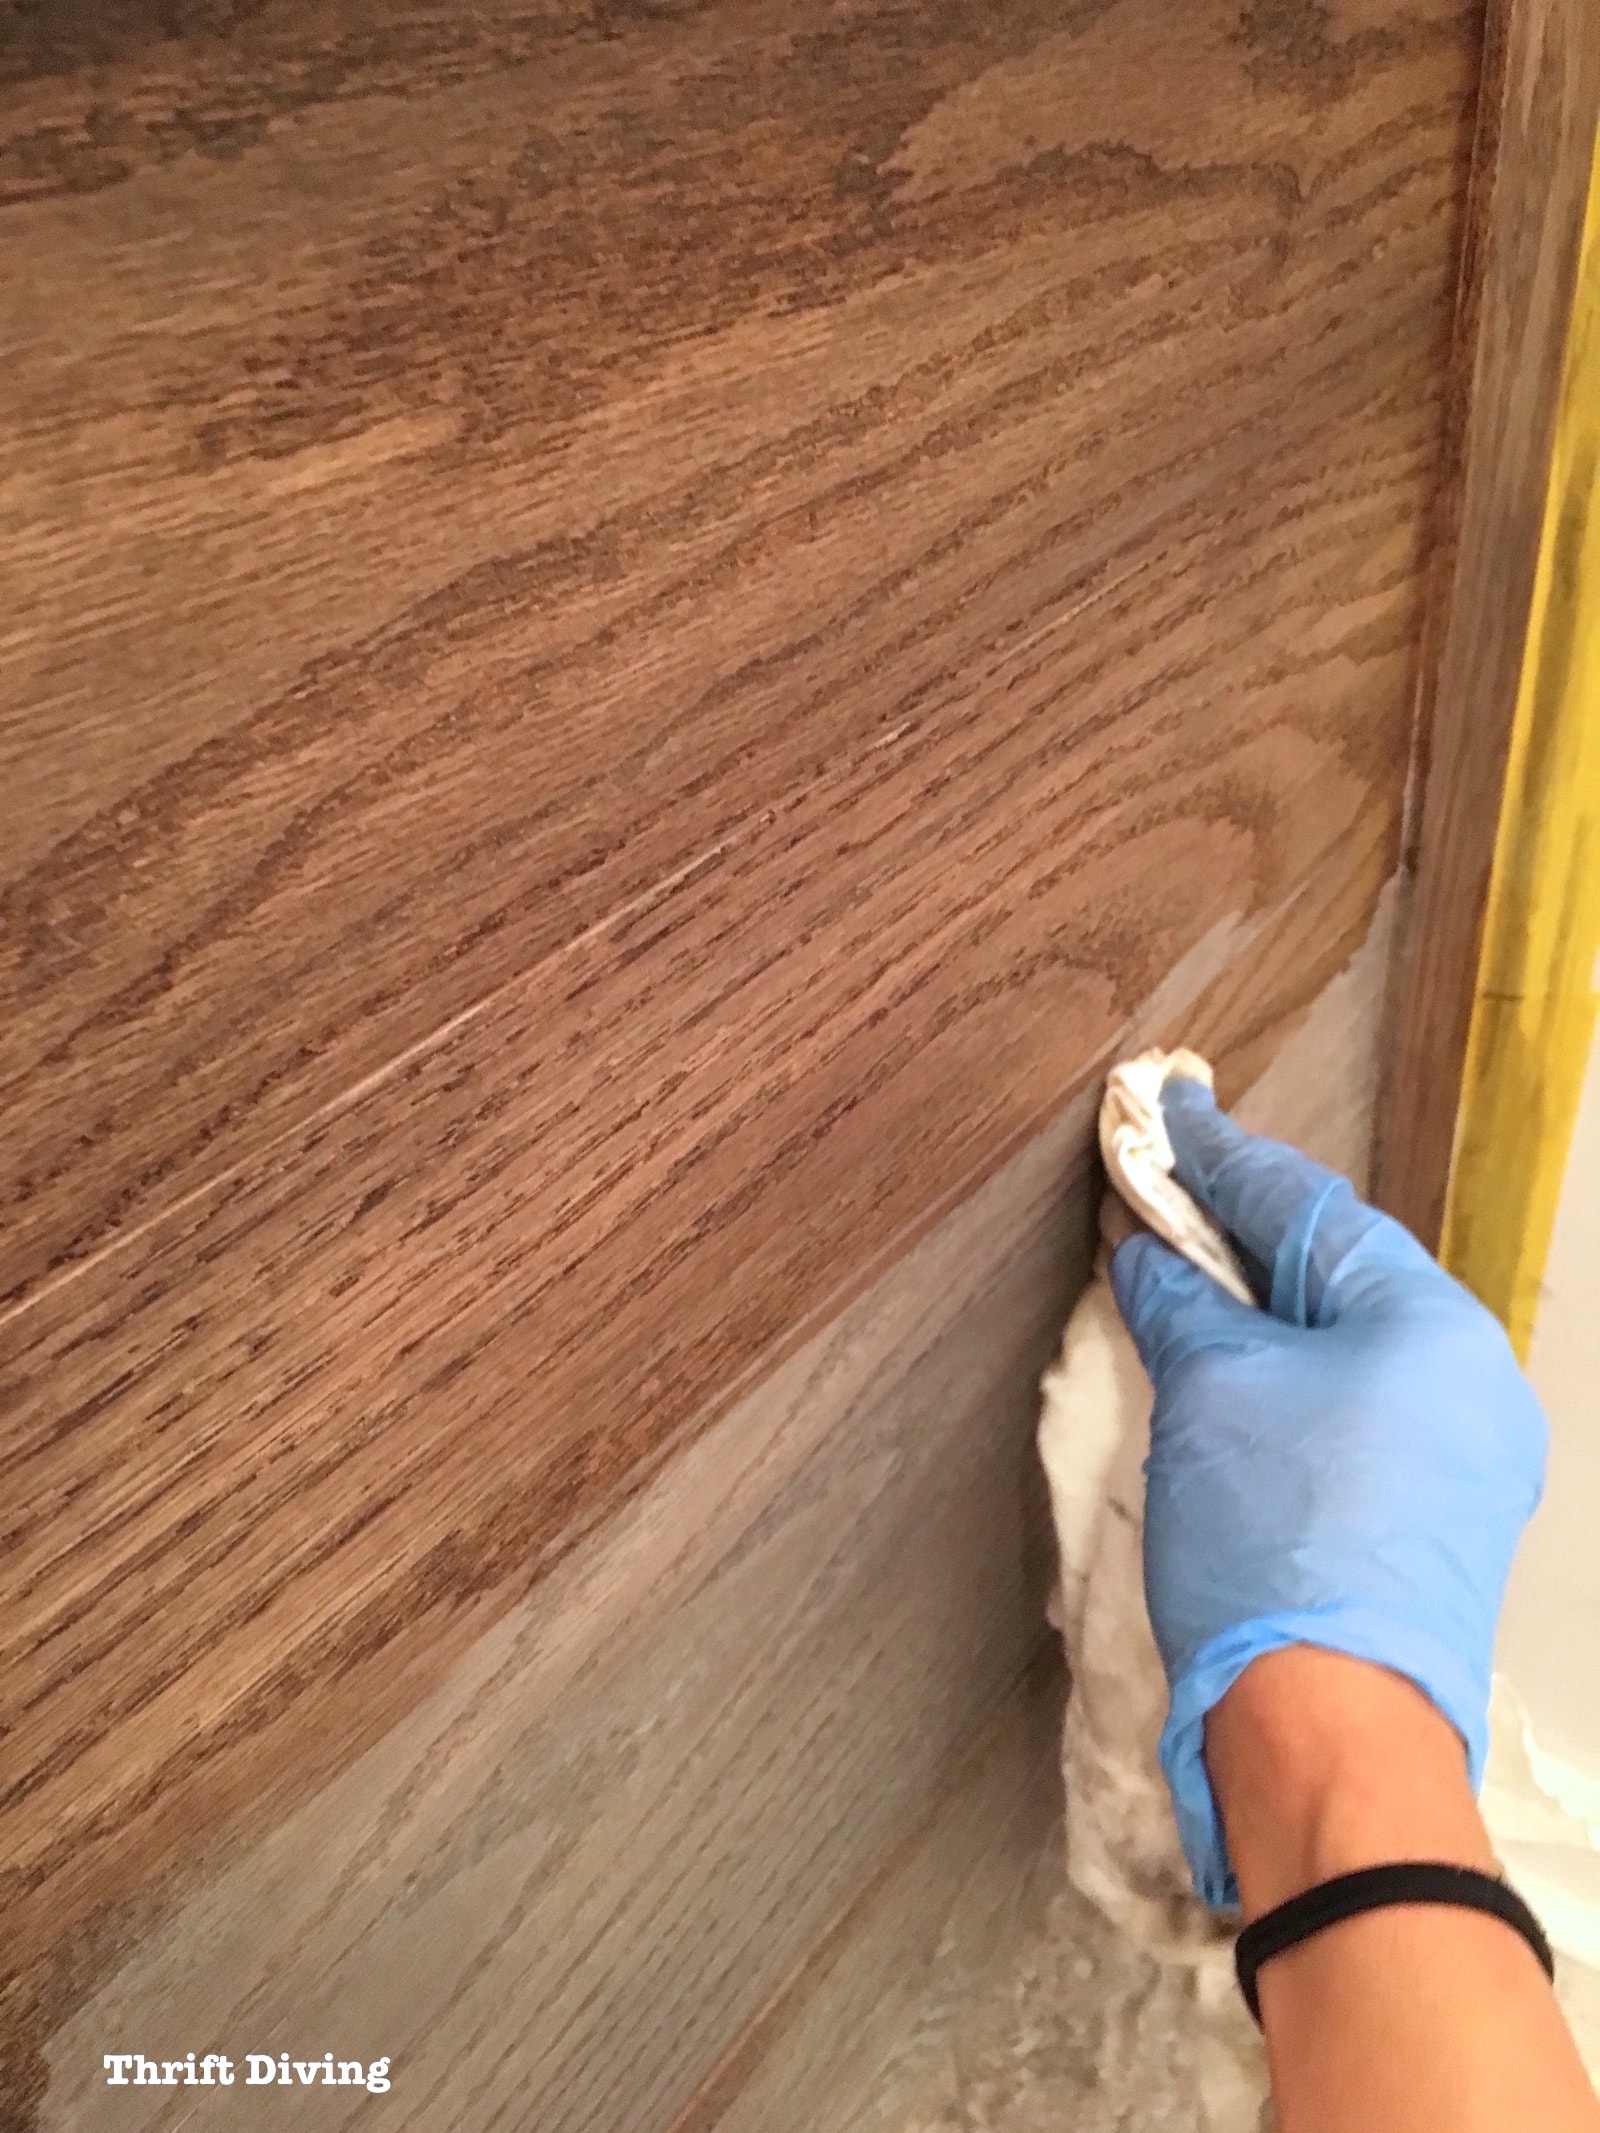
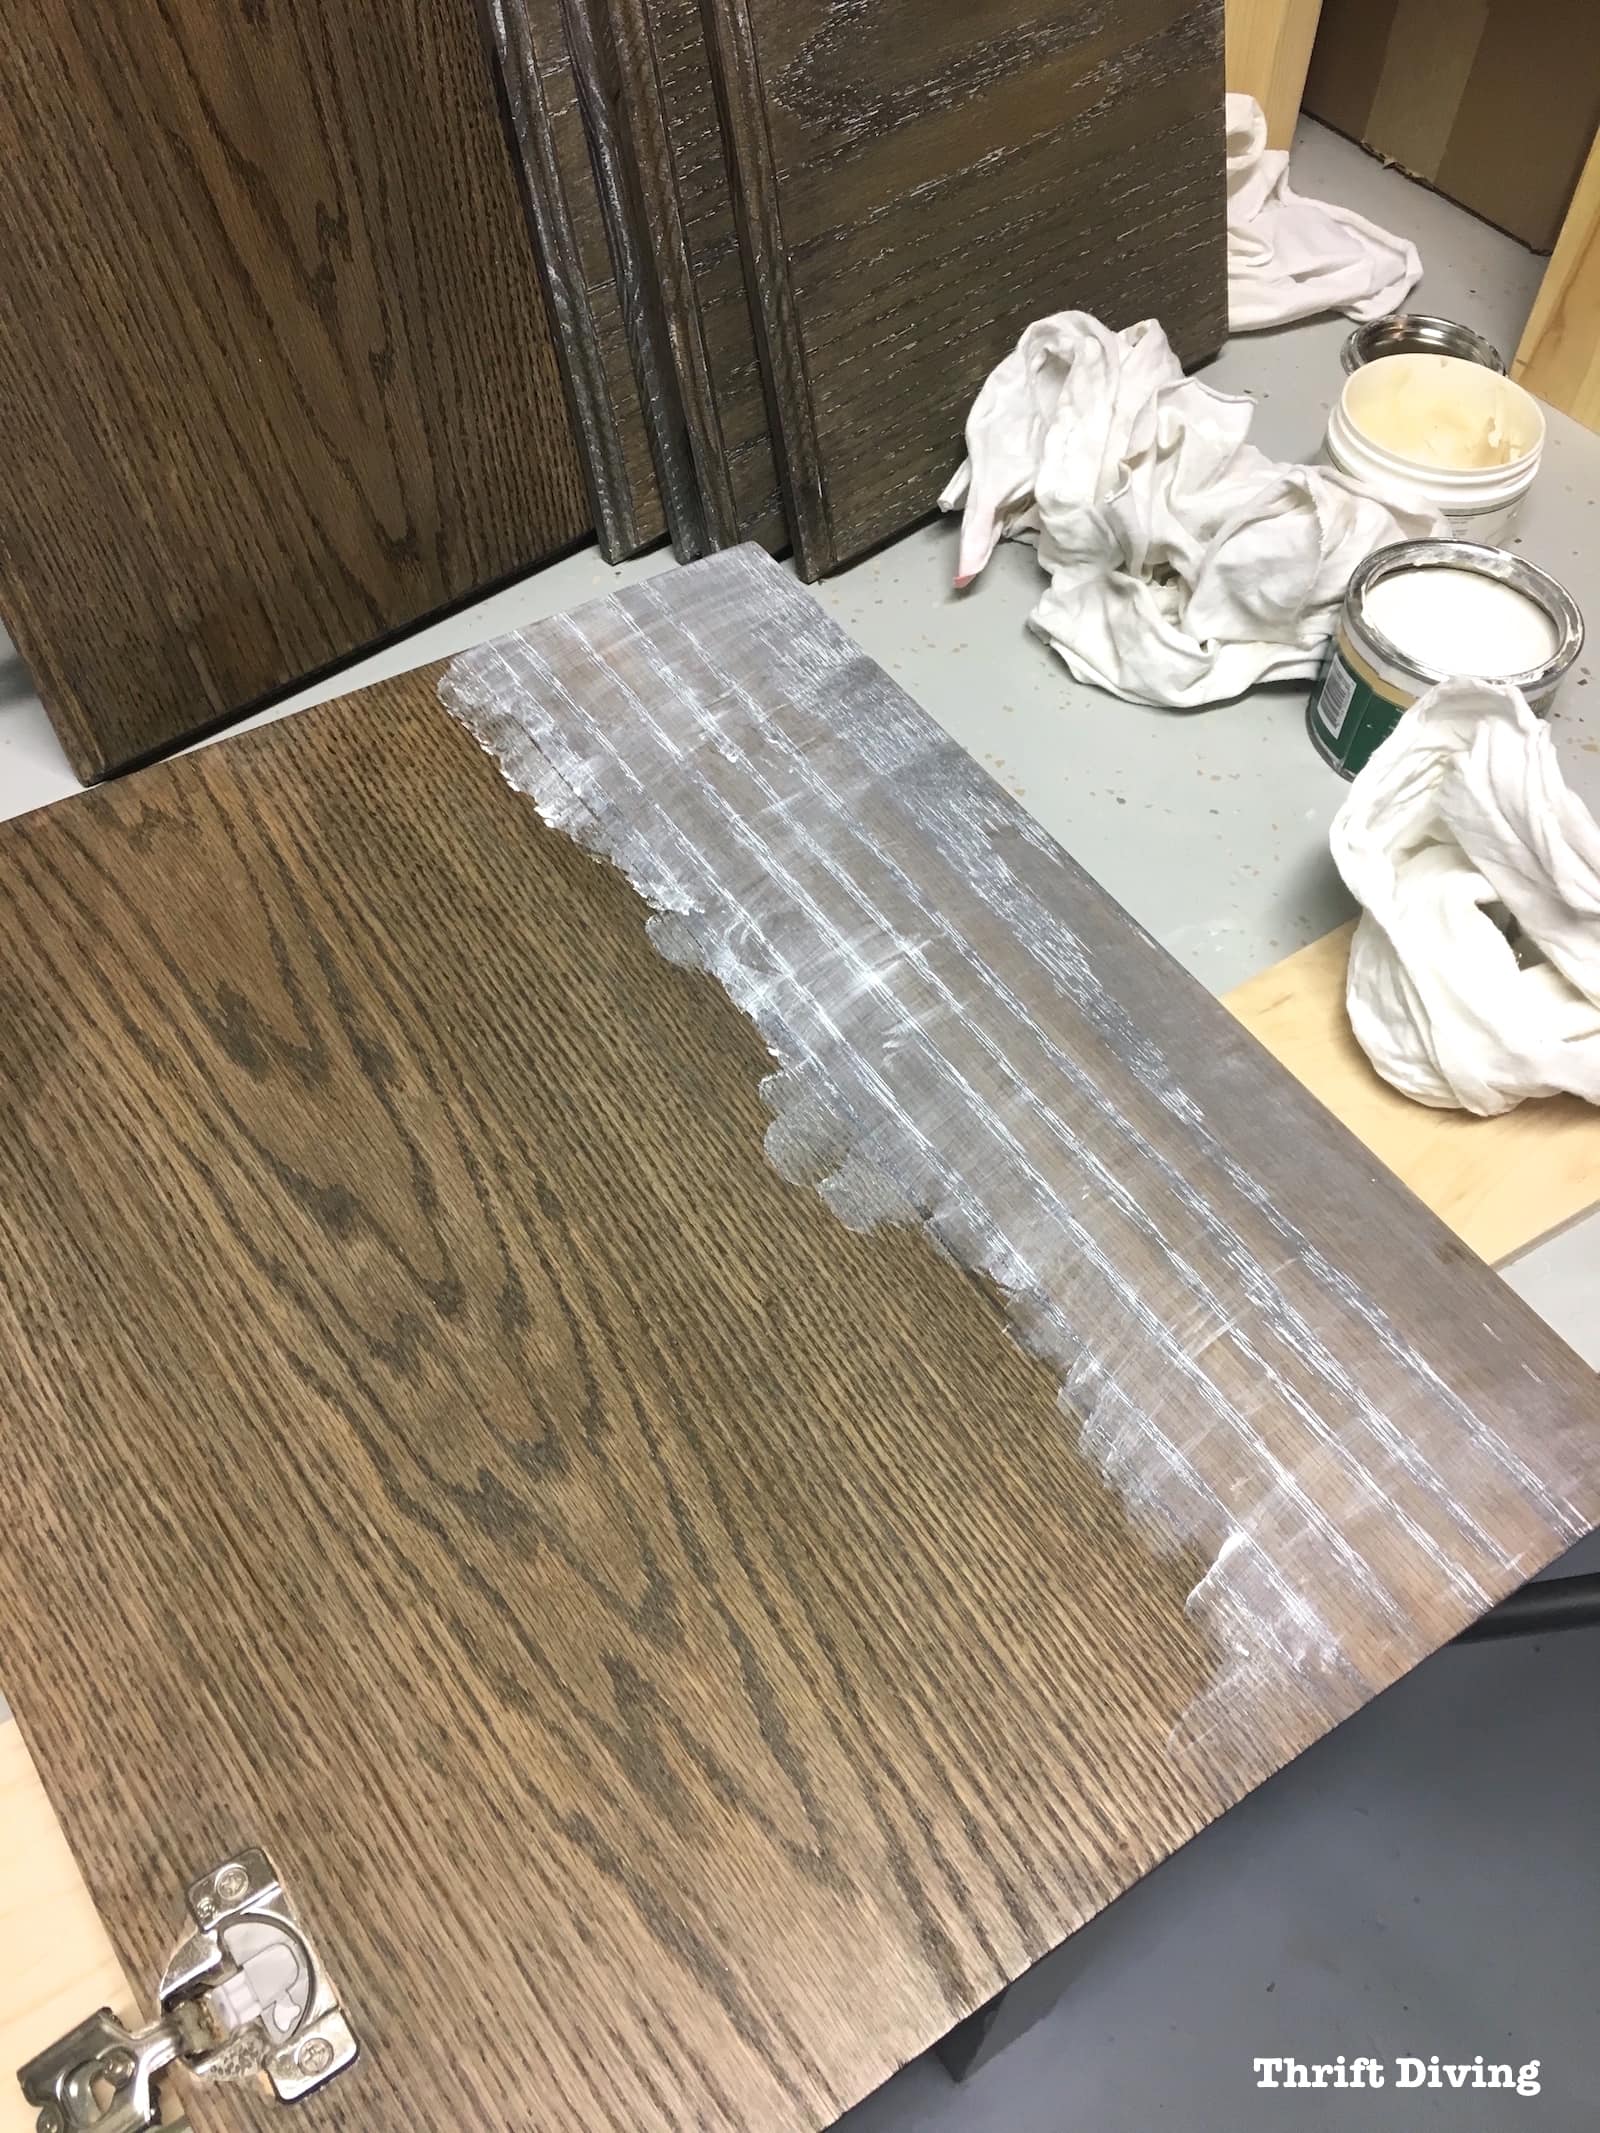
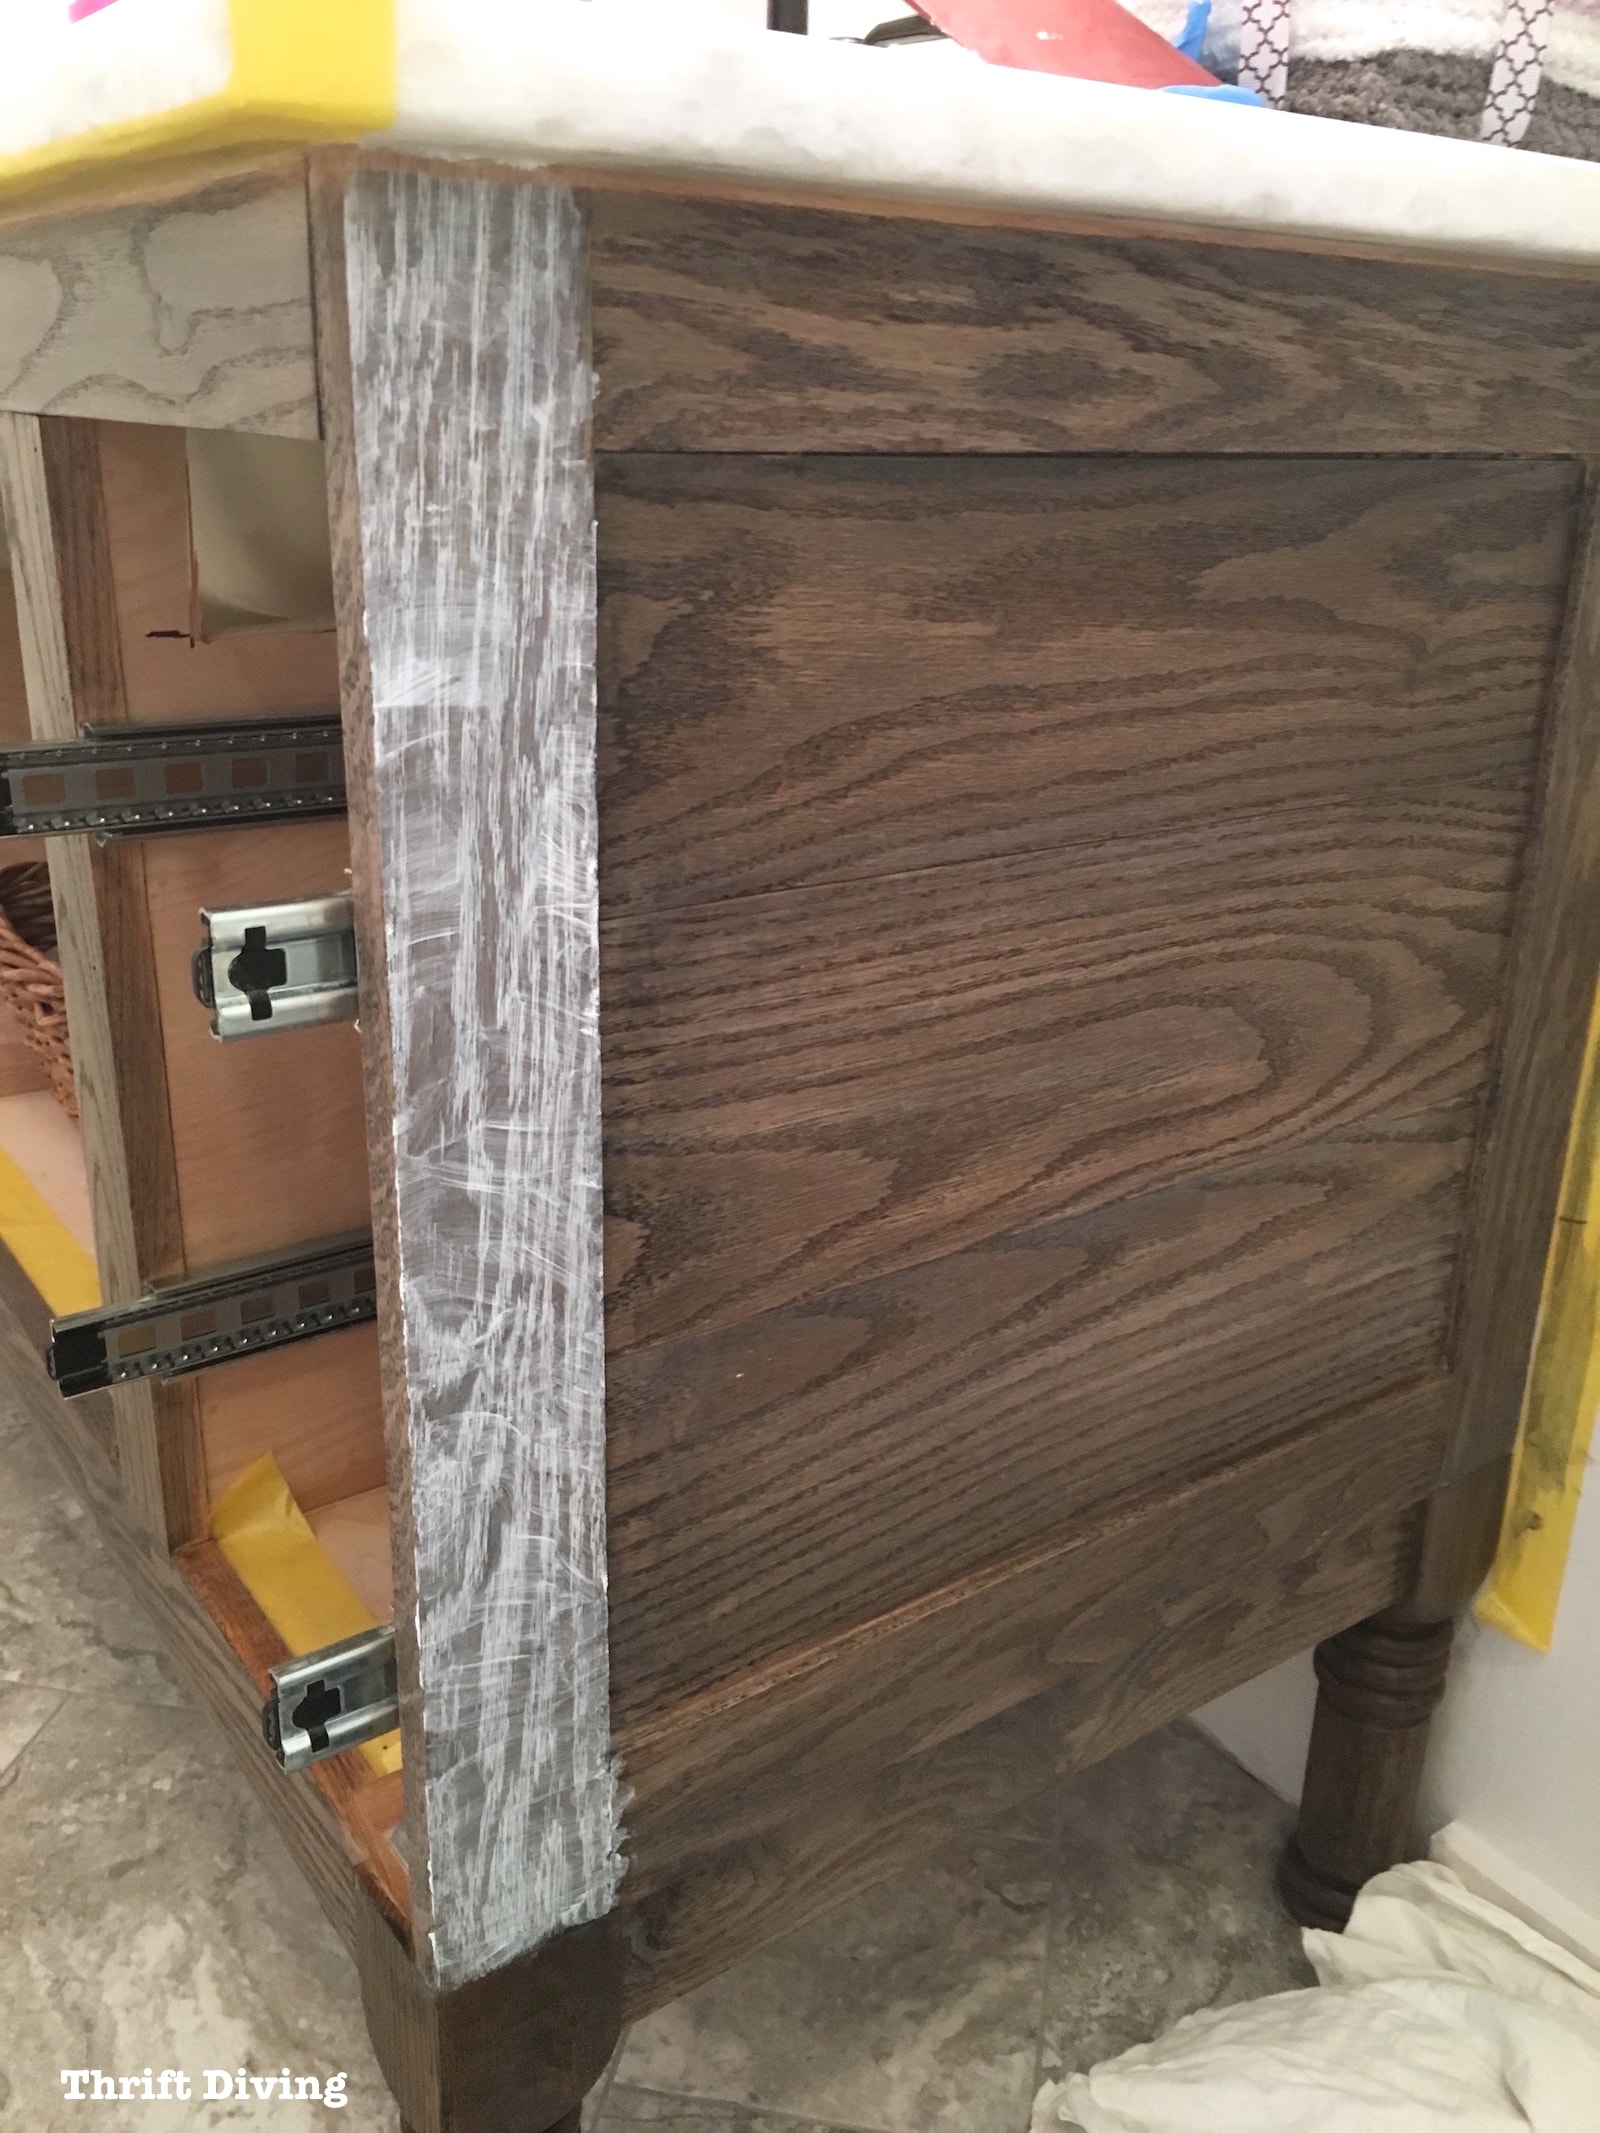
Anyhow, I wiped the liming wax on perpendicular to the grain.
I did the same for the body of the vanity, working in small sections at a time.
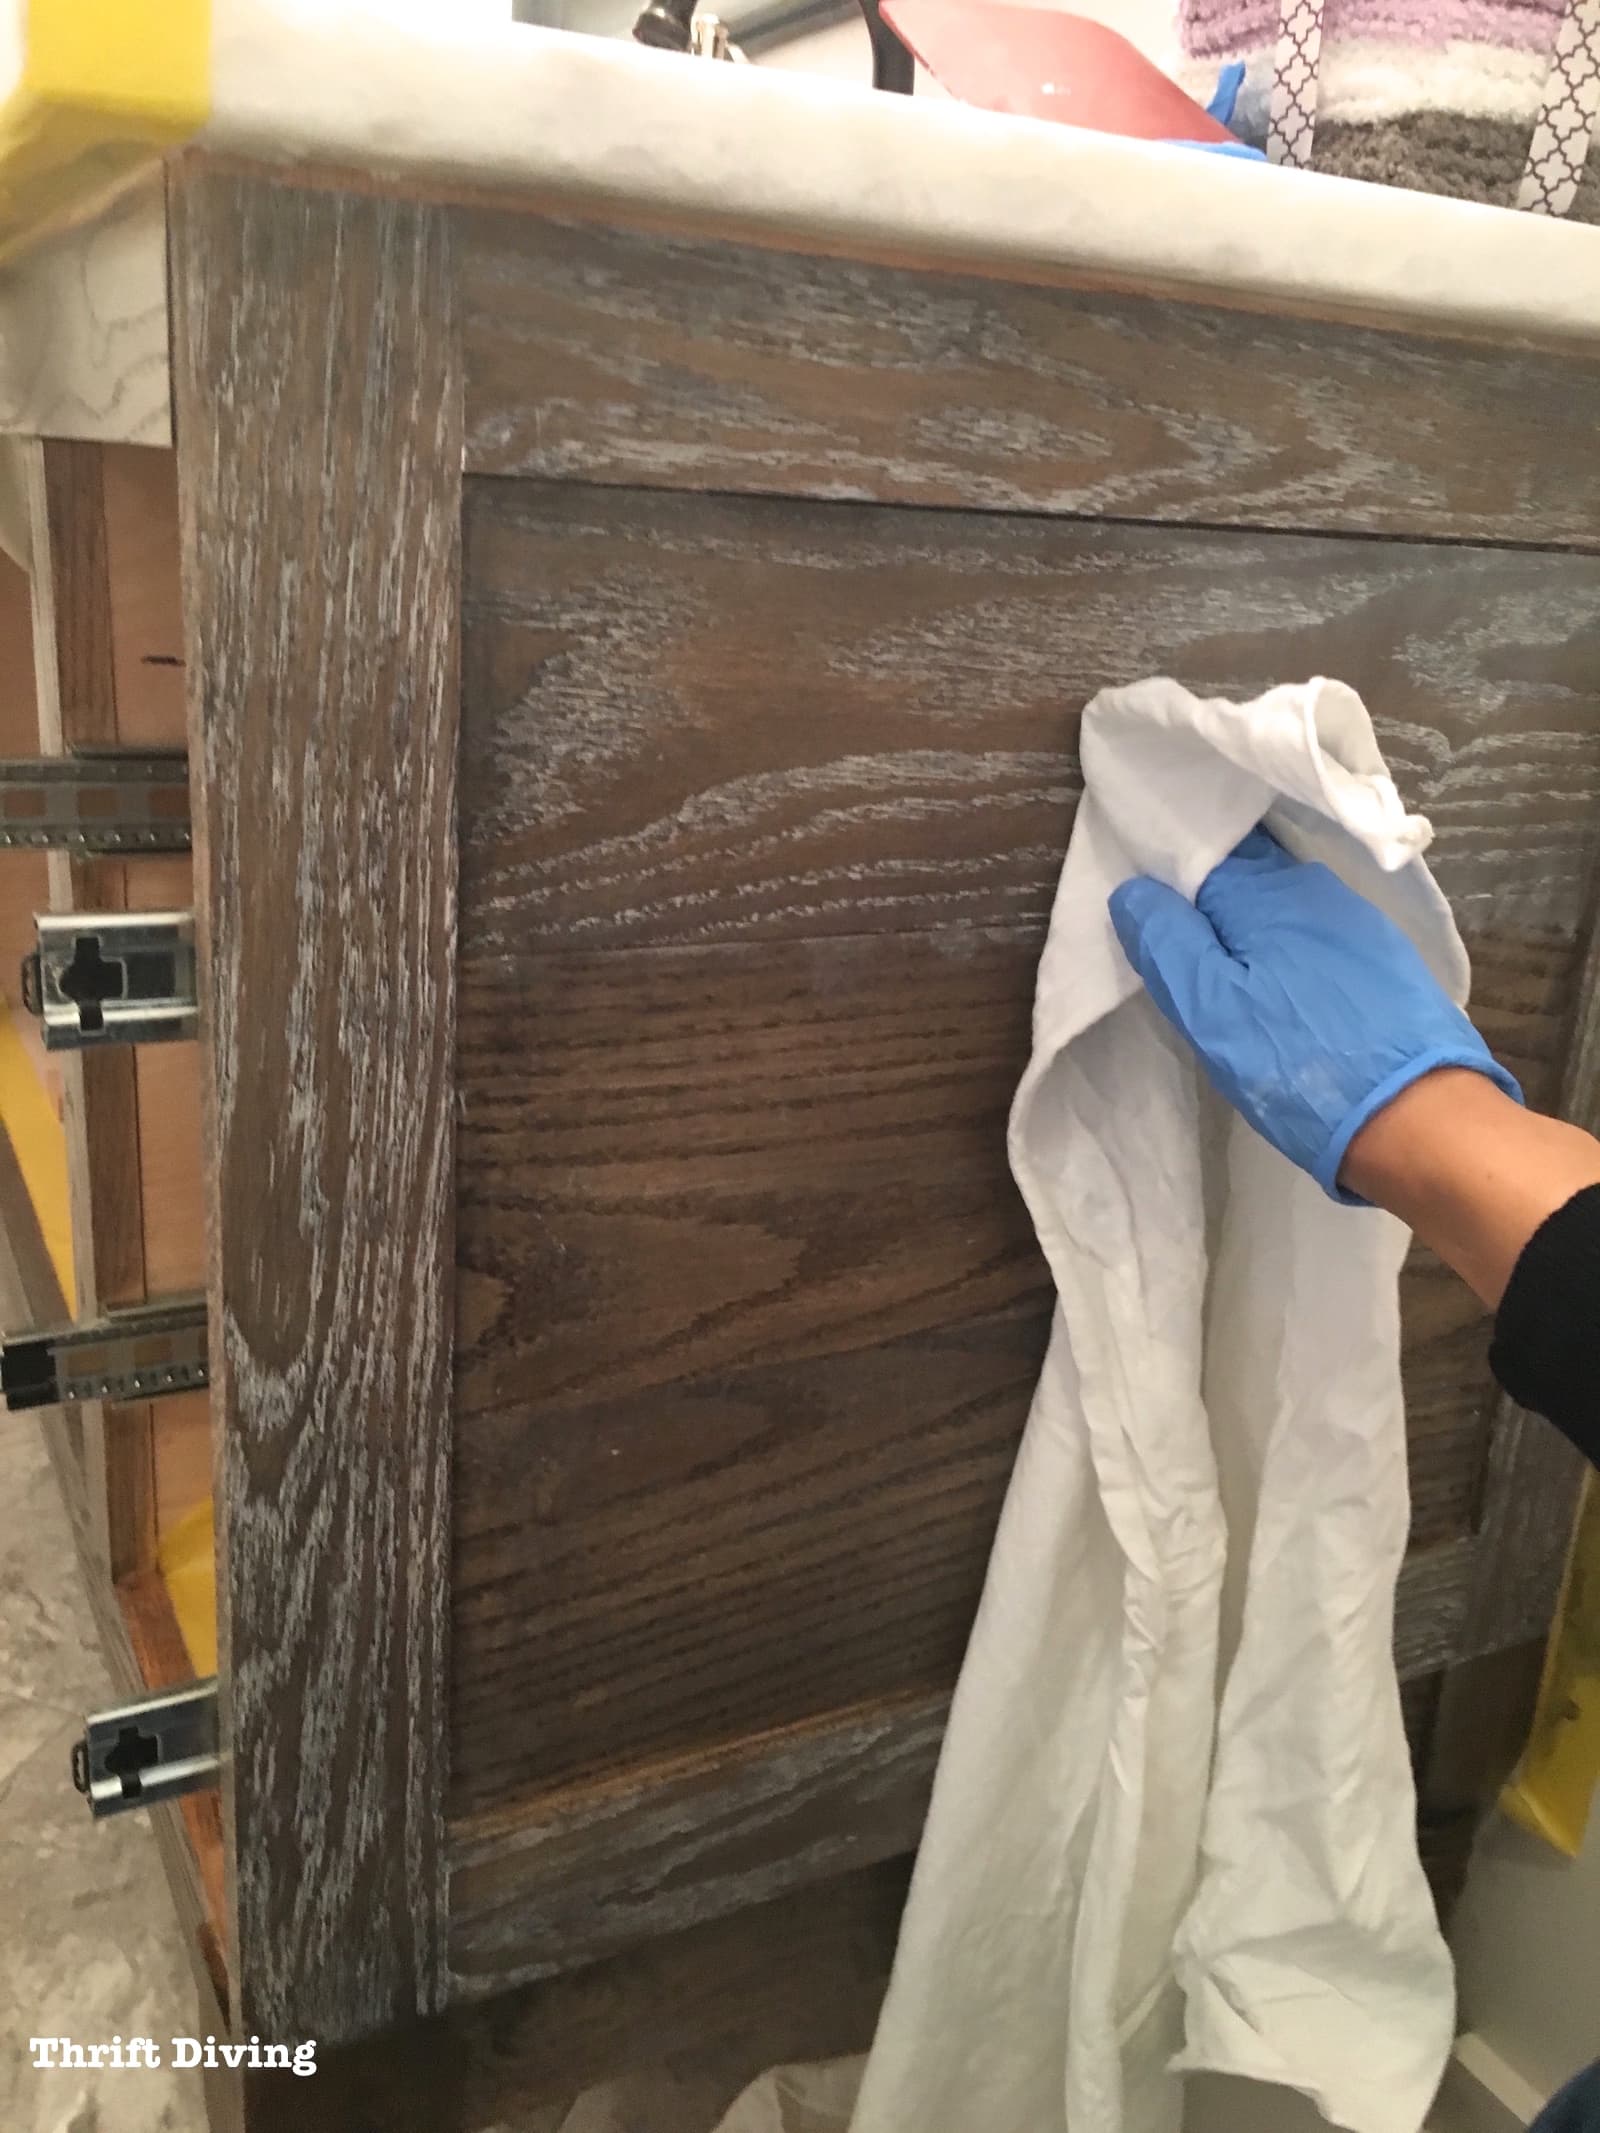
I let it dry for 3-5 minutes and then used some clear wax on a lint-free rag, wiping perpendicular to the grain, as well.
If you don’t remove enough of the liming wax, it will leave a white haze. The clear wax helps to remove that haze.
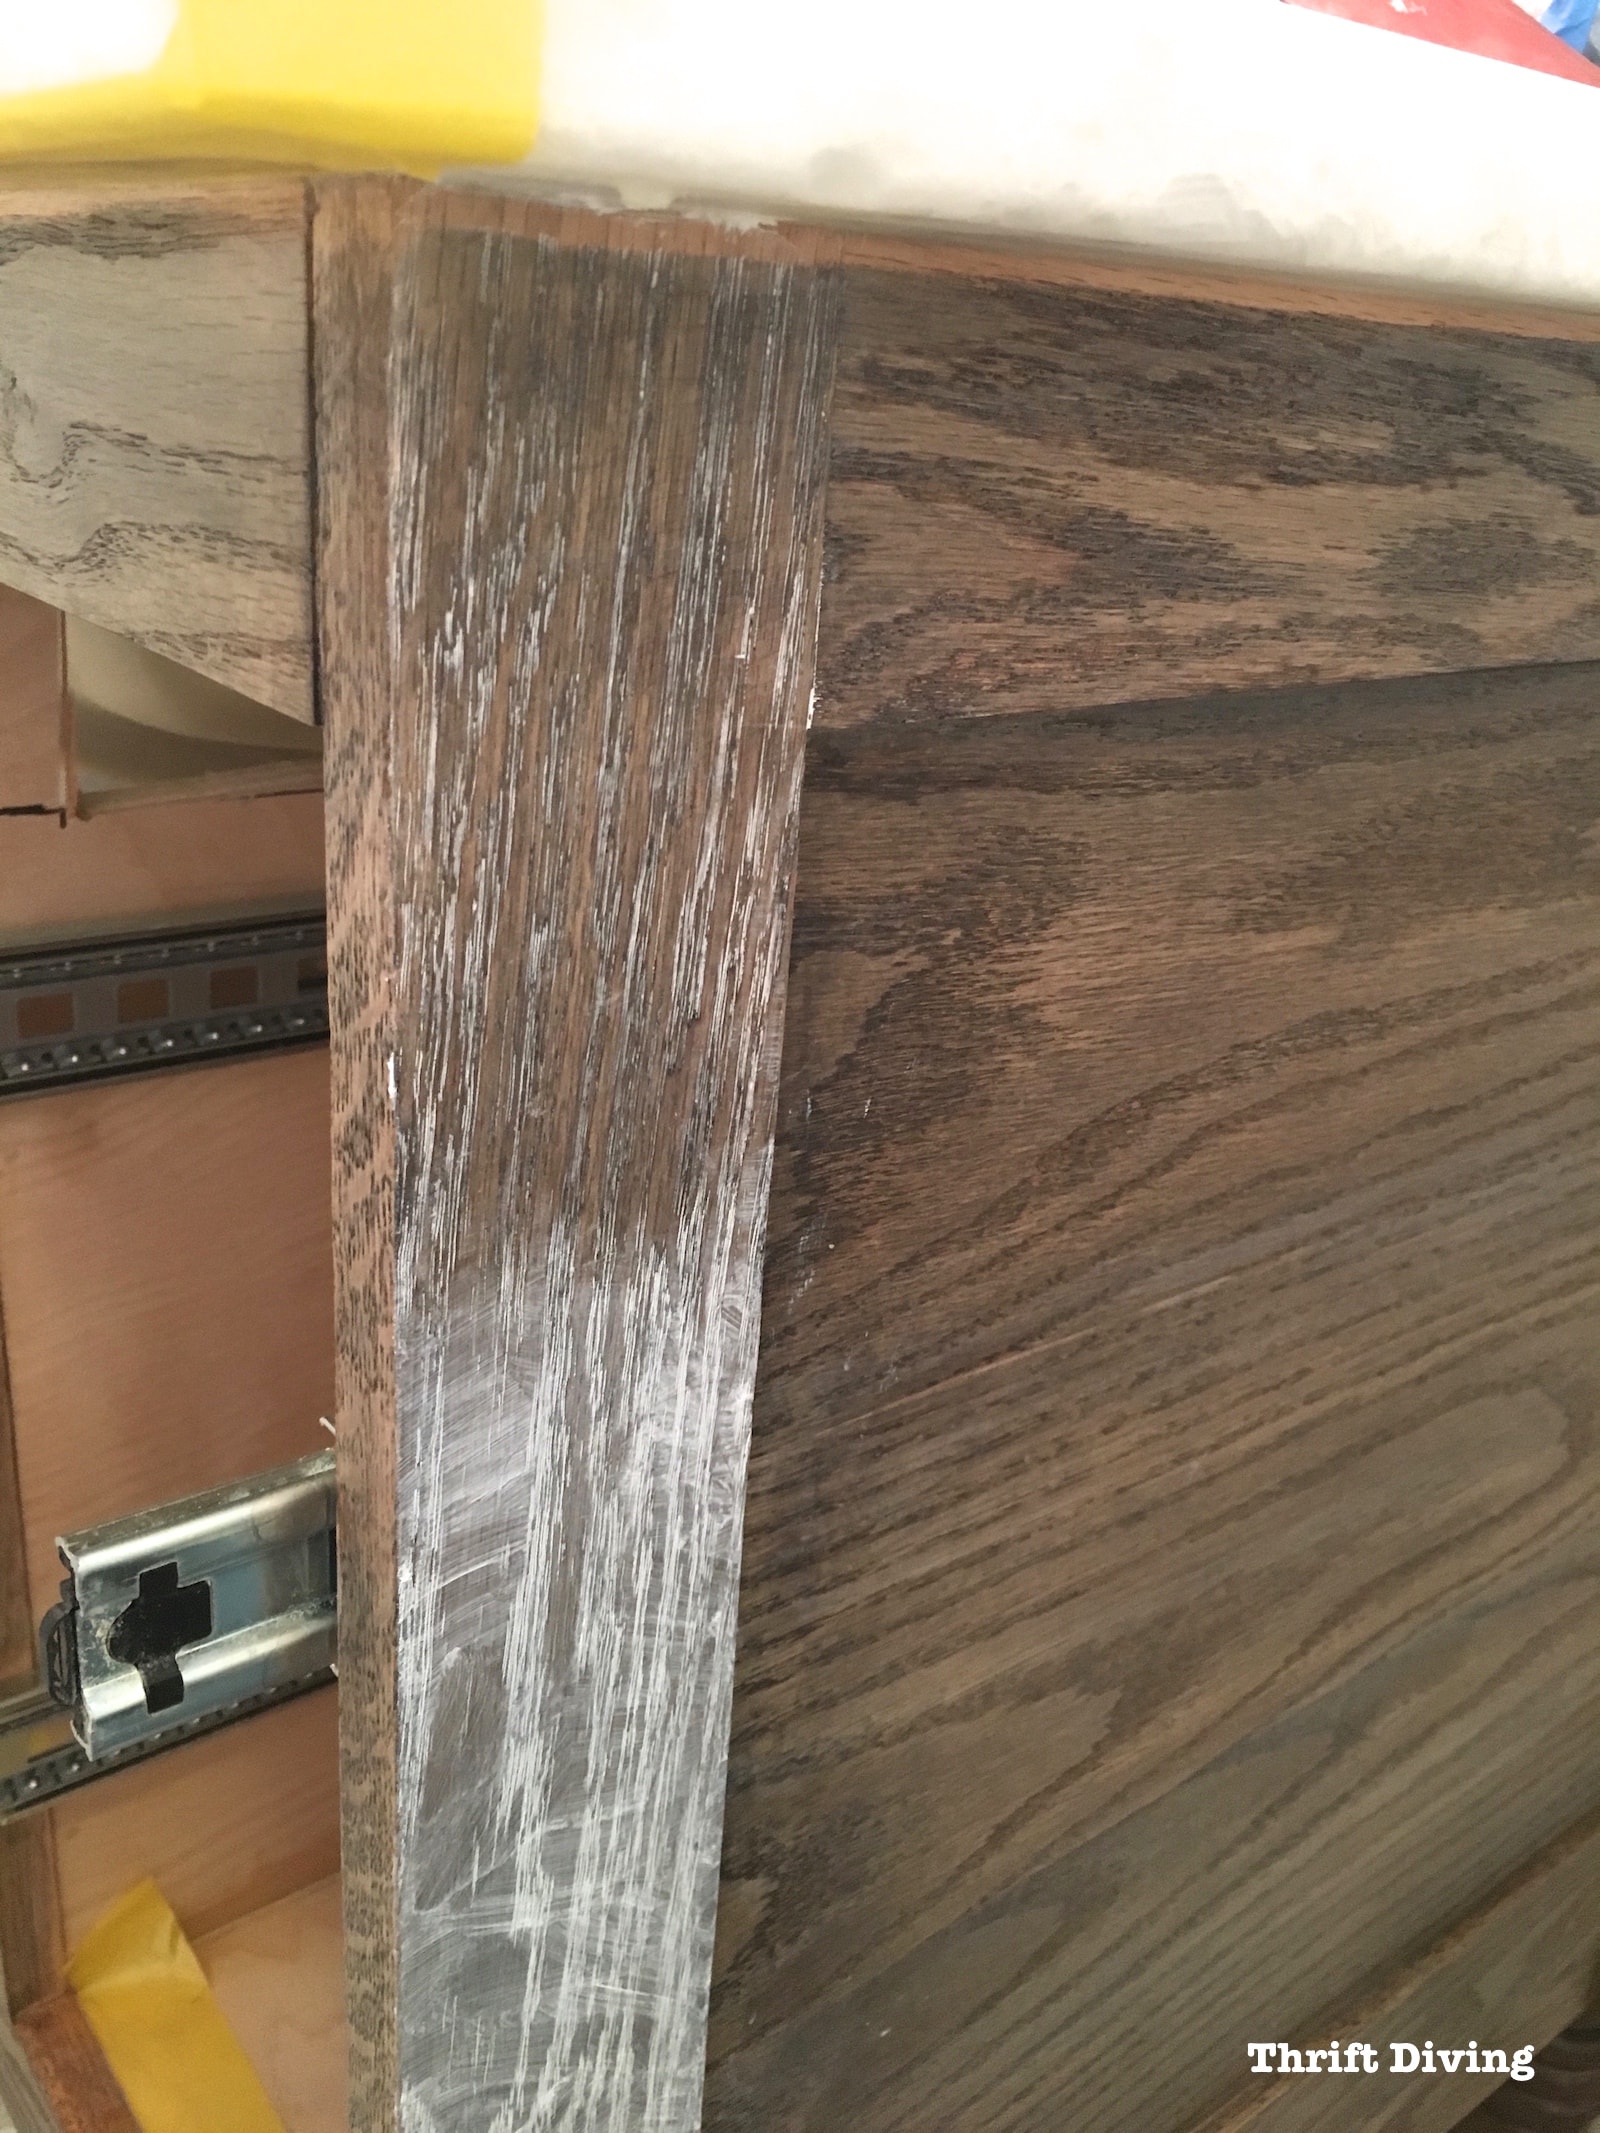
What should remain is the liming wax in the grain!
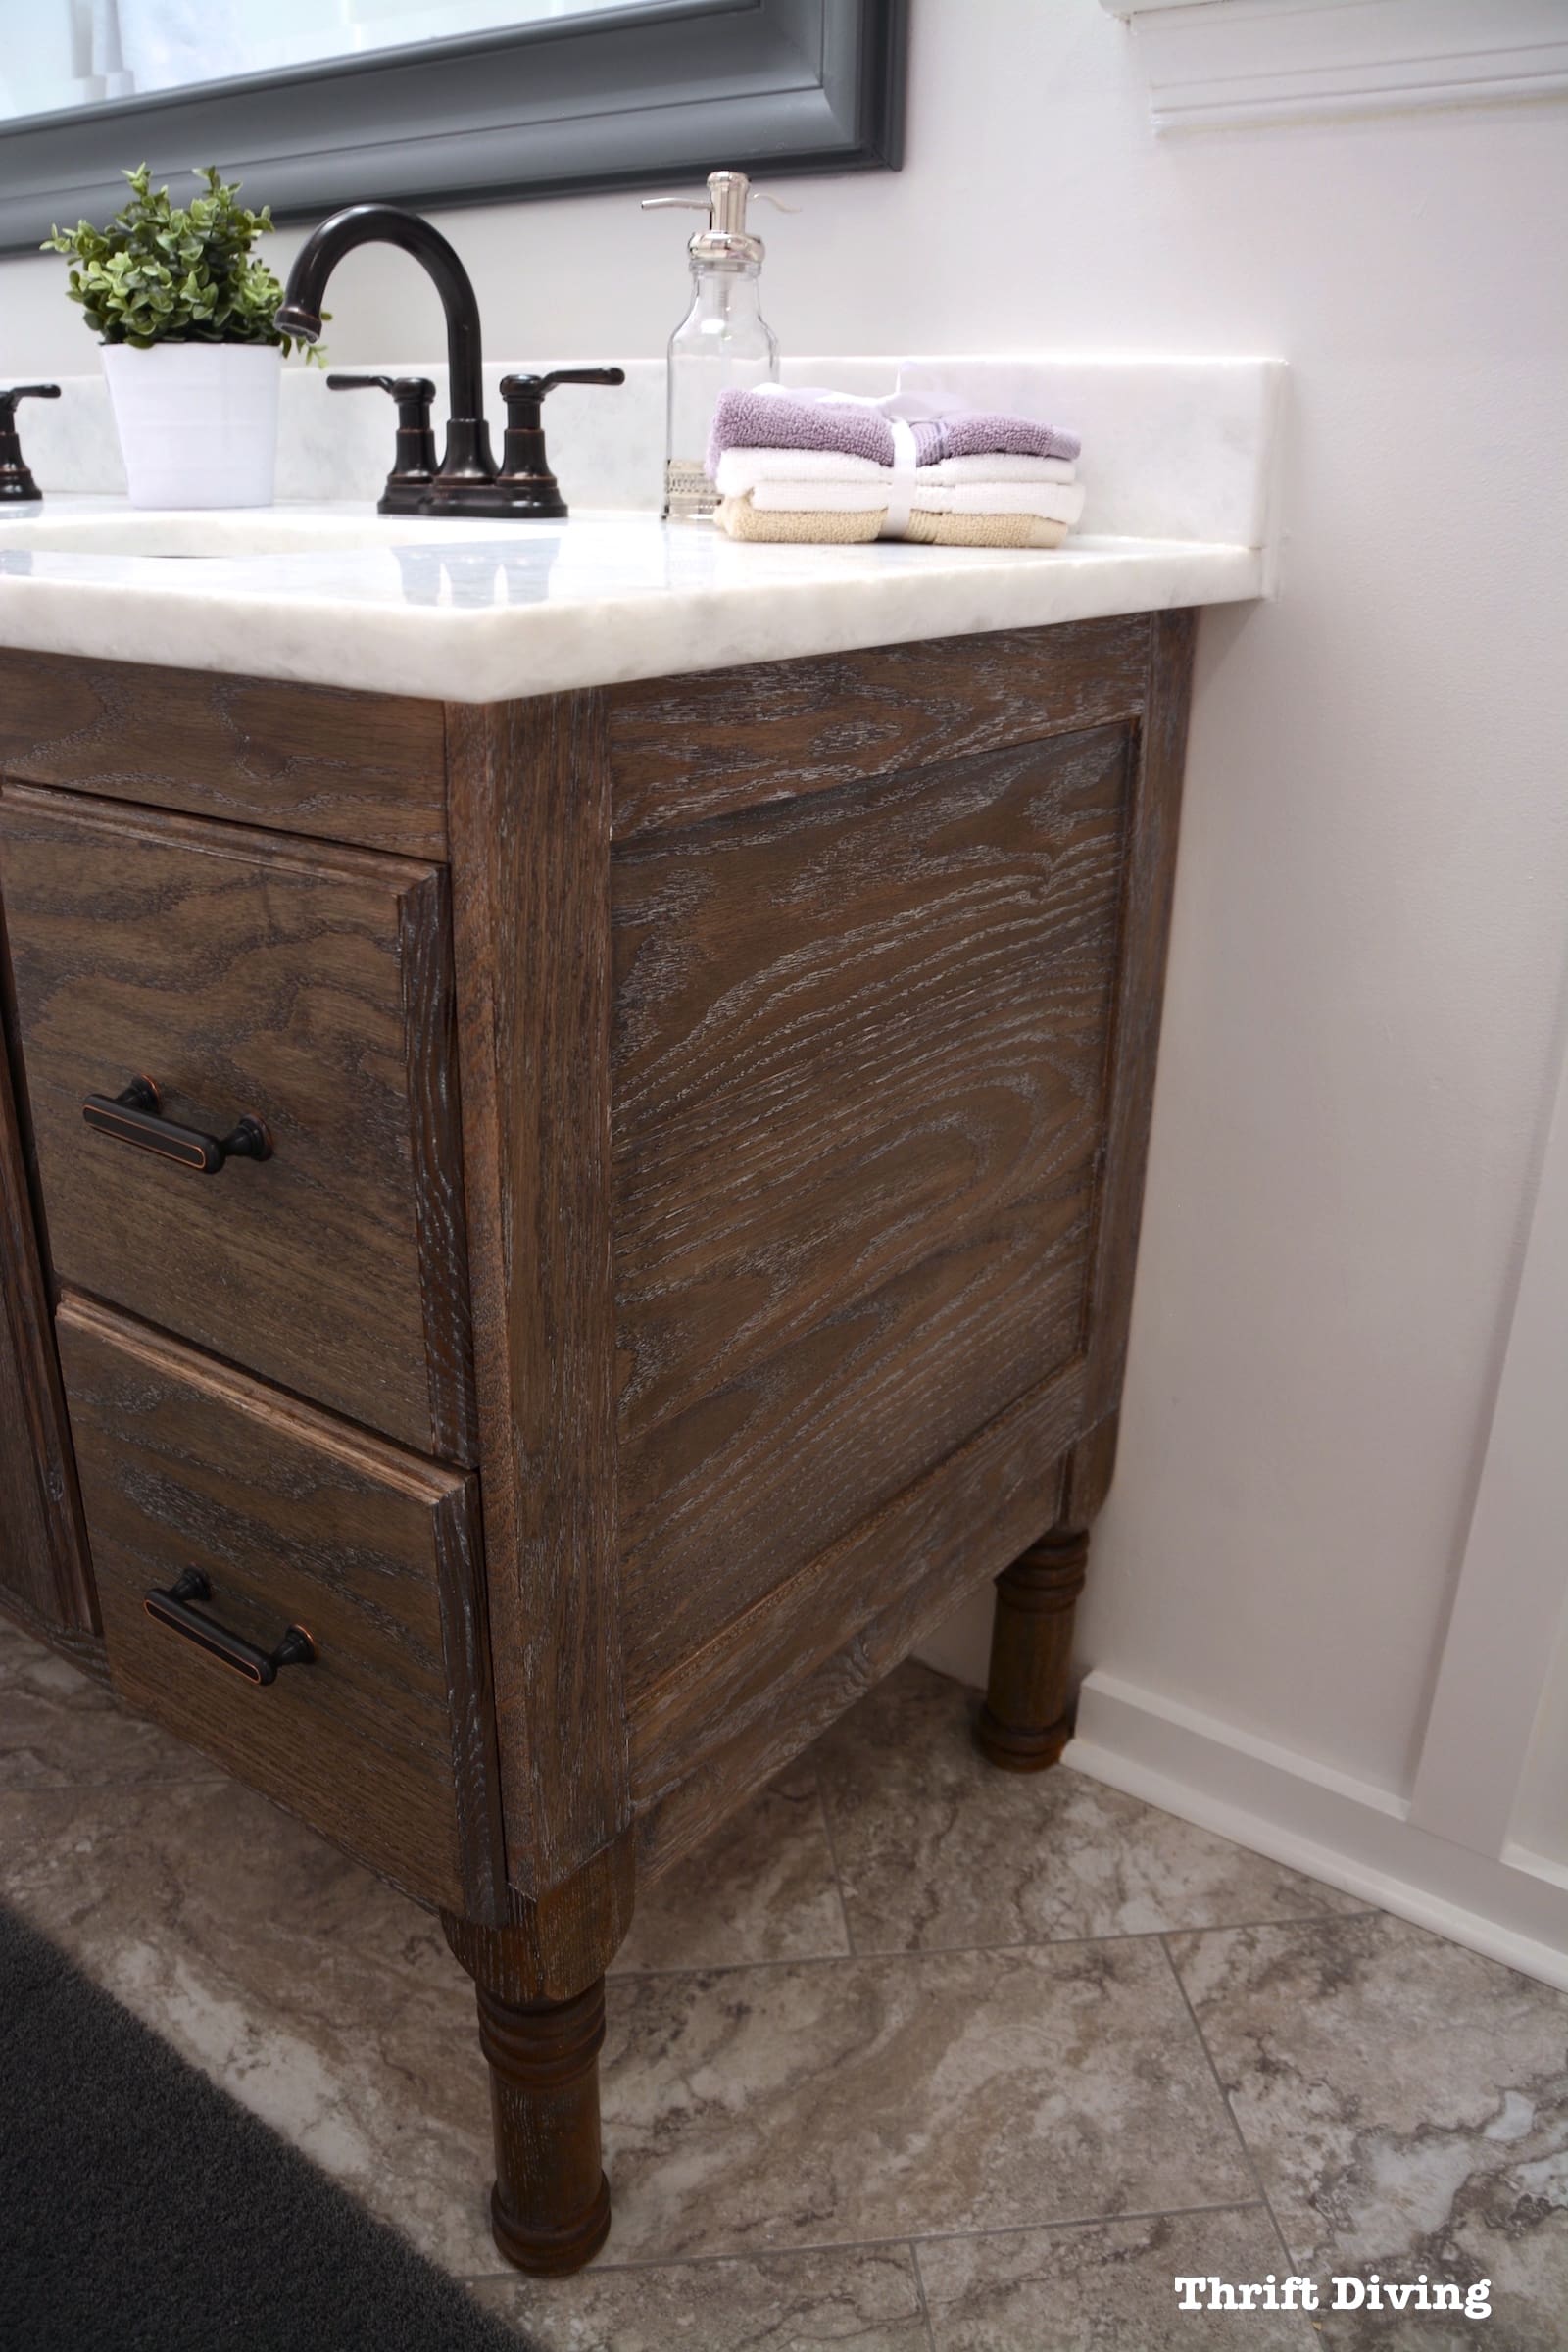
I found that the side of the vanity took the wax very well!

The rest of the body took the wax well, too.
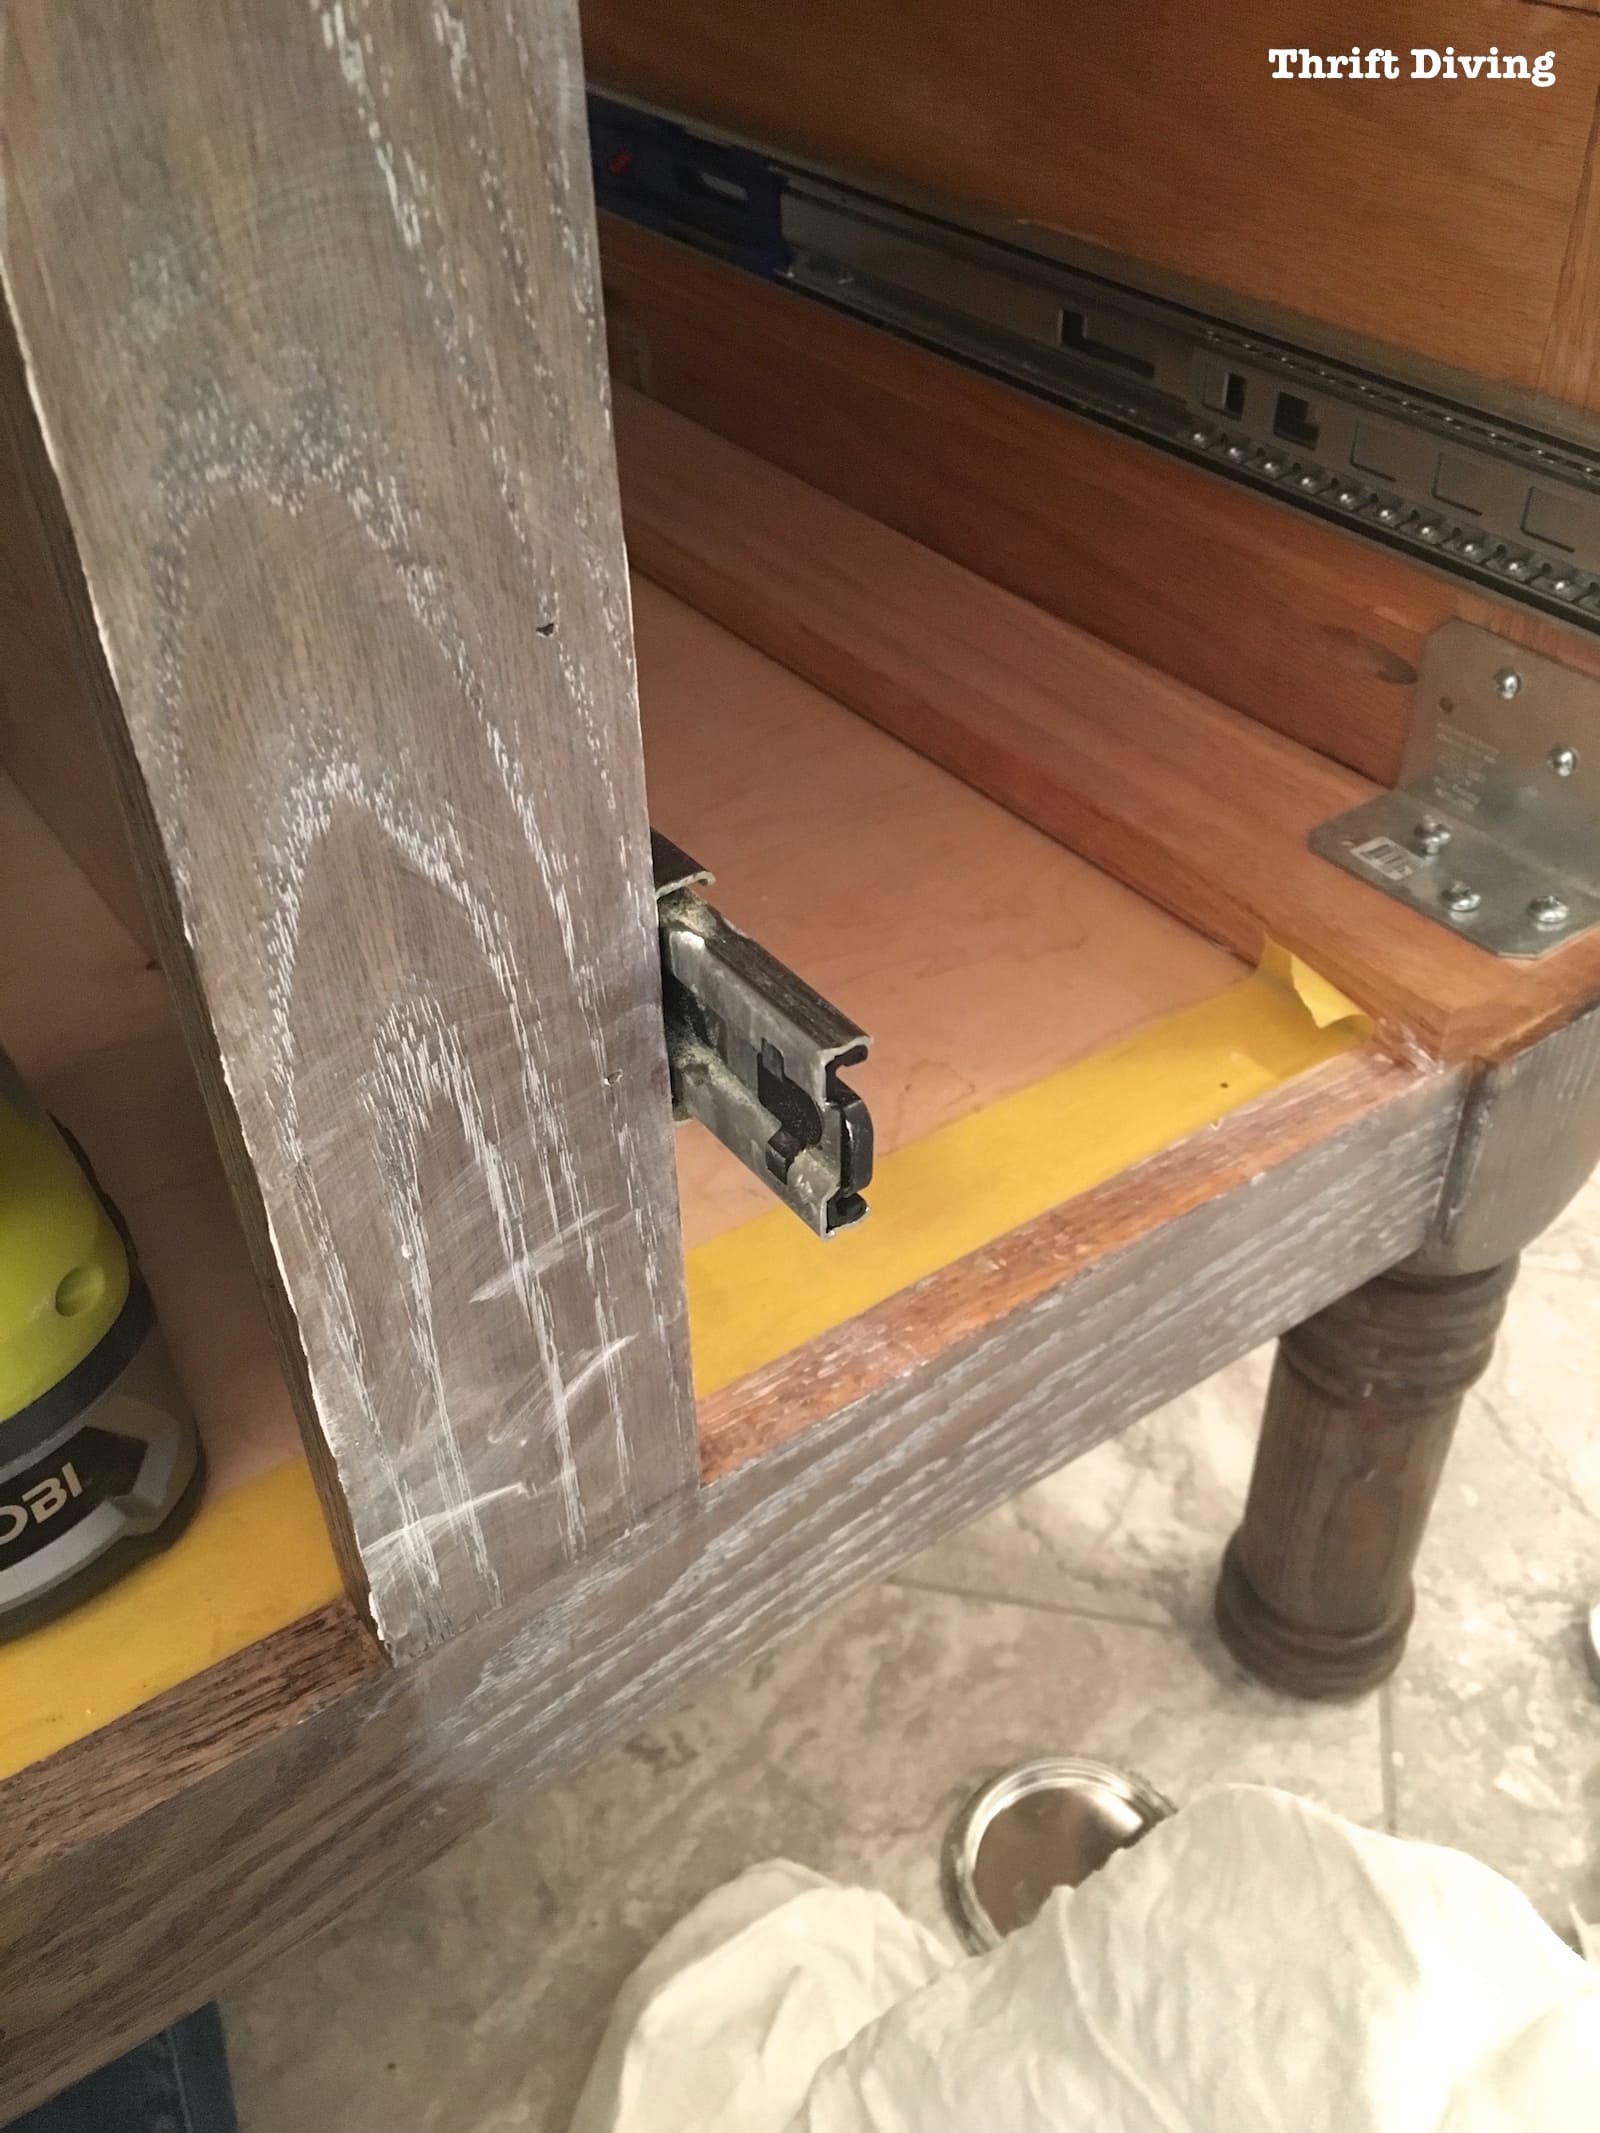
The only part that I felt didn’t take the wax as well are the drawer fronts. I would have liked more wax accenting that area. But DIY can’t be perfect, can it?? 😉
STEP 9 – Add a coat of clear wax.
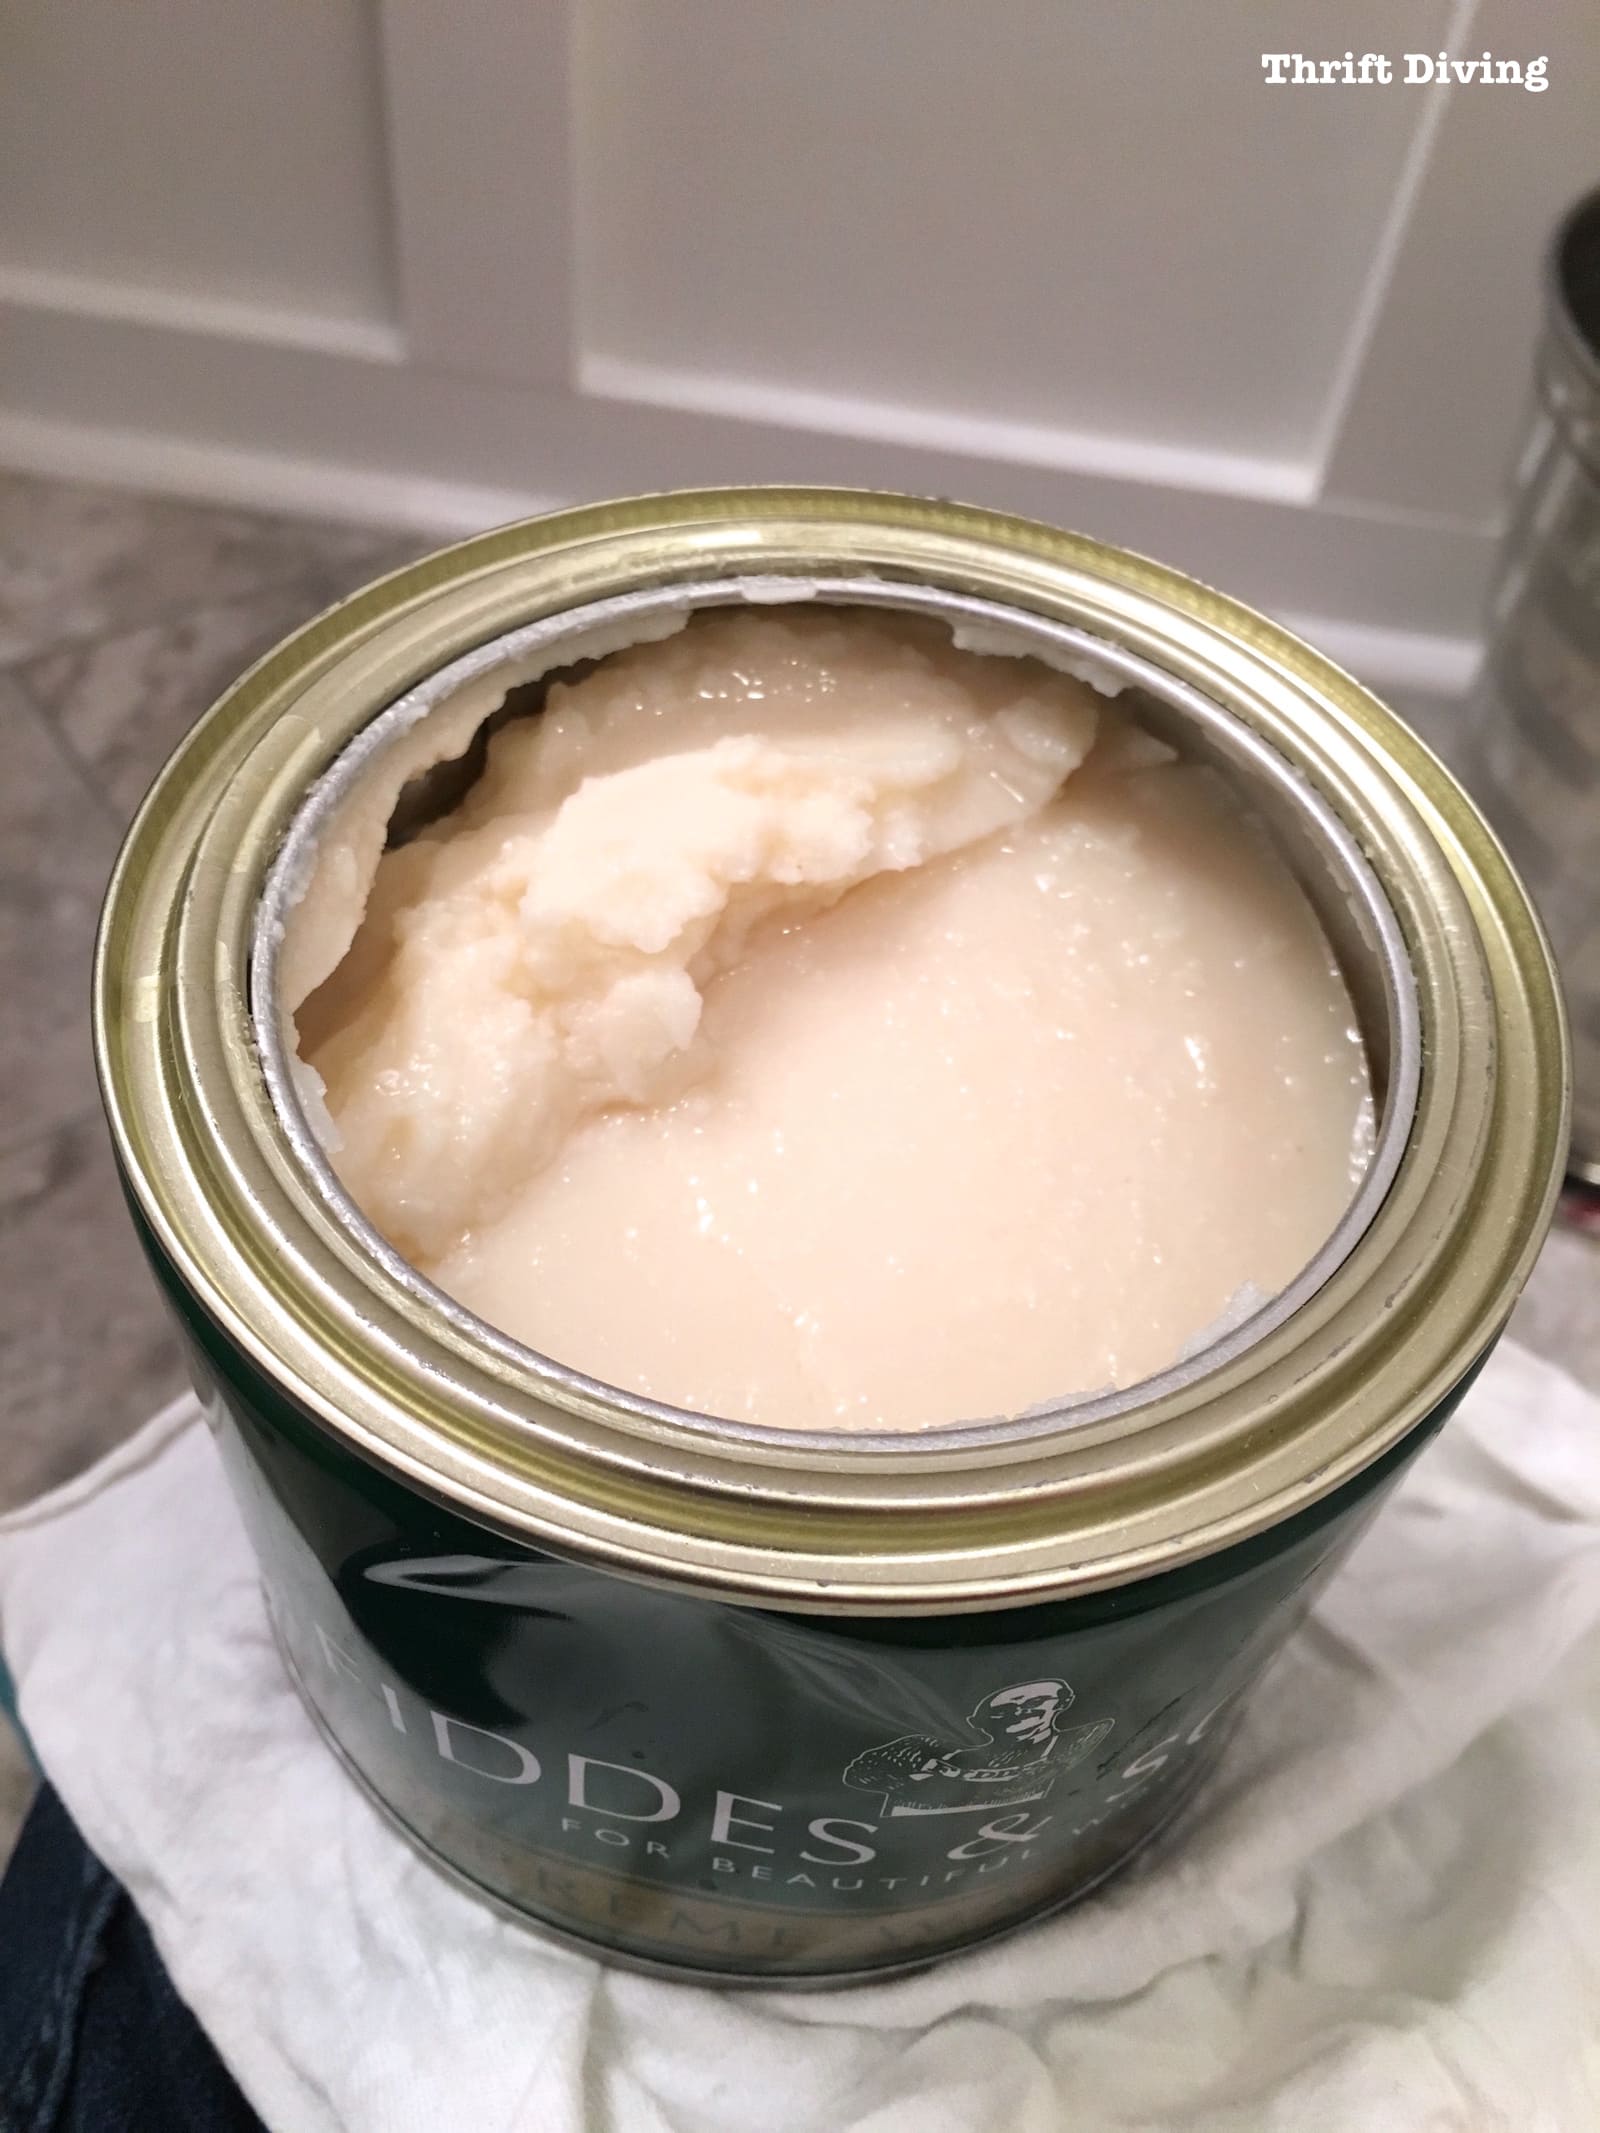
The final finish I did were two coats of Fiddes & Sons clear wax. A friend of mine had recommended it because it leaves a hard finish. Plus, I needed some new clear wax, so I thought it would be worth a try.
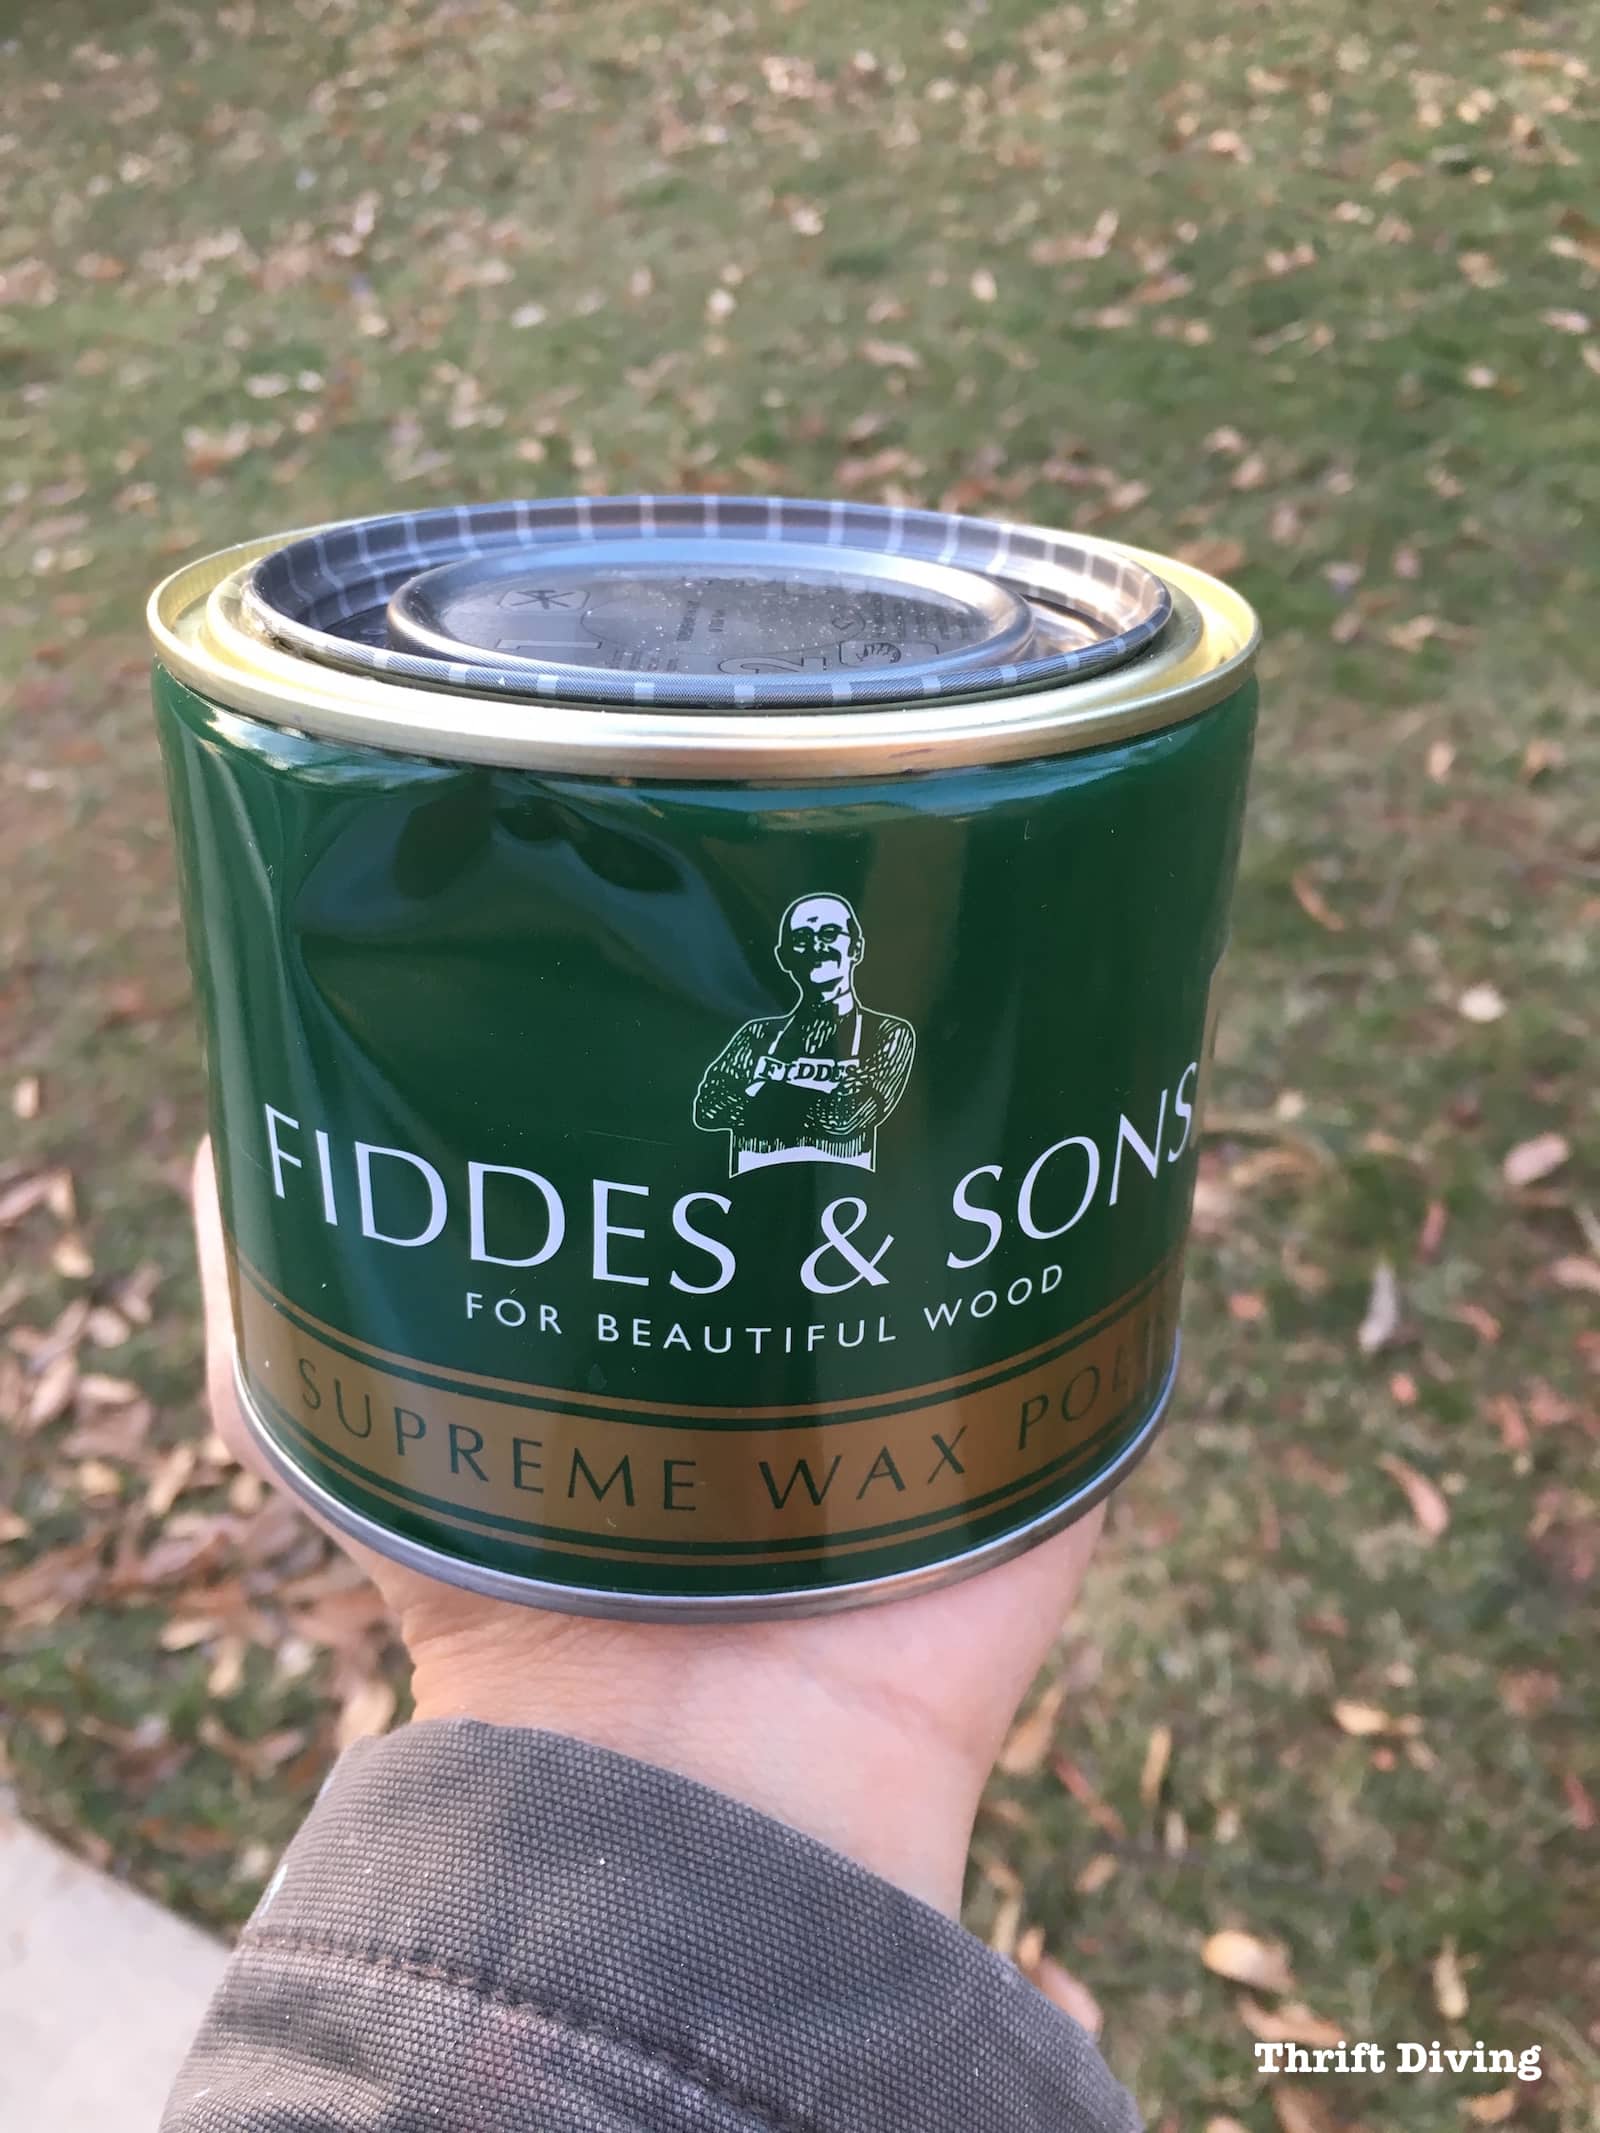
The wax was really soft and mushy. It seemed like it would go on very easily, thankfully. I hate waxing things that require so much muscle–as if you’re arm wrestling your furniture! LOL
A little tip I learned about waxing furniture: gather a lump of wax in a soft lint-free cloth like this…
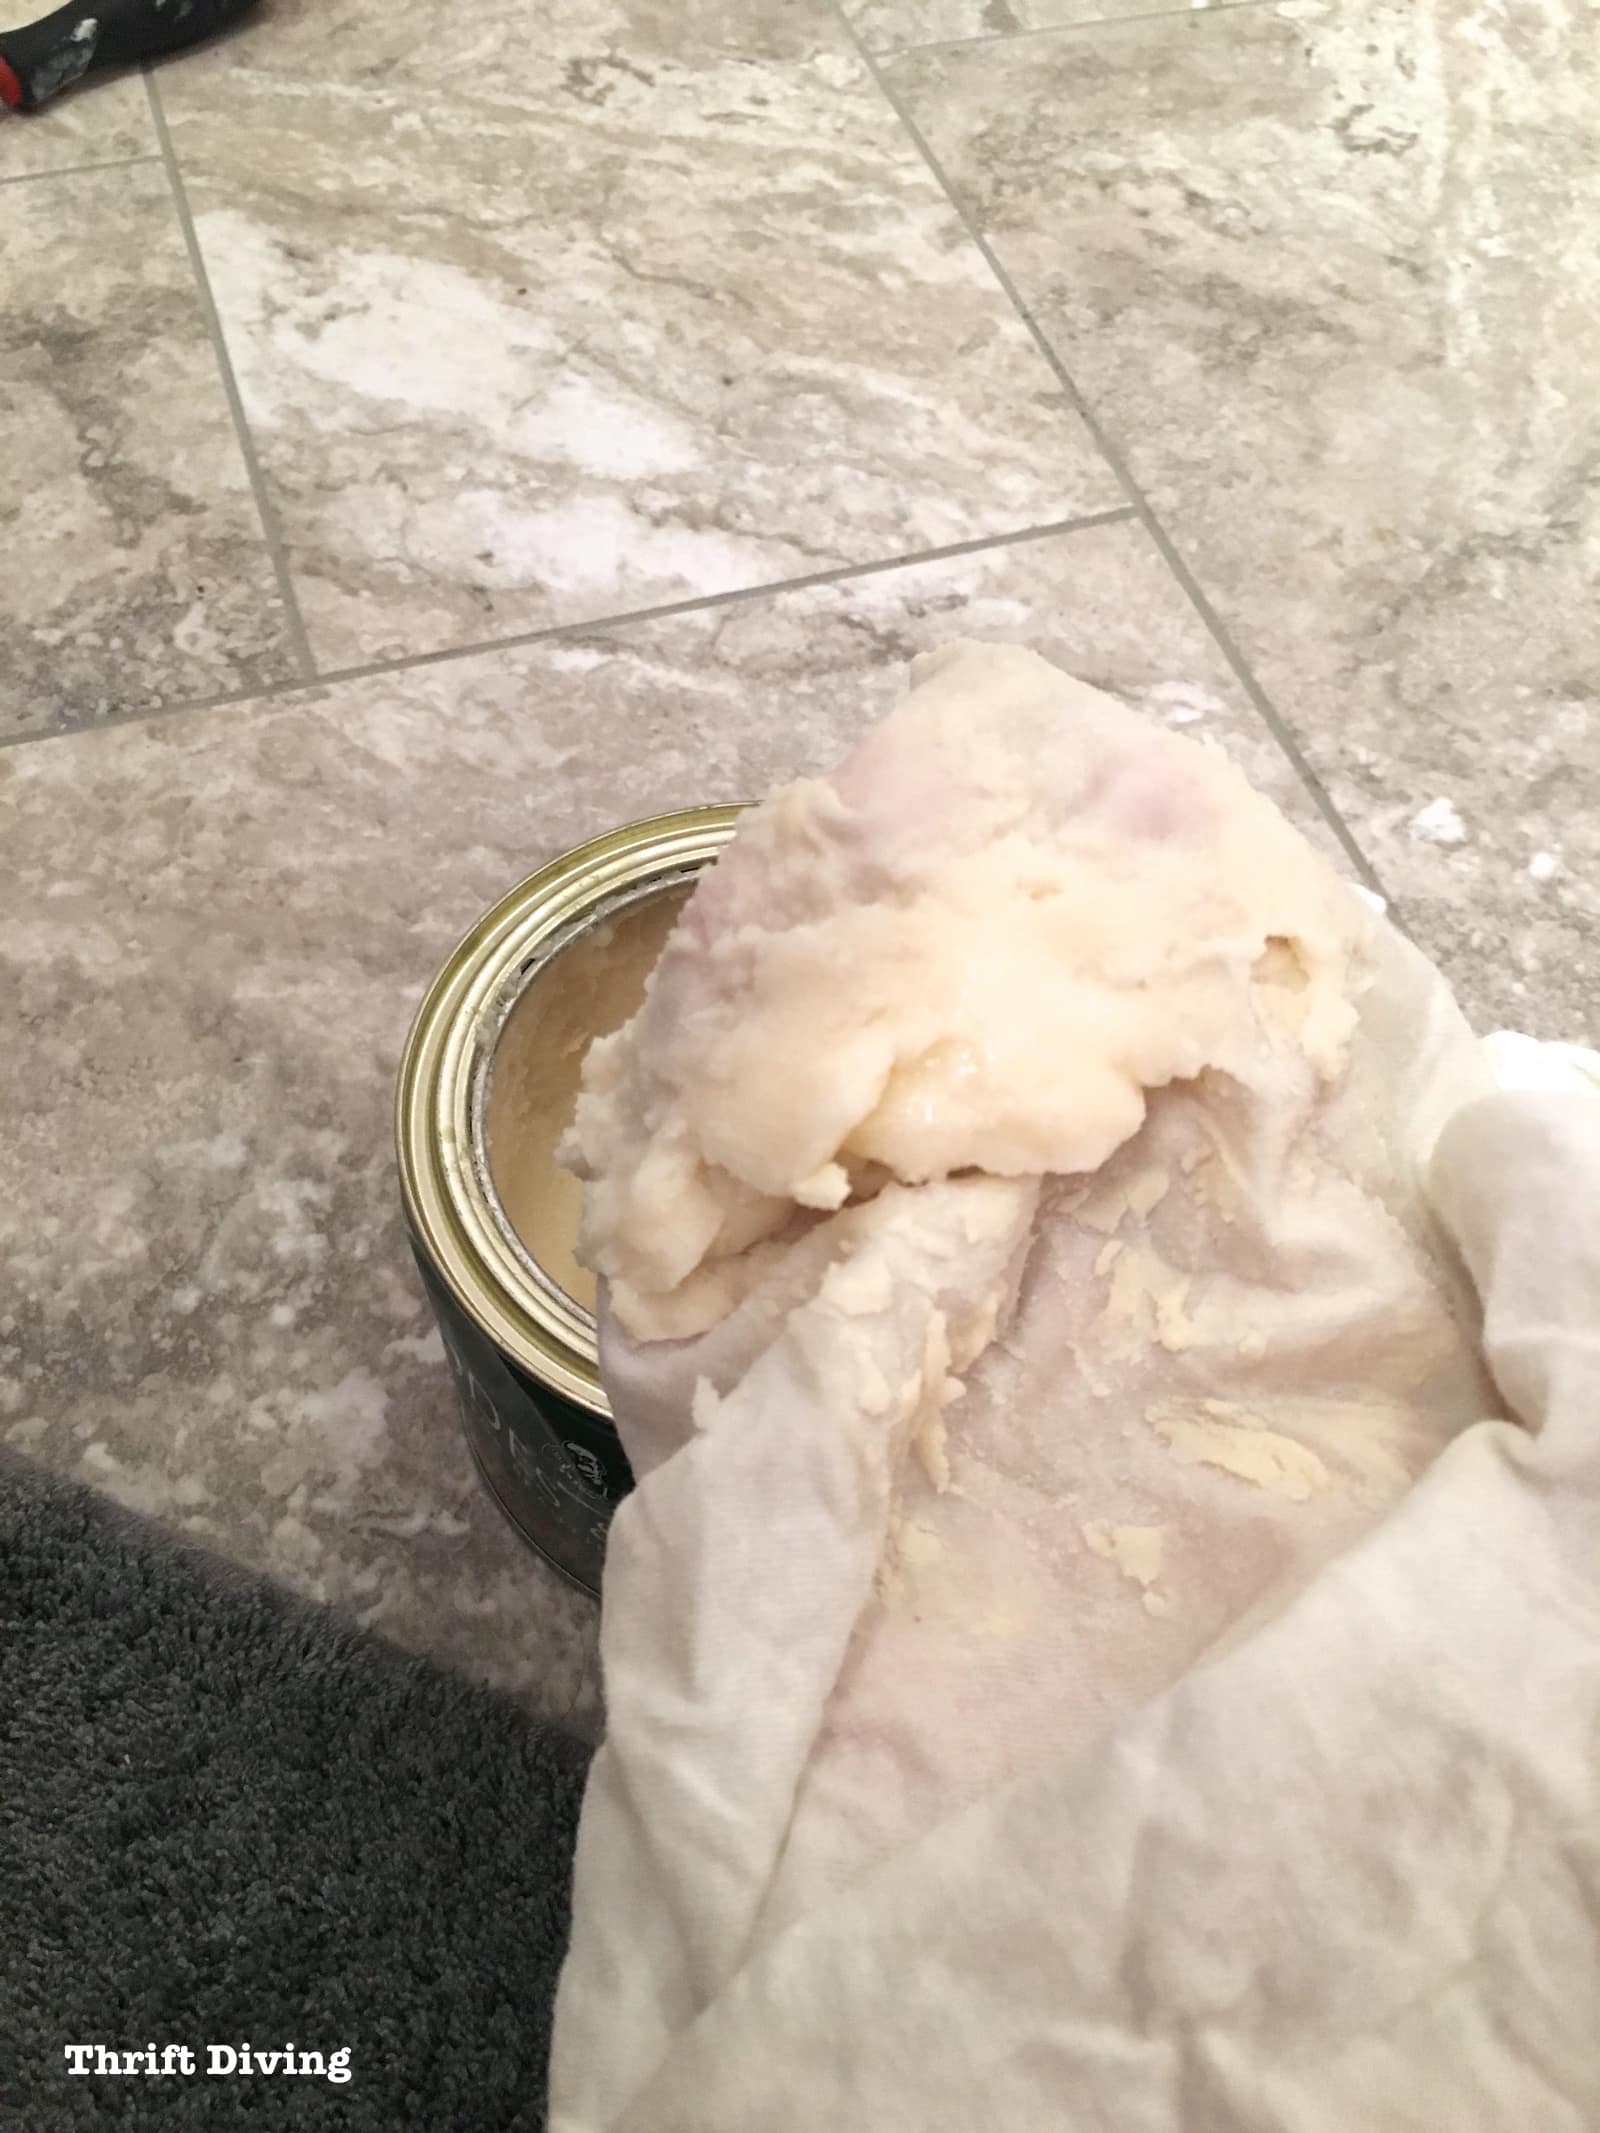
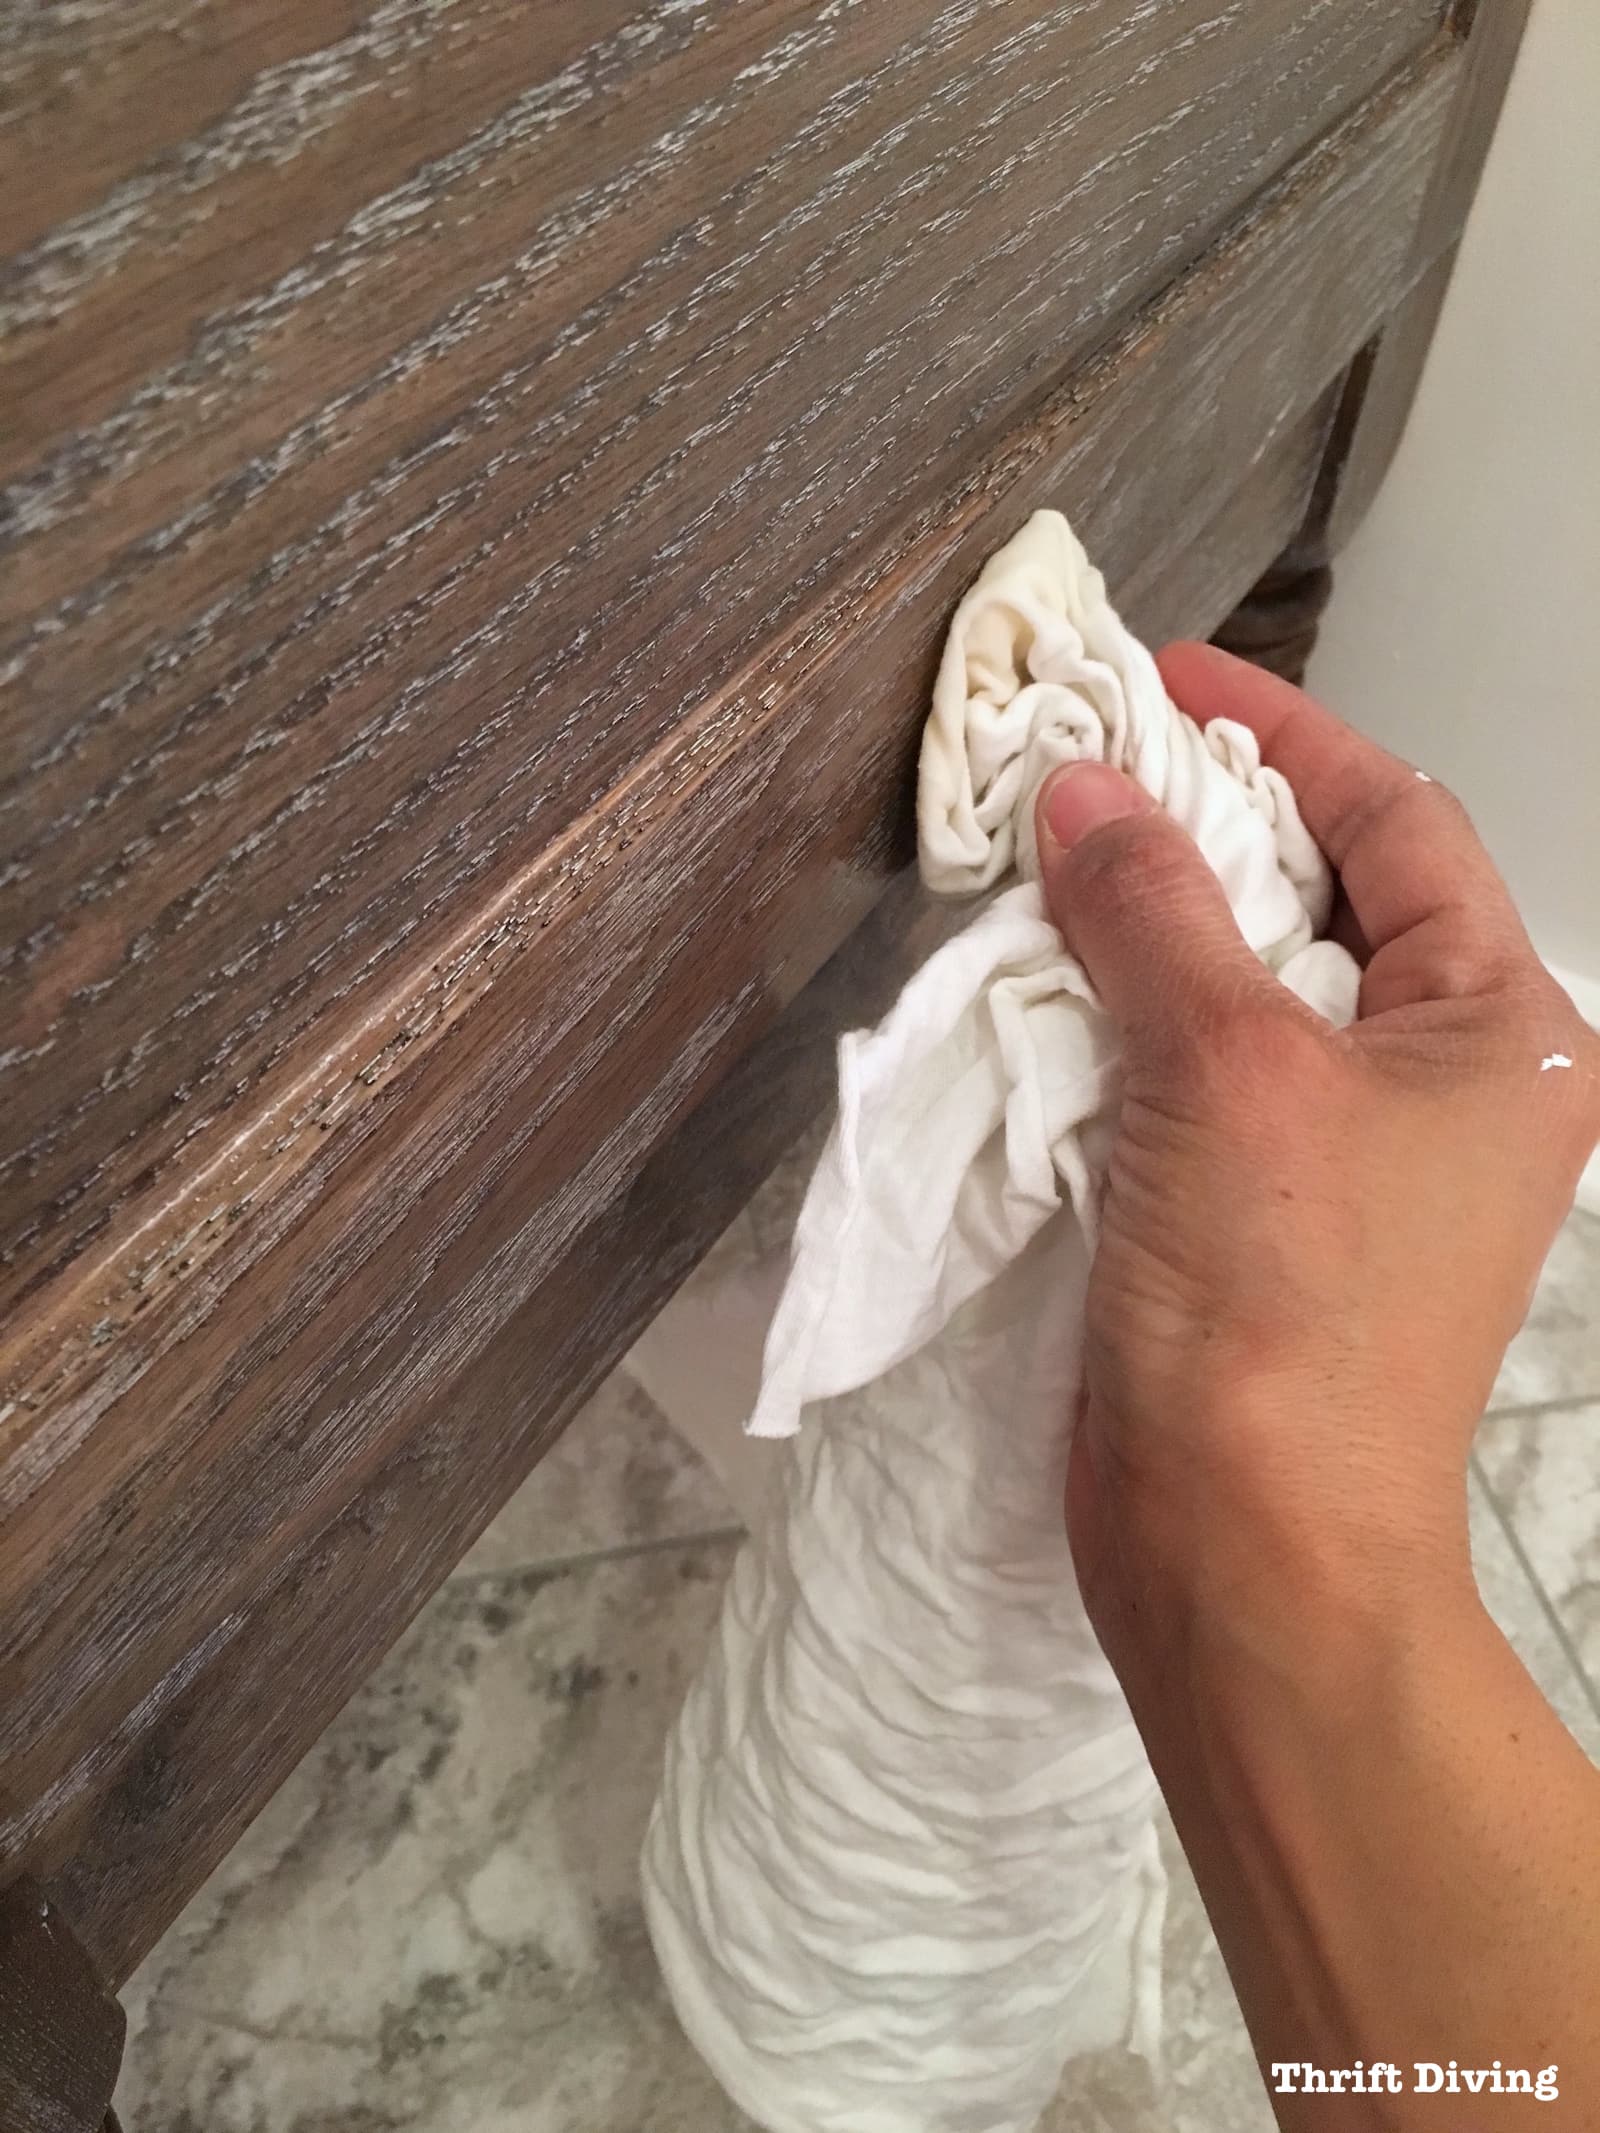
…then form a little ball of wax in the cloth and let the wax soak through the cloth onto your furniture as you wipe. It helps to control how much wax is applied! 🙂
I worked in small sections, applying the wax and then after a few moments when it was tacky to the touch, I buffed it off with a clean lint-free towel.
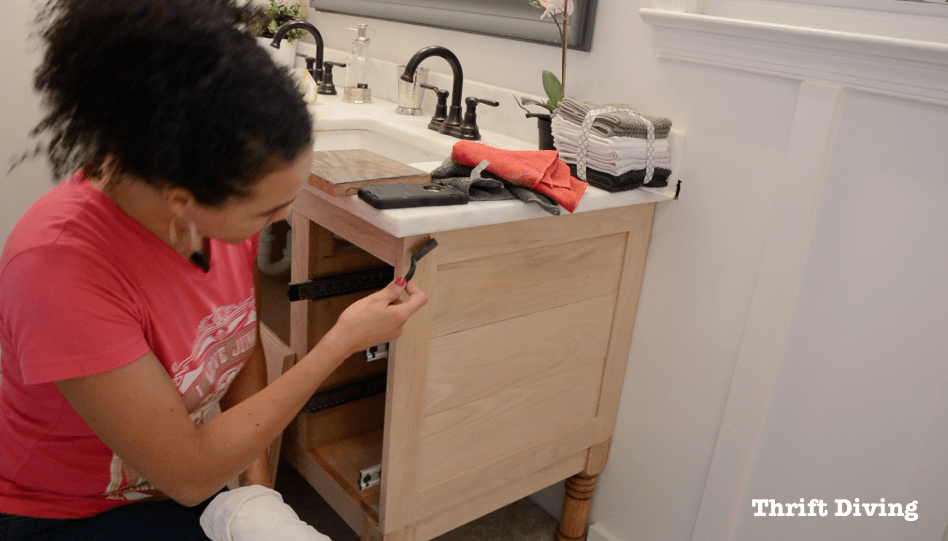
STEP 10 – Drill for the hardware.
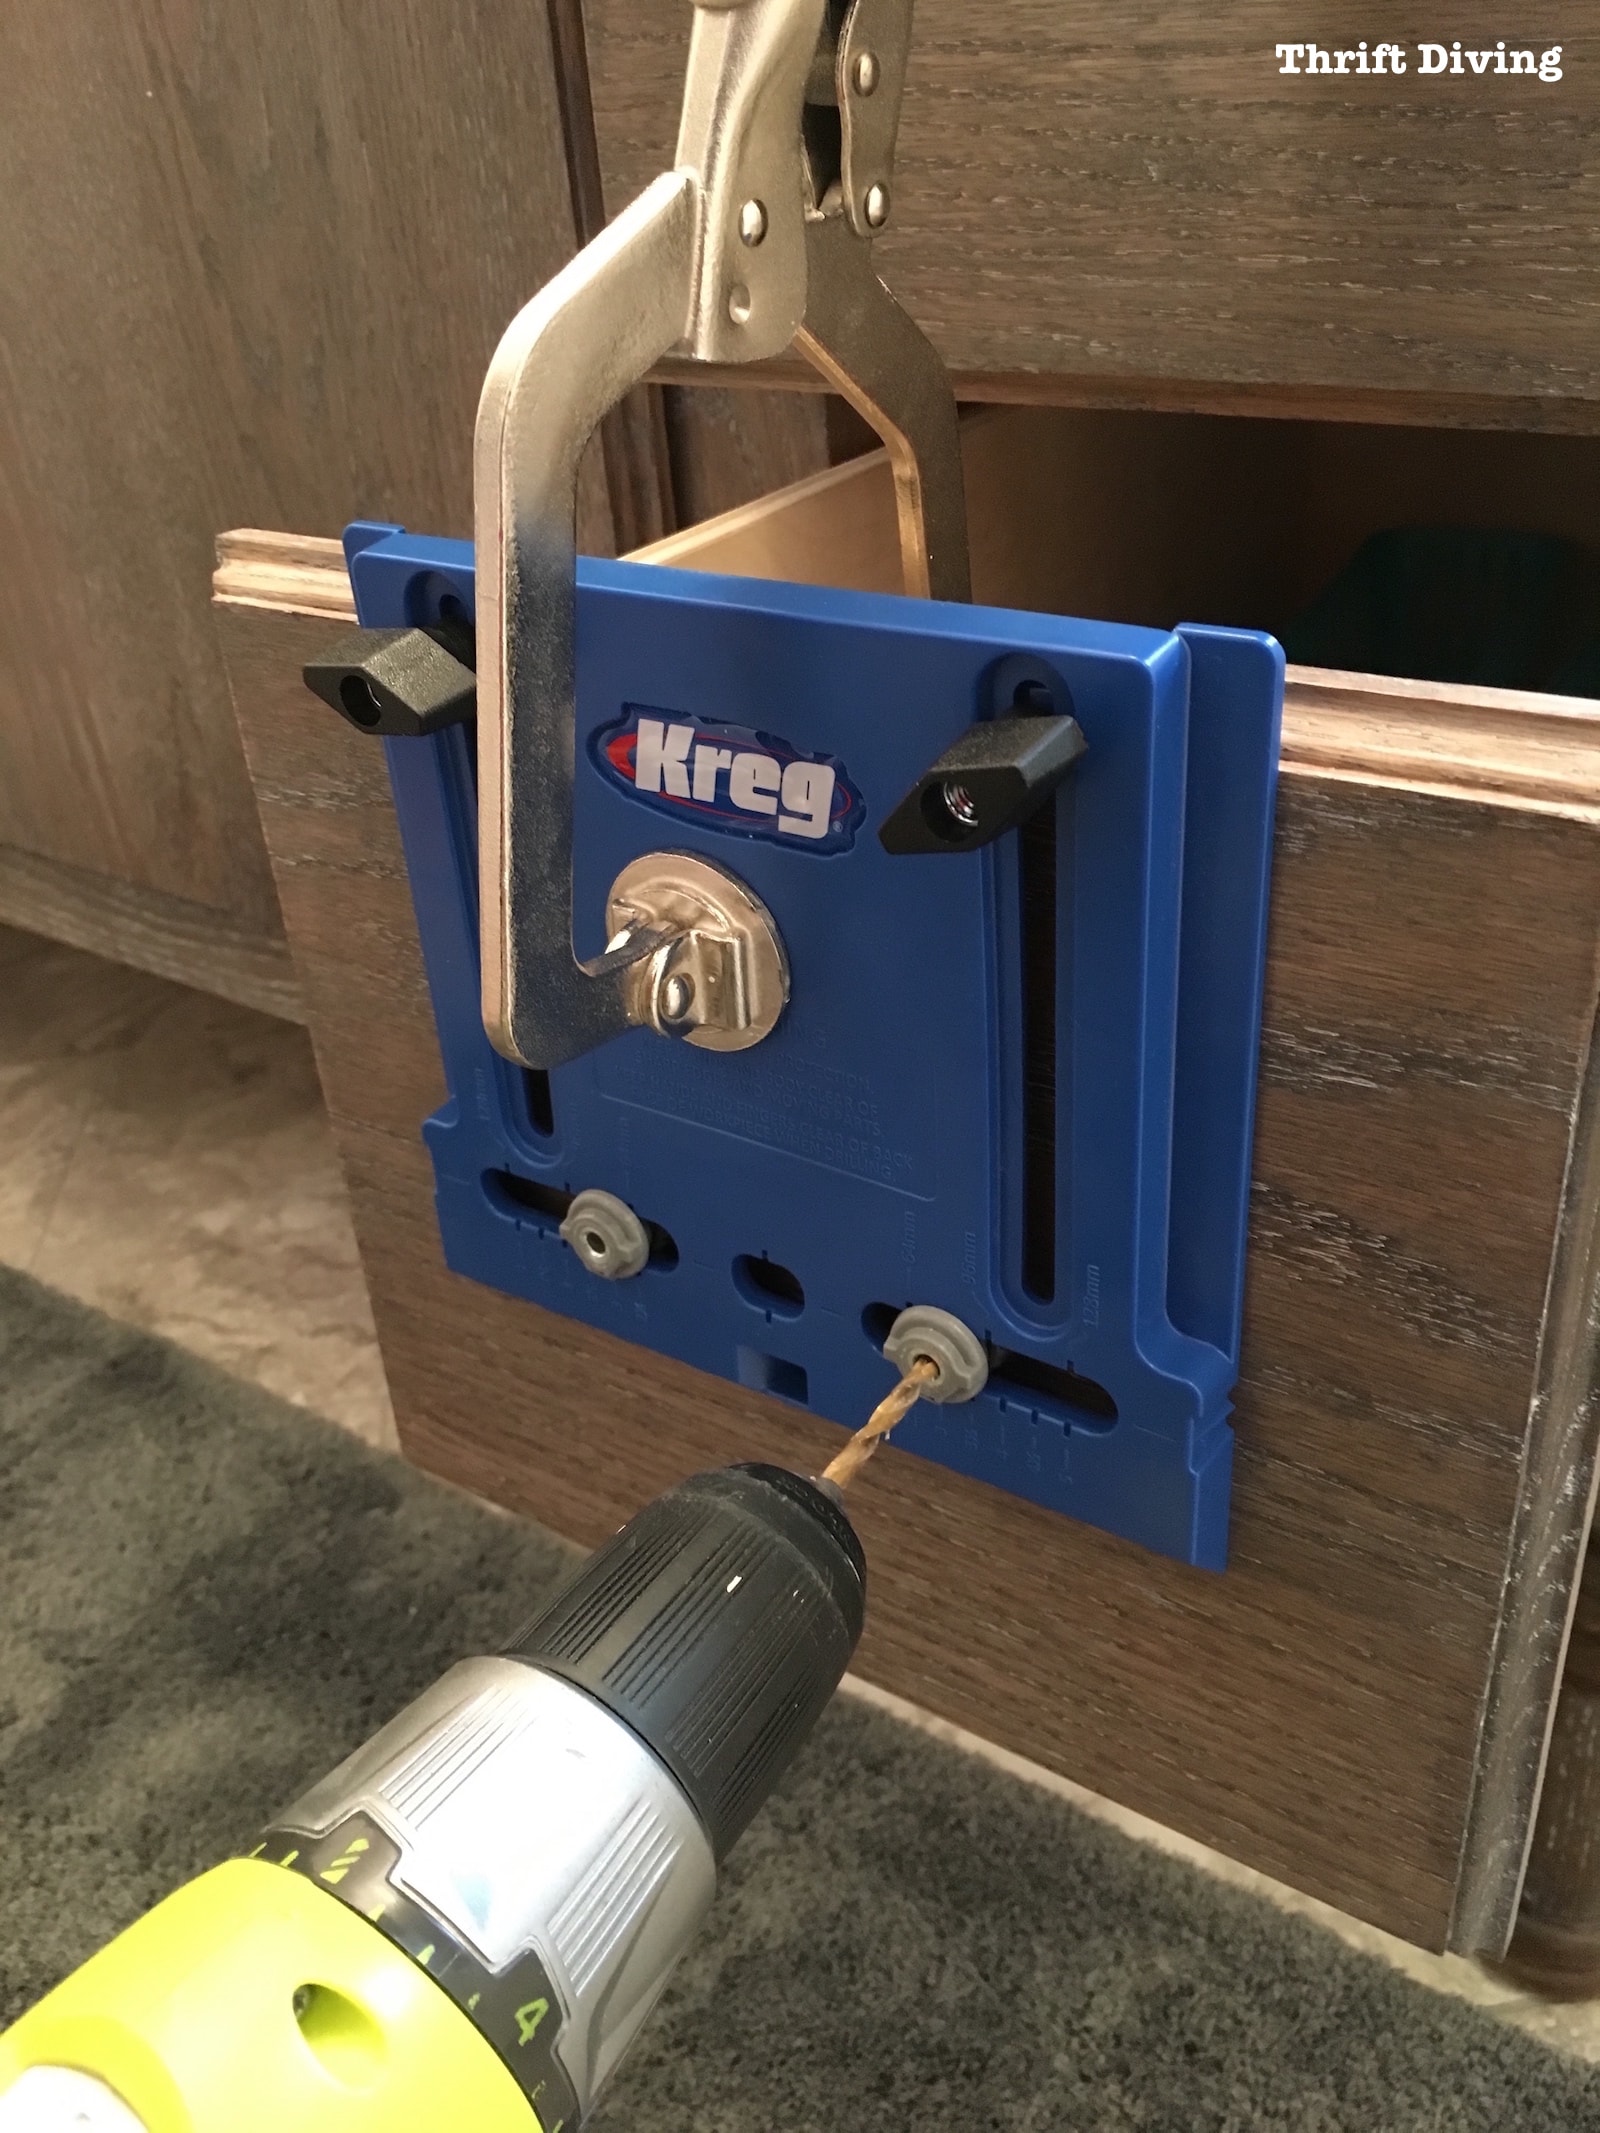
It’s amazing how many cool accessories are on the market that help you drill even holes! I wasn’t going to trust myself to do it freehanded. 😉
I bought a Kreg Cabinet Hardware Jig to easily drill even holes for the handles.
It just clamps on (or you can squeeze it tight) to your cabinet drawer and you drill the holes after finding the center point on the drawer.
I believe I used an 11/64″ drill bit, which was perfect for my hardware screws. I would recommend, though–do a test on a piece of scrap wood first to make your handle fits properly so that you don’t ruin your project! LOL
Here’s another tip, too:
The screws that come with the handles usually aren’t long enough to fit through both the drawer front 3/4″ thick and the 1/2″ thick drawer.
So I went to Home Depot and picked up some longer screws.

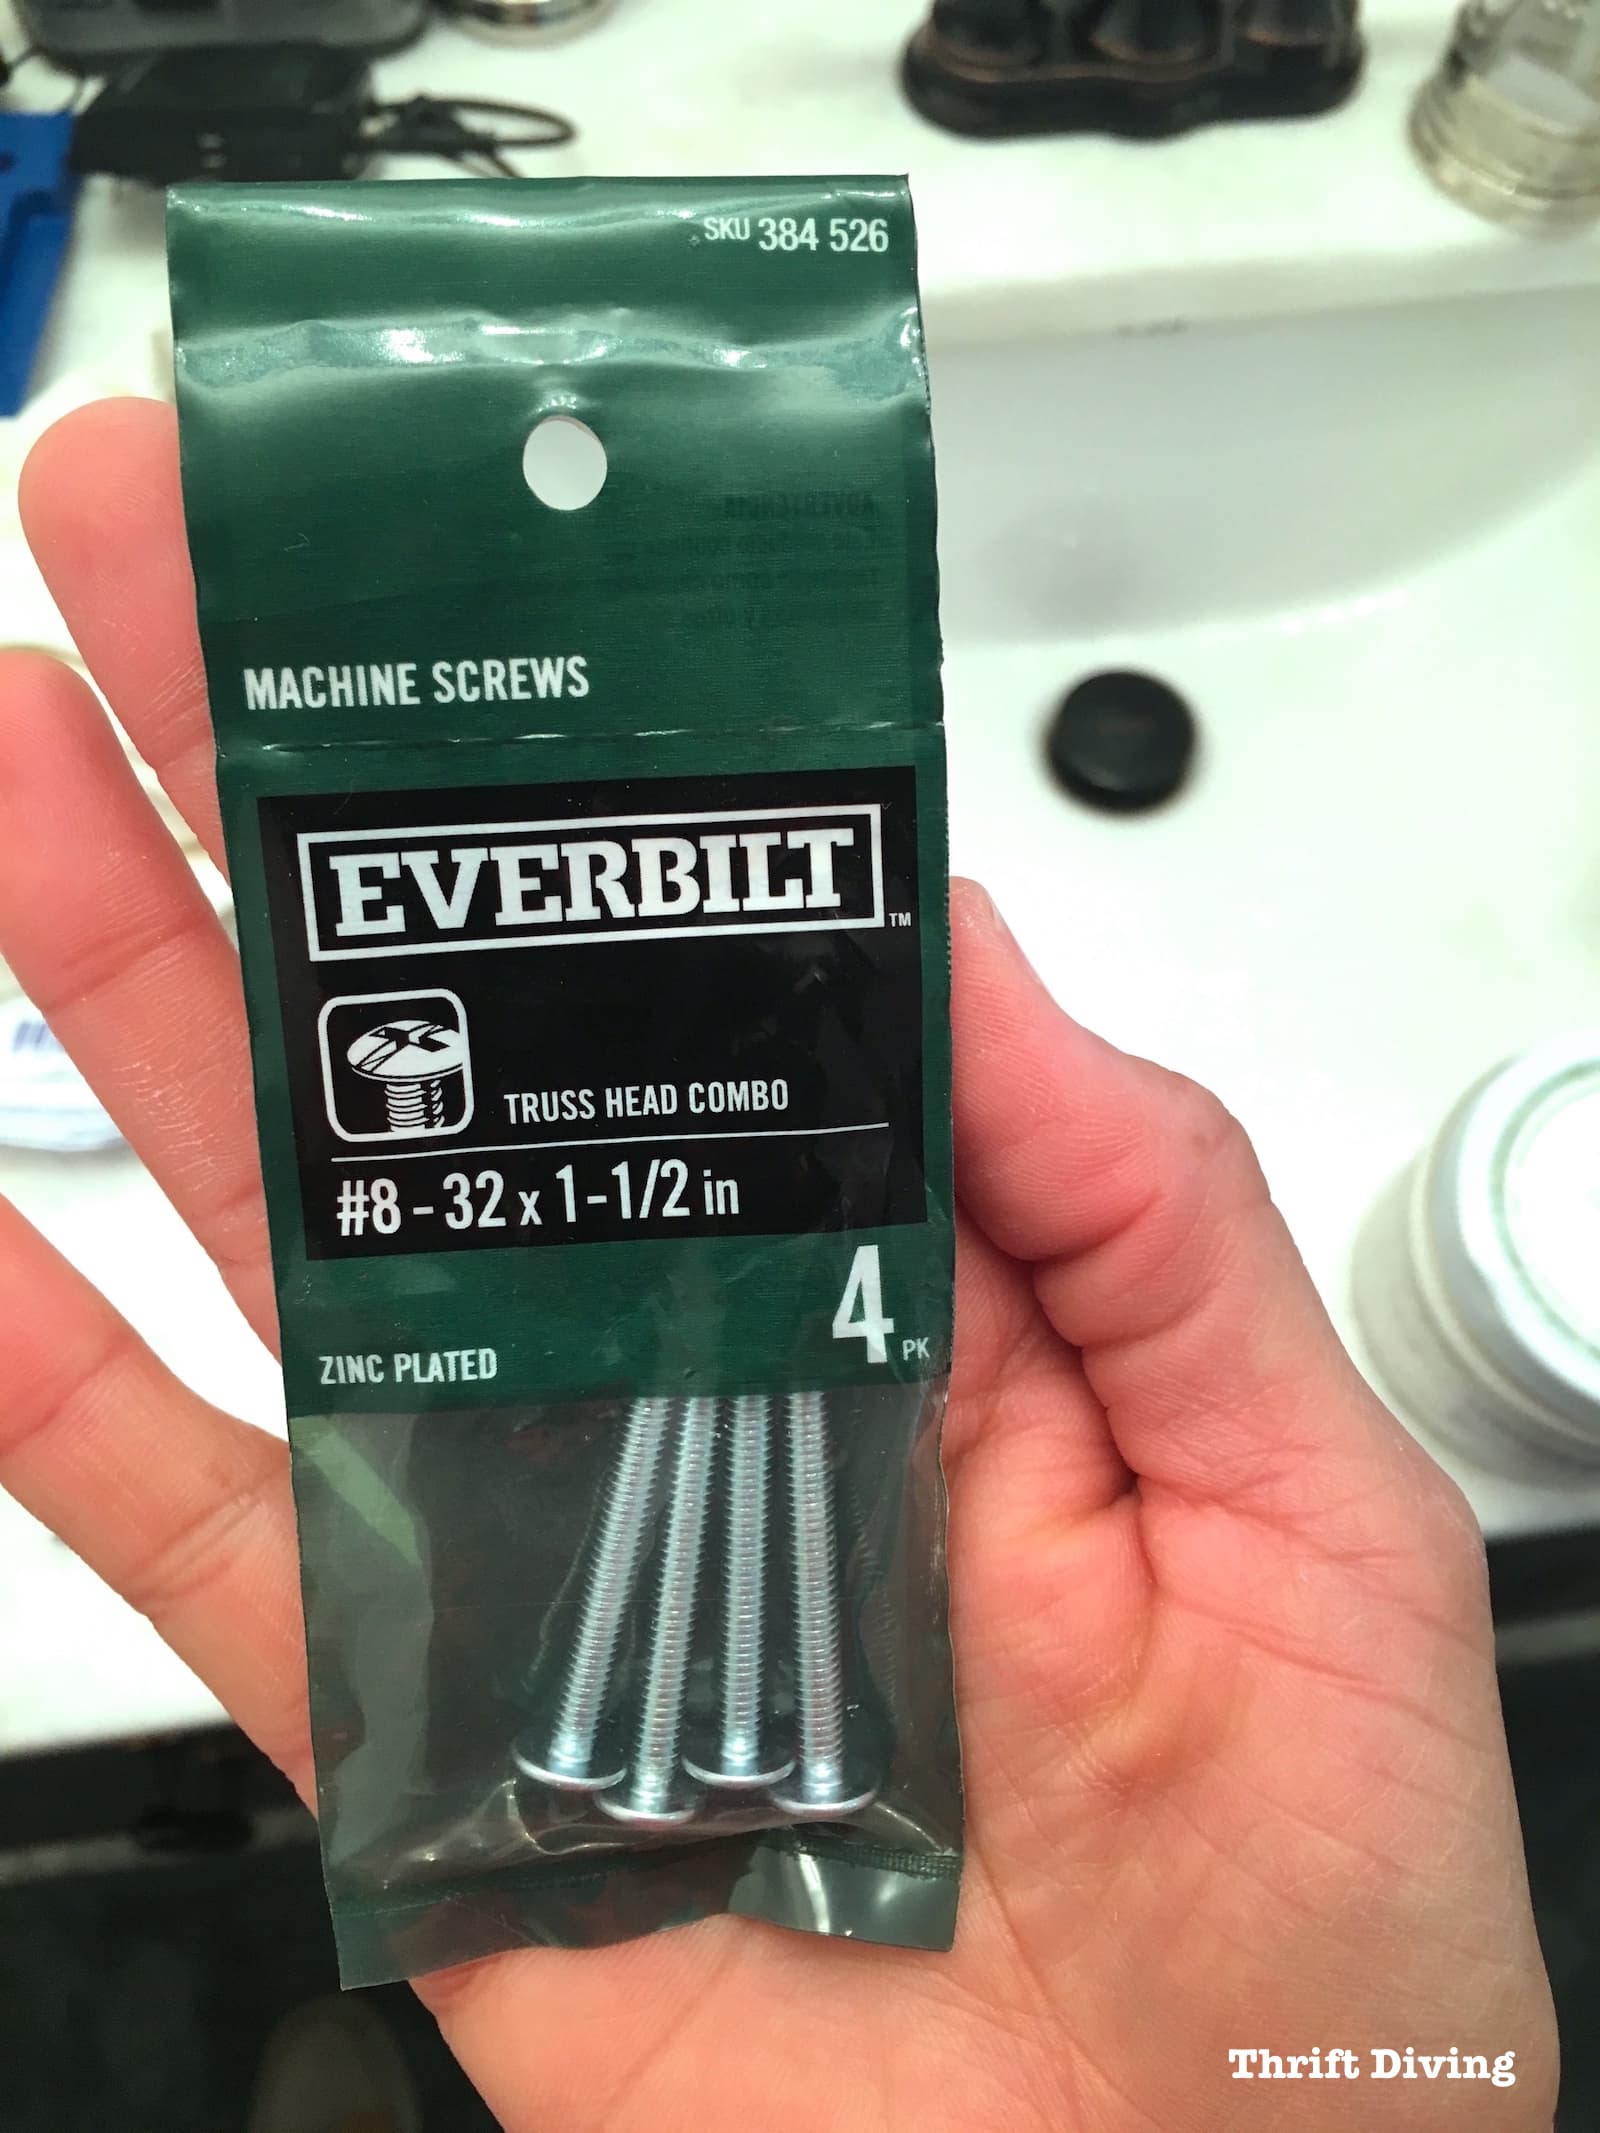
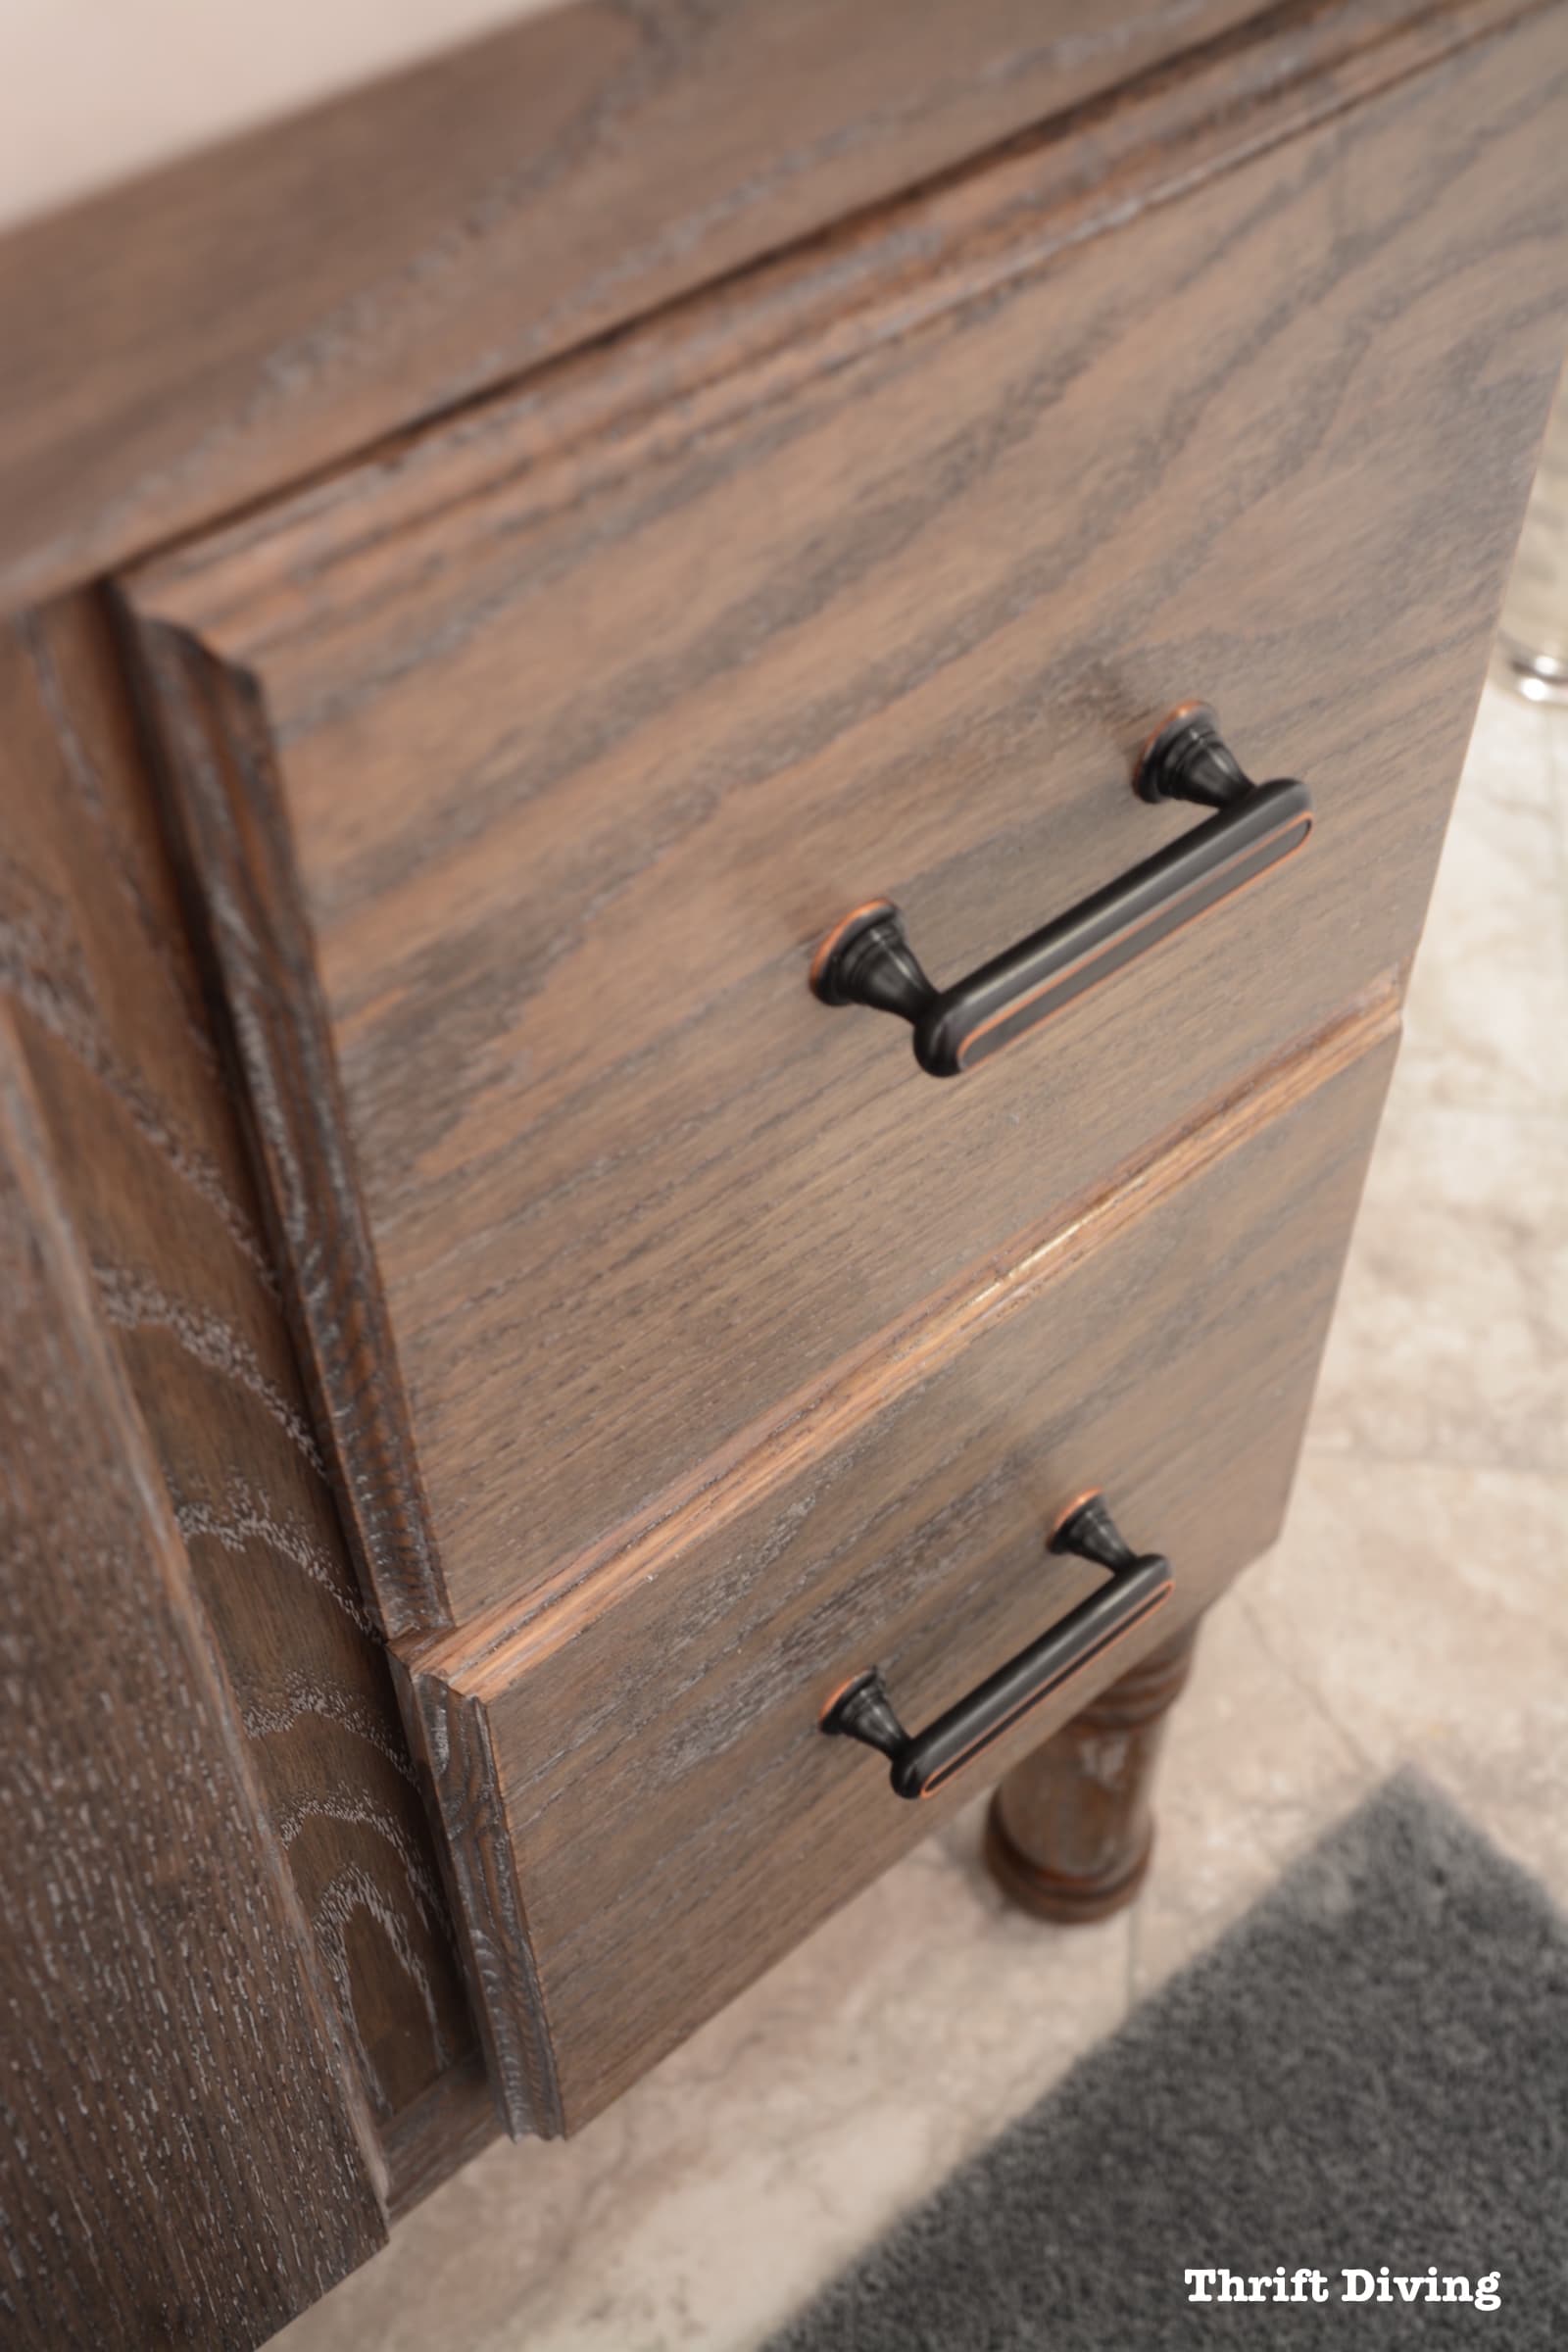
After threading them through, they went on perfect!
Thankfully, the handles were perfectly aligned, too!
STEP 11 – Show off your work!
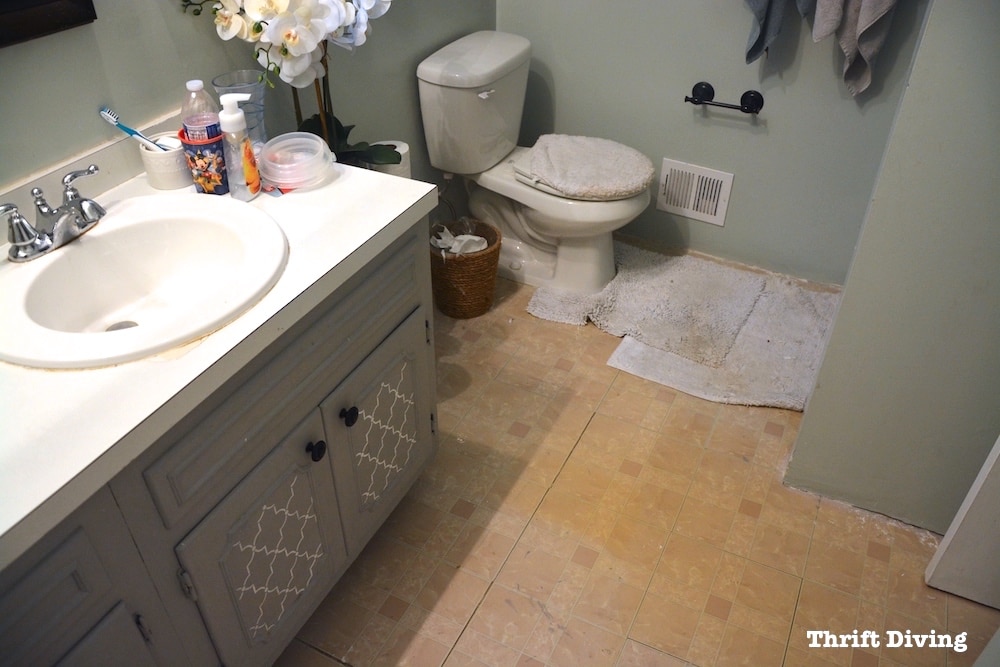
Let’s take a look at how this vanity looked before we started.
Although I loved the natural look, it needed to be the show-stopper of my bathroom makeover!
BEFORE
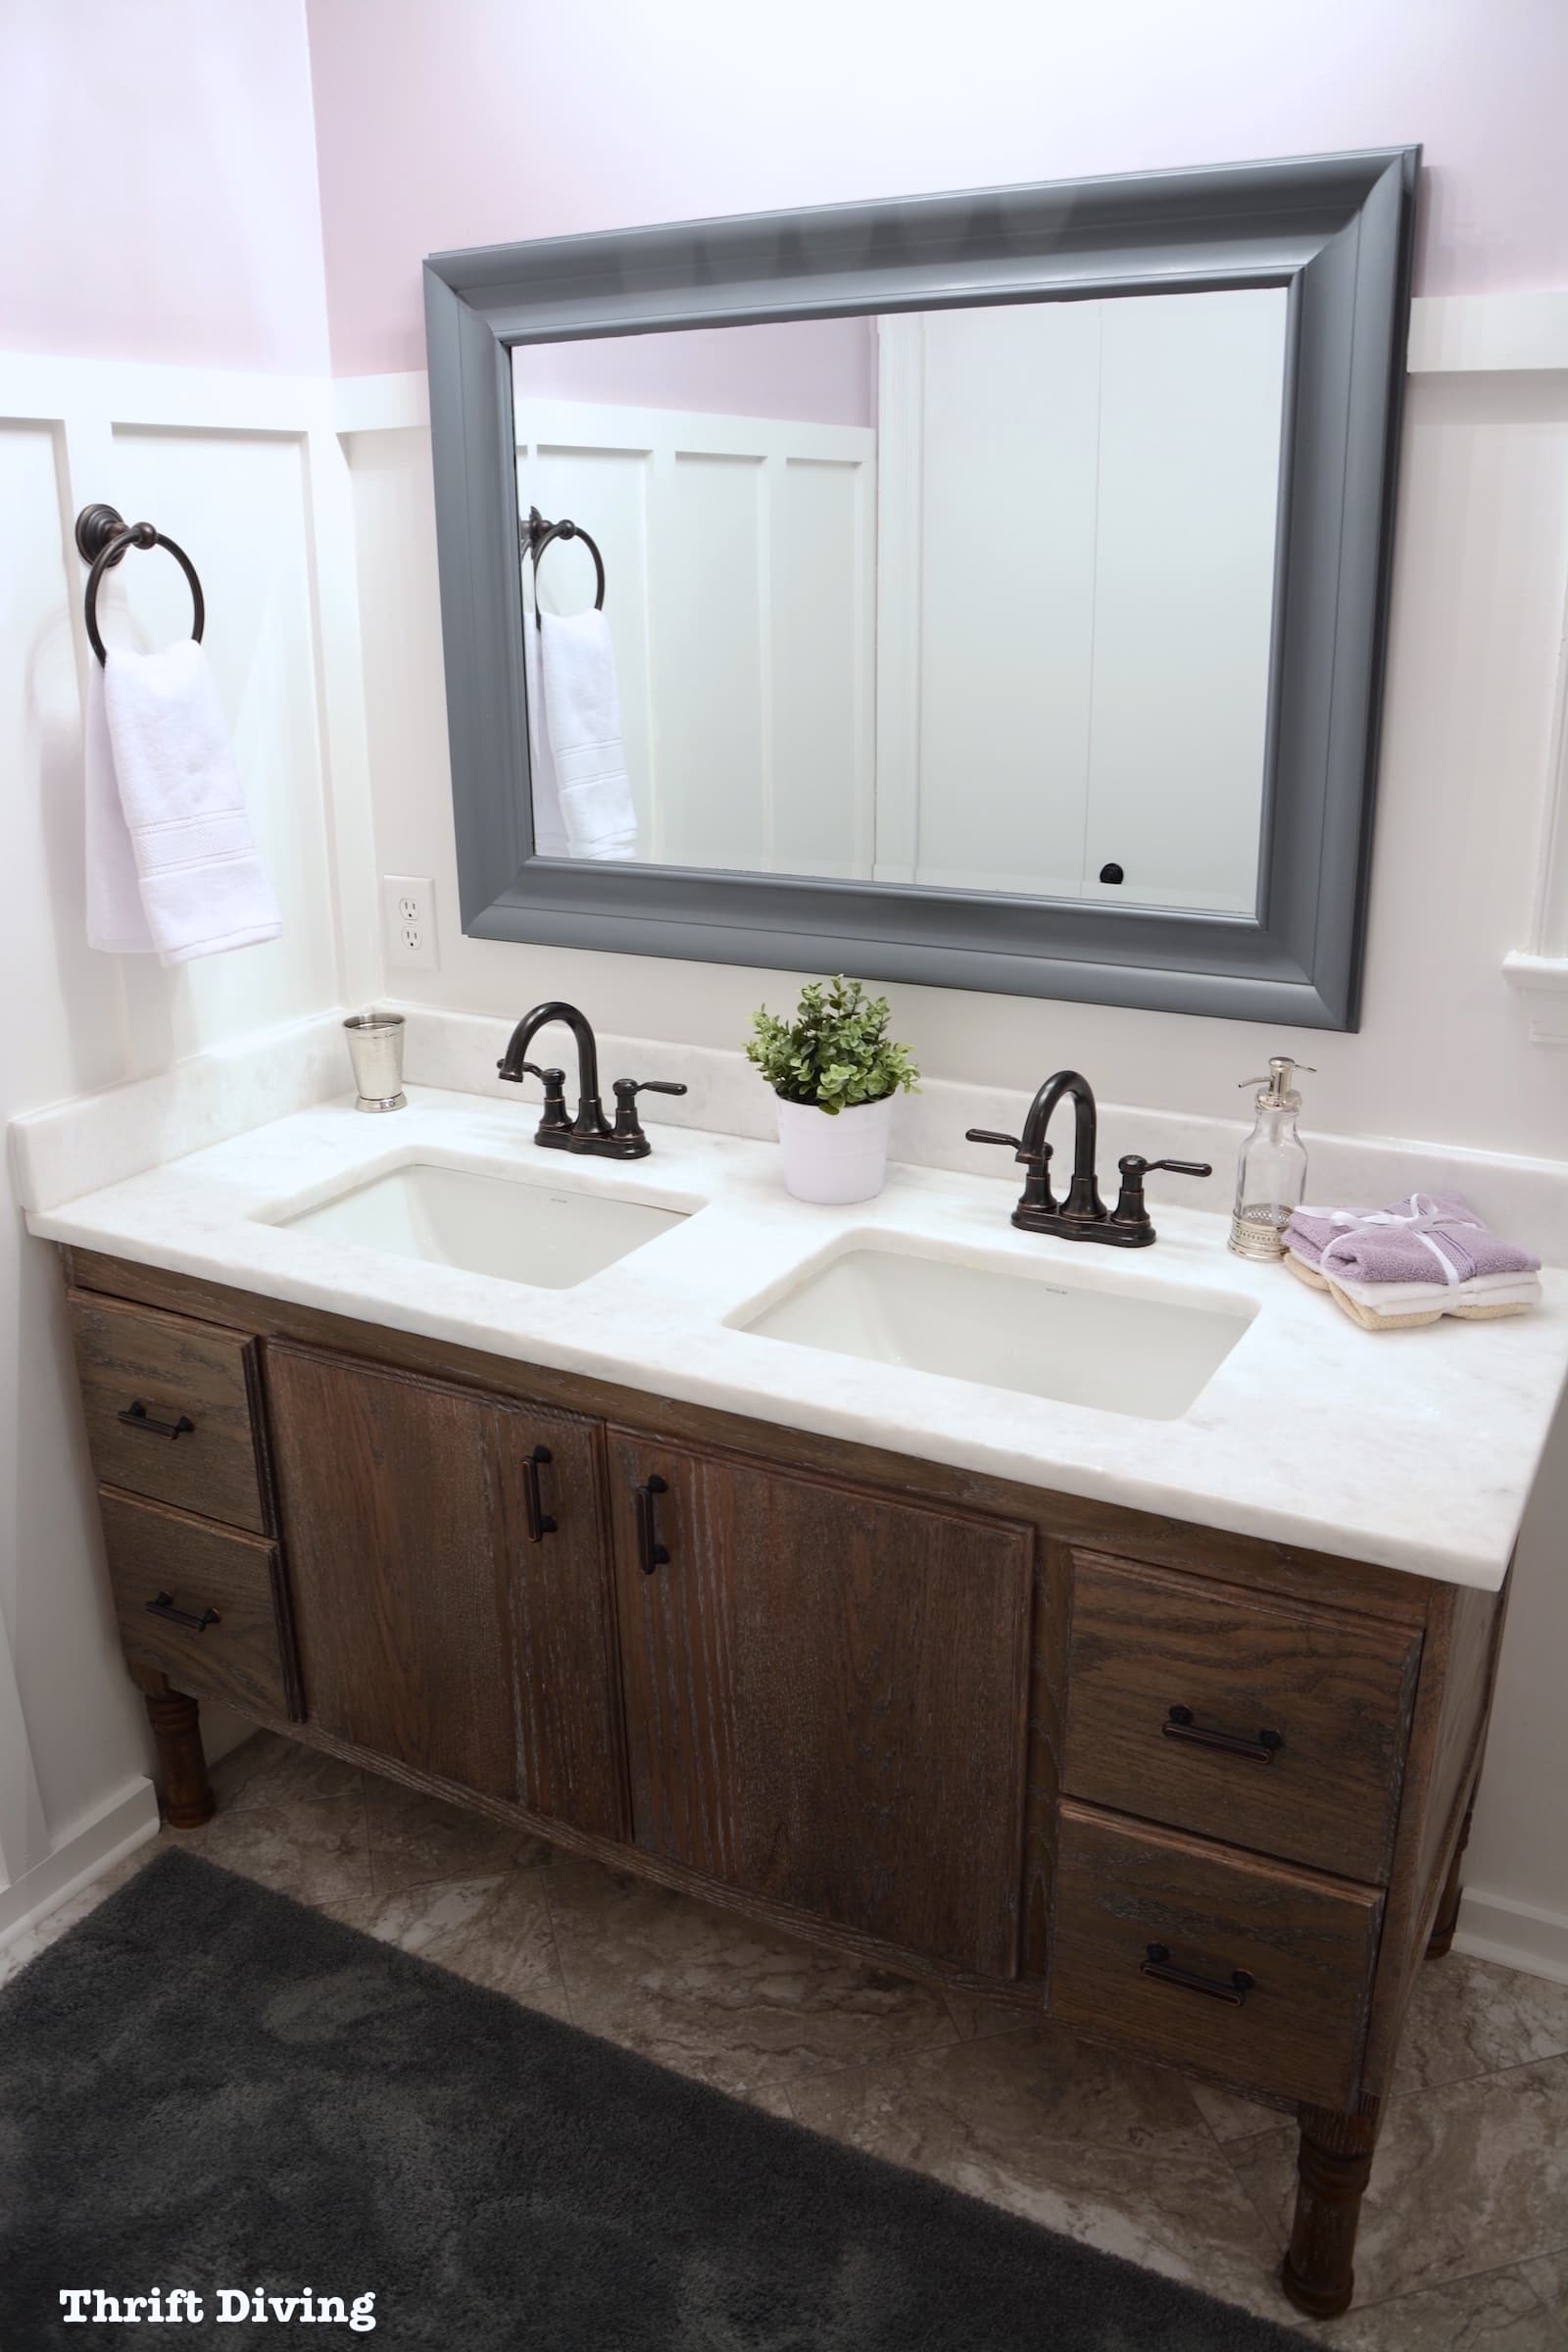
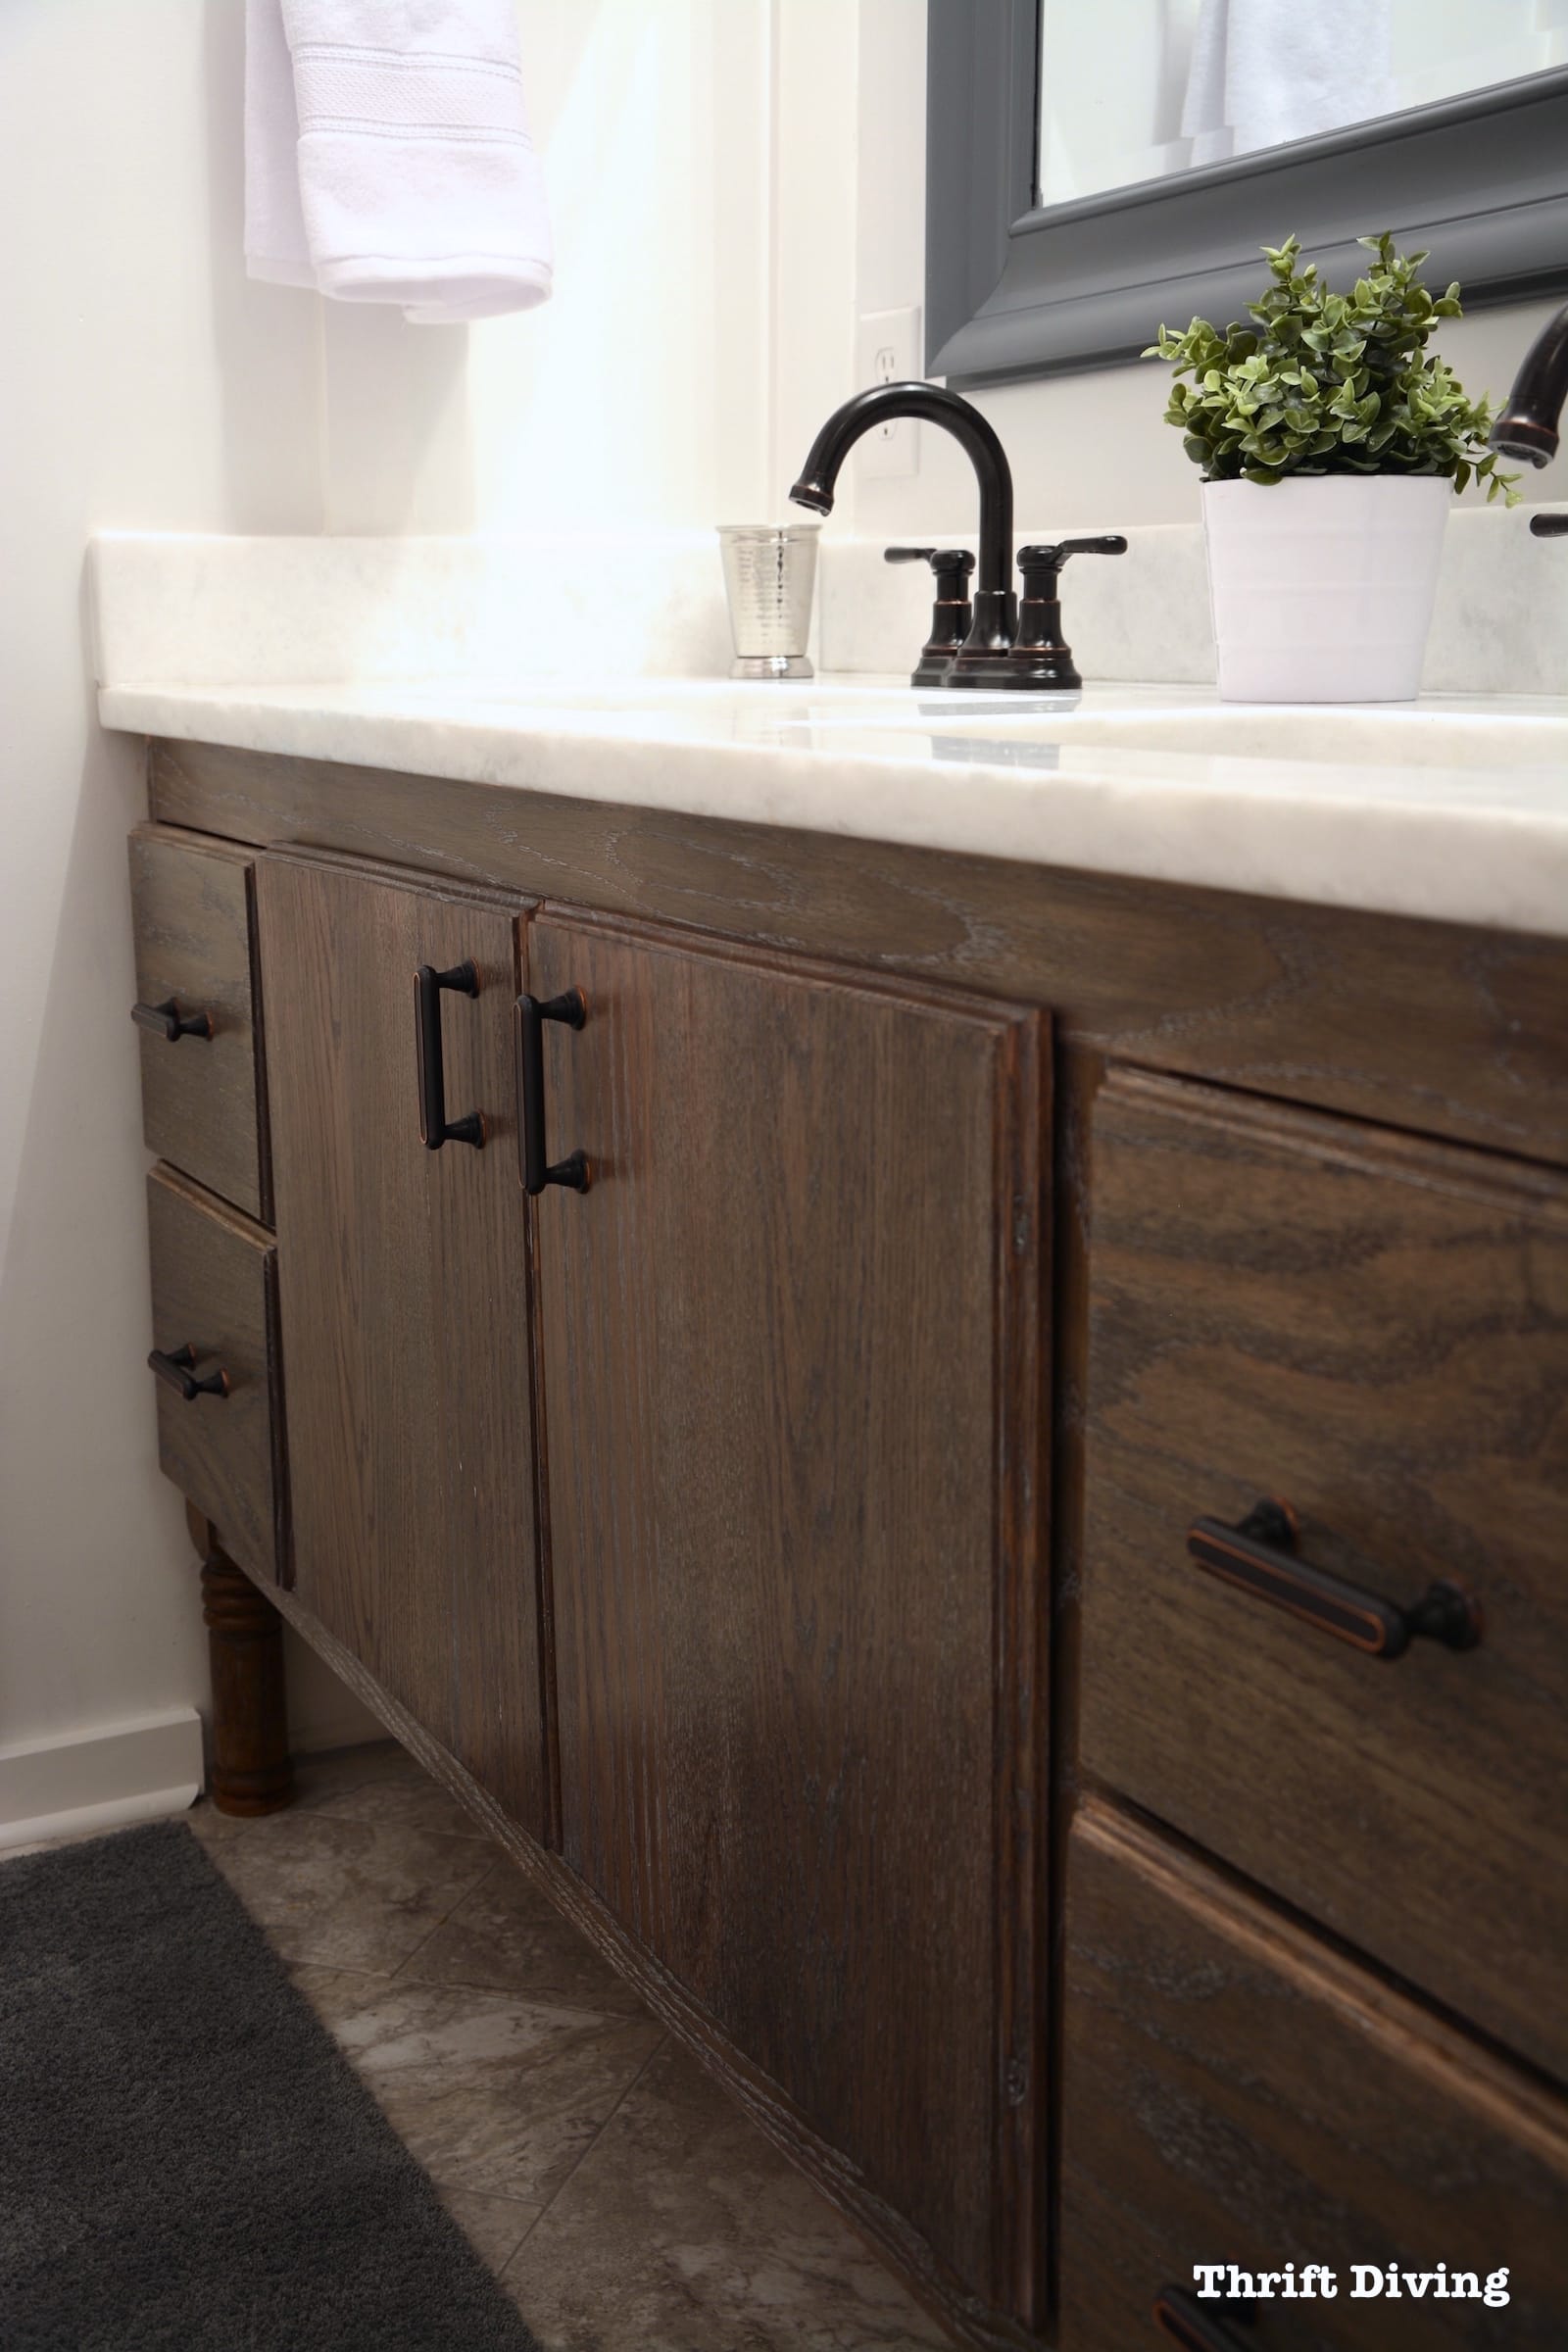
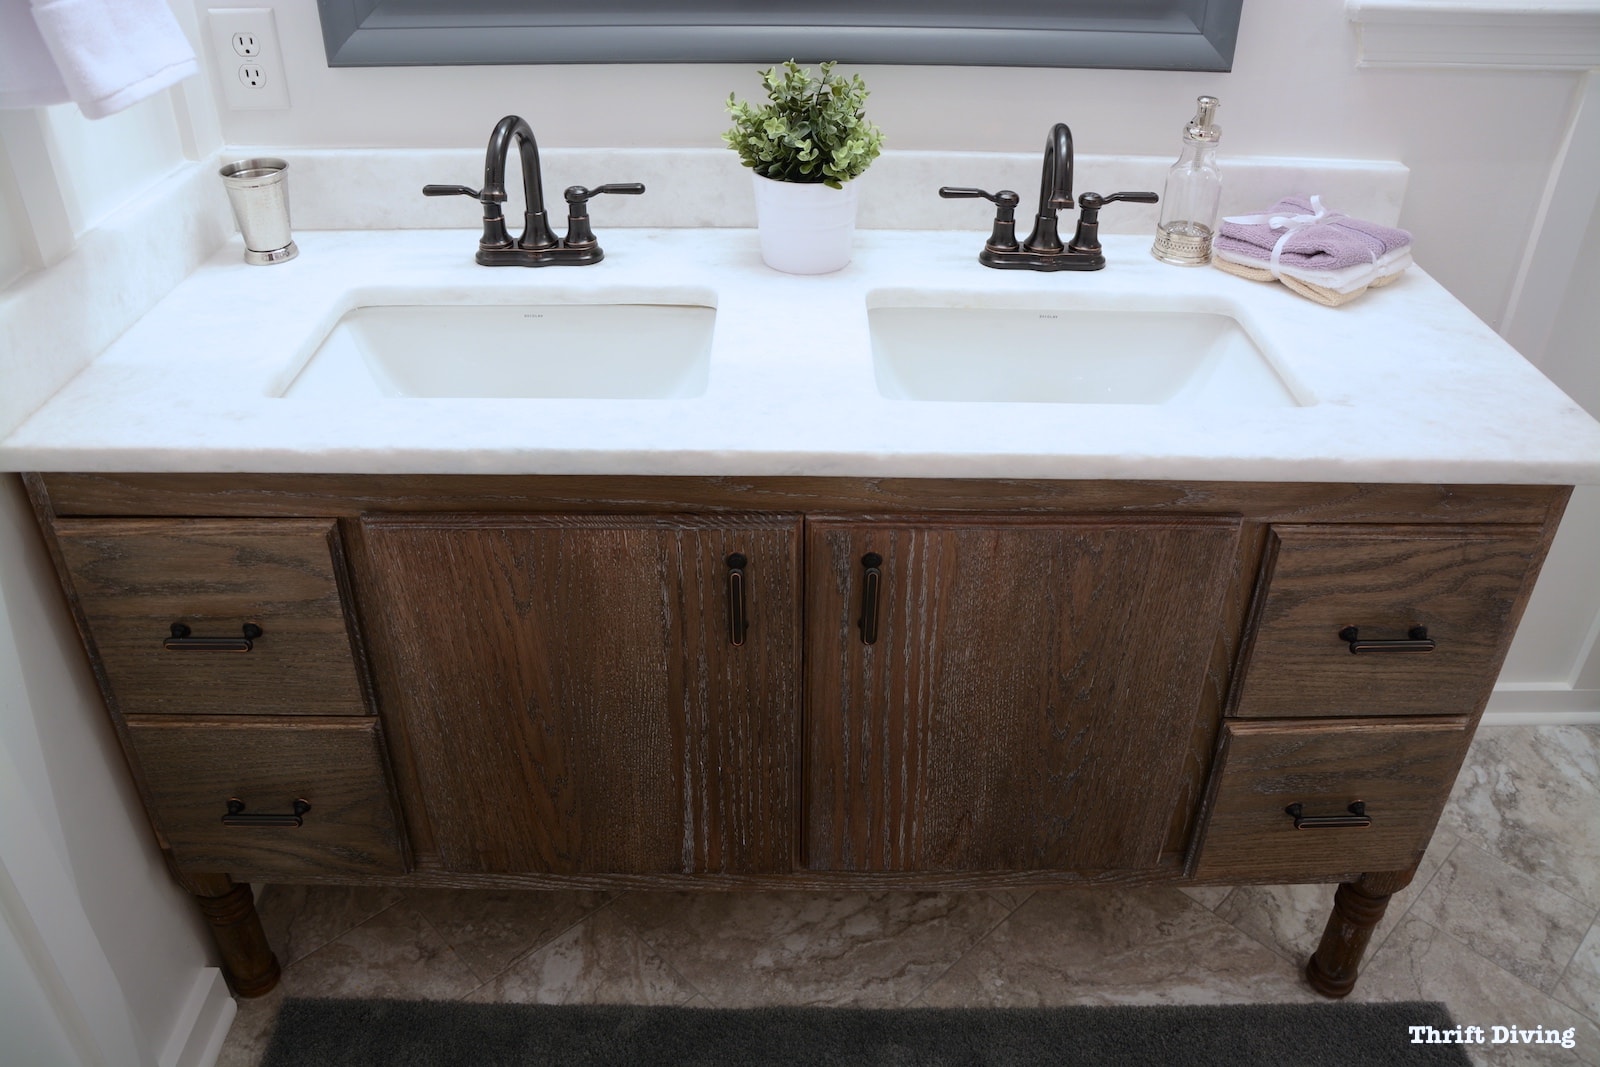
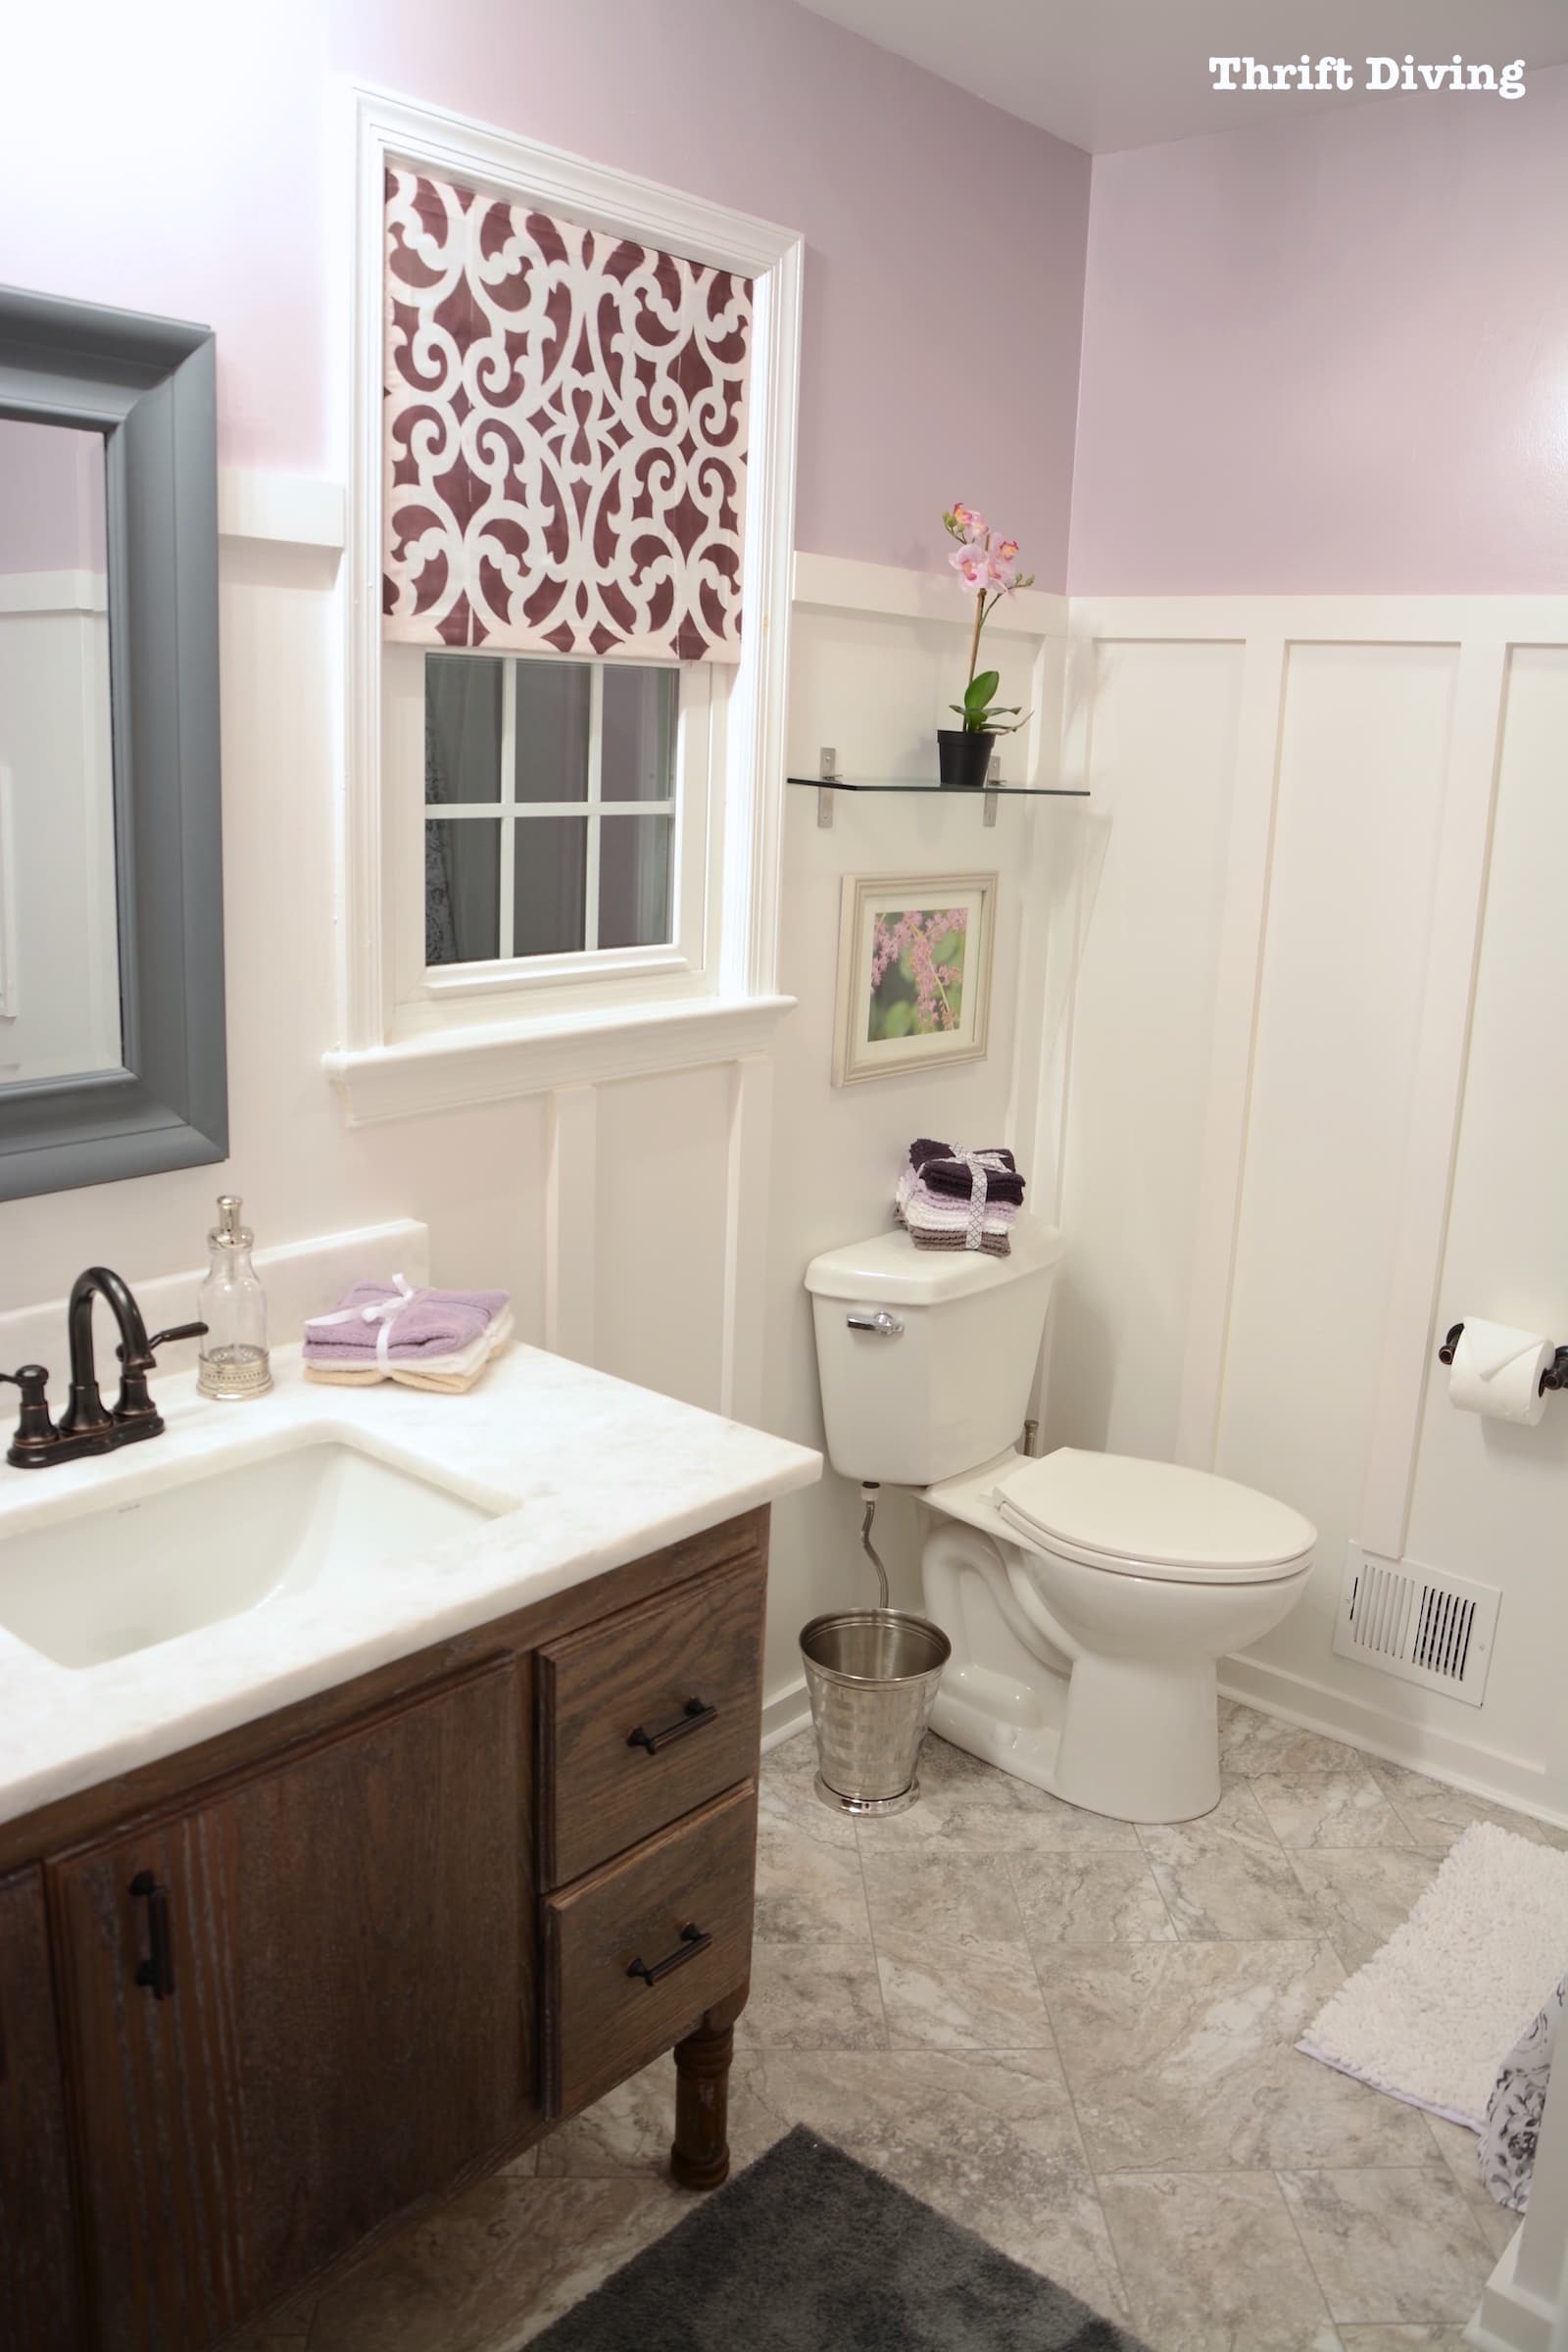
AFTER!
There’s this super-craze over the last number of years with people painting furniture. And as much as I’ve participated and still love me the look of a pretty piece of painted furniture, I am sooooo much more aware now how much wood should be respected!
It doesn’t mean that I’ll never paint furniture again.
But what it means is that once you spent 3 months working on building something from scratch, you have a new appreciation for the true craftsmanship required to produce an amazing piece of furniture.
(Resource: Check out Understanding Wood: 7 Things You MUST Know Before You Build or Refinish Furniture!)
The last thing I wanted to do on this vanity was to paint it and lose the special quality of the grain.
I wanted to see the rustic look of the wood.
Maybe in 10 years when I’m tired of looking at the wood, I’ll paint it.
But for now, you best believe I am going to relish in this gorgeous DIY bathroom vanity with accented white grain!
Because I did it from scratch with my own two bare hands!
And that is an accomplishment I want to marvel at every time I walk into this pretty little lavender bathroom. 🙂
BEFORE
AFTER!
Did you enjoy this post? Be sure to PIN IT to save it for later!
Read the Rest of this Bathroom Makeover Series!
DAY 1: The Evolution of a Master Bathroom Makeover
DAY 4: Picking Out New Flooring: Which One Do You Like?
DAY 6: How to Remove an Old Bathroom Vanity
DAY 27: Removing Wallpaper, Repairing Walls, and Removing an Old Toilet
DAY 29: Installing New Flooring in Our Master Bathroom
DAY 49: The Bathroom Makeover That Would Never End (An Update!)
Day 52: How to Remove a Toilet Yourself
DAY 57: How to Install a Toilet Yourself
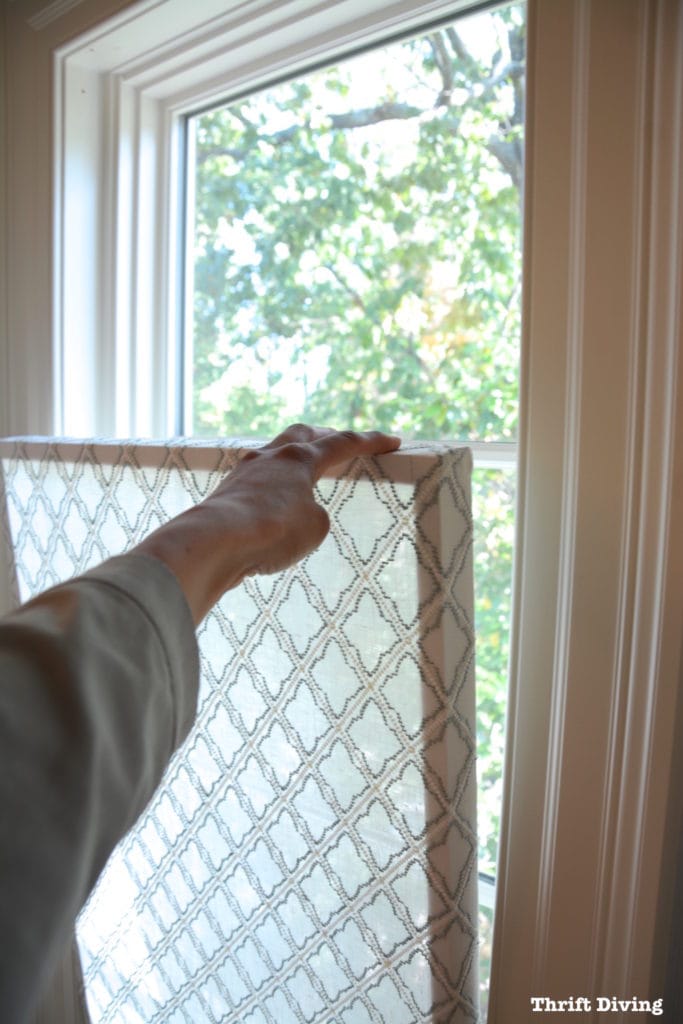
TUTORIAL: How to Make a DIY Window Privacy Screen
Build a DIY Bathroom Vanity – PART 1 – Attaching Legs and Base
Build a DIY Bathroom Vanity – PART 2 – Attaching the Sides
Build a DIY Bathroom Vanity – PART 3 – Creating the Partitions
Build a DIY Bathroom Vanity – PART 4 – Making Drawers
Build a DIY Bathroom Vanity – PART 5 – Making Cabinet Doors
Build a DIY Bathroom Vanity – PART 6 – Adding a Granite Vanity Top
Build a DIY Bathroom Vanity – PART 7 – The Final Finishing Coat
BEFORE & AFTER: The Final Master Bathroom Makeover Reveal!

Download the 5 freebies!

Thrift Diving inspires women to decorate, improve, and maintain their home themselves...using paint, power tools, and thrift stores! Use these 5 printables, checklists, and ebooks to get started!

Its amazing .its looks much much better and good in brown.the way you have shown each and every step yo make over its pretty i enjoyed. am definitely try this for my drawer organizer.Thank you so much for such a wonderful post.
Awesome job! So many great tips in this post. I love how much I’m learning from this project.
First of all, your little boy is precious.
Second of all, WOW!! Love the detail of this post. You did a fabulous job, and I’m so happy it worked out! I admit… after you put the grey on, I was thinking “aww, it would have looked so much prettier a warm brown!”. The end result looks just perfect. =) Congratulations!! You are one hell of a lady for being able to make this with your own two hands. =D
Eh… I’ve grown up with all wood furniture. Alll wood. Dark wood, ’80s wood… I still have a bit of the paint bug in me. 😉 I agree. though… to see you paint this would have been a tragedy! I’m so impressed at how great it looks. 😀
Hey there, Zovesta! So glad that you like it! I am finding that my tutorials are getting longer and longer. LOL I can’t help but include everything you could possibility want to know about it! I hope you don’t mind. 🙂 And you’re right–the warm brown looks so much better! Even with all the sample boards I did, I couldn’t have imagined it would have come out like this. Glad it worked out! Whew! It could have ended in disaster! LOL