How to Pull Together a Thrifted Craft Room
When we lived in our 2-bedroom condo, I had very little space for crafting. My so-called “craft room” was in the living room with my sewing machine sitting on top of a cheap card table. So when we moved into our single-family home, I knew a craft room was in order (but I didn’t want to spend a lot of money!).

Because I love thrift stores, it only made sense to buy everything second-hand.
So here are a few tips to help you pull together your own affordable thrifted craft room!
How to Pull Together a Thrifted Craft Room
Here are some craft room ideas that won’t cost very much money.
TIP #1 – Paint Everything the Same Color.
The thing about second-hand is that everything is usually mismatched–different color woods, different styles…I guess that’s true for any room that gets all second-hand thrifted furniture. The best way to unify everything is to paint it the same color, or at least, complementary colors. Who cares if you have different styles of furniture?
If you’re new to painting furniture, be sure to check out this post: What’s the Best Paint for Furniture? You generally won’t have to sand or prime the furniture because furniture paints work well without sanding or priming.
TIP #2 – Plan What You Need Before You Start Shopping
Whenever you’re planning a room makeover, including a craft room makeover, you’ve got to plan properly. So I created this Room Makeover Journal printable for you to download so you can start planning your craft room makeover!
Just enter your name and email to download the printable:

If you want to get super crafty, you can even use scrapbook paper to create DIY journal notebooks to help plan and organize your craft room makeover.

TIP #3 – Look For Cheap Wall Shelving
The point is to get things off your desk and on those walls. I found this wall shelf for only $5.00!! It ended up working out perfectly. If you can’t seem to find any shelves, look for crates that you could turn on their sites and mount to the wall to act as shelving. Or, even use dresser drawers from old dressers you’ve found at the thrift store!

Here’s what it looked like when I bought it:

It’s a great place to store old cans with craft supplies in them:

TIP #4 – Make Your Own Crafting Desk (Or Buy One Thrifted)
I am in LOVE with my vintage Anco Bilt drafting table that I found at the thrift store for only $30! It was truly a steal. I decided to keep it rustic and natural because, well, it is more valuable that way. But if you’re crafting on a desk, you’re going to be dropping pins, scissors, etc., and you may just scratch any desk you decide to use if it’s painted. I like the rustic look more. Any nicks and dings only add to its character :).
On eBay these drafting tables have sold for about $300, so finding mine for $30 was a steal!

BONUS TIP: Position your crafting desk perpendicular to the wall because it creates a nice little alcove-ish area for you to call your own, especially if you’re sharing the room with your spouse! Cap it off with a bookshelf on the end and stack crafting books on it. I bought this one from a yard sale for $10!

You can also find two similar-sized file cabinets and lay a door, old countertop, or a large piece of wood on top to create a really affordable crafting desk.
This desk only cost me $15! Check salvage shops for old doors or an old countertop piece.


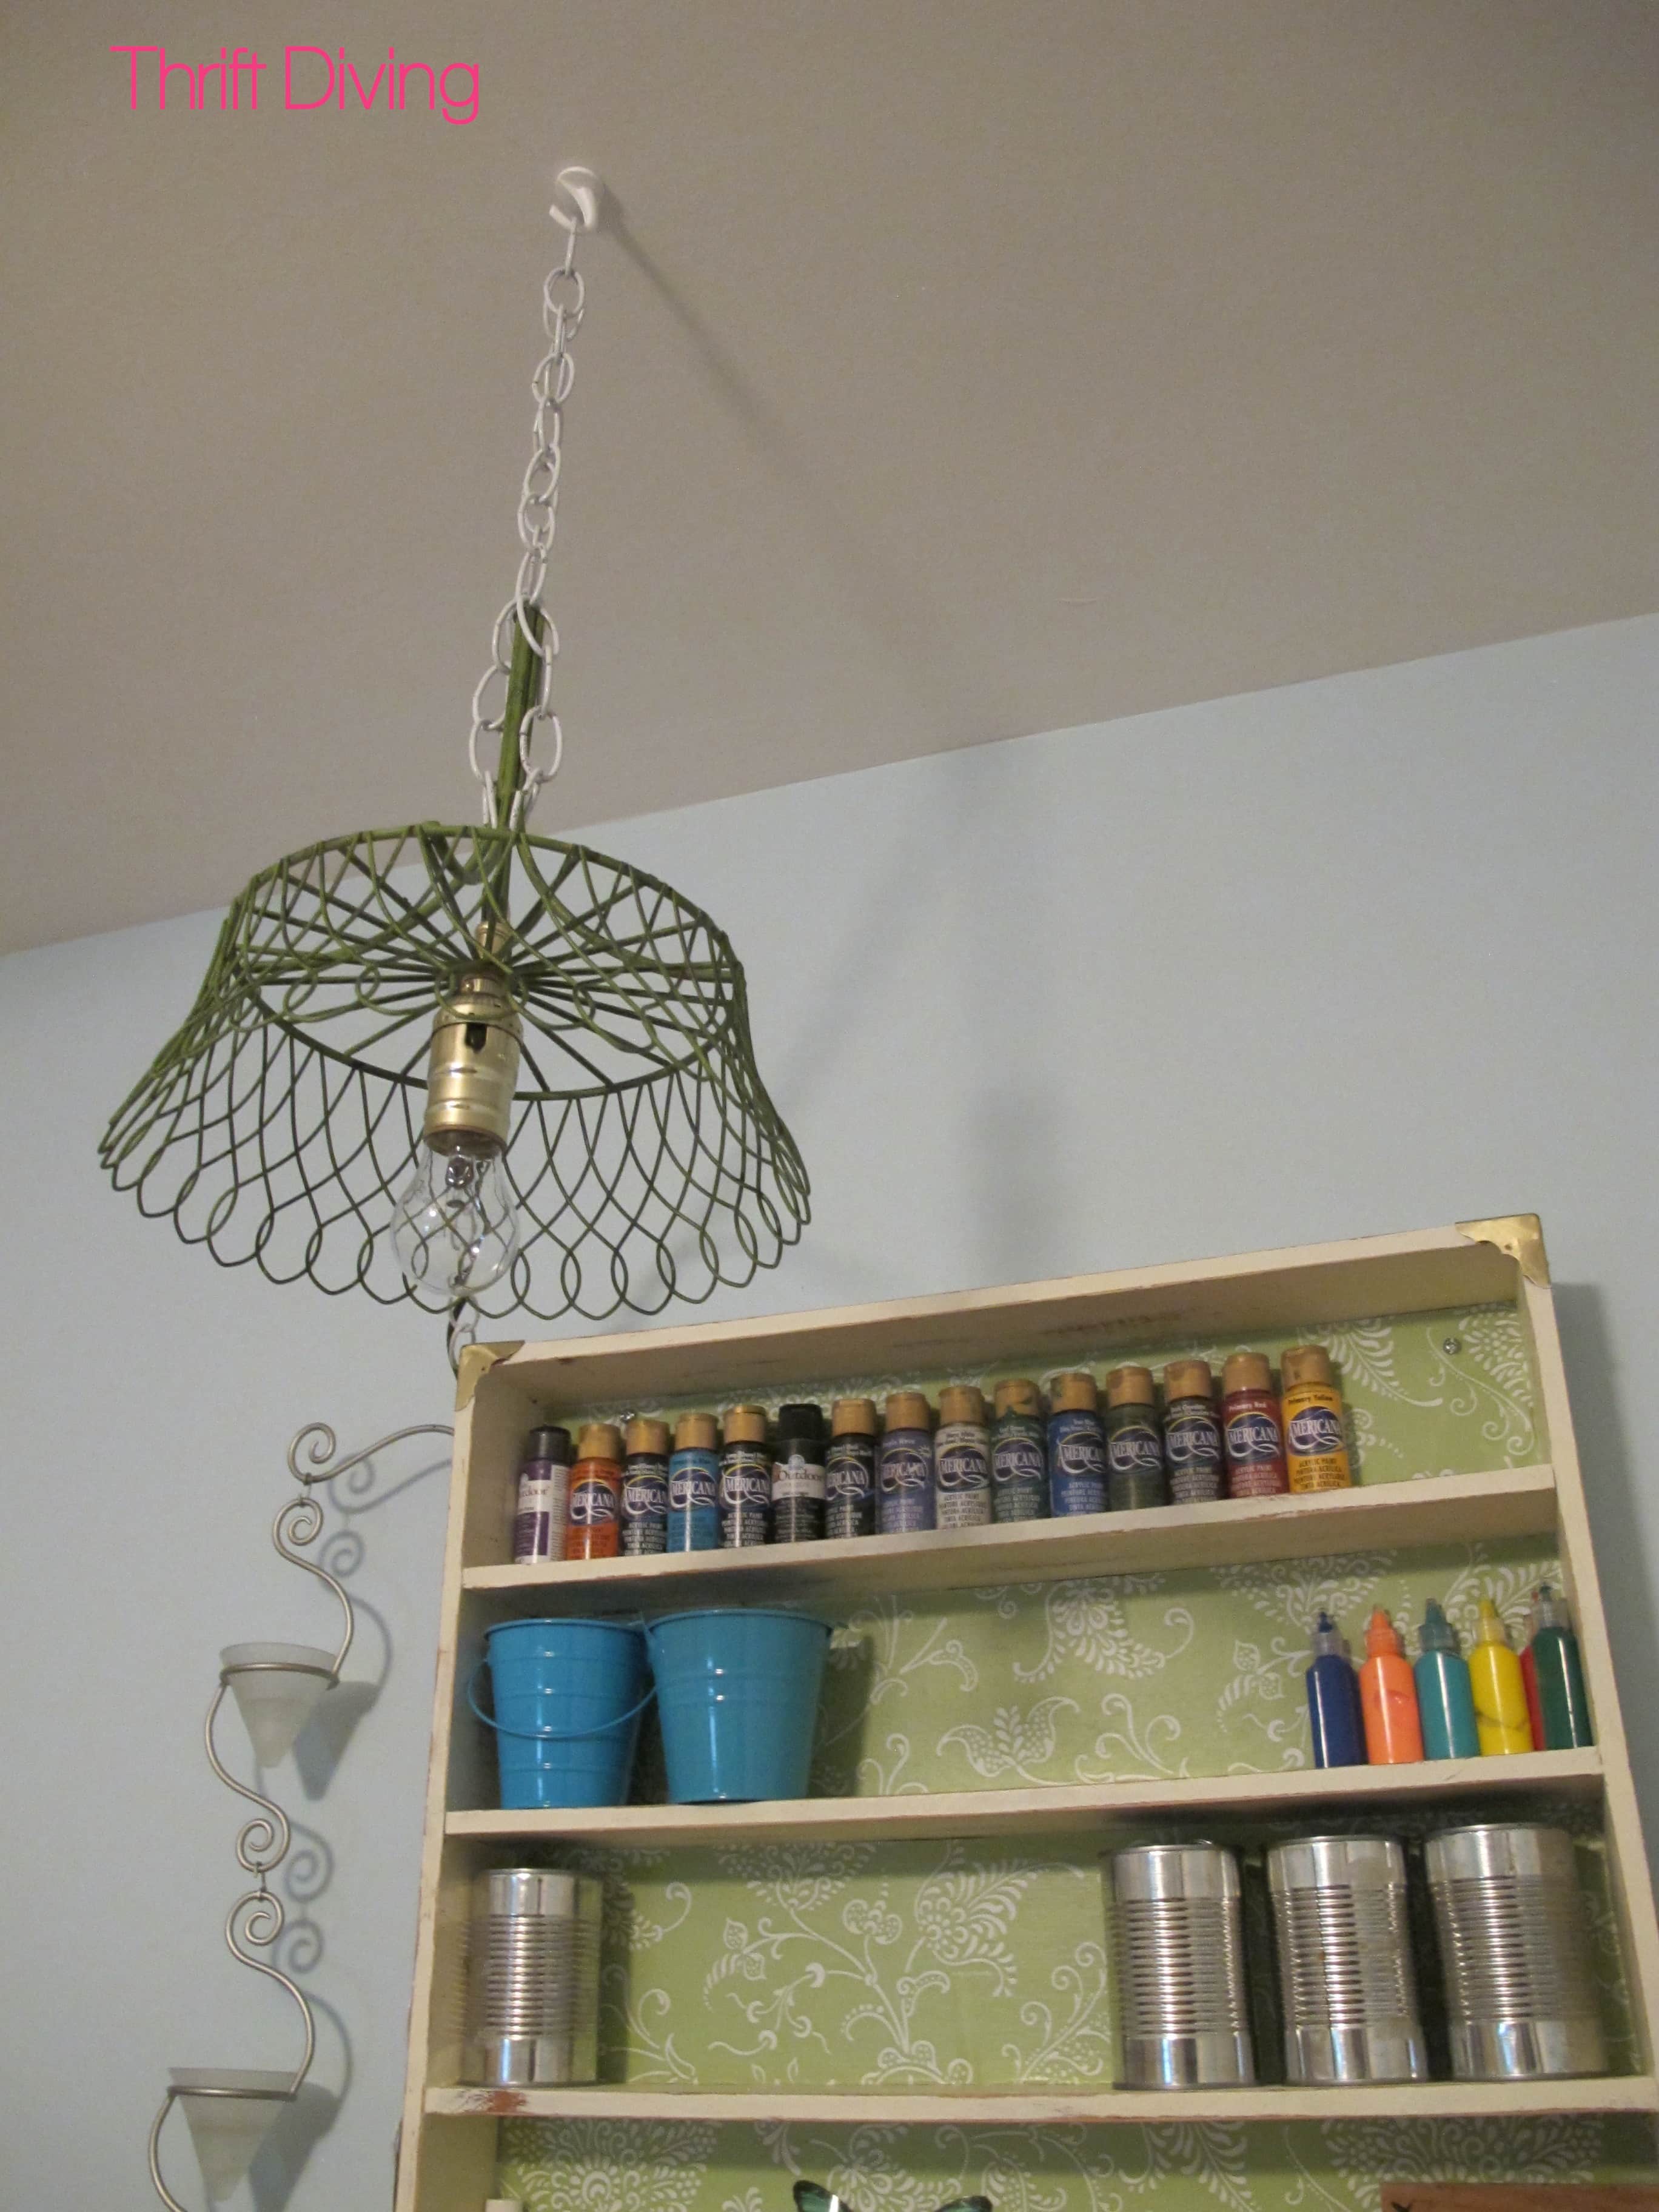
TIP #5 – Buy Extra Lamps (Or DIY Your Own!)
Craft rooms need lots of light, so look for an old thrifted lamp, or make an awesome DIY pendant lamp to hang over your drafting desk. I made mine out of my broken Crate & Barrel wire fruit basket! You won’t believe the cool light art that it creates on the ceiling when I turn it on!!! I love it!
(For the full tutorial on how to create your own DIY pendant lamp like the one I did, here are the video tutorial instructions.)


TIP #6 – Keep Your Sewing Machine Out of the Limelight
If you have kids, I guarantee they’ll grab your thread……your needles……and, oh, your leg press that allows you to even raise and lower the sewing machine. HA! Better to keep it under wraps when it’s not in use. Try to find an affordable sewing cabinet from the thrift store, or check Craigslist.
I got this one from the thrift store for a mere $40! I haven’t refinished it yet….

TIP #7 – Go For the Uncommon
Yes, my friends….that right there is a vintage shoe shine caddy. Find uncommon ways to store your craft supplies! I got this one from the thrift store for about $6.00.

As a crafter, you will never have enough markers, pens, pencils–you name it. Use a bunch of cans on your desk, some of which you can easily find at the thrift store. Some of them will be food cans. And some, snack cans! The more, the merrier! 🙂


TIP #8 – Don’t Expect It to Be Perfect!
Even if you get part of your crafting room done, you may still have areas that still look like a tornado hit. Or maybe you didn’t get the curtains done. Or this….or that….
Just keep working towards creating your dream craft room and you’ll be surprised how it all comes together!

Just get some things that you really love in your craft room (like my pretty little DIY card catalog that I love, love, love–found at the thrift store for $18!). The more you love it, the more you’ll want to create.
What If You Don’t Have Space for a Craft Room?
Yep, not everyone has a dedicated room for crafting. In that case, here’s what I would recommend:
- Use your dining room table. Who actually eats there, anyhow?? If you can, get a buffet in your dining room and use it to store your craft materials. Those things hold a lot!
- Clear out a closet. I’m sure you’ve seen the closets-turned-crafting-space. It’s an option…..
- Craft at a friend’s house. If you have a friend that has more space than you, set up regular dates to craft over at their house instead.

So tell me…Do you have any great tips for pulling together a thrifted craft room? Leave a comment below to share!

Download the 5 freebies!

Thrift Diving inspires women to decorate, improve, and maintain their home themselves...using paint, power tools, and thrift stores! Use these 5 printables, checklists, and ebooks to get started!

I love all the ways that you can re purpose stuff that you can get for next to nothing at thrift stores, flea markets, garage sales, reuse stores, and some times on freecycle.org You have done a beautiful job with your craft room. Love the new color of the walls.
Thanks so much for sharing your creativity! What are the measurements of your room? My “playroom” is a work in progress & is a 10 x 12.
Serena, I met you at BlogHer last August, and I just wanted to say thank you for your awesome inspiration here. It takes hard work and guts to tackle projects and I love to see your finished results! Best of luck to you in your future endeavors.
Have you ever looked at little green notebook? That’s a super fun diy blog as well!
Wonderful, very nice posting and also the precise product information, allow me to show to my buddies throughout facebook or myspace.
Hey Serena!
I’m a ‘newby’ to your blog. LOVE it!
What are your room dimensions? I have an extra bedroom (small) that I need to convert to my craft/futon for extra extra guests room. And I’m thinking u r just the inspiration for me!