How to Make Framed Fabric Wall Art Using a Picture Frame
Have you ever found such gorgeous prints and wanted to make framed fabric wall art using a picture frame?
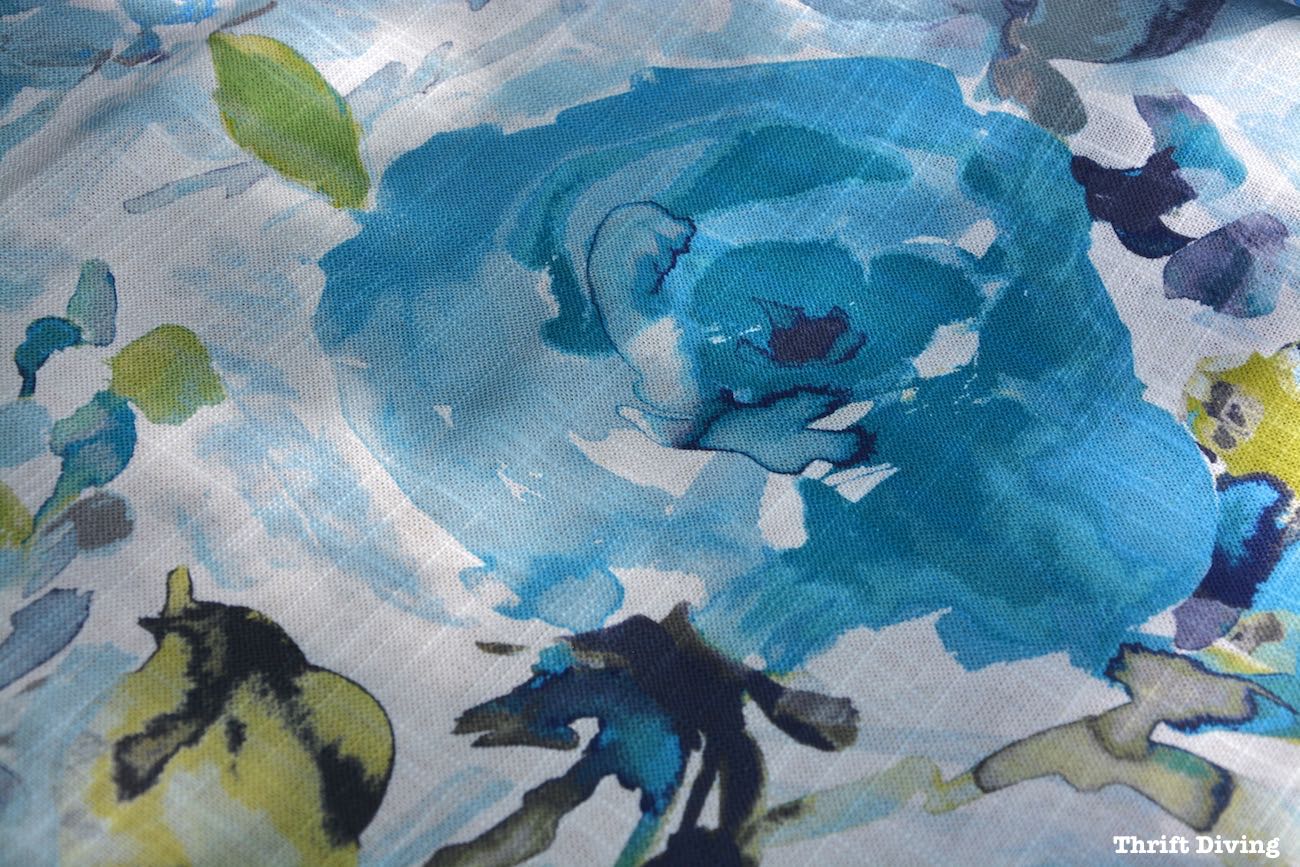
That’s what happened when I found this beautiful floral linen fabric that reminded me of watercolor paintings. It was stunning!
Watch the Tutorial!
There’s no other word to describe it.
So I did what any DIYer would do:
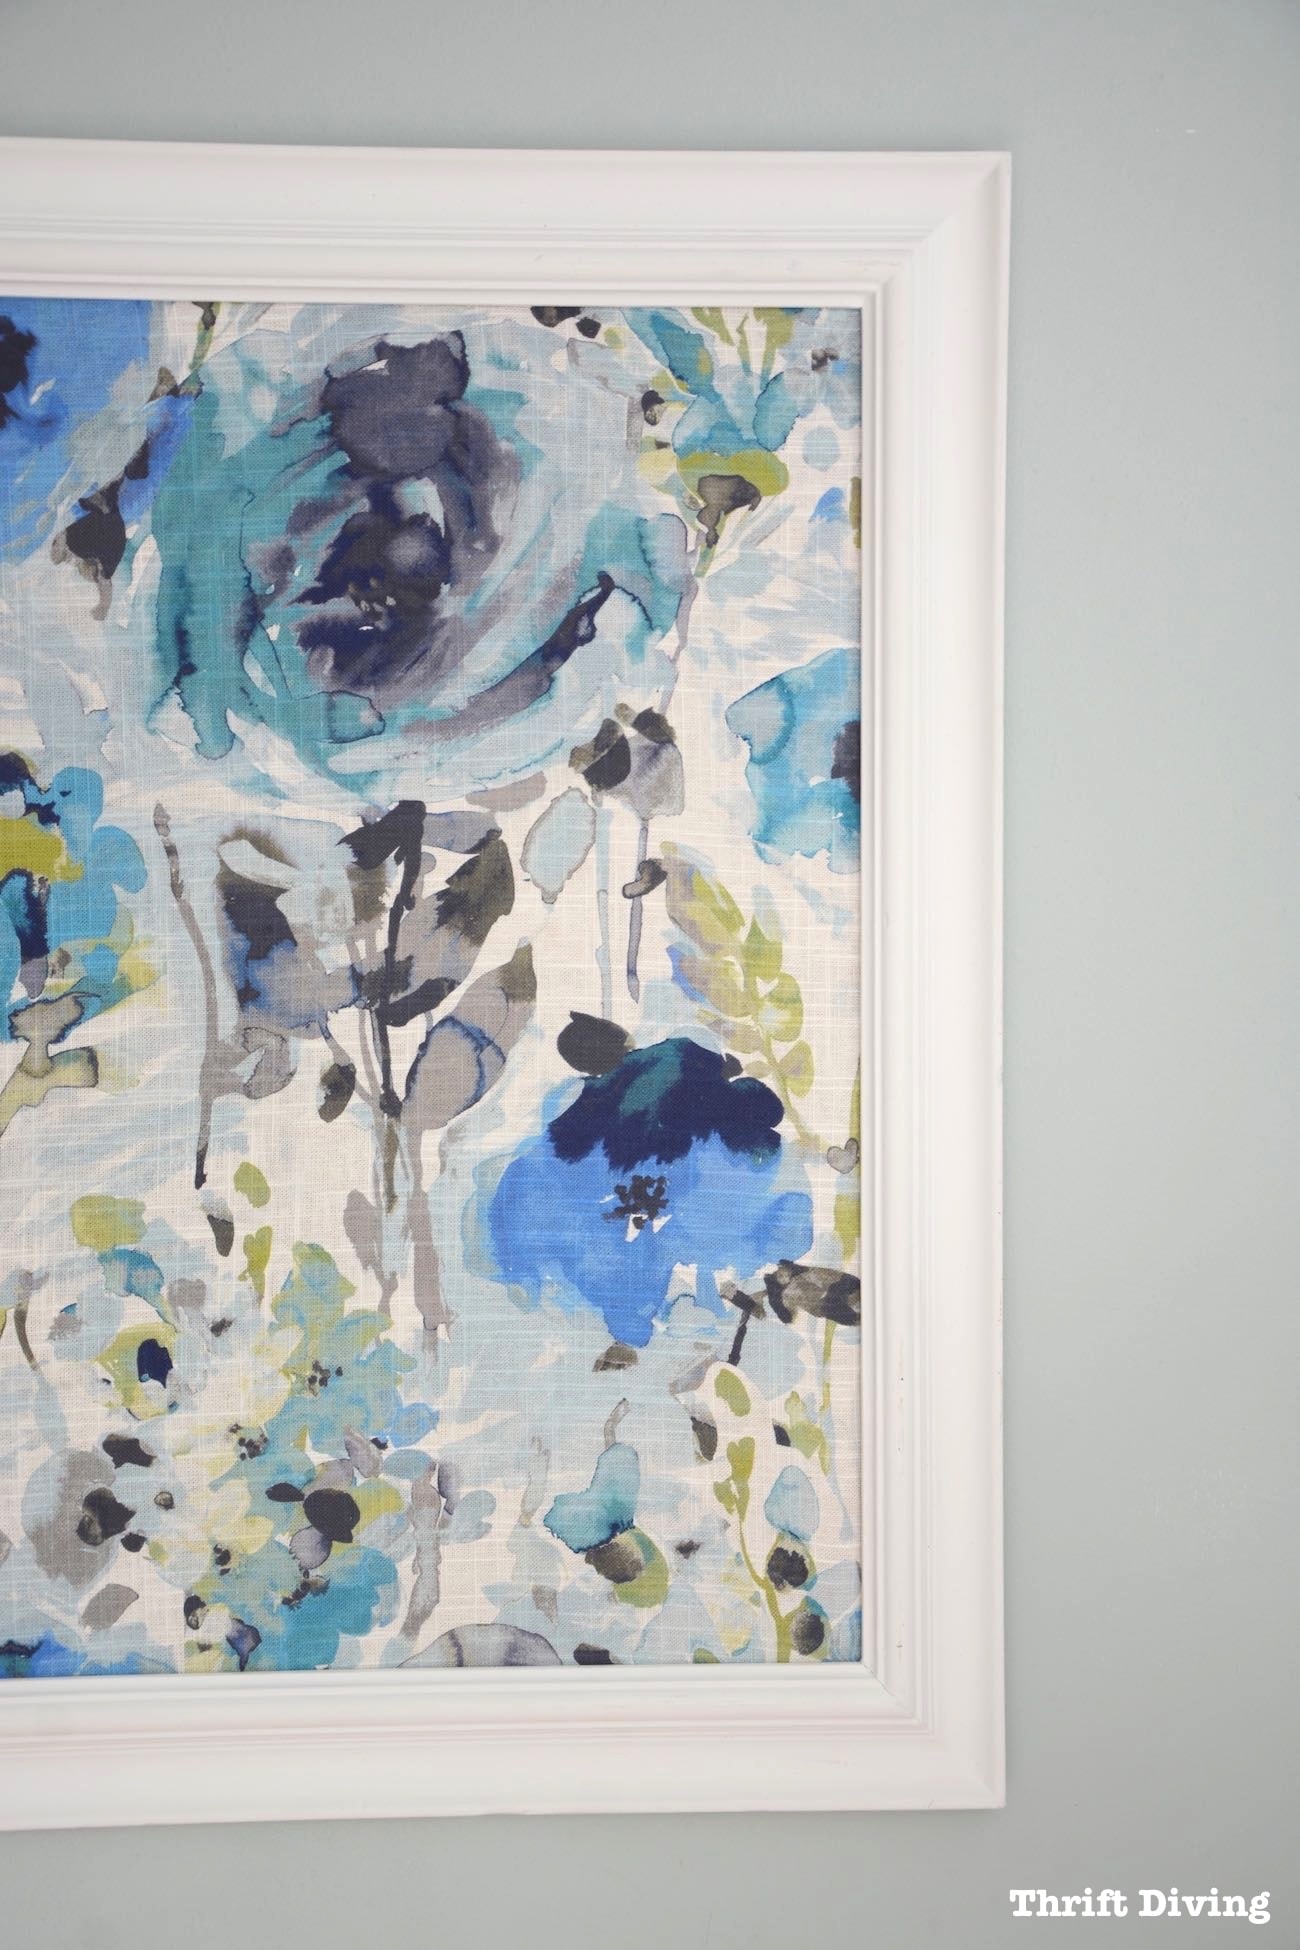
I mounted the fabric on plywood with staples, popped the fabric back into a $7.00 thrifted picture frame, and–voila!–framed fabric wall art!
The Watercolor Fabric
So, I’ve been teaming up with an awesome company called Arrow Fastener that makes some of the hand tools I’ve been using in recent projects (like this awesome riveter for those DIY backyard bean bag tosses I created).
I started this project with the intention of finding a large picture frame and creating a DIY message board.
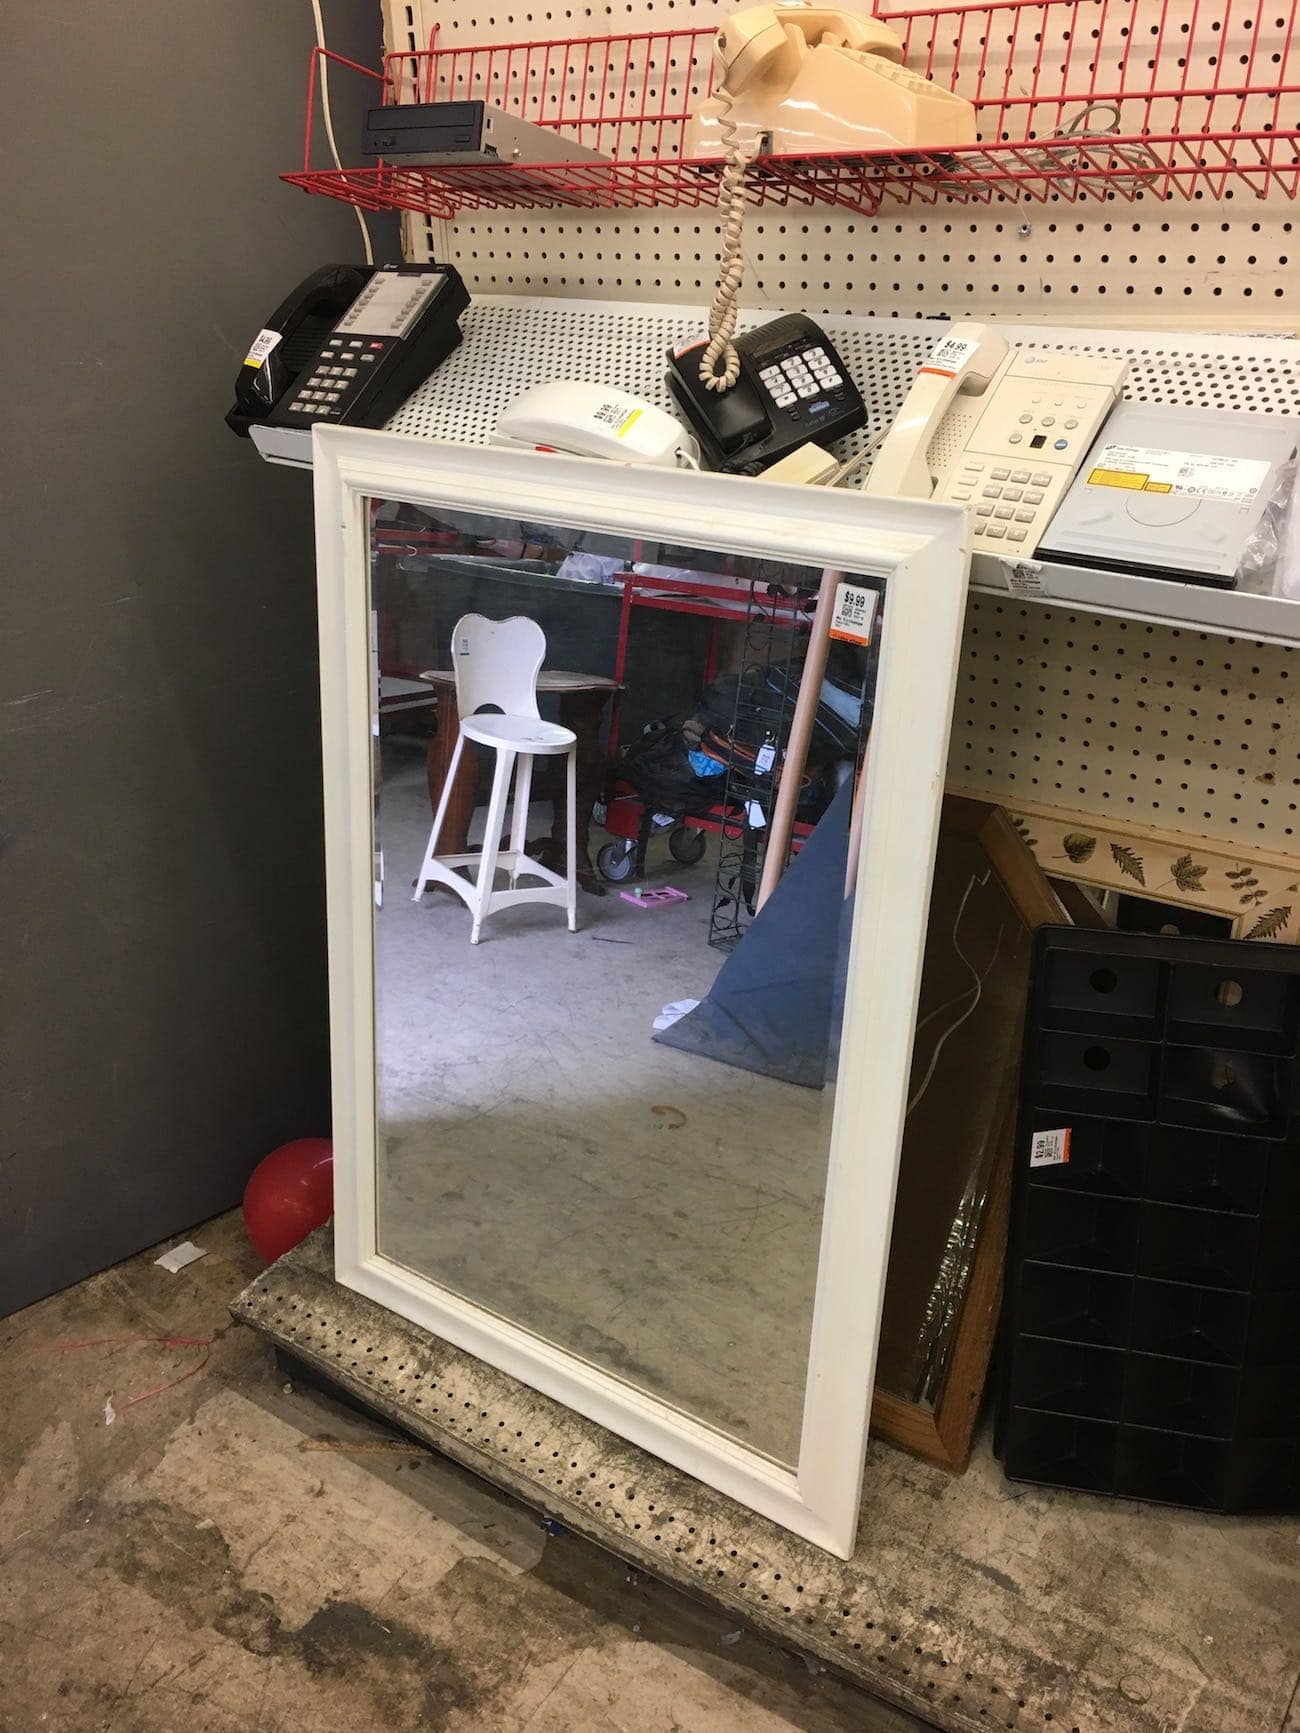
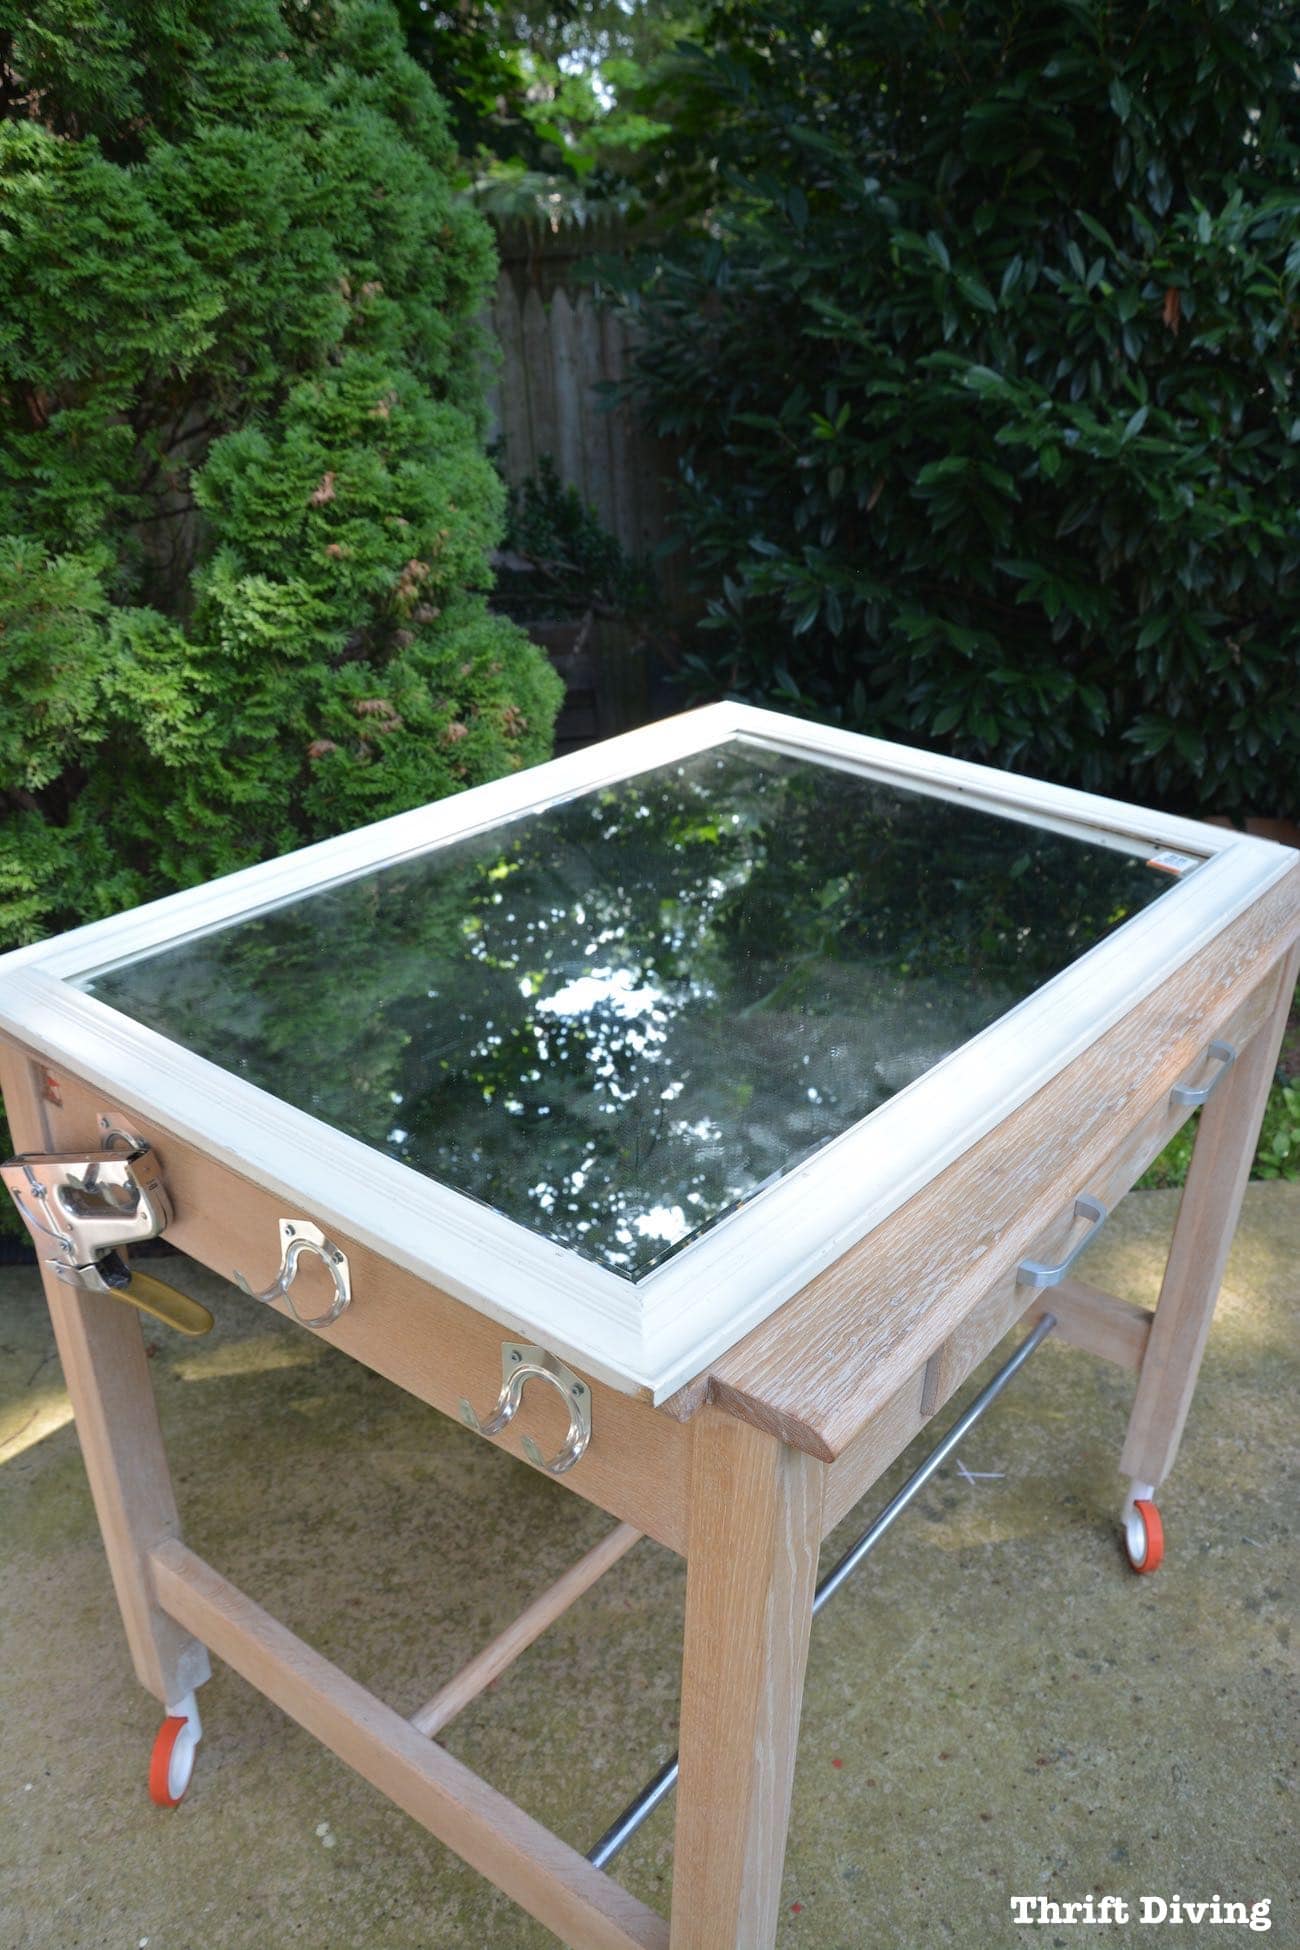
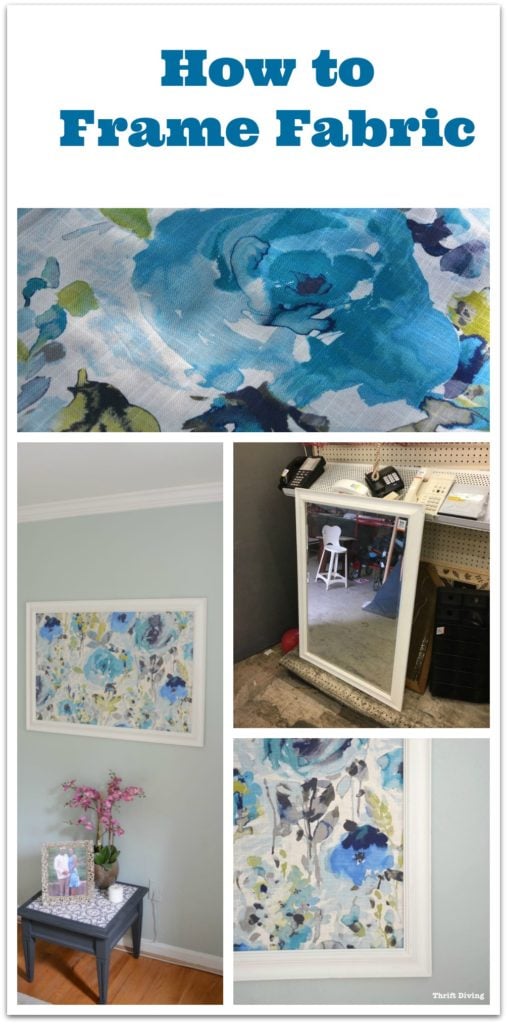
My first stop: my favorite thrift store here in Maryland! It’s so funny how I always find exactly what I am looking for, like this $9.99 framed mirror with a 30% off coupon! For $7.00, it was a steal because you know how expensive frames can be, especially ones with mirrors! (FYI….Thrift stores are generally a good place for wood frames for fabric and other DIY wall art).
P.S. Or you can make your own DIY picture frames using a miter box, especially if you want a custom-sized picture frame.
BEFORE
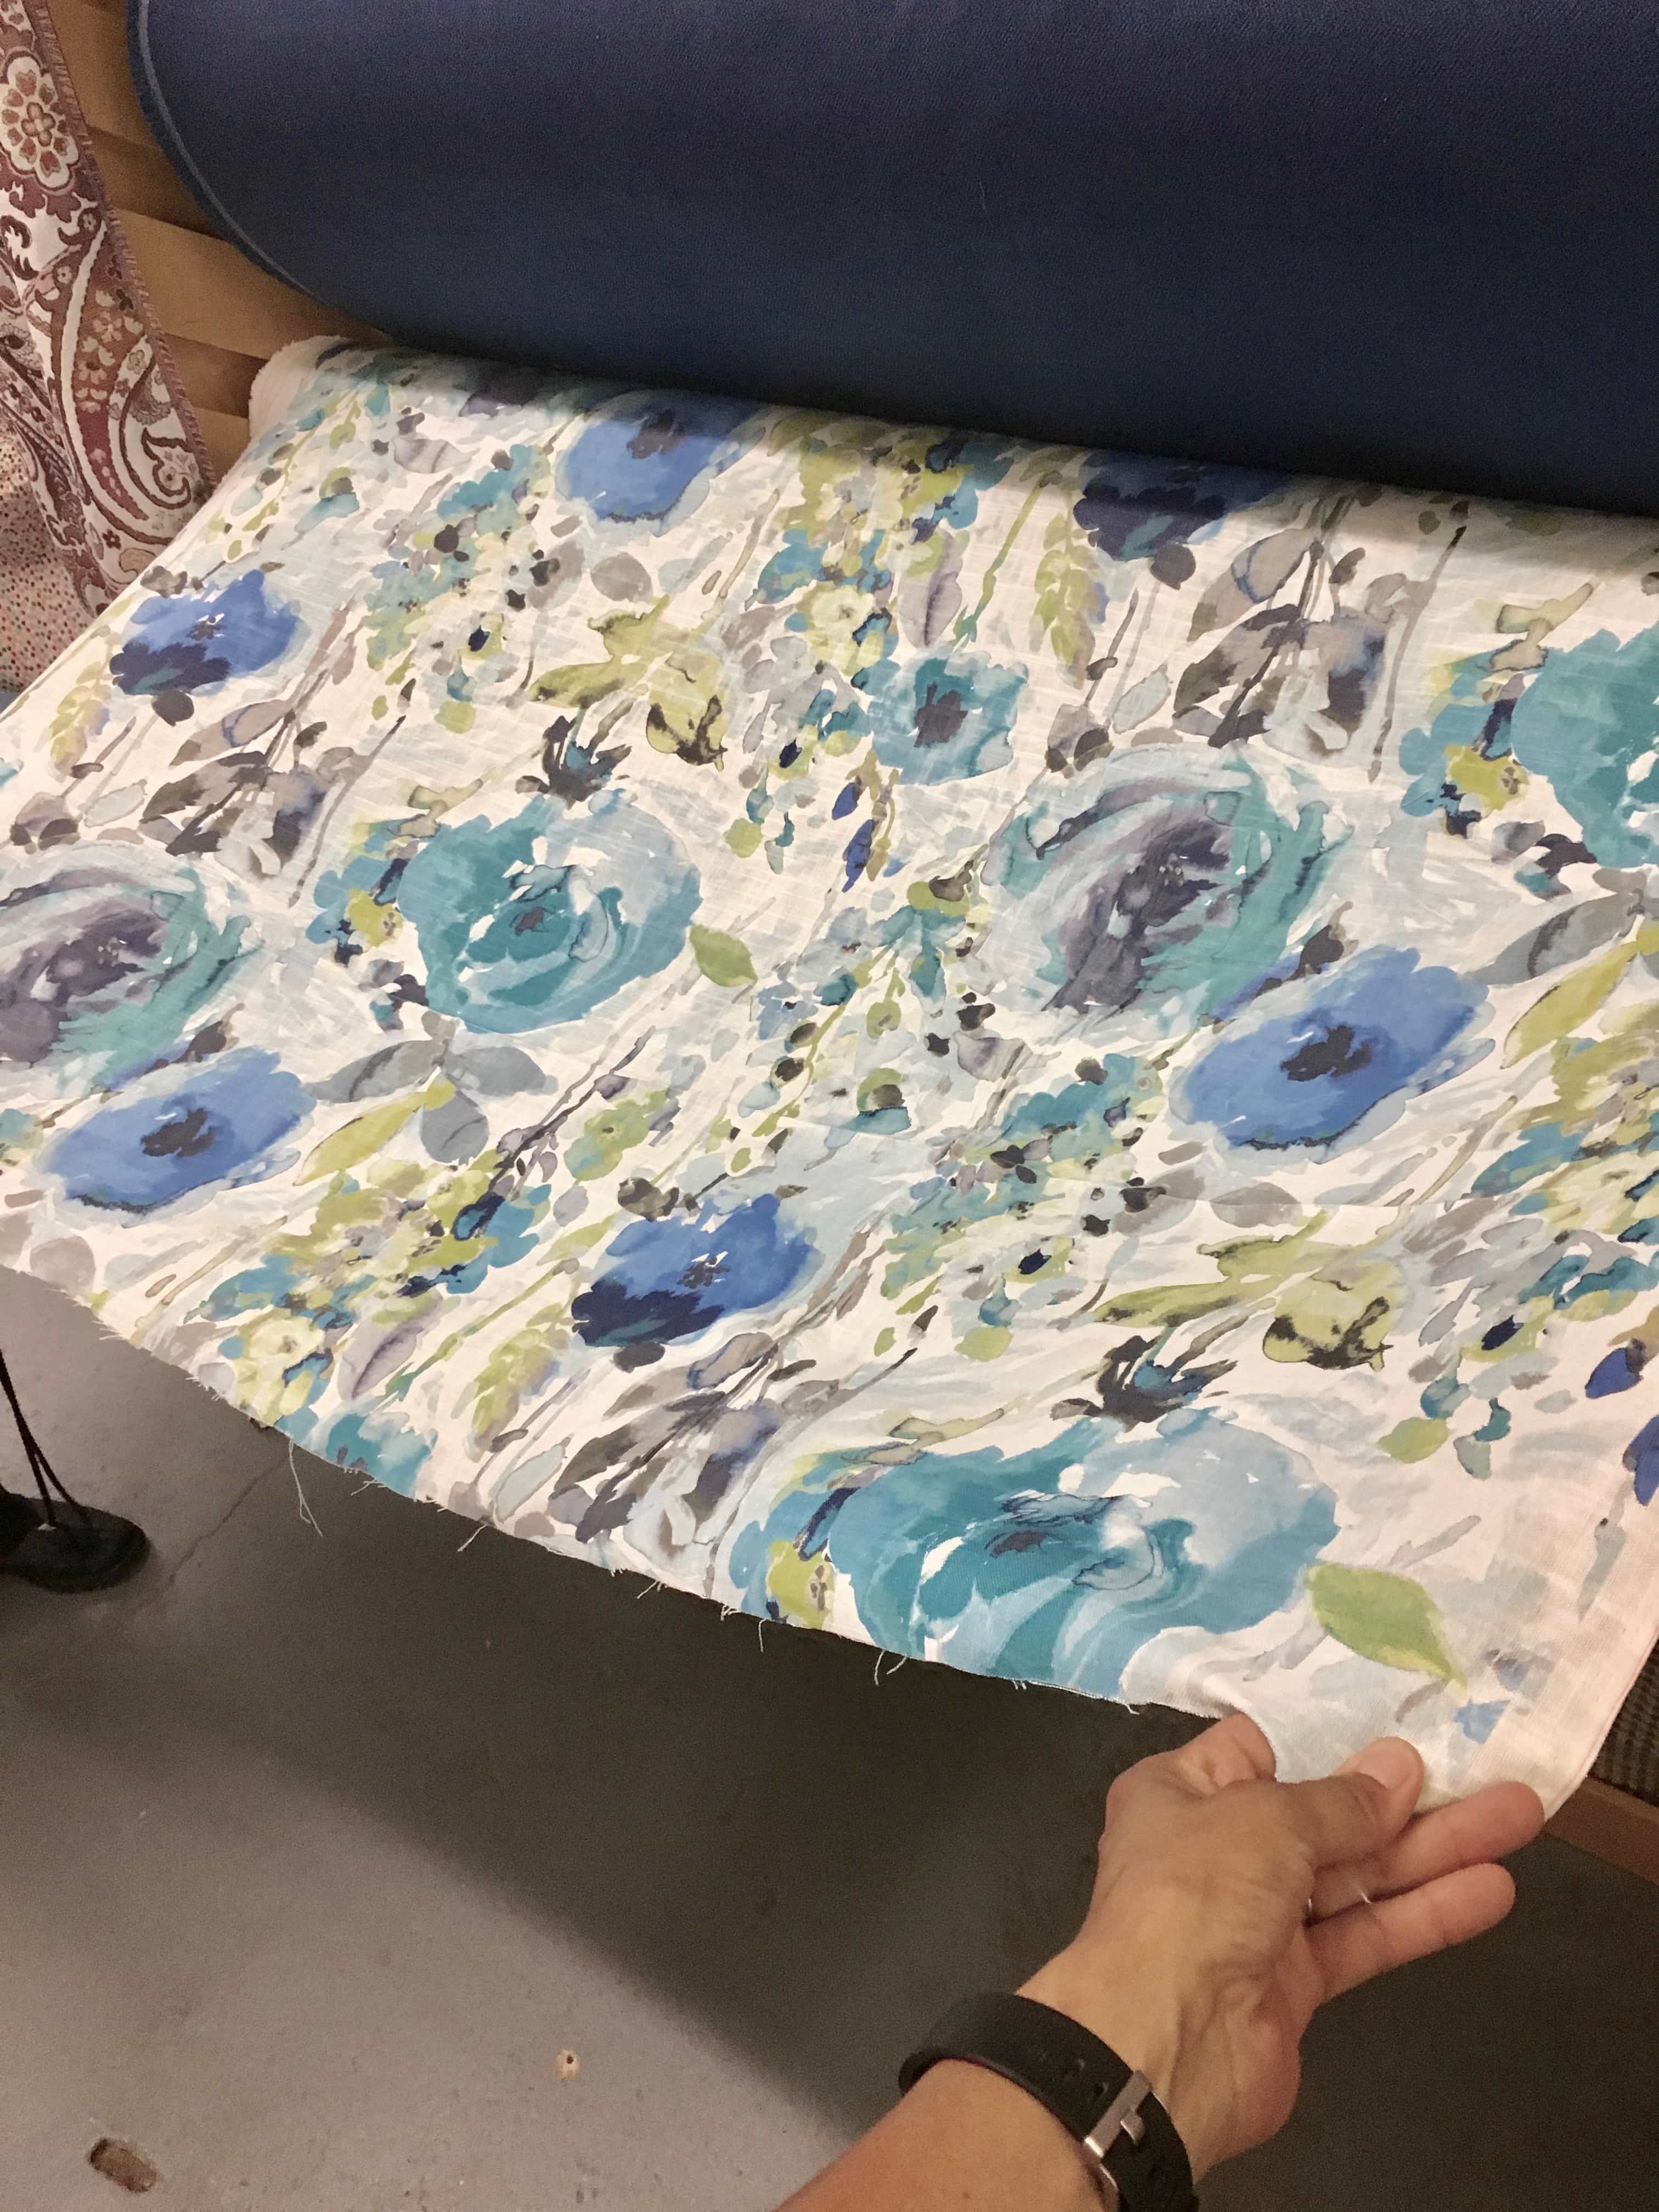
The next stop was the fabric store. There is a local fabric shop called G Street Fabrics that I typically will go to in-store. I was on the hunt for fabric and cork to glue to a DIY message board. The moment I walked in, my eye caught this gorgeous fabric 100% linen fabric which had just been added to the fabric stock that day!
I “oohed” and “ahhhed” over it to the saleswoman until I saw the price at $49.99 per yard.
YIKES!
So I shuffled along to find something more in line with my cheap budget. But I couldn’t get my mind off that stunningly beautiful fabric. The saleswoman could sense my eagerness and I kept hovering nearby, fingering the fabric and sighing in disappointment over its price. She was nice enough to lend me 15% off, and while that wasn’t much, it was just the push I needed to buy one glorious yard, with which I had no idea what I was going to do. (I found it on their website later for under $38/ft).
I’d come up with some idea later, right after I finished my message board…
Framed Fabric Wall Art Using a Picture Frame
I have this intuition with DIY. Some call it creativity, but I like to think of it as intuition. Sometimes a project just feels right. (Does that ever happen to you?)
As much as I loved the idea of organizing my family for the impending school year with a DIY message board, I couldn’t shake the idea of doing framed fabric wall art and prominently displaying it where I could admire and enjoy it daily.
I didn’t want to stick push pins through it. It was way too expensive (and pretty) for that.
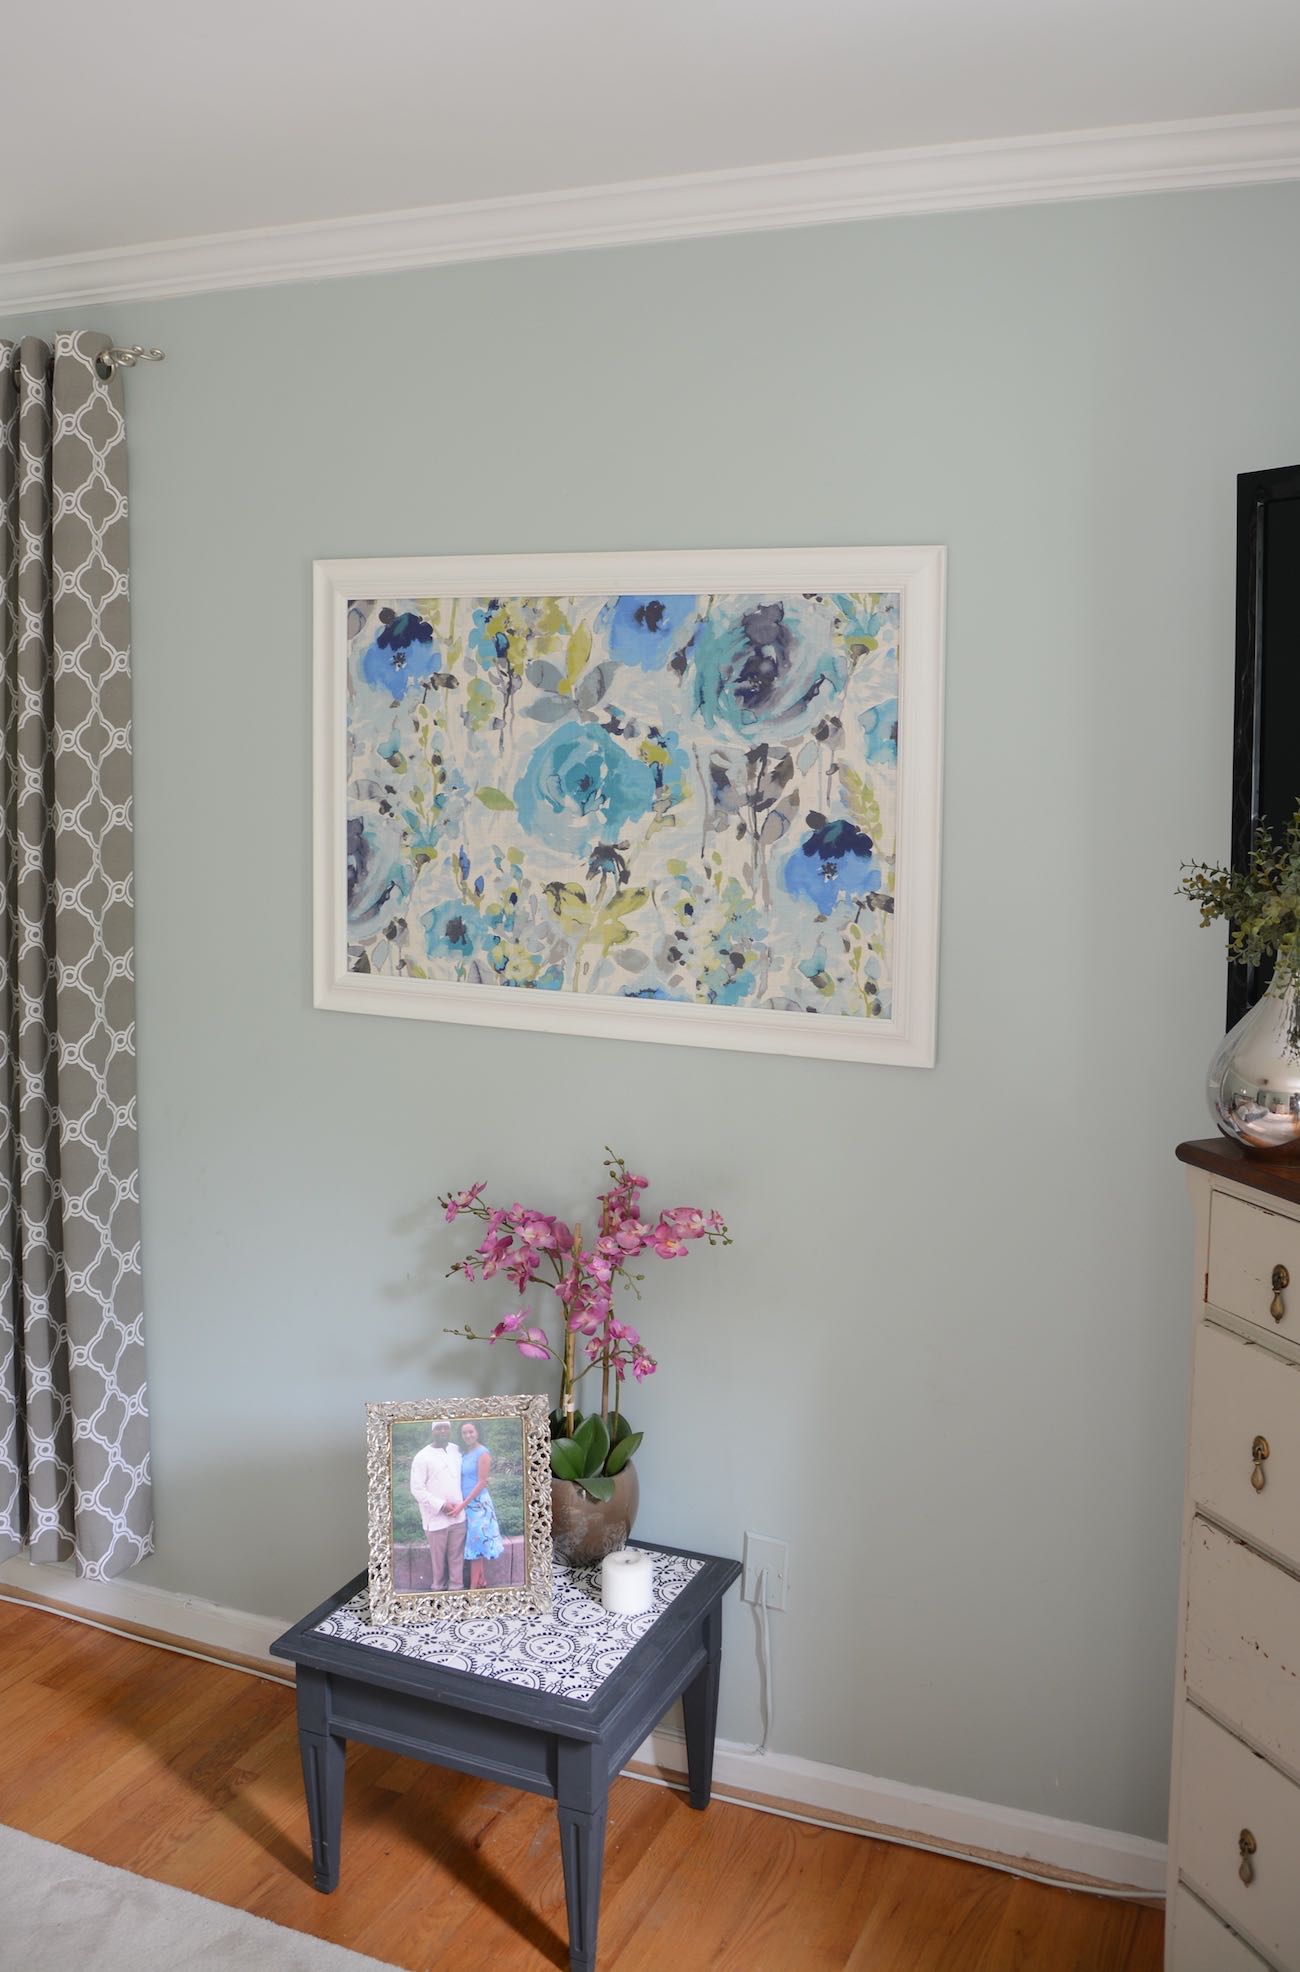
So I decided it deserved a place on my Sherwin Williams Rainwashed bedroom wall!
AFTER!
Here’s how I created my framed fabric wall art.
Materials Used
(I participant in the Amazon Services LLC Associates Program, an affiliate advertising program designed to provide a means for me to earn fees by linking to Amazon.com and affiliated sites).
- T50X TacMate™ stapler by Arrow Fastener
- Large $7.00 framed mirror from the thrift store
- White chalk paint
- Floral linen fabric (purchased from a local fabric store)
- 1/4″ plywood cut to the size of the picture frame
- Jigsaw
- Scissors or rotary cutter and mat
- Measuring tape
- Pencil
STEP 1: Remove the Old Glass or Mirror From the Picture Frame
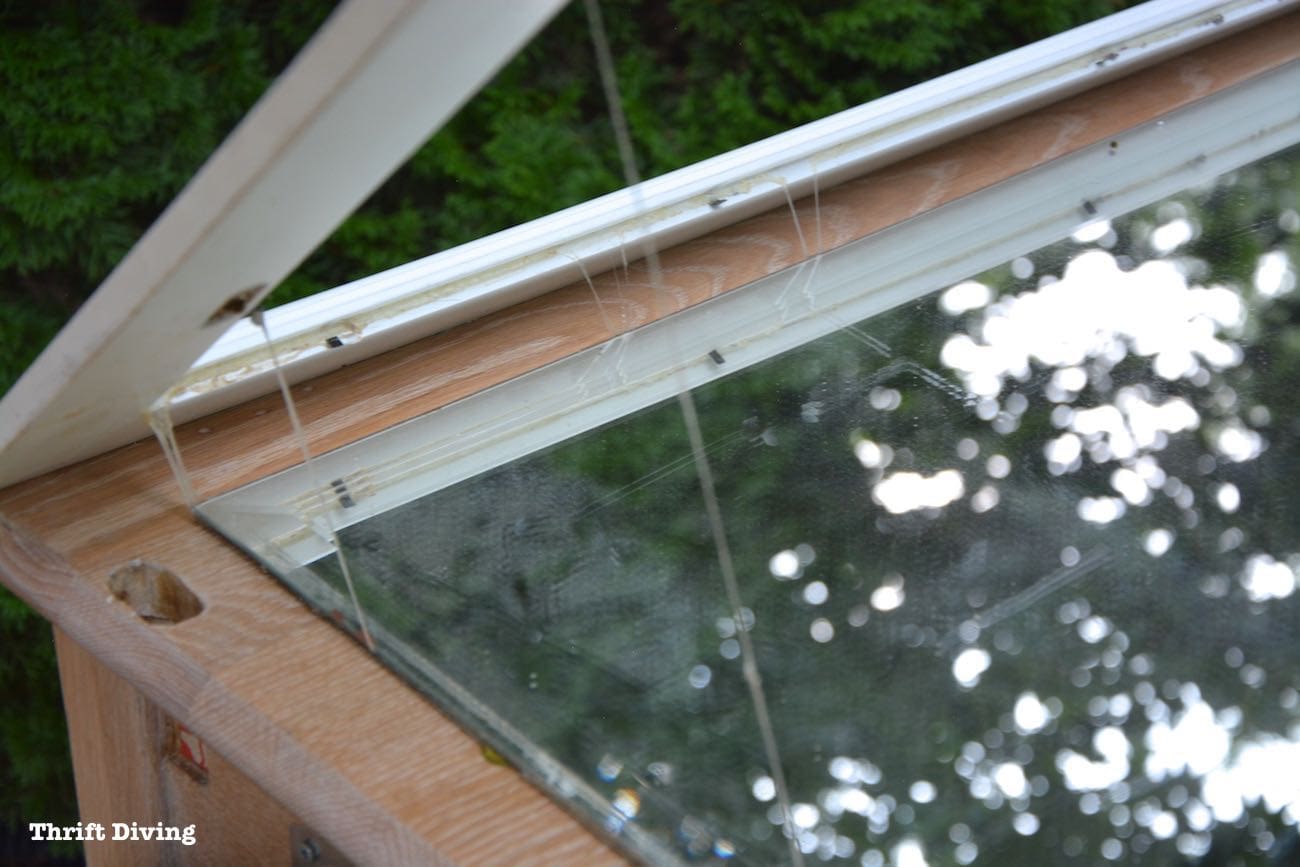
This frame had some yucky adhesive holding the mirror in place, but because it was so hot outside at the time, it softened enough for me to easily lift the mirror out.
It was still a pain to scrape away all the leftover adhesive on the frame!
STEP 2: Clean and Paint the Picture Frame
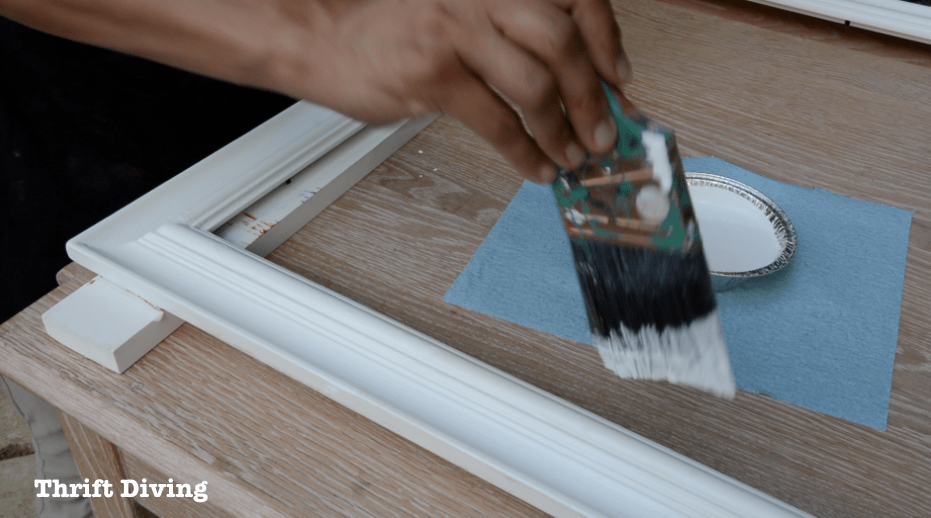
Don’t you love how easy it is to paint stuff now compared to years ago??
No sanding, no priming (as long as the piece is in good condition).
This frame, while dirty, was in good condition. With a little bit of wiping down after removing all the adhesive, it was ready for a quick coat of bright white paint to freshen it up!
(RELATED: What’s the Best Paint For Furniture?)
STEP 3: Measure the Width and Length of the Plywood
1/4″ thick plywood is perfect for mounting inside of picture frames to create framed fabric wall art because it’s sturdy, yet thin enough to still hold inside of the frame with a thin layer of fabric on it. It doesn’t create a lot of bulk.
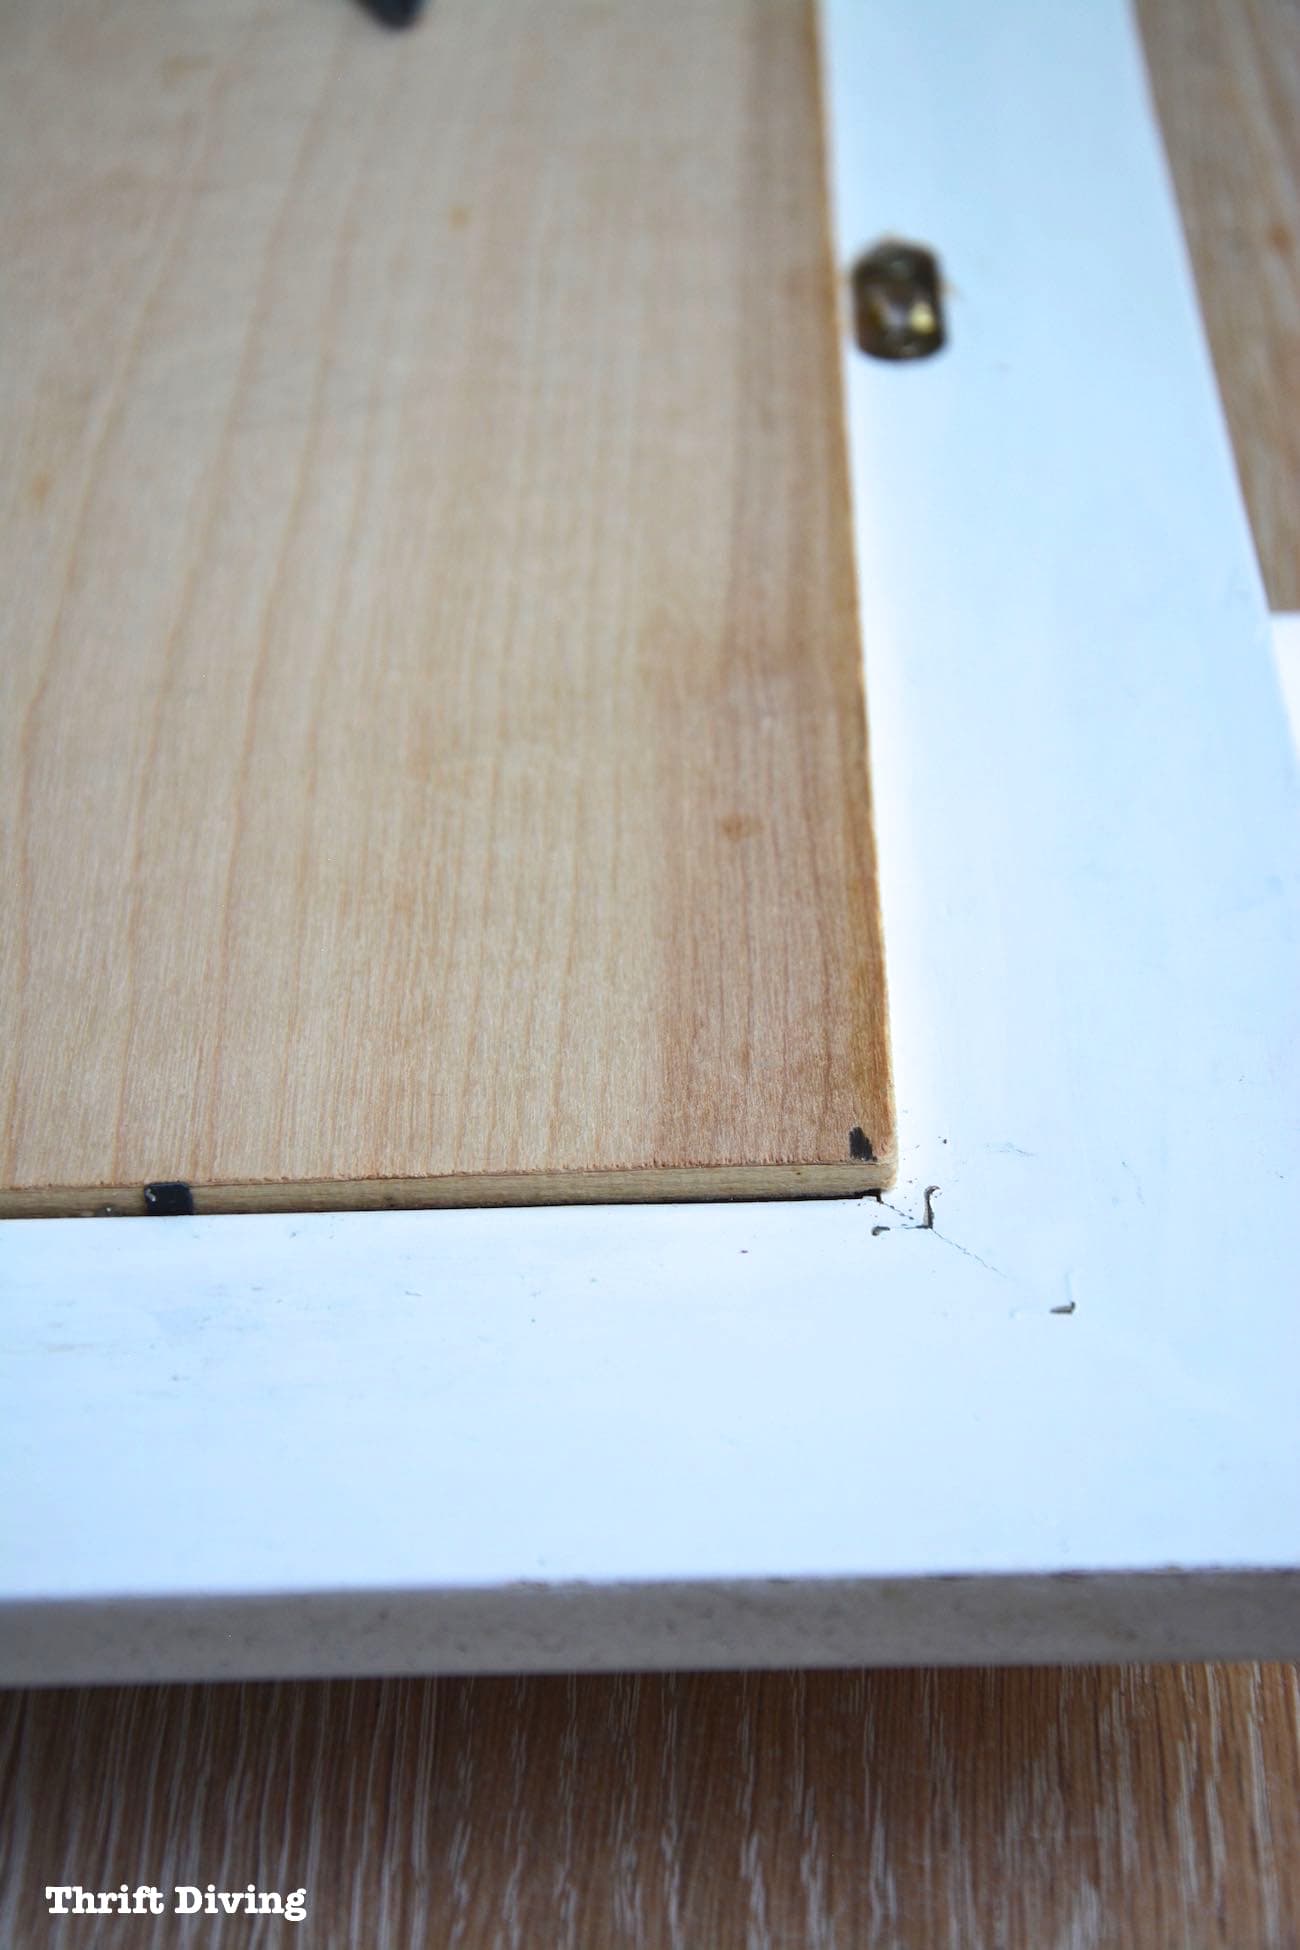
I popped the 2″x4″ sized plywood inside of the frame as best as I could, then marked how much I would need to trim away.
You could use a measuring tape, but for me, just laying the plywood on the frame and marking where to trim was most helpful.
(Or it could be that I’m just lazy. HA!)
STEP 4: Cut the Plywood to Fit the Picture Frame
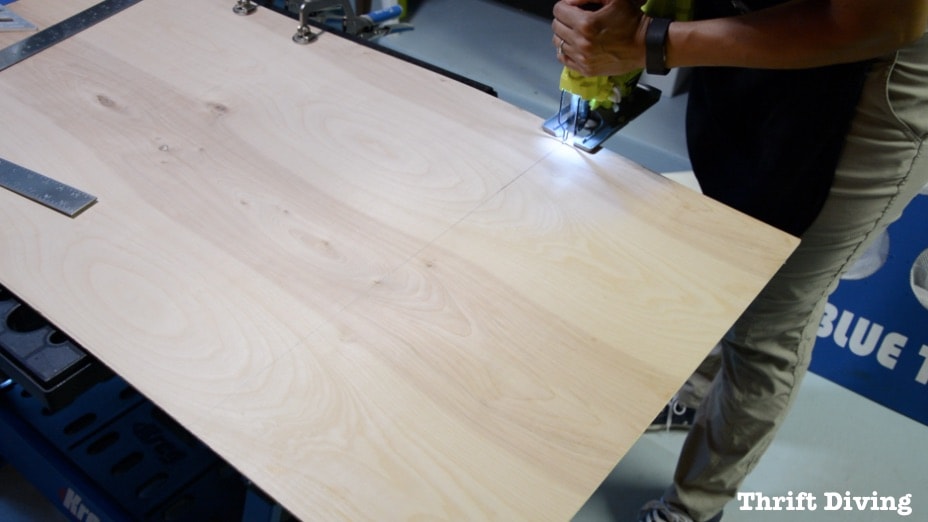
The jigsaw is one of my favorite tools because it’s soooo easy to use! (Helpful: Check out my full tutorial on how to use a jigsaw if you’re a newbie).
Once I marked the measurements on the plywood, I used my jigsaw to cut it.
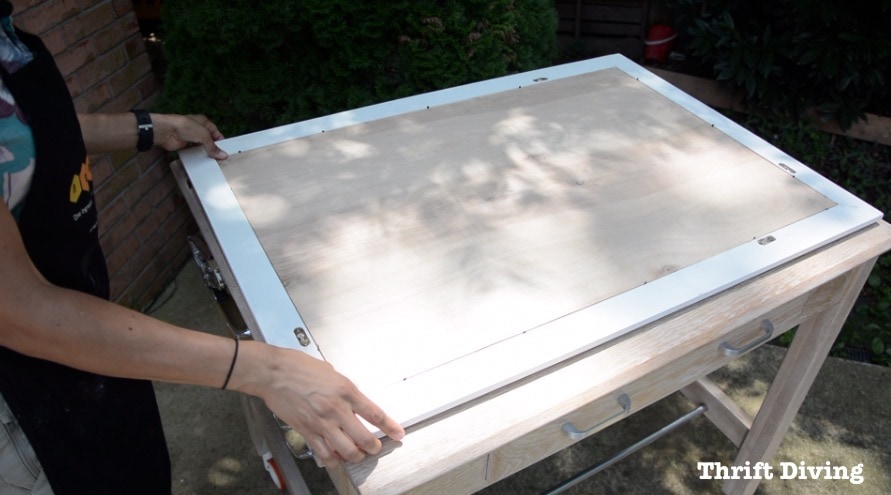
After cutting the plywood to size, I checked the fit and–BOOM!–perfect fit and no “do-overs.”
Don’t you love when DIY is easy?? 🙂
STEP 5: Staple the Fabric to the Plywood
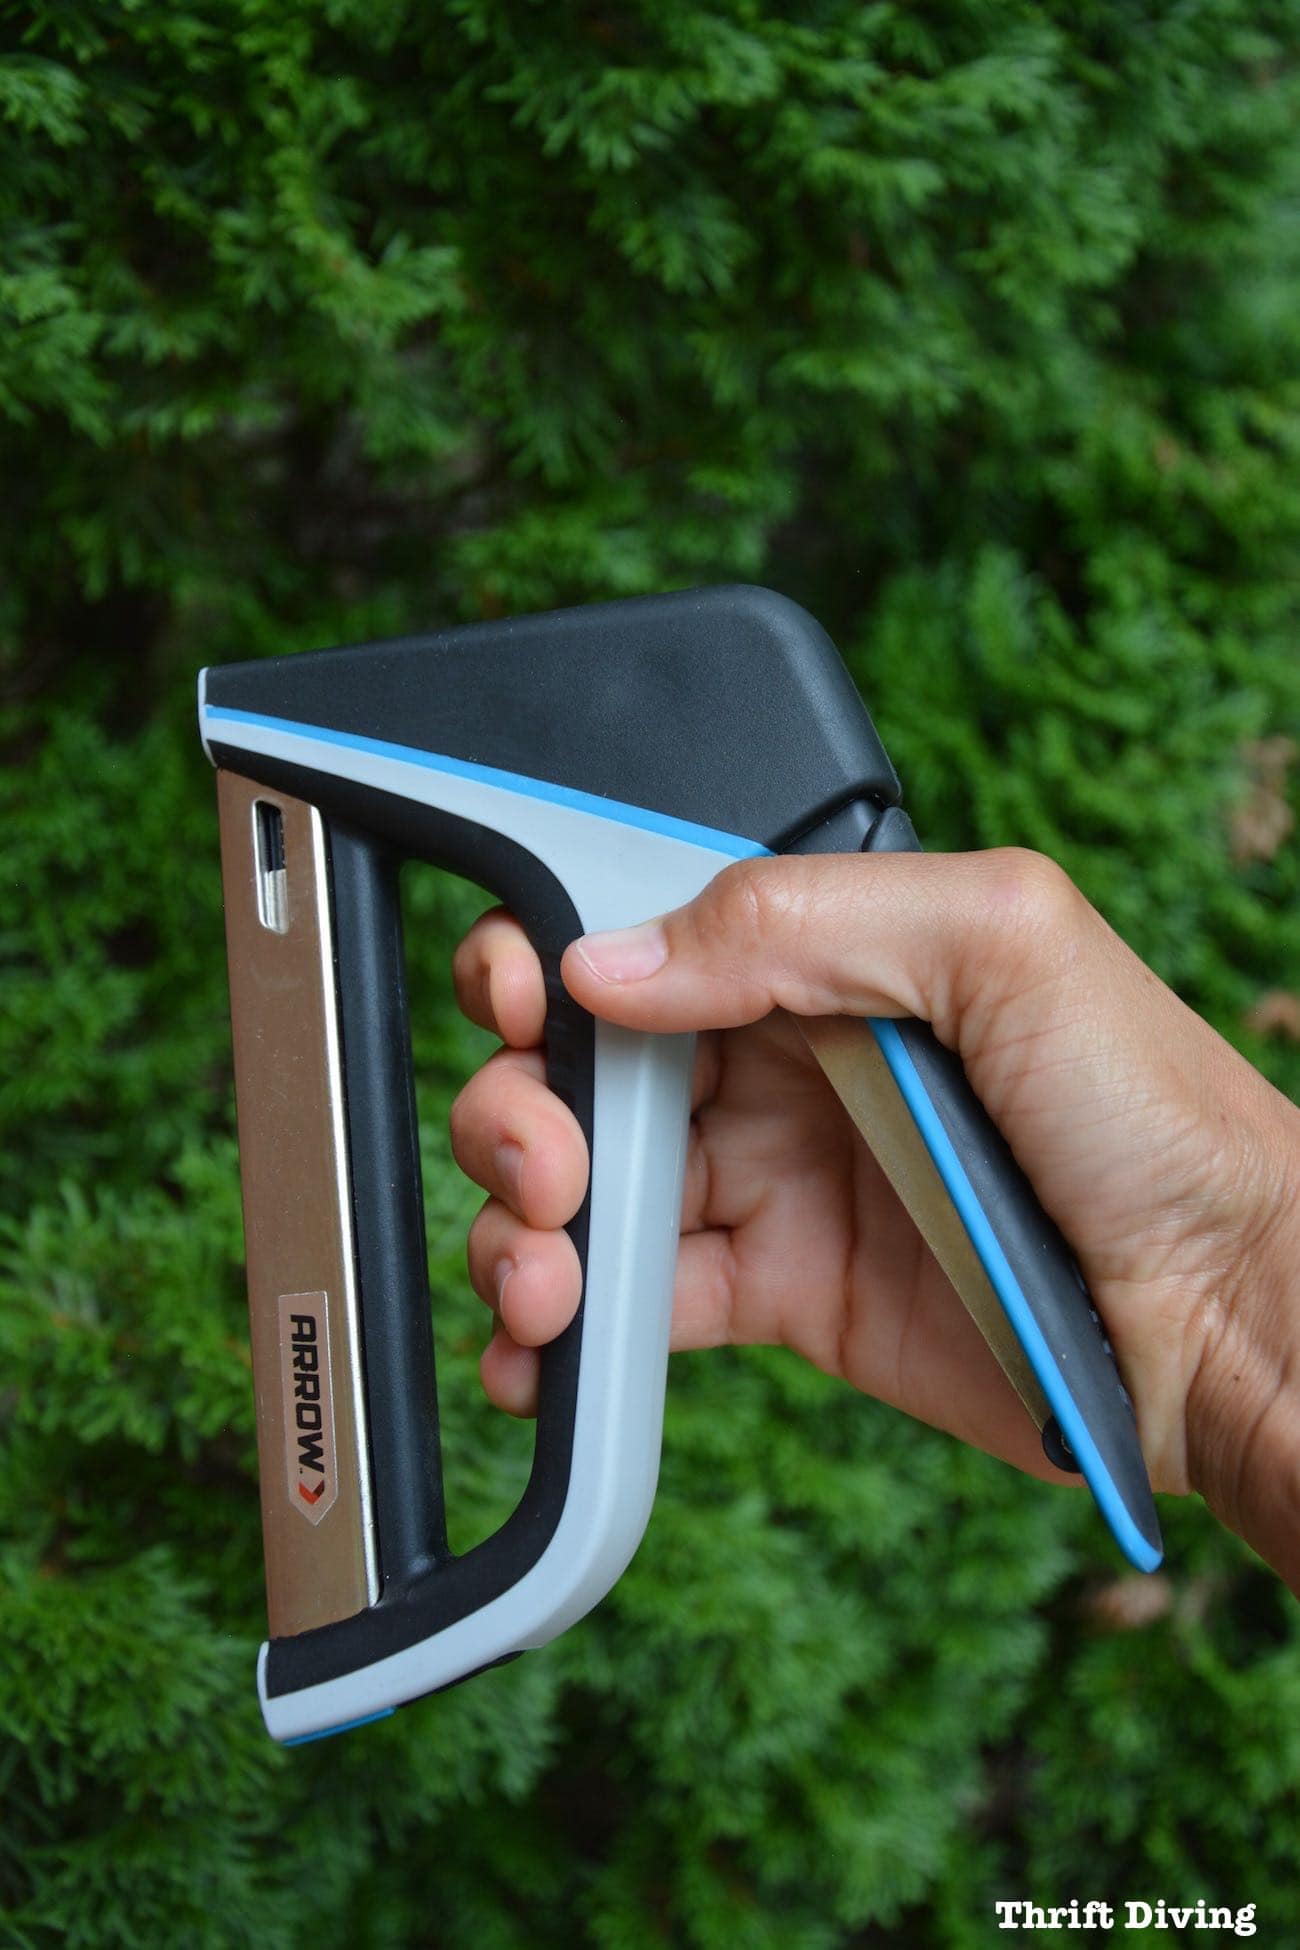
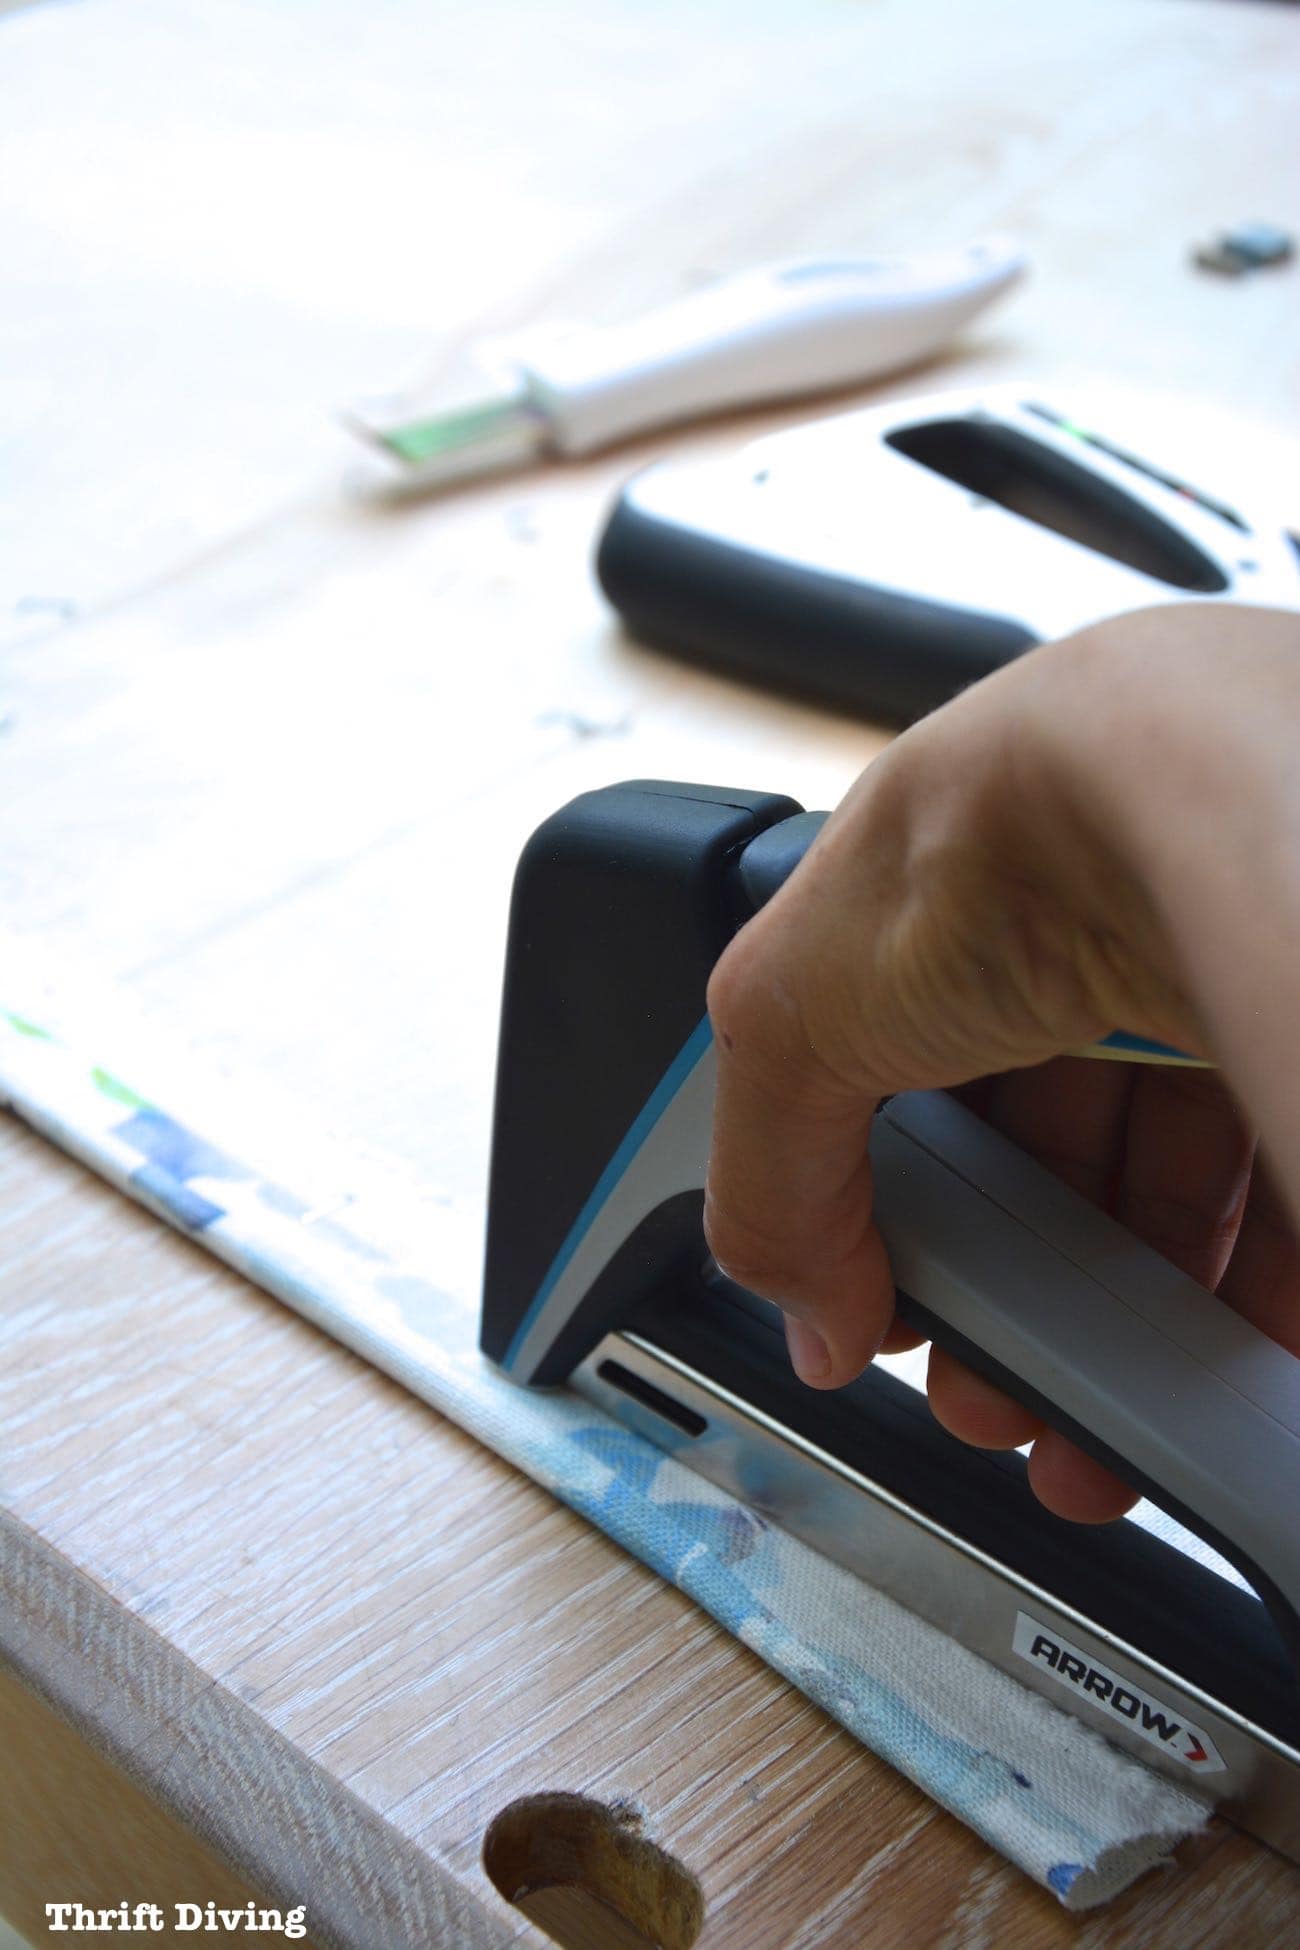
For this project, I used the Arrow Fastener T50X TacMate™ heavy duty staple gun that Arrow Fastener sent to me. It’s perfect for this framed fabric wall art craft project.
Since the wood was only 1/4″ thick, I used the #504™ staples that are 1/4″ long which barely went through to the other side.
With the fabric right-side down, I laid the plywood over the fabric and then turned the sides up and over the edges of the plywood.
Starting with one edge, I stapled the fabric into place, securing it with staples every 3″ or so.
The key to doing this right is to make sure you start on one side, then pull the fabric tight on the opposite side while stapling.
For example, I started on the RIGHT side.
Once the right side was stapled, I pulled the LEFT side taut and began stapling, pulling snugly as I stapled along. I made sure not to pull too tight to prevent warping the fabric.
After the LEFT side was done, I pulled the TOP taut and stapled.
I checked the fabric regularly to make sure that the fabric pattern was straight, not warped or crooked.
Lastly, I pulled the BOTTOM side taut and stapled.
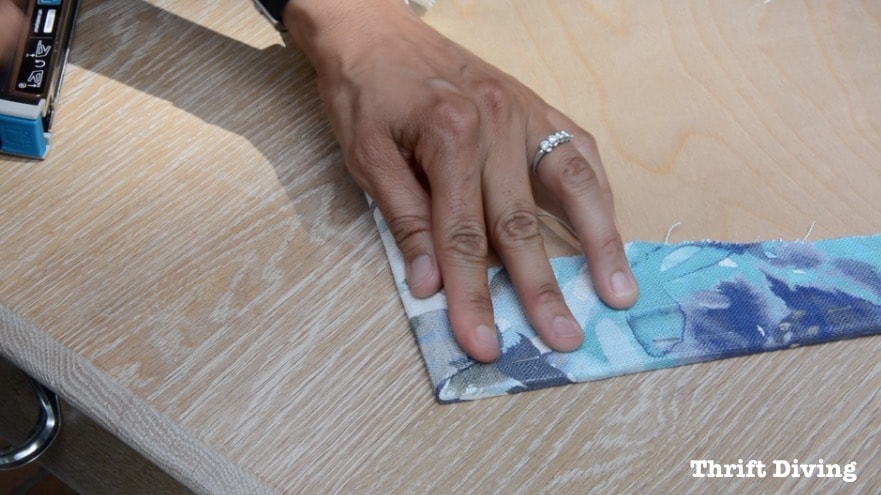
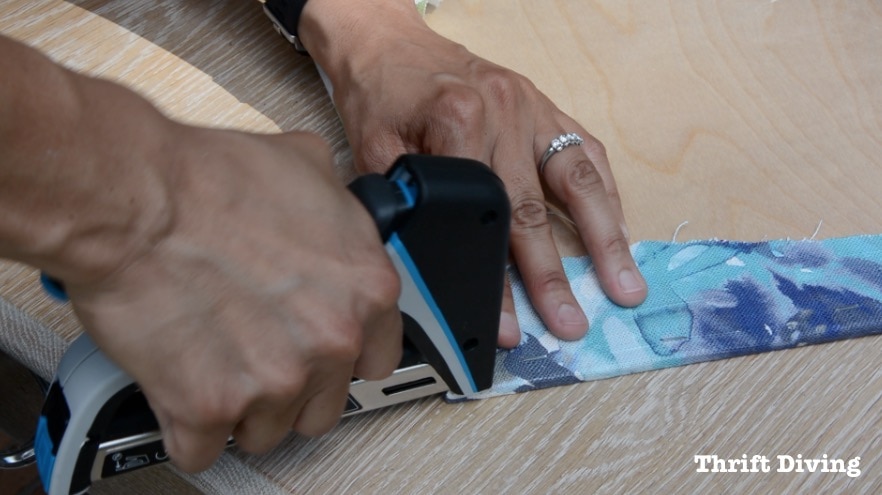
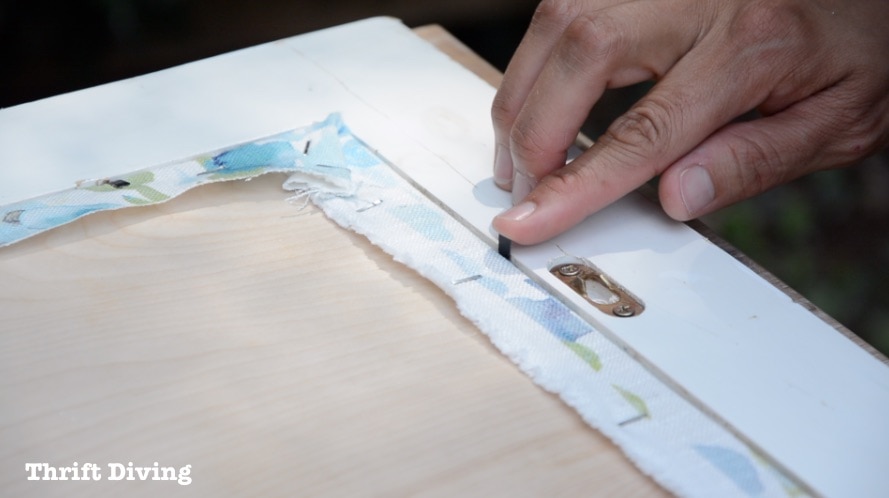
When I got to the corners, I folded them in slightly before stapling so that they didn’t add bulk around the edges.
Once I was done, I turned over my new framed fabric wall art and made sure the fabric was lying FLAT against the plywood without any wrinkling or sagginess.
TIP: If there’s saggy fabric, use an Arrow Fastener staple lifter to remove the staples and try stapling and pulling again.
STEP 6: Mount the Fabric Board Into the Picture Frame
If you used a frame like mine, with the little metal prongs, you’ll be able to simply fold them down, holding the covered plywood into place (as long as your fabric isn’t too bulky).
BEFORE
Let’s have another look at the “BEFORE”!
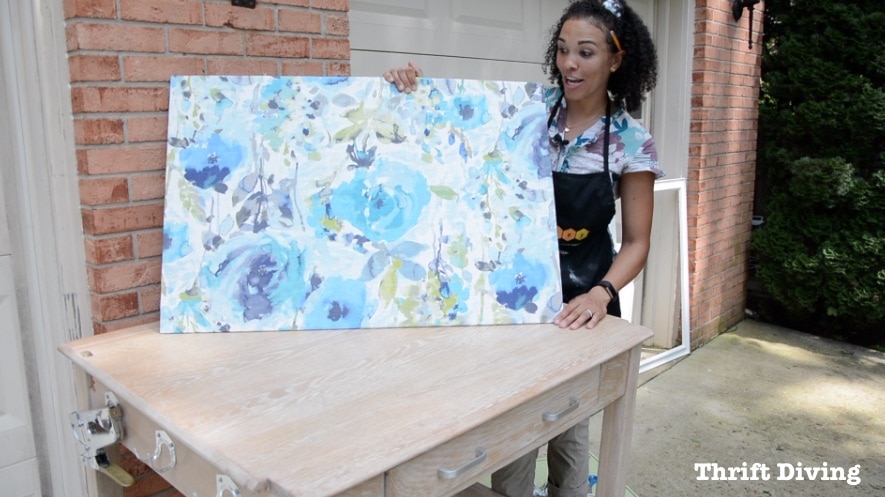
At about 2 feet x 3 feet, it was a good size for displaying the fabric and its pretty pattern.
AFTER!
Although the fabric was pricey, a picture frame with fabric inside is still affordable when you think about how much DIY wall art costs when you buy it at a store!
The plywood was perfect to adhere to the fabric so inside of the frame.
Easily Change the Fabric Each Season!
The best part about fabric framed prints is that with the seasonal changes, you can easily pop out the plywood, loosen and remove the staples and add new fabric to the wood frame without having to buy new wall art. (Plus, since we’re not gluing it down, we’re not ruining the fabric, which was can later use for pillows or some other home decor project).
Isn’t it to die for??
Related Posts and Projects
You might be interested in reading more:
- How to Make DIY Picture Frames With a Miter Saw
- Sherwin Williams Rainwashed and Sea Salt: Perfect Colors for a Bedroom!
- How to Make a Window Privacy Screen
Arrow Fastener was awesome for sponsoring this project! Be sure to check out more information about the T50X TacMate™ and other tools and fasteners at ArrowFastener.com.
So what do you guys think about this framed fabric wall art project? Have you ever framed your favorite fabrics?
Leave a comment below and let’s chat about framing fabrics for easy DIY wall art!
Love this project? SAVE it on Pinterest!
Download the 5 freebies!

Thrift Diving inspires women to decorate, improve, and maintain their home themselves...using paint, power tools, and thrift stores! Use these 5 printables, checklists, and ebooks to get started!





I love to frame fabric and do it often. On line you can often buy sample with HUGE repeats that retail for 100’s and even 1000’s of dollars a yard. I buy those and frame them for painting size art. I’m working on a lite blue and white 26 x 40 inch piece with just one repeat scene adding silver leaf and some other color to it before framing it in a gorgeous “roadside” antique frame. Keep up the great work! Your ” watercolor looks grand btw!
PERFECT!!! I love it! Thrifting is the best isn’t it!? It looks amazing with that fabric. I would have been the same way though…..high fabric price tags and covering it up with papers and tacks? I liked how you switched up your idea quickly to suit your decorating dilemmas:) Fun post. Stopped by from the Talk of the town party!
I did a similar project but used foam core board from the dollar store and taped the fabric to the back. Use 2 sheets if it doesn’t sit flush with the frame. Super easy to change the fabric and it’s lightweight. You can use pushpins on it, too.
Would you believe I’m riding down the road and to the left of me I see this huge wooden picture frame on the side of road.
I think nothing of it but I did notice it.
As I’m my passing my house on my way to Wal-Mart I pull over to scan my emails before going in.
Thank God I did?
When I saw the tittle for this post; I just laughed.
“How to Frame Fabric for Wall Art”.
I laugh because prior to pulling up to Wal-Mart I was at Joann Fabrics pricing upholstery fabric for a arm chair I need to do redo.
And now here I am turning around to grab the picture frame.
How timely is that?!
I really I love what you did with the frame and the fabric you picked is perfect.
I would have never thought to do such a thing.
Maybe a mirror or collage but the Fabric Art has a high end look to it that I love.
Speaking of which I’m so glad I got this frame.
The scale of the frame is perfect and decorative trim is beautiful.
It seems silly but thank you for helping me not to pass this one by
I don’t know that I could have spent that kind of money on fabric. It sure is pretty as art though. you could get a plain piece of canvas and some paint and try to create something similar to use over cork for your message board. then you wouldn’t feel bad about sticking pins in it.
Pretty fabric Serena, and great job on the hanging of it! 🙂
gail
Love it! I agree with Kim’s post above that the thrift shop has good deals on fabric to be repurposed but I’ve also bought the expensive stuff at the fabric store (once) and made a project that still makes me smile when I look at it! Both sources work!
So beautiful and you make it all look so easy!
It looks very pretty . I enjoy reading your blog and getting some inspiration …
Job well done! Linen florals are some of the most beautiful and it makes a great accent piece for your bedroom. I’ve admired this type of project for a long time and one is on my To Do list. Still looking for a couple frames; one for my horizontal bulletin board above my desk and one for art. Then, I’ll go through my fabric stash and see what I can create. And if I can’t find what I want in my stash, then I’ll just have to go the fabric store! LOL Always love the inspiration you share!