How to Clean and Organize Your Garage With 5 Easy Tips
This shop has been compensated by Collective Bias, Inc. and its advertiser. All opinions are mine alone. #GarageCleanUp #CollectiveBias
If you’ve been reading this blog for any length of time, you’d know that my garage has been my nemesis.
I’ve stumbled… I’ve shimmied….I’ve cursed its clutter as I’ve sucked in my gut, doing half-steps, struggling to walk through.
Let’s not forget the way that hubby (as most hubbies do…) has lambasted me for the way he has had to shift around the contents of the garage, as if it were some complicated puzzle, just to get to the lawn tools.
And, honestly, I have gotten to the point of being sick with the garage, too.
That’s why I have been spending little bits of time over the past two months tackling this garage, getting rid of things I no longer love or desire to collect, with the hopes of soon having the prettiest DIY workshop garage (and to give my husband the gift of an organized garage).
And while doing this, I realize that there’s a dirty secret about garages: behind nearly everyone closed garage doors, they nearly all look the same!
It’s time we reclaim the space in our garage and clean and declutter it once and for all! Plus, it will make our hubbies happier, especially since Father’s Day is coming up! 🙂
It’s an overwhelming task, I know, so I thought I would share what’s been working well for me as I embark on this journey of total garage overhaul.
TIP #1 Stop Thinking You Need to Get It All Done in ONE DAY
This is probably the most powerful tip I could share with you.
When people lift that garage door, they’re overwhelmed with the dread of, “What am I don’t to DO with all this stuff?! I don’t have time to deal with this!”
Start with one small section. Your going to do that little corner and then next weekend you’ll tackle the another small section.
Eventually, small sections become large sections. Large sections grow into the entire garage getting done!
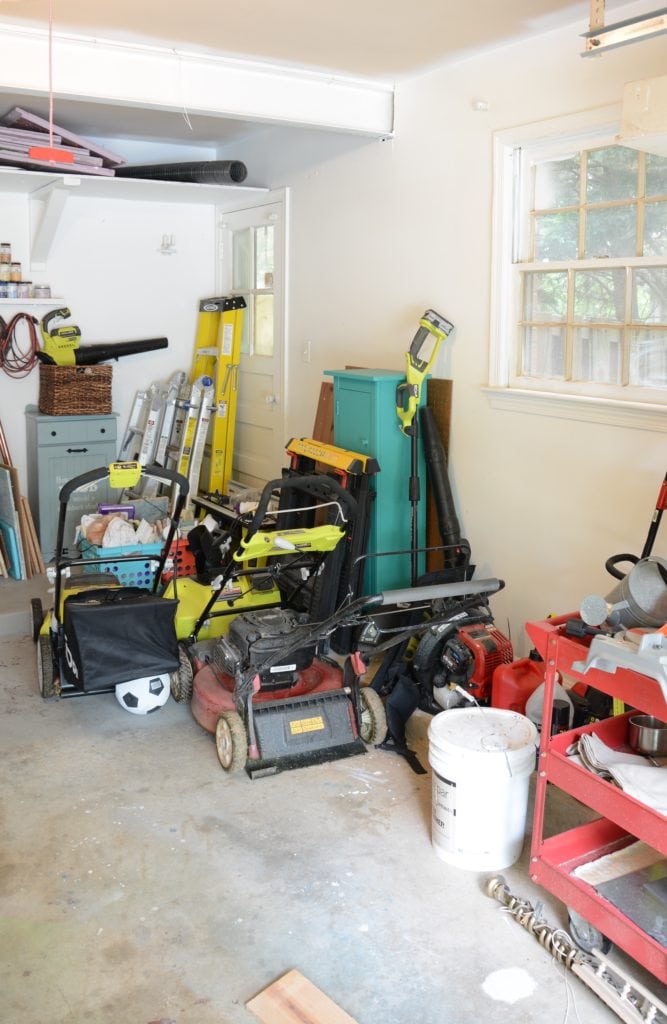
This past weekend, I decided I would start with this small section.
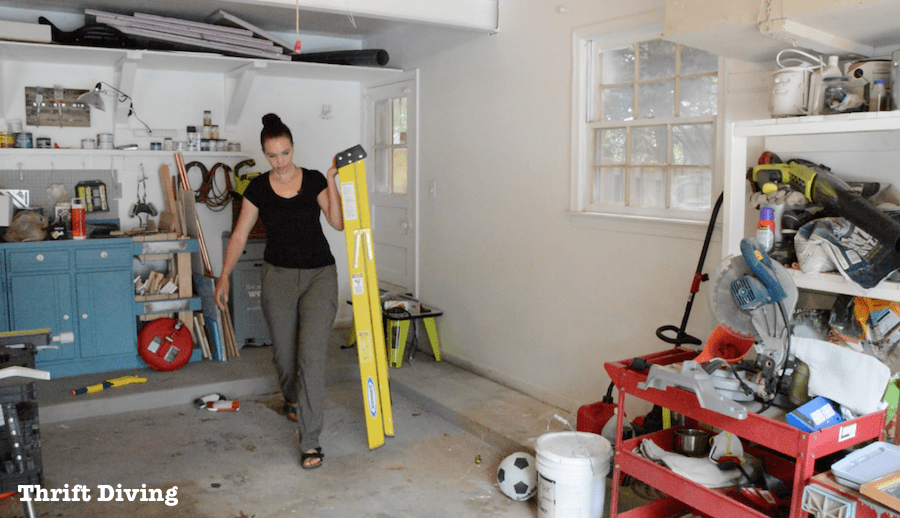
I removed everything from this section and told myself that other areas can wait for another day. 🙂
(TIP: Instead of moving everything out into the driveway, where people might think you’re having a yard sale–HA!–move as much over to the other side of the garage).
BEFORE
…moving things out!
TIP #2 Use a Blower to Quickly Clean Out Dirt
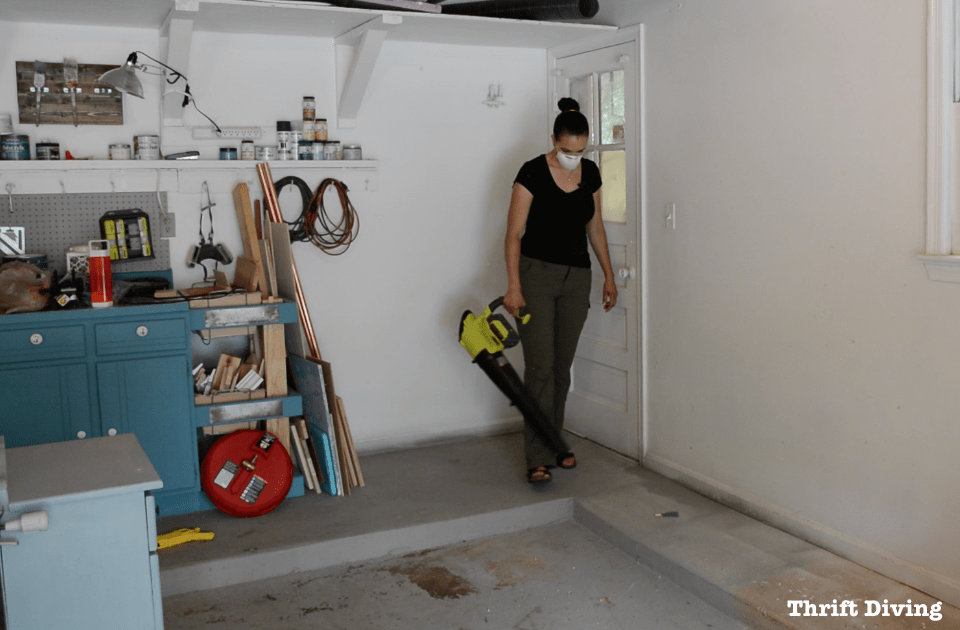
I love using my blower! I don’t spend a lot of time fooling with brooms in the garage, which take a lot of time and never seem to clean well enough in the cracks and corners.
Just make sure that you use a dust mask to protect your lungs.
The dust will be flying everywhere. You don’t need to inhale that stuff!
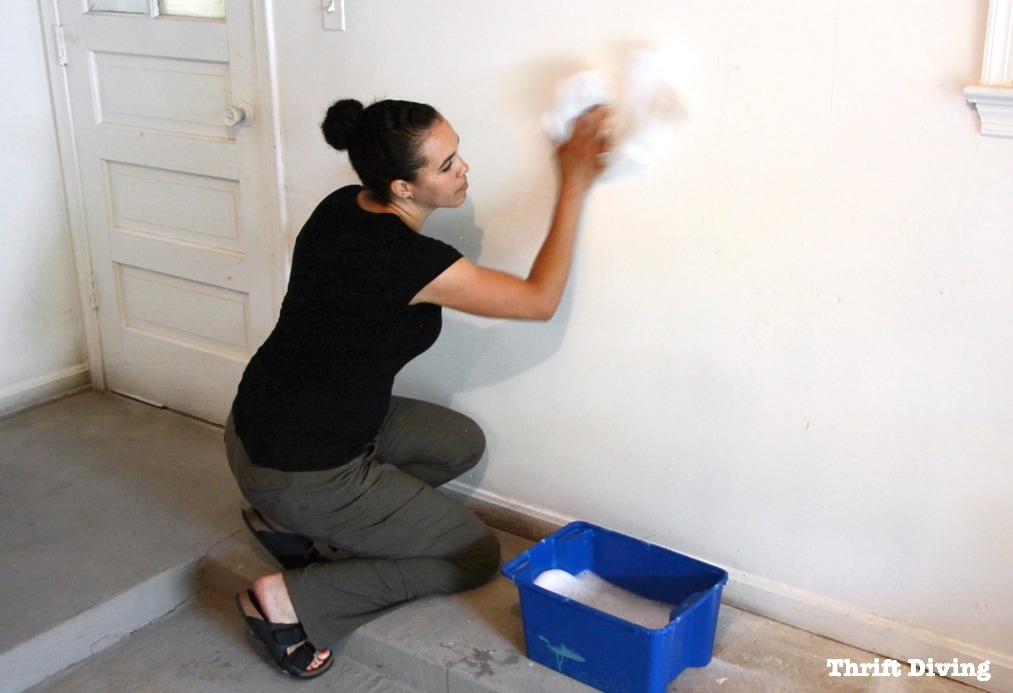
TIP #3 – Clean the Walls With Hot, Soapy Water
When was the last time you washed down your garage walls?
If you’re like me….umm…..once in 5 years!!
I cut a lot of wood out in the garage, so the sawdust had really built up on the walls.
Wipe all that stuff away with a soapy cloth!
Look at all the sawdust that has collected in my window sill that I never clean out! ICK!! It was so compacted that even the blower couldn’t budge it! HA!
Be sure to wash down any surfaces where dust and dirt can accumulate, like ledges, windows, and shelving.
TIP #4 – Install A Garage Organization System
You guys know how much I love The Home Depot, right? (Check out this post on 5 Truths I Learned From the Home Depot).
Whenever I need a solution to a problem (like getting my garage organized), they’re the first place I think of heading.
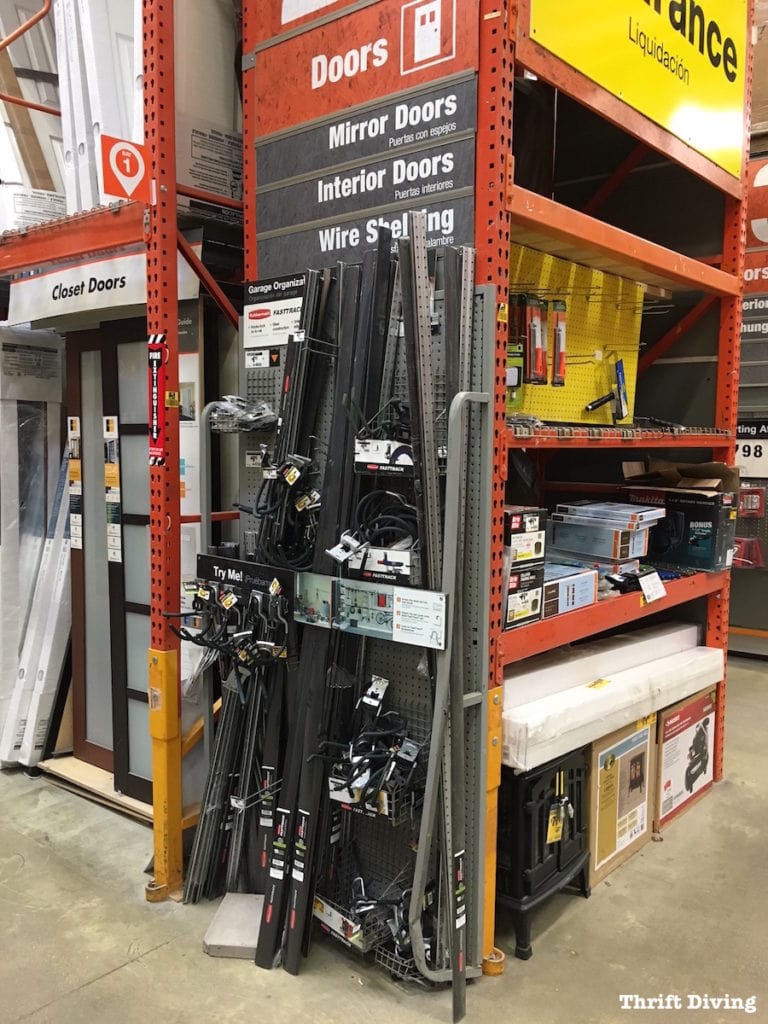
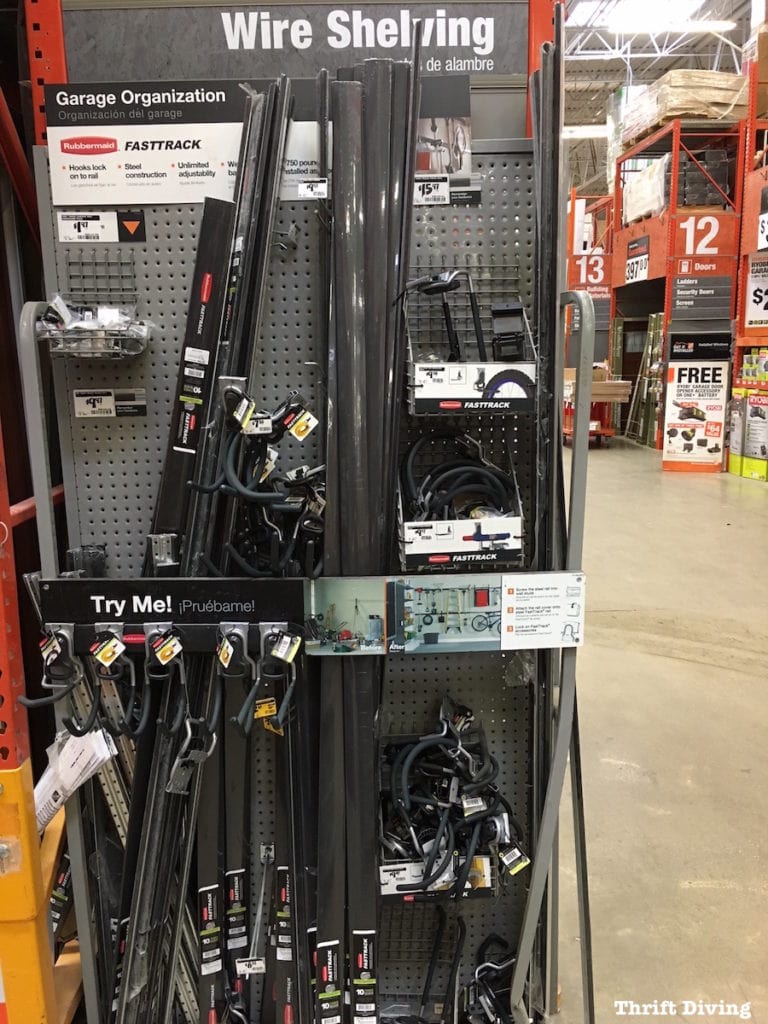
I stopped by recently to pick up the Rubbermaid® FastTrack® Garage Organization System.
I admit that I had never heard about the Rubbermaid® FastTrack® Garage Organization system before, but it was exactly what I was looking for to get my garage organized and get some equipment off of the floor and up on walls we had never utilized before.
My THD store had a small section right on an end cap, in the Doors aisle.
Since I was only focusing on that small section of wall and space in my garage, the 48″ wall panel was perfect (but it comes in an 84″ length, as well).
I bought three of the 48″ wall panels, just in case.
TIP: Make sure you get one pack of wall hardware for each of the wall panels. Since I got three panels, I picked up three packs of wall hardware.
I also picked up some of the accessories, like the Rubbermaid® FastTrack® Utility Hook ($7.97 each) and the Rubbermaid® FastTrack® Multi-Purpose Hook ($9.97 each).
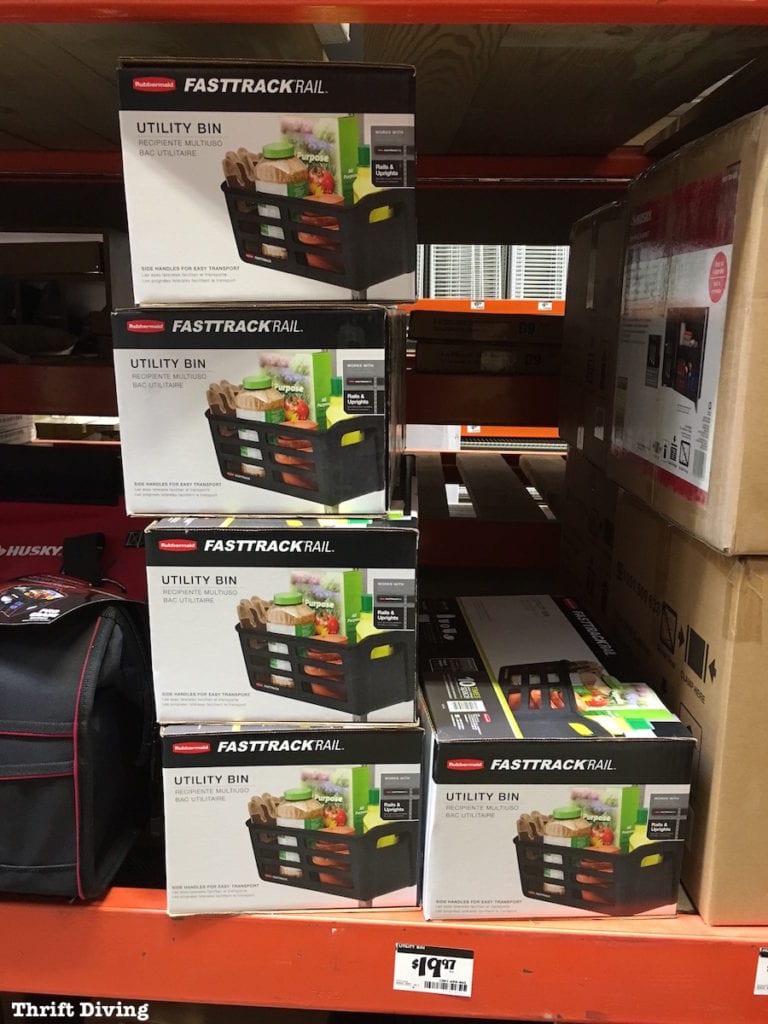
Couldn’t forget the Rubbermaid® FastTrack® Utility Bin. This thing is thick and sturdy plastic, which is awesome! ($19.97 each).
How to Install the FastTrack® Garage Organization System
It’s best to install this system with the help of someone else, but my Superwoman Complex takes over sometimes and I just did it on my own while hubby was at work.
Besides, I wanted to surprise him! You know…Father’s Day is coming up….. This is a great gift that will benefit him: the gift of organization! 🙂 YAY!
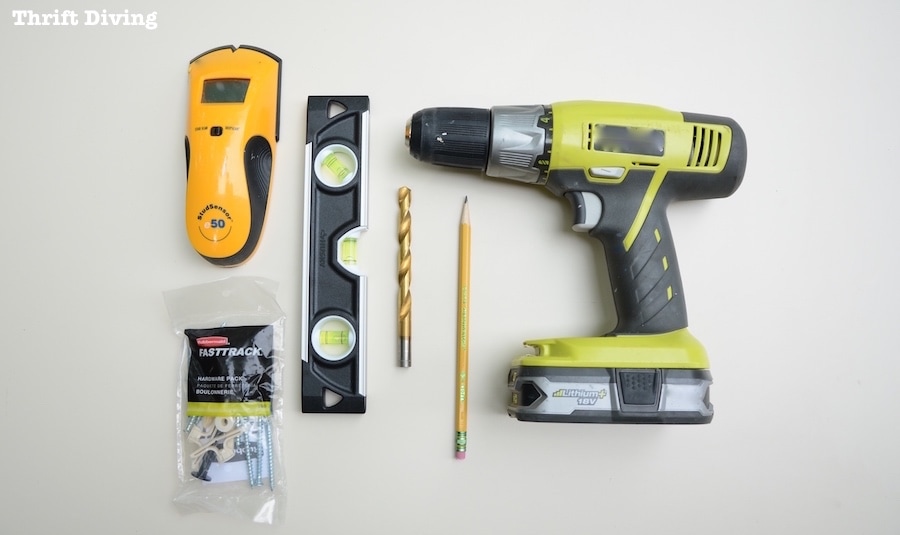
Go grab these materials:
Materials
- FastTrack® 48″ ($9.97 each) or 84″ rails ($15.97 each)
- Hardware pack (1 pack for a 48″ rail, 2 packs for the 84″ rail)
- Power drill & driving bit
- Screwdriver
- 3/8″ drill bit
- 1/8″ drill bit (not shown)
- Level
- Stud finder
- Pencil
- Hammer (not shown)
- Tape Measure (not shown)
- Step ladder
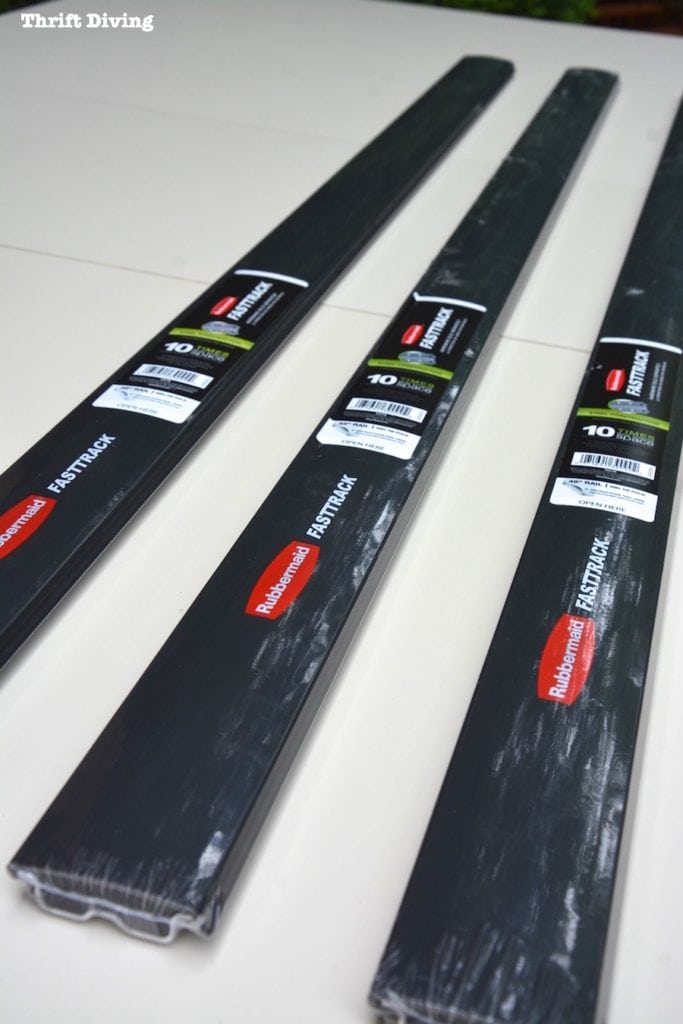
STEP 1: Unpack Your Rails
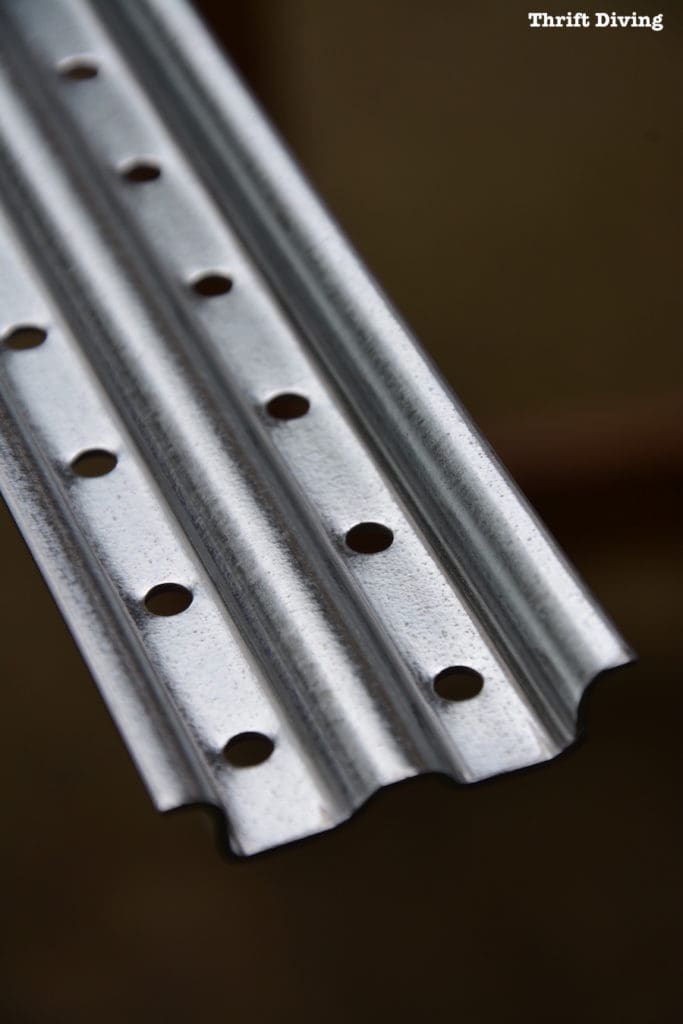
The backbone of the FastTrack® system are the rails. They don’t take much time to install, and one thing you’ll notice right away is the heavy steel construction which provides extra durability. Each rail can hold a max of 1,750 lbs when properly installed. This system stores 10x more by using the space between studs (works on standard 16″ or 24″ stud spacing).
(TIP: Peel off the hidden sticker on the front to find their instructions!)
Behind the black rail covers, the steel has 1″ spacing between the holes for each installation.
This stuff is top quality!
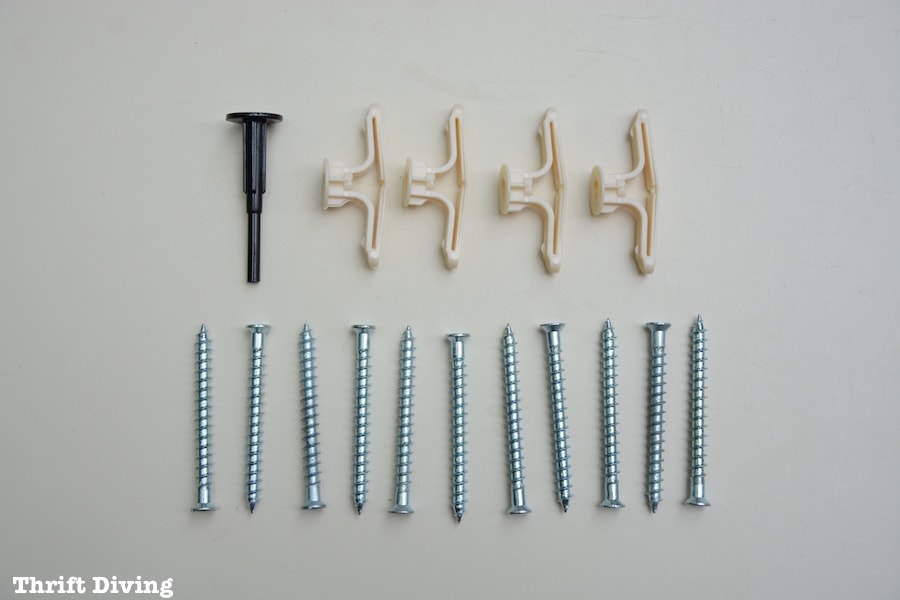
STEP 2: Unpack Your Hardware
Each hardware pack ($1.97 each) has easy to install, heavy duty screws (11 each), 4 toggle anchors, and 1 push pin.
Just remember: 1 hardware pack = 1 48″ rail.
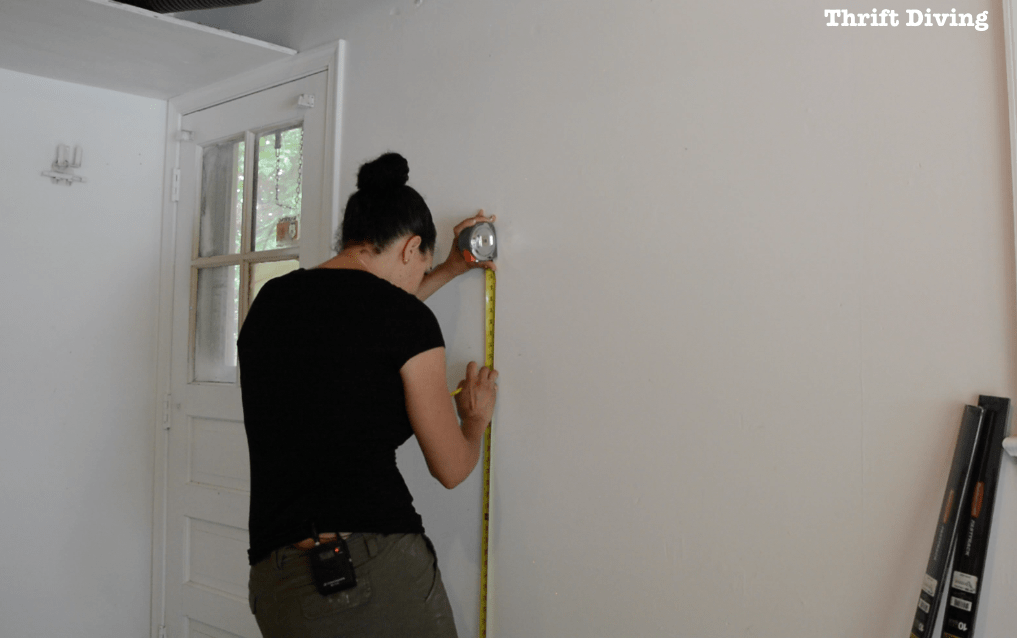
STEP 3: Find Your Height
The instructions recommend install heights of 4-foot and 7’3″. If you can install them at these heights, great! If not, make the necessary adjustments. I had to install mine a little lower to accommodate the light switch! 🙂
STEP 4: Locate Your Studs
This will probably be the most challenging part of installing this system: trying to find your studs. Studs are generally 16″ apart. You’ll definitely need a stud finder, which you can pick up for probably $15-$30.
According to the instructions, you must secure the rail to four studs in order to hold the maximum capacity, with the first and last holes of the track secured to the studs. I admit that I struggled with this a little bit! LOL. Tricky little studs…..
STEP 4: Level Your Rail & Find Your Anchor Spots
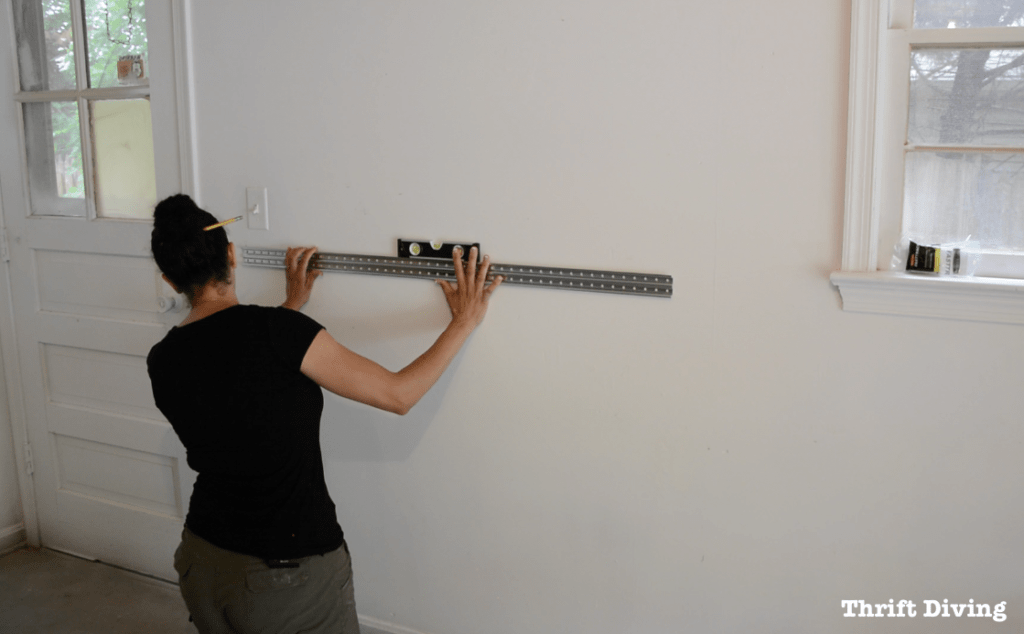
Once I had found the studs, I held up the rail to level it and to mark where the anchors are going to be located.
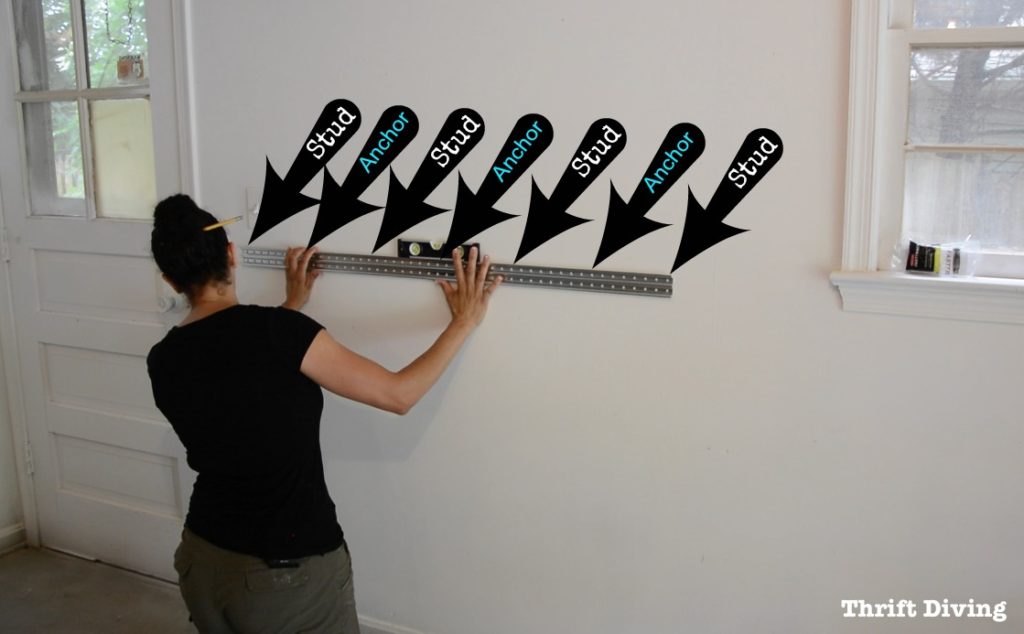
Basically, you should start and end your rail with studs (for a total of 4 studs), and then use the anchors from the hardware pack every 8″ in between the studs.
So it will essentially be alternating stud, anchor, stud, anchor…..look like this:
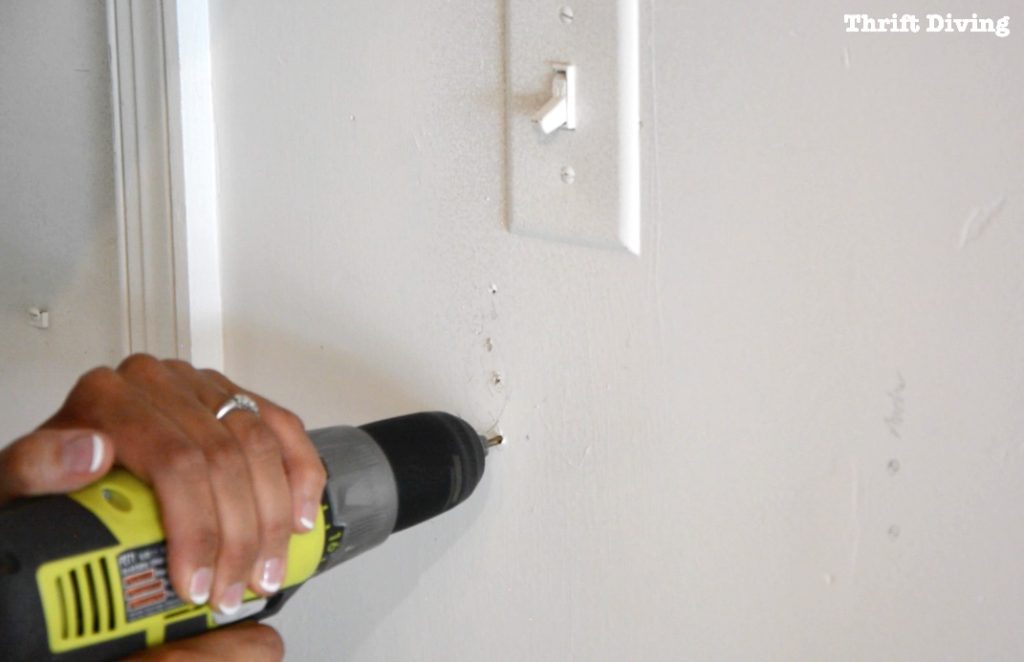
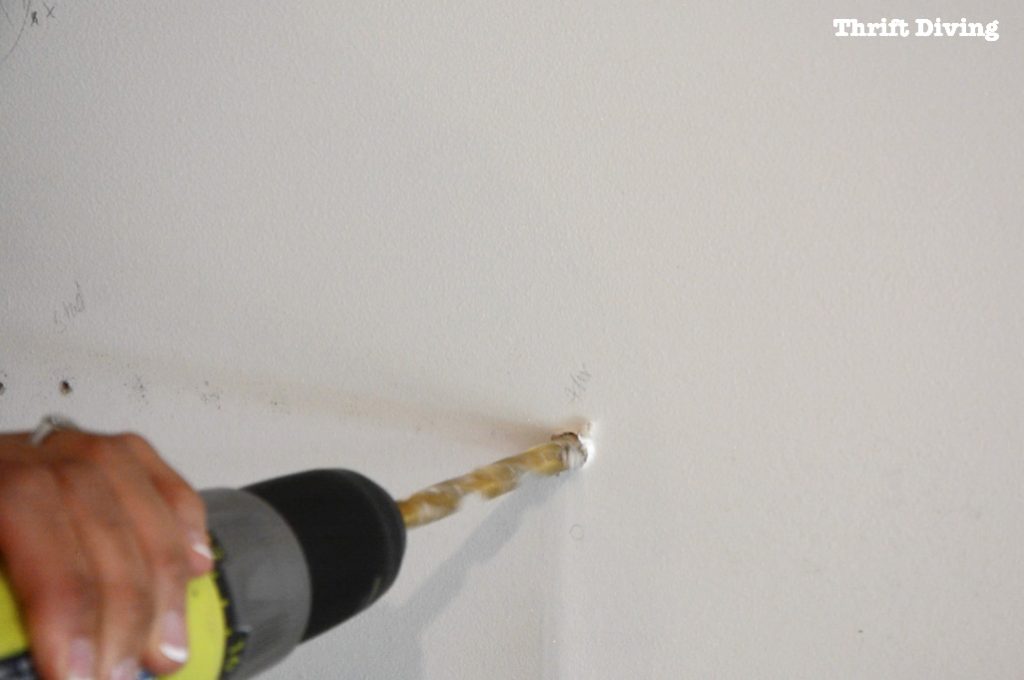
STEP 5: Time to Drill Pilot Holes!
YAY! Now we get to use power tools!
If you’ve ever tried to drill into a stud without drilling a pilot hole, you’ll know how hard it is!
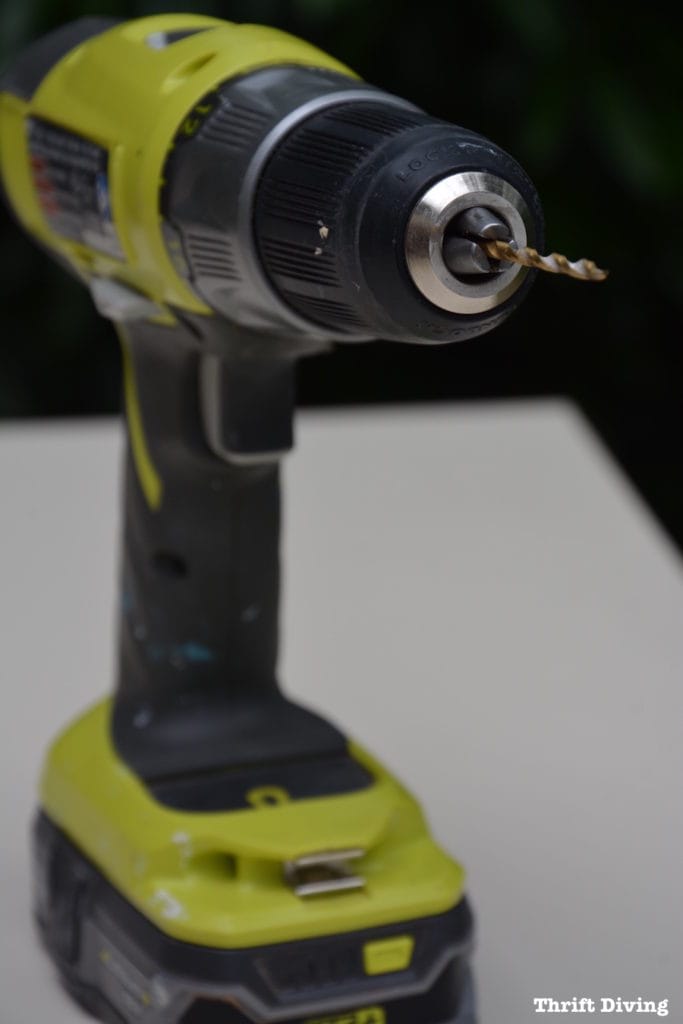
So, make the job easier by using this 1/8″ drill bit and drill pilot holes in each of your 4 studs.
For the 3 anchor marks on the wall, use the 3/8″ drill bit. It’s a much bigger hole that will allow us to easily add the anchors.
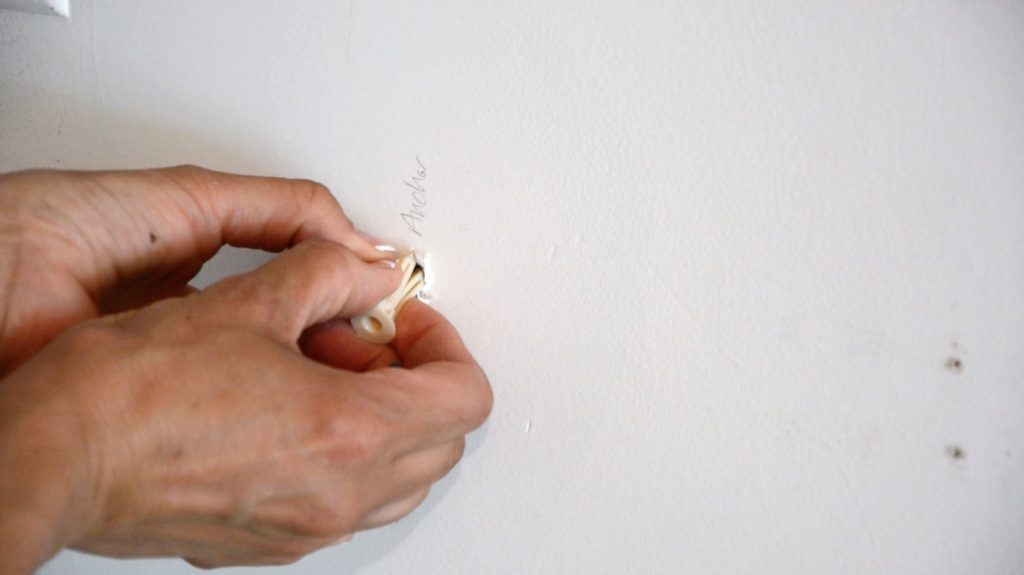
STEP 6: Tap in the Anchors
The anchors add the extra support in between the studs so that you can safely hang more weight on the FastTrack®.
Squeeze the anchor from the hardware pack together, insert one into each of the 3 anchor holes. Tap it with a hammer lightly to get it to go all the way in.
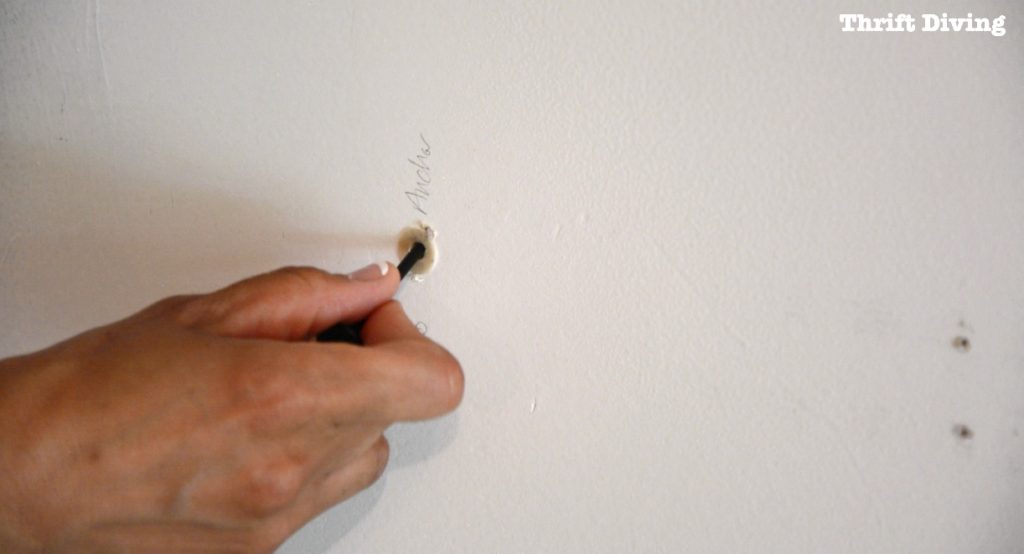
Once the anchor is in, insert the anchor key inside the hole and push gently. You should hear a “snap!” as the anchor engages in the wall!
STEP 7: Screw It Up!
Almost done!
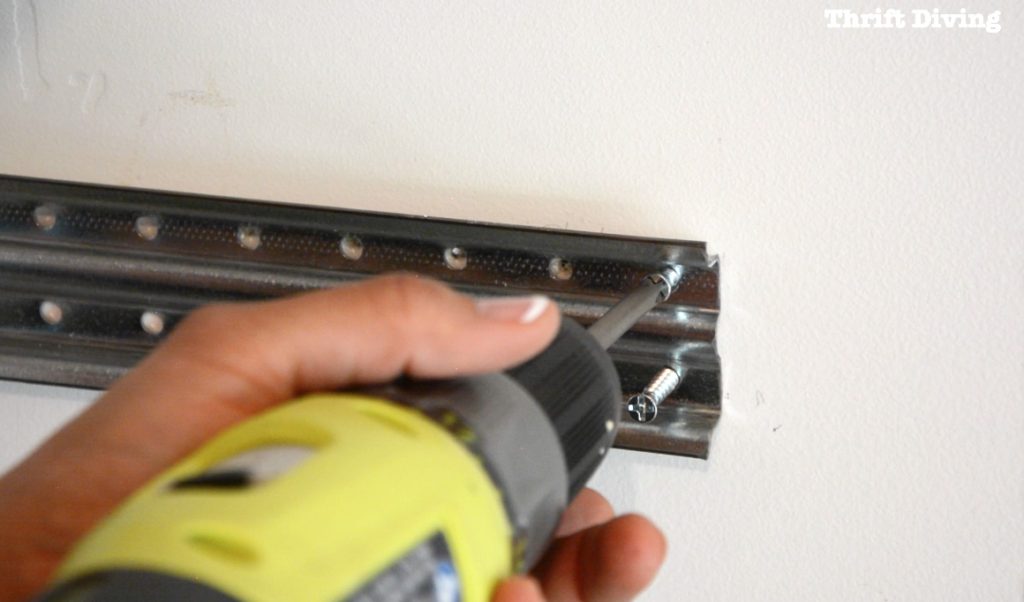
Using the heavy duty screws in the hardware pack, screw the steel rail to the wall with a screwdriver or power drill.
Insert screws into the studs and the anchors.
Snap on the black rail cover when you’re done!
STEP 8: Accessorize!
This is where it gets really fun!
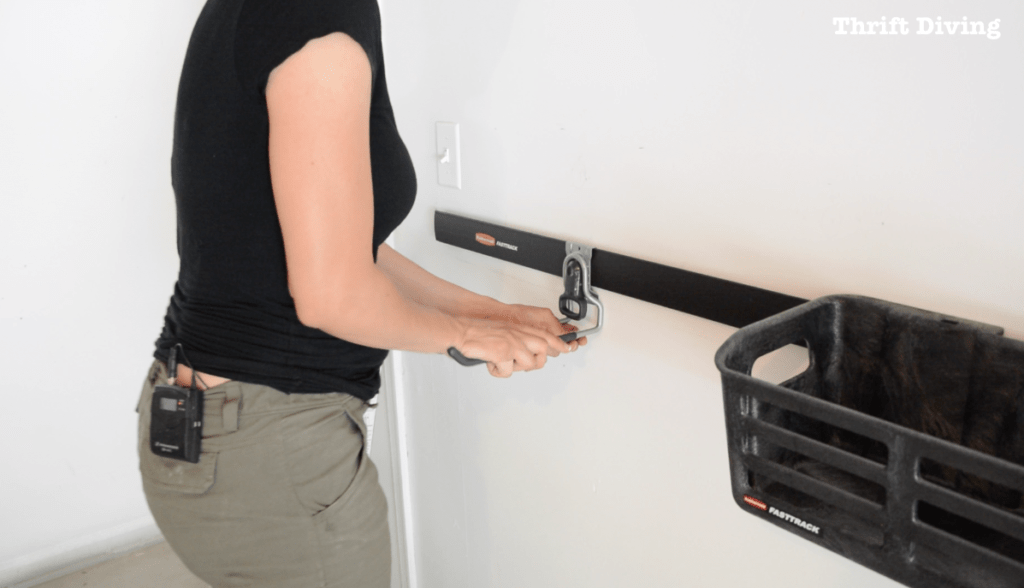
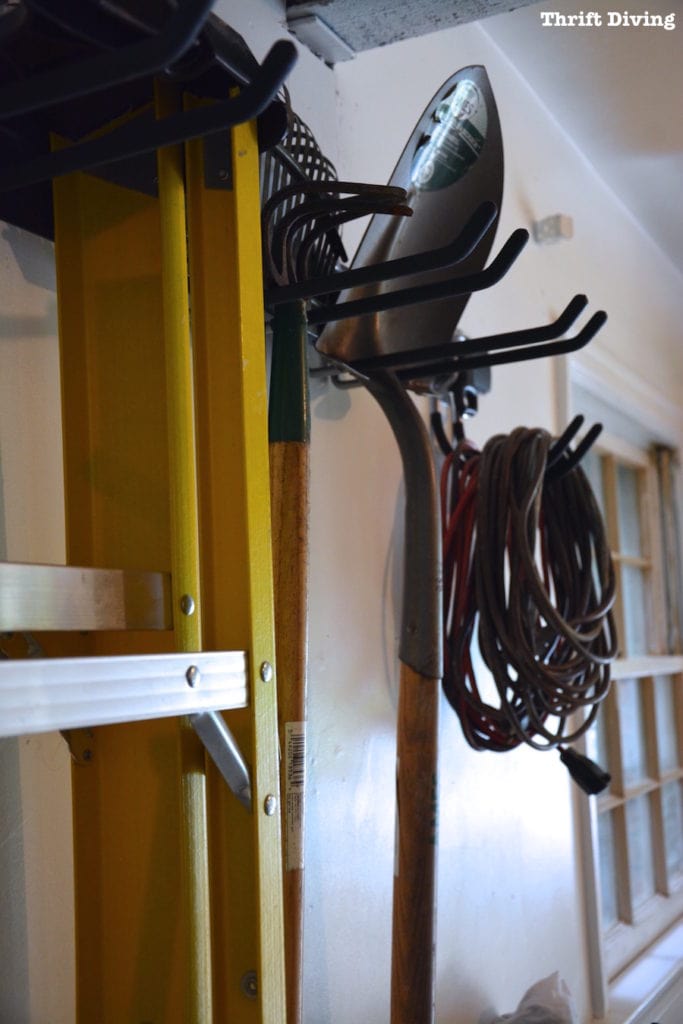
Remember those accessories I bought to go with the FastTrack® system? They just literally snap on! You can configure it however you’d like.
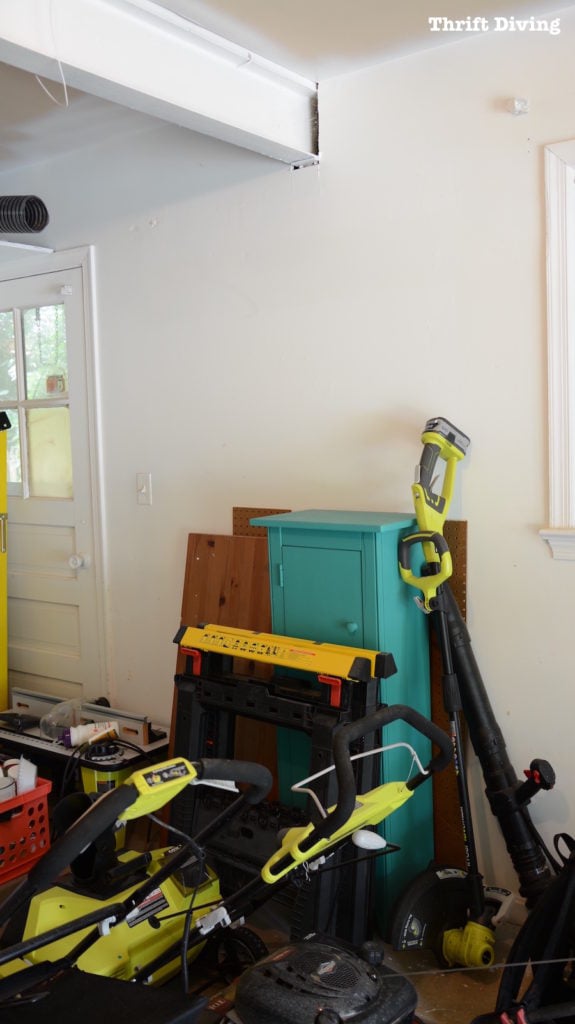
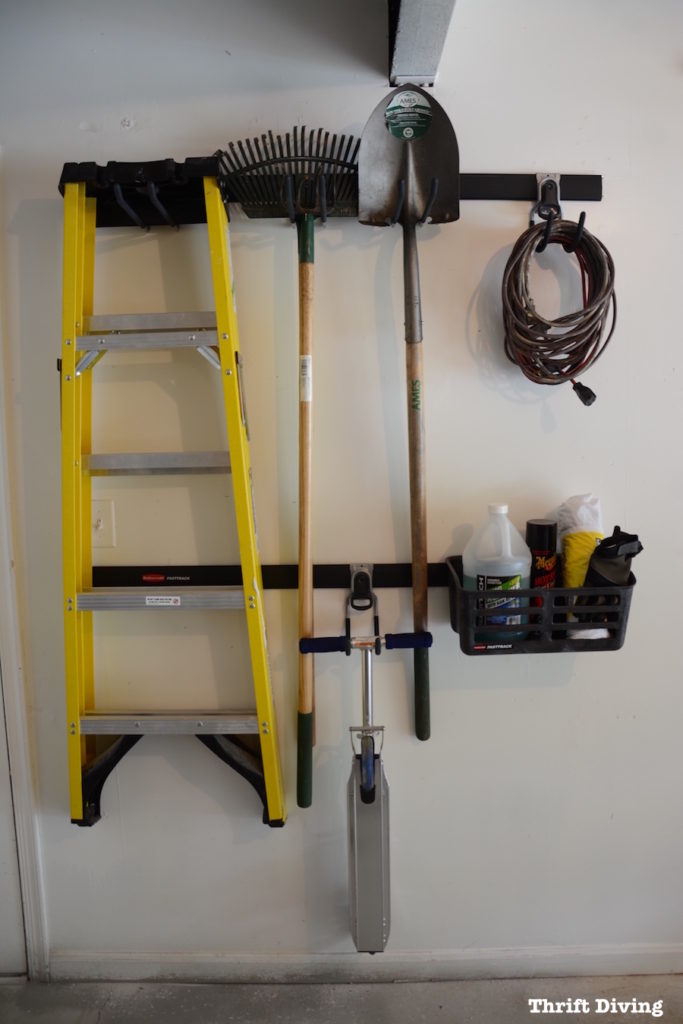
So here’s that wall again, in that small section that I was decluttering and organizing.
BEFORE
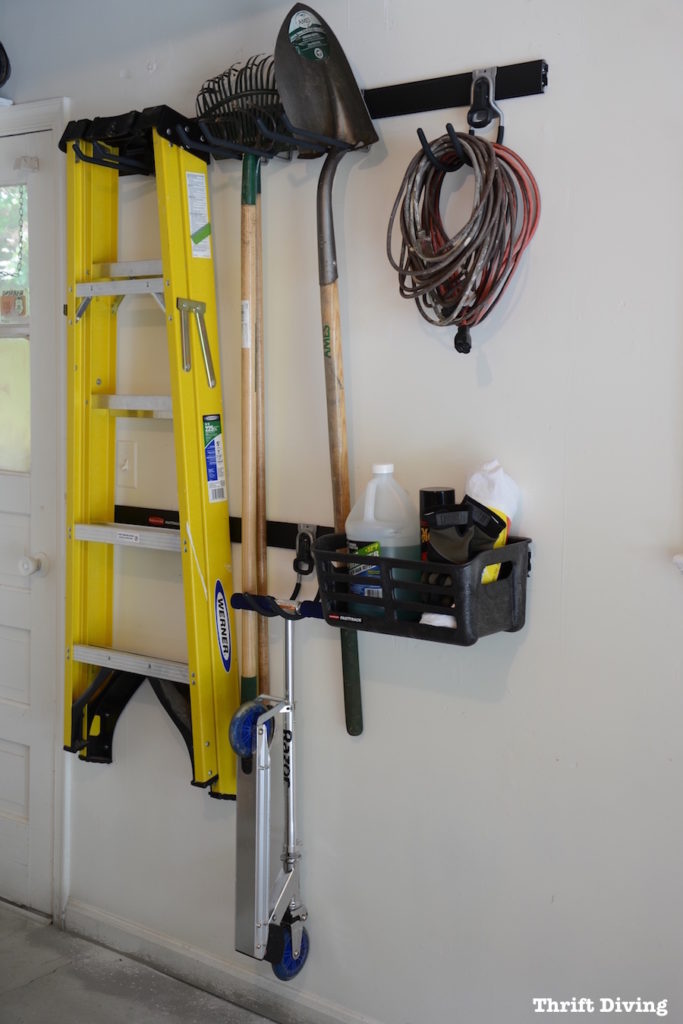
Now I’ve got a ladder up off the floor, cords hanging without falling, and a space for lawn tools! I’ve also got some gloves and car washing stuff in the basket for hubby to wash the cars.
AFTER!
I know that this is just one section of my garage. But it’s one less section of mess…and I’m using empty wall space that we had never put to good use!
And my last tip for getting the garage clean and organized……..
Watch It In Action!
Want to see this project in action? Just check out my tutorial from my YouTube channel!
TIP #5: Learn to Pick Up After Yourself!
You know…I honestly believe that if everything had a place, and everything would go back in its place, the garage would be a much friendlier place, don’t you think?
I’m notorious for finishing with a tool and just dropping it anywhere. But if everything has its place and you put it back into its organized place when you’re done, it might just be that we never have to declutter again!
One can only hope, right? 😉
What About You?
Okay…’fess up. Is your garage a hot mess, too? What things are you going to commit to today to end the clutter and disorganization once and for all? Leave a comment below and let’s talk all about garage organization!
(Also, you can follow Rubbermaid on Facebook, on Twitter @Rubbermaid, and follow them on Pinterest).

Download the 5 freebies!

Thrift Diving inspires women to decorate, improve, and maintain their home themselves...using paint, power tools, and thrift stores! Use these 5 printables, checklists, and ebooks to get started!






Bragging Alert: my garage was a polling place on Tuesday. I run a tight ship around here.
That said, I love all your tips, and think these are great tips to share when I help others organize their garage. I thought of you this week when I pulled out my husband’s Ryobi drill to complete a client project. And I’ve been thinking of getting a leaf blower, not knowing Ryobi had one compatible with our battery pack. You’ve inspired all kinds of ideas.
Great post, today and always.
Your garage looks super clean and organized compared to mine (and I’m talking about the “before” picture)!!! I really, really want to do this so we can actually use our garage, instead of just dumping things in there!
Aww, now I get it, stud/anchor/stud/anchor! Thanks for the video and write-up. You are such a natural in front of a camera! Good job on the garage. I will be purchasing the fast track since the garage is on my very long list of things to do. I like the idea of tackling a small section of the garage at a time. Maybe there will be a sale for Father’s Day!
This looks amazing and is a great solution to making organizational space in a spot you might have otherwise overlooked! #client
Serena, you have great tips, as usual. And I always like that you give Details. Step by step so that most of us could do your projects….if we had the tools. May I suggest that in lieu of washing the walls that using
a vacuum attachment works well, too. It also works well in window ledges. I do this a couple of times a year (spring and fall) in the house. Lift up the windows and vacuum the dust and debris from the ledges.
Then I take a solution of mildly soapy water with a tiny bit of bleach (in a gallon jug) and pour some on the window ledge. Using an old toothbrush to scrub in the grooves, etc. The final step is pouring clean water to rinse the loosened dirt away. Doesn’t take long, it easy, and makes things look so much better.
Anyway, thanks again for great info. Have fun doing your filming.
Great idea, Joan! I actually have a little handheld vacuum that’s perfect for the garage, like a workshop one. I just need to make regular cleaning a part of the routine!! 🙂 Thanks for those tips! And yes, filming is going well! It’s sooo hot, and there are lots of lines to memorize. WHEW! But it’s going well! You should be seeing the results soon!!
Thanks, Michelle! It’s a work in progress!! 🙂
Looking good!