How to Put Up Crown Molding Like a Novice
I’m not even going to pretend like this post should be titled “How to Put Up Crown Molding Like a Pro.”
Pros don’t have gaps.
Pros don’t use special gadgets to make sure their cuts aren’t jacked up.
And pros aren’t mislead by big box hardware stores into buying the wrong caulking to fill those gaps (ahem…cough).
In fact, if you’ve never done this before, I guarantee you’ll cut some wonky pieces…measure like you forgot your bifocals…and create some gaps wider than the Grand Canyon.
But you know what? Unless someone is paying you to do a perfect job, an imperfect job is good enough for your own home. Who’s looking that closely anyway?? 😉
MY FREE GUIDE: download my free 52-page step-by-step tutorial
One day I got this brilliant idea to put up crown molding. Our master bedroom was barren, as if we’d just moved in, yet we’d been here for 4 years. It needed some “warming up” and some “oomph” to make it feel a little more “homey.” I figured I had the tools (e.g. a miter saw and a nail gun). All I needed were some YouTube videos to teach me how to do it. Easy enough, right?
Well, yes and no.
The truth is that crown molding is easy to install, but tough to do it right. Let me repeat: it’s easy to install, but tough to do it right.
But if you’re a novice (like me) who’s never done this type of project, but reeeeeaaallly want to try, I’m here to tell you: you can do it!
You just need a few power tools, the confidence, and a weekend to get it done (oh, and a helper. You can’t do this alone).
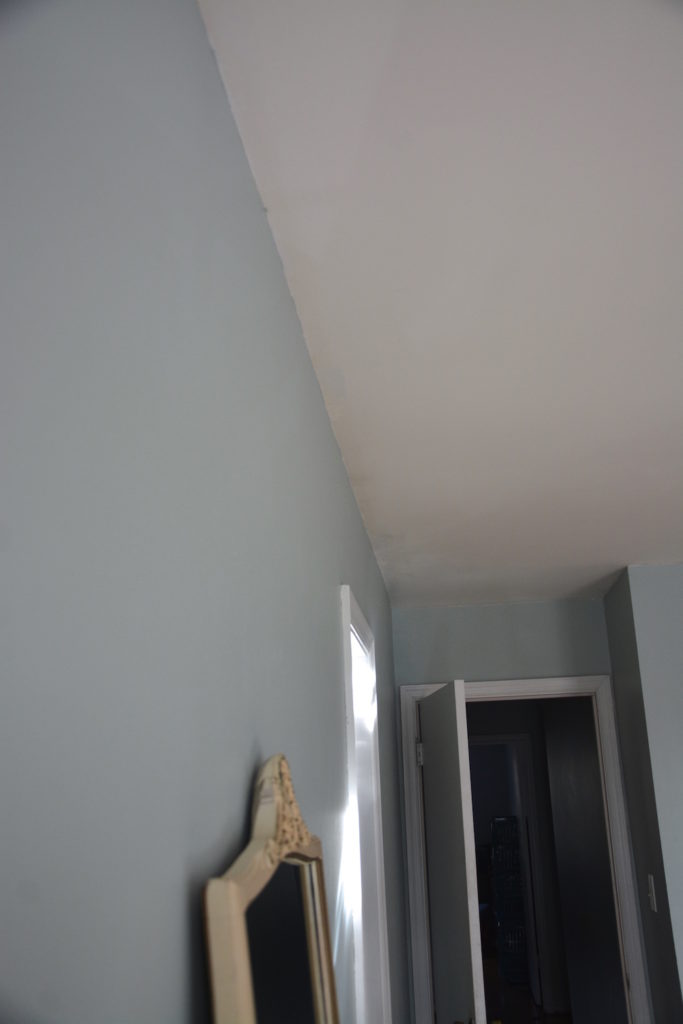
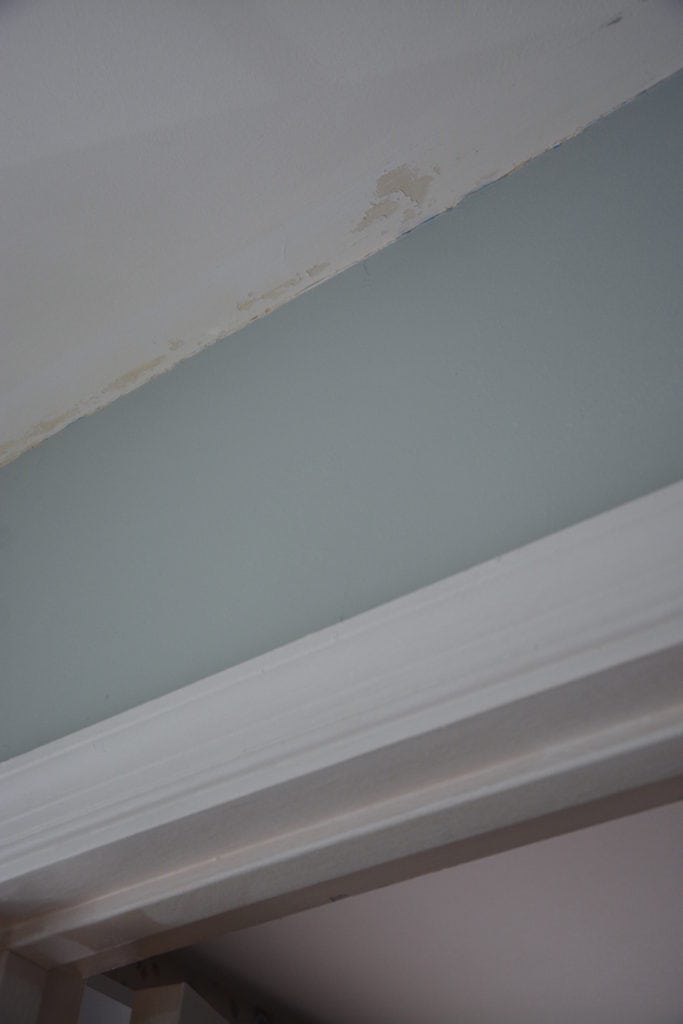
BEFORE
Here’s what my ceiling looked like a couple months prior: dingy ceiling, uneven paint lines….
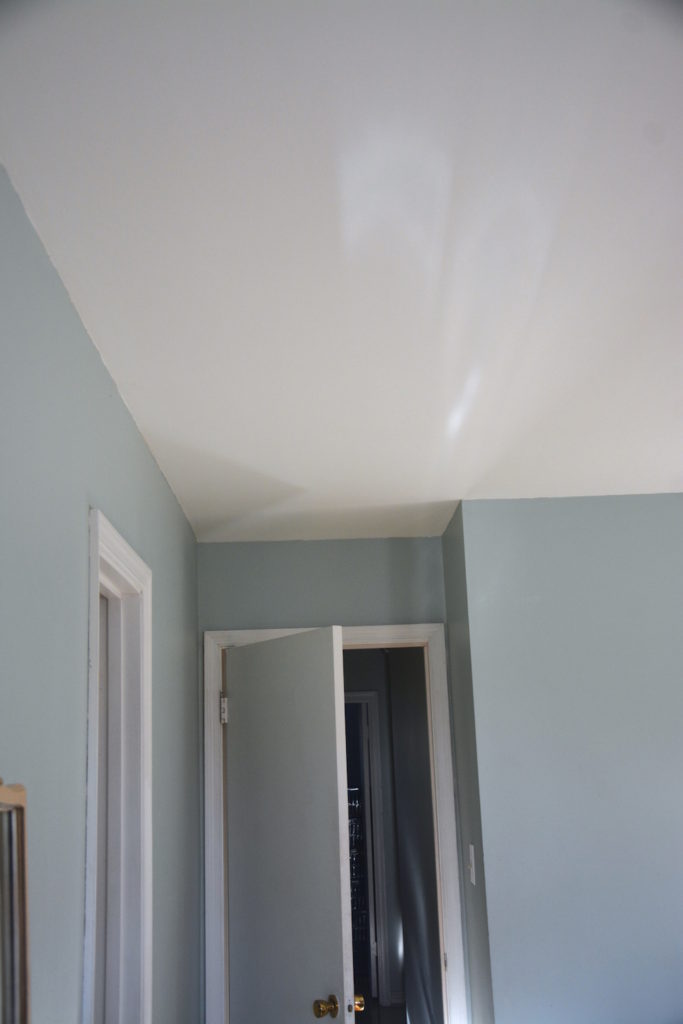
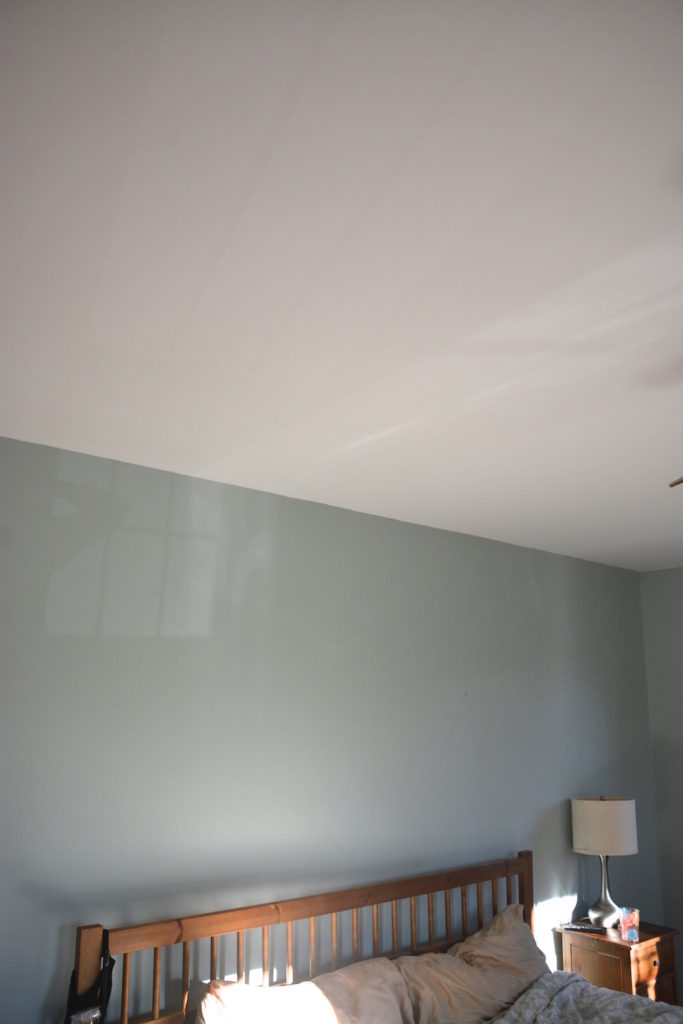
In Progress Stage
I painted the ceiling a nice bright white, and it looked much better. But it was still missing something. I was hoping the Fairy Crown Molding Mother would bestow upon me the gift of moulding, but–hey–who was I kidding. If I wanted molding, I would going to have to do it myself!
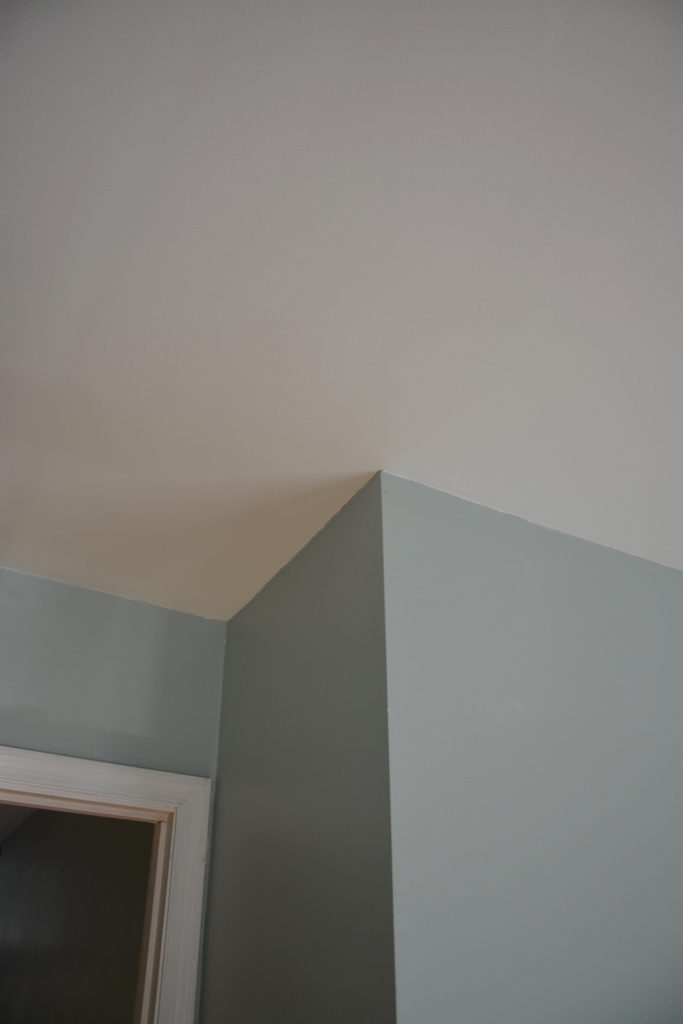
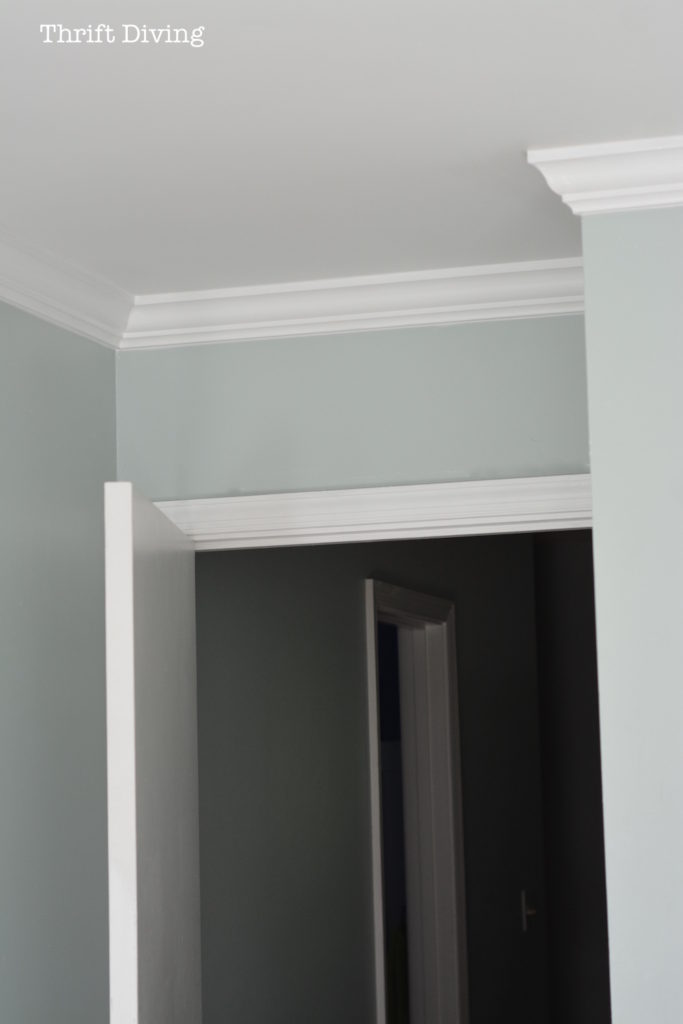
AFTER!
And that I did!!
I couldn’t believe it turned out as well as it did, but don’t get it twisted: caulking and paint can hide the ugliest of cracks and gaps.
BEFORE
Ceiling painted, but again, needing something to give this room “life.”
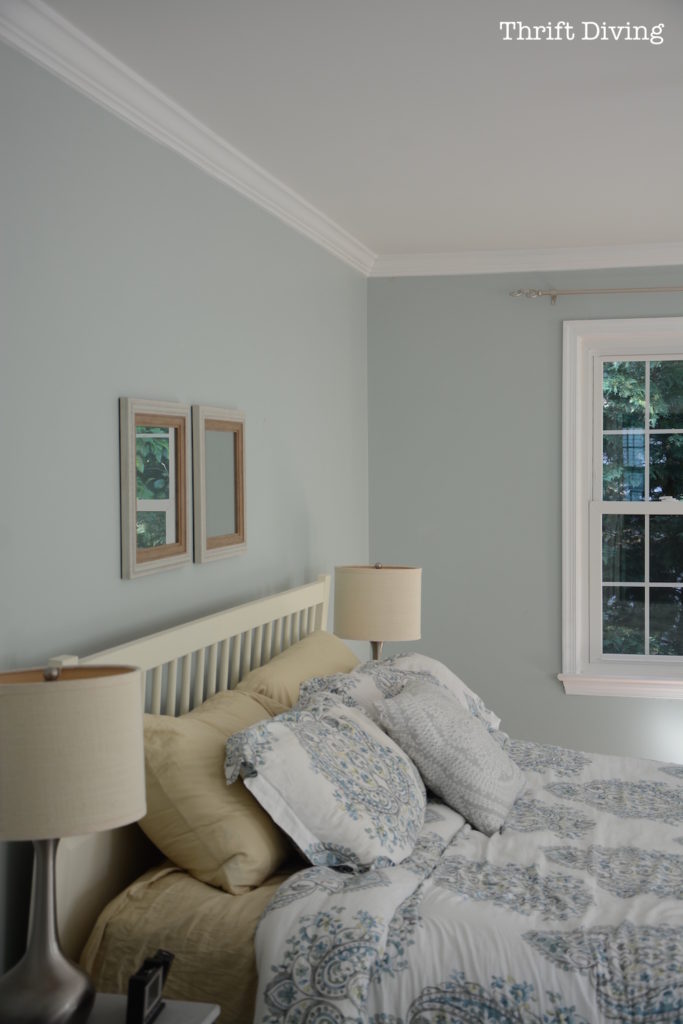
AFTER!
New crown molding, a painted bed, new bedding, and the room looks great!
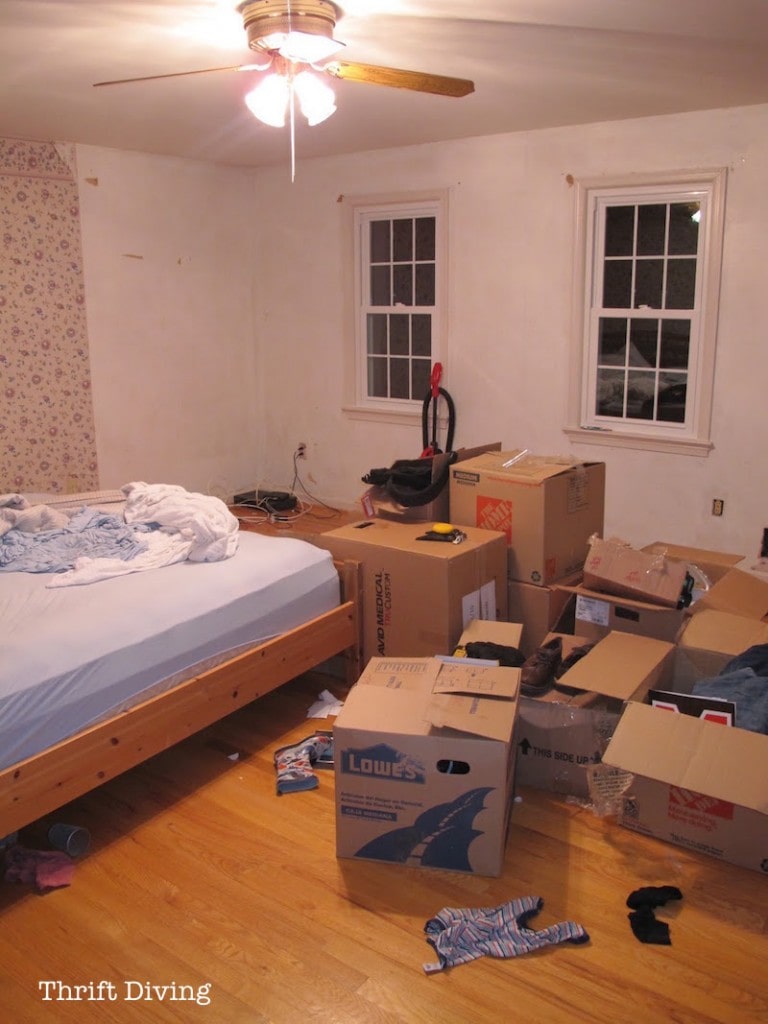
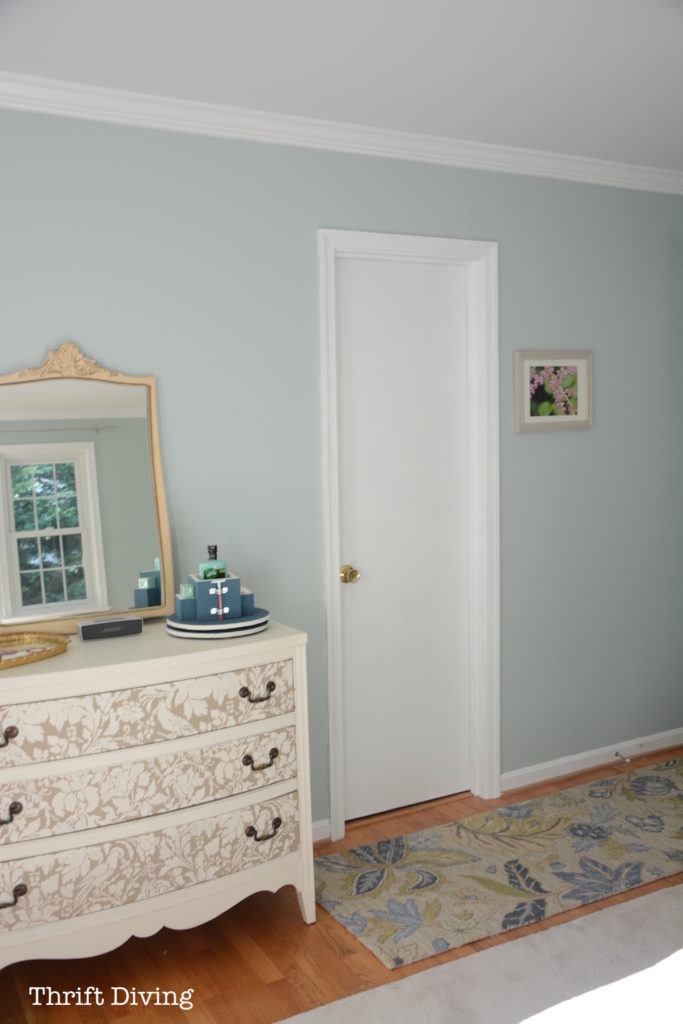
BEFORE

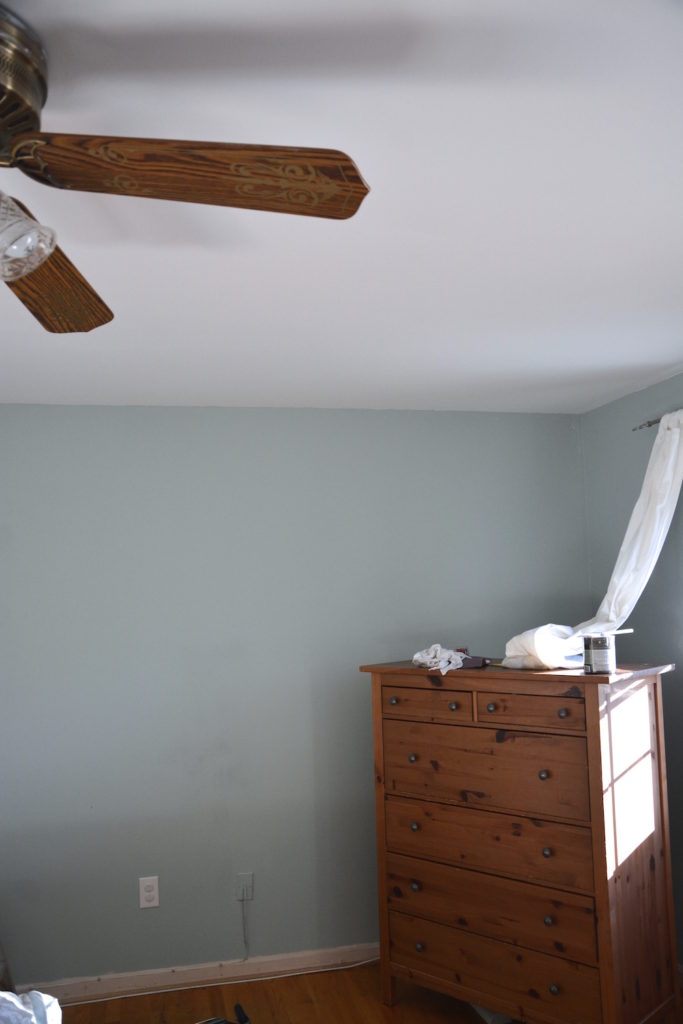
And let’s not forget what the whole room looked like before I got started:
BEFORE
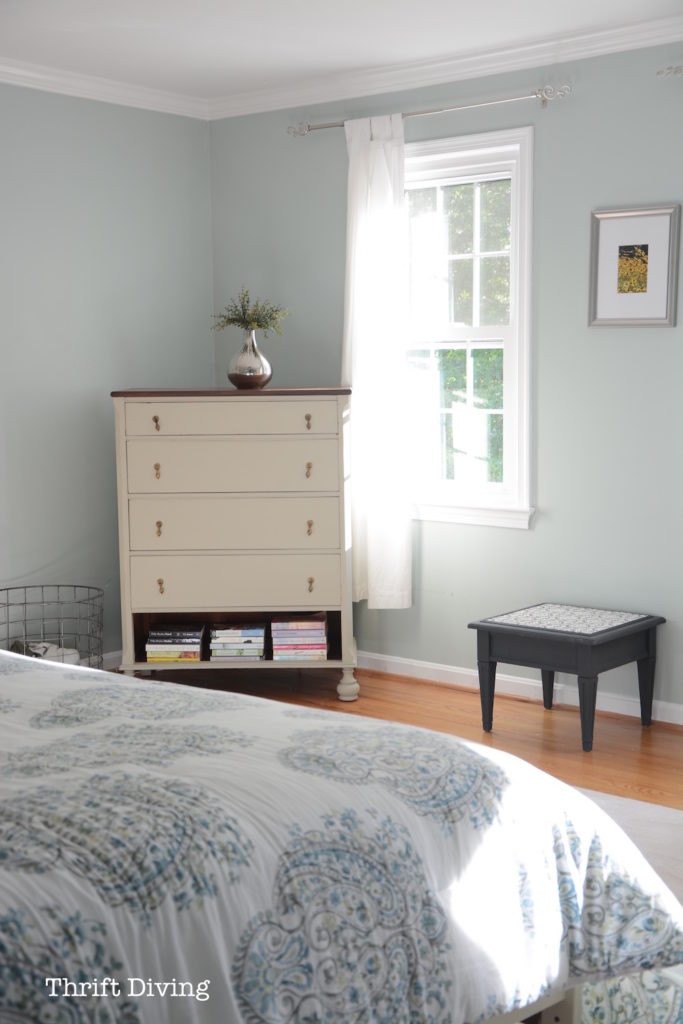
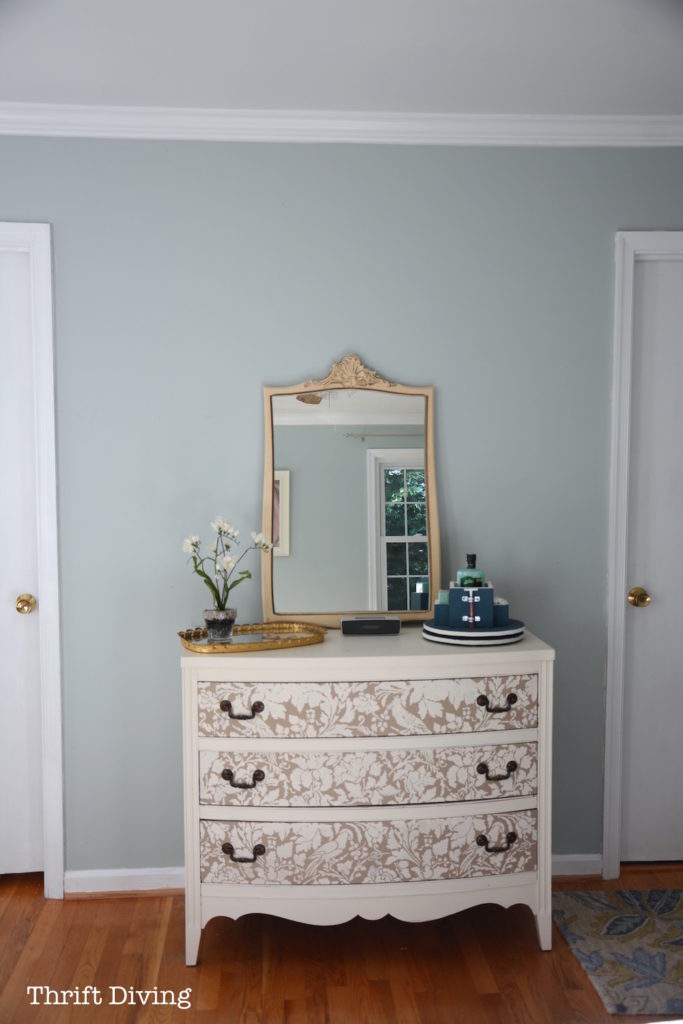
AFTER!
I refinished this vintage dresser my mother-in-law gave me. And I still need to find something cute to put on that black tiled table top I created. But I don’t even notice these unfinished details. All I can see is how beautiful the Sherwin Williams Rainwashed, which is my absolute most favorite color, looks against the fresh white!
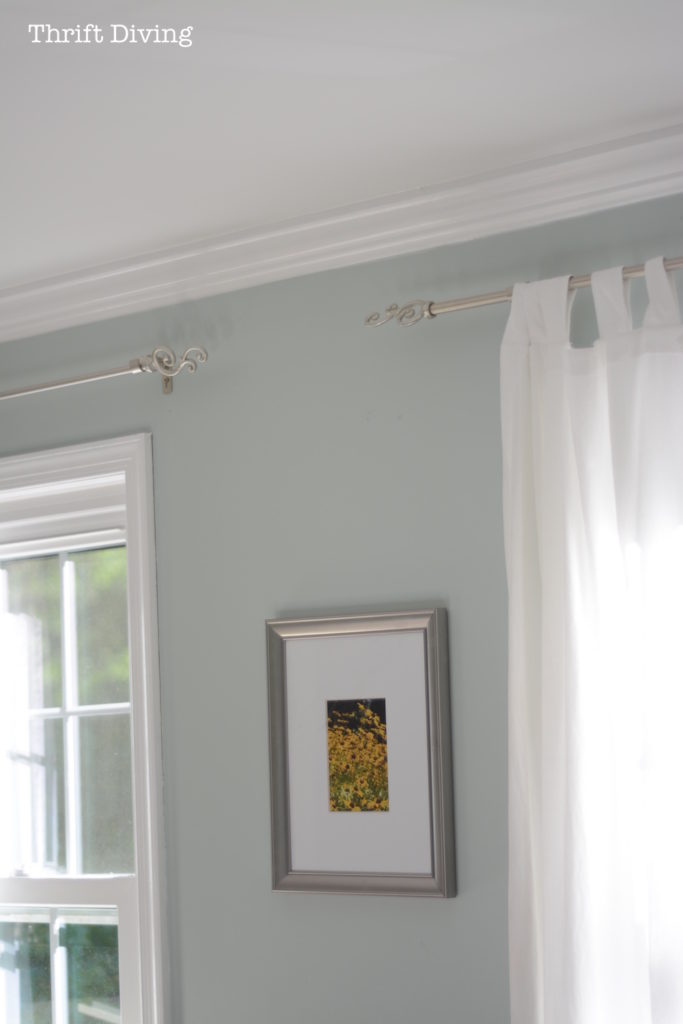

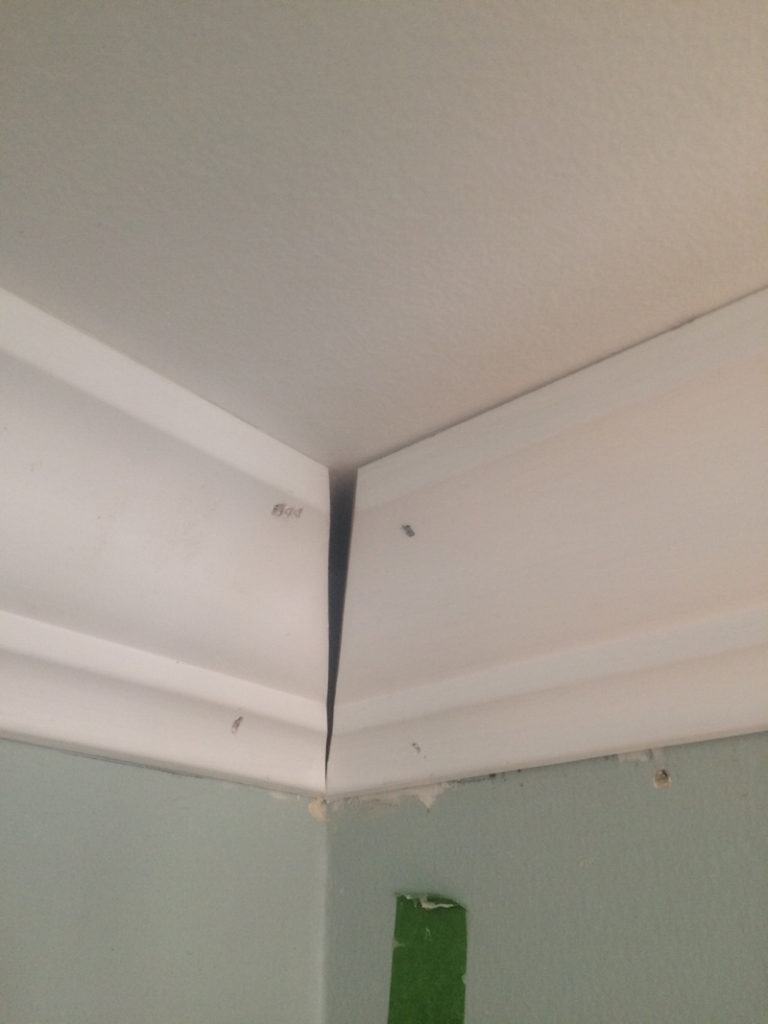
…..will hold up through the test of time? Caulked as much as it could be, it’s barely noticeable. I still need to touch up the Rainwashed paint, but for now, this is good enough for me.

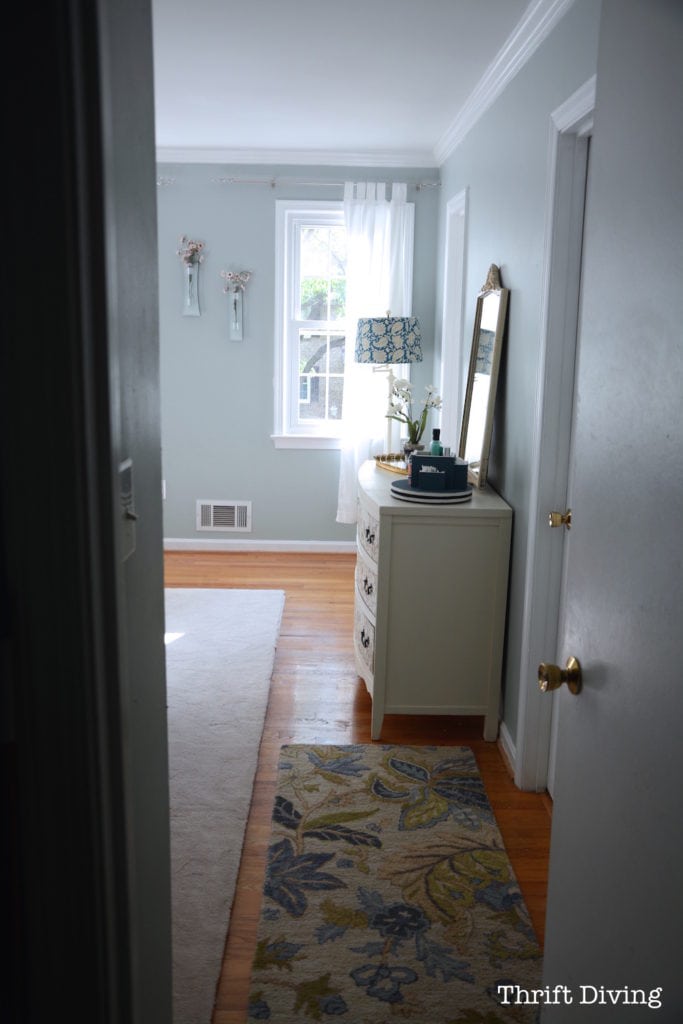
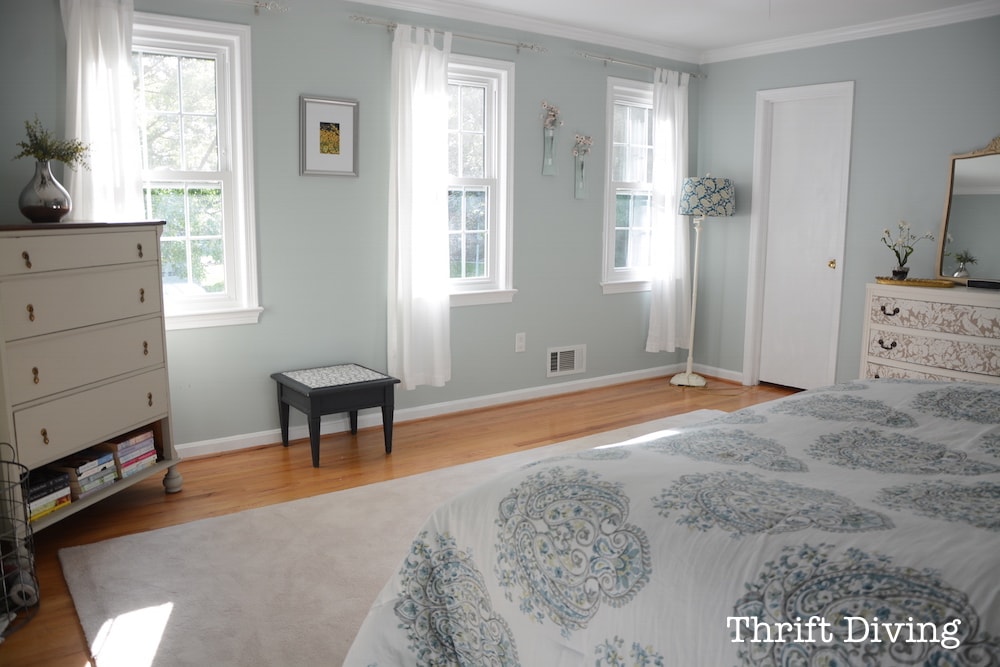
Overall, it feels so fresh! The next step is new curtains and replacing the ceiling fan with one not quite so funky 80’s. I’d rather leave the electrical work for the professionals.
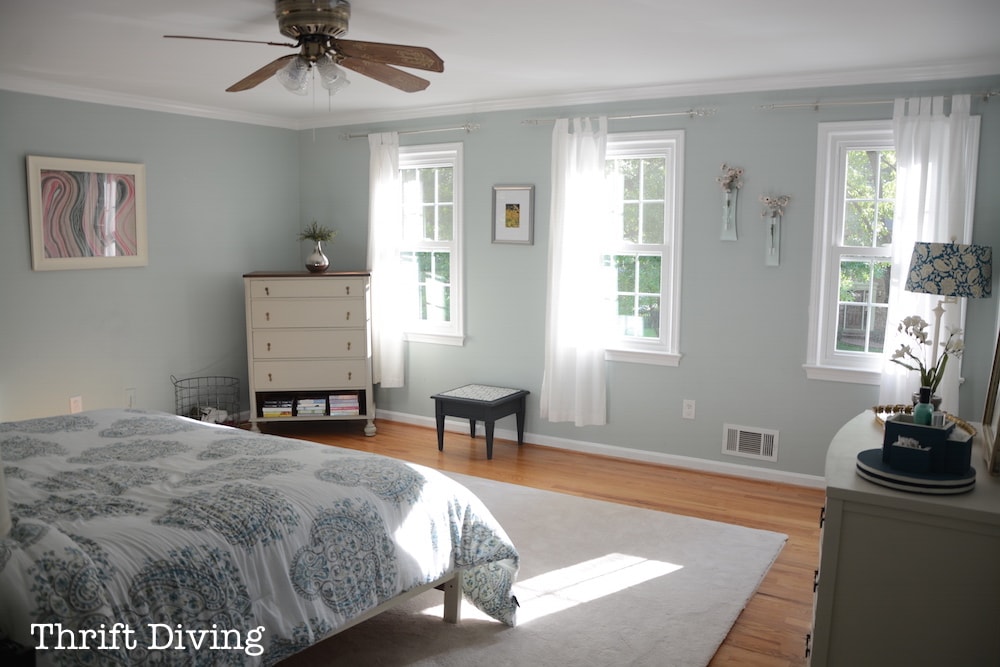
I soooo love my ugly thrifted lamp makeover there in the corner.
And the vintage dresser to the right houses my clothes. Feels great having a dresser of my own, after hubby and I shared for the longest time!
**Don’t forget to download my free 52-page step-by-step tutorial on how to hang your own DIY crown molding!
Please let me know if you think it will be helpful!
So what do you think, guys??? Have you ever thought about putting up your own crown molding? Leave a comment about it and tell me if you have, and if you haven’t, what’s stopping you?
Click here to PIN this tutorial and FREE guide!
![]()

Sizzle into Summer
Download the 5 freebies!

Thrift Diving inspires women to decorate, improve, and maintain their home themselves...using paint, power tools, and thrift stores! Use these 5 printables, checklists, and ebooks to get started!
Boy that really topped off your room! 😉 I love how it totally made the room look finished. I have not put up any crown molding before but my husband has. I need it in my living room.
Great job!
🙂 gwingal
I so feel your pain. We have put up a lot of crown molding in several of our homes with very mixed results. It is harder than it looks and getting those mitered corners to line up perfectly is a feat of epic proportions. However, I agree with you that caulk and paint can cover a multitude of sins and from what I could see in your pics, you did a wonderful job. It’s great that you shared the things you learned.
Good job. Crown molding is like putting on jewelry. It adds so much to a room.
Actually I am a novice so it will be my first DIY activity. I was thinking of getting a new looks to my room it looks dull and it hasn’t painted from long time. Can you explain exactly how we should proceed?
I have a carpenter friend who told me, caulk will hide almost anything, and it does. My daughter and I hung our crown moulding with lots of gaps like yours… it turned out great in the long run.
BTW– the fan… I painted my old 80’s fans in my old kitchen with milk paint and glaze, they turned out beautifully… I didn’t even take them down, changed out the shades… I loved them, along with other folks.
Hey there, Nancy! Yes, caulk is a novice’s dream come true! LOL It really made the job easy for those parts that came out wonky.
Oh yeah, the fan. It’s not that it’s ugly (well…it is ugly, LOL), but it shakes and rattles, and we can’t ever turn it up higher than LOW. It may just need tightened. But when we moved in 5 years ago, my real estate agent gave me two brand new fans that I wanted to put up. The style is a bit nicer, although I would still be painting it! 🙂
This is a tough project for sure but you make it look easy. I get anxiety just thinking about starting this project at my house. Everything looks really good though so great job!
You can totally do it, Drew! 🙂 Like I said, it was easy, but tough to get perfect. So don’t strive for perfection, and you’ll be fine! 🙂
Oh I love how it all came together. And yes the crown molding did add the finished touch. You amaze me how far your skill levels have come. And the fix helps us novices see how we can apply the use of wood filler to other gaping openings where our woodwork did not exactly match up perfectly. Hope for us ! Thank you for writing a very helpful tool–there isn’t just anyone out there willing to share their expertise like this, Serena. Your room looks restful. (So relaxing!) and your DIY organizer I see does conceal the products well!!! Stunning. Just take a moment and thank the Lord. He’s given you talent and know how and gumption to do this!!!! For real!!!! It’s happening! Blessings dear friend. No slacking for you:D