How to Install an Exterior Door and Paint It With Exterior Door Paint
When you don’t know how to install an exterior door, you have a few options:
- Leave the old one and pray a wolf doesn’t huff and puff and blow it down
- Buy a new exterior door and pay someone else to install it
- Install the exterior door yourself and hope it doesn’t fall out
- Call a friend who knows what the heck they’re doing and watch and learn.
So….I chose option 4.
And this is how I installed my exterior door and painted it to last! (Click here to read how I painted and stenciled it)
How to Install and Paint an Exterior Door
Replacing my entry door to my backyard was out of my range of expertise, so thankfully, Edmundo came to help. He’s a licensed contractor. It’s always good to have a friend with some home improvement skills to help with projects such as installing an exterior door!
Thank God for him!

Materials Needed to Install an Exterior Door
- Prehung steel door (I got new exterior door one from Home Depot)
- Deadbolt and lock set
- Tape measure
- Finish nailer for door trim
- Crow bar
- Leveler
- Hammer & screwdriver
- Power drill
- Door & Window silicone caulking
- Great Stuff & Window spray foam insulation
- Replacement door trim (optional, if needed)
- Wood filler for nail holes
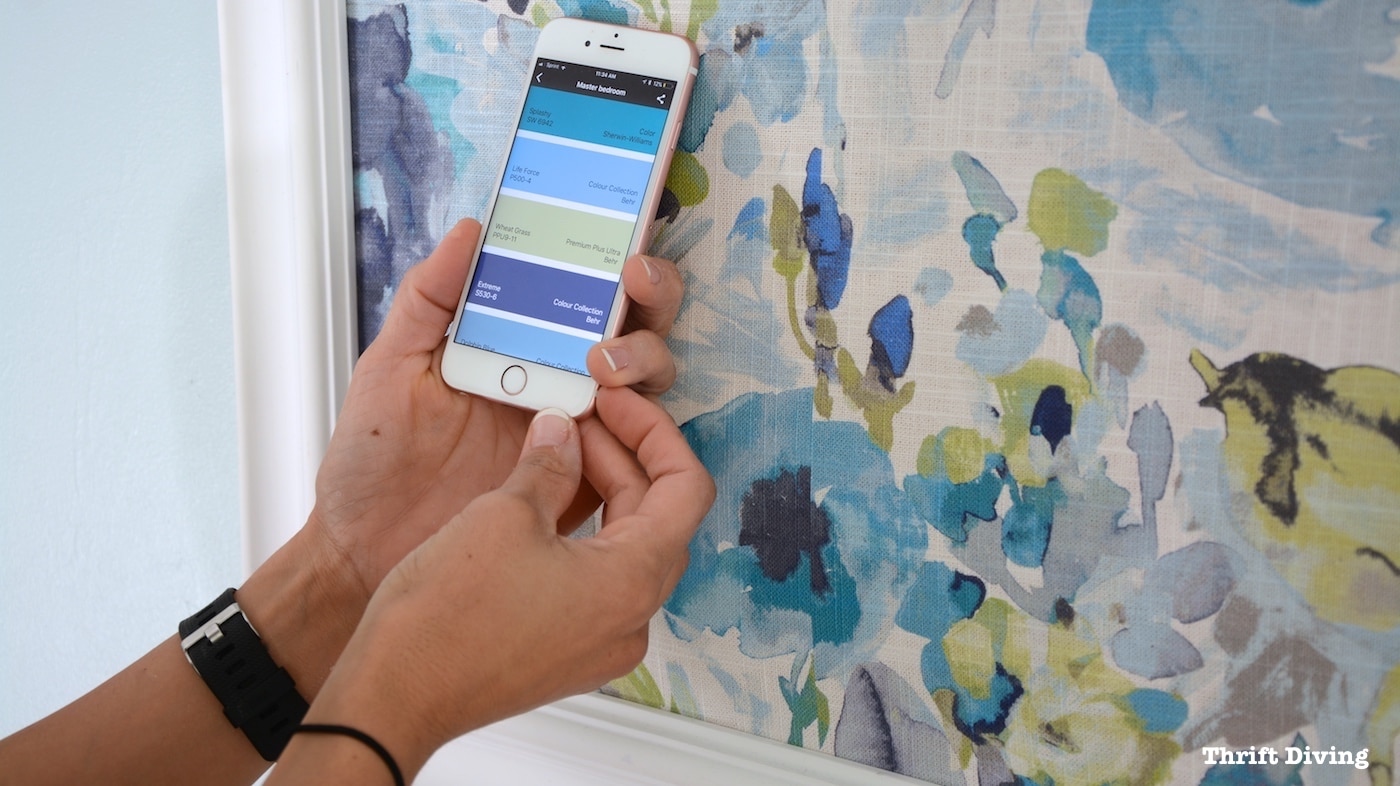
- Exterior door paint (I used Behr Exterior paint in the color, Quiet Teal)
- Paintbrush
- Painter’s tape
STEP 1: How to Measure an Exterior Door
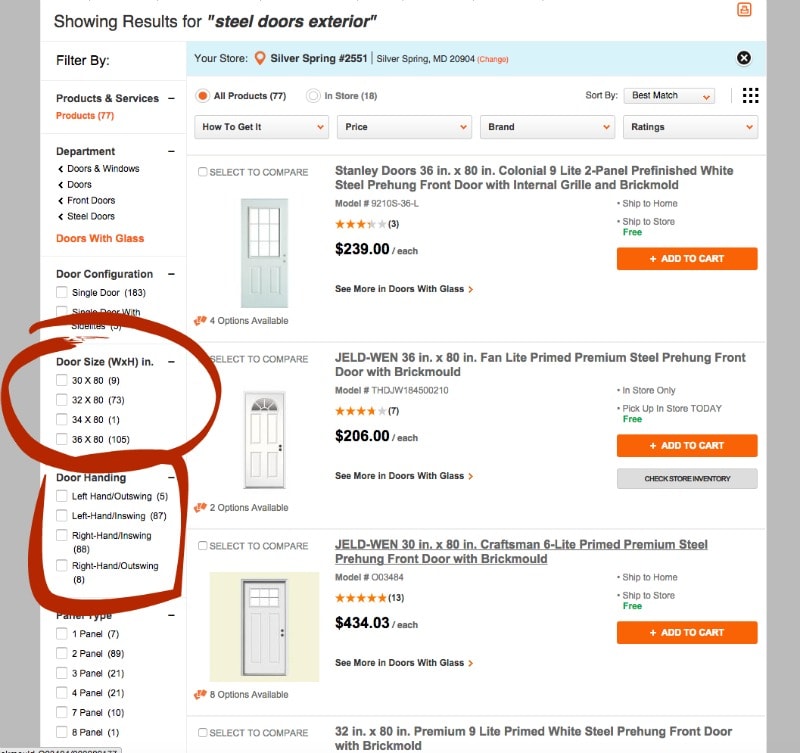
Before you can install an exterior door, you have to know what size door to get. Thankfully, if you’ve got a standard door like me, there are a few standard sizes (see the screenshot below).
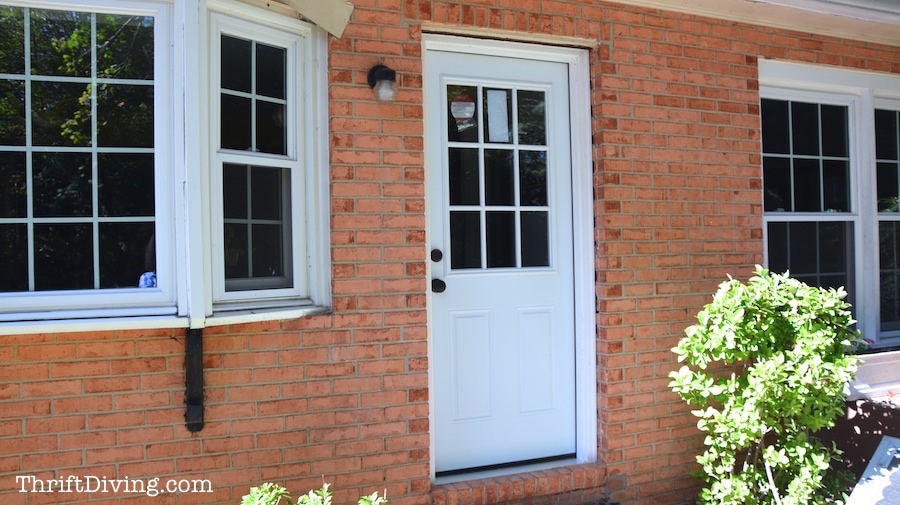
Use a tape measure to measure the width and the height of the door. Most standard doors come 80″ tall and either 30, 32, 34, or 36 inches wide. My exterior door was 32 inches wide.
My Old Door
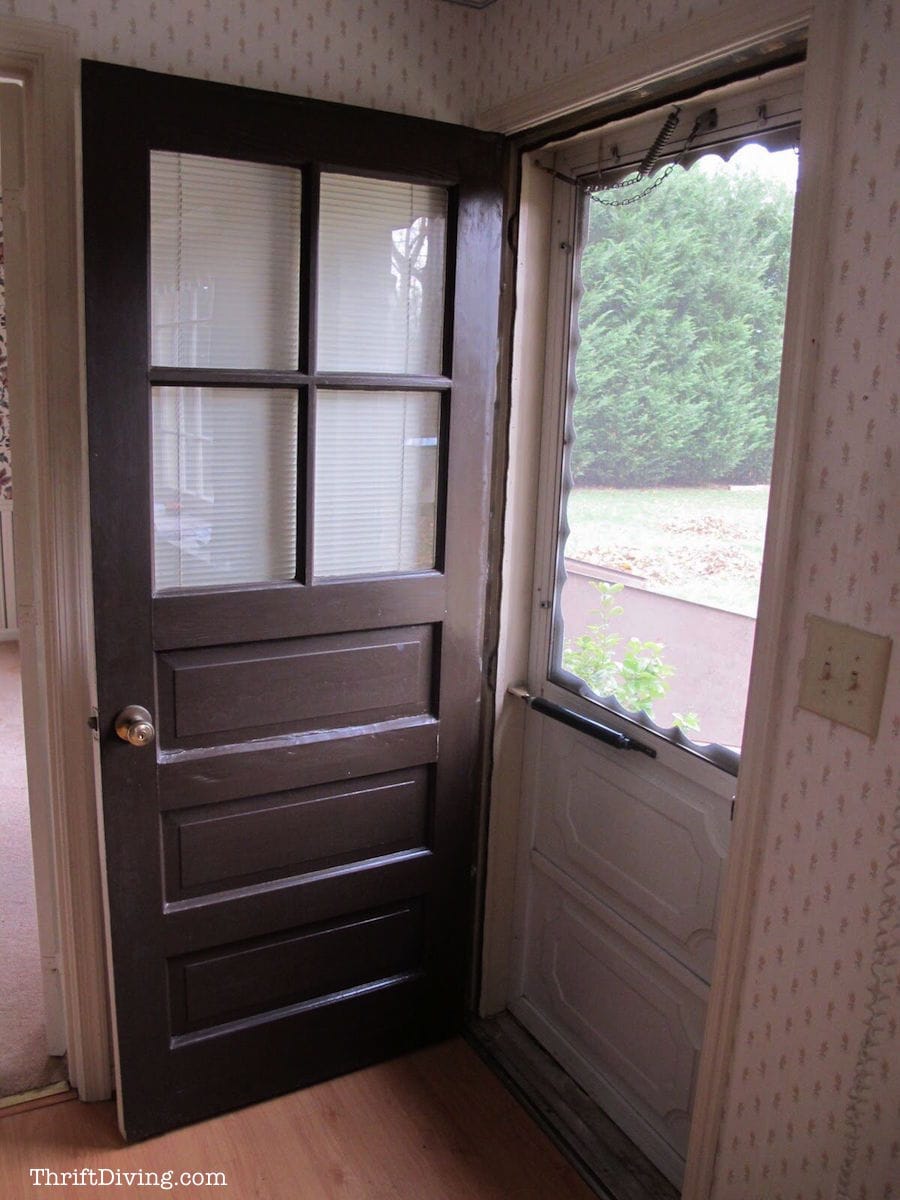
Does It Swing LEFT or Swing RIGHT??
Yep….every door either swings in (called inswing) or swings out (called outswing).
You can see in the picture above of my exterior door that it swings in, and to the right. Therefore, it’s a right-hand inswing door.
This door hanging guide from the Home Depot helps you figure it out easily if you’ve got an inswing or outswing exterior door.
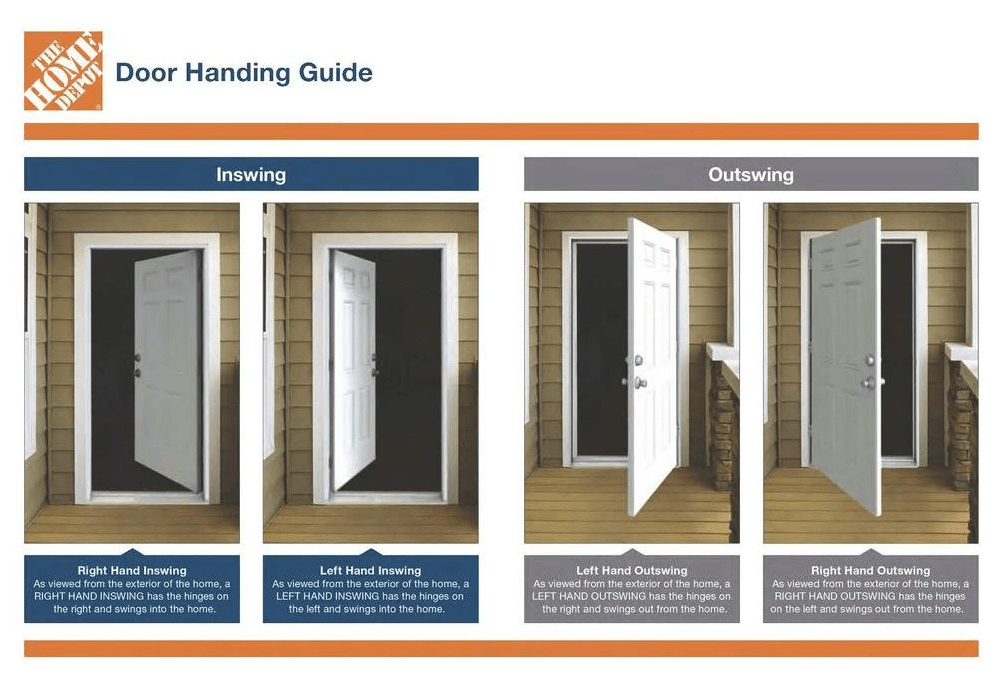
So be sure to get the right door!
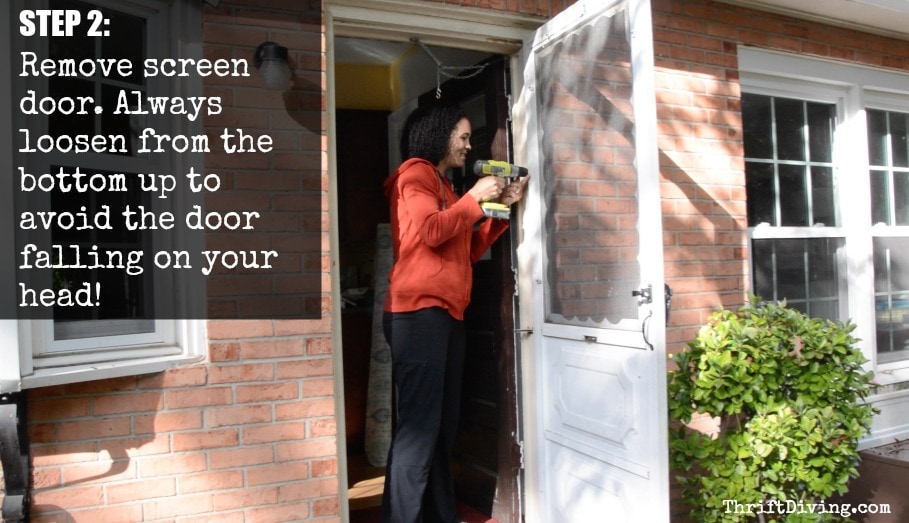
STEP 2: Remove the Storm Door
Before you can replace an exterior door, you have to remove any fixtures, including the storm door or screens. Our house had an old storm door that was easy to unscrew to remove.
Here’s a little tip from Edmundo: Be sure to remove screen doors and exterior doors from the bottom up. The reason why is because it’s less likely to fall on your head while you’re kneeling down. Great tip!
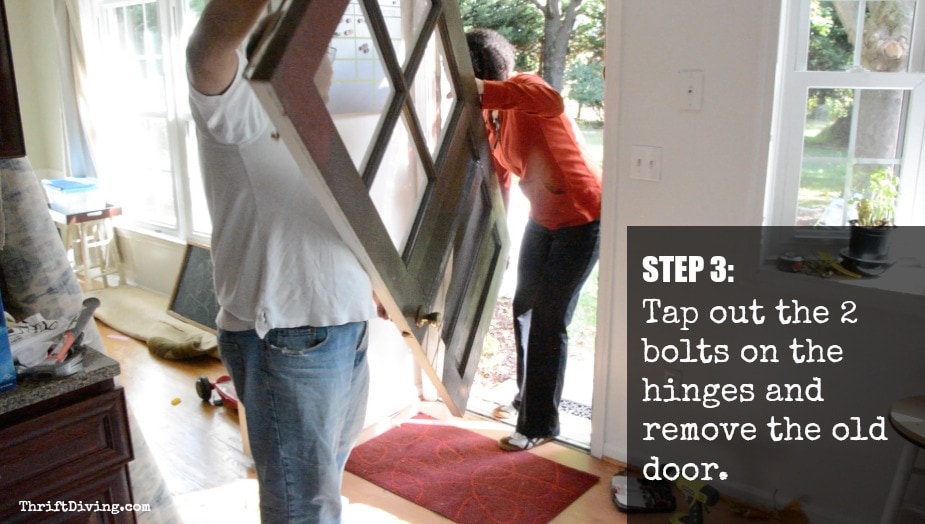
STEP 3: Remove the Exterior Door
With a hammer and screwdriver, tap out the two bolt that is holding the door on the hinge. Just make sure you’ve got two people lifting the door! It’s super heavy!
I ended up giving the door to a friend, but you can easily repurpose an old door for many of DIY projects, or you donate it to a salvage shop or thrift store.
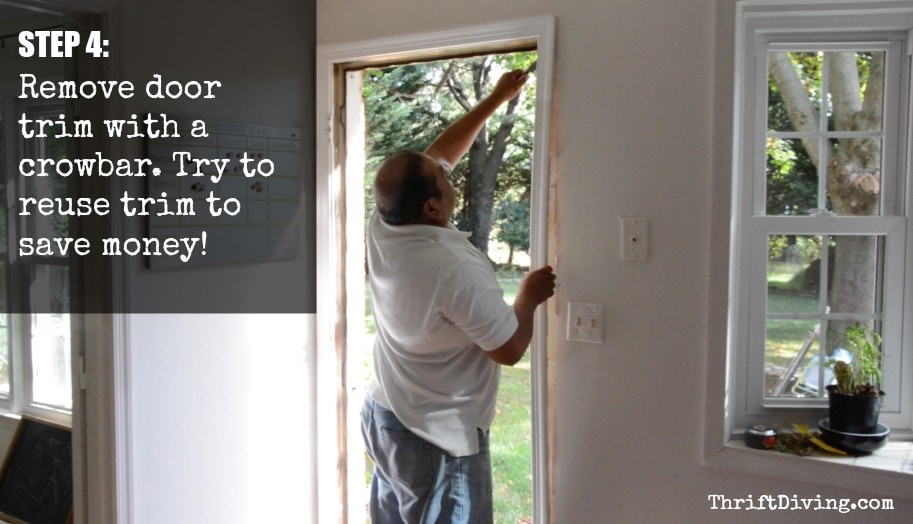
STEP 4: Remove the Door Trim
The old door trim has to come out. Use a crowbar to do it, and be careful so that you don’t damage the trim. You can reuse this, whether on that new door or in another project. Trim usually costs about $1.00 – $1.50 per foot. To trim an average size door, expect to pay about $20 if you need to buy new trim. So save your old trim if you can!
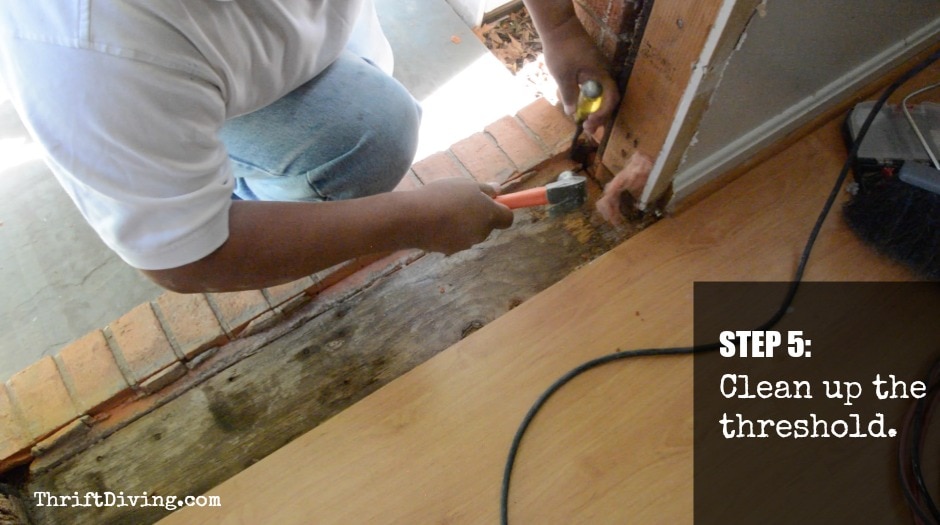
STEP 5: Clean Up the Exterior Threshold
This was the dirty part, which you can’t see from this picture. When we removed the old exterior door jam (which you simply have to remove the screws and it should come out), the threshold was a piece of rotting wood which we had to remove.
We left the subfloor in place.
Edmundo used his grinder to trim some of the bricks in order for the new door to go in smoothly. That was a dusty job!
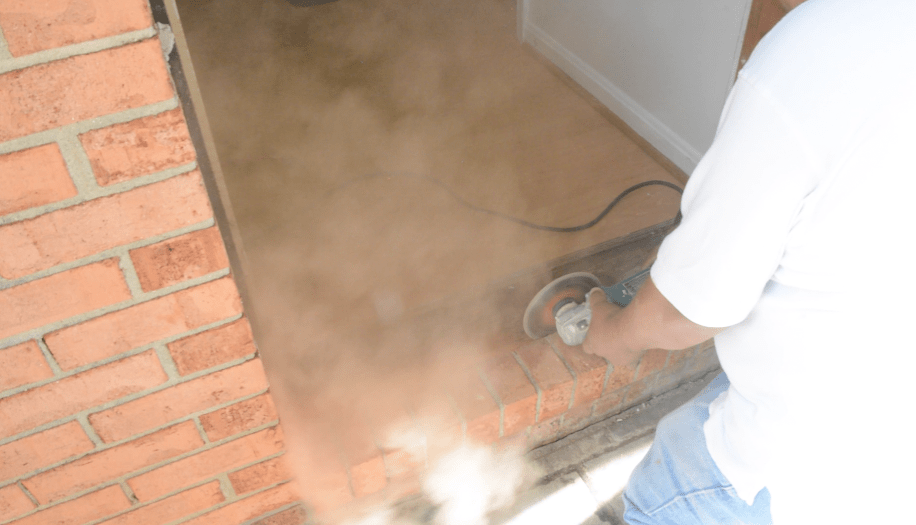
Once the brick was trimmed, he was able to remove the small pieces of brick and make it nice and even!
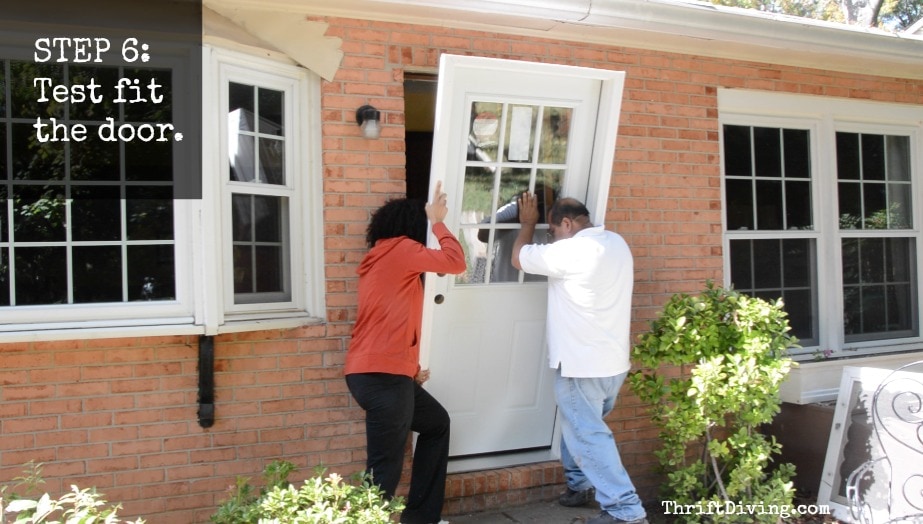
STEP 6: Test Fit the Exterior Door
You may have to test fit the exterior door over and over again until you get a good fit.
Your door should fit in smoothly. No pushing or prodding or tugging (or kicking!) should be necessary. If you find yourself trying to force it into place, be sure to find out what’s preventing it from smoothly being installed.
Make adjustments where needed (for example, if you need to nail down pressure-treated wood to the threshold to raise the door to sit flush with the entry. We didn’t need to do this).
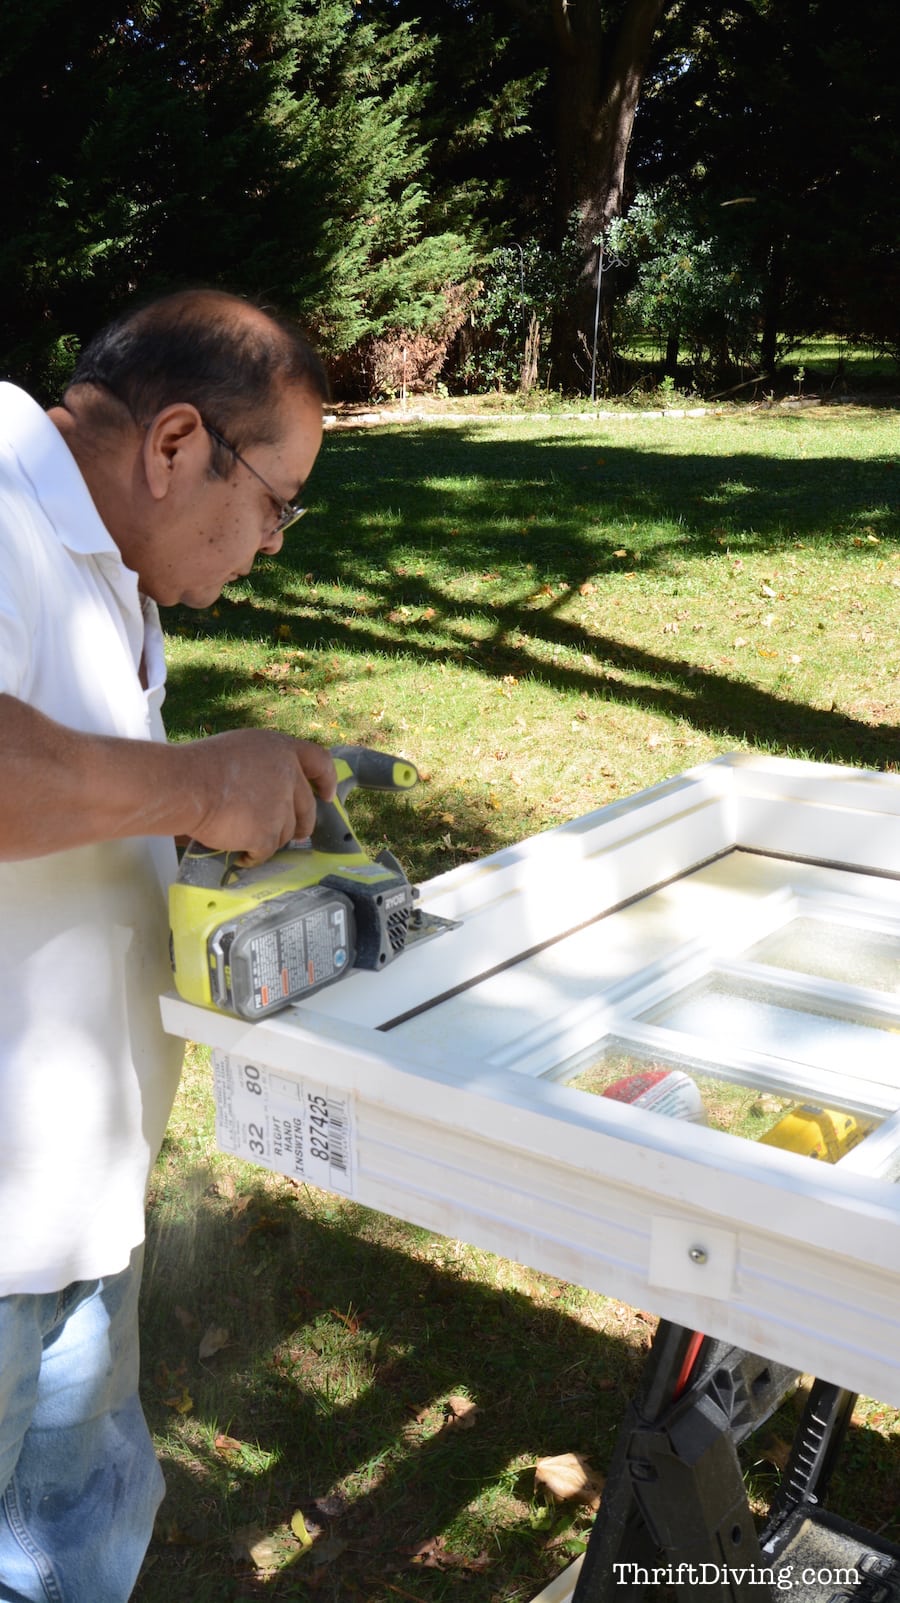
We did have to sand out a few areas of brick to help the door slide in nicely.
We also had to trim a little bit from the top of the exterior door with a circular saw, too.
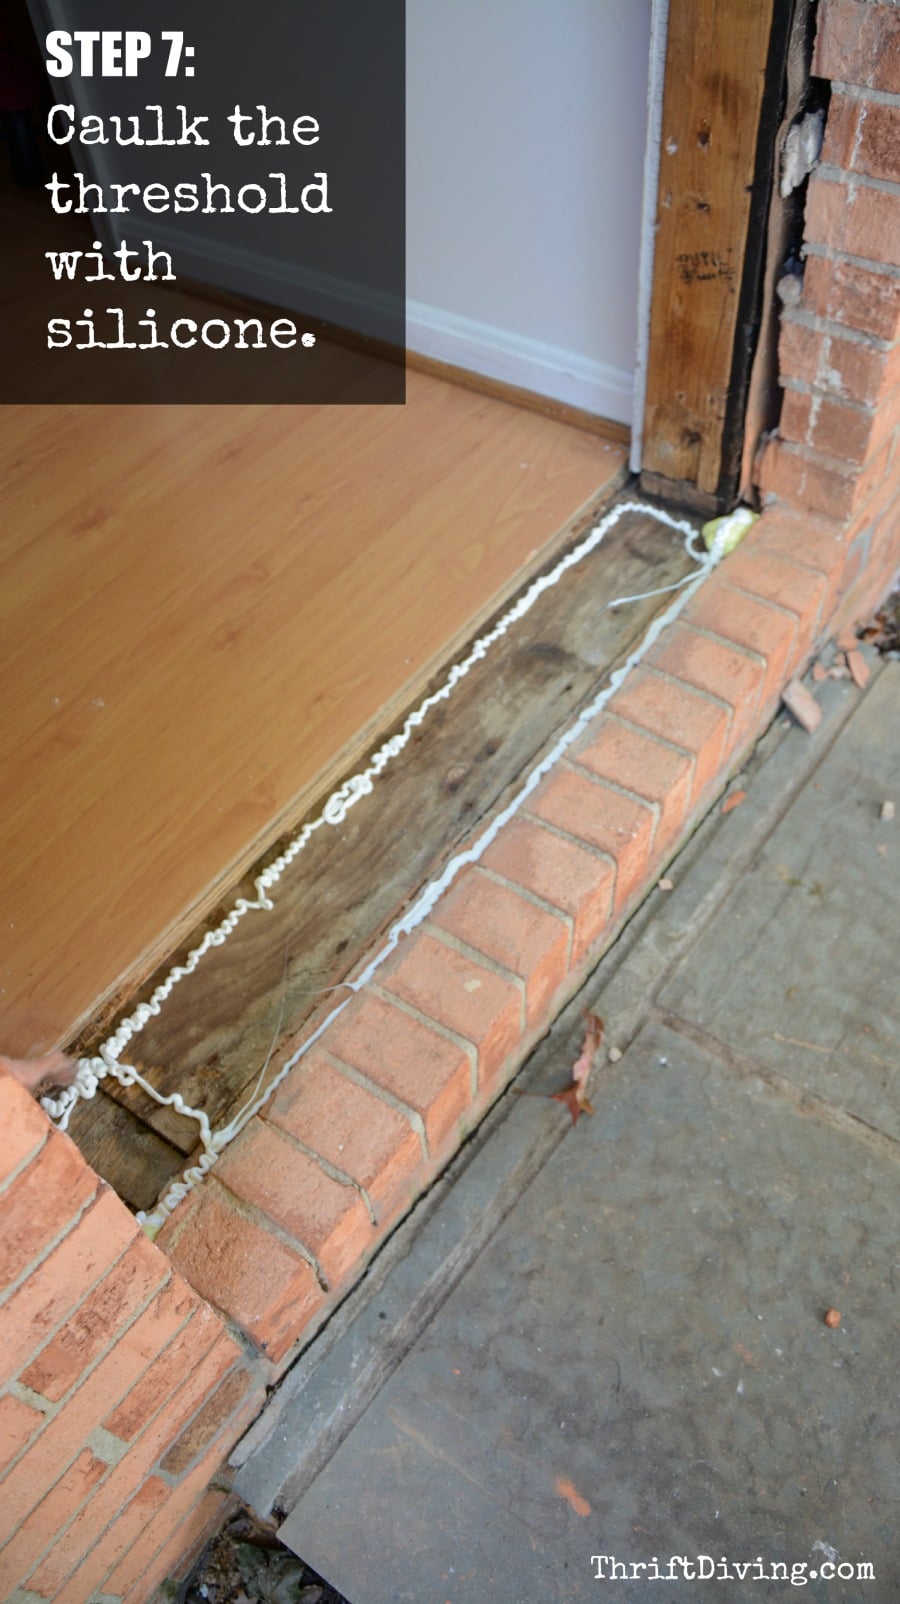
STEP 7: Caulk the Threshold
After you’ve test-fitted the door and you’re confident it’s a good fit, now you can caulk the exterior threshold with silicone caulk made for windows and doors. This ensures that no water gets inside.
STEP 8: Install the Exterior Door
Once you’ve got a good fit and the caulking on the threshold is in place, set the exterior door into place. You’ll likely need two people.

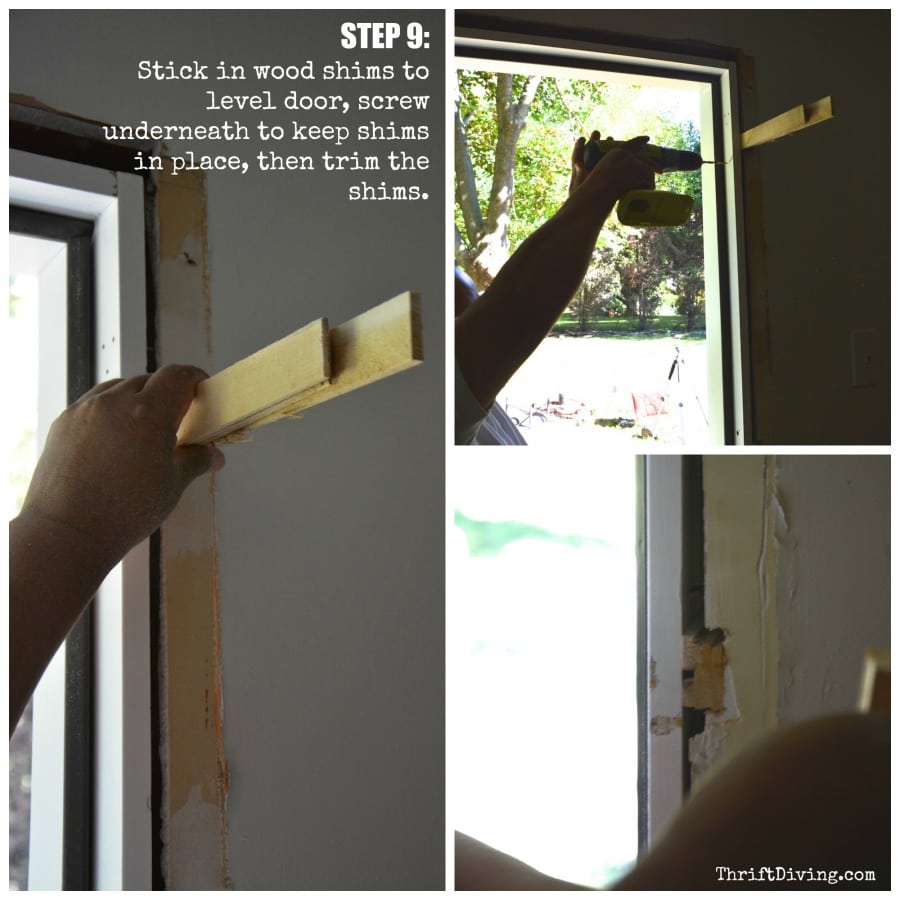
STEP 9: Add Shims and Screws
Use a leveler to make sure that the door is straight and even.
When the wood shims are in place, use screws (I can’t remember if the door kit came with its own screws or if I bought screws for the door. I believe we used about 2″ screws, but check with your local hardware store for which ones to use) to secure the exterior door frame.
DON’T screw directly into the wood shims or else they’ll split. Instead, insert the screws above or below the wood shims.
Use a utility knife to trim them flush with the exterior door.
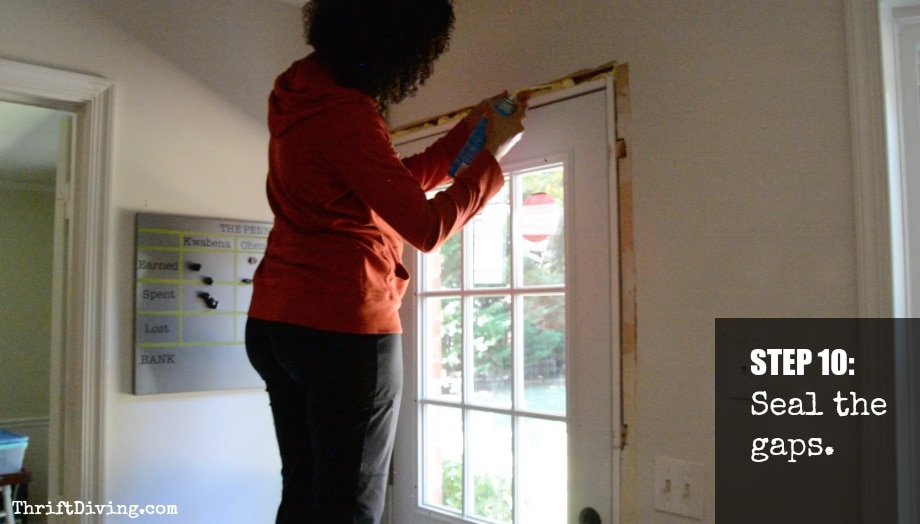
STEP 10: Seal the Gaps and Caulk
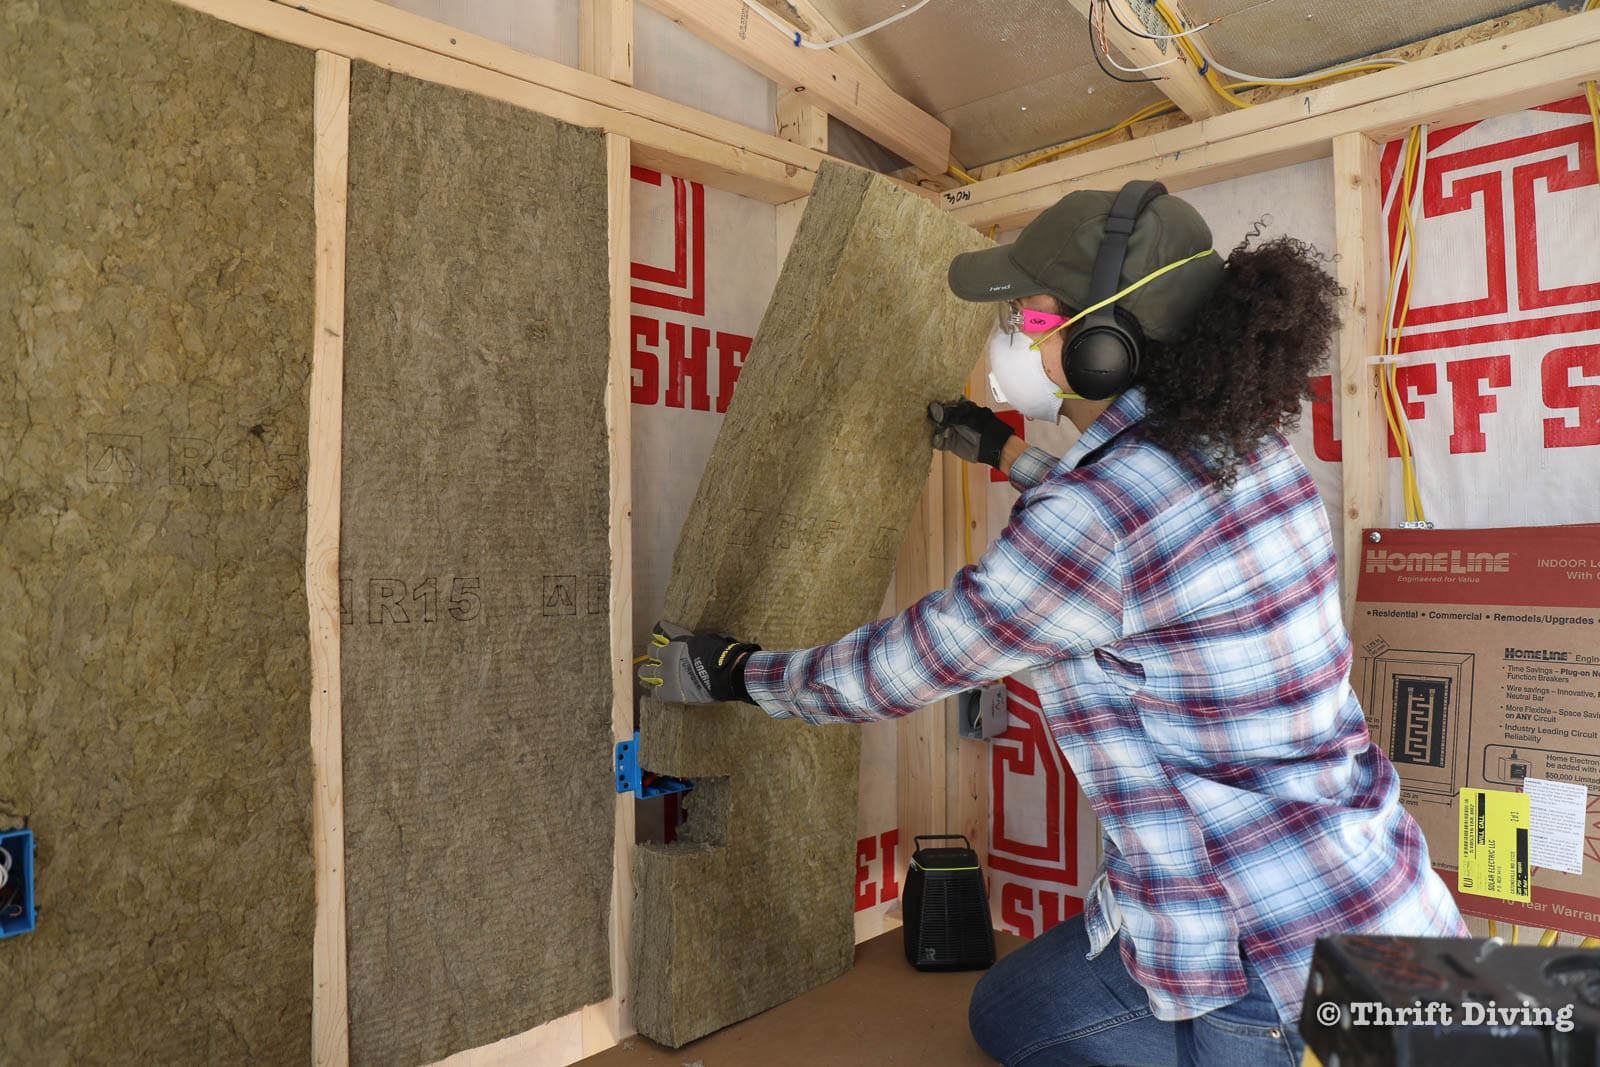
This step is controversial because I’ve been told that you shouldn’t use spray foam on a door because when it continues to expand, it can throw off the level of your door. I’ve been told instead that you should use insulation instead.
But everything I had read online said spray foam was okay, as long as you use the one specifically for Windows & Door. So that’s what I used.
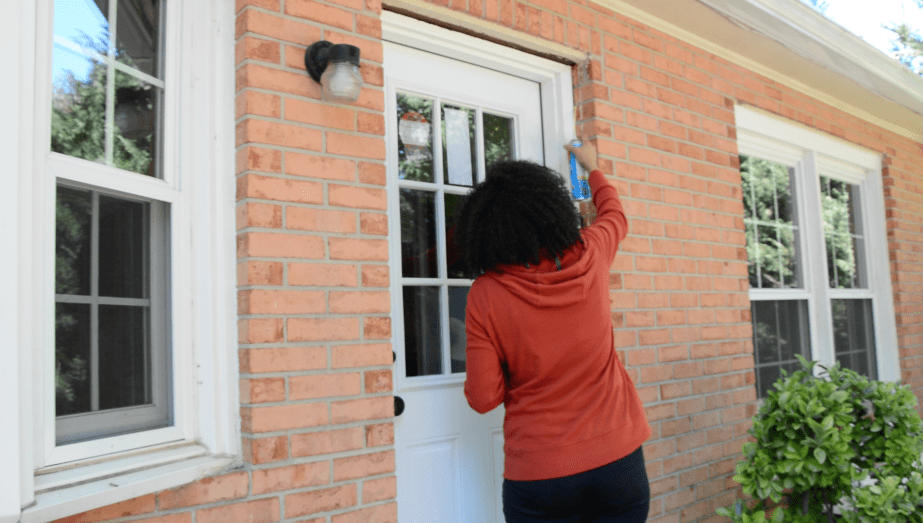
Follow up with caulking around the outside perimeter with silicone caulking that’s labeled for doors and windows.
STEP 11: Add the New Lock Sets…Then You’re Done Installing the Exterior Door!
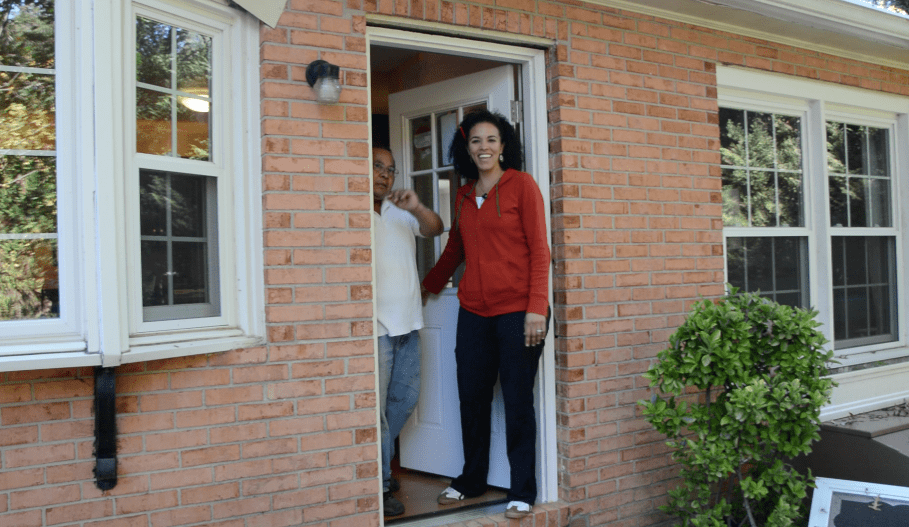
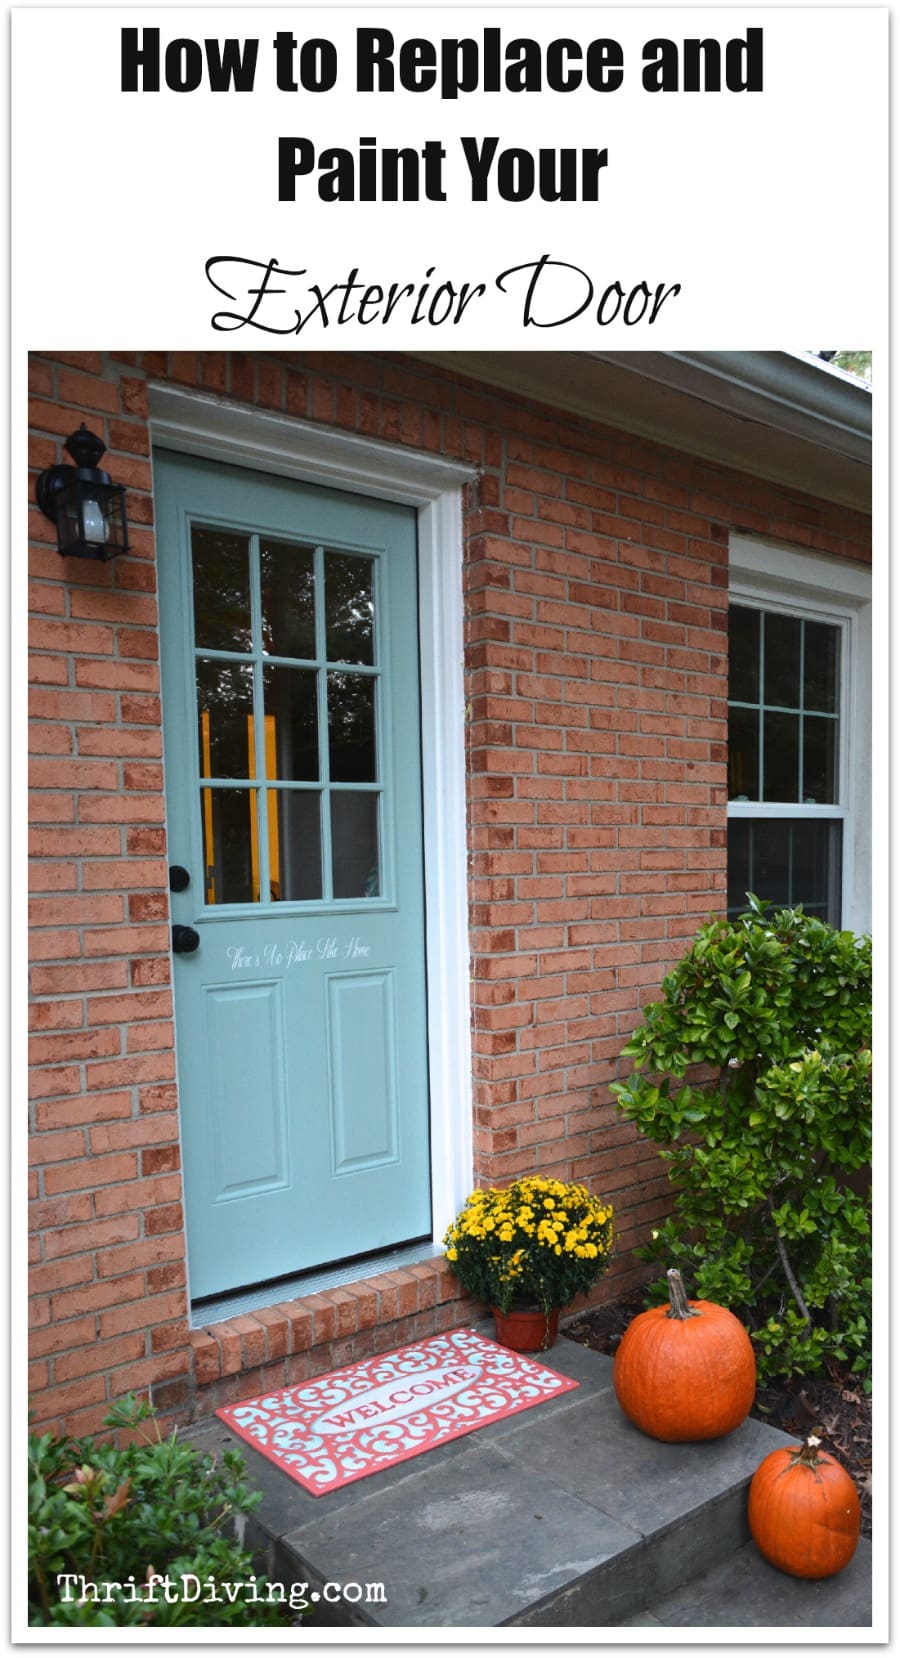
AFTER!
I love how it turned out!
(We still need to buy a storm door).
Exterior Door Paint
In the next post, you’ll want to continue reading about which exterior door paint to for lasting results. I also show you how to stencil your exterior door, as well!
Click here to read: How to Paint and Stencil Your Door!
AFTER!
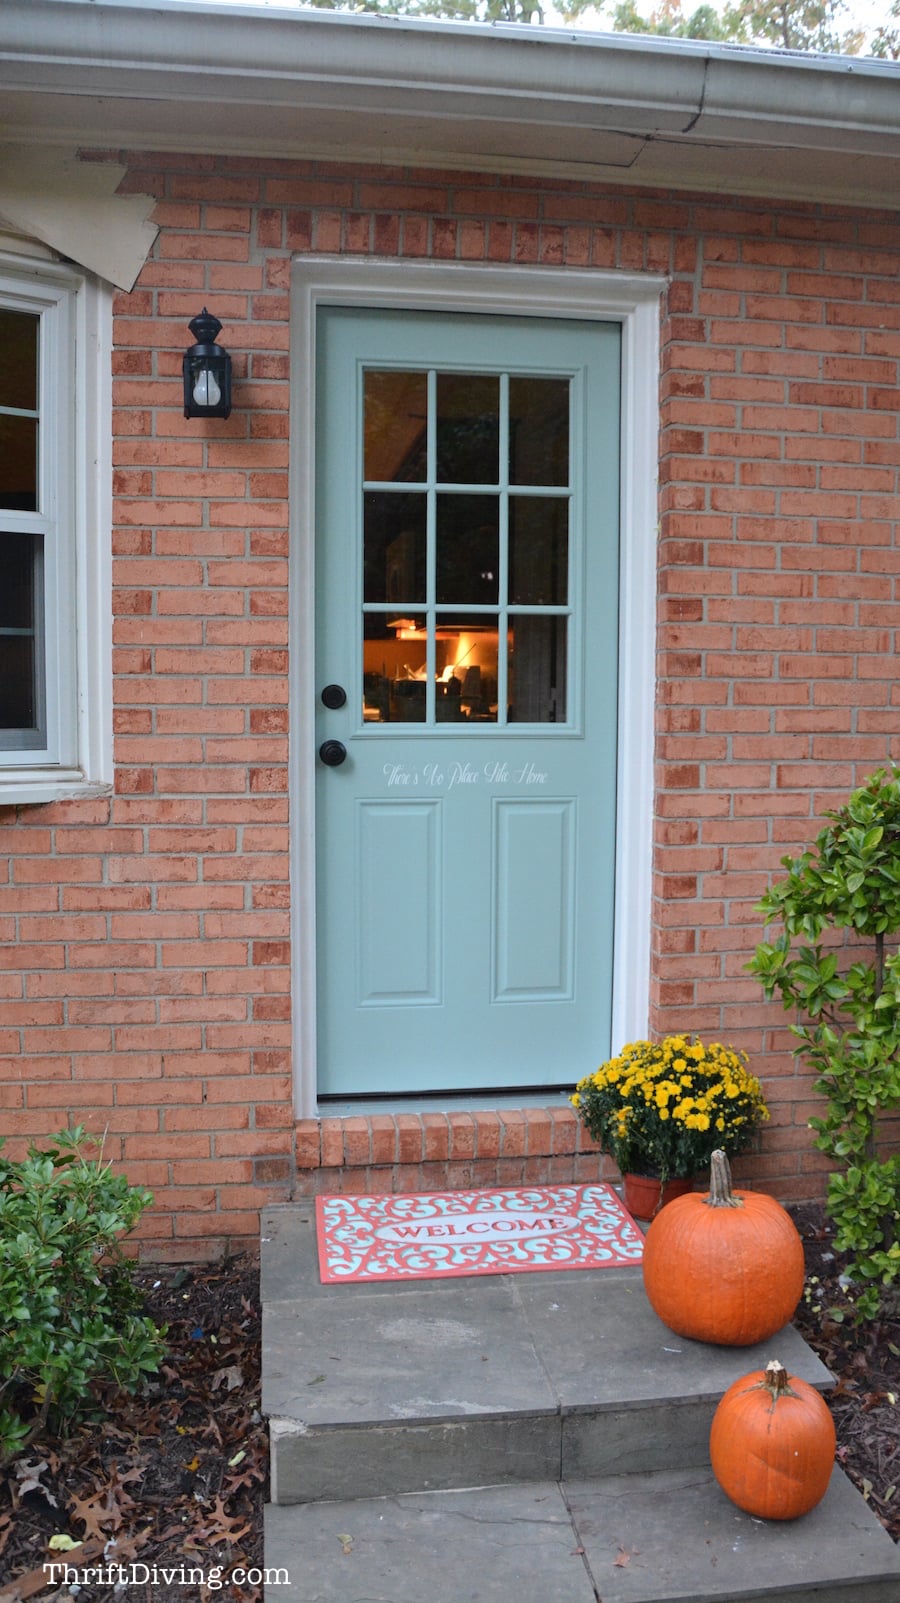
So what do you think? It’s a huge improvement!
I still have another exterior door that needs to be replaced in my garage! I wonder if I could handle that one without Edmundo’s help…? I’m scared to find out! LOL
Do you need to remove an old door and install a new exterior door, too?

Download the 5 freebies!

Thrift Diving inspires women to decorate, improve, and maintain their home themselves...using paint, power tools, and thrift stores! Use these 5 printables, checklists, and ebooks to get started!


Serena, You did such a great job with this step-by-step tutorial and the new door is bright and welcoming.
What a great job! I am renting and I’m pretty sure my landlord will let me paint this door (which is black (yuck) but it has such a nasty HUGE gap between the bottom of the door and the step. We are always stuffing things against it when the weather gets cold here to keep the warm air in.
I’ve got a doors like that, too, Janice! With a door like that, the landlord would kiss you for taking over that project! Lol
Holy @$&*! I wasn’t around the day our front door was replaced but I wonder if it was this much excellence. The door expands and contracts throughout the year which means little crevices for air to get through. Arggg! Will save this tutorial if we ever redo the job.
Ooh, you have to watch that big jobs! You learn so much! I’m Always annoying because I’ll stand over someone’s shoulder and watch step by step. Fun stuff! Your door looks great, Leilani! And that blue makes it pop.
What an ambitious project! Edmundo is an awesome friend to come help! We should fix him something nice for Christmas – I mean, I guess you should!
Now I know what I need to do with my downstairs door – the casing has had water setting nearby and it has left a hole big enough for a mouse to walk in. Glad you showed us this posting, I would never have tried anything this big!
Happy holidays, everyone!
Hi, Linda! I know, I’m grateful for him! I met Edmundo when we first moved in and he redid my kitchen cabinets ame counter tops. We kept in touch and he comes around and helps with stuff, and I send jobs his way too. Works out well!!
I was scared to try this project! I had never done anything of this size before. It really helps to have a friend to help. You have to find yourself an “Edmundo”! Lol
Hey Serena, thanks for the awesome tutorial. I have a back door that looks almost like your old door…lol It’s the original from 1958…. One day it will be changed!! lol Love ya’
Don’t rush it, Paticia! It took 5 years to get this thing installed! Find a grind that can help. And watch over their shoulder when they’re doing stuff. You learn a lot!!
Great tutorial! Looks amazing! I look forward to your blogs every week!
Awww…thank you, Sherry!! I’m glad you stick around! 🙂
It looks fantastic and I love the stenciled saying on the door.
I so want to make my door pretty like yours! It’s beautiful!
Hey, Brea, you can! If you are replacing your door, have someone help you replace it that knows what they’re doing. Then, just paint and stencil! 🙂 You can paint the old door. Just clean it good first! 🙂