An Ugly Lamp From the Thrift Store Gets a Makeover!
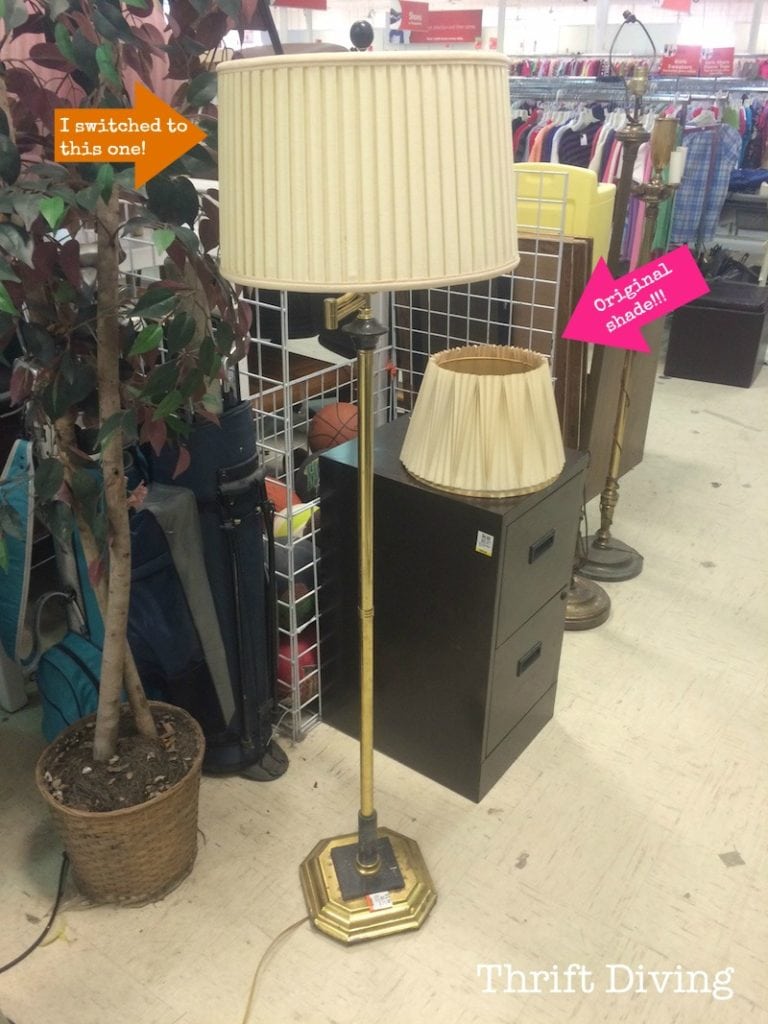
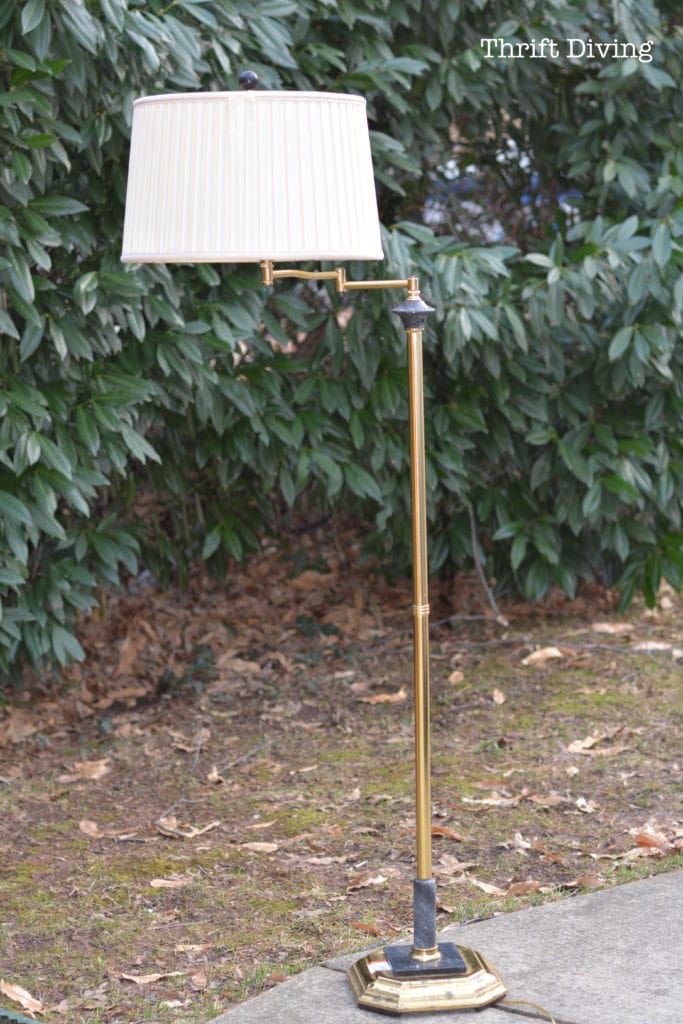
Have you ever been at the thrift store and saw an ugly lamp that look like this one?
I’m sure you have.
Ugly brass lamps….the kind you just keep walking past. They’re a dime a dozen at the thrift store.
This time, however, I stopped. Thank God I did.
I knew it had potential. The only thing is that I didn’t like were the lamp shades, so I just switched them. I hope the thrift store didn’t mind!
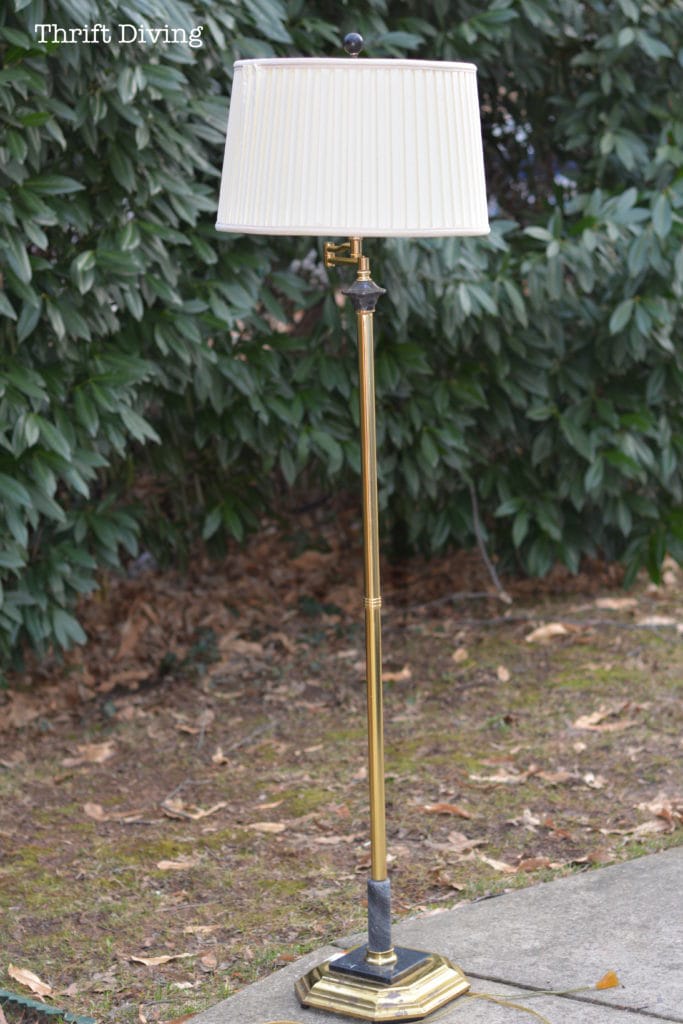
Here’s how this ugly lamp looked before the makeover!
BEFORE
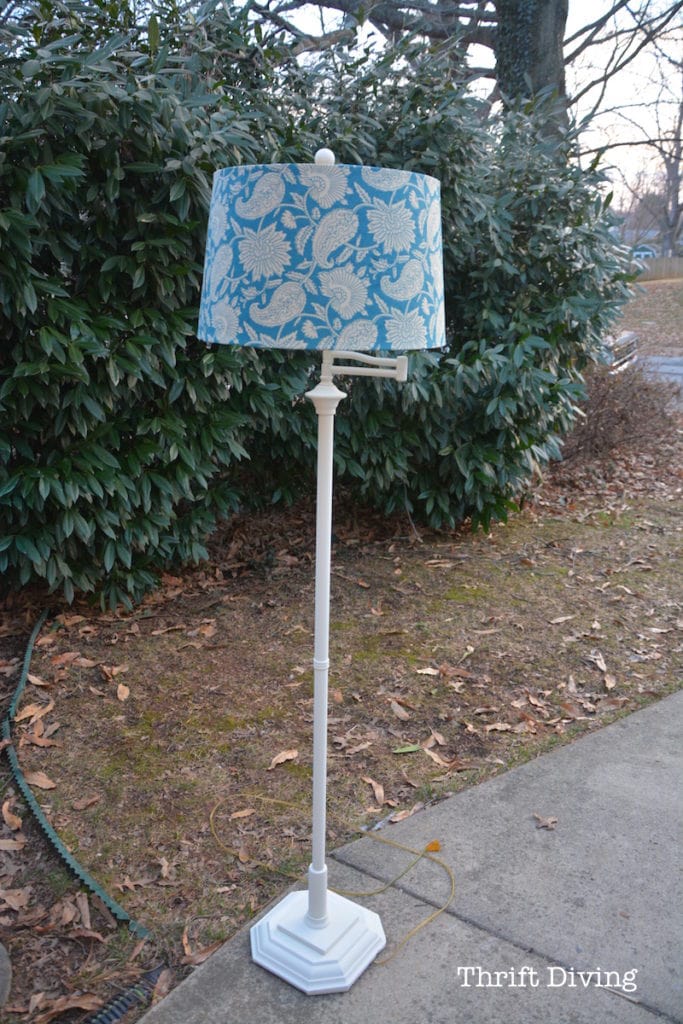
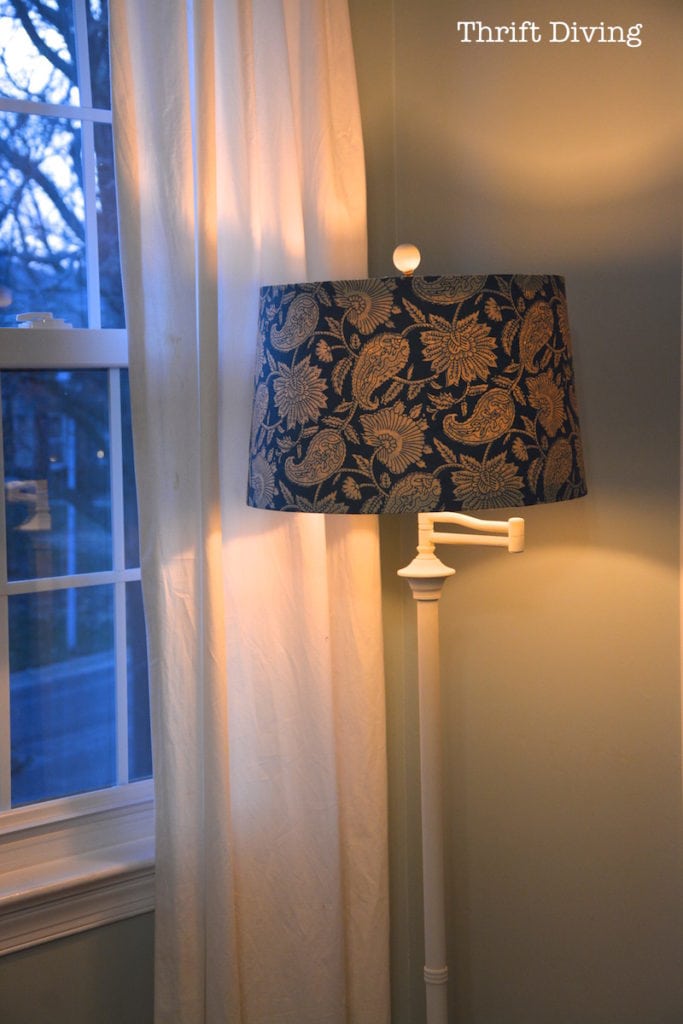
AFTER!
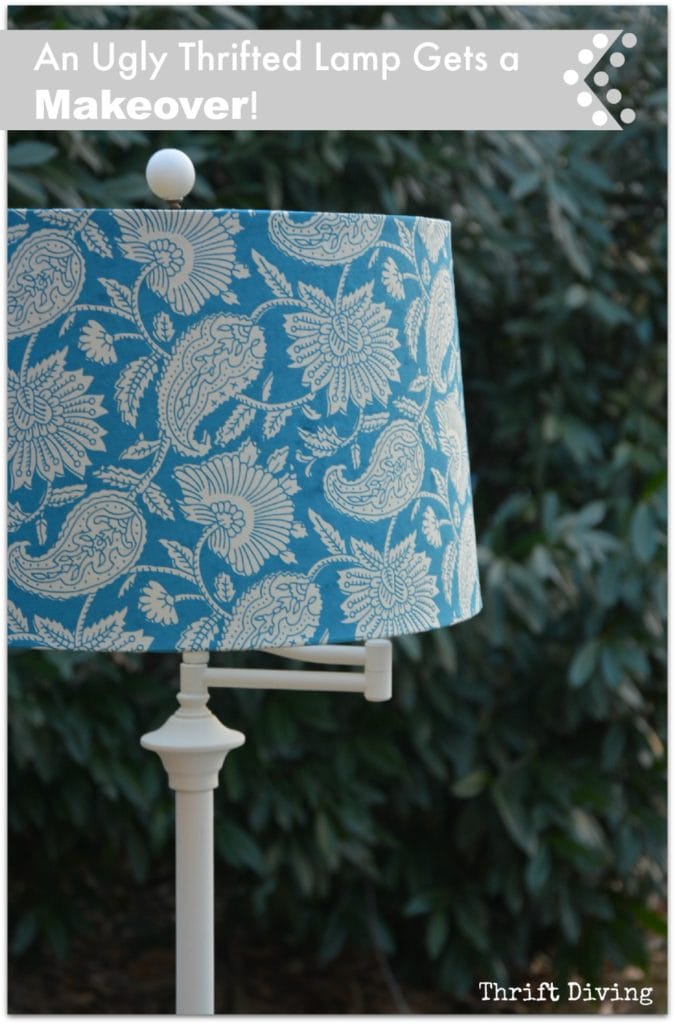
And this is what the lamp makeover looked like afterward!
Ugly Lamp Makeover – “How To” Tutorial
Okay, so you probably have an old ugly lamp in your house, or one at your thrift store, and are in need of some new lighting in your house, too. Here’s what you need to get started!
(I participant in the Amazon Services LLC Associates Program, an affiliate advertising program designed to provide a means for me to earn fees by linking to Amazon.com and affiliated sites).
Go Grab These Materials
- An ugly lamp
- A lamp shade
- Pretty paper or lightweight fabric (I bought this fine paper from Paper Source)
- Scissors
- Spray adhesive
- Ruler
- Pencil or pen
- Tracing paper (or anything to make a pattern)
- Hot glue
- Ribbon or a couple strips of paper or fabric (whichever material you’re using)
STEP 1: Grab an Ugly Lamp
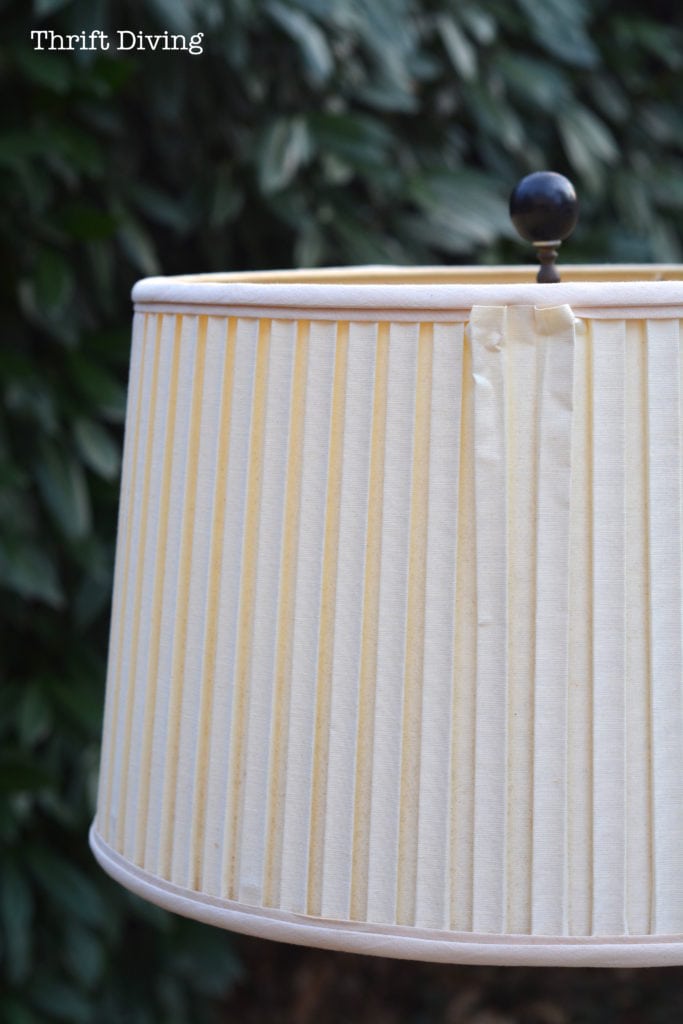
Hit your favorite thrift store or shop your house for an ugly lamp. If you’ve got an old lamp shade, great! Shades can be expensive, so if you can find a thrifted one or reuse one in your house, that’s best. Here’s mine from the thrift store, for $10. Yep–just $10! It actually doesn’t look too bad (until you get up close……).
I loved that this one had a swing-out arm. It will be perfect near the bed, for reading.
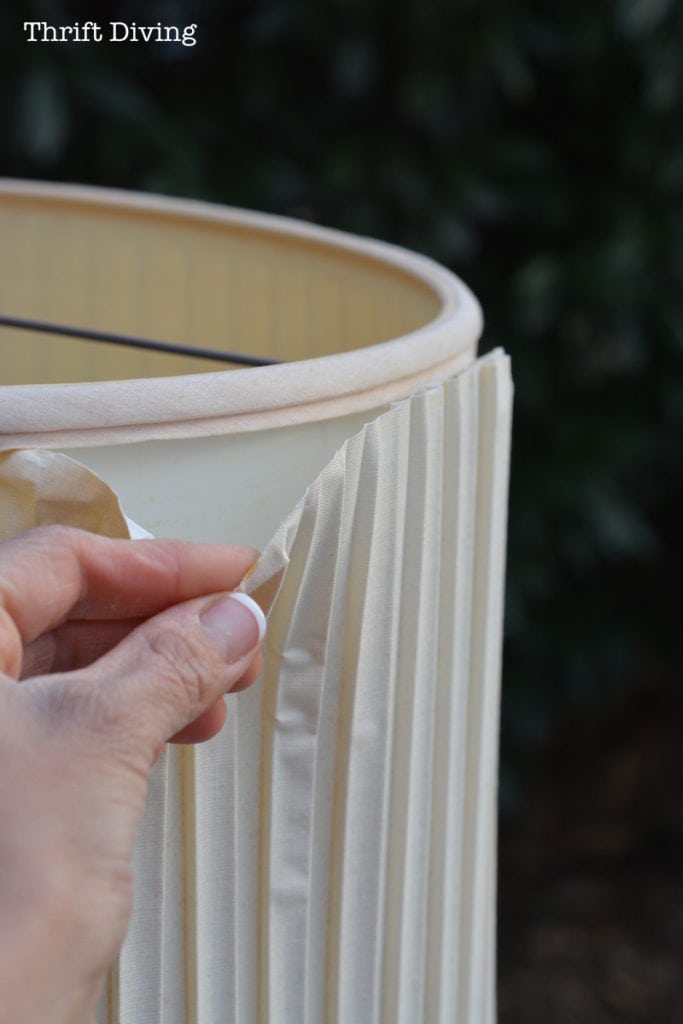
STEP 2: Strip the Lamp Shade
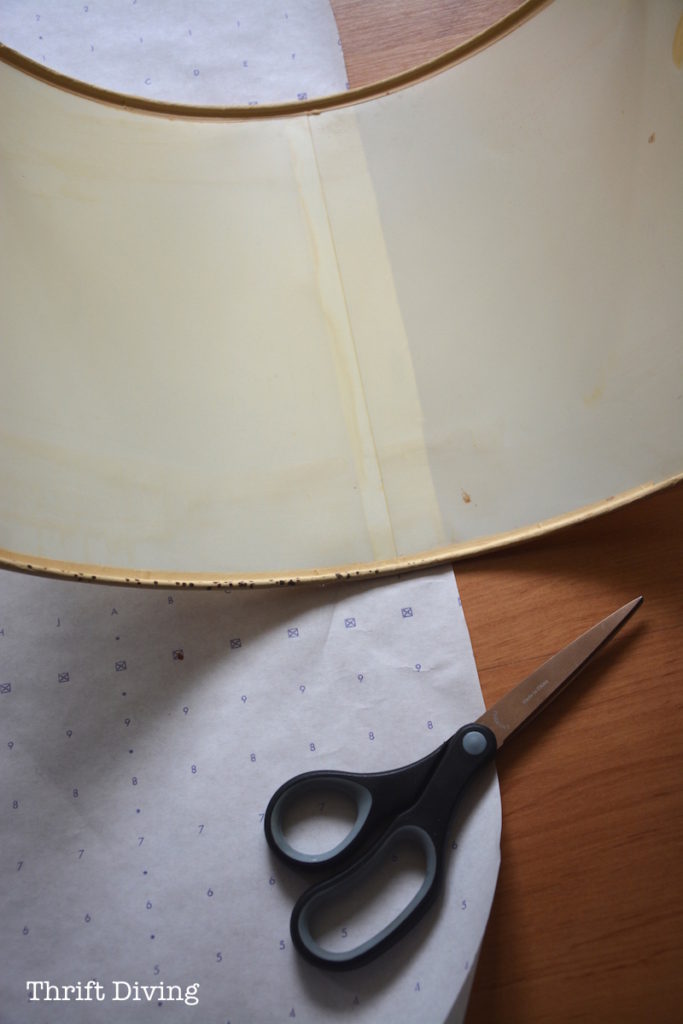
Yep, you can take apart a lamp shade! I discovered this after ripping off the ruched outside layer on this one. Saving the shade will save you big money!
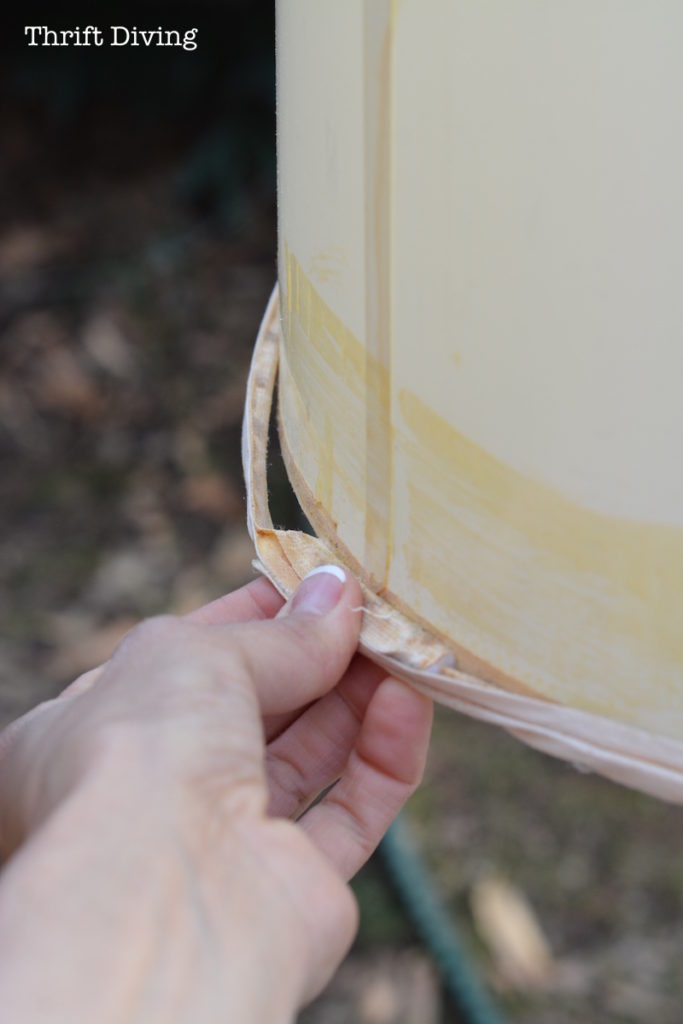
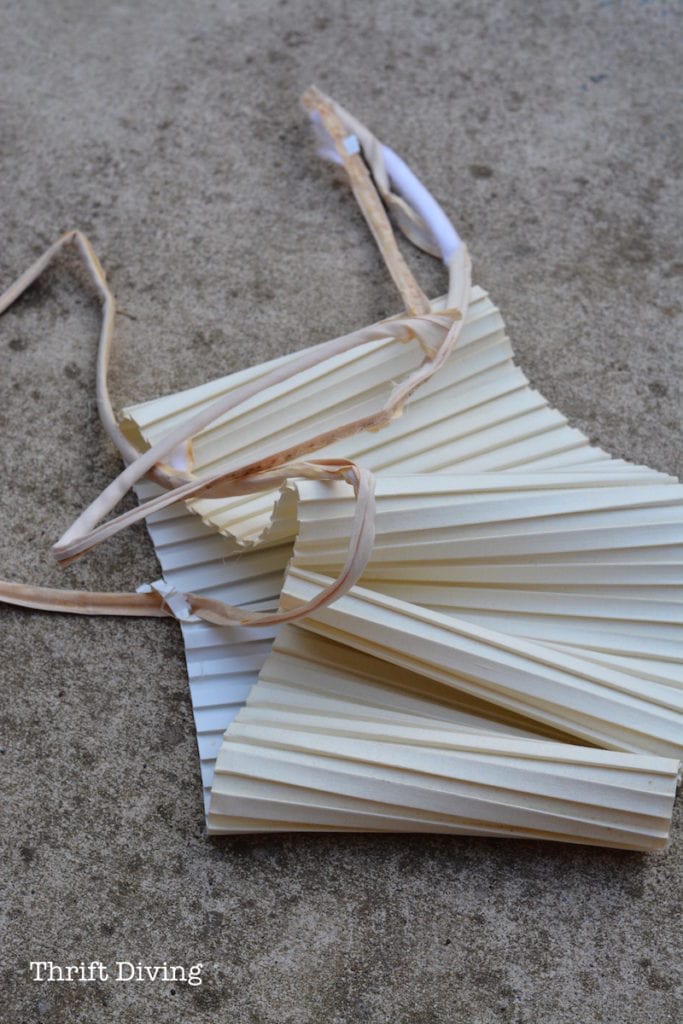
Remove the edges, too.
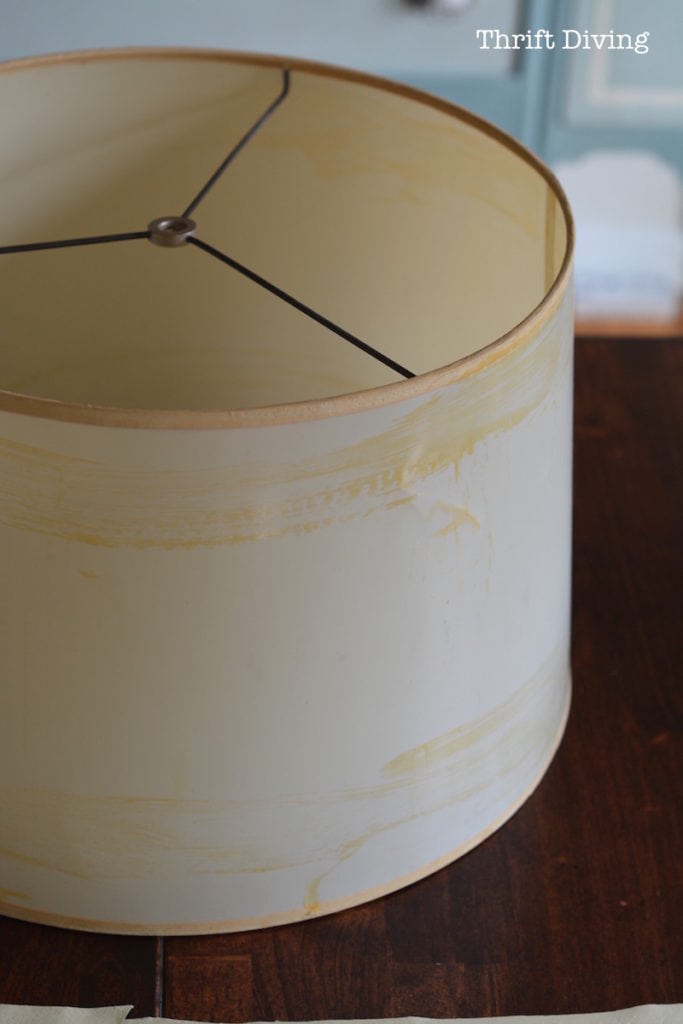
Poor, pathetic lamp shade….. All stripped and ready for a makeover! (Looks like I need to pressure wash my driveway! It’s disgusting).
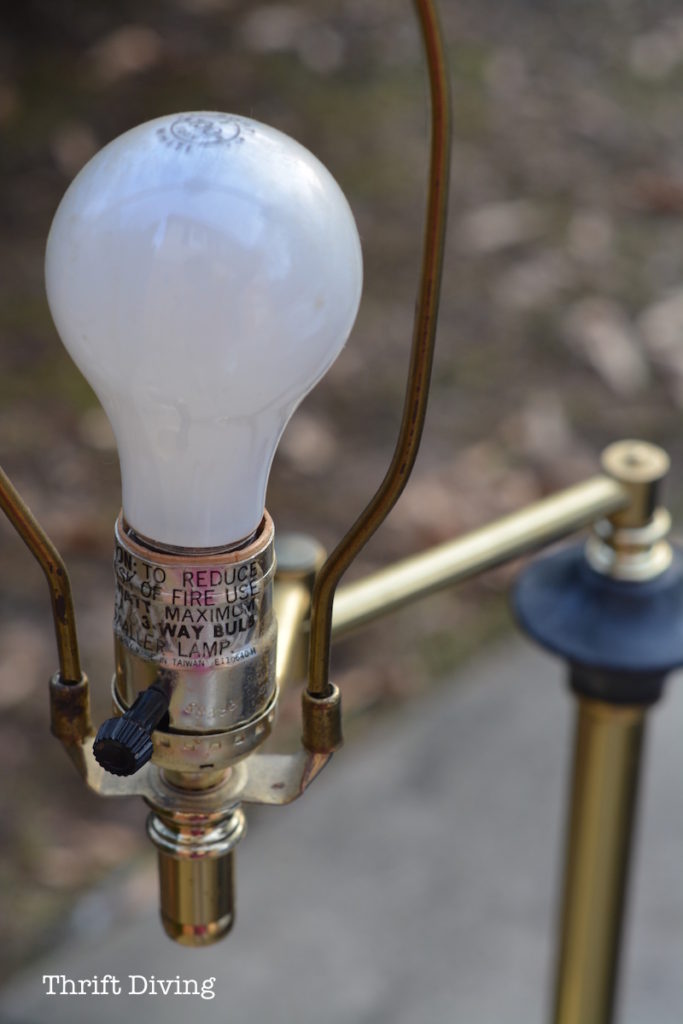
STEP 3: Remove the Old Bulb
These older bulbs are getting the boot! Seriously, with so many “smart light bulbs” on the market now (or energy efficient light bulbs), you don’t have to settle for standard bulbs.
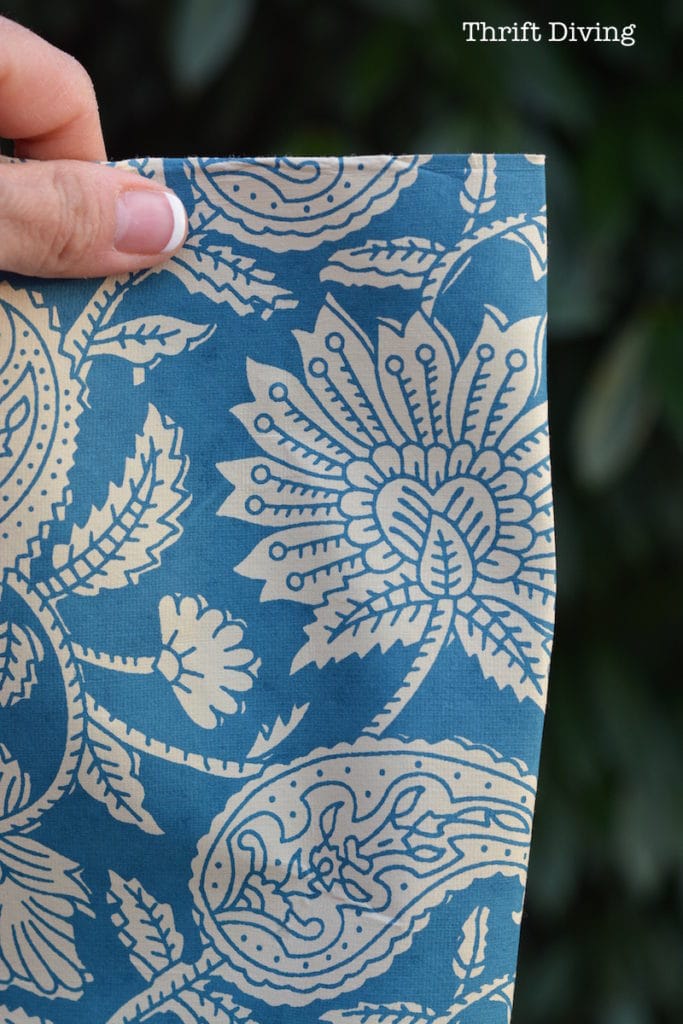
STEP 4: Get Some Gorgeous Paper (or Fabric)
To cover a lamp shade, you can use any type of paper, or even fabric (although I wouldn’t use a totally thick fabric that would block the light; keep it lightweight).
This paper, you guys……oooooohh, mannnnn…..I have loved it since I bought it probably 2 years ago. I picked it up from Paper Source (they have the best selection of fine papers for just a few bucks!) and wanted to do something special with it, but never knew what to do with it! So I hoarded it held onto it until that perfect project came along, and it was this project that inspired me to put it to good use.
STEP 5: Trace a Lamp Shade Pattern
I’m not going to lie. I didn’t know how to do this. It’s always baffled me how to fit a piece of paper or fabric around a curved lamp shade (I told you that DIY bloggers don’t know everything, did I?). I went to trusty ‘ole YouTube, however, and used “smart light bulbs”to get me started.
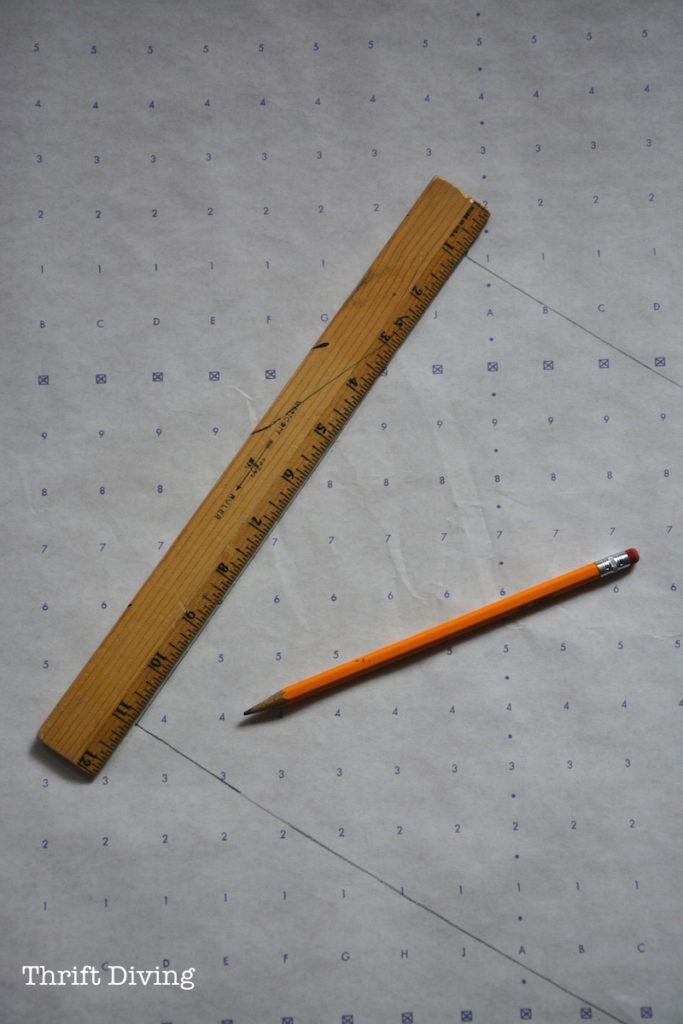
I started by laying out my pattern paper and aligning the seam of the lamp along a line on the grid of the paper. That’s the “starting point.”
Then I rolled the lamp shade on its side along the paper, tracing with my pencil along the bottom edge until I reached the seam again. And then I repeated that rolling and tracing with the top edge of the lamp shade. I added 1/2″ seam allowances to all sides.
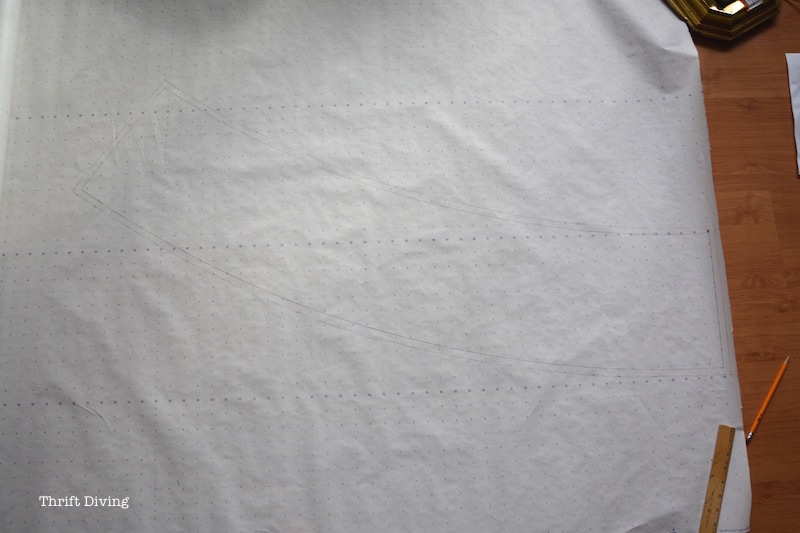
I connected the top and bottom lines at the ends of the pattern.
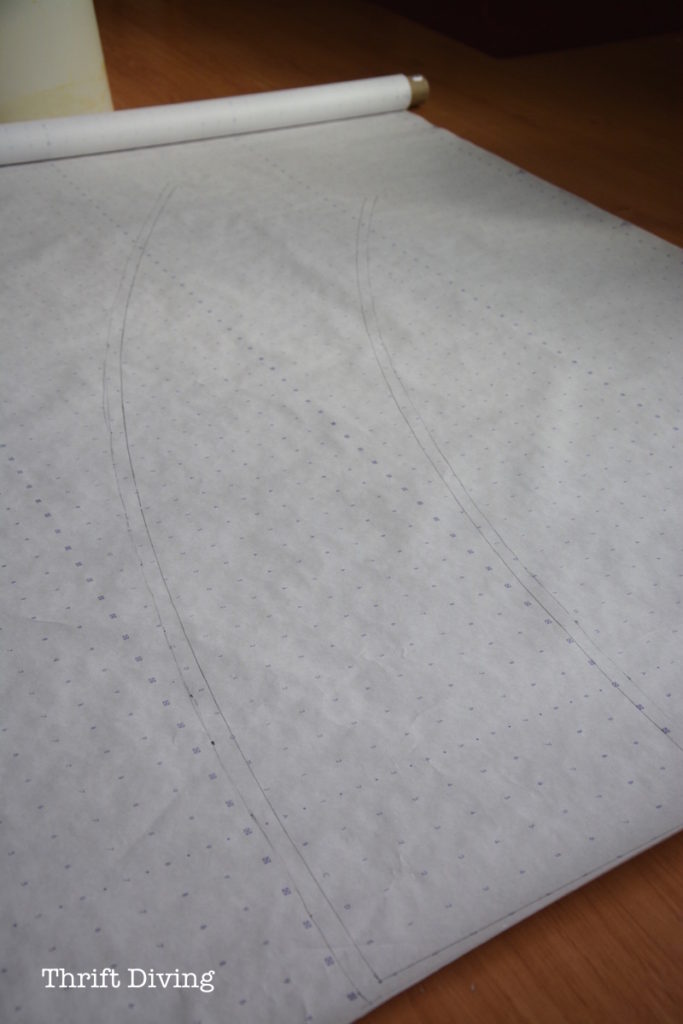
Once completed, the pattern looked like this. Then I cut it out with scissors.
STEP 6: Cut Your Paper or Fabric
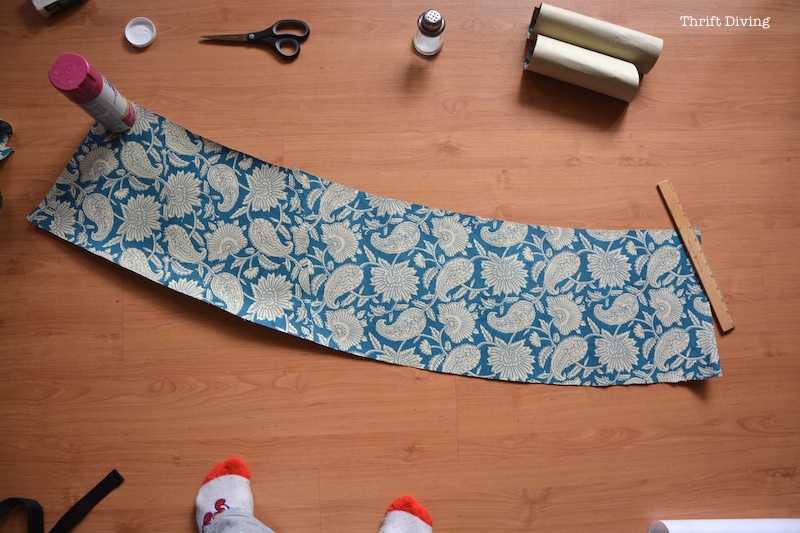
Once I cut out the pattern, I laid the cut-out pattern on my paper and cut it out. Here’s what it looked like when I was done:
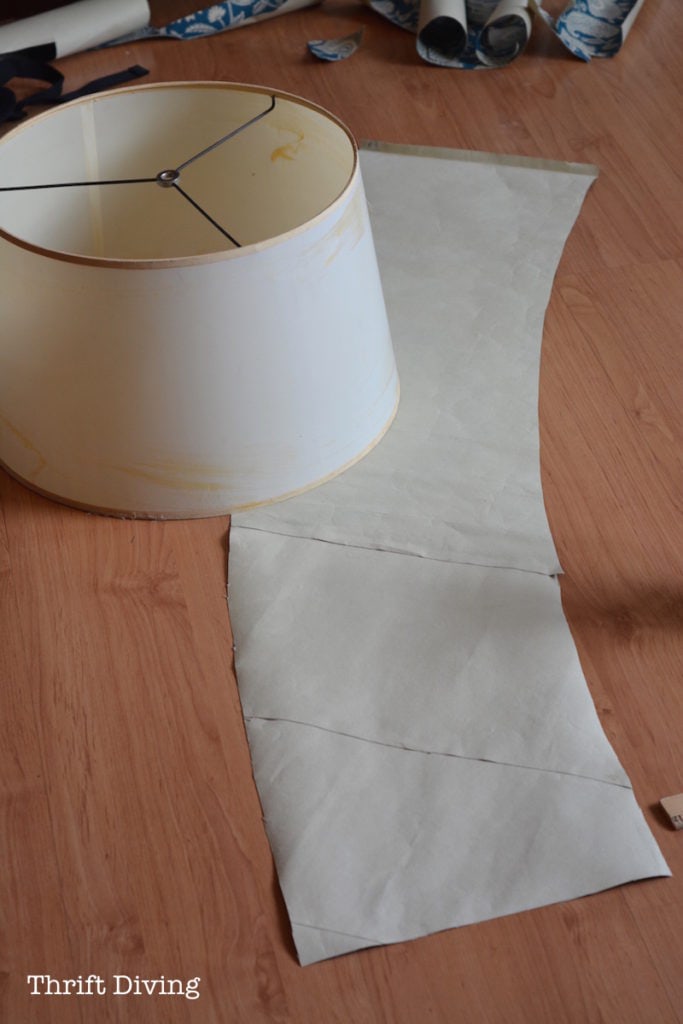
What you don’t see is that I actually had to piecemeal small pieces together because I didn’t have enough paper. LOL 🙂 Don’t let this confuse you. It was just me being creative and stubborn because I reeeeaaaallly wanted to use this paper, despite the shortage.
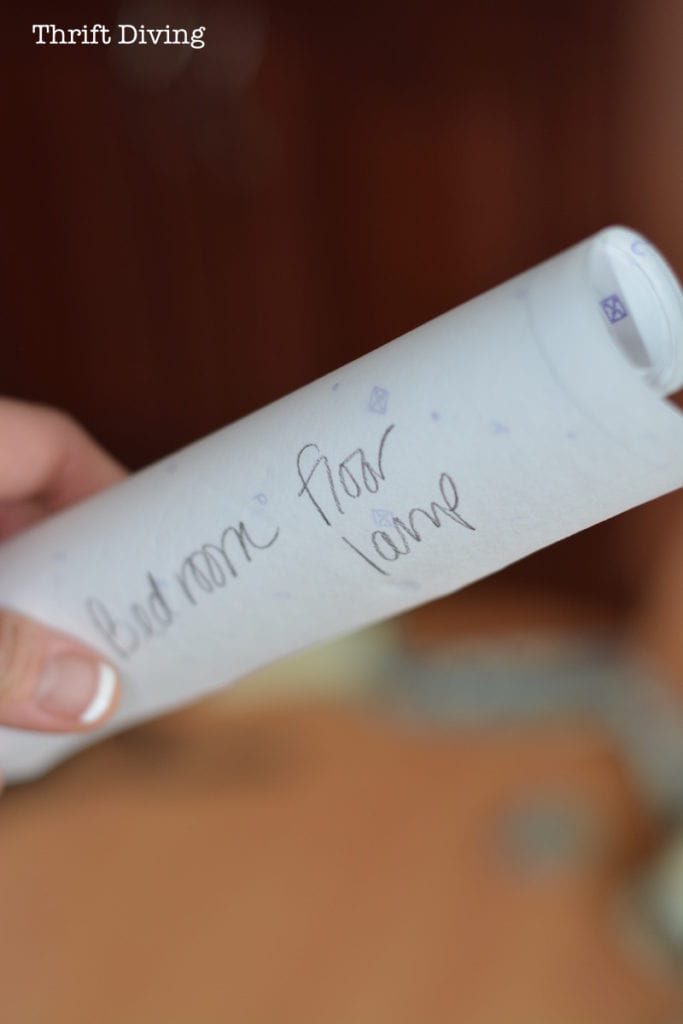
TIP: When you’re done with your pattern, roll it up and store it. If you decide in the future you want to change the lamp shade again, you’ll already have a pattern! 🙂 Label it.
STEP 7: Use Spray Adhesive to Glue Paper to Lamp Shade
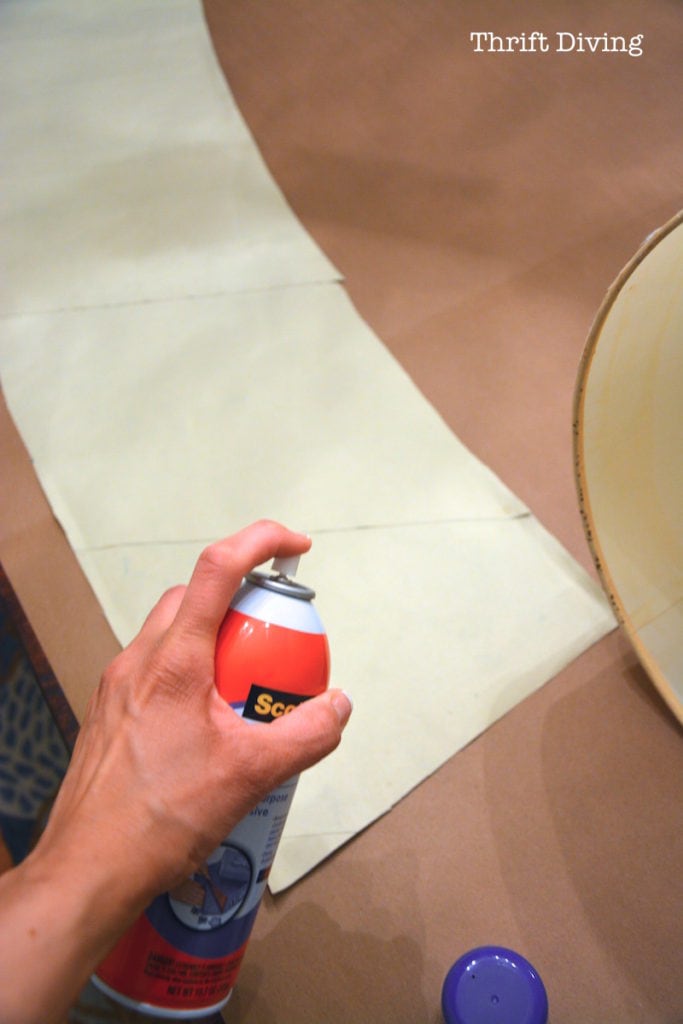
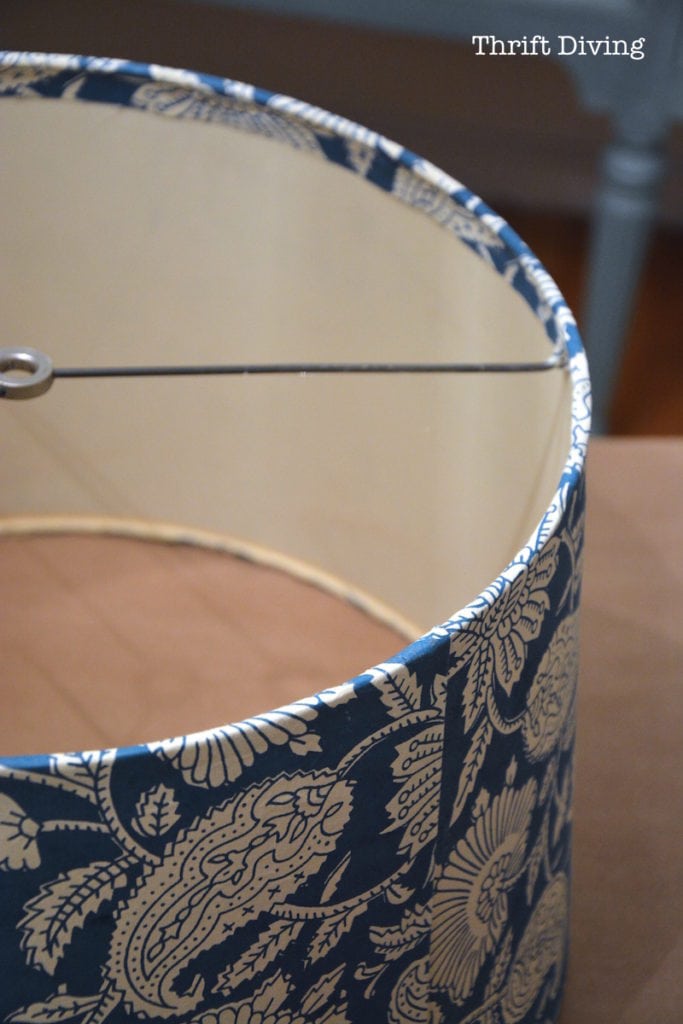
Spray adhesive works great for adhering the paper to the lampshade. Be careful that you’ve got the placement exactly where you want it to be. This stuff is super tacky and paper will tear if you have to pull off to try to adjust. Fabric is easier to adjust, FYI.
I sprayed both the backside of the paper and the lampshade itself.
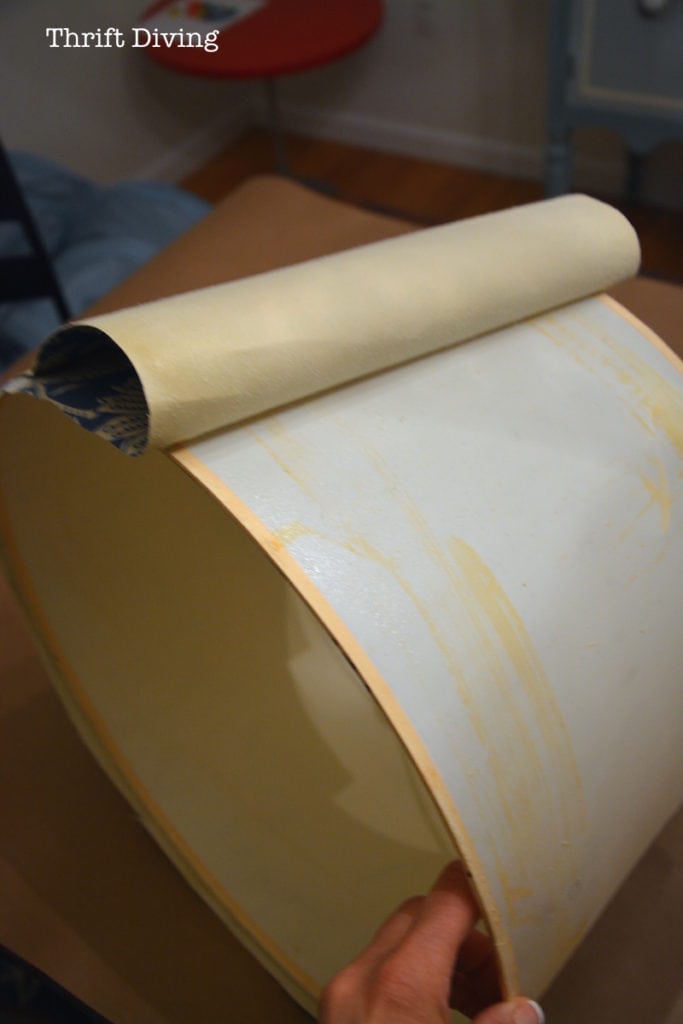
With the lamp shade down on the edge, lining up the seam with the edge of the paper, I began rolling the same onto the paper, smoothing as I went. I made sure that I kept that 1/2″ seam allowance so that I can roll the paper over the lamp shade edge. One edge was folded down 1/2″ and I used that to overlap over the seam.
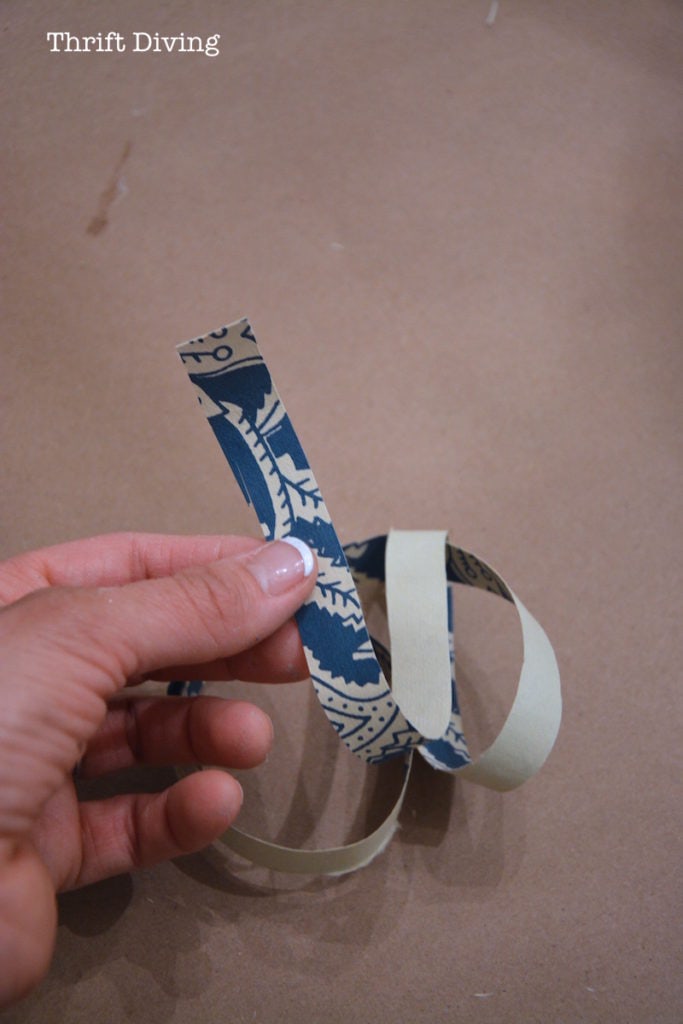
Next, I cut a strip of paper to use on the inside to “finish” off the raw edges of the paper. If you have ribbon, great. I just wanted to use paper. I used a glue gun to do this part (not shown).
With the inside trim, it looks great!
STEP 8: Paint the Lamp Base
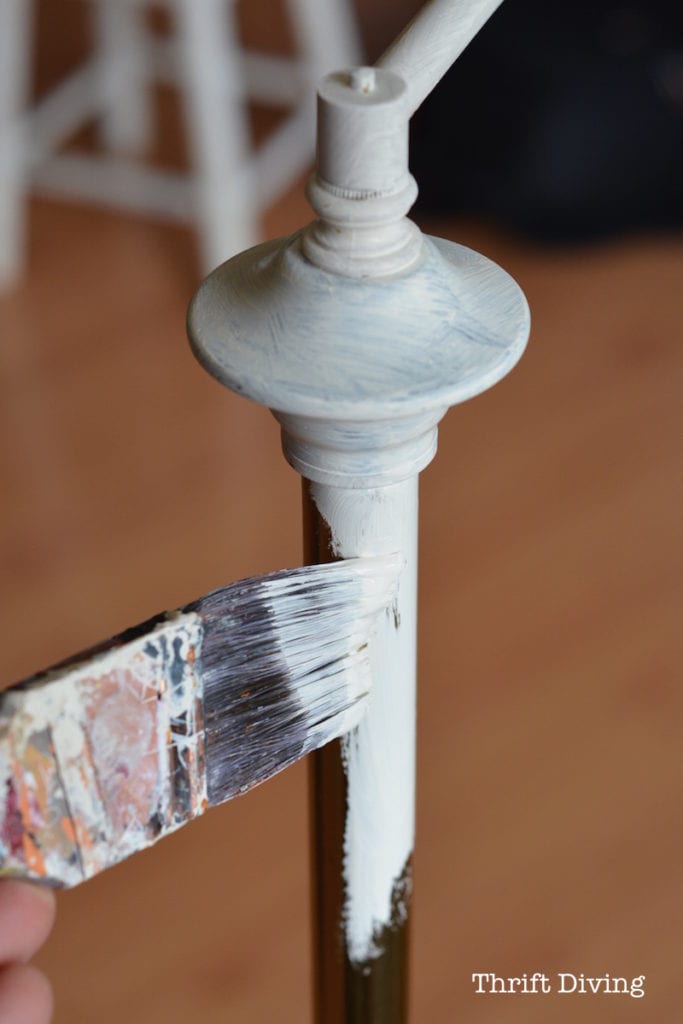
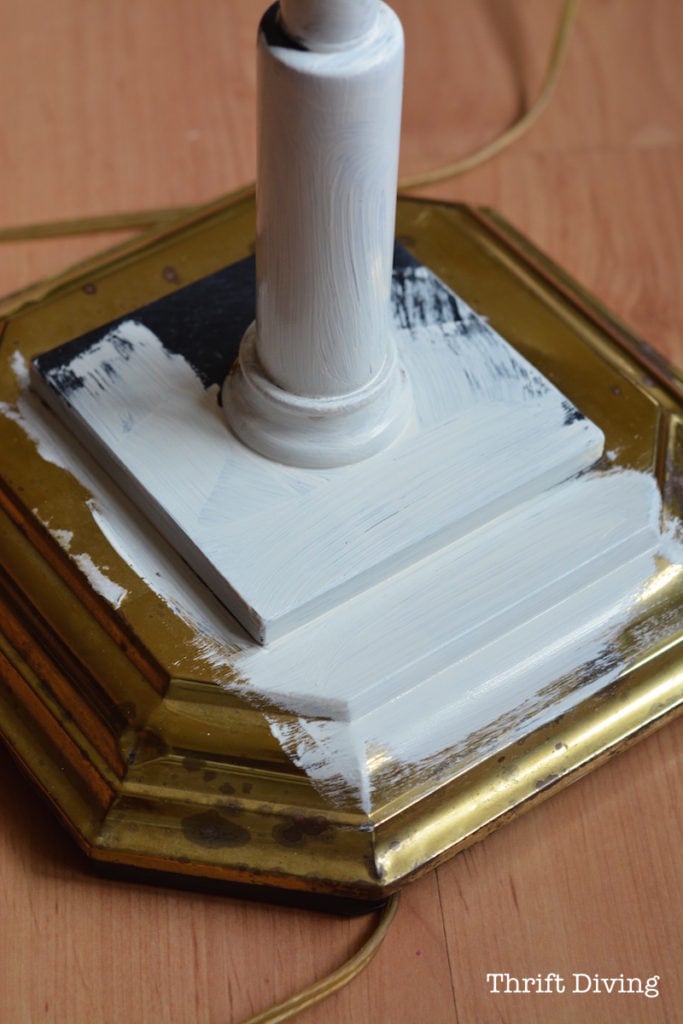
I love chalk paint because it doesn’t require sanding or priming so you can paint a brass lamp without having to sand it or prime it first. You just open up the can of paint and start painting! Just be sure to wipe it down first so it has a clean surface. I usually do two coats for even coverage. You can also use spray paint, which would be quicker. Just watch out for drips. Don’t hold the spray paint too close to the lamp to avoid drips.
Related: What’s the Best Paint for Furniture?
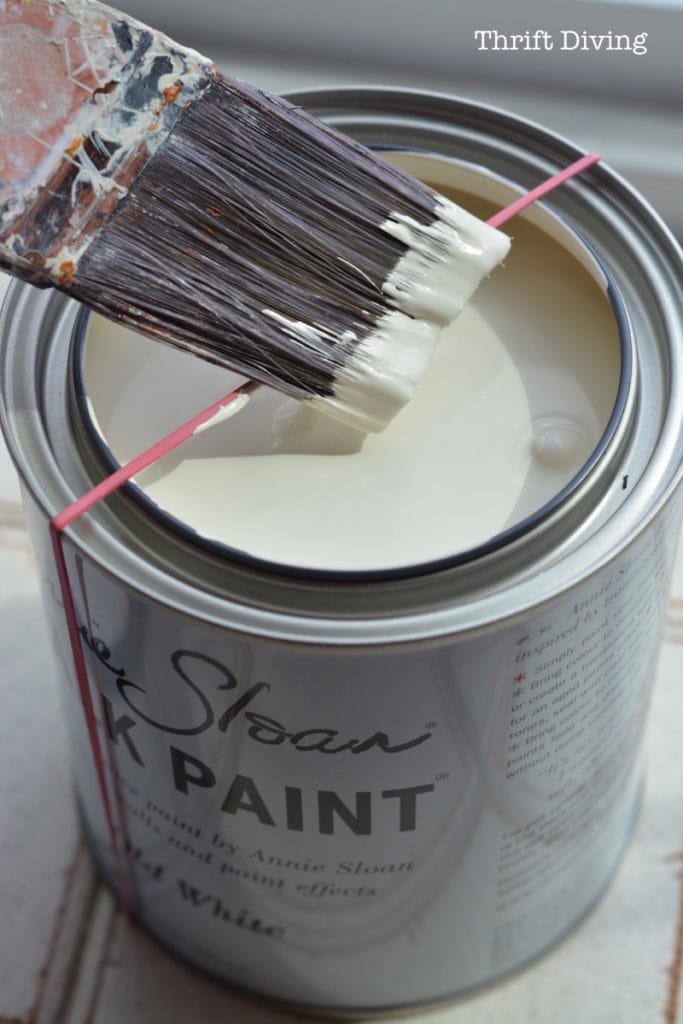
I used Old White, one of my favorites! (A rubber band on the top keeps the side clean from paint when you’re dabbing off the excess paint. I know you shouldn’t technically dip your brush in the paint, but…..well….why dirty up a paint cup??. LOL).
STEP 9: Make Over the Rest of Your Lamps!
After covering one lamp shade, I honestly think I’m addicted now. It was soooo easy; cost just $15 ($10 for the lamp, $5 for the spray adhesive). Here are some other thrift store lamp makeovers in my house!
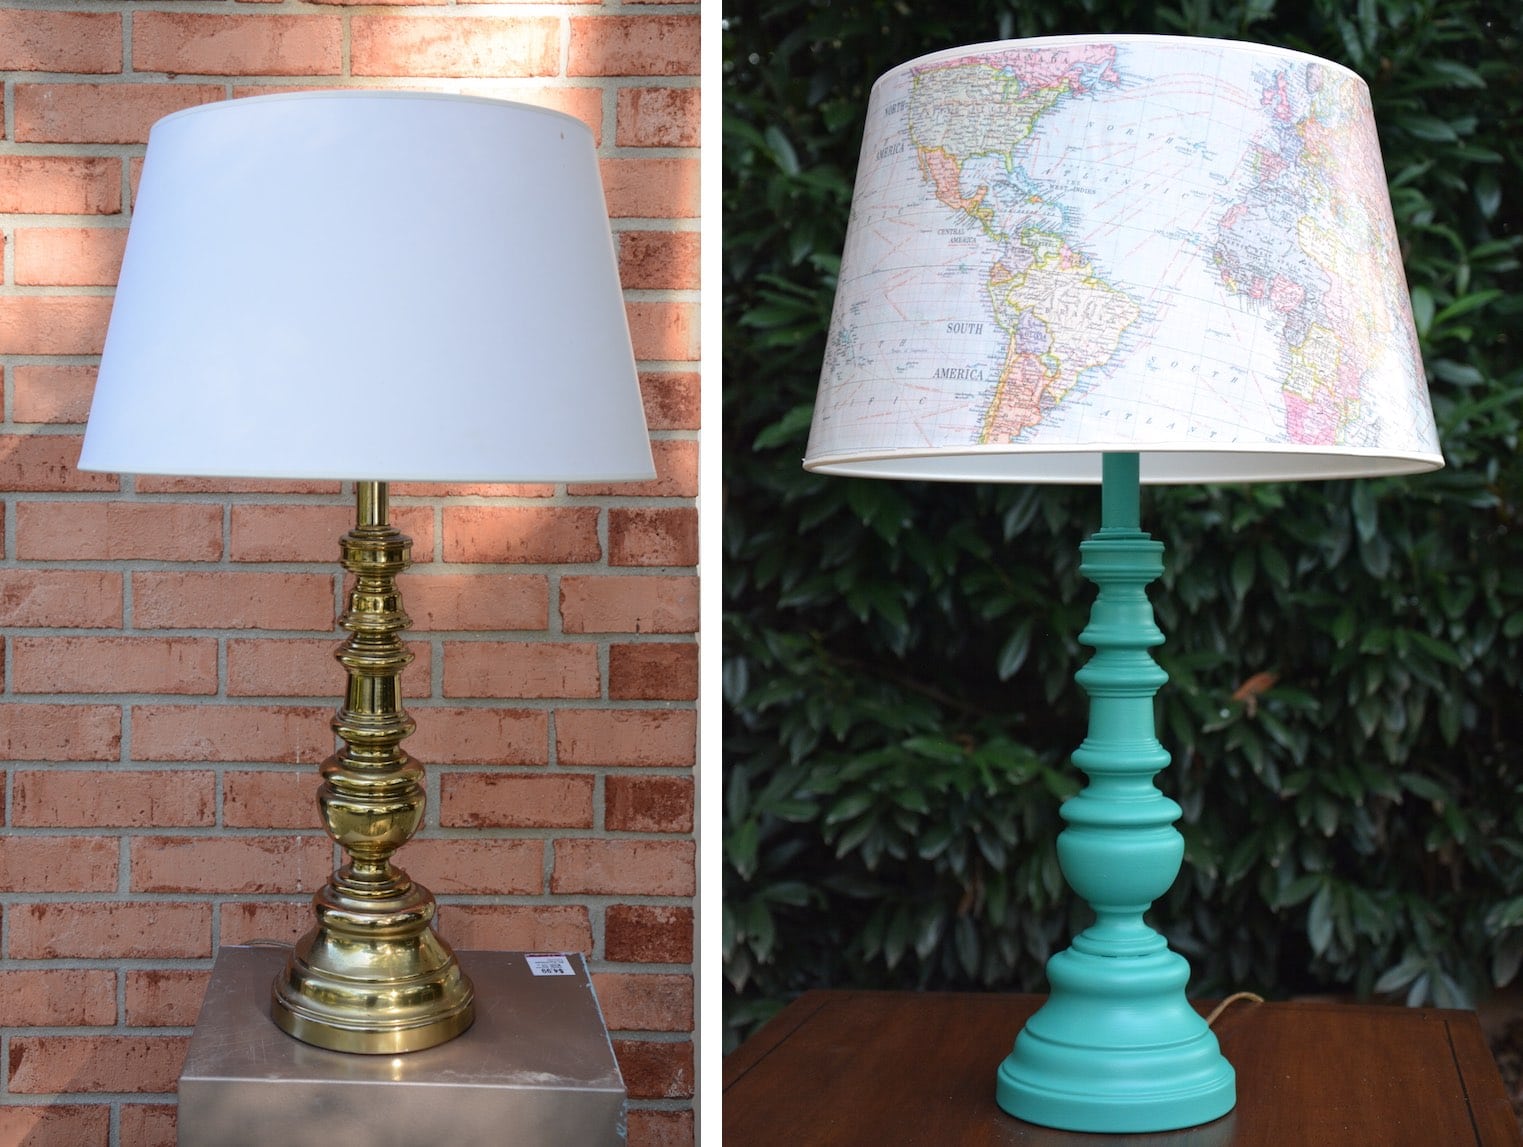
I love how I painted the thrift store lamp base in turquoise and glued a map to the lamp shade!
See this thrift store lamp makeover here!
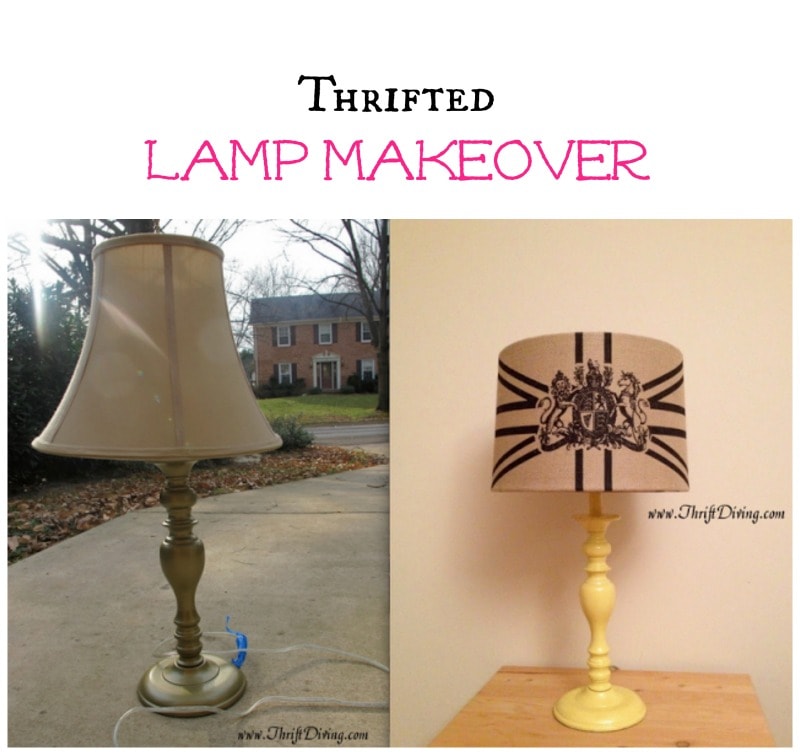
This $10 thrift store lamp was so heavy and solid, but it was badly outdated.
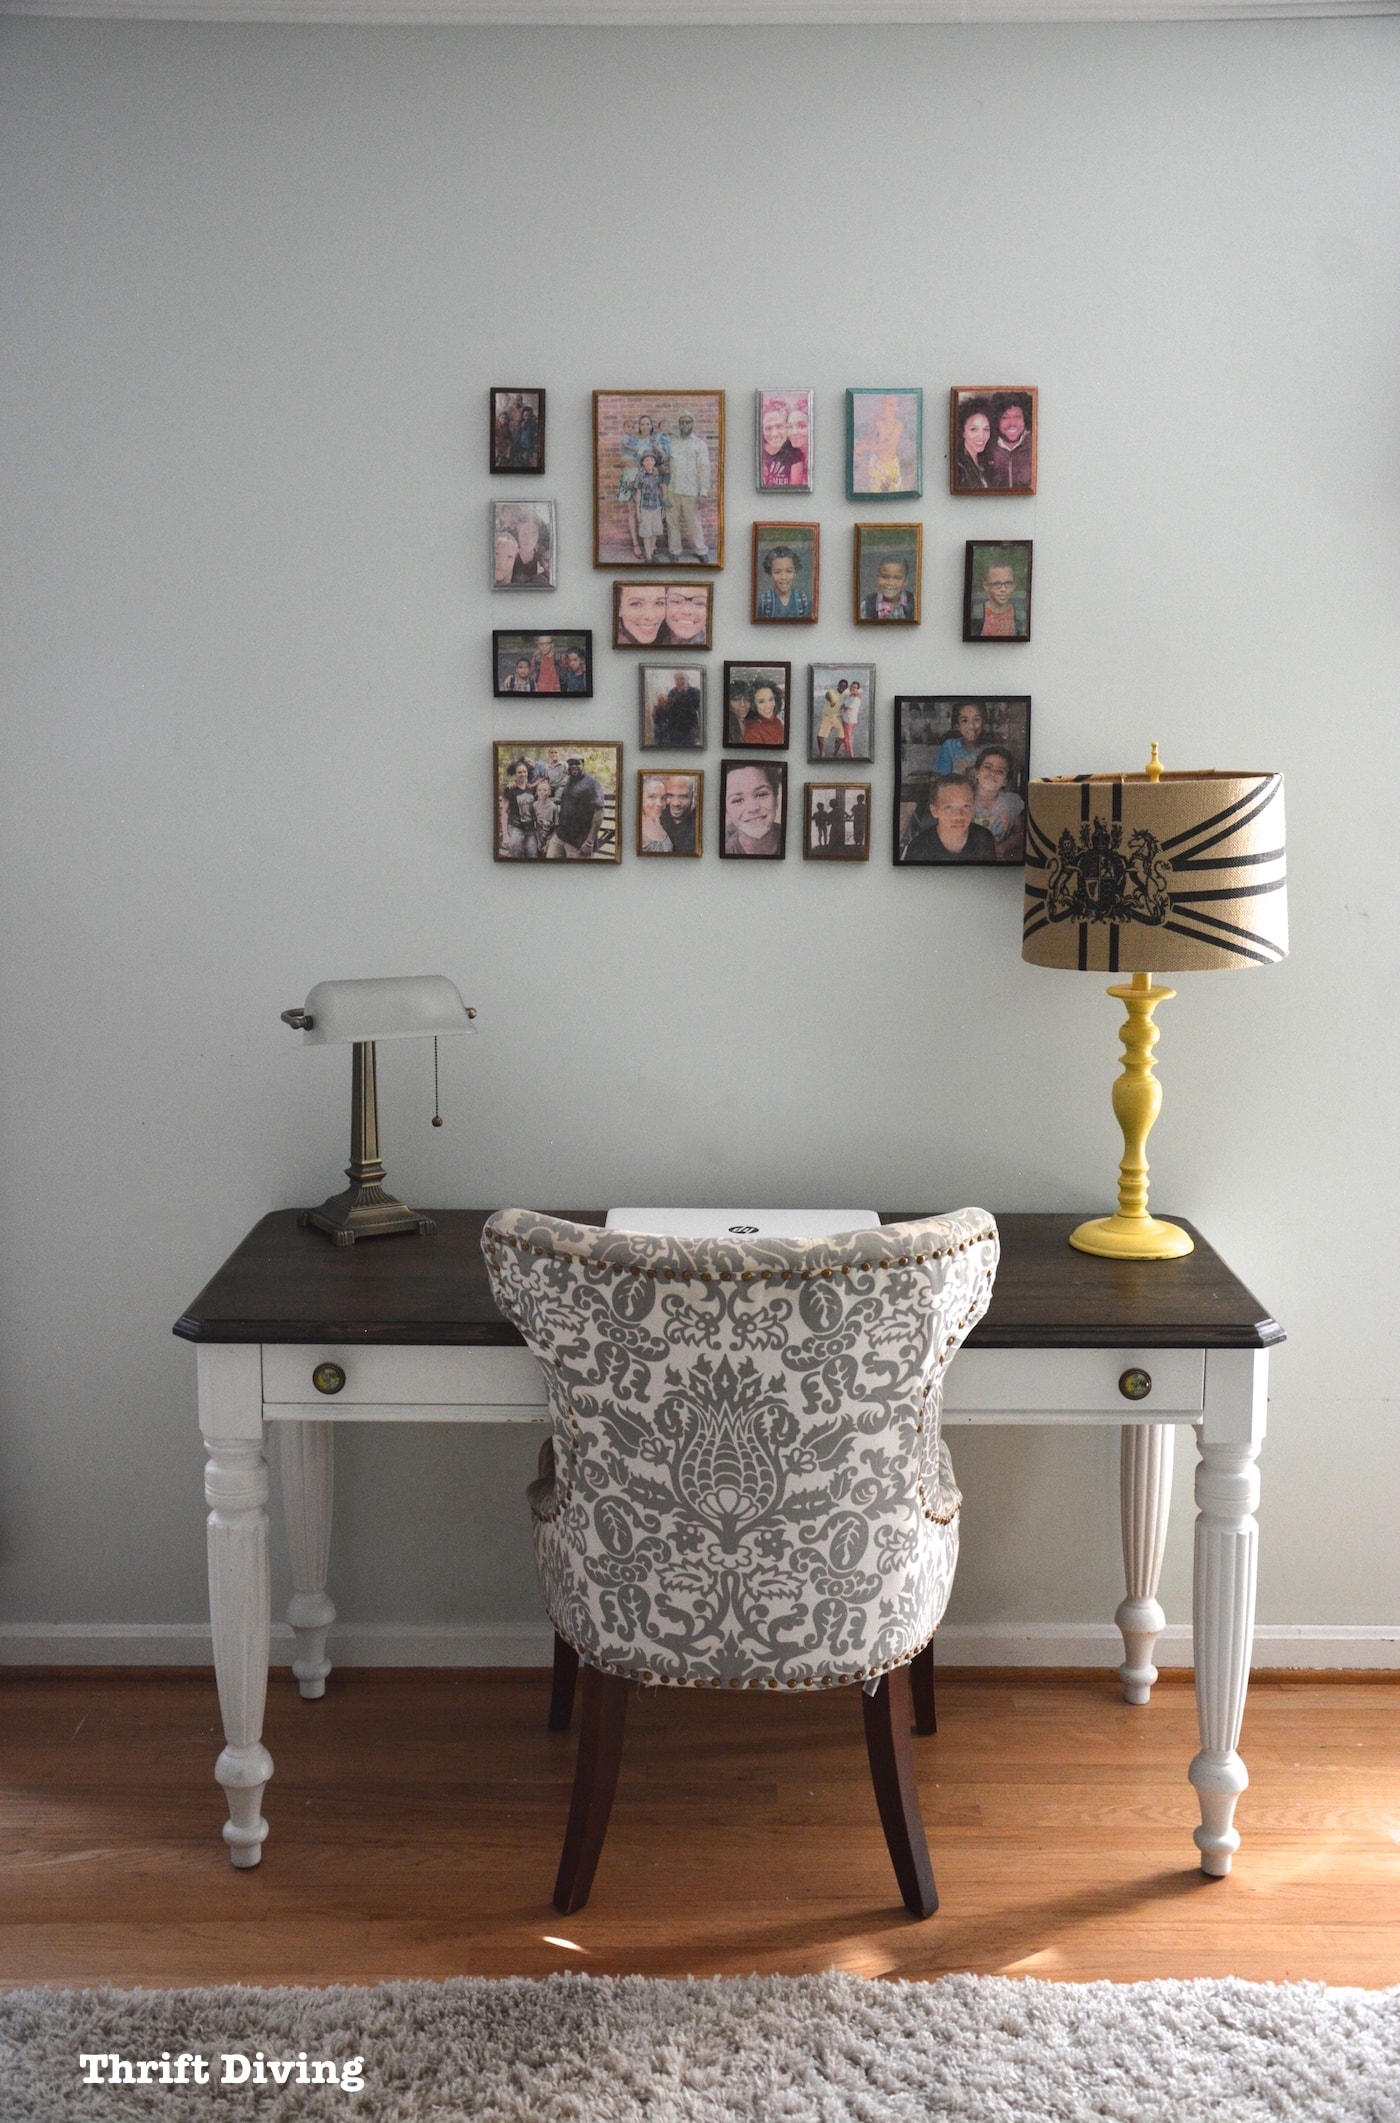
But a little bit of canary yellow spray paint and a burlap lamp shade that I found at the thrift store, it looks so much more modern!
You can find this yellow thrift store lamp makeover here!
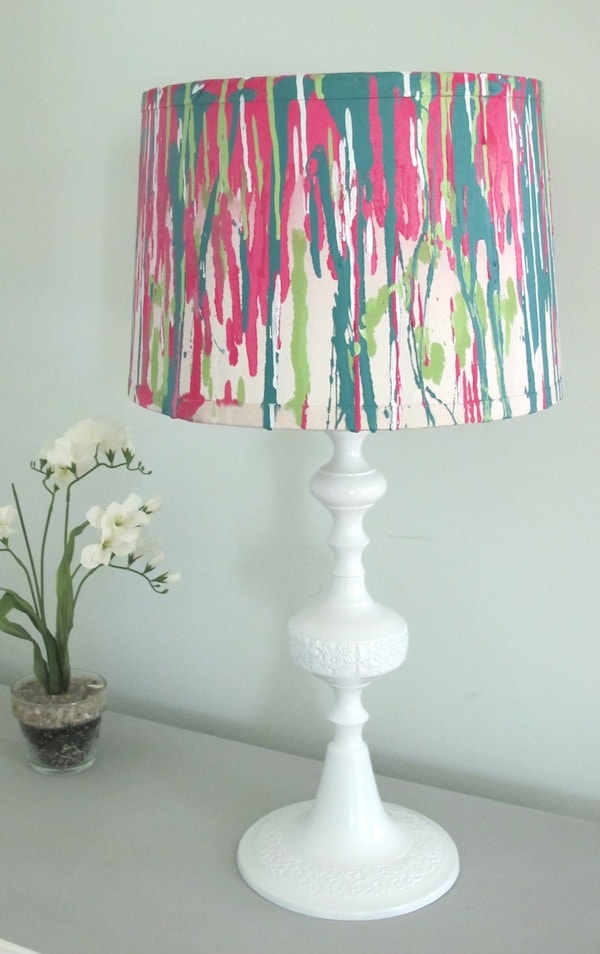
And yes, you can spray paint a lamp shade!
For this lamp shade, however, I sprayed the paint into a bowl first and then drizzled it down the lamp shade, creating a “melted” look with the paint. I love how this turned out!
You can see this spray painted lamp shade makeover here!
I found this old $10 lamp at the thrift store, along with this $2.00 lamp shape. I spray painted the base yellow and added the new lamp shade.

Anyhow, back to my original ugly lamp makeover…LOL
BEFORE
BEFORE – STRIPPED SHADE
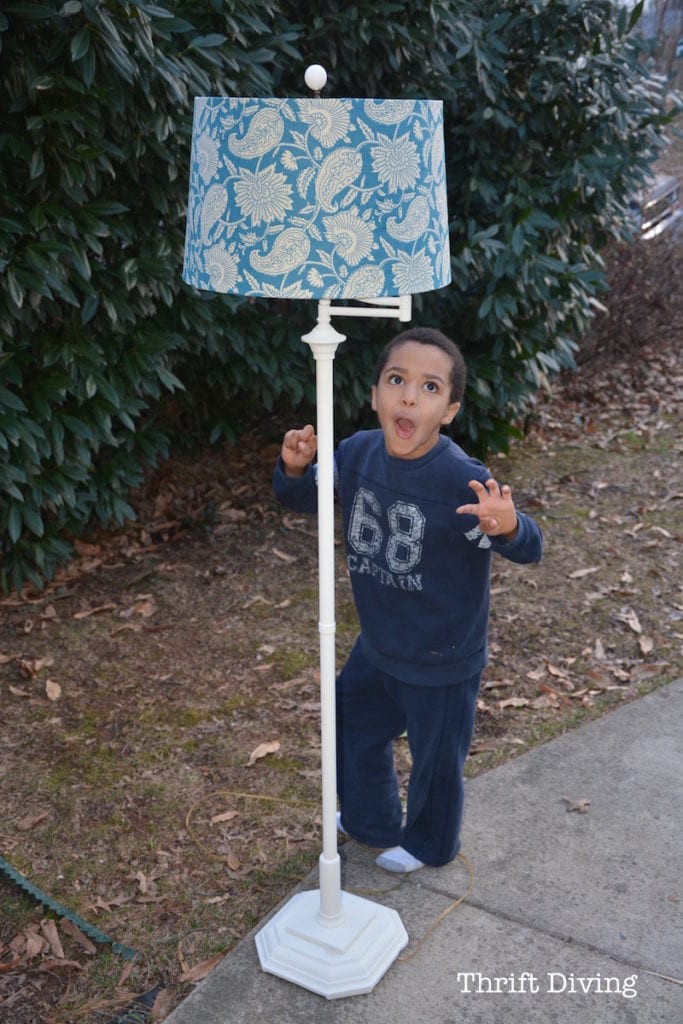
AFTER!
….with my cute son acting silly.
Diggin’ this lamp makeover? Go ahead and SAVE that baby so you can make one, too!
Have you ever did a DIY lamp makeover before? Leave a comment and add to the discussion!

Download the 5 freebies!

Thrift Diving inspires women to decorate, improve, and maintain their home themselves...using paint, power tools, and thrift stores! Use these 5 printables, checklists, and ebooks to get started!





Beautiful lamp makeover, cute kiddo <3 So creative, thank you for sharing!
I have this same ugly lamp. Can’t wait to try this on my lamp. Thanks for your ideas.
Gorgeous and I’m inspired! Is the paper wrapping paper or flat craft paper?
I love the vintage look and I was given two lamps that are just not my style. I think I could do this too… thanks for the info and the pics. I am not that talented so, I need lots of pics.
I liked the idea of painting the base and redoing the shade. I am going to do this with my lamps. Thank!!
How about we all go into shops and just take what we want? Never mind about anyone else…as long as we’re happy.
The lamp still is hideous in spite of your dishonesty.
How can you honestly say this lamp is still hideous?
I think it turned out fabulous!
Honestly, I would of switched the shade too, she paid for the lamp and shade!
Thank you, Lisa! Agreed–it wasn’t like I stole the lampshade! LOL. Some people just like to be internet trolls and be mean for no reason.
Thank you, girl! 🙂
Francesca, what the heck! She didn’t steal it? You need to take your trolling somewhere else.
Serena, I love this idea! Thank you for the very informative tutorial!
Thank you, Erin! 🙂
Why be ugly?
If you didn’t like it…who cares???
Don’t you think there’s enough ugliness & ruder ppl in the world
Carry on
Big hugs
Ok, Karen!!! Most of us would’ve switched the lampshade. I donate enough to thrift stores, so I wouldn’t feel bad….and it’s technically not stealing, since she paid for both. People like you always ruin it for the rest of us with your negative comments.
This lamp make over is Not at all hideous . She did a fabulous job. I think it looks amazing and the colour pops beautifully with the chalk paint
Thank you so much, Hilda!
Thank you for reminding me about lamp makeovers, i makeover everything but forgot about this and just like most anything it can be painted and instantly works for you.
Wonderful diy project. Here’s to a happy new year. I am featuring your pretty lamp at today’s party, Love Your Creativity.
I love the idea of using paper, as it lets a nice amount of light through.
My only concern is, would the paper be a fire hazard so close to a hot bulb?
The new light bulbs that are out now don’t get hot like the old ones, they are safer, last longer, and are better for our environment, no mercury in them. So personally I don’t think it would be a fire hazard. Going to redo one that was my folks when the year first got married. It’s a table lamp, the lamp curves down. It’s 70years old now.