How to Put Up Crown Molding Like a Novice
I’m not even going to pretend like this post should be titled “How to Put Up Crown Molding Like a Pro.”
Pros don’t have gaps.
Pros don’t use special gadgets to make sure their cuts aren’t jacked up.
And pros aren’t mislead by big box hardware stores into buying the wrong caulking to fill those gaps (ahem…cough).
In fact, if you’ve never done this before, I guarantee you’ll cut some wonky pieces…measure like you forgot your bifocals…and create some gaps wider than the Grand Canyon.
But you know what? Unless someone is paying you to do a perfect job, an imperfect job is good enough for your own home. Who’s looking that closely anyway?? 😉
MY FREE GUIDE: download my free 52-page step-by-step tutorial
One day I got this brilliant idea to put up crown molding. Our master bedroom was barren, as if we’d just moved in, yet we’d been here for 4 years. It needed some “warming up” and some “oomph” to make it feel a little more “homey.” I figured I had the tools (e.g. a miter saw and a nail gun). All I needed were some YouTube videos to teach me how to do it. Easy enough, right?
Well, yes and no.
The truth is that crown molding is easy to install, but tough to do it right. Let me repeat: it’s easy to install, but tough to do it right.
But if you’re a novice (like me) who’s never done this type of project, but reeeeeaaallly want to try, I’m here to tell you: you can do it!
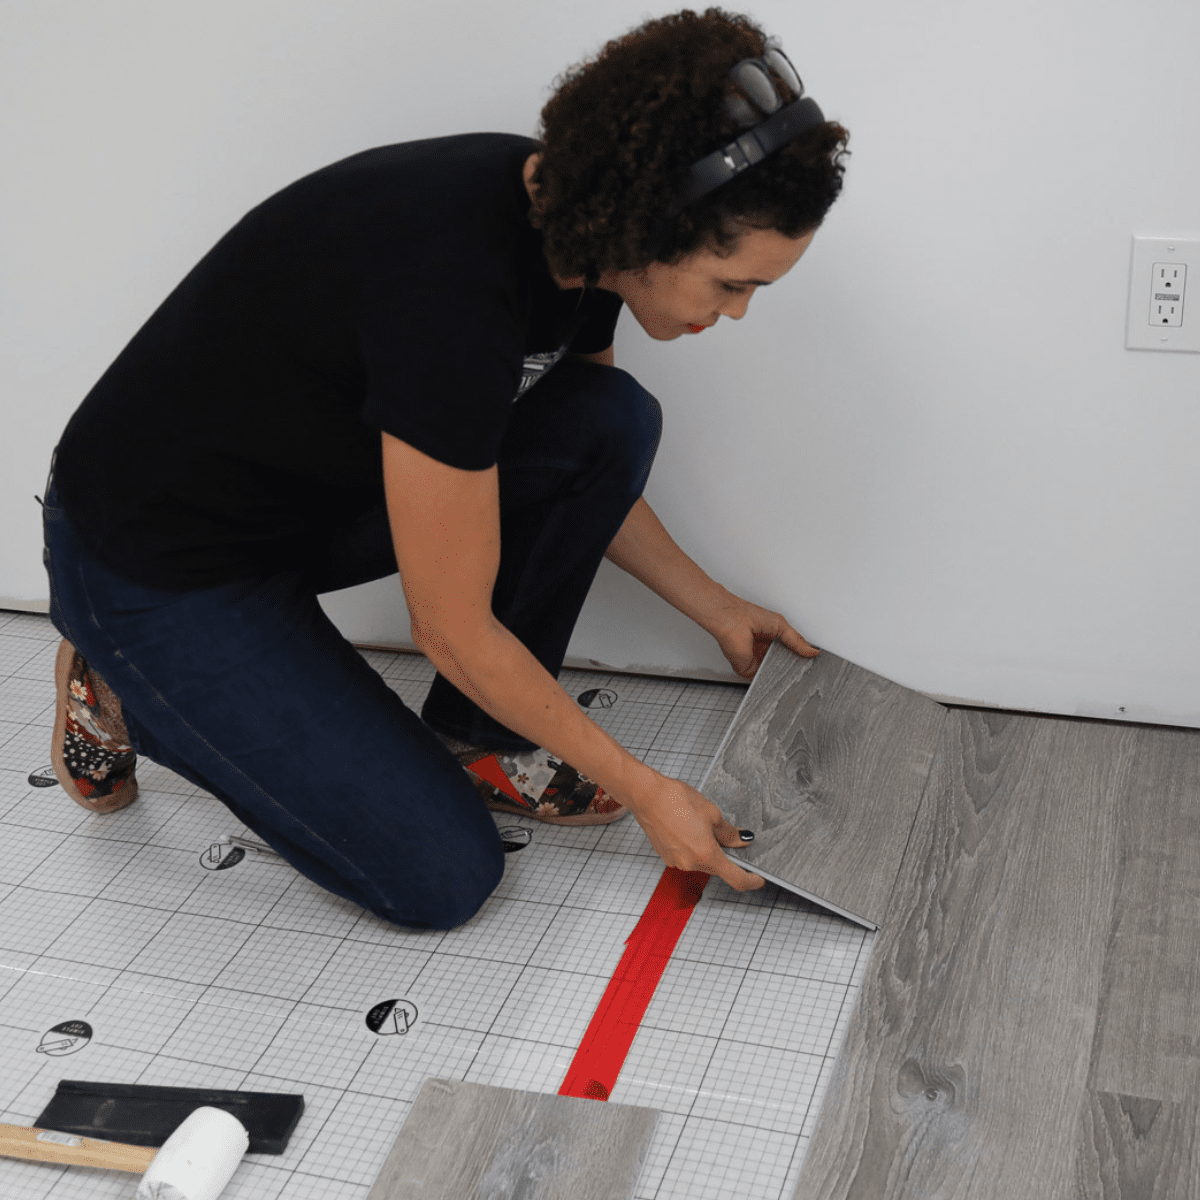
You just need a few power tools, the confidence, and a weekend to get it done (oh, and a helper. You can’t do this alone).
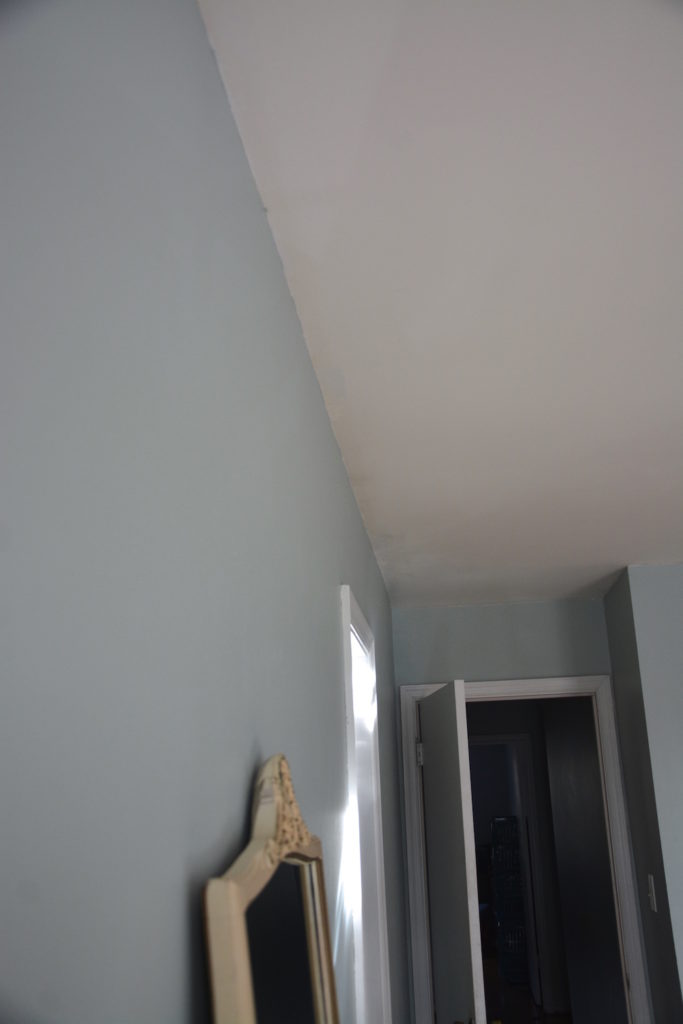
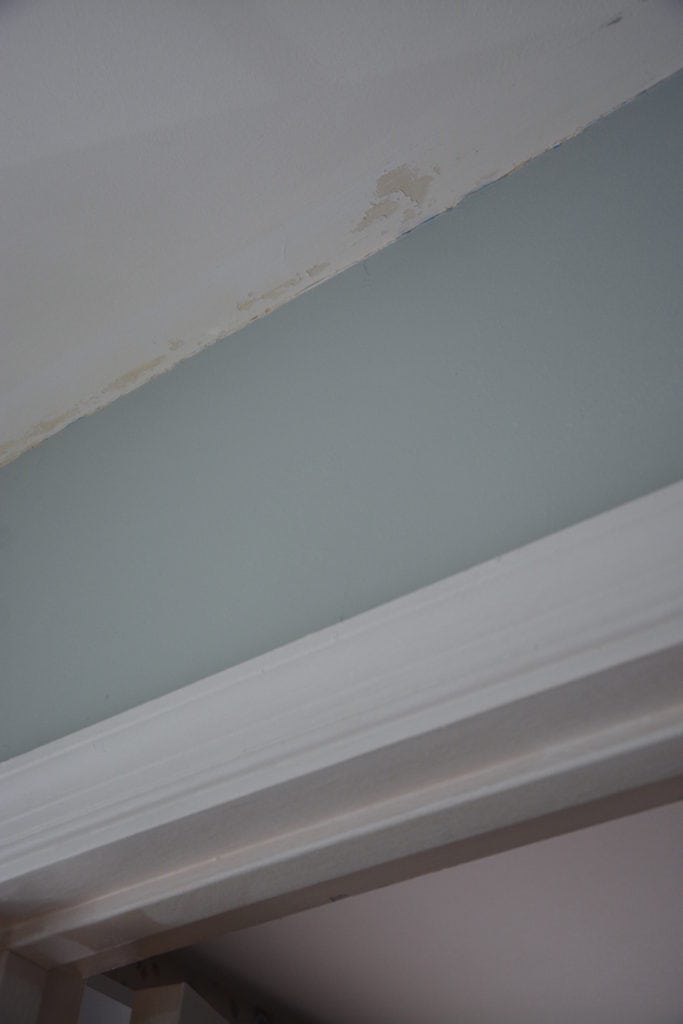
BEFORE
Here’s what my ceiling looked like a couple months prior: dingy ceiling, uneven paint lines….
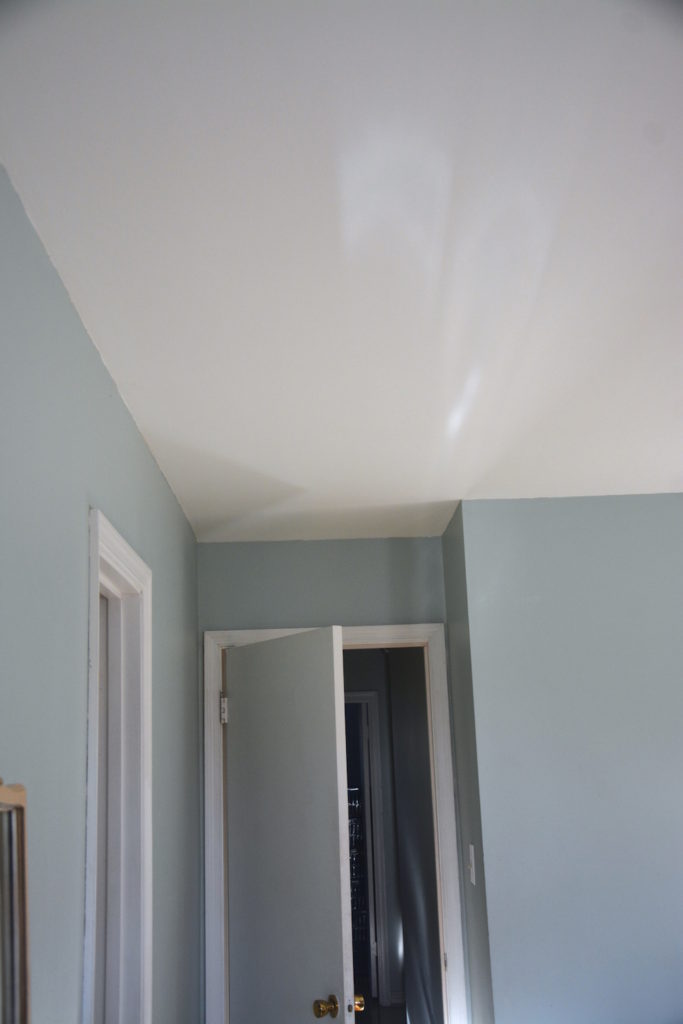
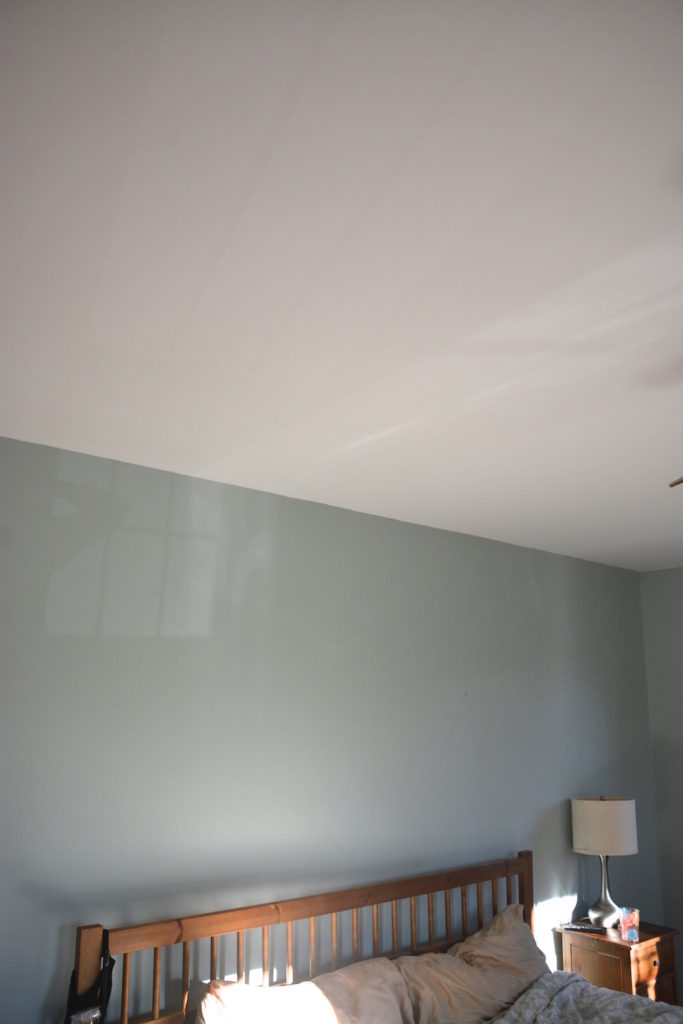
In Progress Stage
I painted the ceiling a nice bright white, and it looked much better. But it was still missing something. I was hoping the Fairy Crown Molding Mother would bestow upon me the gift of moulding, but–hey–who was I kidding. If I wanted molding, I would going to have to do it myself!
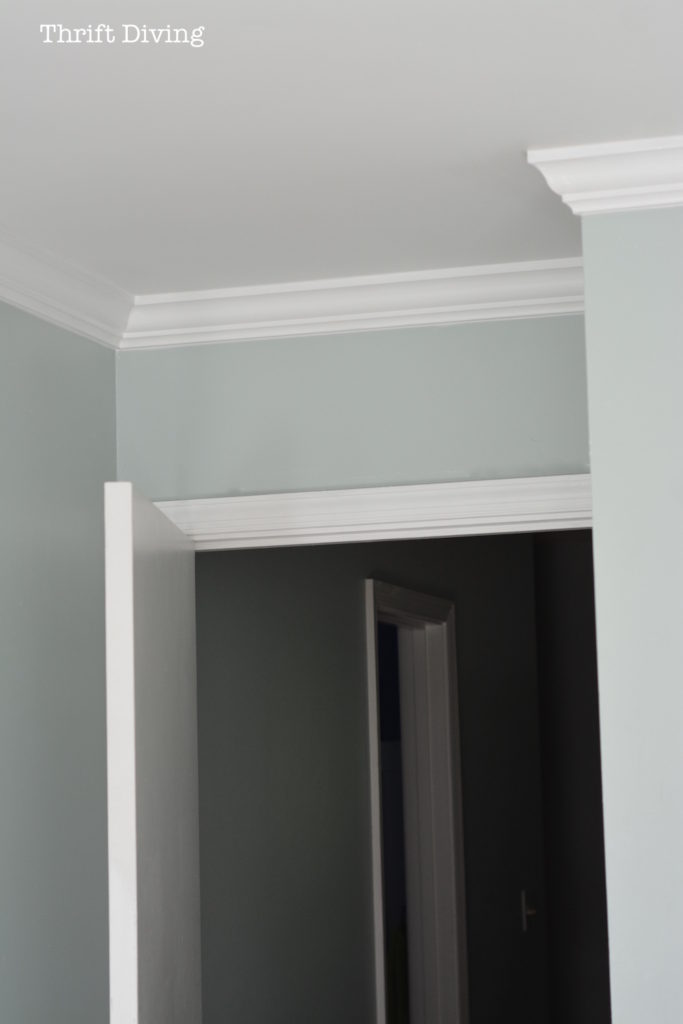
AFTER!
And that I did!!
I couldn’t believe it turned out as well as it did, but don’t get it twisted: caulking and paint can hide the ugliest of cracks and gaps.
BEFORE
Ceiling painted, but again, needing something to give this room “life.”
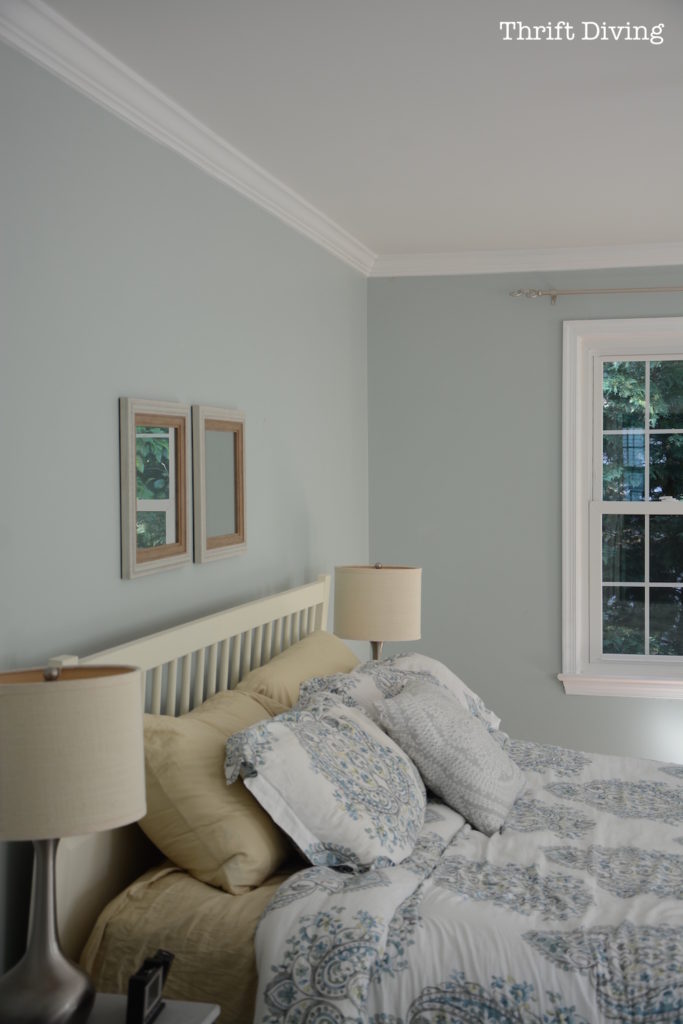
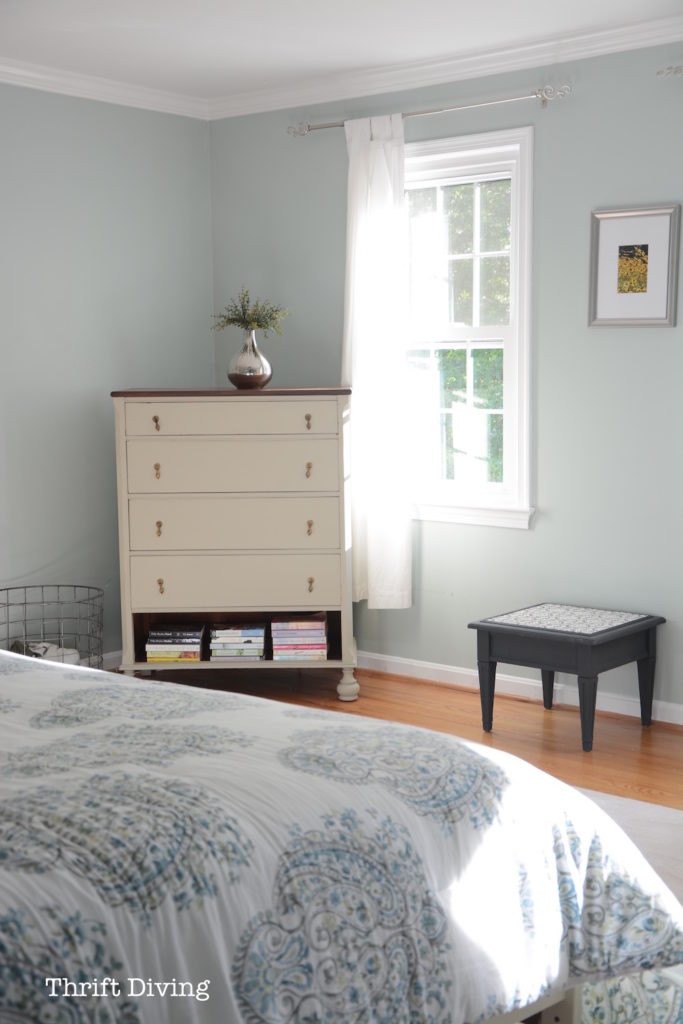
AFTER!
New crown molding, a painted bed, new bedding, and the room looks great!
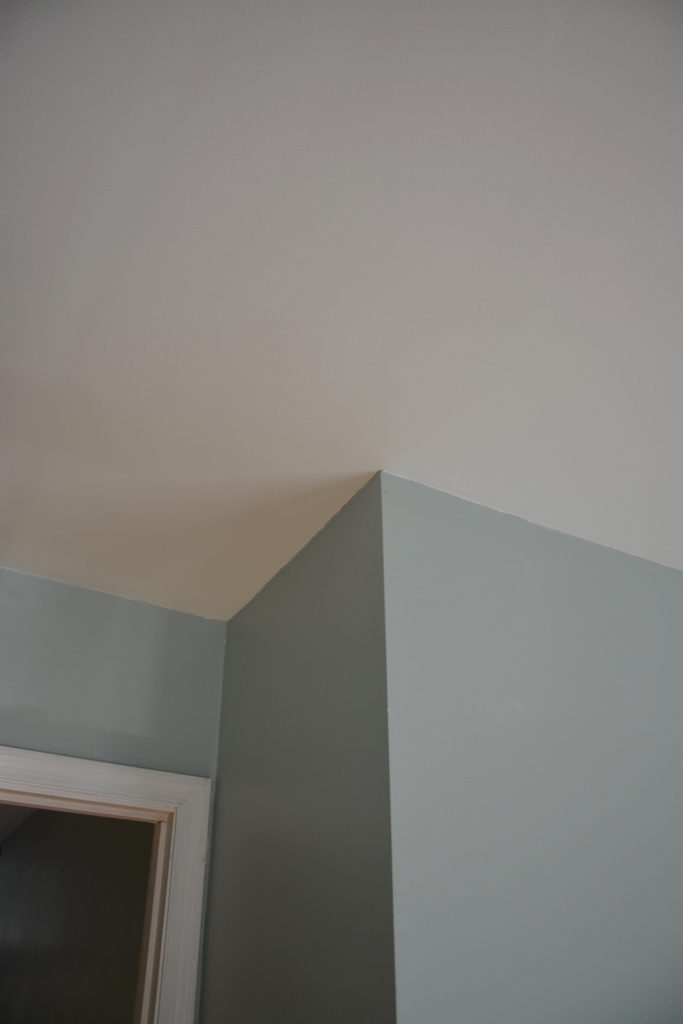
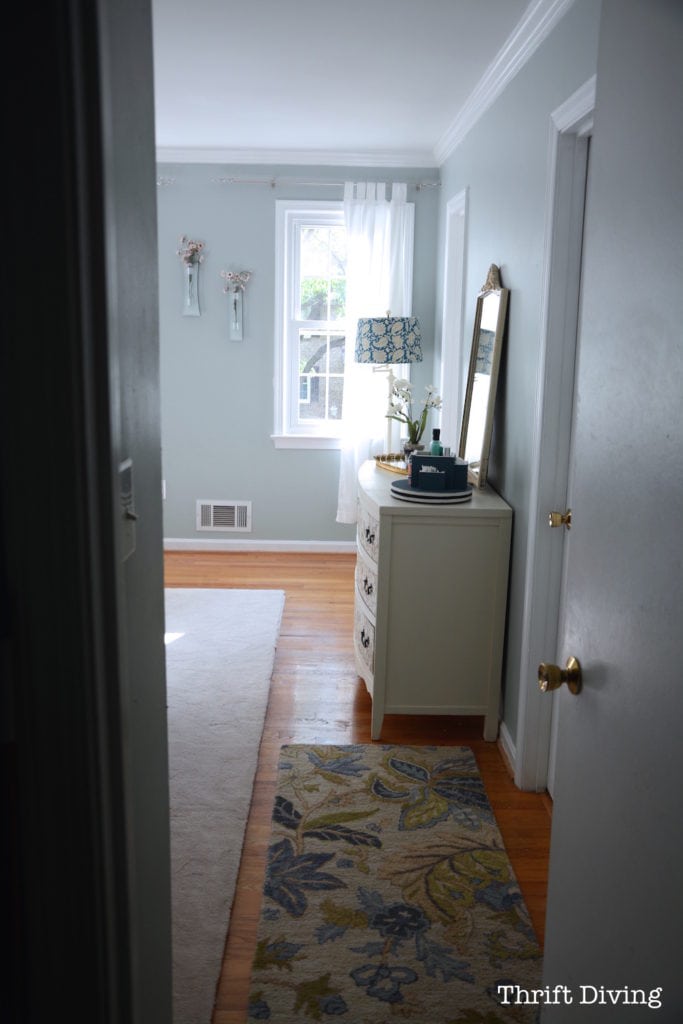
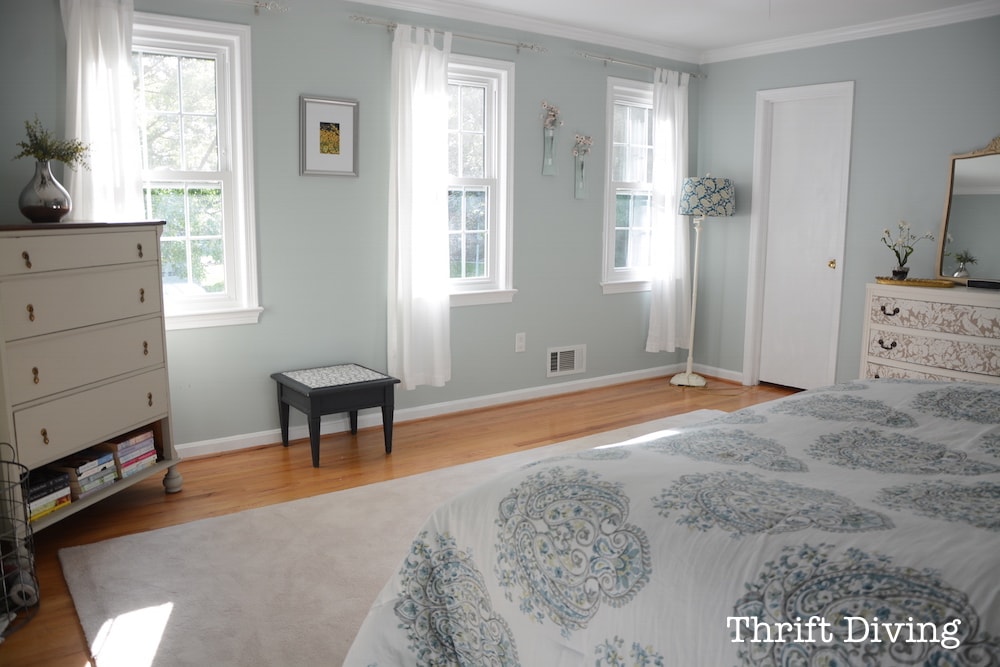
BEFORE

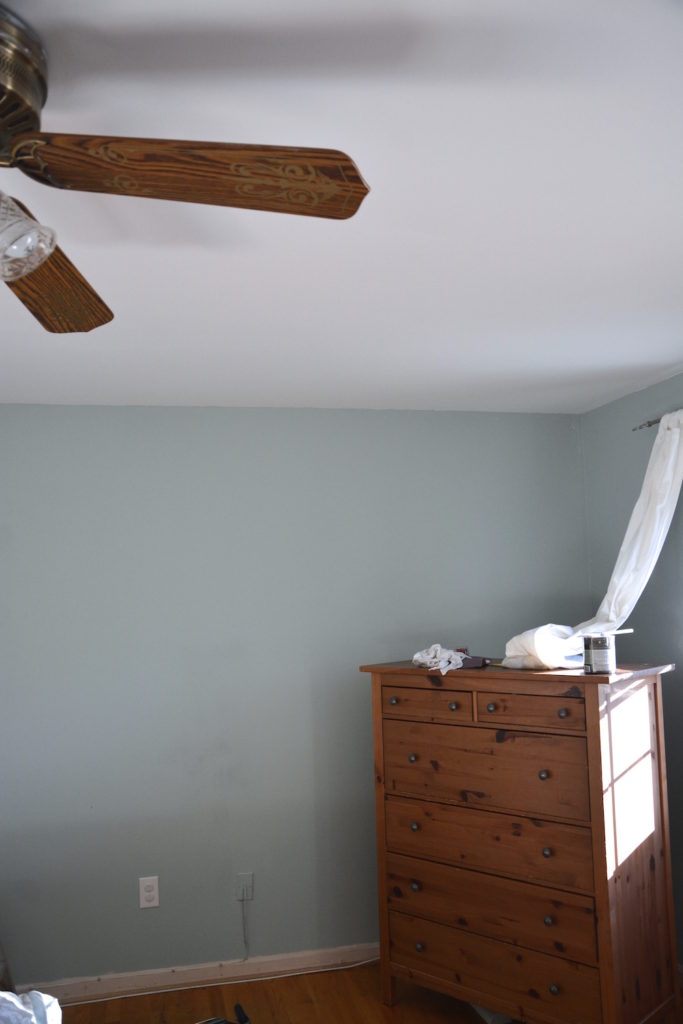
And let’s not forget what the whole room looked like before I got started:
BEFORE

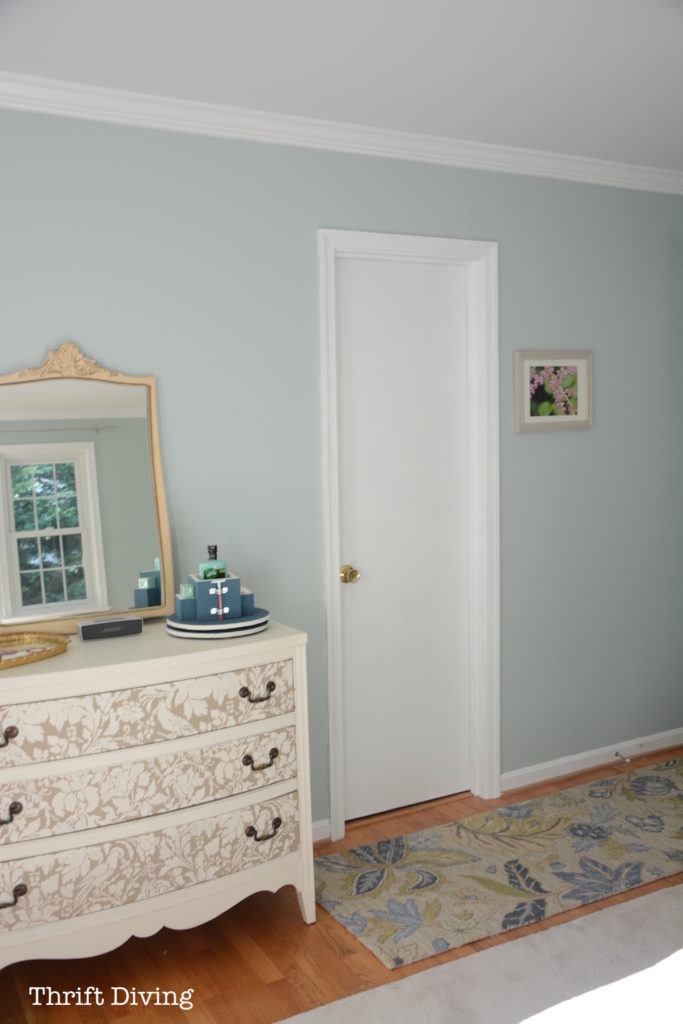
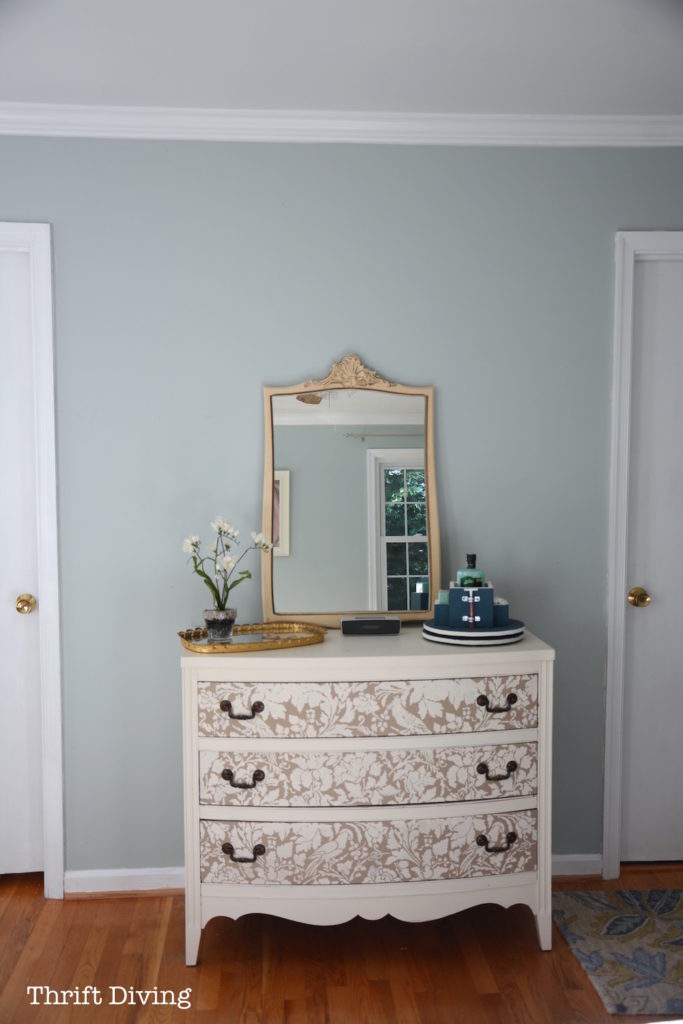
AFTER!
I refinished this vintage dresser my mother-in-law gave me. And I still need to find something cute to put on that black tiled table top I created. But I don’t even notice these unfinished details. All I can see is how beautiful the Sherwin Williams Rainwashed, which is my absolute most favorite color, looks against the fresh white!
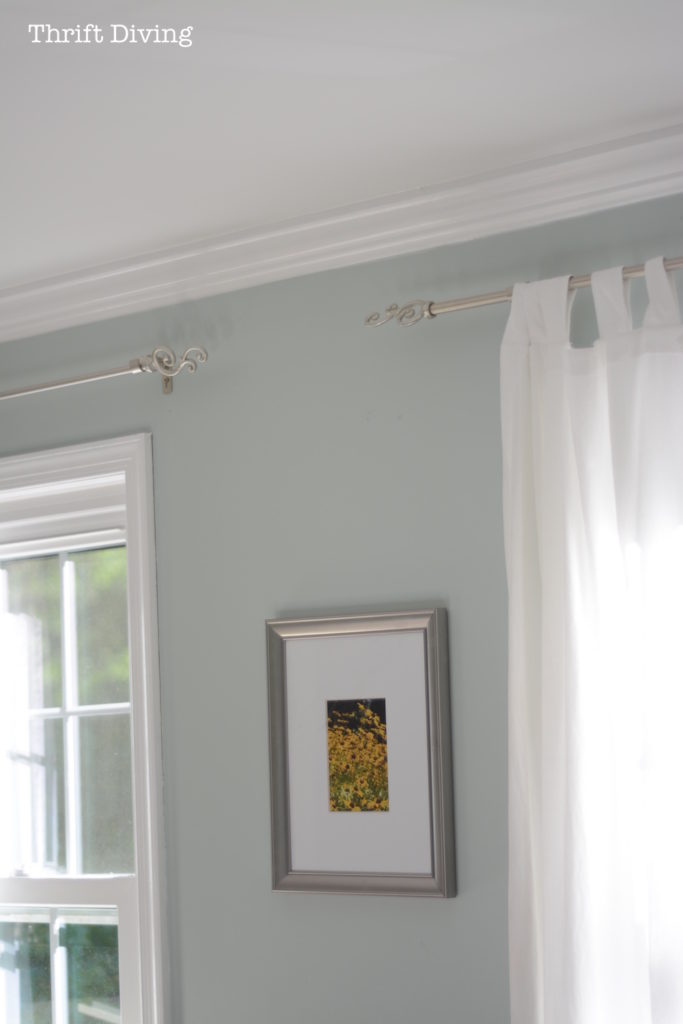

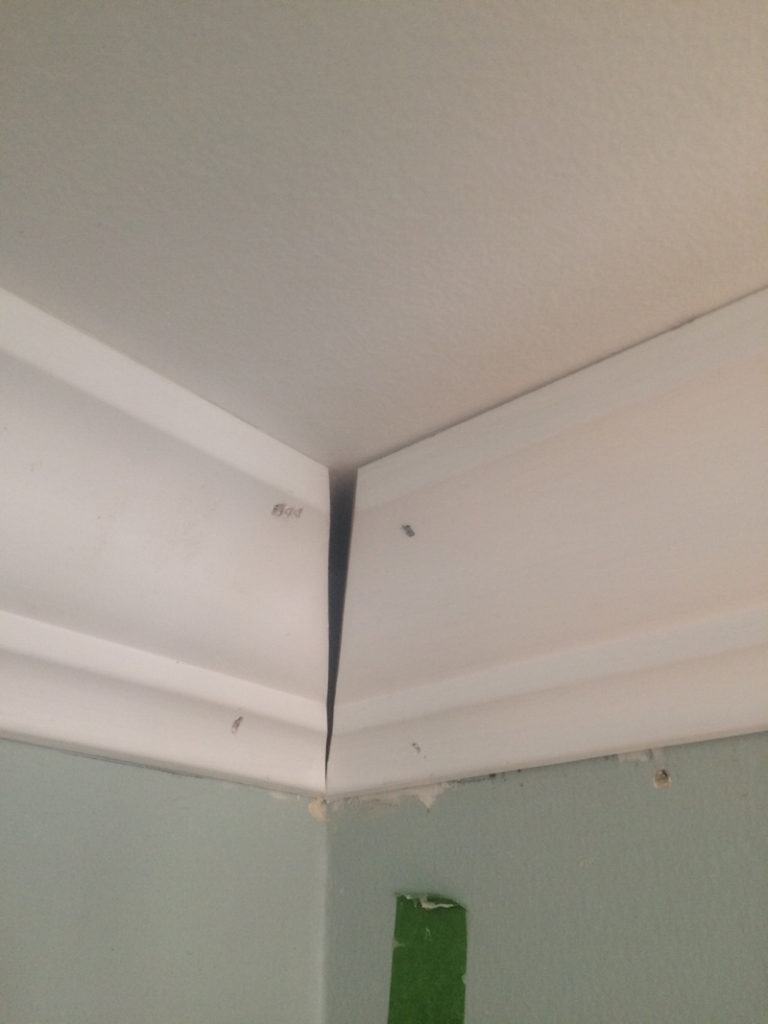
…..will hold up through the test of time? Caulked as much as it could be, it’s barely noticeable. I still need to touch up the Rainwashed paint, but for now, this is good enough for me.

Overall, it feels so fresh! The next step is new curtains and replacing the ceiling fan with one not quite so funky 80’s. I’d rather leave the electrical work for the professionals.
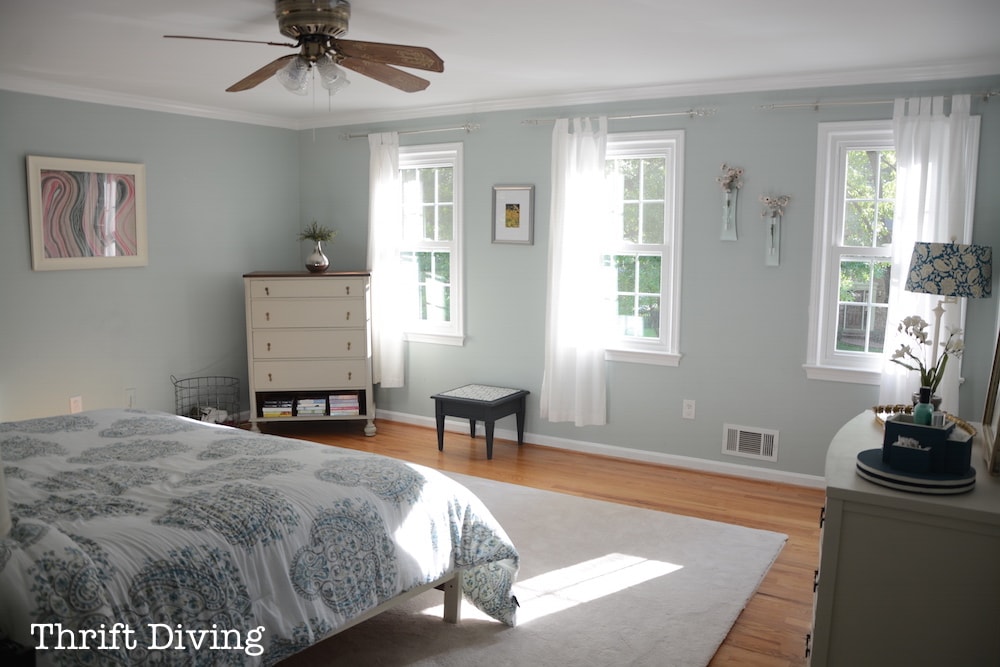
I soooo love my ugly thrifted lamp makeover there in the corner.
And the vintage dresser to the right houses my clothes. Feels great having a dresser of my own, after hubby and I shared for the longest time!
**Don’t forget to download my free 52-page step-by-step tutorial on how to hang your own DIY crown molding!
Please let me know if you think it will be helpful!
So what do you think, guys??? Have you ever thought about putting up your own crown molding? Leave a comment about it and tell me if you have, and if you haven’t, what’s stopping you?
Click here to PIN this tutorial and FREE guide!
![]()

Sizzle into Summer
Download the 5 freebies!

Thrift Diving inspires women to decorate, improve, and maintain their home themselves...using paint, power tools, and thrift stores! Use these 5 printables, checklists, and ebooks to get started!


Thanks for the tutorial! Your humor makes me smile! How did you know I want to put up crown molding this winter, but haven’t the faintest idea how to do it? Thank you so much!
WOO HOO! Then I’m so glad I posted this!! I really wasn’t too sure how many of you guys wanted this kind of information, but since I was going through it, I figured it could help in case there were a few! YAY! Please let me know how it turns out for you!
Your bedroom looks fantastic, Serena! The crown molding adds so much class and sophistication to a beautifully serene color palette, an inviting bed, and wonderfully re-loved pieces. =D Love!
Hey Yvonne! Ahhhh….the bed! Yes, girl, it’s sooo much more soothing and relaxing now! I can’t believe it took me so long to get around to spending time on the bedroom, but I’m glad I didn’t wait much longer! Thanks so much!!!
The room looks great; very like the light, airy “cottagey” style that I like! Gave me a number of ideas. I’m hoping to sell my manufactured home and move into a duplex or apartment this summer. I know that will really change my approach to creating my home decor, but I still get great ideas from your posts, and am really looking forward to the changes. Two things came to mind when reading this post:
Professionals didn’t start out that way! They had to start somewhere and just do it. And you can bet they made their mistakes along the way! It’s doing and continuing to practice that makes perfect. And yes, you can improve on imperfect with a bit of caulk and paint! That’s what imagination does.
The other thing that I was considering is how you put a room together over a period of time, letting it develop as you go. Too many of us have a specific idea in mind and want to do it all at once. Too often that’s not possible and we end up frustrated. I’m seeing the value of taking time to work through a project; revising/changing/adding as the project continues. I may be slow, but I’m learning! LOL
Yea, Serena!
Hey there, Teckla (oh-name-I-love-so-much!),
You hit it on the head with the light and airy feel! That is soooo how I love homes, too. My bedroom is probably the most light and airy. The rest of the house is like a disappointing CAVE in the spring and summer when the leaves fill the trees. You’ll see those parts soon :).
I think there is an upside and downside to doing a room quickly. The upside is that you get it done and can feel settled into a room quickly. The downside is that it takes so long that you lose interest and move on to another room and you’re left with unfinished rooms (oh, maybe that’s me! LOL). I am finding that when I focus on just one room at a time, I’m more likely to get it done. This bedroom took a while because I wasn’t focused, so I was left with painted walls, but bare furniture, a bare floor, and the room felt “cold” for so long. Now, it feels inviting! I absolutely love it!
Hey, you should sign up for my June Room challenge starting on Monday. Just sayin’….. 😉
Hello Serena!
I just love what you have done to the bedroom. I especially love the color choice! I was just wondering with all of your talent if you had considered having someone take down your ceiling fan
( which is an easy thing to do) and tape off all of the parts that you don’t want to get painted. Spray painting the metal parts, some type of hammered silver color that is popular now and painting the blades of the fan some other color like white or with the ever so popular chalk paint? I know too many words! Right? Just a thought. I haven’t actually done this but I am sure that others have especially on hometalk.com. Best of luck to you! D:)
It looks terrific! And I admire your patience for having completed the project. That’s the trick, isn’t it? Finishing. Thank you for the step-by-step and showing that oopses can be corrected.
Peggy, you’re spot on!! Hubby said to me a couple weeks ago, in fact, as he looked up at the uncaulked molding with nail holes, “You’re not going to finish this, are you?” I said, “Yes I am! I have it on my agenda to finish, even though it’s been weeks since I put it up…” HA! If he hadn’t said anything, it probably would NOT have gotten done! Why is it projects are just like that?? Quick to start, but slow to finish? LOL
your room is so pretty and bright now and the crown molding looks wonderful. now i have no excuse for not putting it up in my living room when we repaint!
Jackie, you don’t, girl! 🙂 I was serious when I said it’s easy to hang, but tough to get perfect. So don’t focus on the “perfect” part and just do it! It really gives a room a whole new look!
Wow, I can’t believe the difference the crown molding makes in the room! So lovely. Would love to try this myself!
Hey Kim! I’d love for you to try it, too! Be sure to download the full tutorial from the link at the beginning and end of the post. It’s a tad long, but lists every step to getting it as right as a novice can :). Thanks for commenting!
OMG! I just purchased the Kreg Crown Pro two days ago. I am so so excited to see your post. Your bedroom looks amazing. I now have more confidence that I too can do this. Thank you!
Whhhhaaat! Great minds think alike! 🙂 You are going to love the Crown Pro! The only thing that I forgot to mention is that, depending on the size of the miter saw you’re using, the Crown Pro can get in the way of the blade guard. Hard to explain, but just practice a little with it before you get started, and seriously, your molding is gonna look fabulous! Please follow up with me and show me how it turns out! 🙂
You could have fooled me – looks like a professional could have done it. Great job!!!!!!!!!!
It’s the caulk! The caulk, I tell you!!! 😉
This looks fabulous! You’re right – caulk and paint are a DIYer’s best friends. Thanks for telling us the color of the wall paint, which is peaceful and sophisticated at the same time. That really helps to know the brand and color.
You’re welcome, Marilynn! I could literally paint every wall in my house this color and be in Heaven :). It’s that pretty!!!!