Upcycled Legs For a DIY Bathroom Vanity
When I started my master bathroom makeover, I decided that I was going to build my own DIY bathroom vanity from scratch.
I hadn’t ever done it before.
But after removing my old vanity, I saw just how easy it was.
A bathroom vanity, for the most part, is nothing more than a shell upon which a sink sits.
When you think of it in terms of that, well, how difficult could it be??
I’m down to only 3 days left of my Room Makeover Challenge that my readers and I are doing together.
I still have much more to do, as it’s Day 37, but right now, building a DIY bathroom vanity has become my #1 priority.
And I don’t even have any stone to put on top yet! YIKES!
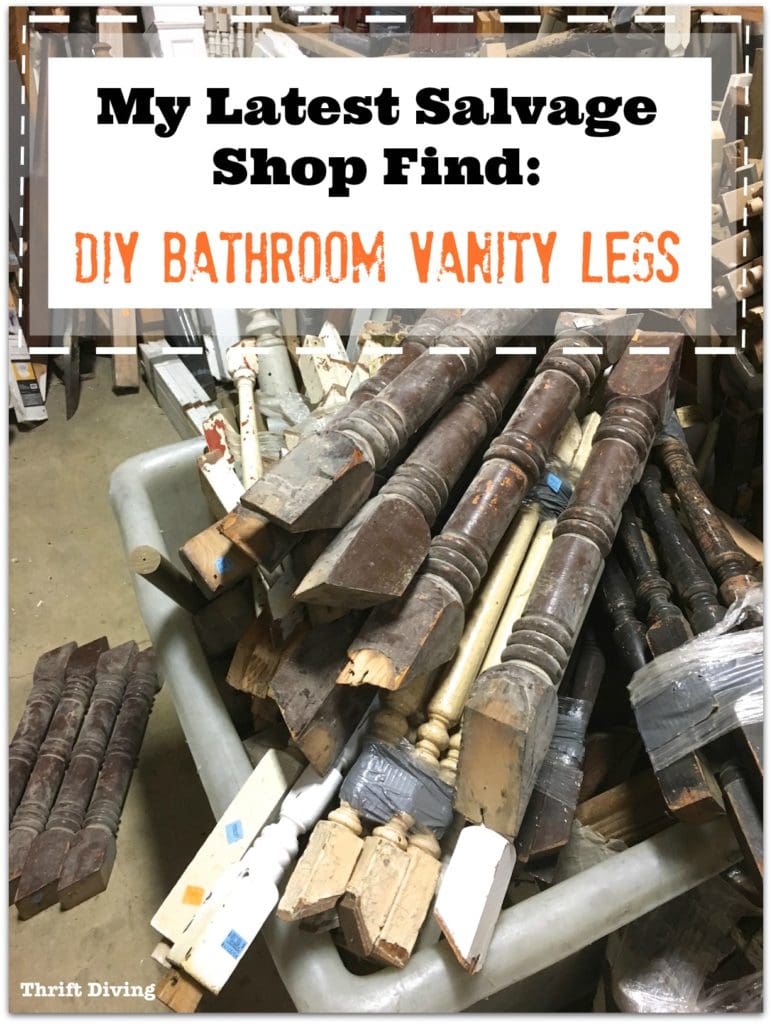
I Found DIY Bathroom Vanity Legs!
We’ve got an awesome salvage shop here in Maryland called Community Forklift.
Think of it as a junkyard for your home.
They’re a tad expensive on certain things, but within all that junk, there are definitely some affordable gems.
Which is exactly what I found last month.
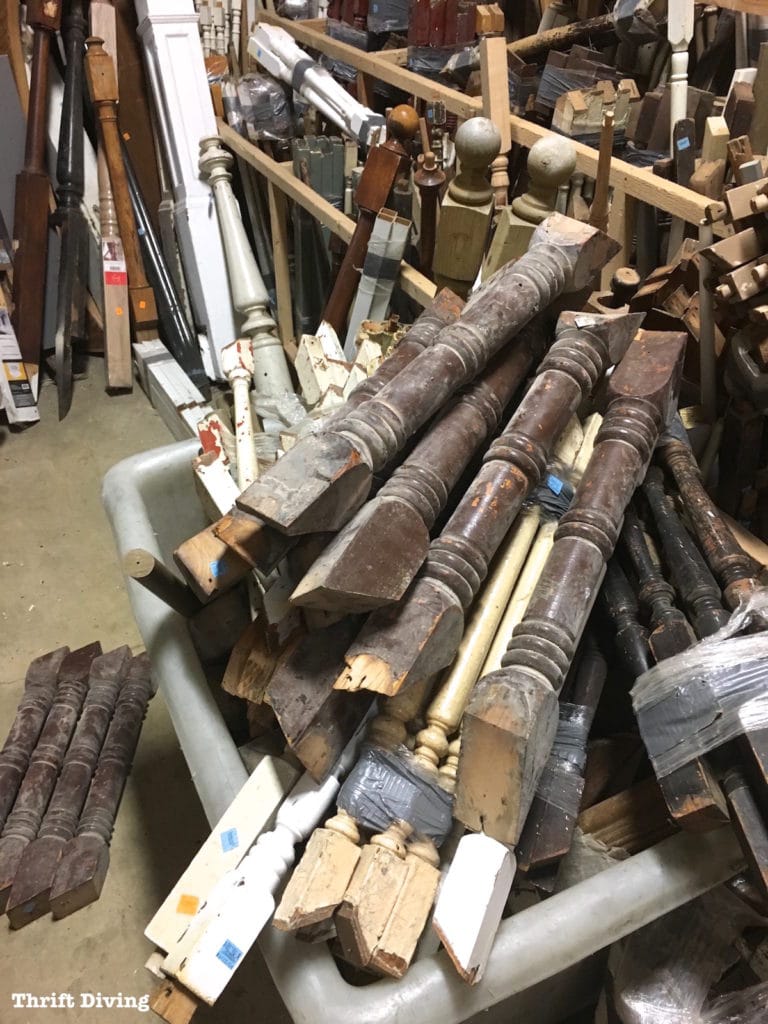
One of my favorite sections has lots of legs and spindles.
They’ve got tons of the stuff over there.
But wait–what do I see….??!!
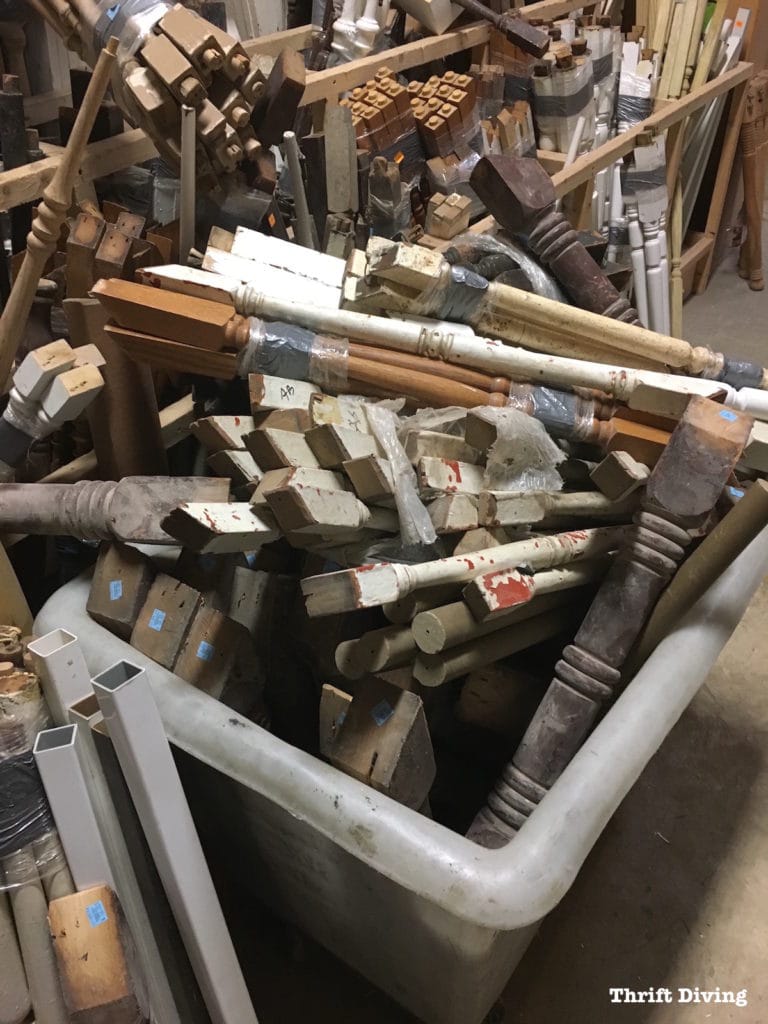
I saw the perfect legs for my vanity!
I went through and gathered up all the “good” ones that had enough of a block at the top and bottom in order to attach supports to them!
The only catch is that each leg was–gulp–$13 each.
I really didn’t want to spend over $50 on legs.
But I liked them enough to at least lug them up to the front check-out to see if there were any sales that day.
After all, it was just days away from Thanksgiving. That time of year, stores are teaming with sales!
Plus, surely they’d see my excitement and want to offer me a discount, right? LOL
My Lucky Day!
Imagine how my mouth dropped when I got to the front and was told that all legs in that section were 50% off!
HOT DIGGITY!
So instead of just getting four, I went ahead and bought eight.
If I’m going to spend $50, I may as well get eight, right?
The extra solid oak legs could be very useful.
I laid down an old blanket in my van because they were unbelievably dusty and dirty.

Let’s Back Up a Moment…
Before I show you what I’m doing with the vanity legs, let me back up to earlier in that day.
Before I stopped at the salvage shop, I went to a bathroom remodeling showroom.
I wanted to get some ideas for what kind of vanity I even liked.
The truth is that I don’t spend a lot of time ogling over design the way some home/DIY bloggers do.
My design interest is simple: Is it clean? Is it functional? Does it make me smile?
If it does all that, I don’t need much else. 🙂
But if I were going to build a vanity from scratch, I needed to go look at some and get close-up inspections. 🙂
The Beauty of Weathered Oak
I loved the weathered oak vanities where I could see the grain of the wood highlighted.
It reminded me of a painting technique that I learned last year when I attended an Amy Howard painting workshop, where you add a light coat of watered-down paint followed by liming wax to highlight the grain of wood.
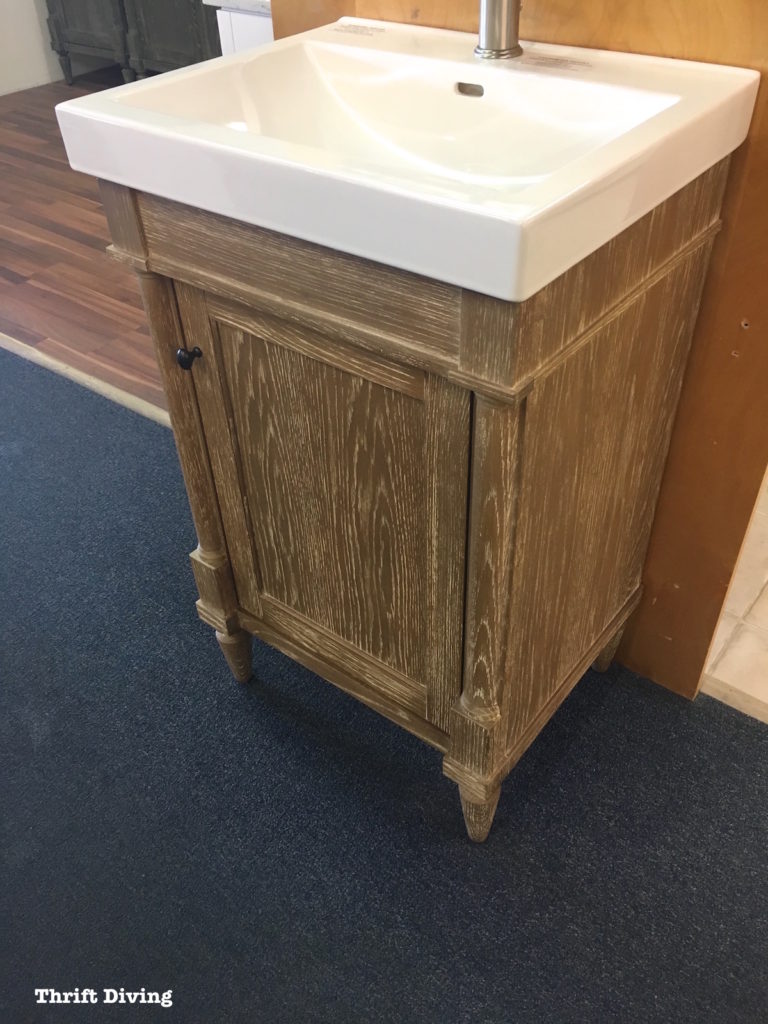
I’m typically not a “wood grain” kind of chick, but there’s something special about oak and the way its grain creates a nice textured look.
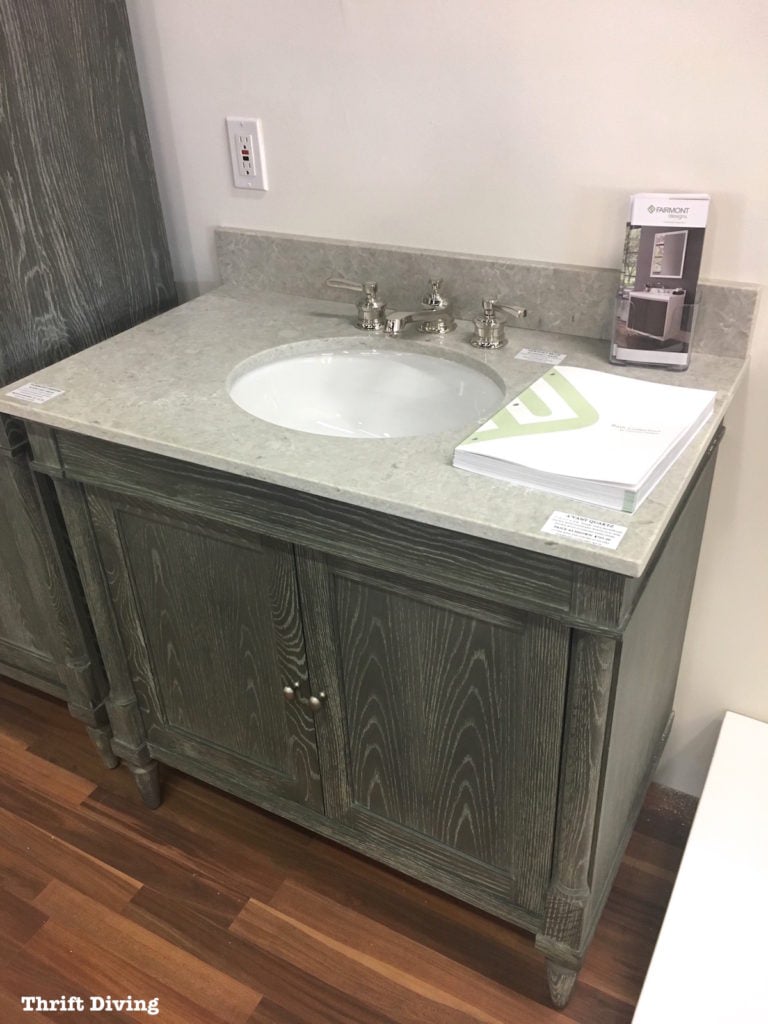
I also loved this style, which was up off the floor about 10 inches, leaving a pretty little decorative leg exposed at the bottom.
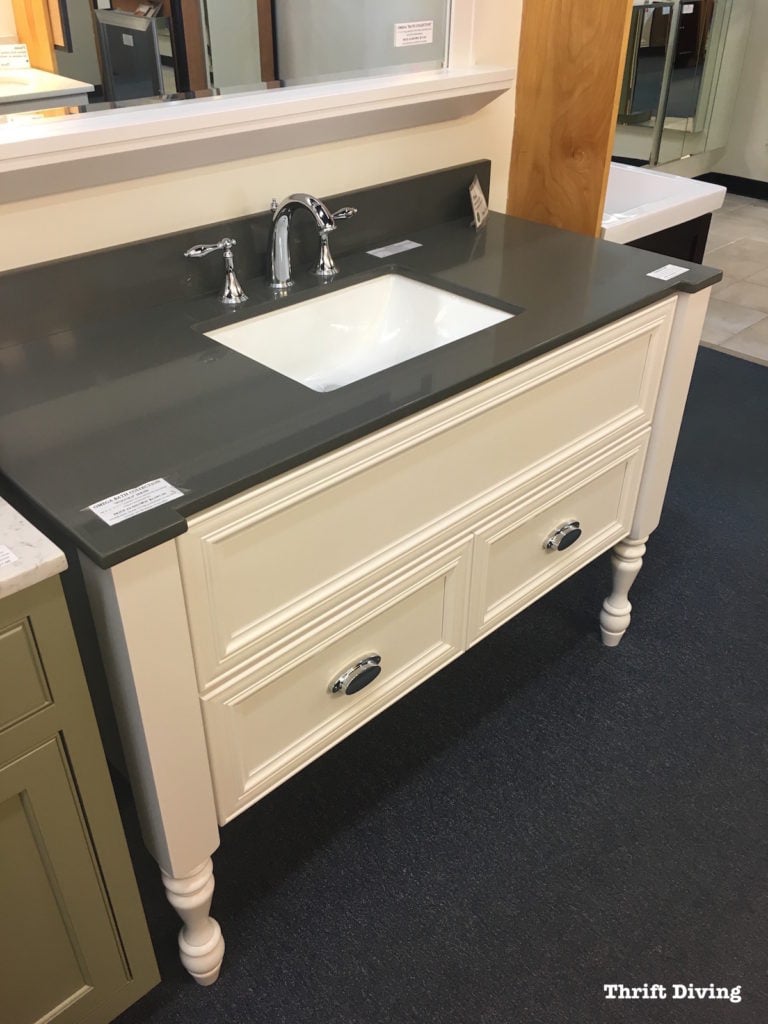
I left the showroom that morning, deciding: “Yep, I’ll make my DIY bathroom vanity out of oak!”
And I knew that I wanted my vanity to have something decorative at the bottom.
That’s when I headed to the salvage shop and found those beautiful oak scraps that would make perfect legs!
See how to universe conspires the perfect project….?! 🙂
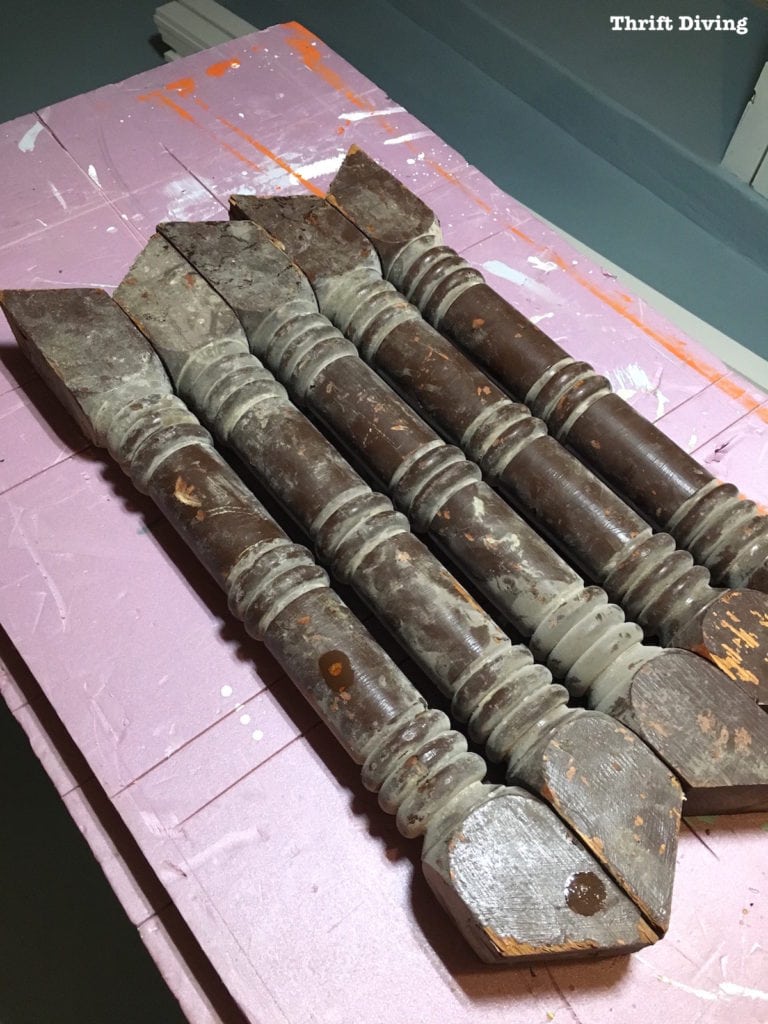
Cleaning and Stripping The Upcycled Vanity Legs
If you remember, the legs were super dirty, plus covered with paint.
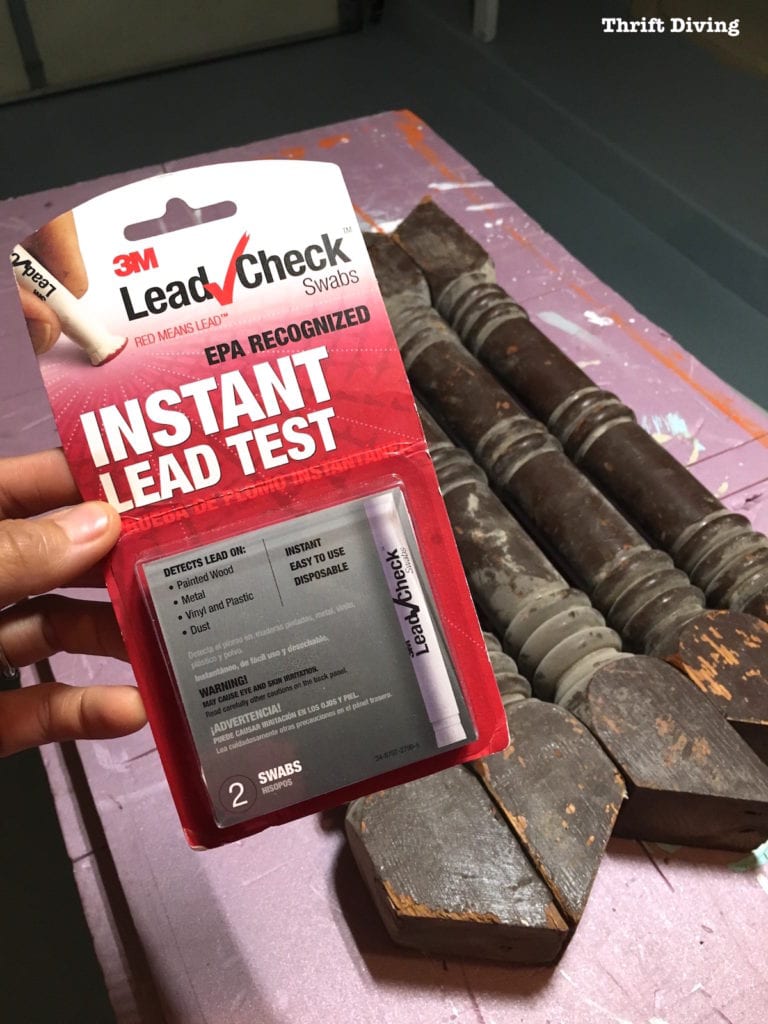
I had no idea how old they were and if the paint was lead-free.
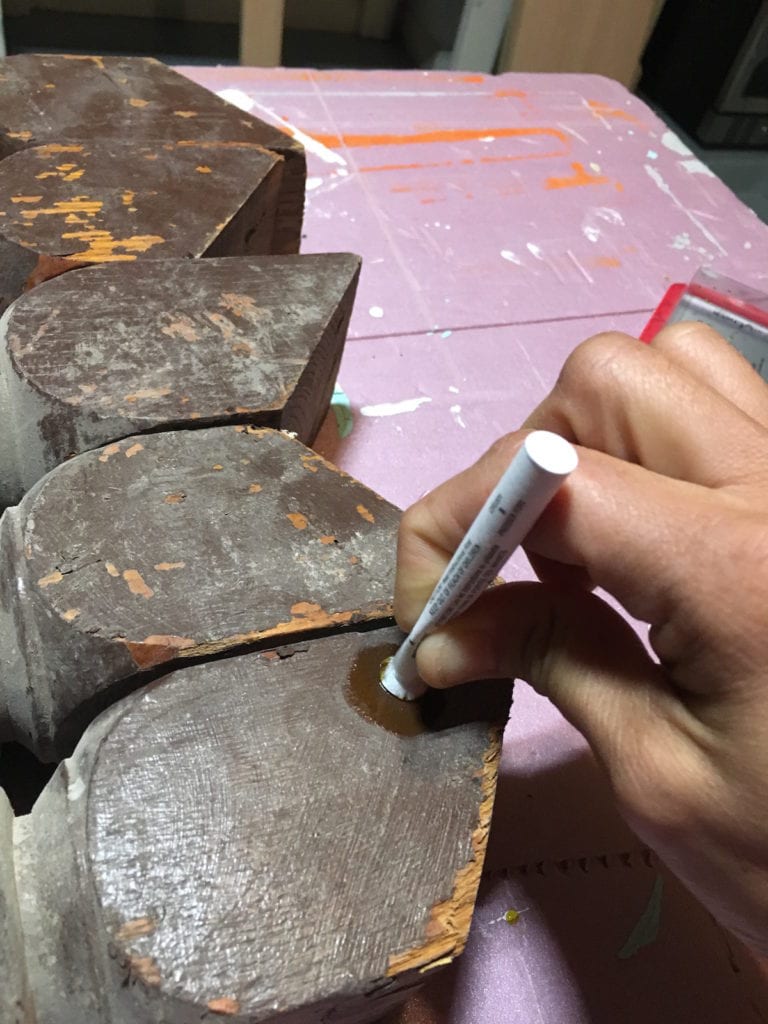
So the first thing I did was use a Lead Check test (you can buy them from Home Depot or on Amazon for about $10).
Whenever you’re working with furniture or things that have old paint, be sure to test them for lead before sanding or stripping.
All you do is squeeze and crush the A part and do the same for the B part, then rub the tip on the paint you’re testing.
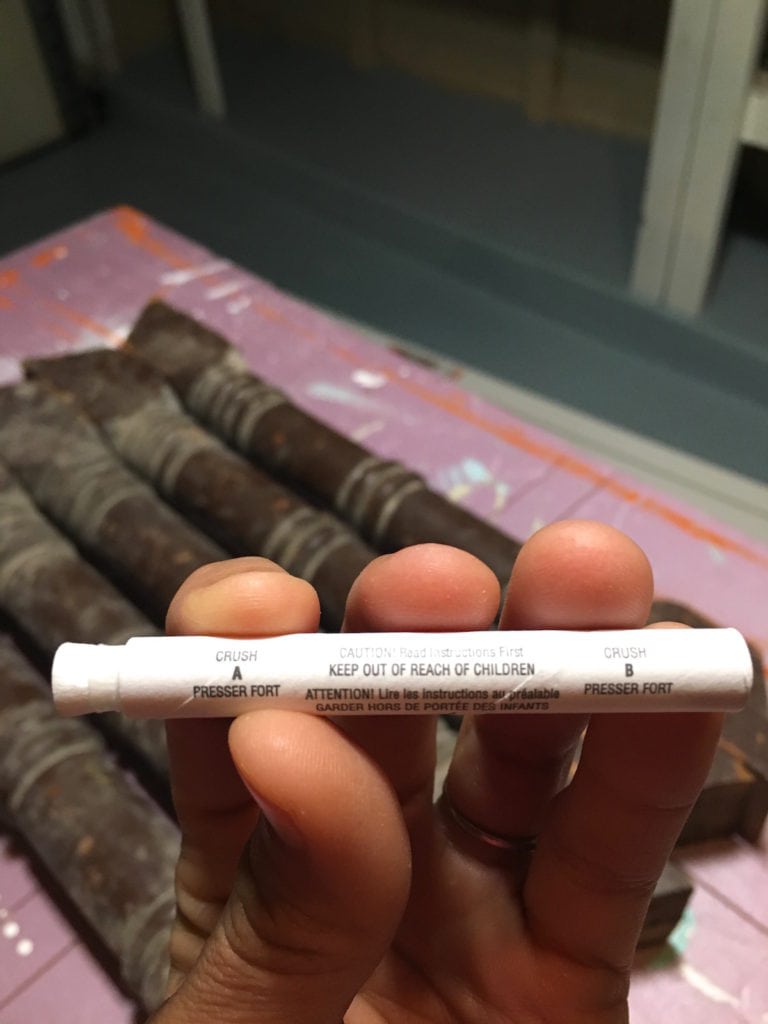
It starts to release some fluid while you’re testing.
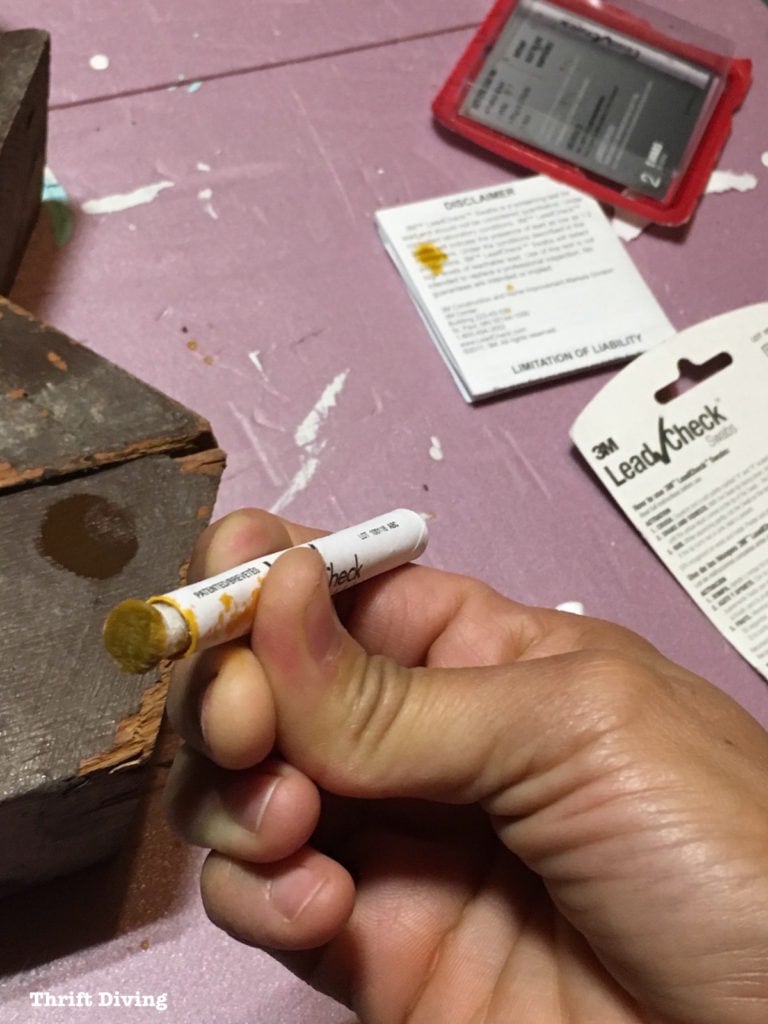
If it’s red, it means there is lead!
If it’s red, you should not sand, cut, strip, or disturb that paint.
In my case, we’re safe!
It wasn’t red. WHEW!
I could proceed…. 🙂
Next, I had to give them a bath with some hot, soapy water.
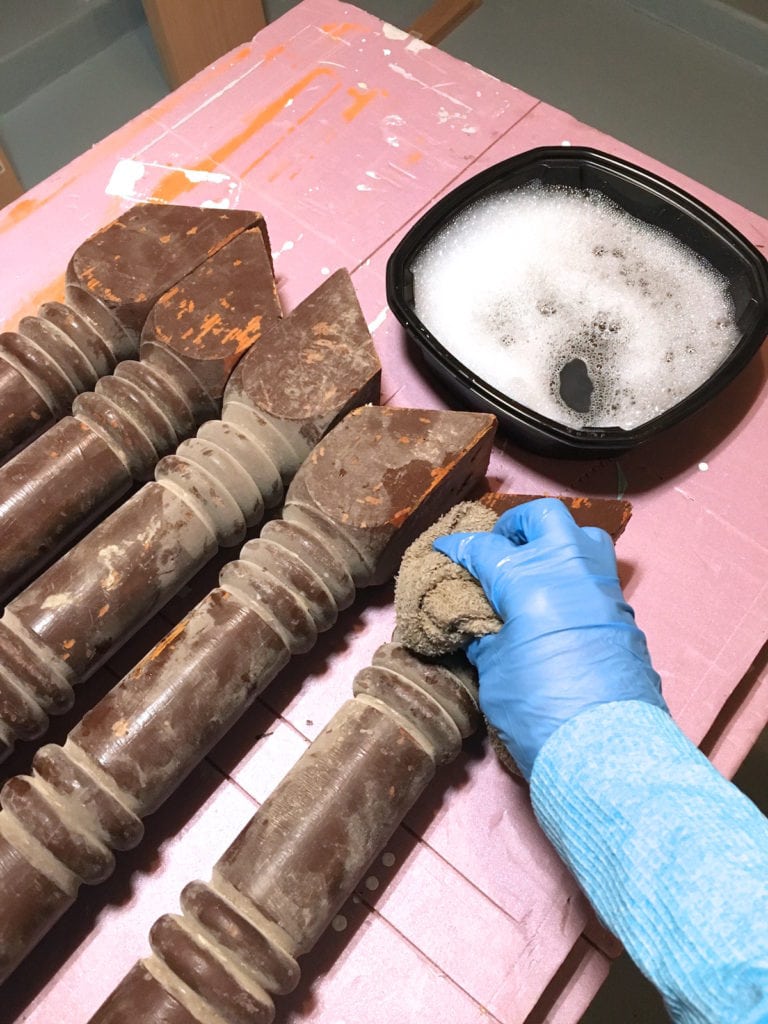
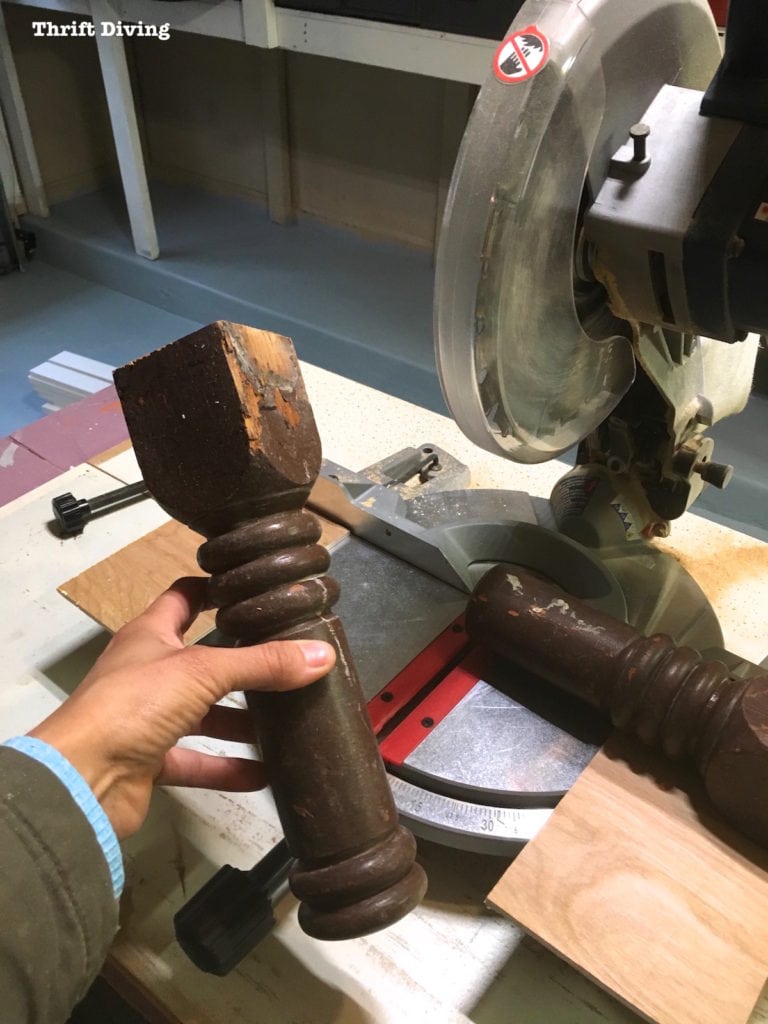
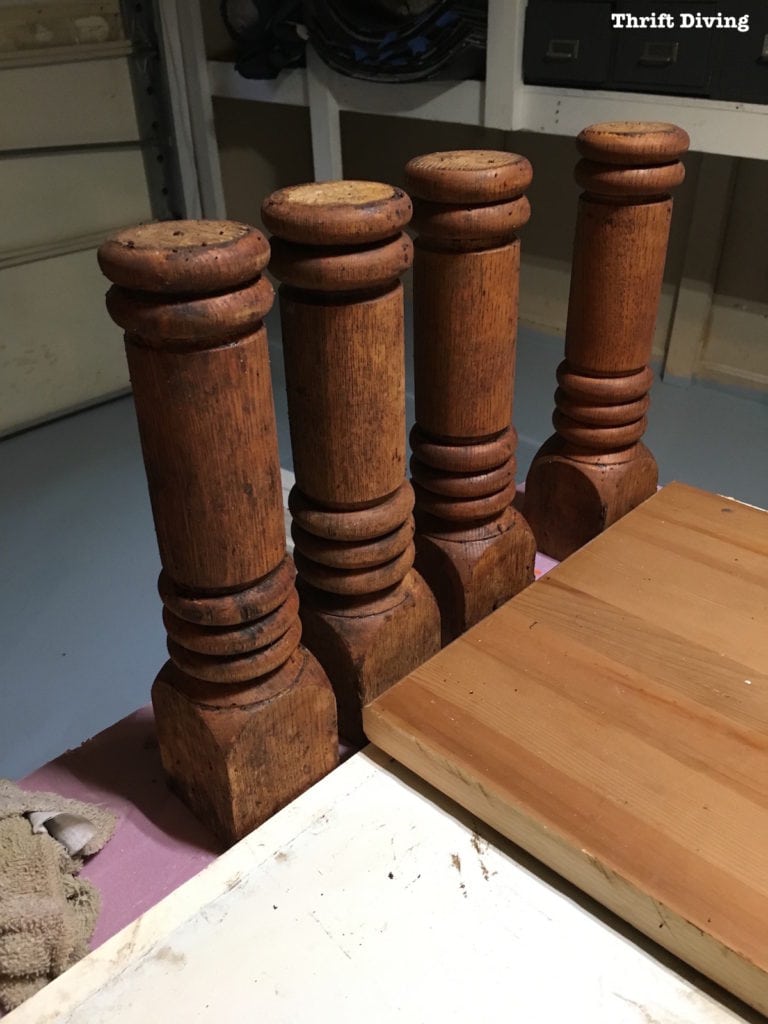
Once they were all clean, I was ready to slice and dice with my little miter saw.
I cut the tops to be straight, as well as shortened them.
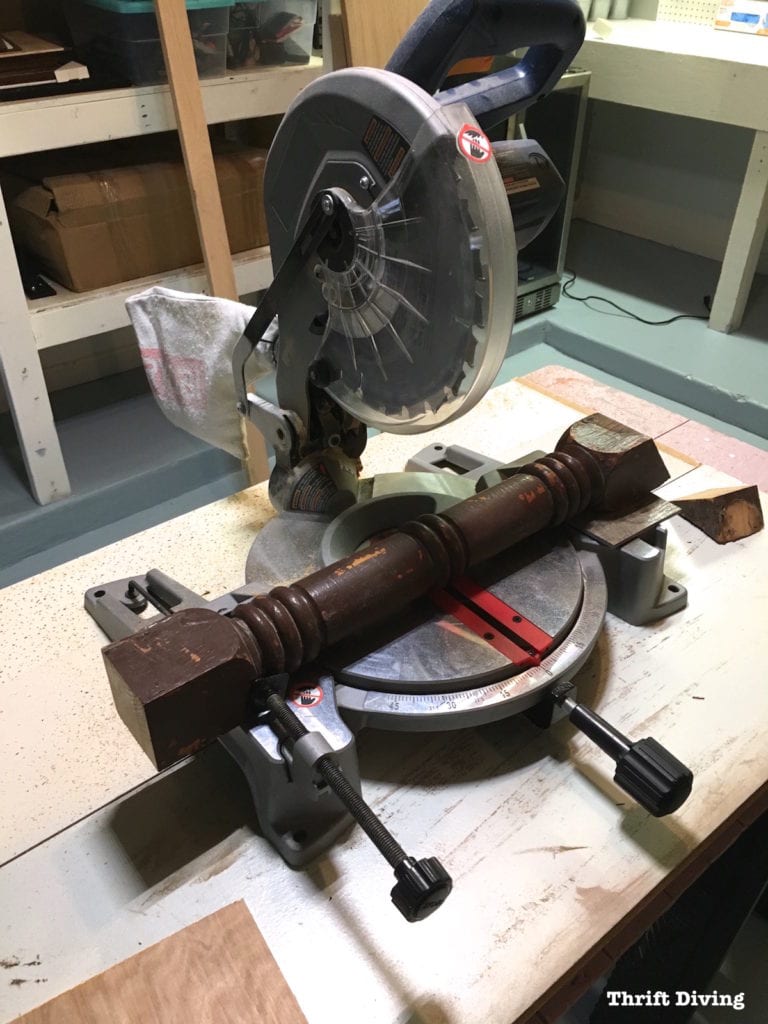
Not as fancy and decorative as some of the other legs from the showroom, but definitely still cute and sturdy!
And for only $6.50 each!
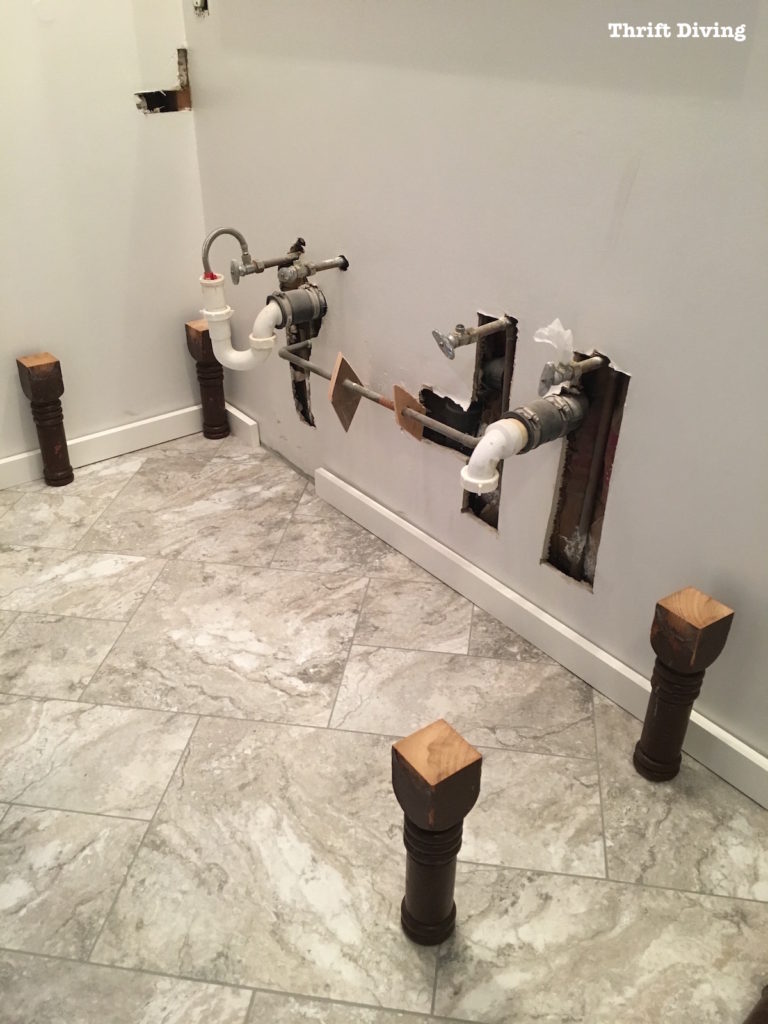
I placed them in the bathroom to check the height. I have to make sure there is enough clearance for the pipes, so the legs were perfect around 11.5″ in height!
Next, I slathered on some stripper to strip the legs (I prefer to use Citristrip stripping gel). I wasn’t looking forward to this part because it’s a messy job.
And have you ever tried to strip legs and wood with nooks and crannies?
Yep.
It sucks.
It’s hard. LOL
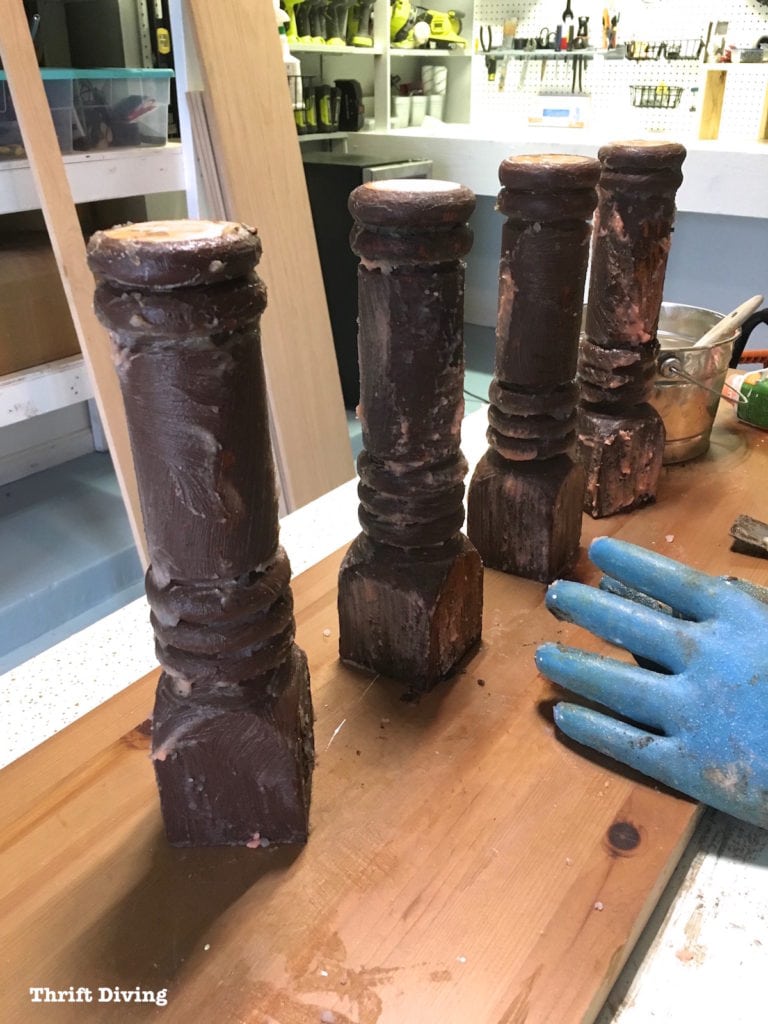
The satisfying part is when you see the old paint starting to come off, exposing the lovely oak underneath!
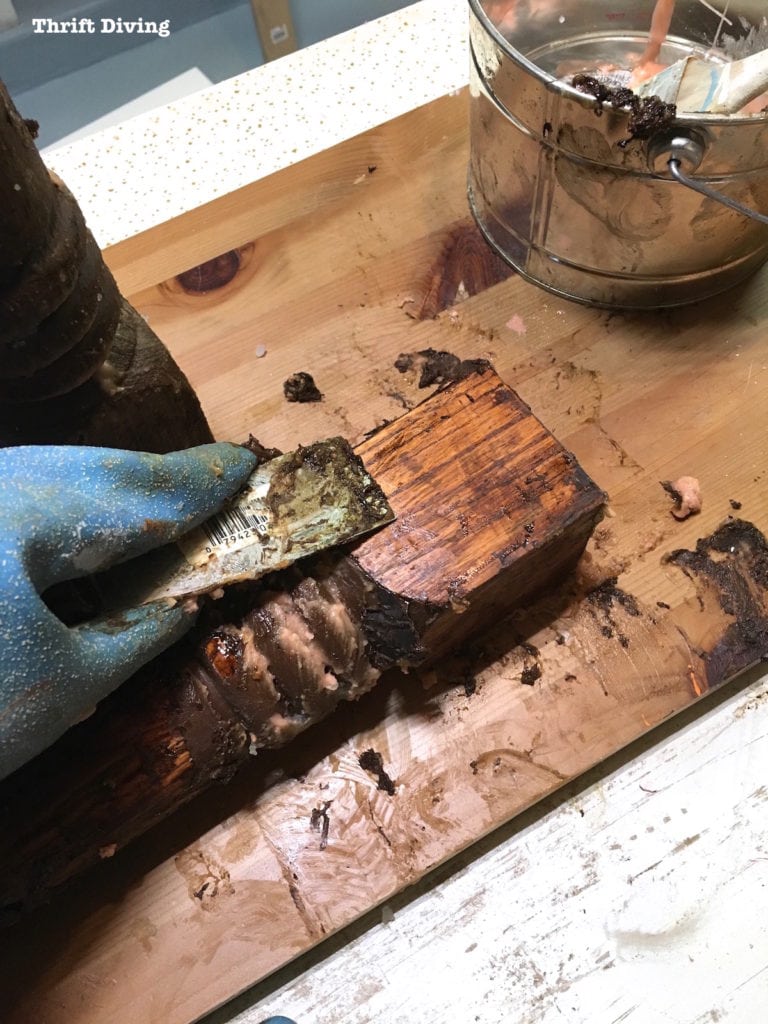
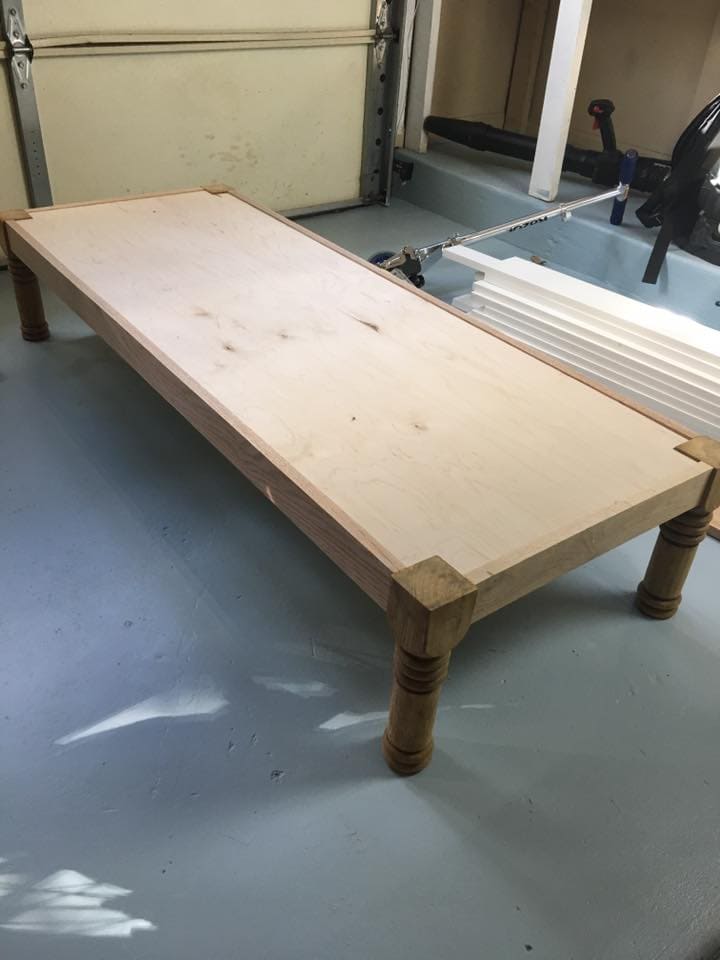
As of yesterday, this is where I left off: with (mostly) clean oak legs that will be ready for their second cleaning-off today.
They’re still a bit gunky.
They need sanding down a bit, too.
Sooooo……you’ll have to wait to see how this DIY bathroom vanity saga continues!
Seriously, cross your fingers for me!
I’m pretty sure I won’t finish this in time for the challenge, but you know–that’s DIY life sometimes. 🙂
Catch up on this master bathroom makeover series!
DAY 1: The Evolution of a Master Bathroom Makeover
DAY 4: Picking Out New Flooring: Which One Do You Like?
DAY 6: How to Remove an Old Bathroom Vanity
DAY 27: Removing Wallpaper, Repairing Walls, and Removing an Old Toilet


Download the 5 freebies!

Thrift Diving inspires women to decorate, improve, and maintain their home themselves...using paint, power tools, and thrift stores! Use these 5 printables, checklists, and ebooks to get started!

You are somethin’ else!
amazing!
wish I was your neighbor!!!
how DO you do it!!!!
LOL, hey there, Pat! Call it fearless DIY or naive DIY! 🙂 I reeeeeally hope this vanity turns out! I’ve got the legs attached and the sides and bottom is coming together. But I’m worried it needs some additional support given that it’s 60″ wide. I don’t want the top and sinks going on and then it cracks in the middle! I”m going to figure out how to make this work. LOL. Part of it is just to see if I can actually do it! 🙂
As usual, I find you amazing!
I used Citrstrip on a desk that had a bunch of detail and it was SO hard.
I can’t wait to see the vanity! You are inspiring me to do another project!
I’m not usually inclined to comment unless I feel as though something really needs to be said…well this is it. GIRL…making a vanity??? No matter how this project does or does not turn out, by far the most amazing thing is that you are crazy enough to even try!! A-MA-ZING!! Wow…I can’t say it enough…from a very long-time DIYer, cudos for being so fearless! Good luck, this project should bring you way more than just a vanity!
Oak is my absolute most favorite wood & I hate when it’s painted!
Looking good! Can’t wait to see the end result!
First of all you have not FAILED, since this is a more intricate job than other make-overs. A total make-over of a bathroom goes over 30 days!!! You are so clever! I love the oak leg idea! I copied down the “watered down paint and liming wax” in my little “smart” book for a future project this winter. I admire your tool “know-how” and your ambition and energy levels and imagination to see through an idea or seeing beauty in dusty old things no one would care a hoot about. So proceed onward and you are the “queen” because in the end of the challenge you will have succeeded, despite running over the 30 day limit. Besides, this bathroom will last you a long, long time. YOU will be the one living with all your decisions. So take your time…do it right. So far, EVERYTHING looks right!!! Can’t wait until you share the end.
I love how the legs are looking so far. I agree about the oak texture being something to enhance. I don’t understand why some people try to eliminate the texture by sanding it down.
That is going to look so coo!
Love what you are doing so far. Keep up the good work. I loved the vanities you took pictures of.