Halloween Outdoor Decorating: BEFORE & AFTER SpookEasy Lounge!
This outdoor Halloween decorating project was sponsored by Arrow Tool Group.
I wish I was one of those people who faithfully checks off her “outdoor Halloween decorating” bucket list each year. Starting in the fall, the holidays are a bit of whimsy from the monotony of life, when everything feels lighter, magical, and cozier.
I’m the only one in my family who acts like I’ve never seen outdoor Halloween decorating. The moment I catch the faintest twinkle in someone’s yard, my ooohs and ahhhs are reminiscent of an excited child (but I’ll never apologize for this). It means fall is here.
But each year, I get overwhelmed with how to decorate my outdoors for Halloween. This year, however, I knew exactly how I was going to tackle my outdoor Halloween decorating!
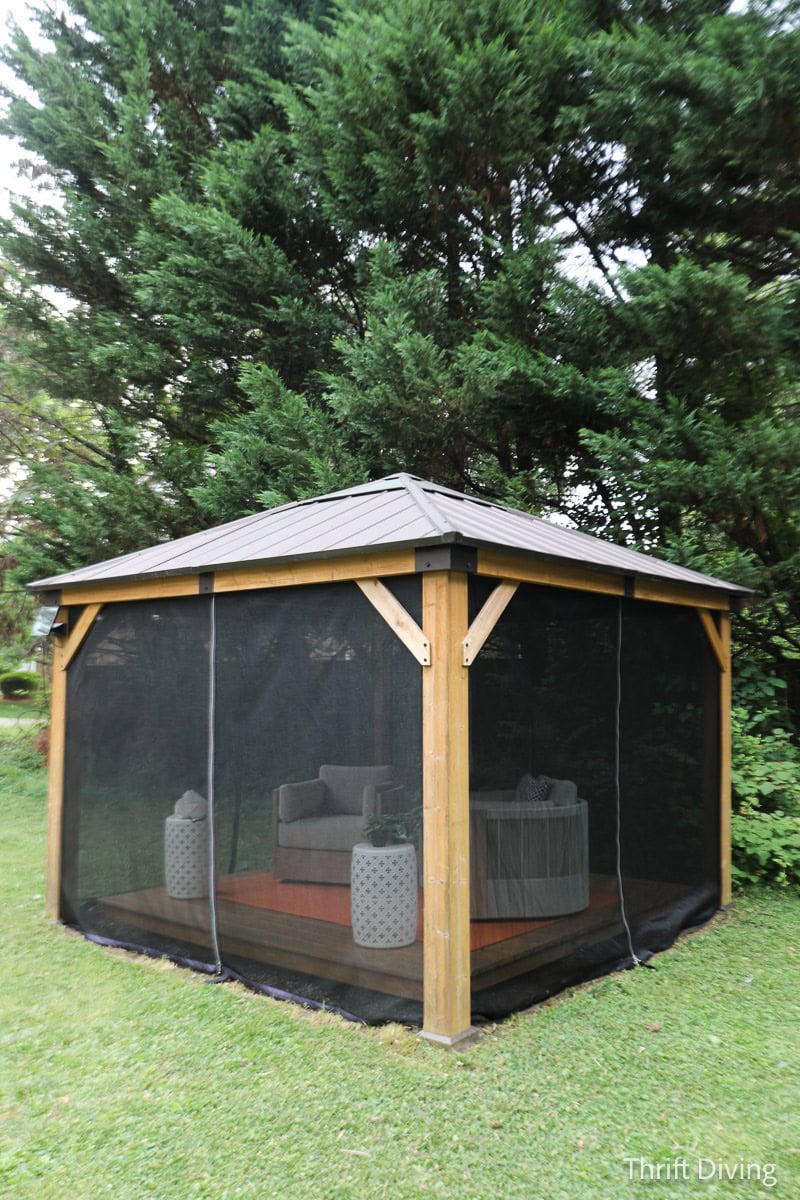
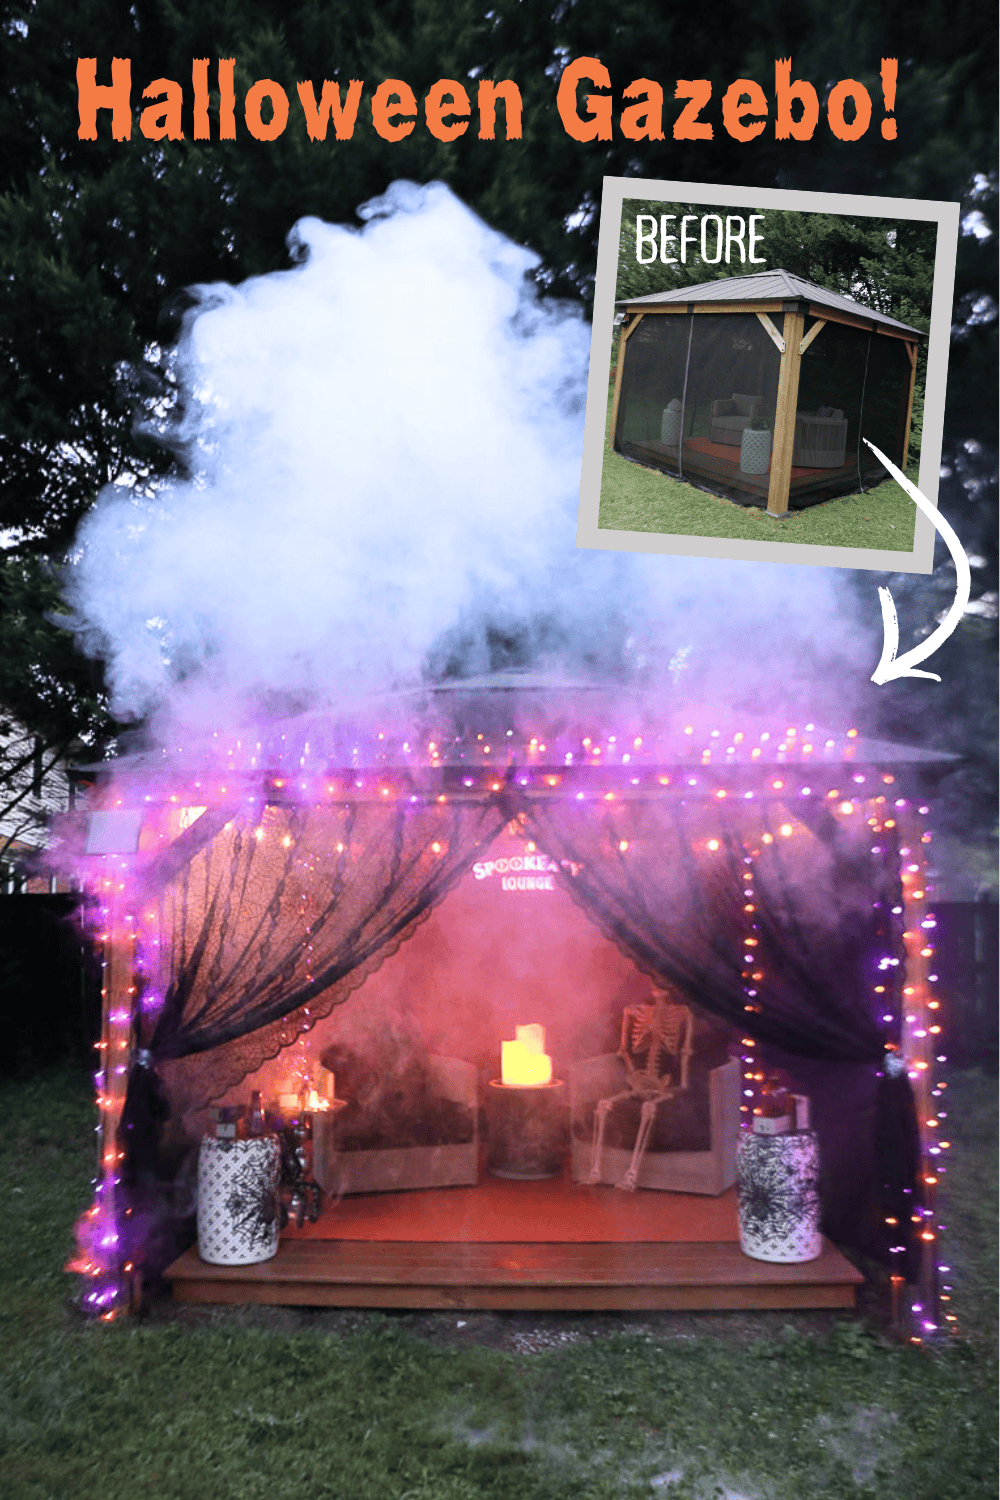
I decided that my screened in gazebo would get tricked out for Halloween! It’s become our new favorite outdoor living spot since I made DIY gazebo screens over the summer to keep out bugs. The gazebo screens made the gazebo feel like another “room,” and finally allowed us to have a cozy place to hang outdoors.
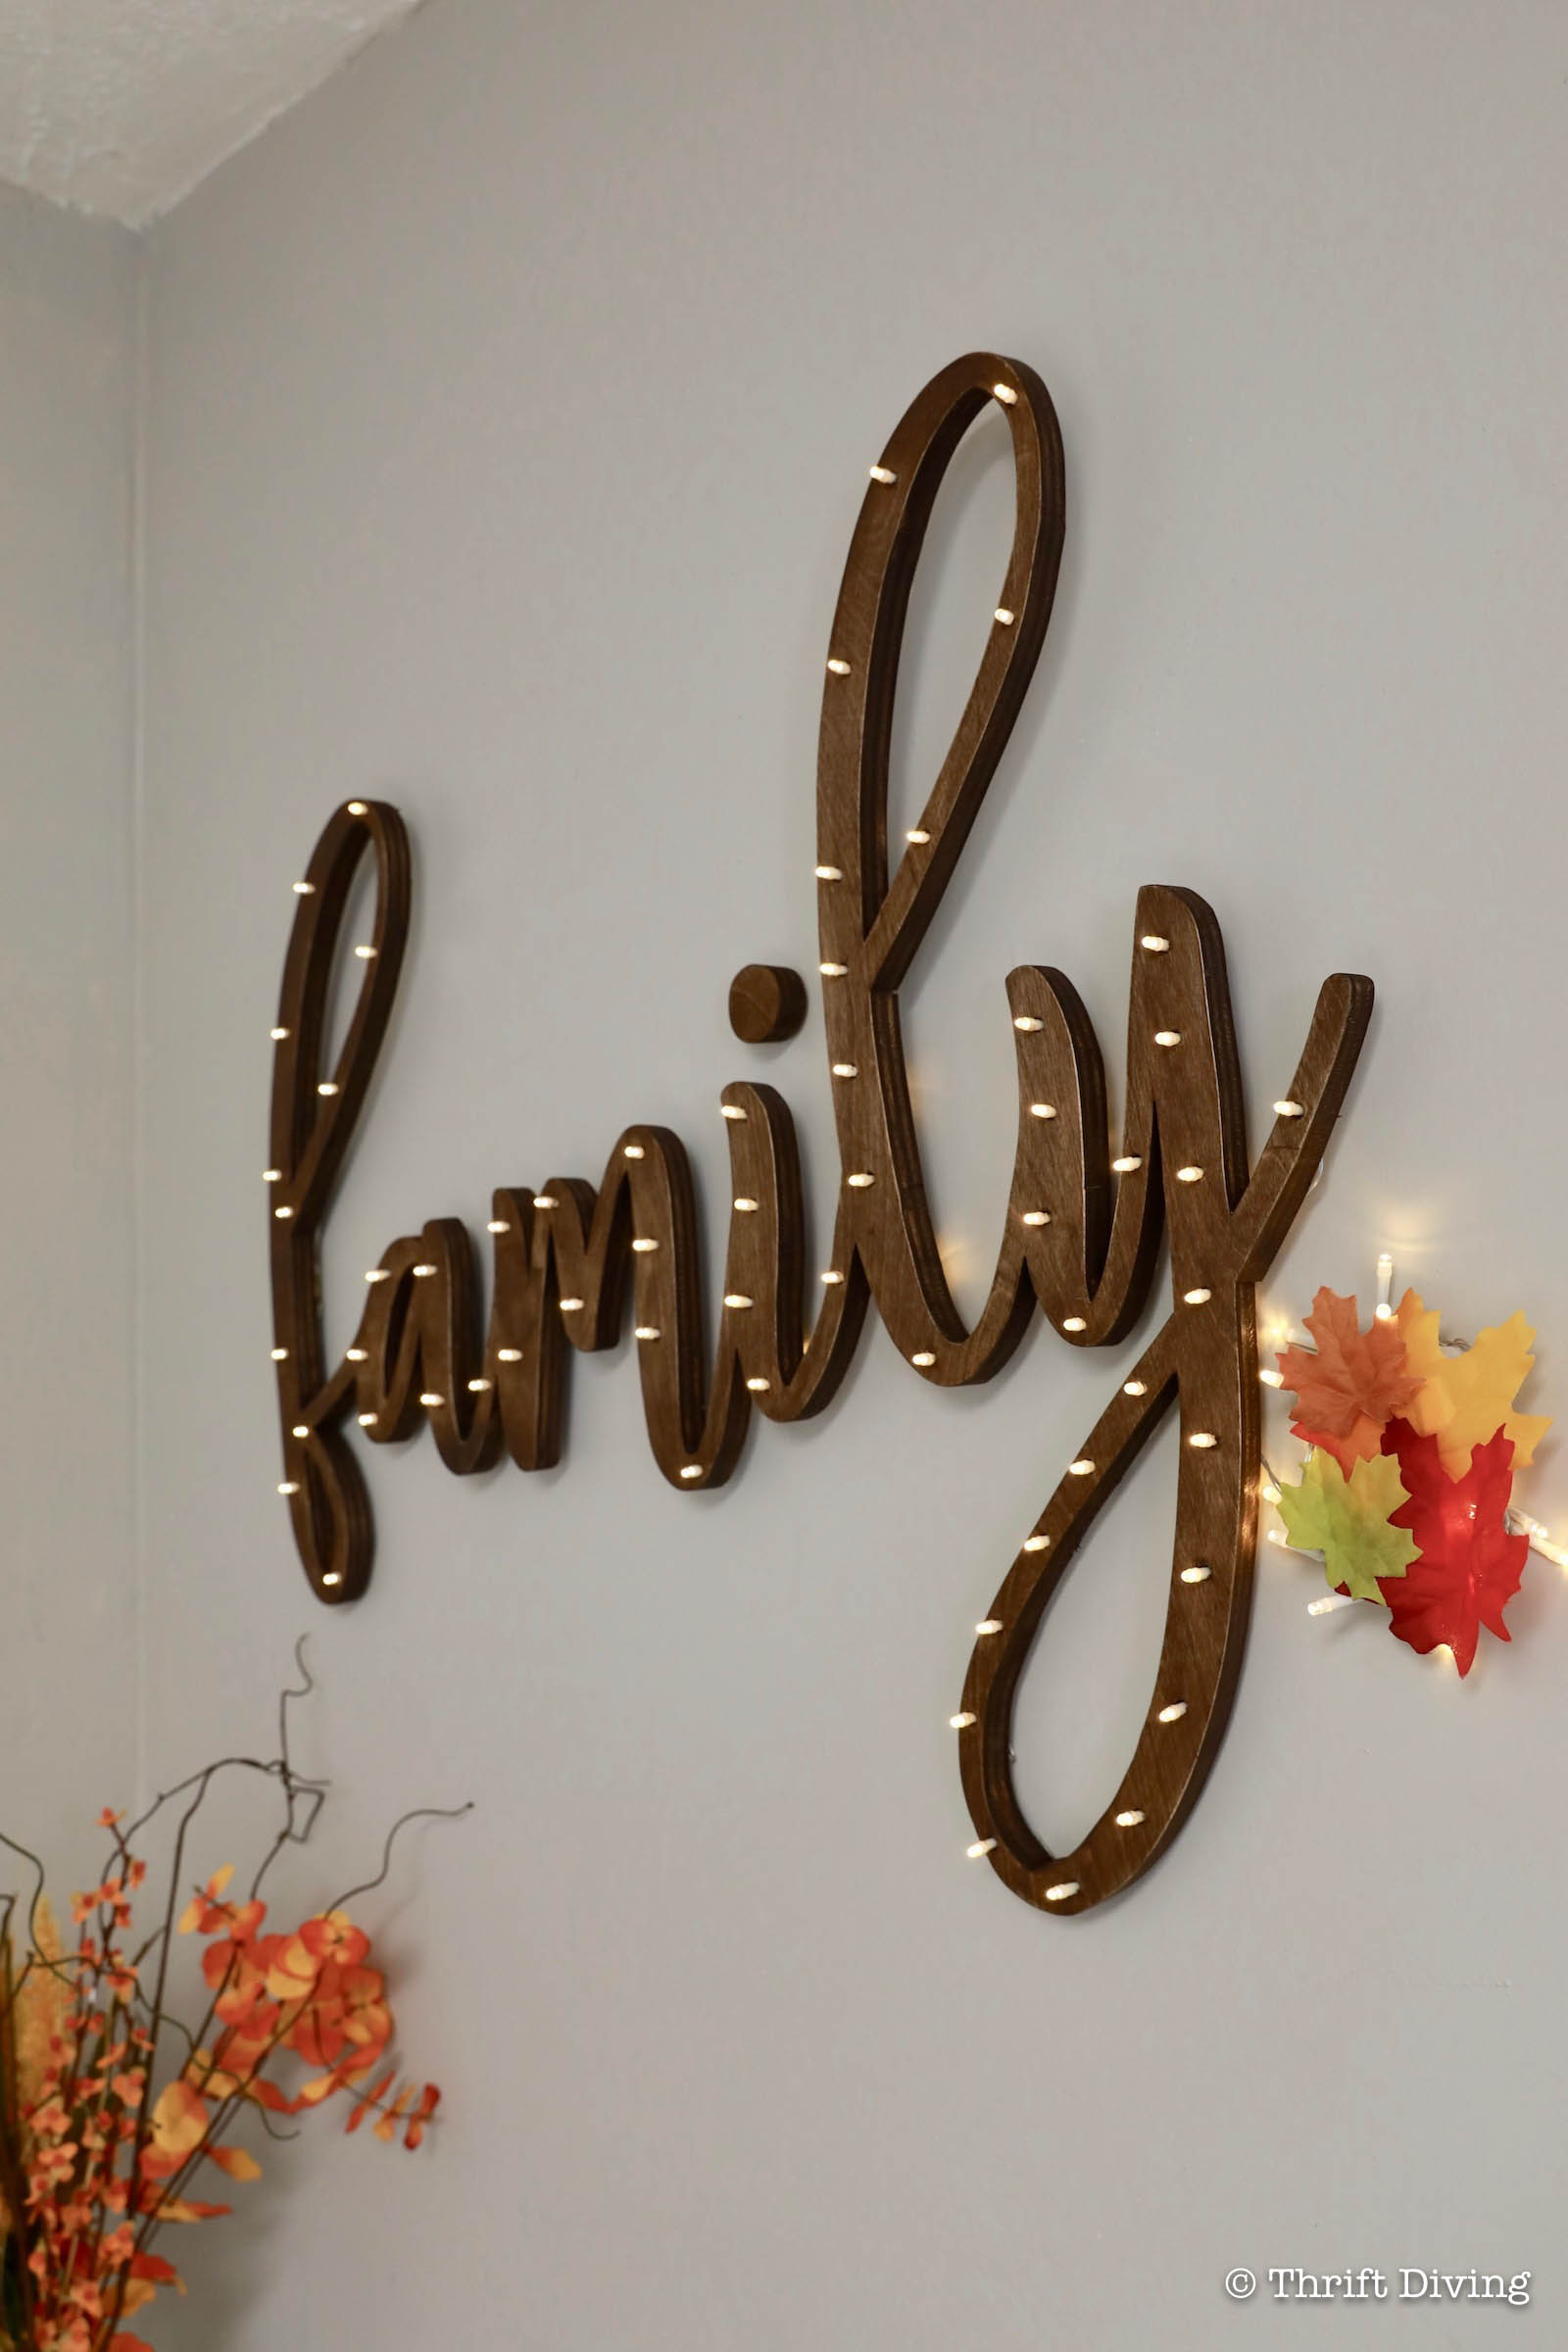
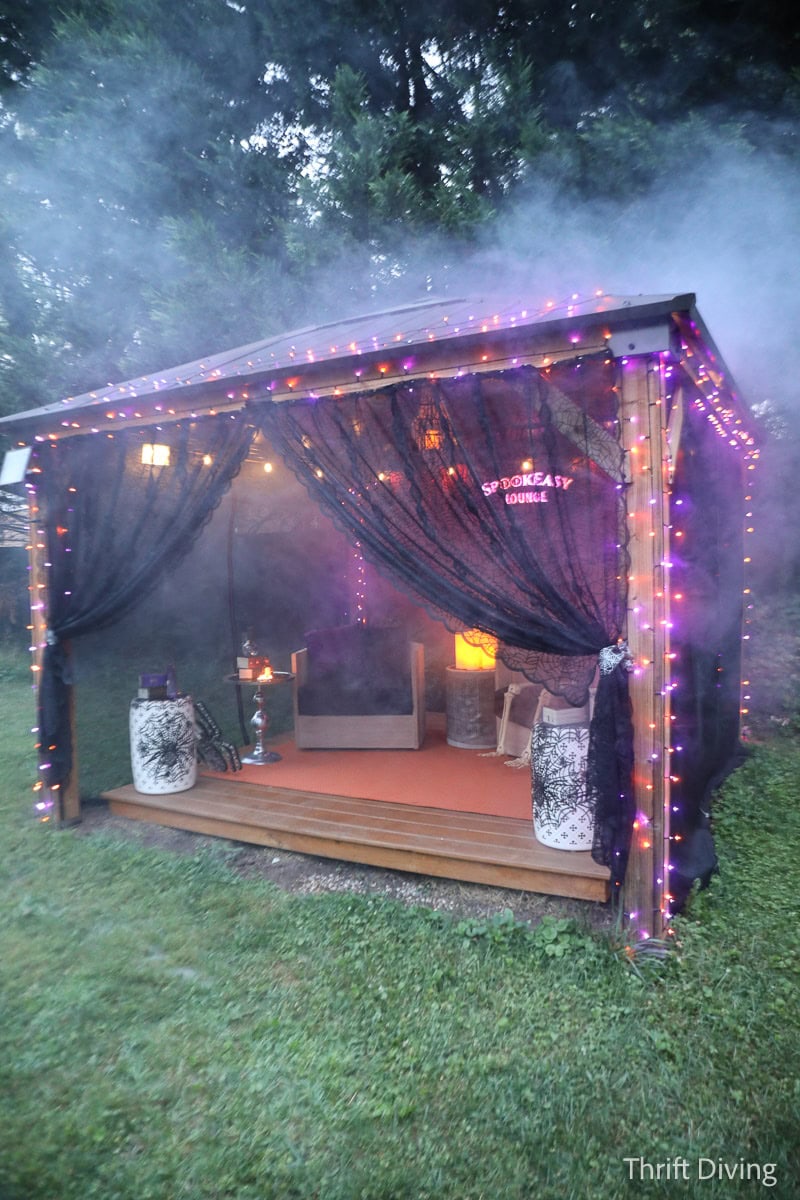
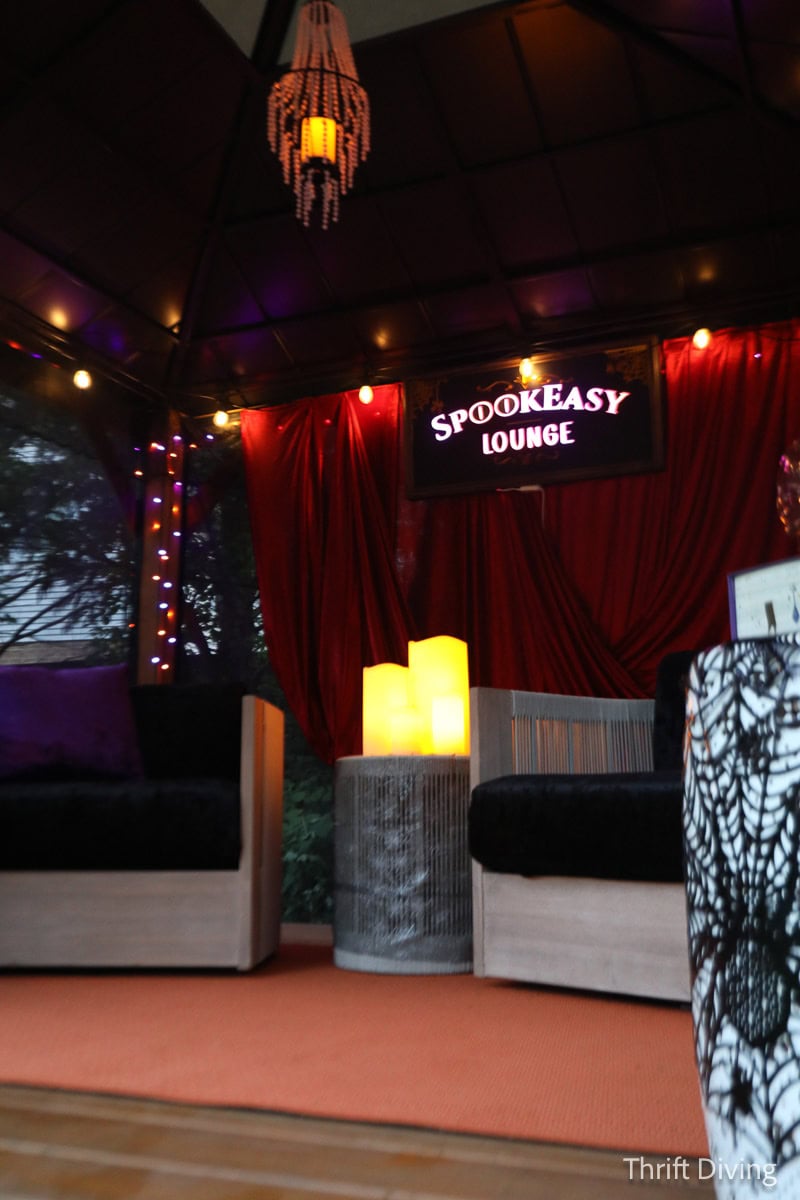
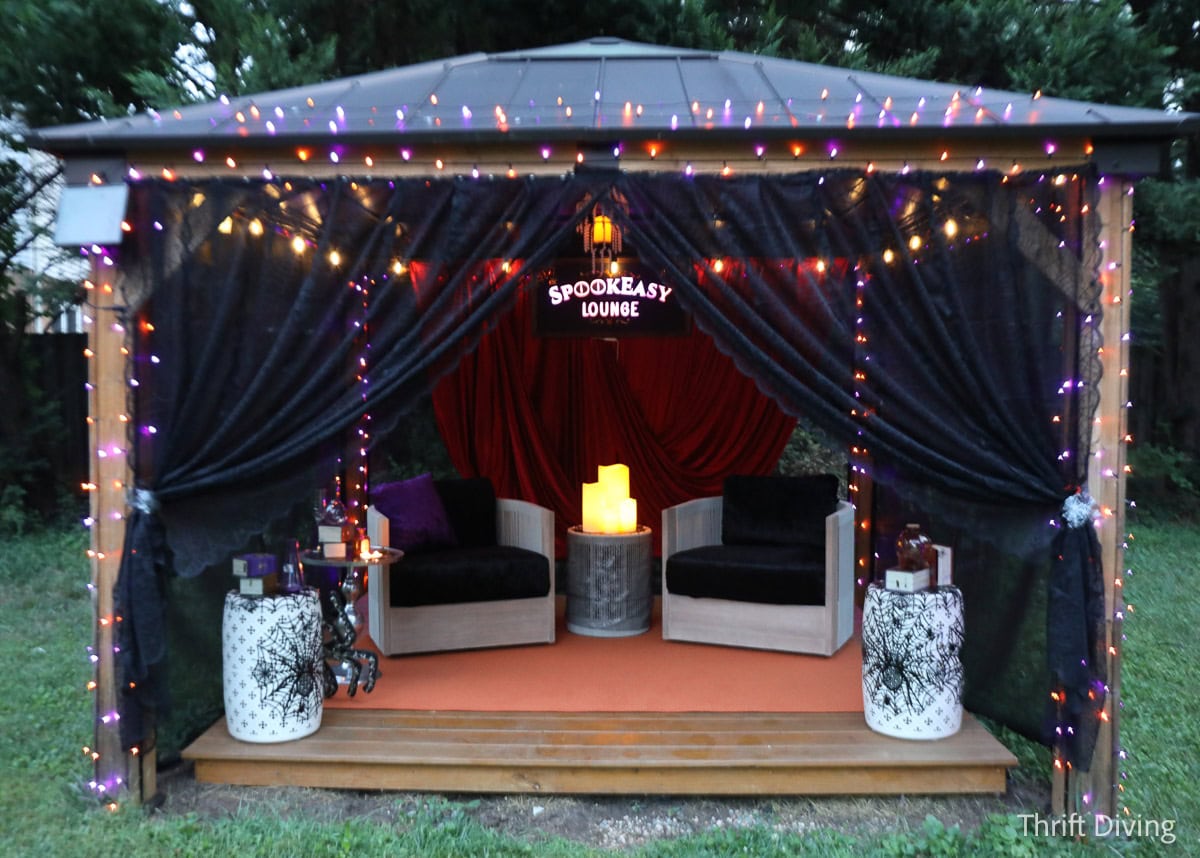
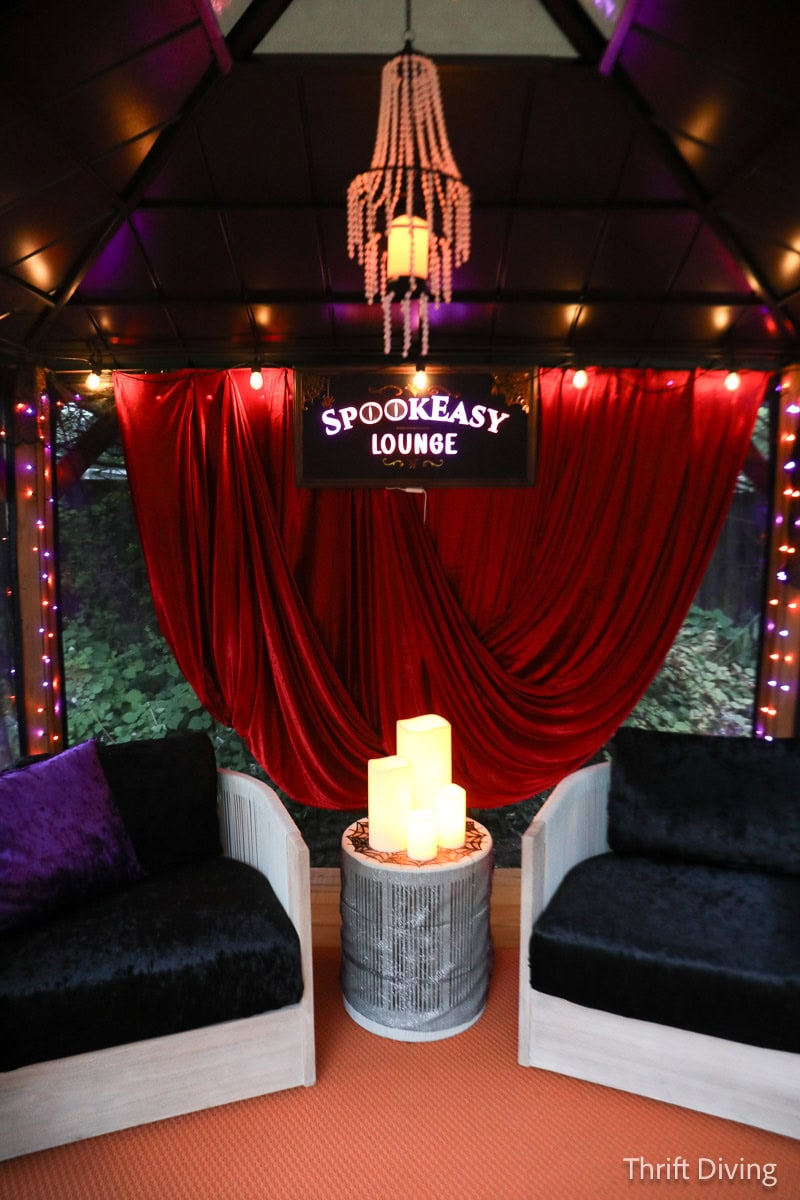
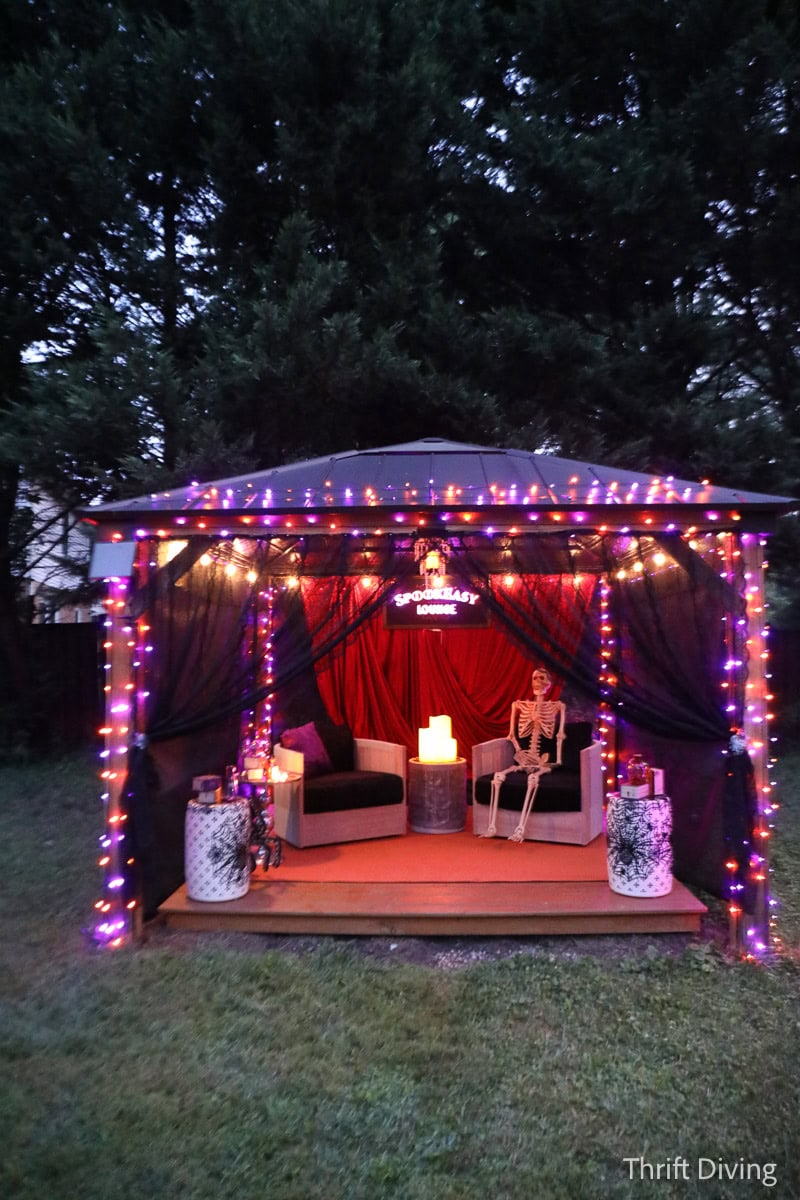
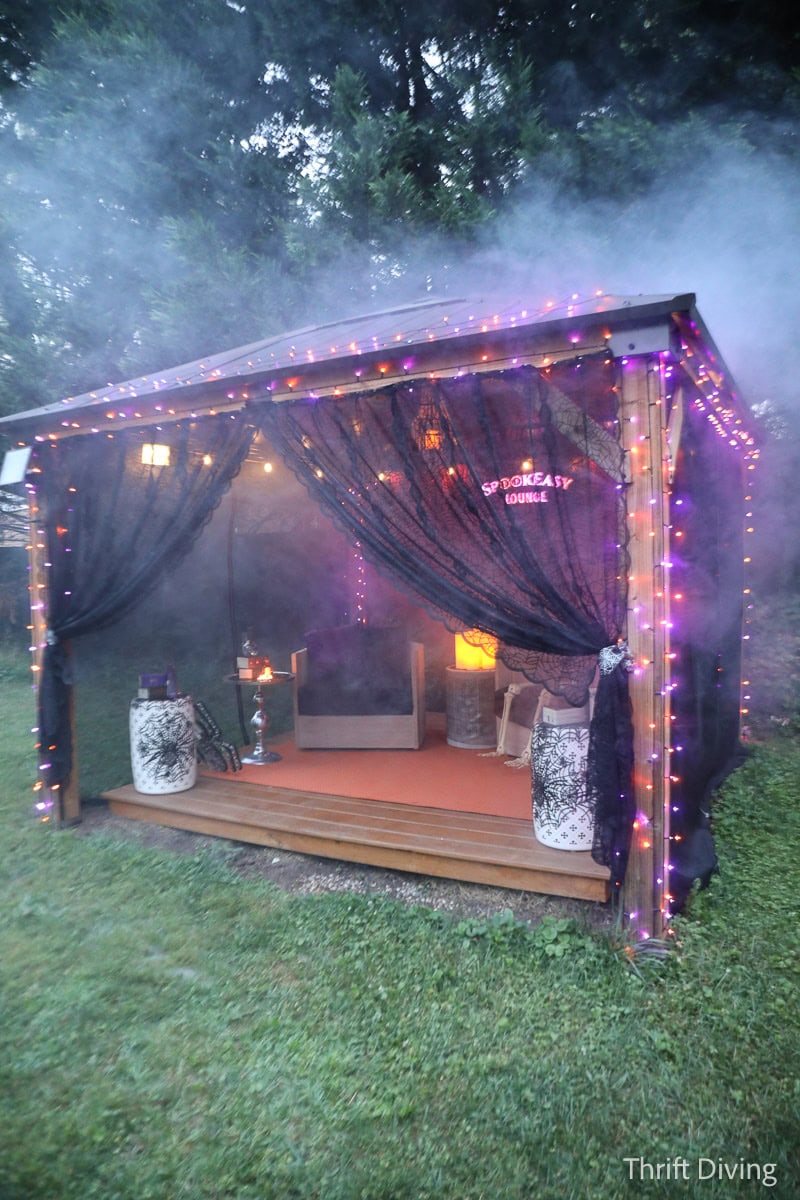
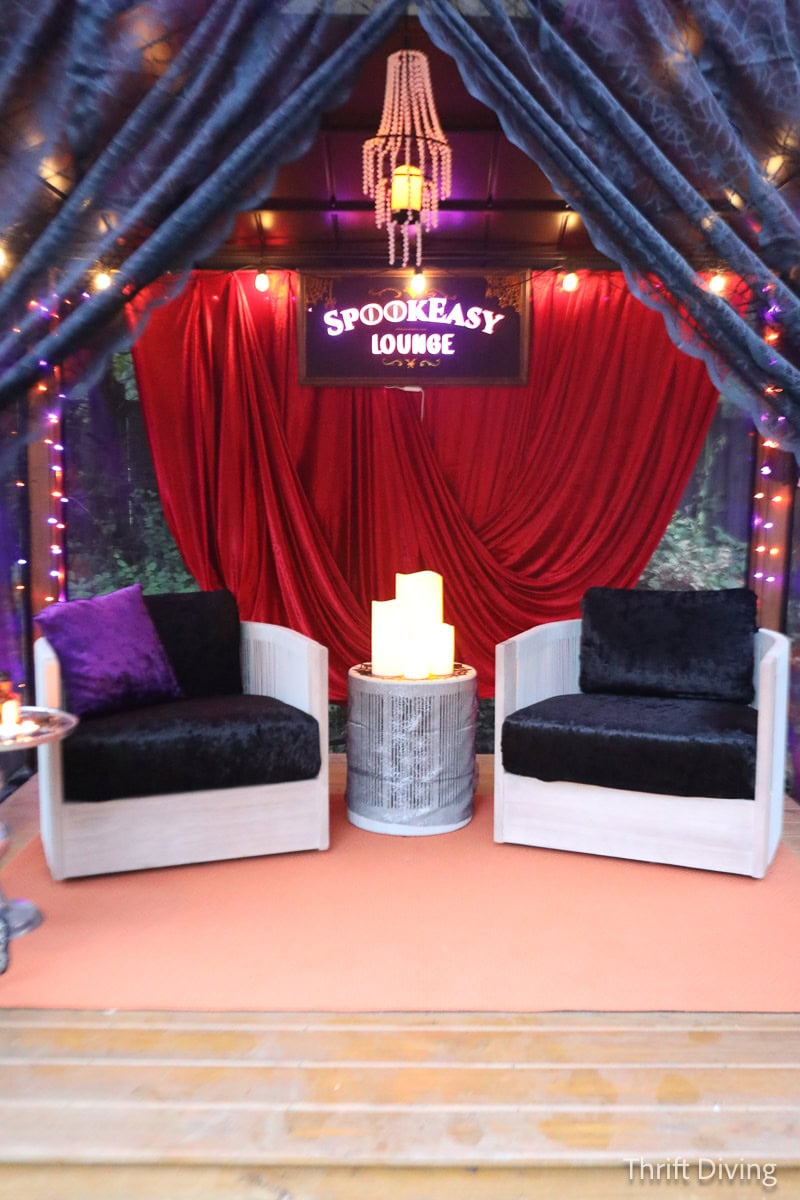
What better way to pour some whimsy into my life than with a backyard “SpookEasy Lounge” with Halloween lights, rich velvet seating, a custom laser engraved light-up sign, and DIY lacy curtains!
Love this project? Click here to save it on Pinterest!
BEFORE
AFTER!
I loved how the gazebo turned out! I’ve never had an entire structure lit up for the holidays, much less be a cozy hangout spot in the yard. We are absolutely loving this!
Tools
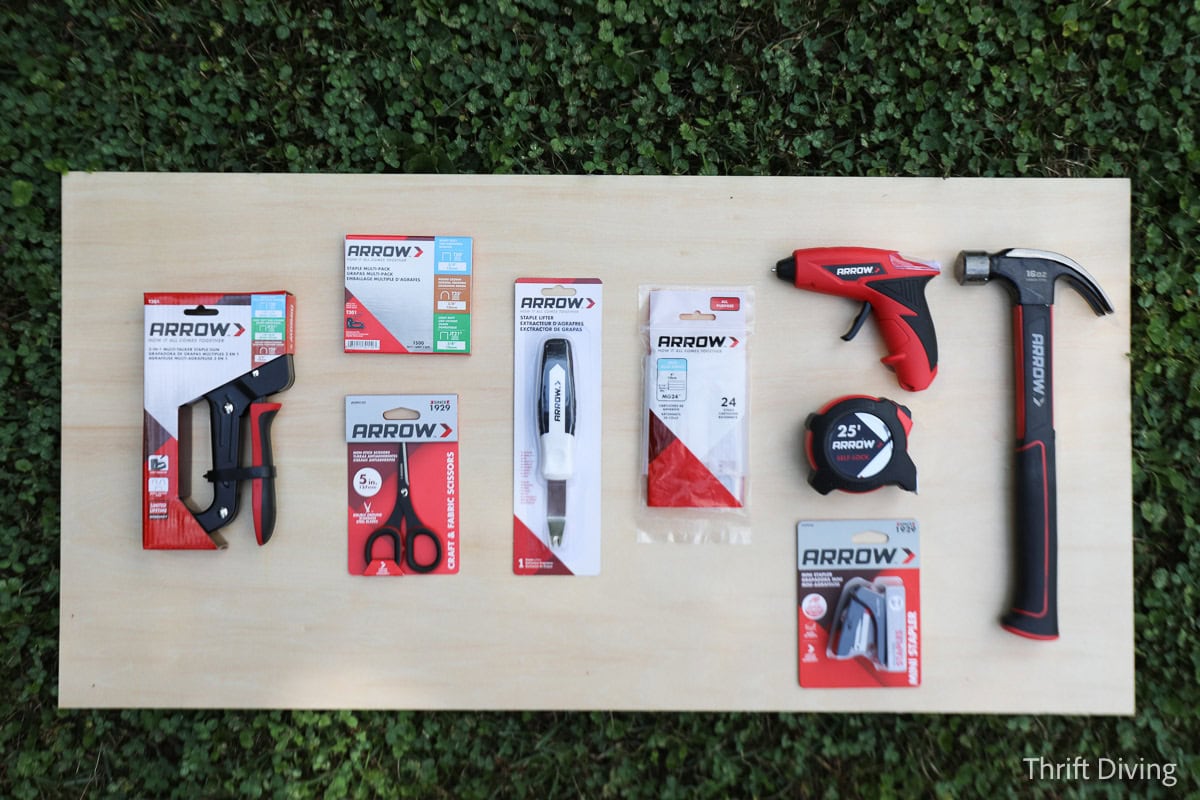
Here are the tools I used to create this outdoor Halloween SpookEasy lounge:
- Arrow T301 Multi-Tacker Stapler Kit
- Arrow Cordless Glue Gun
- Arrow 5″ craft scissors
- Arrow hammer
- Arrow tape measure
- Laser engraver (optional)
- Sewing machine (optional)
Materials
Here are the materials I used to create my backyard SpookEasy Lounge.
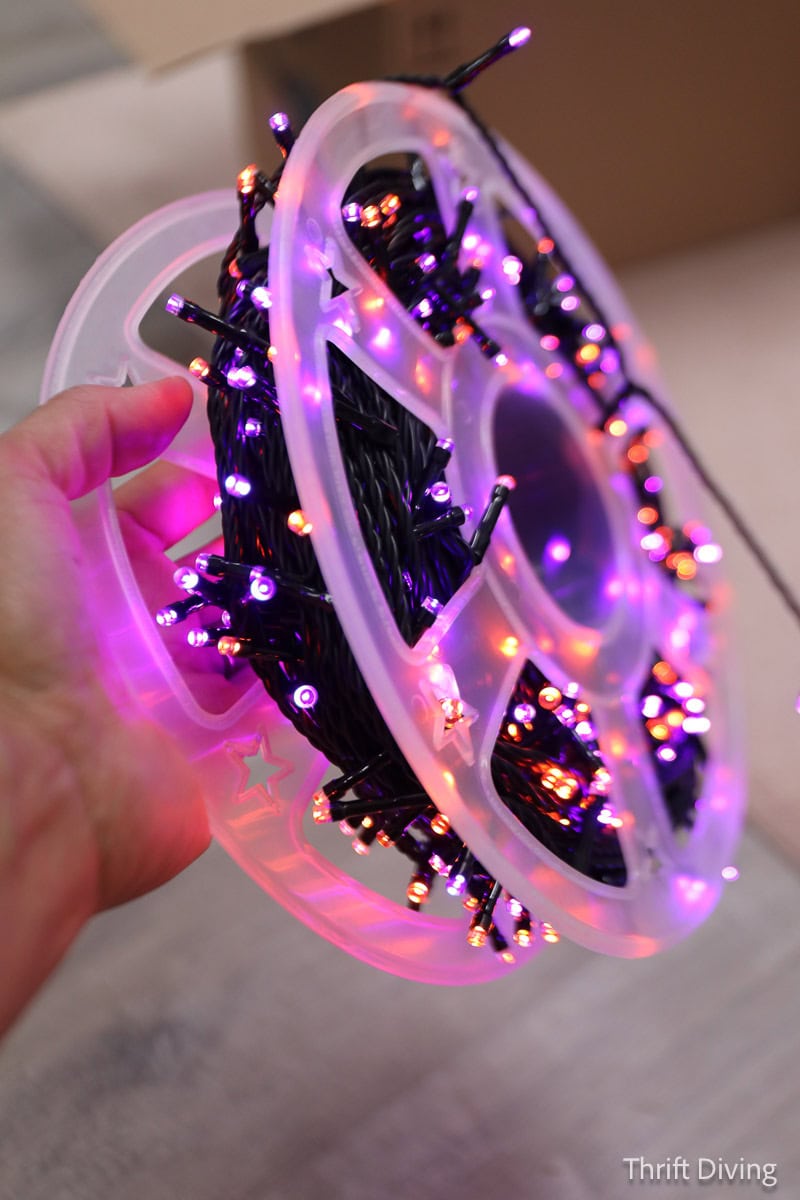
- Halloween LED Lights (500 count)
- Dollar Tree Lacy Halloween Table Runners (for the curtains)
- EcoSmart LED Light Strip
- Glue sticks
- Black spray paint
- 1/8″ wood for front and back of light-up sign
- 3/4″ wood for light-up sign frame
- Nails, screws, or brad nails
- Frosted acrylic (1/8″ thickness)
- Velvet fabric (red, black, purple)
- Outdoor solar hanging light
- Dollar Tree Halloween decor
Watch: Outdoor Halloween Decorating: LIGHT THE FRIGHT!
Catch the entire tutorial on my YouTube channel!
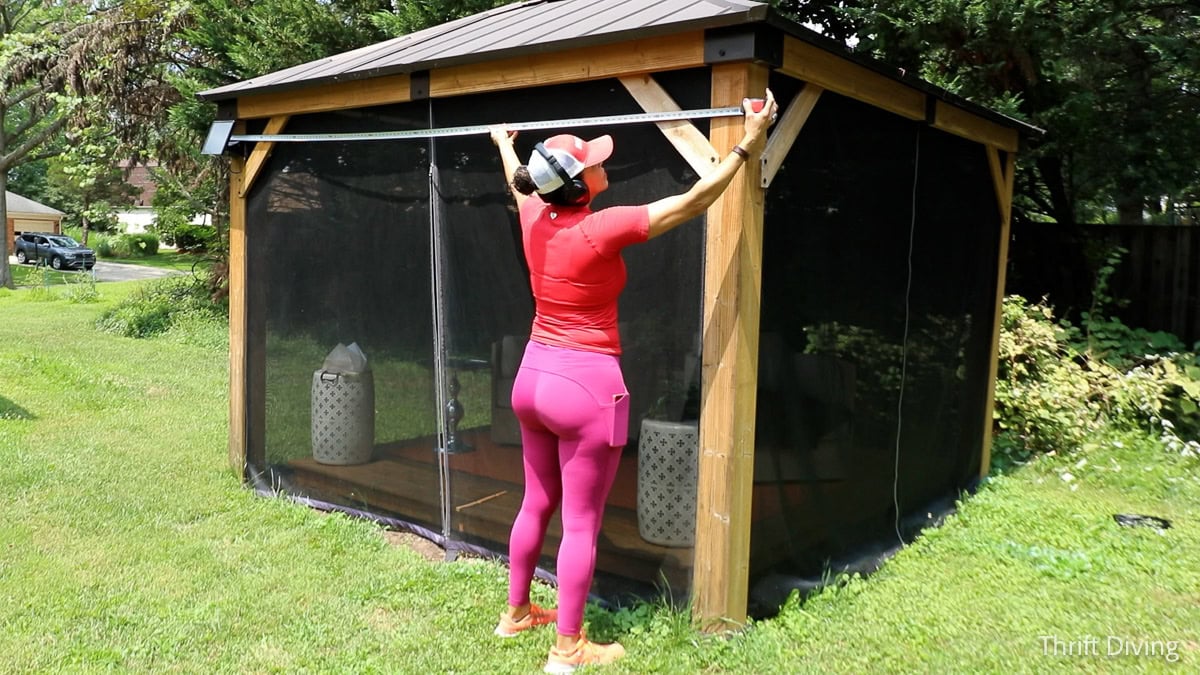
Measuring My Gazebo Height and Width
I completely over-estimated how many Halloween lights I would need, so I definitely recommend using measurements to decide not only how much velvet fabric you’ll need, but to figure out how much lighting you’ll need. With measurements, you can figure out a lighting path, so be sure to note:
- The height of the posts.
- The width between the posts.
- Whether lights will be on the outside and/or inside of the gazebo.
- Whether lights will be on the roof/ceiling.
Hanging Outdoor Halloween Lights
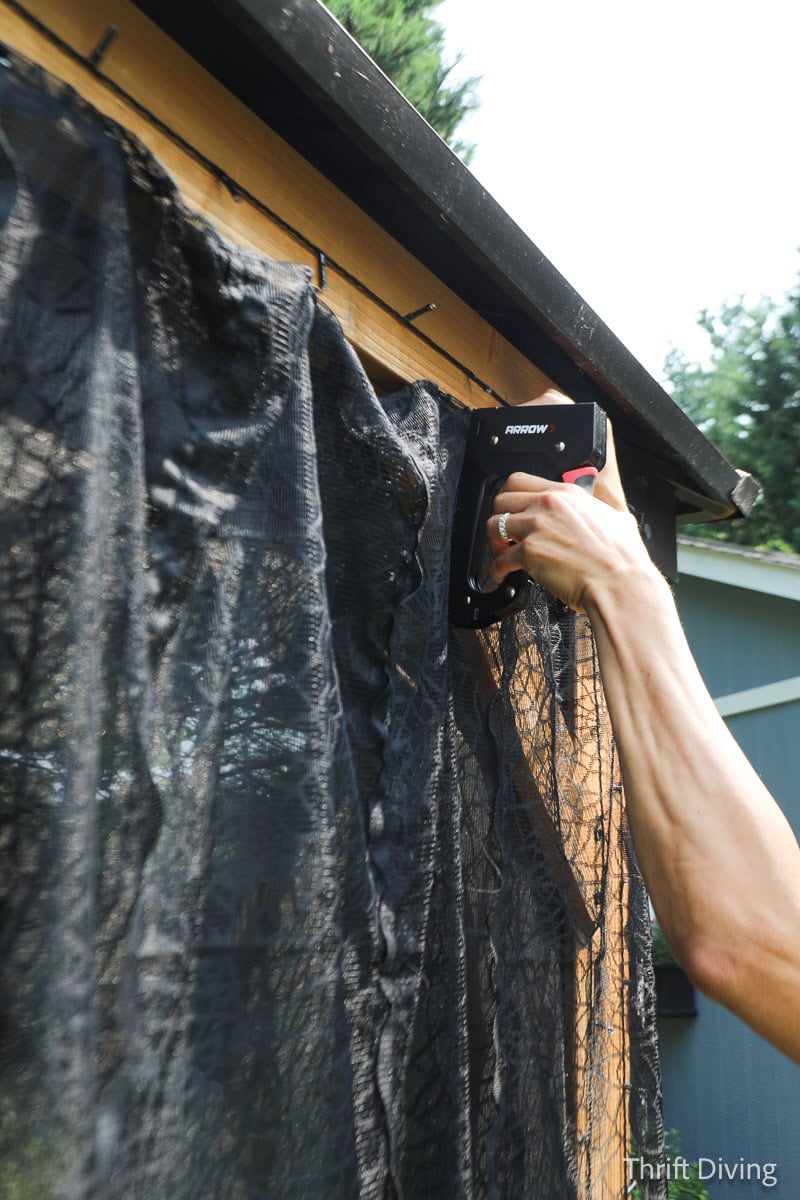
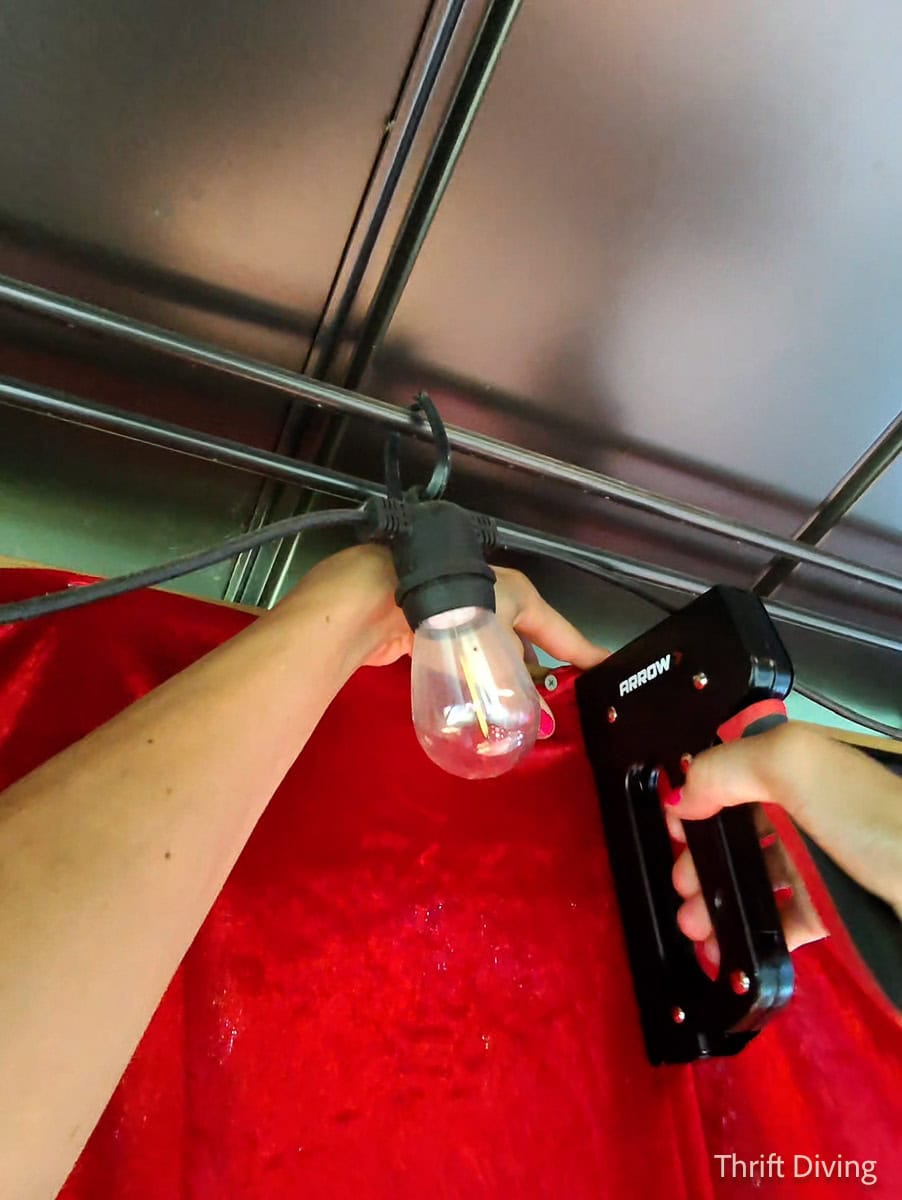
One of my most versatile tools is this Arrow T301 Multi-Tacker. It can shoot three different types of staples that comes in the kit. You can buy more packs of staples to shoot various sizes with this stapler, too. I can use it for craft projects, light upholstery, and yes, installing holiday lights.
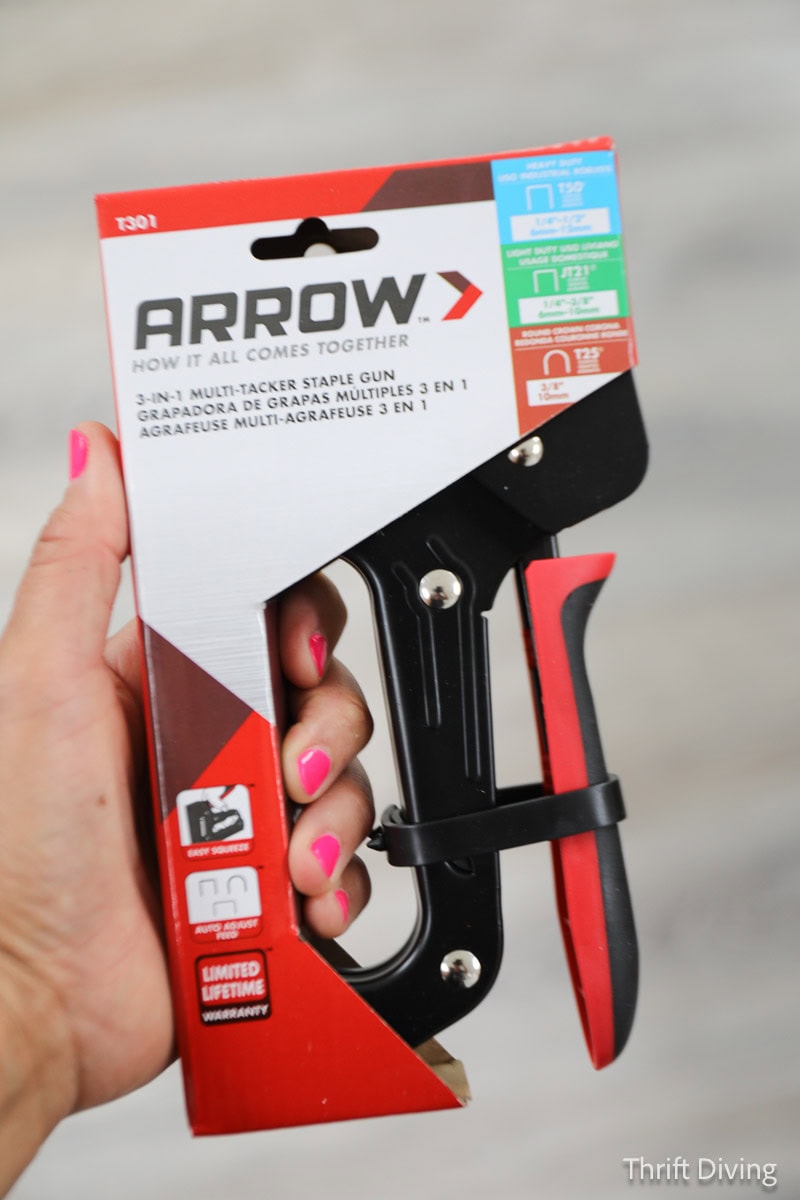
When putting up lights, you can’t use regular staples because the wires can get damaged. You need the rounded staples. The Arrow staples are what I’m using for hanging lights on my gazebo, with the multi-tacker stapler.
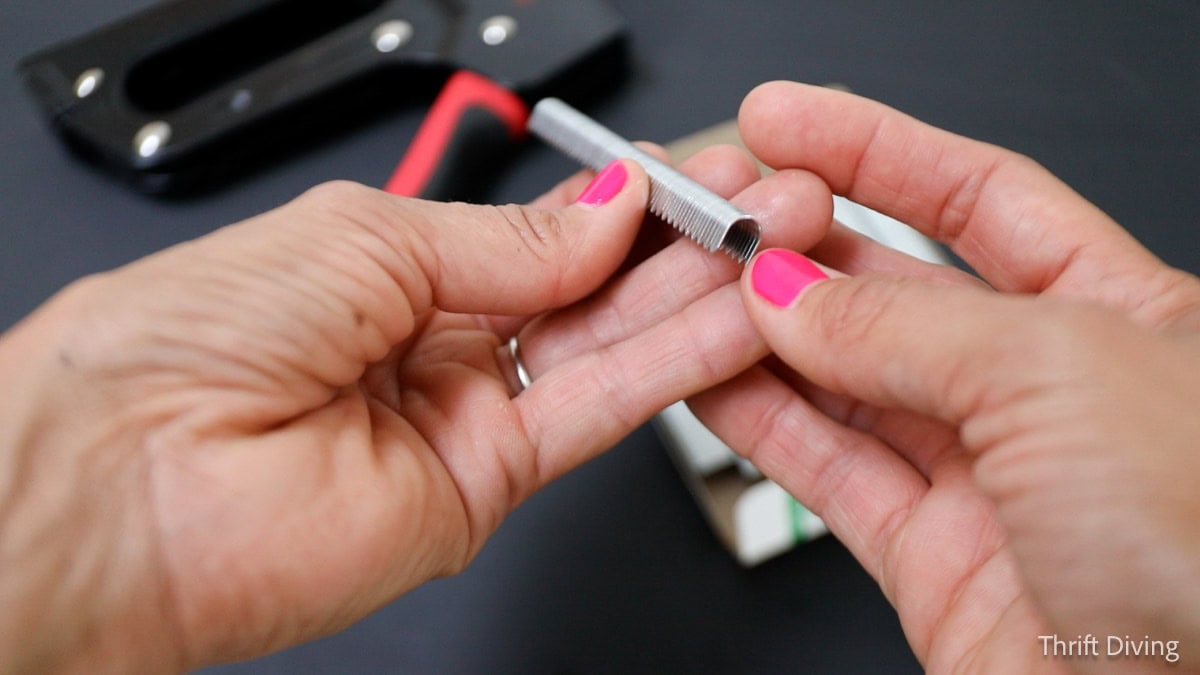
With the rounded staples, the wires are nestled underneath safely without damaging the delicate wires.
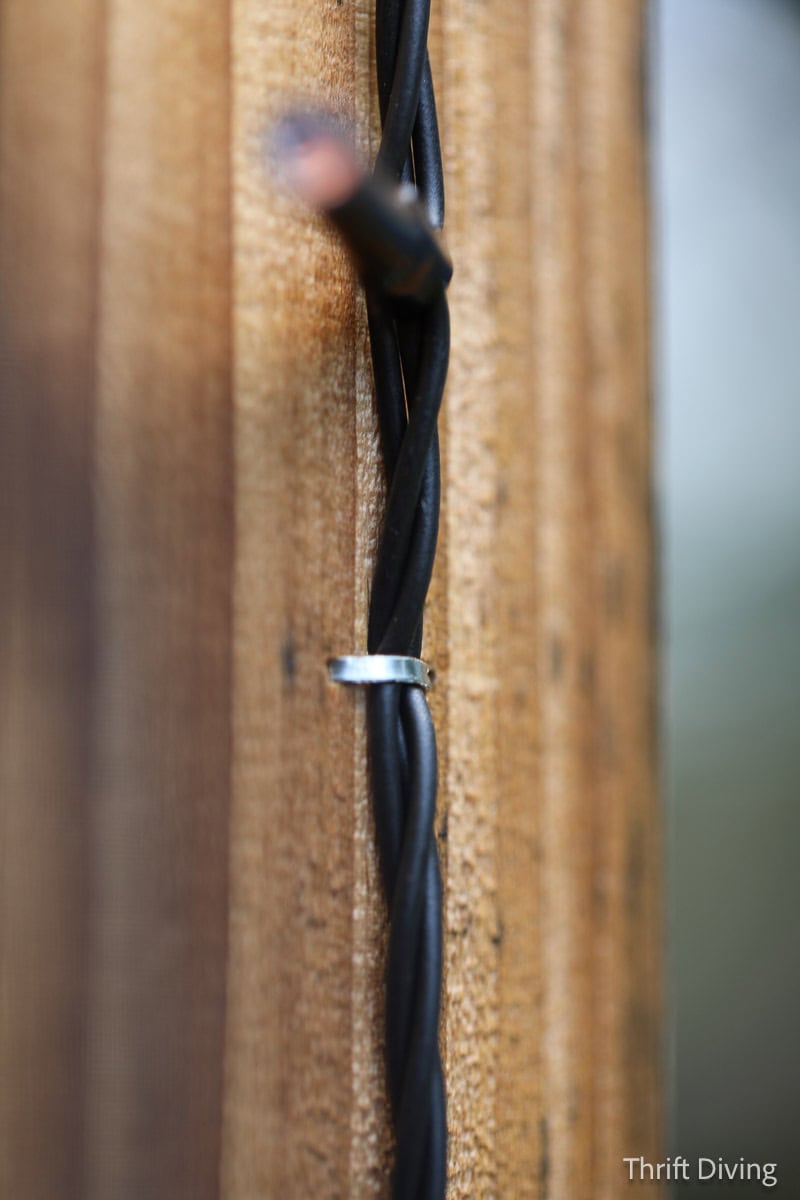
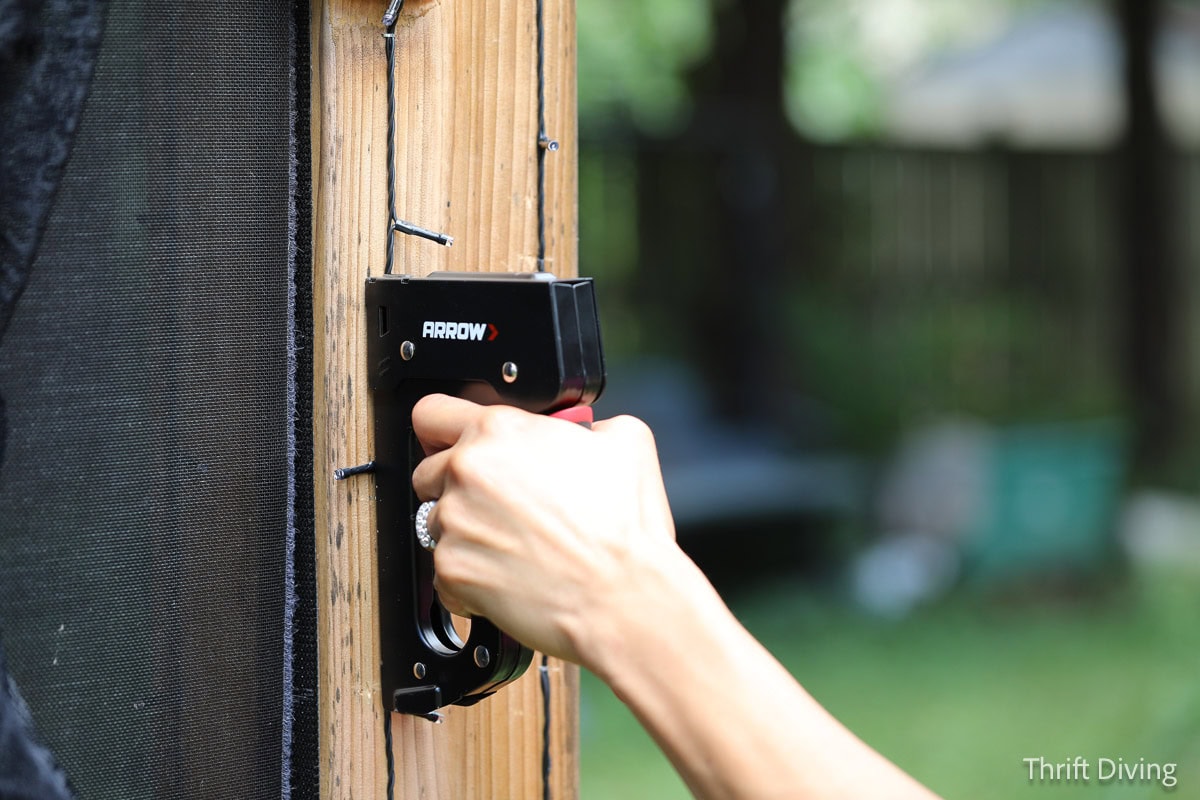
I ran the wiring across all the outside posts and beams of the gazebo, stapling every 12″ to 24″. I made a mistake and had loaded regular straight staples (T50) into my multi-tacker stapler and accidentally cut into the lighting wires, damaging them. I discovered the accident when I was almost done installing the lights, when I tried to plug them in and they didn’t turn on (doh!).
I ended up having to pull them off and start over with a new spool of Halloween lights that weren’t damaged. Then, I made sure my multi-tacker was loaded with the rounded T25 crown staples that are made specifically for low-voltage wiring, protecting and securing them without the damage.
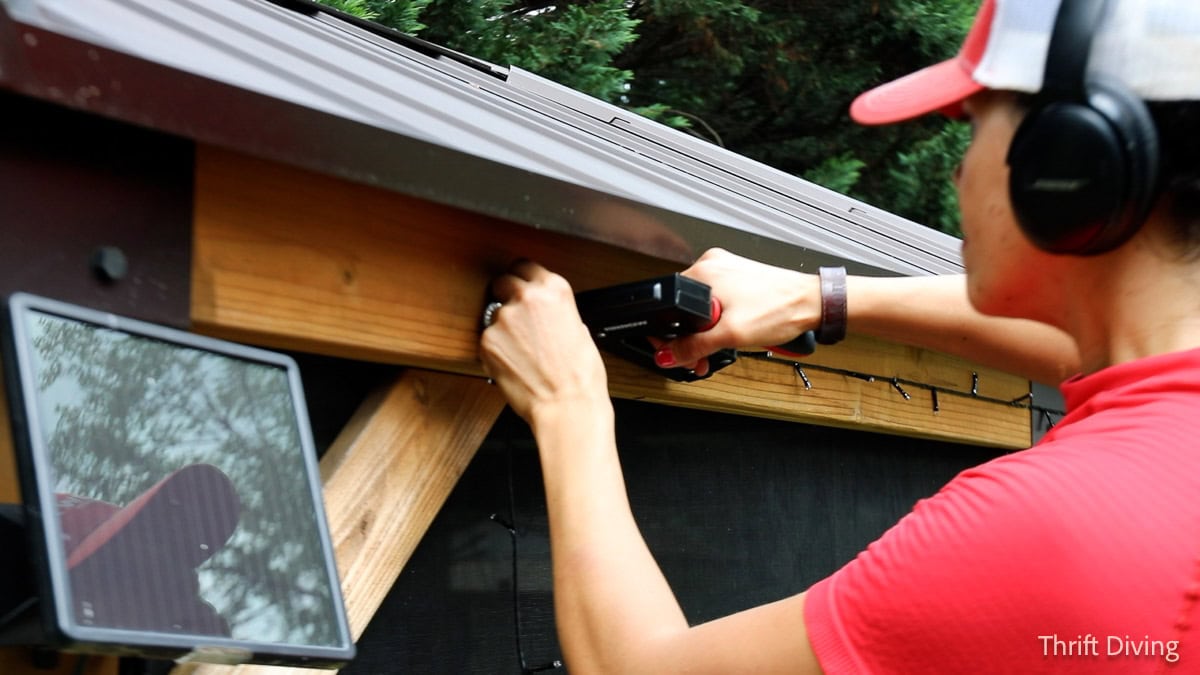
I wasn’t sure if I wanted all the lights to go in the same direction or not, but this stapler can handle that, too, if you want your lights to be really neat and aligned.
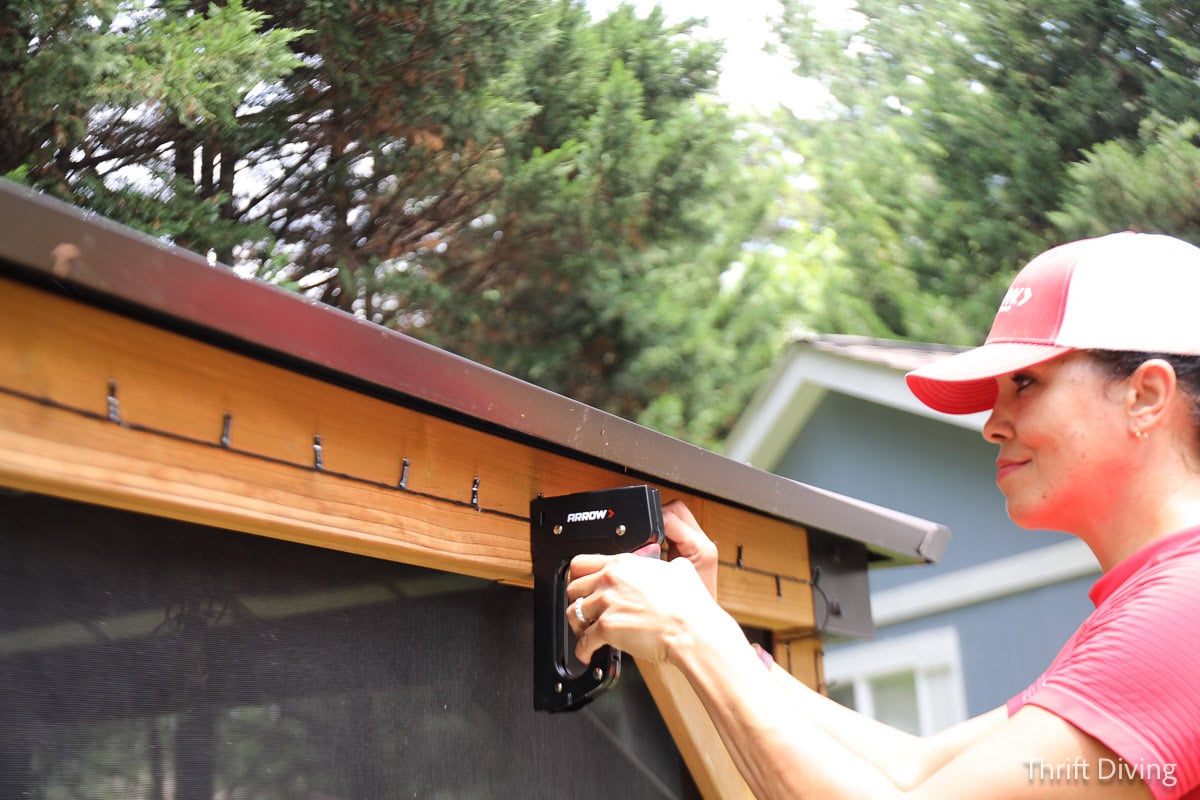
I used one and a quarter spools of 500-string Halloween lights. I wanted to continue the lighting up the roof, but 1) I didn’t have a way to get up there safely, and 2) I had to use magnets and hot glue to secure the lights, which was an extra expense, so I only did a couple rows up on the roof.
DIY Halloween Light-Up Sign!
This was another fun part of this project! It wouldn’t have been possible to make it without my xTool laser engraver. Adding a laser engraver to my arsenal of DIY tools helps me to create projects that I would otherwise not be able to do (or it would take forever).
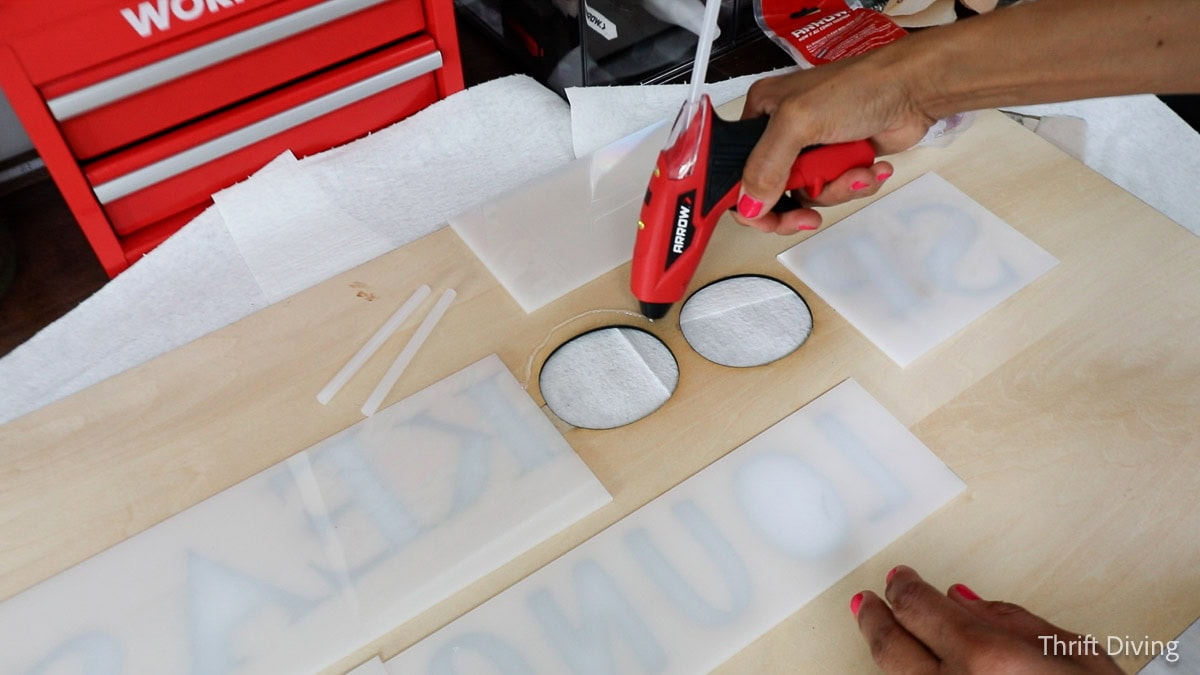
I used my laser engraver to cut out SPOOKEASY from a sheet of 1/8″ basswood, then laser cut frosted acrylic pieces to hot glue behind the letters so they’ll glow with an LED light strip.
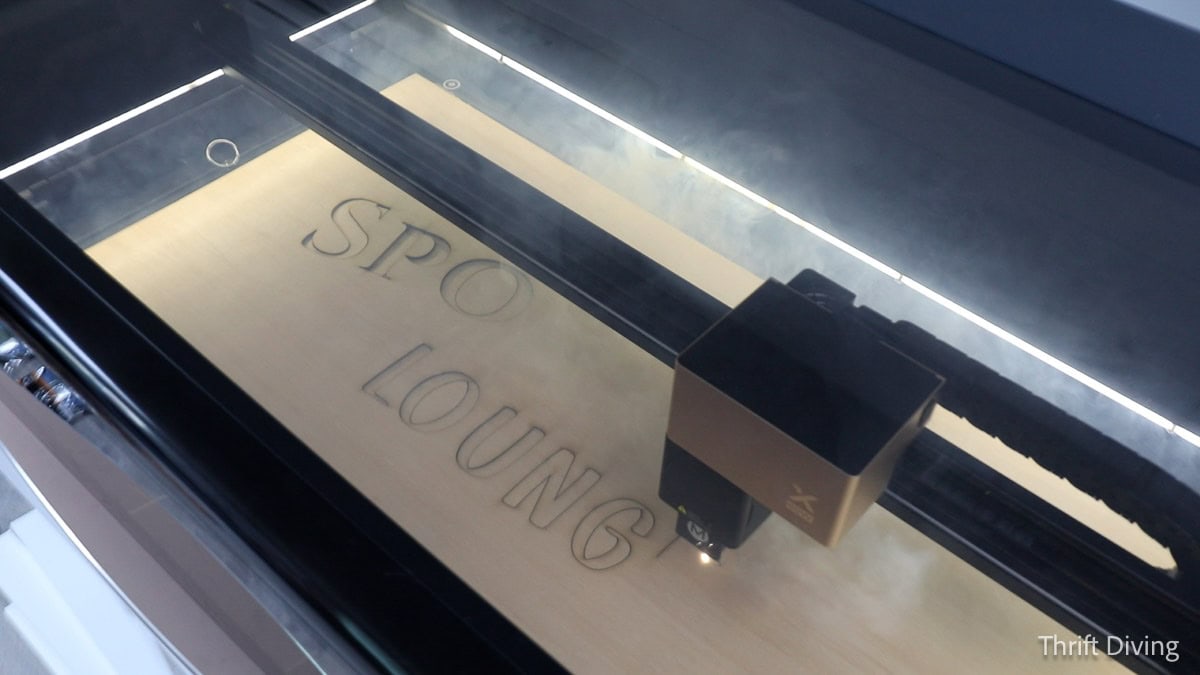
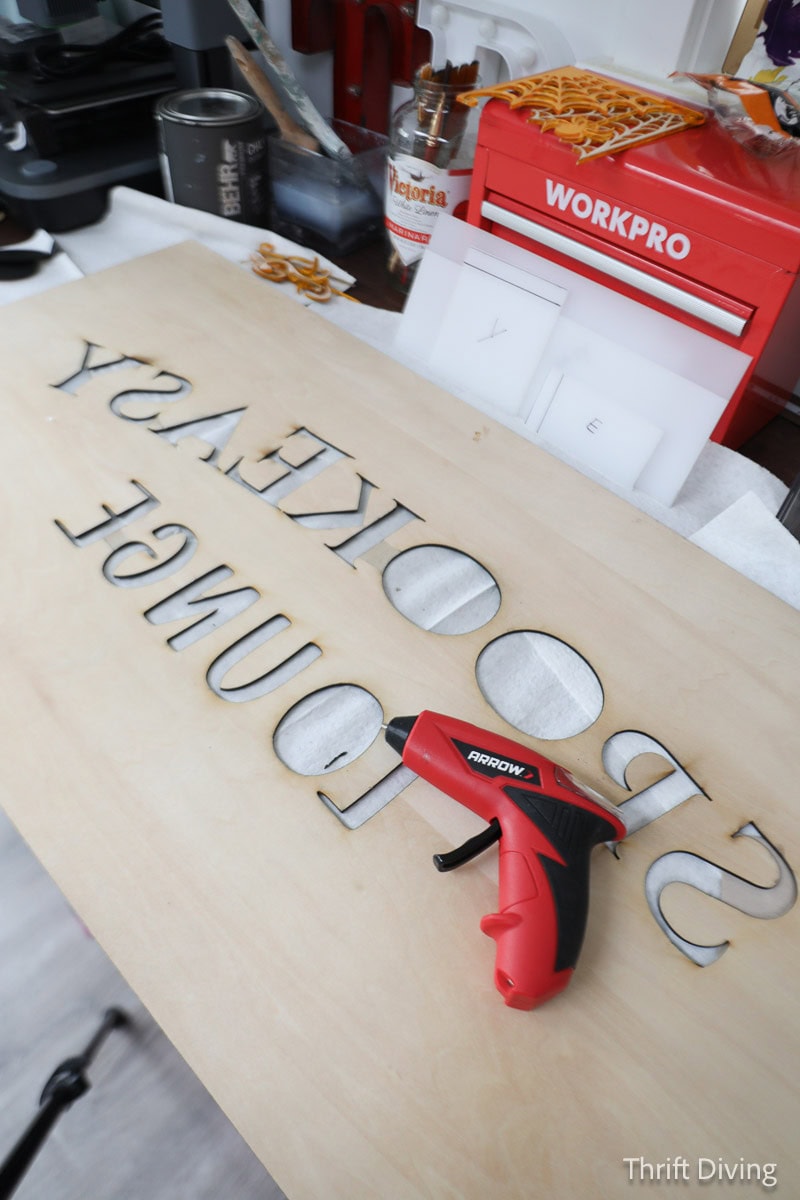
The key is to not add too much hot glue so that it seeps onto the acrylic letters once pressed into place. I tried using super glue, but I found that that didn’t work quite as well as hot glue.
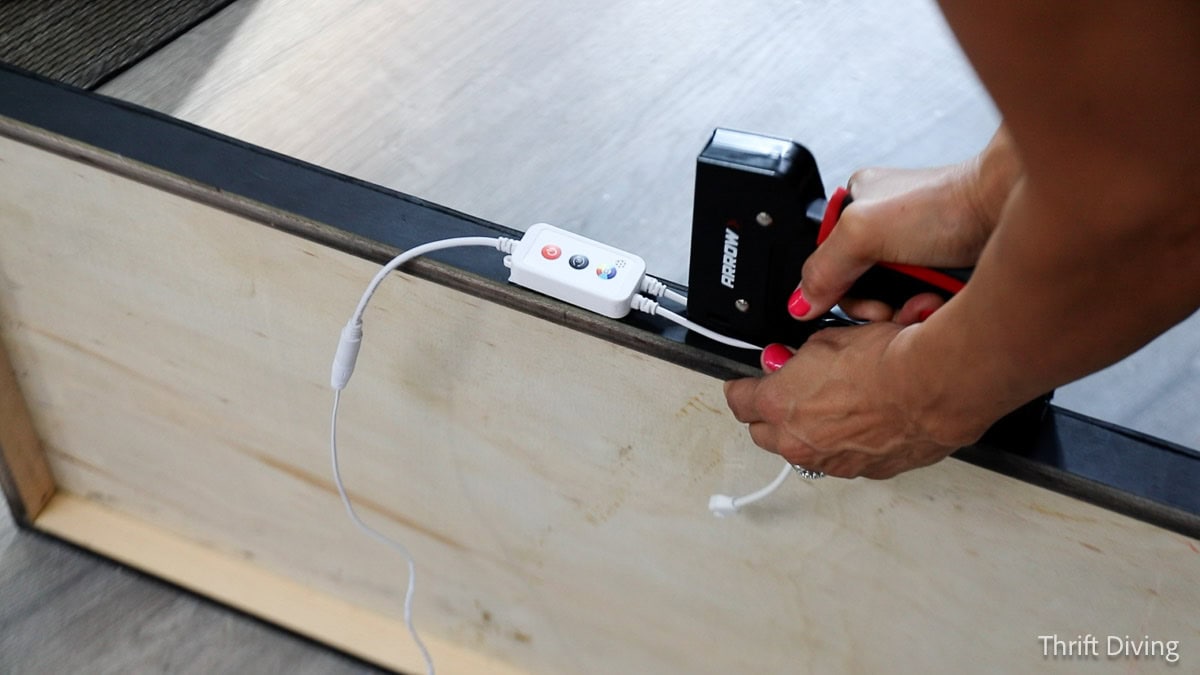
I had some scrap wood lying around. I built a narrow frame with wood glue and brad nails, then mounted the control box to the bottom of the frame with Velcro. I drilled an access hole to feed the wires through. I didn’t want the wire to poke out, so I used my T301 multi- tacker with T25 rounded crown staples to secure them to the bottom of the frame.
This is the second light-up sign I’ve made, and what I learned this time around is that when you’re using frosted acrylic, you can place the LED strip directly in front of the frosted acrylic so the words are much more vibrant than just mounting the LED strip around the perimeter inside the frame. While it’s got a sticky back, they can come undone over time, so I used hot glue to secure the strip to the box.
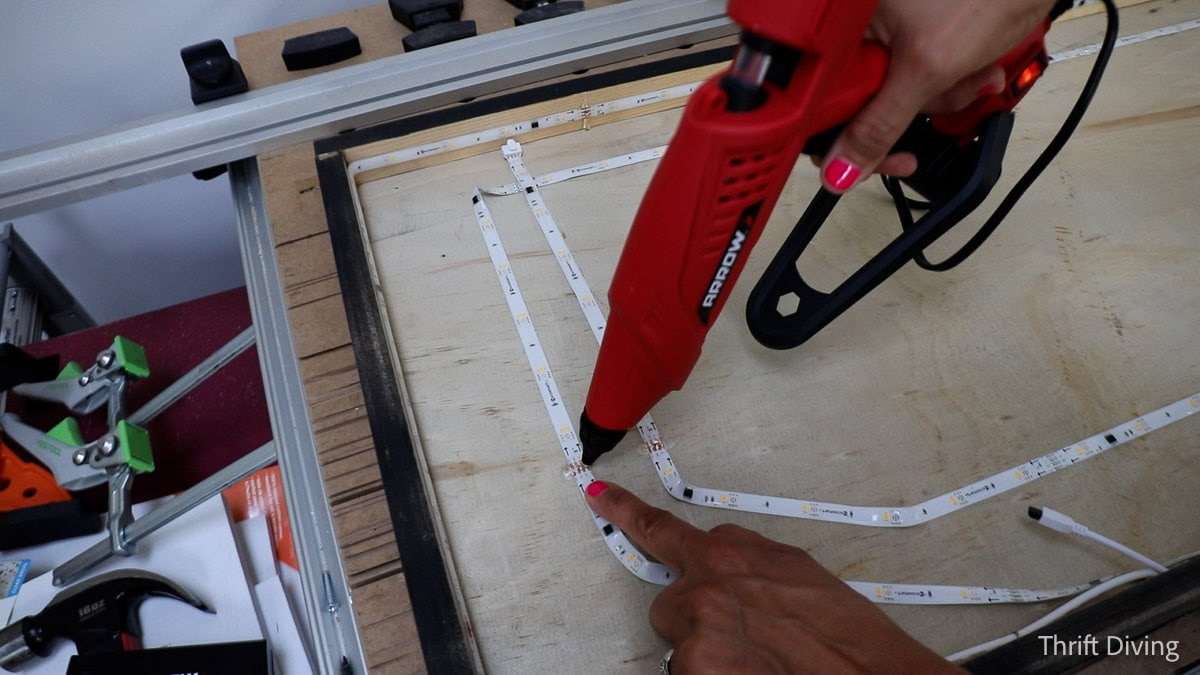
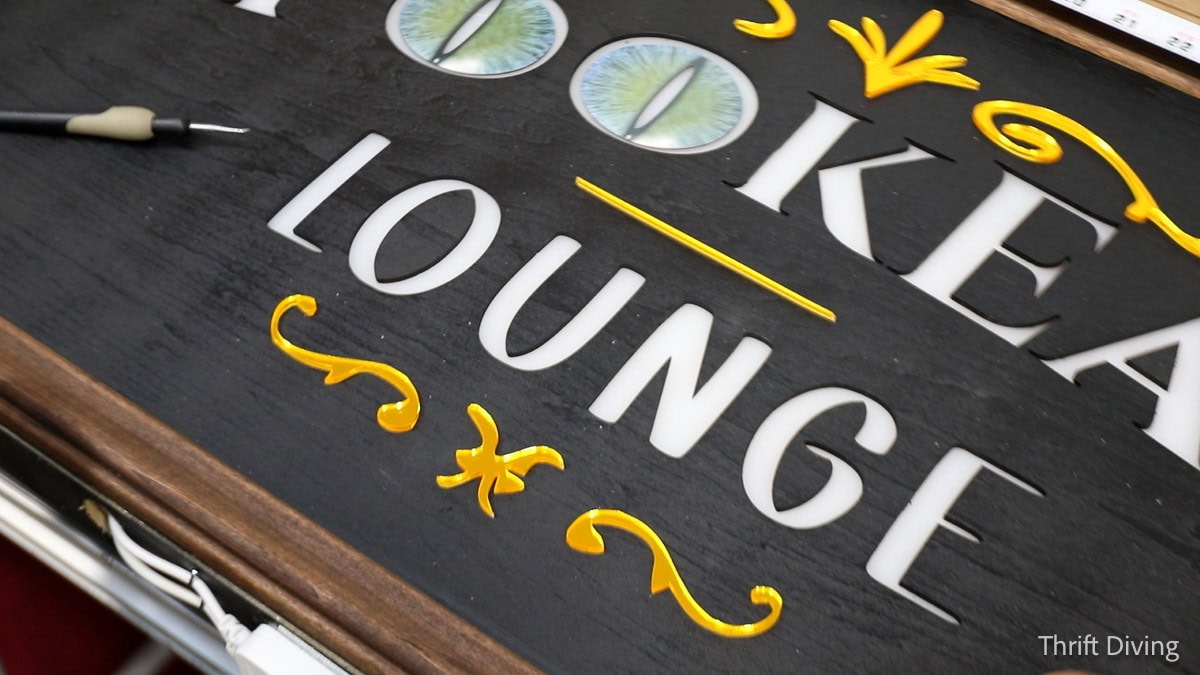
Once the lights inside were secure, I attached the front panel with brad nails. I had some trim lying around in my garage so I trimmed it with miter cuts (you can use a miter box for this), stained them, then glued them to the front of the sign. I also had laser cut flourishes and spider webs using mirror acrylic, attached with super glue.
Upcycling Dollar Tree Table Runners to Curtains!
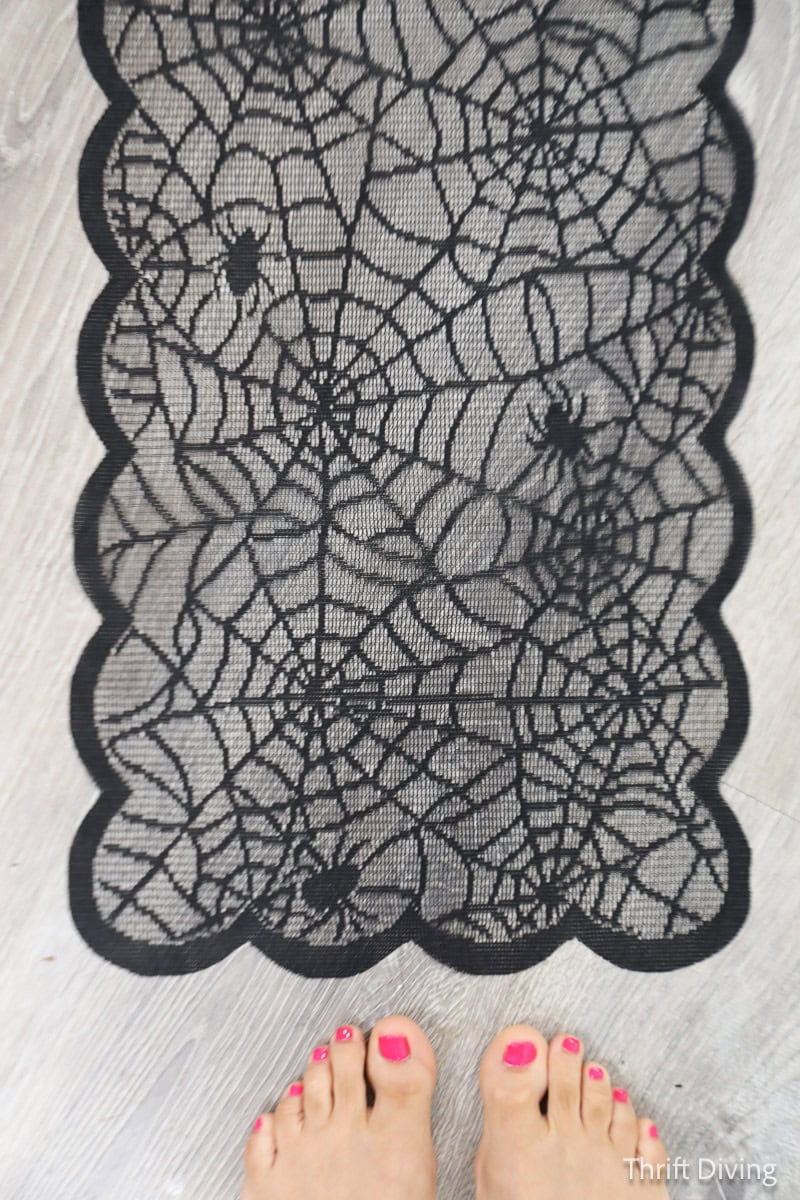
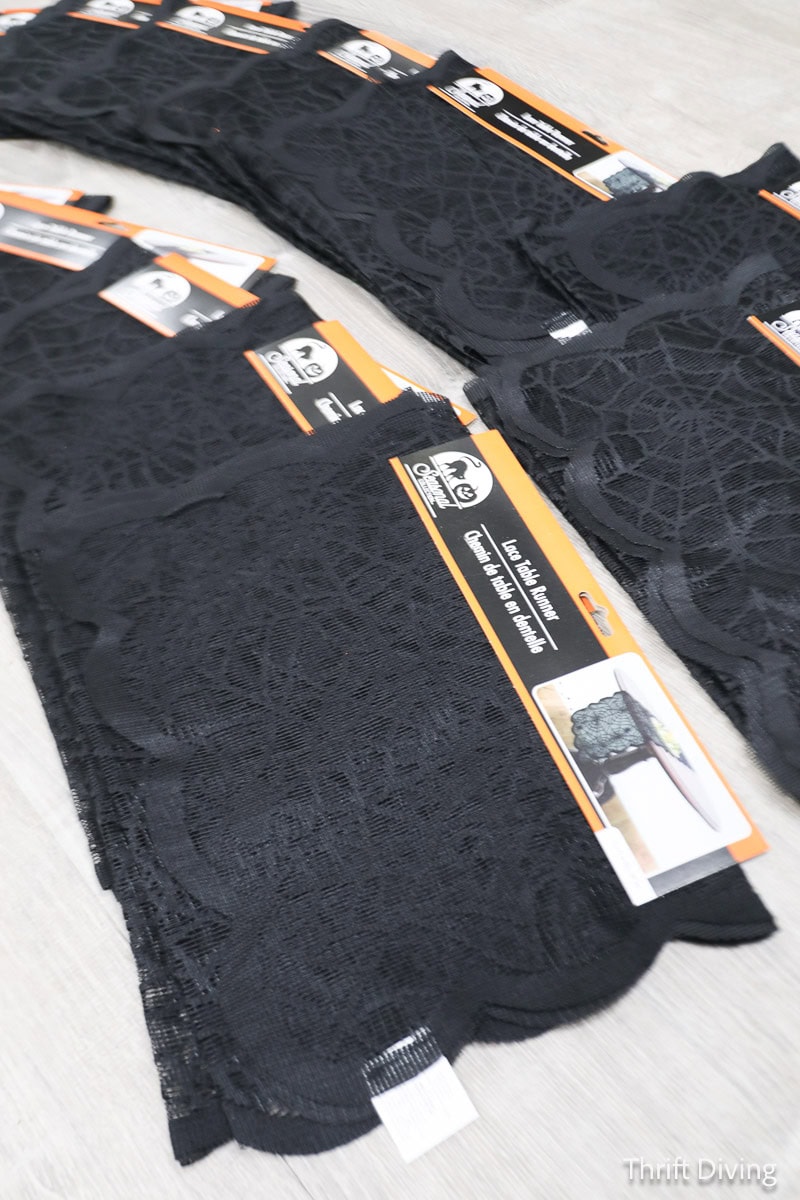
Holiday decor can be SO expensive, but it doesn’t need to be if you can think outside of the box. I wanted lightweight Halloween fabric to frame the entrance of the gazebo, but I didn’t want to pay “by-the-yard” prices for it. I stopped by The Dollar Tree and saw that they had really cute lacy spider table runners with pretty scalloped edges.
Yes!
I could buy many and sew them together to make lacy curtains for under $15! I felt like I was on a Project Runway “Unconventional Materials” Challenge. I also thought, “HALLOWEEN COSTUME!” But of course, one project at a time, right? 🙂
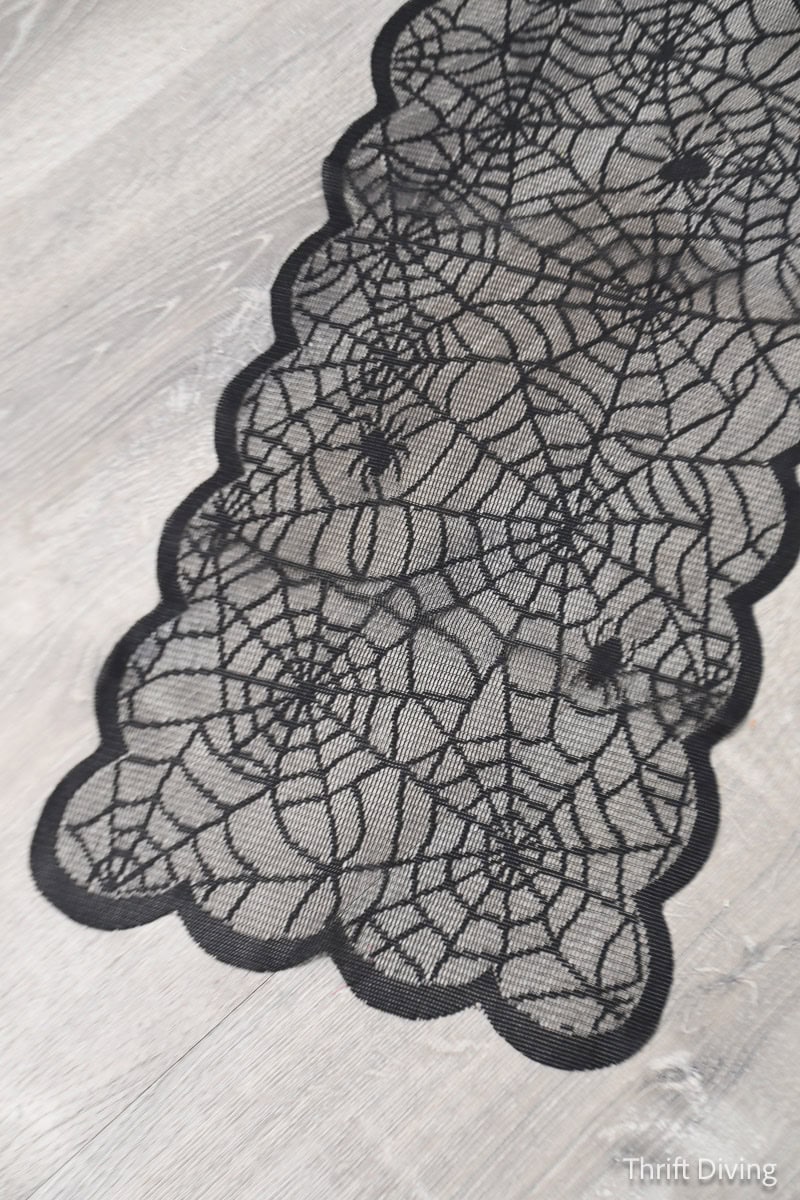
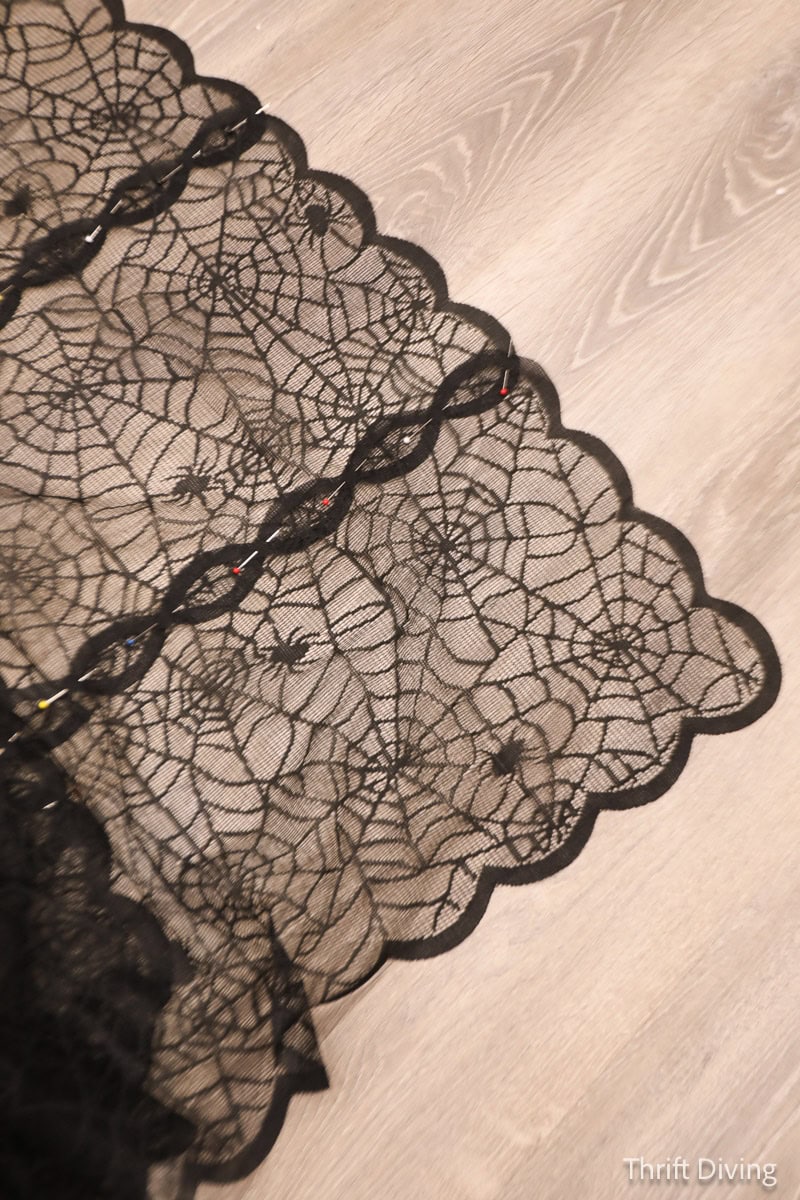
I loved how this little pattern emerged when I overlapped the scalloped edged and sewed them together! I had to adjust the tension on my sewing machine, as well as using a special sewing foot to prevent gathers. I also folded over the top to create a double thickness of lace so the staples had something to grasp without tearing the lacy material.
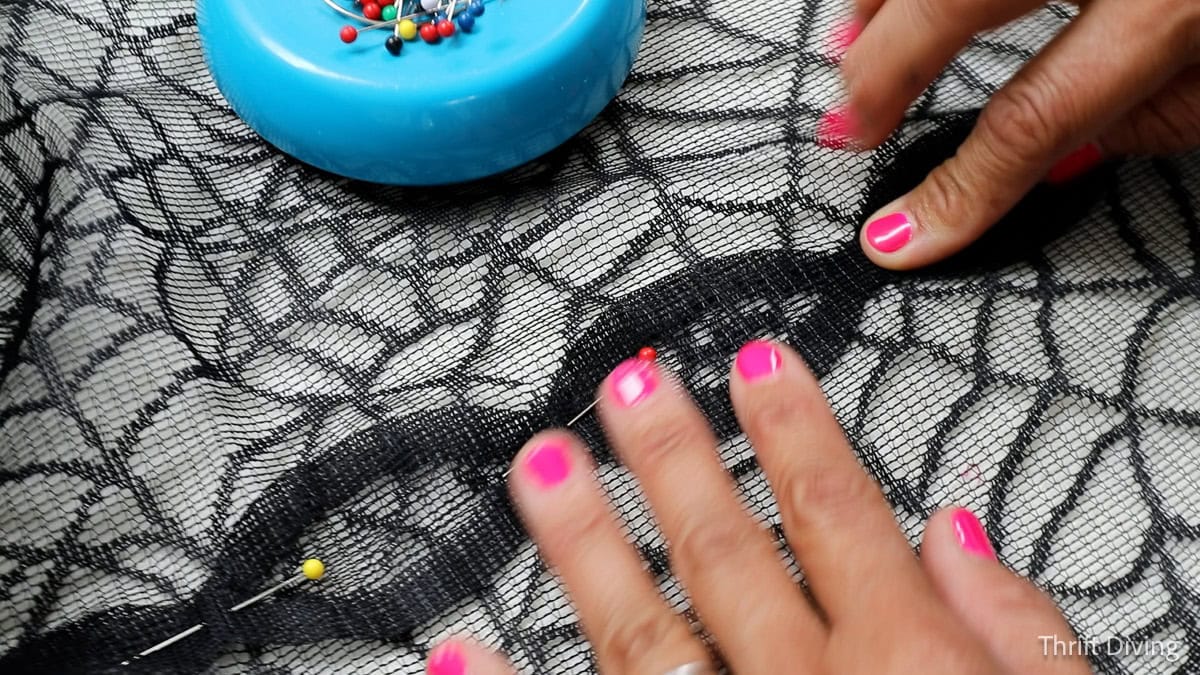
I made the curtains a little longer than the width, stapling one side of the panel in the center, and the other side close to the edge. I slightly overlapped the fabric to create gathers for a little fullness. They were only about 6-feet long, but since I didn’t need them to touch the ground and only needed them to frame the gazebo opening, that wasn’t a big deal.
Adding All the Finishing Touches
A SpookEasy Lounge is dark and moody. I had to cover the light, bright summery fabric of my existing seating. I ordered some black inexpensive velvet to wrap around the cushion, securing it with thread and elastic hair ties by hand. I also covered my summer pillow with gorgeous purple velvet fabric.
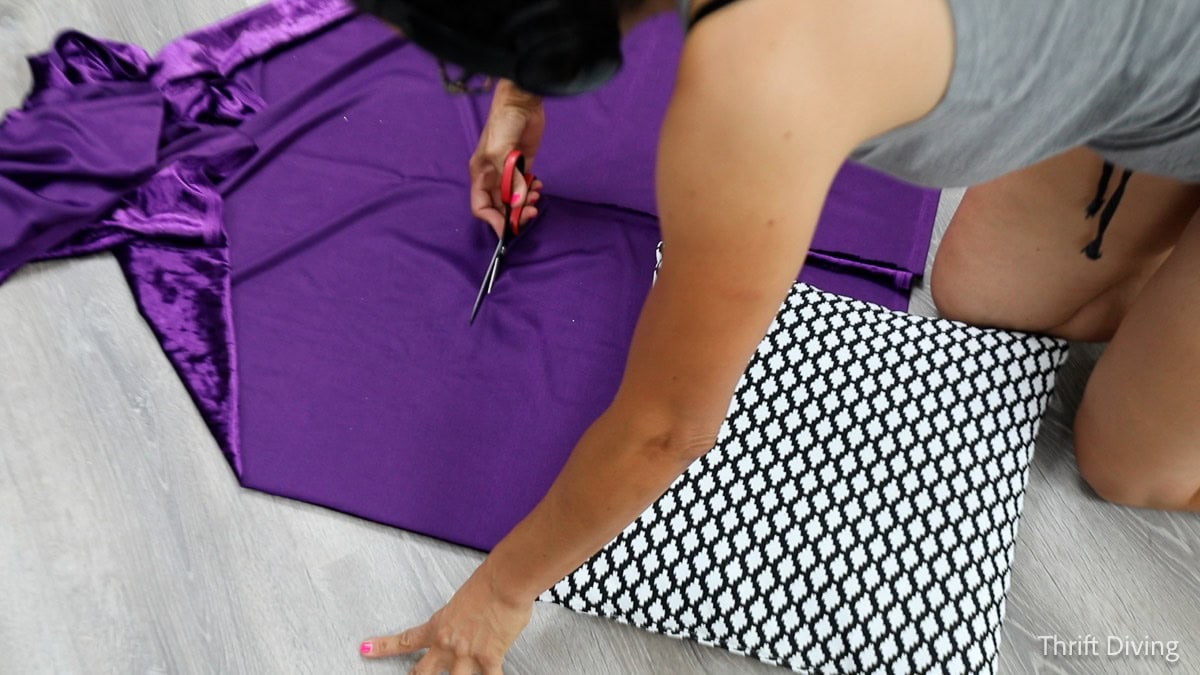
Every SpookEasy Lounge needs red velvet backdrops! I also added some red velvet and stapled it to the back of the gazebo to create a cozy environment that is reminiscent of a speakeasy.
I tried to drape it elegantly, but I failed miserably on my first attempt. It looked like a huge red diaper (see below). HA!
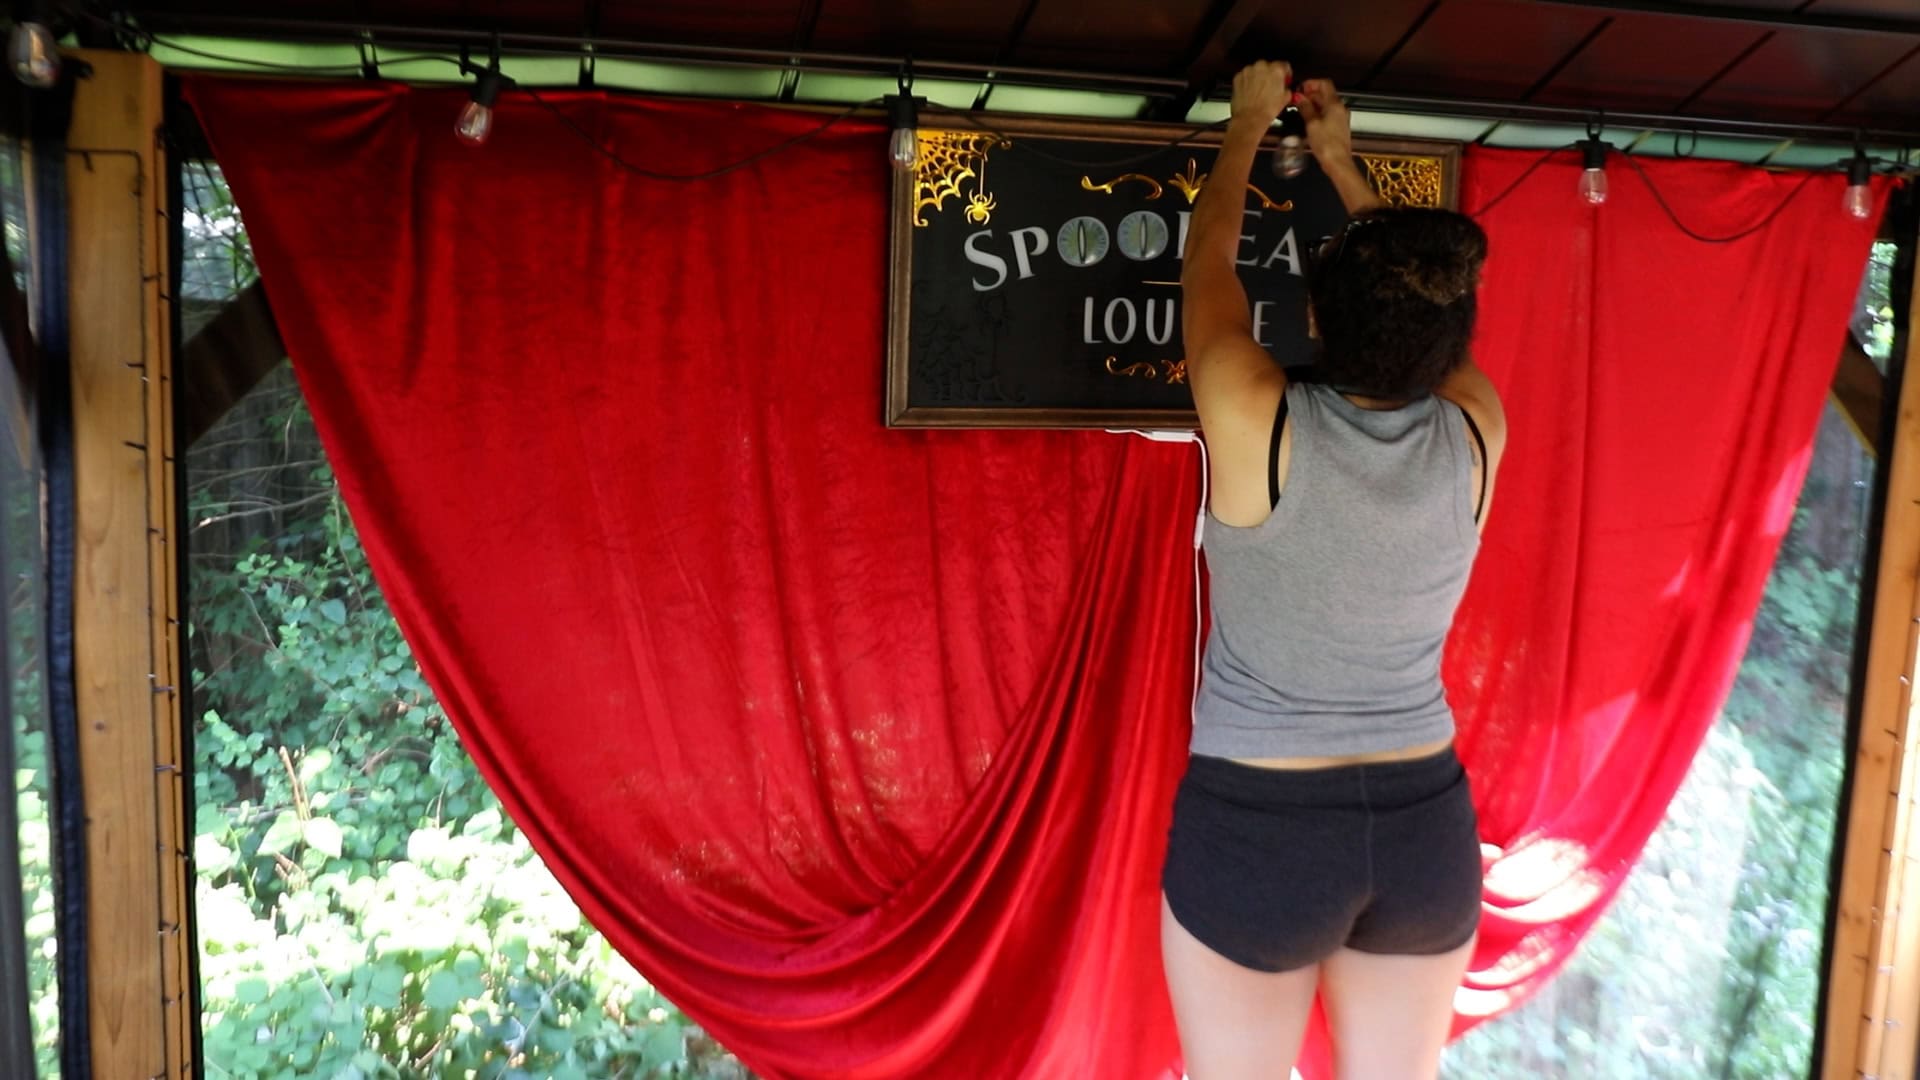
After the huge red diaper debacle, I pulled down the red velvet and repositioned it, then hung the SpookEasy sign. It looked fantastic! The first time I draped and stapled the fabric, it was only 5 yards. But for my second attempt, I used two pieces of 5-yards of velvet, working them from each side to create more of a layered effect. Much better!
The Dollar Tree also had some spider web placemats. Those were perfect for hot gluing onto my existing benches in my gazebo.
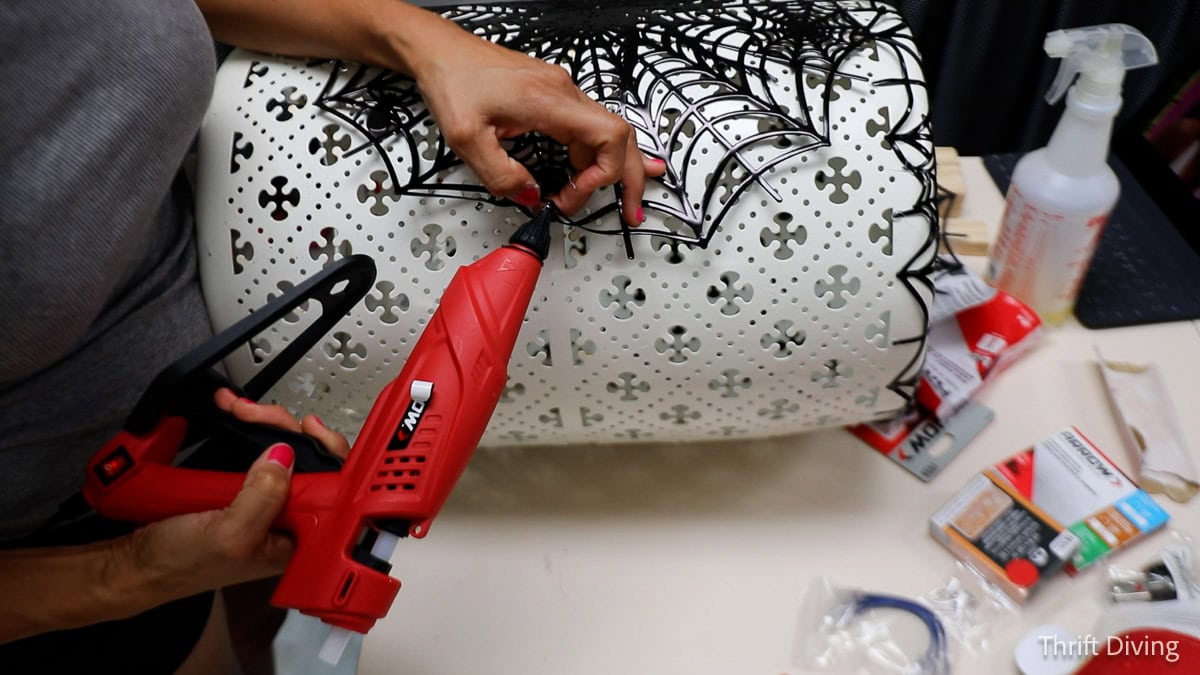
I wrapped the small tide table from the gazebo furniture in spider web ribbon and hot glued it into place.
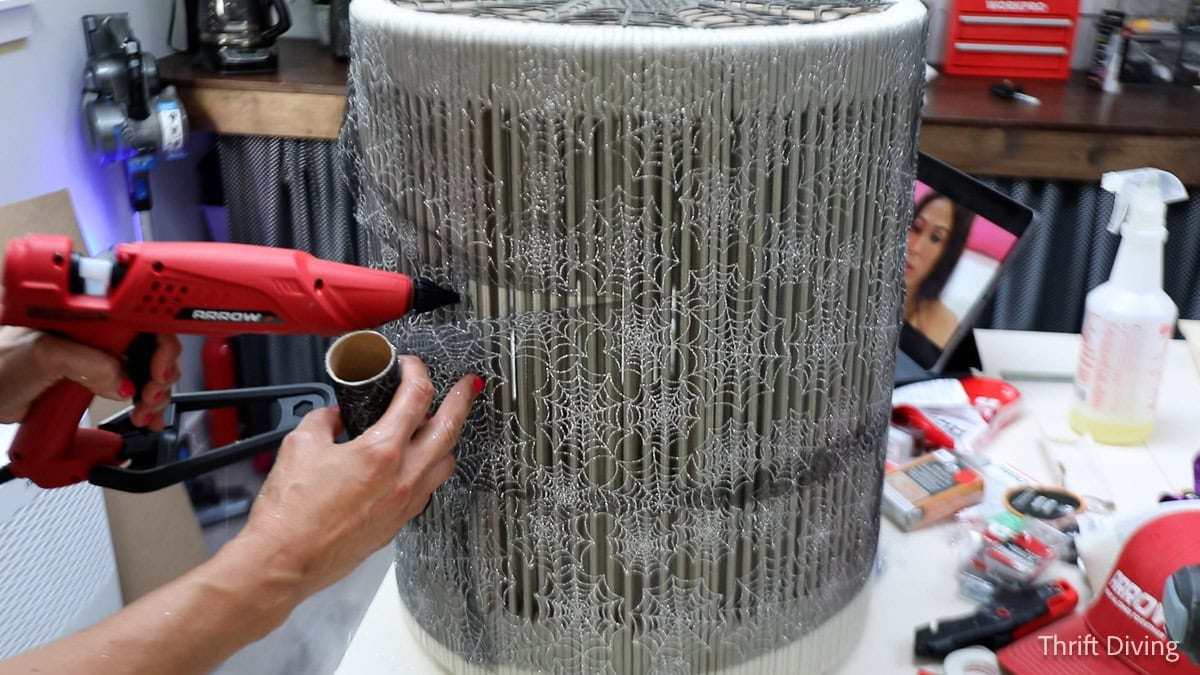
“Light the Fright” Halloween Gazebo!
This was such a fun project! It took me about a week or less, between the planning, shopping, scouring Michael’s and The Dollar Tree, and other places to see what Halloween decor they had in stock.
BEFORE
AFTER!
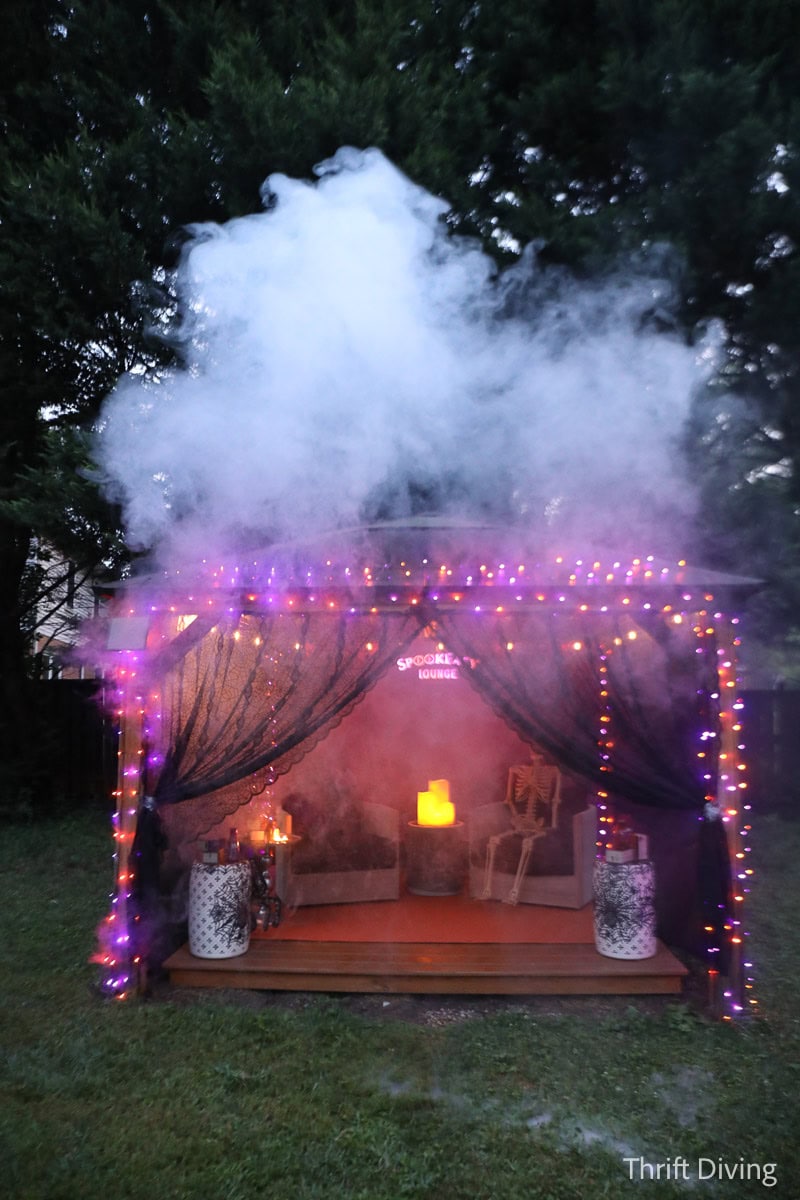
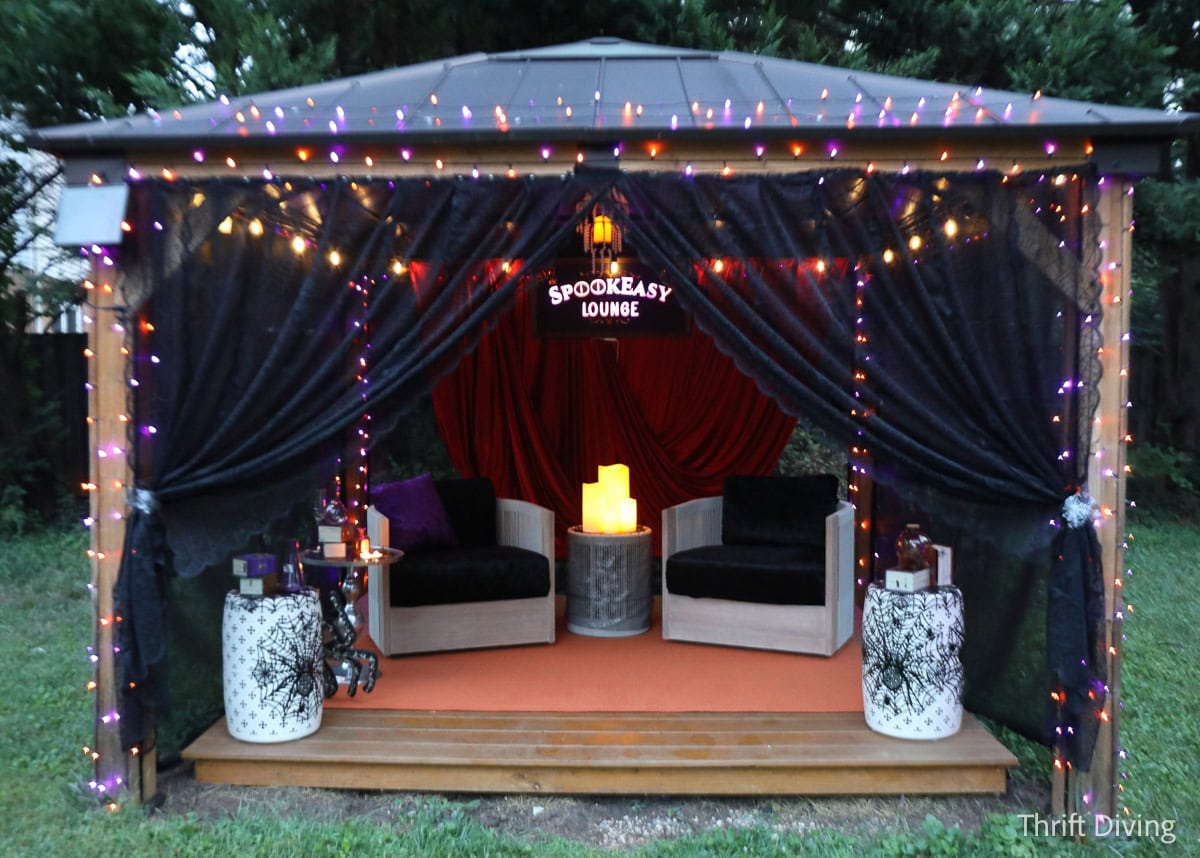
I adore how this turned out!! I don’t know if I’ll get to do outdoor Halloween decorating every year, but one thing I can say is that this year, I’m ready for the holidays! Hey–I might just put a Christmas Tree in my gazebo this year, too! HA!
Love this Halloween project for your backyard? Click here to save it on Pinterest!

Want More?? Check Out These Other Halloween Ideas!
Here are a few more creative ideas you might love!
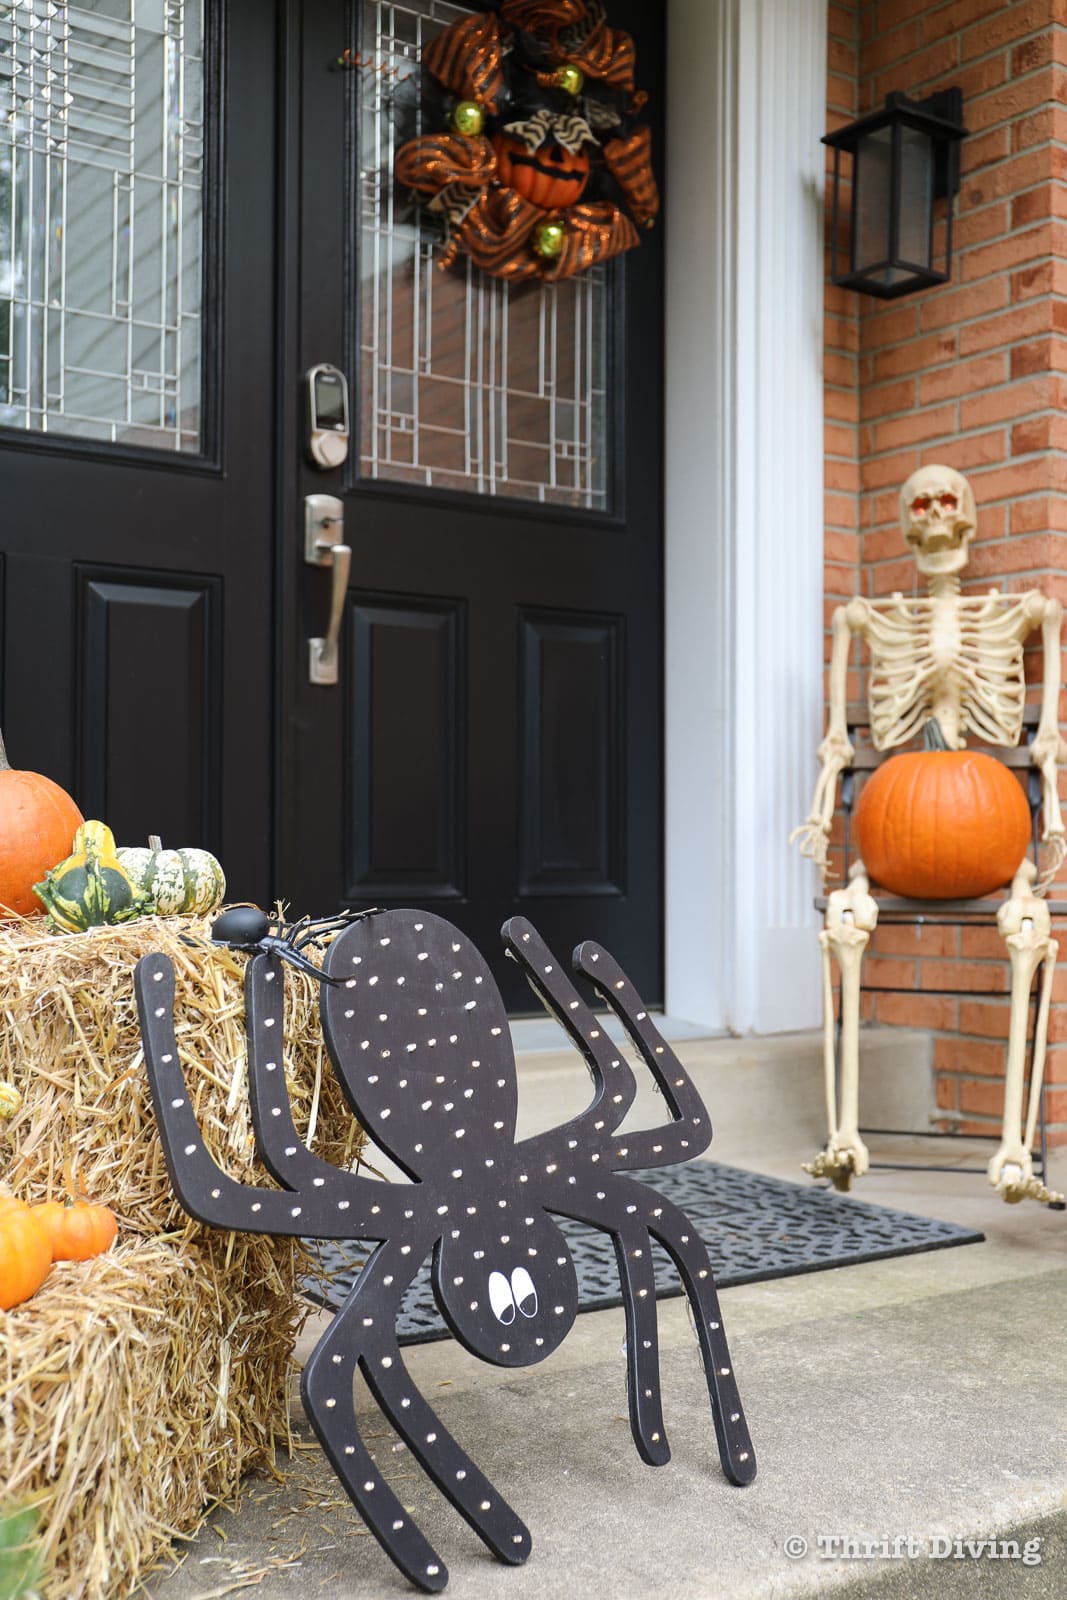
How to Make a DIY Halloween Light-Up Spider
How to Make Light Up-Ghosts!

How to Make Halloween Candy Dispensers


Download the 5 freebies!

Thrift Diving inspires women to decorate, improve, and maintain their home themselves...using paint, power tools, and thrift stores! Use these 5 printables, checklists, and ebooks to get started!