How to Paint Garage Floors With 1-Part Epoxy Paint
About 6 months ago I got the great idea to paint my garage floors with 1-part epoxy paint.
I didn’t know, though, that it would take me 6 months to post about it!
But that’s a good thing.
Because not only can I share with you how I did it, but I can also share with you how it’s held up over the 6 months that I’ve been walking on it nearly daily in my garage!
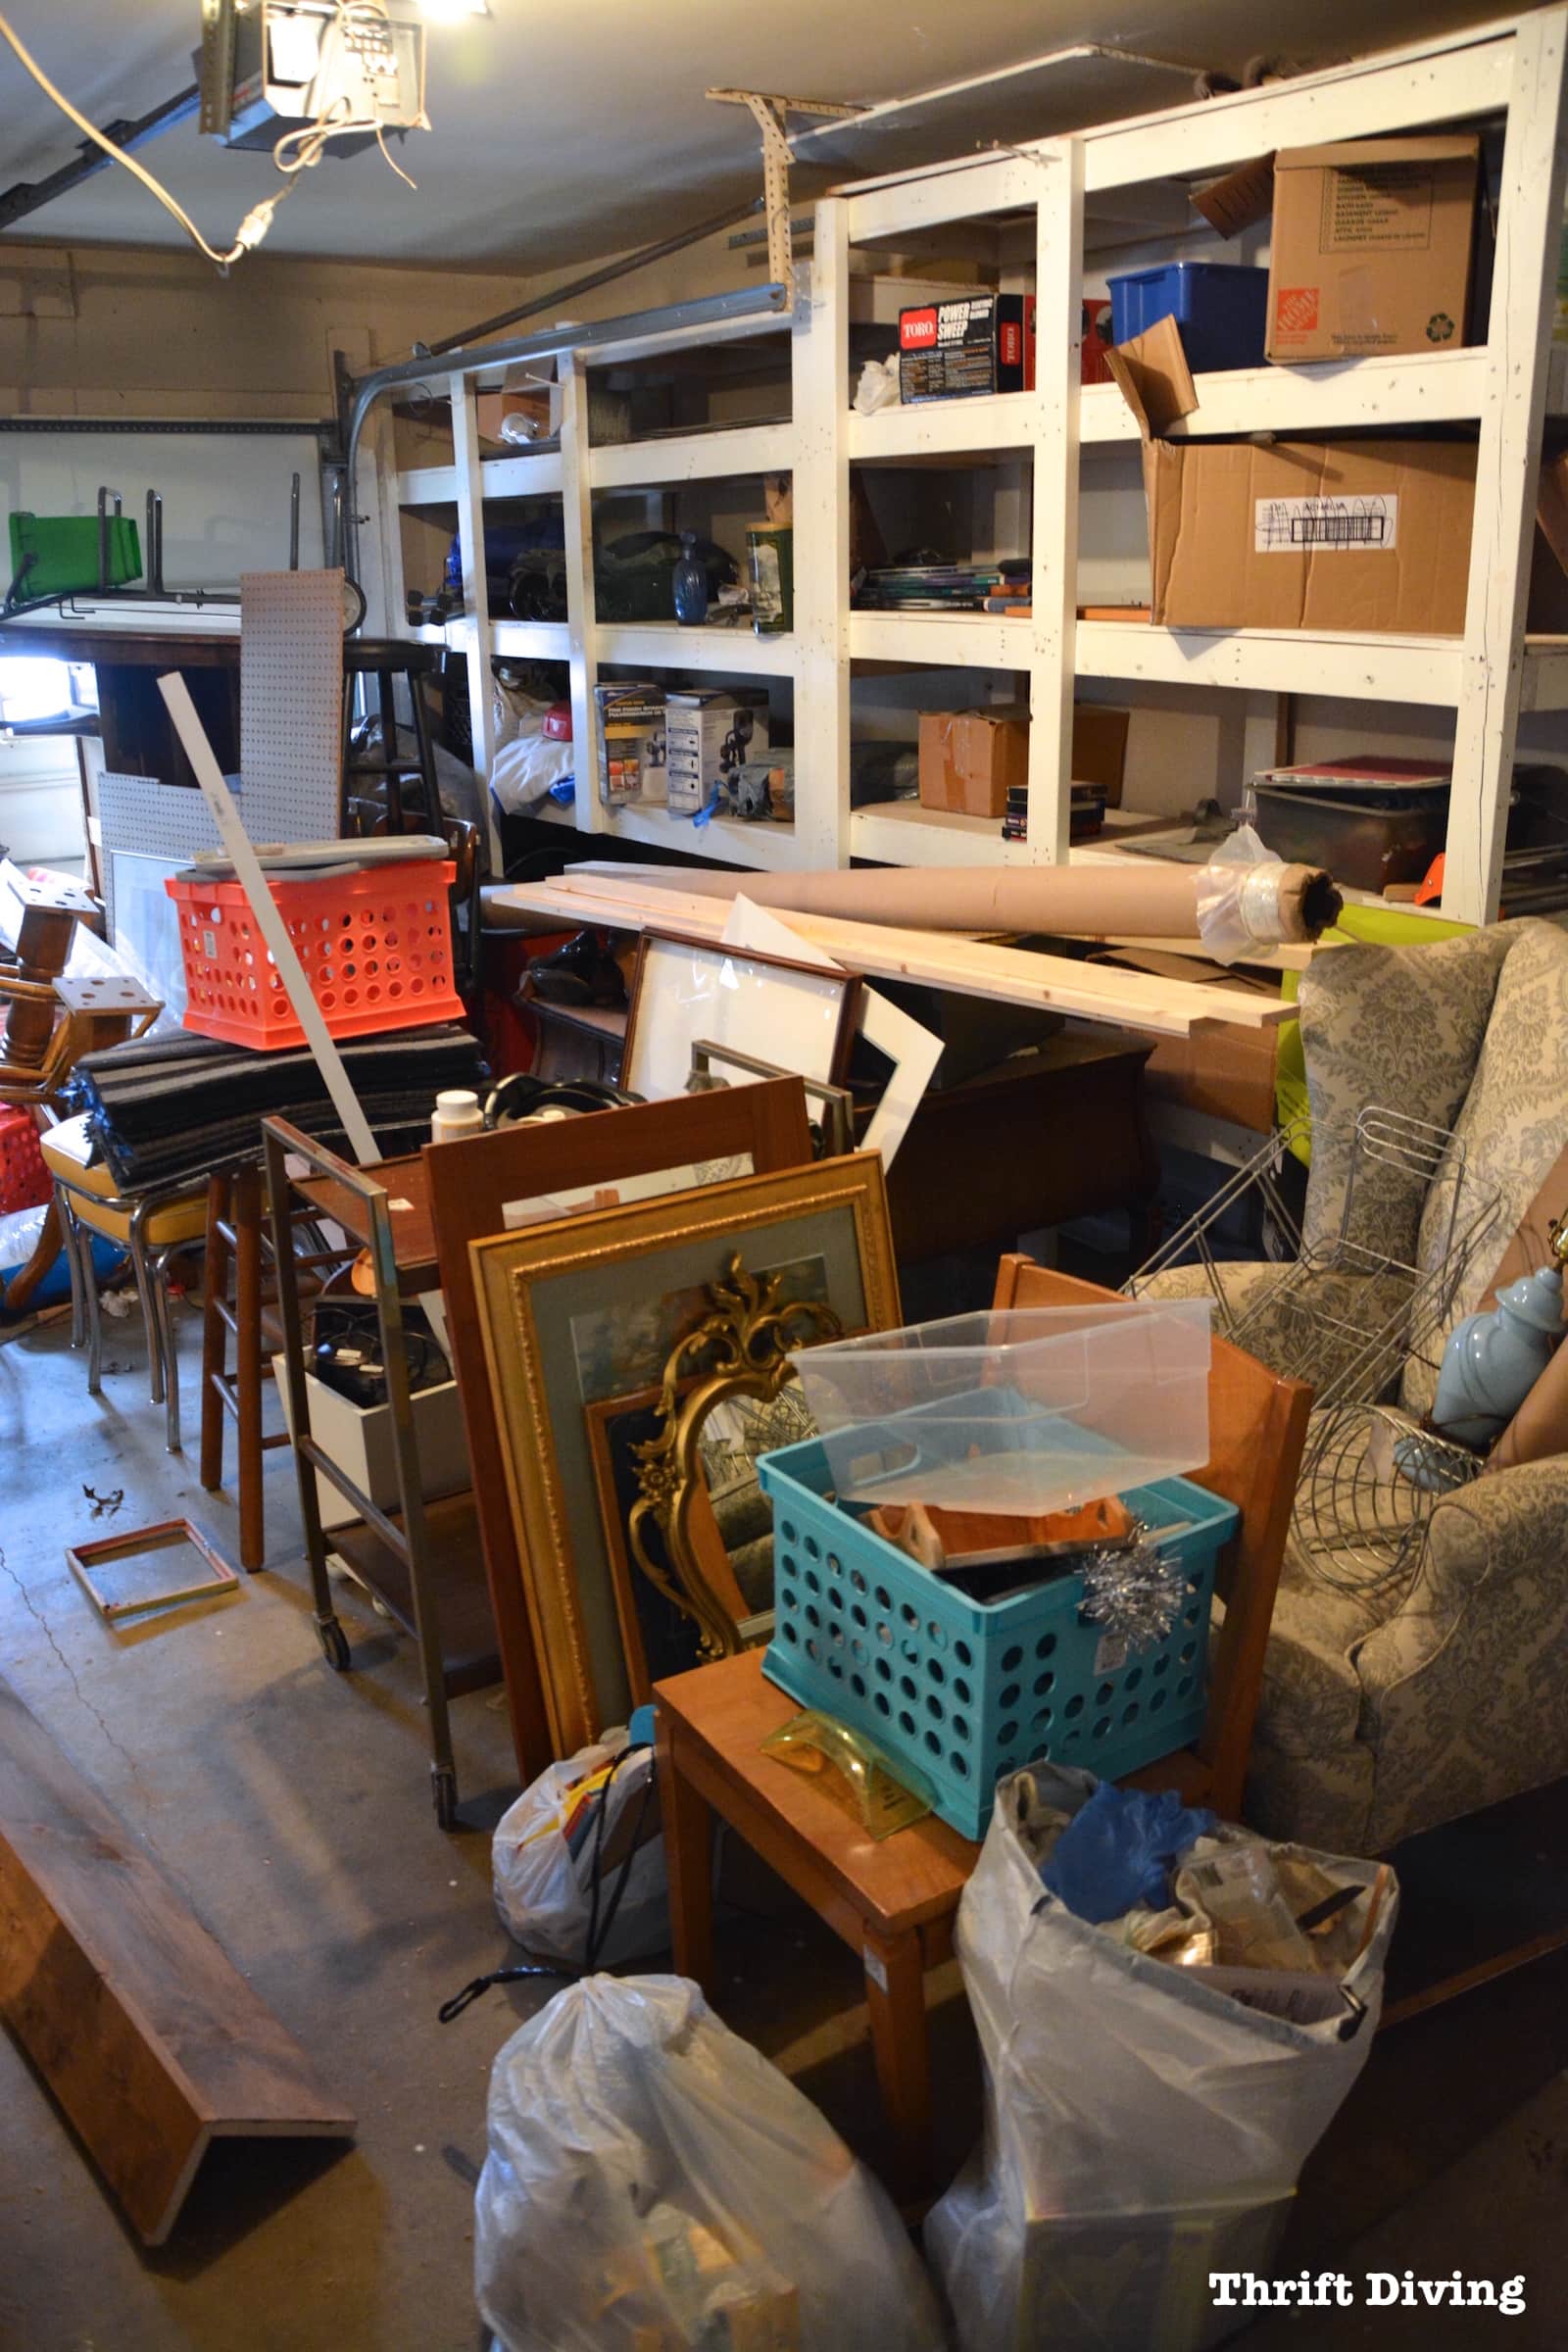
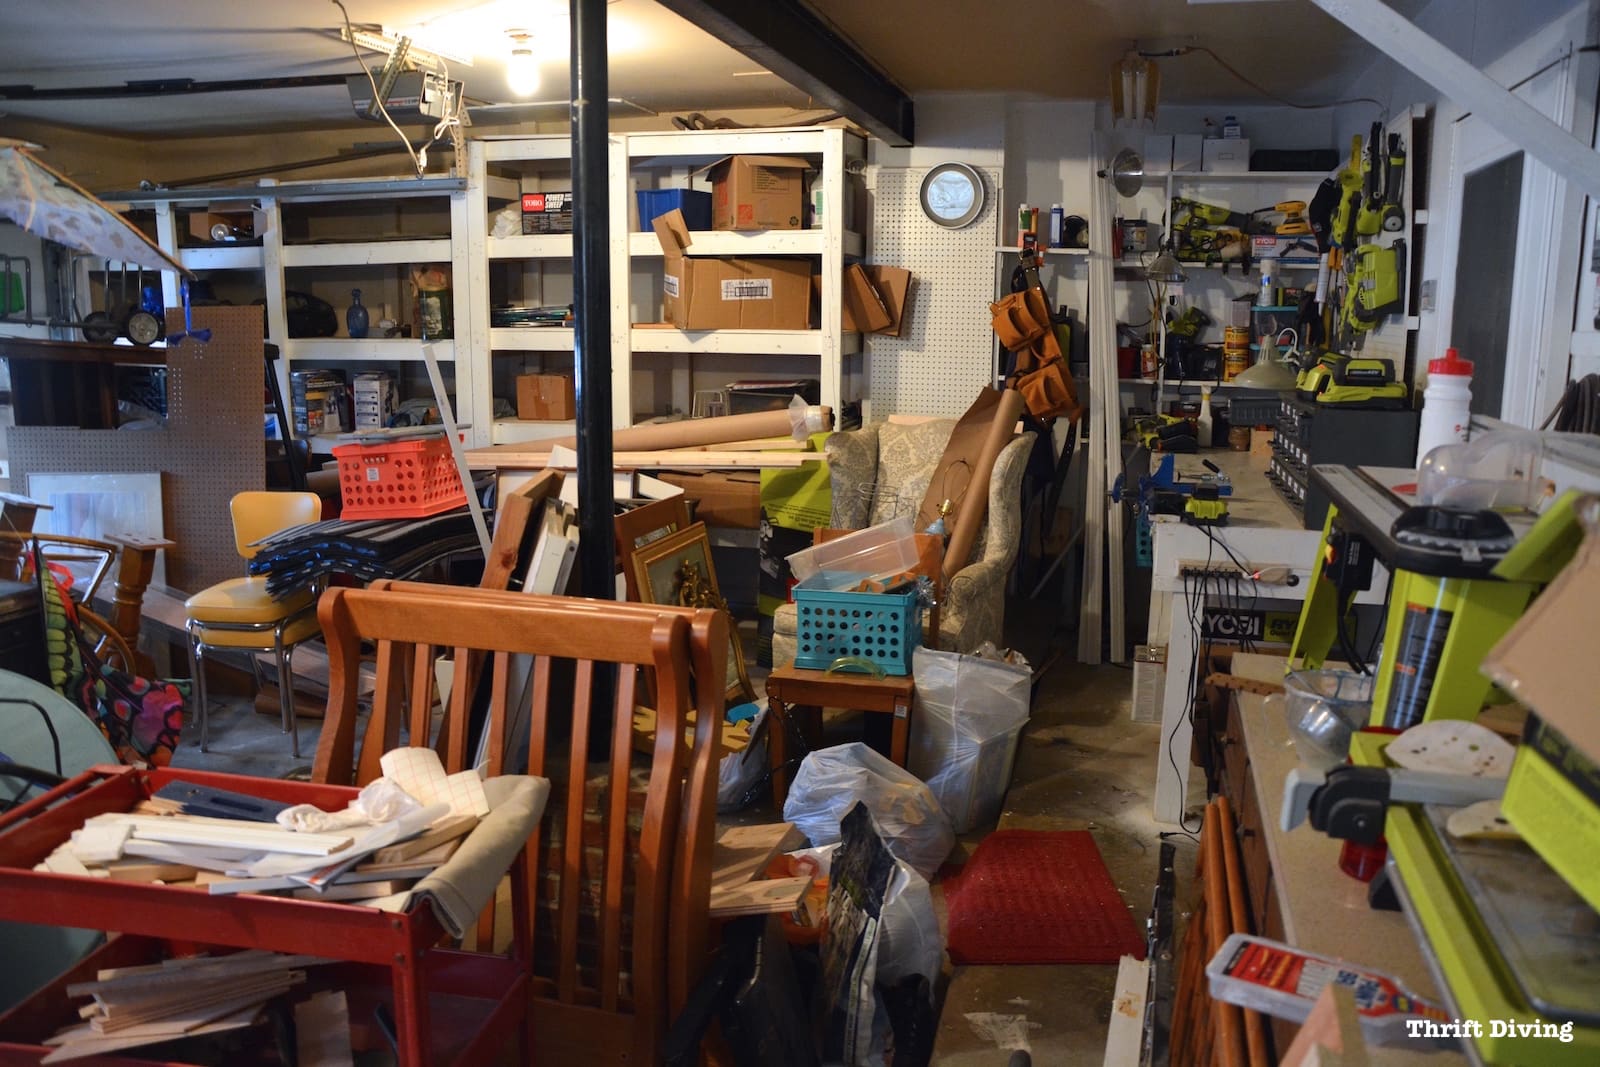
Since moving into this house, this garage has become the “catch-all” for everything I’ve lugged home from the thrift store. It contains a lot of promises of makeovers that should have happened a long time ago.
But before I could get started on painting the garage floor, I had to find something to do with all this clutter!
Much of it I donated back to the thrift store, which is a huge waste!
But when you’re determined to create pretty space for a garage workshop, you gotta make hard choices.
Everything that was left after the big donation was shuffled over to the other side of the garage!
WATCH: I Painted My Garage Floor
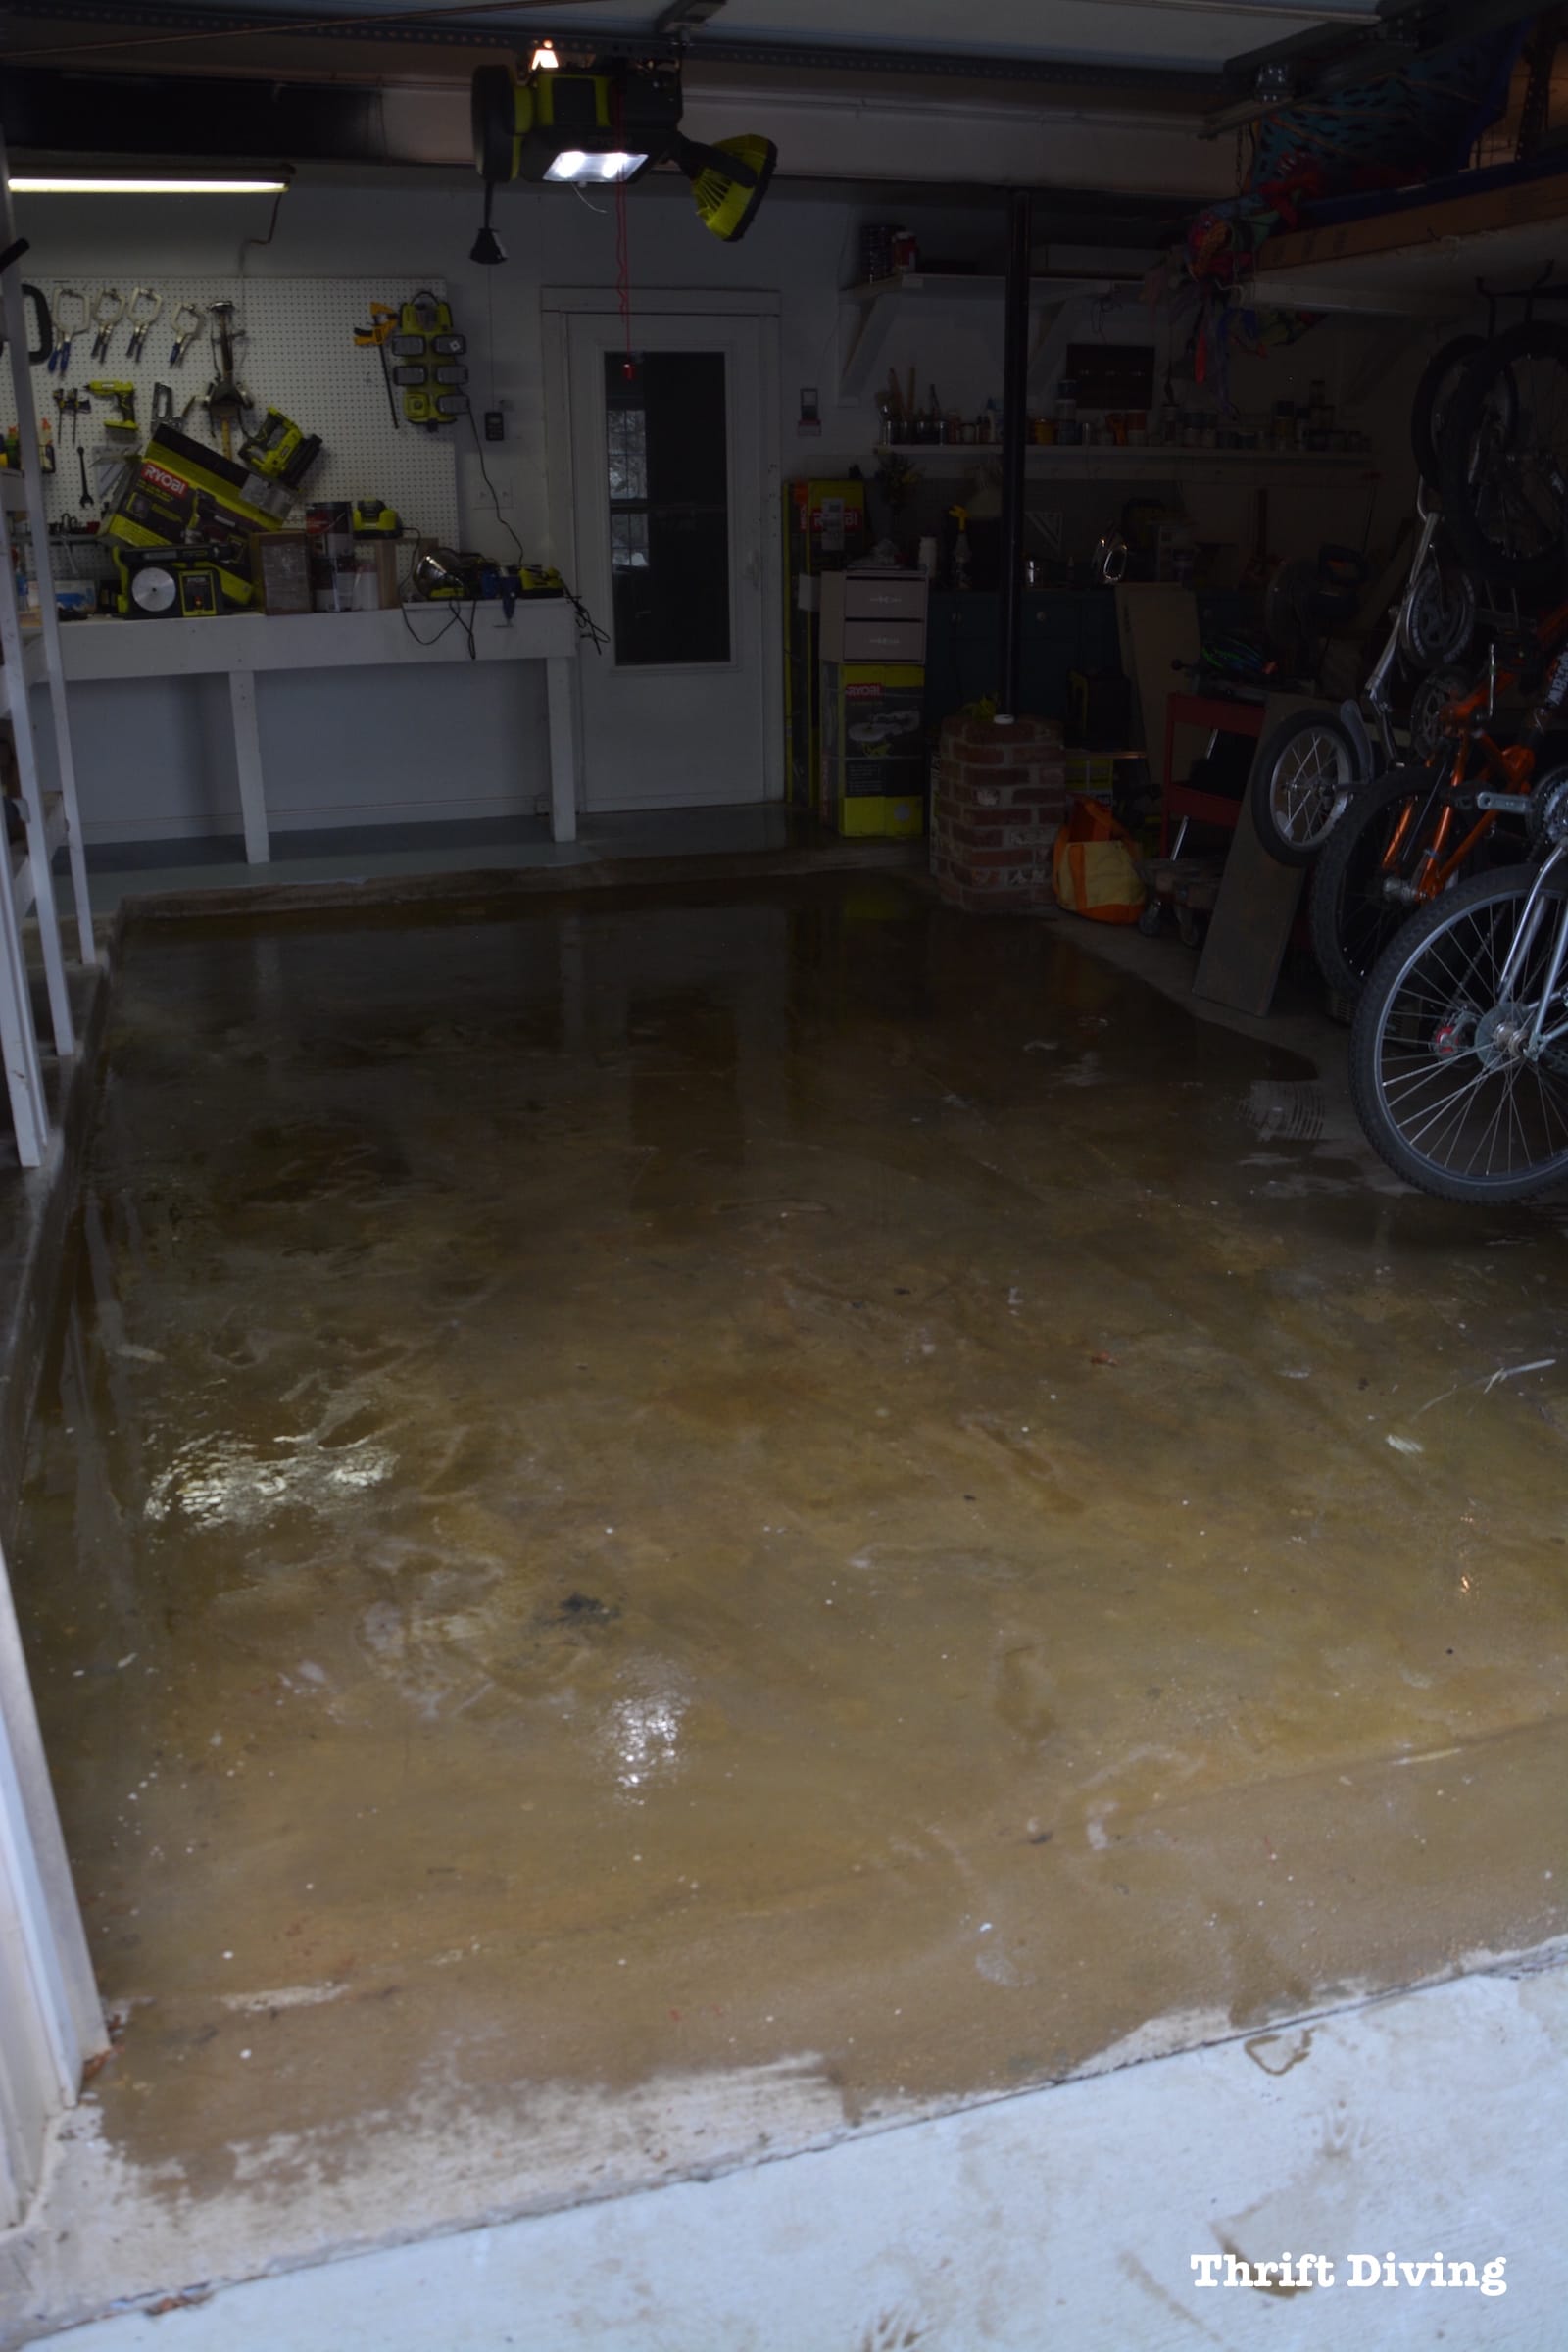
BEFORE – Cluttered and Full
Do you realize how amazing it is to see one side of your garage totally cleared out??
I was so excited that I did a flip inside–literally! One timid little cartwheel because I was scared to kick down the RYOBI garage door opener. HA!
IN PROGRESS – One side cleaned out!
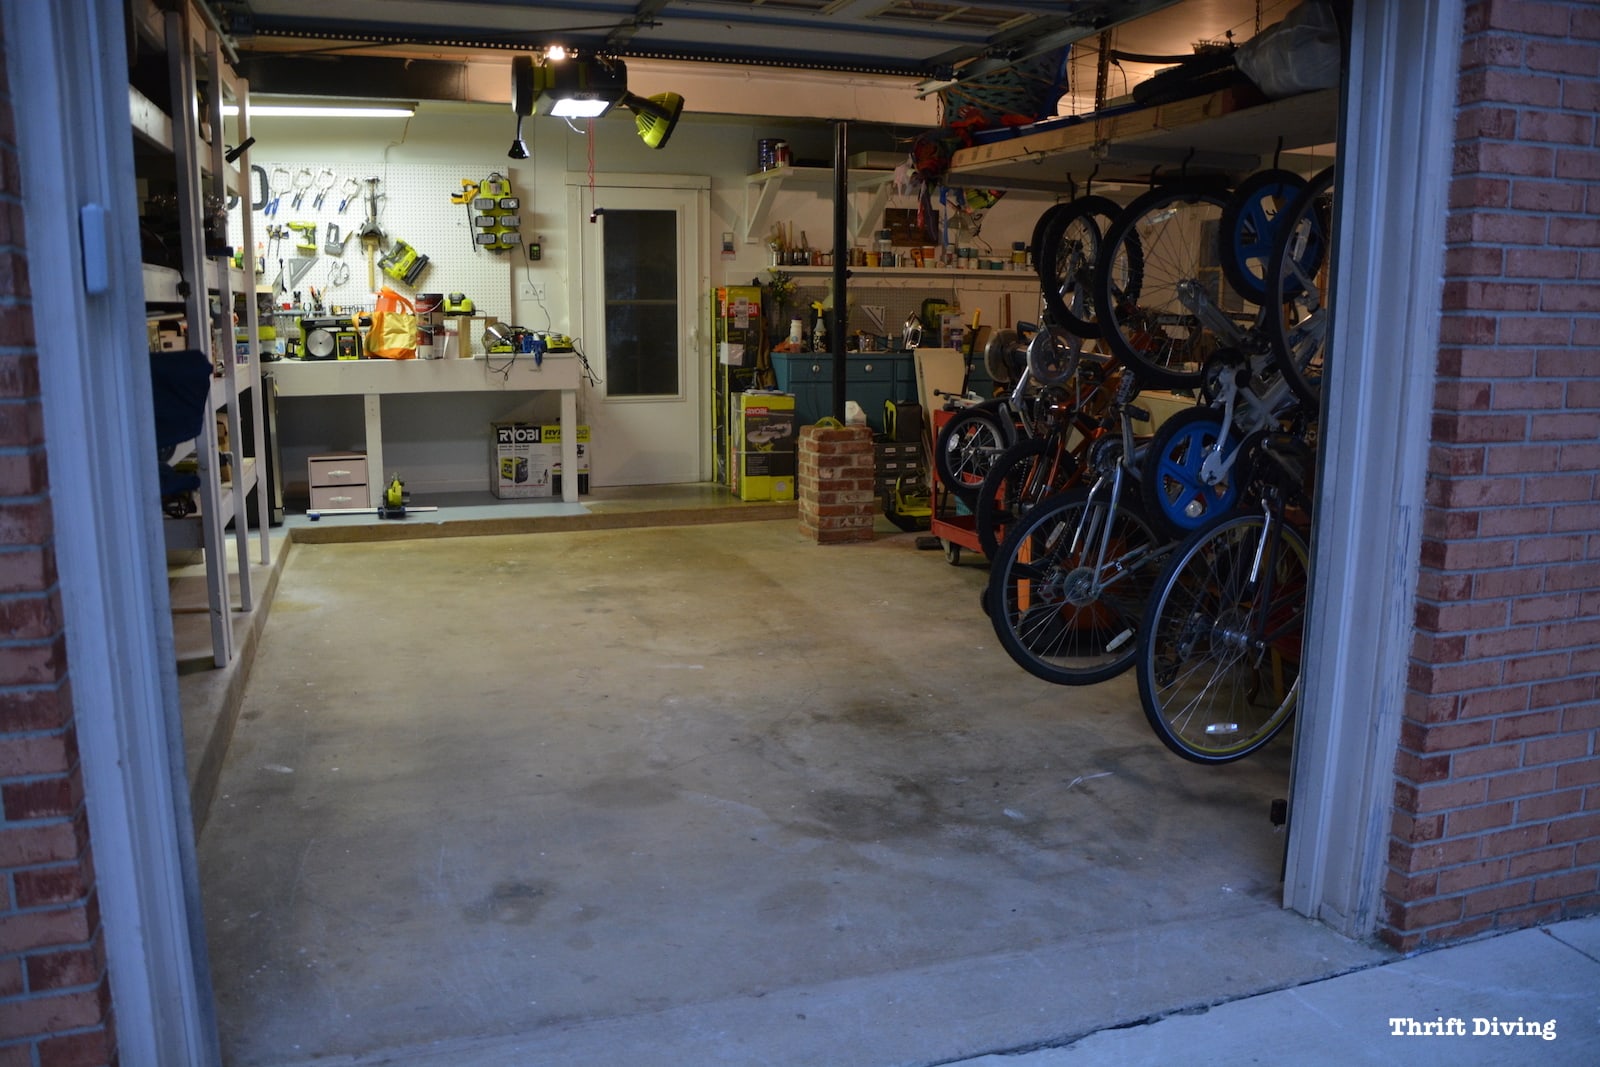
I couldn’t help but “show off” to the family (and especially hubby!) about how I could finally fit my car in the garage! It was something he lamented about often about how I had so much stuff in the garage that we couldn’t even park in there.
What I didn’t count on was how stinky it would be!
The fumes from the car were unbearable from just that momentary drive into the garage!
But the good thing was realizing we both didn’t want those fumes floating up to our bedroom located overhead.
Which means I don’t think I will ever hear another comment about wanting to park in the garage!
YES!
The garage was alllllll mine! 🙂

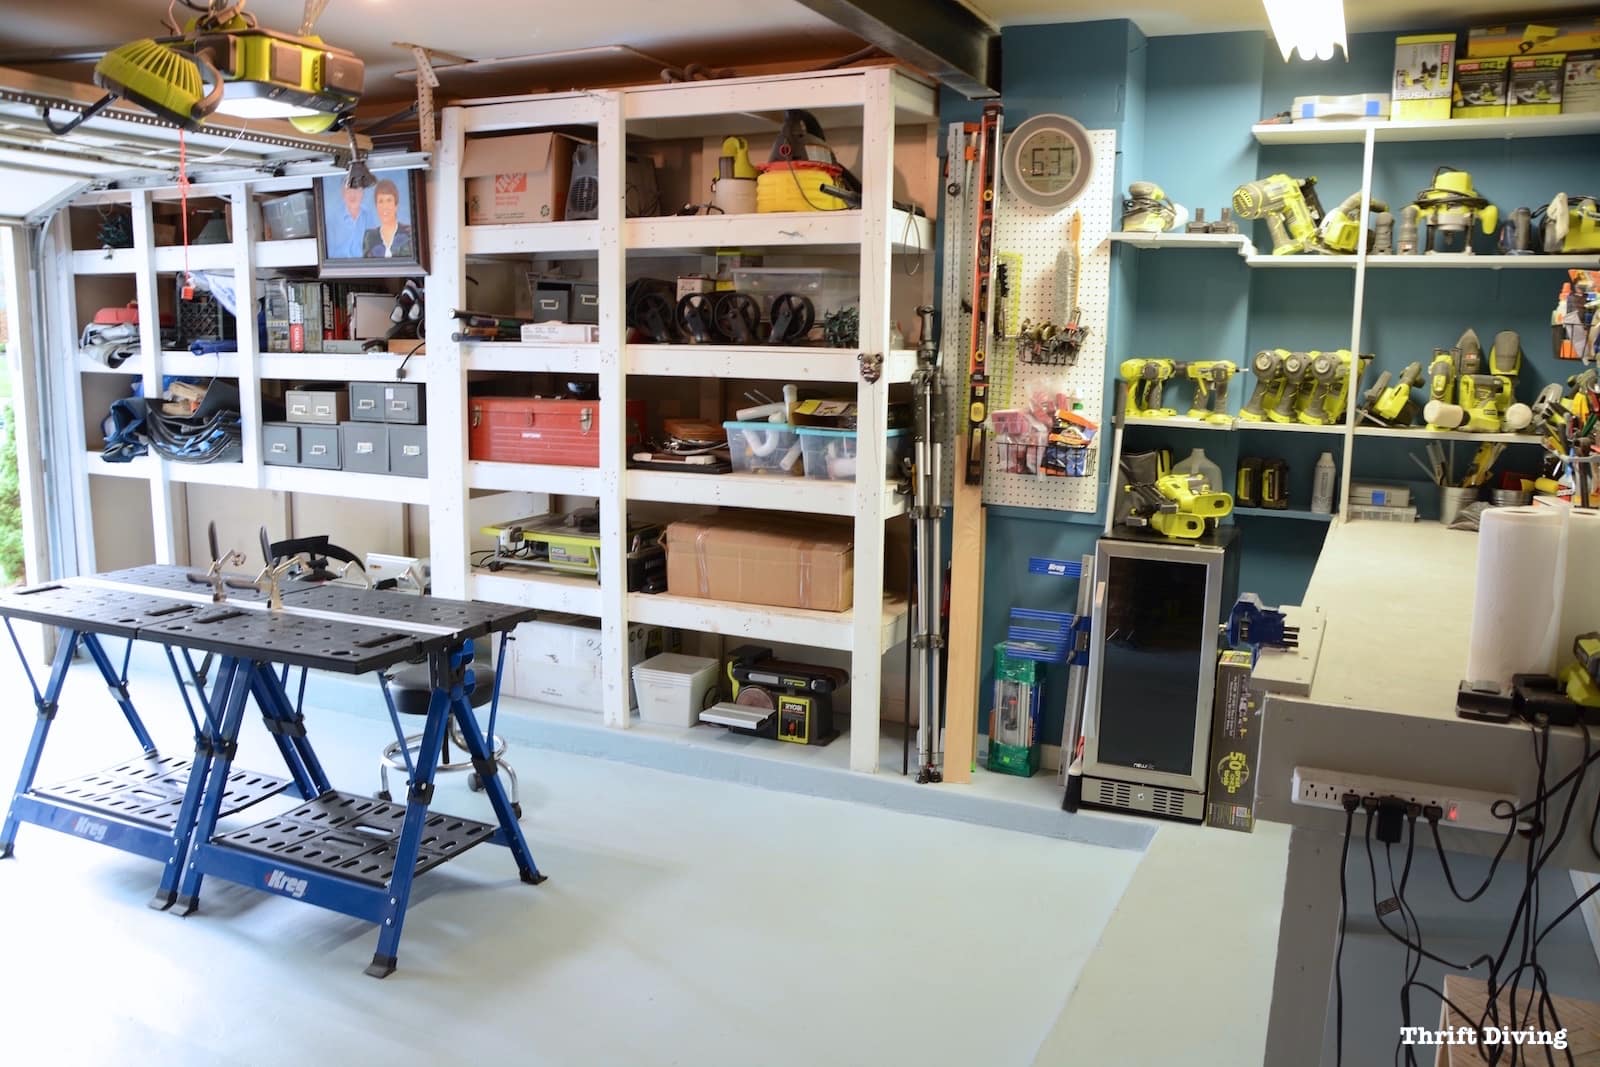
It took several days between all the steps needed to clean and prep the garage floor before painting, but what I was left with was a gorgeous, clean, freshly painted blue-gray floor!
AFTER! – Freshly painted!
It’s been six months since I have painted this side of the garage, and I couldn’t wait to share with you how I did it, and most importantly, how it’s held up since that time 6 months ago!
Is the paint on the garage floor peeling or chipping yet?
Has it been easy to clean and care for?
Would I do it all over again?
Keep reading to find out!
What’s the Difference Between 1-Part Epoxy and 2-Part Epoxy?
First, let me address the difference between 1-part epoxy and 2-part epoxy.
1-part epoxy paint isn’t the same as 2-part epoxy.
1-part epoxy paint is a latex acrylic product that has a little bit of epoxy mixed in to make it strong enough to hold up to light traffic on your garage floors.
2-part epoxy is the heavy-duty resin that coats the garage floor and cures over time. Usually, you see these with paint flecks in them and they tend to be super shiny and glossy.
I don’t understand the whole chemistry of it all, but this article called “Why Epoxy is a Premier Garage Floor Coating” spells out the difference quite nicely.
Before painting your garage floor, make sure you understand which one you want to use depending on how you are going to use your garage, and understand the results you’ll likely get with using either one of them.
For my garage, I won’t be parking cars inside. At most, it will be getting only light foot traffic, so the 1-part epoxy would be fine.
However, if I were going to park cars in my garage, I’d likely want to use the more durable 2-part epoxy products.
Just wanted to put that out there before jumping in!
How to Paint Your Garage Floors With 1-Part Epoxy Paint
Materials
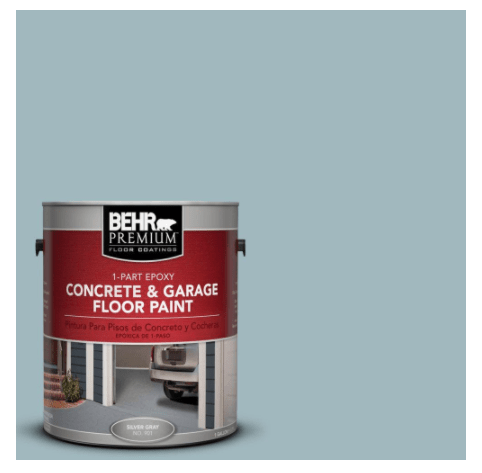
- Behr Premium 1-Part Epoxy Concrete & Garage Floor
- Rust-Oleum Clean and Etch for Concrete
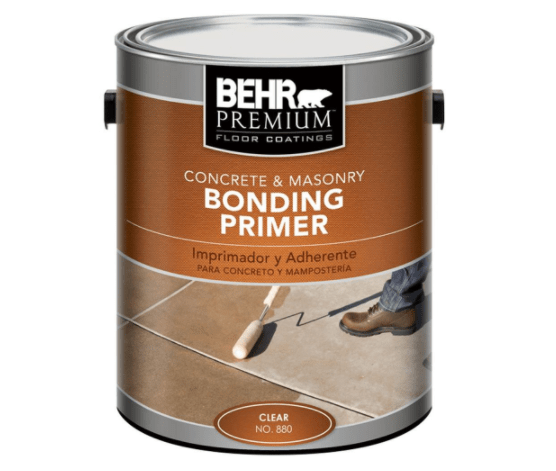
- Behr Bonding Primer
- Rust-Oleum Epoxy Shield Concrete Patch and Repair (only for those with cracks)
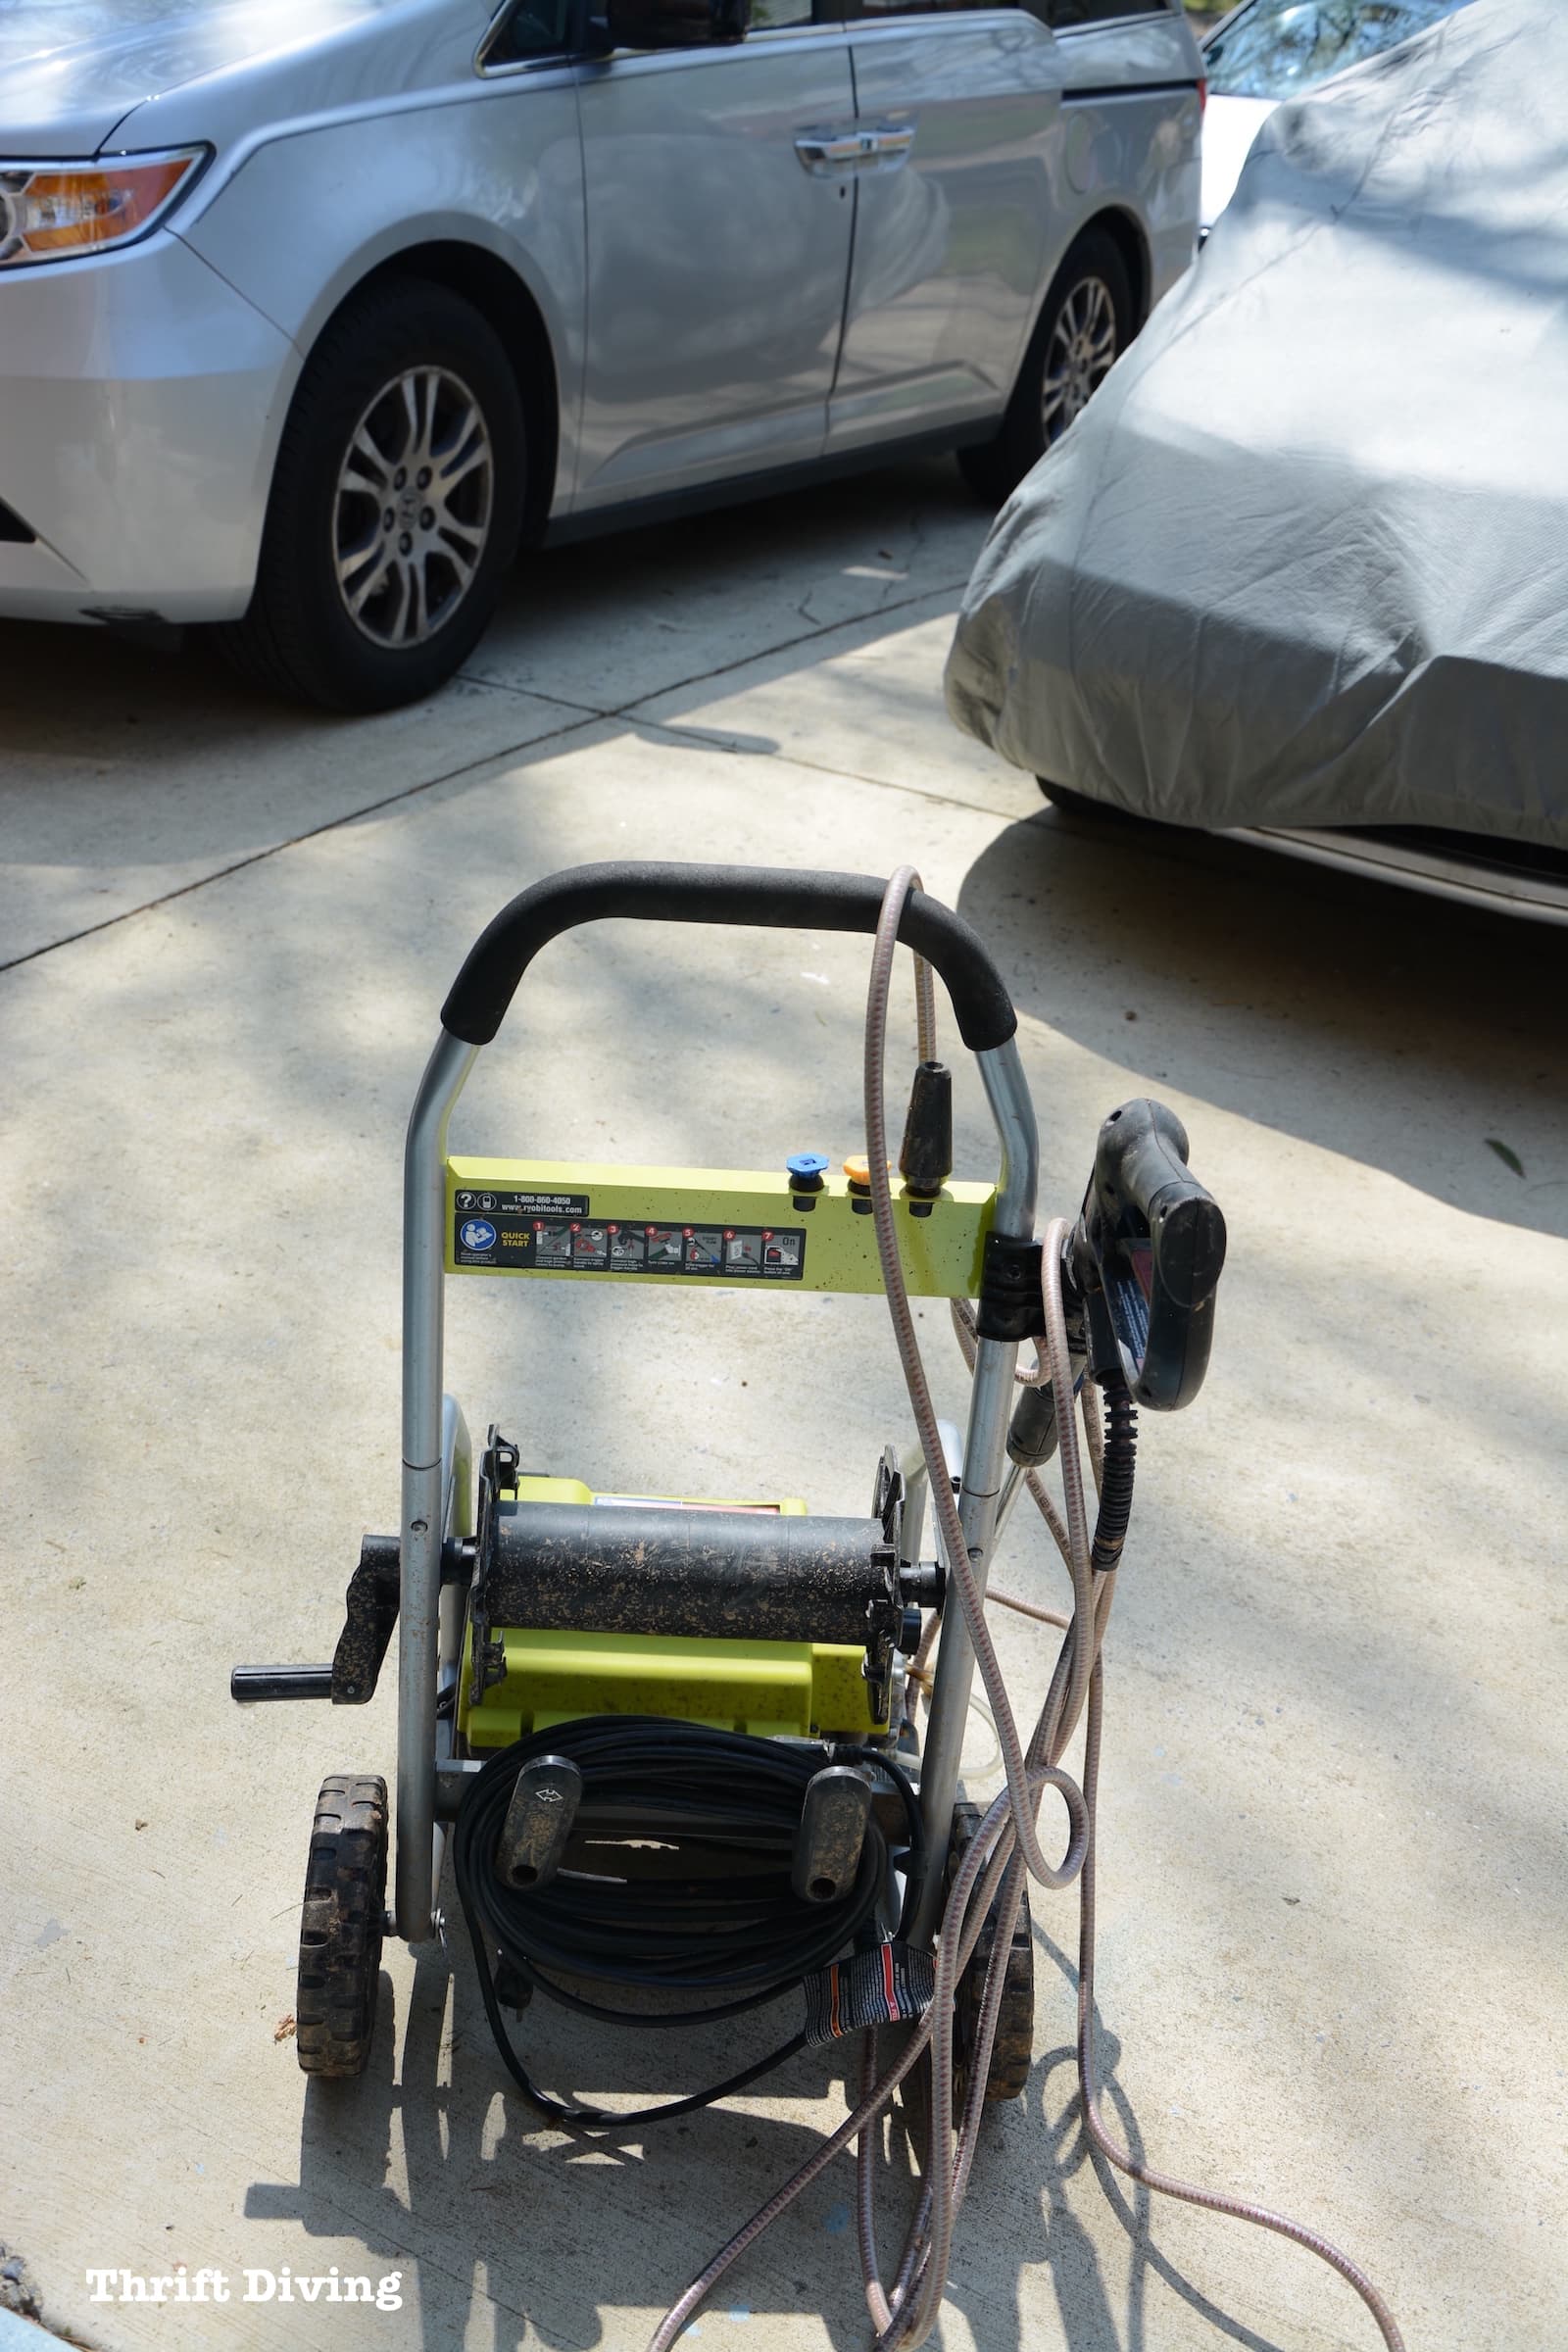
- Paint roller with nap for rough surfaces (2 each)
- Paint stick with extender
- Paint brush
- Bristle floor brush
STEP 1: Remove Everything Out (Or To The Other Side of the Garage)
Unless you have very little stuff in your garage, moving everything out isn’t an option.
Some of us have so much stuff that it’s impossible to move it all out.
Plus, this process usually takes a couple of days (at least!) so you really need a safe, dry place to store things.
My advice would be to try to do the floor in sections, moving everything to one side, if possible.
That’s what I did for this project.
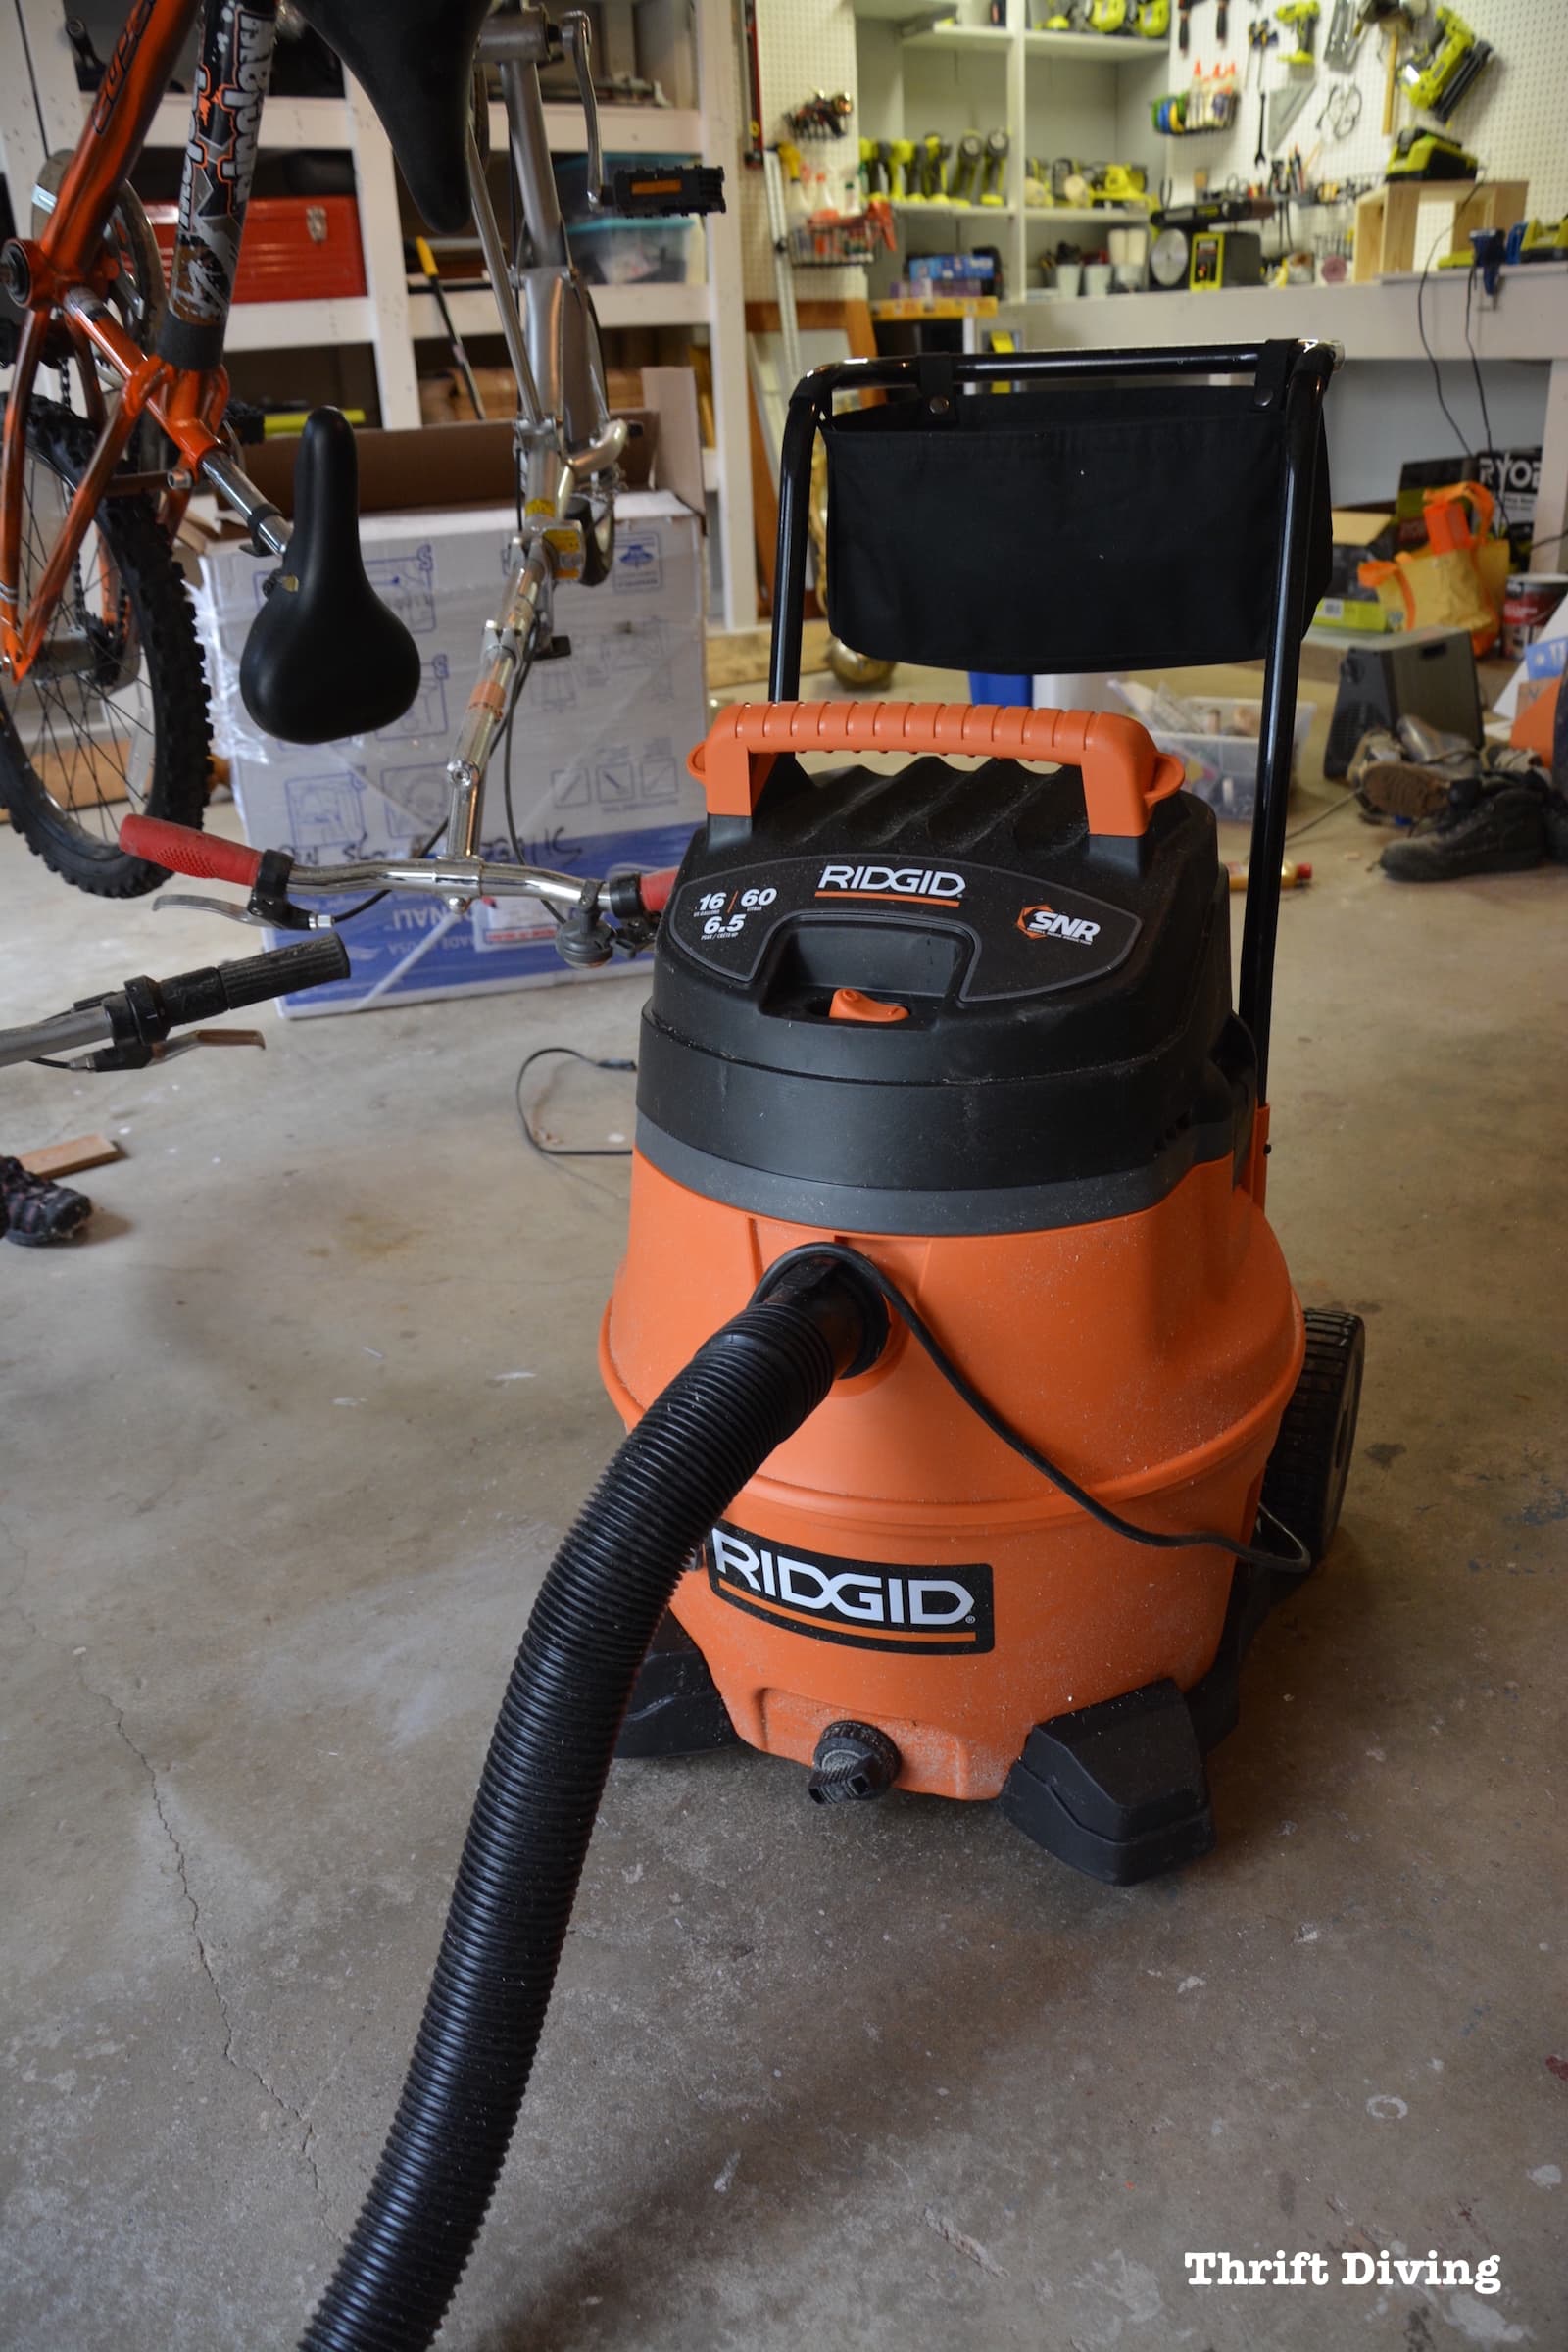
STEP 2: Vacuum The Garage Floor
Don’t even think of using your home vacuum to clean out the garage.
Get a wet-dry vac (like mine, from Rigid), which sucks up virtually anything!
No clogs, either.
I used it to clean up all the spider webs, dust, debris–you name it.
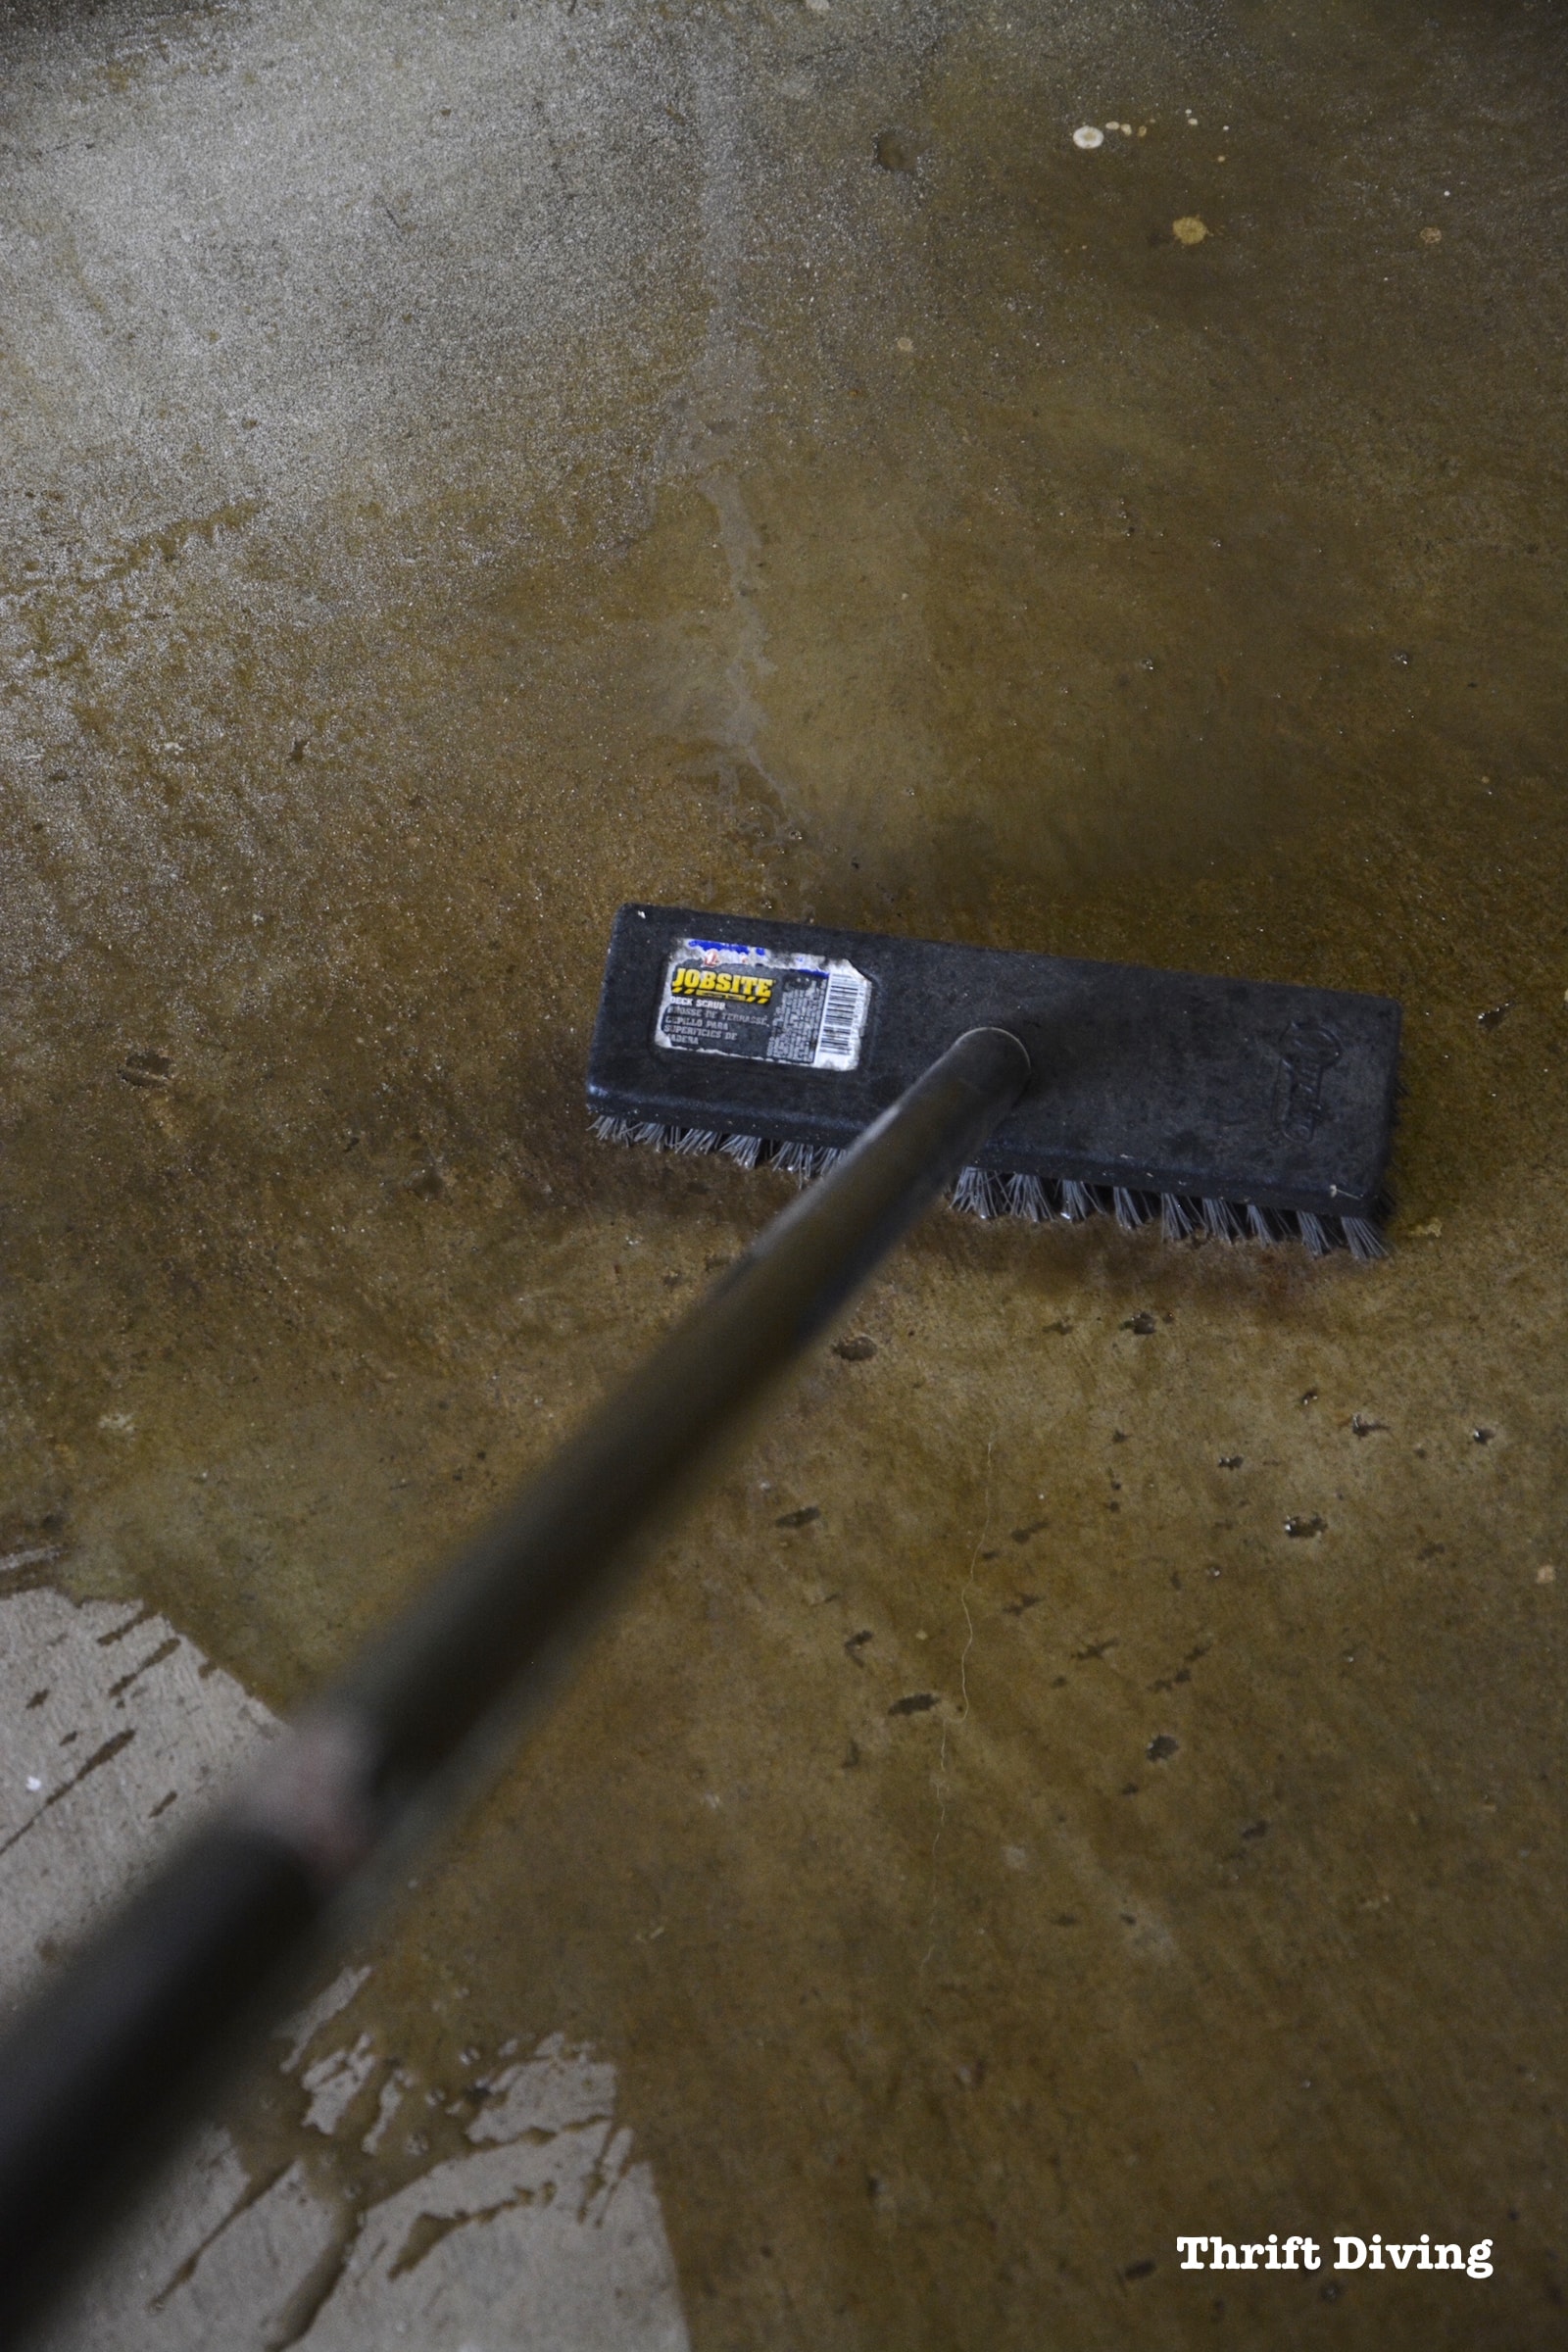
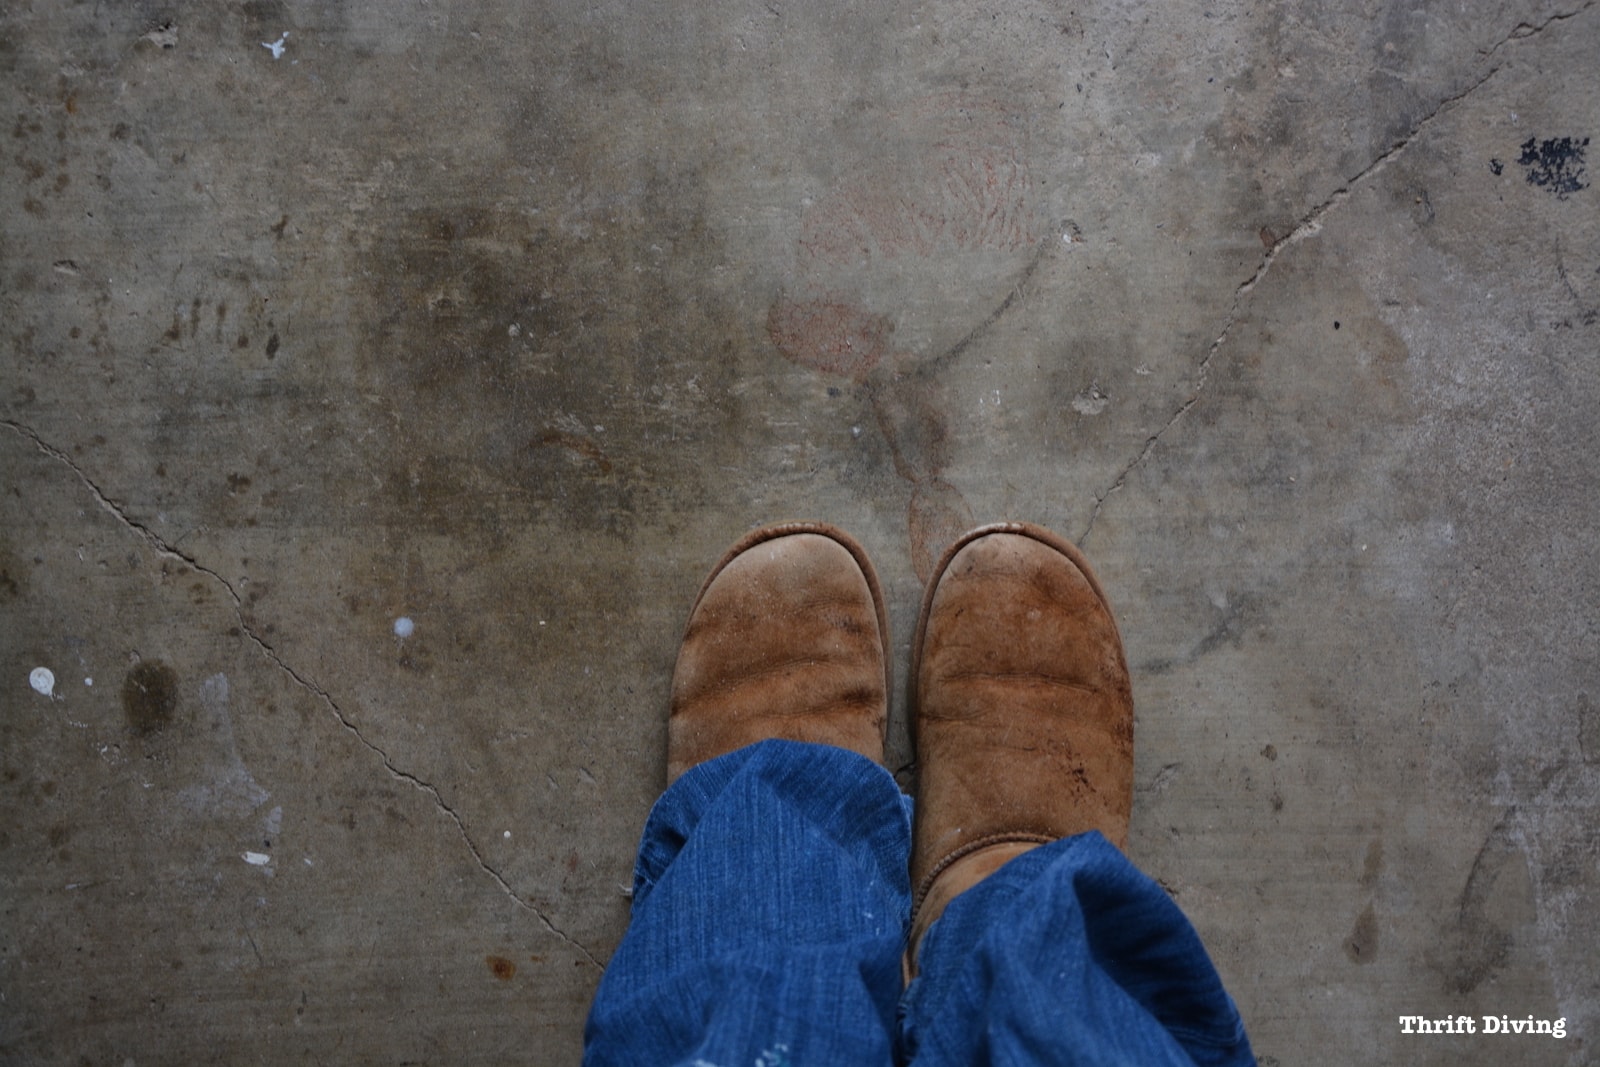
STEP 3: Pressure Wash the Garage Floor
If you’ve got access to a pressure washer, I highly recommend it for the garage floor before you begin!
For my floor, even though it didn’t remove any of the stains, it cleaned it well enough for me to move on the next step!
Preparation is the key to good results!
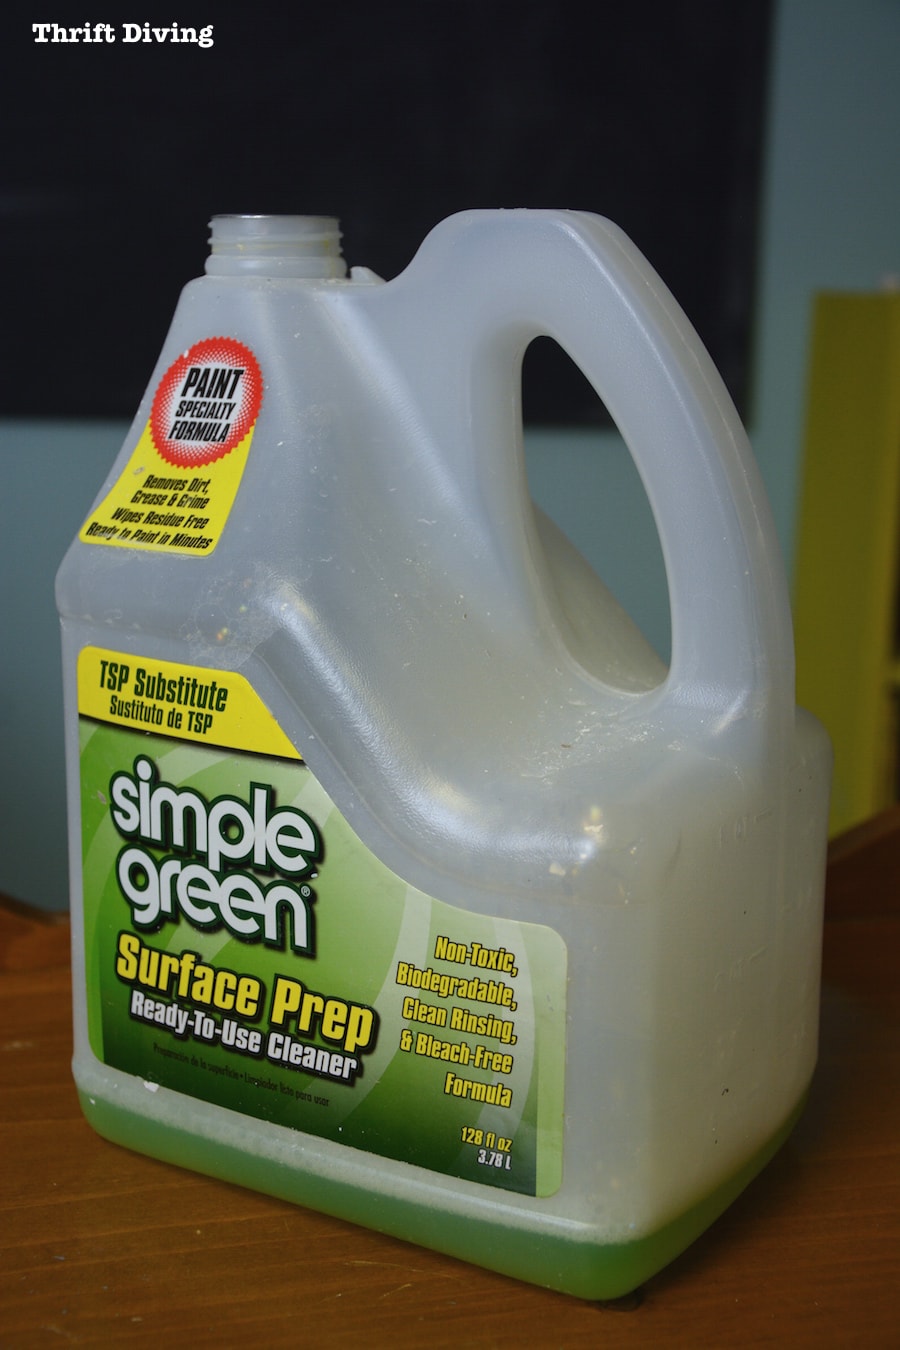
If you don’t have a pressure washer, use a hose, but make sure to use a stiff bristled brush and scrub! You can use Simple Green but rinse it really well.
STEP 4: Use Etching Solution
If you want your paint to stick, you’ll have to use a cleaning and etching solution!
Again, this was the only one on the shelf at Home Depot, so that’s what I picked up. 🙂
I highly recommend you watch the short video that Rust-Oleum has on Home Depot’s website so that you’ll know how to use this stuff properly.
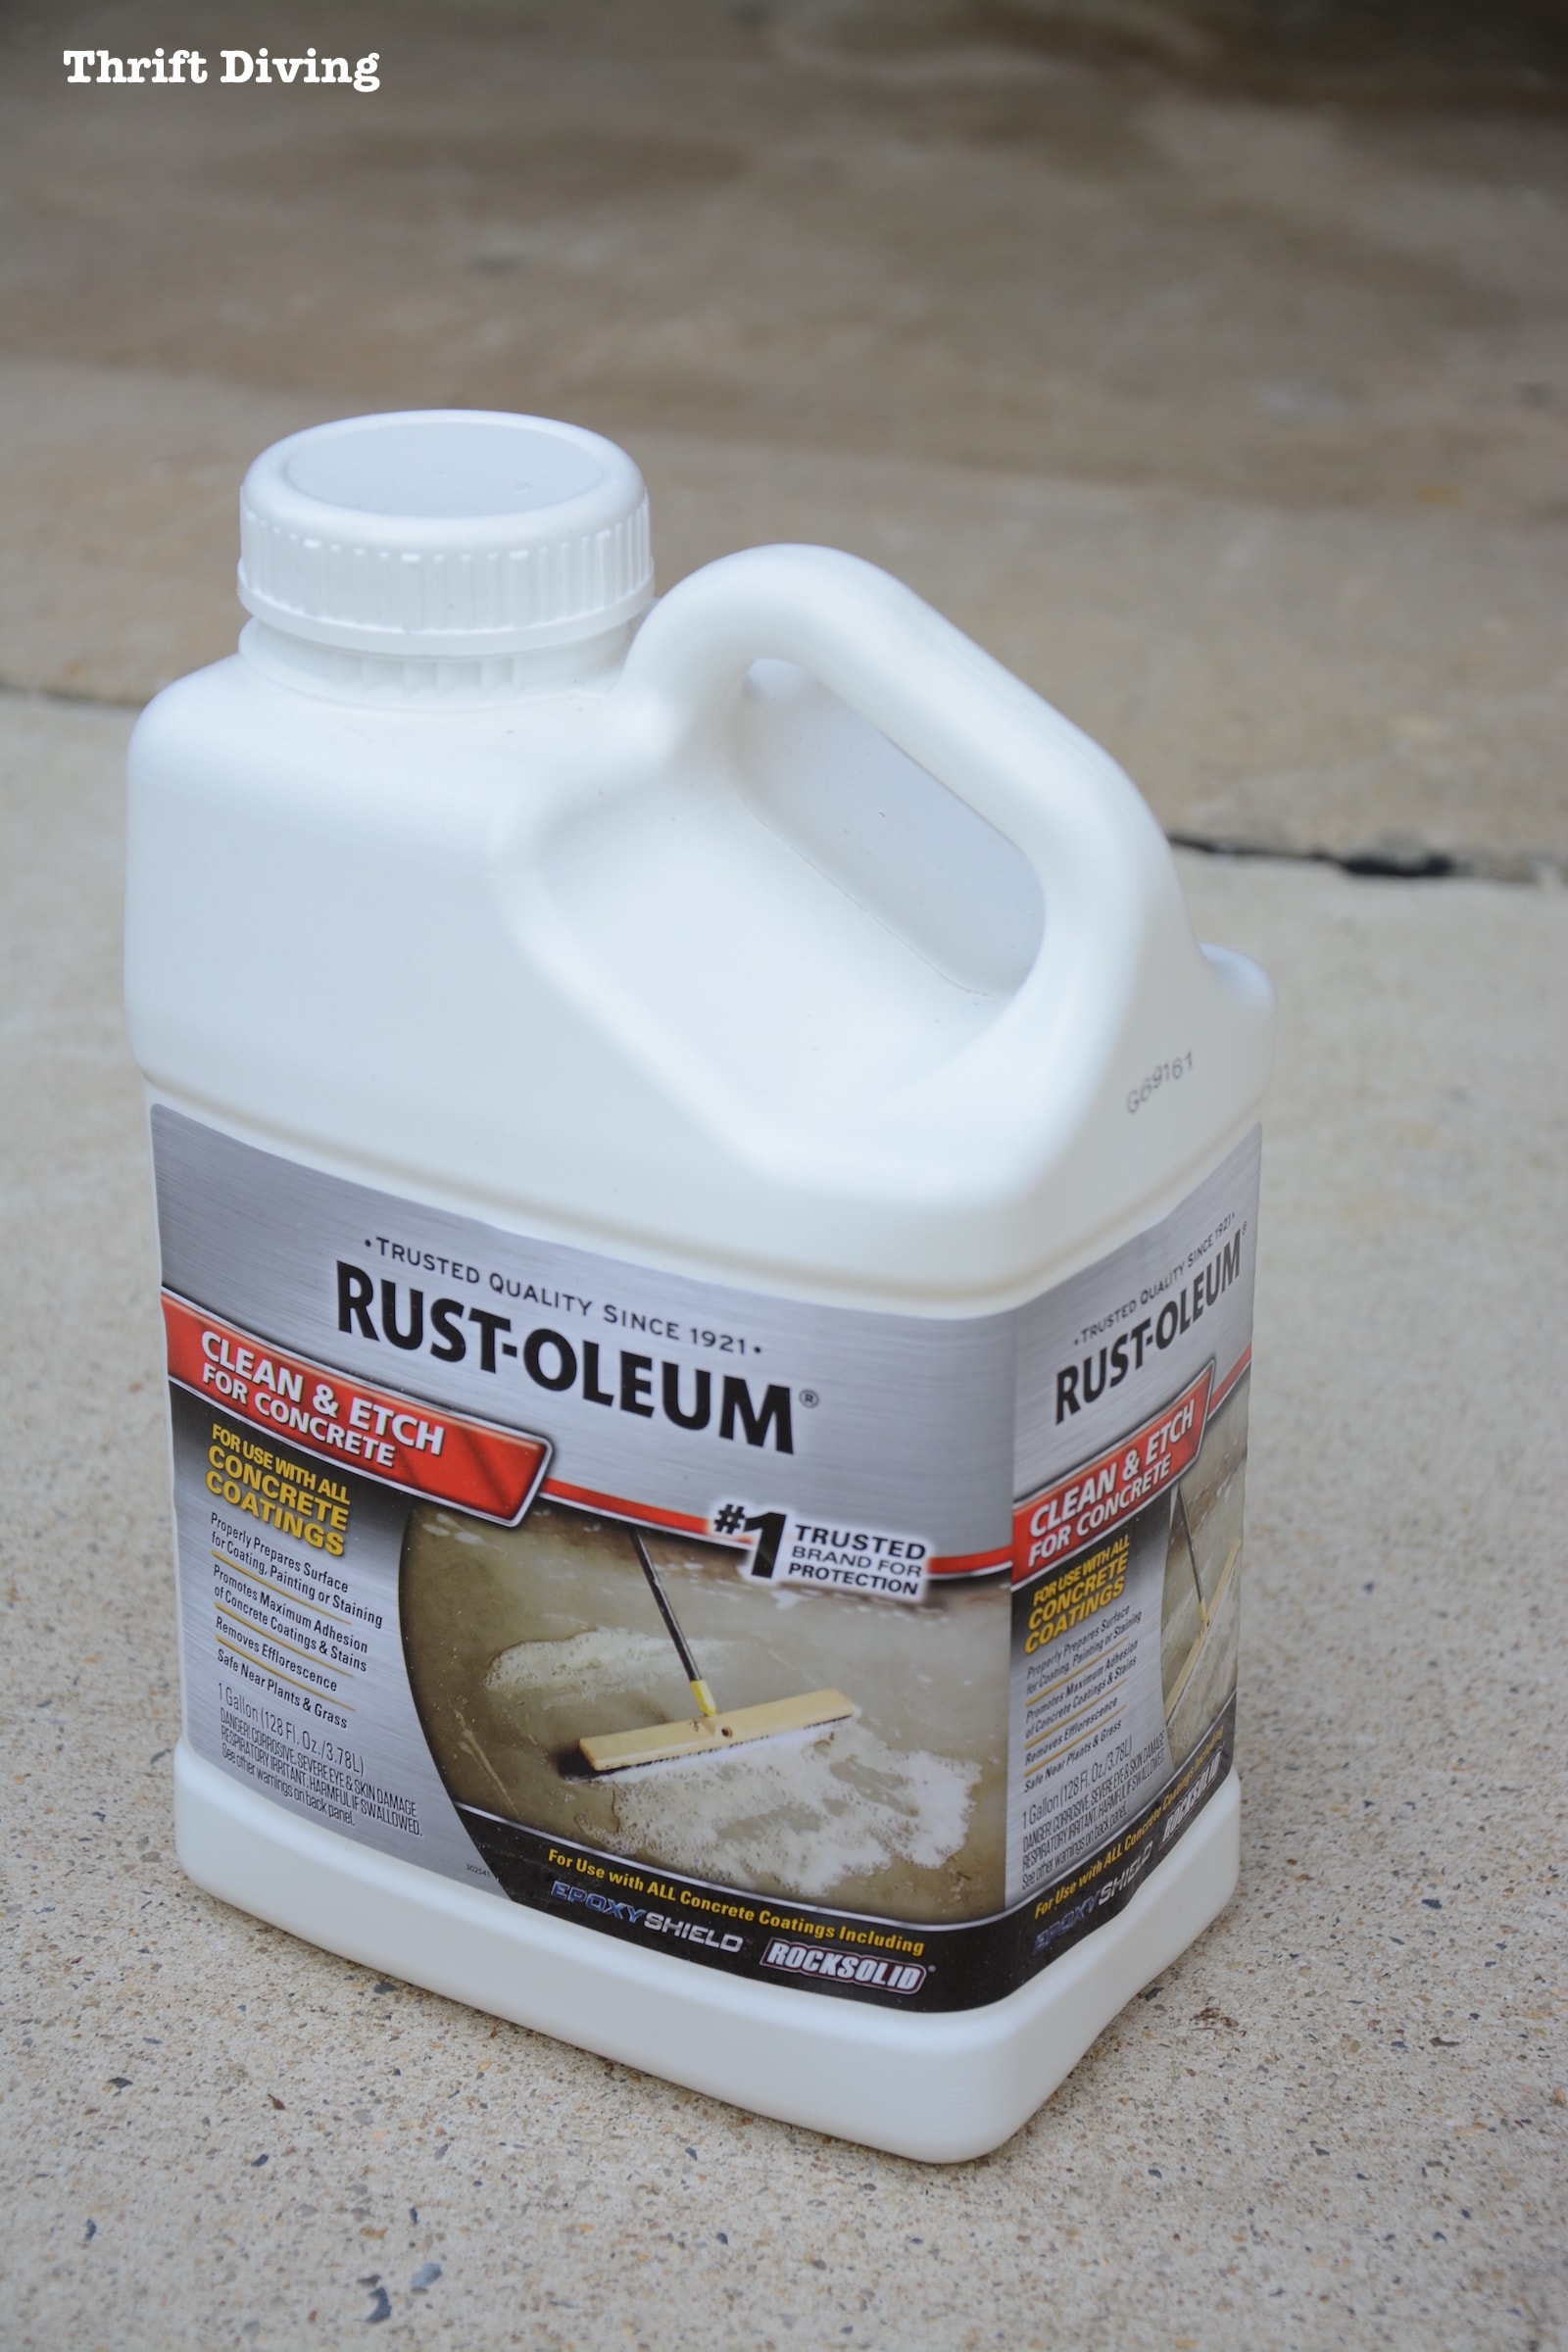
I just realized after watching the instructional video that I messed up.
You aren’t supposed to pour this Clean & Etch solution directly from the container!
You’re supposed to mix it with water first!
So…..Do as I SAY, not as I DO.
And according to the video, you’re supposed to evenly apply it, not splash it down like I did.

The key is to make sure that you use a stiff bristled brush to work the cleaner and etching solution into the garage floor.
You’ll hear it start to fiiiiizzzzz which means it’s working.
Work in small sections and make sure that it doesn’t dry.
So right after you apply it, use a hose or pressure washer to rinse it off. The instructional video says rinse 3 times. I think I may have rinsed twice…?
You should rinse 3 times.
Again….do as I SAY….not as I DO. 🙂 LOL
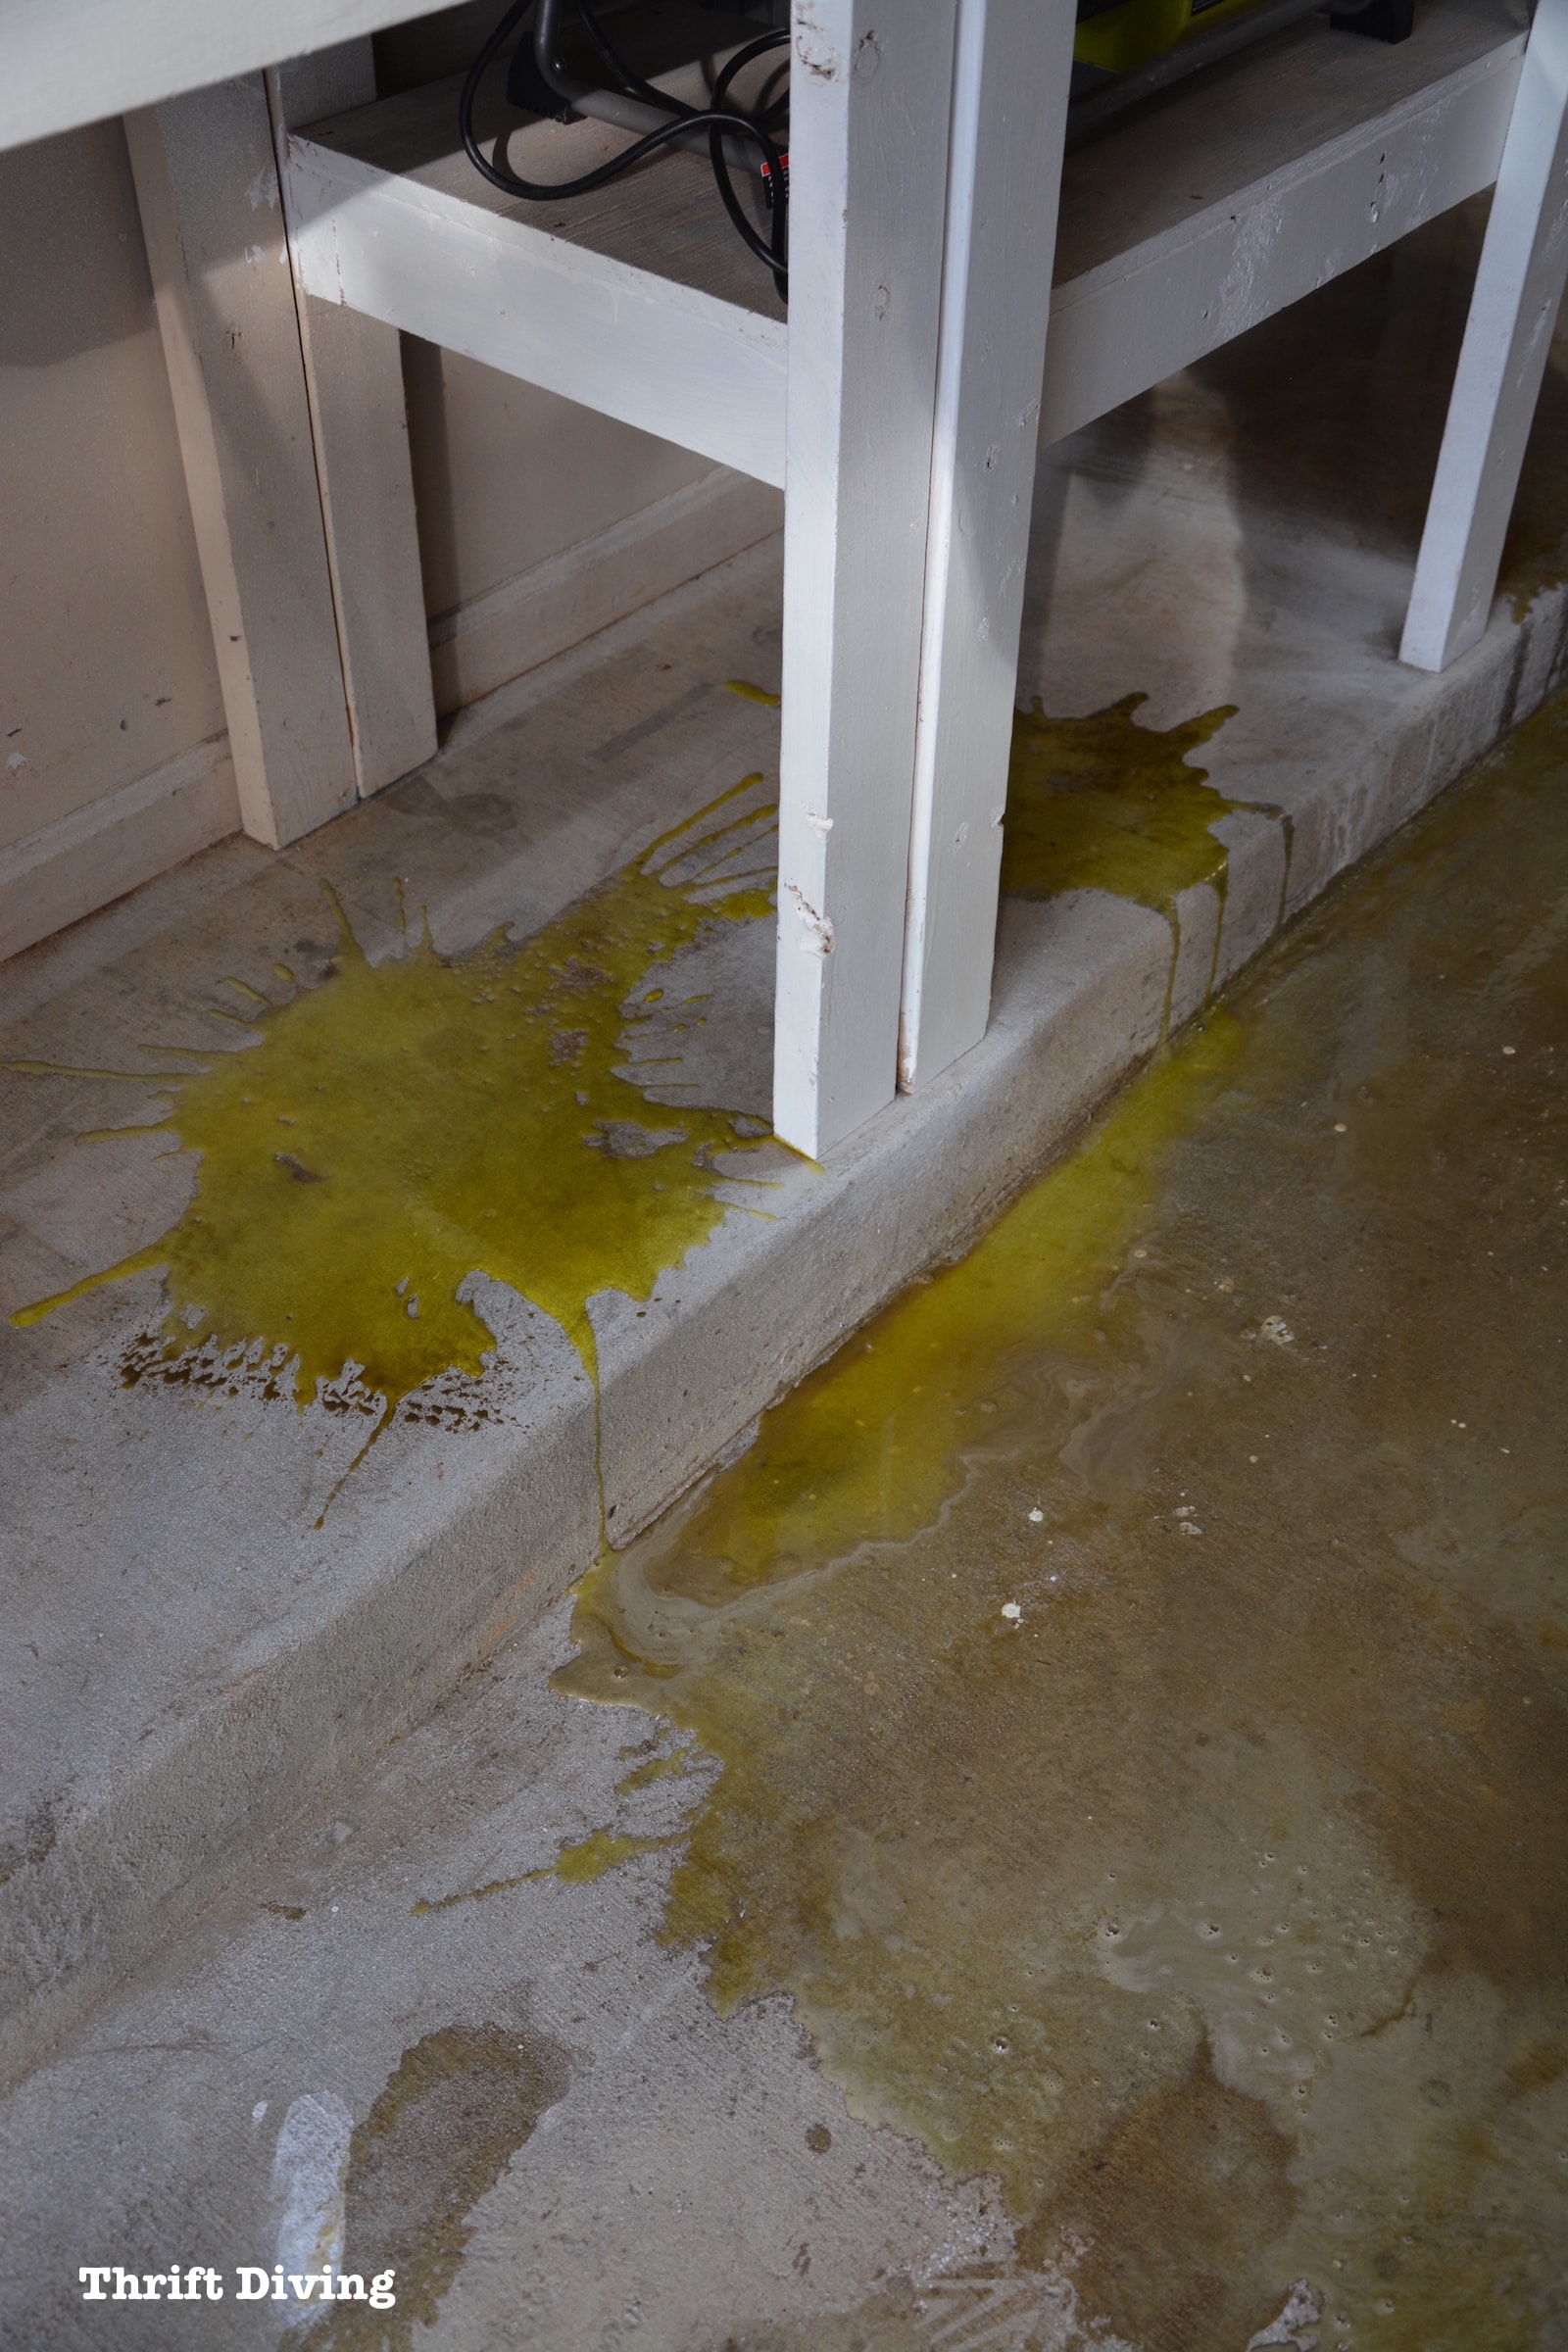
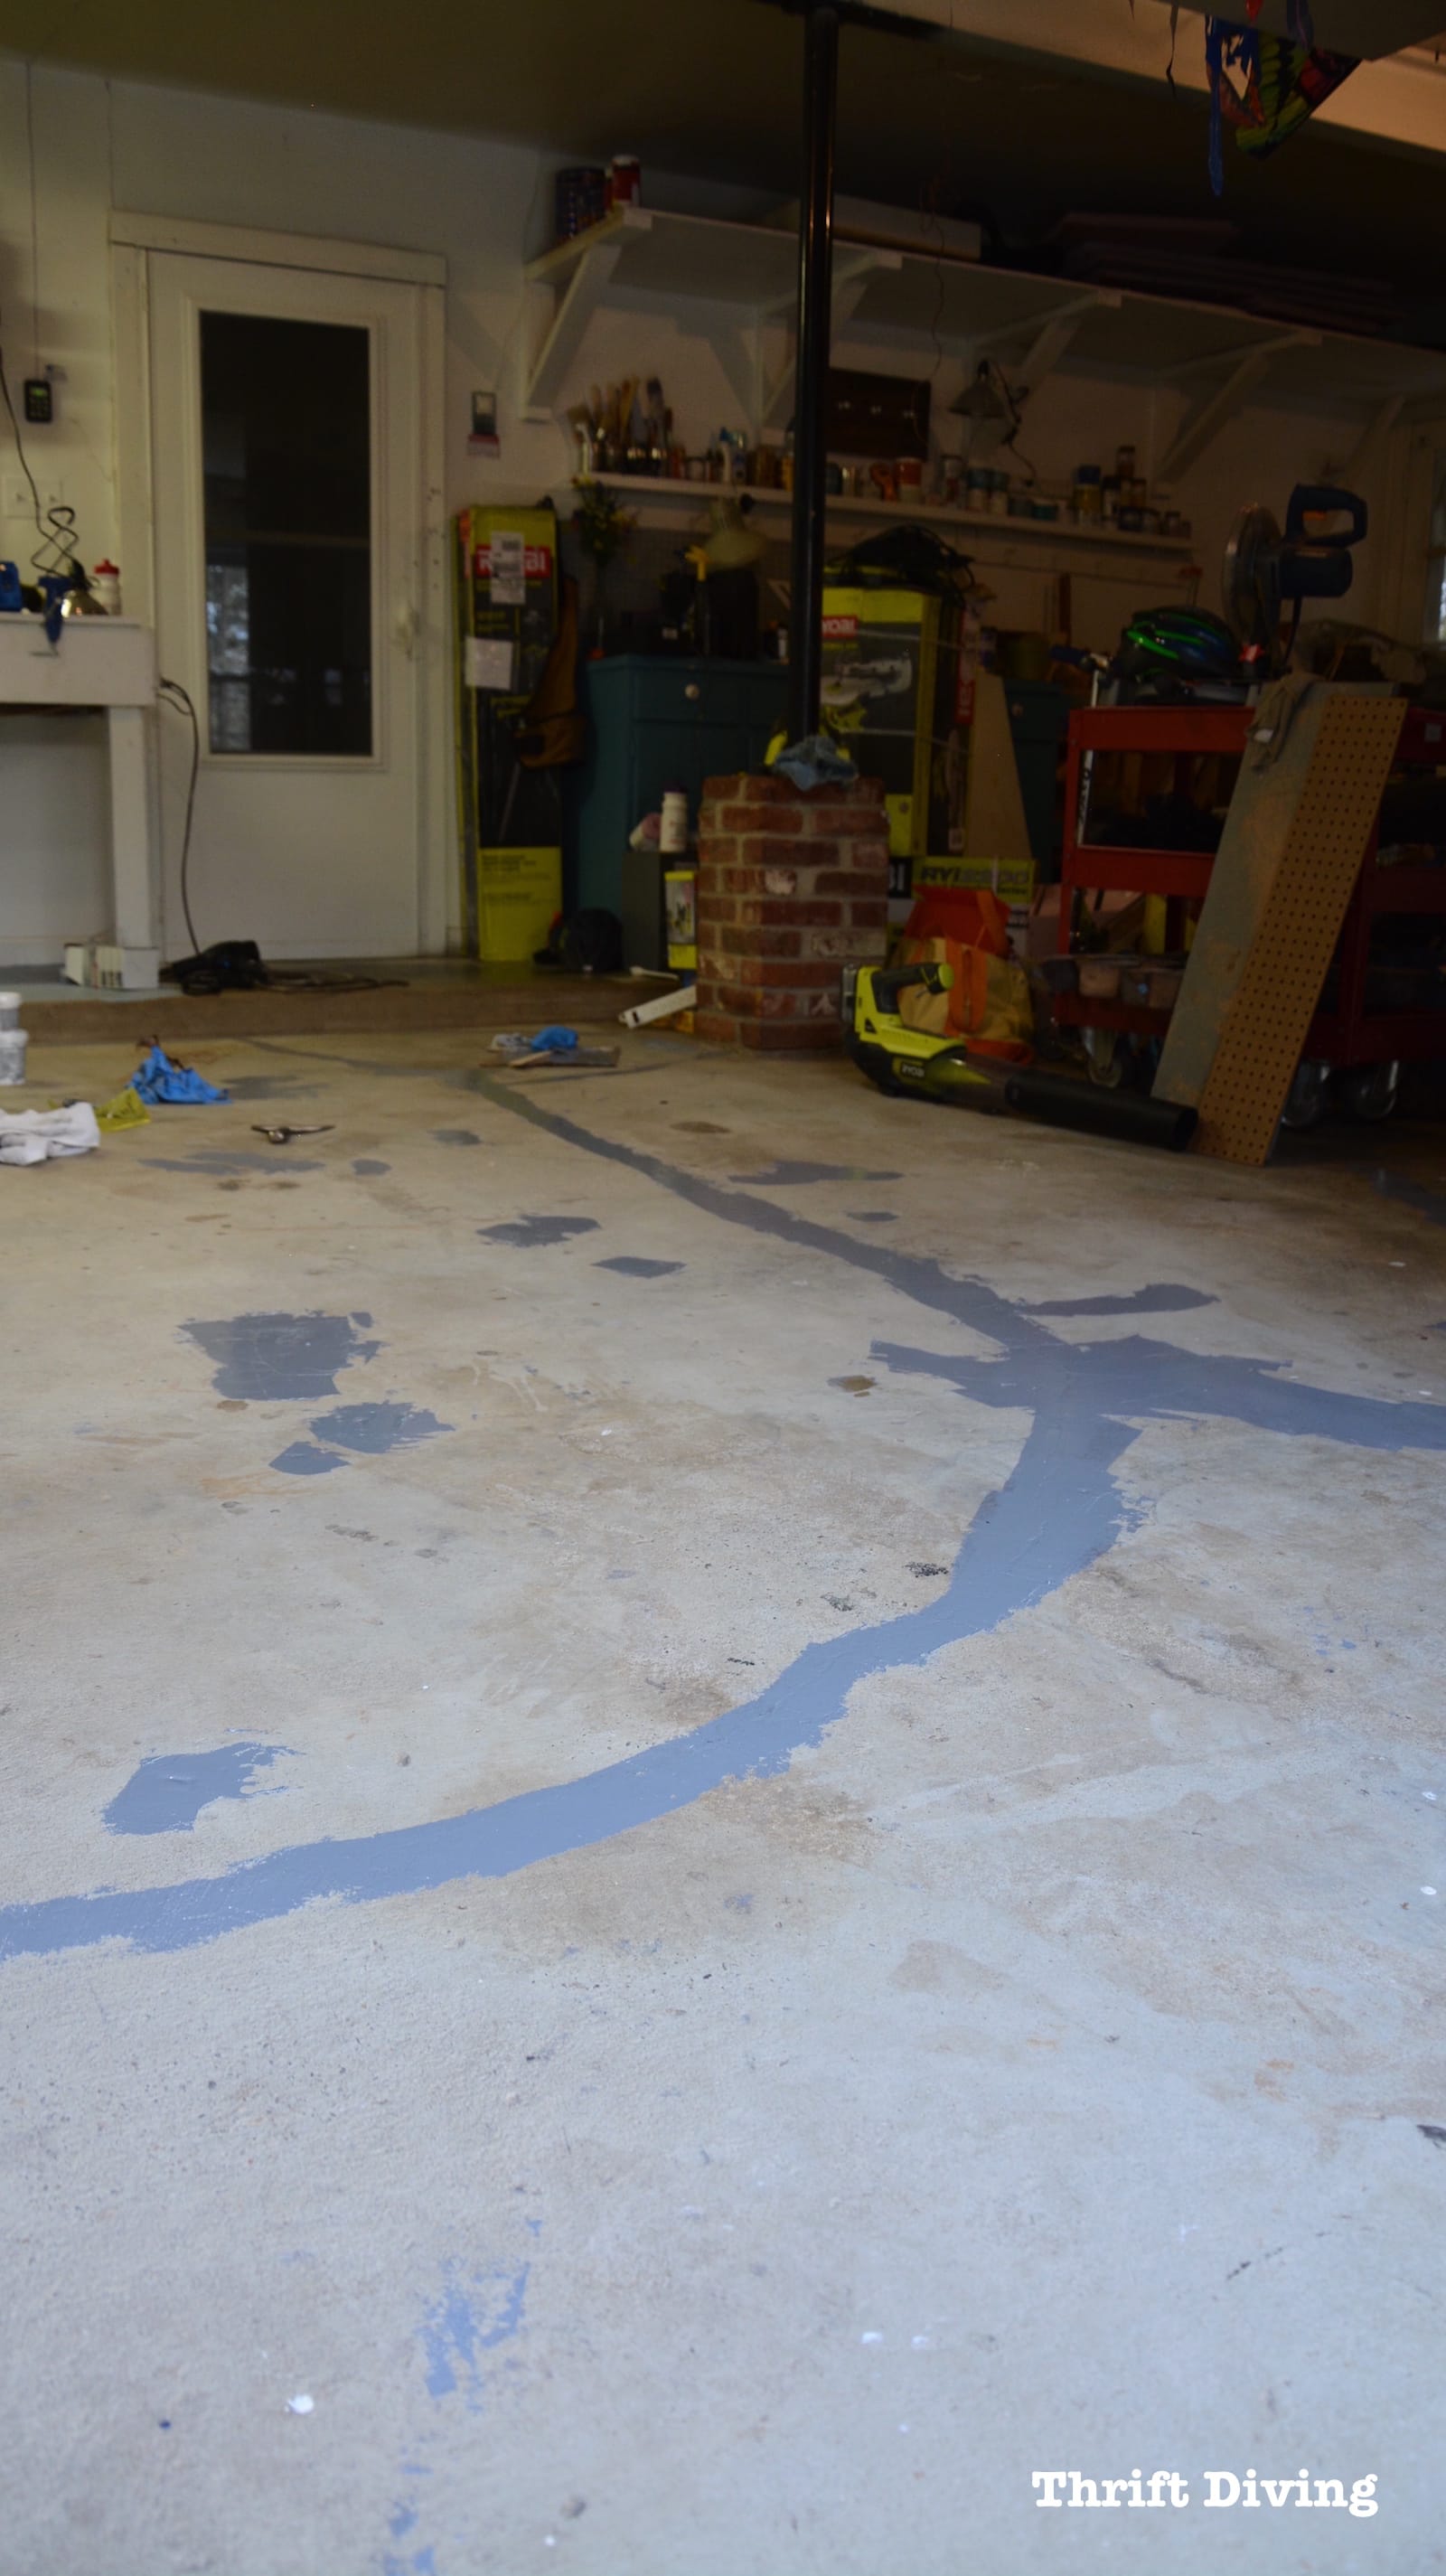
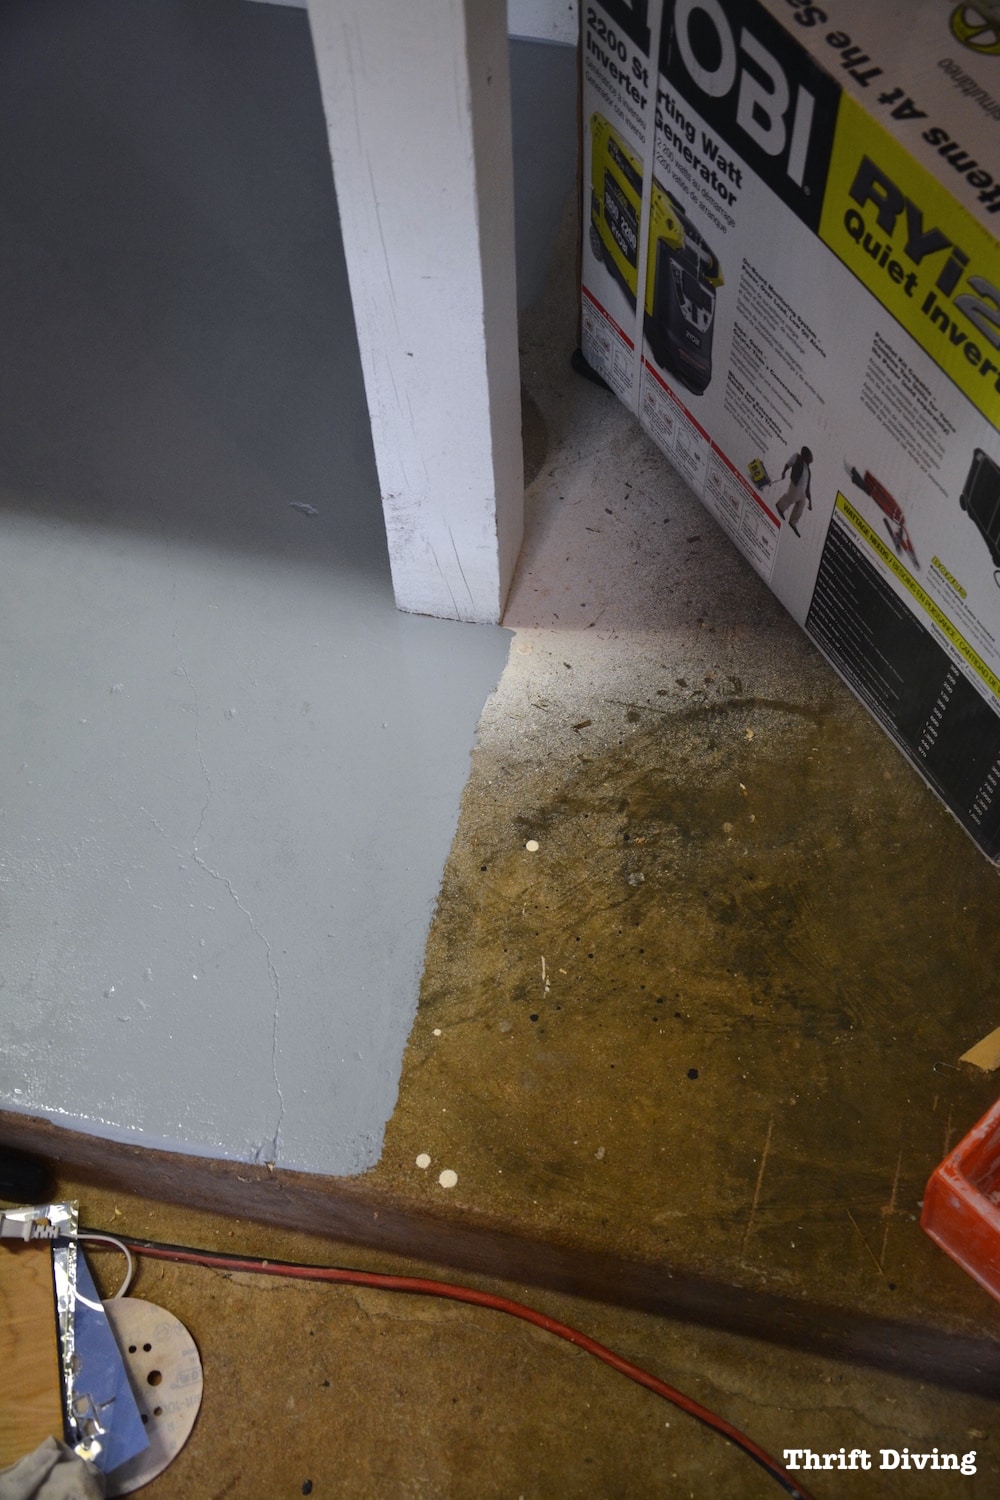
STEP 5: Fill in the Cracks
This is a step I didn’t realize I would need to do until I saw how the water seeped into the cracks and stayed wet for much longer than the rest of the garage floor!
(Pssst! The reason one section of the floor is already painted is because I did a test area).
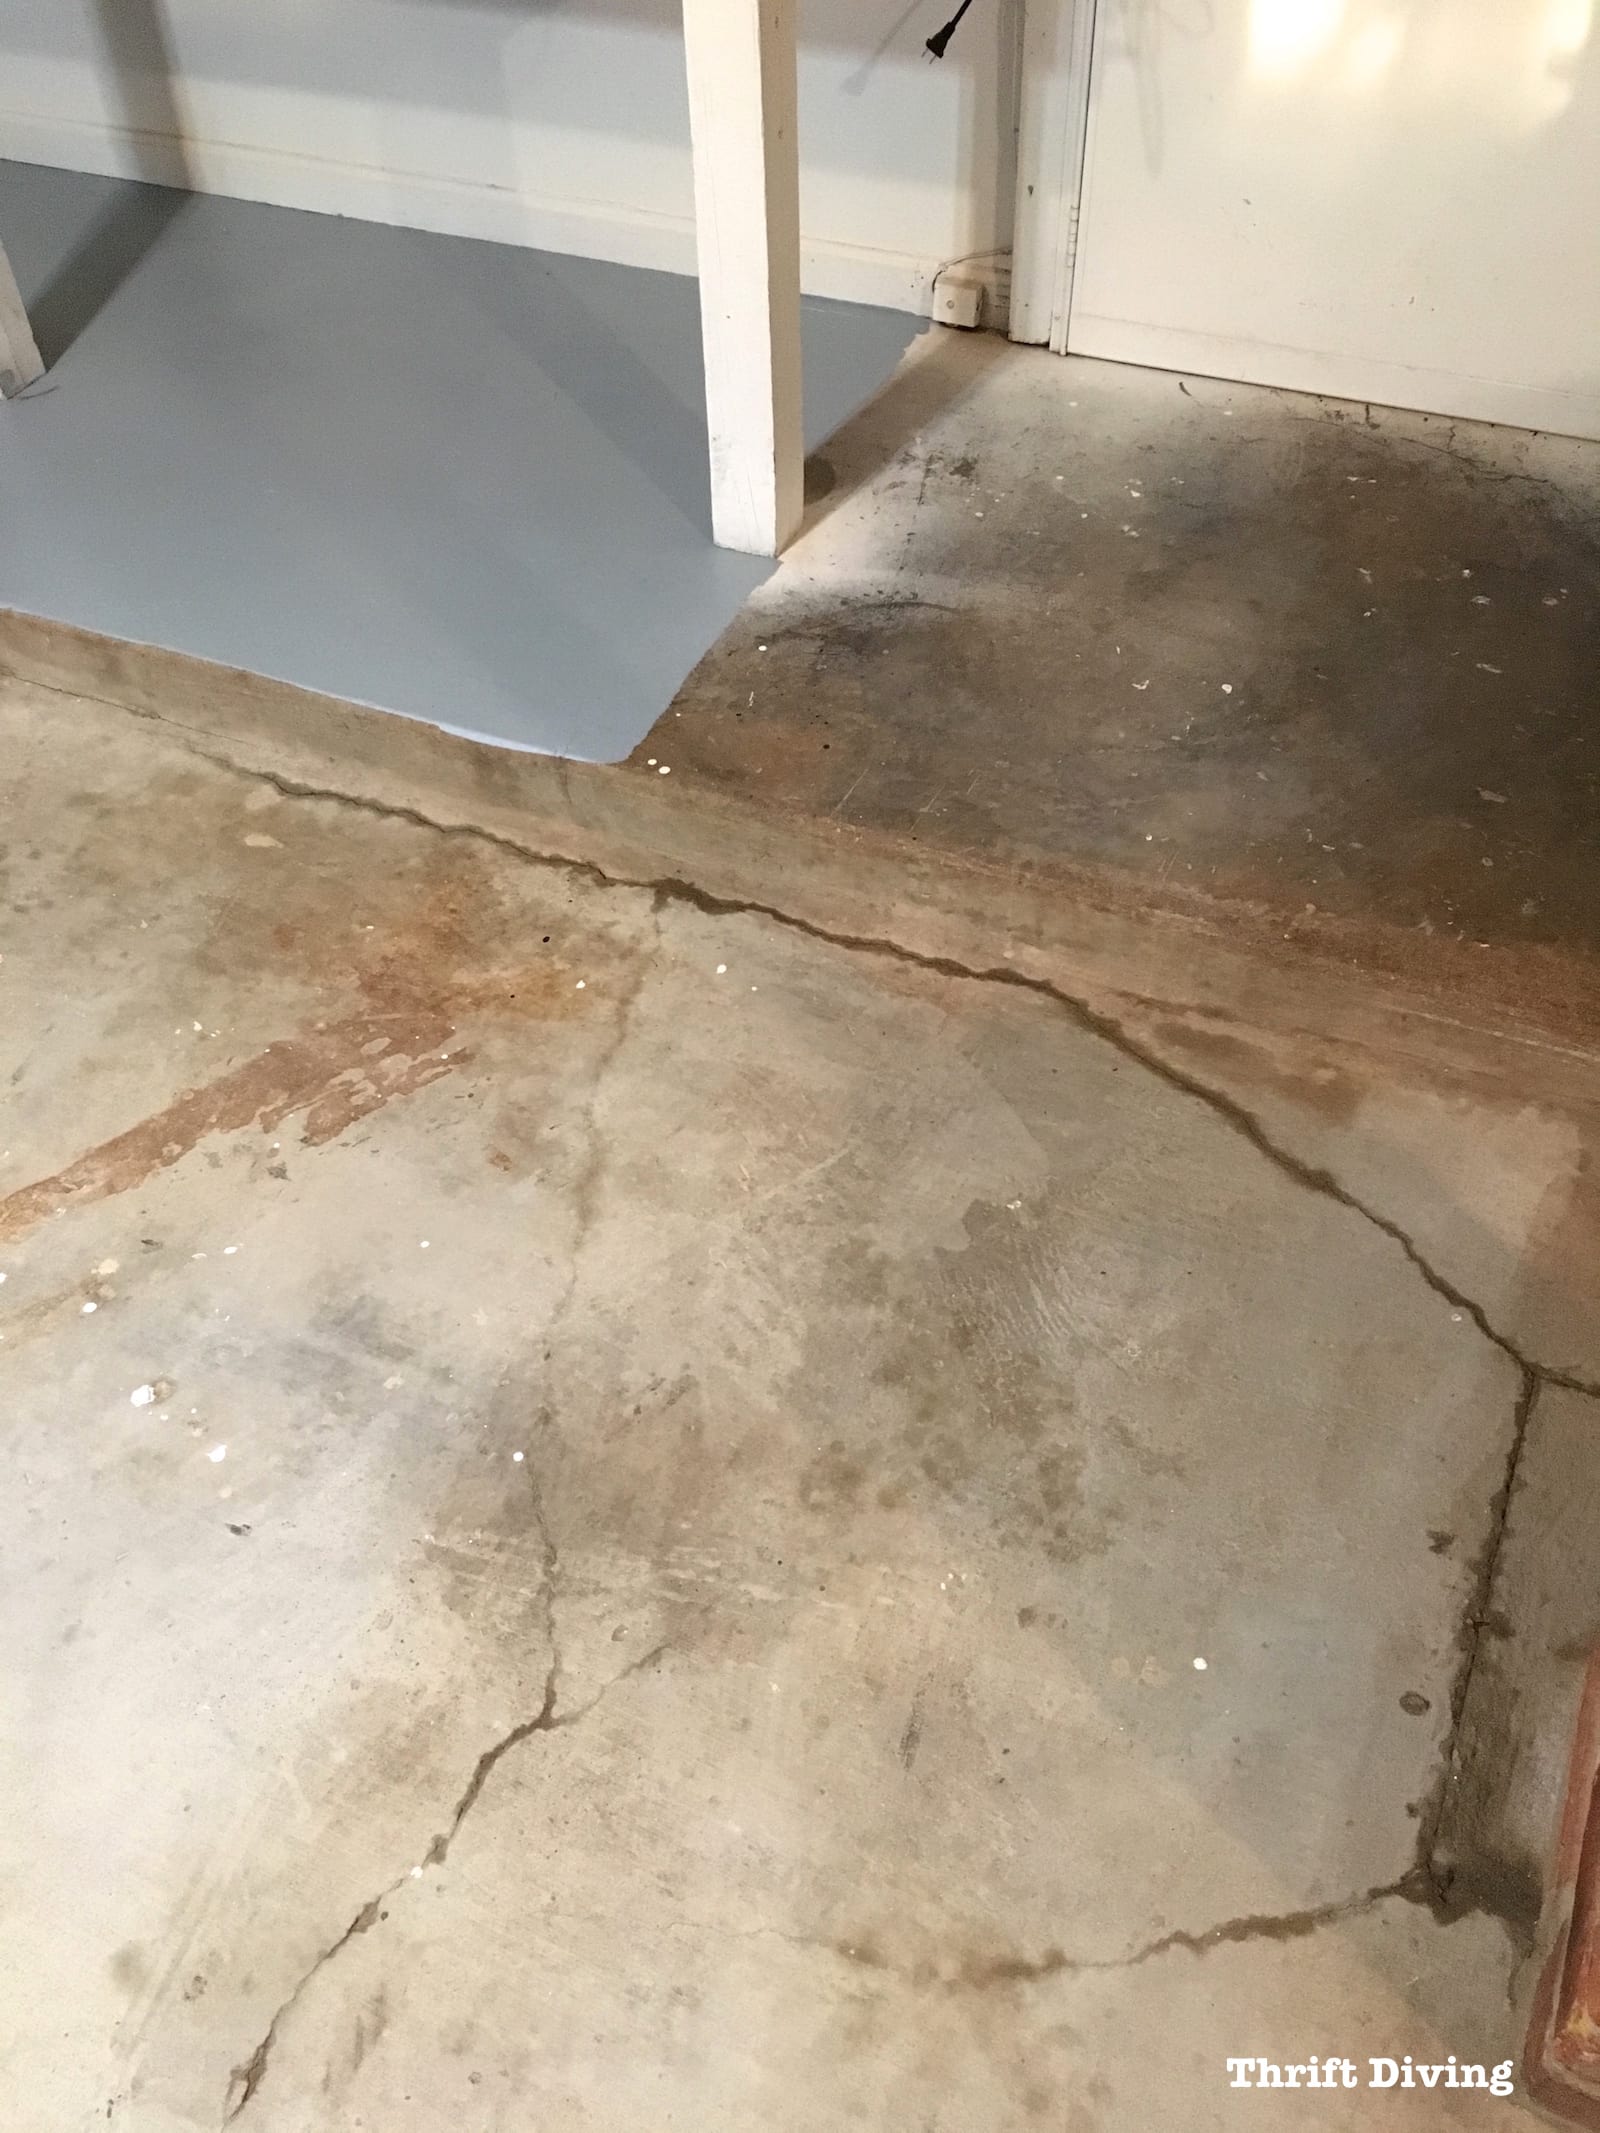
You can see how moist the cracks were.
Because of that, I had to leave the garage floor to thoroughly dry before patching up those cracks.
Be sure to account for that extra drying time if you’ve got cracks, too!
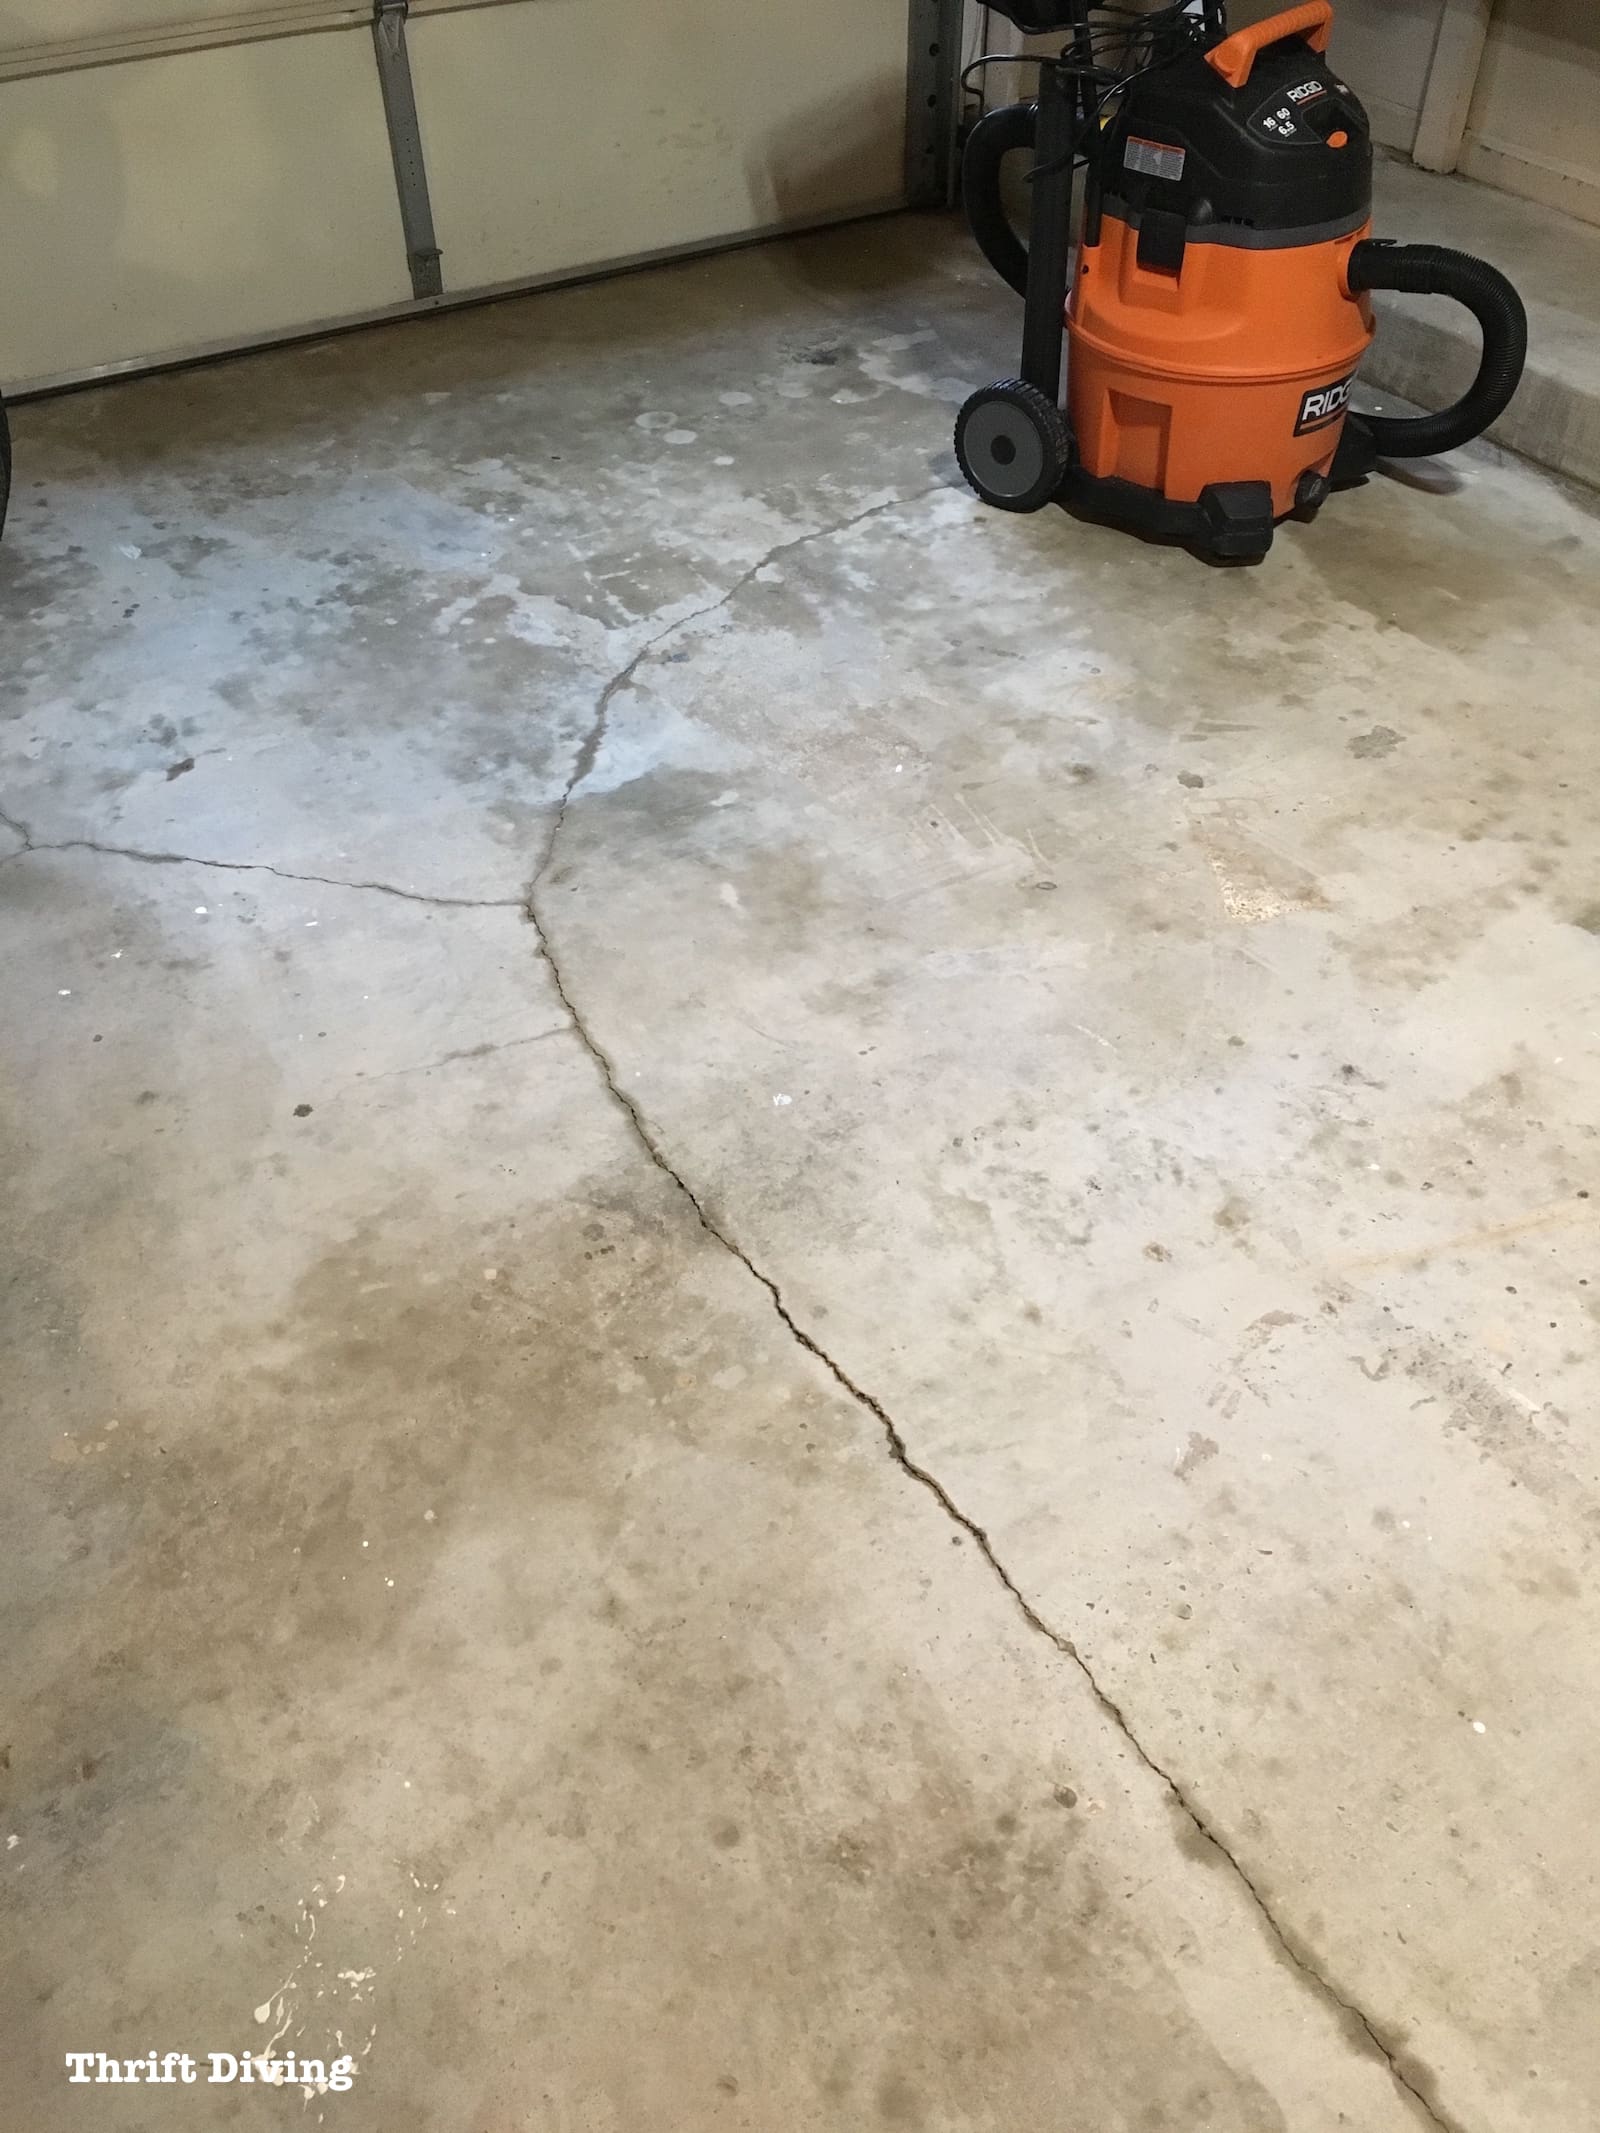
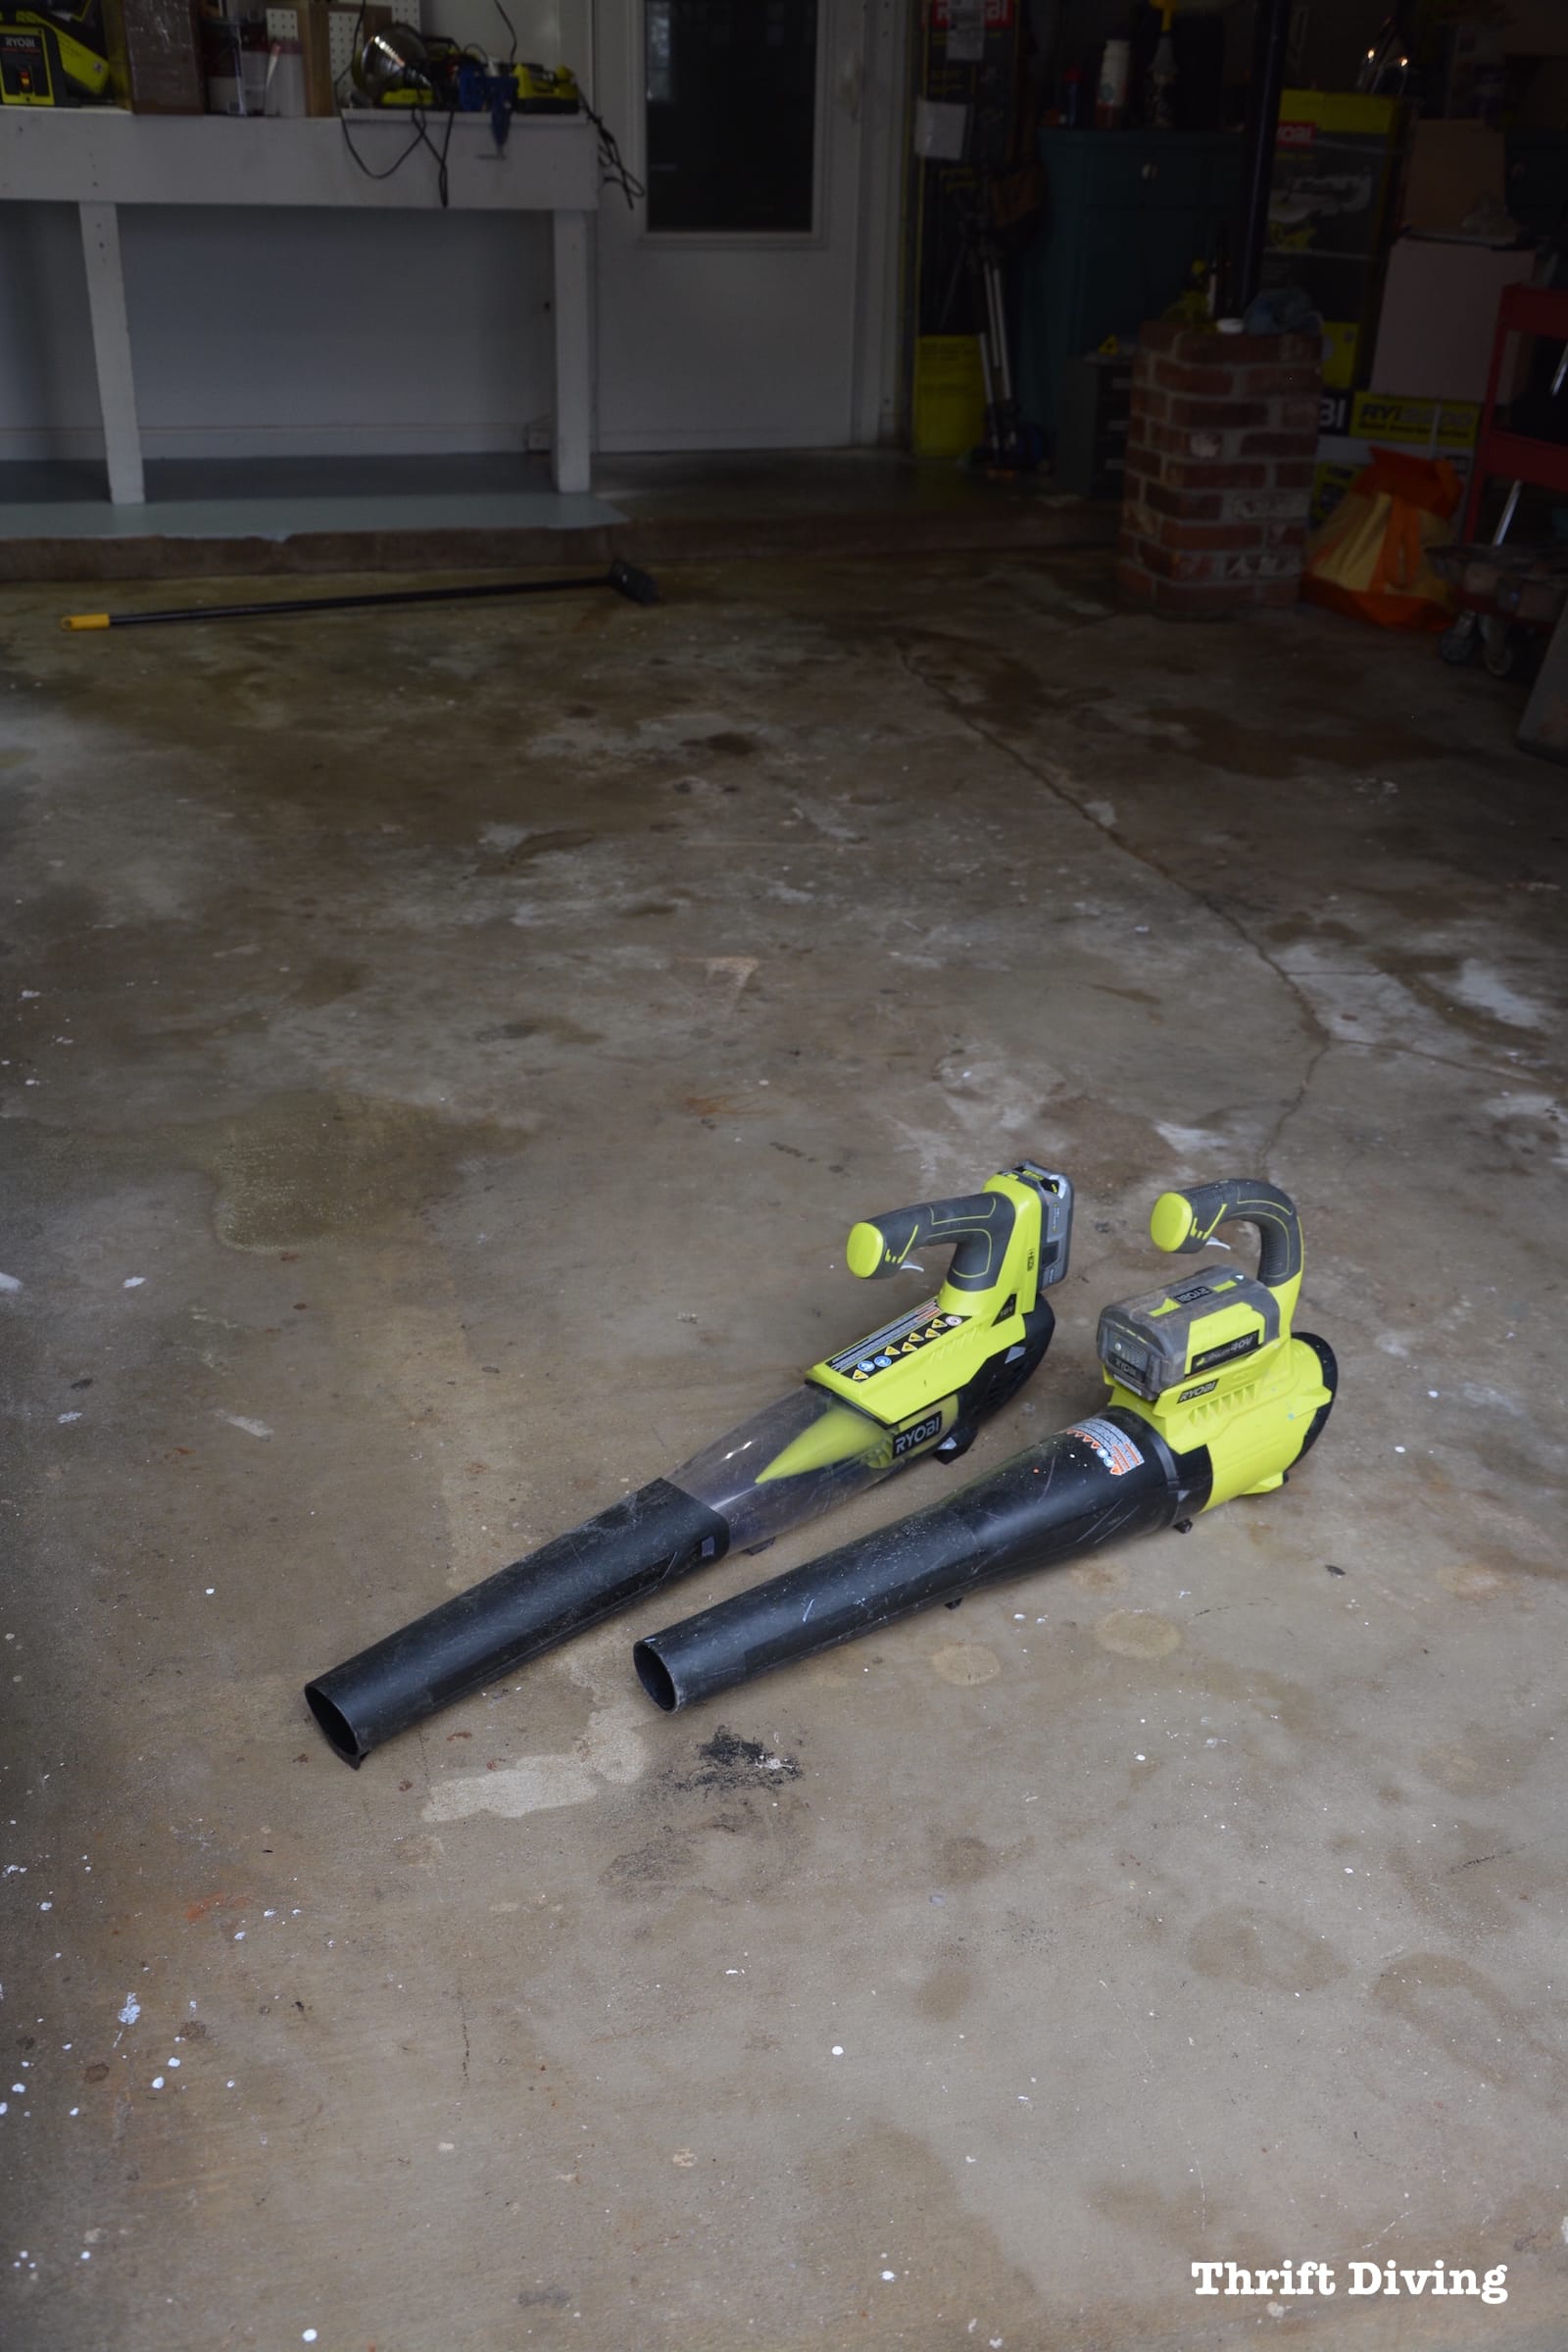
TIP: Use leaf blowers to speed up the drying time of your wet floor! They really do work!
I used a Rust-Oleum Epoxy Shield Concrete Patch and Repair kit.
But honestly, I don’t know if it was the best option to use or not.
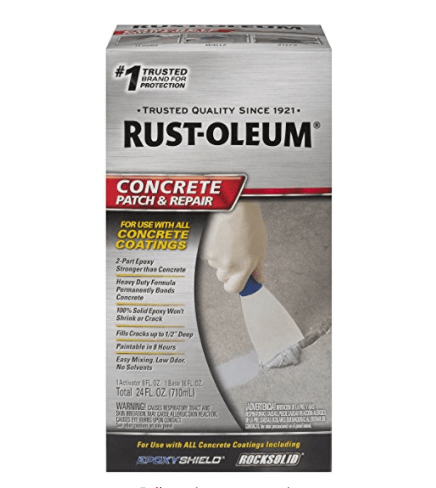
I simply bought whatever was on the shelf at The Home Depot next to the garage and concrete paint. LOL
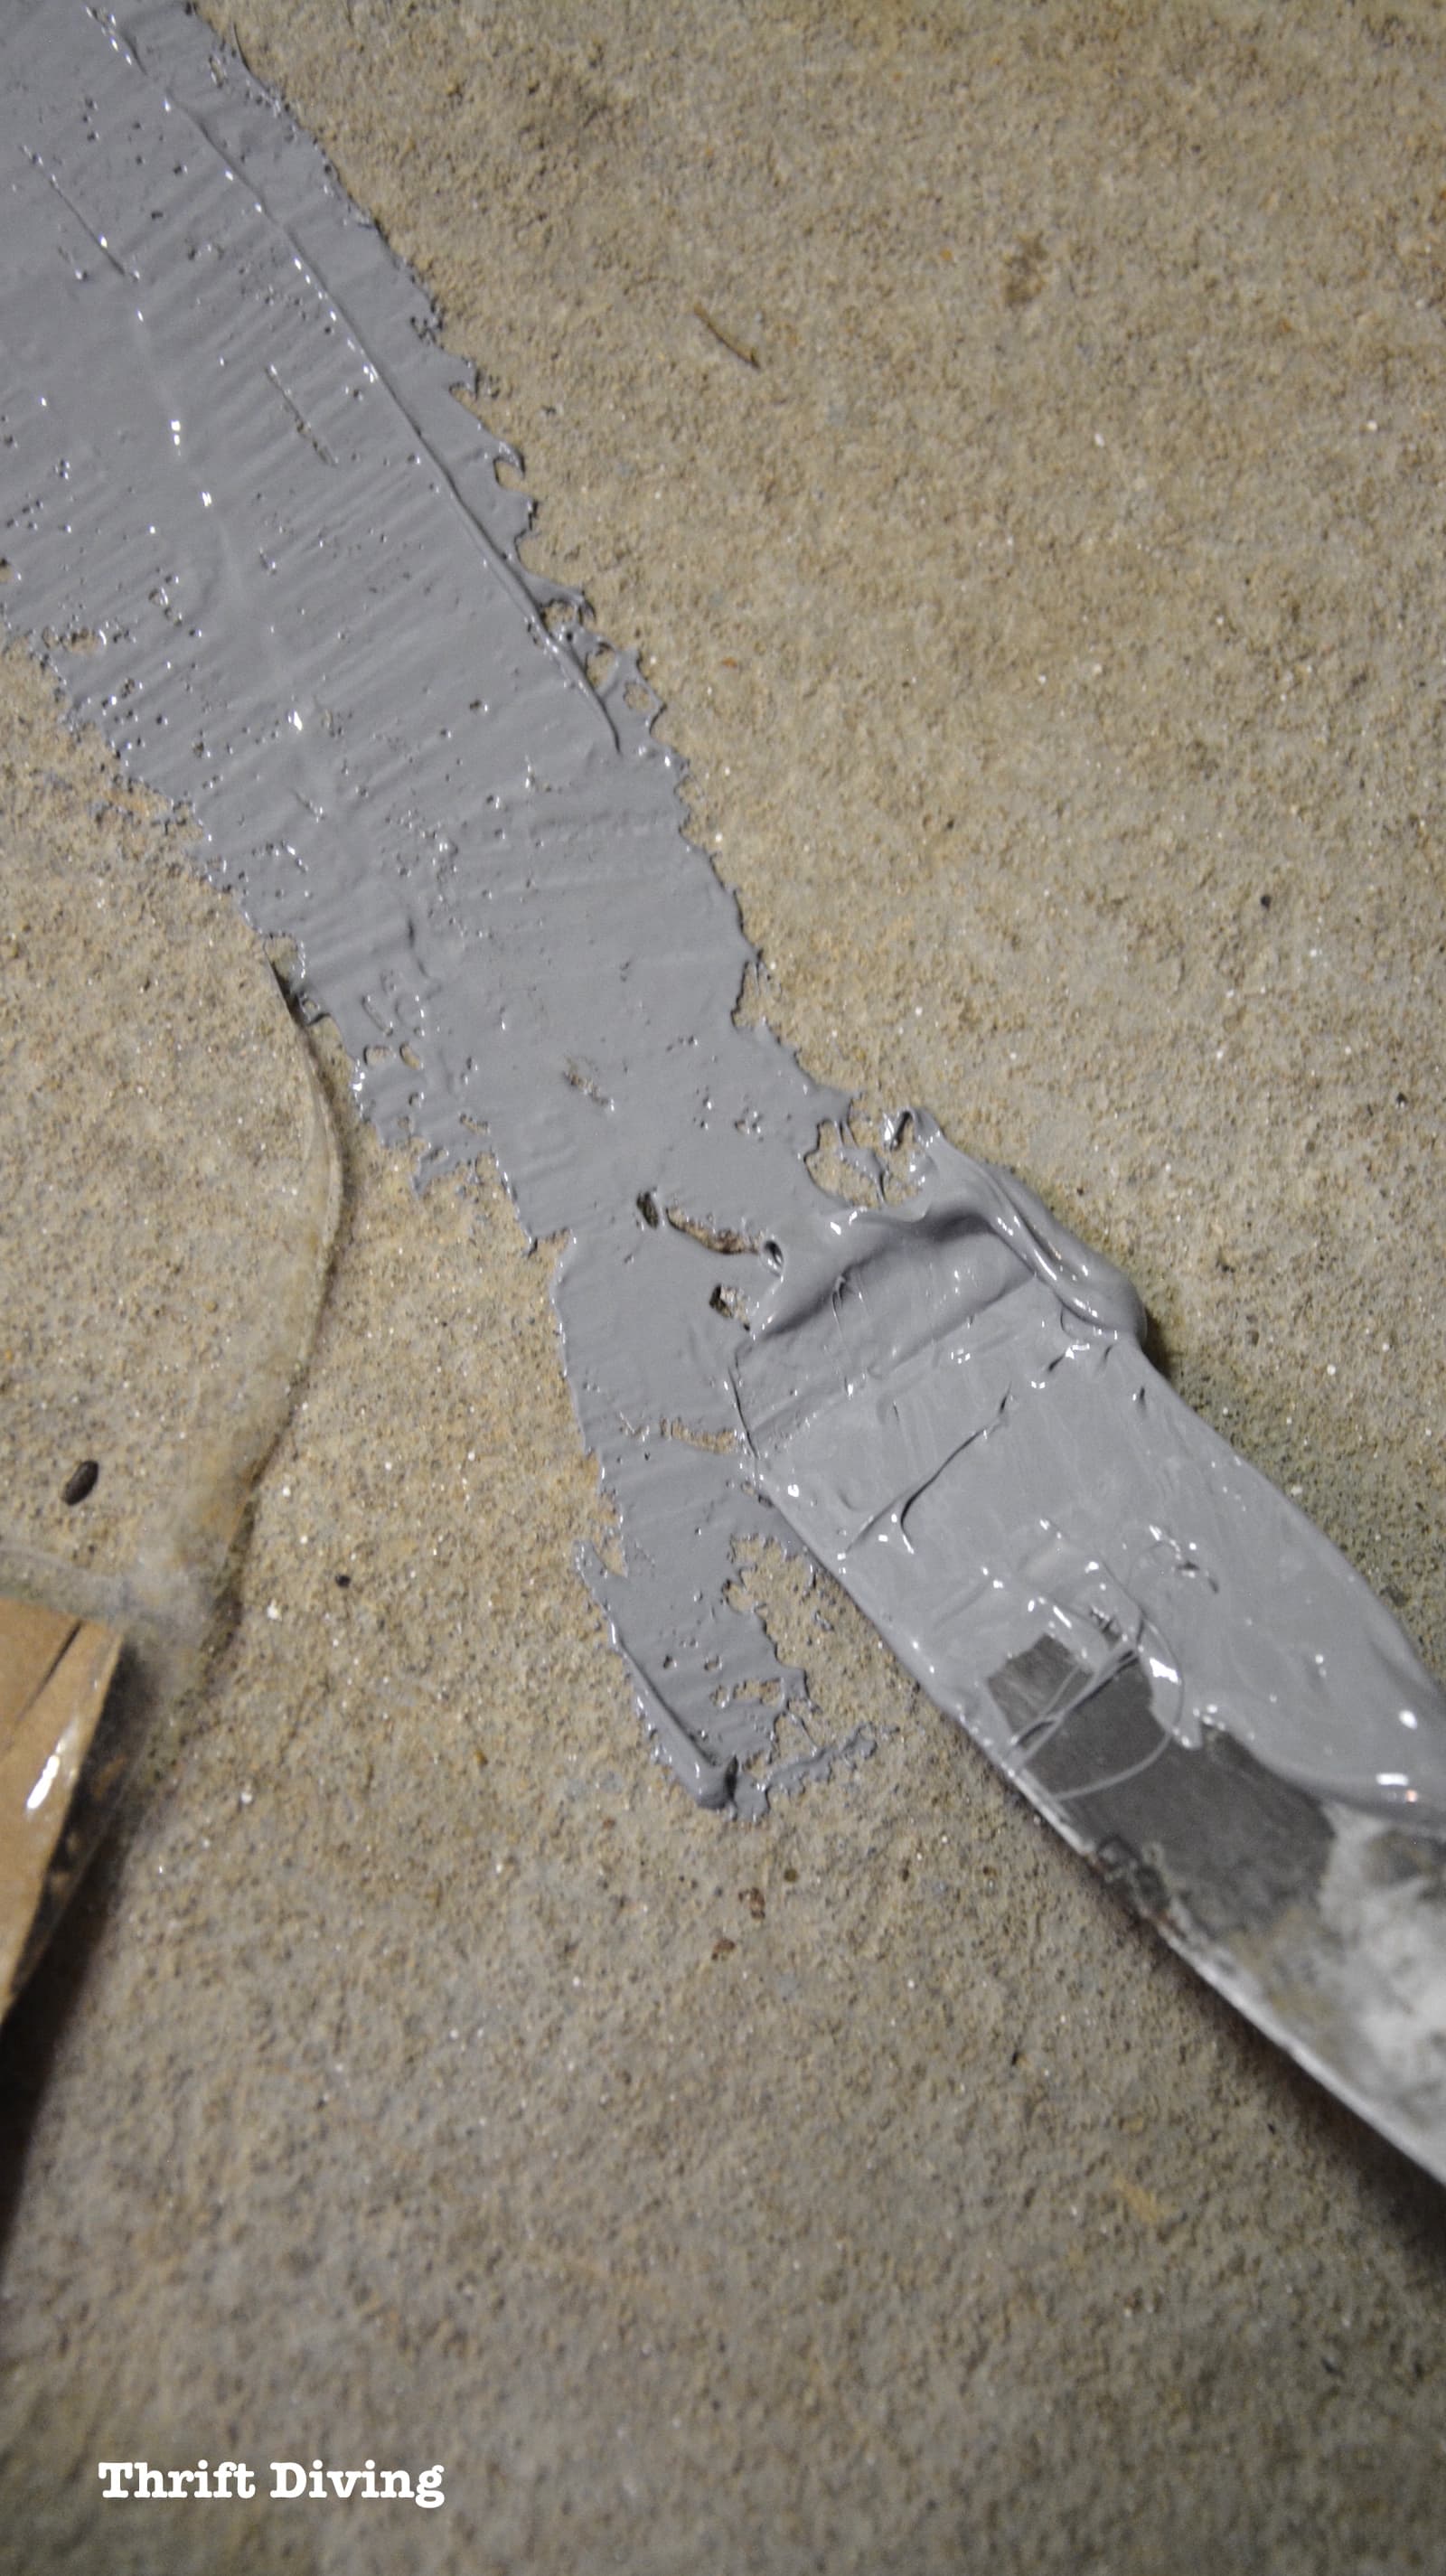
After mixing up the two components on cardboard according to the instructions, I used a putty knife to apply it.
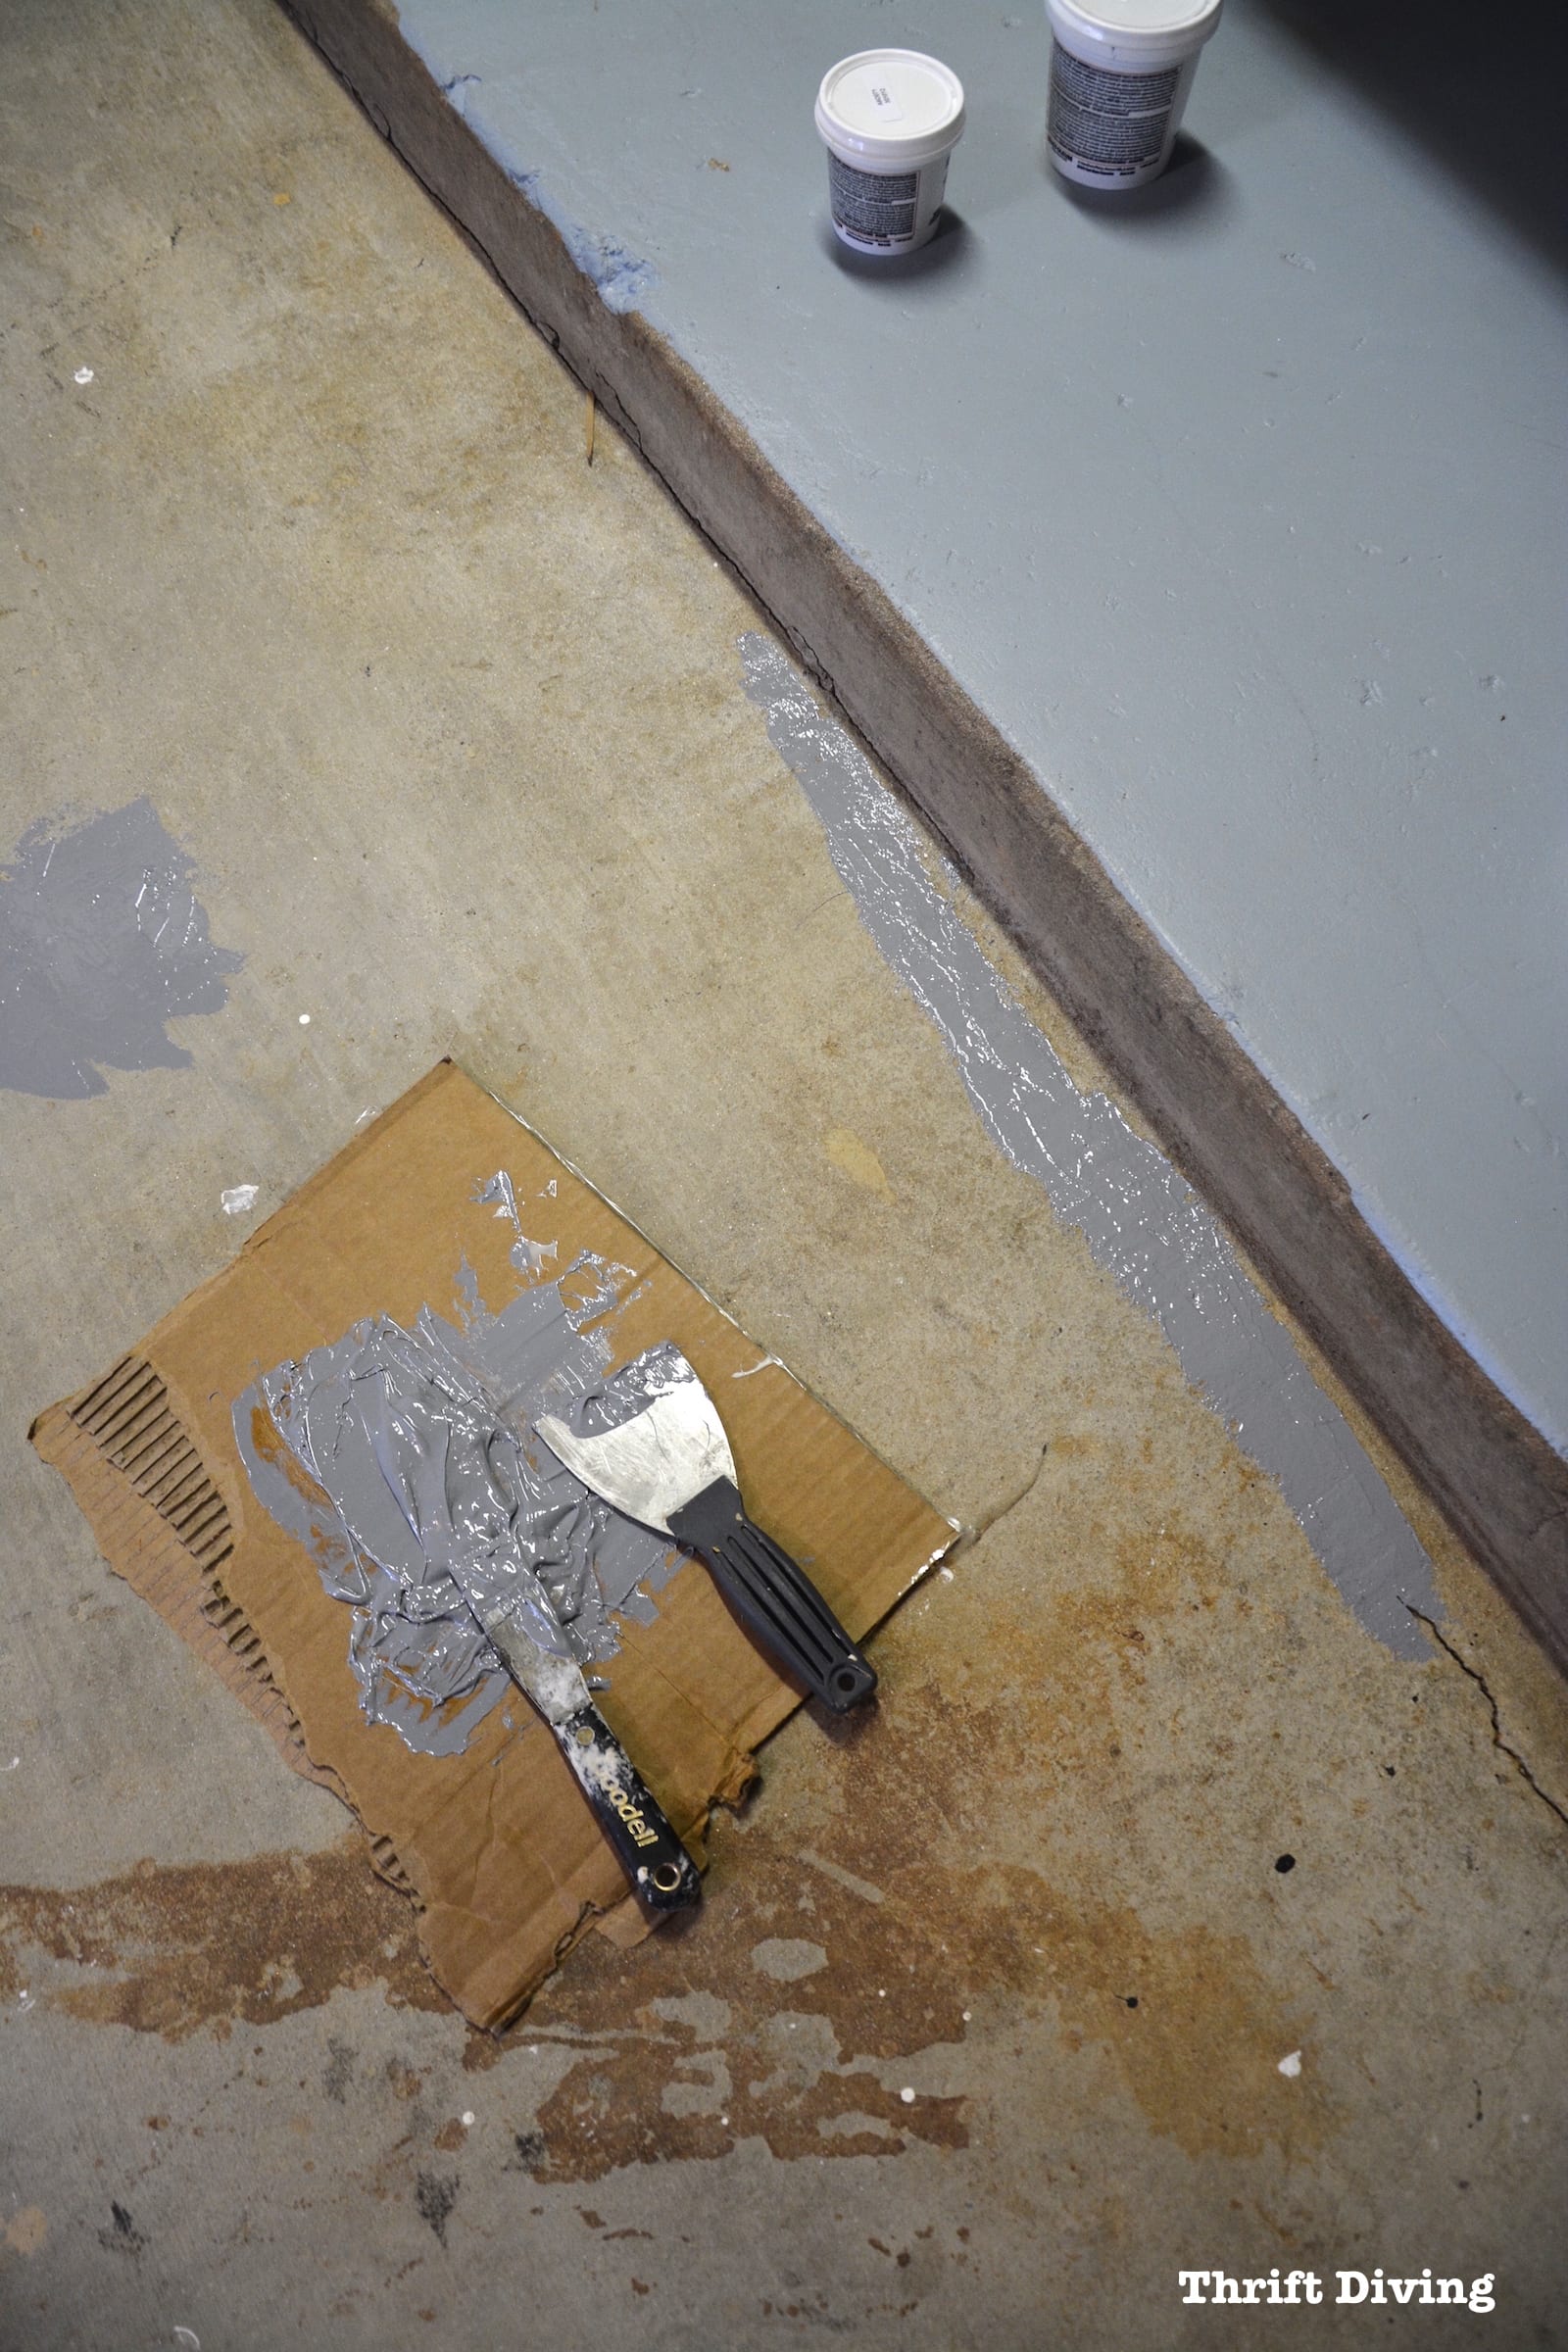
It’s a 2-part epoxy and shiny.
I found it a little difficult to smooth out over the rough concrete.
But you’ll want to spend a little time smoothing it out as best as you can because if you leave it thick, it will show through the paint as a thick patch!
I know we’re not professional garage floor refinishers, but anything we can do to look less like a novice, the better, right? 🙂
Once it was done, I let it dry for at least 8 hours before I painted over it. (I even attempted to use a sander on it after it hardener to see if I could smooth it out a little, which wasn’t very successful, of course. It’s epoxy!).
A review on Amazon said that the patch was visible under one coat of paint.
Yep–it was!
Because when I later painted the floor, there was an obvious difference in shine level of the patch repair and the garage floor paint.
Overall, I was just happy that the major garage floor cracks were filled, so I didn’t pay much attention to the patch visibility.
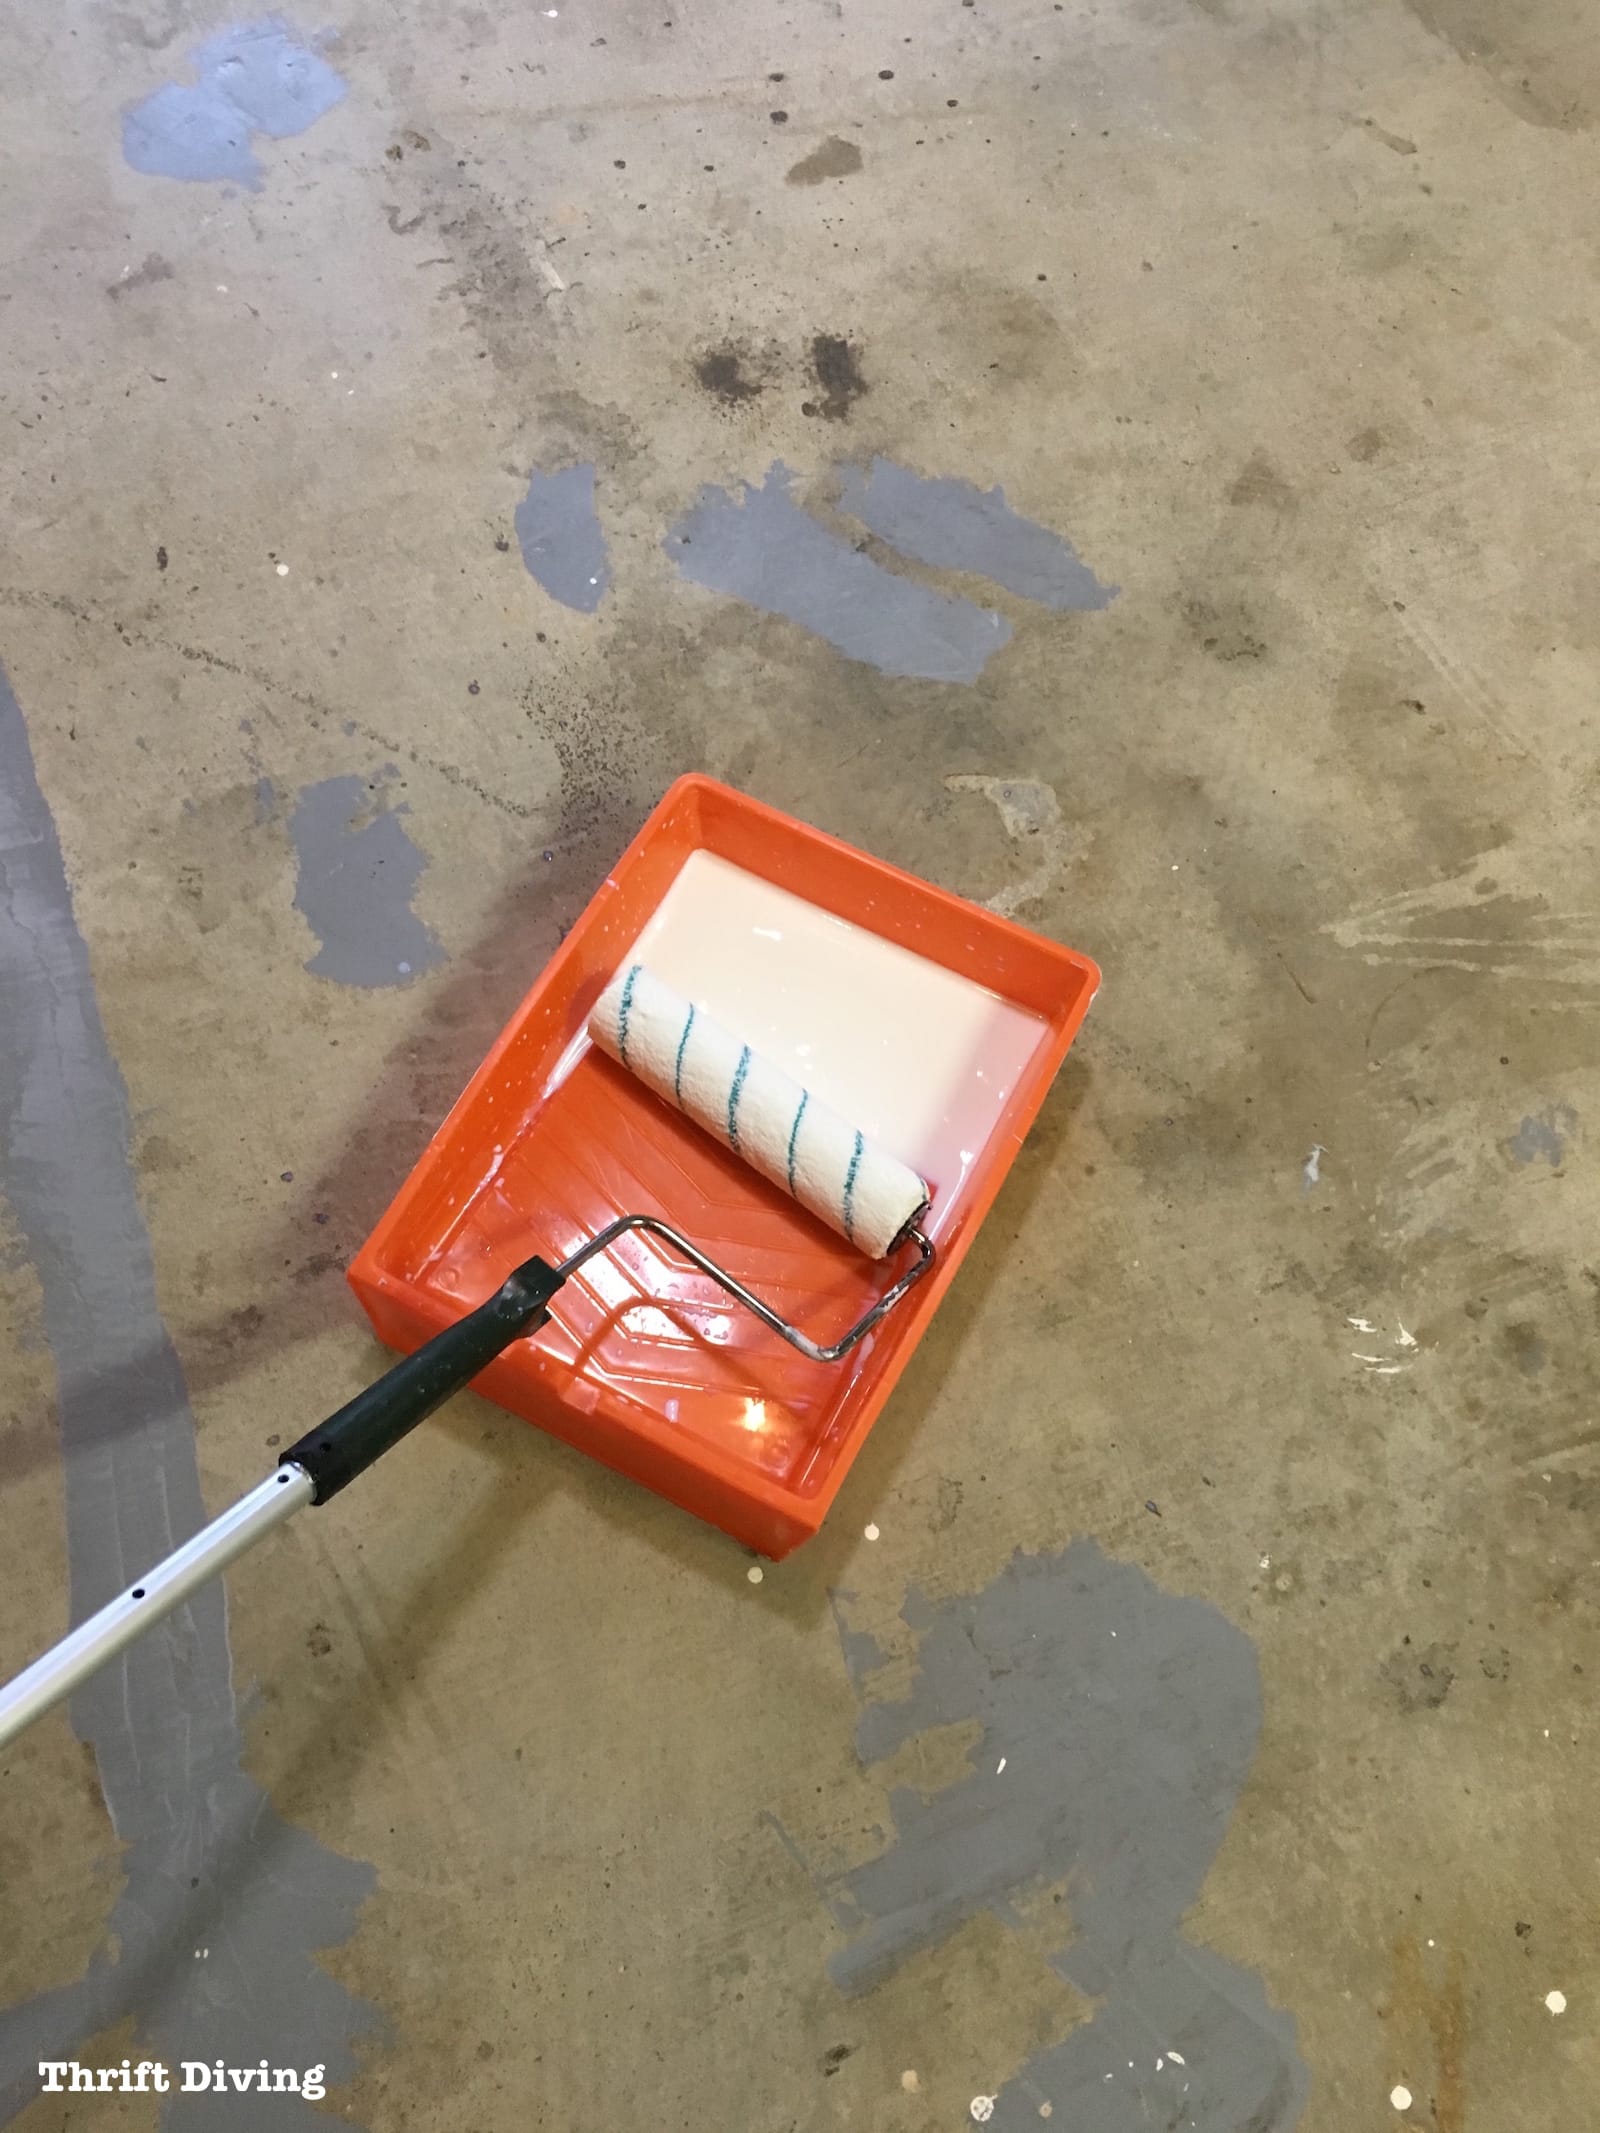
STEP 6: Roll on Two Coats of Bonding Primer
This is the step that I almost forgot, until someone on Snapchat saw my snaps and pointed out, “Hey! You need to prime it first!”
Ummm…..oh, yeah, that’s right!
Unfortunately, I don’t think I even snapped pictures of the process! 🙁
But it was pretty straight forward.
I just rolled on two coats (letting it dry in between), which was a thin milky white but dried clear.
And because I had never painted my garage floor before, in retrospect, I wonder if I should have applied the bonding primer before filling the cracks.
Hmmm….Not sure on that one.
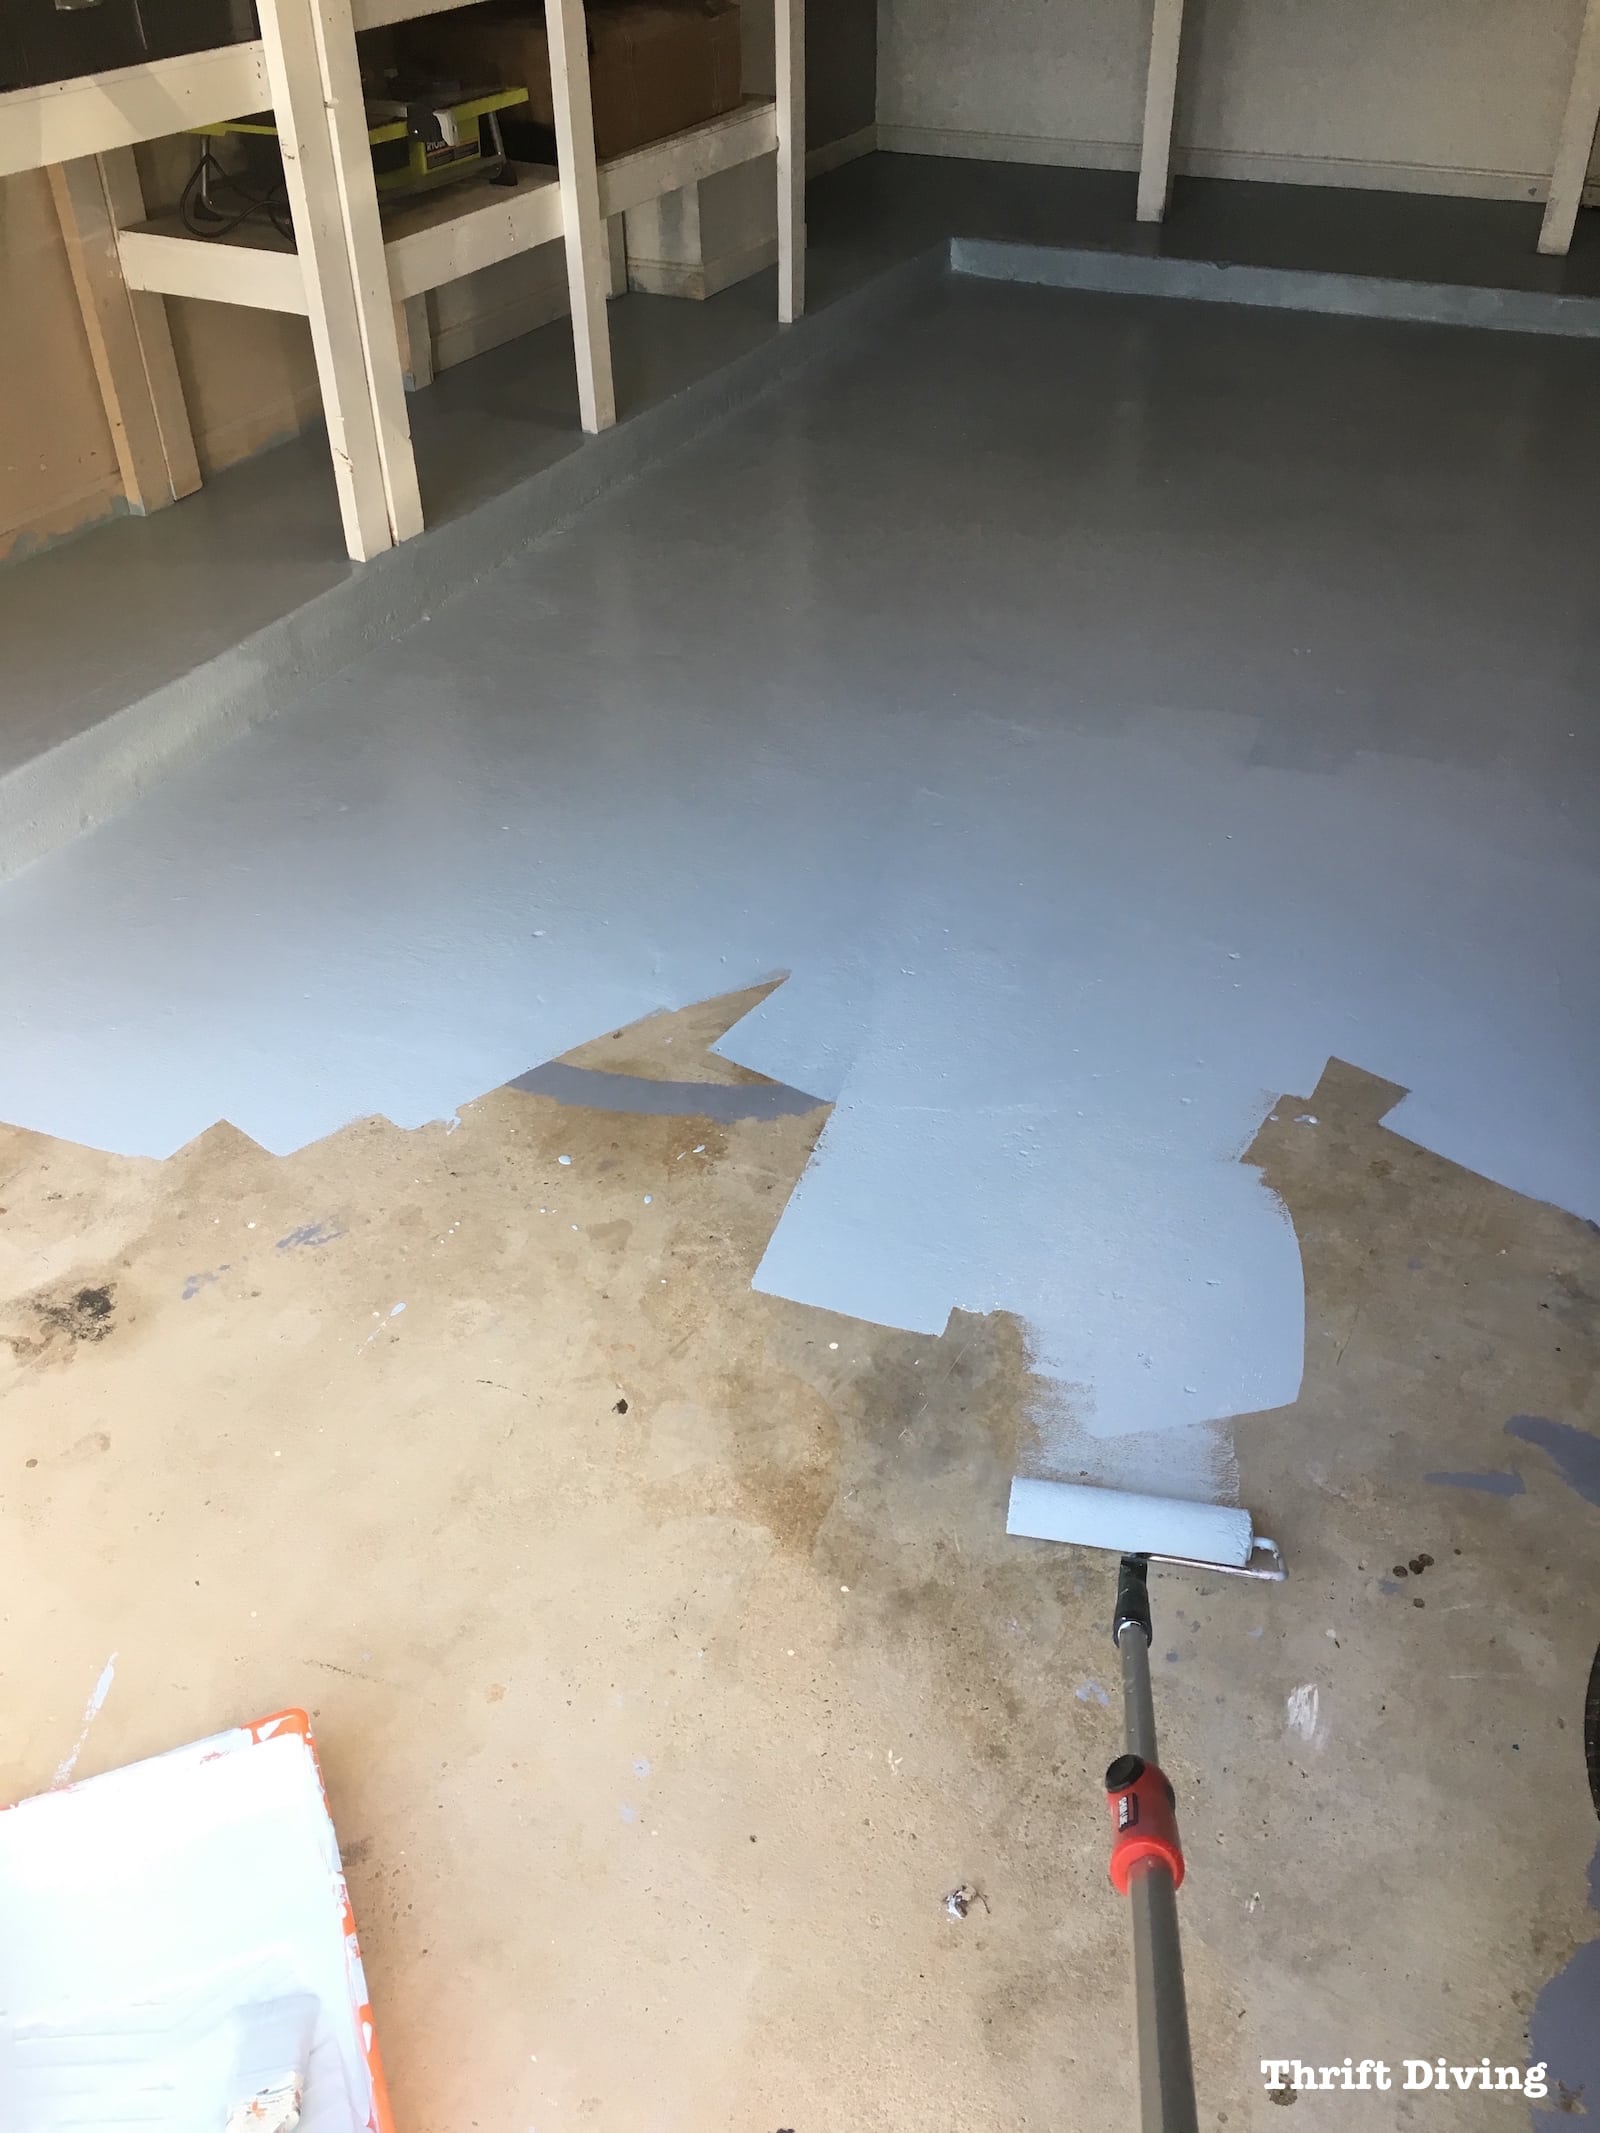
STEP 7: Paint Two Coats of 1-Part Epoxy Paint
As I mentioned before, this is the 1-part epoxy paint that I used.
It’s specifically for concrete and garage floors and has a bit of epoxy resin in it to make it durable.
But here’s the thing: there are a lot of terrible reviews on Home Depot’s website about the Behr Premium Concrete & Garage Floor Paint!
In fact, it’s the reasons I didn’t paint my garage floor years ago because so many reviewers gave it ONE STAR.
Many people reported that even after following directions to a “T”, their tires pulled off the paint from the garage floor.
However, in other research I have done, I learned that it’s no surprise that 1-part epoxy peeled off on wheels. It’s not as durable as 2-part epoxy. So if you’re hoping to park in your garage, you should go with a 2-part epoxy product.
In this case, we aren’t parking our cars in there.
And what could look worse than this??
Anything would be an improvement!
When you compare the painted areas and those not painted, you can see how dramatic the difference was!
Anyhow, I slathered on a couple of coats, letting it dry thoroughly in between, working my way out of the garage so I didn’t step on the freshly painted garage floor!

I figured if it chipped on me like the reviewers said it did, I could always do little touch ups.
With just one coat, it was already looking amazing and clean!!
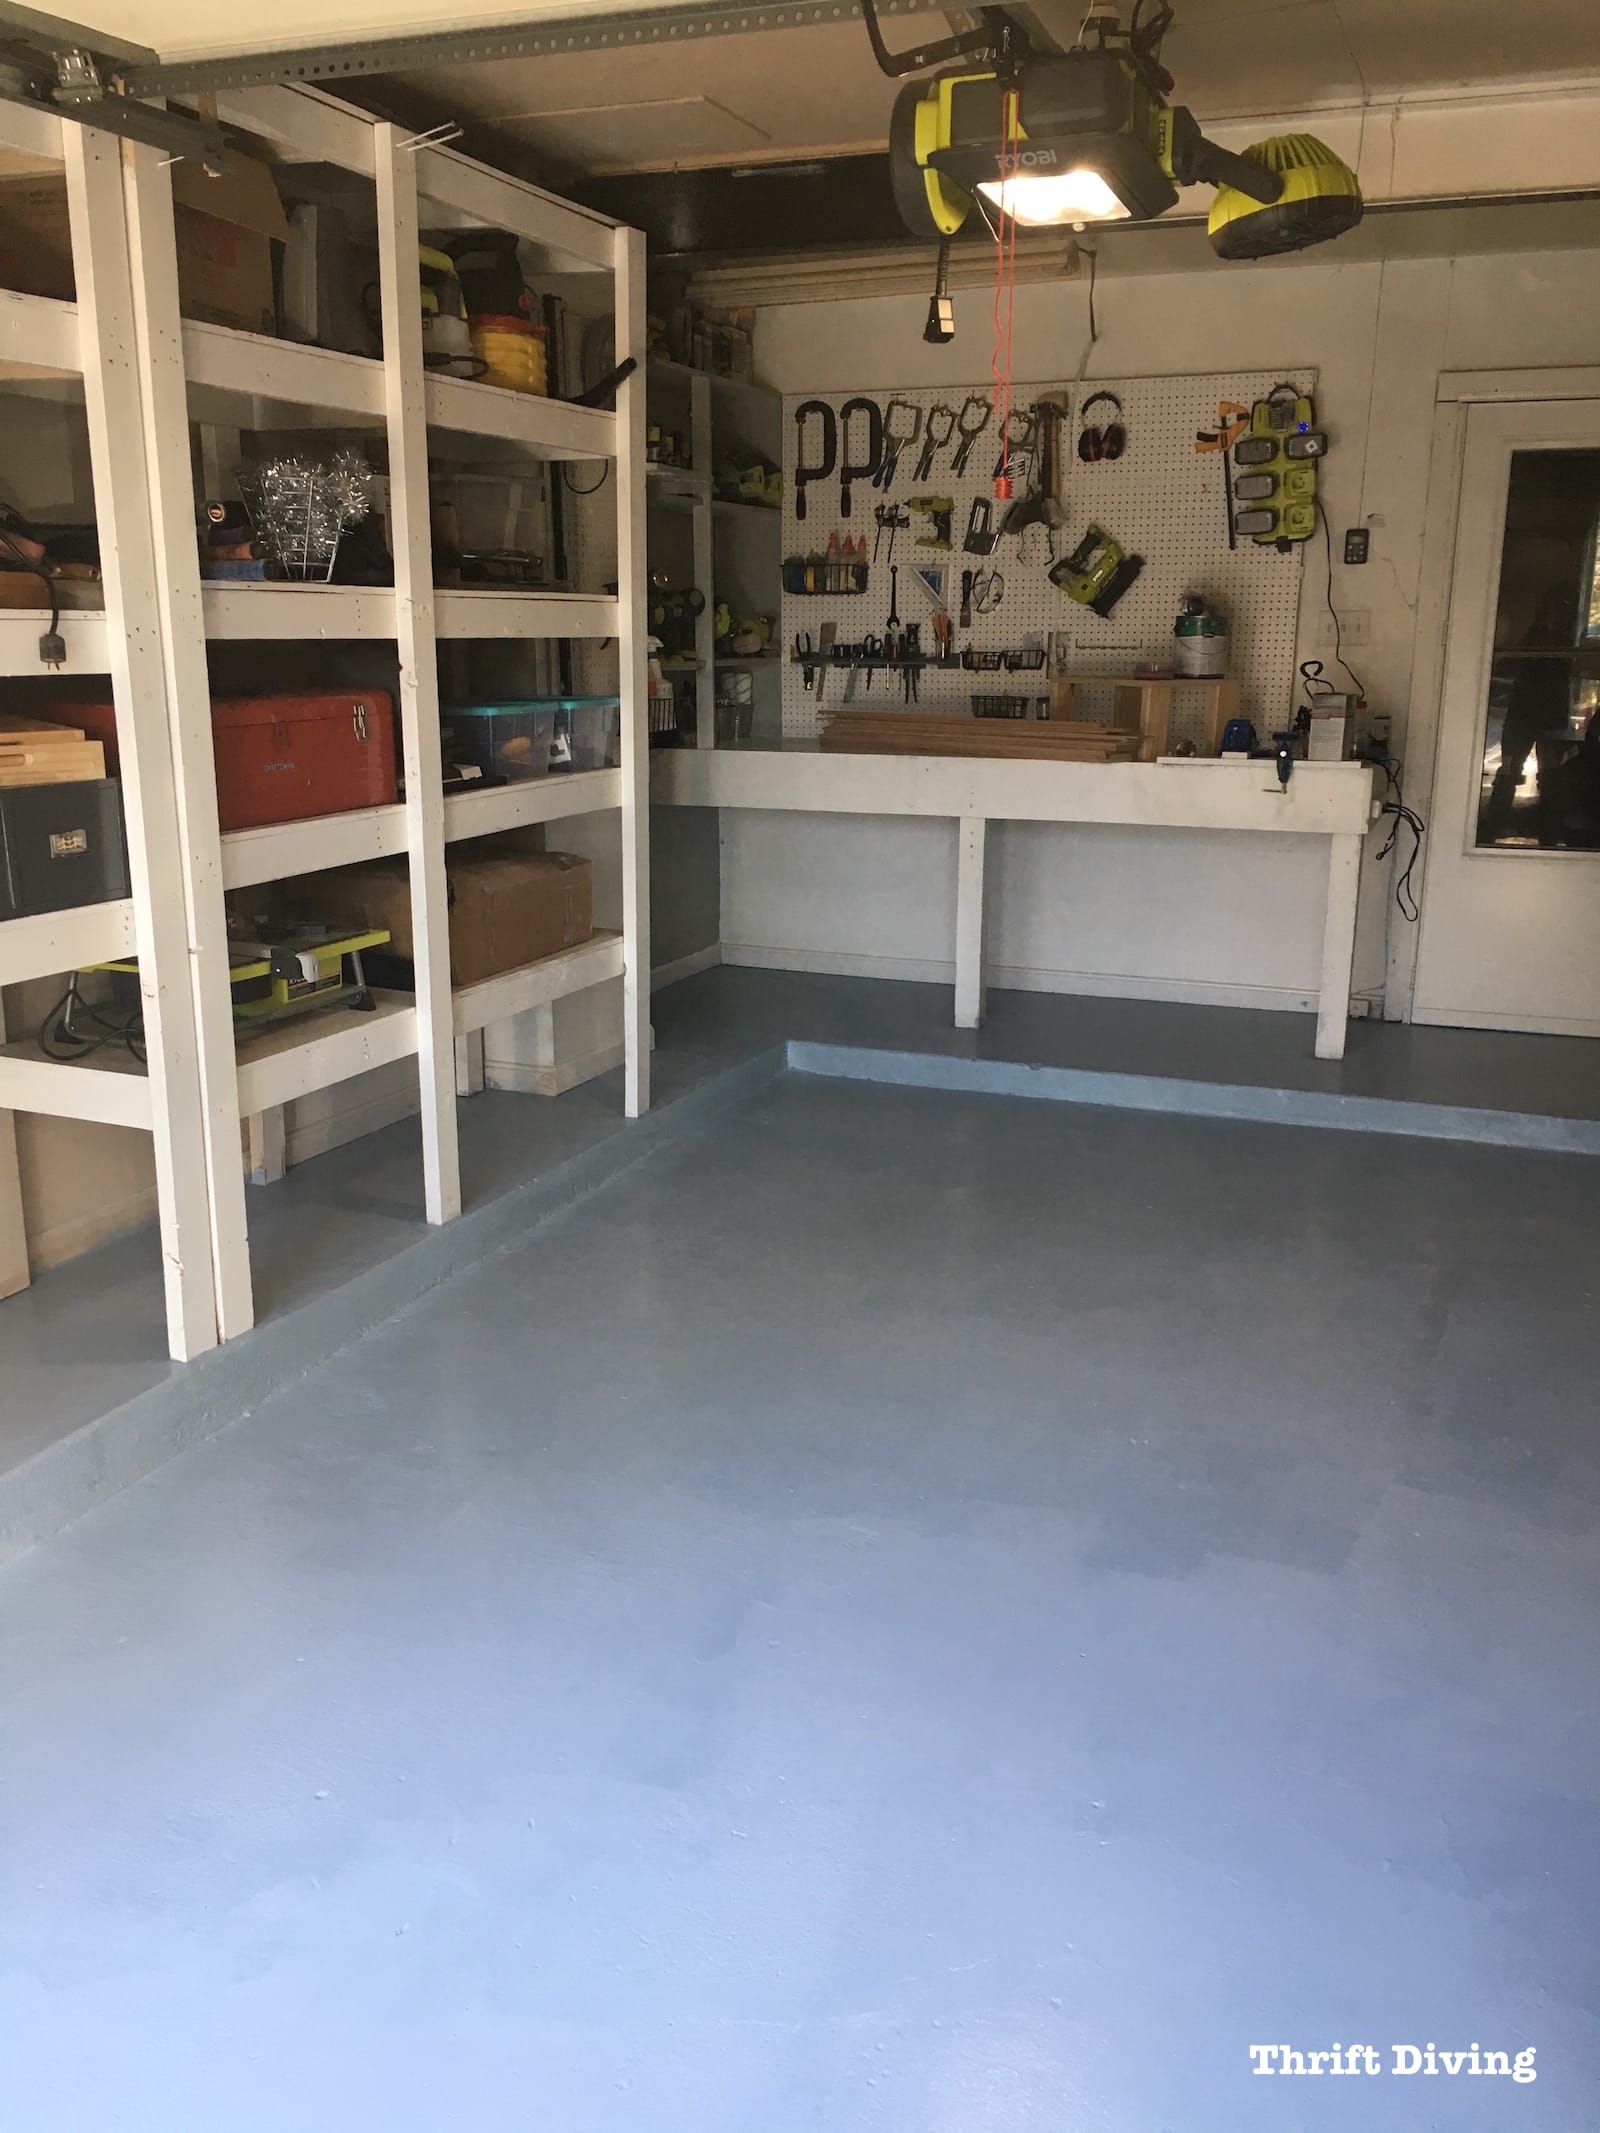
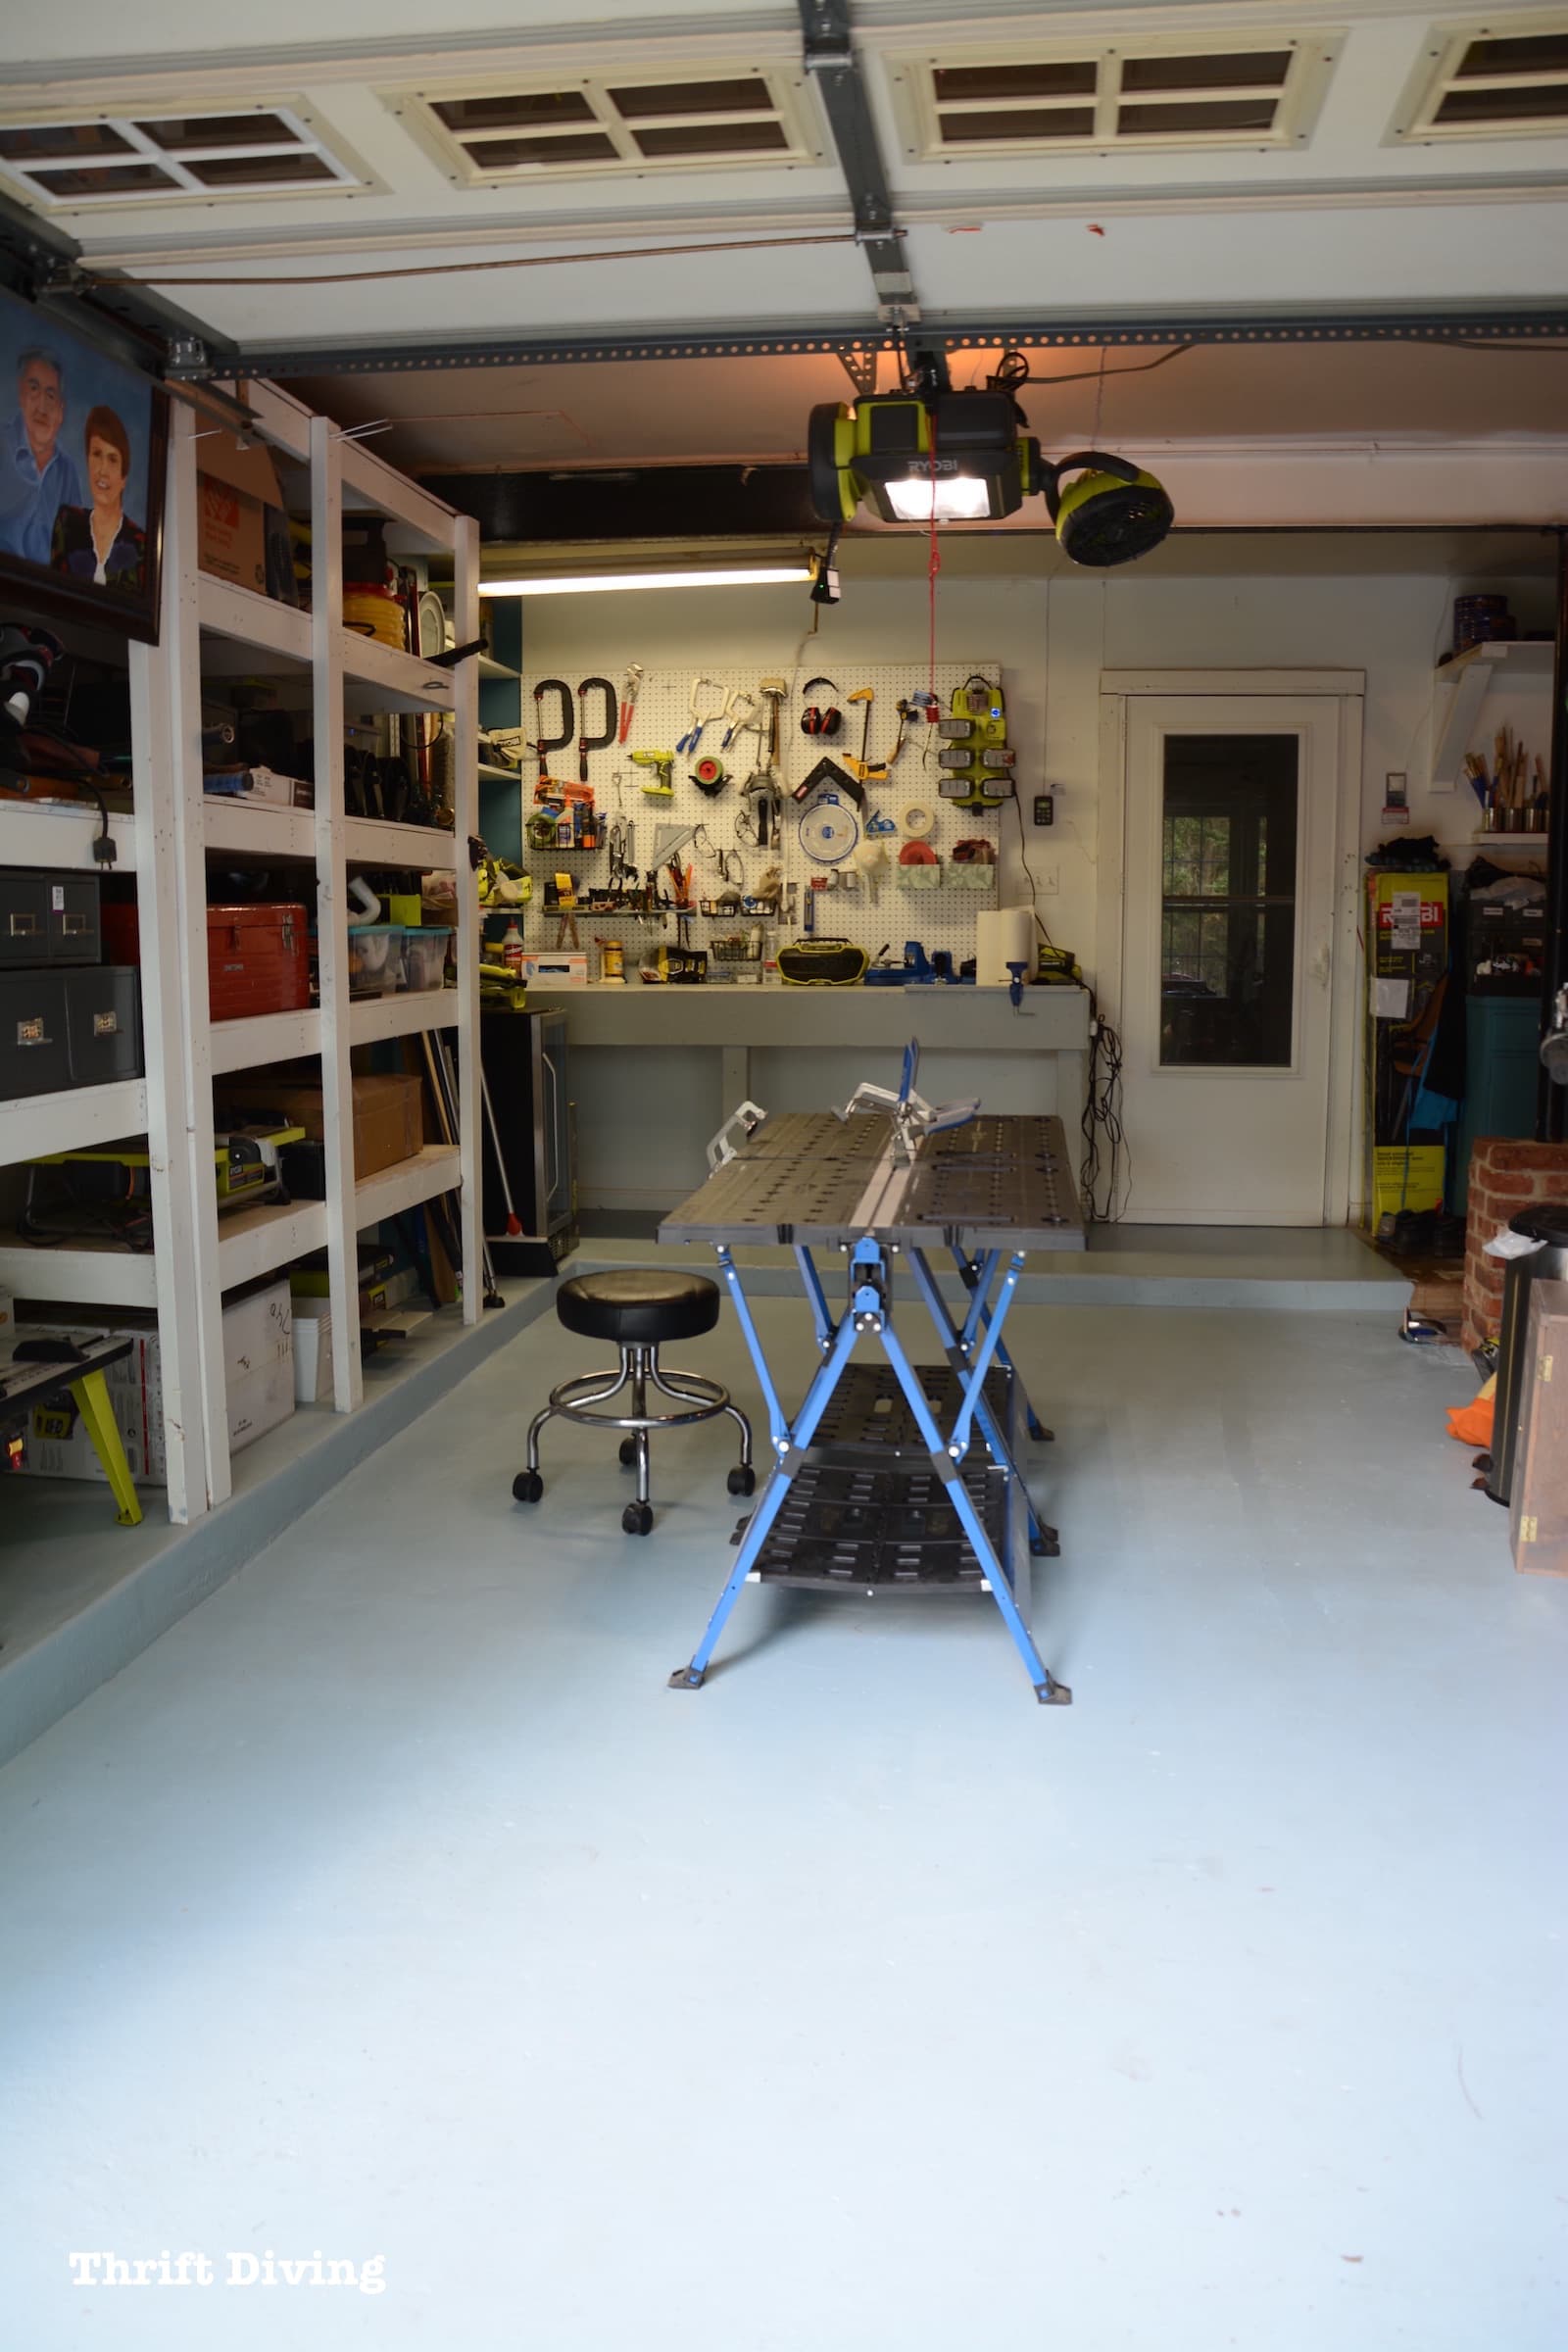
When I was all done, I was excited about the prospect of having a pretty and clean garage!
Imagine that–a place to actually work and spread out all your materials during a project! Ahhhh……
The Before & After
Let’s have another look at the BEFORE!
BEFORE

AFTER!
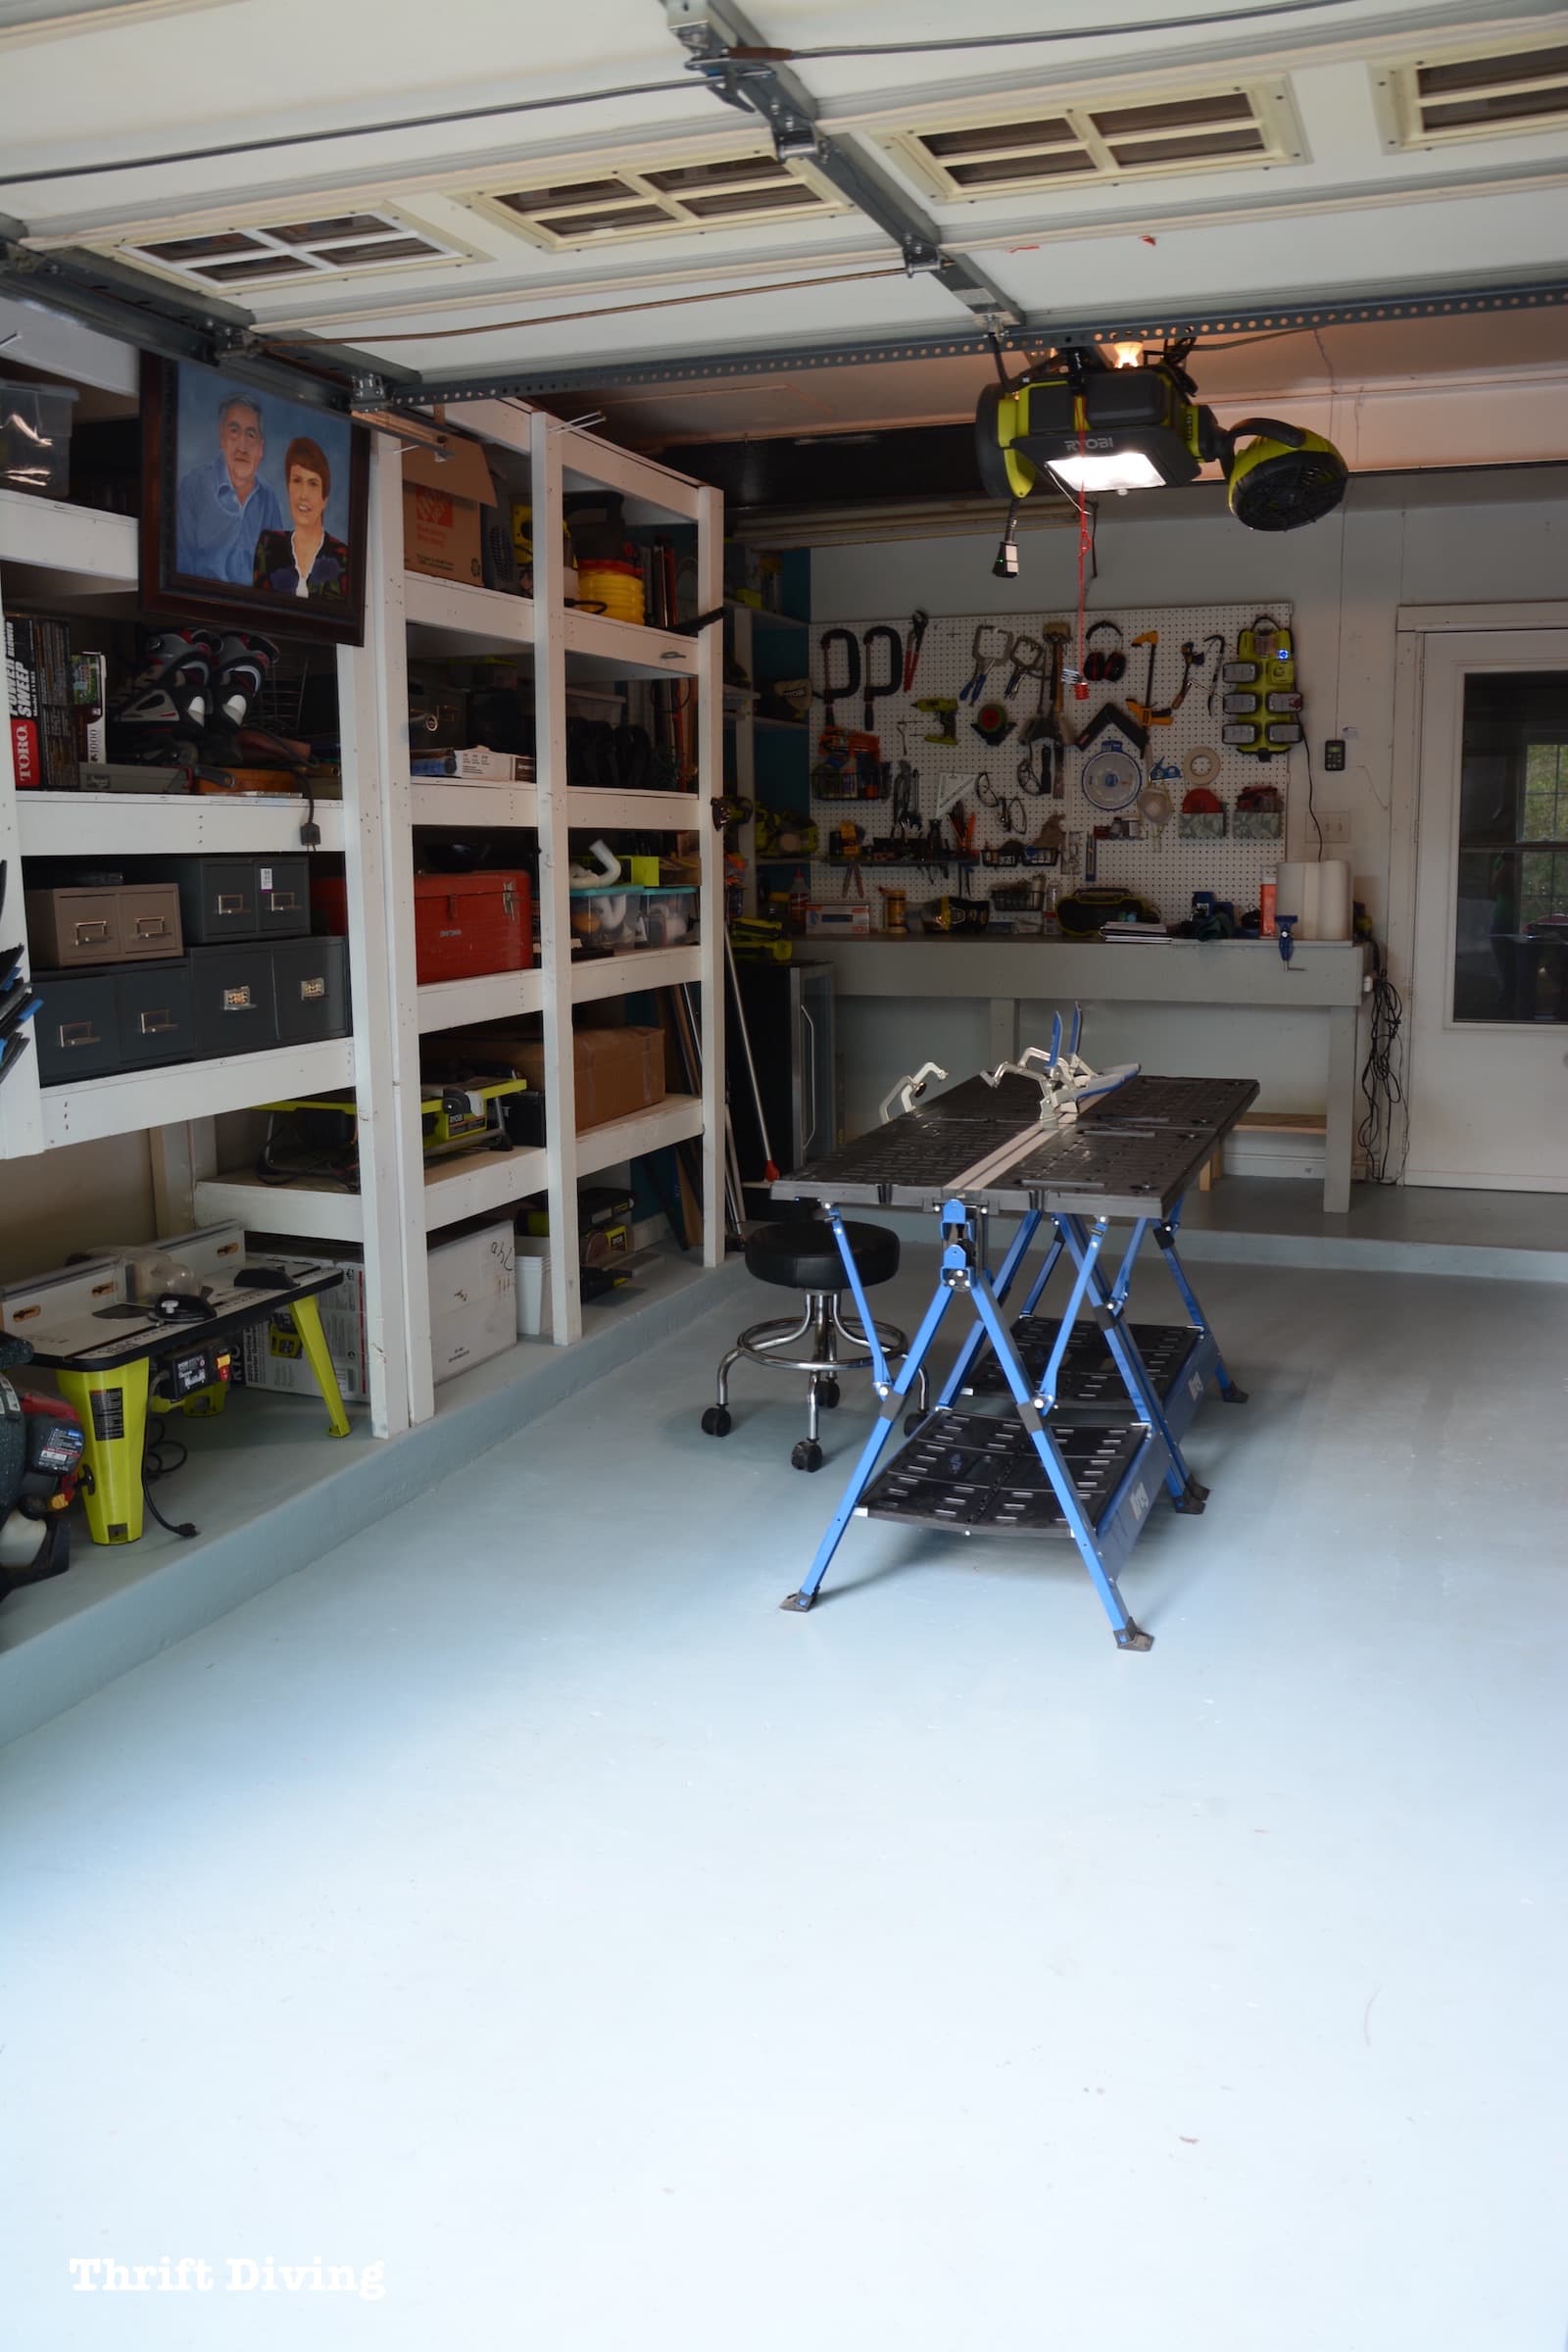
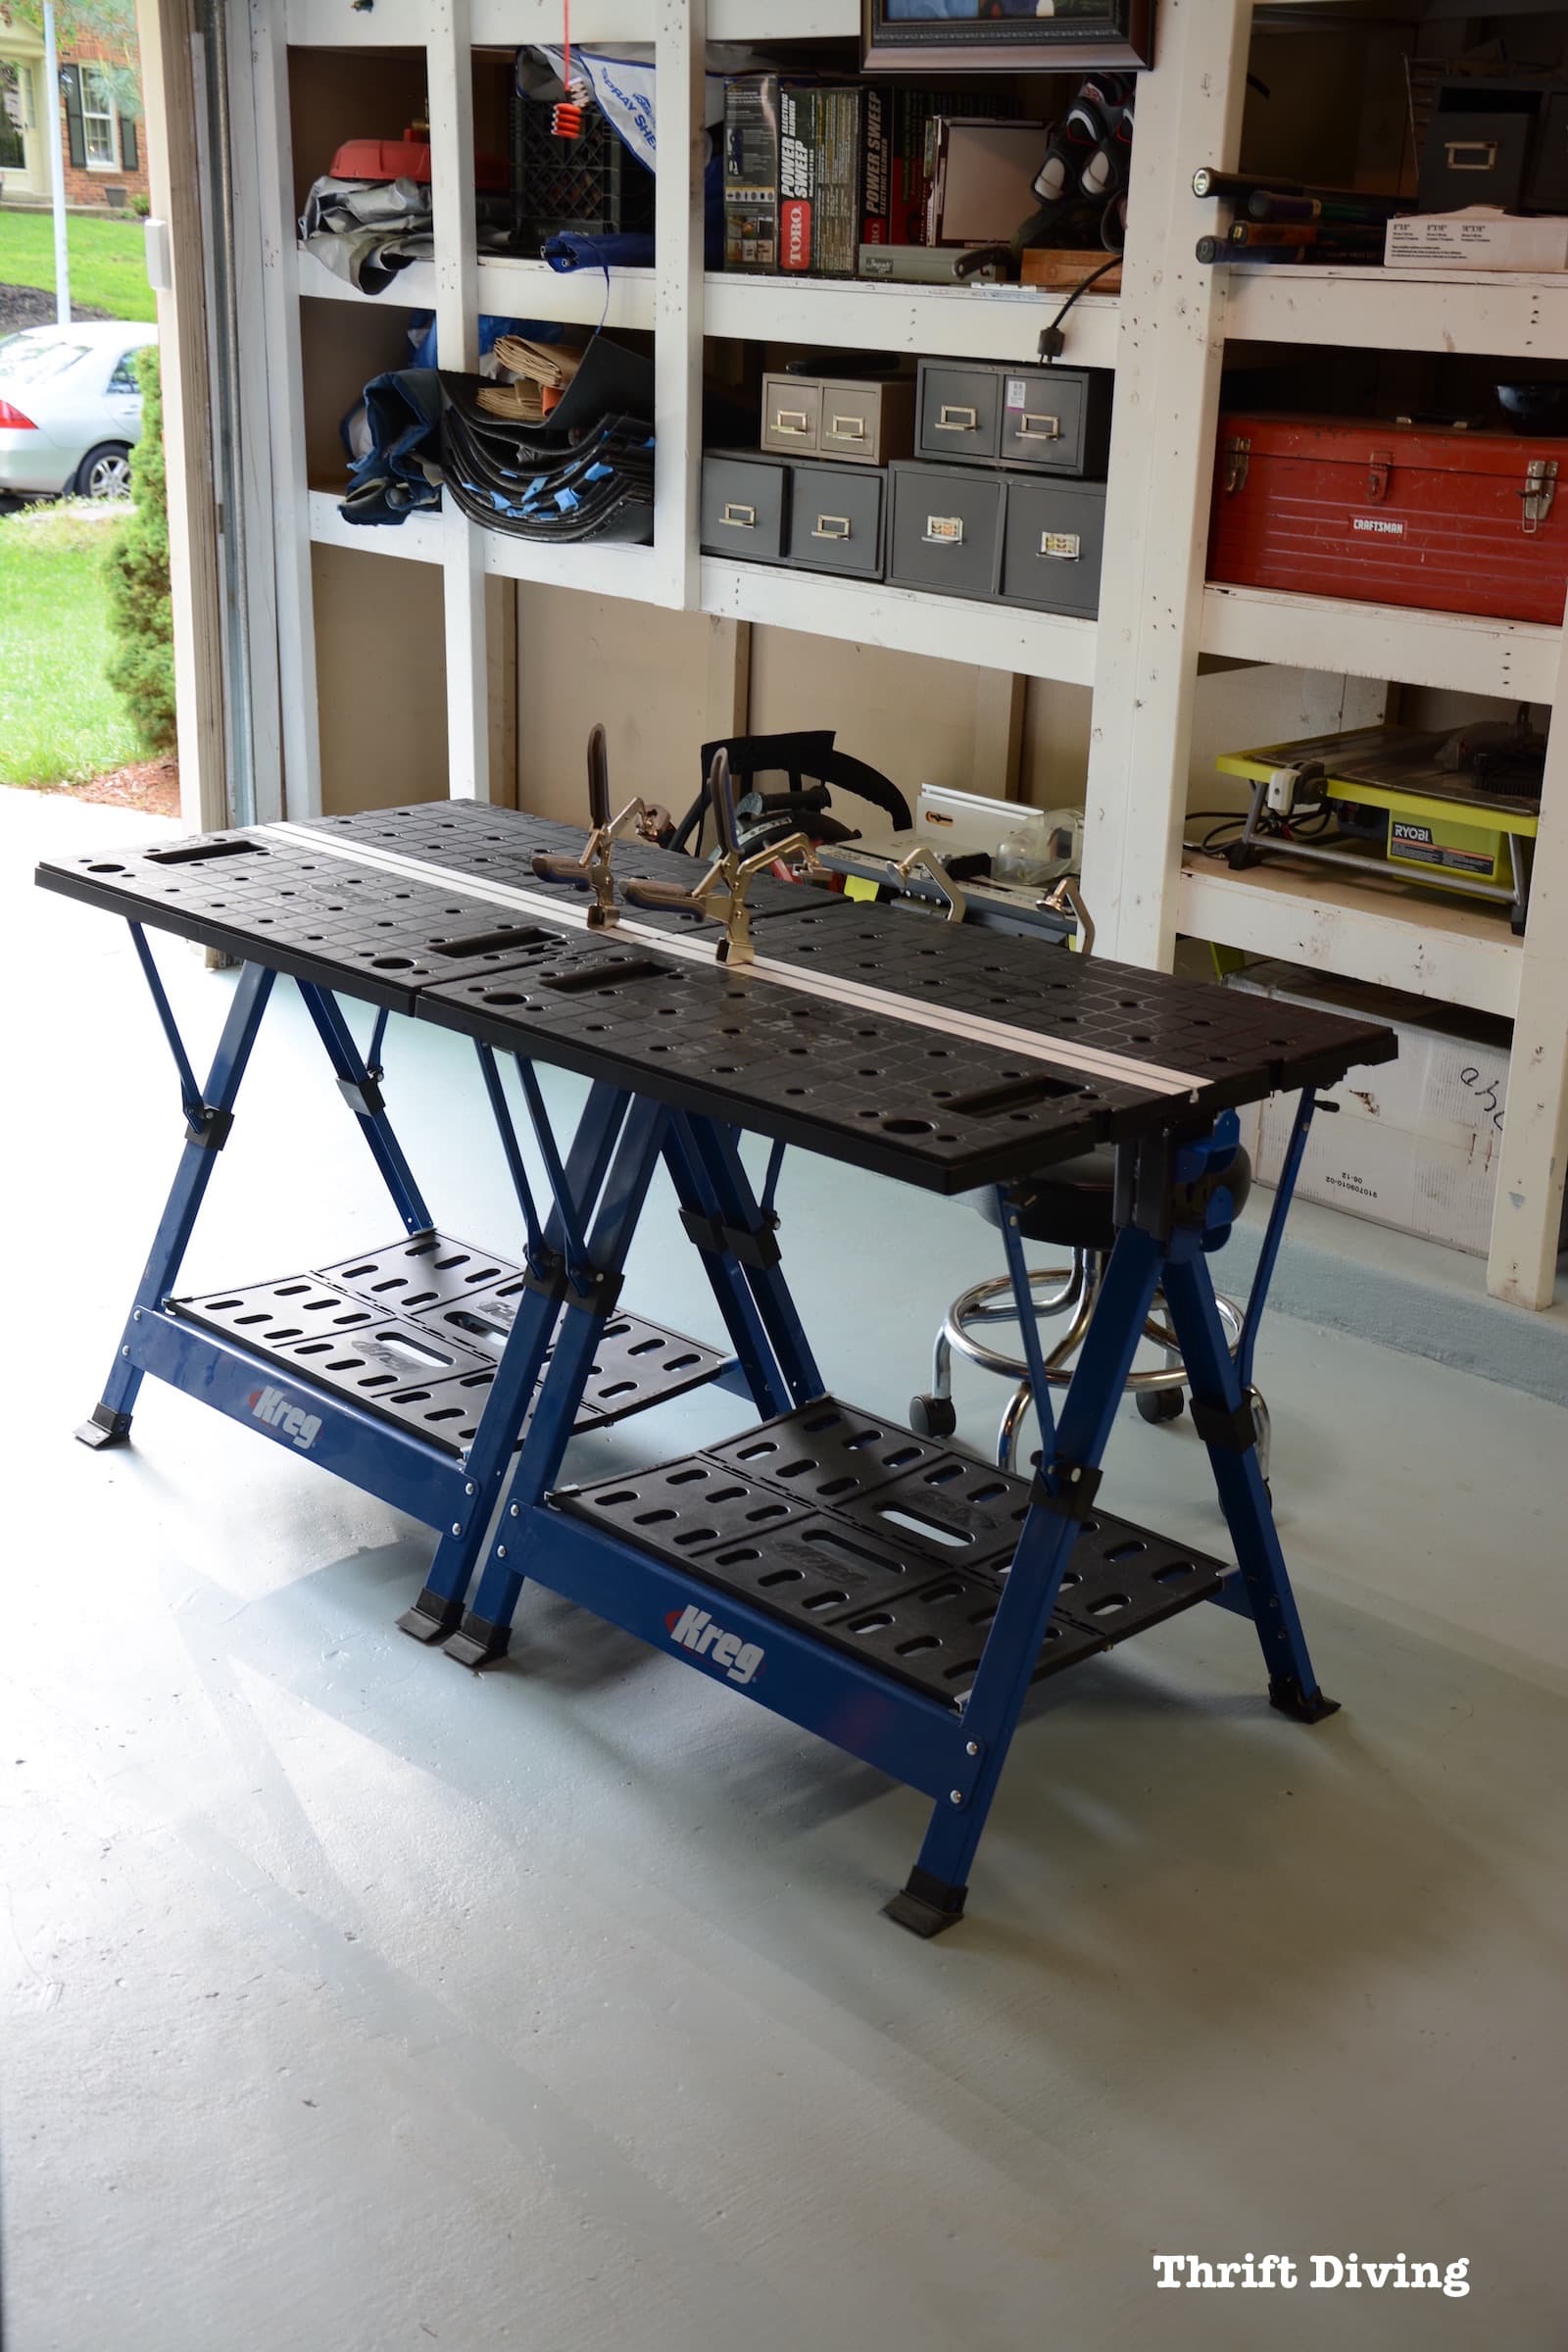
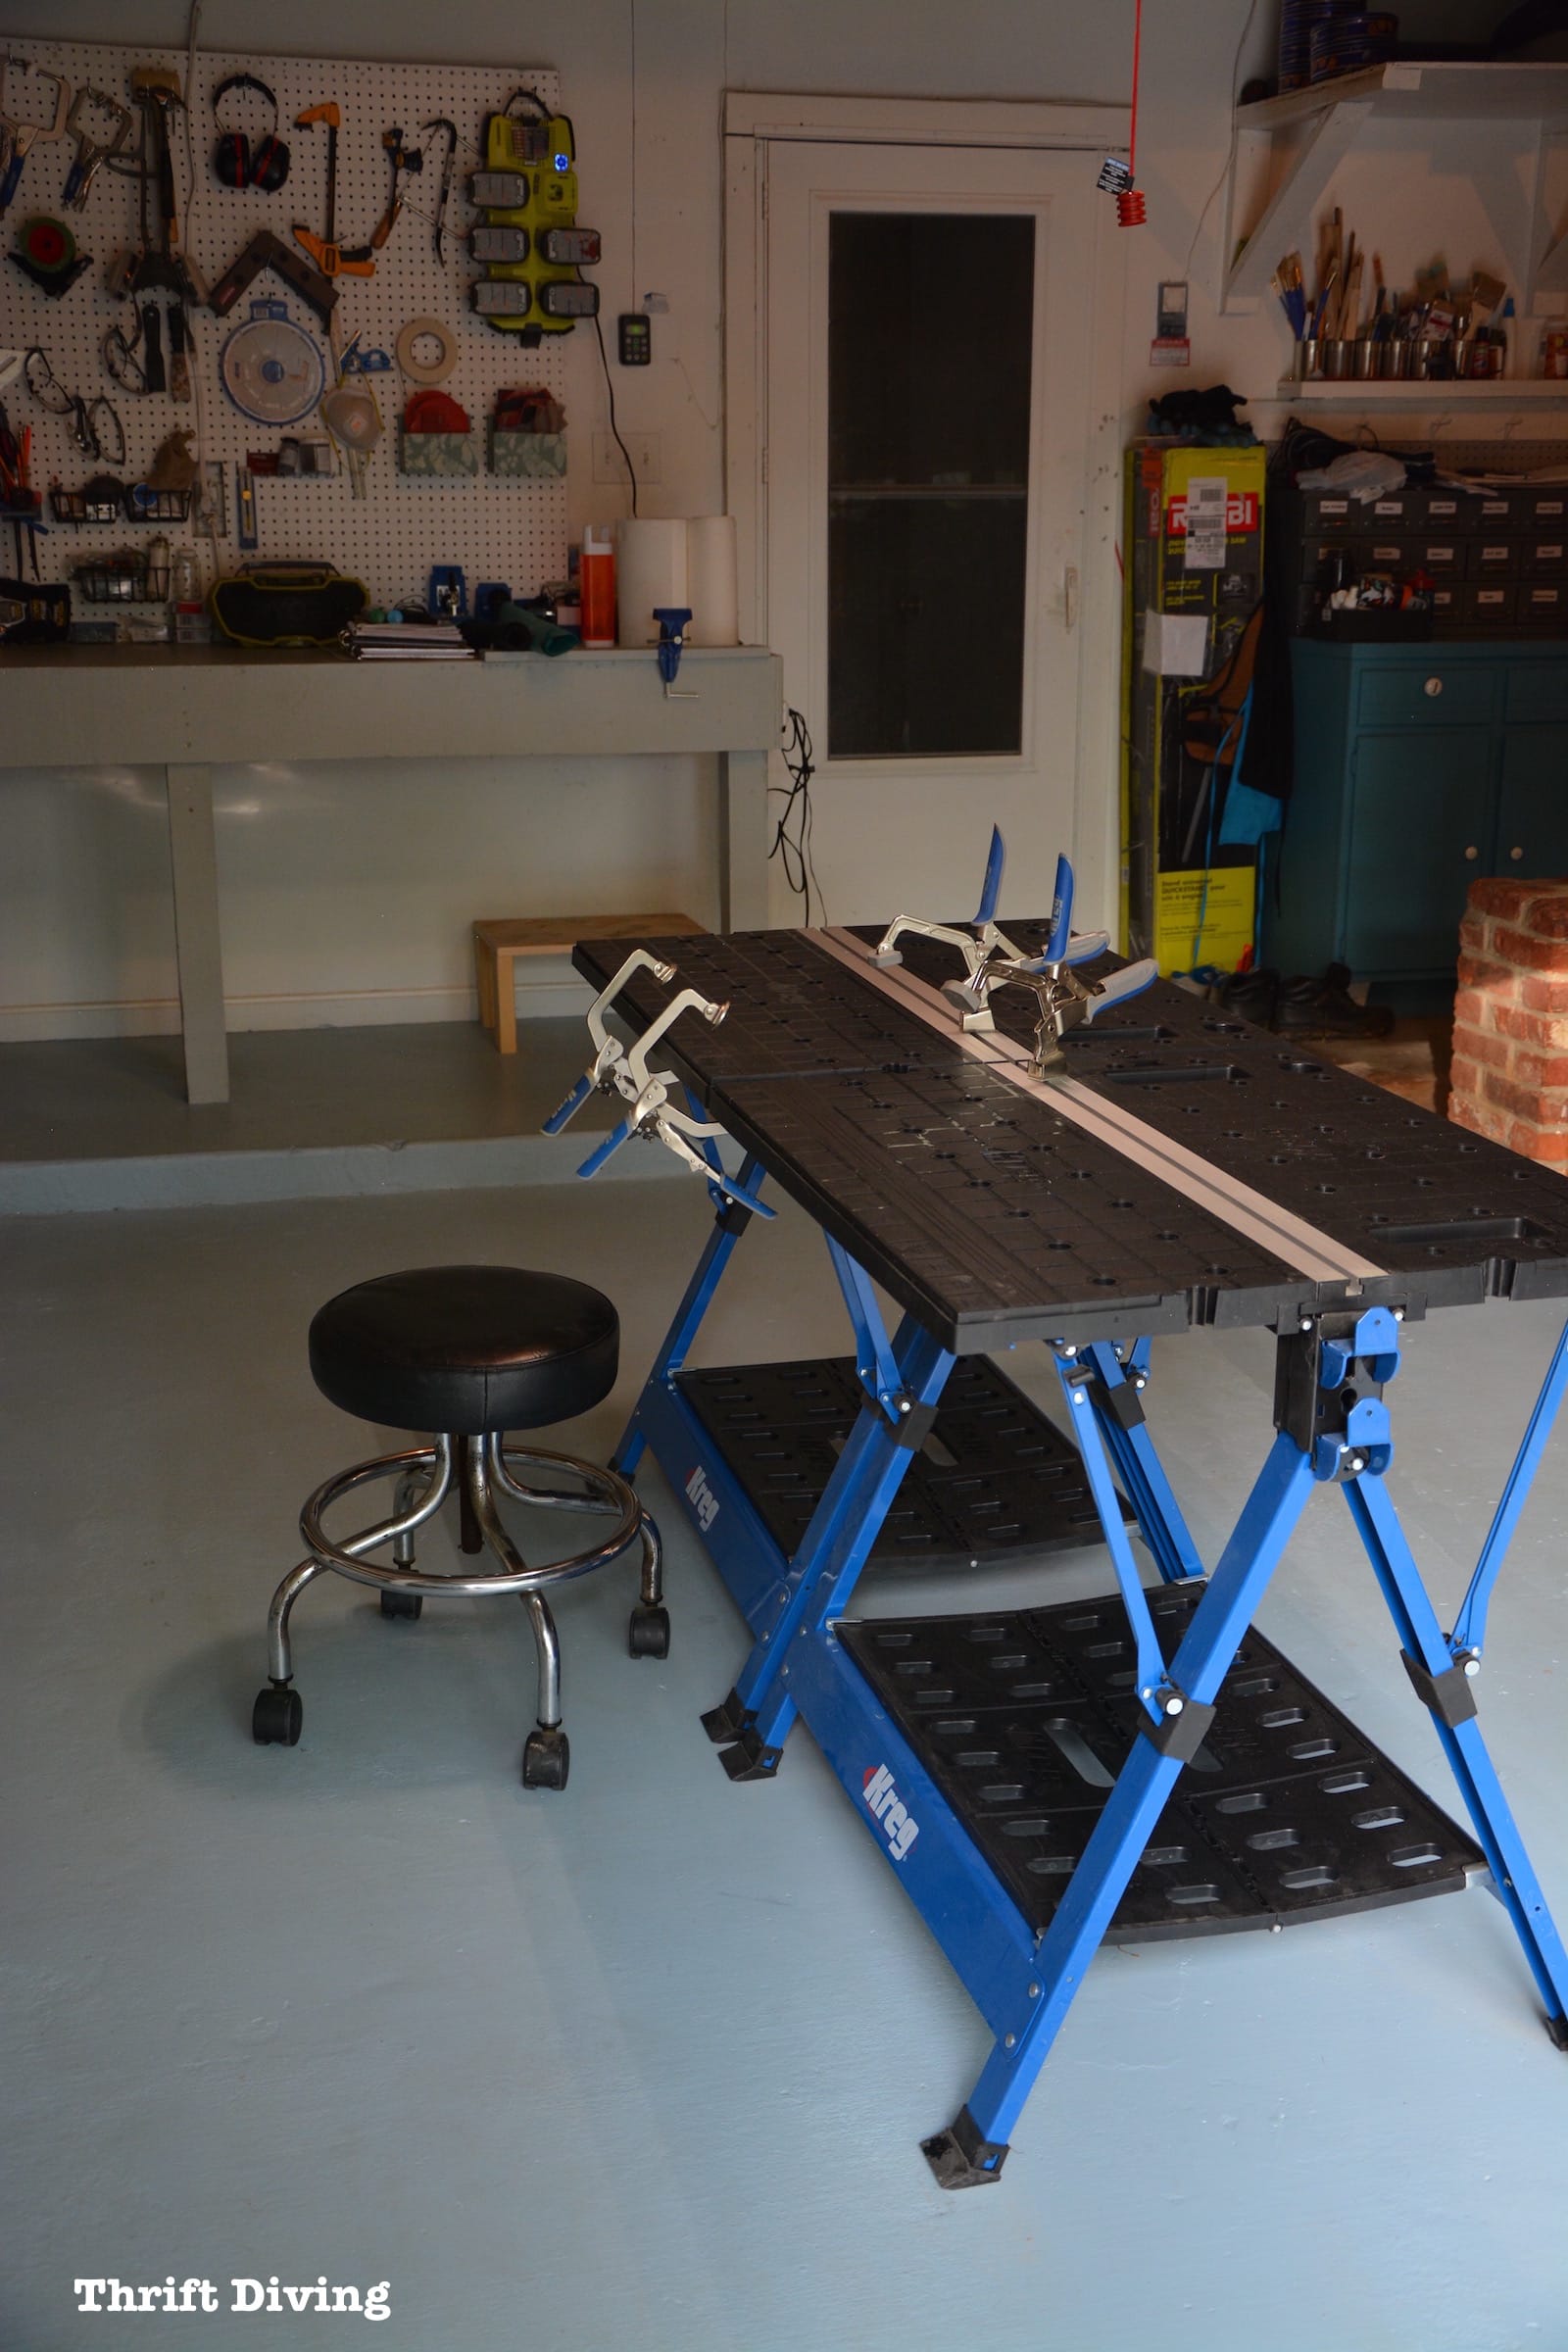
I wanted a nice workstation for this side of the garage so I invested in two of these Kreg Mobile Project Centers. They were a Christmas/birthday gift to myself. 🙂
BEFORE
It’s a huge different to see what this garage used to look like!
AFTER!
Now, I’ve got one side completely cleared and am able to work in there without the taking out an ankle! LOL
How Did the Painted Garage Floor Hold Up Over 6 Months?
Actually, pretty good!
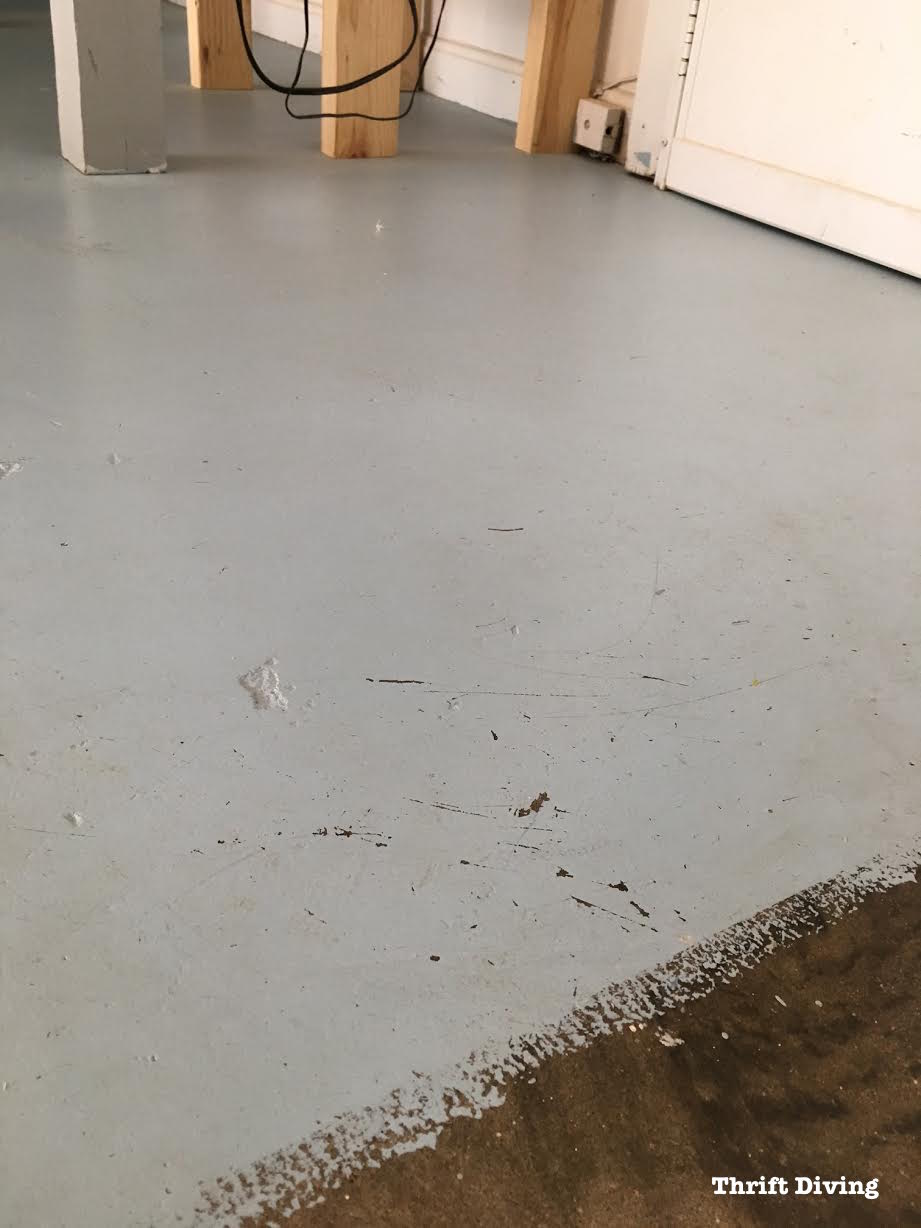
Did I have chipping? Well….yes, a little bit.
But the chipping that did occur, most of it was my fault.
Remember that awesome drafting table makeover with the cool orange caster wheels?
Well, not only did I get some of the gunk on the floor, which hardened and pulled off the paint but hoisting it around the garage by myself scratched off some of the paint.
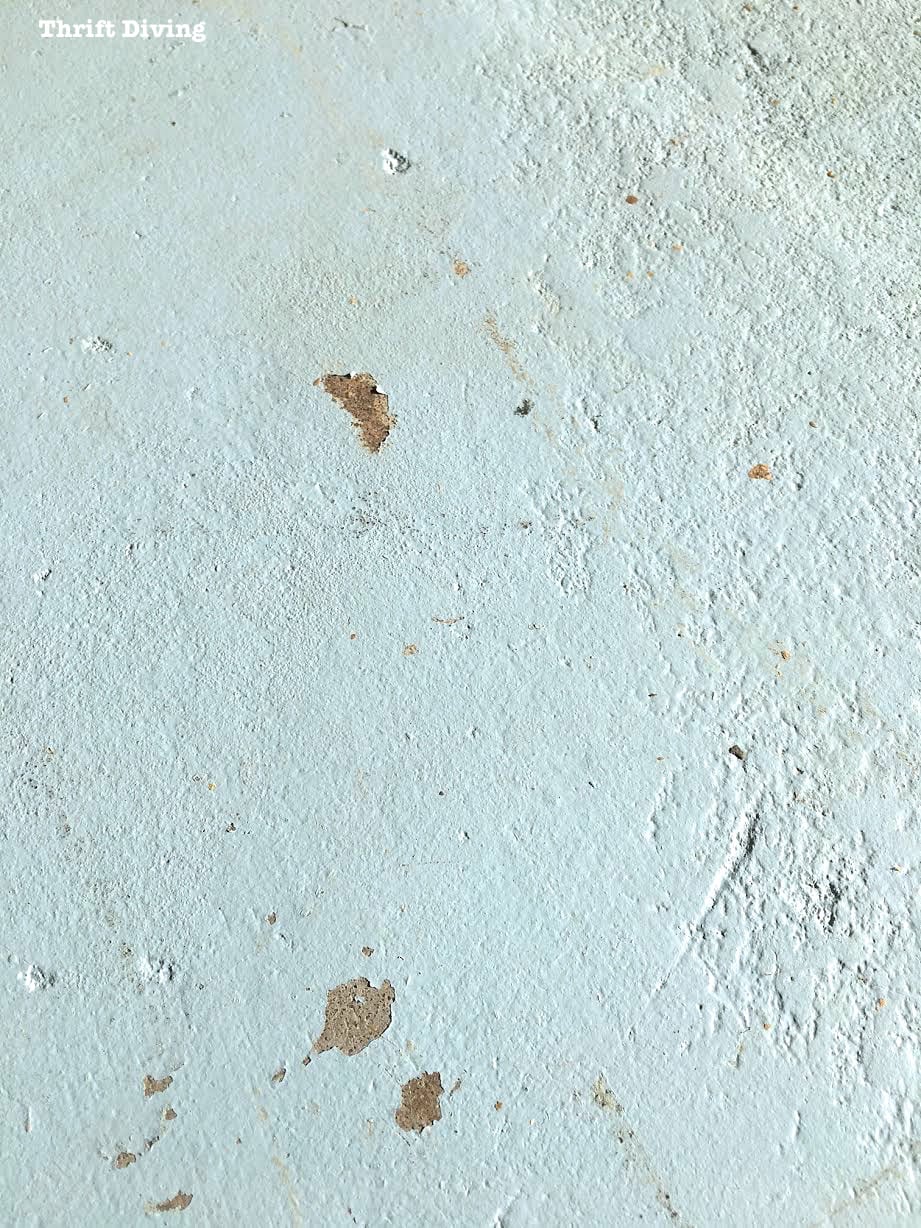
Bits of the gunk are stuck to the floor underneath where I worked on the makeover. 🙁
I tried using a blade to remove it, but I’ll likely just have to scrape it up and paint over it.
Stupid. Stupid, Serena!
Not to mention there were times when I was using wood glue and some of it would drip on the floor, and when trying to pull it up after drying, sometimes it chipped off small bits of the floor paint.
But overall, this floor has been great!
Despite some wear and tear, I’m still very happy with it!
How to Fix a Chipped Painted Garage Floor
I did some research and found that if there are spots that are chipped or peeling, you should go over the spot with etching solution again, prime the bare concrete, and touch it up with more paint.
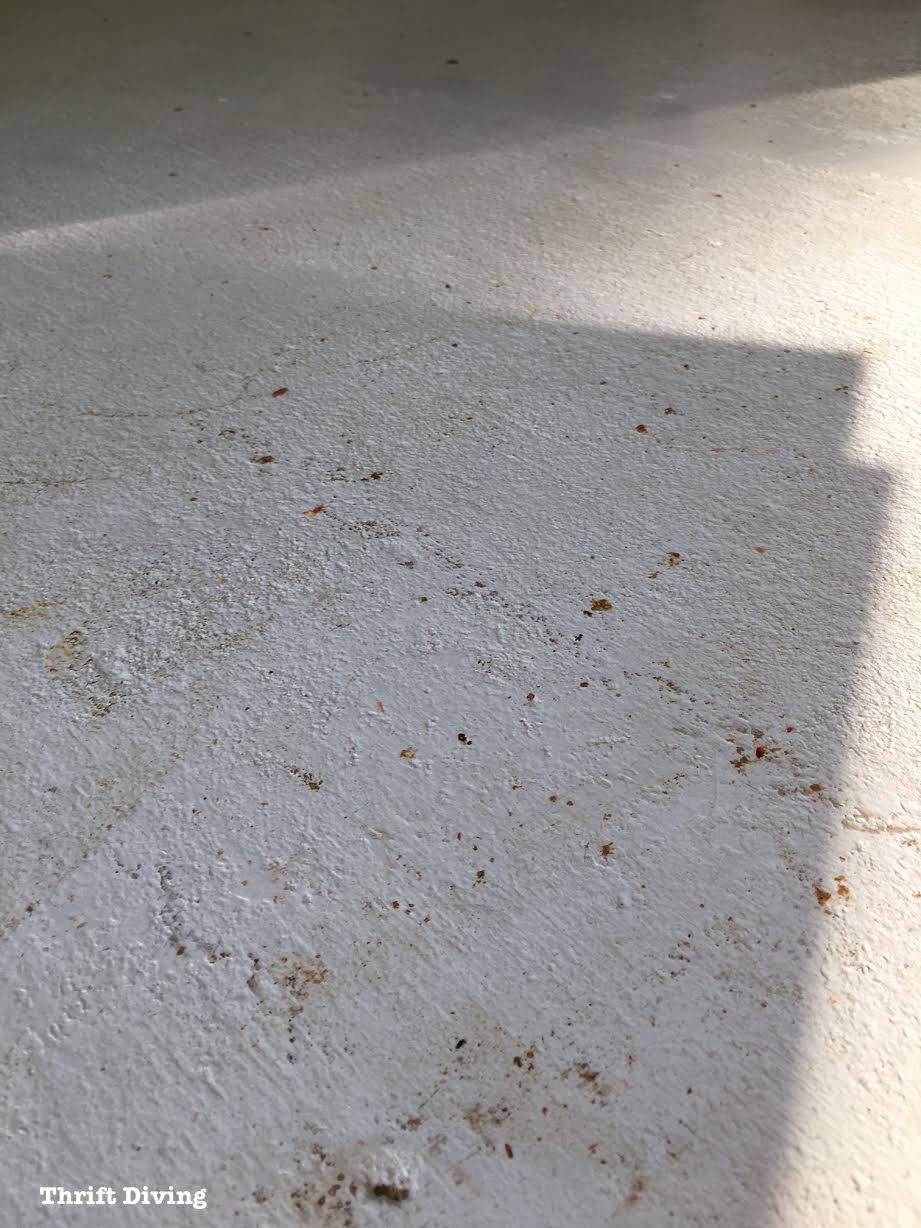
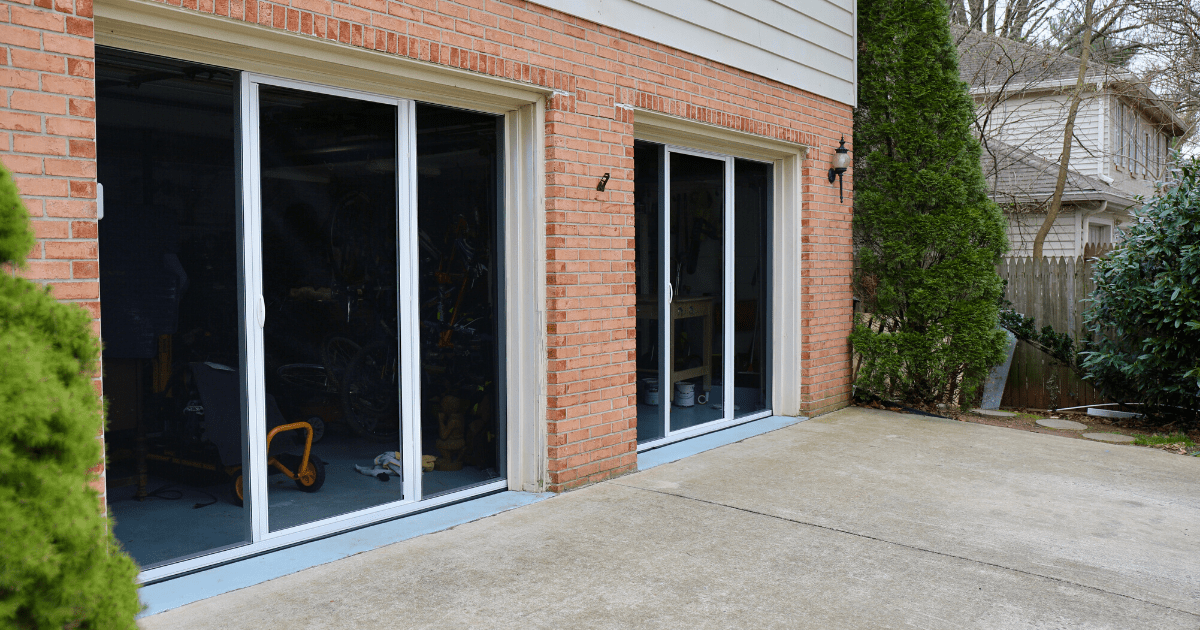
You can see there are some places of wear and tear, like where the door leads into the house.
The kids often scrape their scooters along the floor, so that could contribute.
I’ll just give it a fresh new coat once a year to keep it looking good.
And again…when you compare it to what it looks like with no paint, this is a huge improvement!
How Do You Clean a Painted Garage Floor?
Don’t use soap or anything that could strip the floor.
I did some research and found that hot water with Simple Green works best.
I used a stiff bristle brush and found that the paint held up nicely under the back-and-forth scrubbing. But just be gentle with it.
There are some parts of the floor that have more wear and tear (like the walkways around the table) and I found those to be harder to keep clean.
But overall, I’m happy with the results!
BEFORE

AFTER!
Would I Do This Project Again?
No regrets!
I definitely am going to be doing it again, on the other side that’s still junky and dirty.
Now that spring is here, I’m itching to finish off the other side of the garage!
But I realized that I can’t finish that side until I can clear it out!
Wish me luck on getting it done! 🙂
Want to save this project? Click here to save it!
![]()

Have you ever considered painting your garage floor? How did it hold up over time?


Download the 5 freebies!

Thrift Diving inspires women to decorate, improve, and maintain their home themselves...using paint, power tools, and thrift stores! Use these 5 printables, checklists, and ebooks to get started!

An excellent end result. Something to really be proud of.
Thanks so much for sharing your experience. The floor looks fantastic and the information will be valuable as I plan to do mine.
It looks good. I did something similar although I ended up dropping a 100% epoxy top coat and then a thin polyurethane coat on top. This is not recommended! So far it’s working but I’m sure it will lift up sooner than a pure epoxy job would.
It’s important to note that it’s more like a paint than an epoxy. Good move to use the primer bonding coat.
I feel like if you go to the trouble of doing an etch and profile then you may as well use a thick epoxy.
If I had to do my garage again I would likely do an acid stain. The process seems more simplified and cheaper (patch > degrease > acid stain > seal).
Great photos to explain the process! I’m really impressed with the final look.
Great looking epoxy floor coating. Thank you for sharing with everyone.