DIY Modern Console Table from Wood: A Step-by-Step Tutorial for Beginners!
I don’t think it’s always cheaper to make your own furniture. Like this DIY modern console table from wood that I helped my friend, BJ, build. His wife had found this black console table with arches at Home Goods and his wife instantly fell in love with it, “oohing” and “ahhing” that she was going to buy it at $399.
BJ, being an engineer (and being the handy-person-with-tools that he is) scoffed, “Psht! I could build that for you for way less!”
Us wives don’t let a husband forget who promises to build us something, do we?
So she reminded him a couple of weeks later; or rather…..she warned, “Remember–you said you were going to build that modern, black console table for me that we saw at Home Goods. Otherwise, I’m going back to see if they still have it and buy it!”

To which he asked me to stop over and help him at least get started on the project. But we ended up having so much fun piece-mealing it together that not only did I help him get started with the project, but I kept coming back over the course of a few weeks to help him plan it out, film it, cut it, and paint it black! And it turned out freakin’ amazing!
Click here to save this on Pinterest!

After we were done building the project, I got to work with creating a replicate of it in Sketchup so that I could better explain how to actually build this project and so you could follow along more easily.

This is what the console table looked like prior to painting, with just a few other pieces that needed to be added. We couldn’t believe it turned out so great! Keep in mind that if you build this console table and want something other than to paint it black (like staining it, perhaps), you might want to be mindful of the type of wood you use and be very careful with using wood filler for covering nail holes and screws. Wood stain doesn’t cover wood filler very well and those parts will be very visible.

In this blog post, I’m going to share with you step-by-step how we build this DIY modern console table from wood, with just a few tools. While we did use a table saw from some of the steps, this woodworking project can easily be completed with just the use a jigsaw, brad nailer, and wood glue. Oh, and don’t forget the black furniture paint!
Watch This Project in Action!
You can see the entire console project from start to finish on my YouTube channel!
Materials for Building a Modern Console Table
Here are all the materials we used for this project. All of the materials, except the Country Chic All-in-One paint, were purchased. (Country Chic provided the paint and top coat at no cost in order to be included in this project). (NOTE: Some of these links are affiliate links, and if clicked and items are purchased, I earn a small commission).
- 15/32 sanded plywood (one 4′ x 8′ sheet) for the top and shelves. This is basically almost 1/2″ thick.
- 1/4 Purebond plywood (one 4’x8′ sheet) for the arches.
- 1″x 2″x 8″ Select Whitewood boards (Be sure to choose the “Select” kiln-dried boards, as they tend to be better quality and not warped like the regular pine boards.)
- Jigsaw (a table saw or circle saw can be used for cutting down the plywood, but it’s optional)
- Brad nailer with 1 -1/4″ brad nails (I recommend the RYOBI brand because you can use a battery instead of an air compressor).
- Power drill with drill bits
- Miter box or miter saw (Watch this tutorial on using a miter box for 45-degree cuts)
- Wood glue
- Country Chic All-in-One furniture paint and top coat (Liquorice)
- Tape measure
- Ruler
- Speed square
- Paint stick or string for creating smooth, even arches
- Wood screws (1 -1/2″)
- Pencil
- Paint roller with 1/4″ nap
- Paint brush
NOTE: I wanted to saw a few words about the wood we used for this project. BJ and I knew that we were going to paint this modern console table black. His wife wanted it to be just like the replicate for the one she wanted from Home Goods. And because we knew it would be painted, we went with a cheaper grade of plywood that could show more knots and marks on it. However, if you want a grade of plywood that is better quality that would look really nice with just a stain or a clear coat, then you might want to consider a higher grade of plywood. You can learn more about grades of plywood HERE.
How to Build a DIY Modern Console Table for the Entryway
While I’ll walk you through the step-by-step, sharing exact measurements may get tedious. You’ll be able to download the woodworking plans as part of my upcoming EmPOWER Tools 101 course that will help you build with confidence. I’ll have the plans available as a bonus, so be sure to SIGN UP HERE to let me know that you’re interested in learning more about EmPOWER Tools 101 and get your name on the waitlist!
STEP 1: Cut and Assemble the Top of the Console Table
Throughout this tutorial, I’ll share some model pictures that I created in SketchUp, with the steps in PINK and GREEN so that you can follow along! 🙂 At times, I’ll be flipping the console table over since that is how BJ and I built it at times.
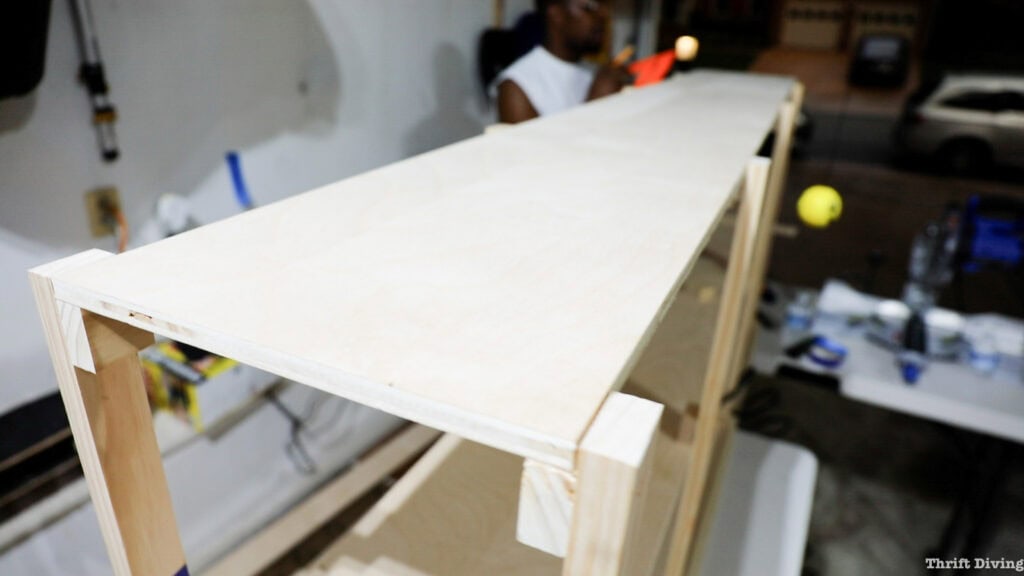
First, you’ve got to cut the top of the console table, which was 70″ x 11″ wide. We used a table saw for this, but honestly, every step of this project can be done with a jigsaw, which (in my opinion) is a much easier power tool to use and is safer. (If you don’t know how to use a jigsaw, watch my tutorial on How to Use a Jigsaw on YouTube).


Use 1-1/4″ or 1-1/2″ brad nails and carefully attach them along the edge of the top. Here’s the thing, though: A brad nail with an air compressor tends to shoot straighter brad nails than the battery-powered brad nails. I don’t know if there is any science to that or not, but it’s jus been my experience. Which means, you want to be careful where you place your fingers, and make sure that you don’t shoot the brad nails in a way that comes out the other visible side of your project! (There are all things we’ll cover in my EmPOWER Tools 101 online course, where I help you build with confidence).

STEP 2: Add Support Pieces
Next, once the top has been cut, glued, and secured with brad nails, next it’s time to add the top framing support pieces, which you see below in PINK.

We placed one at each end of the console top (which is still face-down, by the way). And the other two, we placed about 22″ from the sides.

We used our brad nailer to secure the support pieces in place from the underside (you can use wood glue, too).

STEP 3: Screw on the Longer Support Legs
The next pieces that were attached were the longer support legs. They aren’t really “legs” but they looked like, so that’s what I’m calling them. 🙂 You see those marked in GREEN below, attached to the PINK support pieces that we added in the previous step.


We drilled pilot holes and then used 1 -1/2″ wood screws to secure them together, using a speed square to make sure they’re as straight 90-degrees as possible when assembling them.

STEP 4: Attach Small Wooden Support Pieces
On each of the GREEN support “legs” we then attached these small wooden blocks, which would be used to support the middle shelf. In the SketchUp model of the modern console table below, the console table is flipped upside down so you can see how the wooden support pieces are positioned.

We used a scrap piece of wood along the support leg so that the little wooden shelf support would be uniform on all the legs, located about halfway between the support leg. The 18-gauge brad nail held the wooden block in place temporarily until we afterwards secured the blocks with wood screws.
Something to note here: which we messed up on: make sure that the wooden block supports are attached with the side of the wood to be screwed into. You don’t want to screw into the end grain of the wooden piece, because screwing into the end grain of wood isn’t very secure.


STEP 5: Slide in and Secure the Middle Shelf
With the console table flipped right-side up, the middle shelf is now able to be positioned into place. It should be the exact same dimensions as the top piece (which in our case was like 11″ x 70″).

This is what it will look like underneath that shelf, with those GREEN support pieces holding the shelf in place.

We used a brad nailer first to secure the shelf to the wooden supports, then followed it up with thin pilot holes and wood screws.

STEP 6: Add More Support Pieces and the Bottom Shelf
With the console table upside down, we added another 8 pieces of wooden support pieces about 1/2″ from the edges, screwed in with wood screws. Then we added the last shelf to the console table and screwed the shelf to the supports.

You’ll see how the bottom shelf, when turned upside down, sits flush on the bottom of those wooden supports.
STEP 7: Build Your Base Framing
We wanted to add some base framing so that the wooden console table wasn’t sitting flat on the bottom shelf. That would have looked really weird. These 1″x4″ boards were perfect for attaching while the console table was upside down.

Just as the other steps, we used a brad nailer to temporarily hold the boards in place, then followed up with wood screws. You can, and should, use wood glue when possible so that you create additional hold for everything.

STEP 8: Cap Off the Raw Edges of Your Shelves
Now that the bottom framing was in place, we flipped the console table back over and added 1″ x 2″ pieces to cap off the raw edges on the sides of the middle and bottom shelf. Use wood glue and brad nails. This are important because it will give the side arches something to adhere to, as well as capping off the raw edges of the shelving.

We also added 1″ x 2″ boards to cap off the middle shelf on both sides of the modern console table using wood glue and brad nails.

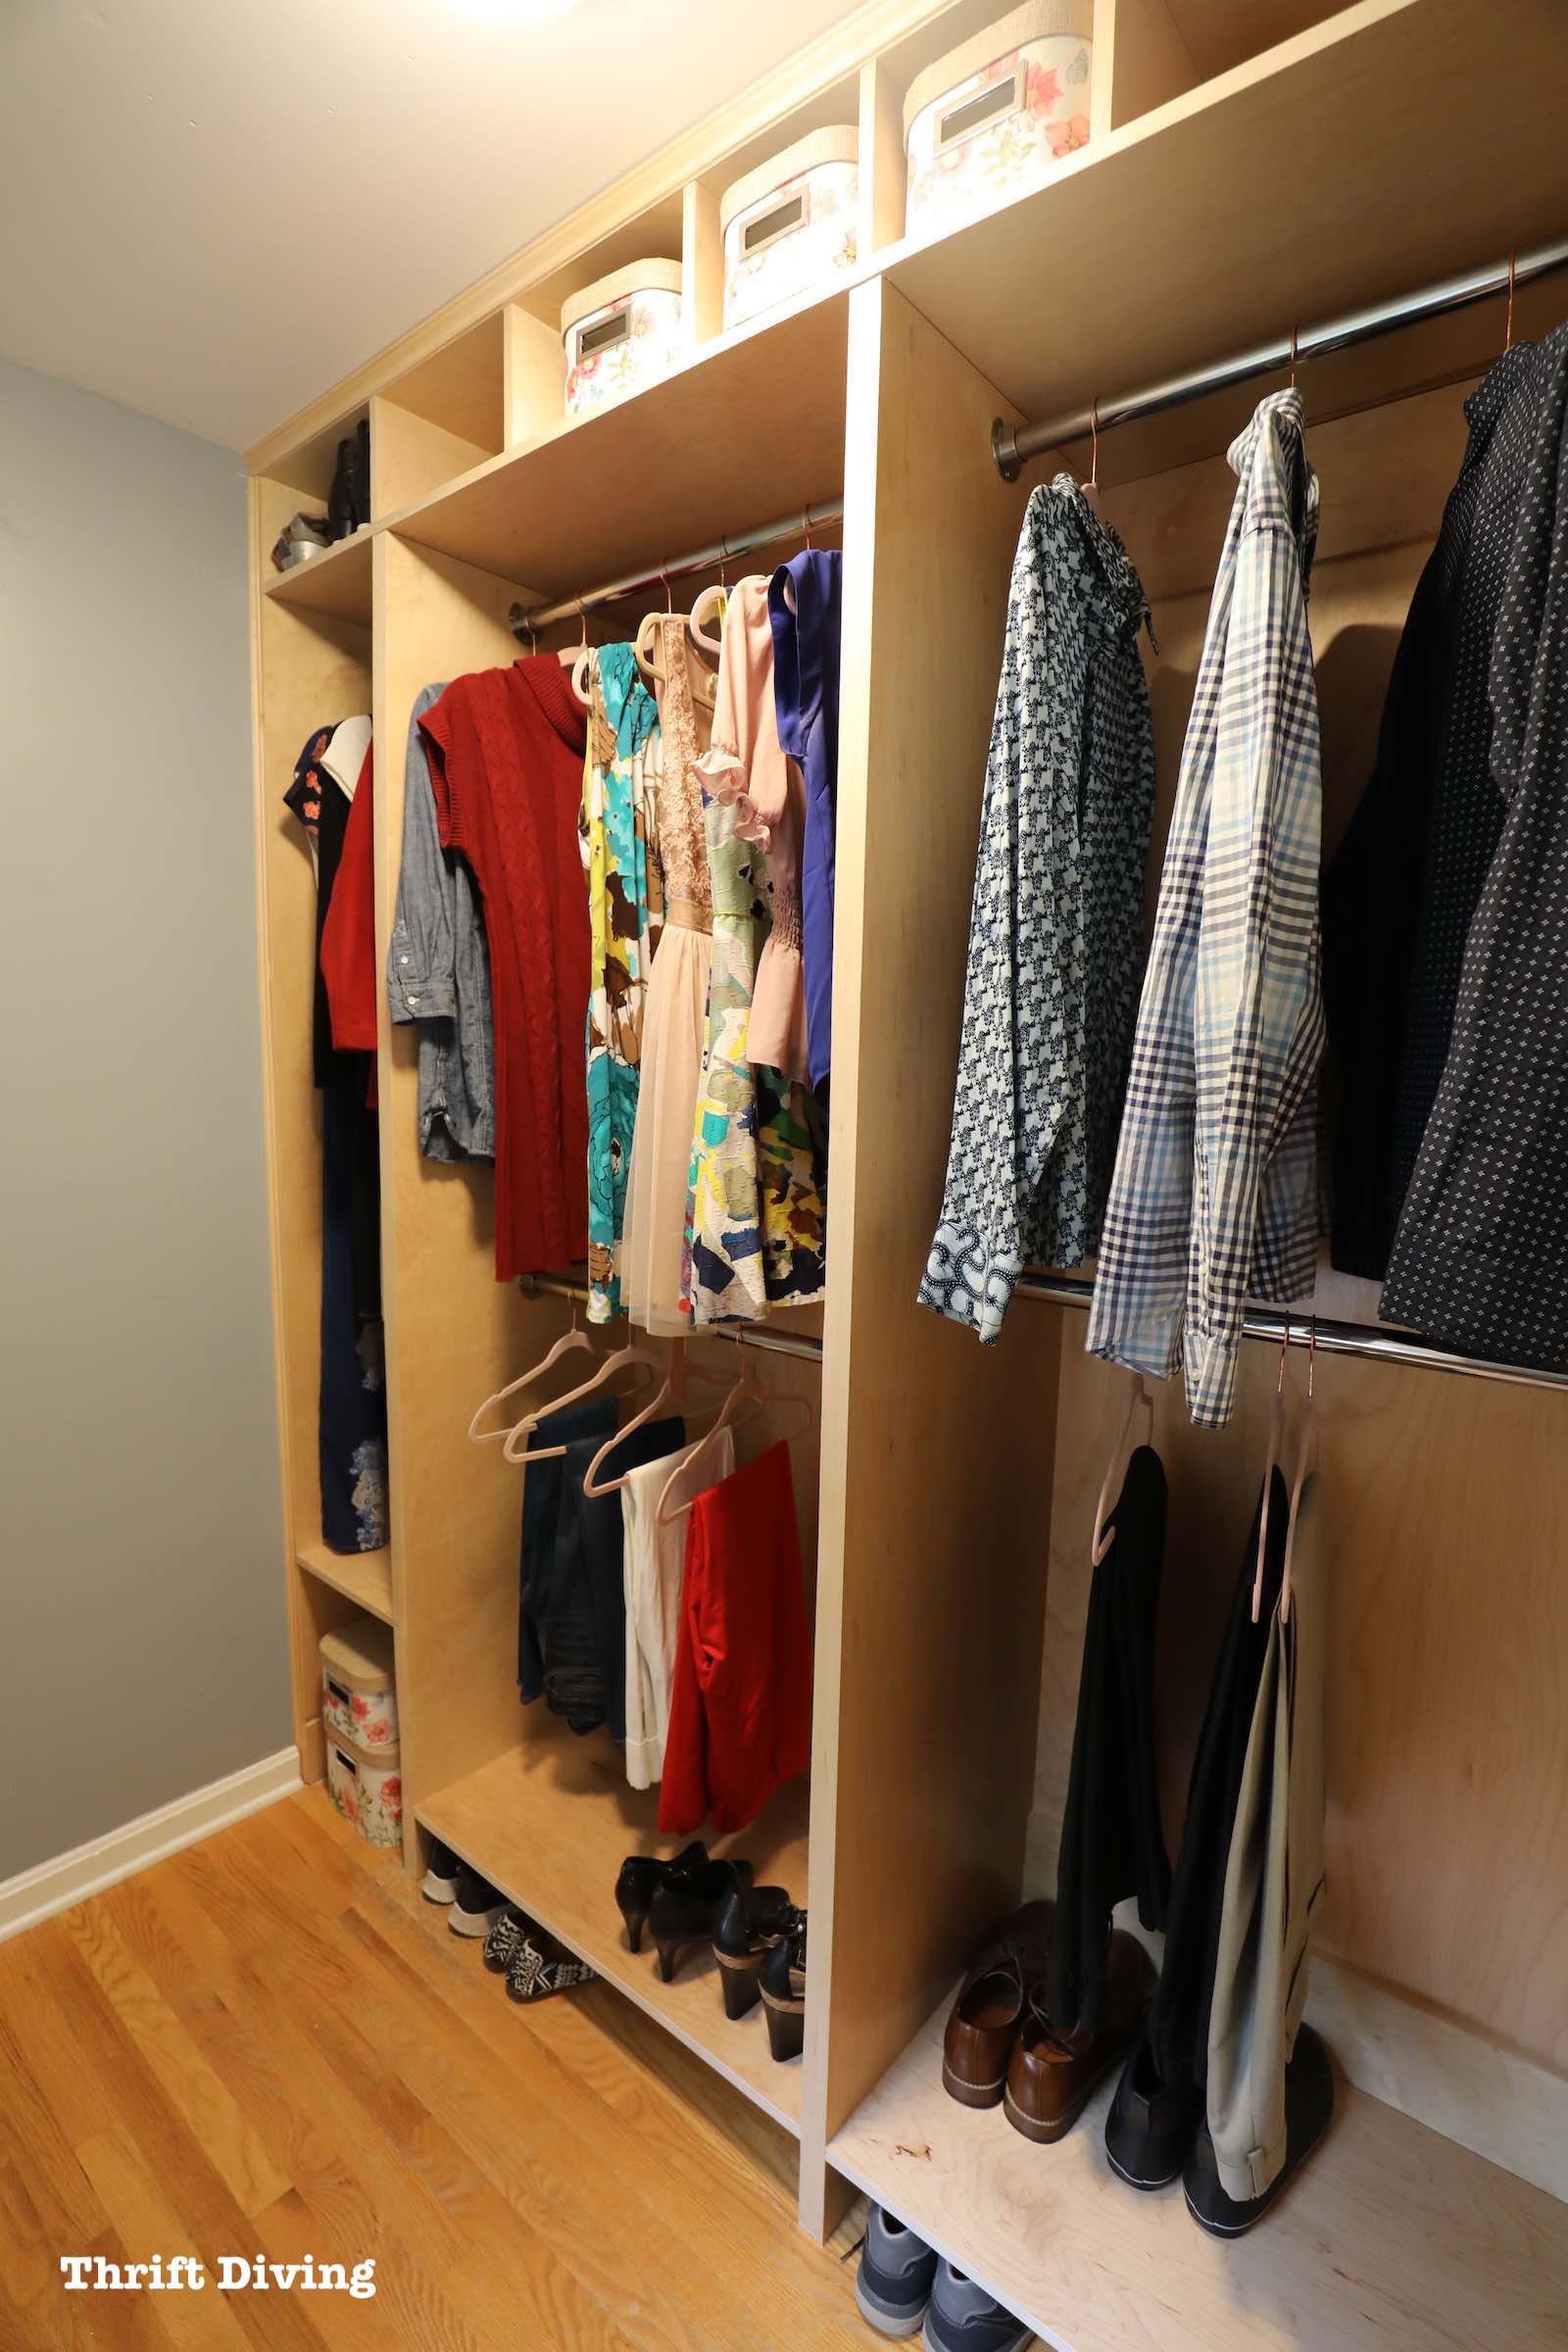
When I made my custom closet organizer in my walk-in closet, I did the same shelf edge pieces. It just creates such a nice finish to a raw edge. You can also use wood banding, but I feel like this made the piece look much more “finished.”

STEP 9: Cut and Attach the Side Arches
Next, it was time to cut out the side arch pieces with the 1/4″ plywood. The challenge was trying to figure out how to draw a perfect arch. So BJ used a paint stick and did the following steps which you can use to draw your perfect arch, too, no matter what size of console table you decide to build.

How to Draw the Perfect Arch
Here are the materials you’ll need for drawing a perfect arch and then cutting it out:
STEP A: Measure the width of the board and divide it in half. – In our case, it was 11″ so half of that was 5.5″. We will need to remember this number.
STEP B: Decide where the top of the arch to be. With our console table, we wanted the top of the arch to be 1.5″ from the top edge, we measured down and marked 1.5″ down.
STEP C: From the 1.5″ mark, measure down half the distance of the width. Therefore, with our console table, starting at the 1.5″ mark, we measured down 5.5″ and marked that point.

STEP D: Create the perfect arch. On the paint stick or a piece of string, mark and create a distance of 5.5″. When one tip is held at the 5.5″ mark and the other at tippy top of the arch (which was 1.5″ down from the top), a perfect arc can be drawn! Voila!

Next, using a straight edge, we drew a line up the size of the 1/4″ plywood, making sure the line was about 1.25″ from the edge. Where you see BJ’s fingers pointing, that’s where the line intersected the arch and the point where we would cut up to, then begin cutting out the arch.

STEP 10: Cut and Attach the Front and Back Arches
Next up was creating the same arches on the front and back 1/4″ pieces. We created these the same way that we did the side arches, so see the instructions above on how to create the perfect arches.

But one thing we did differently for the front and back arches was to hold the 1/4″ piece of plywood up to the console table and mark off the location of the legs. Our console table wasn’t quite as square as we had thought, so holding the piece up and marking it was much more accurate for getting a good fit, versus struggling to get everything to line up perfectly.

BJ used a pencil and outlined where the legs were located on the thin plywood. We wanted to make sure that we cut out the arches to be about 1/4″ wider than the legs.

Using the same instructions as above, we used a paint stick, tape measure, and ruler to create perfectly round arches between the legs.

We used a jigsaw with a thin scroll blade to easily maneuver the jigsaw around the arch. If you don’t know how to use a jigsaw, be sure to check out my tutorial on How to Use a Jigsaw.

When the arches were cut out and we had the front and back pieces ready, we used the brad nailer and some wood glue to attach them to the legs/frame of the console table.

STEP 11: Fill Nail Holes and Gaps, Then Sand Smooth
The arches were cut pretty neatly, but they still needed to be sanded smooth. We used a sander on those edges (you can sand by hand with sandpaper), and then added some wood filler to fill the brad nail holes and any gaps or edges that didn’t seem very smooth.


STEP 12: Paint and Seal the Console Table Black!
BJ’s wife wanted the DIY console table to be black. Furniture paint is a great option because it’s made for wood and nearly any surface. BJ wanted to spray paint it, but that wouldn’t have been a great option. Spray paint, in my opinion, is good for things like lamps, flower pots, and other small little items, but not for furniture.
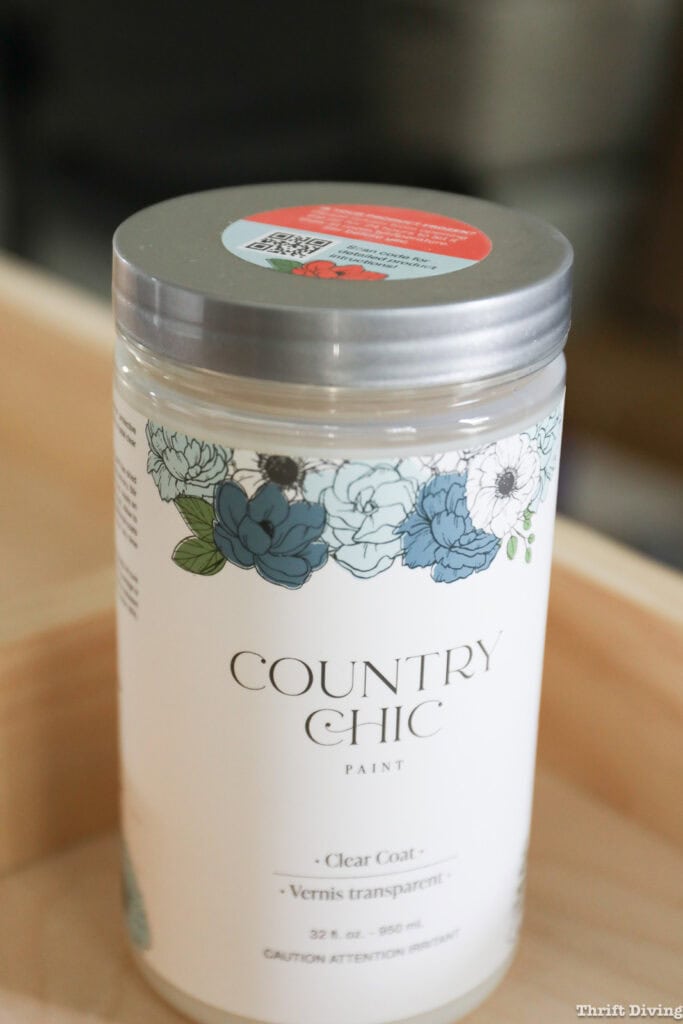
Instead, we used Country Chic Licorice furniture paint, followed with their Clear Coat (or you can use their Tough Coat top coat). I love furniture paint because it’s specially formulated to give you good results (and you don’t have to prime the furniture first). Some furniture paints have top coats built into them, like Country Chic paint, but it does have a more “chalk-like” finish that I felt needed a top coat to give it some shine and extra protection. (Click here to read about What’s the Best Paint for Furniture).

The best way to paint the console table is to use a roller with 1/4″ nap roller. The paint gets soaked into the raw wood very easily, so be sure to have extra paint on hand.

We did two coats for full coverage, starting with turning over the console table and working from the bottom up, then flipping it over. Be sure not to press too hard or else you could get streaks, which could dry looking streaky.

Once the paint fully dried, we did 2 coats of the Country Chic top coat.
The best way to apply it is with a sponge in long strokes, which was easy to do on long surfaces, but I found that the top coat could build up in the corners, and I was worried it would dry weird (which it didn’t). But I didn’t find it to be the easiest top coat to apply.

When it was done, it looked so great! I believe BJ ended up putting on a third coat, with a roller, in order to smooth everything out. There were some spots that still looked a little blotchy because of the Clear Coat, but this still looked fantastic!

BJ’s wife absolutely loves how this black console turned out! I’m a bit shocked we were able to do it so nicely, especially when it feels like we were just piece-mealing it together at first. HA! But isn’t that how DIY is? You just jump in and figure it out, and that’s what we did.
I don’t know if it was any cheaper, though, to be honest. By the time BJ bought all the materials, it very well could have been $400, not including the time it took to build it. BUT…….I will say that our modern console table with these cool arches is much better quality and is sturdier than the cheap materials that the original one was made from that his wife saw in the store. So yeah–we did good!
What do you think?? Leave a comment below and let me know if this is something you’d be willing to give a try to build!
Love this project? SAVE it on Pinterest!

Download the 5 freebies!

Thrift Diving inspires women to decorate, improve, and maintain their home themselves...using paint, power tools, and thrift stores! Use these 5 printables, checklists, and ebooks to get started!