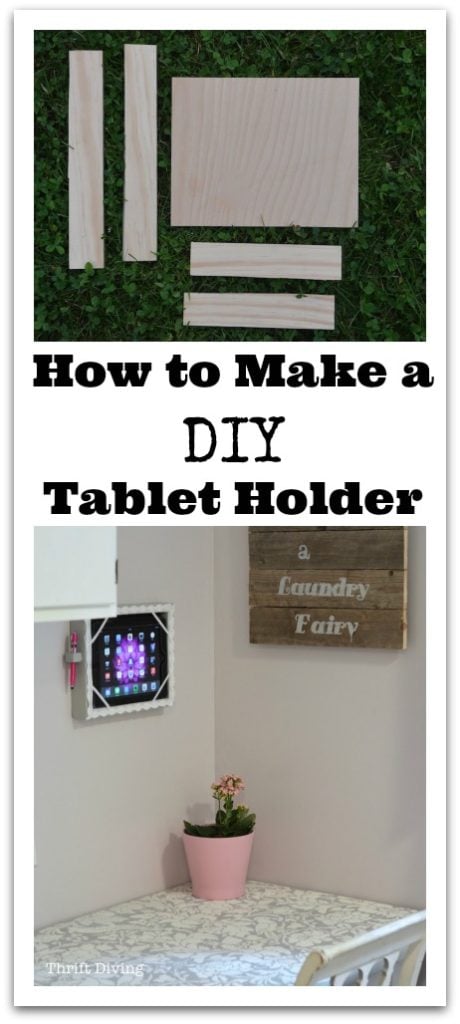
How to Make a DIY Tablet Holder For Your Wall
I’m not going to lie–I hate doing laundry, even in my pretty laundry room that I renovated last year–but, I just made something that is totally going to put the “okay-this-isn’t-so-bad” into laundry adventures: my new DIY tablet holder I just made!!
If you remember my laundry room, it was a huge improvement from before, and my tablet makes it more bearable so I can catch up on my favorite shows. But as the mounds of laundry grew while folding, my tablet would get blocked. I’d end up turning it off because I had nowhere to see it. I wanted a place to mount it up off the table.
I needed some wood and power tools to make the DIY table holder, but I also needed Permanent Mounting Tape by Scotch® Brand to mount the little stylus on the side of the holder. (Scotch®Brand is well known for masking tapes to spray adhesives and so much more.Whatever you need for a crafting project, they make it!) 🙂
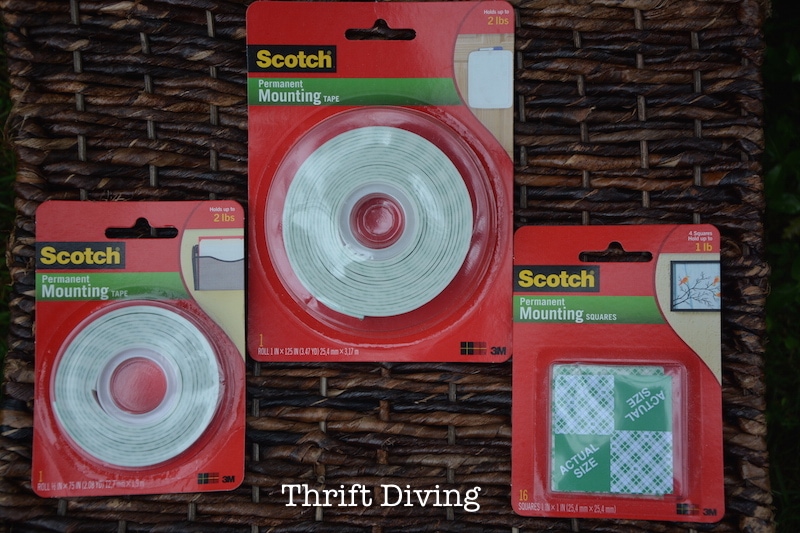
I stopped at Walmart to pick up Permanent Mounting Tape (in a couple different sizes) and Permanent Mounting Squares. I wasn’t sure what I was going to need, so I just bought several.
I also picked up some additional crafting supplies from the crafting aisle, where both Scotch® brand and Command™ can be found. I love hoarding crafting supplies, don’t you? 🙂
Materials Needed to Make a DIY Tablet Holder
- Permanent mounting tape
- Wood (I used pine and birch scrap wood left over from previous projects) – 5/8″ thick
- Jigsaw (you can use a miter saw if you have one since it cuts more cleanly, but jigsaw is totally fine)
- Nailer (or nails and a hammer)
- Power drill (with 1/2″ bit)
- Tape Measure
- Wood glue
- Fine sand paper
- Glue gun
- iPad or Kindle
- Elastic
- Heavy duty stapler
- Paint (I recommend this brand, which requires no priming!)
- Ruler or T-square
- Decorative ribbon (like this one–so cute!)
- Stylus
- Pencil
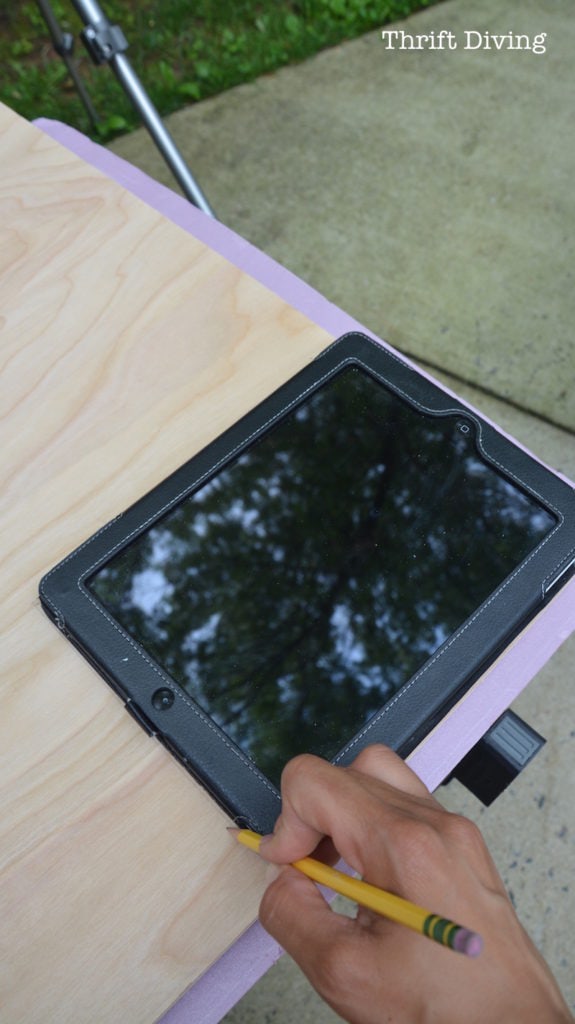
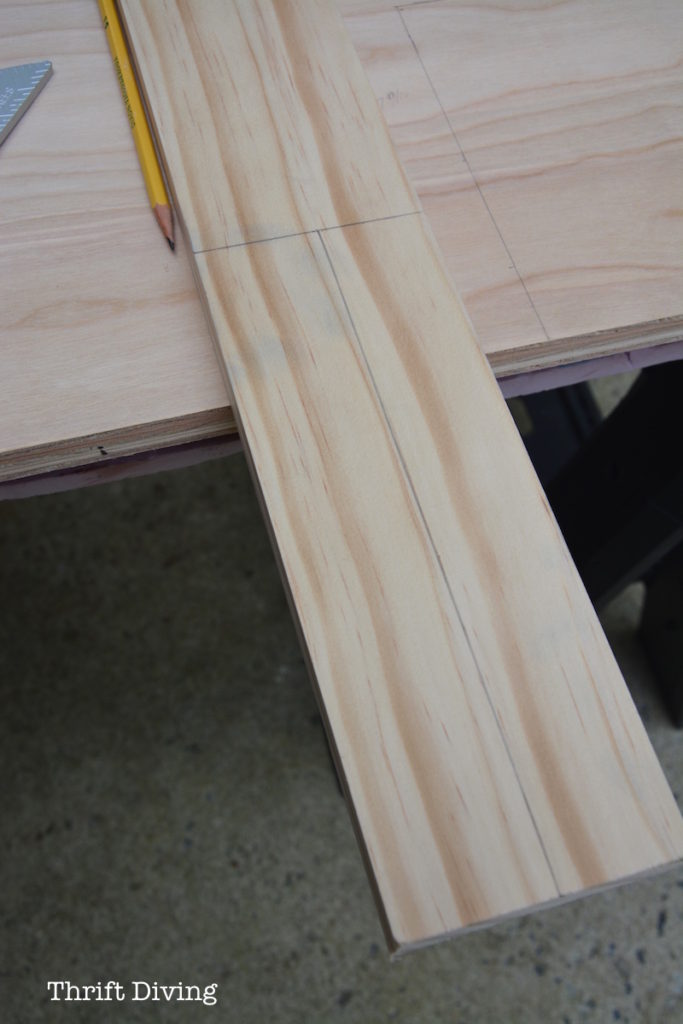
STEP 1: Measure Your Tablet
I just laid my tablet down on the wood and marked the size of the base. I left a little room (1/8 of an inch) so that it was easy to slip my tablet in and out of the DIY tablet holder. Just make sure your lines are straight; use a ruler if needed.
You will also need to measure how tall your side pieces will need to be. You’ll want your tablet to sit nestled in the holder.
I used a piece of wood from a previous project that was 3.5″ wide, so I just measured it evenly down the middle.
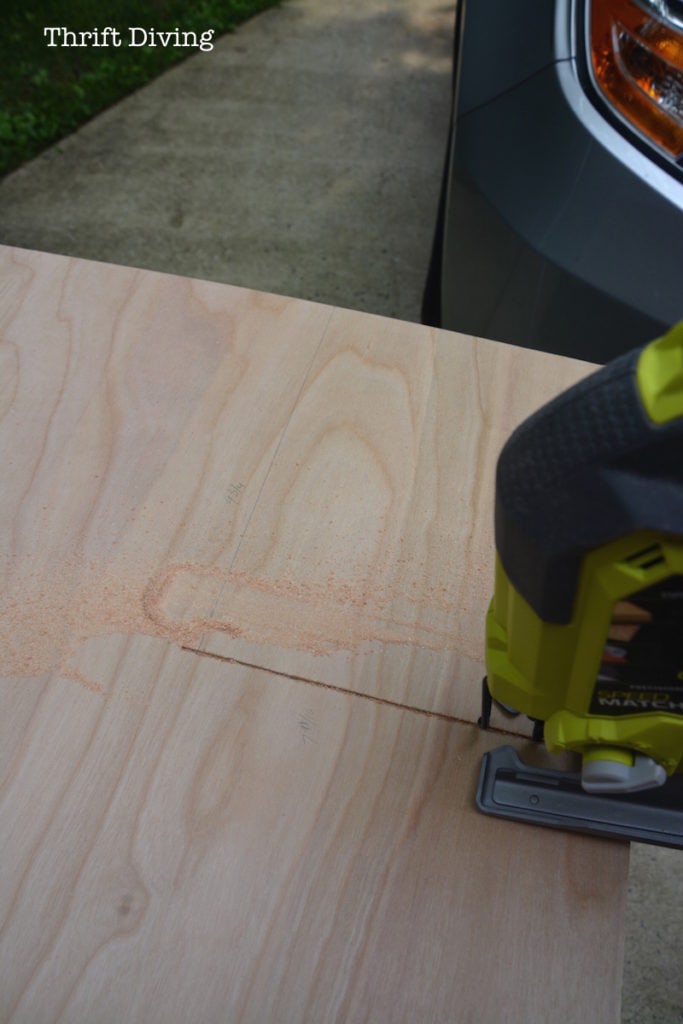
STEP 2: Cut Out Your Wood
Use your jigsaw to cut out your wood. If you’ve got a miter saw, I recommend using it. It works better to cut cleaner lines, but a jigsaw will work, too, although it might not be as perfect. But we don’t care about perfection here at Thrift Diving, do we? 🙂
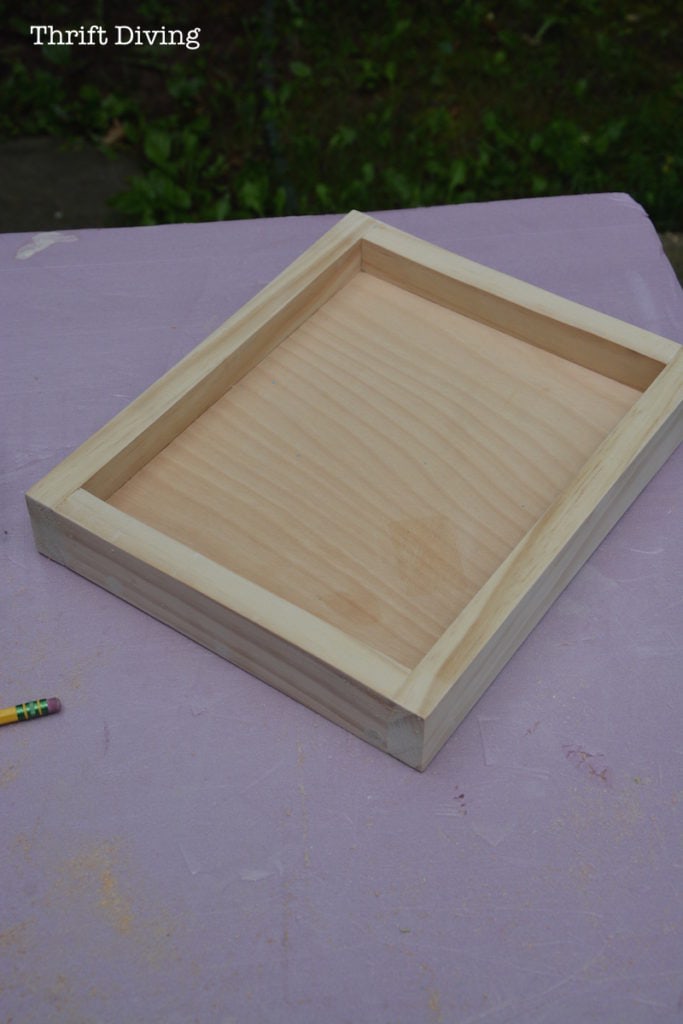
When all is said and done, you should have a base, two side boards, and two end boards.
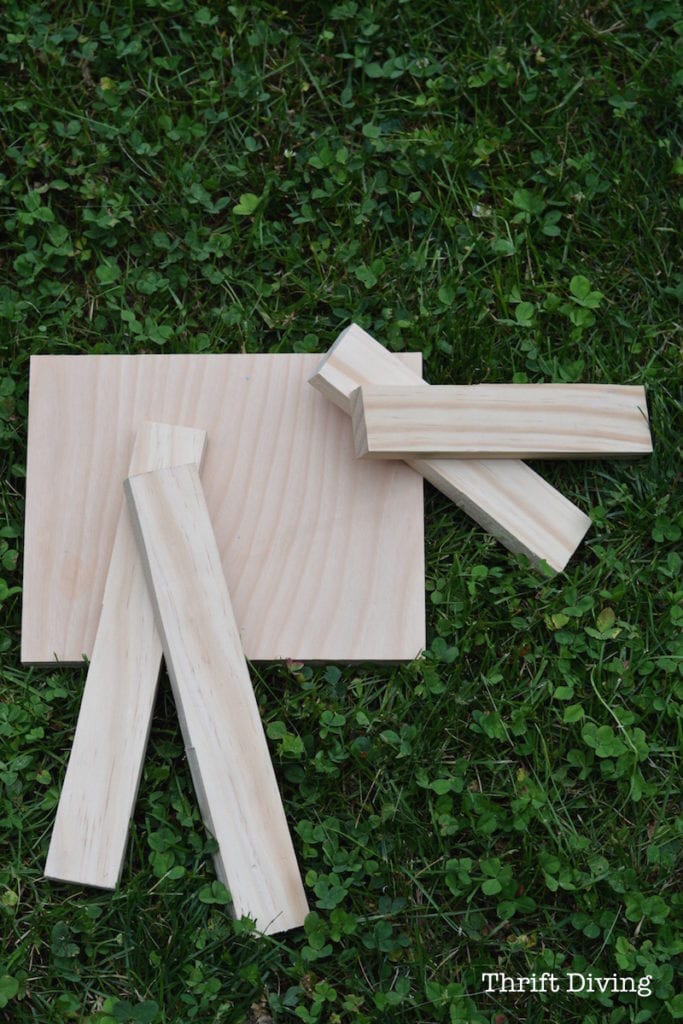
STEP 3: Make sure you didn’t totally screw up.
I’m notorious for messing up my cuts. HAHA. So after I cut everything, I laid it all out, making sure everything lined up. The DIY tablet holder was now taking shape!

STEP 4: Glue and nail the sides.

Using your wood glue, glue all the sides to the base. Then use your nailer to secure (or just use a hammer and nails if you don’t own a nailer).
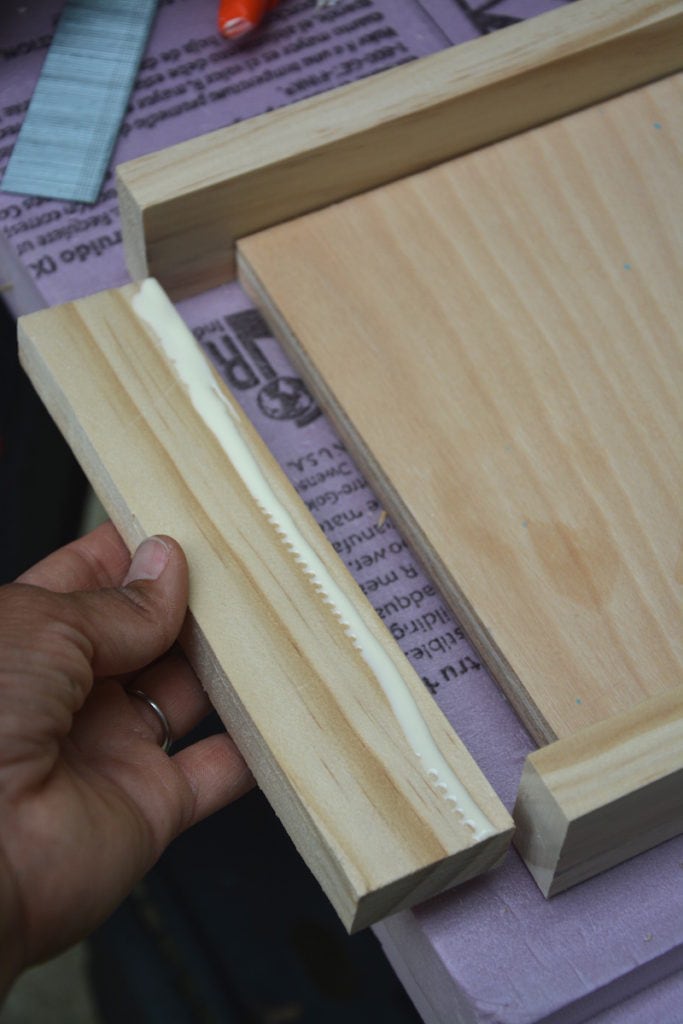
Use fine or very fine sandpaper to smooth out any rough edges.
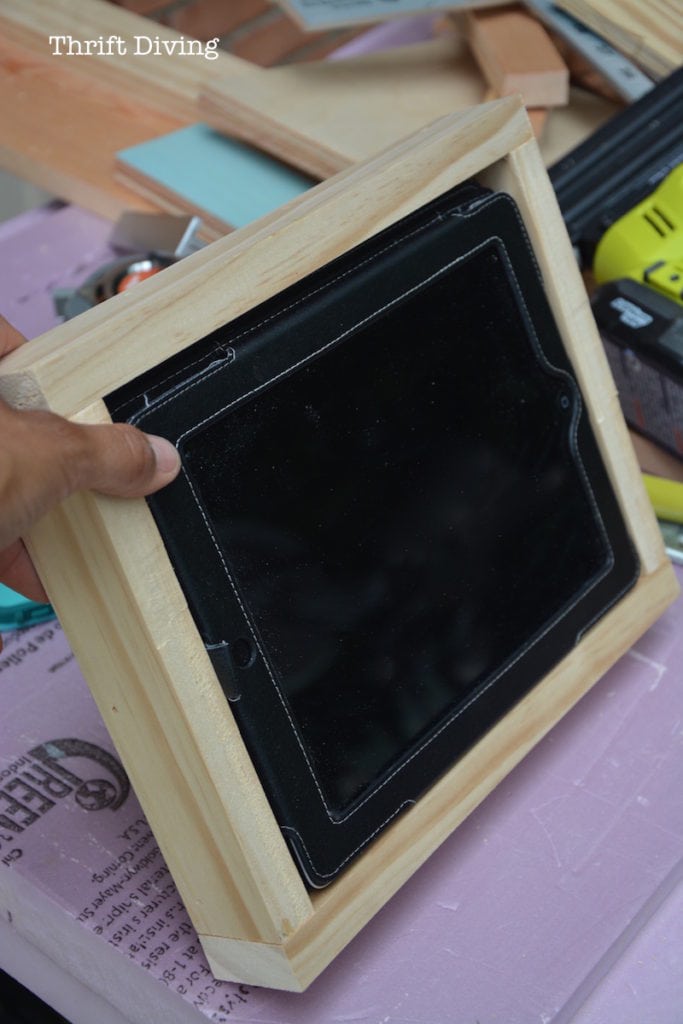
When you’re done, your tablet should sit nicely inside, like so!
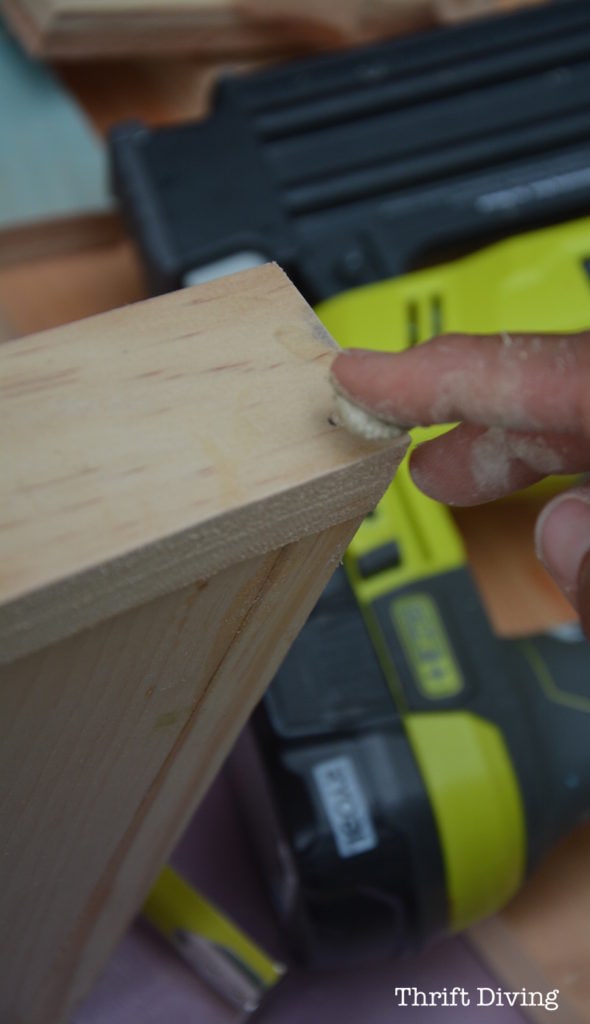
Don’t forget to fill the holes with wood filler and sand smooth.
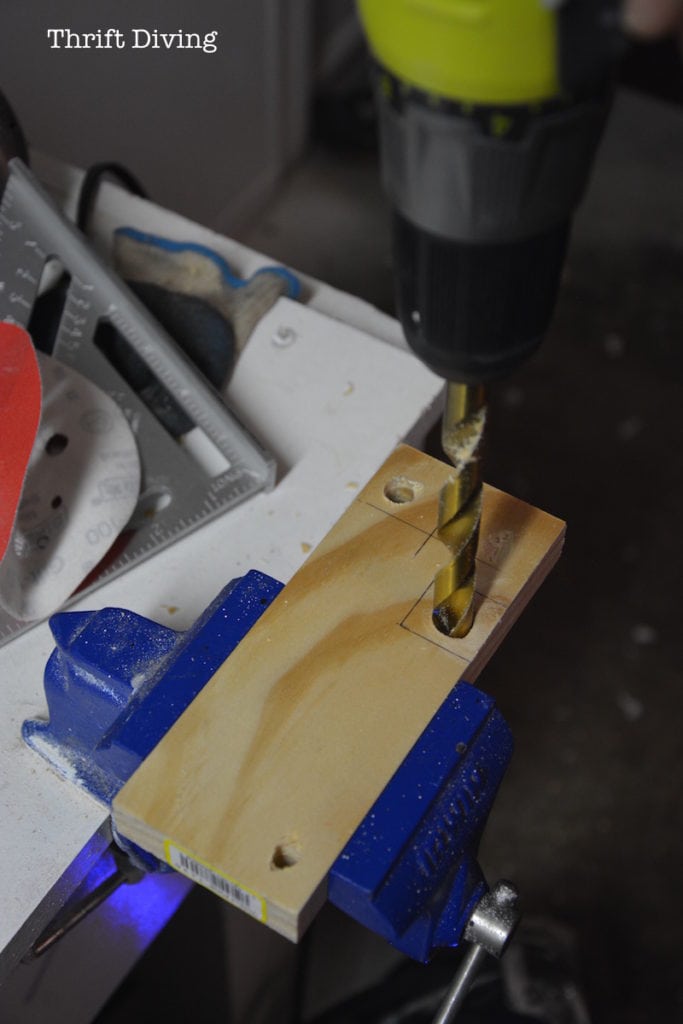
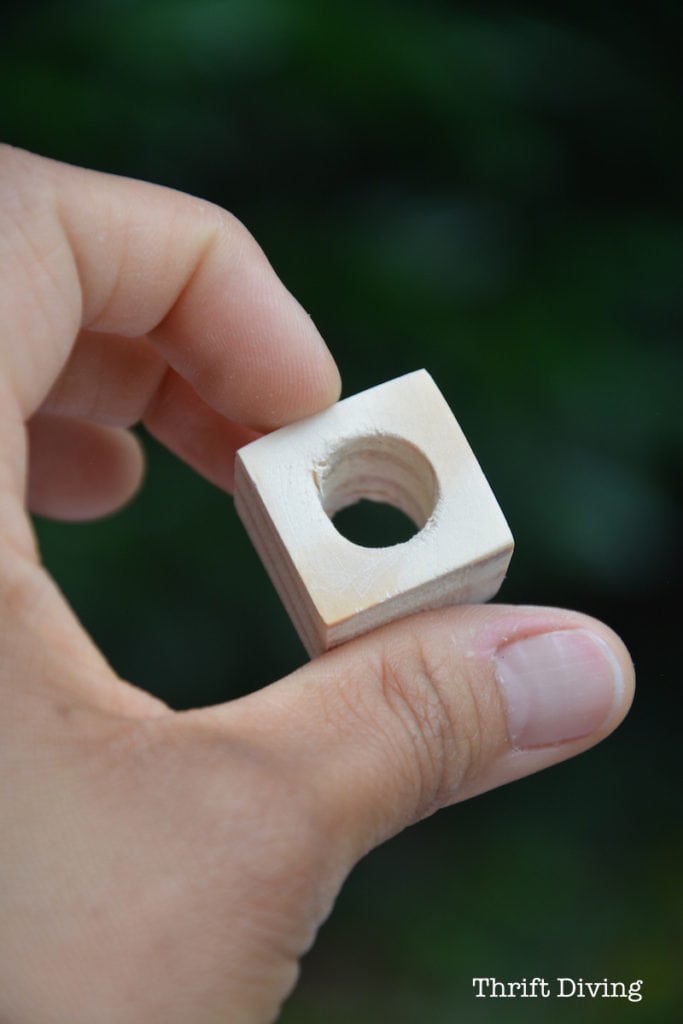
STEP 5: Drill a hole for the stylus.
The stylus was mounted on the side of the DIY tablet holder with permanent mounting tape. Drill a hole in a square piece of wood to stick onto the side.
I used 1/2″ drill bit for my hole, but it all depends on the size of your stylus. Just make sure the size of the hole doesn’t let the stylus fall through. 😉
Use your jigsaw to cut out the hole in a cute little square.
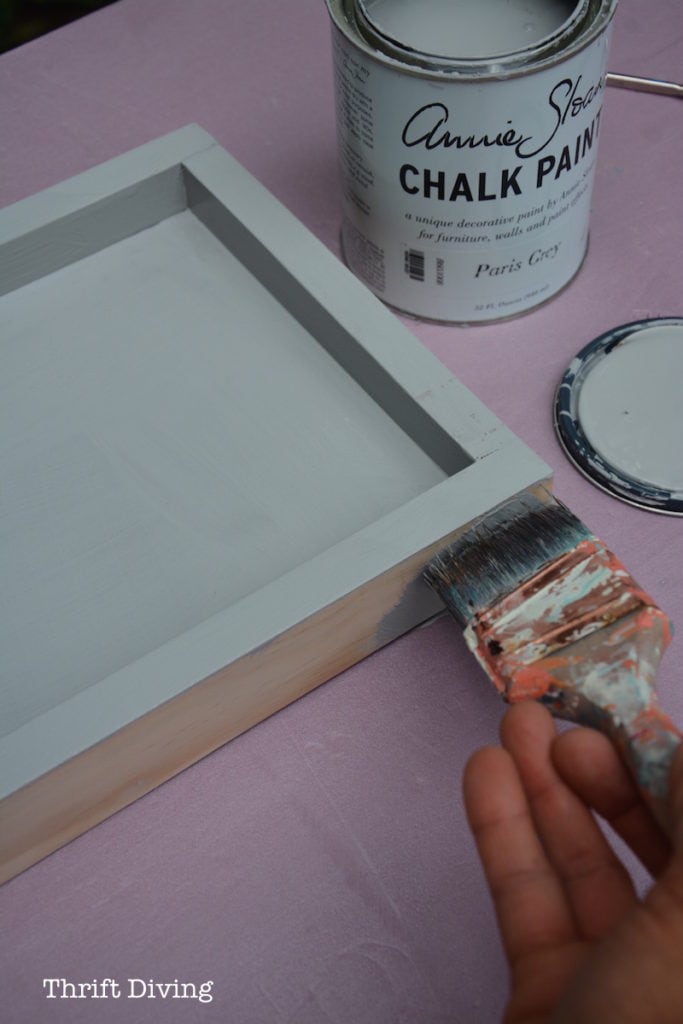
STEP 6: Paint the DIY tablet holder and small square for the stylus.
STEP 7: Mount the stylus holder with Permanent Mounting Tape
Cut off the appropriate amount you need to attach the stylus holder. I didn’t need much.
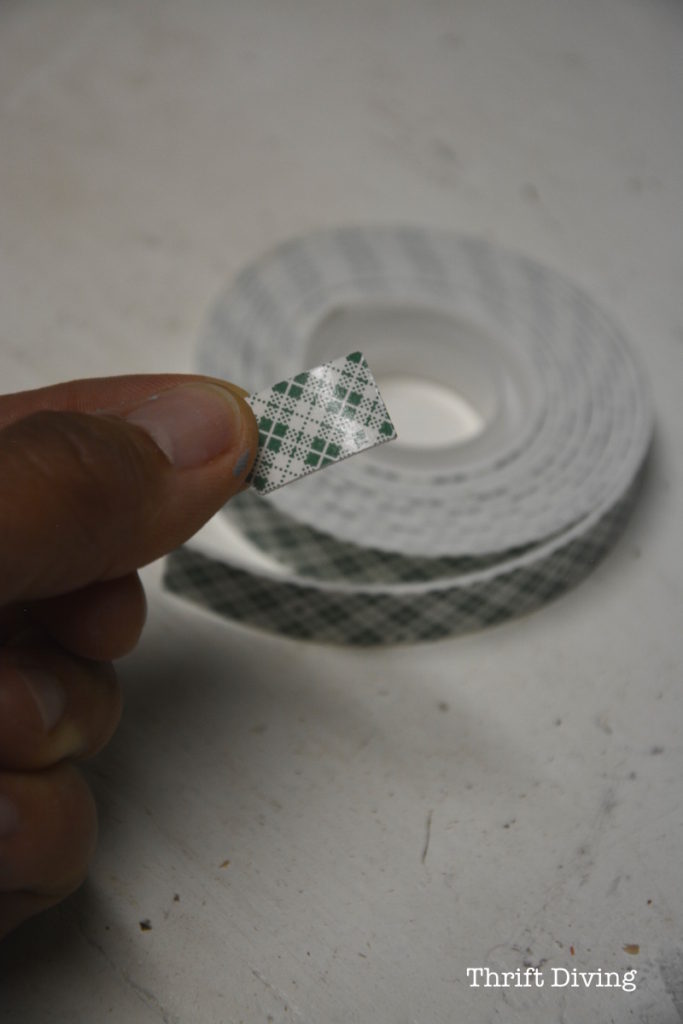
Permanent Mounting Tape was the perfect product for getting the stylus attached. Nails and screws would have totally destroyed the delicate wooden sides of the stylus holder, and hot glue wouldn’t withstand the knocks and bumps of taking the stylus in and out.
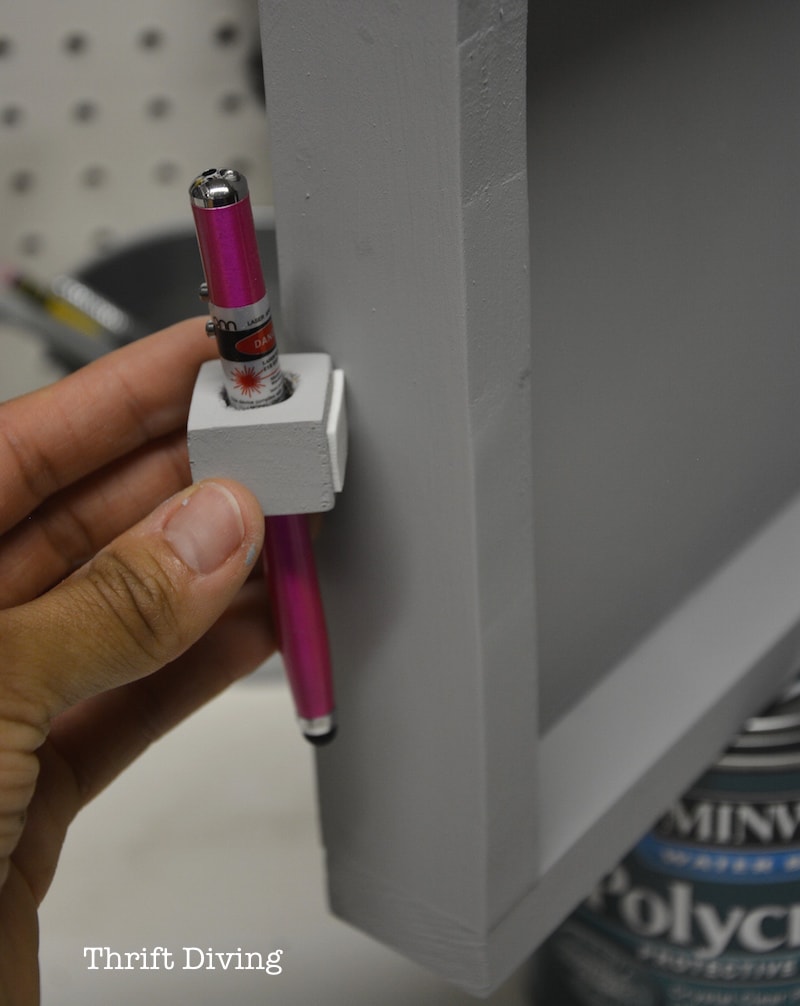
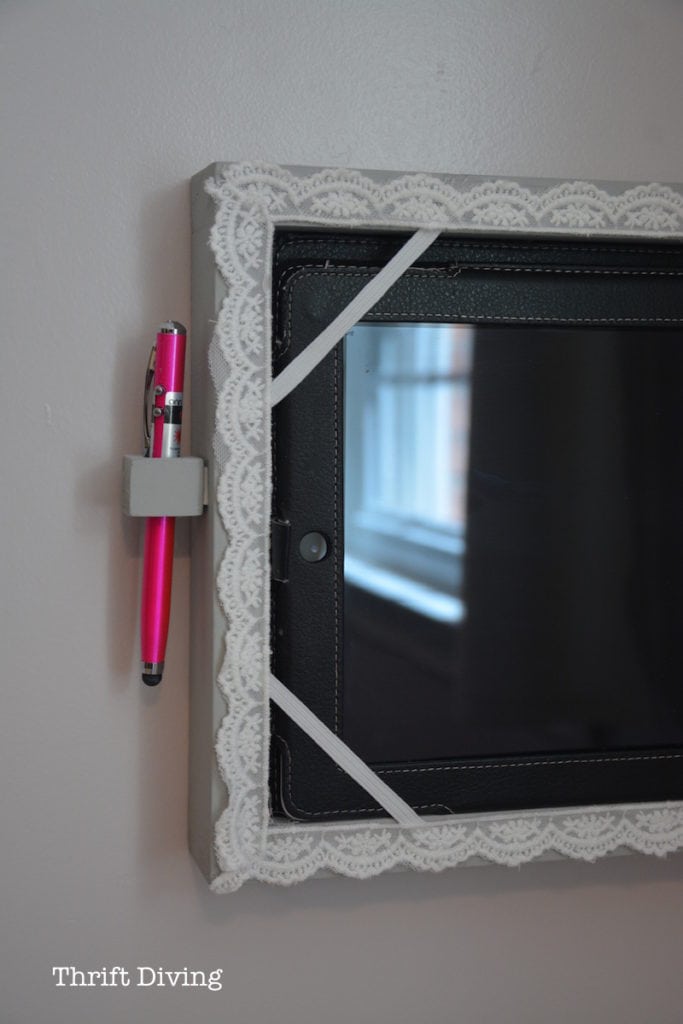
Mounted to the side, this is what it looks like!
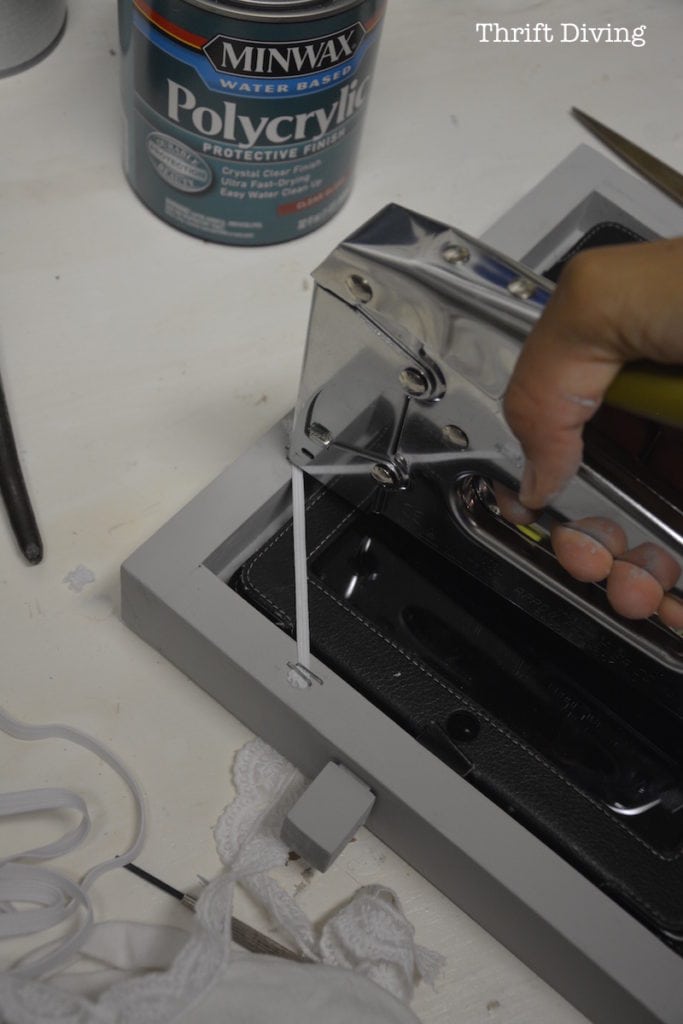
STEP 8: Staple on the elastic.

You’ll need to make sure your tablet doesn’t fall out. Use a light duty stapler to staple on pieces of elastic so that the corners of the tablet stay in place.
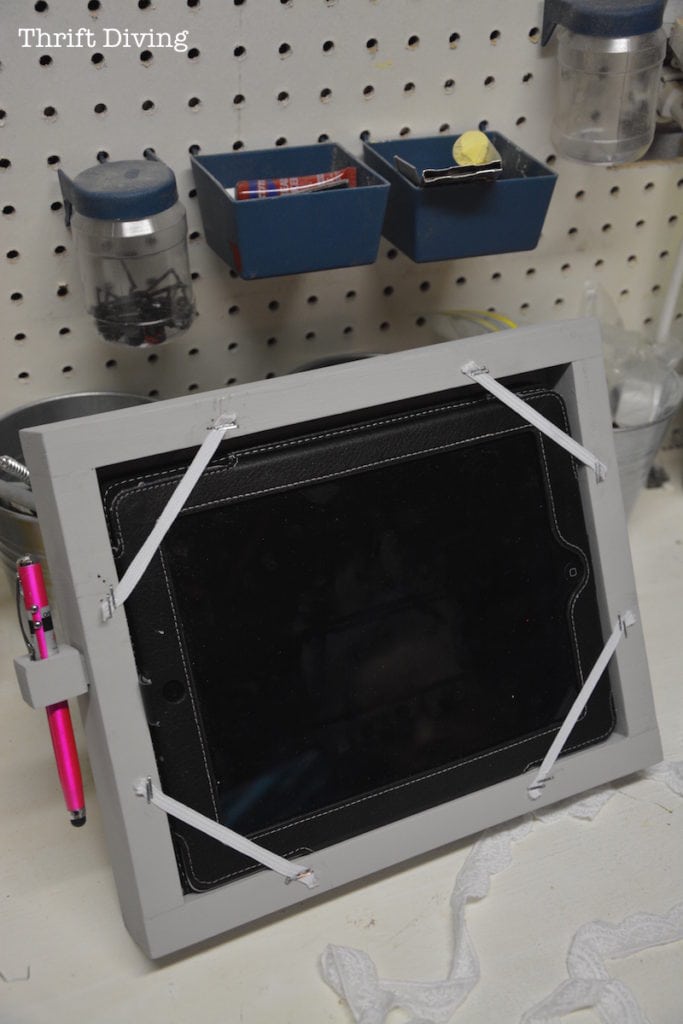
When it’s all done, it will look like this. I like that my table is still in the original case, so I can pull it out and take it to another room when I’m not in the laundry room.
I probably should have used black elastic, but I didn’t have any on hand, but you gotta work with materials you already have as much as possible, right? 😉
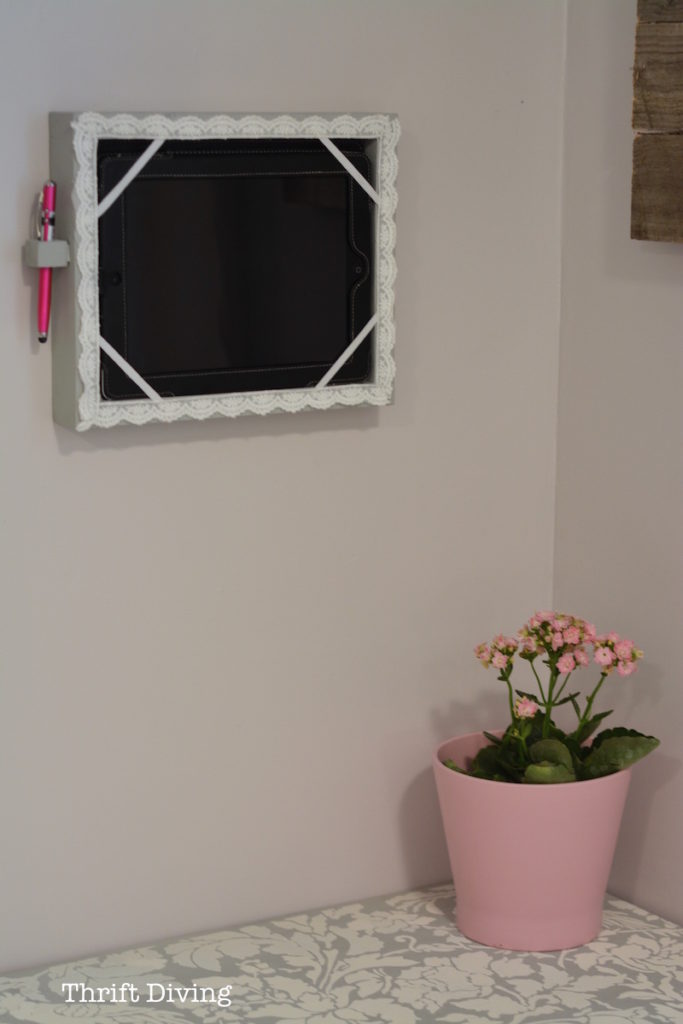
STEP 9: Attached pretty ribbon to cover up the staples.
You don’t want the staples visible, so hot glue decorative ribbon to cover it up, all along the edges. I like this burlap lace ribbon!
STEP 10: Mount to the wall with screws and anchors.
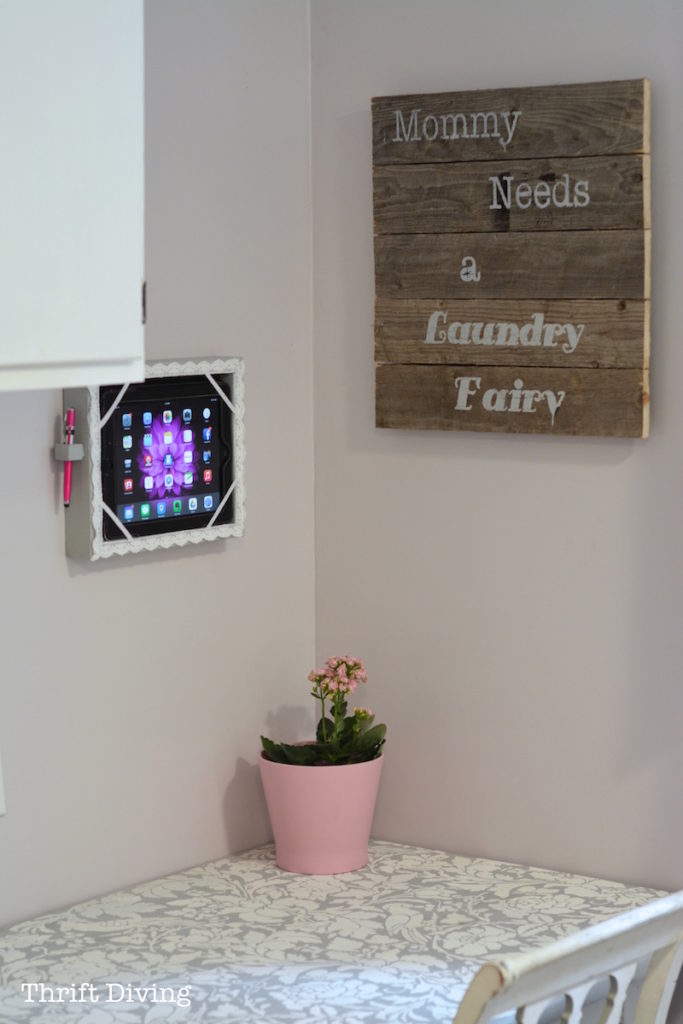
And now you’ve got an awesome holder for your tablet, with a handy little stylus attached!
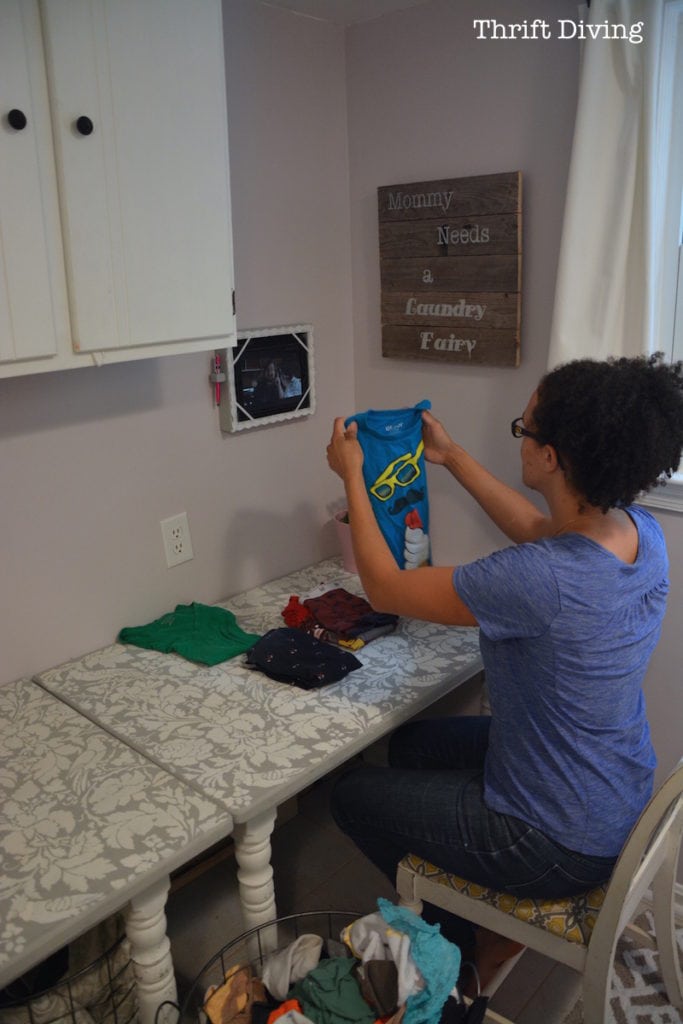
AFTER!
I love how easy it will be to spread out laundry now without my tablet taking up valuable space on my folding table! (Click here to see my pretty laundry room makeover, including how I made this folding table!P
I’m already thinking of other cool places to do this project–my bathroom, kitchen…. The possibilities are endless!
Before You Go
If you enjoyed this project, you’ll love these other projects of mine!


So do you guys also run into problems with not knowing where to stick your tablet while you’re folding, cooking, etc.? Think you’d like to make one of these? Let me know in the comments!

Download the 5 freebies!

Thrift Diving inspires women to decorate, improve, and maintain their home themselves...using paint, power tools, and thrift stores! Use these 5 printables, checklists, and ebooks to get started!

Might try this with an unused picture frame with an easel. Had never thought of this hack before! Thanks!
This excited me. I need one in the kitchen, laundry room and bathroom (I watched The Shining and now the bathtub scares me LOL). Wish me luck!
Thanks a bunch for sharing!