BEFORE & AFTER: Pink & Dark Green Bedroom Makeover!
This pink and dark green bedroom makeover was sponsored by Beyond Paint.
It’s hard to put your personal space “out there” on the internet for the entire world to see. It’s as if you’re pulling back the curtains of your most personal parts, shouting to random strangers, “Hey! Come see how disorganized and cluttered my home is! Step right up, ladies and gentleman!”
I’ve been doing it for years here on my blog and on my YouTube channel, making over my outdated 1970’s home into something livable and affordable for my family of 5, one room at a time.
But that’s not easy for the everyday homeowner, like my best friend, Hakimah.
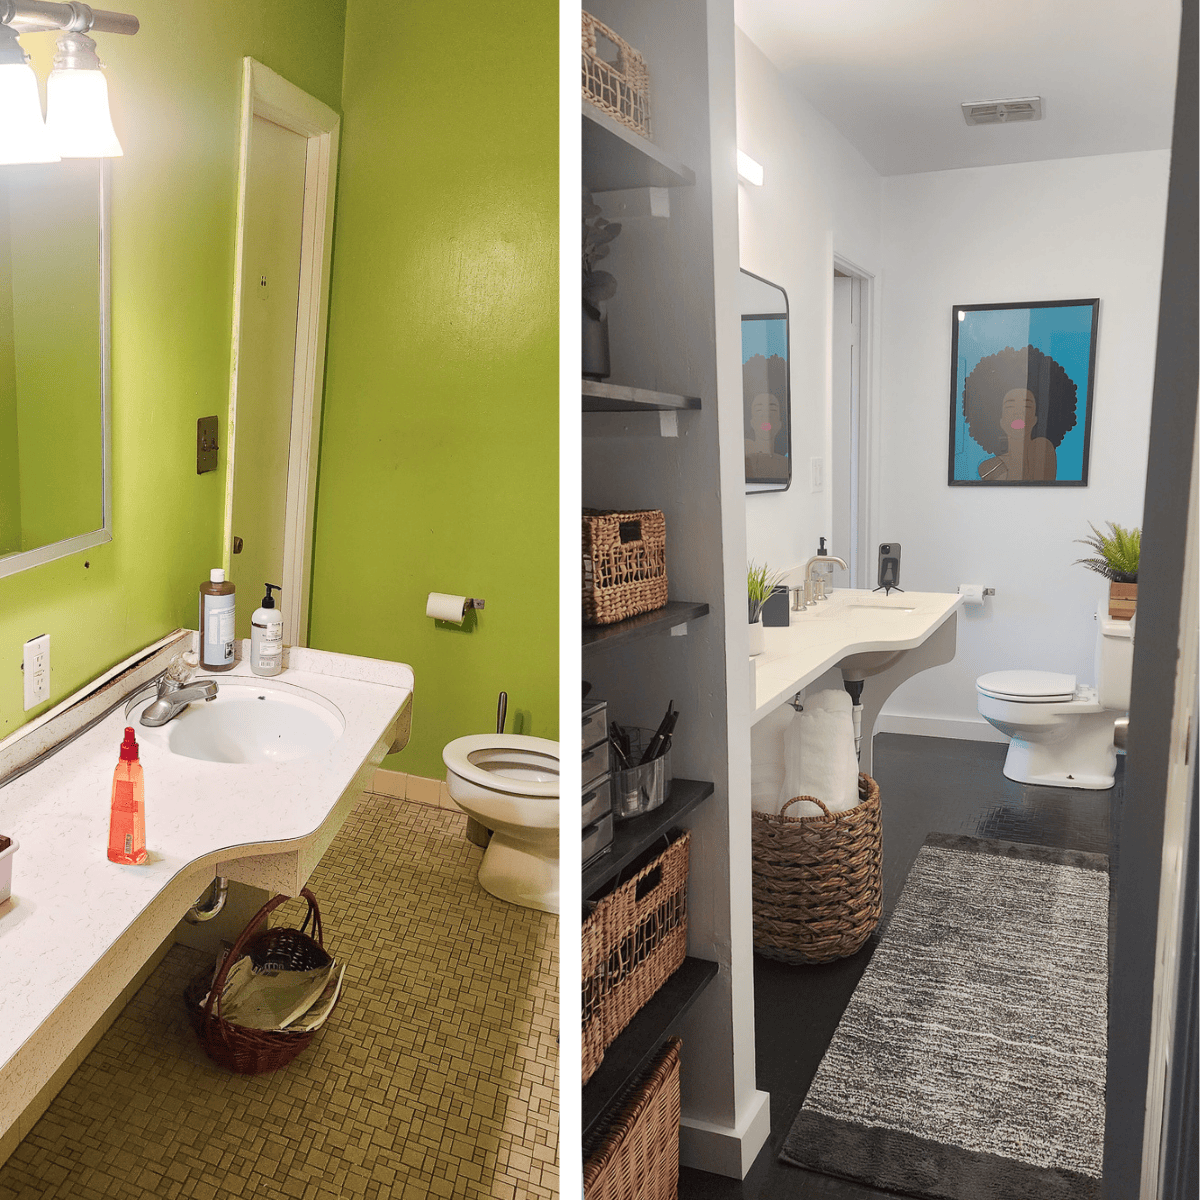
Earlier this year, she agreed to let me transform her outdated 90’s bathroom into a fresh, modern, black and white bathroom. When we were done, she put aside whatever angst she had felt and was eagerly ready to tackle the next room in her house: her bedroom!
And because I saw the great potential, I agreed to help her. In fact, we pulled in another friend of hers, who went to school for interior design, and together, we all agreed to turn her outdated, cluttered bedroom into the cozy room she’d always envisioned for herself but wasn’t able to create on her own!
Click here to SAVE this post on Pinterest!
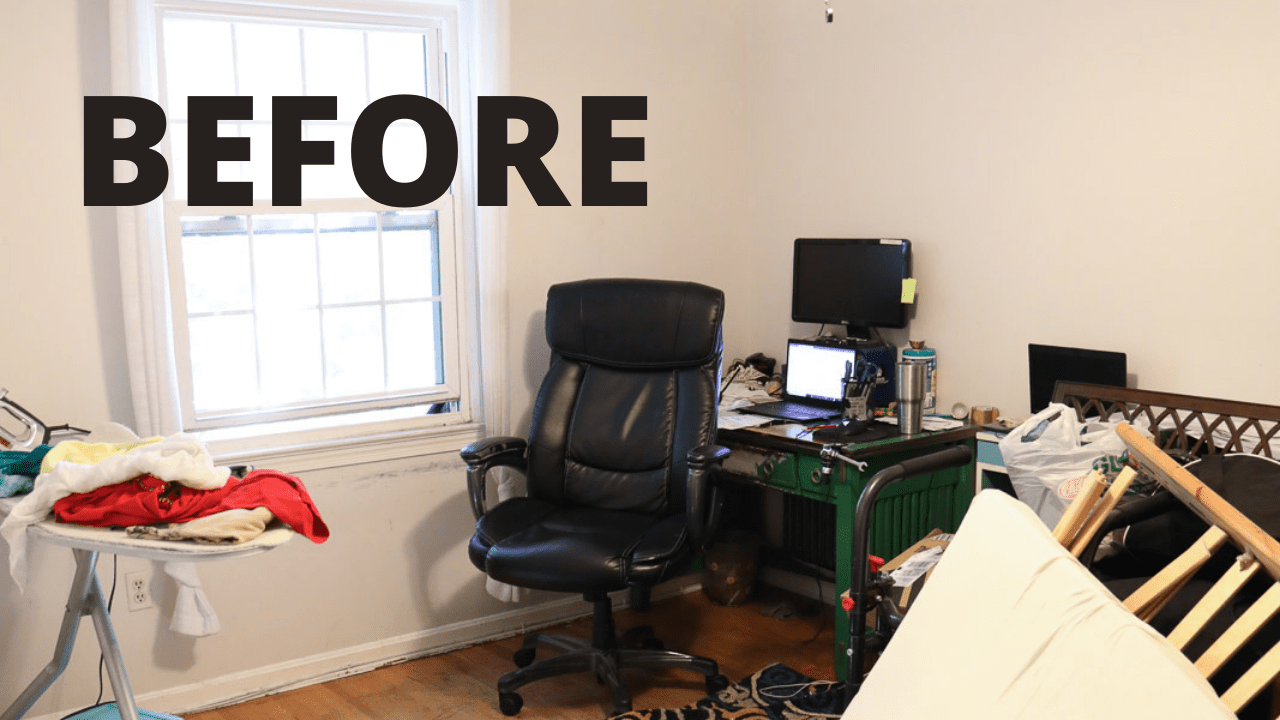
BEFORE
Hakimah’s “school bus yellow” bedroom walls hadn’t been painted in years, and there was clutter. For as long as I’ve known her, her bedroom had remained the same. It wasn’t that she didn’t want a cozier, updated bedroom, but she didn’t have the confidence or know-how on how to even begin to create the space she wanted for herself! She simply felt stuck.


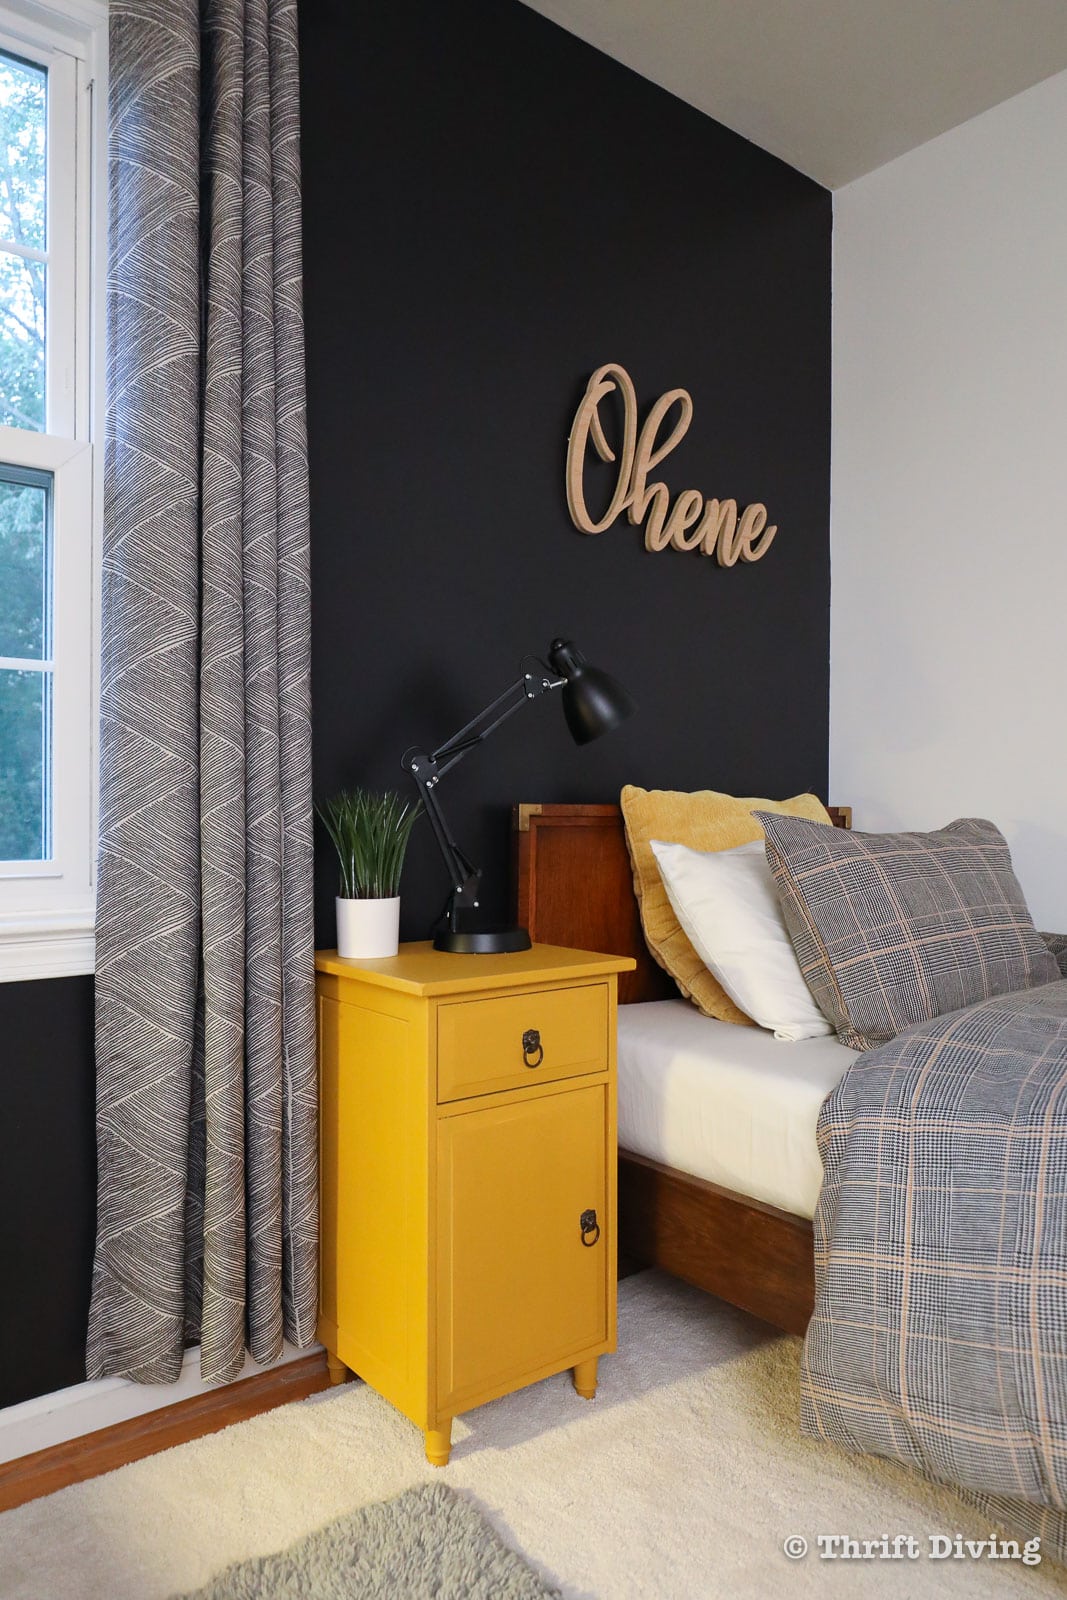
AFTER!
But after we all dug into this project, with paint on the walls, and painting her bedroom furniture, and giving the room a cozy reading corner, the room became what she’d always wanted: dark green bedroom walls to create a cozy, eclectic, layered room with a proper place to display her books, and a reading corner!


Watch the Green Bedroom Makeover!
Watch how we transformed this outdated bedroom into a cozy bedroom with green paint on the walls, with pink, gold, and bronze accents!
TOOLS & MATERIALS
The following were the things we needed for this cozy dark green bedroom makeover:
- Beyond Paint Metallic Collection, Bronze (for painting the bedroom furniture)
- Benjamin Moore Chrome Green (satin wall paint, 2 gallons with 2 coats)
- White paint for the ceiling (satin)
- Paint rollers
- 1/4″ paint roller for furniture
- Painter’s tape & plastic
- Paint brushes
- Simple Green (for cleaning the walls and furniture prior to painting)

PRODUCTS PURCHASED FOR THE ROOM
As much as I love the thrift store, and use thrifted and second-hand items for my own room makeovers, we couldn’t get everything from thrift stores. Many things were purchased from Wayfair. I did find the console table from the thrift store, though!
- Crystal ceiling fan with LED lights
- Floating shelves
- Gold dresser knobs
- Bedding
- Pink chair for reading
- Globe light
- Artwork
- Curtains
- Rug
- Floor-length mirror

Cleaning the Room, and Repairing Before Painting Green
We needed to clean Hakimah’s room before getting started, which included things like cleaning the dust from the walls, window sills, blinds, under the bed–everywhere! I know this step can feel daunting, especially if there is a lot to clean, but it’s got to be done.
A good product to have on hand for all your cleaning needs before painting is Simple Green, which is a cleaner and degreaser. The last thing you want to do is paint over your walls or furniture with grease on the surface! That’s a surefire way to get peeling paint, or paint that just refuses to adhere at all!

We couldn’t wait to get started on painting these walls dark green! While it’s not a color I would pick for my own bedroom (I prefer light and airy paint colors, like the Sherwin Williams Rainwashed for my own bedroom), I thought it was a deep, cozy color for Hakimah’s bedroom.
When we had done her outdated bathroom makeover earlier in the year, she wanted a black bathroom, but that didn’t make sense because her bathroom was so small; black would have made her feel like she was bathing in a cave! 🙂 So we went with a fresh, modern white and black.
But I think dark green for a bedroom (especially a cozy forest green paint color) really helped her achieve the moody, modern look she was after.
After cleaning the walls, I had to do some drywall repair. She had some tears in her drywall that I used joint compound and a 6″ joint knife to smooth, then followed it with some light sanding. (Psst! If you need to do drywall repairs to your wall, too, check out my tutorial on how to fix holes in drywall. And if you need some help on how to remove wallpaper, I can help you out there, as well!).

It’s best to paint a ceiling first so that any ceiling paint that gets on the walls will be covered up by the wall paint afterwards.
I hate painting ceilings, though! It make your arms feel like they’re about to fall off!! Even if you have one of these nifty telescopic painting poles or a sturdy platform, it’s just a total drag, right?!
You can use a specific paint that is sold in the paint aisle called “Ceiling Paint” which is just a nice flat, bright white paint that looks great on ceilings. Or you can get a satin paint in any other shade you want. We chose a satin warmer white paint for the ceiling, though, but for the life of me, I can’t remember what color we bought.

Moving the Furniture Around
I don’t know what it is about moving furniture around in a room that feels so delicious. I think it makes a room feel like a whole new space, even if you’re not painting or doing a whole makeover.
For Hakimah’s bedroom, Khadijah (another of Hakimah’s close friends who’s an attorney, but is breaking into the design space with her design company, Life Interiors), suggested we move the bed to the adjacent wall of the room. Moving the bed there would open up some space for us to create a cozy reading corner across from the bed.
We weren’t going to be buying new bedroom furniture, so we had to make do with what Hakimah already owned for the larger pieces, like the bed, dressers, and nightstands.

Painting the Walls Dark Green
Most wall paints have primer built into them. But even so, with a really intense “school bus yellow” underneath, these walls were going to need two coats. Because I have the most steady hand, I used an angled paint brush to cut into the edge along the ceiling without taping (although, taping off is best to do if you don’t have a steady hand!). Then we all got started with painting the walls two coats.

You can see how blotchy the walls looked after one coat. So two coats were definitely in order. We let this coat dry, along with the ceiling, and came back to finish another coat on another day.


Paint the Furniture
Our original budget with this green bedroom makeover was $900 (and don’t ask me what the final cost was because Hakimah was very vague about how much she actually spent! LOL. She will respond, “Way more than I had budgeted for!”)
But initially, because we were working with a $900 budget, that meant sticking with the bedroom furniture she already had. Her dresser wasn’t in bad condition; it was a solid pine wood that just needed a pick-me-up.
BEFORE

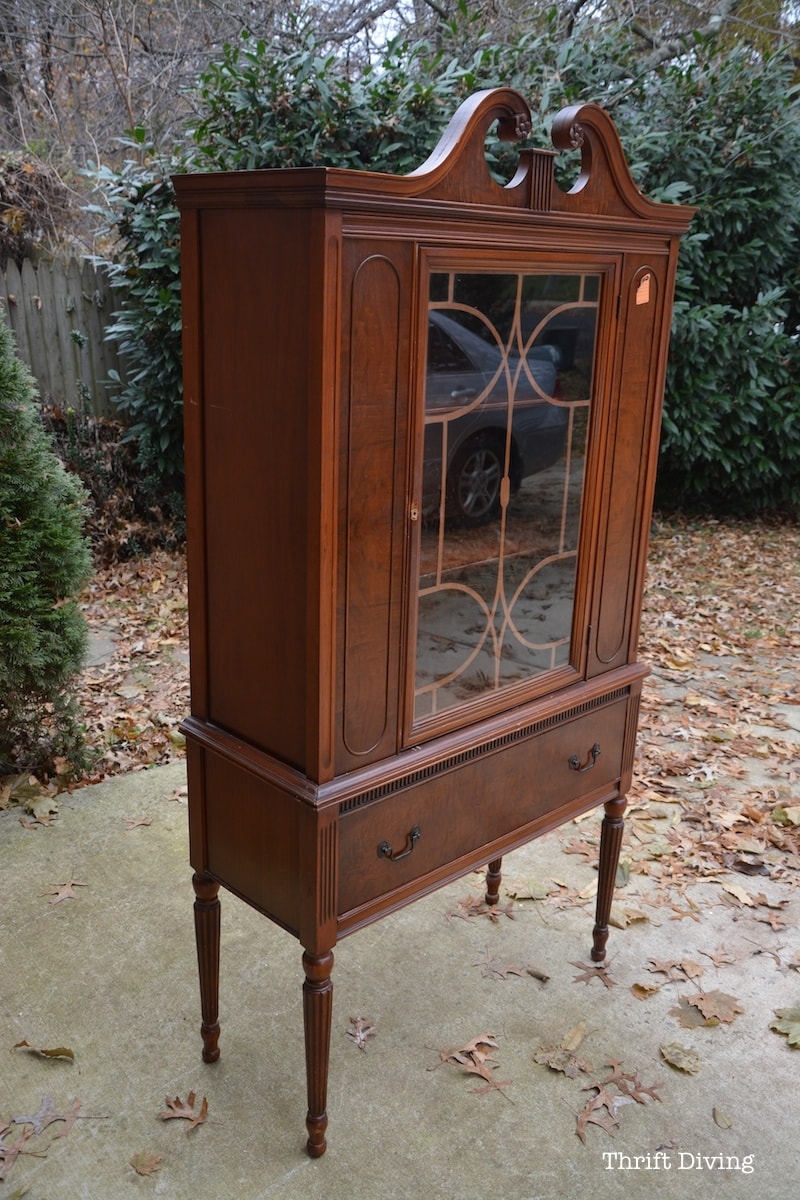
You’ve seen me use Beyond Paint on several of my projects over the years, including my pretty Nantucket blue china cabinet and my stenciled bedroom dresser. So I knew that painting the bedroom furniture with Beyond Paint was the most cost-effective option and it would have great results.
Plus, Hakimah had never painted furniture before! So this was a fun opportunity to introduce her to the transformation power of furniture paint. I have known her for 15 years and never once had she ever expressed a desire to paint any furniture in her house! Even though she knows that’s just “what I do” with nearly every piece of furniture in my house. So this was the chance to clue her in on the freakin’ transformational power of paint!
We had decided that this Beyond Paint Metallic Collection Bronze would be a lovely accent to the Chrome Green bedroom walls.

Paint Your Bedroom Furniture with Beyond Paint
If you’re doing a bedroom makeover and want to paint your bedroom furniture to save costs, here’s what you’ll need to do it (TIP: Read my instructions on How to Paint a Dresser in 10 Easy Steps!):
- Beyond Paint furniture paint (Yes, you can order it on HomeDepot.com!)
- Beyond Paint Sealer (optional, but recommended for surfaces that will get a lot of use)
- Small paint tray
- Roller handle with a 1/4″ sized roller cover (like the one shown below)
- Simple Green (you can also wipe the furniture down with an equal mixture of vinegar and water)
- Paint brush (preferably one with an angled tip)

You might be wondering why we didn’t sand or prime the dresser first. Well, it’s because you don’t necessarily have to! If the dresser is in good condition (meaning, free of chips, peeling, or cracked surfaces), then you can just open the Beyond Paint and start painting with the roller. I consider the first coat to be like a “primer” coat, anyhow. And the second coat is the coat that will give you that full coverage you’re looking for. Just be sure to lightly smooth out the paint. It’s self-leveling, so it will smooth itself out as it dries, too.

A roller is the preferred method of applying the paint, but you may want to use a paint brush to get the smaller edges.

When the paint was fully dry, we did two coats of the Beyond Paint Multi-surface Sealer. It will go on milky-white, but don’t worry–it dries clear with a nice sheen! You don’t have to use it, since there is a built-in topcoat in the Beyond Paint, but if you want extra protection, 1-2 coats of the sealer is an option for more protection. Just make sure the coats are evenly distributed with a roller.

Here’s a glimpse of what the dresser looked like before we painted it.
BEFORE

AFTER!
When the dresser was done, and the pretty gold modern knobs were added, OMG…..this dresser was so chic! I had never considered metallic bronze furniture with gold knobs before, but wow….what a statement piece to her bedroom! It compliments the green bedroom walls perfectly!

Adding the Finishing Touches to the Cozy Bedroom
I think of the coziest things to do in a bedroom is to read. I’ve always been a lover of books, as Hakimah has always been, as well. But her books were stacked precipitously on the side of her dresser before we made over her room. She couldn’t see what she had in her stack.
BEFORE

She wanted some floating shelves in her room to display and store her books, in addition to a reading corner. The shared wall of her townhouse was concrete, so we asked her contractor friend to hang the shelving instead. I did not want to attempt hanging straight shelving in concrete! Although I have tested out how to drill holes in concrete, I really didn’t want to be responsible for crooked shelving. HA! And with the freshly painted bedroom dresser, this wall where her bed used to be was looking amazing!
AFTER!

One part of my room that is my favorite is the replacement of her ceiling fan with this “bling bling” crystal ceiling fan! What’s cool is that the clear blades only come out when the fan is turned on. Otherwise, it just looks like a really swanky chandelier light for her room!
BEFORE
We’ve all had ceiling fans in our bedrooms like this outdated ceiling fan in her bedroom, right?! This is what it looked like before her contractor friend came in to replace it.

AFTER!
Hakimah’s designer friend, Khadijah, had found this amazing crystal ceiling fan with LED lights online! What’s cool is that the blades retract when the fan is not in use. Once it’s turned on, the clear blades come out at the flick of the remote. How cool and swanky is this?!

Creating Your Own Artwork
One of the most exciting parts of this bedroom makeover was how Hakimah discovered her own creativity and started painting again. She hadn’t painted for years, since she was a child, actually. For as many years as I have known her, she had never told me, or anyone else, that she used to paint and be creative.
But doing her bathroom project with her earlier in the year, followed by this bedroom makeover, and the painting of her bedroom furniture, she rediscovered her love of painting on canvas! She wanted to create an eclectic gallery wall over her bed (which she also decided to paint using Beyond Paint Licorice), so she hung pieces that her daughter and niece had creative, but three of the pieces in this gallery were ones that she created herself for her room!

Hakimah picked out the gold curtains for the room, the colorful rug, and we all decided that pink bedding would compliment the Chrome Green walls and bronze bedroom furniture. The thrifted console table I found that she and I painted with Beyond Paint Licorice was the perfect addition to her room!

We are all so pleased with how well this project turned out! I think it turned out better than we had expected. And you might not believe this, but this project took–gasp!–5 months to complete! We had several reasons why this happened, but doing a project in someone’s house, and you really only have weekends to work out it, it just took a very long time.
But the time we were done, I was done. Spent. Exhausted. Ready to move on and show you how amazing it looked! HA! And Hakimah had started talking about the rest of the projects in her house that she now felt motivated and excited to tackle!
Her bedroom project, along with her previous bathroom project we did together, was enough to motivate her to continue going. But the most important thing I want to point out is how much more confident she felt in her ability to tackle it! It makes me sooo satisfied that I’ve been able to see with my own eyes, in my own life, how I was able to help bring out creativity inside of her that she didn’t even know was there anymore! Now that is transformational!
BEFORE
Her TV was sitting on an old storage container that her mom had driven to her.

AFTER!
But with the console table painted and the room shifted around, she now had a better place to place her TV. In its place, she bought a floor-length mirror (similar to this mirror on Amazon).

Hope you enjoyed this makeover!
Leave a comment below and let me know when the last time you made over your bedroom, or if you’re planning to tackle one, too!
Love this project? Click here to save it on Pinterest!


Download the 5 freebies!

Thrift Diving inspires women to decorate, improve, and maintain their home themselves...using paint, power tools, and thrift stores! Use these 5 printables, checklists, and ebooks to get started!

amazing change. I’m just about to start doing my bedroom, including the furniture, and you’ve given me many helpful tips.
Wow, Serena, this may be one of your top projects ever. It looks amazing!
Hey Anne! Awwww, thank you! Well, it was definitely a creative, collaborative effort with my friend and her other friend, Khadijah, from Life Interiors! The three of us were unstoppable! 🙂