
Get Organized: Repurpose an Old Jewelry Box into a DIY Craft Organizer
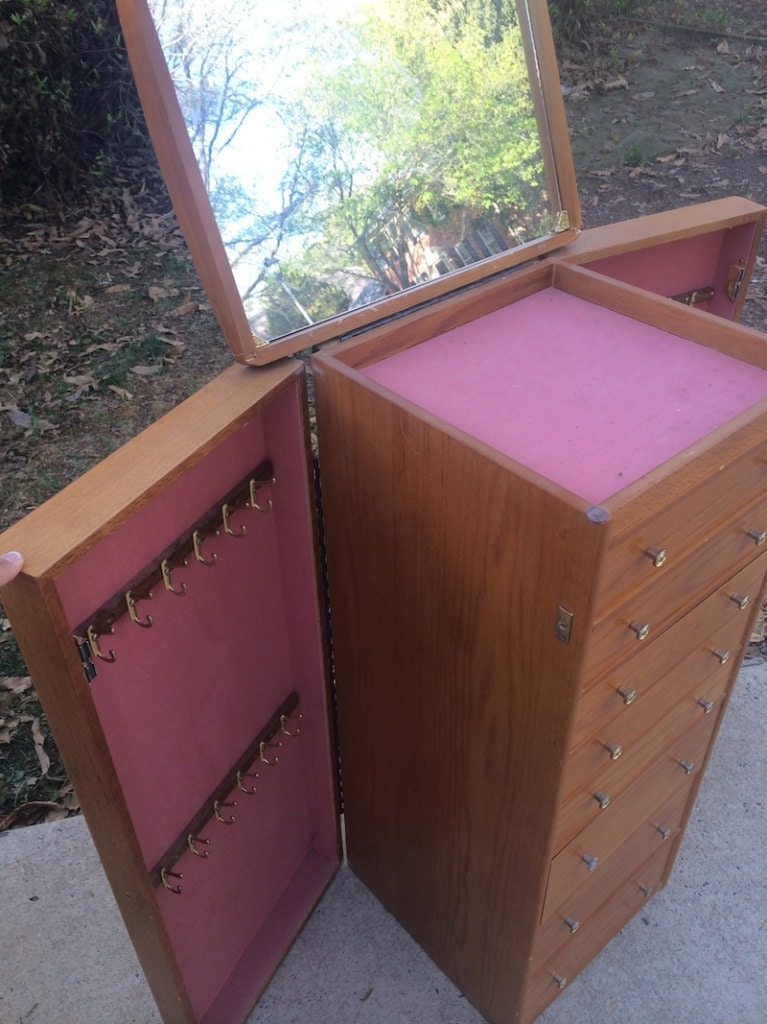
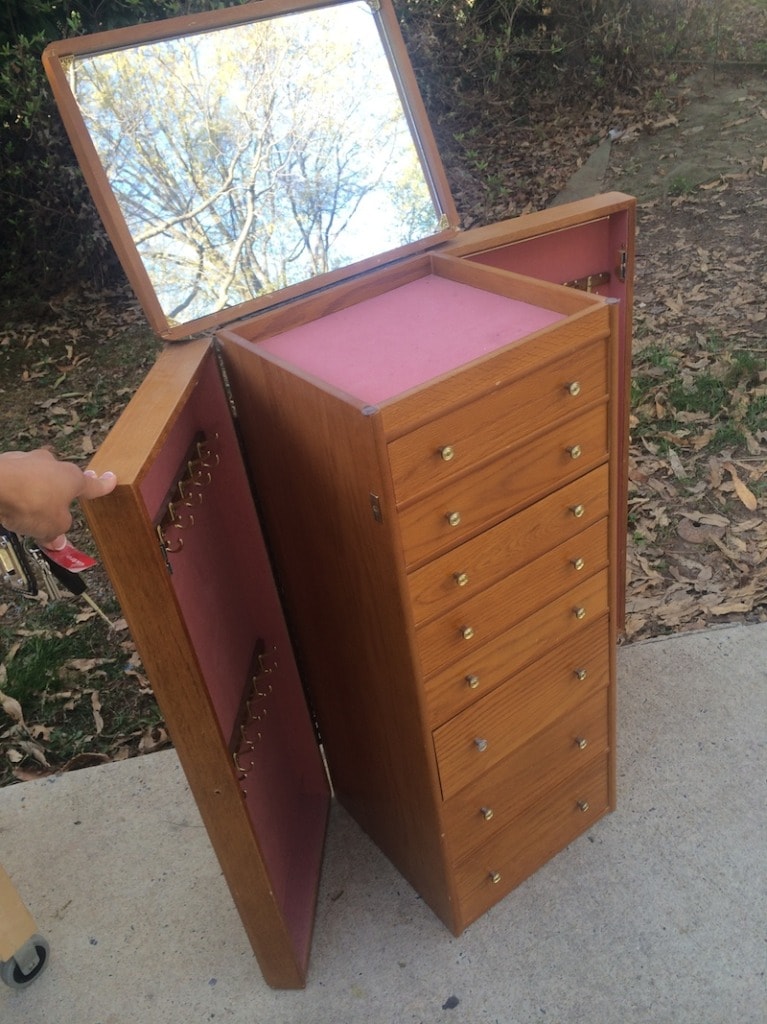
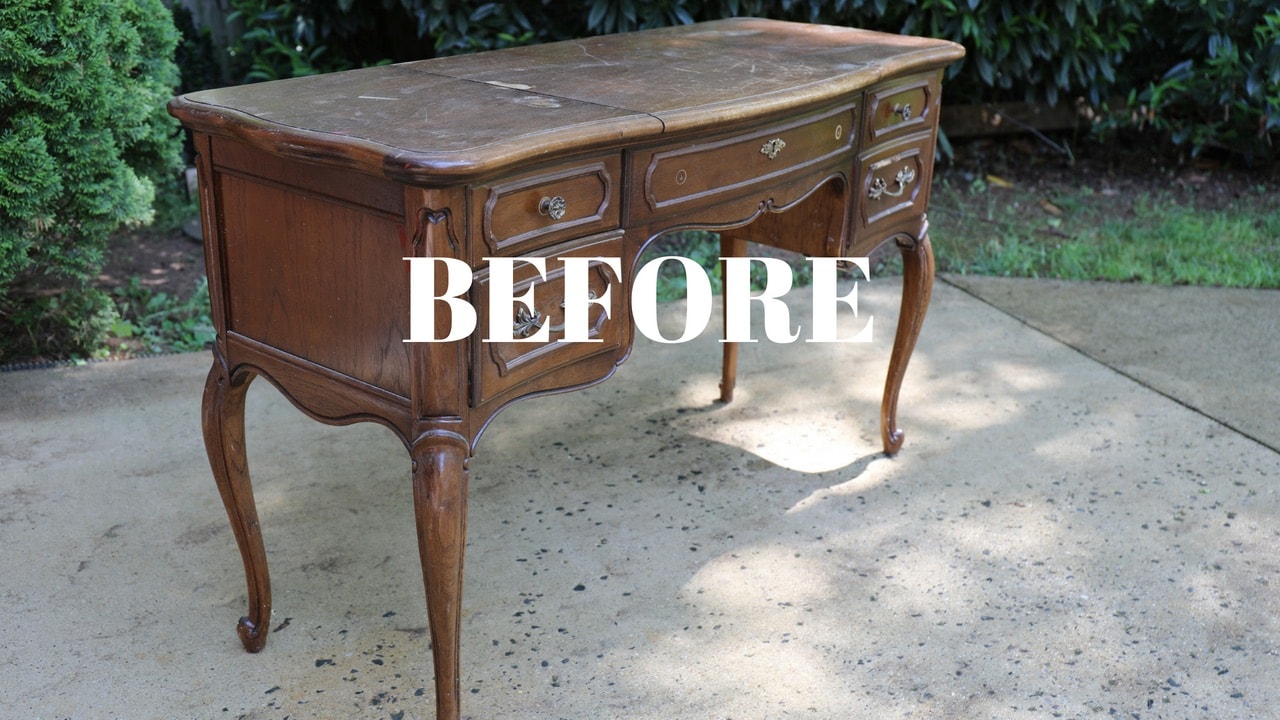
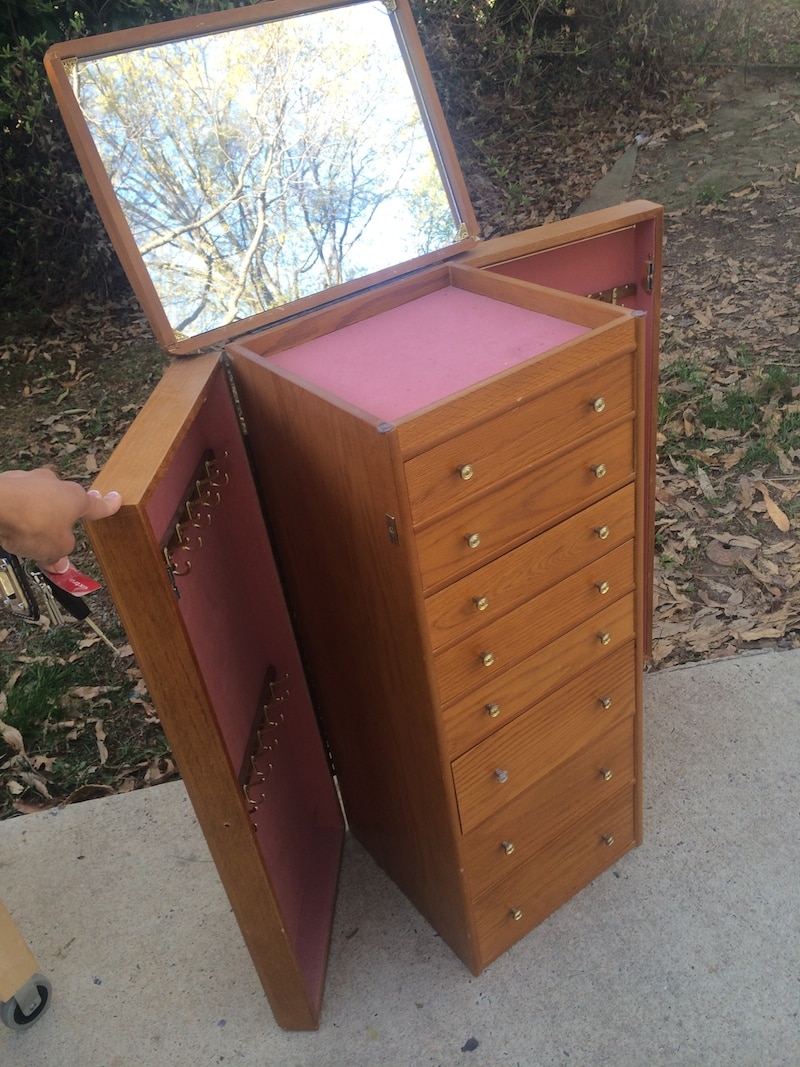
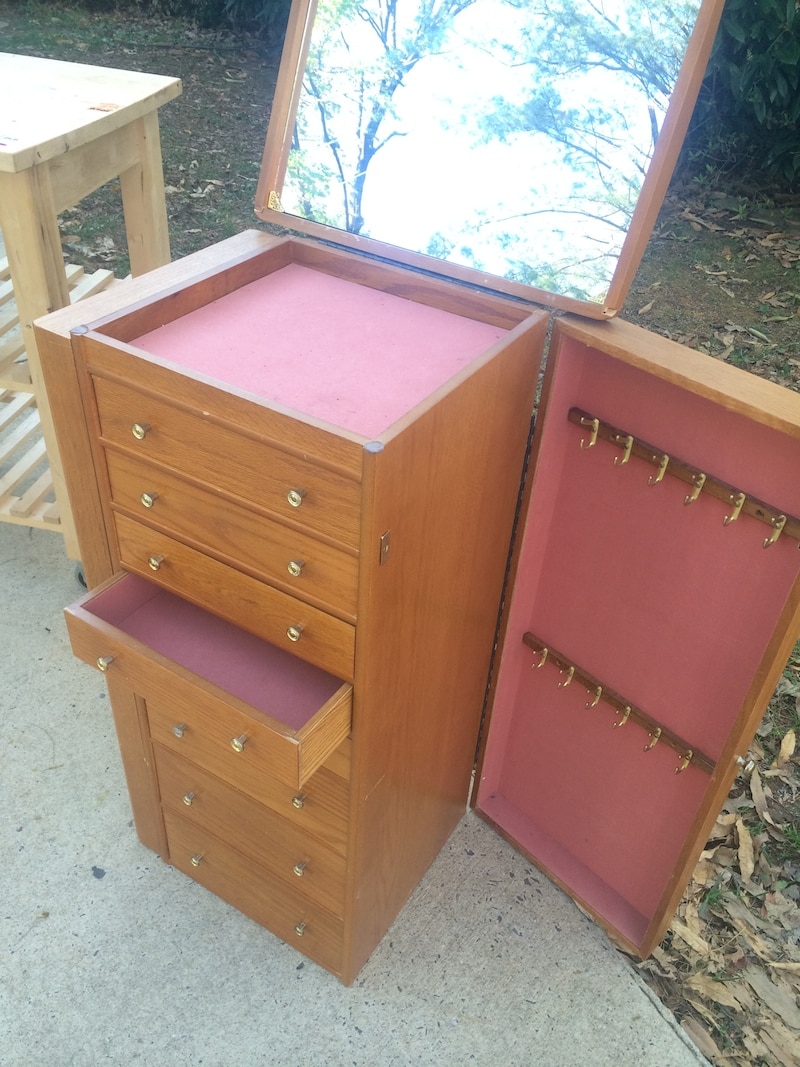
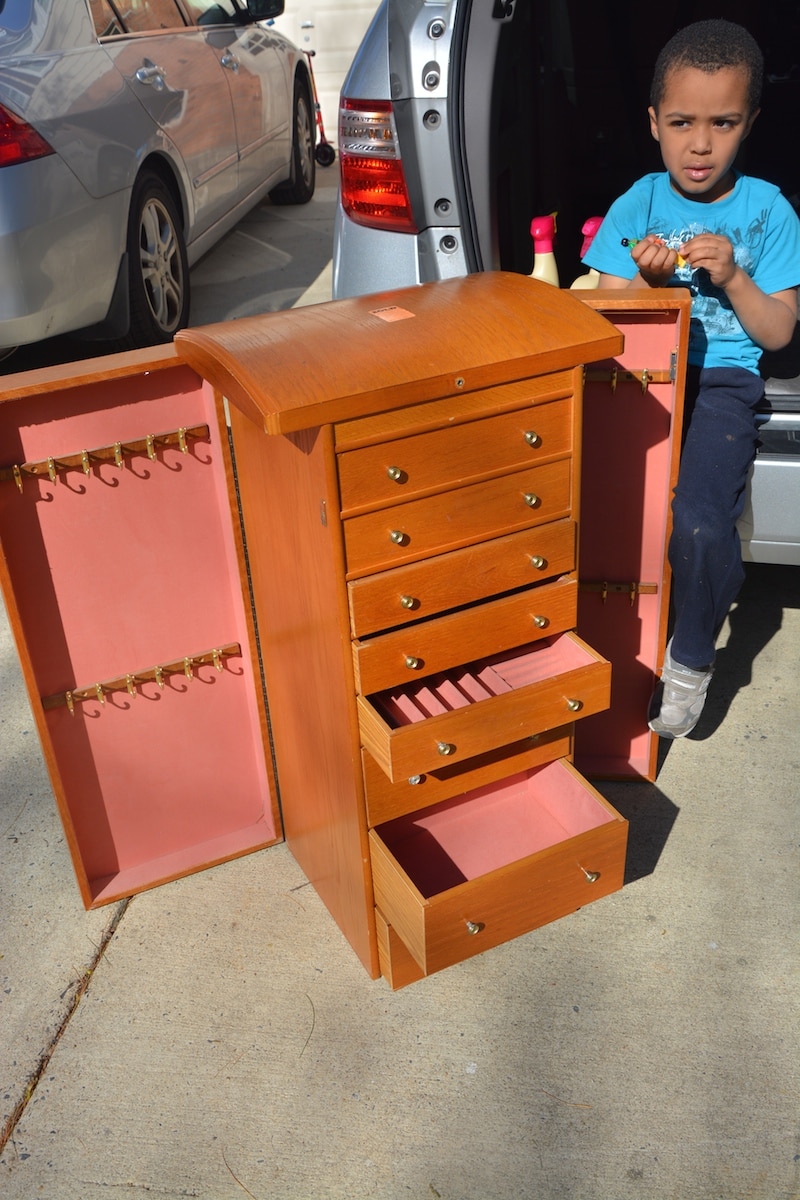
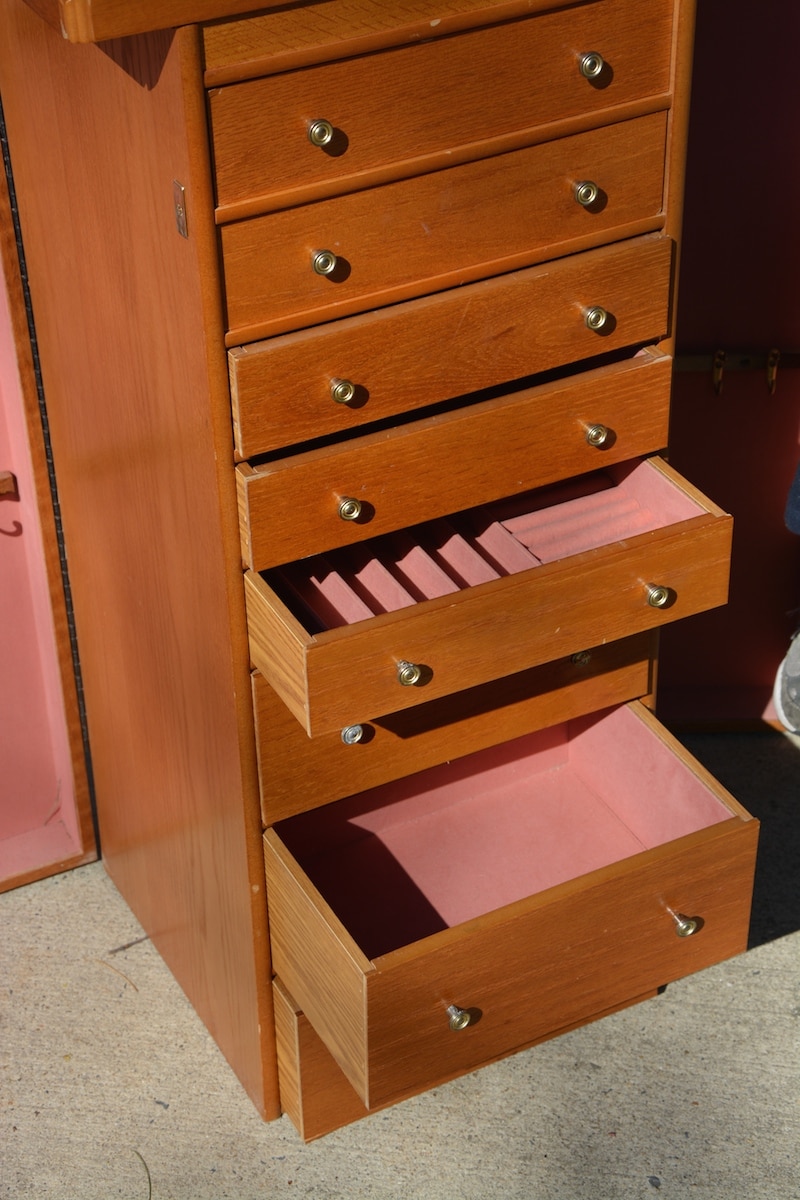
One of my readers gave me this genius idea for what to do with old jewelry boxes! Imagine my excitement when I walked into my favorite thrift store about 6 months ago and saw this jewelry armoire sitting there in all its glory….with NO PRICE TAG. It really was a magical moment. I couldn’t believe no one else had swooped it up. I knew this jewelry armoire makeover would be phenomenol!
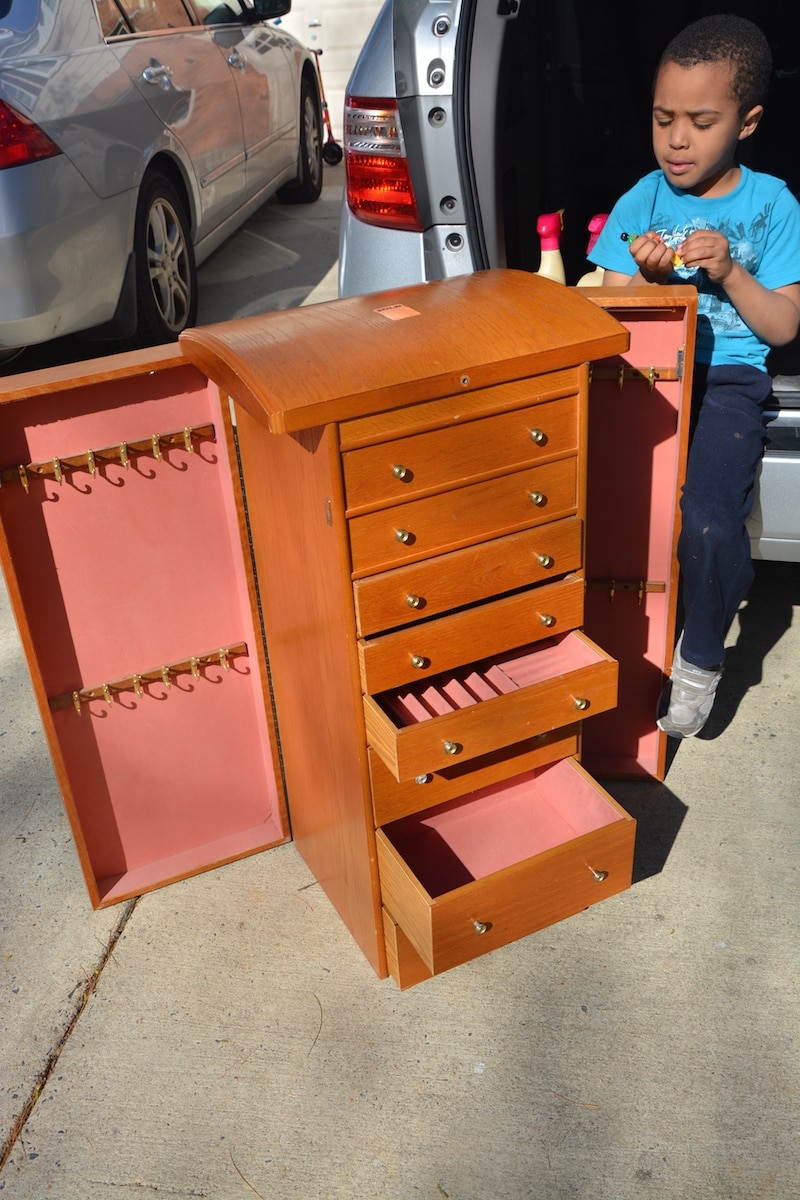
BEFORE
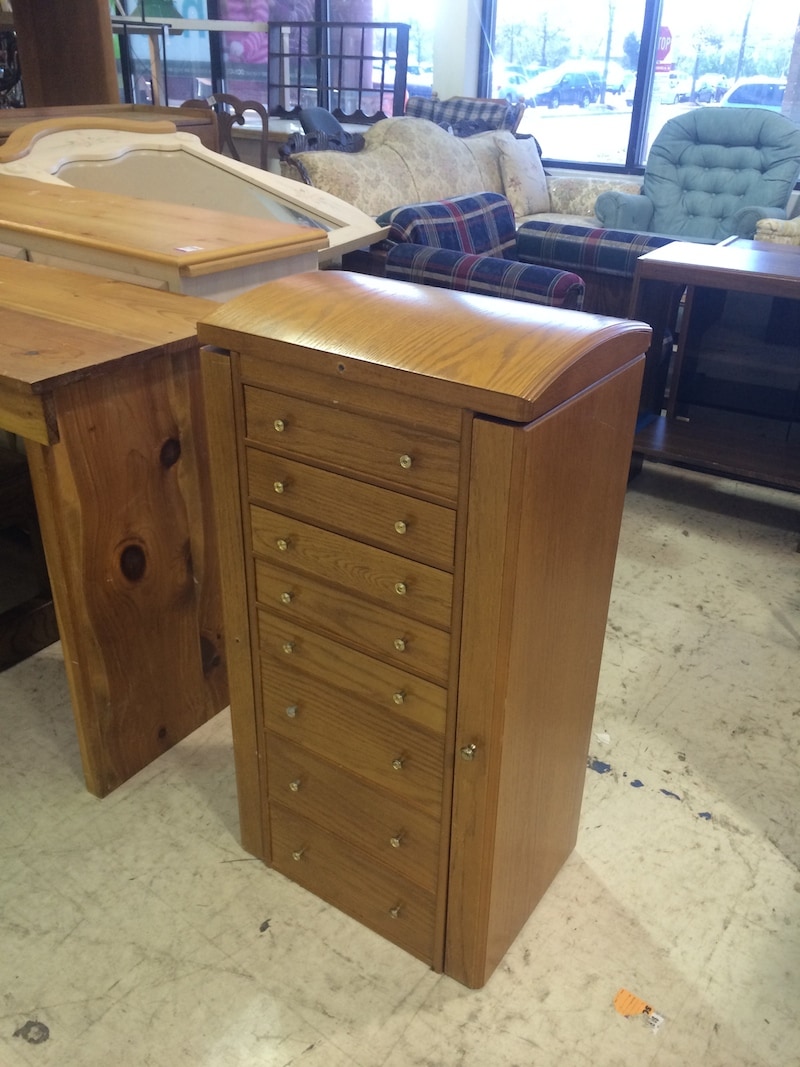
I told my boys to stay there and guard it with their life, while I ran to find someone to get a price quote. I was expecting at least $40.00……
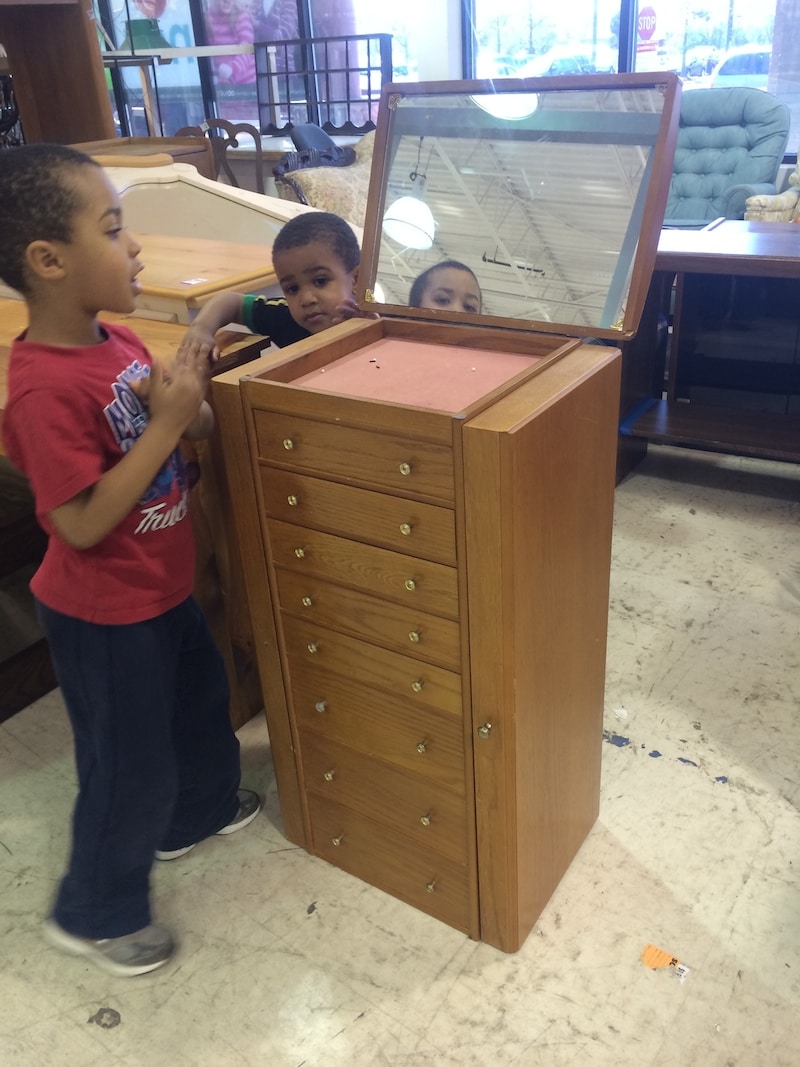
–GASP!!!
But, seriously, only $12.50??!!! When the lady told me, I worked reeeeeaaaallly hard to keep my face straight to hide my excitement and surprise. I would have paid probably 3 times that! (But they didn’t need to know that, LOL). Clearly they didn’t see the value in it that I saw, or else they would have marked it higher.
They probably had no idea that I could turn it such a pretty painted jewelry box, something so lovely!
AFTER!
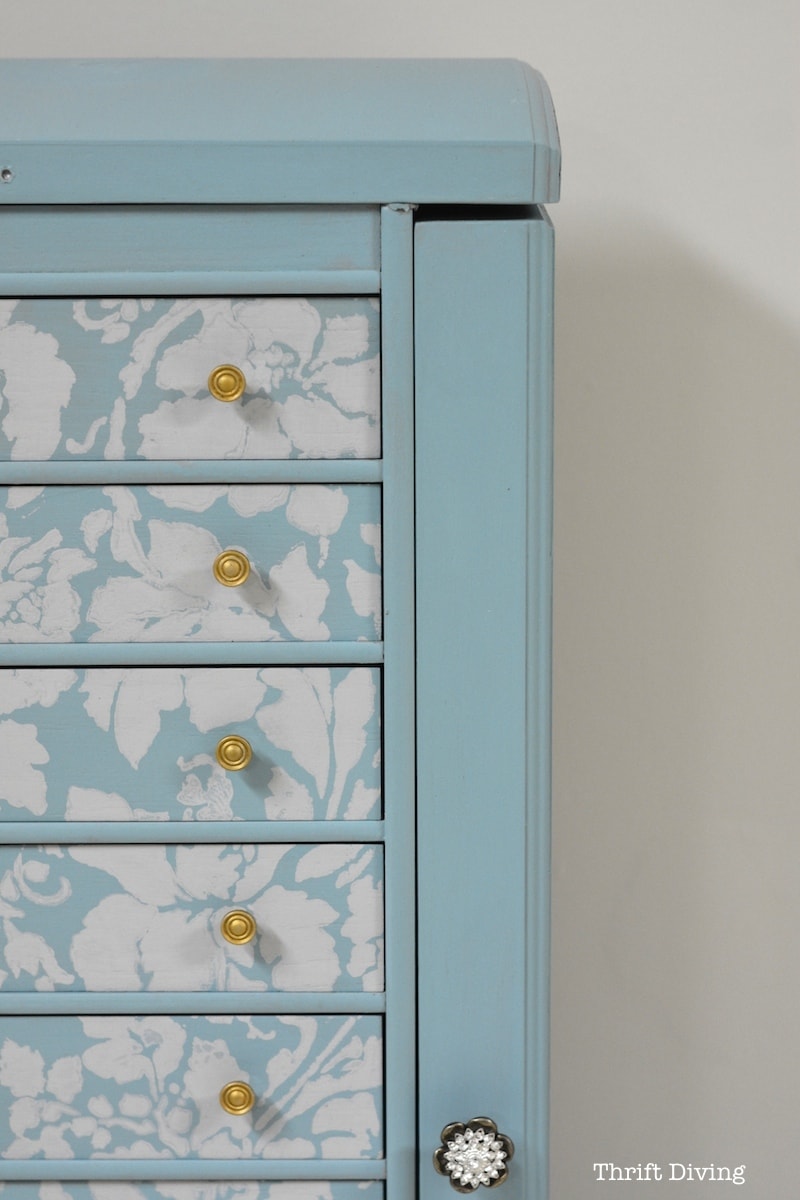
But I bet you didn’t realize that repurposed jewelry armoires are perfect for small crafting supplies! You name it: washers, beads, screws, nails–all those small DIY materials you’re not sure where else to stash.
I had bought the jewelry armoire with the intention to sell it. It had sat in my garage for 6 months, which is actually a minute amount of time compared to some of my wait-listed furniture, like this wingback chair makeover I am working on which sat in the garage for four years! LOL
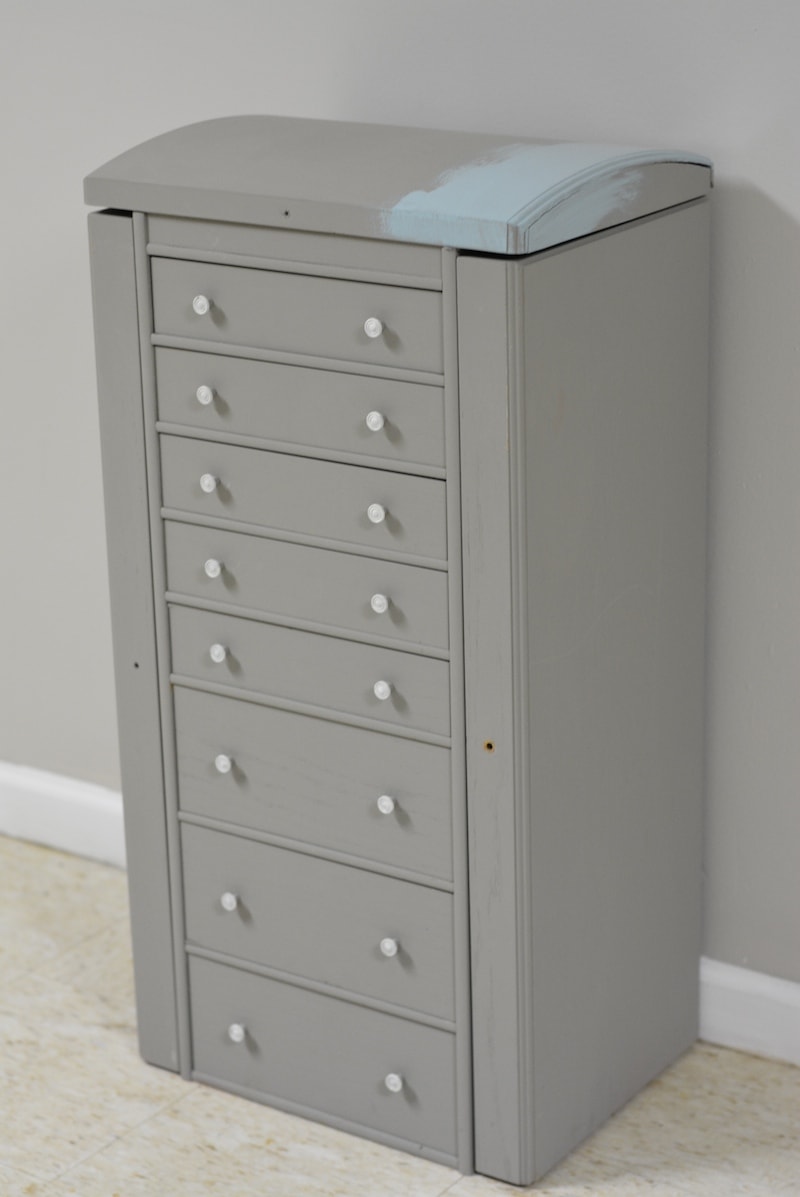
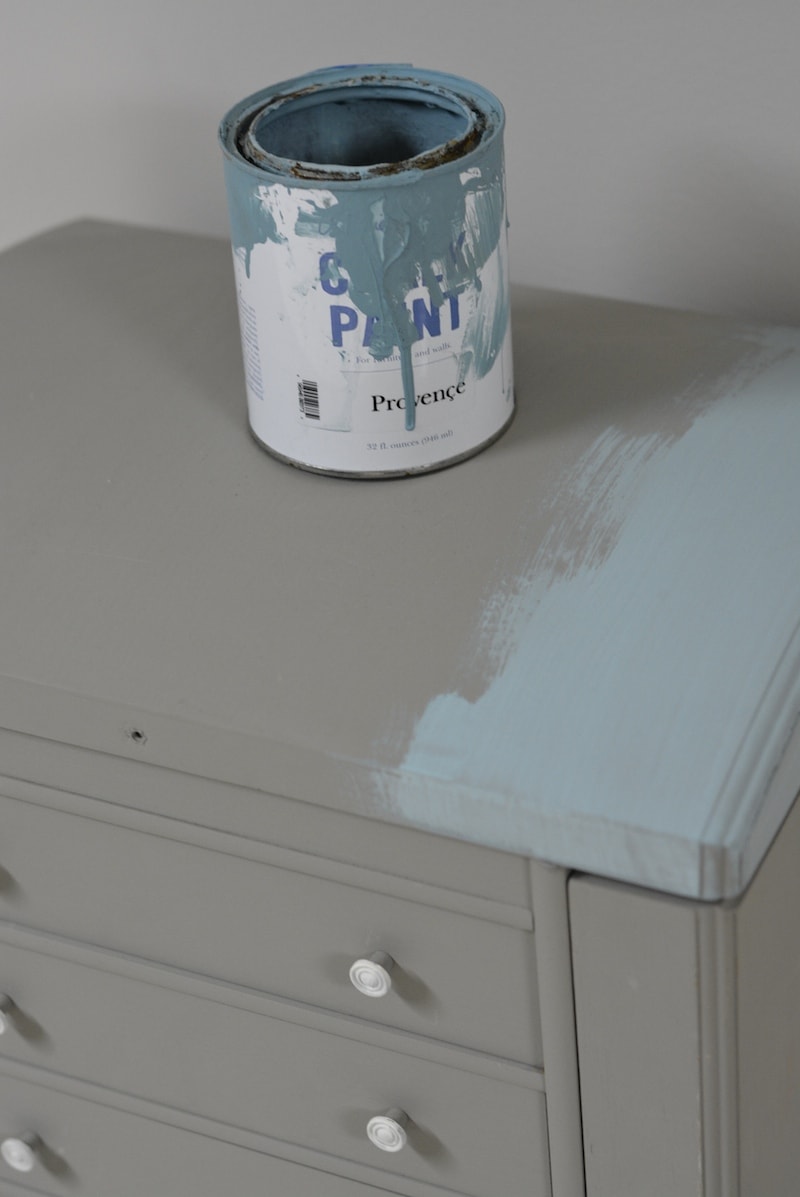
At first I used this HomeRight paint sprayer to spray on Annie Sloan French Linen, but I am in LOVE with Annie Sloan Provence and really wanted something more bright and cheery. And if the condition of this can doesn’t convey how I abuse the heck out of some Provence, then I don’t know how else I could explain to you how much I love this color. LOL
(…FYI, yes, you can use Annie Sloan chalk paint in a paint sprayer. See my video tutorial on how to use chalk paint in the HomeRight Finish Max Pro ).
).
The Hardware
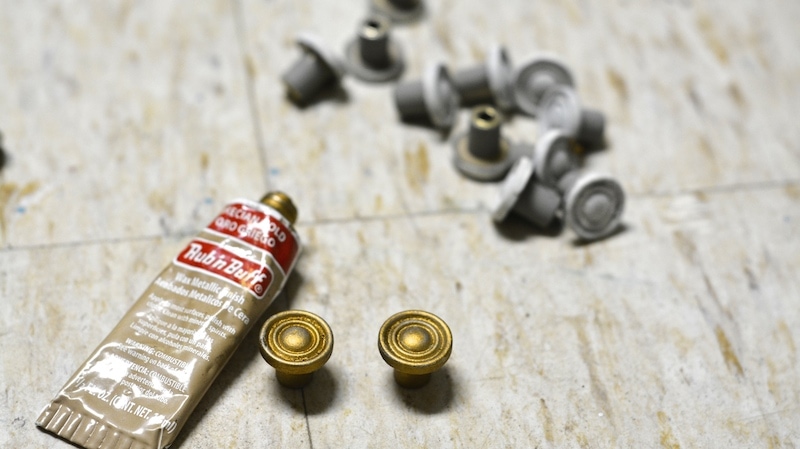
I had painted the small knobs white, but now I would need to change them back to gold. I just used Rub ‘n Buff Wax Metallic Finish , which is my favorite way to change hardware in a snap. It just rubs on so easily!
Related: 5 Ways to Use Rub n’ Buff!
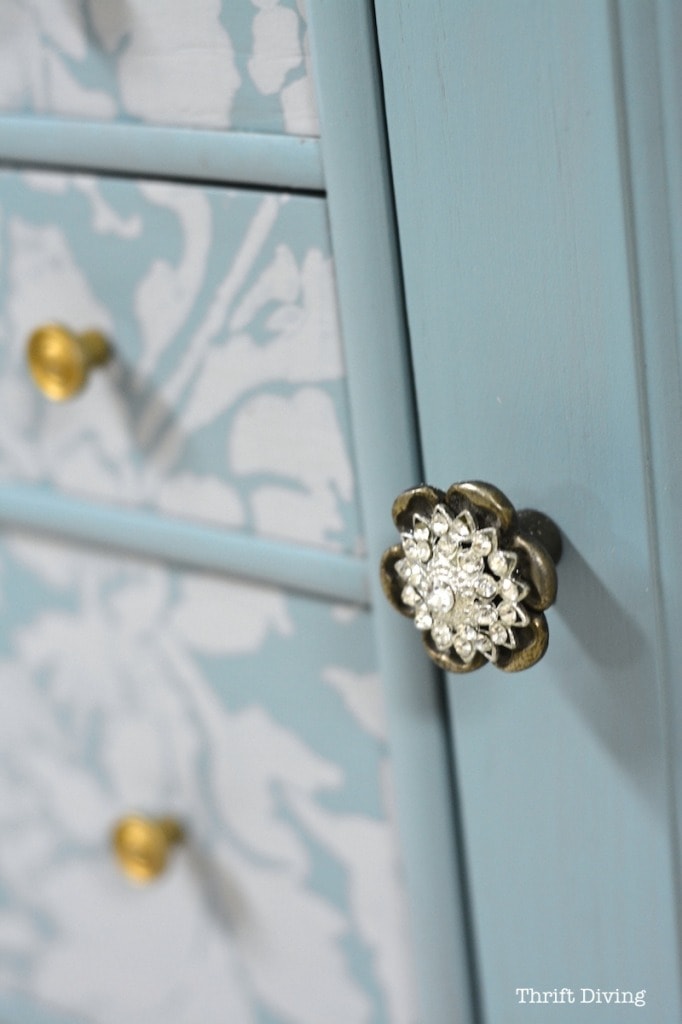
I also had to add my own knobs for the sides that pull out. The original knobs were broken off or lost. I love how fancy these knobs look!
The Stencil
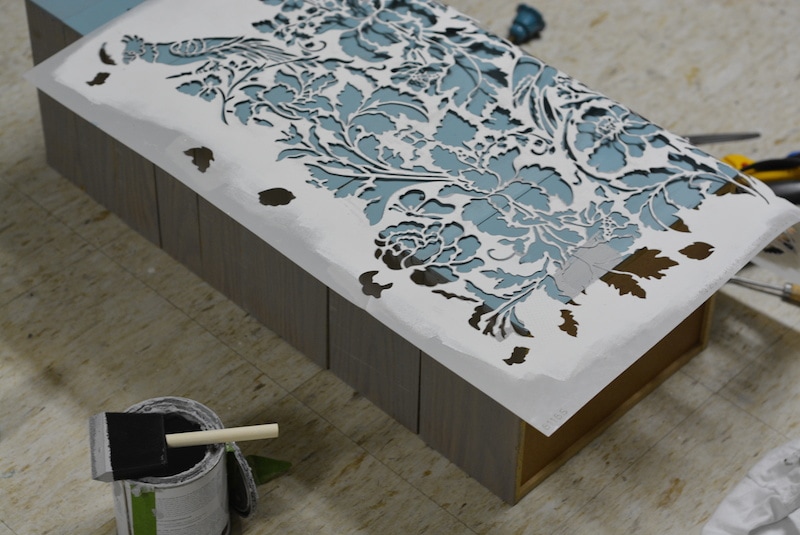
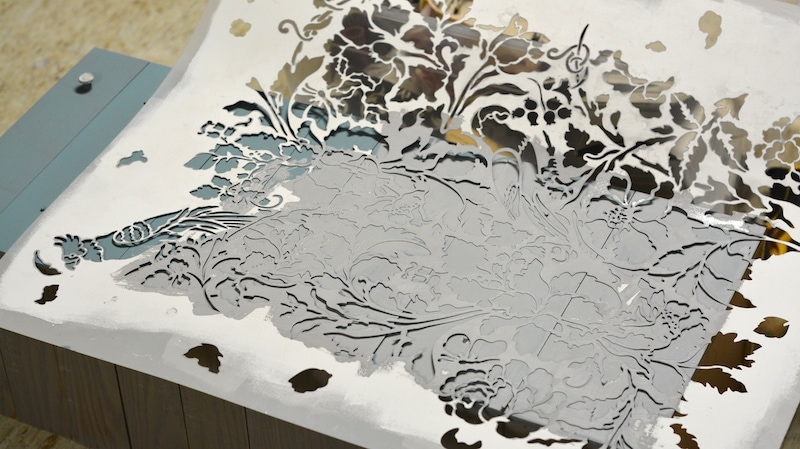
This stencil is the same stencil I used on my folding table makeover that I did for my laundry room makeover. It’s my favorite French Floral Damask stencil. LOVE this stencil so much.
For this project, I removed all the drawers and laid them down straight together, then placed the stencil over them.
SHOP: Click here to buy this stencil using my affiliate link.
It’s Okay to Steal Borrow Ideas!
I can’t take credit for this genius idea of using an old jewelry box for crafting supplies. As I mentioned, one of my Thrift Diving 30-Day Room Makeover challengers posted in our closed Facebook group about sticking her screws and stuff in her jewelry box since she’s not a “give-me-jewelry” type of gal (just like me–I couldn’t care less about jewelry!!!).
The light bulb went off since I knew I was hoarding this baby in the garage. I knew there was no way that my spare jewelry collection deserved a piece like this. But–oh yes!!!–my crafting and DIY supplies could! 🙂 Organization, here I come!
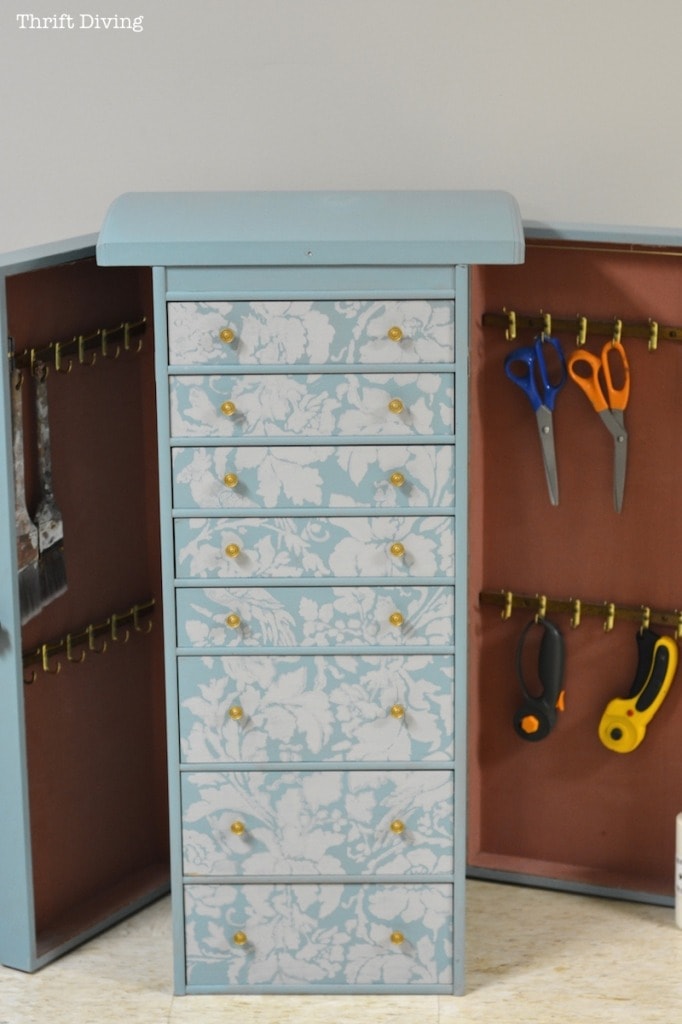
So I stole borrowed her idea and turned this old jewelry box armoire into DIY craft storage in my basement!
It can easily hold 12 paint brushes there on the left. 🙂
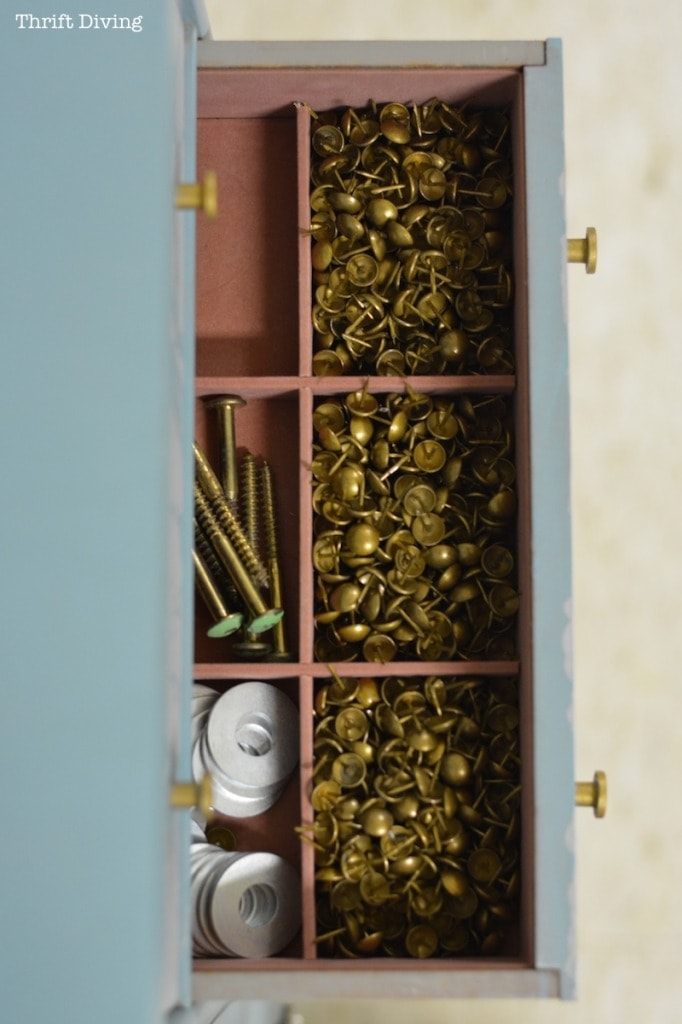
The little compartments are perfect for storing nails and furniture tacks and stuff. I found myself wandering from place to place, looking for supplies to fill it up with!
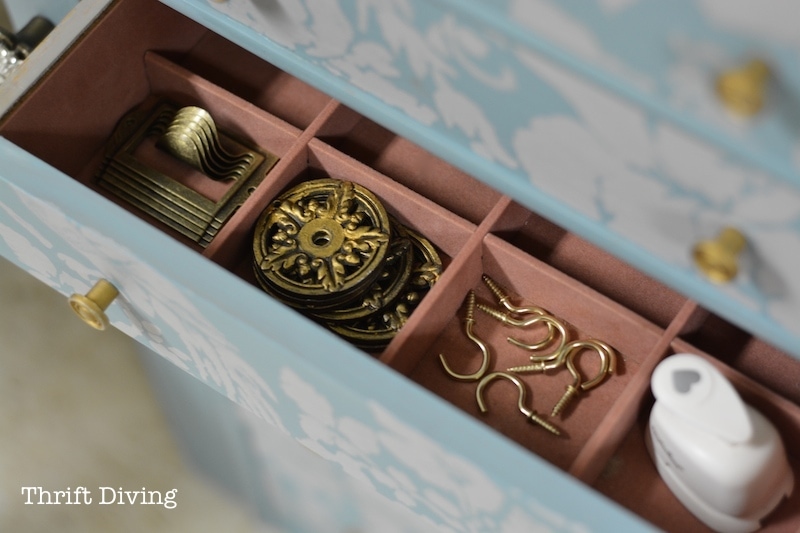
You can see how it looks in my pretty office basement makeover!
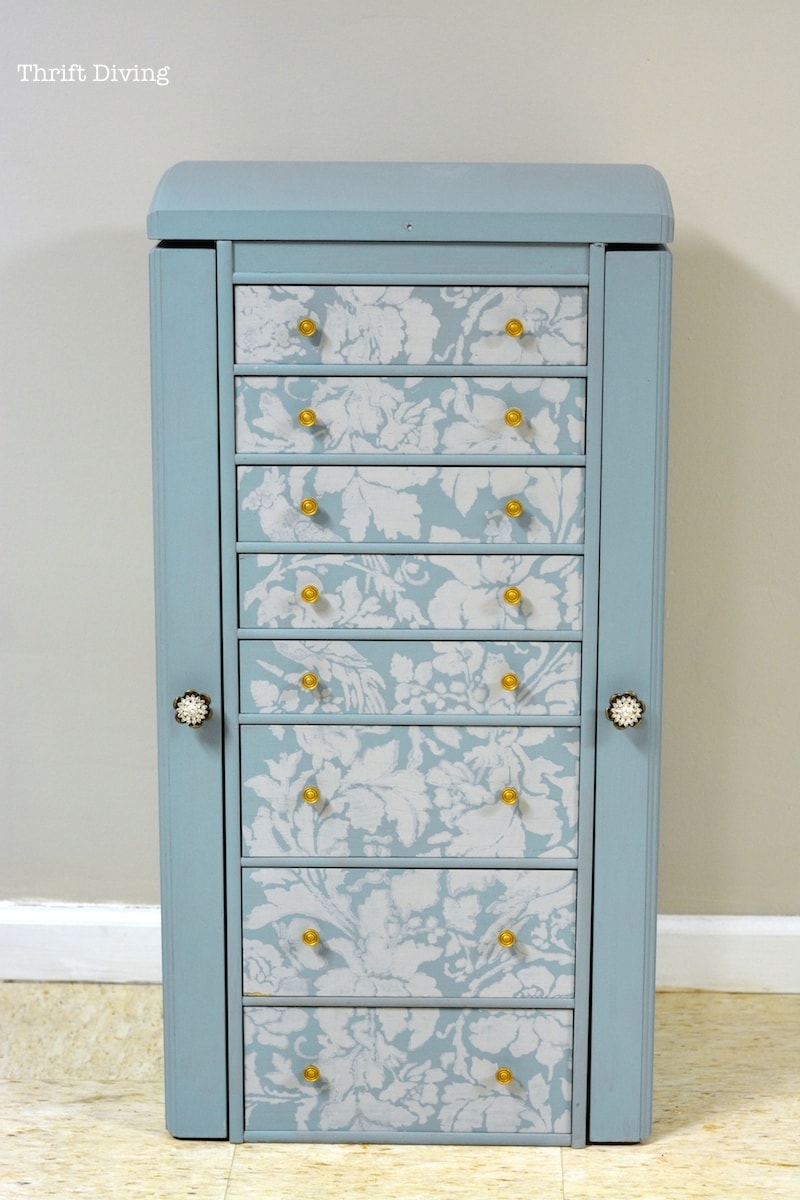

BEFORE
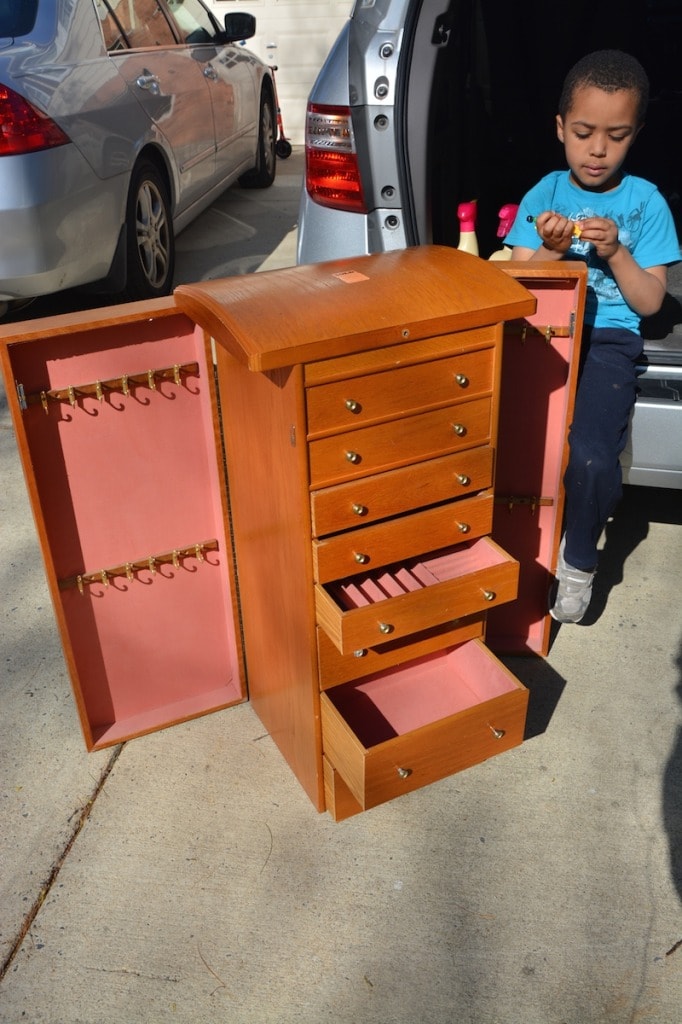
AFTER!
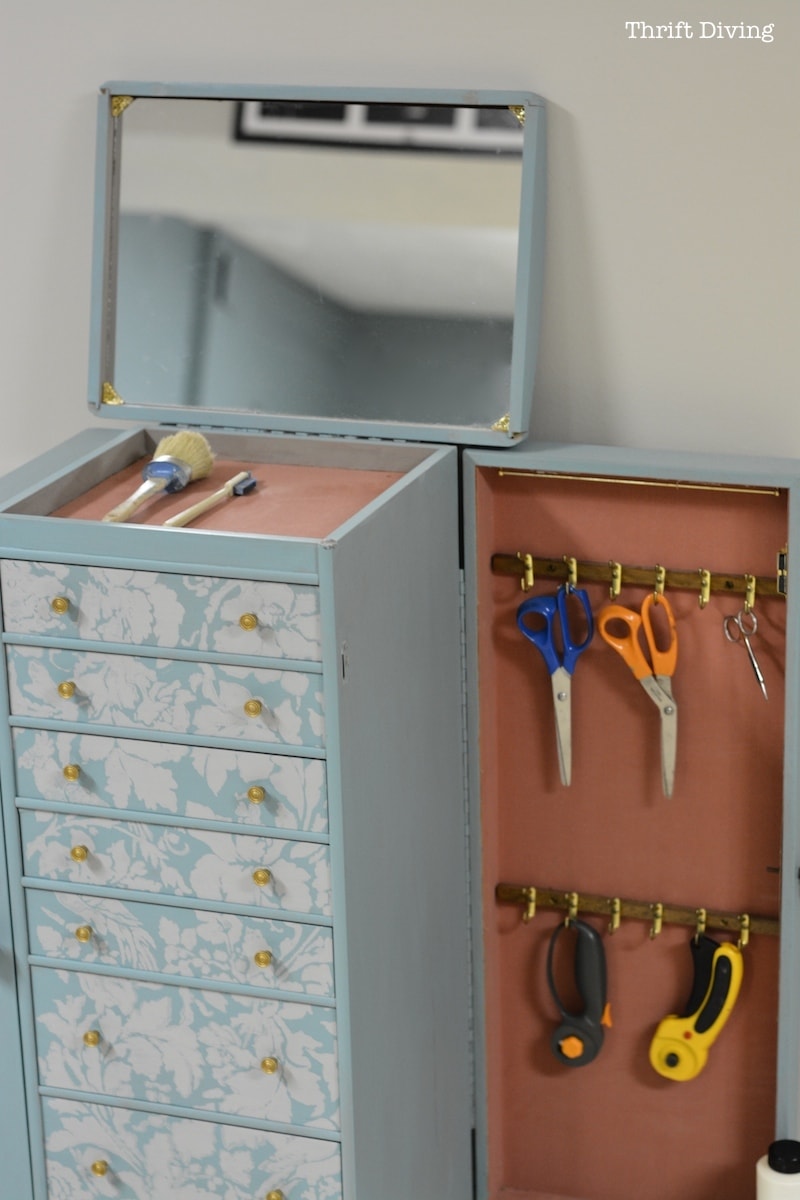
Solid wood, too! And all that storage space and hooks!!
BEFORE


AFTER!

BEFORE

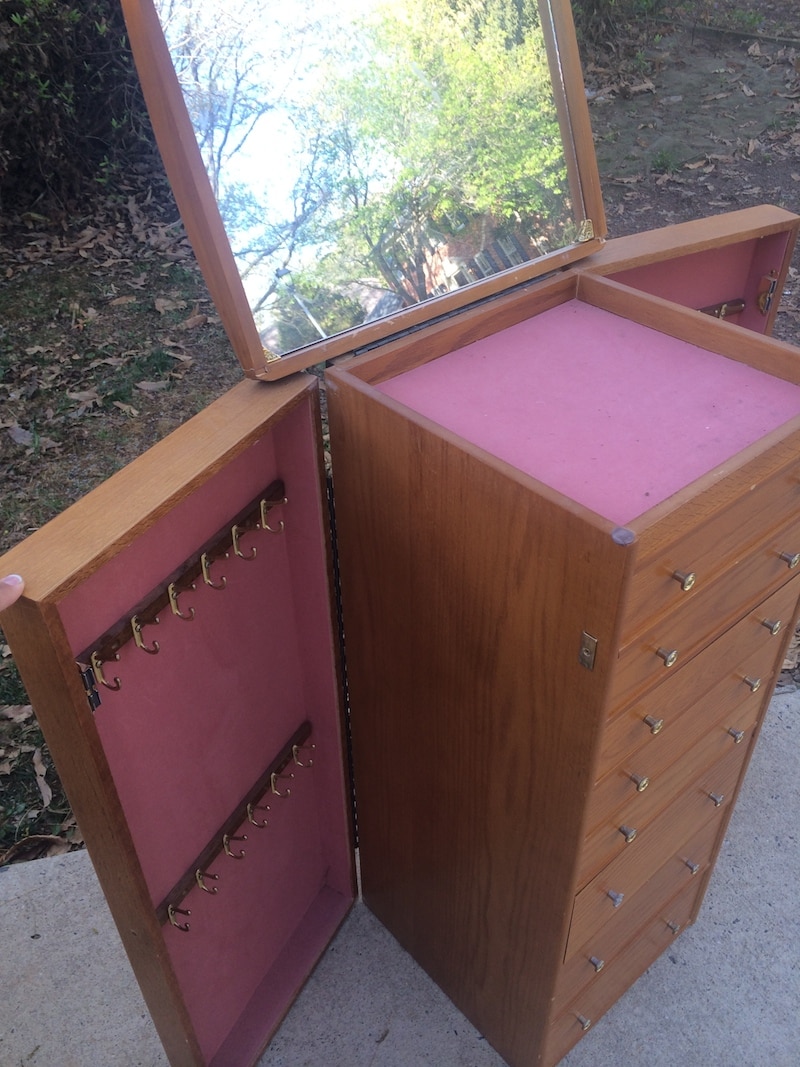
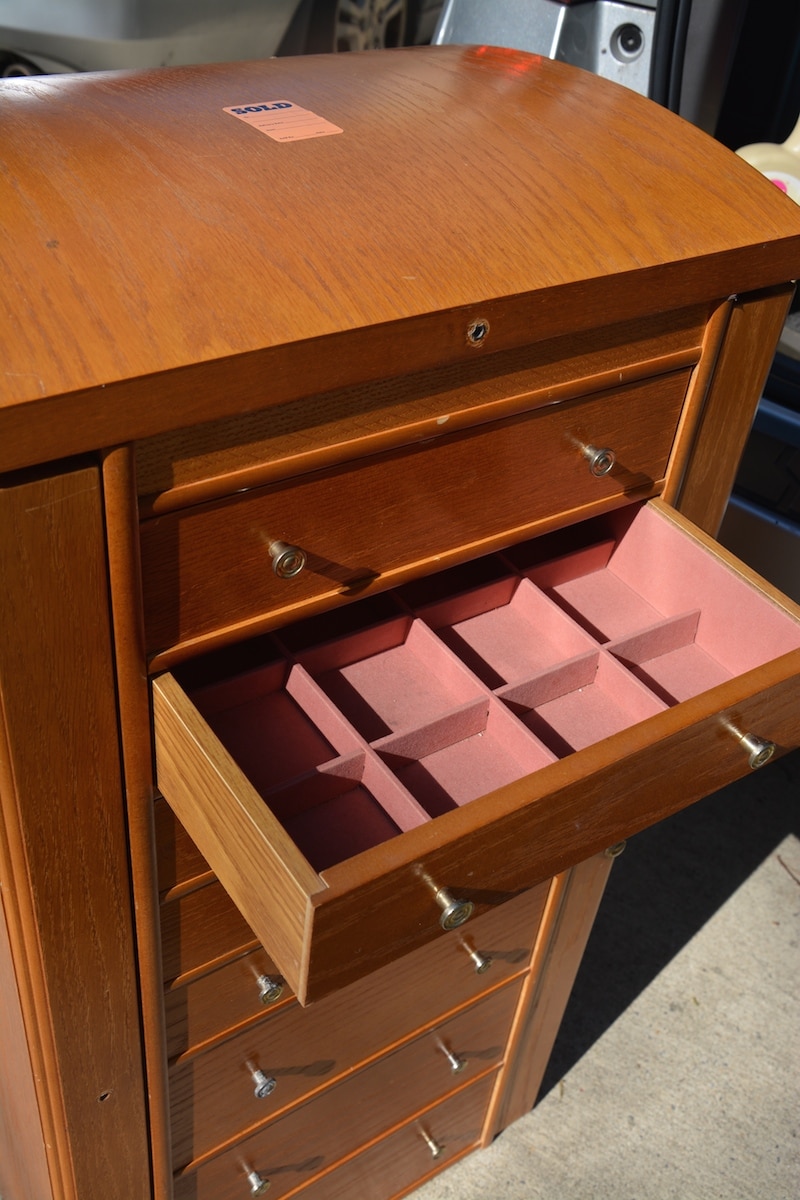
AFTER!
So what do you think?? 🙂

I know….some naysayers out there may think that I “ruined” all that beautiful wood. But it was dated wood. And the truth is that when a piece is sitting in a thrift store, neglected, a little bit of DIY and paint can bring it back to life for so many years to come for the next owner!
Anyhow, do you have some great ideas for other uses for jewelry armoires? Leave a comment below and let me know what you think of my repurposed jewelry armoire!

Download the 5 freebies!

Thrift Diving inspires women to decorate, improve, and maintain their home themselves...using paint, power tools, and thrift stores! Use these 5 printables, checklists, and ebooks to get started!



So pretty and clever, Serena! You are brilliant. The chest is almost as gorgeous as your kids. Also, you can check your hair and make-up when you’re in the middle of a project, ha ha ha.
Hi Nancy! Thanks so much! Awww….thanks for the compliments on my boys. They’re really sweet (but rambunctious!). LOL
Absolutely stunning! Genius idea as well – I, too am not a “jewelry” person, but I’ve always had an admiration for these lovely tall jewelry boxes. Excellent way to make use of one. Keep ’em coming, love it!
At this point, anything with drawers is fair game for crafting! And yeah, my jewelry box is about 1/8th of size of this things. When I brought it home, hubby was like, “I guess I am going to have to fill it with jewelry now, huh?” LOL. I think he’s off the hook. LOL Thanks for commenting!!
Great job! Now I want one.
Thank you, Diane! I’m thinking these would be easy to find at estate sales! Keep your eyes peeled! 🙂 Maybe you can find one on estatesales.net? 🙂 Thanks for commenting!
Loved the ingenious way you stenciled the drawers, the unique use of the cabinet, and the color and knobs. I think it would look really cute with a skirt around the bottom or some chunky legs. Can’t wait to come across a deal like this so I can recreate your idea also.
Vicky, the idea about the legs is genius! A couple people on my FB page mentioned legs, too, and I totally agree–either wheels so I can maneuver it around, or bun feet. But I checked the prices on those and they’re about $8-$10 each! I don’t think I can shell out $40 for legs. It may just have to stay like it is and save the legs for a “when-I-have-money” moment! 🙂 Great idea, though!
Oh it’s so BEAUTIFUL!!! I WANT IT! I LOVE IT!!
Thank you, Cheri!!
This is a great use for this piece! I need to start looking for one to hold some of my own supplies.
Hey there, Paula! How are you? I feel like we haven’t talked in ages! I’m going to stop over to Virginia Sweet Pea to see what you’ve been up to! 🙂
BAD ASS!!! One of my favorite upgrades of yours – congrats 🙂
YAY!!! 🙂 I’m so glad you like it, J! Thanks for the bad-ass props. LOL
How beautiful!
The paint makes it gorgeous.
How fun to use it for crafts.
I use my Hoosier, located in our kitchen,
for my paints and crafts.
What’s a Hoosier? I am going to have to Google that! Thank you, Debbie. I loooooove paint. It really does wonders, doesn’t it?! 🙂
You’ve turned an ugly duckling in to a swan, and a highly functional one at that. I can’t imagine filling something like that with jewelry, but oh, the crafting possibilities. Well done, start to finish. I love the blue, the stencil, the fancy nobs, in short, all of it.
I love this blog.
Awww…..Alys, thank you so much!! It means so much to get such great feedback and to know you enjoy my blog! Makes all the projects even more worth it :).
Fabulous idea! Thanks to you and the contributor for sharing this re-use inspiration! And now to keep my eyes open for a similar piece! What FUN!
Thanks, Peggy! Yes, keep those eyes peeled for one! Think “organized craft supplies”! 🙂