IKEA Kitchen Cart Makeover: How to Repurpose an IKEA Kitchen Cart
I love finding old stuff at the thrift store and painting it or replacing it, like this IKEA kitchen cart. It was only $20 and I knew it could be really pretty!
When I found this IKEA cart, it was actually bare wood and I thought I wanted it gray. I painted a coat, stuck it in a corner, and it got really dirty and ugly. It was totally uninspiring. But with a little bit of paint and a few power tools, I turned this IKEA kitchen cart into a file cabinet “command center” in my basement office!
(If you love this makeover, be sure to check out the “before” and “after” of my $10 thrifted vanity makeover, including my thrifted china cabinet makeover).
BEFORE – IKEA Kitchen Cart

AFTER – IKEA Kitchen Cart!


Materials to Repurpose an IKEA Kitchen Cart into a Command Center
(I participant in the Amazon Services LLC Associates Program and other affiliate advertising programs designed to provide a means for me to earn fees by linking to Amazon.com and affiliated sites).
For this furniture makeover, I used the following materials:
- IKEA Kitchen Cart – Bekvam cart
- Custom mixed chalk paint (Annie Sloan chalk paint red and white mixed)
- Scrap wood
- Router
- Circular saw or a jigsaw
- Nailer
- Wood glue
- Clear wax to protect the chalk paint
The top of the IKEA kitchen cart had gotten very worn and was basically a dumping ground for discarded stuff. I wanted this cart to be a place for filing tax forms, receipts, and other business paperwork. I wanted it to serve as a command center for any of my filing, mailing, business needs.

My colors for this blog is a pretty deep pink, orange, and white. This IKEA kitchen cart turned command center was going in my colorful basement office, so it seemed fitting to paint it print to match everything else.
I custom-mixed this shade of pink with chalked paint (red and white), gave it two coats, and painted the edge white to make it POP!


This is what I love about furniture makeovers and DIY projects: when you’re in the middle of a project and inspiration strikes!
As I was painting the shelf slats of this IKEA kitchen cart, suddenly the idea hit me to remove the slates on the top row and to create a place for hanging file folders!

If I had foreseen this creativity, I would have created a place for hanging file folders before I painted the kitchen cart (insert face slap here).
As a result, I was left with stripes…..and…..GASP!!….I was all out of custom paint mix!
Grrrrr…..
But now that I had a bunch of wooden slats, I was about to repurpose them into something cool!

After pulling out the nails, I glued two of wooden slats together for the left side, and two of them together for the right side…

…and then once they dried, I glued and nailed them on top of the striped ledge of the kitchen cart, to build “walls.”

I also ran one of the scrap wood slats over my router table to create a 1/4″ groove for the hanging folders to glide.

Now that I had built “walls” with my leftover wooden slats, I was ready to attach the routed piece of wood to the top of the “wall” so that the hanging file folders could hang and slide. I used wood glue, clamps, and a nailer to attach them. This was the challenging part because I had no idea if it would work!

I needed a way to make sure the hanging file folders wouldn’t fall out the front or back, so I cut pieces of wood for the front and back and joined them with pocket joints.
Now do you see where I’m going with this? 🙂 I was surprised it worked!

Because I was out of custom-mixed paint, I had to mix a new batch (yikes!) to get everything to match! Sadly, I didn’t match it exactly so I ended up having to repaint the IKEA kitchen cart for a third coat and it ended up being more reddish than pinkish. HA! (Lesson learned: when custom-mixing paint, always mix more than you think you’ll need!).

I also glued one of the other leftover wooden slats to the side and created onboard storage for envelopes and stickies (although the glue left a small gap–oops!).


Adding Stencils!
I love adding stencils to projects! So I decided to cut a stencil with my personal cutting machine for the front that says “Files”!
After everything was painted and stenciled, I added a coat of clear wax to protect the paint.
TIP: Check out my post How to Use Stencils: A Complete Guide to learn the magic of stencils!


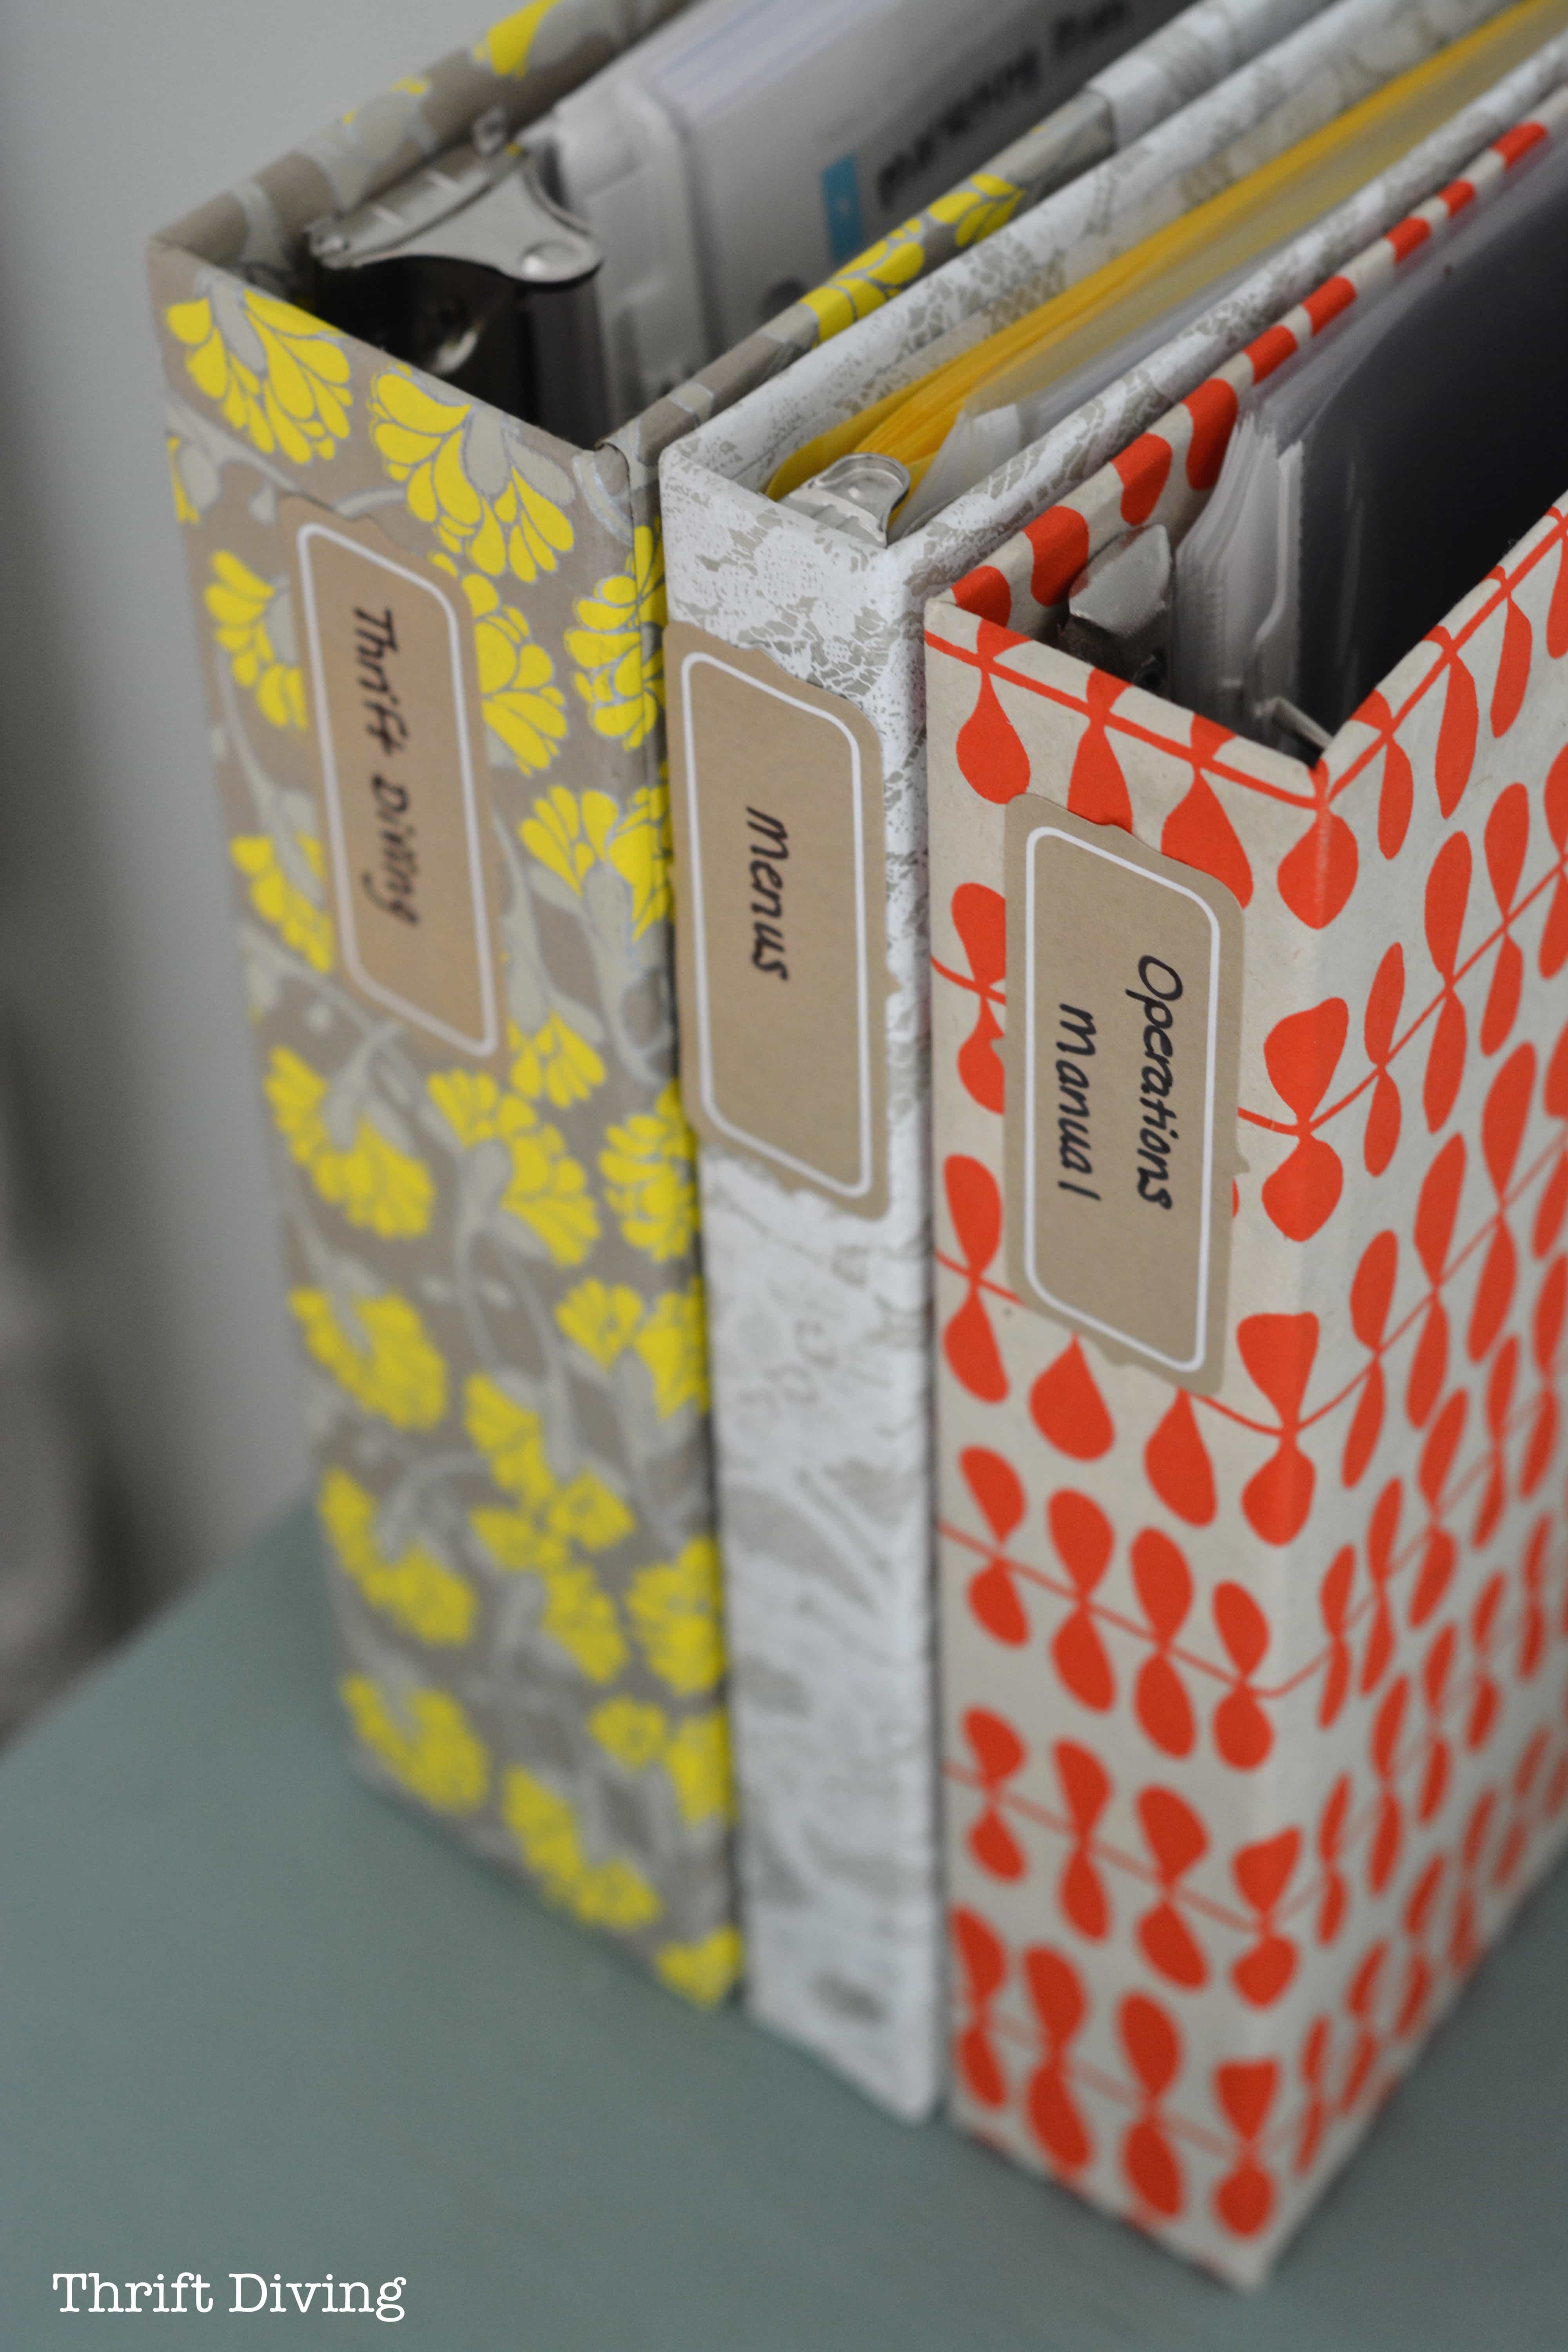
To organize the new command center in my office, I created some labels with my DYMO LabelWriter 450.
I plan to use these labeled folders to store all of my receipts and bank statements each month.
With everything easily labeled and each month you’re adding to the folders, it will make taxes a breeze!

Because this LabelWriter 450 Value Pack comes with four rolls of labels, I am storing them in a cute basket underneath the table.

Everything will be within reach to make taxes and labeling easier!
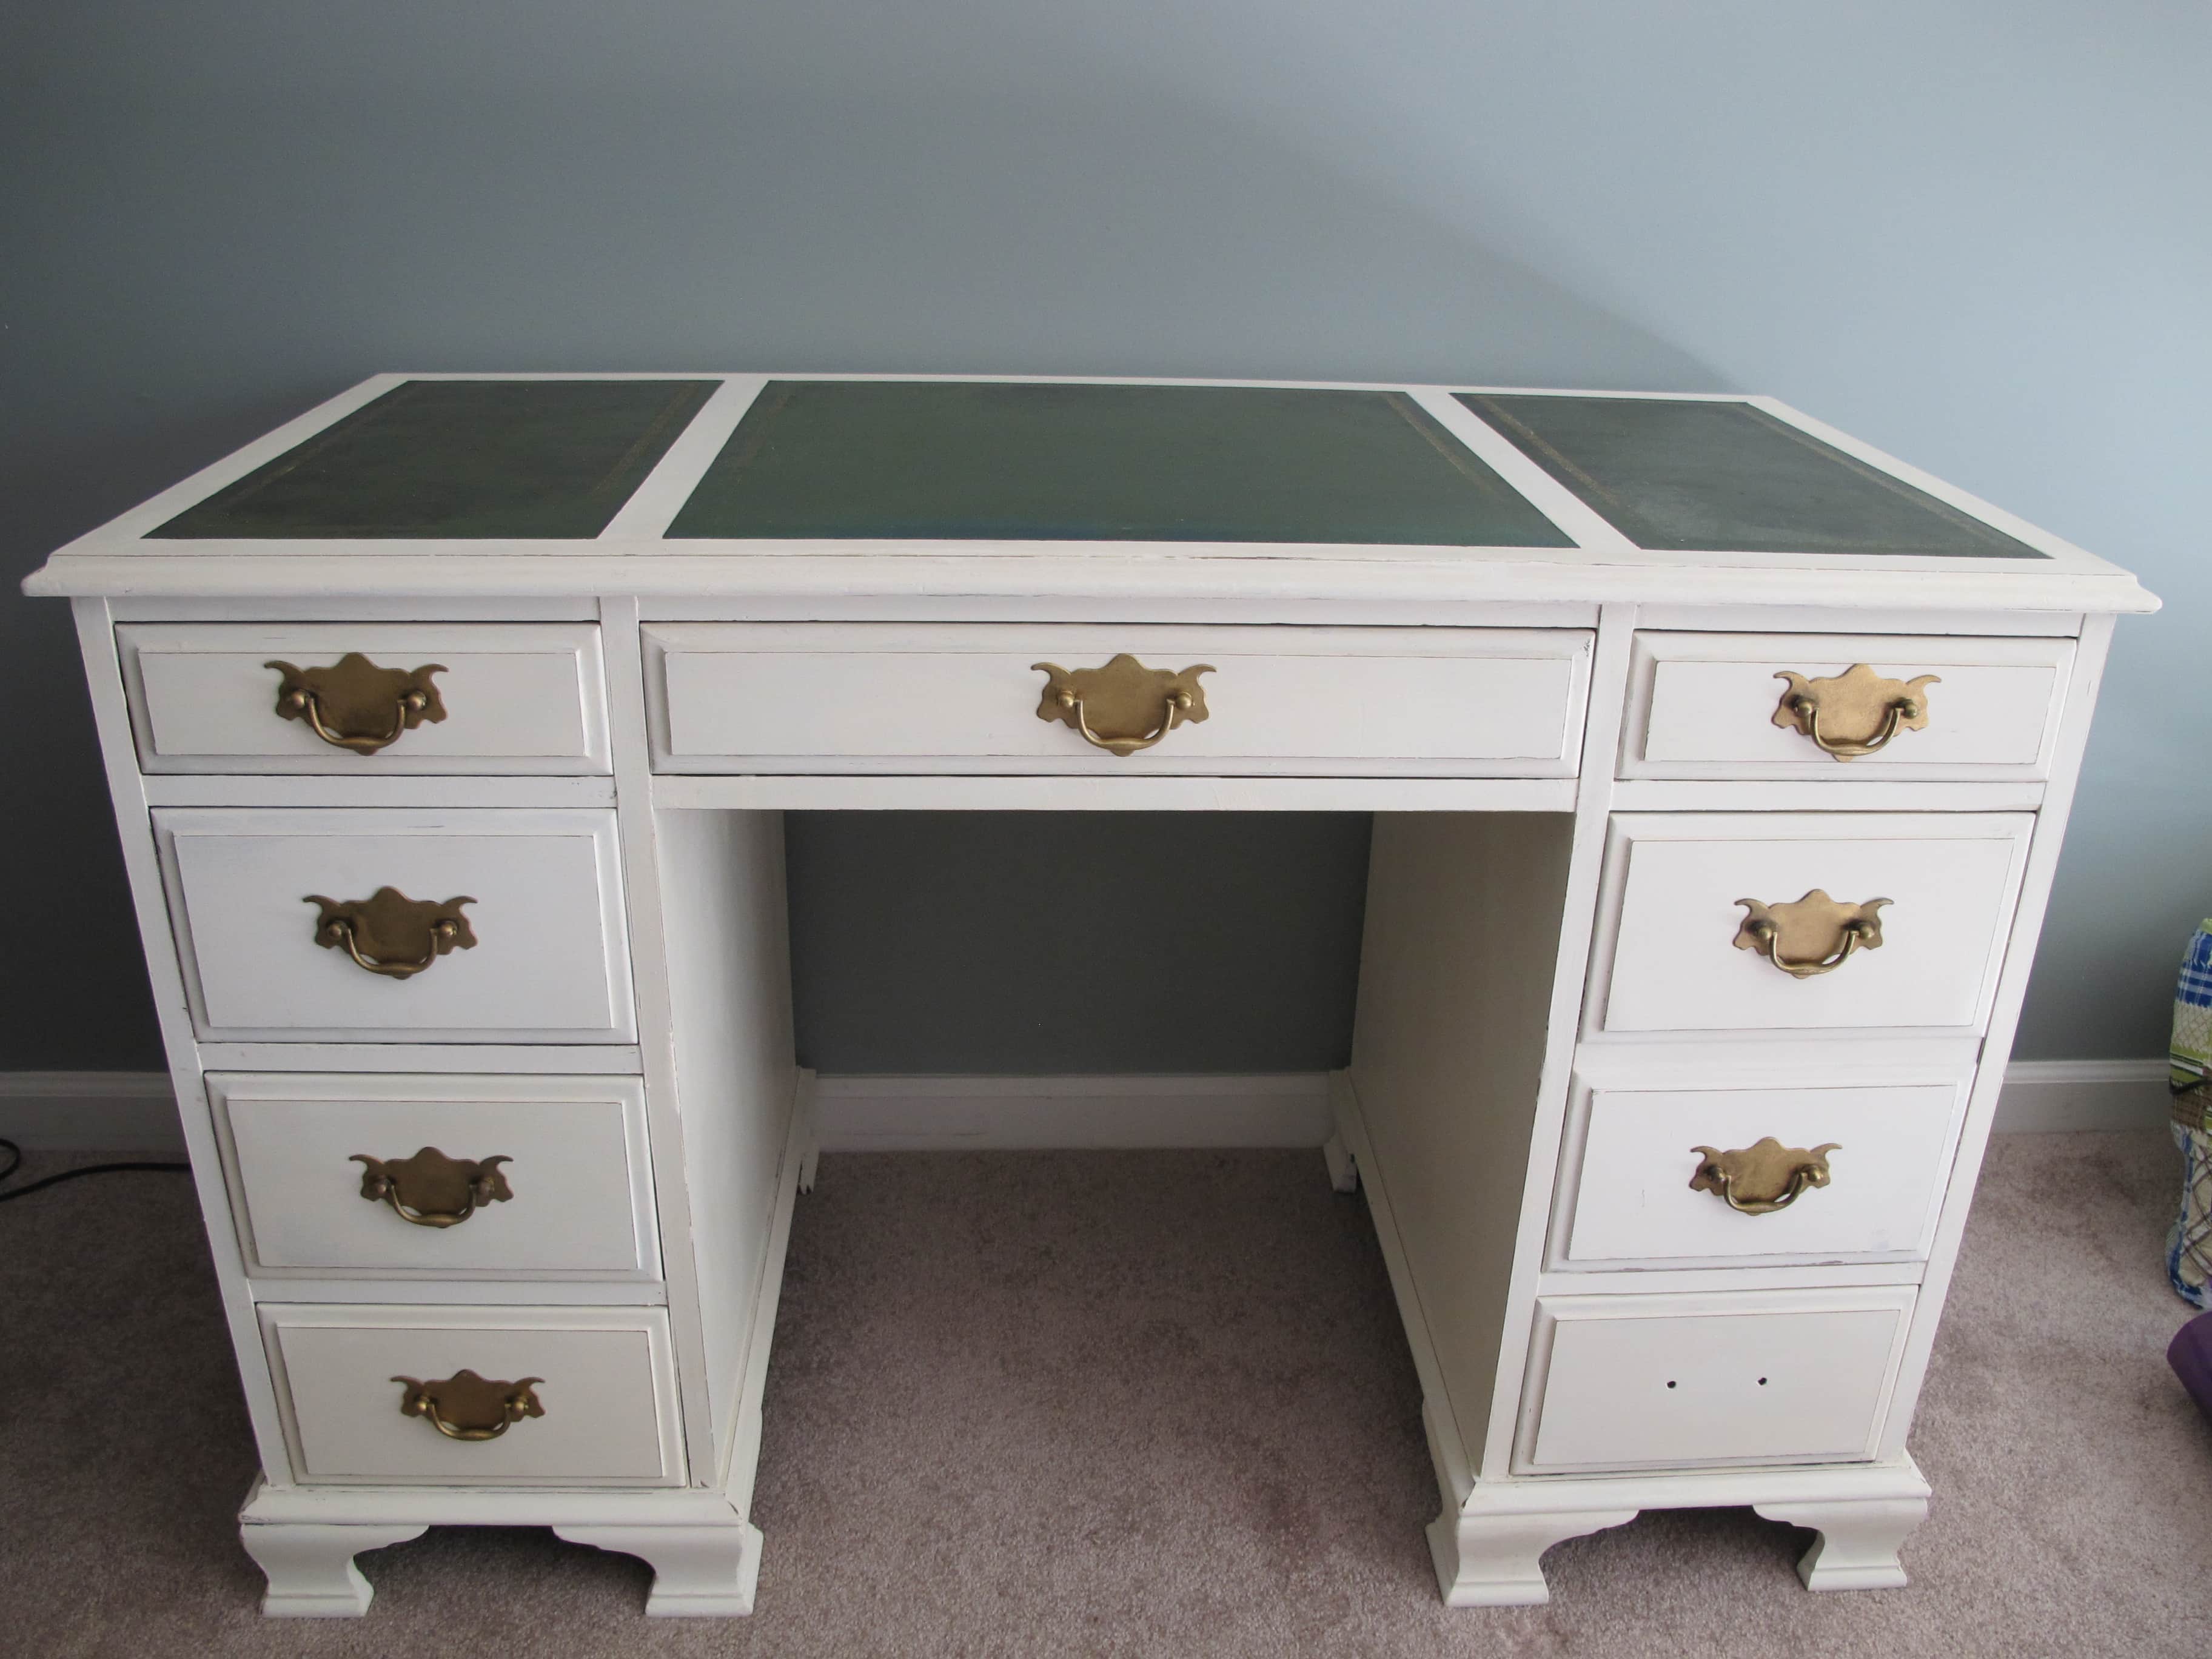
I found that little organizer/mini dresser at the thrift store a couple years ago. I painted the drawers and used my LabelWriter to label them for stamps, mini stickies, and more!

Let’s have another look at this thrifted IKEA kitchen cart “BEFORE,” shall we?
BEFORE

AFTER!

Tips on Creating Your OWN Command Center
Here are some tips on creating your very own tax command center to stay organized!
- Buy a label machine to organize things.
- Create folders for each month of the year, including a folder for W-2s, bank statements, etc.
- Use a small table that is designated as the “go-to” spot for your filing.
- Create a command center in a place that you walk by daily, as a visual reminder. Store receipts daily or weekly.
- Keep a reminder board with a few monthly “To Dos” that you can easily see and check off.
Do you love this project? Click here to save it on Pinterest!
![]()

So what do you think of this IKEA kitchen cart makeover?!
Leave a comment below and lets chat about it!

Download the 5 freebies!

Thrift Diving inspires women to decorate, improve, and maintain their home themselves...using paint, power tools, and thrift stores! Use these 5 printables, checklists, and ebooks to get started!
You are a tricky, tricky girl!
Dymo LabelWriter: Stop it! Again, I had no idea such things existed. I should know better by now.
So many clever ideas in one project.
Yep, Linda! It’s a pretty cool label maker! Too easy to print from it! I just have to keep it out of the hands of my boys. They’ve already pushed the button just to get more labels to come out so they can try to play with them. 🙂
awesome job Serena!
I love the new look of your cart. I know a lot of people who love label makers. I guess I’m not organized enough. LOL
I should be working on taxes at this very moment.
gail
I thought about you, Gail! I was wondering if you had them in before the 20th! HAHA. I still don’t, but I’m going to focus on it next week and gather up all my forms and stuff.
Totally smashing project! So practical, and beautiful besides. Since I’m on my own and don’t have a business, I keep my business files hanging in a file cabinet. I know, boring! But it works.
However . . . something like this could be adapted to my sewing/quilting/craft space! I’ll be keeping an eye out for a cart/table? whatever, that I can repurpose into a gadget center! Can’t wait for garage sale season to gear up this year. It’s one of the best ways to find things in this area.
And I love the Dymo. I had one at work and have been tempted so many, many times to invest in one since I retired. The uses are endless! This may be the year that I break down and go for it!
Great job! As usual, this one is a keeper. Serena, you rock!
Hey, Teckla! Yes, I love this DYMO LabelWriter®! I’m so used to smudges with other ones, but since this one has no ink (plus comes with all those labels in the pack), I can label nearly anything! I’ve also read that it can print my blog log on them. Woo hoo! LOL
The cart looks great! But I am far more interested with the little white door behind the cart. lol
LOL, Alicia! My 4-year-old just asked me what was behind the door, too! It’s where the mice live. 😉 HA! Kidding! It’s the little access door to remove the furnace filter from the unit we had before the new unit was installed! 🙂
Love your idea, anything to help with taxes right? to bad about the paint. I liked the pink a tad better 🙂
Hey, Moon! Well, they’re both pink–the second coat was just a bit darker. I know–I think I like the first coat of pink better, too! It was more “candy” pink. 🙂
Ooh! I forgot to mention, since I have no natural lights in my basement it was hard to photograph the command center its true color. Only when I took it to the garage was I able to get a good pic of the colors!
Serena, what a gorgeous, practical piece of work. It looks terrific in your office and I like that it is both sturdy and portable. When you’re using your files, you can wheel it close to your desk.
The little set of drawers on top are fabulous!
Exactly, Alys! I like that I can roll it where I need to. I fact, I’m about to clean out my other file cabinets and it will be nice having it easily close by to do that. I’ve got tons of tax papers shoved here and there! YIKES!!
What could be better? Finding a piece like this one, and turning it into something useful and attractive! Love that upcycling! You are da bomb!
Thanks, Linda! And to think that last year I almost sold it to someone I used to work with! HA! 🙂 Glad I didn’t!
Love it! You did it again Serena! I always look forward to your next post.
Awww…That’s awesome, Jo! 🙂 I’ll do my best to keep putting out great posts!
Hi Serena,
Wow. Just wow. I love it! I needed some space for my kitchen gadgets and up cycled a dirty, broken rolling cart that I picked up at a thrift store for $12! A little repair and installation of wheels and some bright aqua chalk paint, and my tiny kitchen space is so much “bigger!” Thank you for all of your inspiration!
Allison, that sounds fun! Do you have a picture or link to that project? Would love to see it!!
Hey there! I wasn’t sure where to upload a photo so I didn’t do it (didn’t want to crowd your page)…
I love it! You are a creative genius. I plan to develop eyes like yours that see such possibilities. I want one of these. Thanks for your inspiration.
Hi, Margaret! There’s no piece of wood I don’t look at and think, “Hmmmm….this could be something cool.” LOL. This is the kind of project I love best–the one where you’re in the thick of it and then inspiration strikes and you think, “Ooh, I know what I’ll do!!!” and then you just try something new. I have to say that my best projects are NEVER planned out! Just open your eyes to everything and see the possibilities! 🙂 Thanks!!!