
IKEA Kitchen Cart Makeover: How to Repurpose an IKEA Kitchen Cart
I love finding old stuff at the thrift store and painting it or replacing it, like this IKEA kitchen cart. It was only $20 and I knew it could be really pretty!
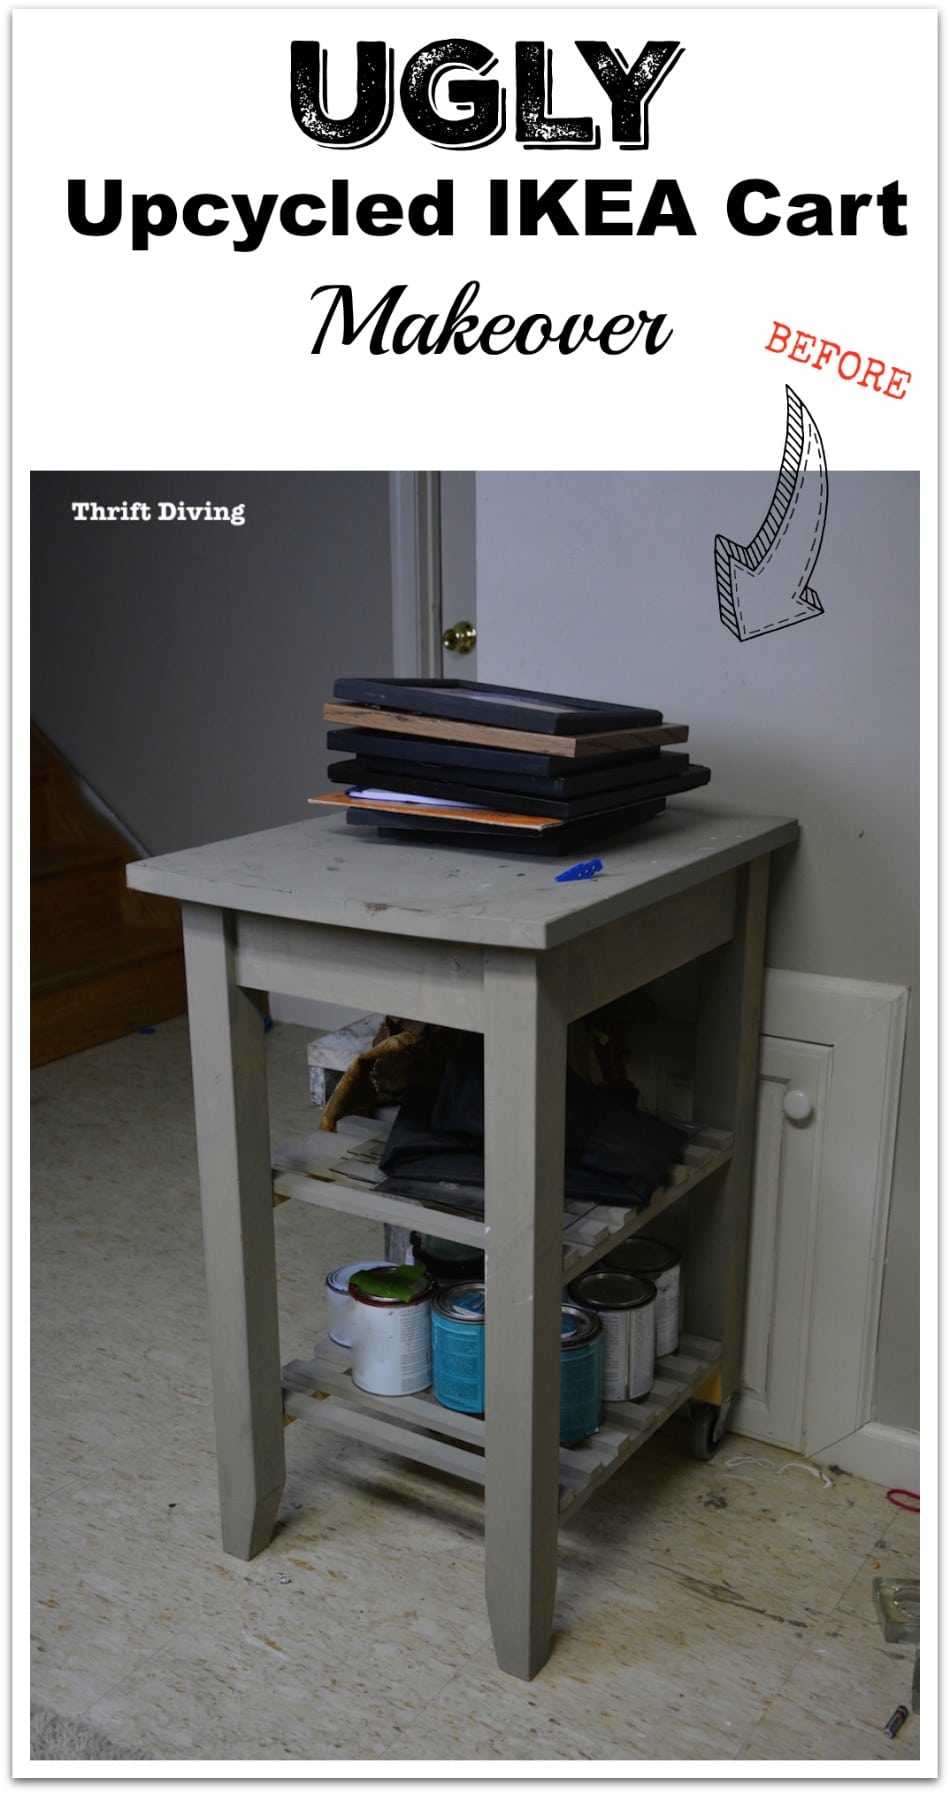
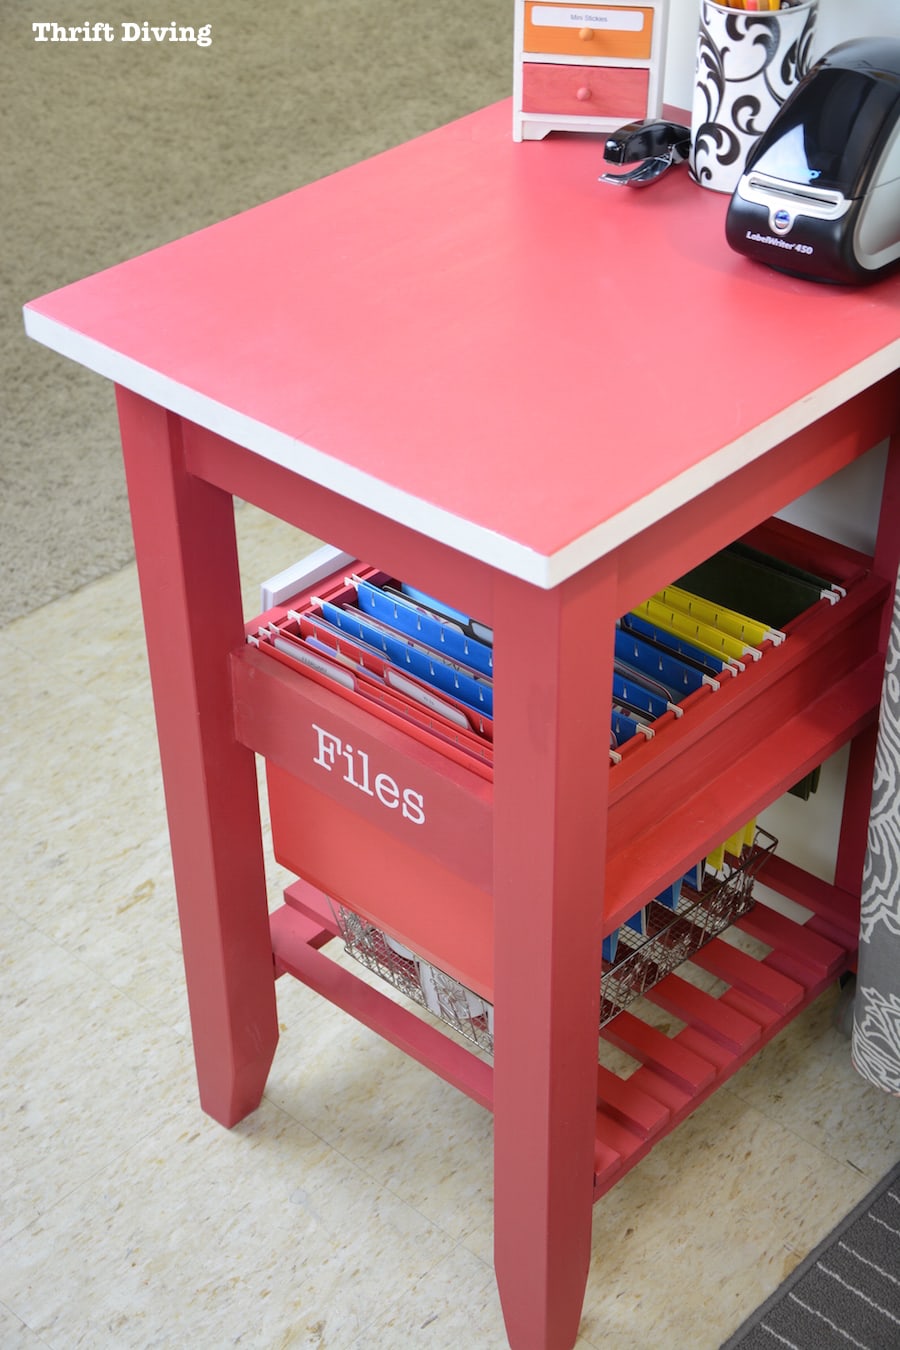
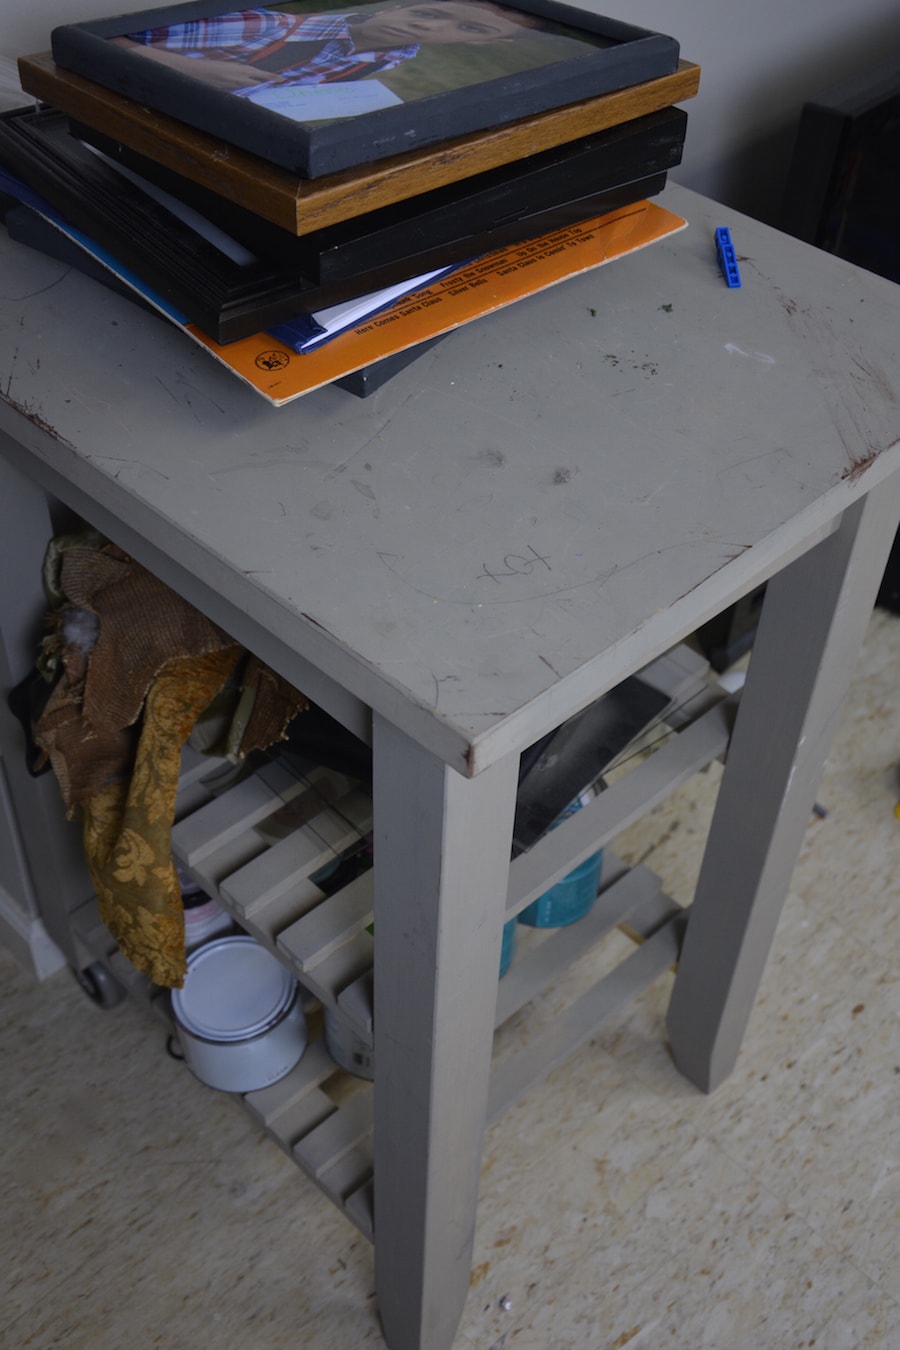
When I found this IKEA cart, it was actually bare wood and I thought I wanted it gray. I painted a coat, stuck it in a corner, and it got really dirty and ugly. It was totally uninspiring. But with a little bit of paint and a few power tools, I turned this IKEA kitchen cart into a file cabinet “command center” in my basement office!
(If you love this makeover, be sure to check out the “before” and “after” of my $10 thrifted vanity makeover, including my thrifted china cabinet makeover).
BEFORE – IKEA Kitchen Cart
AFTER – IKEA Kitchen Cart!

Materials to Repurpose an IKEA Kitchen Cart into a Command Center
(I participant in the Amazon Services LLC Associates Program and other affiliate advertising programs designed to provide a means for me to earn fees by linking to Amazon.com and affiliated sites).
For this furniture makeover, I used the following materials:
- IKEA Kitchen Cart – Bekvam cart
- Custom mixed chalk paint (Annie Sloan chalk paint red and white mixed)
- Scrap wood
- Router
- Circular saw or a jigsaw
- Nailer
- Wood glue
- Clear wax to protect the chalk paint
The top of the IKEA kitchen cart had gotten very worn and was basically a dumping ground for discarded stuff. I wanted this cart to be a place for filing tax forms, receipts, and other business paperwork. I wanted it to serve as a command center for any of my filing, mailing, business needs.
My colors for this blog is a pretty deep pink, orange, and white. This IKEA kitchen cart turned command center was going in my colorful basement office, so it seemed fitting to paint it print to match everything else.
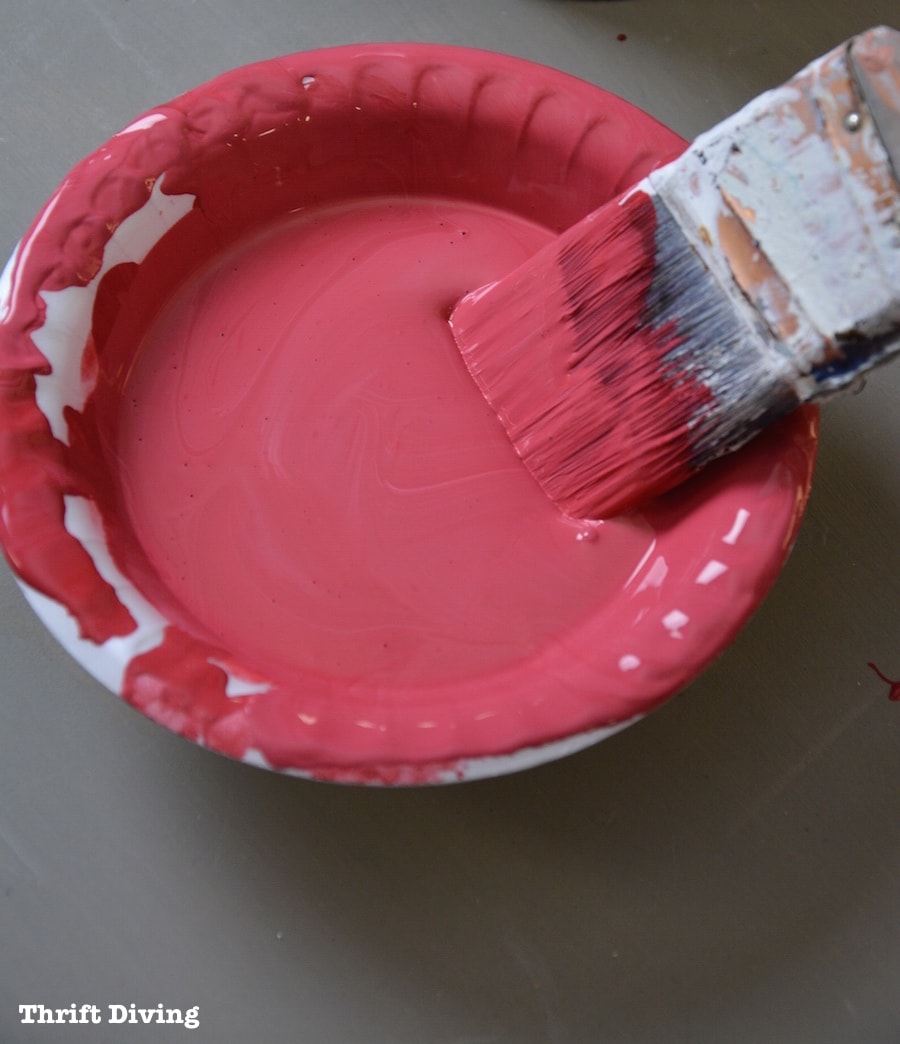
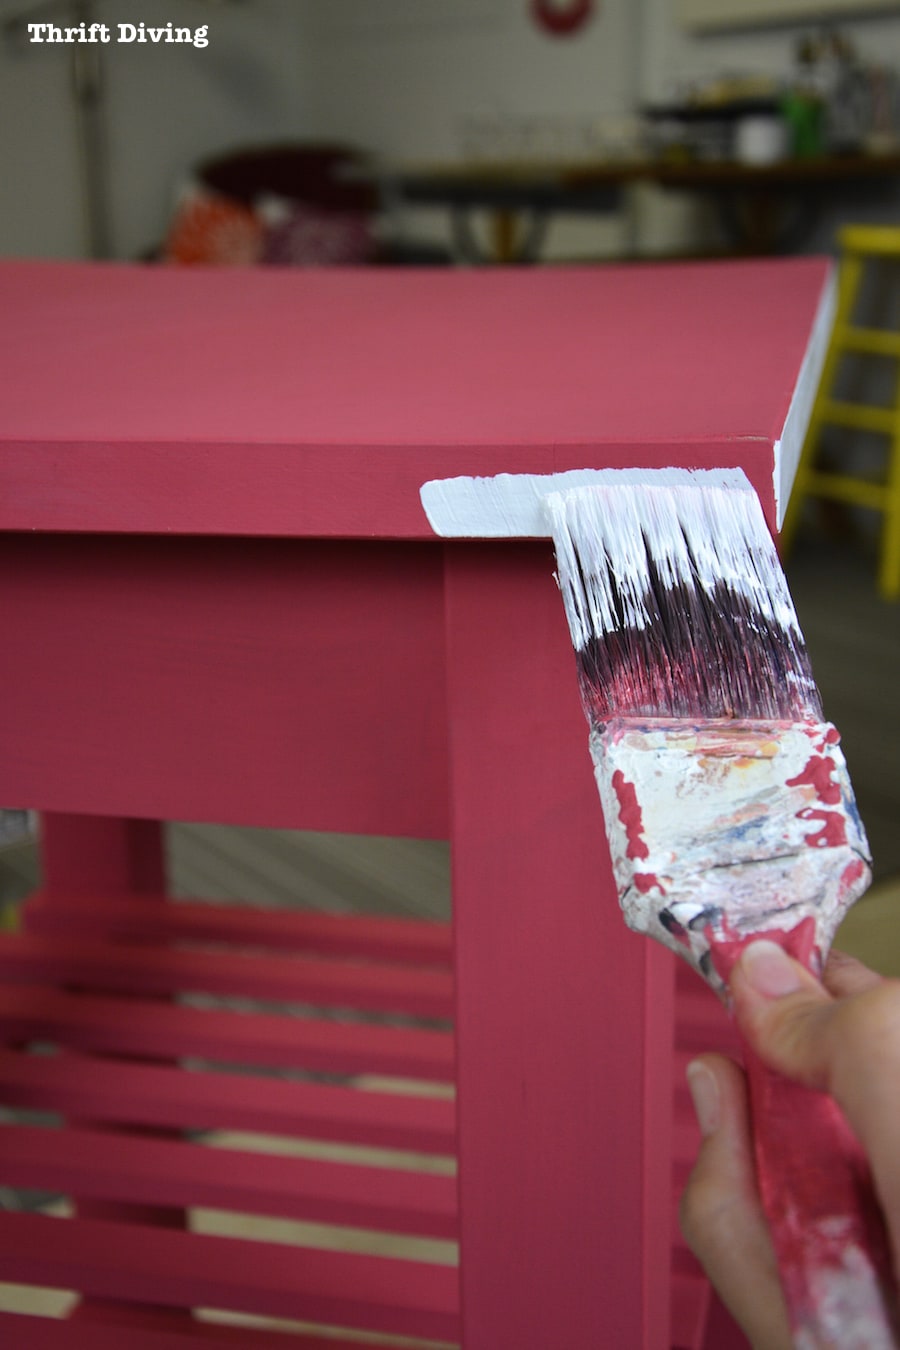
I custom-mixed this shade of pink with chalked paint (red and white), gave it two coats, and painted the edge white to make it POP!
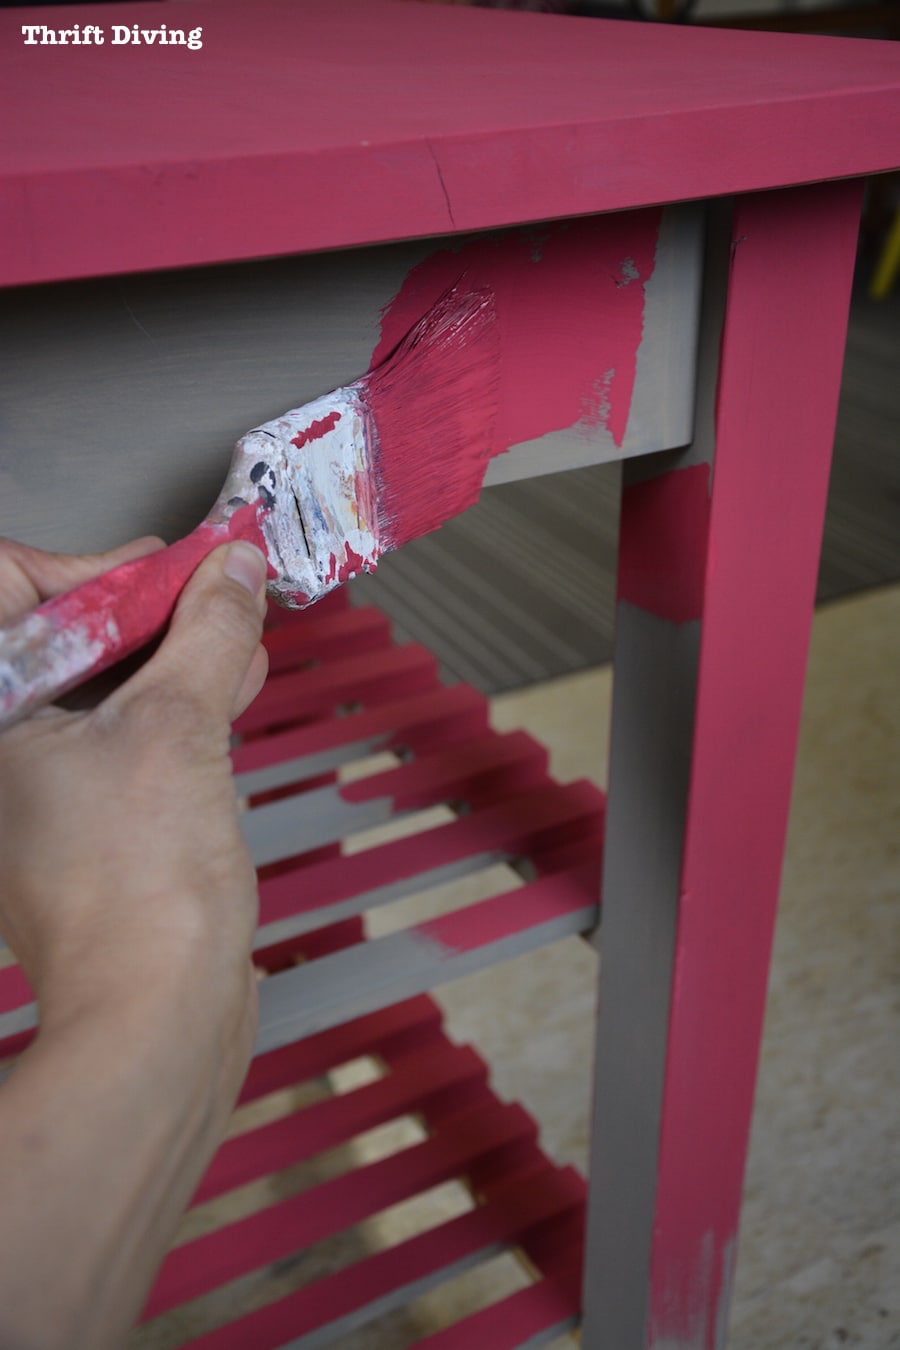
This is what I love about furniture makeovers and DIY projects: when you’re in the middle of a project and inspiration strikes!
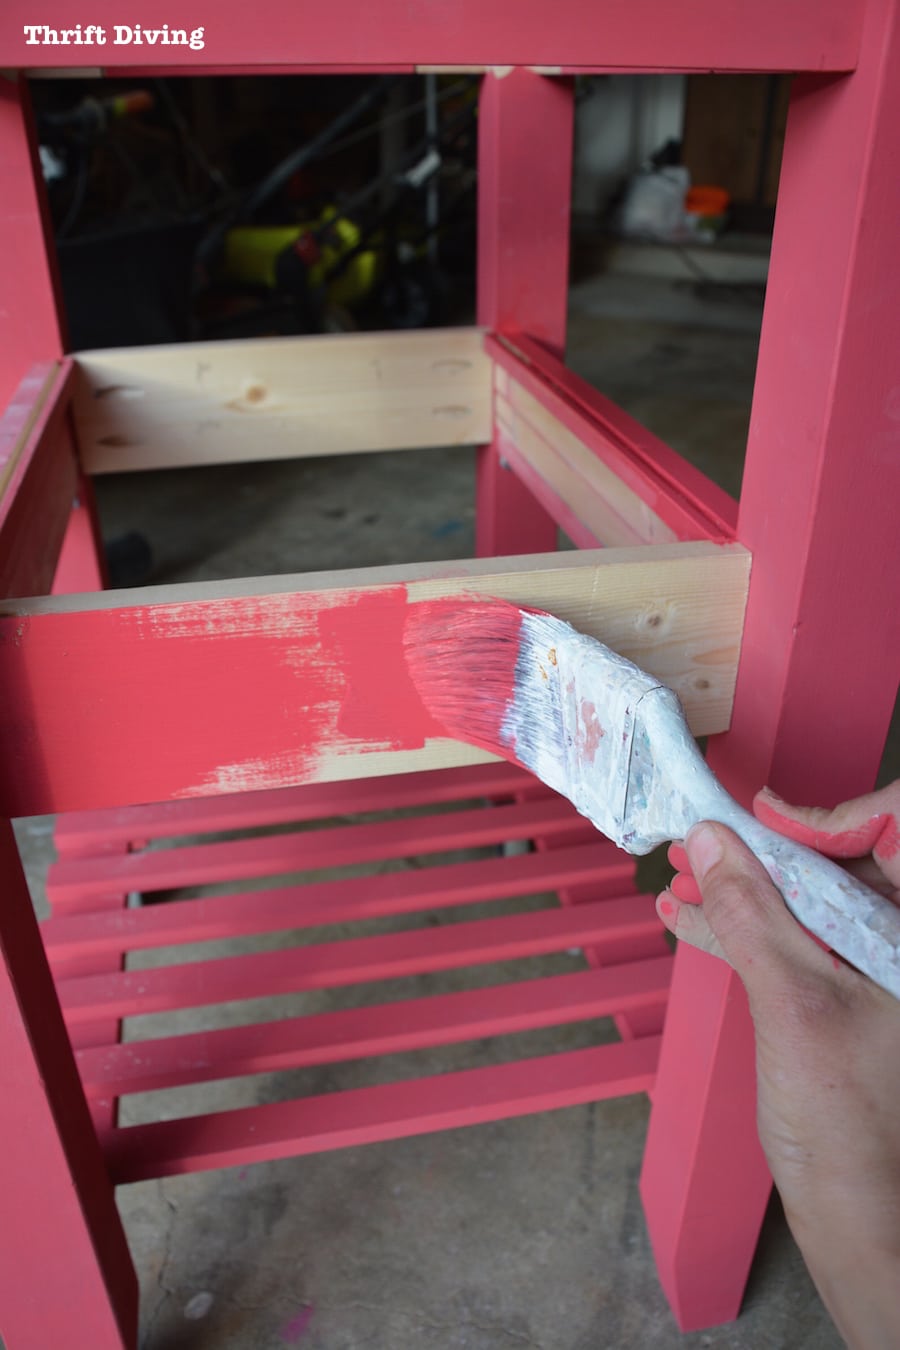
As I was painting the shelf slats of this IKEA kitchen cart, suddenly the idea hit me to remove the slates on the top row and to create a place for hanging file folders!

If I had foreseen this creativity, I would have created a place for hanging file folders before I painted the kitchen cart (insert face slap here).
As a result, I was left with stripes…..and…..GASP!!….I was all out of custom paint mix!
Grrrrr…..
But now that I had a bunch of wooden slats, I was about to repurpose them into something cool!
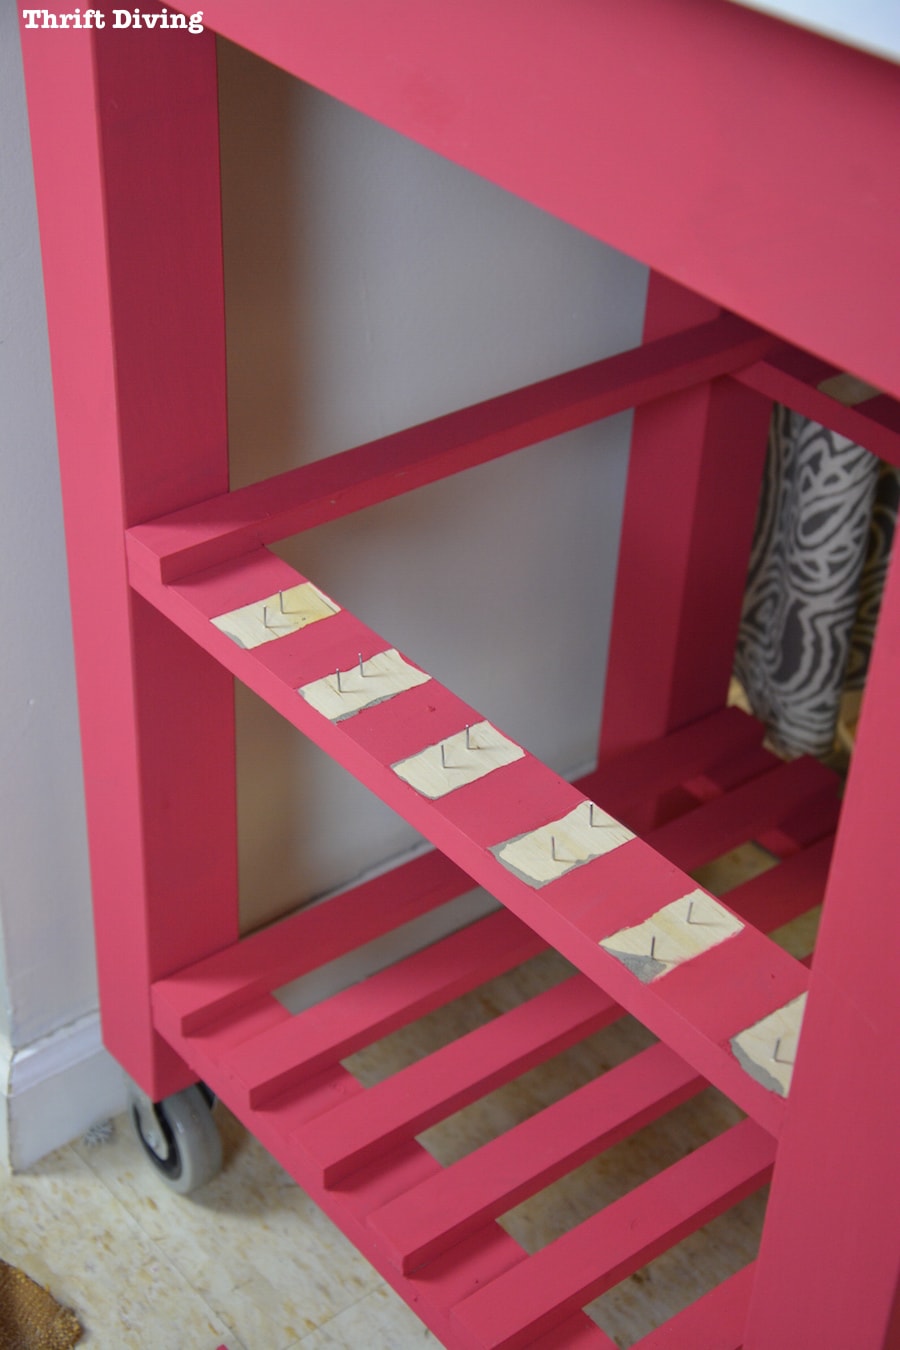
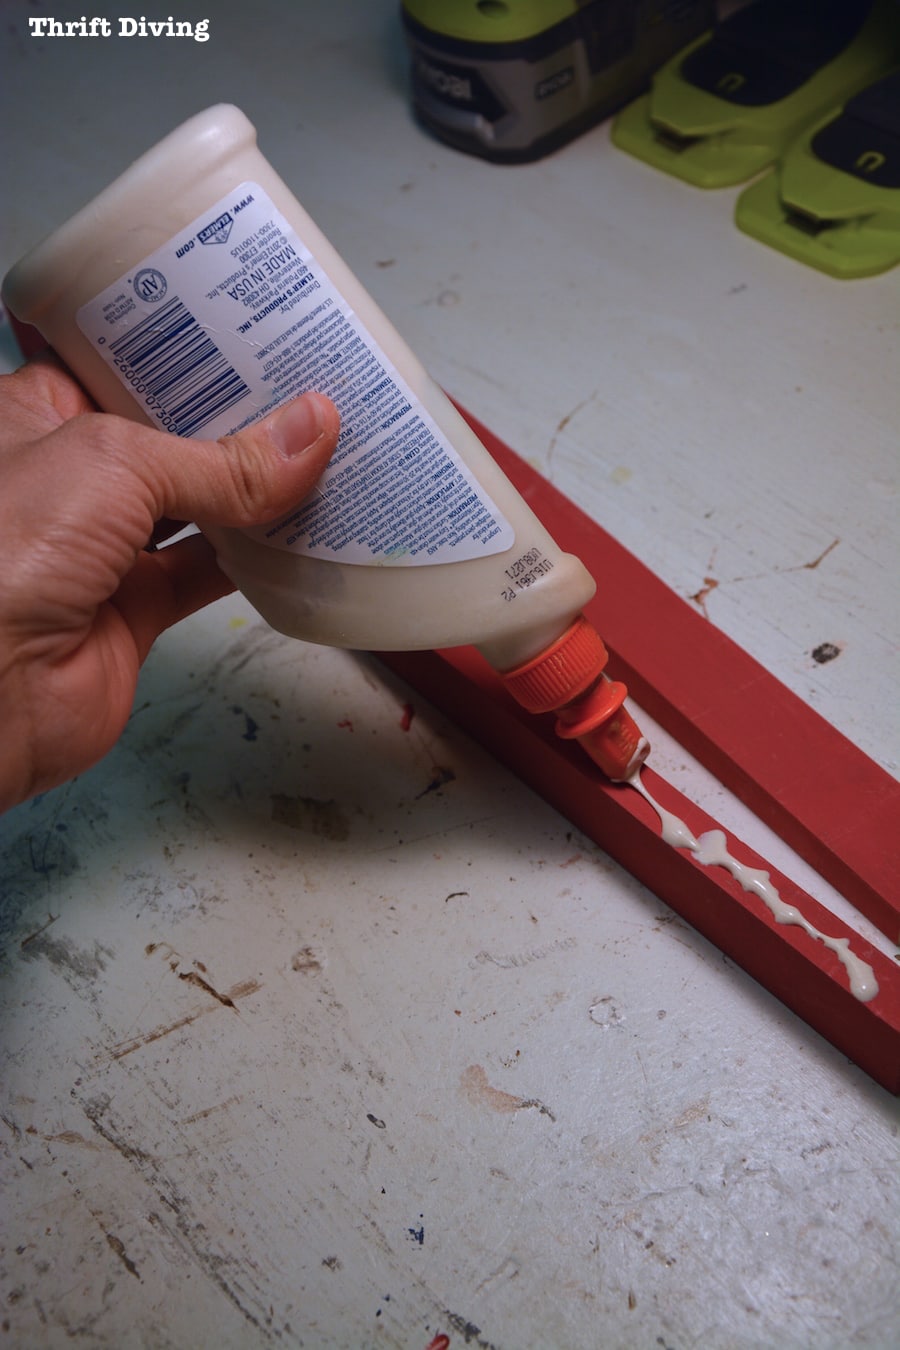
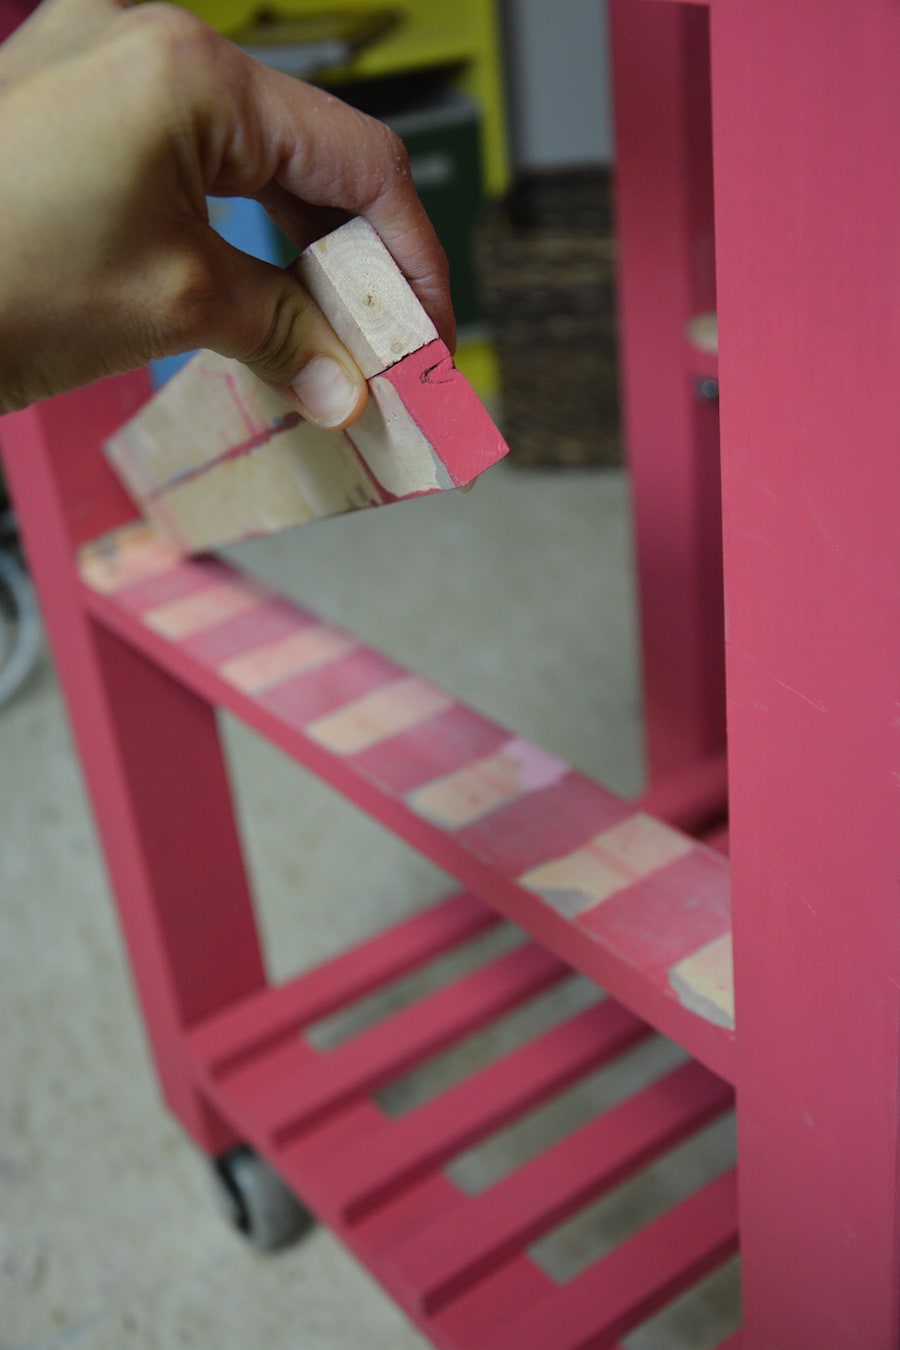
After pulling out the nails, I glued two of wooden slats together for the left side, and two of them together for the right side…
…and then once they dried, I glued and nailed them on top of the striped ledge of the kitchen cart, to build “walls.”
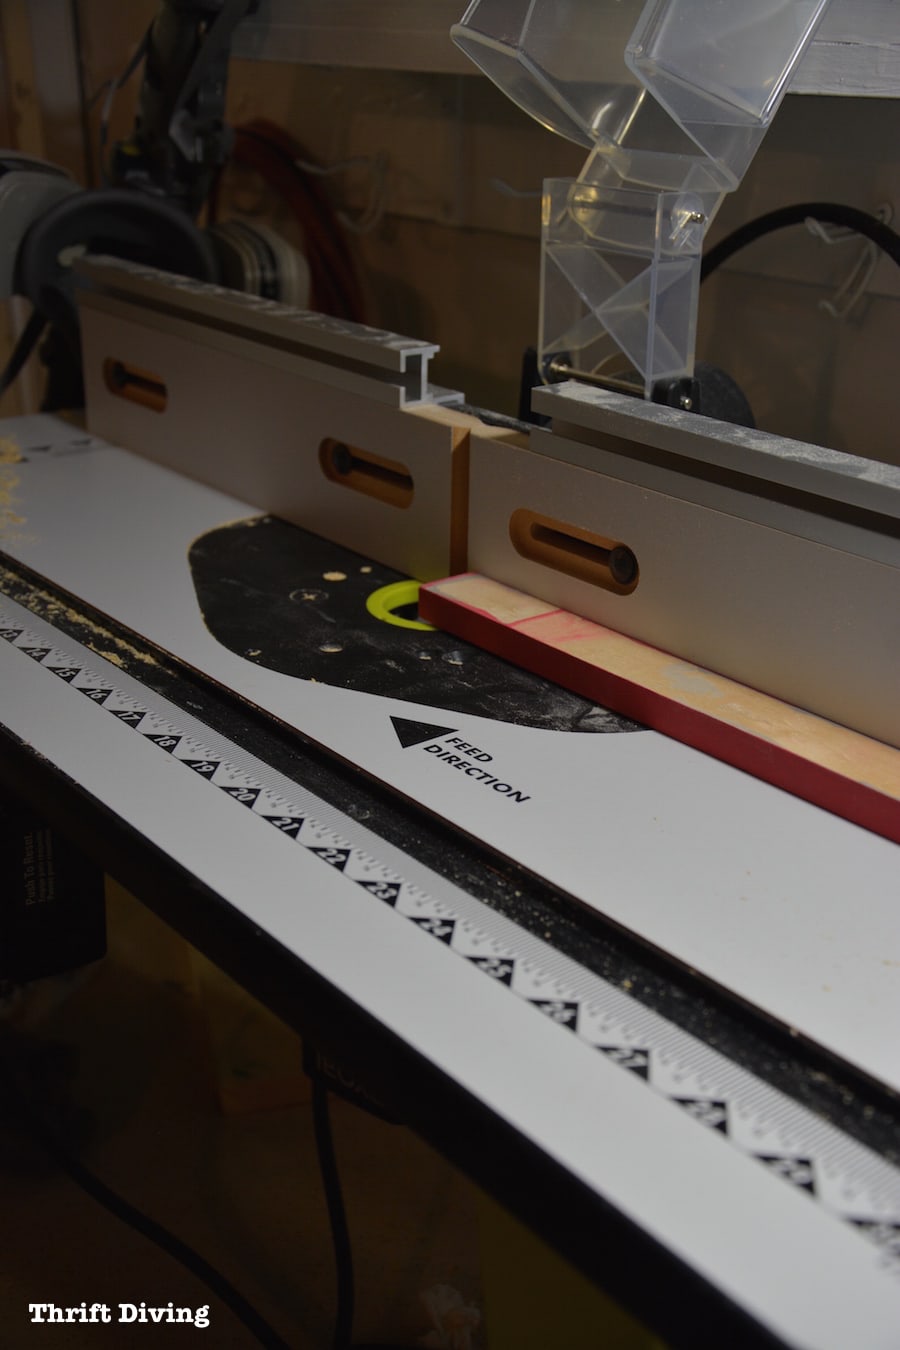
I also ran one of the scrap wood slats over my router table to create a 1/4″ groove for the hanging folders to glide.
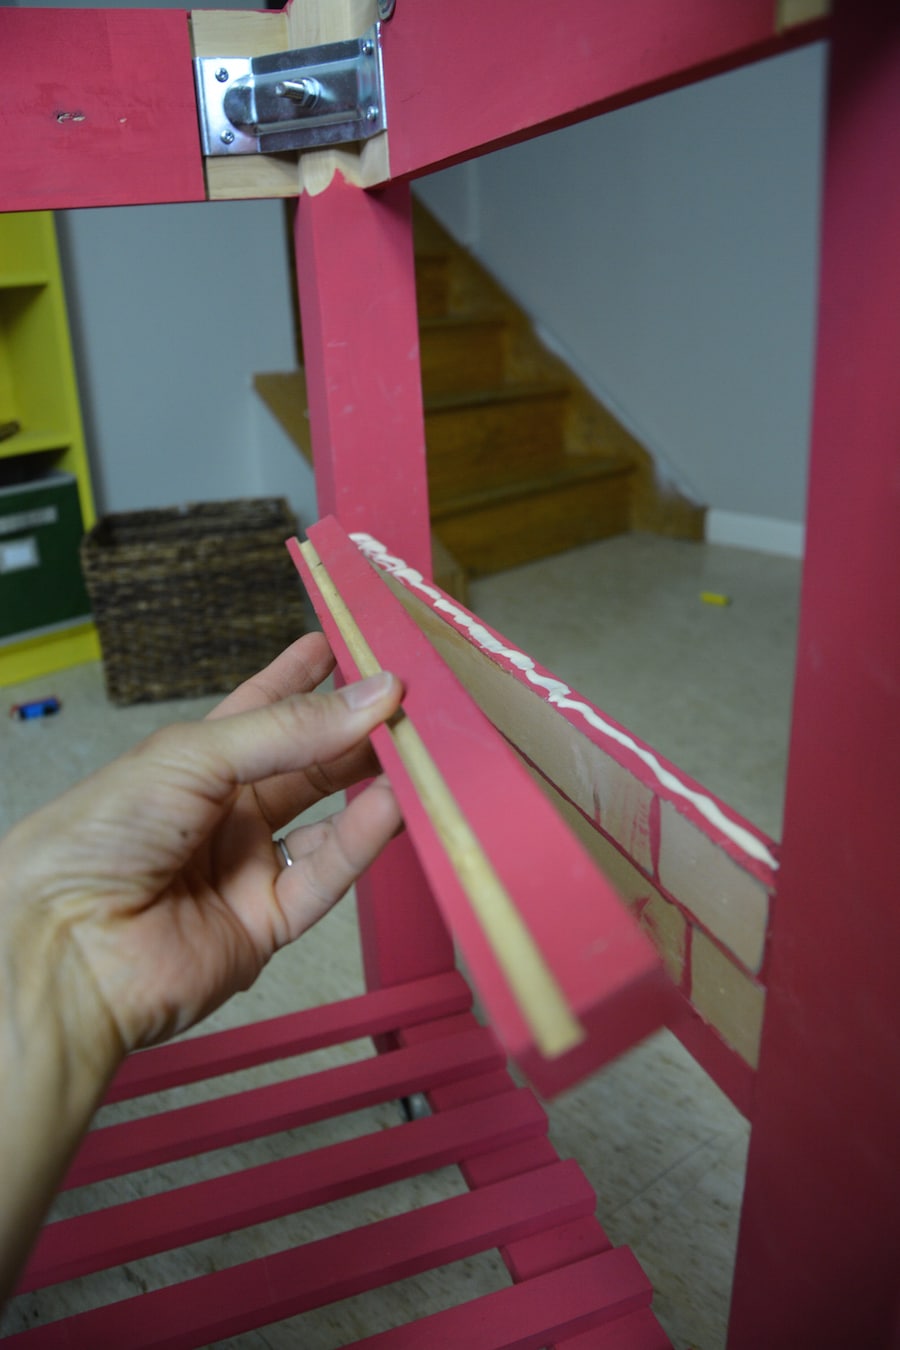
Now that I had built “walls” with my leftover wooden slats, I was ready to attach the routed piece of wood to the top of the “wall” so that the hanging file folders could hang and slide. I used wood glue, clamps, and a nailer to attach them. This was the challenging part because I had no idea if it would work!
I needed a way to make sure the hanging file folders wouldn’t fall out the front or back, so I cut pieces of wood for the front and back and joined them with pocket joints.
Now do you see where I’m going with this? 🙂 I was surprised it worked!
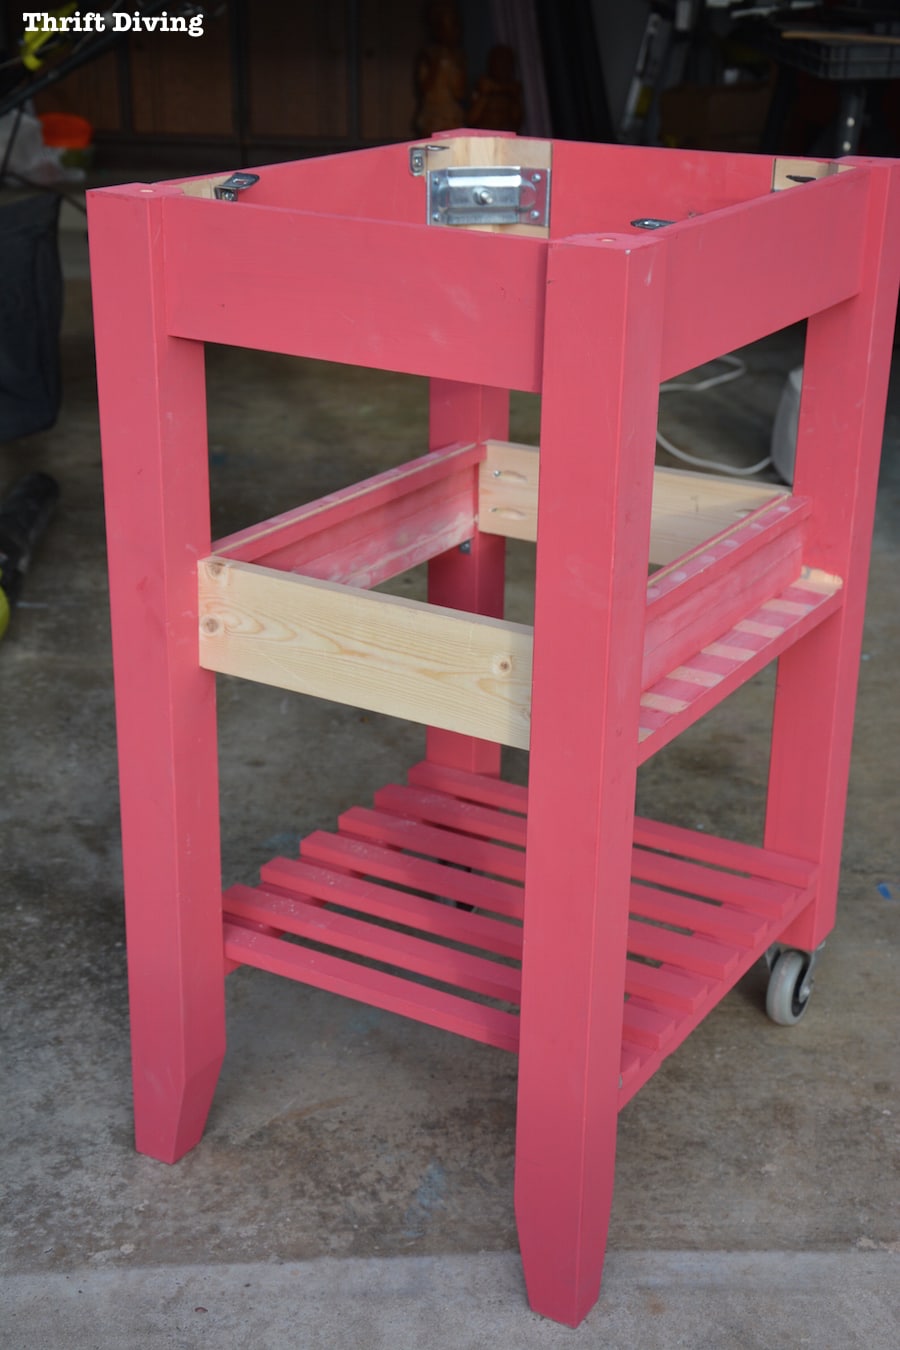
Because I was out of custom-mixed paint, I had to mix a new batch (yikes!) to get everything to match! Sadly, I didn’t match it exactly so I ended up having to repaint the IKEA kitchen cart for a third coat and it ended up being more reddish than pinkish. HA! (Lesson learned: when custom-mixing paint, always mix more than you think you’ll need!).
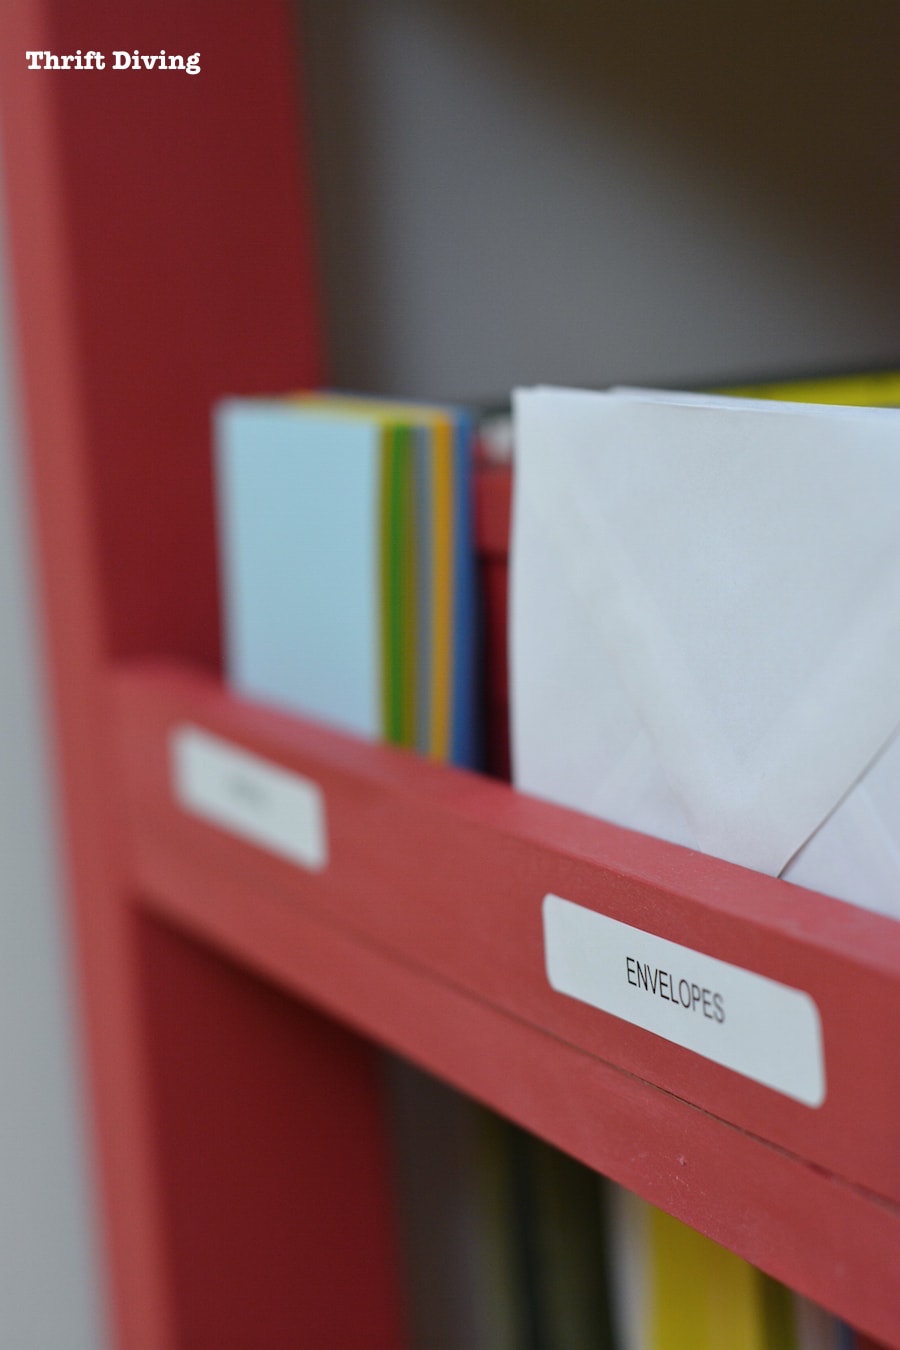
I also glued one of the other leftover wooden slats to the side and created onboard storage for envelopes and stickies (although the glue left a small gap–oops!).

Adding Stencils!
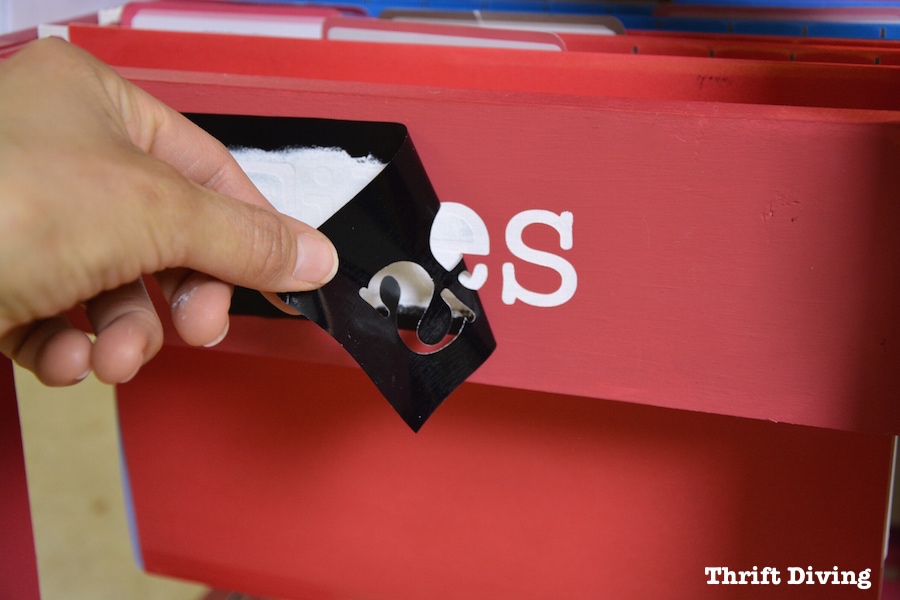
I love adding stencils to projects! So I decided to cut a stencil with my personal cutting machine for the front that says “Files”!
After everything was painted and stenciled, I added a coat of clear wax to protect the paint.
TIP: Check out my post How to Use Stencils: A Complete Guide to learn the magic of stencils!

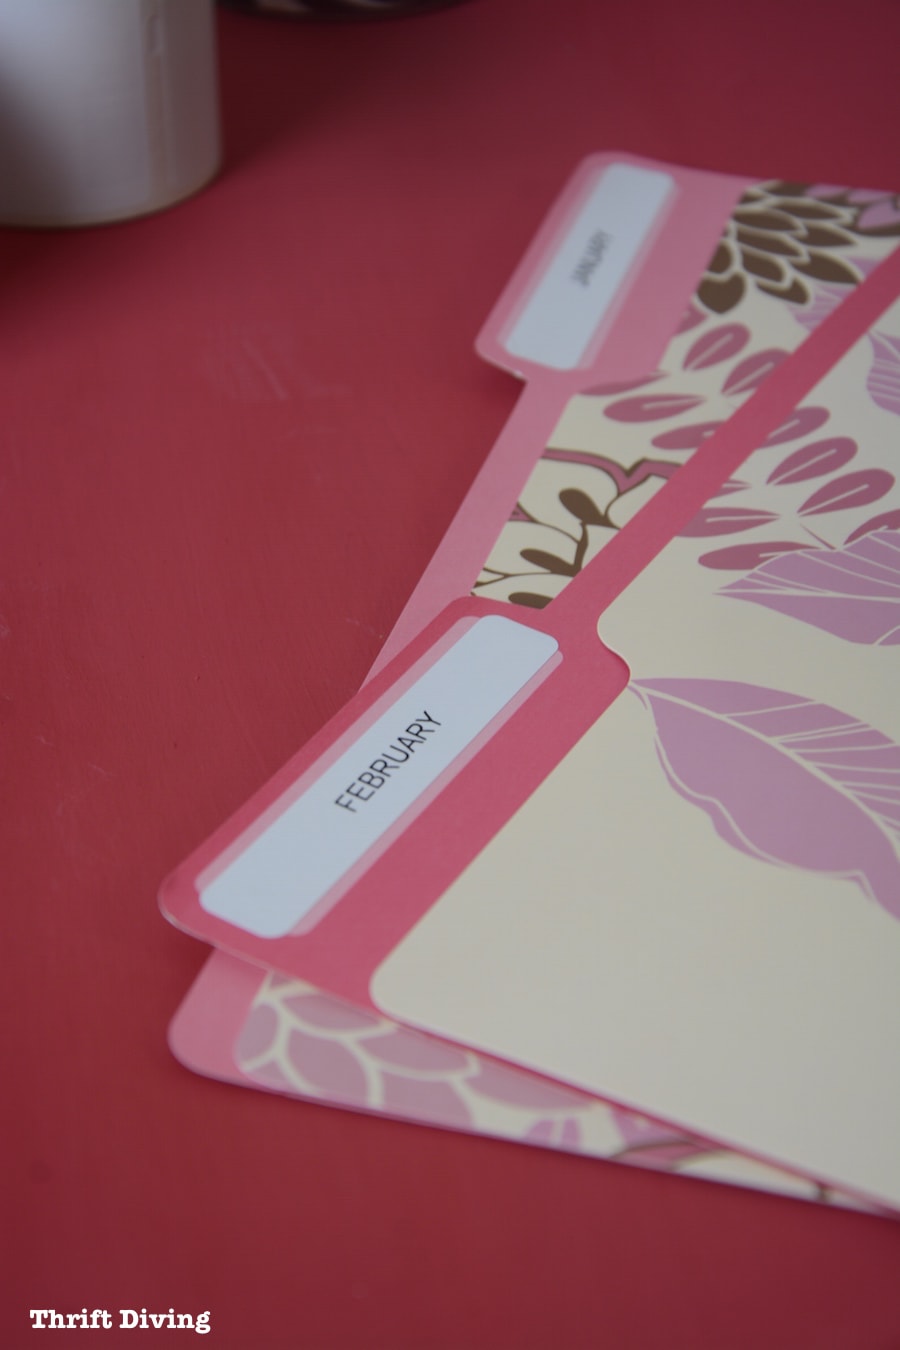
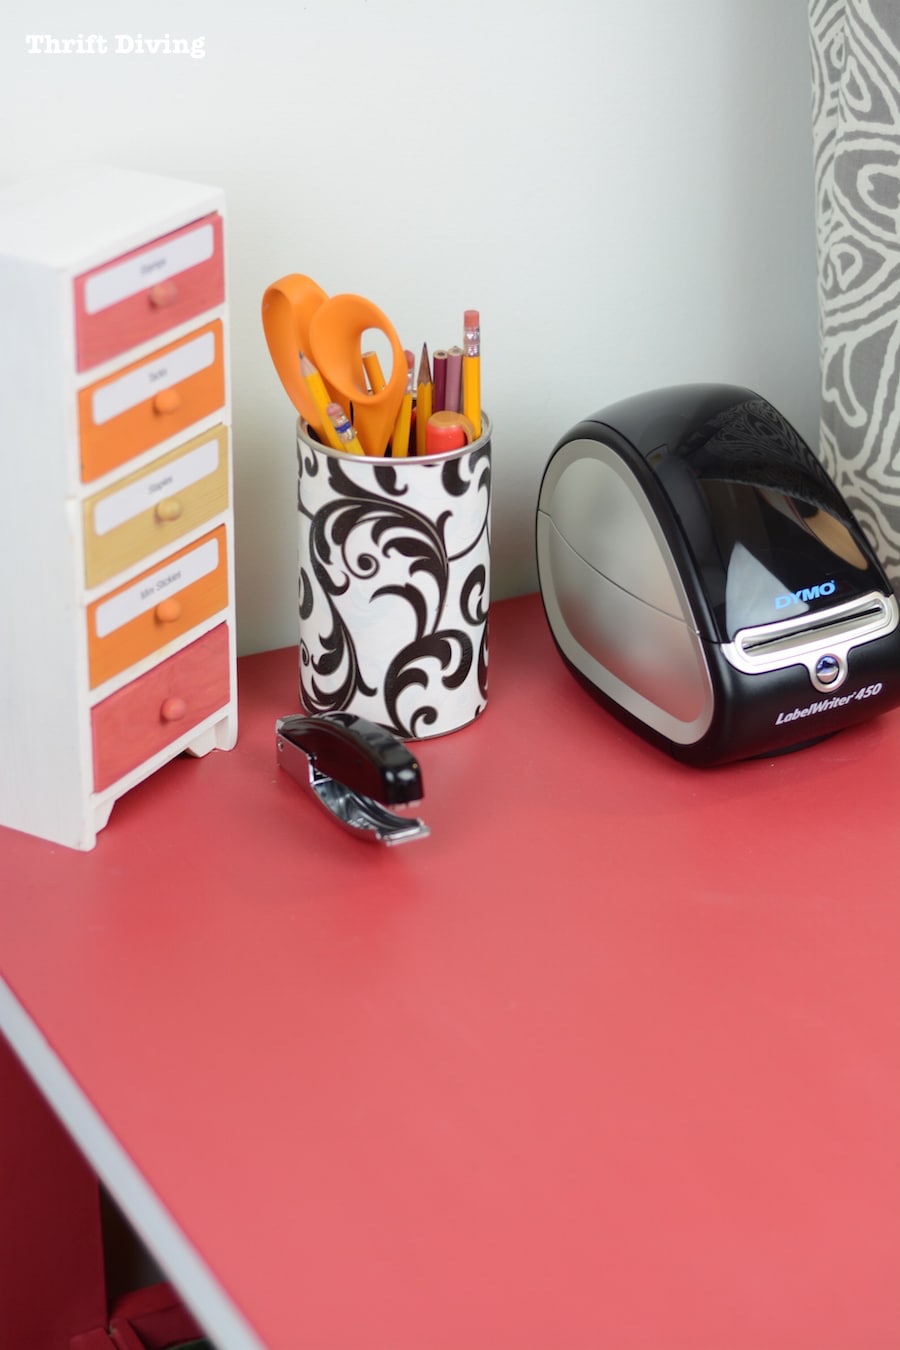
To organize the new command center in my office, I created some labels with my DYMO LabelWriter 450.
I plan to use these labeled folders to store all of my receipts and bank statements each month.
With everything easily labeled and each month you’re adding to the folders, it will make taxes a breeze!
Because this LabelWriter 450 Value Pack comes with four rolls of labels, I am storing them in a cute basket underneath the table.
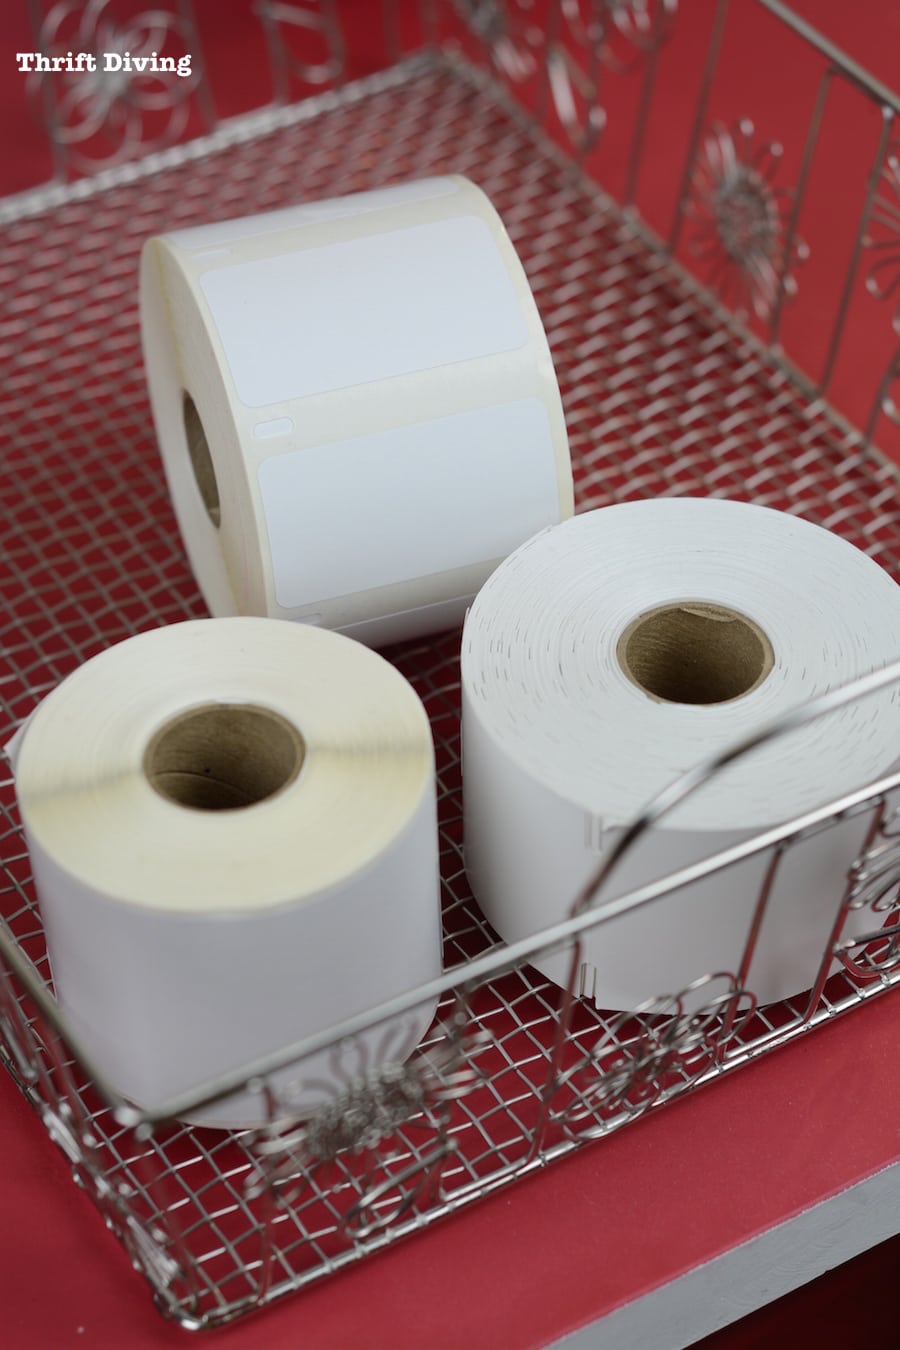
Everything will be within reach to make taxes and labeling easier!
I found that little organizer/mini dresser at the thrift store a couple years ago. I painted the drawers and used my LabelWriter to label them for stamps, mini stickies, and more!
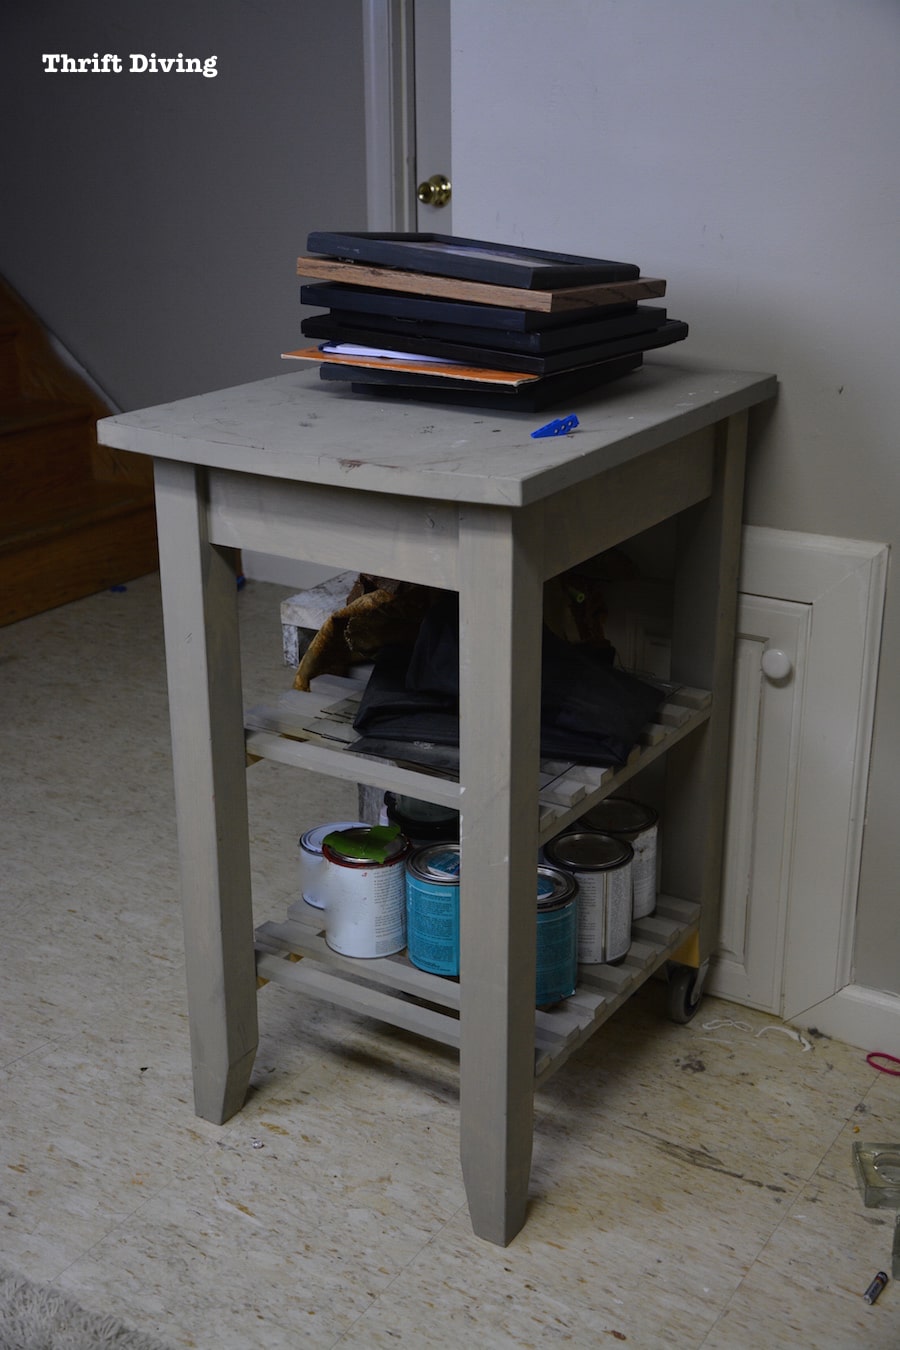
Let’s have another look at this thrifted IKEA kitchen cart “BEFORE,” shall we?
BEFORE
AFTER!

Tips on Creating Your OWN Command Center
Here are some tips on creating your very own tax command center to stay organized!
- Buy a label machine to organize things.
- Create folders for each month of the year, including a folder for W-2s, bank statements, etc.
- Use a small table that is designated as the “go-to” spot for your filing.
- Create a command center in a place that you walk by daily, as a visual reminder. Store receipts daily or weekly.
- Keep a reminder board with a few monthly “To Dos” that you can easily see and check off.
Do you love this project? Click here to save it on Pinterest!

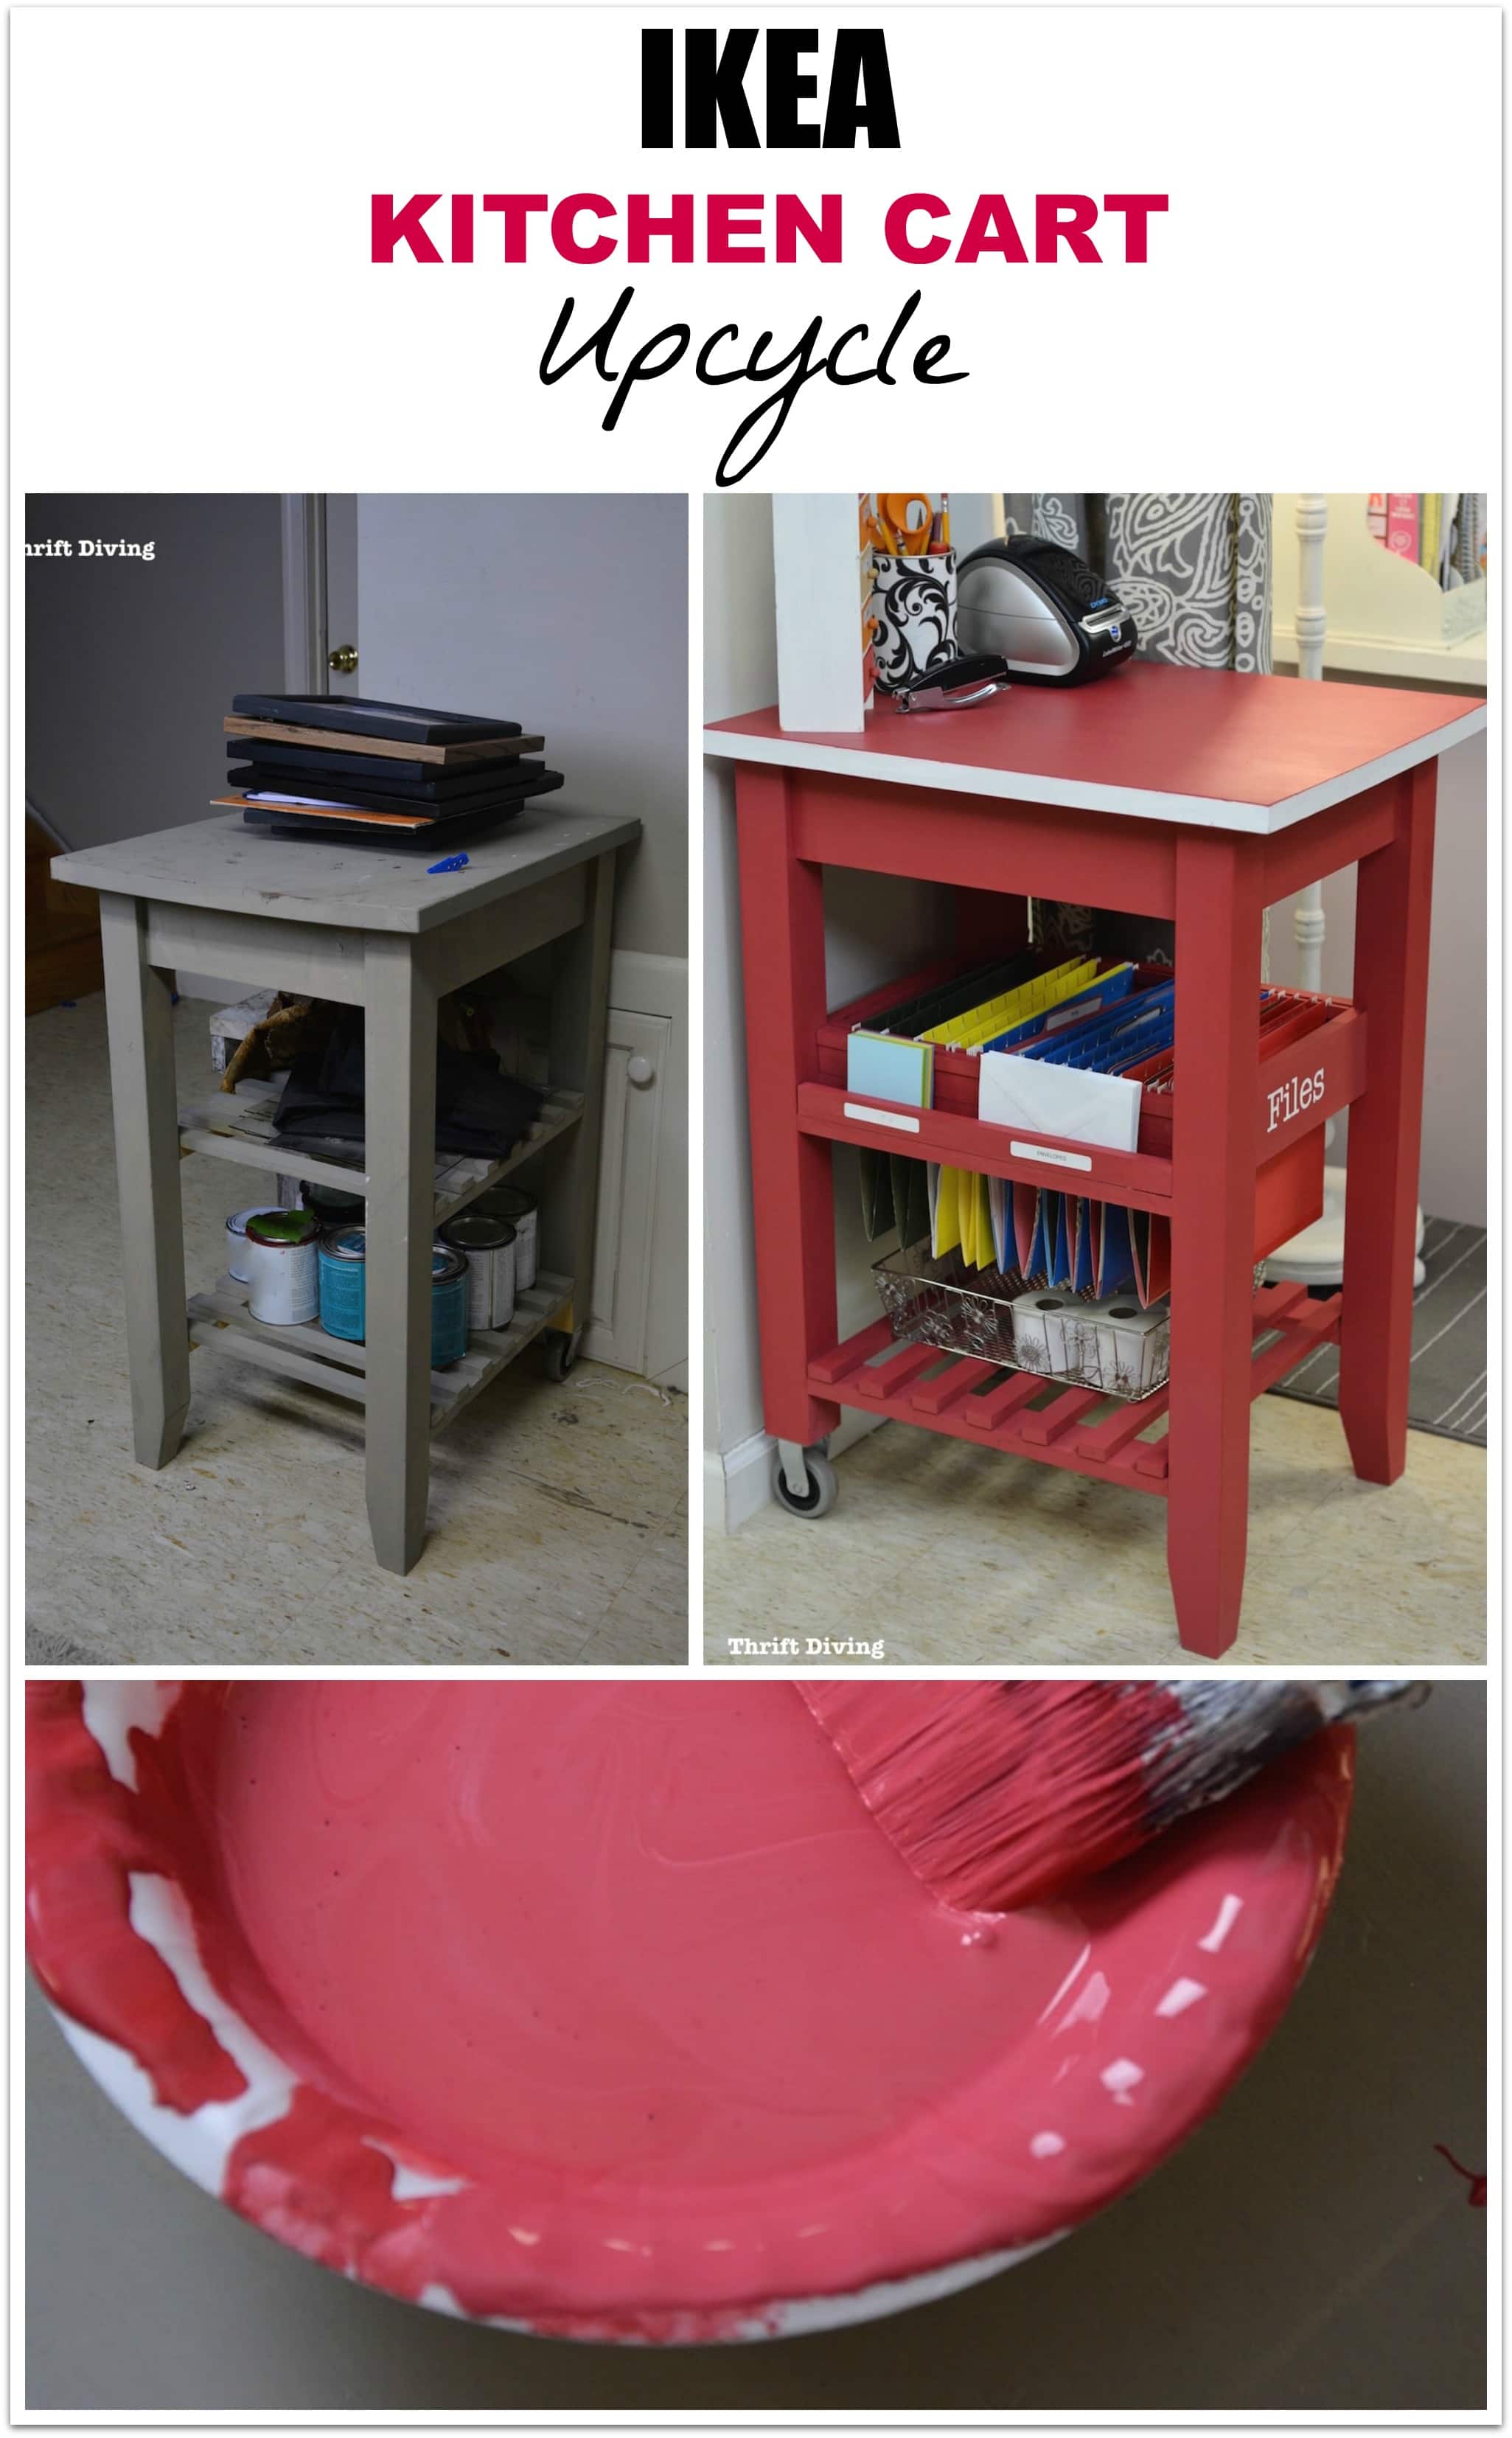
So what do you think of this IKEA kitchen cart makeover?!
Leave a comment below and lets chat about it!

Download the 5 freebies!

Thrift Diving inspires women to decorate, improve, and maintain their home themselves...using paint, power tools, and thrift stores! Use these 5 printables, checklists, and ebooks to get started!
This is the kind of work you do that makes you so special to me and to everyone who reads your blog! Fantastic – inspires me to get back to work on my own projects. LOVE IT
Mintchip, I do believe your comment has made my entire day! 🙂 I feel the happiness bubbling up inside! 🙂 Thanks for that! I’m glad to inspire you, too!! That’s what this blog is all about, girlfriend!
That looks awesome! Great job!
Thank you so much, Kristina!!
So this is what the completed project looks like! I watched your FB Live Video while you were constructing it. Very clever idea for repurposing an IKEA Cart! Love the color and the function Serena!
Hey, Marie! LOL. Yes! I know, that video was so hard to demonstrate my idea because of holding the phone AND trying to show you guys what I envisioned! 🙂 Glad you like it!!
It looks great, and so useful! The additional item I would add is wheels! Thank you for sharing!!
Hey there, Linda! The back actually does have wheels so I can easily move my tax center to another part of the basement if I need to! Love that it’s mobile! 🙂
Love it! Very creative!
Thanks, Helen!! Glad you like it!
Good morning Serena! I love everything you do and as I”ve said before you are my most favorite blogger…I so thankful I found you and I think of you all the time as I’m outside using my Homeright Spray Tent. It has changed EVERYTHING for me with my stacks of projects that at one time were a mile high. I couldn’t wait for a friend or my husband to get here to help me put it together last week so I tackled it myself. I had to stop and walk away a couple of times because it was truly a project better suited for two people. But now I’m even happier and I sure did impress my husband when he got home! Now I’m adding the paint sprayer to my ‘I Want That’ wish list. And I truly need to stay away from watching ‘Flea Market Flip’. I guess I have to add staying away from Pinterest to that list too. Thanks so much for sharing all that you do. Have a great day, Adrian…P.S. I’m heading to Goodwill right now because I clearly have a problem, lol
HAHA, Adrian! You have the DIY bug! 🙂 I’m so glad that you enjoy my blog! Yes, that spray tent is amazing! I’ve got space in my garage now to set mine up (if it’s possible without staking it….). It was challenging to set up the first time I tried, too! But worth it once you get it up. Great hearing from you, and I hope you find something good at the GW! 🙂
I just did a much less complex project with the same IKEA island. Mine was $25 on Craigslist and I didn’t realize it came from IKEA until I started looking for ideas on Pinterest. I painted everything except the top in Green Parakeet from Behr, added an industrial style handle to pull it around and a double hook on the other side for a cutting board or kitchen towel. Can’t wait to get it in my booth!
Diane, that sounds so cute! I didn’t realize mine was IKEA, either, until after I got it home! I think they retail for $60….? So I guess we DID save some money. ;). You should send me a picture of yours! I would love to see it! ThriftDiving@gmail.com
This is absolutely amazing! What a useful and creative repurposing!
Thank you, Amanda!!!
Outstanding repurpose! As you know my husband and I repurpose all the time and I follow your blog – plus some hometalk and other DIY blogs. I seldom find repurpose projects that surprise me because I’ve already done it but this……………well, the files portion is incredible! We have one of those stands sitting in our garage – I’m going to get jerry to make if for me this weekend. I just love it!
Kelli, your comment is so thoughtful!!! 🙂 I really appreciate it! I love when I stumble on ideas like this because it makes me believe I’m not just another cookie cutter blogger! 🙂 Glad I could inspire you!!
May you have the power to keep going!
I know, right!! I dread the day I ever feel truly “tired” or “uninspired” for that matter! LOL Thanks!