How to Make a DIY Polka Dot Stencil from Paint Chips
Being let go from my job recently did something miraculous: it forced me to get even more creative so that I don’t have to spend money! With a steady paycheck, I didn’t think twice about buying a $7 – $20 stencil! But now, I’m in “Super Thrift Mode.”
Plus, I was in the midst of creating a project and–LIGHT BULB!–I decided I wanted to do polka dots (you see how my DIY ADHD brain works?!).
I had also waited until the last moment to work on this project, which was due by 5 p.m. that night. Who had time to whip up some elaborate DIY template?!
Not me.
So I did what any crafty chick would do:
I thought of a cheap, easy hack.
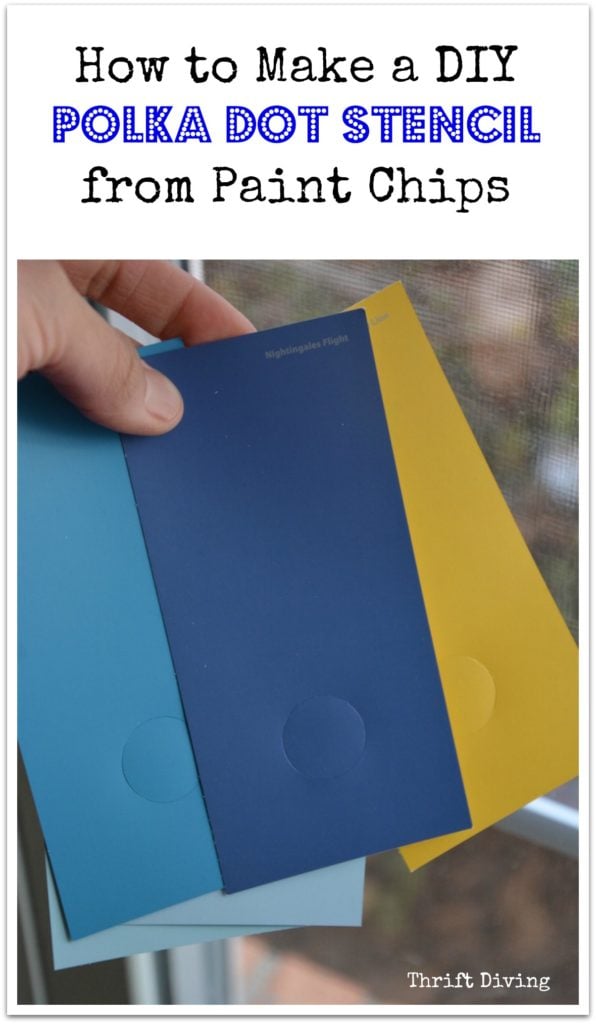
How to Make a DIY Polka Dot Stencil From Paint Chips (and Tape!)
The beauty of this tip is that any beginner (or advanced!) DIY’er can do it. Here’s what you need to do, step-by-step.
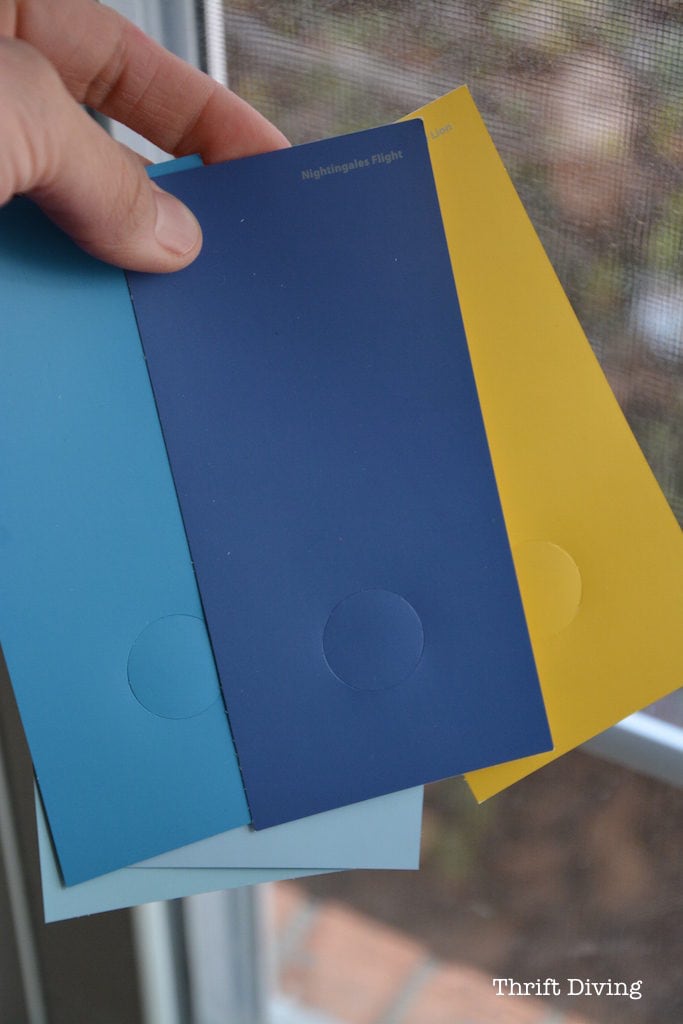
STEP 1: Grab a bunch of free paint chips.
So you probably noticed that some paint chips have these little cut-outs at the bottom, right? Well, maybe not. I never really noticed :). I usually get my paint from Home Depot and I don’t think any of the paint chips there have cut-outs. I got these from Walmart (I want to say Glidden paint?? But don’t quote me on that). Anyhow, you’ll find these types of paint chips there, with the little perforated circles at the bottom.
(A glimpse of what the finished stencil looks like).
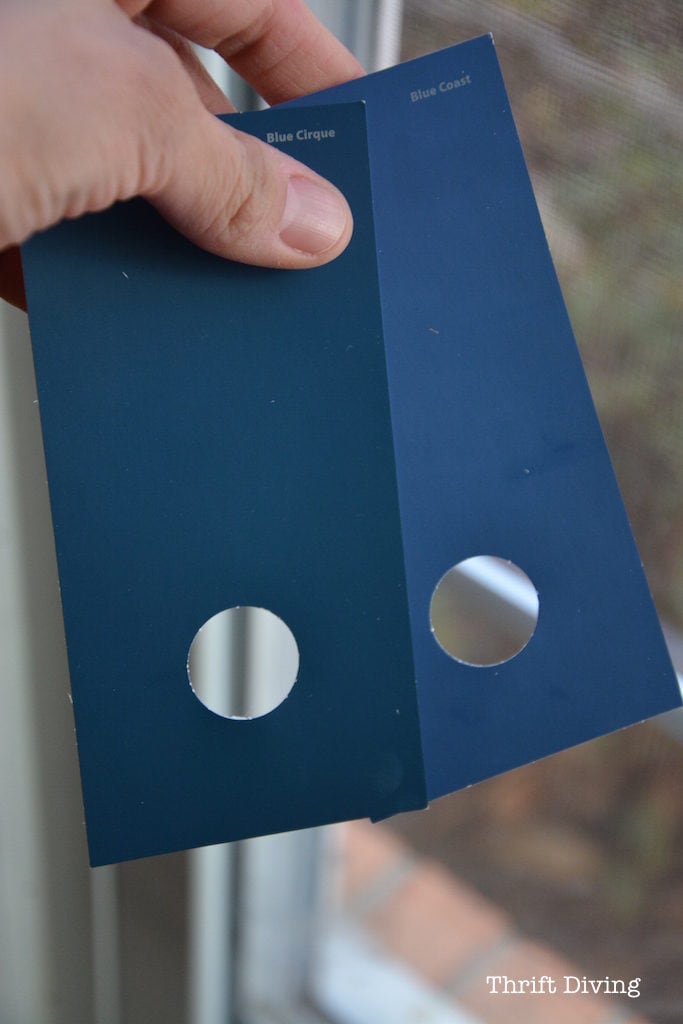
STEP 2: Pop out the circles so you’re left with the cut-outs.
Be careful–some of them rip a little or leave little snags of paper when popping them out.
Save the circles! You may find other uses for them, like using them for more polka dots by spray painting over them, or even decoupaging them onto something. I like the idea of using them in DIY greeting cards, maybe! 🙂
Nothing should go to waste in the Wonderful World of Crafting!
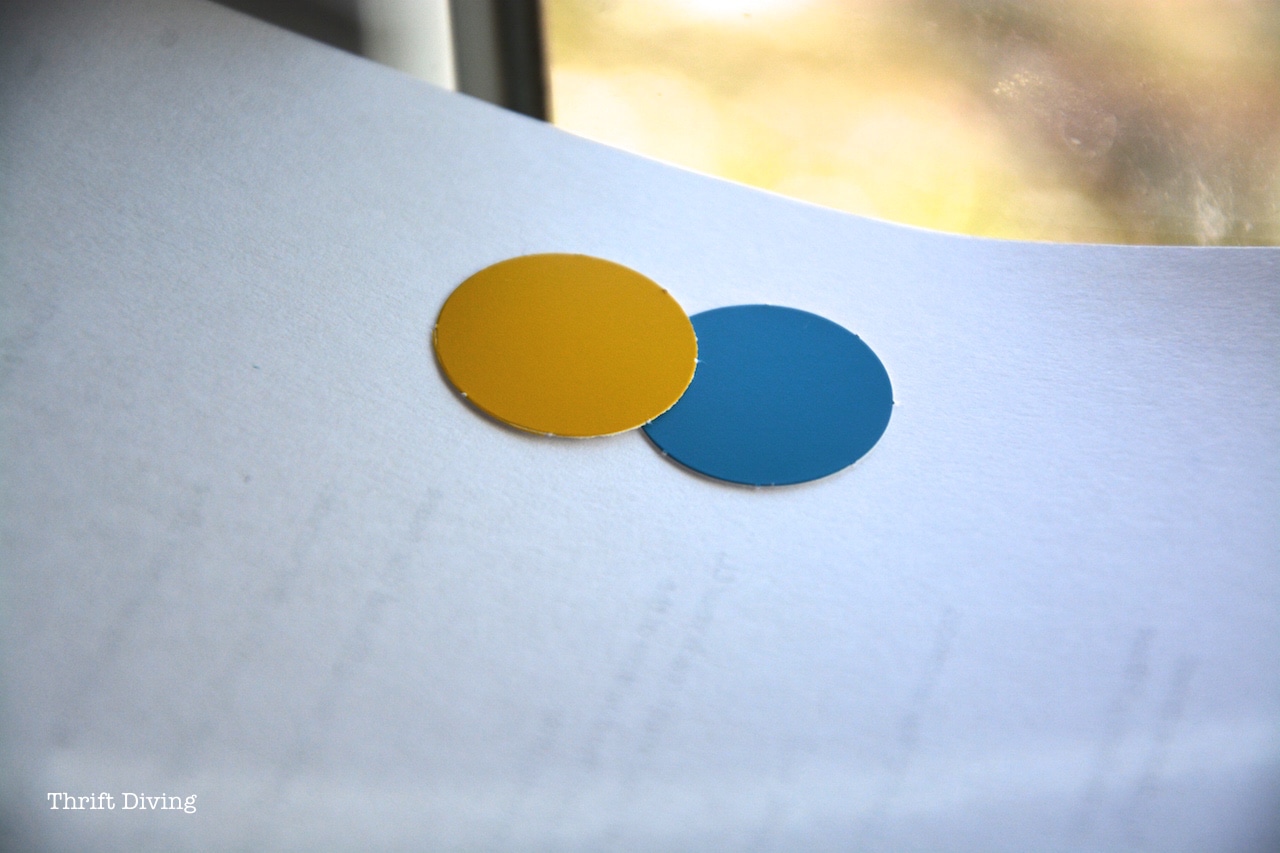
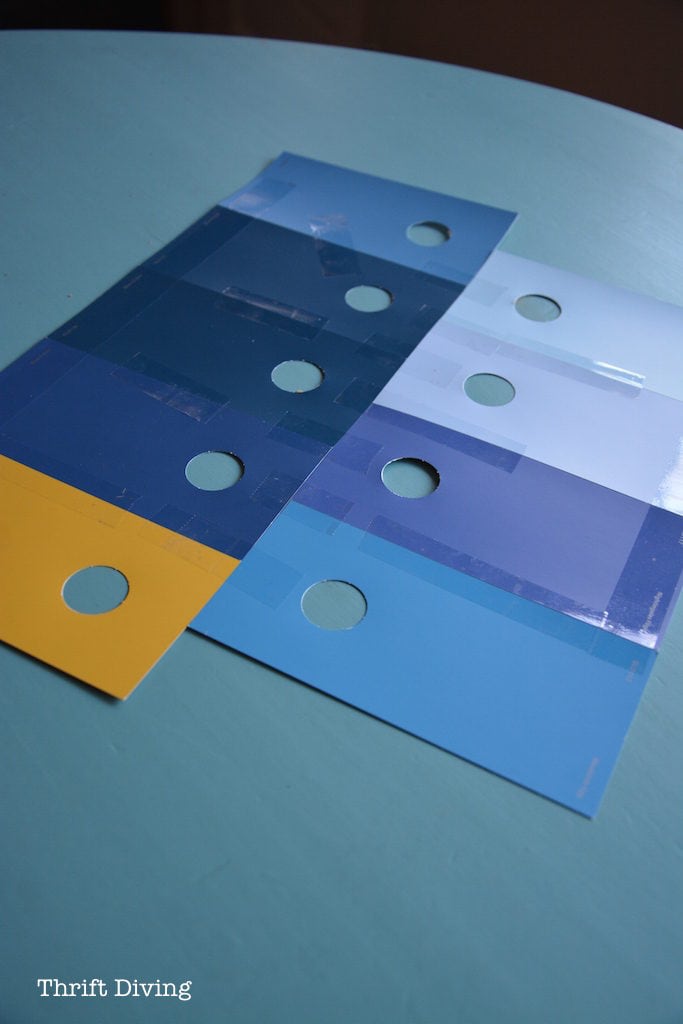
STEP 3: Lay then side by side, then tape together.
Next, I laid out the paint chips in a staggered manner, as you can see from the red lines I drew on this picture. All I did was tape them together, lined up, edge-by-edge.
There are a couple modifications you can make to this. You could trim the rest of the paint chip down so it’s easier to handle. You could also trim it down and add more paint chips and make a larger polka dot stencil, depending on your project.
Just make sure that if you’re trimming away excess, be sure to use a paper cutter, or measure evenly and cut with scissors. If you trim lopsided, it will throw off your polka dot pattern!

STEP 4: Place your DIY polka dot stencil.
Depending on the size of your DIY polka dot stencil and what project you’re doing, you may be able to lay it down and not have to move it. But if you’re doing a larger project, or your stencil is small, you’ll have to shift the stencil to repeat the pattern. Plan out how you’ll repeat your pattern before you actually start stenciling!
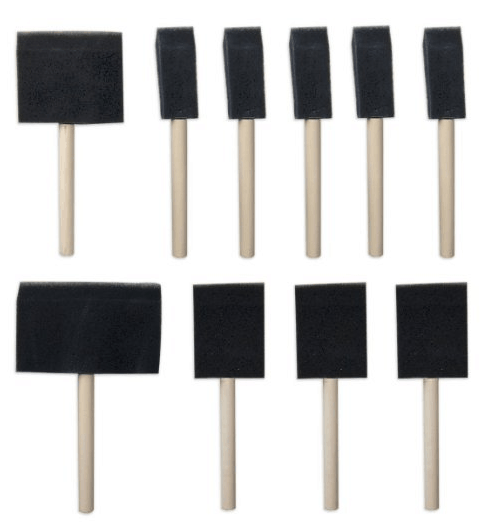
STEP 5: Get the right tools.
I would recommend using a small foam brush like this, with a weeeeeee little bit of craft paint or Annie Sloan Chalk Paint on the tip and just dap the paint over the circle, being careful not to glob it on. If you glob it on, the paint will seep underneath the DIY stencil and you’re polka dots will look like the state of Texas. HA!
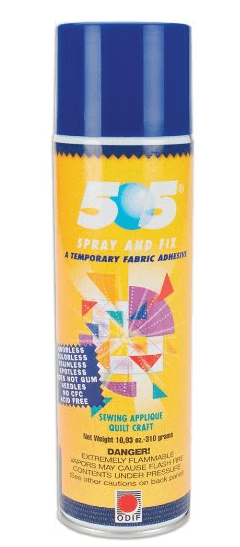
To keep the stencil in place, hold it down securely with your hand. Depending on what you’re stenciling, you can even use a temporary spray adhesive to hold it in place, like this. Just do a test area before you get started to make sure it doesn’t leave a nasty residue on the surface that is hard to get off!
If you’ve got the cash to buy a polka dot stencil, you can get them for as little as $7.00 – $25.00, like this one. But I sort of like the idea of making my own, huh? 🙂

STEP 6: Marvel at your work!
It’s really that simple! And depending on how close or far apart you want them, you can slice up those paint chips and tape them together however you like! The best part is that the DIY polka dot stencil didn’t cost you a cent! Just a trip to the paint department! 😉
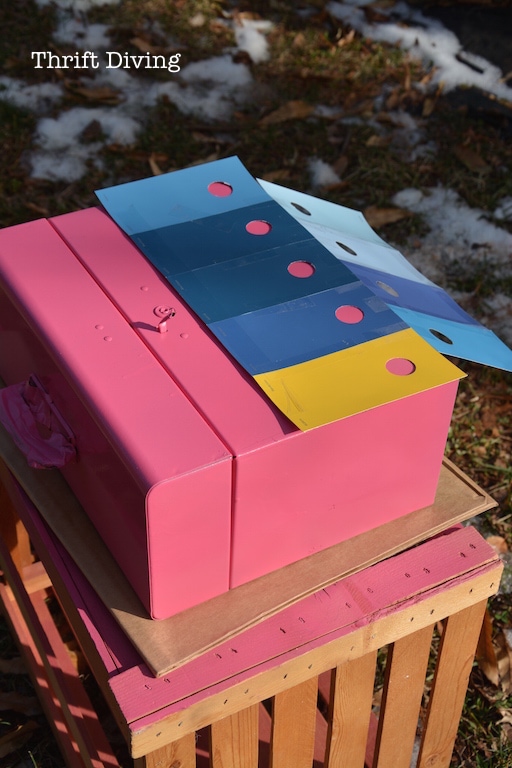
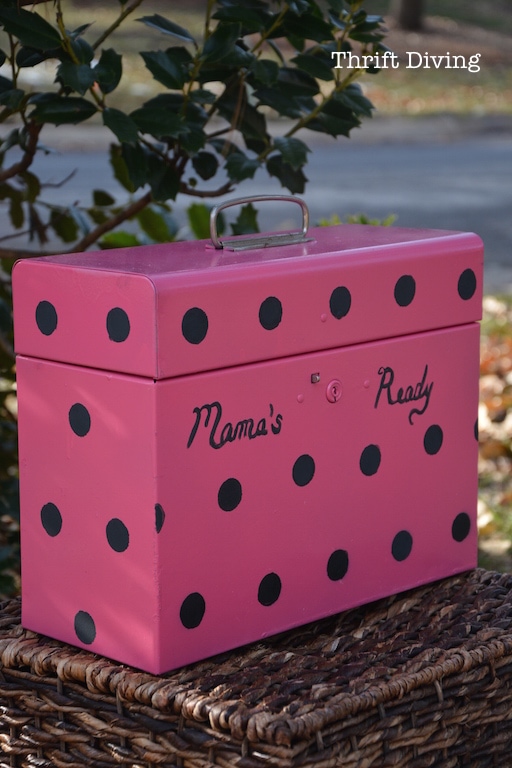
And do you want to see something wicked????
I just noticed that if you lean back and stare directly at this DIY emergency car kit on which I painted the polka dots, you’ll start seeing imaginary pale pink polka dots all over it! Serious optical illusion there! Whoa……

Other Things On Which You Can Stencil Polka Dots!
Okay, here are some other things you can stencil, too:
- Clothes
- Walls
- Old canvas from the thrift store
- Pieces of paper and then frame them with thrifted frames
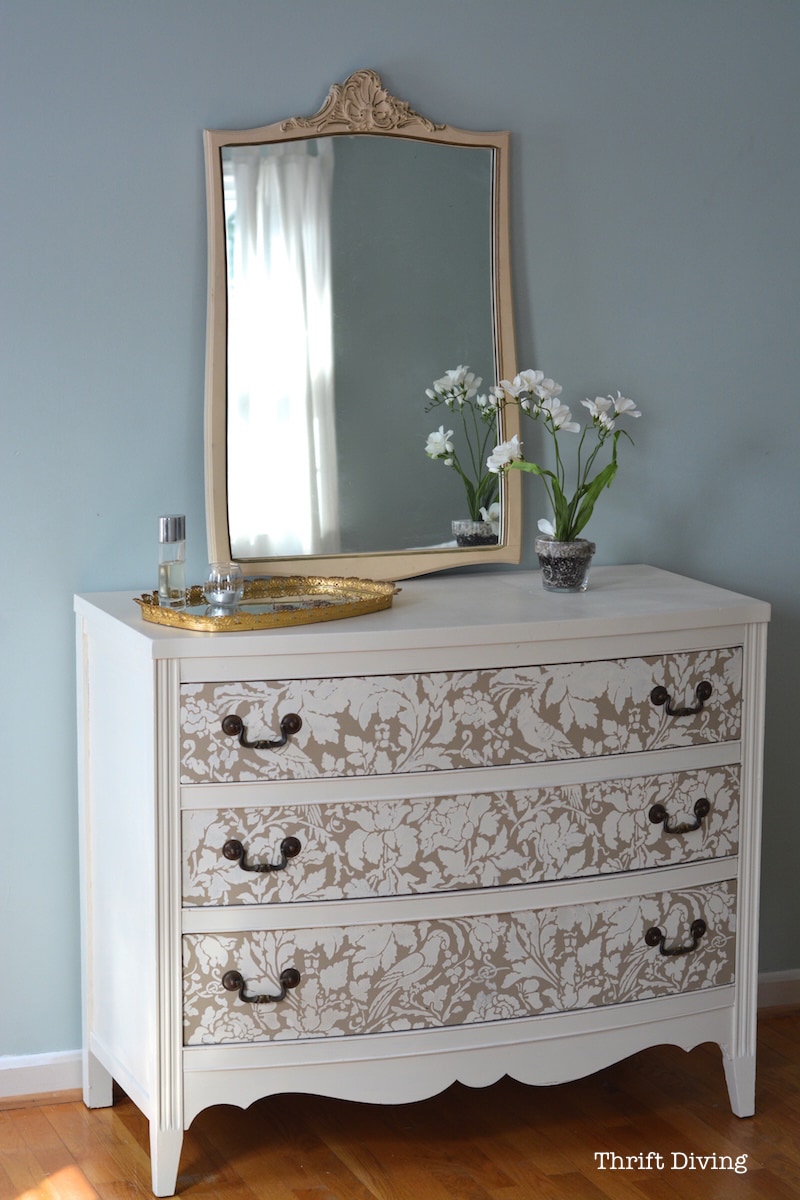
- Dresser drawers (leaving the rest of the dresser a solid color)
- Painters drop cloth, and make “no sew” pillows using my tutorial HERE
Okay, now I want to know–what other hacks can you come up with for making easy DIY polka dot stencils without having to do a lot of cutting and measuring? Leave a comment below and let me know!

Download the 5 freebies!

Thrift Diving inspires women to decorate, improve, and maintain their home themselves...using paint, power tools, and thrift stores! Use these 5 printables, checklists, and ebooks to get started!
This first is not a stencil but for dots it’s worked. Use a tip of a finger in paint. It seems good. Seemed better control than pencil eraser tip though have done that too for little dots.
Had lots of laminating big sheets from where the laminator had to warm up. Have traced a cup for a big circle to stamp. Have also used a hole punch to make a more random pattern of circles. We had a machine called an Ellison Machine. I’d use that left over laminate from laminating something and we had a “plate” with four circles spaced on the plate. That worked too for stencilling. But as you said, I did have to make sure the kids used little paint. I bought the cheapo Michaels black sponge brushes when they’d go on sale 20/$1. But I was cheap and yes, did wash and reuse until the sponge flopped off the handle!!! The kids in first had never stenciled so it was fun for them to bounce bounce bounce and lift and tada!! Those that wanted to paint did not have the clean sharp edges
Great ideas, Gwen!
I was so excited last night when my hubby came home from work and gave me the new HGTV mag. I looked for you right away and I was really proud of you. I felt like my best friend won the biggest and best award ever. I’ve still been very sick and you sure can put a smile on someones face. Thank you for the project e-mails. Keep up the good work I see you going far. This I think is your calling. God bless. Robin
Awww…you are so sweet, Robin!! This makes my day! 🙂 I hope you start feeling better soon. I hear this year has been terrible with the flu.
Yes, things have been so good since I was let go from my job!! I wonder why I didn’t leave sooner? 😉 Thanks for sticking around and cheering me on!!!
Serena