How to Cover Ugly Ring Binders With Pretty Paper: DIY Notebooks
Do you ever get so absorbed with other things in your life that you can’t figure out how to tap back into your creative juices?
That’s what happened to me over the past month.
I just stopped creating.
I spent so much time working on all those things that bloggers never get to (…the business plan, marketing plan–you know–all those things that should be done once bloggers switch from hobby bloggers to a real business), that I got used to just…..sitting…..and the thought of getting my butt up to work on something creative made me cringe.
Every time I would try to talk myself into starting a new project, I would get overwhelmed by how much crap I’d have to pull out just to do it. And then I’d say, “Meh. Maybe tomorrow.”
NOT a good thing when you’re a DIY creative blogger, eh?? 😉
That’s why I decided to ease back into “creative mode” with these fun little DIY notebooks that I could do from my dining room table in under 30 minutes.
And boy did it feel good!
I missed creating!
And what’s even better is that now I’ve got a pretty place to print out and store all those important documents that I busted my butt to complete over the past month! Win-win!
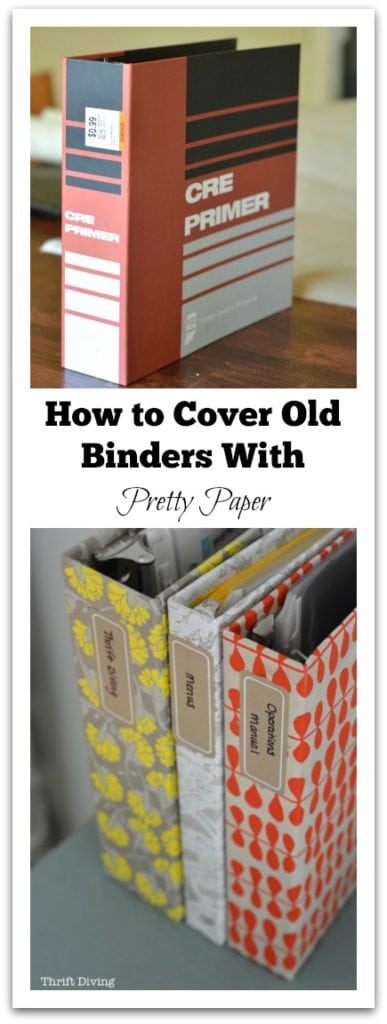
BEFORE
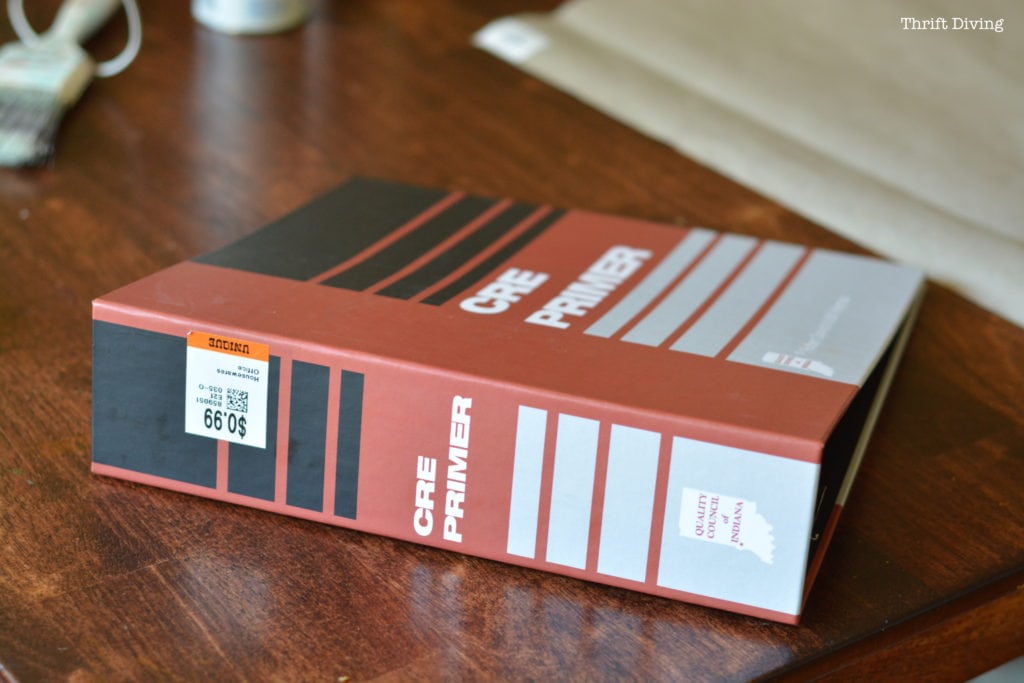
I had found this $0.99 quality binder at the thrift store ages ago. It’s one of those things that you buy but aren’t sure why. You just know you have to have it, and you’ll figure it out later.

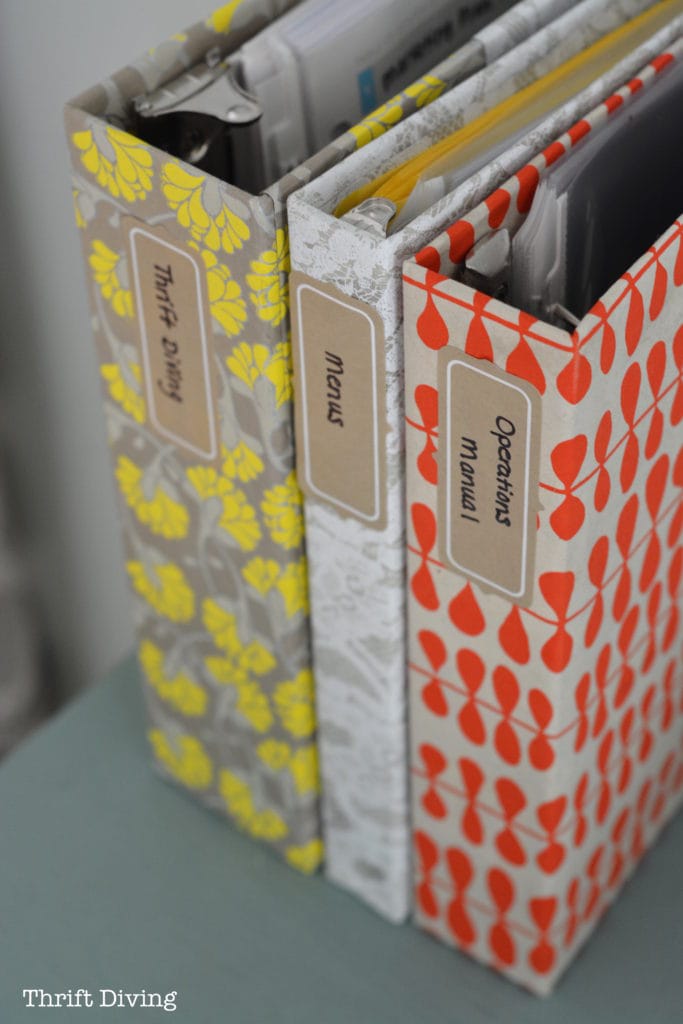
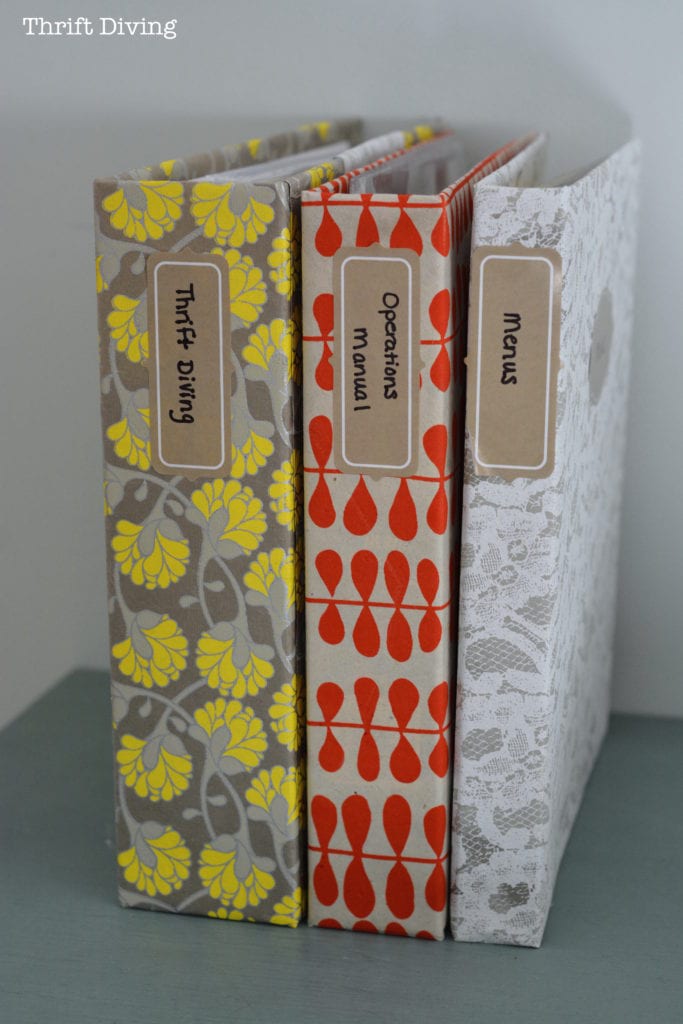
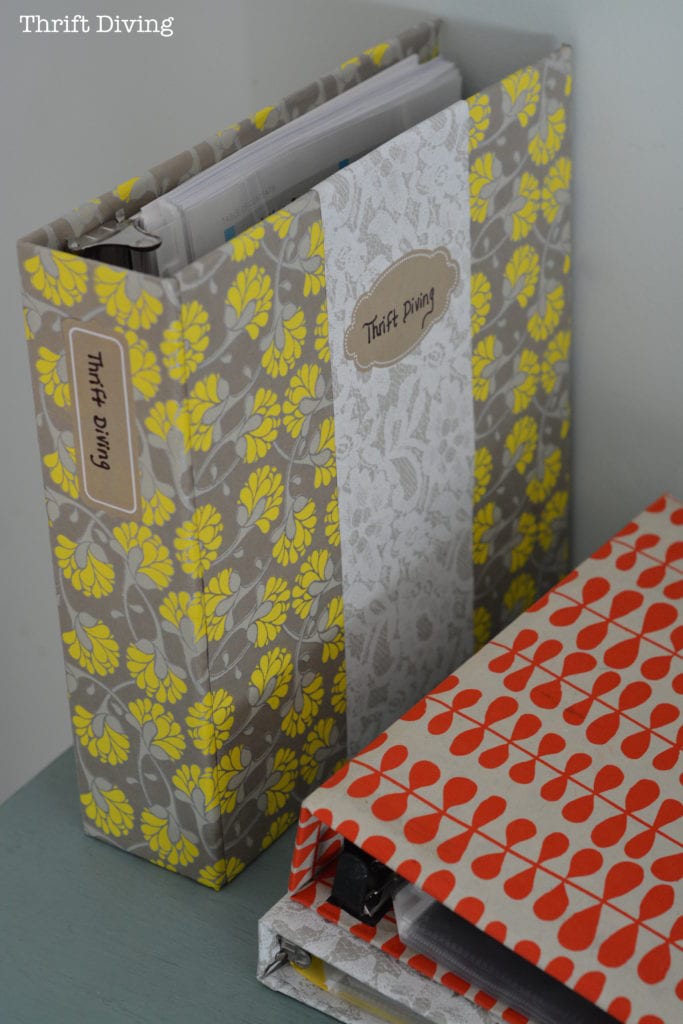
AFTER!
I figured covering it with pretty paper (along with a couple other binders I had lying around the house) would be a nice collection to my basement office. Now I had no excuse not to be organized!
How to Cover Ugly Binders with Pretty Paper: DIY Notebooks
It’s funny how what is supposed to be an easy project actually gave me a little bit of trouble, which I’ll explain in a bit.
But in about 30 minutes, you can do one binder, and it should look pretty good when you’re done!
Here’s what you need:
Materials
- Pretty paper – I get all my pretty papers from Pretty paper
- Old or plain 3-ring binders (check the thrift store)
- Spray adhesive
- Scissors or paper cutter
- Labels – I like these vintage ones. But I got mine from Target’s Dollar section.
A Word About Buying Paper
Here’s a tip when buying paper from Paper Source: if you find a paper you love, buy as much as your budget allows!
From my experience, they don’t always stock the same papers. I’m kicking myself for not buying more of this paper below that I used to make over an ugly thrifted lamp. They don’t carry it anymore. **SOB SOB**!

And when I went back to check to see if they had a couple of the fine paper that I used for these DIY notebooks, they didn’t have them!
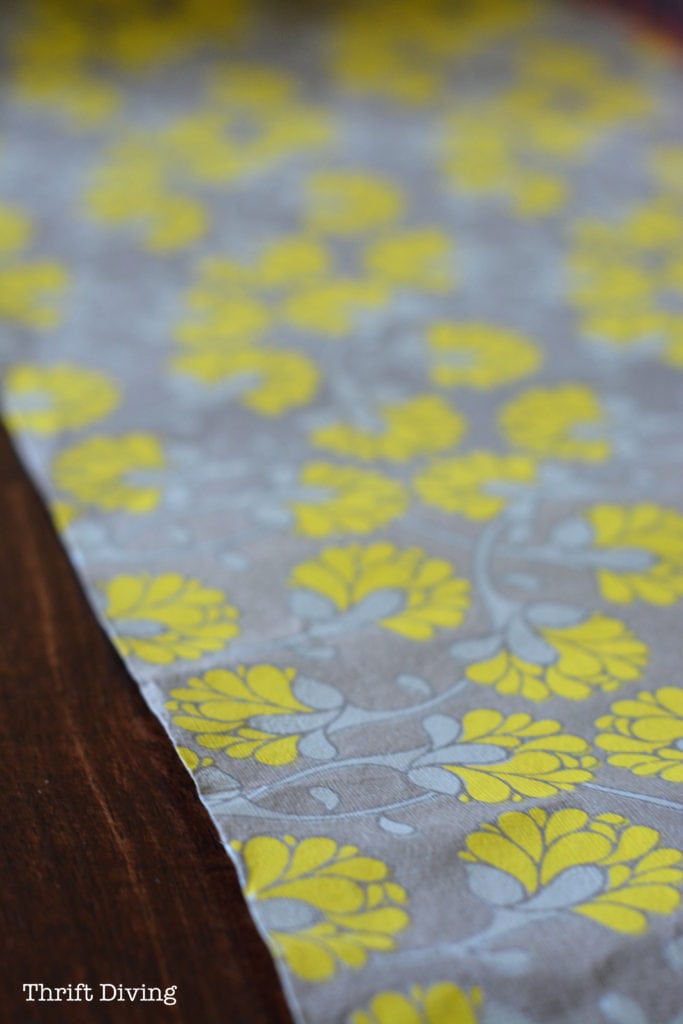
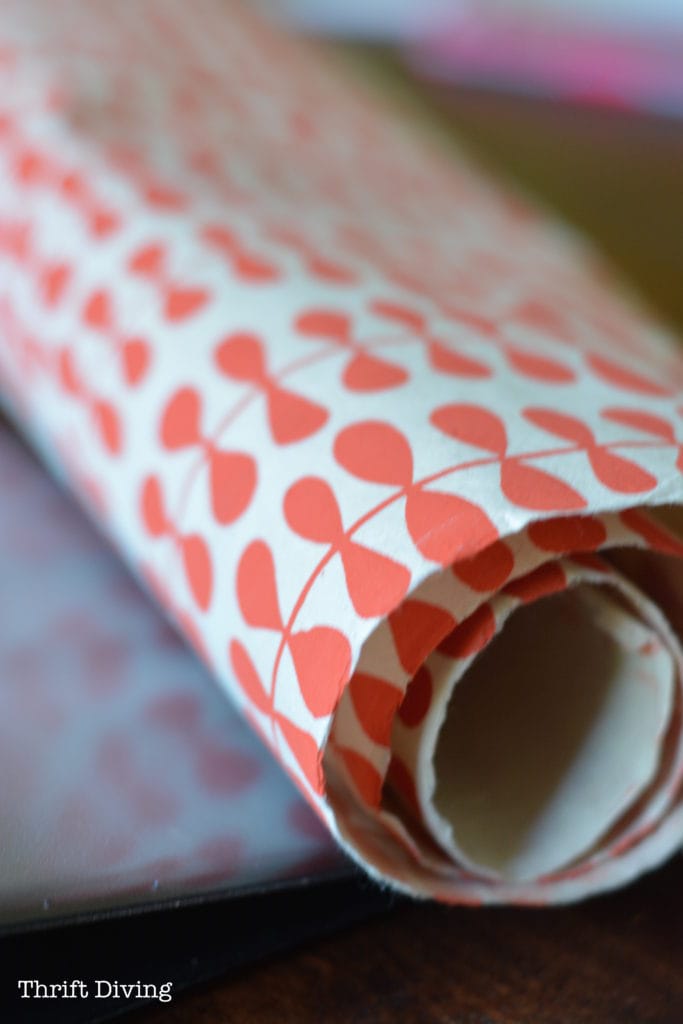
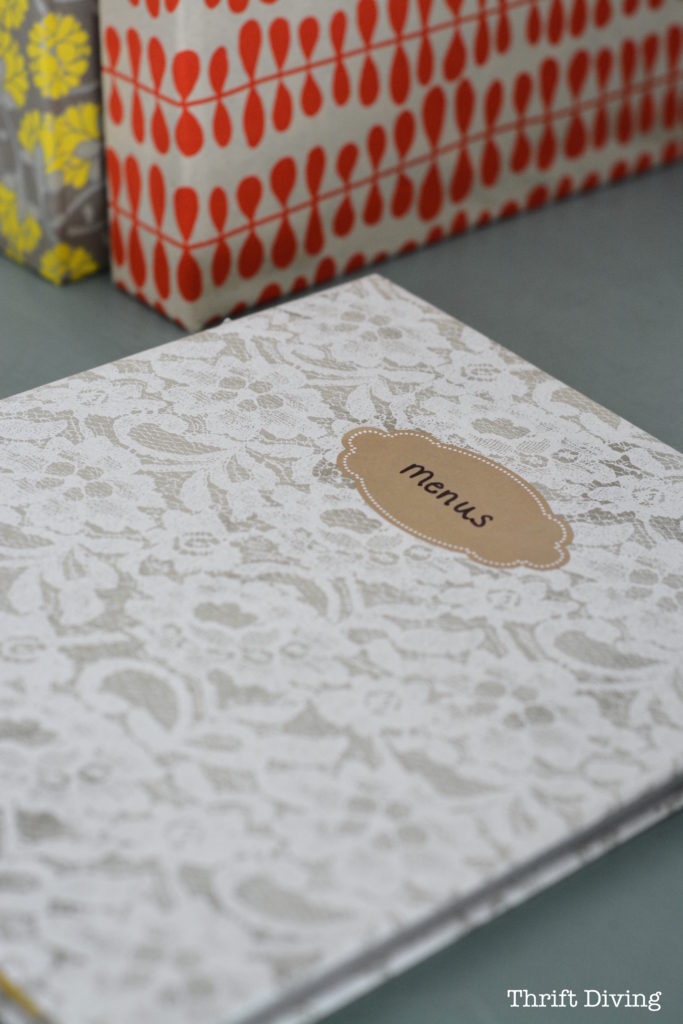
Thankfully they had the White Lace on Cement paper in case I want to buy more of that for more DIY notebooks!
Don’t you love it?!
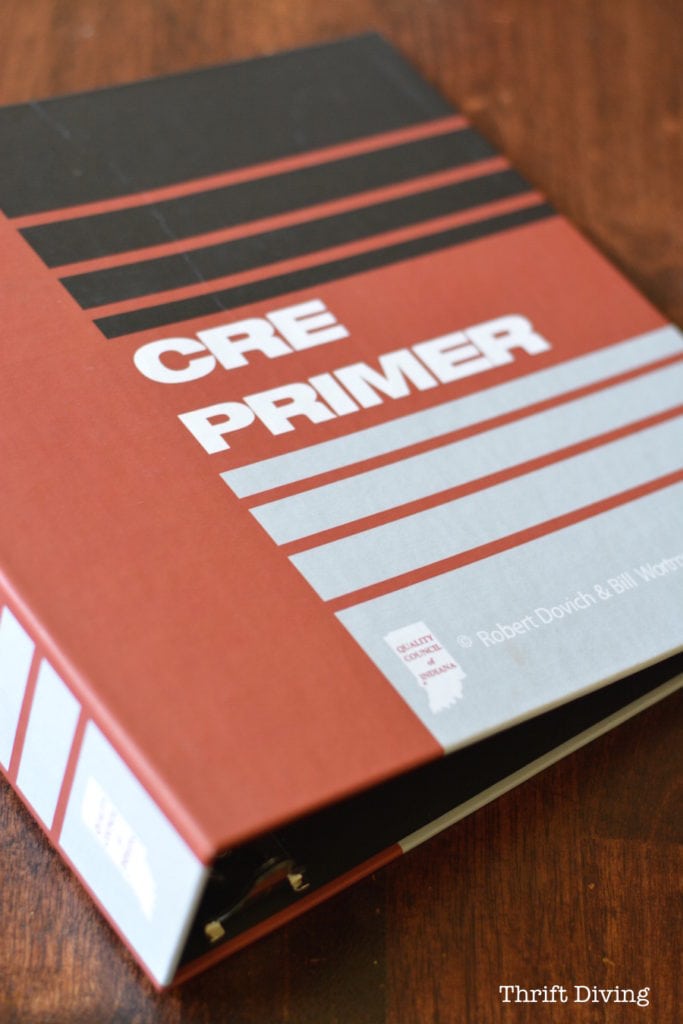
STEP 1: Find a sturdy 3-ring binder.
I wasn’t even sure what the CRE is until I googled it. Looks like some old engineering exam or something. As I mentioned, I had found this one at the thrift store. I’m kicking myself for not buying more!!
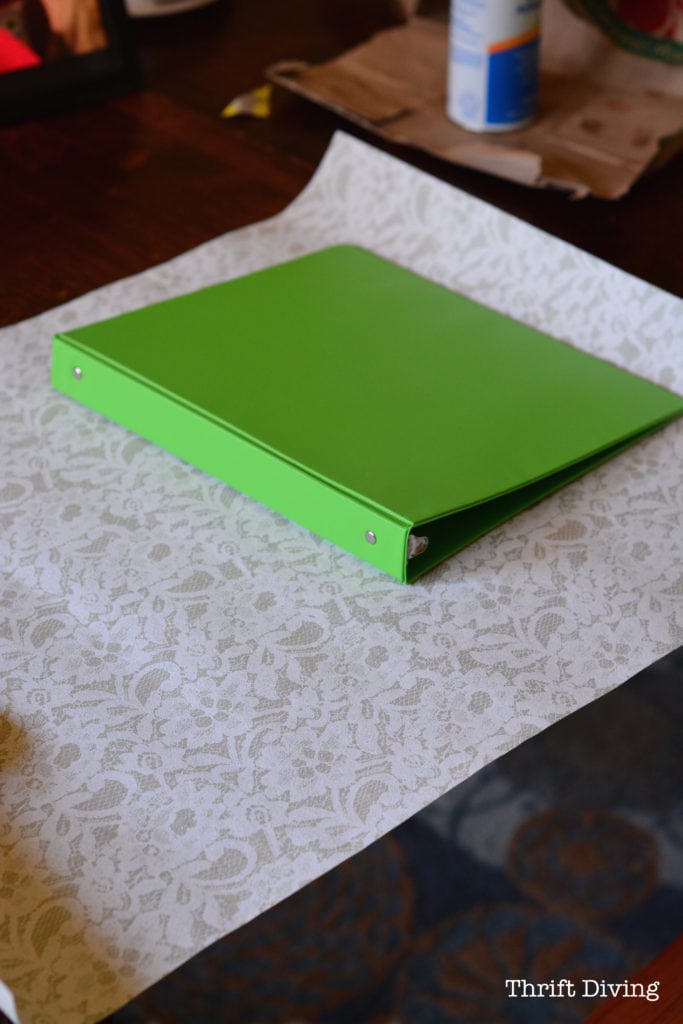
I also used a couple basic plastic-covered ones.
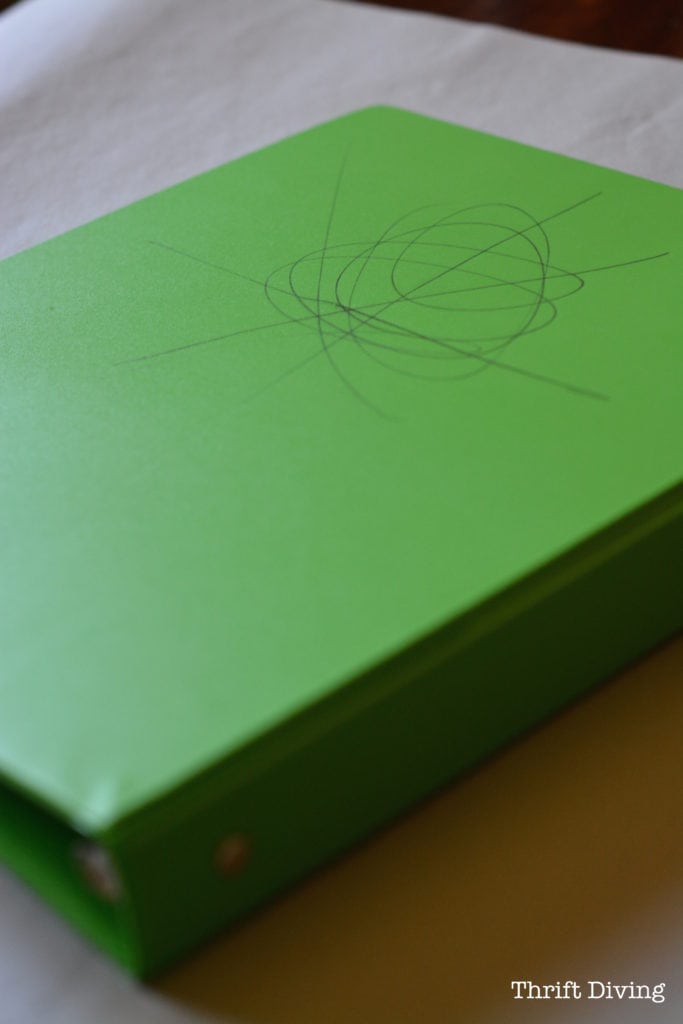
Since my son covered the back in his “artwork,” this one was good for papering, too. LOL
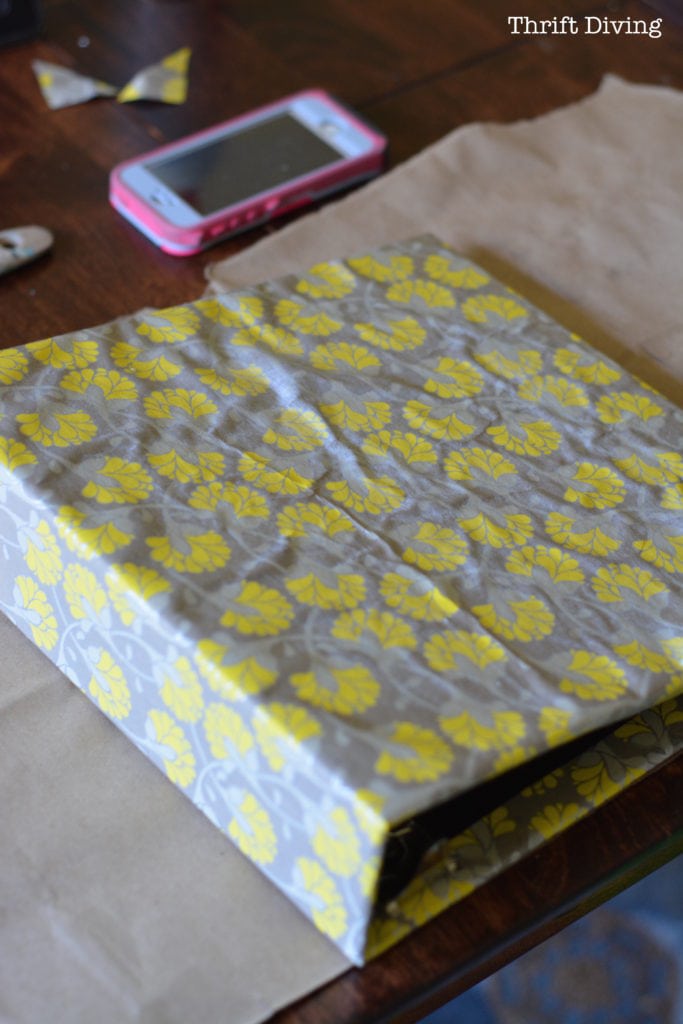
STEP 2: Cut out seams all around the binder.
Remember back in the ’90s when brown paper bag bookcovers were the hotness? LOL. Well, this is essentially the same thing, except you’ll be gluing the paper to the binder.
But first, lay the binder down and measure about 1″ around and trim away the excess.
Fold up your seams so that you know where the binder will go once you’re ready to glue on the paper.
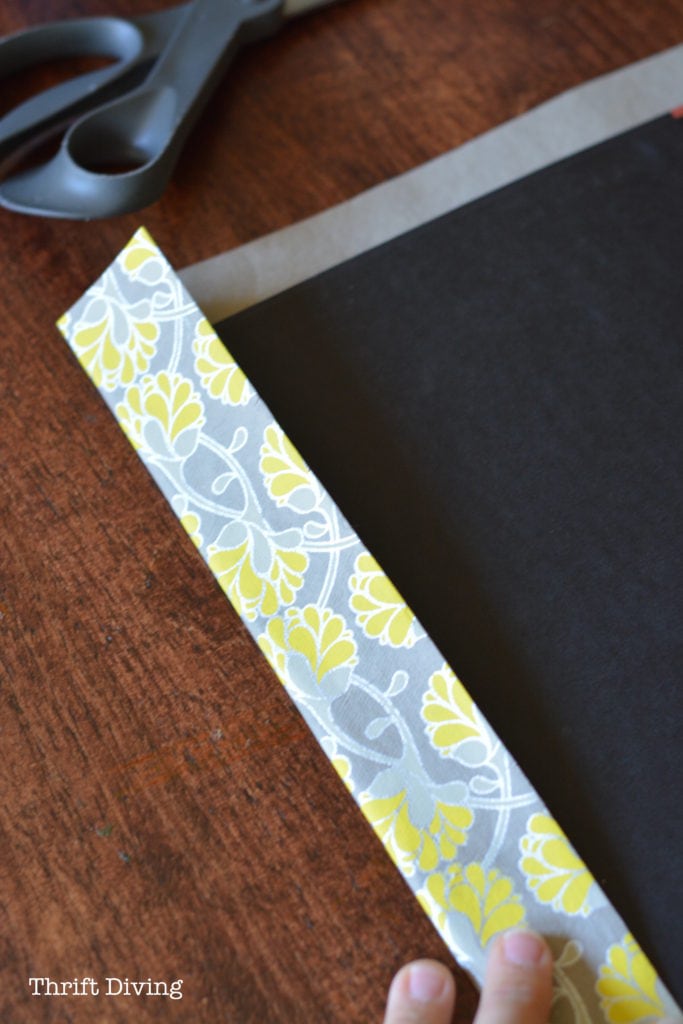
The only “iffy” spots will be where the middle 3-ring binders are attached. Just paper around them, or see if you can shove the paper up underneath them.
Make sure you fold your corners like this, then unfold it and snip off this triangle part so that the paper folded inside will make a mitered corner. Plus, this cuts down on the “corner bulk.”
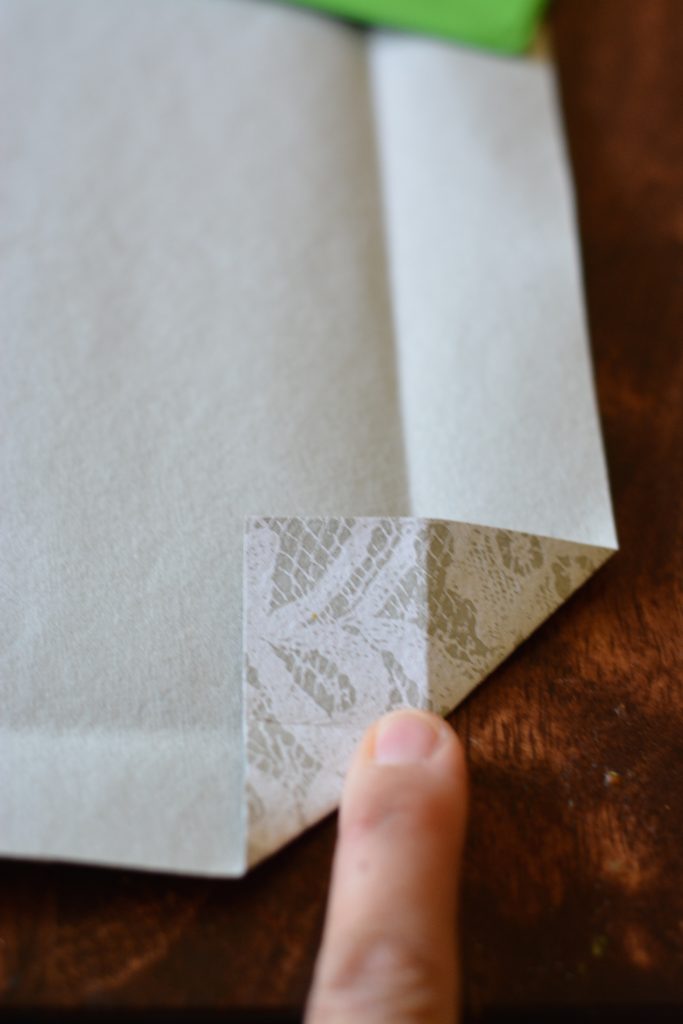
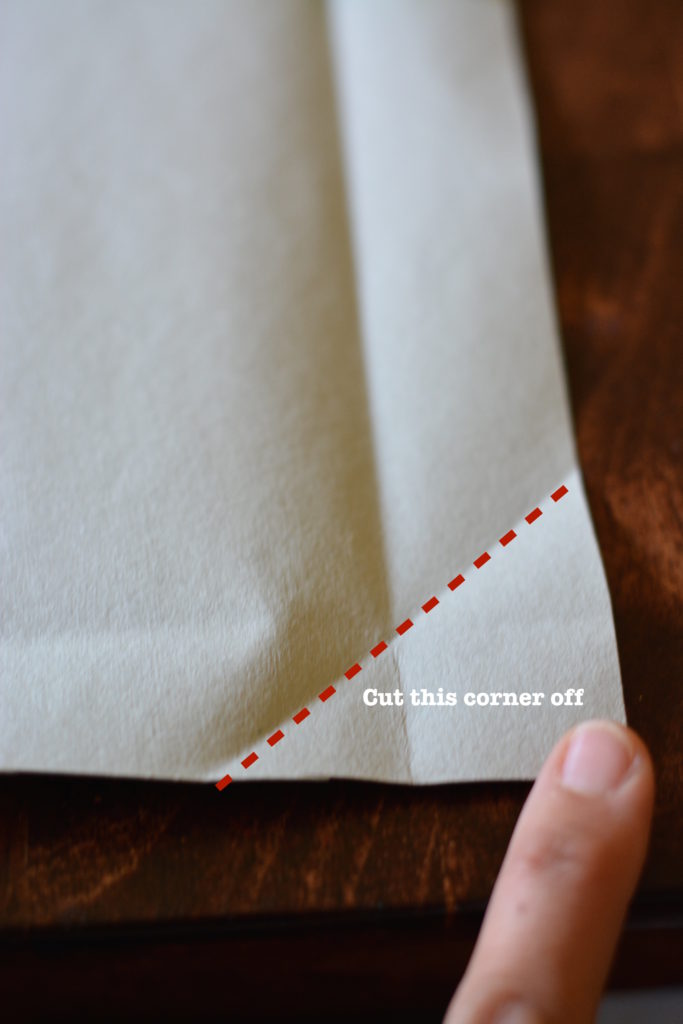
Sorry, I missed getting a picture of what the miter corner looks like. But just know that after you snip off that corner and fold the bottom and sides in, they should make something that looks clean and not so bulky. 🙂
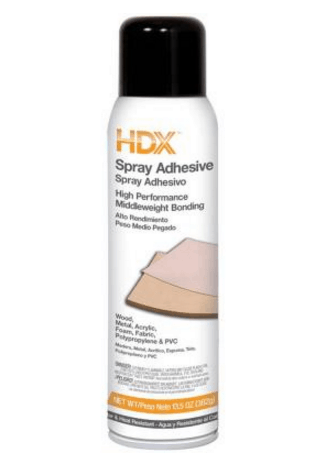
STEP 3: Spray your binder.
I’m such a newbie at using spray adhesive. I’m not going to lie. I just don’t use it that much. So stupid me sprayed the PAPER instead of the BINDER, which left some dark spots on the paper where it was too wet. Ummmmm…..don’t you love learning from me what not to do??? 😉
You’ll be all the wiser, won’t you?
Just make sure you spray the binder if you can.
Use a flat surface, like your dining room table (just be careful you don’t spray the spray adhesive on it! Use newspaper or something to cover it up). Push the binder onto the paper
This is the one I used.
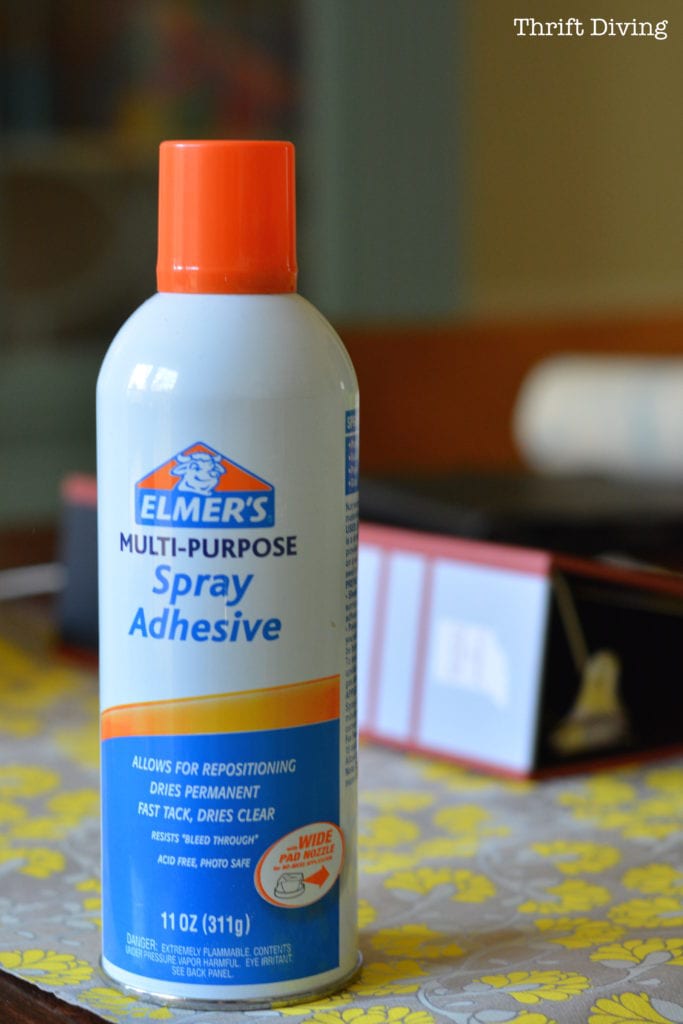
But honestly, I actually really liked using the HDX spray adhesive from Home Depot, which I had on-hand, too. It seemed like it stuck more immediately and seemed more “hearty.”
STEP 4: Fold in your edges.
Now that my edges were less bulky, I could fold them all in.
I did add some additional paper to try to cover the edges. I’m not sure if I like this or if I would have preferred to just leave the mitered edges.
I didn’t have enough paper to cover the insides; plus, I didn’t want to cover up the pockets.

Put down the Mod Podge!!
You know how I do here at Thrift Diving….I have to share the “fails” with you! LOL
Okay, so you know how I love Mod Podge for gluing fabric to wood and for gluing paper to stuff, right?
But you can also use it as a sealer.
So imagine this pretty binder getting water spilled on it, or some other horrible marks.
Why not Mod Podge it, right???
WRONG!
Looks what happened!
I should have freakin’ known.
But I didn’t.
Totally ruined……ALMOST.
While the paper did wrinkle up, it evened out a little after drying. A little.
But it was still wrinkly.
So I had just enough paper left to add more paper on top, with a center panel, trying to make it look like I designed it this way. HA! Just totally trying to cover my screw-up!
I don’t even know if lace and yellow flowers match.
I guess it’s gonna have to.
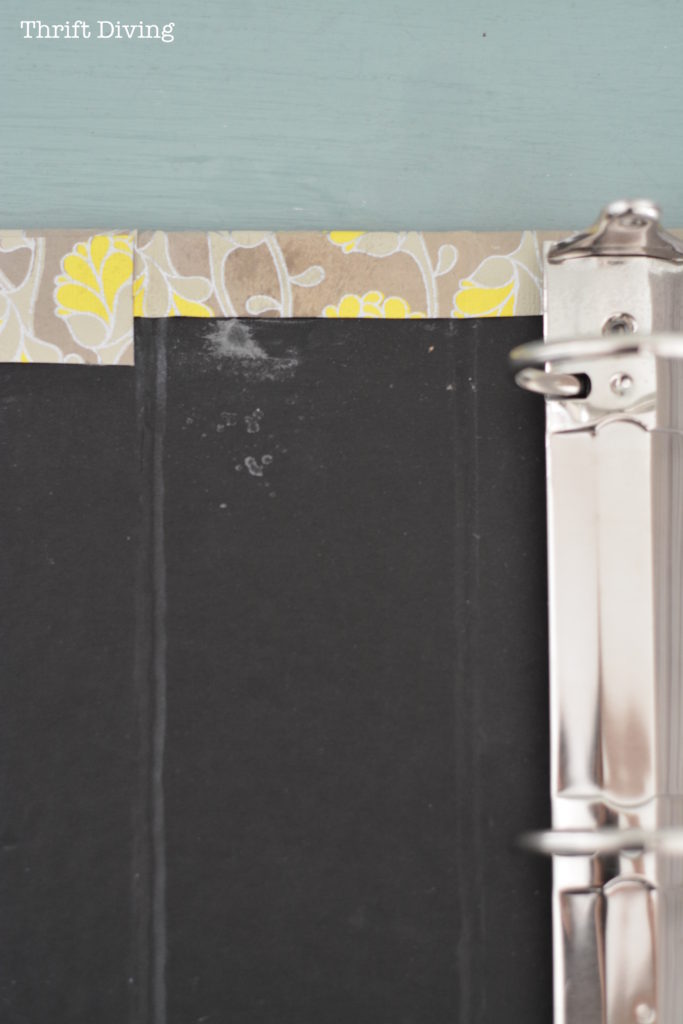
My Other Boo-Boo
Open up the inside of the yellow one and you’ll see where I got a little tooooo happy with the spray adhesive. I had a lot of crazy stuff going on inside, so this one doesn’t look the best.

I love showing you the “fails” so that you know, we all make mistakes.
So don’t do this project thinking it has to look perfect! 🙂 It probably won’t. LOL. But at least you’ll know mine had its moments, too! LOL
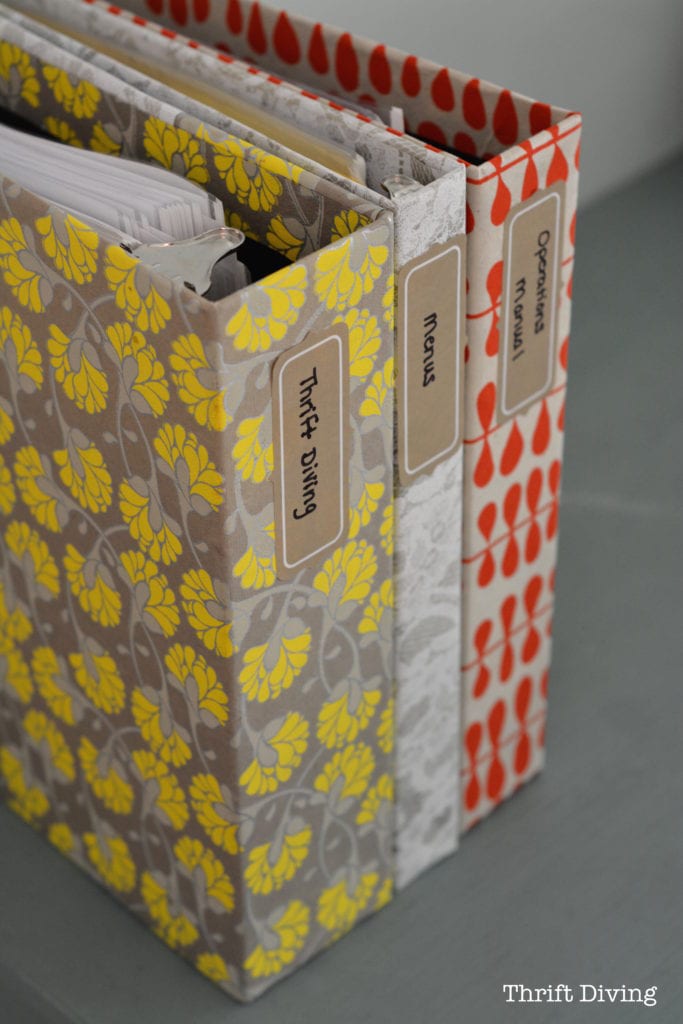
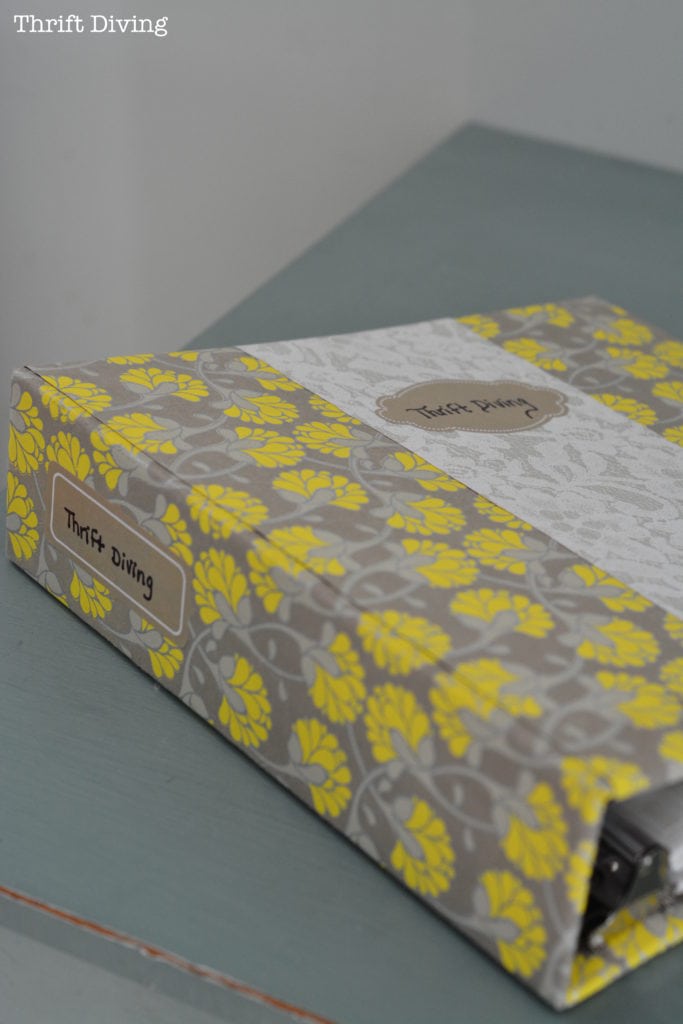
STEP 5: Add pretty labels and documents.
I had picked up these labels eons ago from Target, from their Dollar section. I had never really used them until now.
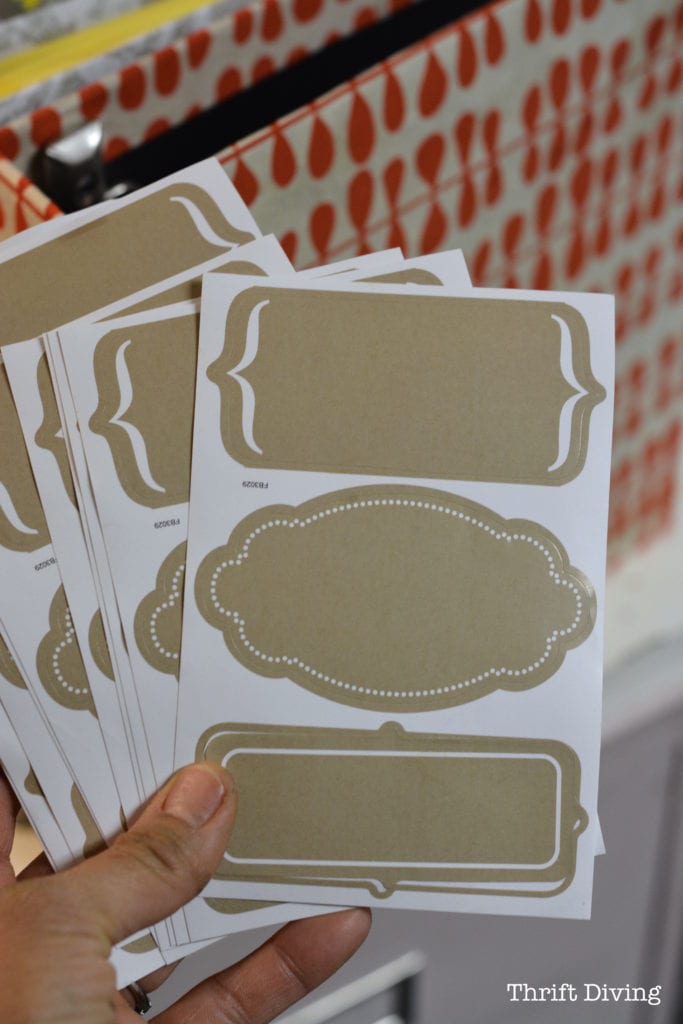
But they worked out perfectly!
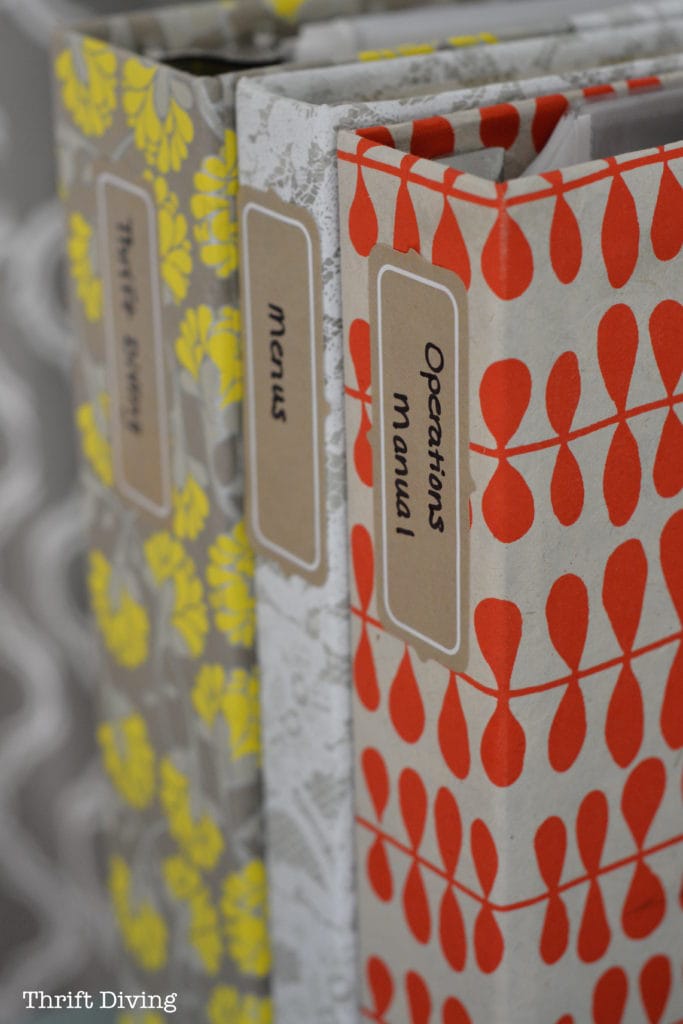
I’m going to be doing a lot more behind-the-scenes work on this blog, and I’ll document those things and put them inside these binders. You know–so I can operate like a real business. LOL

Let’s have another look at the before.
BEFORE
AFTER!
Other Projects You Might Like
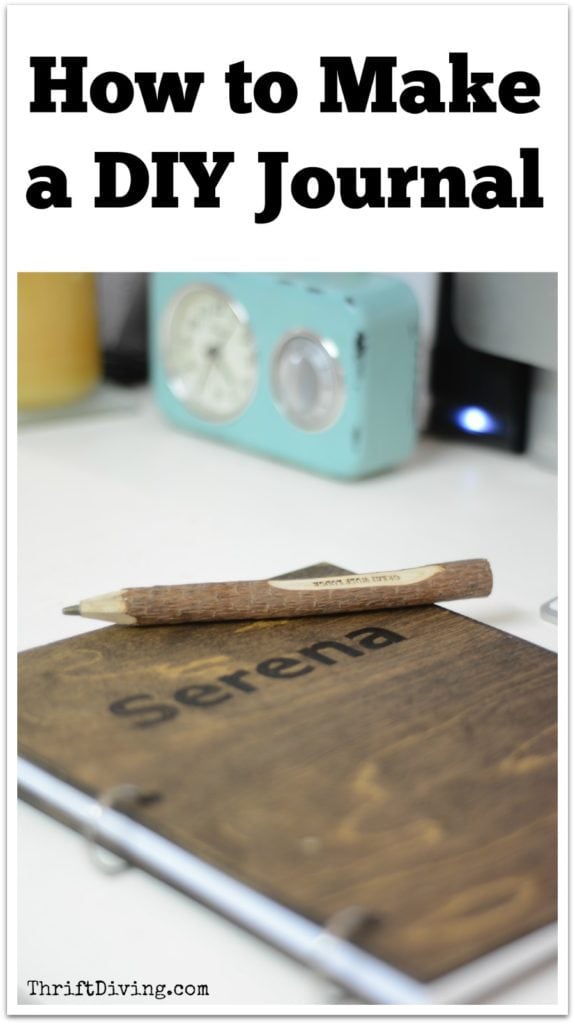
If you like these DIY-covered notebooks, you might also like to make your own DIY wooden journals, too!
Like these DIY notebooks? Go ahead and PIN them for later.
![]()

So do you struggle with getting projects started, too? Have you ever made a DIY notebook like this, with decoupage and pretty paper? Leave a comment below and let’s chat about it!

Download the 5 freebies!

Thrift Diving inspires women to decorate, improve, and maintain their home themselves...using paint, power tools, and thrift stores! Use these 5 printables, checklists, and ebooks to get started!

I love those! I used to make fabric covered photo albums but never thought about paper. Thanks for sharing!
Thanks you so much for the advice with the Modge Podge verses the spray adhesive. I am so glad I read this article before starting my project!
Wow! They turned out better than mine did! I didn’t try to use adhesive spray, which would have been a good idea, but just folded the paper over the edges, like we used to do in school (well, in my day…!) It’s not as permanent, but for the time being, I like it. And I have a grudge against washi tape for all time; it never seems like a good idea. I put it on a bunch of binders, but the next day they had peeled themselves off and curled up! Same with my greeting cards that looked so cute until the tape fell off…
So far as projects go, it seems as if the more you do, the better you get! Love your papers, too! Thanks for the posting!
…the little Appiahs are getting ready for back-to-school, yes? think of all the time you will have to yourself again! Yay!
Do you use the fine paper or wrapping paper? Do you think either could work?
I can’t help wondering why you didn’t use Mod Podge to attach the paper instead of the spray adhesive?
Hey, Waco, I tried the Mod Podge but it left the paper really wrinkled! The spray adhesive worked much better!
I just wanted to say that if gals need or want some free wallpaper that I found that many of the stores were
throwing their discontinued books away, so I asked them to call me and that I would be happy to pick them up . Next thing I knew I had much more then I needed to I gave them away to anyone that needed some.
So check your local wallpaper stores , there are some lovely papers and very sturdy.
I use spray adhesives for large projects and if I make envelopes I use Modge Podge to put flaps together.
This binder project is a great idea and as soon as I can quit ironing pillowcases I will try it.. lol .. Chache
Very cute prints (I’m a print addict too) and a lovely project. THANK YOU for showing your flub ups. I swear it’s my favorite part; not because I’m pointing my finger and laughing, but because I regularly have create-fails that leave me frustrated, and seeing everyone’s perfect pictures is disheartening. Your fails give me the courage to try again (or scrap it and move on).
Awww….thank you so much, Sarah Kate! That’s really what I hope to show people in my posts–that everyone makes mistakes. Everyone! All these projects we see online, they’re facades because we can crop, lighten, remove blemishes, and more. But I want to inspire people to be creative, and letting them know that these things happen. They’re not worth beating yourself up over because it didn’t turn out perfect. Thanks for commenting!!
I love the Paper Source and had fun clicking over to the link. As usual, I love your refreshing honesty, too.
I’m glad you found a way to ease back in to your DIY creativity. All that tagging and categorizing uses the other half of the brain. You needed a nice transition project. The binders look terrific.
Oh, Alys, yes! That’s what it was!!! I was using the non-creative part of my brain, and sure enough, I got stuck over there! LOL That explains it! 🙂 Thanks for pointing that out. Lesson learned here is to make sure I don’t stray to the non-creative side and stay for too long!!
Hey Serena, awesome idea! I usually buy the binders that have the “extra” clear cover that I slide decorative papers, collages… into the front, back and spline, that way it’s protected from my abuses….lol Thank you for sharing another awesome project. Love ya’
Hey, Patricia! Yes, I love those types of binders, too! 🙂 Glad you liked this project!!
love your thrift store binder makeovers Serena, AND your honesty. Things don’t always go as planned, eh?
pinning!
Awww…thanks, Gail! My projects NEVER go as planned! Something always happens. Like, ALWAYS. Showing people the mistakes helps them not feel like a failure when they, too, get extra glue on the parts they’re not supposed to. LOL Thanks for pinning!