
Turn an Old Knife Block into a DIY Crayon Holder
How to Repurpose an Old Knife Block
Do you ever walk by something at the thrift store and your brain says, “Whooooa, hold up–I can make something with THAT!!”
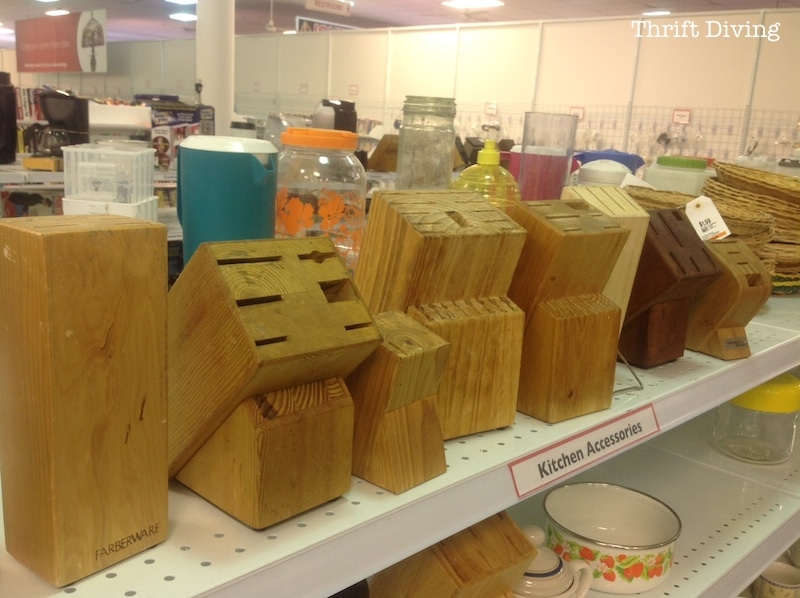
Well, that’s what happened when I stopped by the thrift store and walked past this section of knife blocks and inspiration hit. I’ve got a great idea for a DIY knife block! I can’t even say what that inspiration was. I just saw all that wood sitting there and I started salivating. I just knew I was supposed to buy one. And boy am I glad I did!
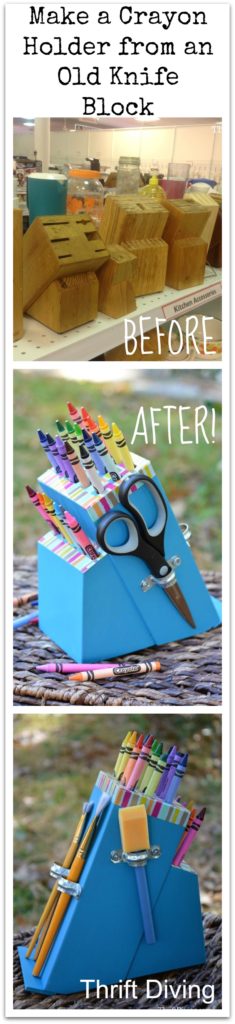
BEFORE
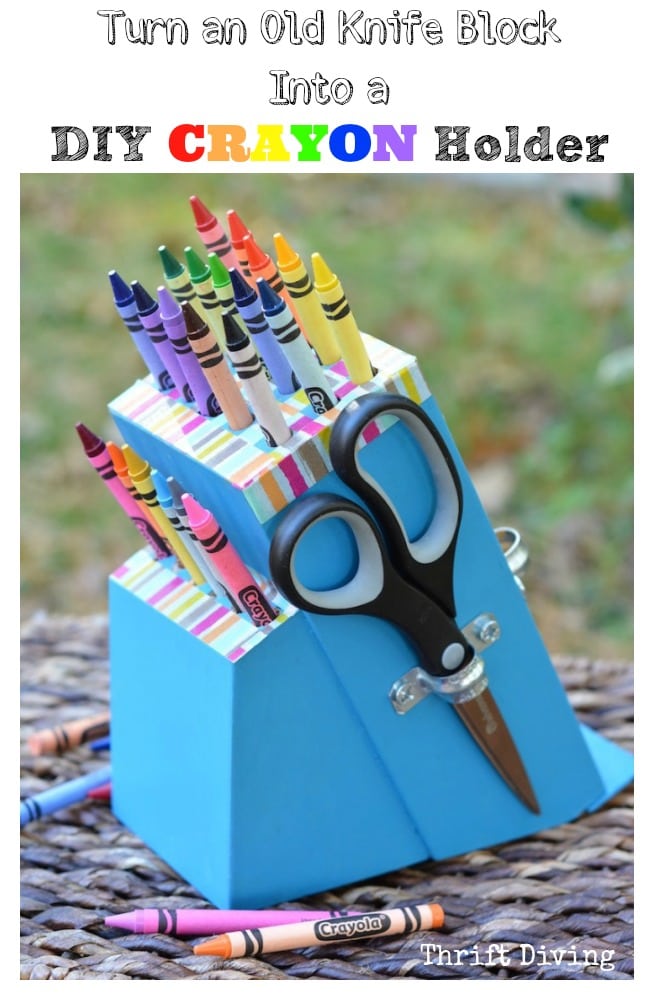
AFTER
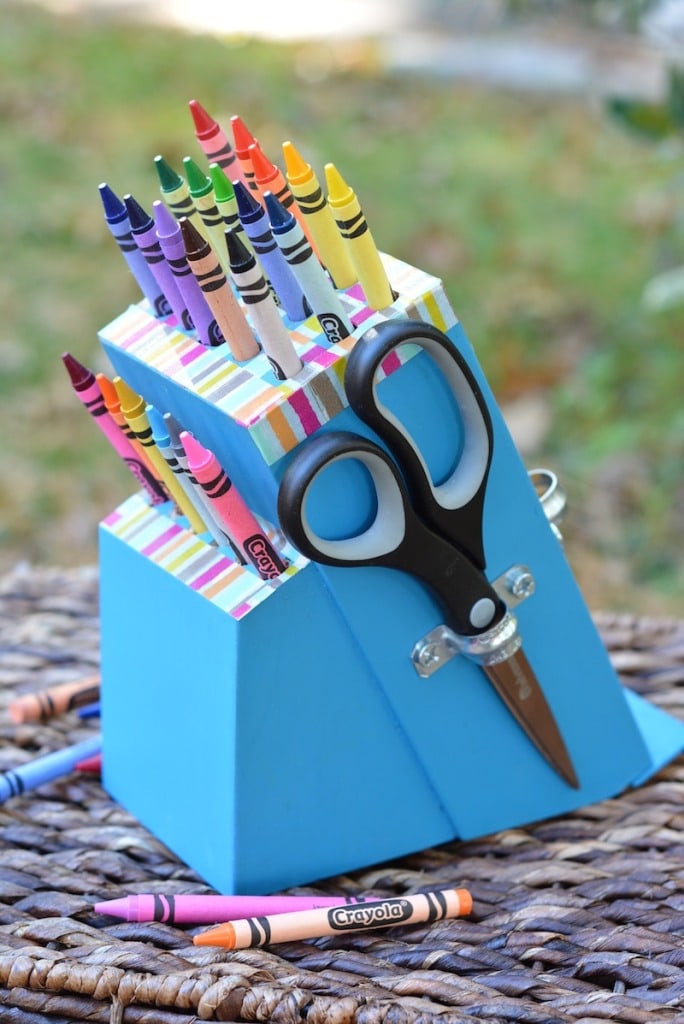
….Because now one of those old knife blocks was repurposed into DIY knife block that holds crayons for my kids!
Materials List – DIY Knife Block
If you’ve got an old knife block sitting around, you can easily make this, too. Get the kids involved. They’ll love it! Here’s what you’d need for the materials to repurpose your old knife block!
(I participant in the Amazon Services LLC Associates Program, an affiliate advertising program designed to provide a means for me to earn fees by linking to Amazon.com and affiliated sites).
- Old knife block – Find one for about $2.00 – $3.00 at the thrift store, but you can also buy an empty one from Amazon!
- A power drill
- 3/8 drill bit – Use the size drill bit for the thing you’re storing in your knife block. For crayons, the 3/8 bit works well.
- Milk Paint or chalk paint – I used General Finishes Corinth Blue.
- A few metal two-hole straps – About $1.50 or less.
- Wood shims – $1.00 for a pack – Or any small, thin piece of scrap wood will work.
- Screws – Use wood screws in the blue pack – About $2.00 or less (#10 x 3/4″).
- Washi tape – Or you can use scrapbook paper and Mod Podge, or duct tape or anything sticky, really.
- A couple small mini nails – To attach a wooden shim.
- A small hammer
TIP: You can use almost any kind of furniture paint, but I typically like furniture paint that is made especially for wood, plastic, metal, etc. and doesn’t require any sanding or priming. Check out my article What’s the Best Paint For Furniture? for more information about which paints are best.
DIY Knife Block Ideas: Why This Project is Easy, Easy, Easy
It’s hard sometimes when you read a blog, isn’t it? There are all these great projects, but many of them require you to have things you don’t own or can’t afford to buy, like circular saws and craft supplies out the ying yang. Plus, many of you have crappy thrift stores that offer hardly any good selection (I know!! **SOB SOB**). But this old knife block you could probably find somewhere in middle America in the worse thrift store on a little corner where no one visits :). Okay, I can’t guarantee that, but I highly doubt people are grabbing old knife blocks off the shelves of thrift stores like there is a knife block famine or something, so I bet you wouldn’t have any problem finding one to make this project!
Make a DIY Knife Block
So here’s how you’d repurpose a knife block into a crayon holder and more!
Step 1: Paint and Drill the Knife Block
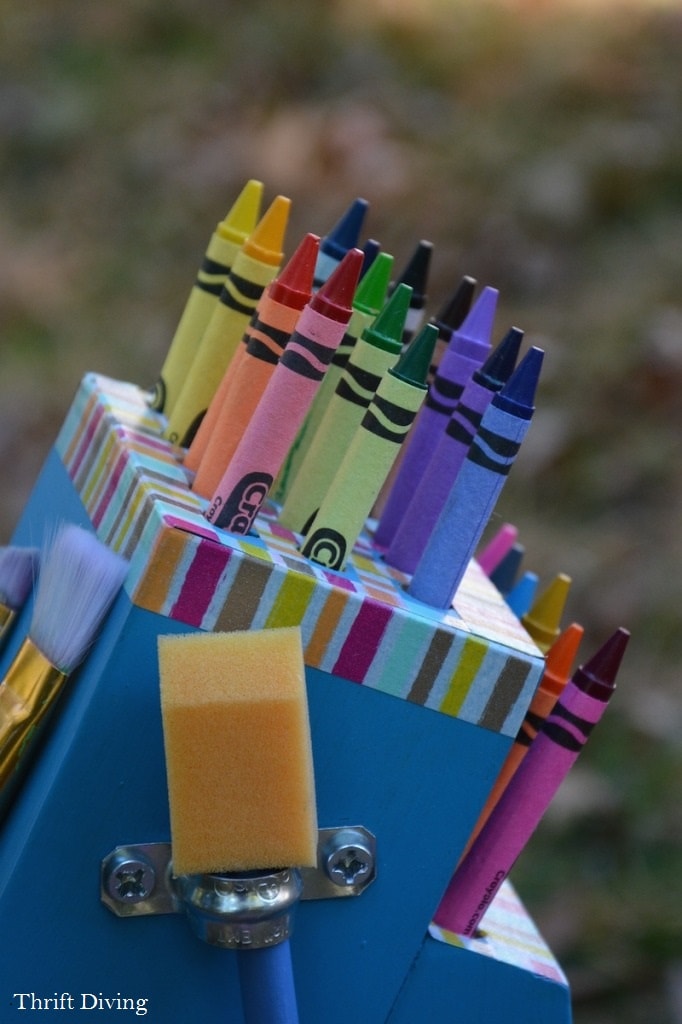
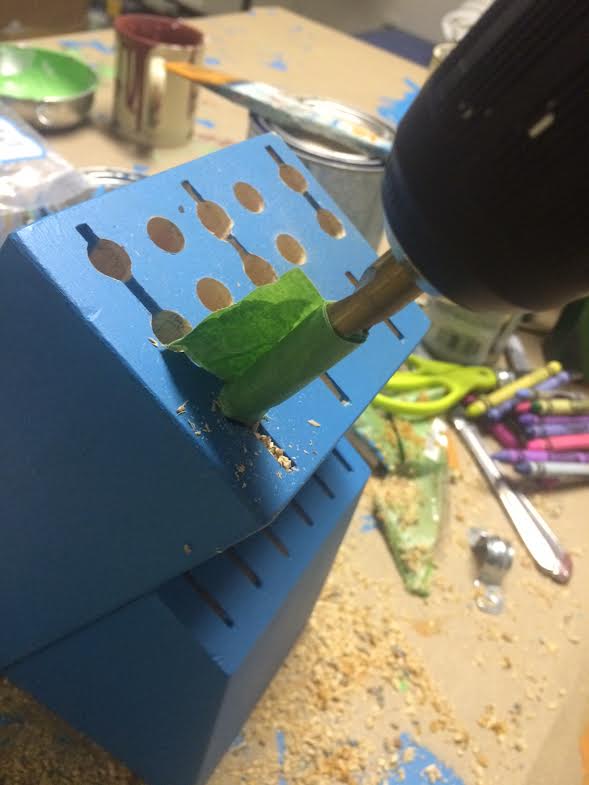
When drilling, you’ll want to map out where you want to place your holes. There are no rules here other than trying to keep the drill straight. Because of the knife slats, the wood can chip easily if you drill too fast. Go slow. Use the tape on the drill as a stop marker so you can keep the holes uniformly deep. I think 2″ is about good.
STEP 2: Cover Up Your Imperfections
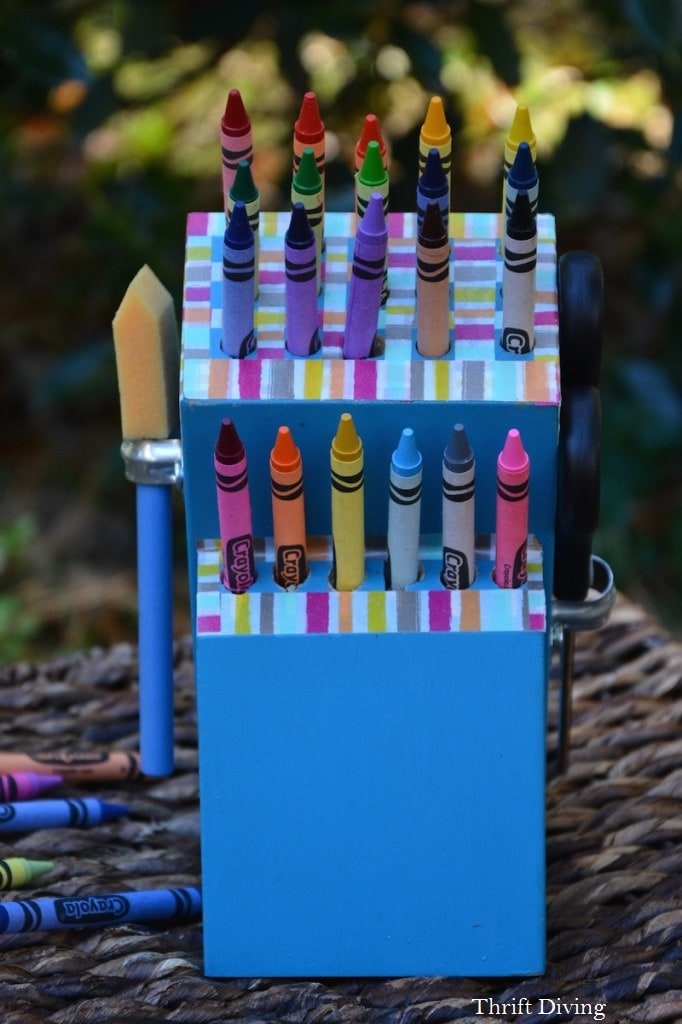
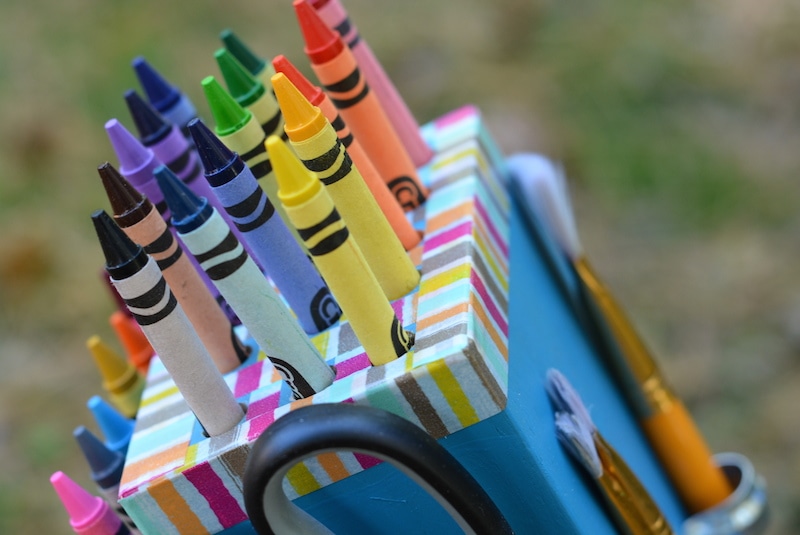
….And even when you take your time drilling, there’s always mess-ups. That’s why I added the washi tape. Putting strips of it around the holes helped to cover the knife slots and distract from the poor drilling job I did. LOL. You can use scrapbook paper and Mod Podge, or even duct tape or fabric pieces to cover up the areas in between instead, as other options.
STEP 3: Add the Hardware
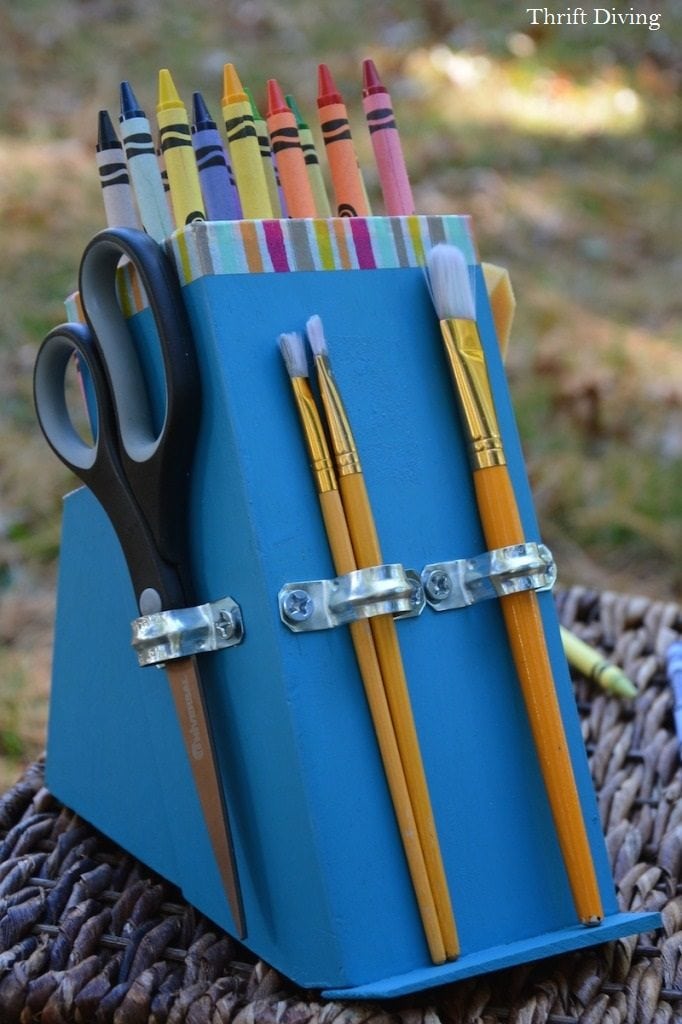
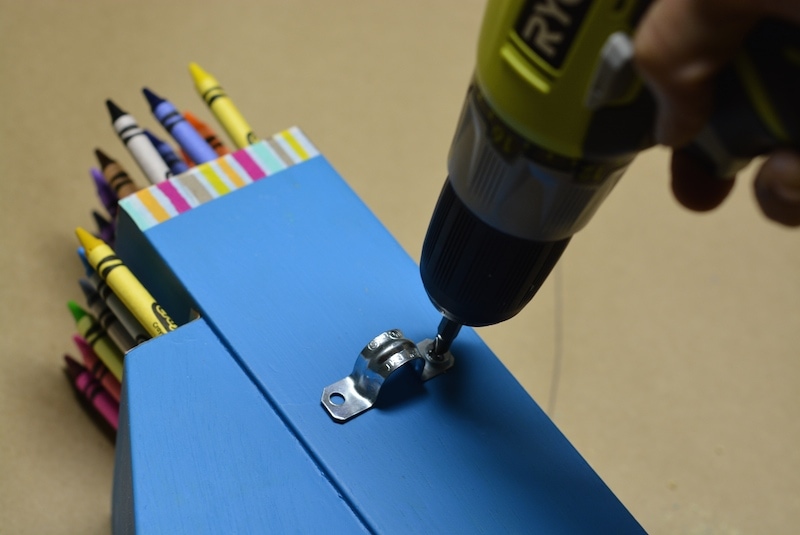
Keep a steady hand. You might want to pre-drill a little hole so that it helps it easier to get the screw in. Get creative! Add the hardware wherever your little heart desires. Here, I added one that would sit at an angle so the scissors would be angled, too.
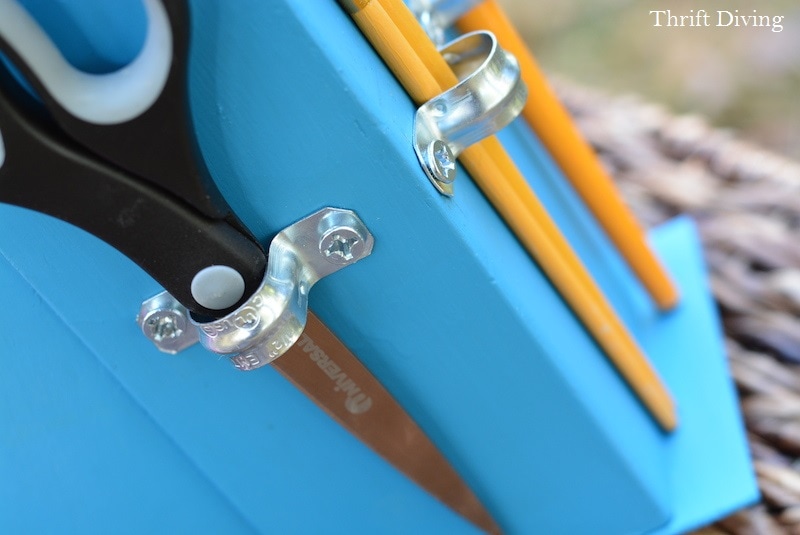
I put some on each side, and some on the back. I didn’t show you in this pic, but I added two more pieces of hardware at the bottom of these brush feet so that they wouldn’t slide around. I just forgot to snap of pic of it :). Forgive me!
STEP 4: Add a Little Foot Rest
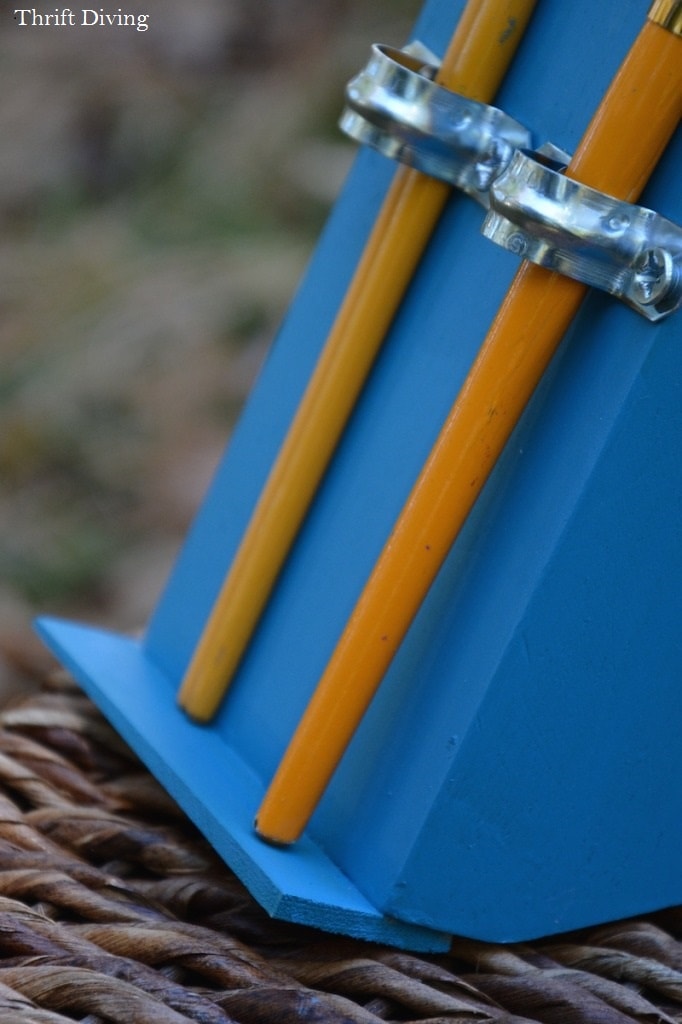
Yep, those paintbrushes back there need a little footrest to keep them from falling out. Or if you’re holding some markers or pencils back there, they will fall out without a ledge to stop them. That’s where the wood shim comes into place. Use a sharp pair of scissors or something and just score right through a thin piece of shim. Thankfully, most (if not all) knife blocks come with this little raised butt in back. LOL.
It flips up and is just enough space to add a little wooden shim (you can even use an old paint stir from Home Depot). Then paint it to blend in with the rest of the crayon holder!
STEP 5: Add the Awesome Crayons and Supplies
More Uses – DIY Knife Block Ideas
Here are some other ideas for things to hold in your repurposed knife block:
- Markers
- Knitting needles
- Crochet hooks
- Add skewers and hold spools of thread
- Colored pencils
- Makeup brushes
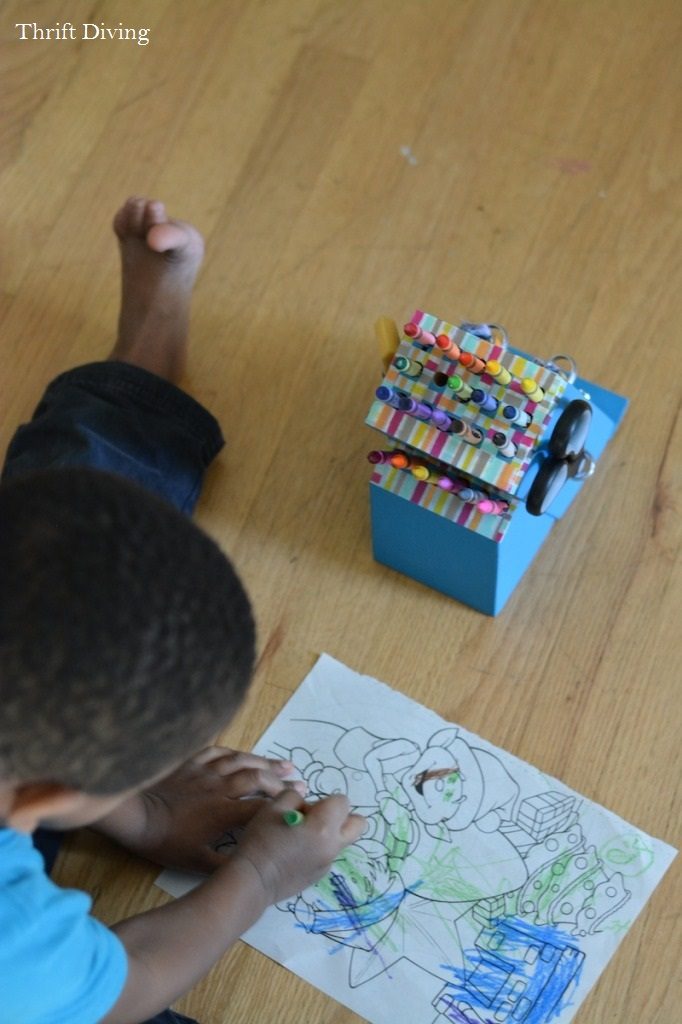
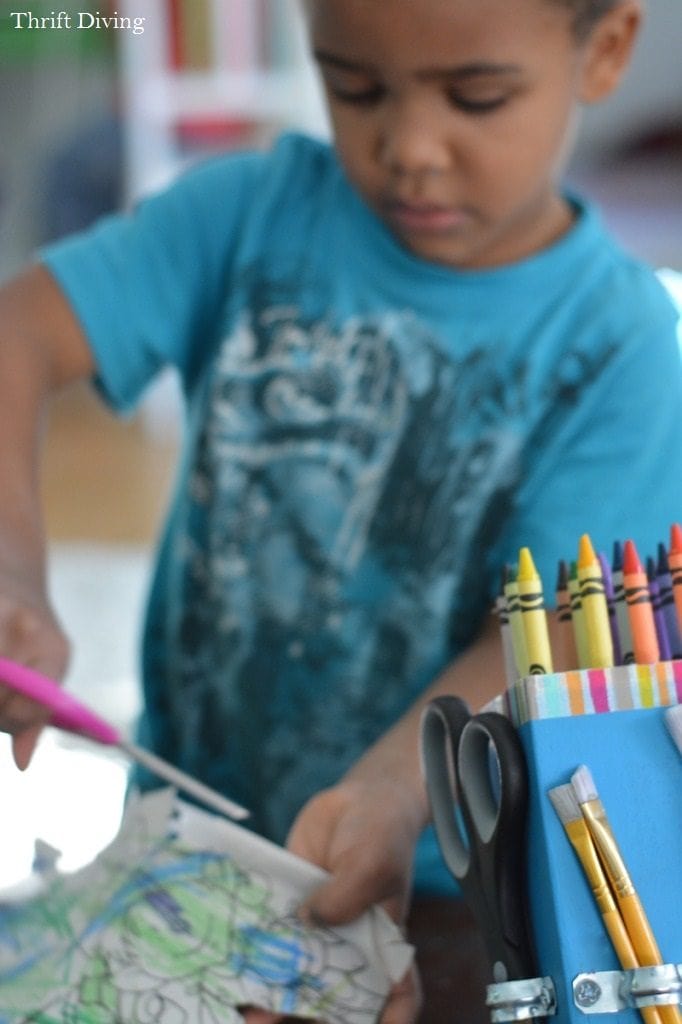
My kids loved how it turned out!

I generally don’t do very many craft projects for kids, since this blog is about DIY for the home, but over the years, I have done a few kids crafts that you might be interested in checking out! Check these out!
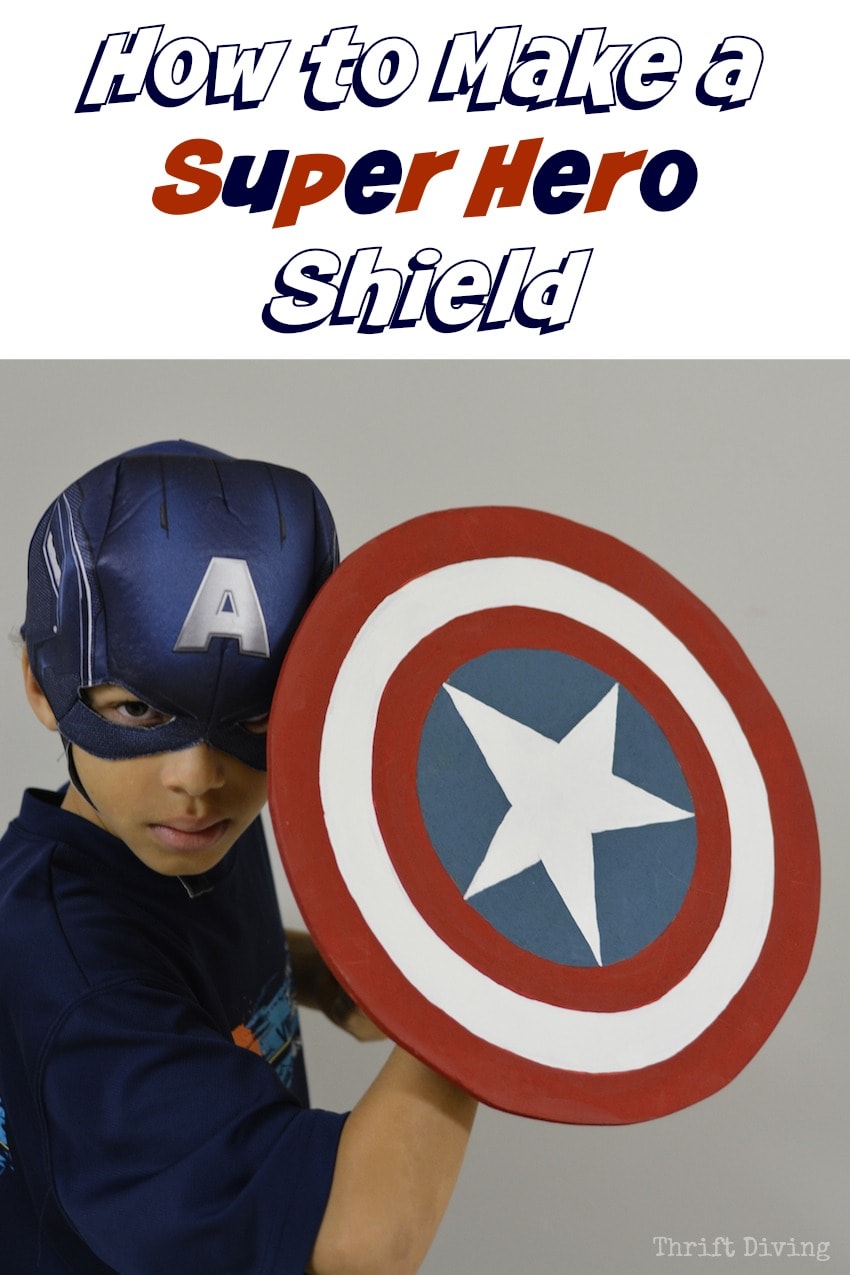
How to Make a Superhero Shield
What kid doesn’t love a superhero shield? Here’s how you can easily make one!
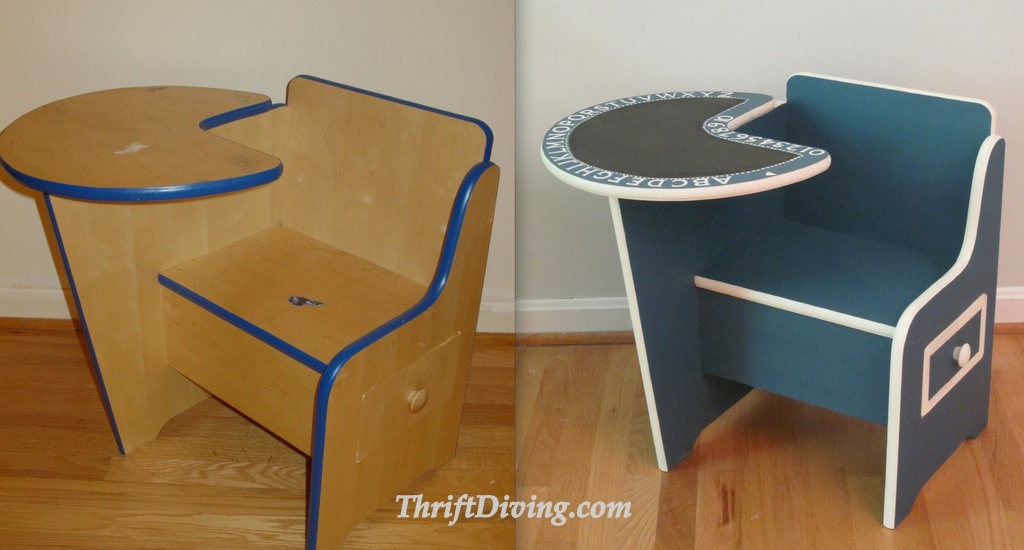
The $5.00 Kids Chair Makeover
See how I turned this thrifted $5.00 kids chair into a cute little seat for my sons!
Did you like this knife block makeover?? Click to save it.


Download the 5 freebies!

Thrift Diving inspires women to decorate, improve, and maintain their home themselves...using paint, power tools, and thrift stores! Use these 5 printables, checklists, and ebooks to get started!
Who’da thought!? How cute and clever is that!? Sweet job!
Wow Serena! That rocks! I will never look at a knife block the same way again!
~Tami
You are such a clever and smart person. I love the creativity. Great job!!!!!!!!!!!!!!!!
Wow! I would never have thought of that in a million years!
You are so creative!
This was Way better than what I envisioned….you did a great job. Even the colors were so peppy and fun.
This has endless possibilities. You could also make one that was just for artists’ brushes. What a great way to re-cycle something that often gets in the way on the kitchen counter.
Makes me wish I had some of those tools. You are an inspiration.
Awww…thanks, Joan! Some women here have had some great ideas–even making it for crochet hooks! I LOVE that idea. I’ve got a bunch of knitting needles, and it would be nice to display them to easily change needles. I don’t knit often, but have been wanting to get back into it when I’m not sitting in front of my computer :). I think I’ll attempt one for knitting needles! 🙂
Just Brilliant!
Super cute! I wish I could carry you in my pocket to feed me ideas when I find stuff in stores.
LOL, I think I”ll have to lose about 150 more pounds for me to fit!! I can barely get off these last 10…… HA! 🙂 Just kidding! Thanks, Amber! I’ll try to keep sending ideas for everyday things I find at the thrift store!!!
This is most creative!!! I love the Washi tape added. Did not know Scotch made it too. Thanks for tip on angling for scissors. This would be handy for sharpies and portable to use at a table. But I think the crayons look best. We made gifts one year. This would be a project for my three year old grandson sans sharp scissors!
Yes, don’t use the sharp scissors! Get the small kiddie ones. Yes, washi tape is just thin, colorful tape, and you can add it to anything to make things more decorative. I have never used it on anything before but I had gotten a free sample of it at one of my blogging conferences and decided to use it to disguise the original knife slots. 🙂
Very creative, and it turned out super cute! Is Washi tape a special type of tape or just cool colored tape? I haven’t seen it before. This could be adapted so many ways–office, kitchen, etc. Thanks for getting our creative juices going!
Aww! This is sooo cool! Color pencils, here I come!!!!
: ) I will paint mine purple or lavender!