How to Make Furniture Appliques with Clay Molds
I’ll admit–I was a little nervous about using these DIY furniture appliques. You know how it is…any time there’s a new product you’ve never used before, there’s always some amount of hesitation, right?
You’re worried you’ll look like a DIY idiot and not be able to figure it out.
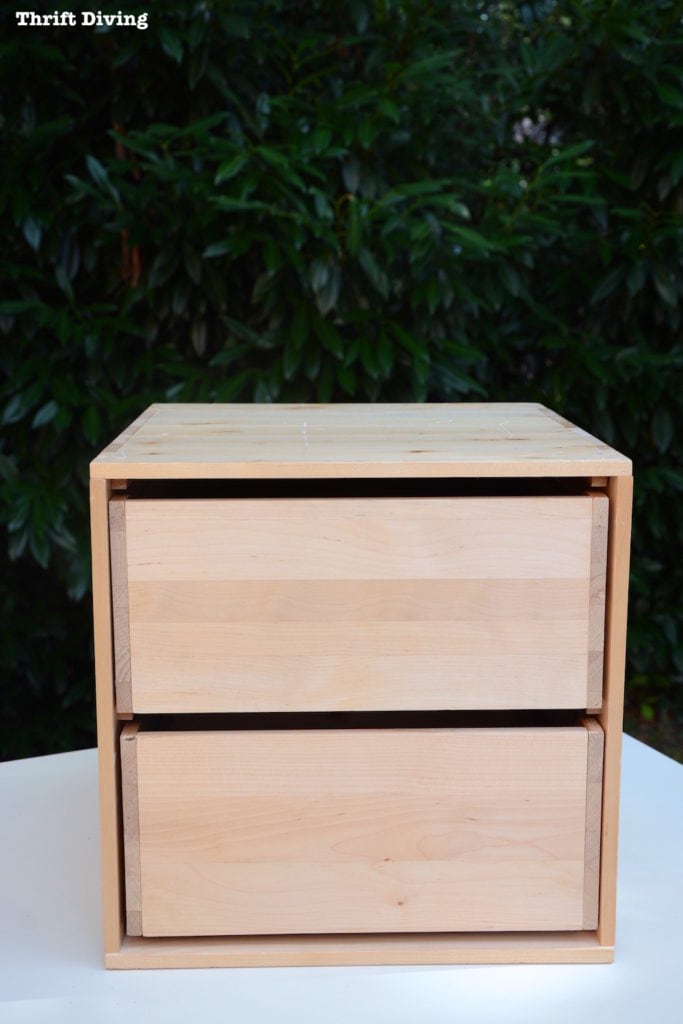
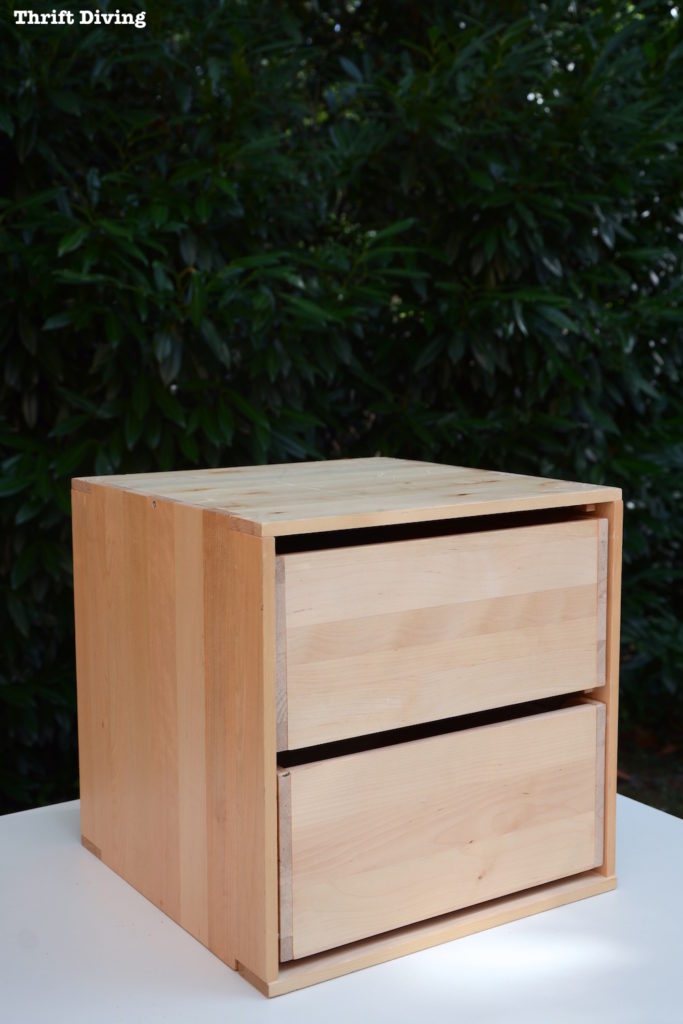
But I knew that this little thrifted IKEA box I found recently for about $6.00 was the perfect project to practice my new vintage clay mold applique skills!
Clay isn’t just for pre-schoolers, my friends! 😉
(Psst! If you love this tutorial on how to make furniture appliques with clay molds, be sure to check out 3 more ways to glam up your painted furniture with scrapbook paper, Rub ‘n Buff, and furniture paint!
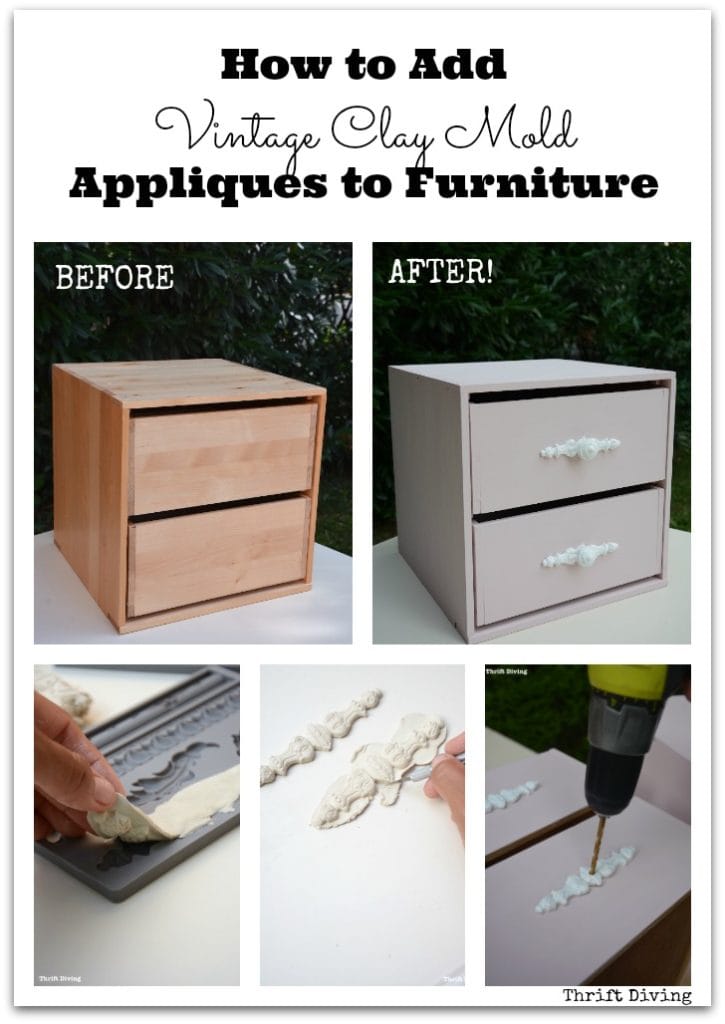
BEFORE
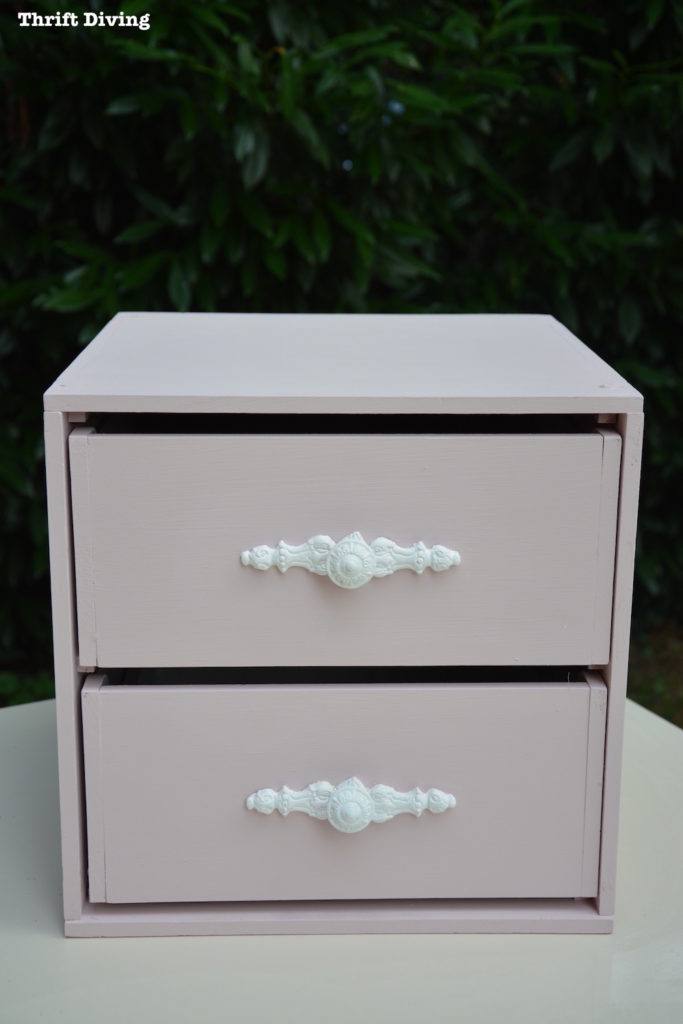
AFTER!
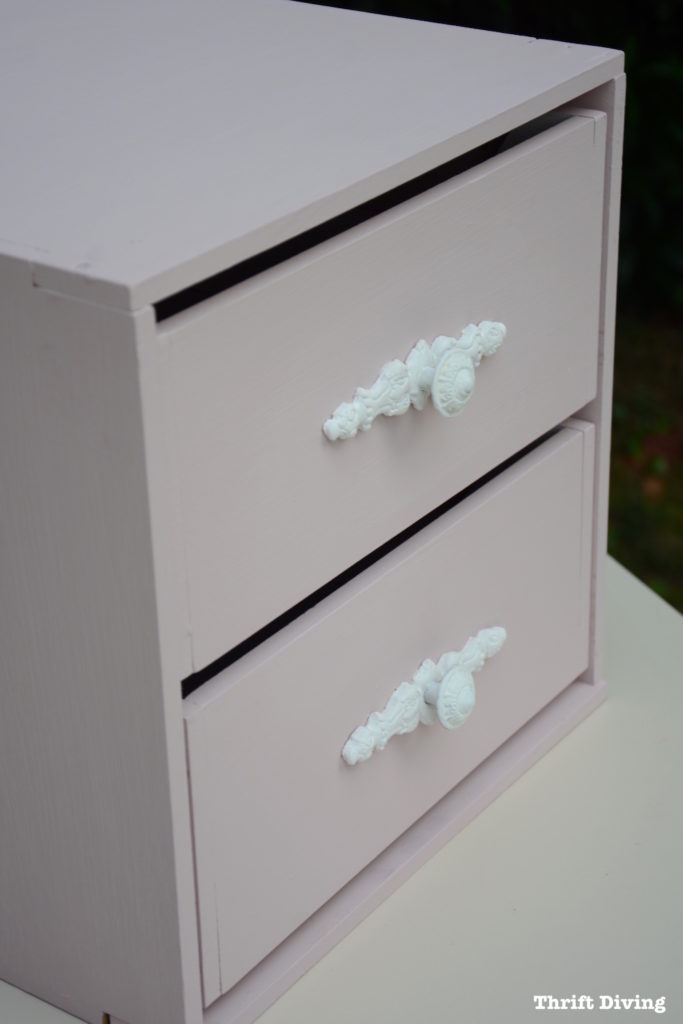
Aren’t the clay furniture appliques so cute?!
Let me show you exactly how I created these furniture applique molds!
Where to Buy Clay Molds?
(I participate in the Amazon Services LLC Associates Program and other affiliate advertising programs designed to provide a means for me to earn fees by linking to Amazon.com and affiliated sites).
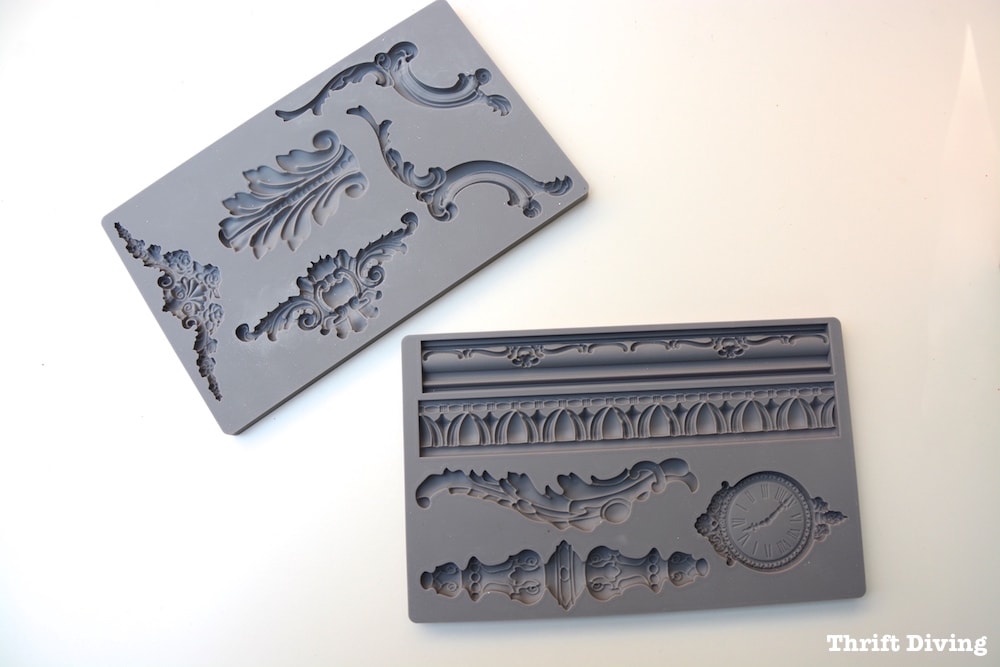
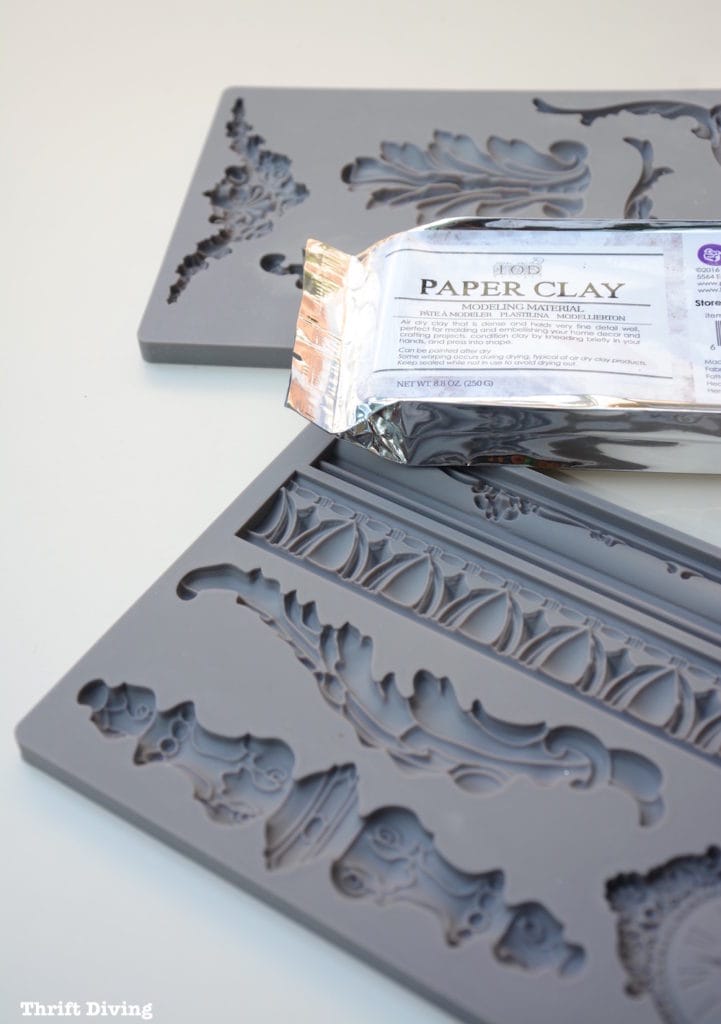
It would be nice if our local craft stores had such awesome products, but sometimes the best things in life can only be found on Amazon (you can buy the furniture applique molds here). As much as I like shopping local when possible, sometimes well-known craft stores don’t have the best of what’s around. While they have clay molds, they don’t have these amazing clay molds. 🙂 So do yourself a favor and grab these furniture applique molds and other materials online:
- Furniture appliques: Prima Marketing Baroque No. 6 Vintage Art Decor Mold from Amazon
- Prima Marketing Paper Clay, white
- Knife or an X-acto knife
- Wood glue
- Power drill and drill bit
- Decorative knobs
- Paint or stain
- Paintbrush (along with a small detail brush)
- Sandpaper
- Something to protect the paint (wax, sealant, etc.)
The furniture applique clay molds are food-grade, so you can buy one set for clay appliques for your furniture, and buy another set for making chocolate molds. HA! They actually say on their website that you can use them for chocolate, fondant, sugar paste, polymer clay, paper clay, paper machete. 🙂 Don’t you love that versatility??
You’ll need a bar of their paper clay. This isn’t the same clay your kids or grandkids play with.
This is the clay that the artists use–perfect for molds!
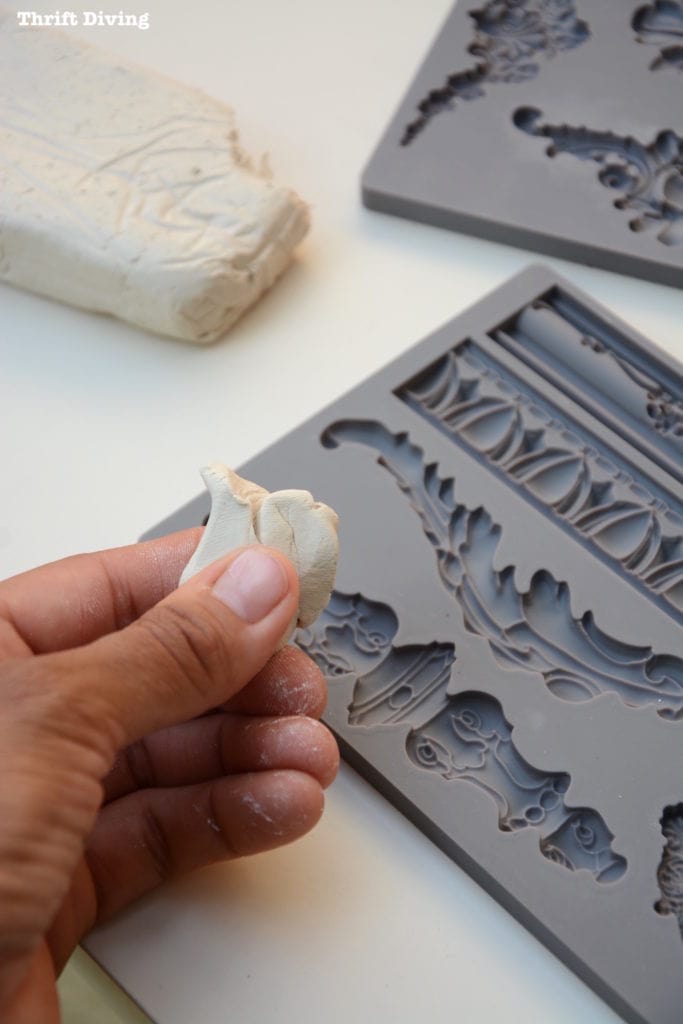
STEP 1: Knead the Clay
You don’t want to use the paper clay right out of the packaging! Roll it around in your fingers a little to soften it up. But don’t roll too much, or else it will stick to the silicone clay mold! 🙂
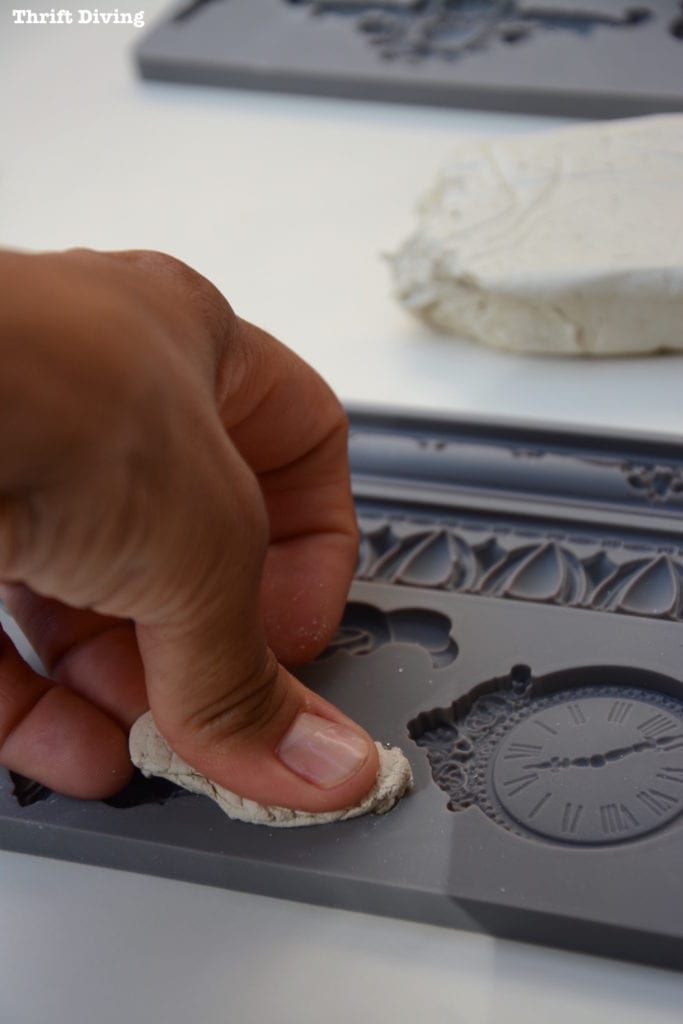
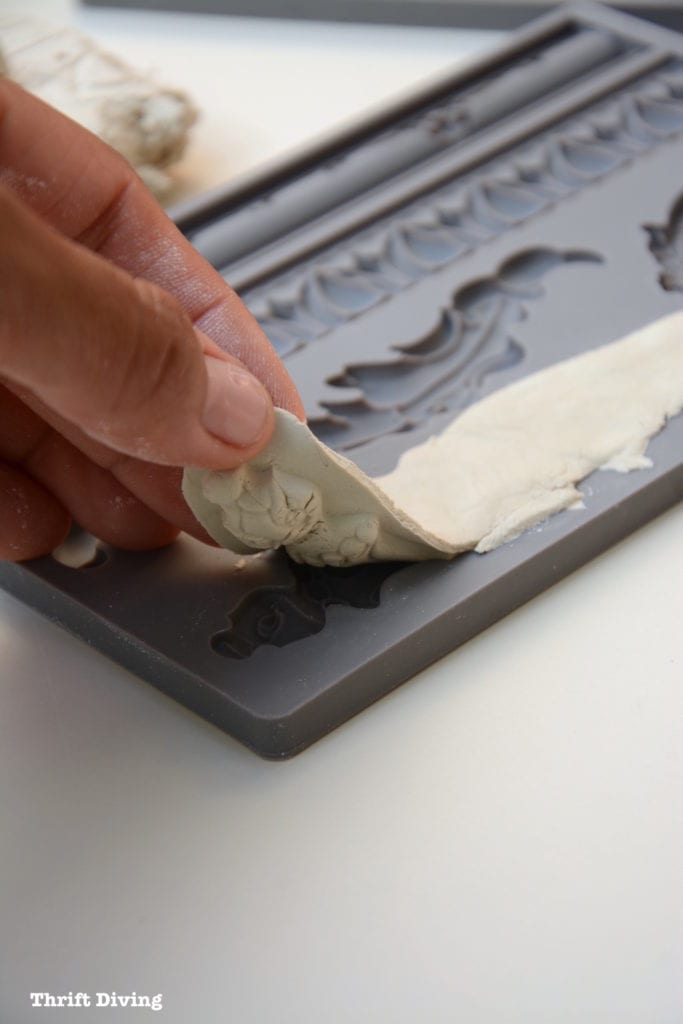
STEP 2: Press and Pull!
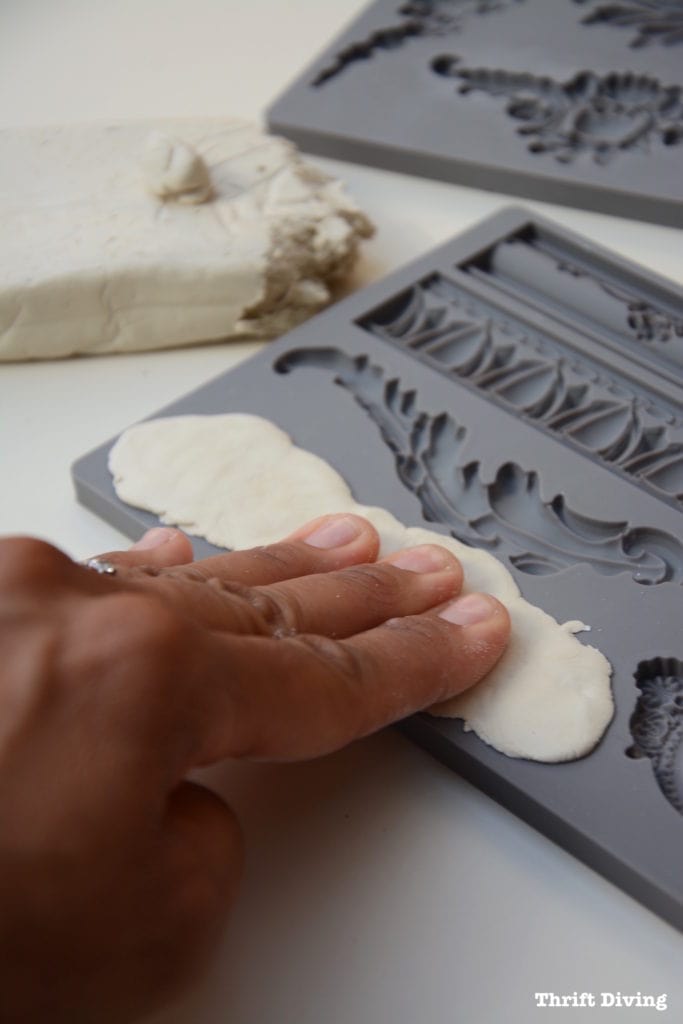
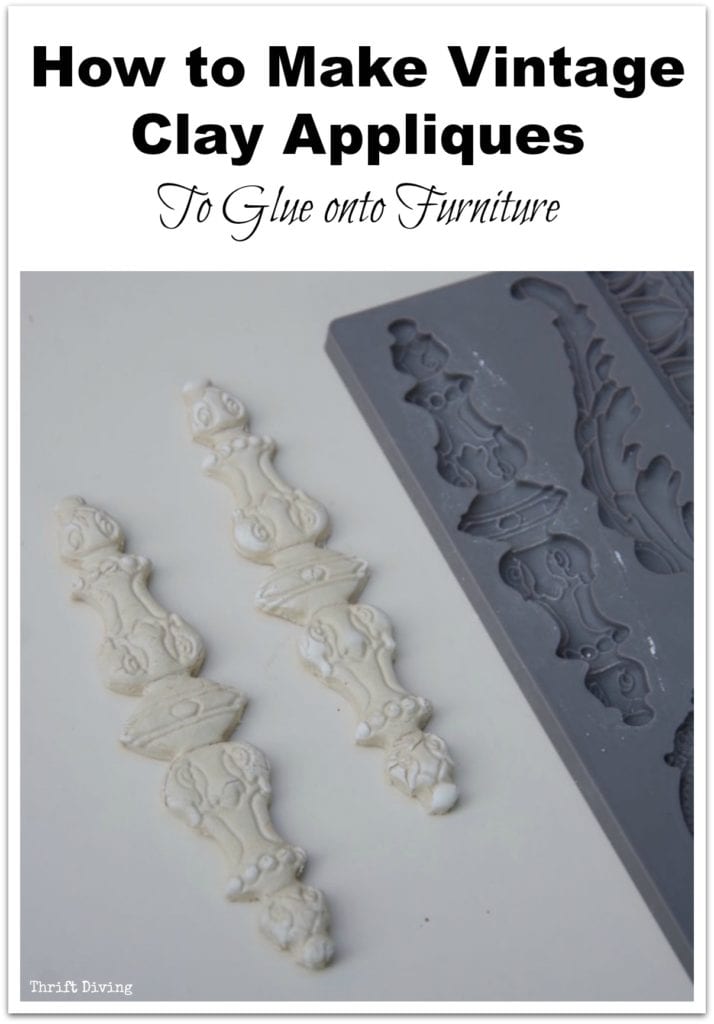
What I like about using these is that it’s something you can do right from your kitchen table. And because they’re easy to make, you can do a bunch of them at a time. All you do is push the clay into the mold, making sure it’s even and flat. You can use a knife to cut away any excess and to smooth it out. I just lumped it in there and waited until afterward to cut away the excess.
As soon as you’ve got in there firmly, remove it immediately. Especially if you’re making a lot, this will allow you to make a bunch in a short period of time.
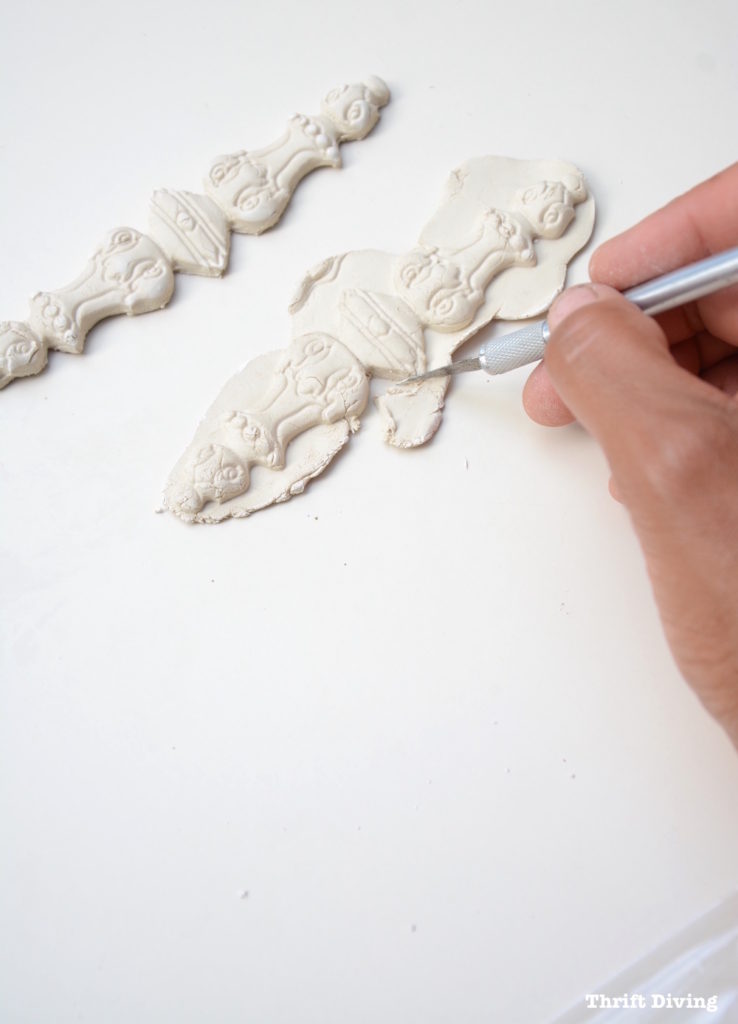
STEP 3: Get Rid of the Excess Clay!
As I mentioned above, it’s probably easier to remove as much of the excess that you can before pulling out the mold, especially on the back, otherwise, your mold may not lie flat if you have a hunk of clay bulging up.
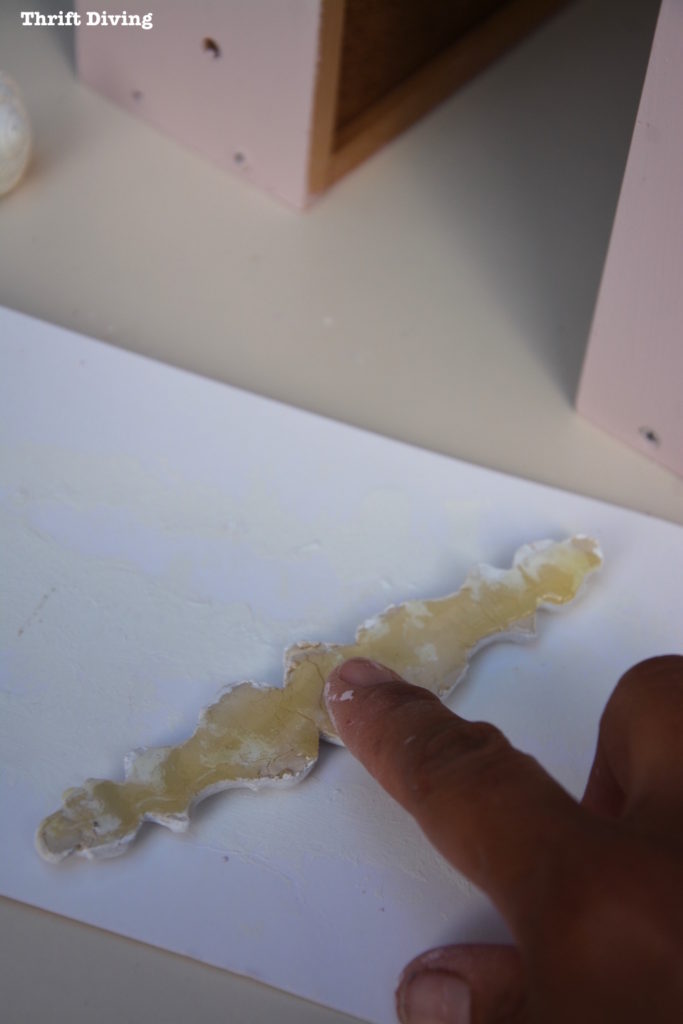
I did it the opposite way and left some of the extra clay so that it was easier to pull out. Then I used an X-Acto knife to remove it. But next time, I’d recommend scraping some of the clay away first.
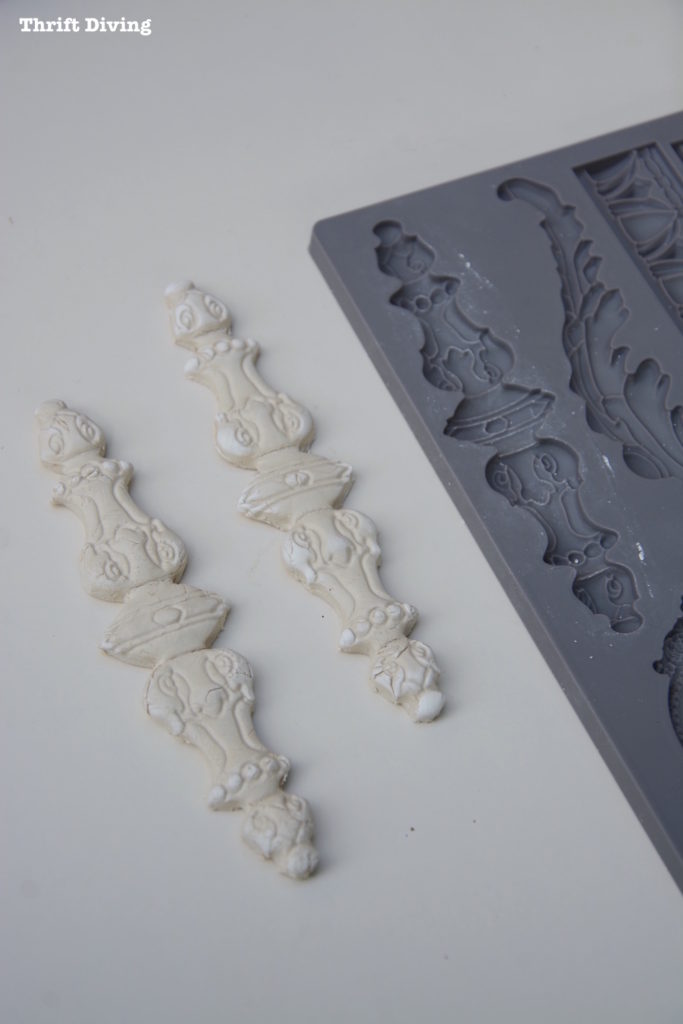
Once all the excess is removed, they should look similar to this (but probably better if you knead the clay longer than I did!).
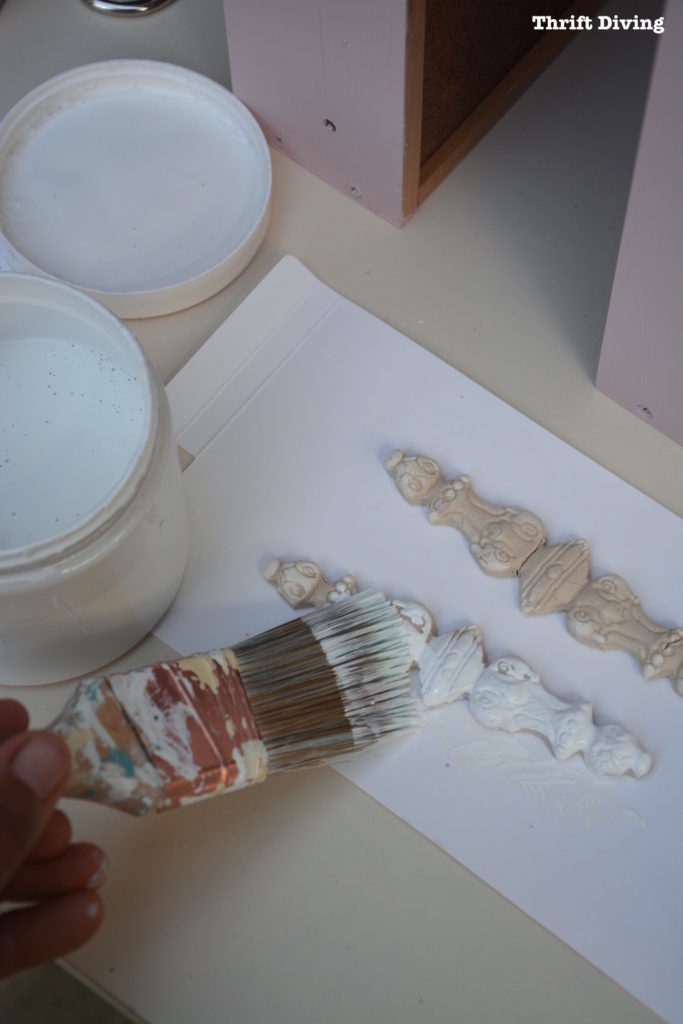
STEP 4: Paint the Clay!
….or stain them, or whatever you want to do to them. They don’t have to be totally dry. In fact, you want to move quickly on decorating them and adding them to your project because once they dry, they’re more likely to crack. So decorate them now!
Dark wax or stain looks really good on them because they have so many details!
For mine, though, I just went with white chalk paint.
KEEP READING: What’s the Best Paint For Furniture?
STEP 5: Add Holes for Your Knobs, Then Paint
If you’ve already got knob holes, yay! 🙂 But for this plain piece, I had to create them, which is simple. I could do it while the paint was drying on the clay furniture appliques.
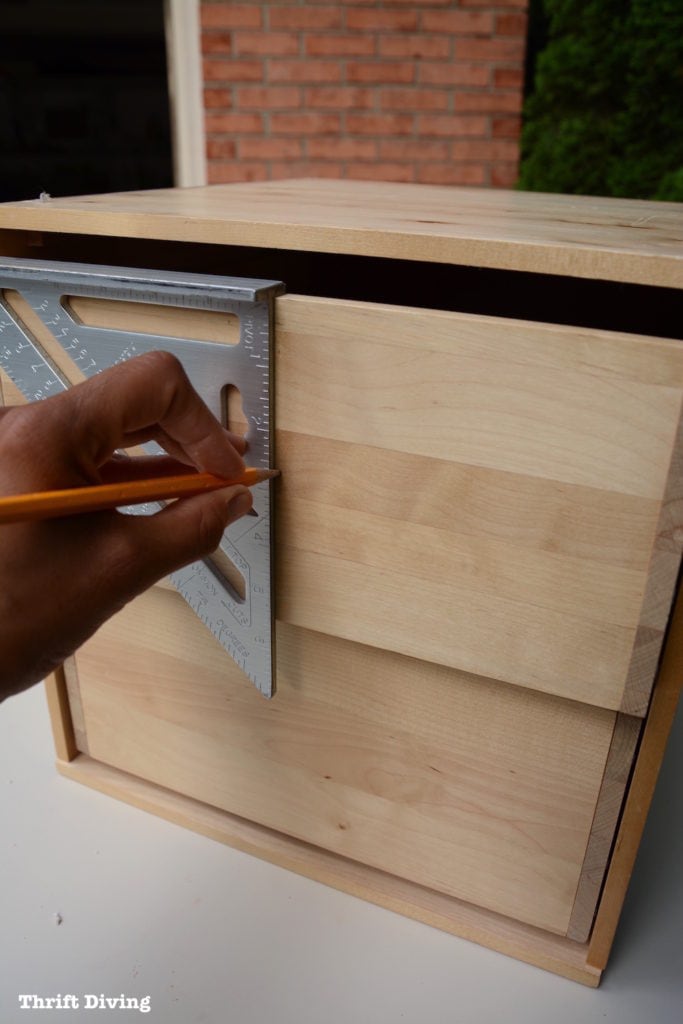
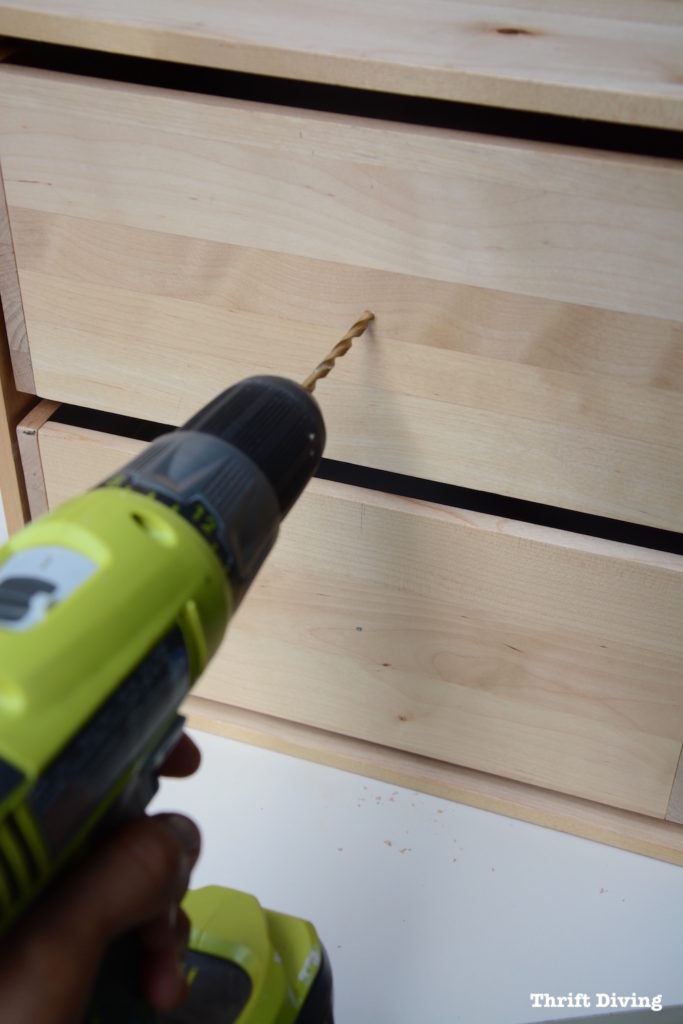
I used my empire square (highly recommend this useful tool!) and found the center of the drawers, marked, and drilled.
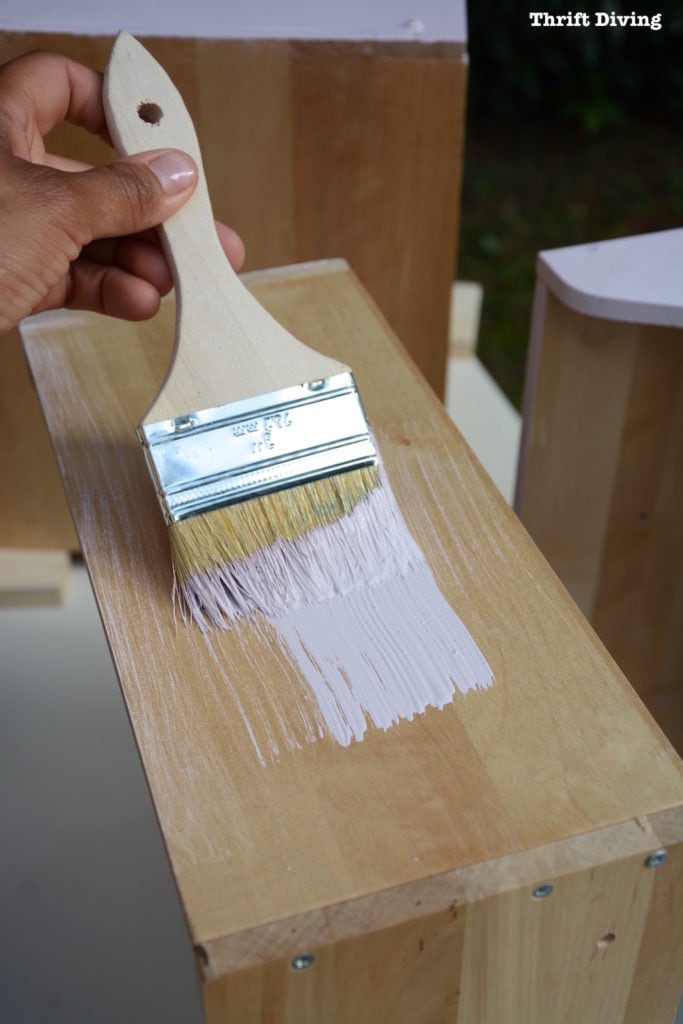
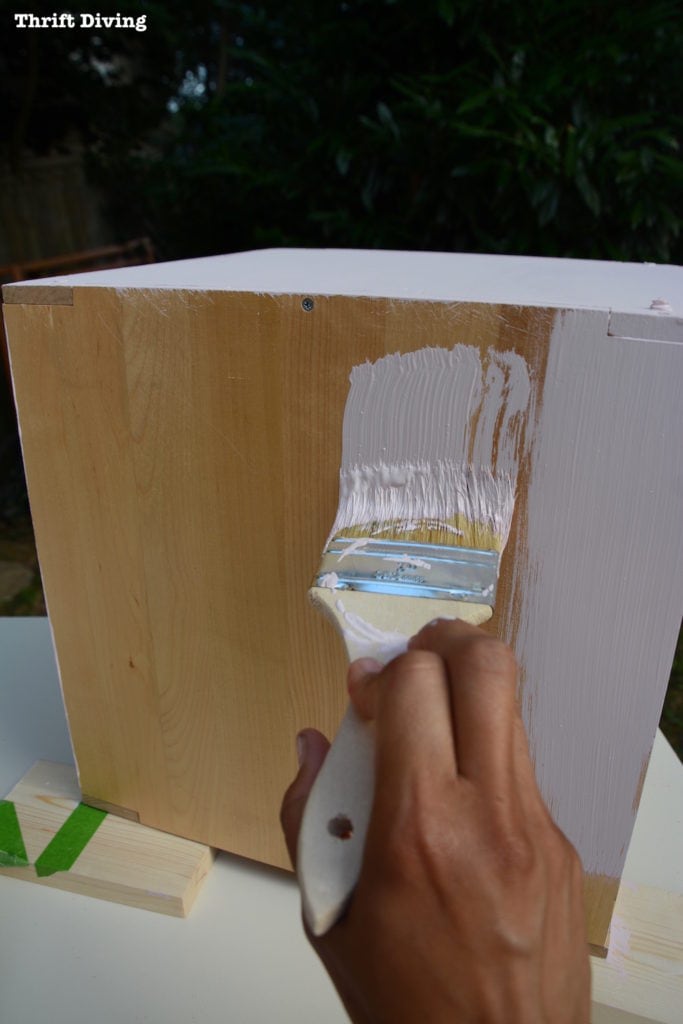
Once everything has been drilled, I used a chalk paint (Annie Sloan chalk paint in Antoinette) in a soft pink. I absolutely love this color, especially with Pure White!
STEP 6: Apply Furniture Appliques!
Now for the really fun part: applying the furniture appliques to your project! At this point, the clay furniture applique should still be drying. You don’t want to wait until the appliques are dry because they’ll twist and warp and all kinds of yoga. LOL. While they’re still damp, before the clay dries, is the best time to apply the appliques with wood glue. The wood glue will hold them into position while the clay is drying.
TIP: You can use a blow dryer on cool to help the paint dry if you’re anxious to get the furniture appliques glued down before they dry!
The best glue to use when making cheap furniture appliques like this is wood glue. That stuff is super tough and will hold it into place very well.
STEP 7: Drill Through Your Clay Furniture Appliques!
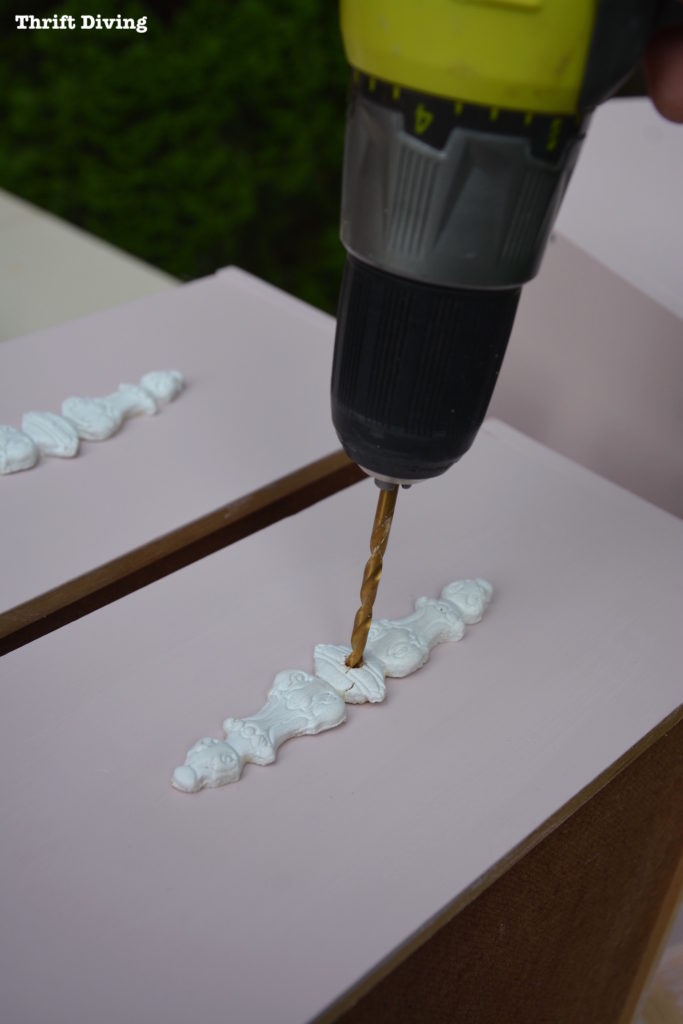
Another reason I apply the clay appliques on my project quickly is that I knew I’d have to drill through them. Don’t try this while they’re dry or they’re sure to crack, my friend!
Just line up the center of the mold with the hold you’ve just drilled.
Go slooooowwwwly.
Use the drill bit that’s for the knob you’re using (meaning, the skinnier the furniture applique, the skinnier your drill bit should be, etc). I just used a practice board first and tried out a couple drill bits to see which one was the right size. Get into the habit of practicing on scrap boards before doing things on your “real” project. Believe me–it saves you a bunch of time and money!
Once you’re done drilling, add the knobs. I re-used some old knobs I had removed from another project a long time ago.
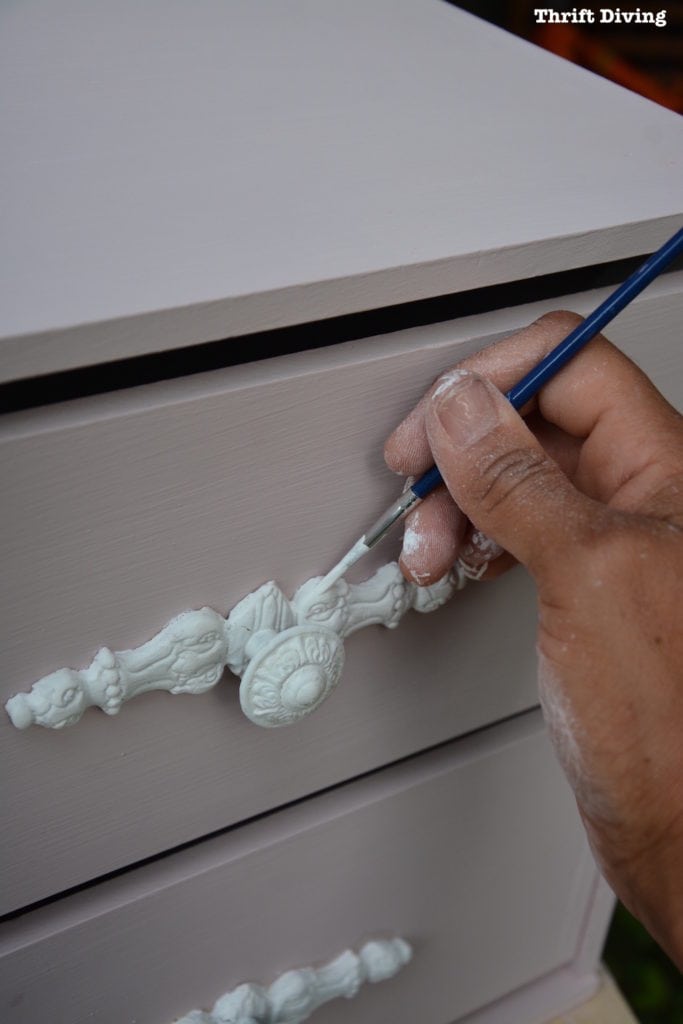
STEP 8: Do Some Touch-Ups to the Clay Molds
Trust me–it’s not going to look perfect. I guarantee they will be some small spots to touch up. That’s where the small paintbrush comes in!
STEP 9: Sand and Wax
I did a light sanding after my second coat of paint, and I’ll have to go back and add wax. I’m forever skipping that step. LOL
Furniture Appliques from Clay Molds Are Awesome!
I can’t believe how boring this IKEA 2-drawer table-top cabinet is! Here’s another shot of the boring “BEFORE” picture!
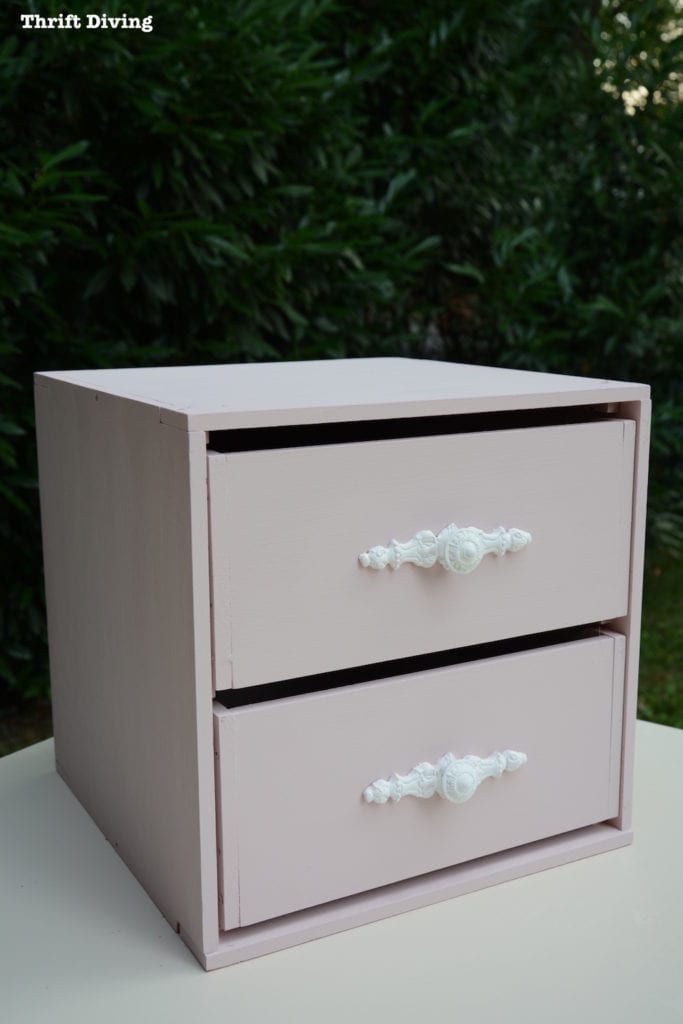
And here’s how lovely the IKEA box looks with painted furniture appliques! These decorative molds were the easiest way to add a little bit of life into this piece. Furniture paint alone would have been boring, but with furniture appliques, it looks prettier, if I do say so myself. 🙂
Loving this project? Click here to SAVE it to Pinterest!
It’s really adorable!
I wanted to get super crafty and add some legs to this piece to make it like a little side table, but that will be the next step, for another post. Or I’ll just add it to my pretty basement office to organize my papers!
For now, I’m loving these silicone furniture appliques made from clay molds! I’m just thinking of all the ways I can use them! Furniture makeovers are boring with just paint. It’s the small details that really make them interesting!
Download the 5 freebies!

Thrift Diving inspires women to decorate, improve, and maintain their home themselves...using paint, power tools, and thrift stores! Use these 5 printables, checklists, and ebooks to get started!



So cute!! This is a great idea. =D I’ve seen these sort of applique refinishings before, but never really thought about making my own… thanks for the post! I’ll have to see if there’s anything around the house that needs that something extra. 😉
Hey, Zovesta! I had never really thought of using them either until I had the opportunity. Then when I tried them, it was like, “Whoa….these are so cute!!” I saw in one of the companies YouTube videos how they took a mold and glued it to the top of a plain knob! Soooo clever! I’m looking forward to using them more often!
I am absolutely going to get some of these. Would be so much fun. Can’t wait to try it. You are so full of amazing ideas all the time. Love you and your blog.
Yes, Vicki, pick some of them up! They’re really affordable at $10 for a clay mood that has several designs, and the clay isn’t too bad, price-wise. I’m looking forward to using them again!
Beautiful! as I have said before I don’t comment on all your posts but I love them all! I love how you give us great info on how to do it or info on what not to do so I really do enjoy reading all your posts. keep up the good work!
I’m so happy to hear that, Denise! I love blogging!! Many times its trial and error for me, and then I post about my experiences. If someone can learn from what I’ve done, then all the better! 🙂
Oh my gosh these are adorable! What a cool idea!
I would never had thought of this in a million years!
Aren’t they cute?? If you check the companies YouTube page (just search for Iron Orchid Designs or Prima Marketing) they have some other cool tutorials!
What a fun project. They look terrific
Thanks, Alys! I should get some more and make chocolate molds with the kids. Yuuuummm!! We are here at Hershey Park right now in Pennsylvania and just bought a bunch of chocolate. Could be a fun idea to melt some of it and make a cute craft with the kids! 🙂
yippee! Your new and improved Ikea cabinet looks great with the paper clay molds Serena. 🙂
When I make these, I rub away all the excess before I remove the clay from the mold–no exacto knife needed.
Pinned!!
gail
Hey, Gail! Great idea on rubbing the clay off before removing them! I started to do that but worried it would remove too much of the clay from the mold, so I was a scaredy cat and just removed the whole lump! Lol. Now I must try again with your method and see how it works. I can’t wait to use these again! I forgot I’ve got another mold. I think I’ll use that to melt some chocolate!!
Does the handle crack when used alot?
And how many did you go through drilling holes in the clay?
Hey, Peggy! I don’t think it would. Since the knob is what you’d be pulling and the appliqué would be just for decoration, it doesn’t seem it would be a problem! Just glue it well, but be sure to not over-glue or it will leak from the sides!
Hey Serena, Love how these molds make an inexpensive piece of furnishing look like it has a little extra flair. I missed ya’ since I was incapacitated, so glad to be back!! Now I need to catch up on all my backlog…. lol Love ya’
Hey, Patricia! Remind me–what was wrong with you?
I agree–these moods really do hands more flair! And they look even more awesome if you use a dark wax with them, or a dark stain. Helps to add more depth to the design!
Hi Serena,
I have a few of these molds already and have made a few pieces but wondering how you adhered the clay pieces to the drawers? Also, it hadn’t occurred to me to remove them from the molds prior to drying and had issues with the pieces curling up so removing them and placing them flat to dry I think will solve that issue! Thx for tips!
Love the outcome – so much character!
Mary 🙂
Hey, Mary! Oh wow, so you’ve got some already. Cool! Just use wood glue. And yes, if you put in the clay and remove it immediately, it comes right out! They say it will warp a little but the warping is minimized when you remove them immediately and apply them while still “wet” so that it can dry while already on your project! Really works well that way!
Hey, Serena,
What a great idea and it seems so simple. You gave this project you own personal touch and it looks like it should blend in with other things in your home just beautifully. I really liked some of the molds, especially the one with the curved looked (just above the one you used). I don’t know how I would use it, but I liked it. Again, you took us step by step and that helps so much. A quality of a good teacher.
Awww…. Thank you, Joan! So funny when I was picking pictures to post, I looked in the folder and there were soooo many pictures! But I like to show each and every step so it’s clear as day and you have the confidence to try it with the steps I give you! 🙂 Let me know how it works for you!!