
BEFORE and AFTER: A Vintage Buffet Makeover
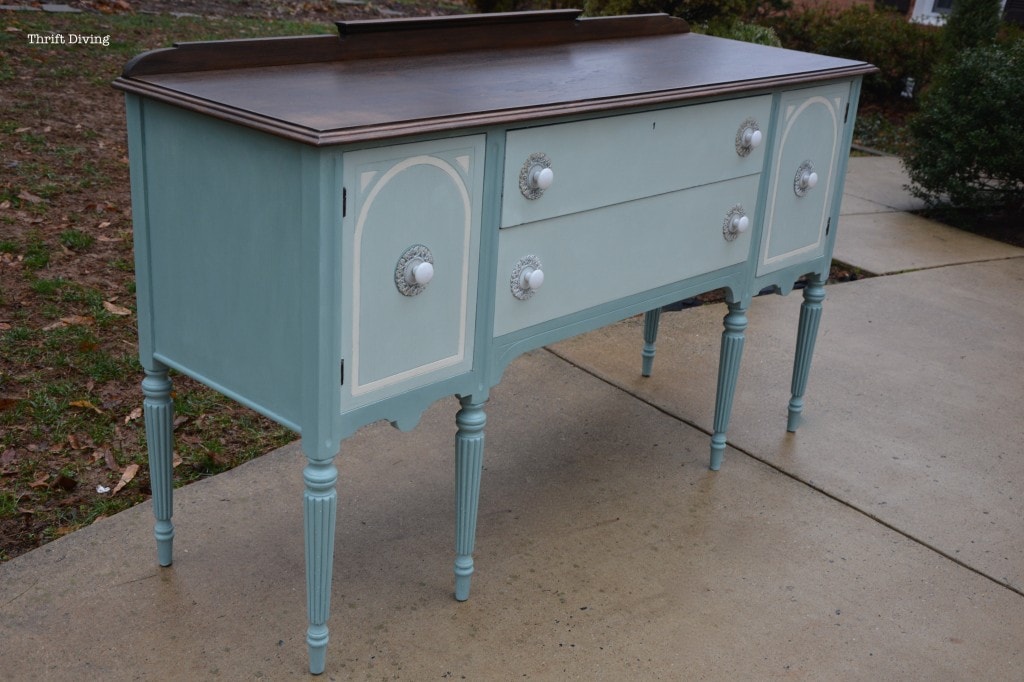
I like the look of this vintage buffet makeover with a stripped top and a painted body.
This buffet threw me for a loop, though.
What seemed like an obvious decision to paint the entire buffet quickly became an idea to strip the whole thing and re-stain it.
It was in good condition but needed some help.
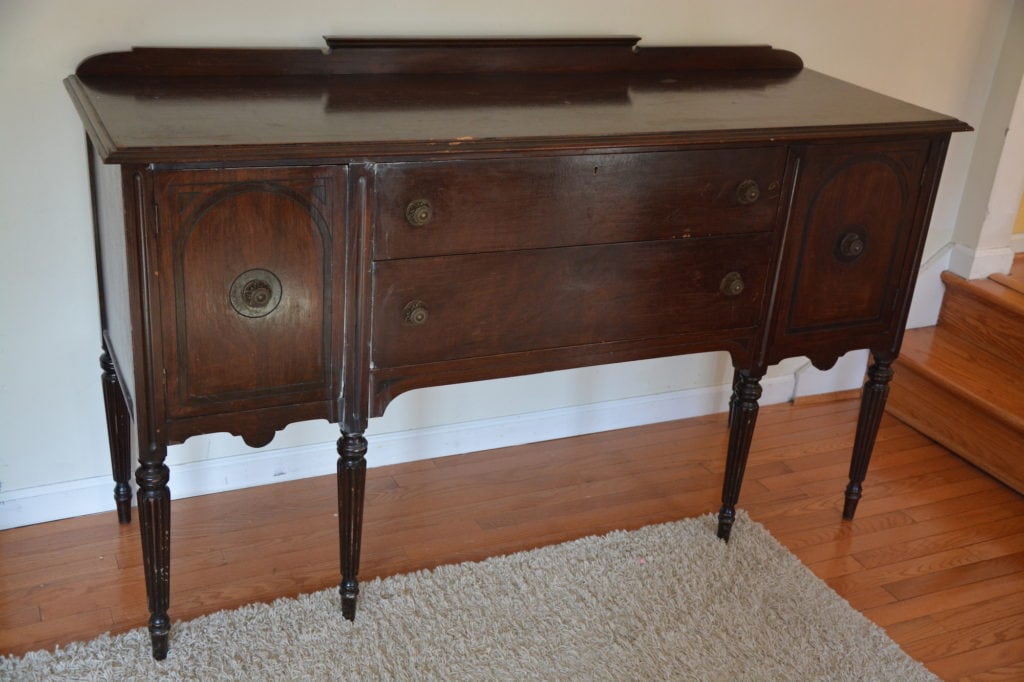
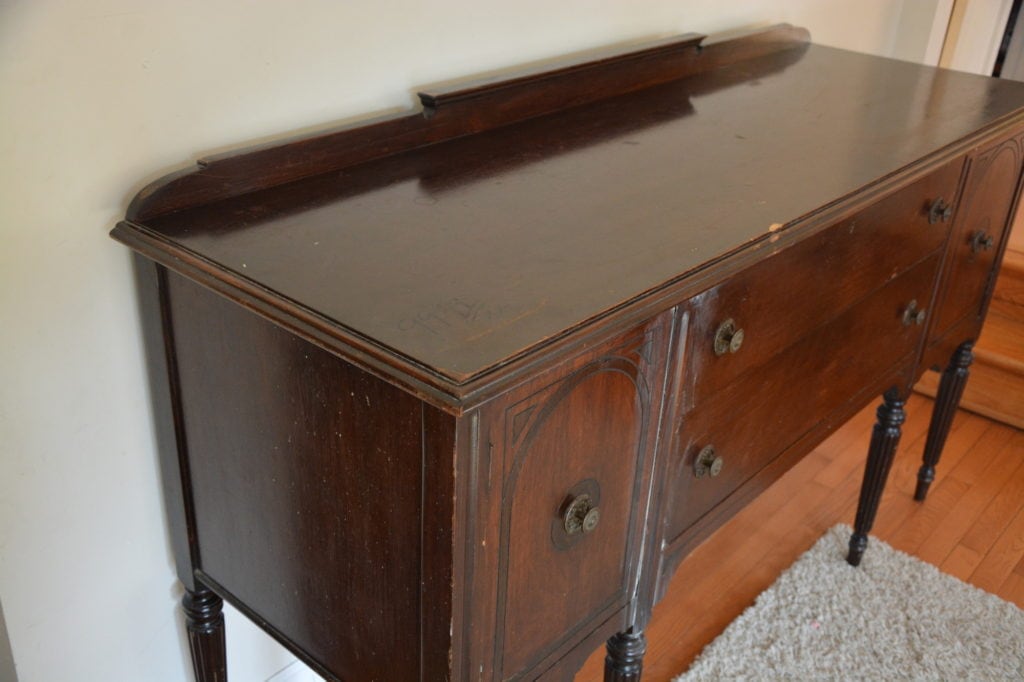
BEFORE – Vintage Buffet
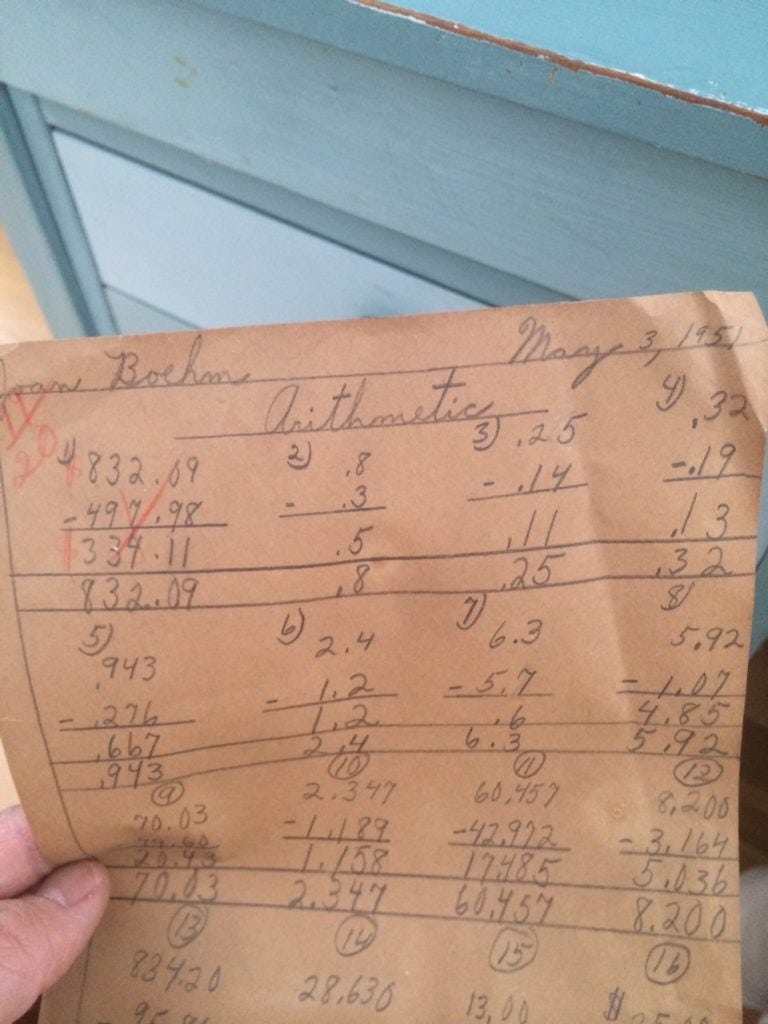
Because of what I had found in the buffet, I thought preserving the wood would be the best option to honor the buffet.
It was an old arithmetic test from 1951! How cool is that, right??
In fact, I was so convinced that I was going to strip and re-stain this vintage buffet that I took all day off work and got down and dirty and stripped the whole thing. I’m talking hours of scraping gunky stuff into a nasty little “junk box.” ICK!
But then I started to question how stylish the piece would be with just stain…….
I originally planned to sell this piece and wanted to make sure that it was relevant and eye-catching instead of just a classic piece sitting there waiting for a person with classic taste to come and scoop it up. I was worried it wouldn’t sell.
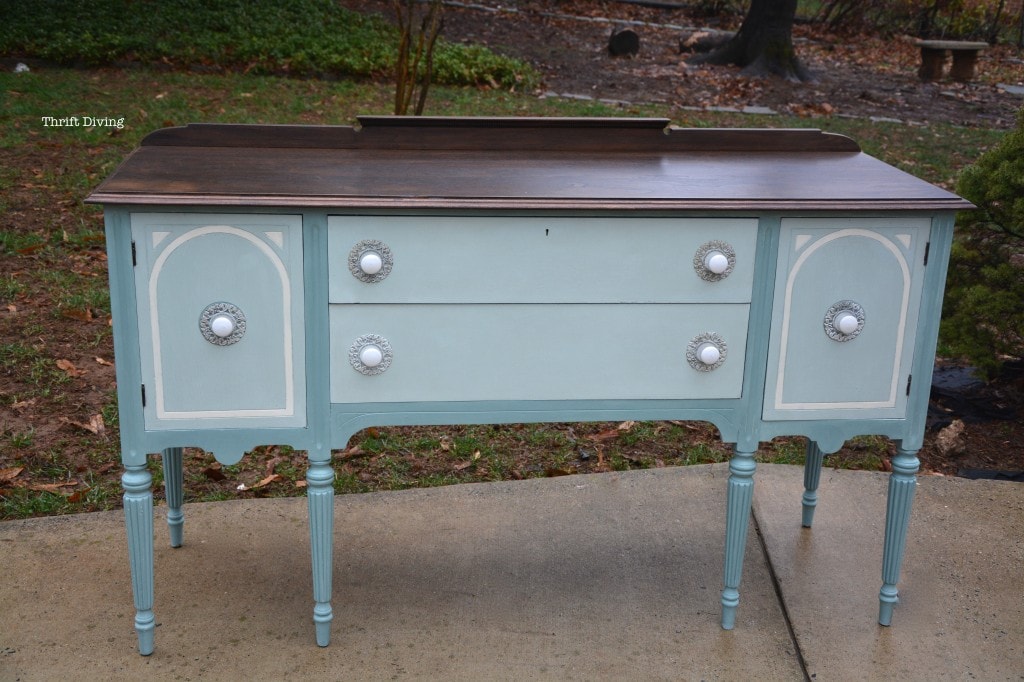
Finally, I decided that indeed a paint job with a re-stained top would be more time-efficient and hip. And this is what resulted:
AFTER – Vintage Buffet
Addicted to Duck Egg
For this vintage buffet I used Annie Sloan Chalk Paint in Duck Blue (I also painted a “dumpster desk” this same shade. Love it!).
It’s such a soft, soothing color. I wanted the drawers to stand out, so I mixed in a little Pure White to create a lighter shade. I used Old White on the arches.
Related: What’s the Best Paint for Furniture?
I Hated It….
I love how it turned out, but I have to admit, I didn’t always feel so affectionate for this vintage buffet.
In fact, I hated it.
When I first painted it, I regretted painting it. It had no “umphf” to it.
I tried to re-use the old knobs after wiping them with some gold Rub n’ Buff, which can easily change the color of old knobs and pulls (especially if they’re tarnished), but these old knobs ended up looking like a nipple. HA!
And the color of the knobs was all wrong.
The Right Hardware
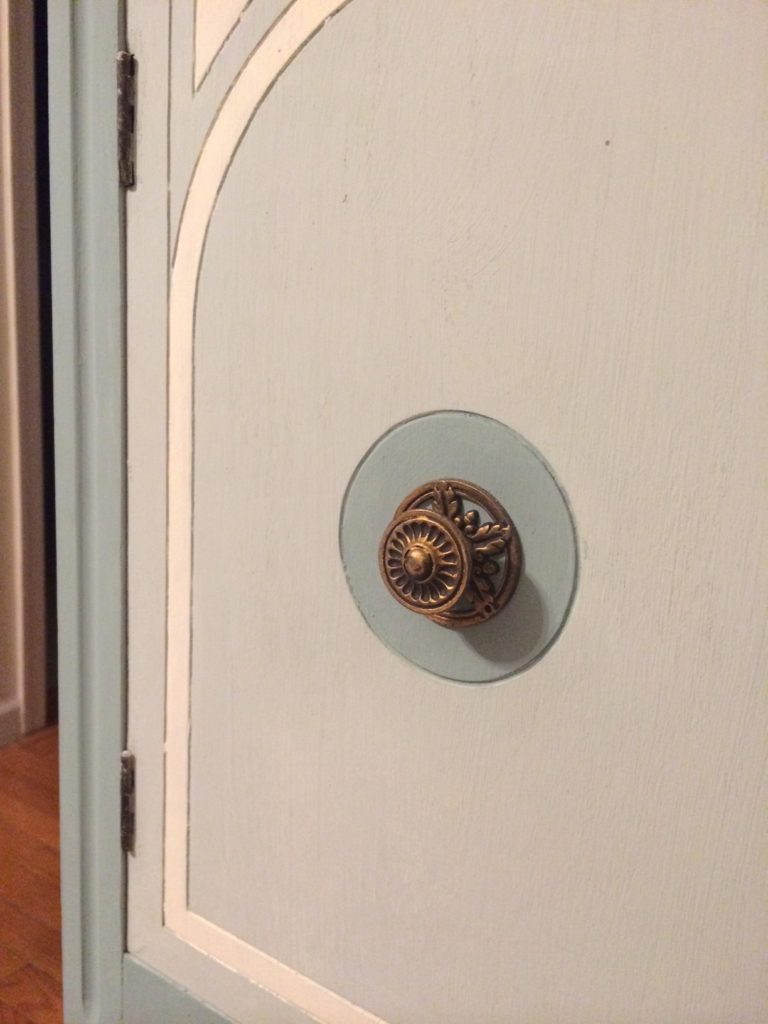
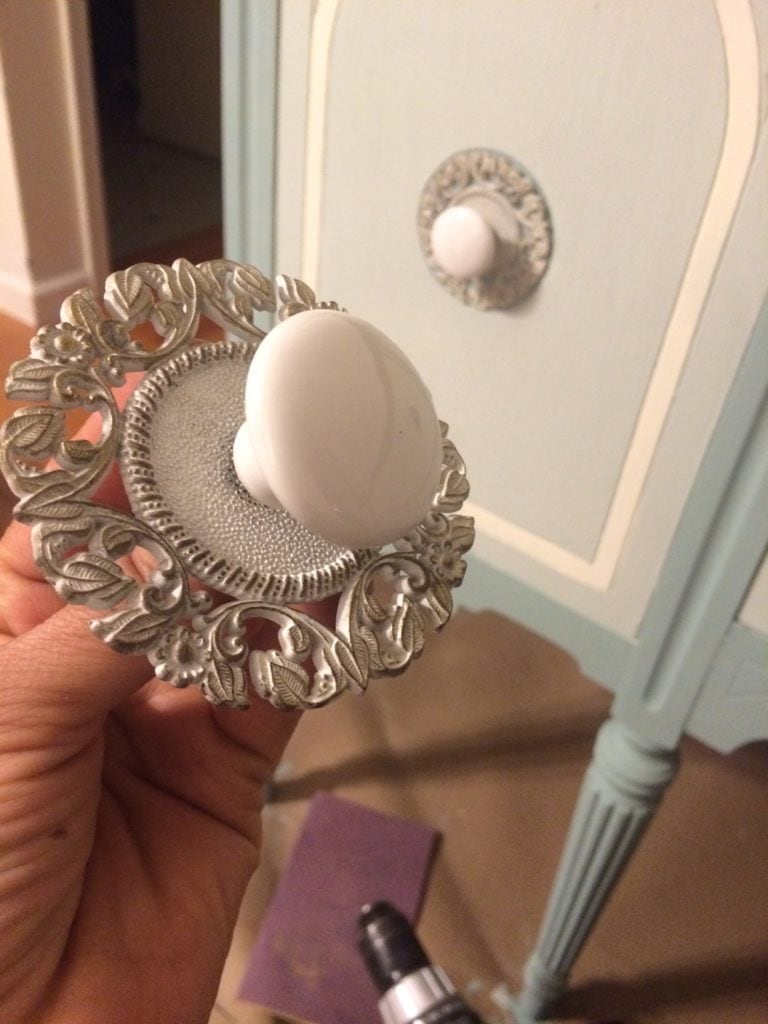
It’s true what they say that hardware makes all the difference! I had found these vintage knobs at a barn sale. I never knew what piece of furniture I would use them on, but somehow the stars aligned and this vintage buffet was PERFECT!
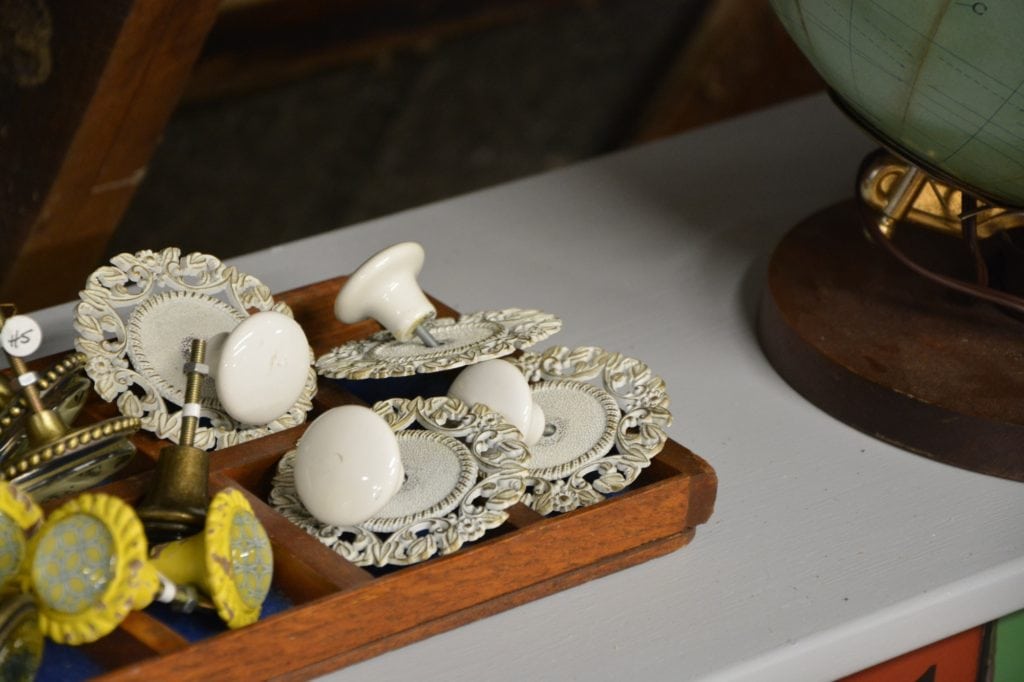
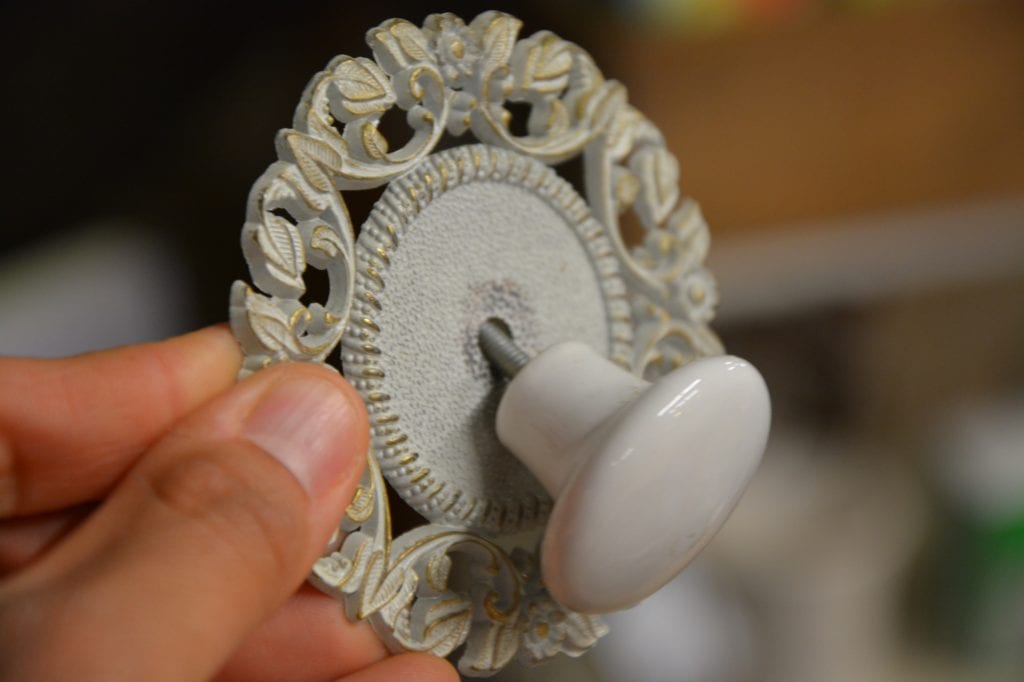
It as if these knobs were made for this buffet, down to the circles!
After trying to strip the gunk off of these detailed legs, I declared this was a project I was no longer interested in committing hours to stripping. 🙂 Instead, I decided I would clean them off and paint the body instead.
Related: How to Strip Furniture and Stain Wood: A Complete Guide to Getting Started
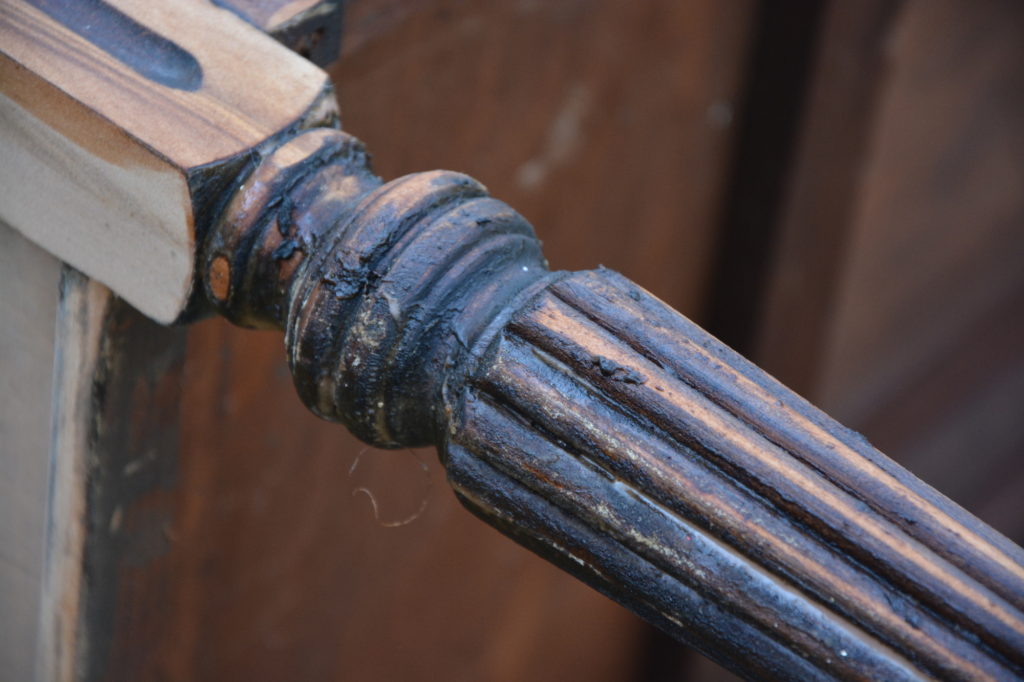
It’s a shame I ended up wasting so much time stripping the whole thing and then ending up painting it. However, it was some good experience, right?
Stripping Is a Messy Job
I can tell you that each stripping job I start, I always end up feeling desperate about half-way through.
“WHY the heck am I doing this again, instead of not painting???”
Especially when you start removing the old finish in a gunk box like this……..with splatters that look like a collection of discarded blood clots or something.
Gag me.

But stained tops with painted bodies are soooooo gorgeous. They’re really worth the effort.
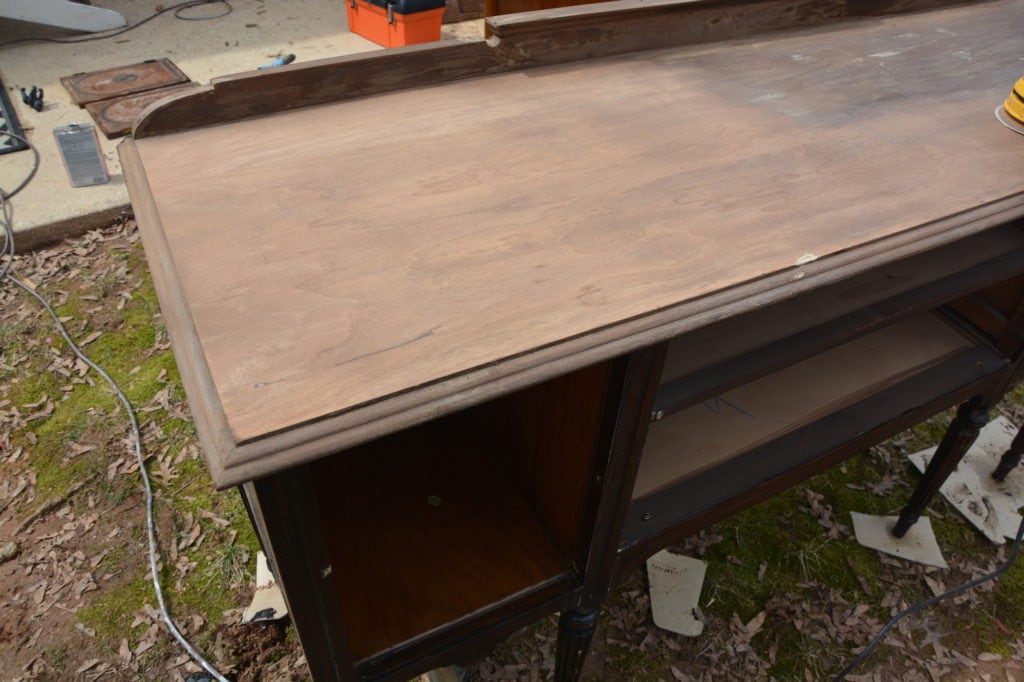
And this buffet really needed improvement, too. You can see here the finish on top started to crack and chip.
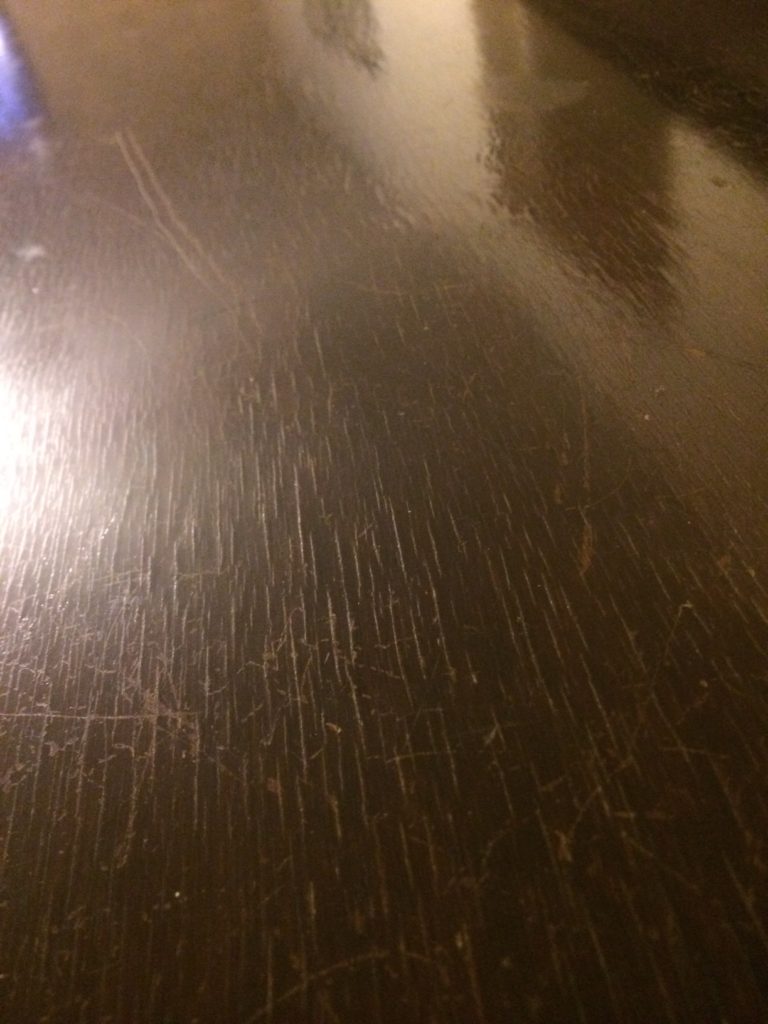
And there was some chipping on the front. Those were easily fixed with stainable wood filler.

WARNING: For this project, done in 2014, I used a chemical stripper called Klean Strip, but as of November 2018, it has been discovered that Klean Strip and other chemical strippers that contain methylene chloride has killed two young men in the fall of 2017! PLEASE DO NOT USE THIS CHEMICAL STRIPPER. I am only keeping this picture in the blog post so that you can recognize this product and know what NOT to buy.
Instead, I recommend using a chemical stripper called Blue Bear stripping gel because it’s soy based and does NOT contain methylene chloride, so it’s safe for you to use. Blue Bear is the main paint stripper that I’ve been using for the past couple of years because it is safe and has a very low odor.
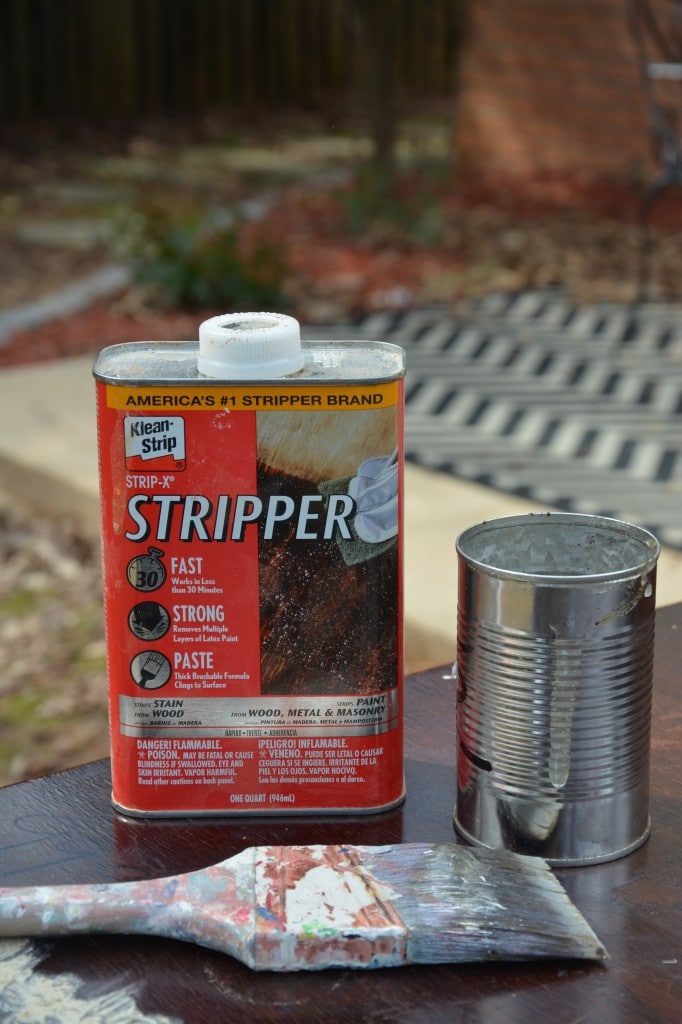
You have to scrap through layers and layers.
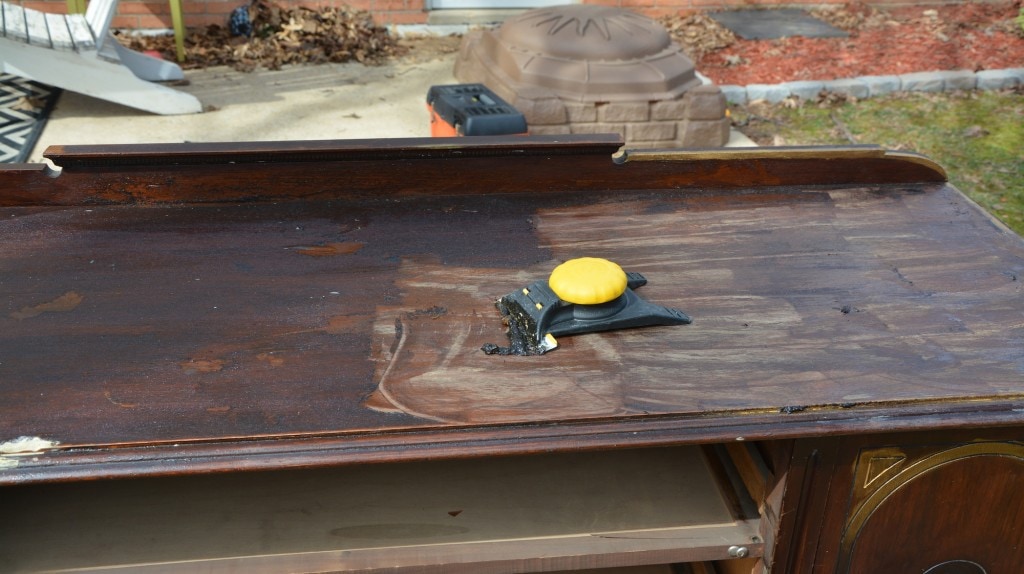
Even when all the finish is off, you’ve only just gotten started.
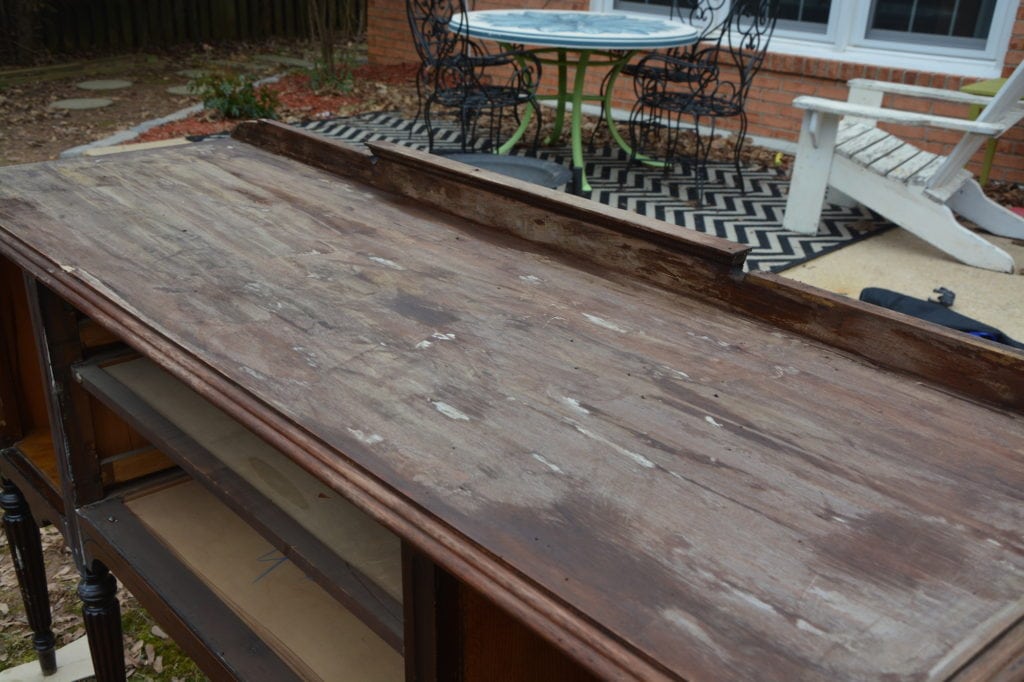
After getting as much of the finish off as possible, I used Odorless Mineral Spirits to help remove the leftover stripper.

Then I sanded it out.

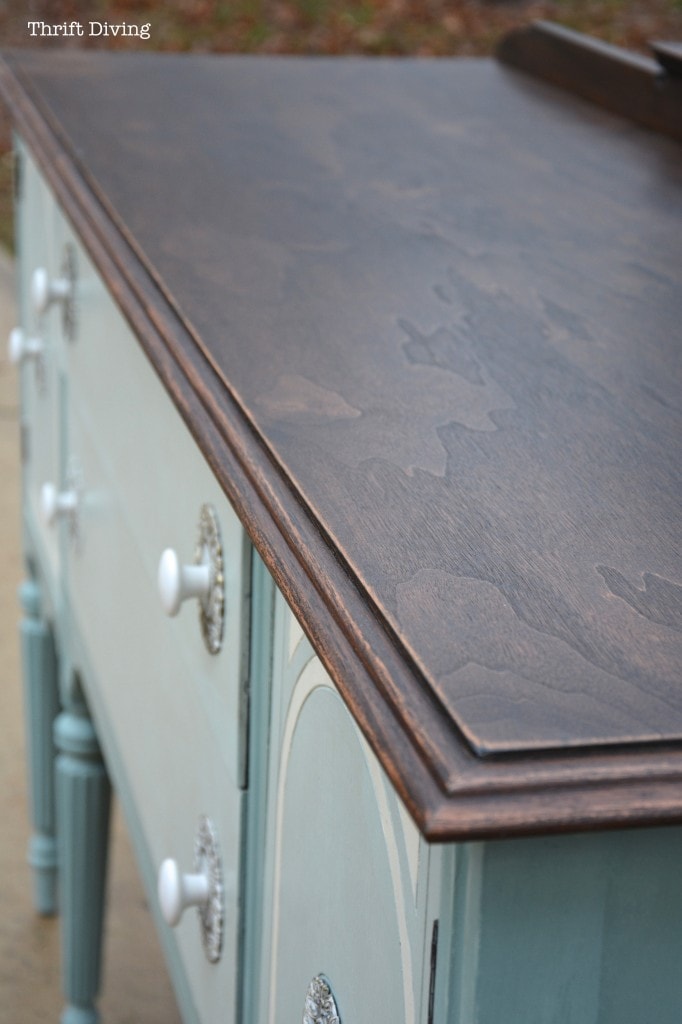
I used Miniwax Espresso stain for the top and did some very light distressing of the wood with super fine sandpaper around the edges to give it a little character and to match the “vintage-y” feel of the knobs. Plus, the dark stain was sooooo dark, the sanding actually helped to lighten it up a little.

You can really see the wood grain on this top, which I love! It’s now as smooth as a baby’s butt :).
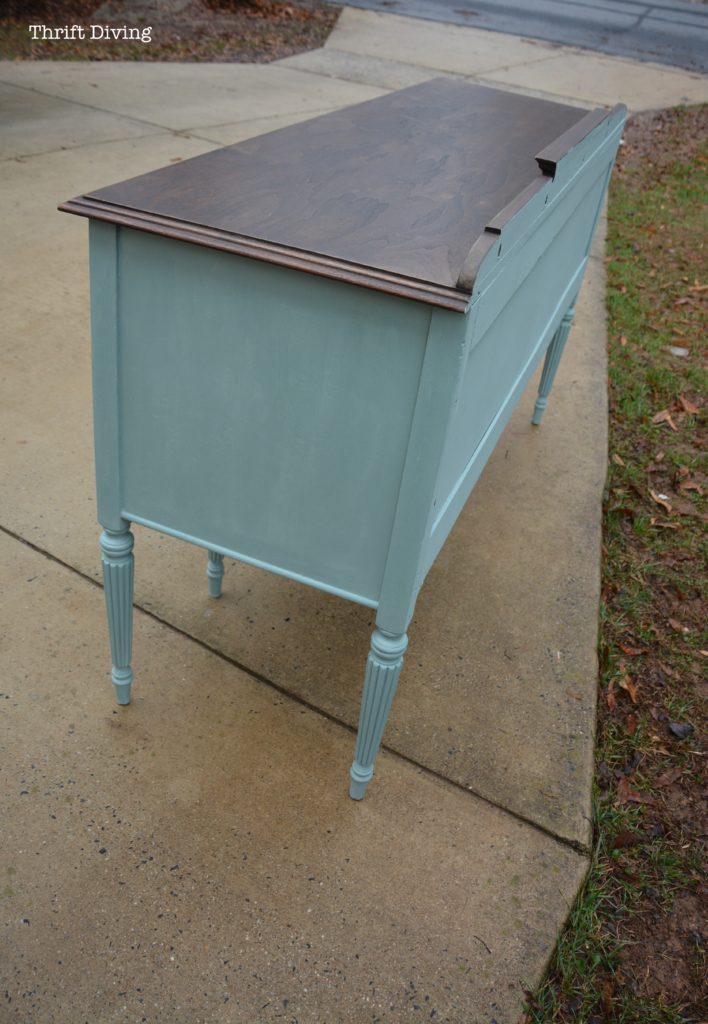
As an artist, I can’t walk away from a piece without painting the back. I know many people do leave the back unfinished and consider it a waste of paint, but seriously, without painting it, it would make a piece look very unfinished.
Do yourself a favor. Paint the back 🙂 It just makes them look finished, you know?
A Final Look
Checking out these pics as I complete this post, I’m so glad I painted this vintage buffet. It feels more fresh, prettier, and it’s been given another opportunity at life. Not that stain wouldn’t have given new life. But I just love this look so much better! 🙂
AFTER
So the next piece of furniture you’re planning on making over, including a vintage buffet, remember that they look super cool with stripped and stained tops with painted bodies!

Download the 5 freebies!

Thrift Diving inspires women to decorate, improve, and maintain their home themselves...using paint, power tools, and thrift stores! Use these 5 printables, checklists, and ebooks to get started!


Beau-ti-ful!! Great job!
You gave that buffet life! I would buy it and I’m sure it will be a hot item at your sale. Restoring furniture is such hard work and you have to love doing it. You love it, so I look forward to more. . .
Thank you, Neti, for recognizing my work! Pieces that big require a lot of time and effort. I absolutely love it, though! 🙂 It’s so awesome to transform it and see it take on a whole new look and life! Thanks, girl!
Well IMHO you just ruined a beautiful piece of furniture.
Sorry, I know that is your opinion, but I saved a beautiful piece of furniture. Someone threw it away at a thrift store and I brought it back to life. If you don’t agree, that’s fine, but to say that I ruined it is quite rude and disrespectful to my work and effort. Next time, keep your negative comments to yourself. Thanks!
Serena, you DID ask for a person’s thoughts . . . in the last line of your article . . . see it up there ? This person gave her opinion and she even states that it is her honest (or humble) opinion . . . and while you and I do not agree with her opinion those are OUR opinions as well. Please don’t appreciate only the ones that agree with yours.
In MY opinion, if the piece belongs to you and you want to paint it, PAINT IT ! Wood color is NOT sacred . . . and for the most part, wood is stained in some way or other that is NOT natural !
It’s wonderful – I’m really impressed.I would love to own it- its a pity I live in England! I hate wood stripping too – Ive just finished re upholstering a lovely old chair but had to strip the wood bits first – I nearly gave up and threw it out , glad I didn’t – and even more glad it’s finished 🙂
love ur work
so pretty! love the colors and the knobs!
It is beautiful, I did not imagine it looking like that. Love it. You did an awesome job on it.
As usual I love your work. The color and dark stained top are gorgeous together. The knobs really give it that extra “bling” but also the detailed painting on the doors is an added treat! AWESOME JOB!
This is beautiful! I love it!
Love it! The color is gorgeous, and the stained top and details are perfect!