
BEFORE & AFTER: Kids Bathroom Makeover Reveal!!
I’m excited to show you how a DIY superwoman can totally create a cute kids’ bathroom makeover when she gives herself 30+ days and a deadline.
It’s going to be a rather long story, so kick up your feet, grab a drink, and let me show you what I am so proud to call my kid’s bathroom!
This is the room I chose for one of my 30-Day Room Makeover Challenges30-Day Room Makeover Challenges, where my readers and I commit to transforming a room in our house in 30 days.
These are the most fun and most exhausting challenges. Life gets in the way. You get tired. You get frustrated. You get stumped. But it’s a journey. I seriously couldn’t have done any of my room challenges without my readers. You guys ROCK.
So let’s get started on this tour of my kids’ pretty bathroom!
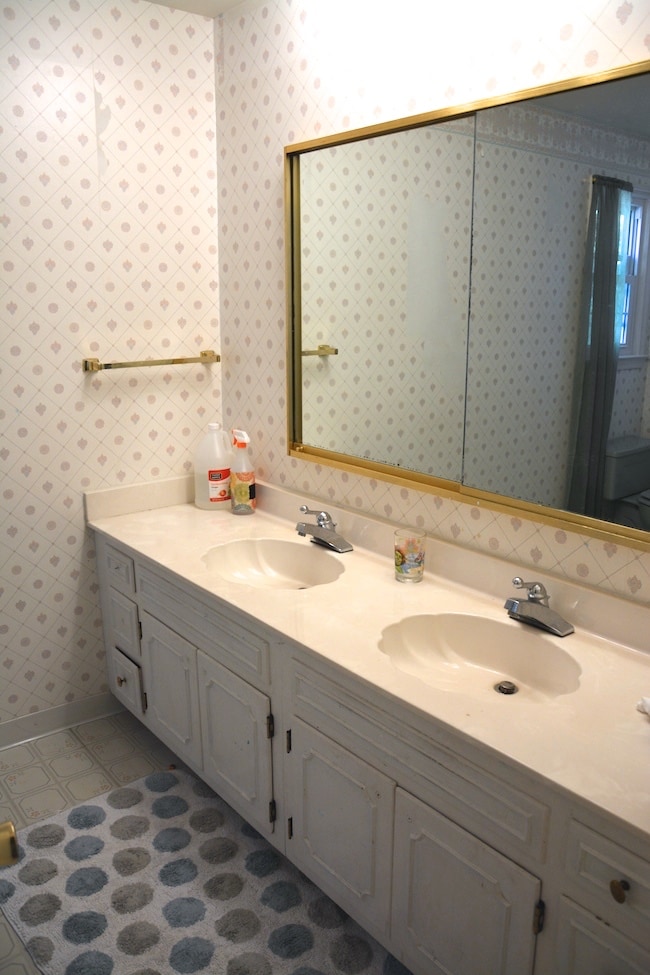
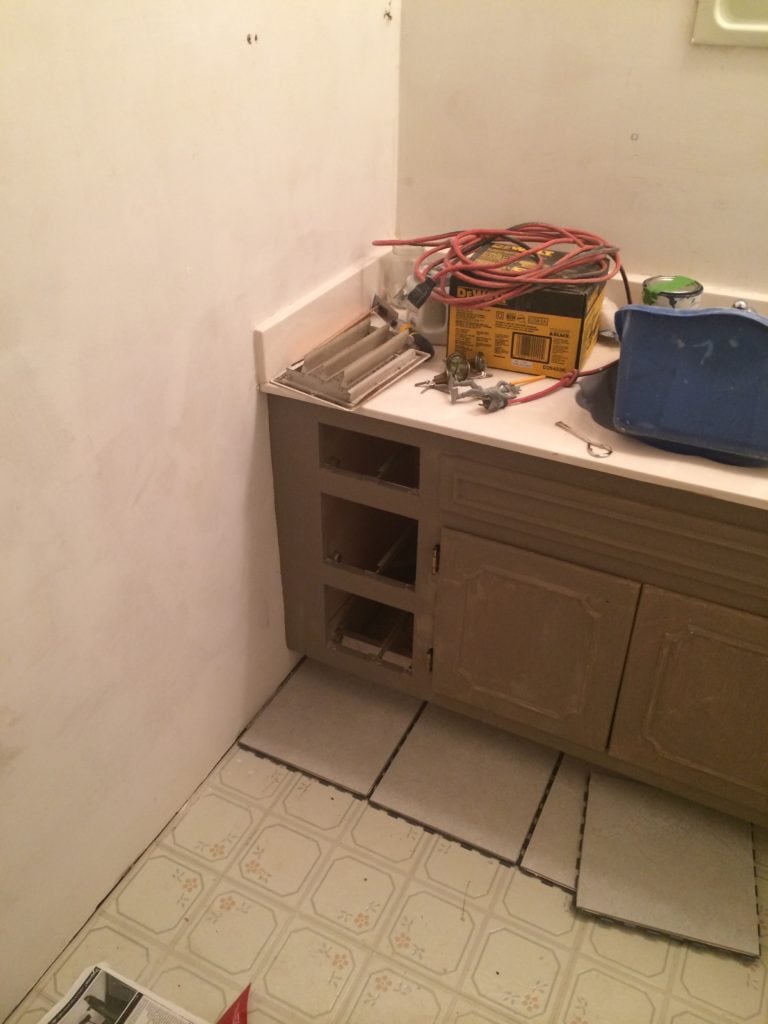
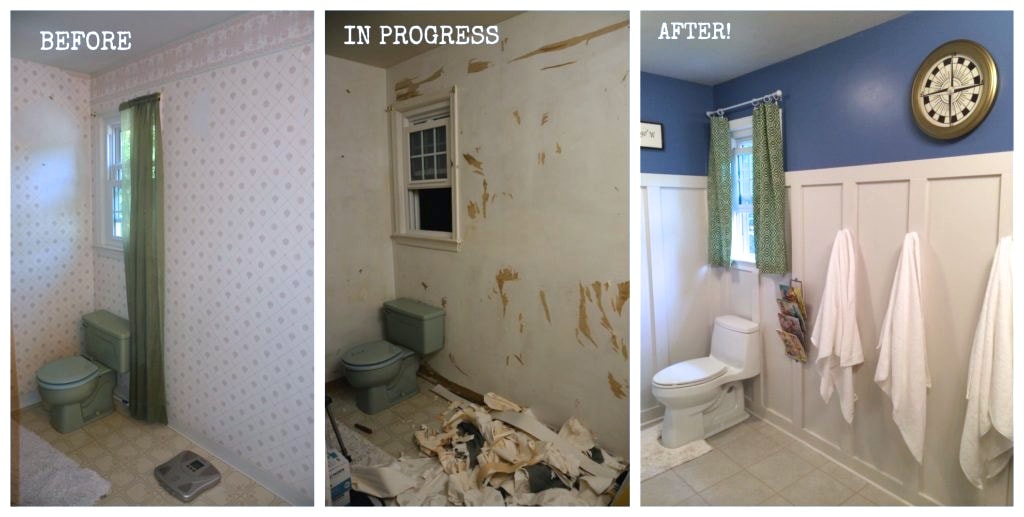
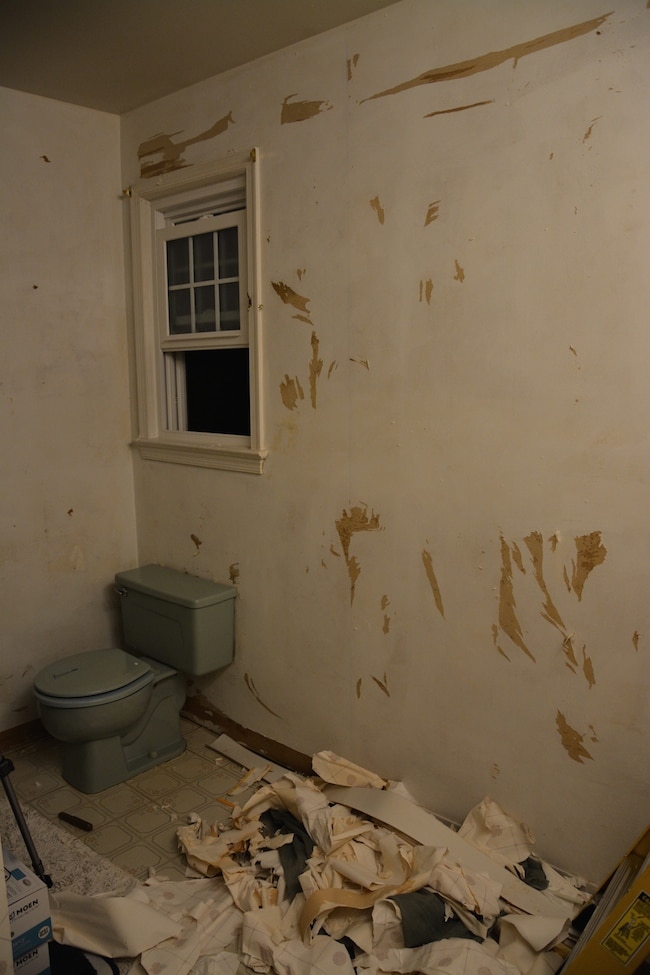
This is what it looked like at the start. Aren’t you horrified? I know I am…

BEFORE

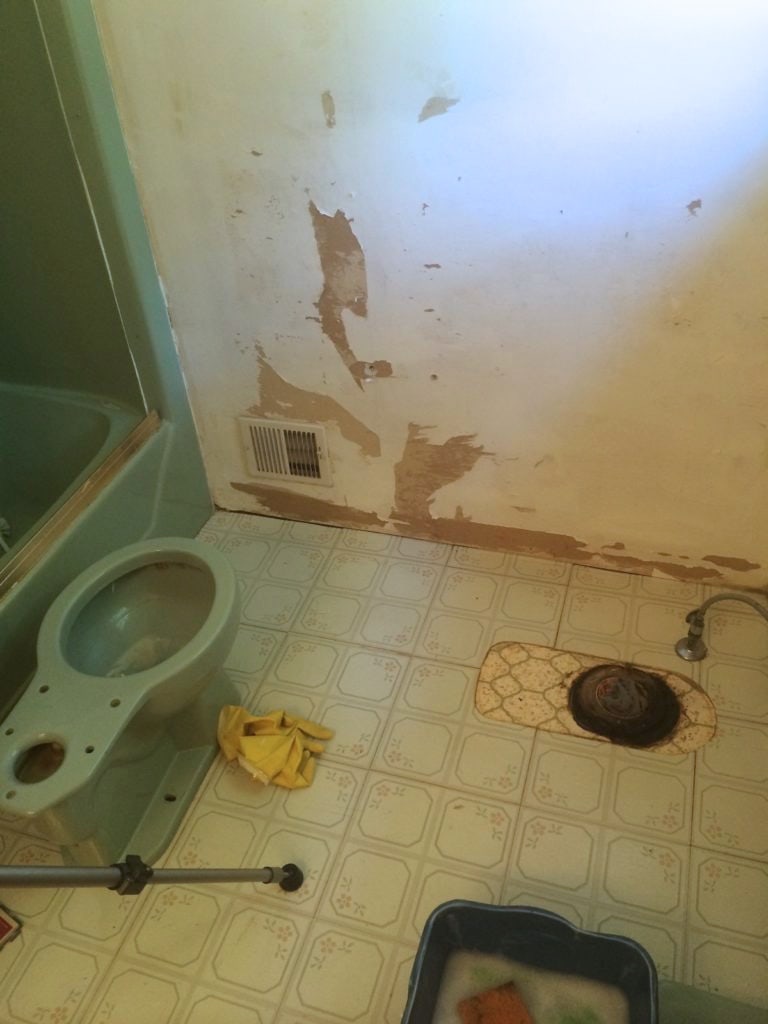
Well, that was what it looked like after I started removing wallpaper! It went from “bad” to “worse” in about 3 days. EEK!!!!

….And I turned it into THIS:
AFTER!
Navigation-Inspired Kids’ Bathroom Makeover
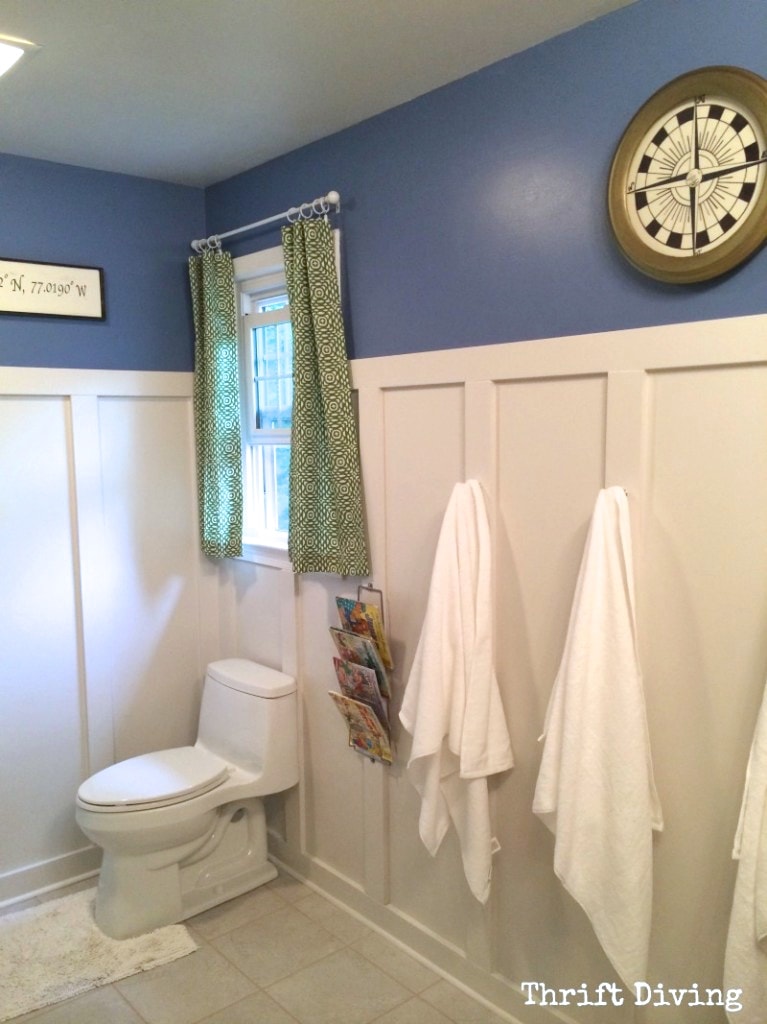
I Waited Years For This!
It’s a shame that we’ve been in this house for years and it took me that long to renovate our kids’ bathroom. But the truth is that I didn’t have the skillz then that I have now. Nor did I have the confidence ….or the power tools. 🙂
Whatever the reason I put off making this room amazing for my kids, it’s no longer an issue :).
This makeover was LONGGGG overdue!
BEFORE
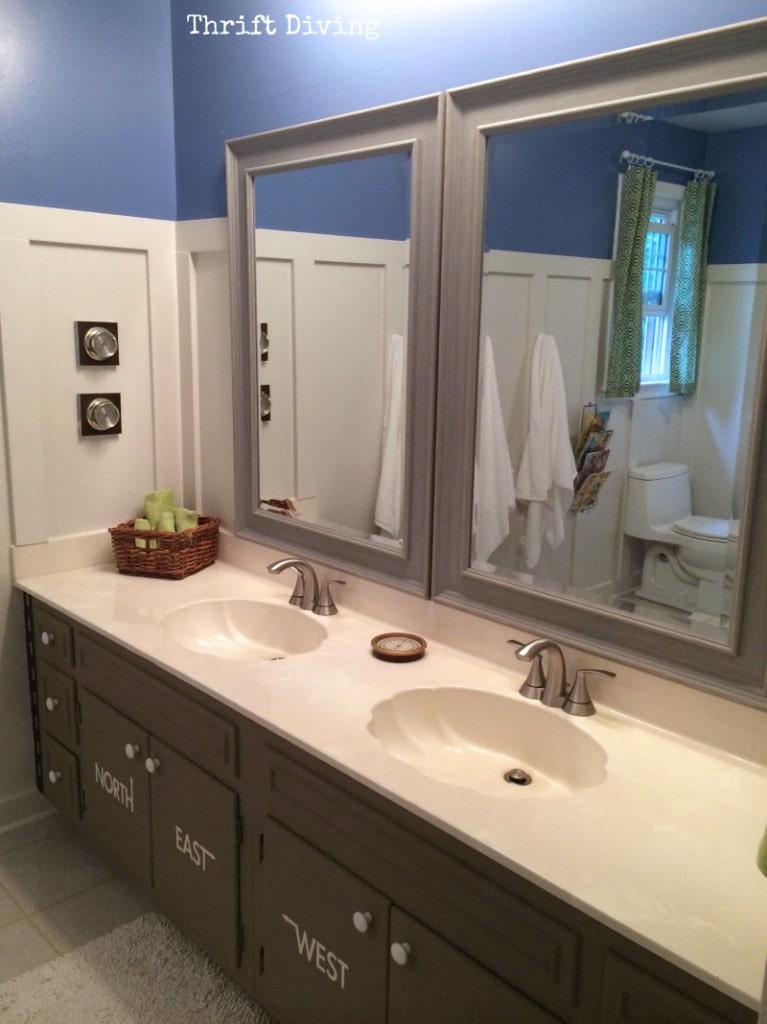
AFTER!
I Tricked My Kids
Shhhh….don’t tell my kids, but I wanted a kids’ bathroom makeover that would be educational for them. Aren’t I slick? 😉
I wanted to capture that “golden moment” when they’re sitting on the seat, vulnerable to the fact that they can’t get up and move around while “doing their business,” and actually learn something. It’s comparable to sneaking veggies in smoothies and brownies so they don’t know that what they’re getting is good stuff. 😉
In this bathroom, I’m grooming their geography skills!
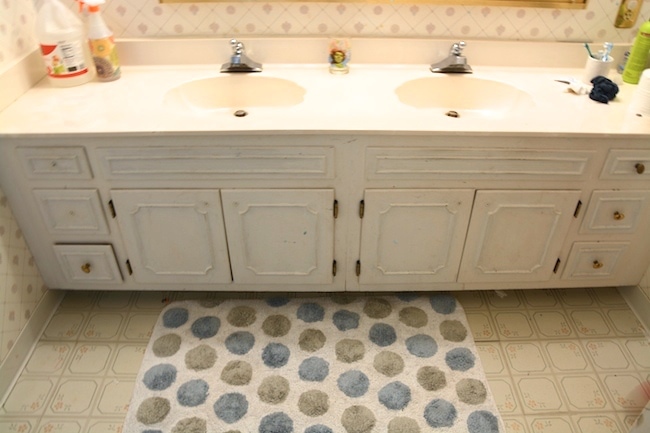
BEFORE
AFTER!
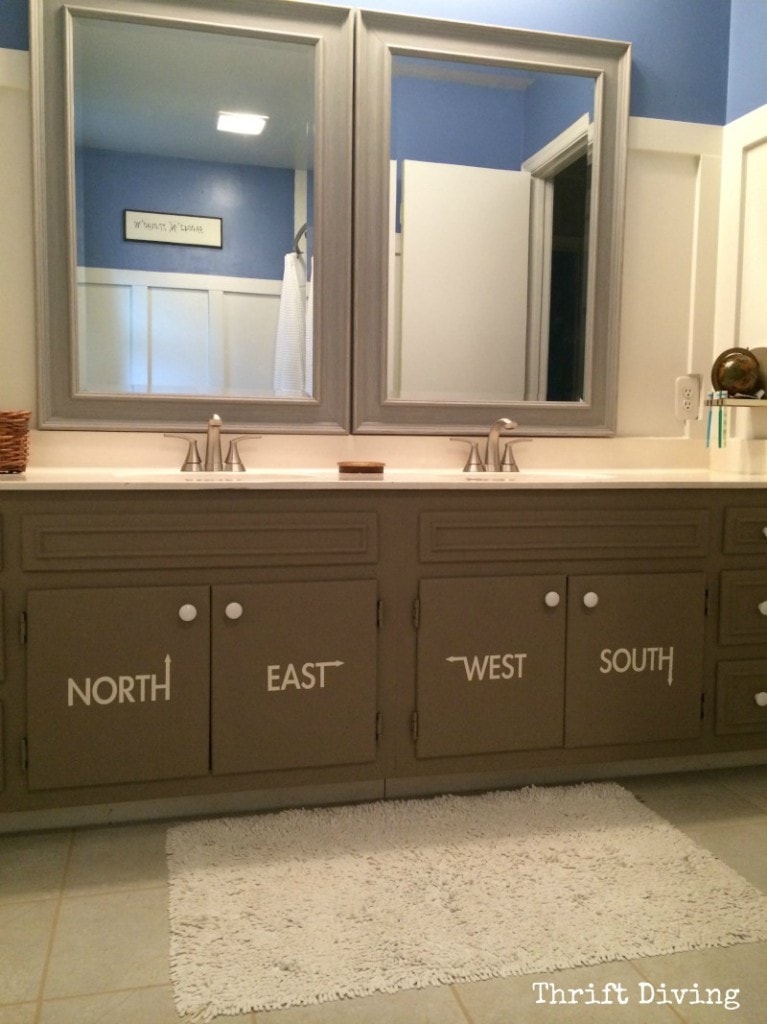
Thrift Store Inspiration
At first I thought I was going to do a “travel theme” in my kids’ bathroom, but honestly, I was stuck. Aside from buying old suitcases and stacking them next to the sink or hanging them on the wall, what was I going to do for travel??
I was drawing a blank!
So I headed to the thrift store, thinking I could find some fabric or items to jog my inspiration. Of course, it worked :). I found several old Hawaiian men’s shirts, and I was drawn to the compass/navigational look of them:
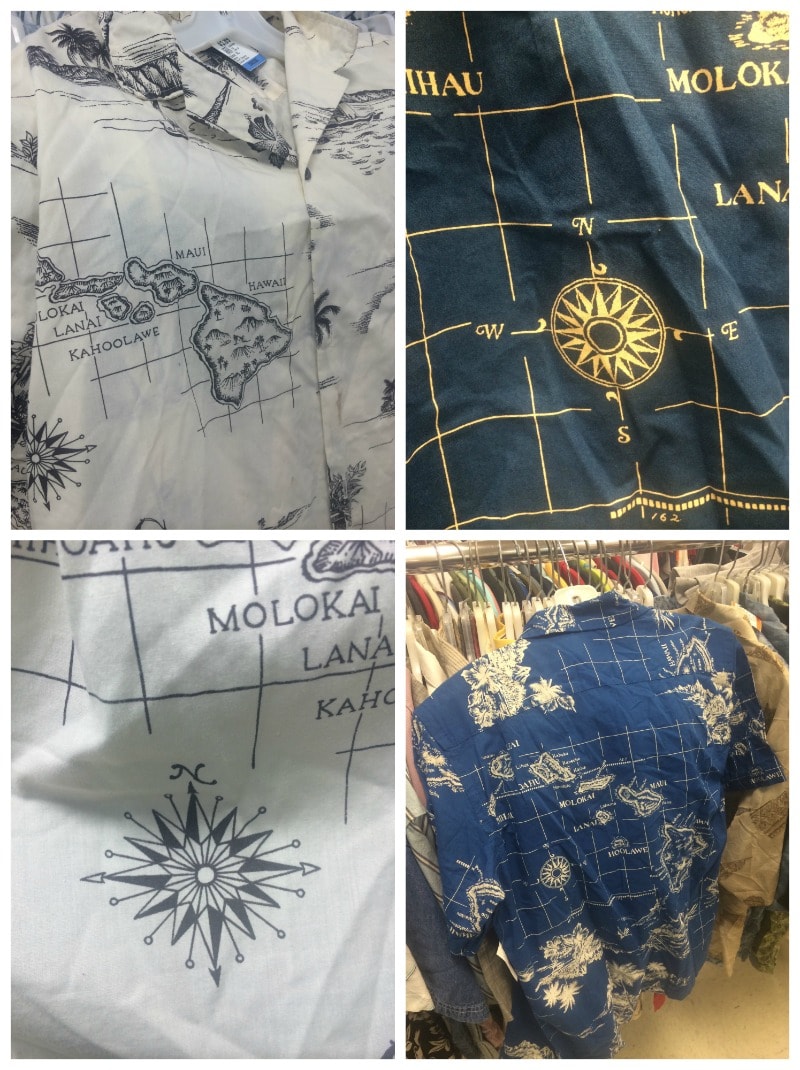
Even though I loved the look of a navigational theme bathroom, I still didn’t know how I was going to tie it all together. That was the hard part! I went ahead and got started with removing the wallpaper and skim coating the walls. That was a huge job!
Sherwin Williams Coastal Cool Paint Colors
You’d think as creative as I try to claim I am, I’m afraid of color.
I tend to choose colors that are very “pastel-ly” because I’m afraid dark colors will make my house feel even more like a dungeon (we don’t get much light during the day in the spring/summer). I love light, airy spaces. But since this was a boy’s bathroom, a little bit of deeper blue was fitting. And really, it wasn’t even “that” blue! I could see myself using these pretty colors again!
Here are the colors I chose:

Removing the Toilet and Installing the New Bathroom Flooring
If you’ve been a reader of this blog for any time (or if you have boys), then you know that my boys’ bathroom was stinky. I couldn’t wait to lay down the SnapStone flooring to cover up the old stink after a good bleaching.
But first, I had to remove the toilet.
(RELATED: Read my post on how to remove a toilet for step-by-step instructions. Then, you’ll want to check out my instructions for how to install a toilet yourself without a plumber.).
You can watch briefly some footage from me working on this bathroom.
I had used SnapStone for my laundry room makeover from a previous room challenge, and I had about 7 boxes left. I had to buy 6 more boxes. It’s seriously the easiest floor to install! It’s real porcelain tile that just snaps into place. It went right over top of my existing 2 layers of vinyl (which could contain asbestos, so I’m not touching that stuff).
The floors were badly yellowed and old. After patching some parts with concrete (read: covering up the pee with concrete patching) to even the floor out, I was ready to roll!
It simply snaps into place. You just make sure it’s straight :).
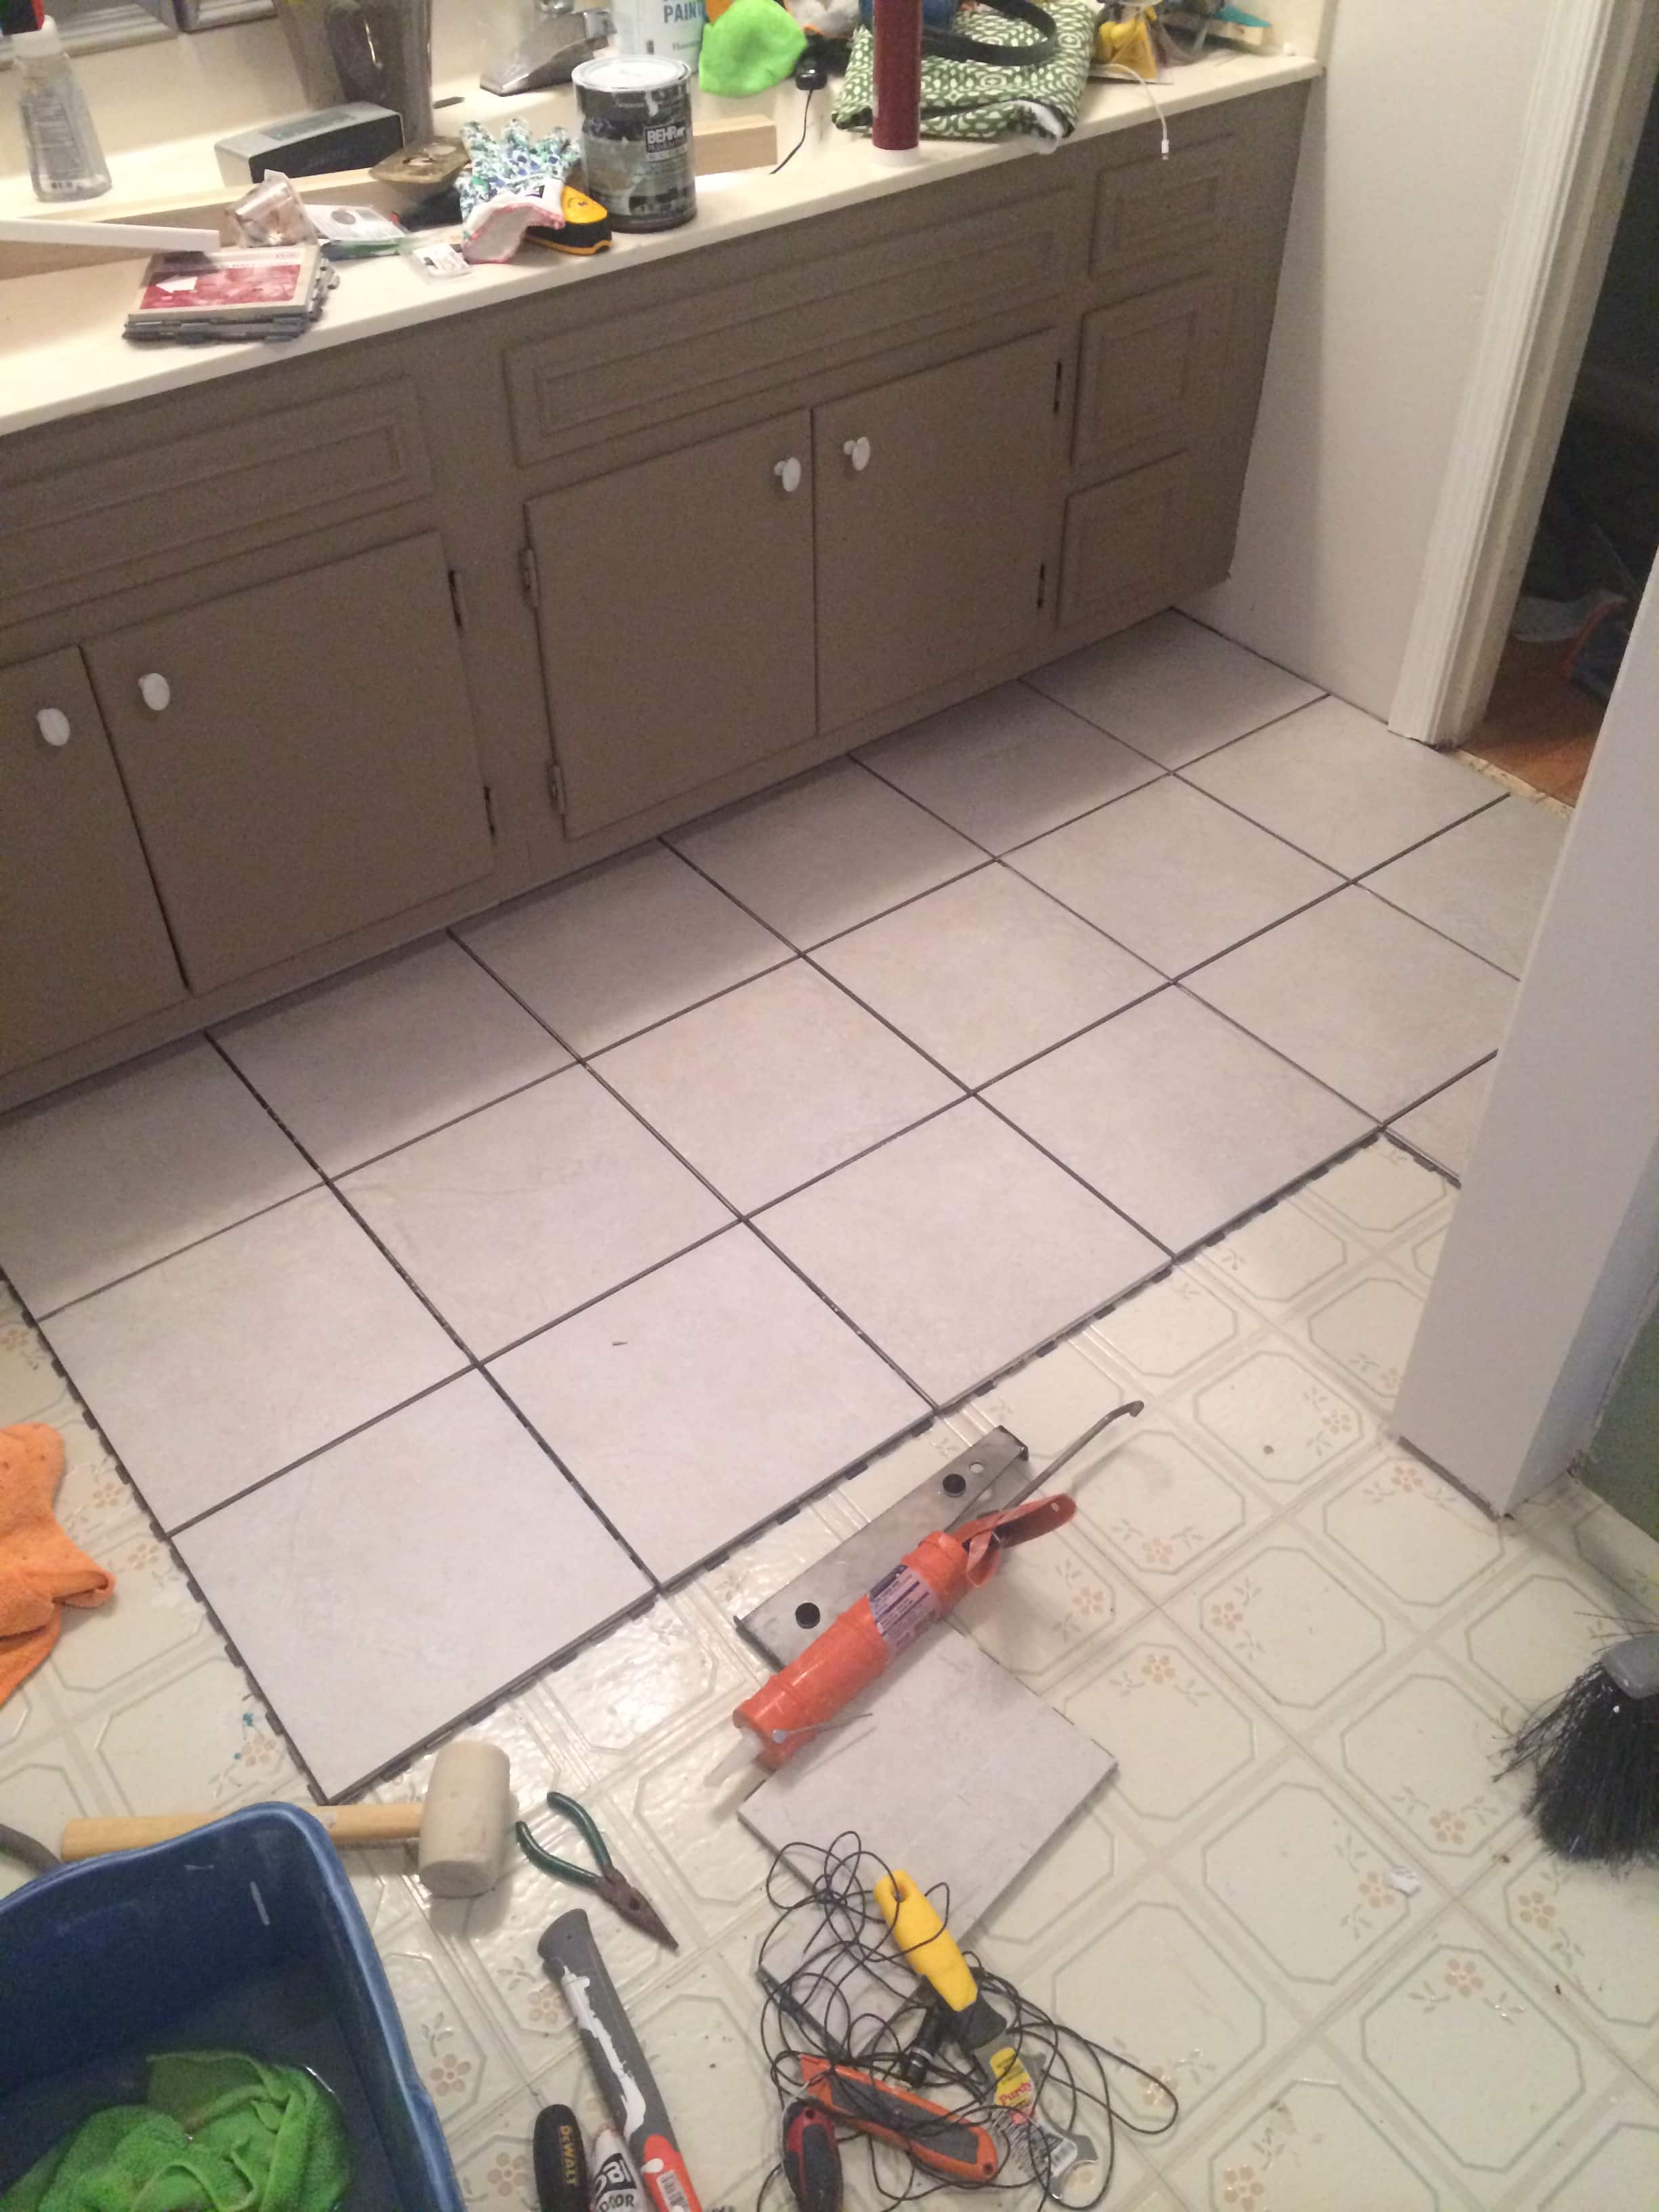
I worked my way all the way back to the toilet flange and supply line and then wanted to just hand it off to someone else. But nope–I had to finish! I patched to make sure the floor was even.
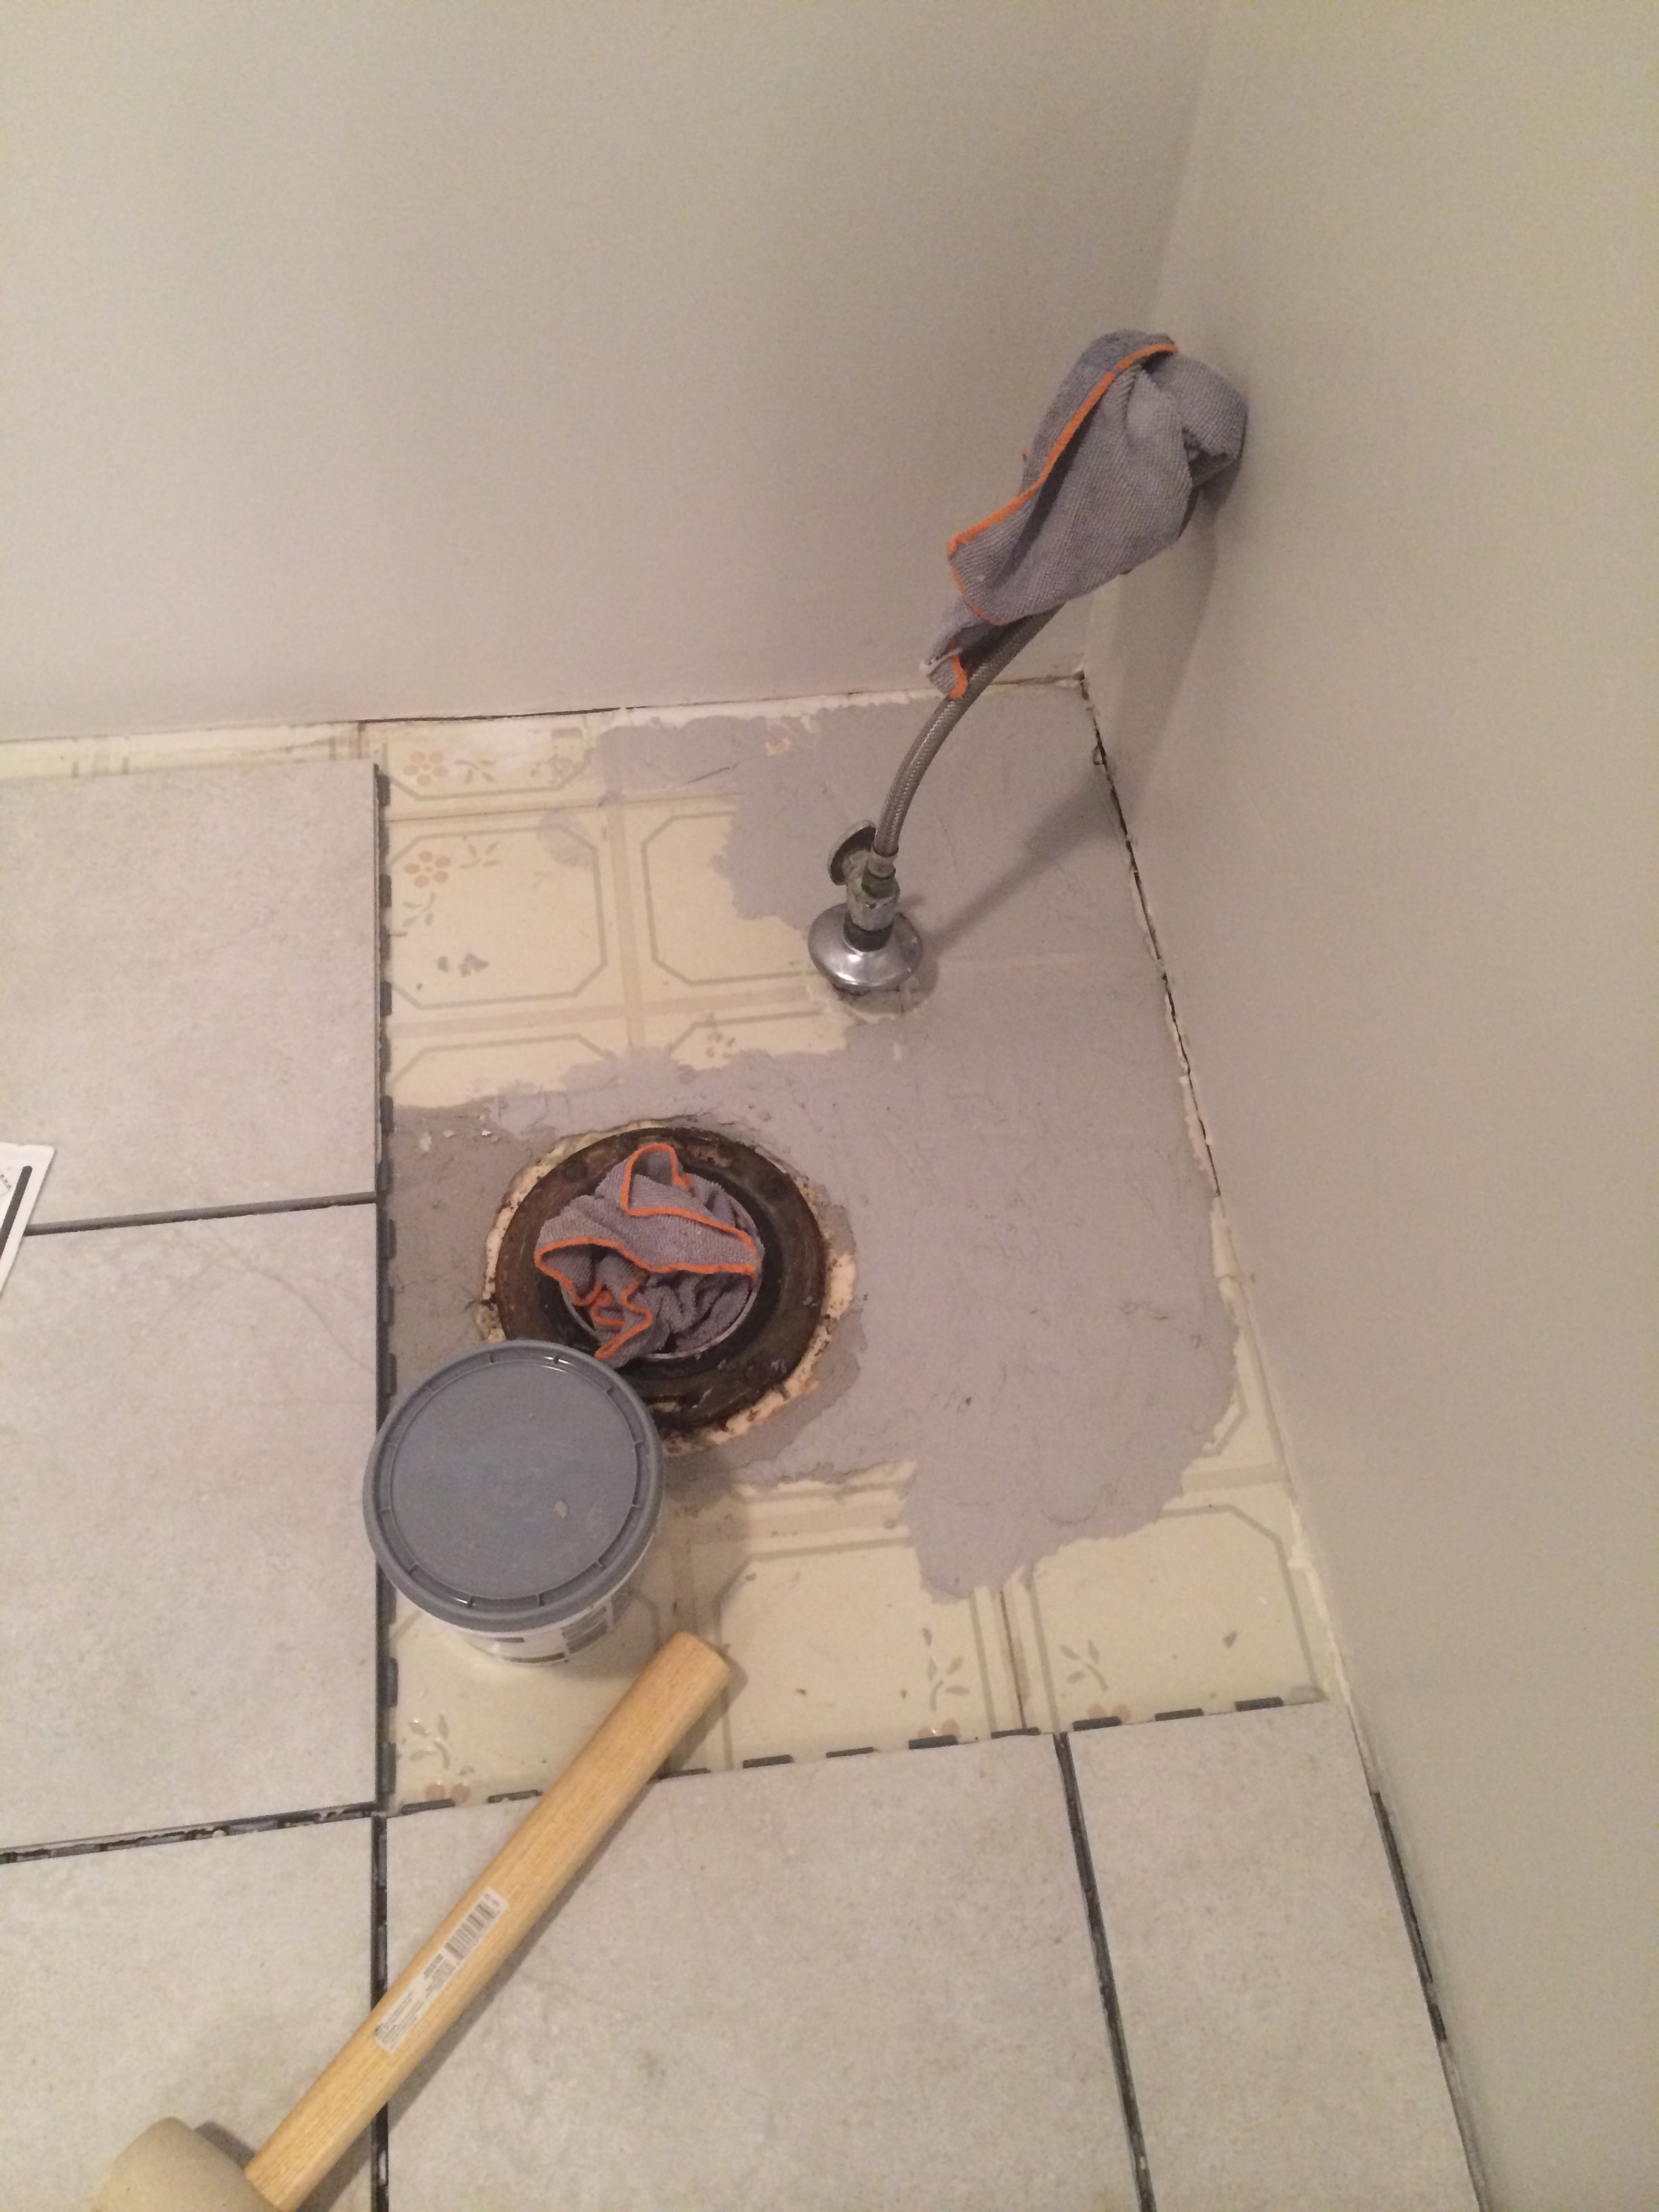
Getting around the flange and water supply almost gave me nightmares. I dreaded it! What if I screwed it up? What if the toilet rocks? What if the tile cracks??
I’m going to be honest with you–don’t just look at these pictures and think I’m so handy. The truth is that it took me HOURS to measure and get these cuts right. And even then, it still wasn’t “perfect.” I’m a slow DIY’er who loves perfection but usually falls short. LOL. But it was good enough. Whew!
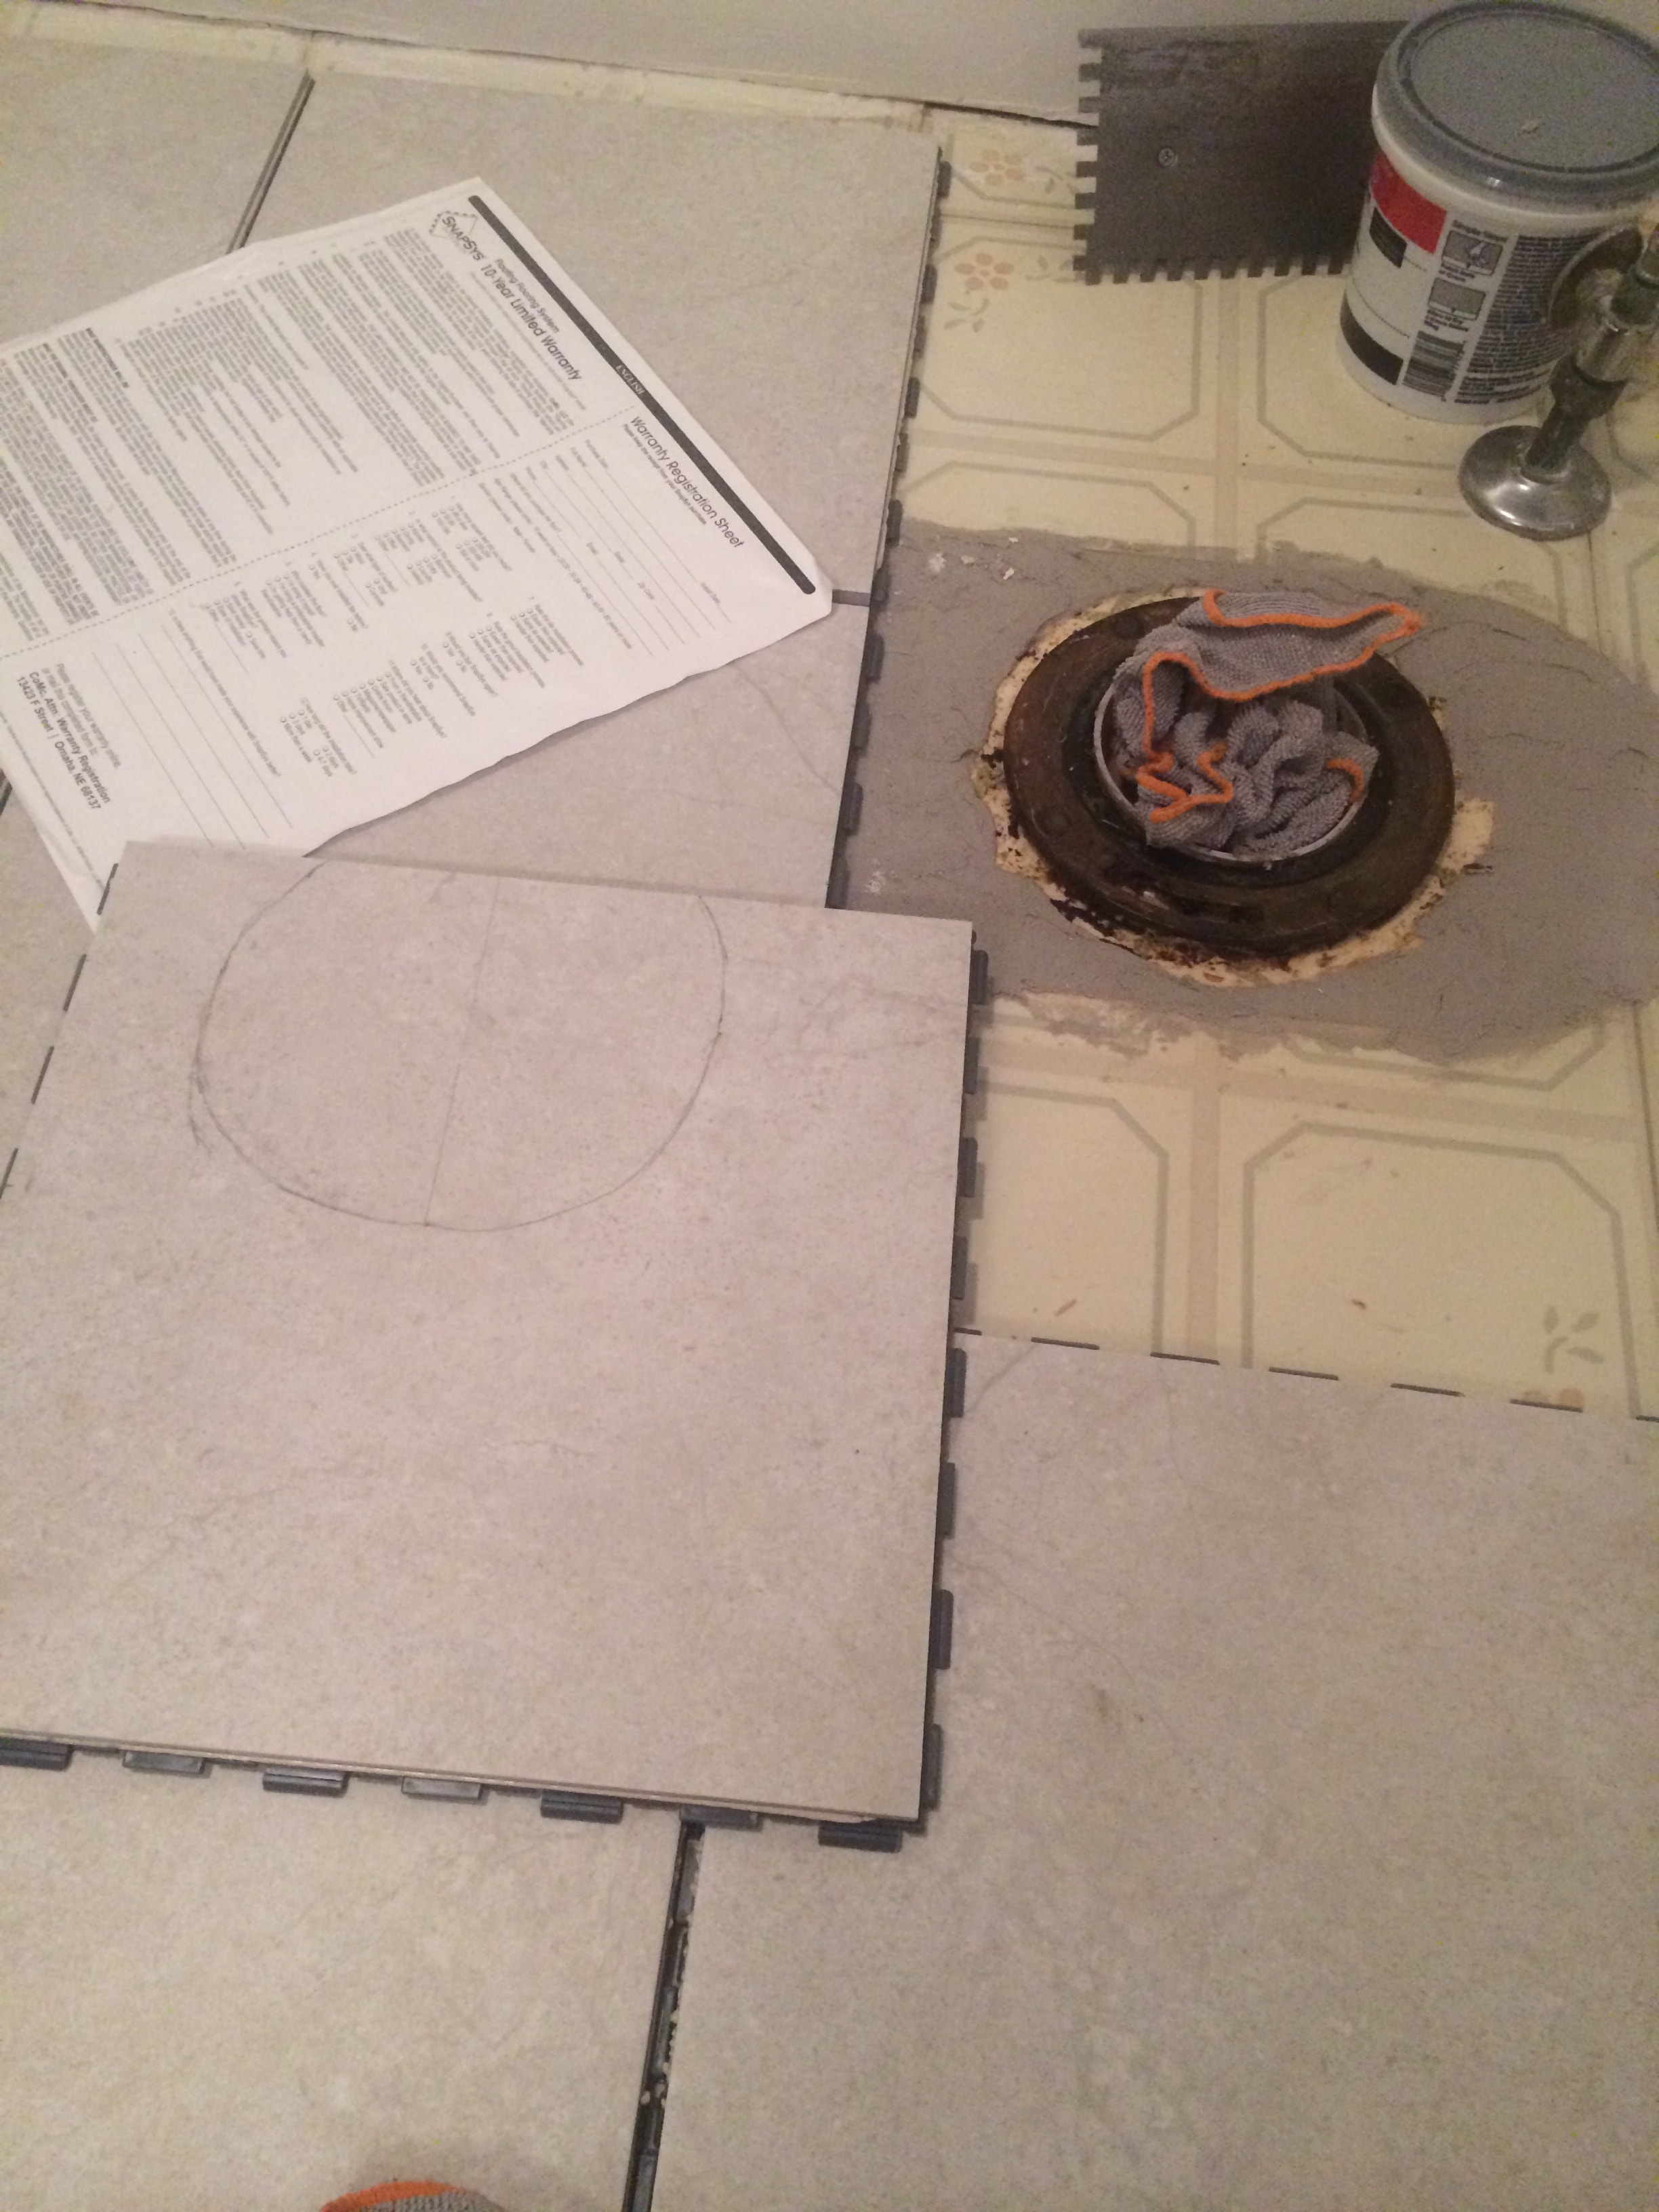
I used my angle grinder to cut the porcelain tile. Using a wet saw is easier (I don’t have one yet, though). But for angled cuts like cutting out for a flange, you need an angle grinder.
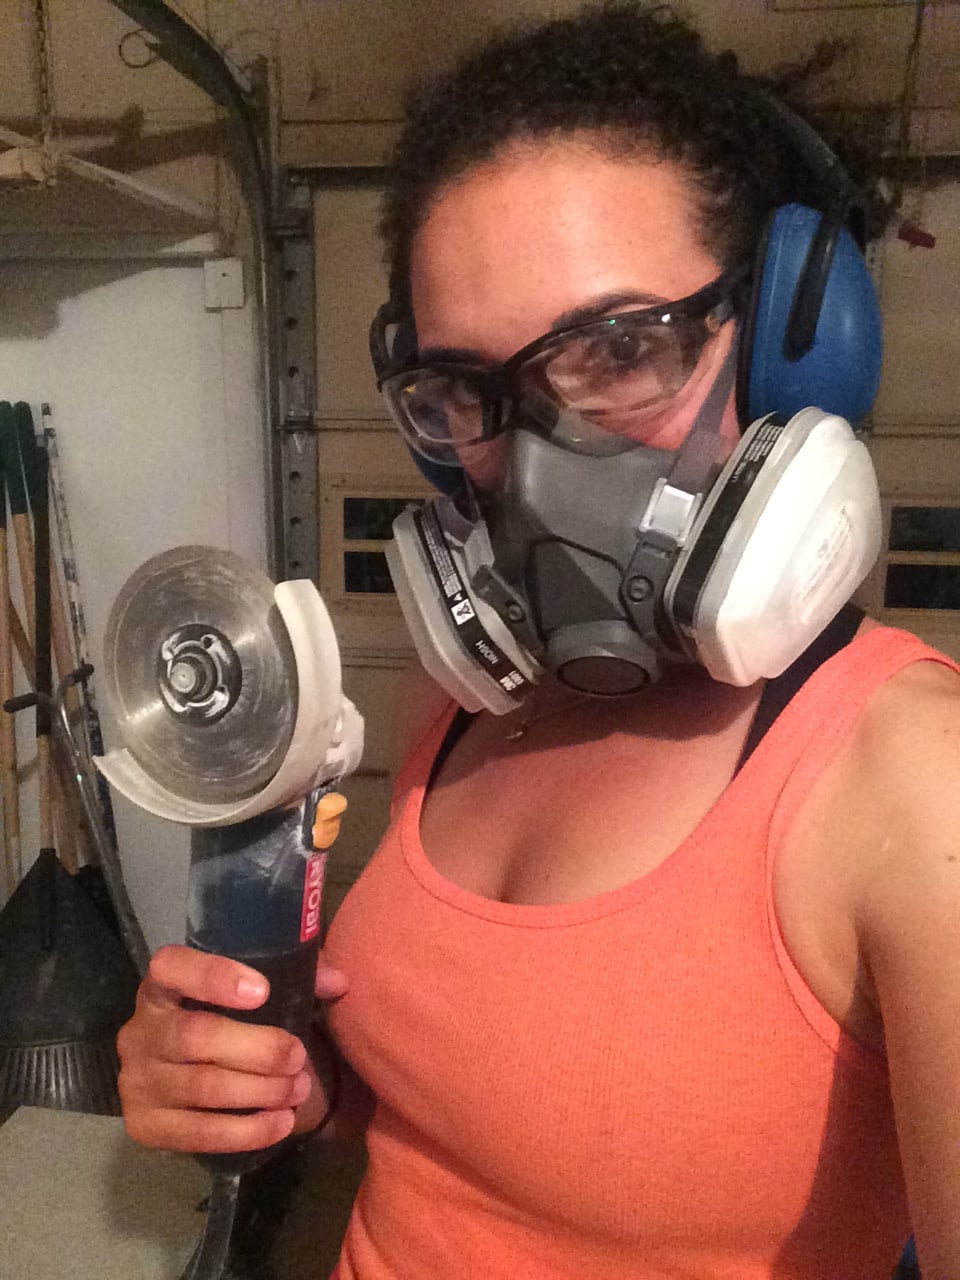
WARNING – Make sure when you’re cutting anything, or sanding anything (even spray painting) you’re wearing one of these babies! When I went to the Haven DIY conference a few months ago, Mike Holmes (yes, the Mike Holmes from Holmes on Homes did a talk about safety) said those cheap little paper-weight masks aren’t good enough. He’s right! I was using this mask while doing some spray painting and I couldn’t smell a thing.
Bothers me to think all this time I have been using the small papery things and jeopardizing my lungs. No more! Safety first!
It took me about 4 days from start to finish to do this flooring. Yes, 4 days. Maybe I just work slow, but when it comes to precision, I try to be as exact as I can be!
But I ran into problems at the entrance to the bathroom. I was left with about 1/2″ floor above the threshold:
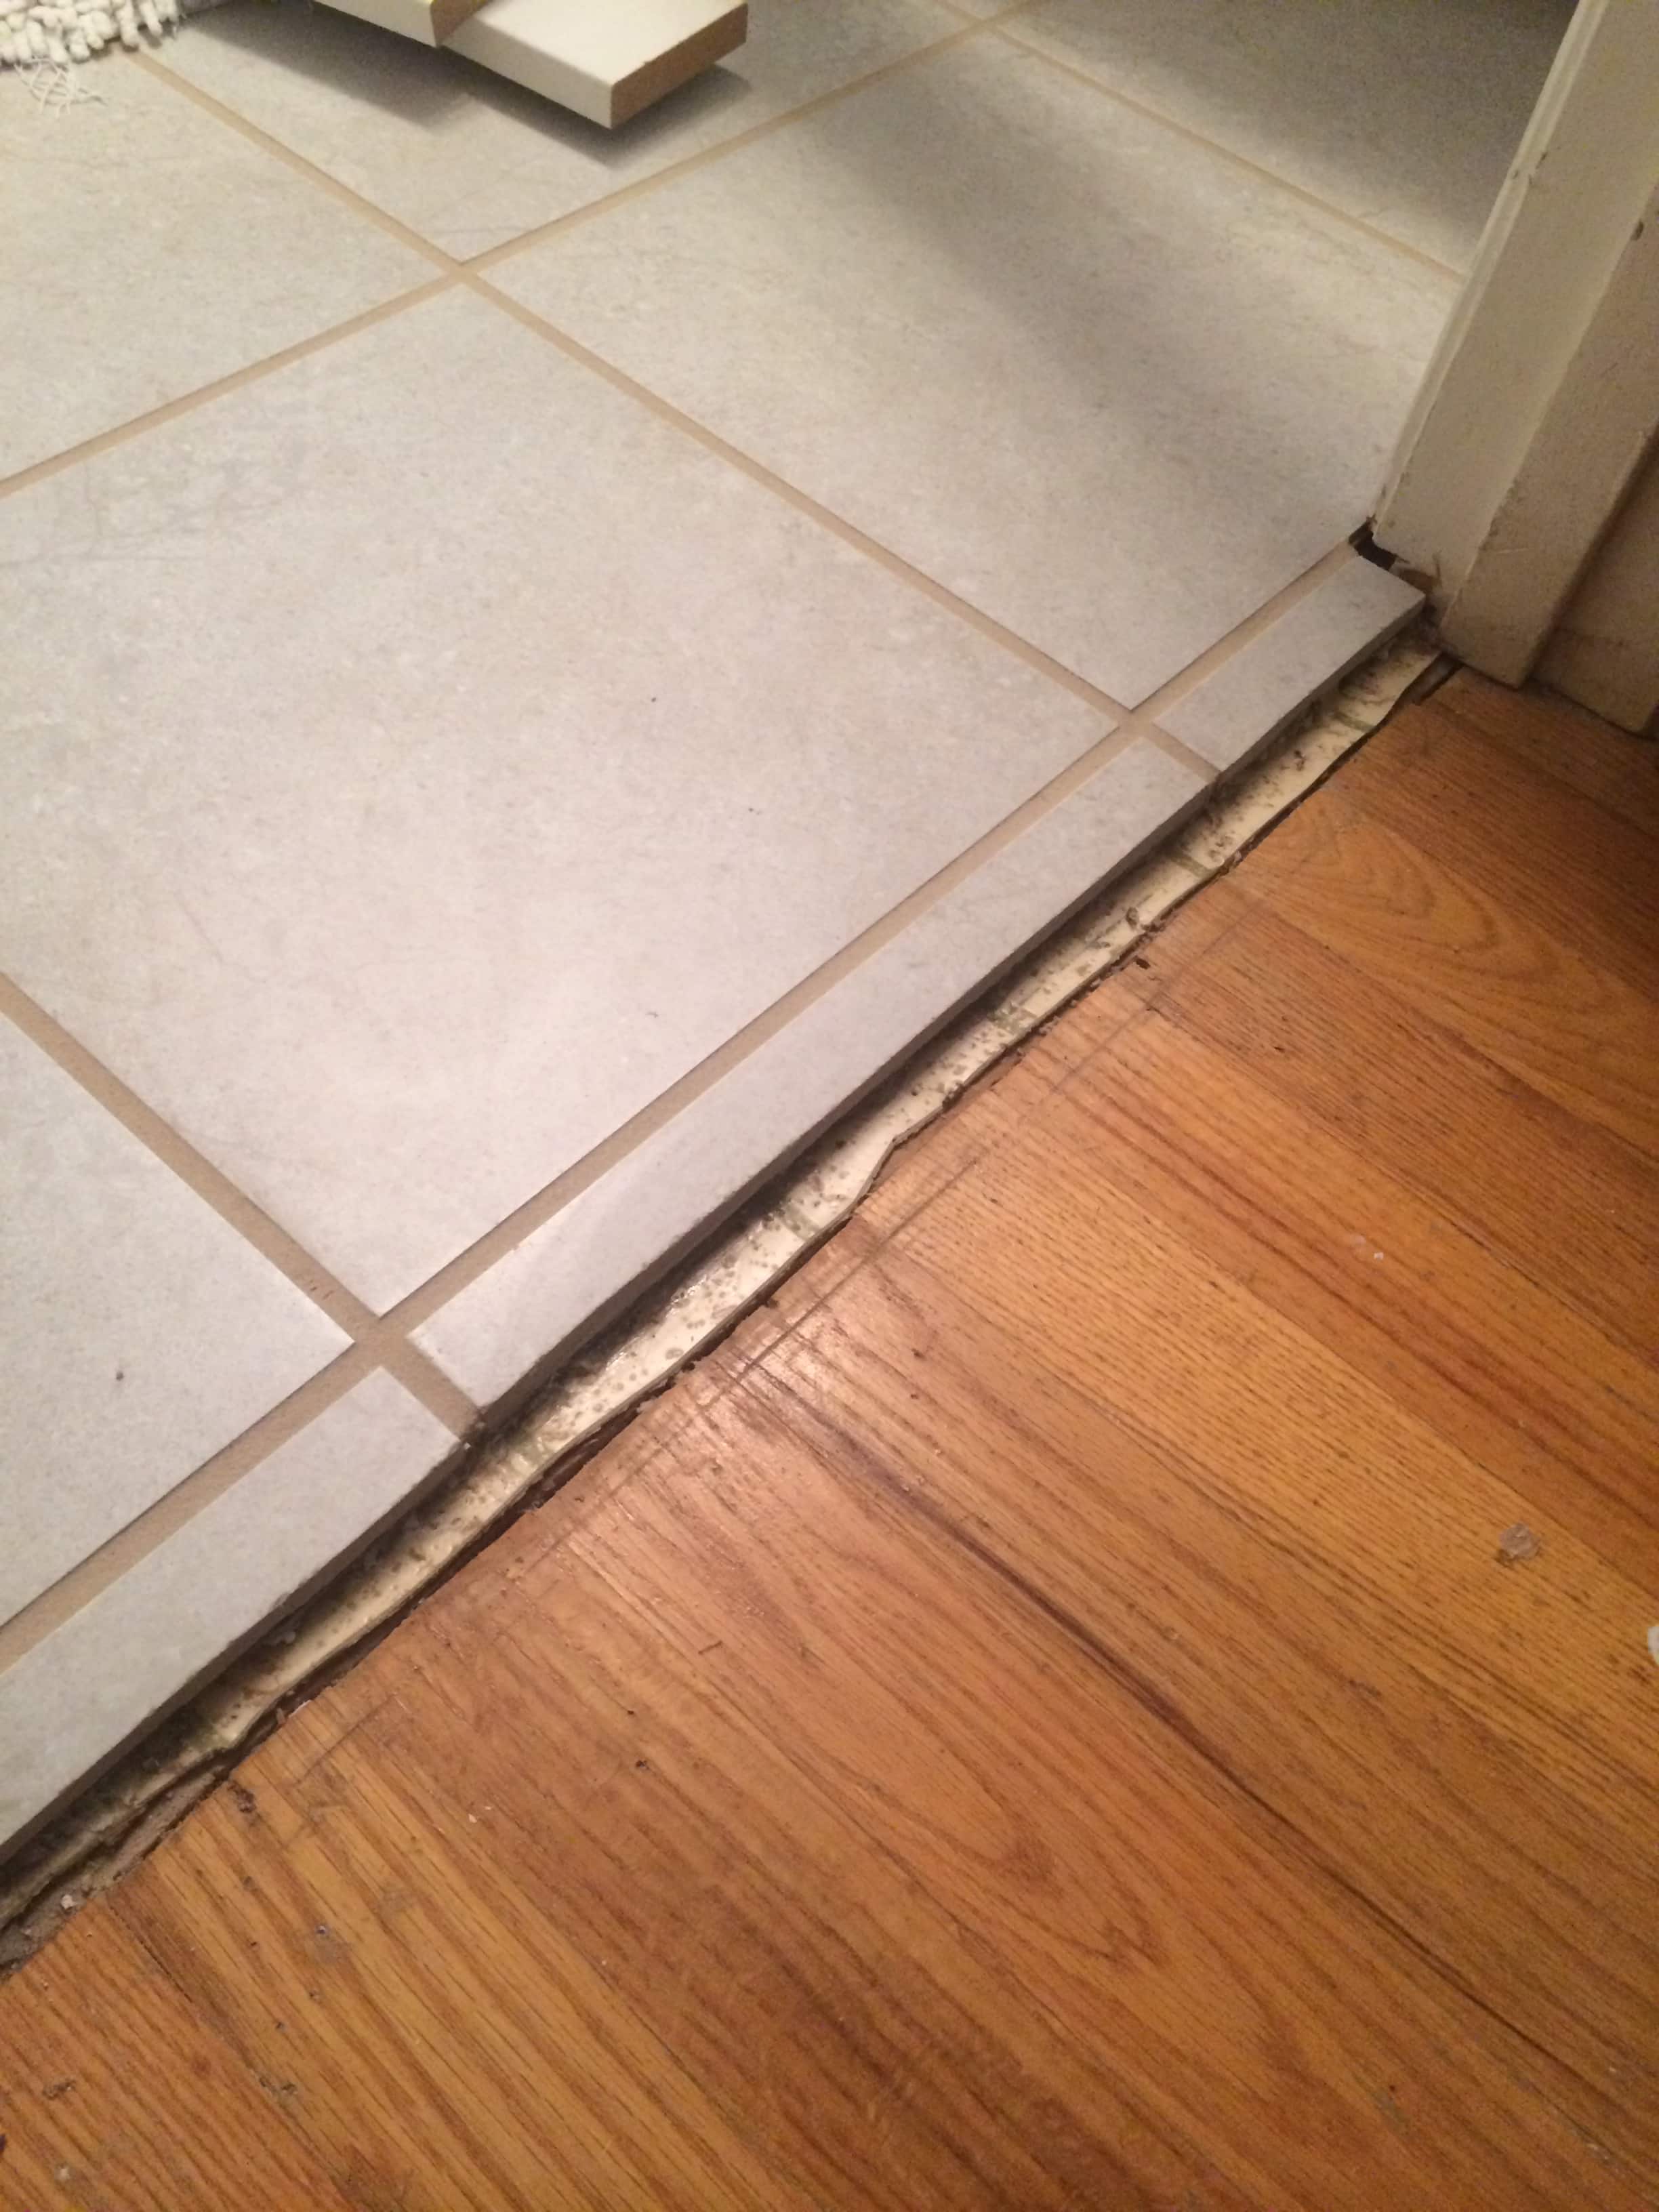
I could not find a transitional piece that fit it at Home Depot!! Thankfully, they had this piece which was the best alternative I could find to a transitional piece.
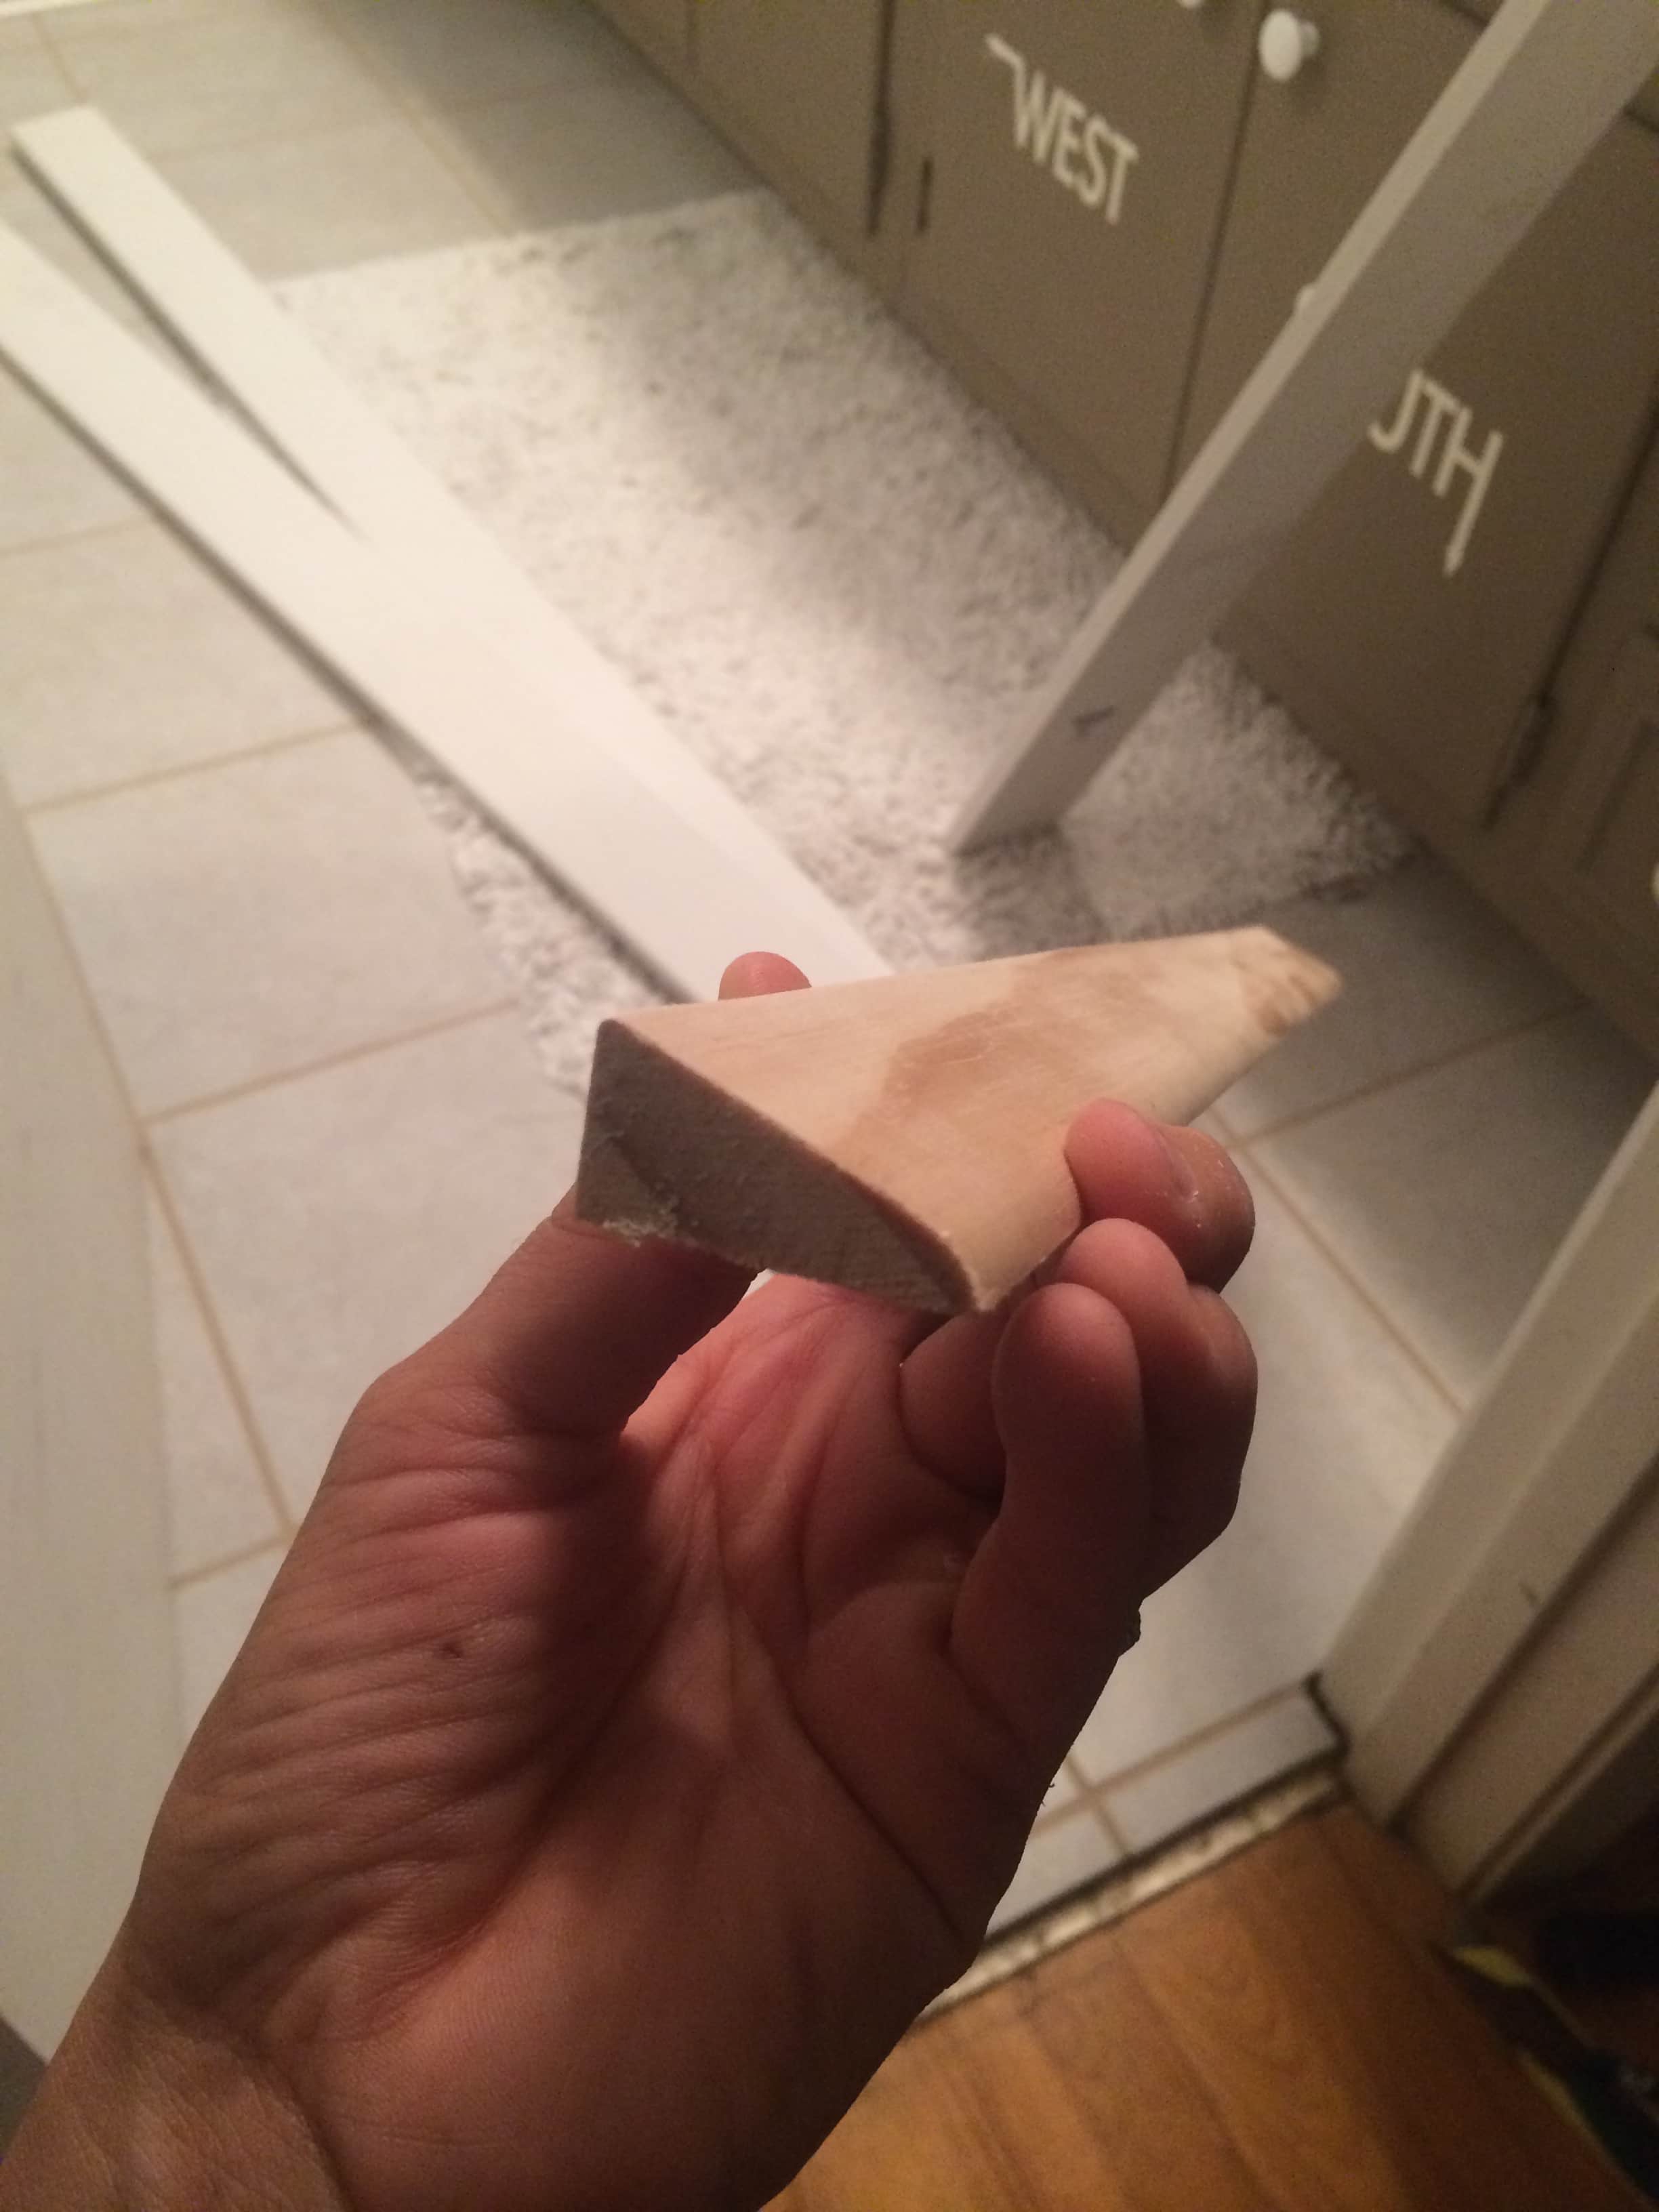
It was just about perfect, actually. I mean, ideally, I know it should cover the edge. But this was the best I could do.
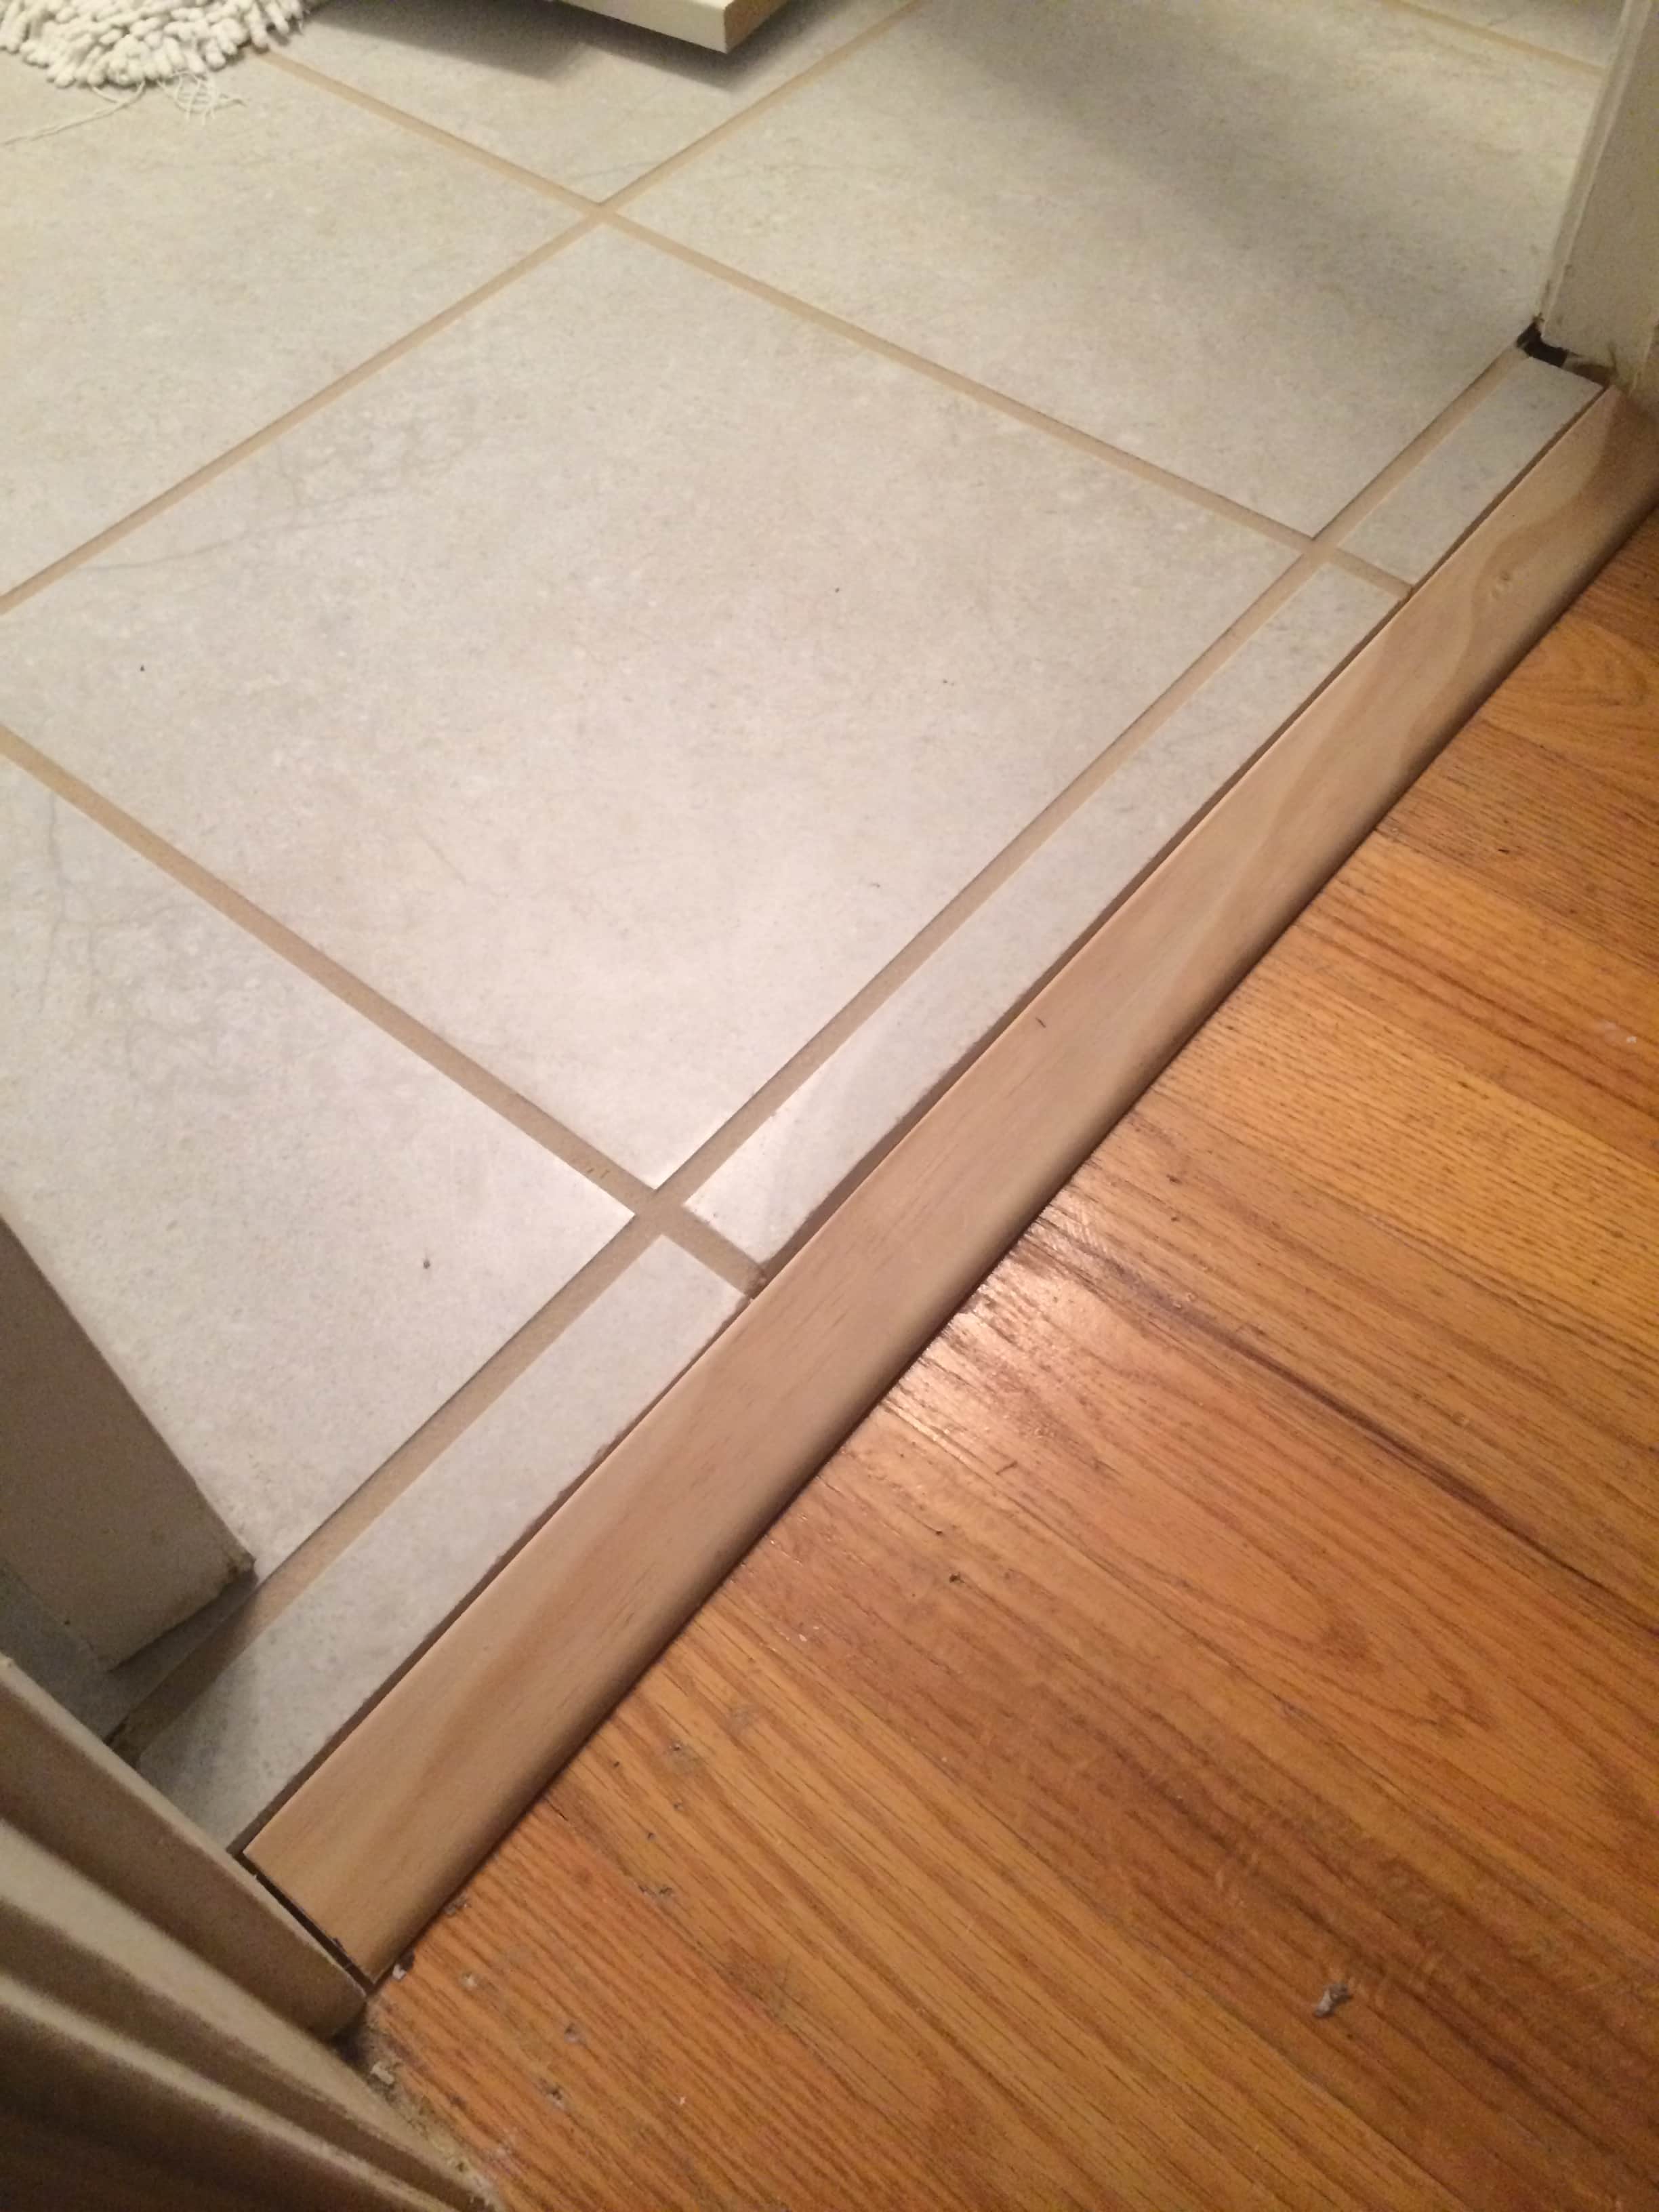
NOTE: If you’re installing SnapStone in a bathroom, be sure to caulk the bottom edges of the tile, while leaving an expansion gap. Contact the company for more info about installation. They were really helpful for me.
Flooring all done! Look at those straight lines!!
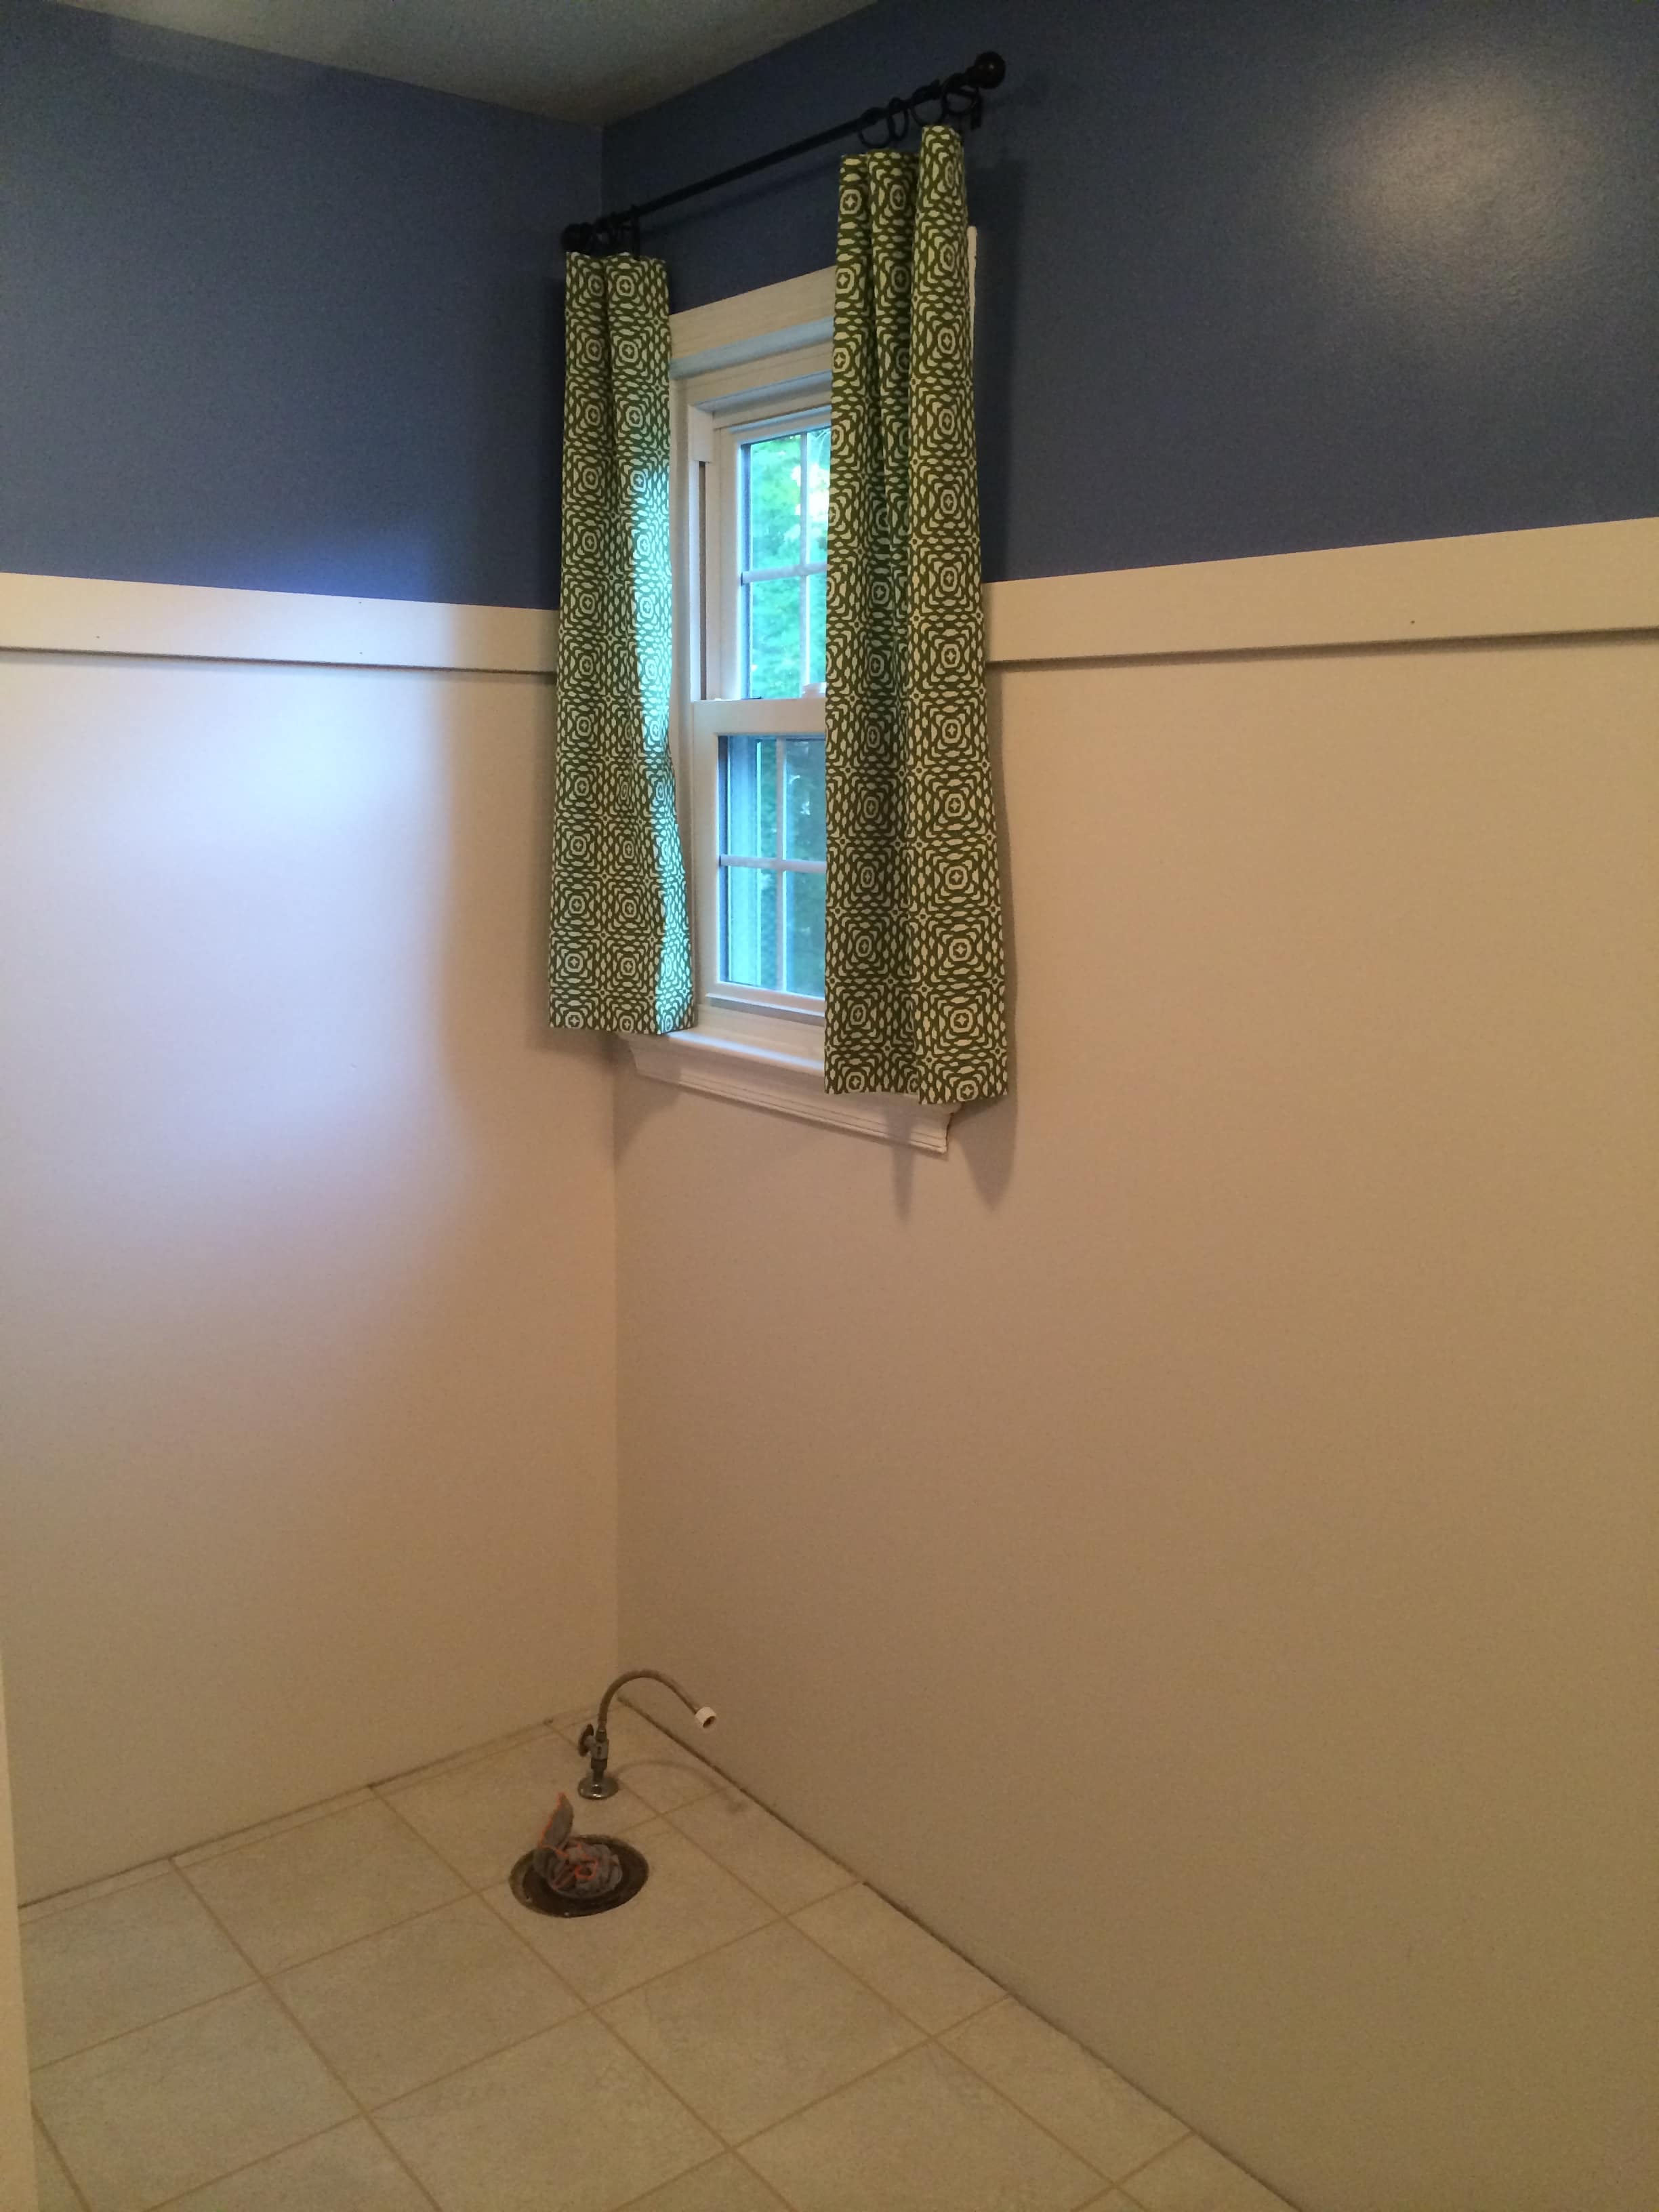
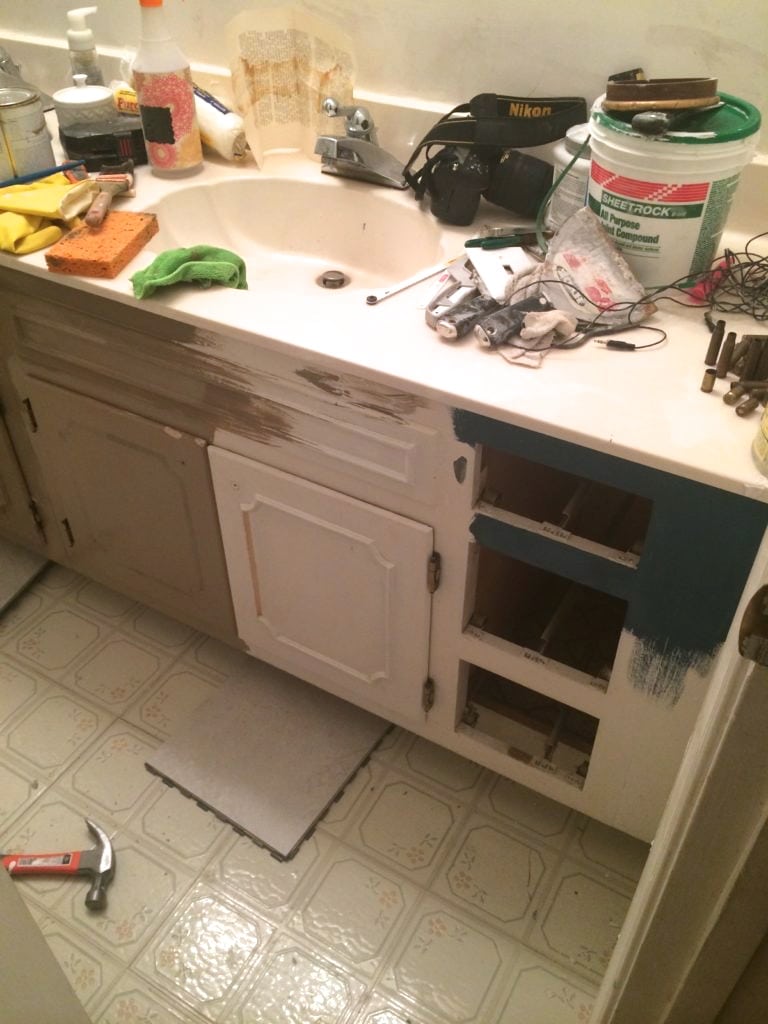
The “Howdy Doody” Vanity Had to Go
Well, since I couldn’t afford to buy a new vanity, I figured I would paint the one I owned.
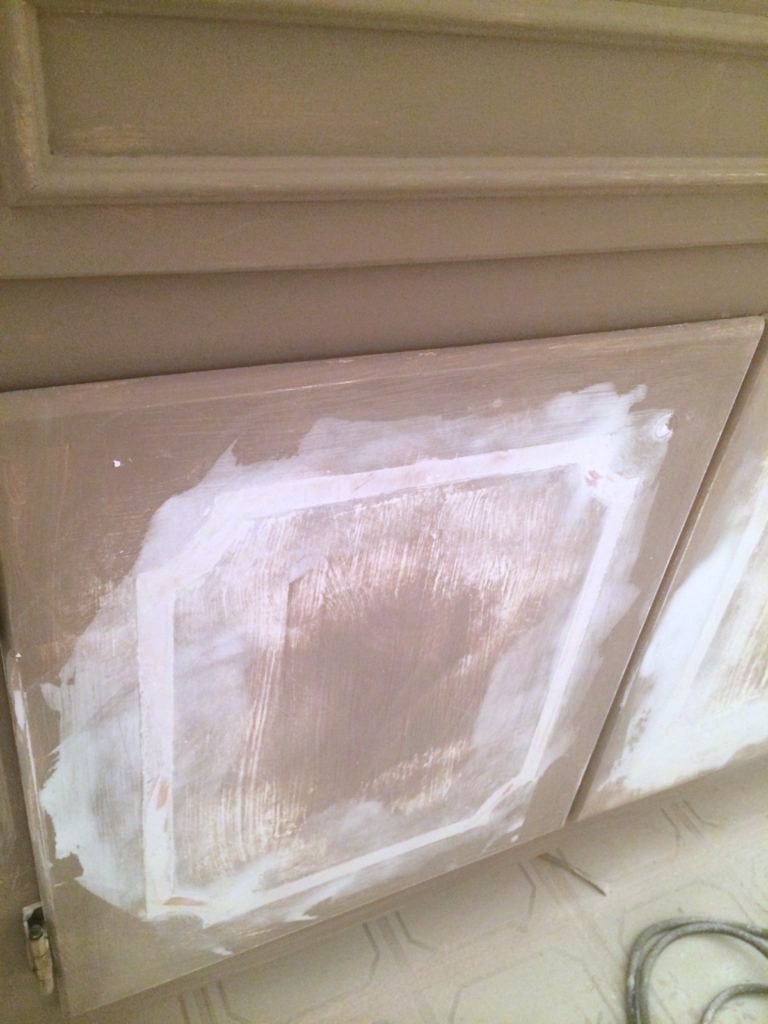
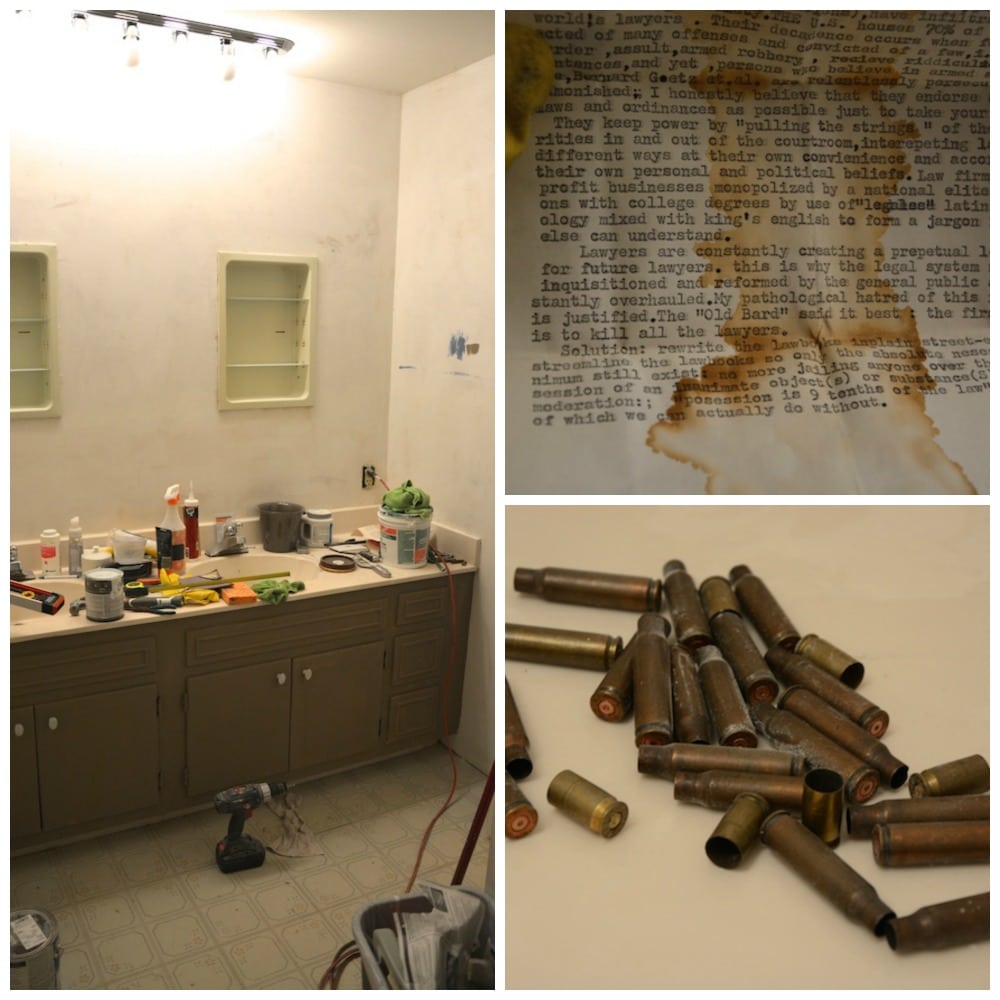
The crazy thing is that inside of this vanity, I found bullet casings and hatemail about lawyers! GASP!
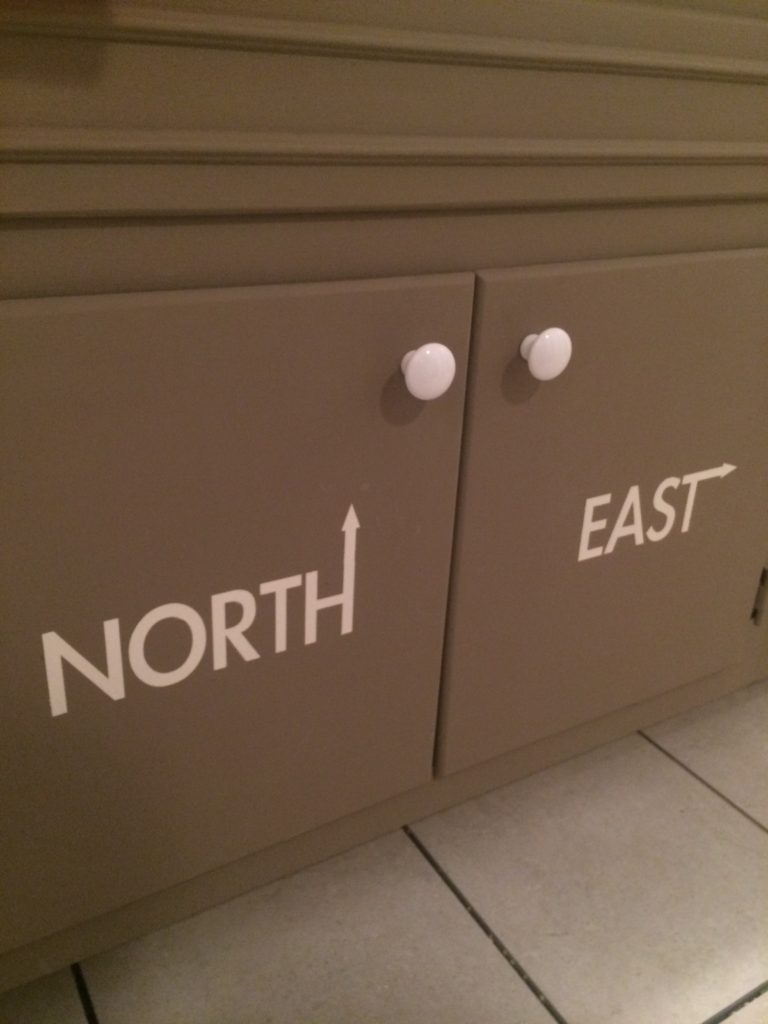
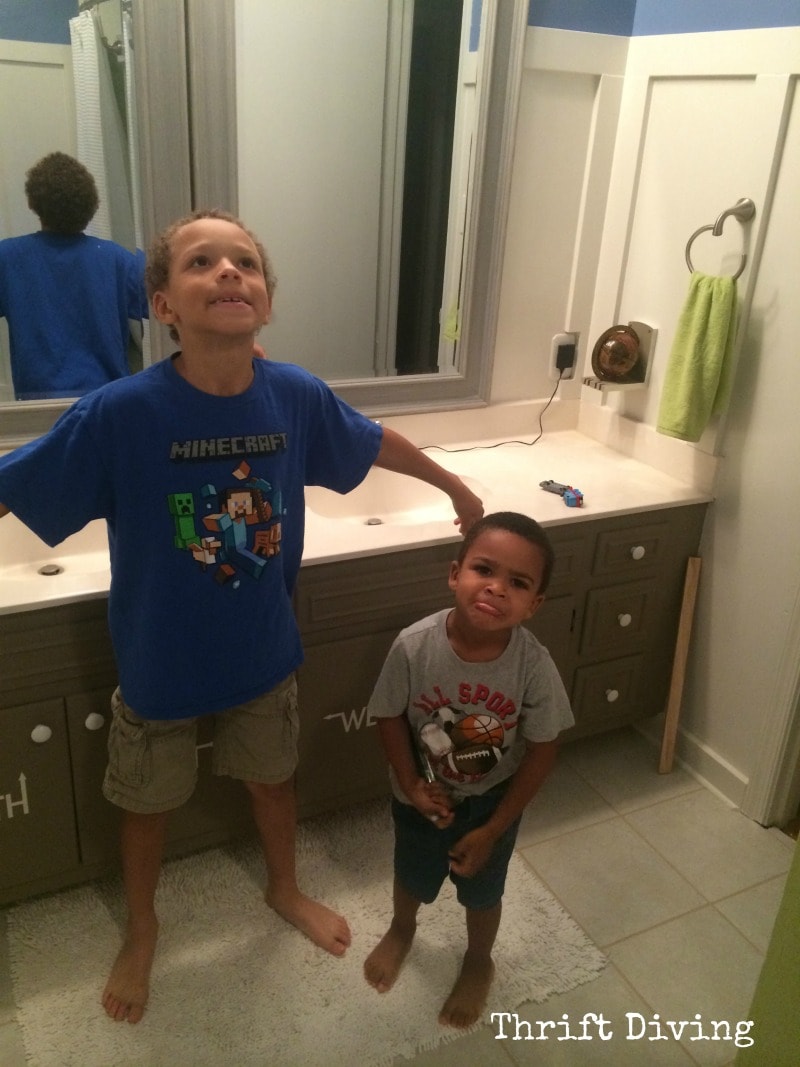
They seem to love it now that it’s all done, though!
I Installed This Toilet All By Myself!
Bye-bye, green toilet from the 70’s!
Hello, Kohler Santa Rosa!
I’ve never taken off a toilet before and installed one. But now I can cross that off my list of “DIY Projects I Must Give a Whirl.” Hubby helped me lift it onto the bolts, but I did everything else. Woo hoo!
And because it’s a 1-piece, there are no places for pee-pee to hide under the tank. It’s all one piece!
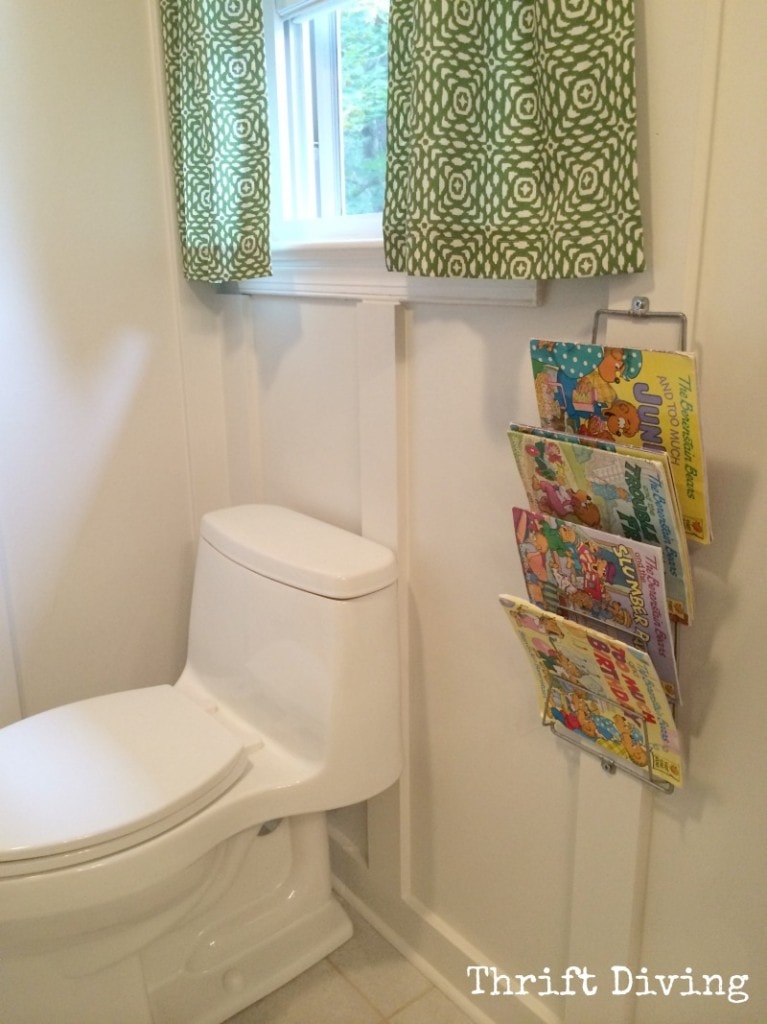
Beside it, I installed a $2.99 thrift store book holder for the kids.
I also made these curtains, which some people love and others hate. But considering I already enough yardage on hand?? WIN.
I Made a Compass!
This compass is one of my favorite pieces of the room! (Check out instructions on how to make this DIY compass wall art). About 8 months ago I was at a Goodwill and found what appeared to be a wooden round circle with some gift wrap paper, which later I found was an old clock. I was attracted to its roundness and knew I would come up with a good idea one day for how to use it….
I removed the innards…..cut a piece of MDF board to fit inside…..and painted the wood metallic gold.Voila!!
BEFORE

AFTER!

Vintage Weather Station
I absolutely love vintage weather stations, too! I see them occasionally at the thrift store and feel compelled to buy them whenever I come across them. I had one with 3 dials that got broken, so I cut away the “good” two that were left and lined them in a map with Mod Podge. My awesome reader Mimi sent the maps to me! Thanks, Mimi!!!
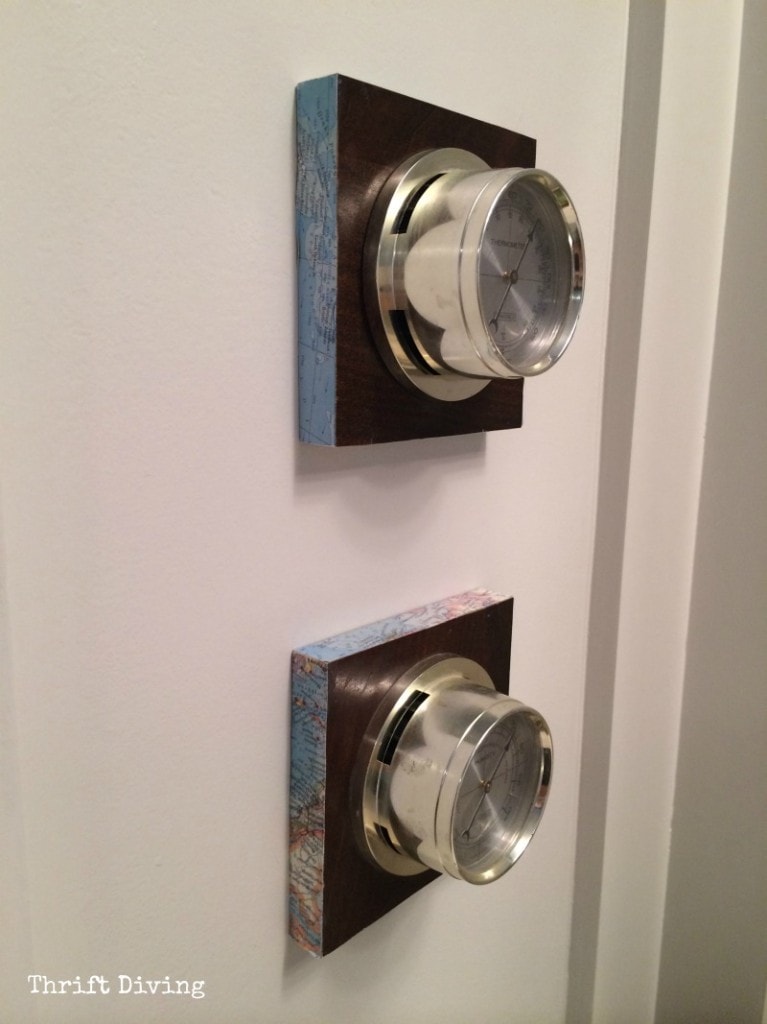
One weather station shows temperature and the other one shows humidity. Love them!

Board and Batten Drove Me BATTY
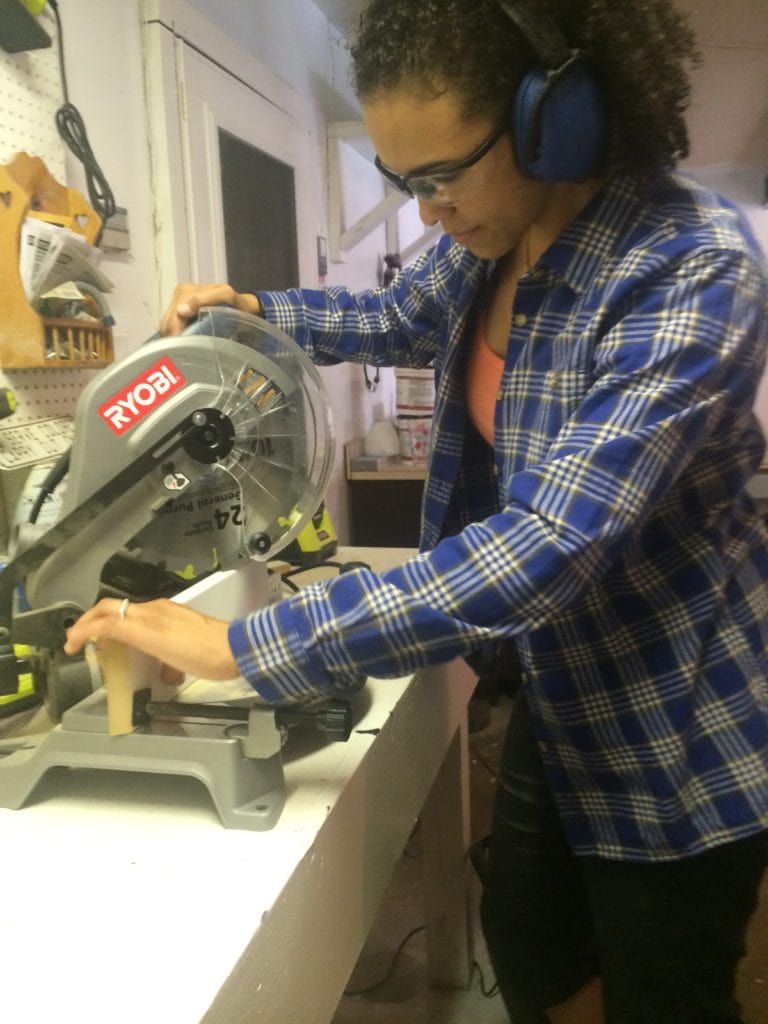
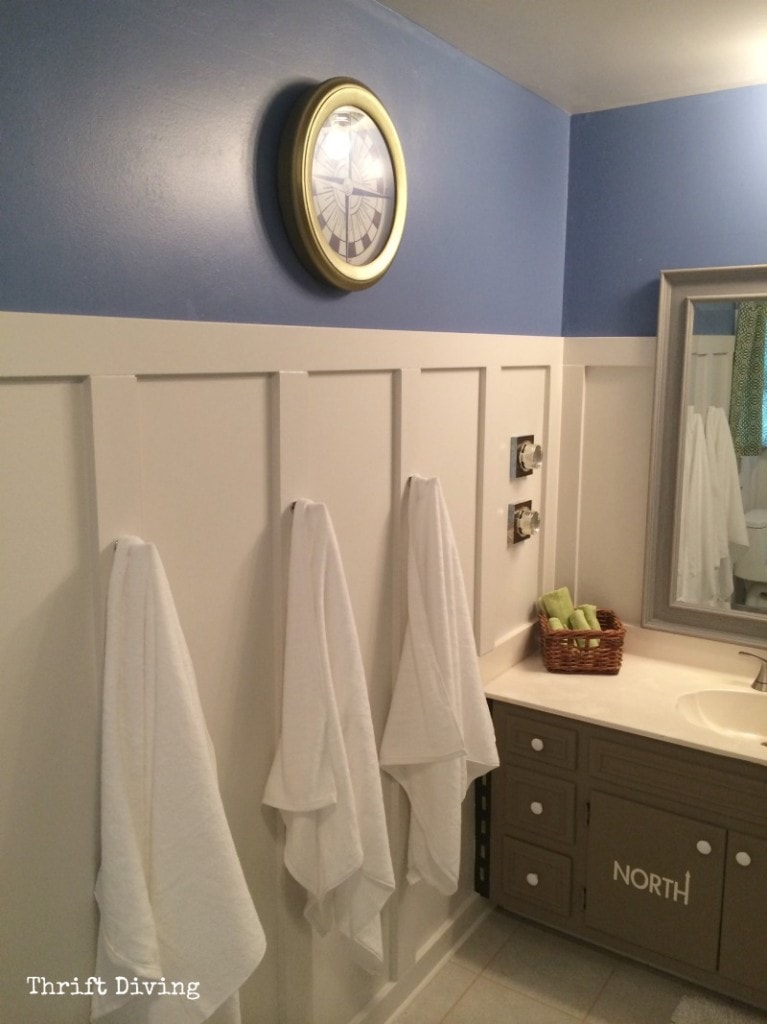
I love the look of board and batten. I never thought about actually installing it until I just recently become “at one” with my Ryobi compound miter saw :). Once I overcame that fear, I knew it was a matter of time before I stepped up my DIY skillz.
BEFORE
AFTER
But I ran into a few problems:
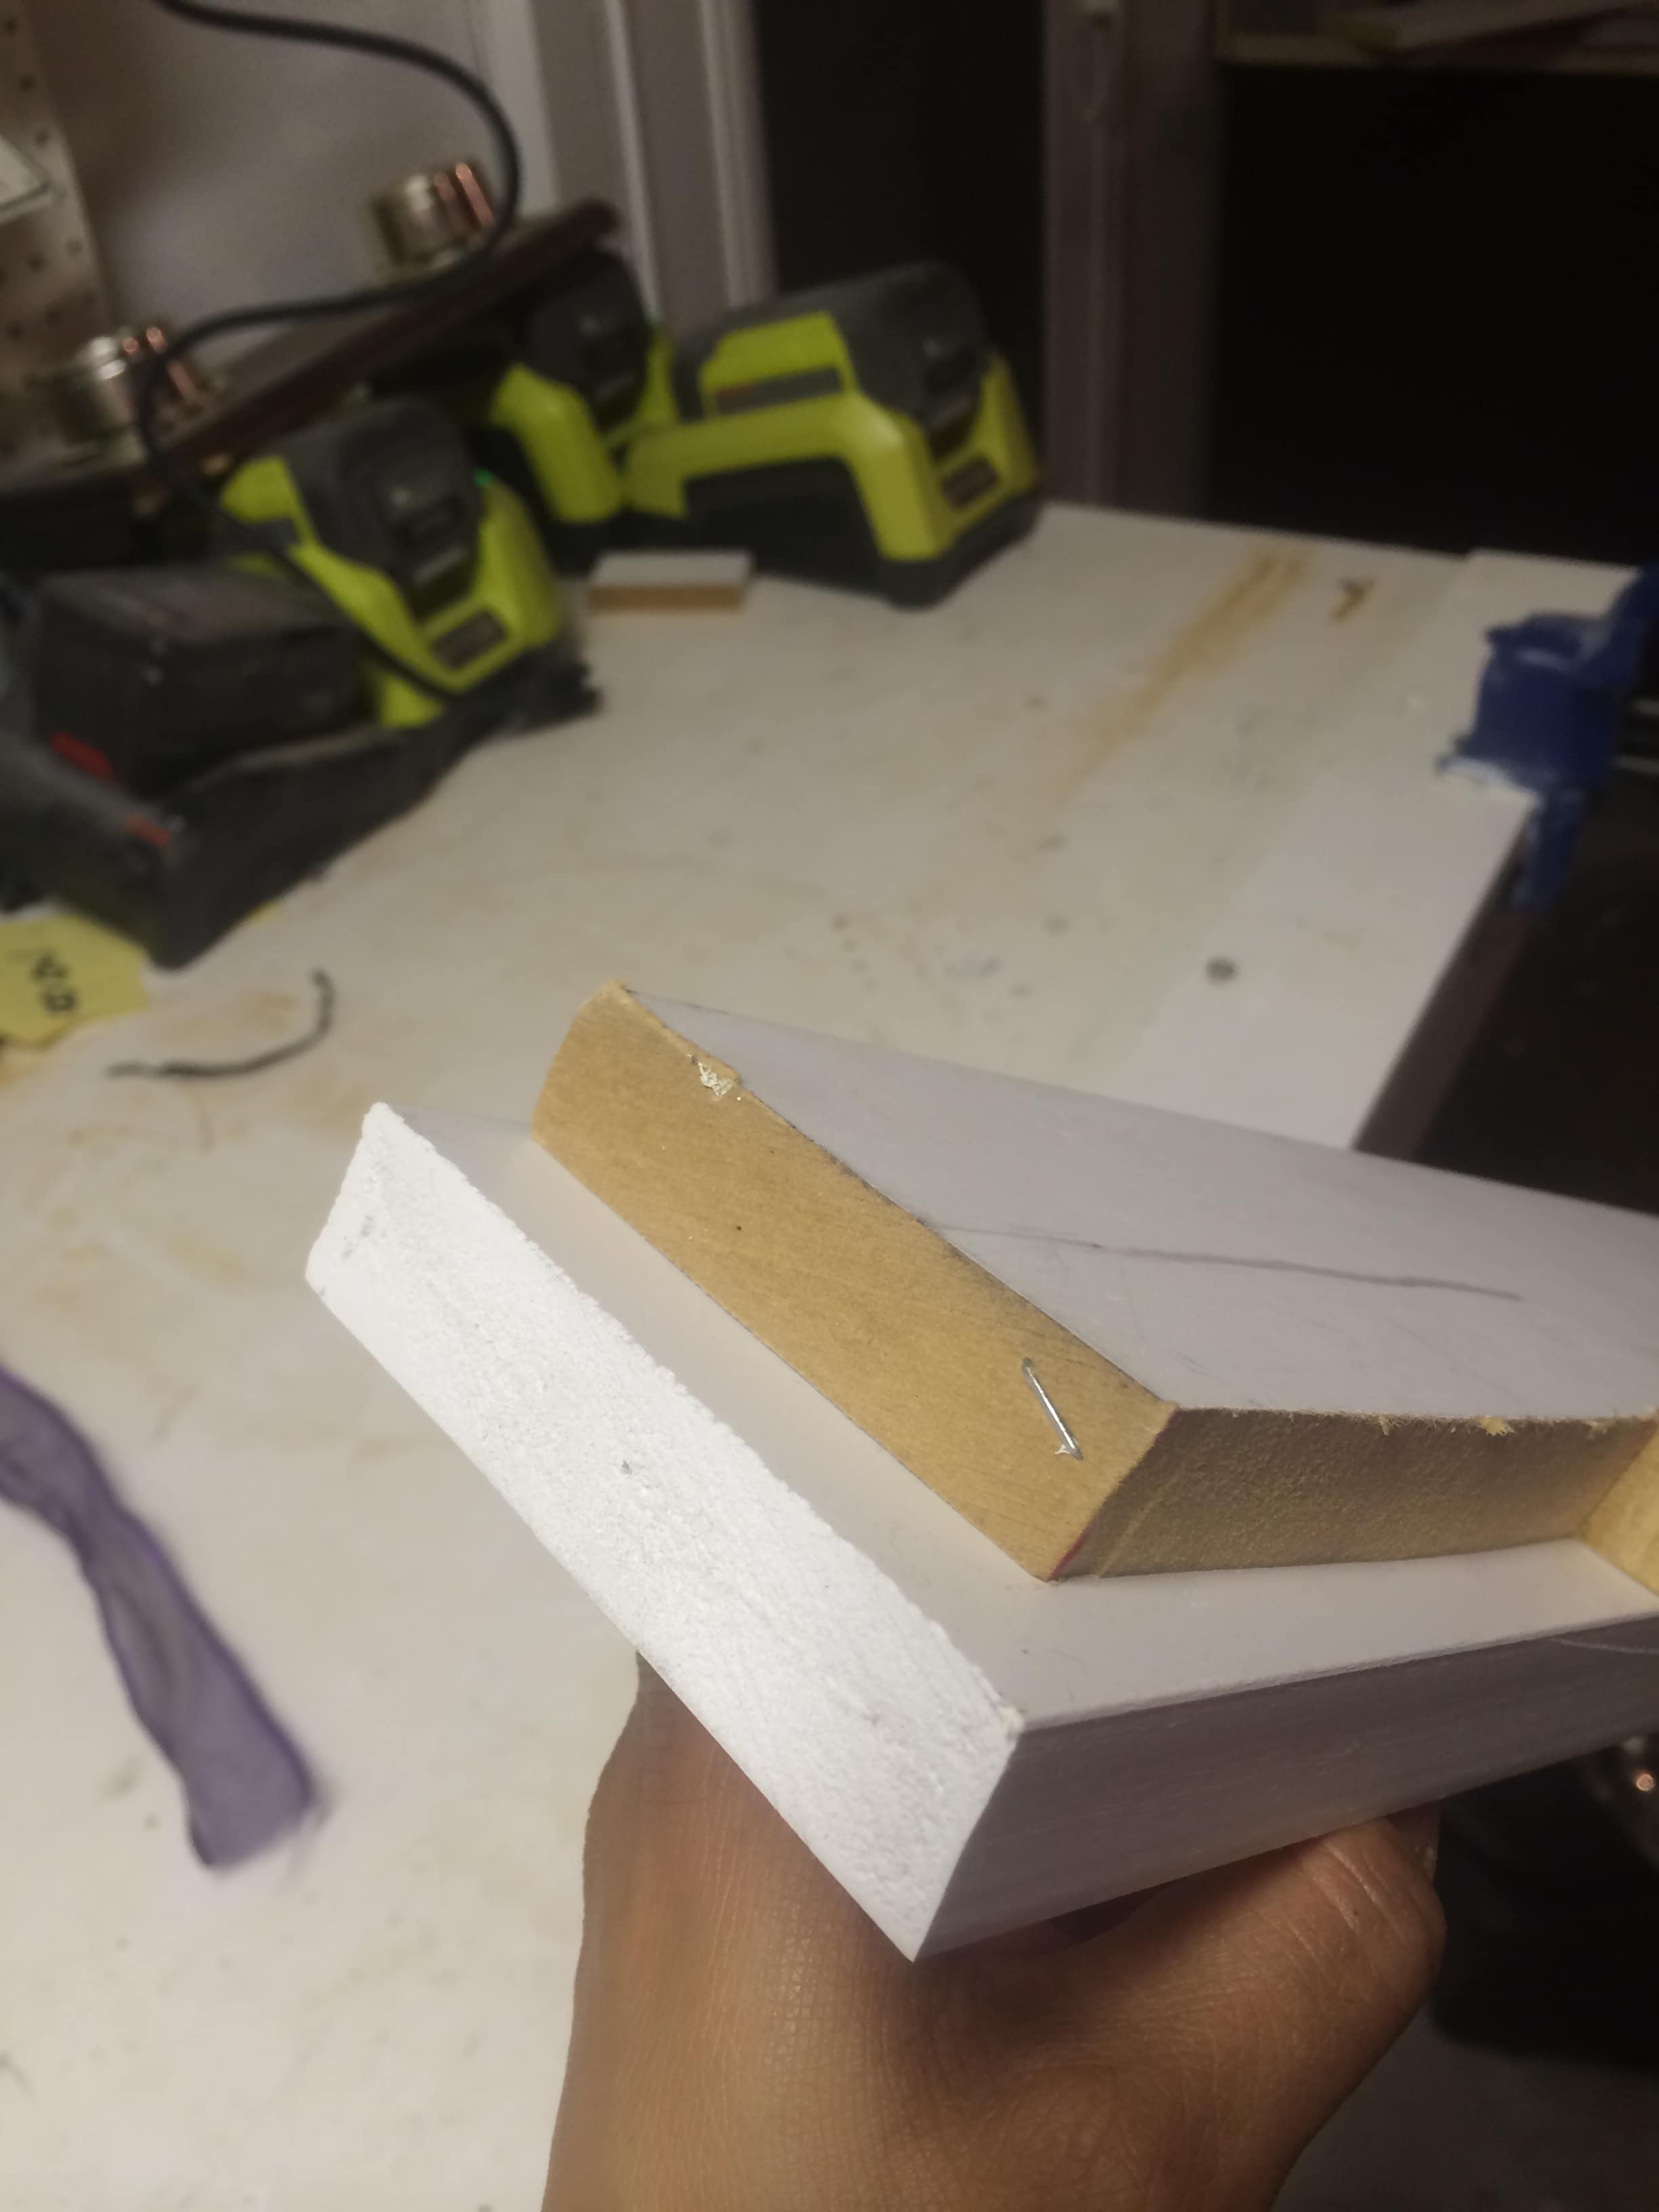
1. Can you use MDF boards in a bathroom?
I thought “yes.” Even some guys at Home Depot said “yes” as long as it’s primed and painted in a semi-gloss (but what do they really know? I mean, seriously…). So I went and bought a bunch of MDF boards. Then my awesome reader and friend, Scott, warned me, “Don’t do it. They’ll warp.” Especially since it’s a kids bathroom and they’ll be splashing everywhere. So I sucked it up and coughed up even more money for expensive vinyl boards.
Here’s the difference:
MDF is on top. The vinyl is the white on the bottom. But the vinyl is resistant to warping and mold and wetness.
So what did I do??
I ended up keeping a few of the MDF boards up that were already installed, but went back and stocked up on vinyl for the baseboard and most of the vertical planks. It was over $21 for a 12-foot piece. I needed about 5 pieces (about $122), but in total, to do a bathroom my size (not sure of the square footage), you need a total of about 7 boards 12-foot each. That’s about $235. NOT cheap at all…… But just something to keep in mind if you’re doing board and batten in a bathroom.
2. How do you measure for board and batten?
I’m still trying to figure this one out….But this tutorial was pretty good. Some of my boards weren’t spaced properly. But you have to look really closely to see.
BEFORE
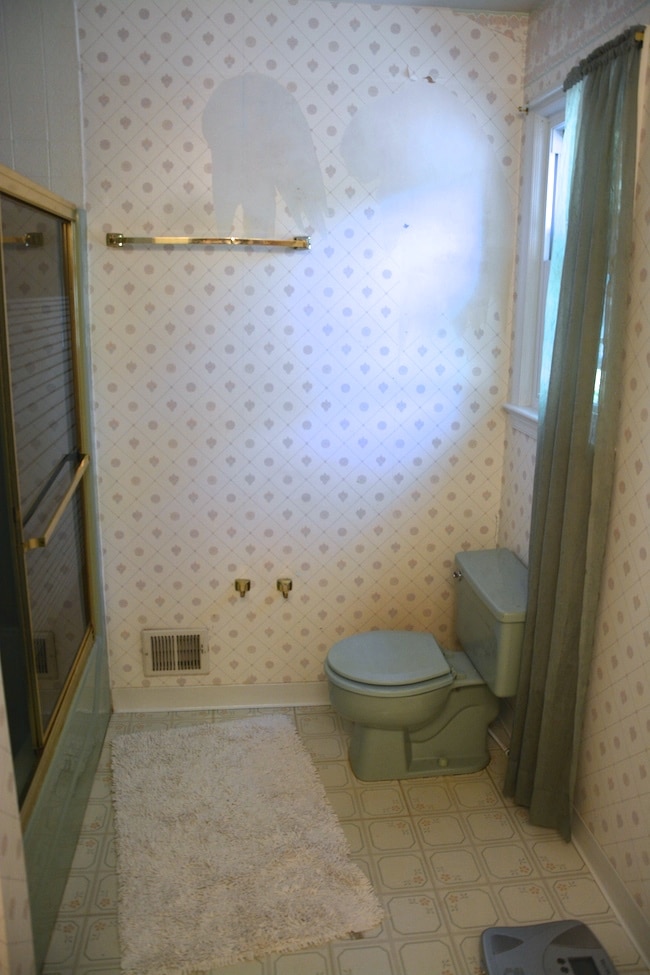
With the wallpaper gone:

AFTER!
I also made a sign with the latitude/longitude coordinates for my city of Silver Spring, Maryland! 🙂 Love that!

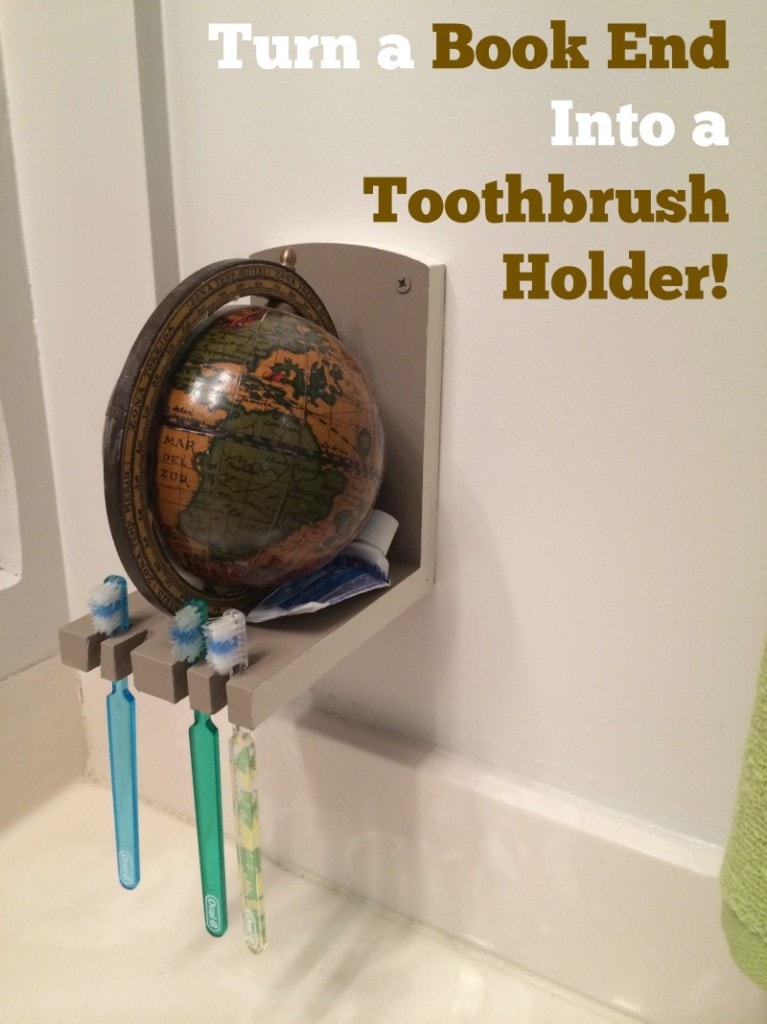
I Turned a Book End Into a Toothbrush Holder!
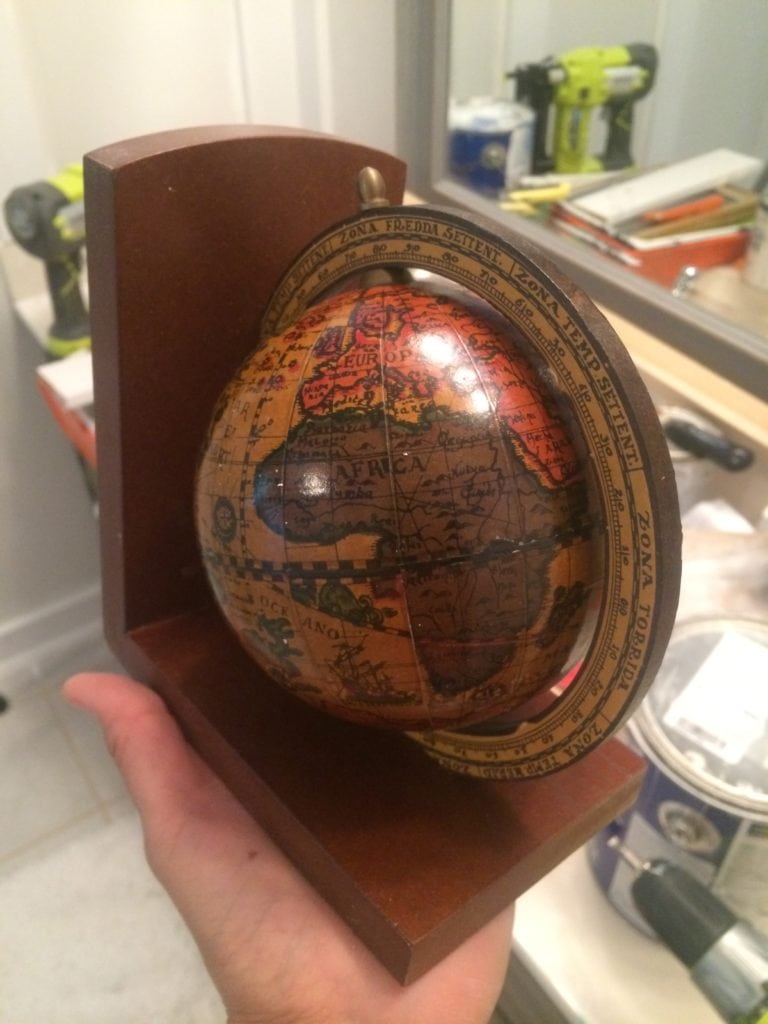
This is one of my favorites, too! I picked up with globe bookend from the thrift store for a few dollars. I wasn’t sure how I was going to use it, but I knew I would figure something out.
I ended up using a small hacksaw to cut notches in the end of it to hold the kids’ toothbrushes! And the globe turns, too! 🙂
BEFORE
AFTER
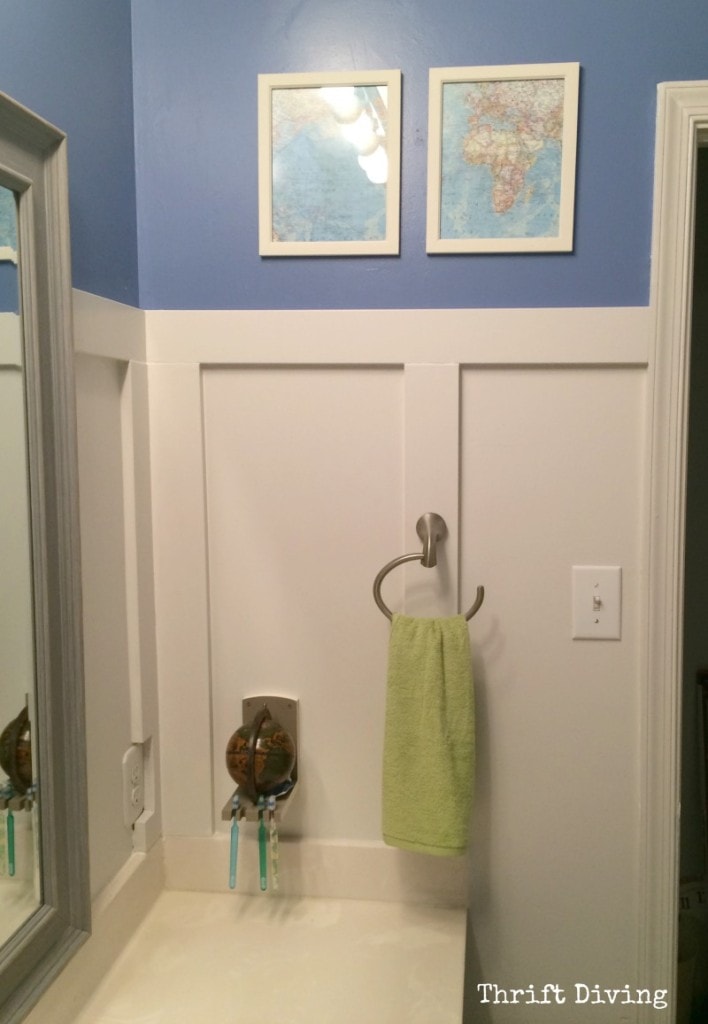
Also, the maps hanging came from Mimi, my reader that send them to me! They are perfect! The frames were 50 cents each from a yard sale, painted white.
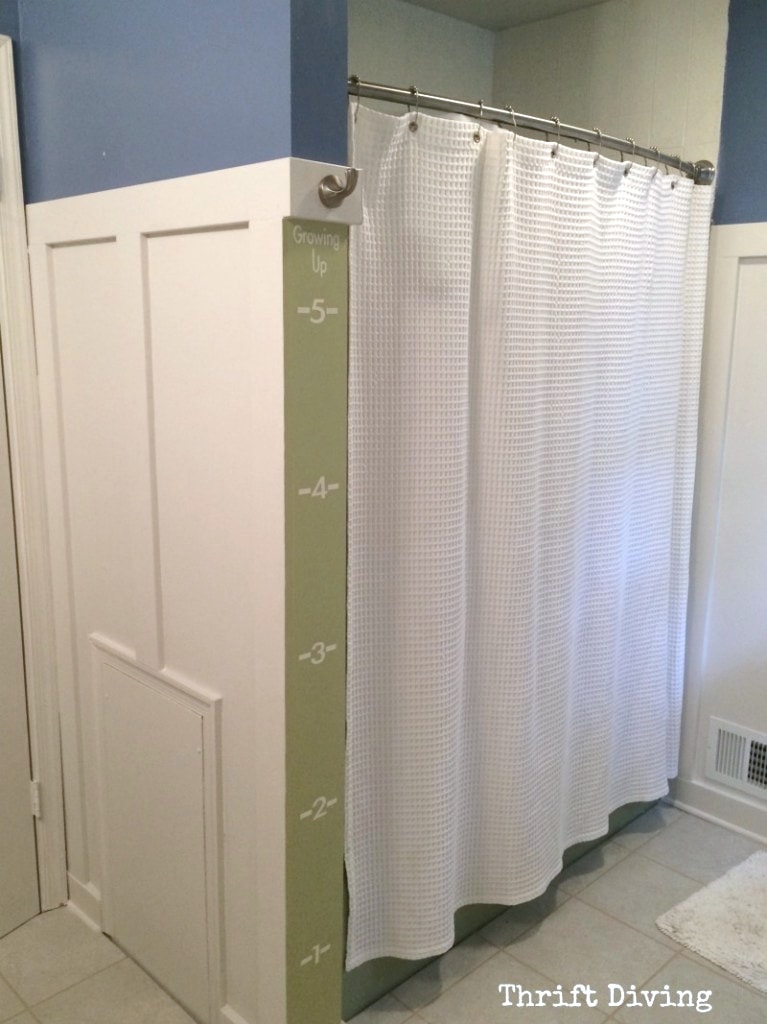
Growing Up!
I got this idea at the last minute and had to “cheat” to get more time to work on it last night.
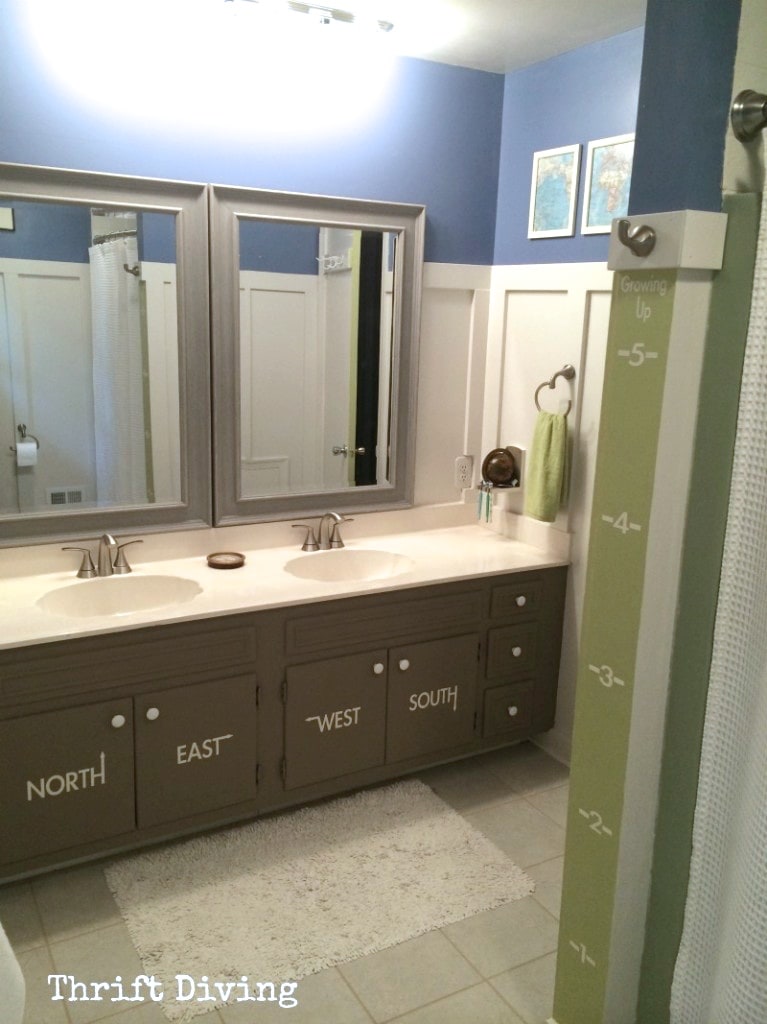
In my sons’ room, I have been measuring them on the wall since we moved in nearly 4 years ago. It’s all messy and cluttered. I decided to add a measurement wall to the edge of their bathroom wall! I used my Silhouette Cameo to cut the stencil out of vinyl.
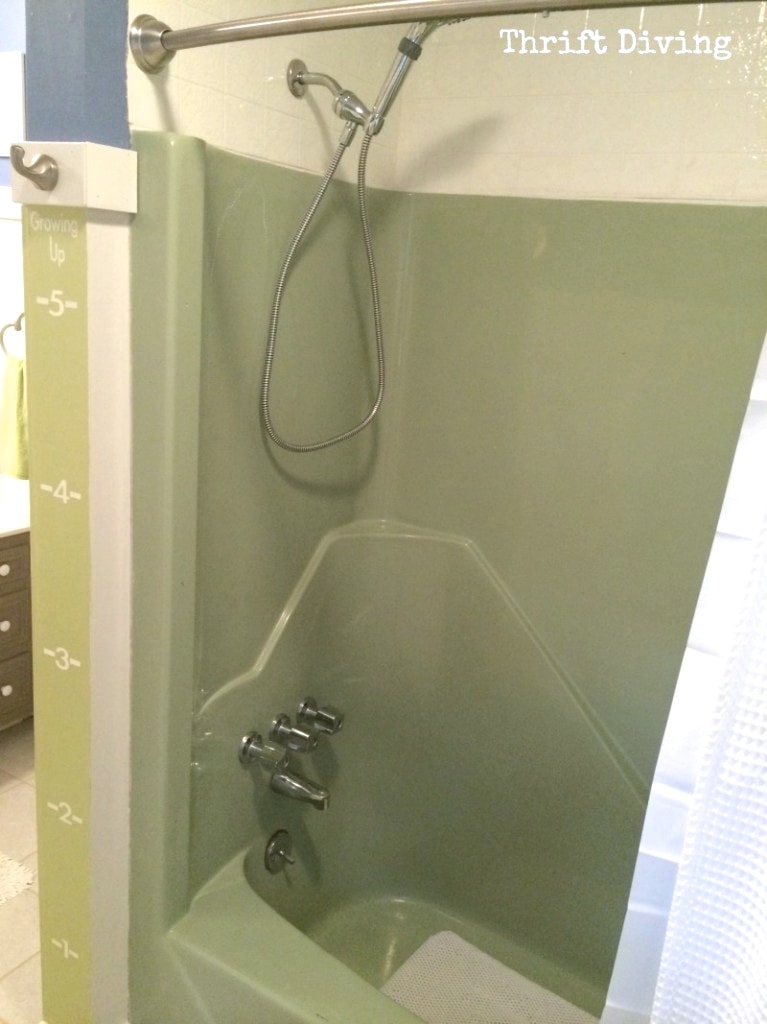
Shower Got a Makeover
I did remove the shower doors, too. THAT was interesting…….Yep, I decorated around my shower because 1) I can’t afford to replace it, and 2) I didn’t have time or energy to paint my shower old fiberglass shower. I installed a new shower head that I got for free at the Haven DIY conference this summer. It’s the Waterpik Spray Shaper with Powerspray .
.
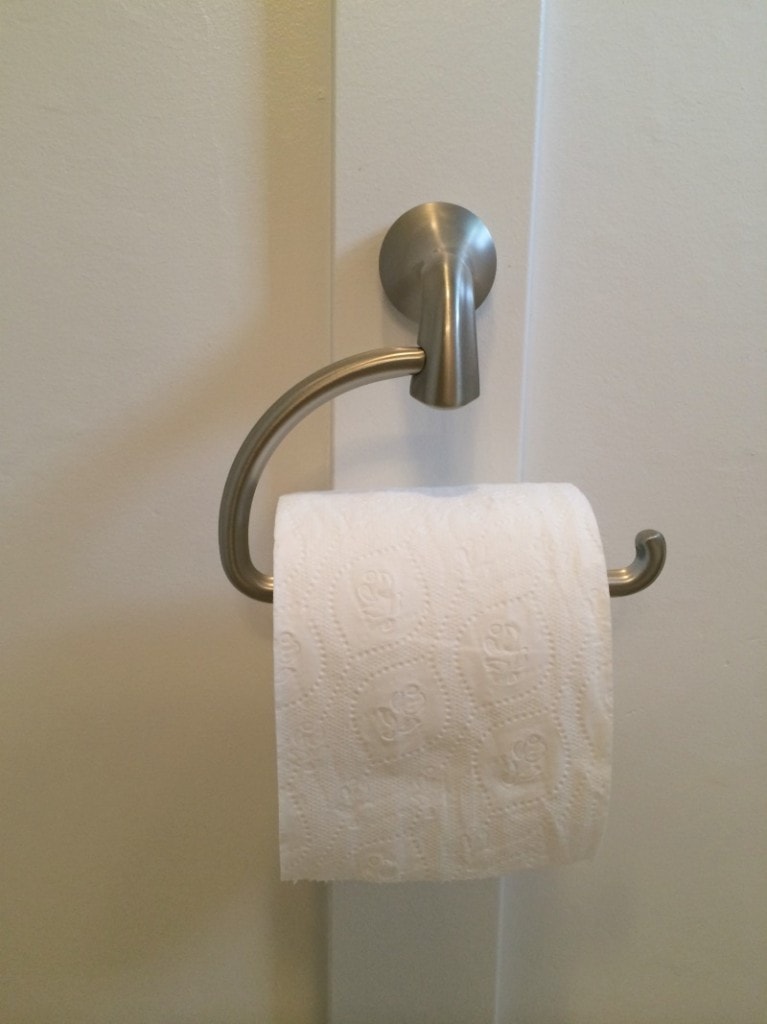
Sorry, curtain rod is covering it. Speaking of which, the adjustable tension rod and robe hook above the measurement wall were compliments of Moen! I love them! Easy to install, too!
(Related: DIY Shower and Tub Refinishing: I Painted My Old 1970’s Turquoise Shower)
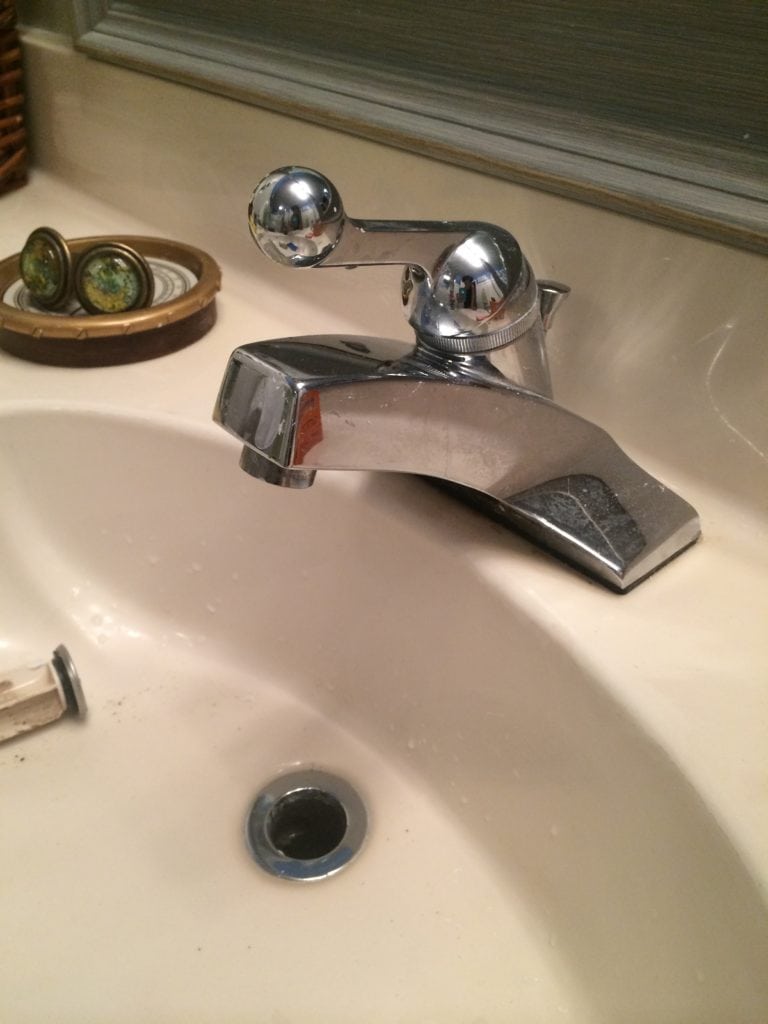
FAUCET BEFORE
Badly outdated faucets needed to go, too.
FAUCET AFTER

How Much Did This Cost?
Hmmmm……This is terrible to say, but I don’t even know. It goes against everything I say about making sure you have a budget, yadda yadda yadda. But when you have no idea what you really need, you find yourself heading back and forth to the store, just to get, ahem–5 tubes of caulking at $8.00 each, all on separate days. Yes, it was that bad. I lost track.
Final Comparison
Let’s have a final look, shall we? 🙂

Did you like this project and post? I’d love for you to PIN IT! 🙂

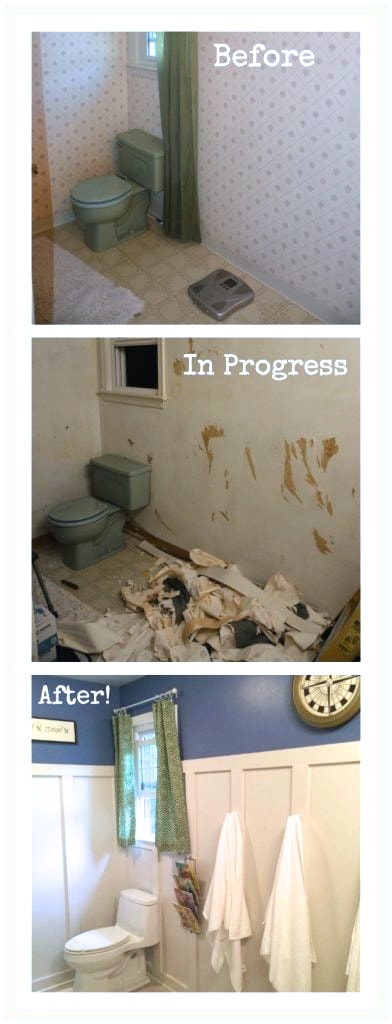
So there you have it! I turned an ugly bathroom with wallpaper into a kids bathroom makeover that looks fresh, updated, and fun! Thanks for checking it out!

Download the 5 freebies!

Thrift Diving inspires women to decorate, improve, and maintain their home themselves...using paint, power tools, and thrift stores! Use these 5 printables, checklists, and ebooks to get started!
This DID turn out so Pottery Barn but they’ve never done it so watch their catalogs!!! It will be showing up soon to use this decor. I love the directions. The globe toothbrush holder. The use of the curved shower curtain. I personally would not paint tub as I’ve painted tile in my kitchen. Very smelly. And your green goes with your room!!! I love the barometer looking deals and you made a compass (?) thing. Wow. I do like the investment of the board and batten. I never did find out if you got the too short to work but it all looks great now!! Its a great bathroom and so worth showing off!!! I love it. But next time you can have another week or two extra. We are a kind group lol!!!
Yes, Gwen, next time we need more time! I’m thinking a 45-day challenge. What do you think? :). Then we can actually REST on some days and work the others. I agree–the paint is SMELLY from what I have read in the reviews. I’m doubtful I would ever paint this tub. Plus, if it wears off, it would look even worse. Thanks so much for being a part of this challenge, and I can’t wait to post your room and the other challengers’ rooms this week!!
You are Awesome!! I love it!
Awww…thank you, Sunshine (what a great name!).
Wow, great job!!! I was intrigued to see how you were going to tie everything together and it turned out even better than I had envisioned. I love the theme and all the fun little touches! Best little boy’s bathroom I’ve ever seen…hats off to you, Serena!
Hey, Patricia! Honestly, I didn’t know how I was going to tie it all together. It’s allllways like that. I never have a real vision. I just do what feels right and what comes to me as I am working on something. Like that “Grow Up” measure wall I painted. I got that idea literally at the last minute on the last day. And the kids love it! 🙂 And remember, I hated the color of the vanity at first! Glad I just left it alone! 🙂 Thank you for your compliments!
You did an amazing job, Serena, all while raising a young family and working at a full-time job. Very impressive indeed. I wish I had the get-up-and-go that you have!
Oooh, but it’s so hard, Susan! lol. Towards the end there I had to basically allow my kids to play more video games than they normally get to do. And I felt guilty for “ignoring them.” But how else is Mommy going to get it done? I also had to make multiple after-work trips to Home Depot for materials that made me not get home until 7:30 p.m. My oldest (8 years old) started complaining about it. So, lots of sacrifice, but now that it’s done, I’ll ease off until maybe October and start a laid back project of re-doing my family room. I think I’ll give myself until Dec. 1st. Then start up another hard-core challenge in January! LOL. 🙂 I’ll build in more “kid” time from now on!!!!! 🙂
Thank you, Susan!!!!
omg Selena – you’ve outdone yourself – not sure what you could do next that will out-shine this project – fabulous, simply fabulous my dear!
I don’t know, either!!! LOL Let’s just hope I have some creativity (and energy!!) left to pull off another winner!!!! It feels sooo good, though, to get rid of all this “OLD” in this house. Four years is too long to wait. 🙂 Thanks, Johanne!
Well – that was breathtaking! It was shockingly fabulous- and I can’t get over what a great job you did. I especially loved the book-end toothbrush holder!!
Thanks so much, Kelli!!!! 🙂
Great job! Thanks for the tip on board and batten in bathroom. I’m looking to do the same in mine and was wondering about using MDF in that space. : )
Hi, Theda! Glad that I could address the “MDF vs. vinyl” issue for you! I really had no idea, either. I’m glad that I used vinyl for the baseboards, at the very least, because if pee or any water land on it and sits for any amount of time, it won’t warp. 🙂 But I still have MDF at the top of the B&B, the horizontal boards. Just a tip–if you mix MDF and vinyl, the edges aren’t necessarily the same and you may have edges meet that look a little “off.” I filled my in with caulk, but they’re not the smoothest. Had I used all vinyl, they probably would “go” together well at the joints. Not a biggie. No one really notices :). Good luck!!!
Great job! Really looks professional! Love the “educational” theme! Once you get your house finished, maybe you should start a business?? lol
Hey Teckla! Thank you! My goal is to be self-employed by fall of 2015. 🙂 Not sure how I will incorporate these home projects into it, but if I can help people work on their homes, or at least teach them how to do these things, then that would be awesome!!!! 🙂 Thank you!
Great job! I love your use of board and batten.
Thanks, Nikky!!!
Looks great of course!! Love the theme and all the fixtures 🙂 When I read about the board and batten spacing, my opinion is they will get spaced in whatever increments works with the room!! I by no means a slave to a standard or recipe 😉 I like doing my own thing! Board and batten is next in my bathroom, was gonna do it in our family room over a year ago but went with plank boards instead so I had told hubs the board and batten would go in the bathroom. And no I am not a copy cat, I swear!! Have been planning this for almost 2 years. Next year during one of your “challenges” that will be my big one 🙂
I agree, Sandra! I saw a B&B project where she used thicker boards AND skinnier boards, all on the same wall. I had never seen a B&B project like that before. Looks like she was playing by her own rules :). Don’t worry, I know you’re not a copy cat! LOL. I would love to have you in one of my challenges! Did you sign up for the list? When I have a new challenge start, I’ll email you! The little green button is at the top of the post! 🙂 Thank you for your comment!!