How to Use a Paint Sprayer to Paint a Wood Fence
This post on how to use a paint sprayer to paint a wood fence is sponsored by Wagner.
Isn’t it funny how once you improve something, you can’t believe you lived with the uglier/plainer/older version for so long? Doesn’t matter if you fixed something up around your house, changed your hairstyle, lost weight, or suddenly became a nicer person (or…heck… meaner if people used to treated you like a doormat!).
You’ll question how in the world you didn’t make that change sooner.
This past week I experienced this phenomenon myself as I finally finished a DIY project that was years in the making: a painted my wood fence!
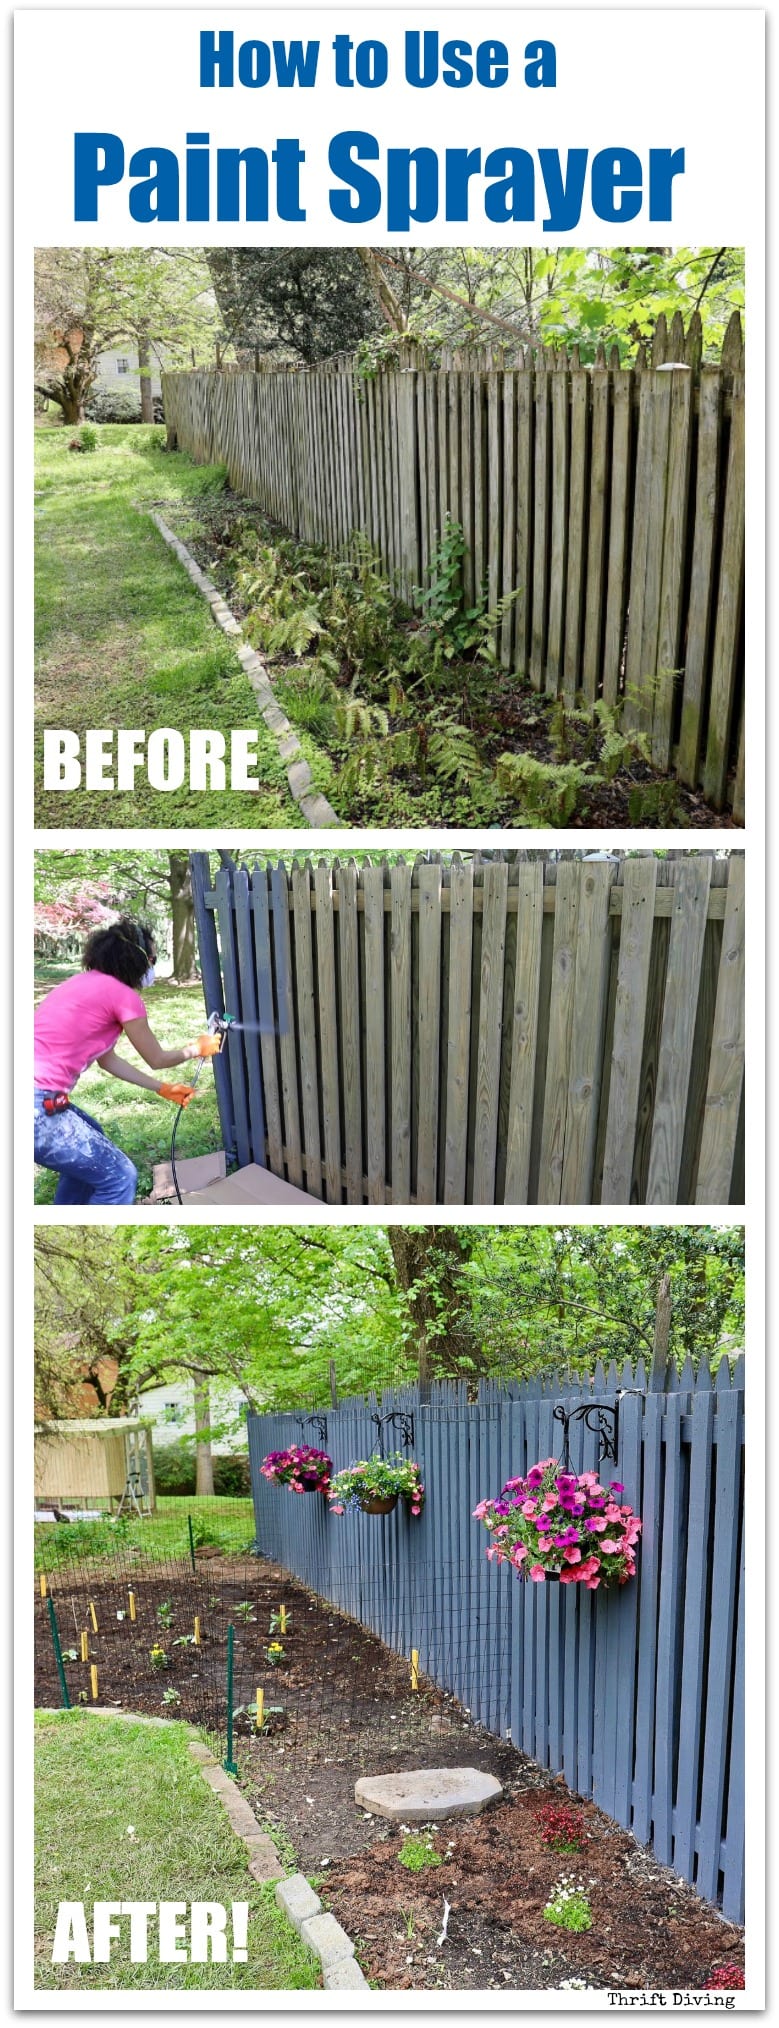
This section to the right of my yard was extremely neglected and what I considered to be “useless” because it was full of weeds, with a fence caked with green mold. I was convinced this area had become the neighborhood stray litter box. Even the ferns I once planted there seemed lifeless and overrun with weeds!
Click here to SAVE this project on Pinterest!
BEFORE

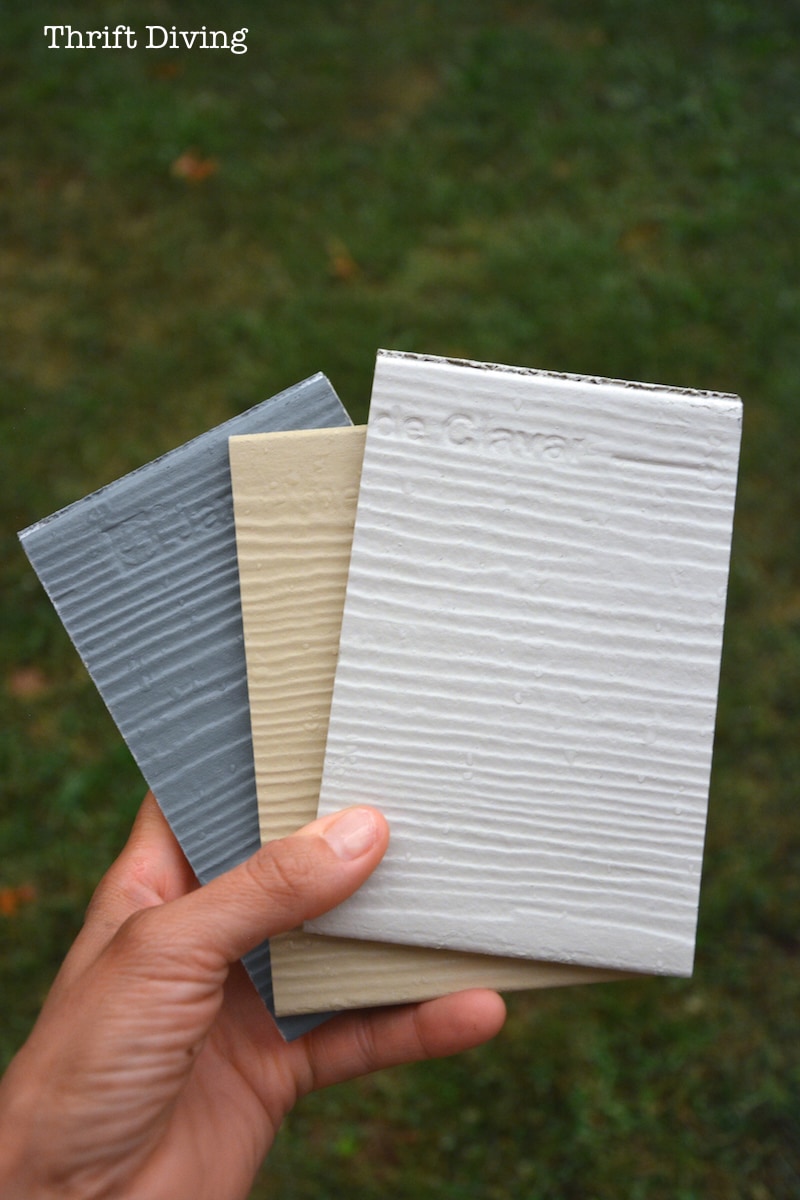
To transform this fence, I had teamed up with Wagner who sent me their Wagner Control Pro 130 Power Tank Sprayer (keep reading to learn more about how it helps to quickly paint your interior and exterior). The hardest part was deciding what color to paint it; the rest was easy! It turned out even more beautiful than planned! That color is drop-dead gorgeous–which I was not expecting!!
AFTER!

If you’ve wanted to paint your old wood fence (or deck!), keep reading! I’ll share with you what my experience was like, the materials I used, and what else you’ll need in order to use a paint sprayer to paint your fence, too!
How to Use a Paint Sprayer to Paint a Wood Fence
A paint sprayer is good for not just painting a fence, but you can use it to paint or stain a desk, siding, and more. You can even use it for furniture, too! But for this post, I’ll show you how I used it to paint my wood fence. If you want to see how I have used paint sprayers to paint furniture, you can learn more here.
Materials
Here are the things you’ll need to have on hand to use a Wagner Control Pro 130 paint sprayer to paint your fence.
- Wagner Control Pro 130 paint sprayer
- Pressure washer
- Extension cord (50 ft – 100 ft)
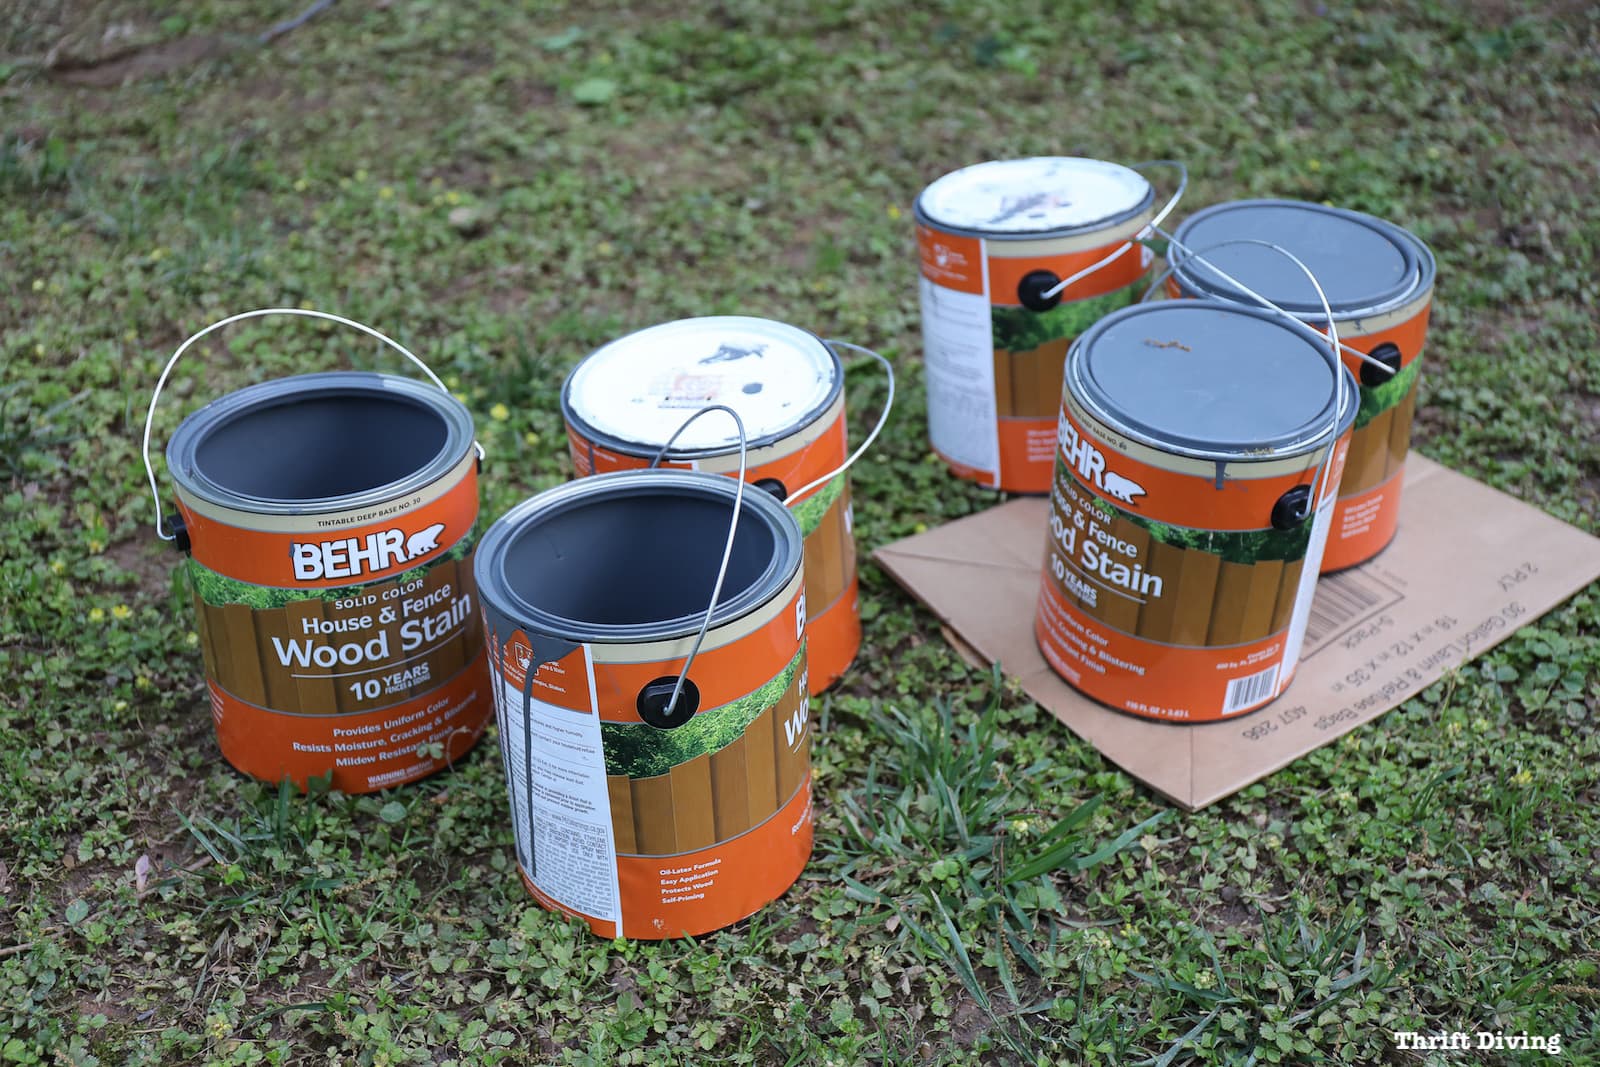
- Behr House and Fence Wood Stain Solid Color – Flat Top
- Wrench
- Newspaper or cardboard to protect from overspray
- Painter’s tape
- Overflow bucket
- Water
- Gloves
- Face mask

STEP 1: Grab a Pressure Washer
Don’t even think of painting (or staining) your fence without first pressure washing. Believe me–a friend and I made this mistake years ago when she asked me to help stain her deck. She said she’d cleaned it, but she and I being both naive, didn’t even think that “clean” should have meant “pressure-wash clean.”
A couple years later, the stain started to chip off, resulting in terrible results! (Thank goodness she doesn’t plan me! LOL).
Now I definitely know better: you must thoroughly pressure wash your fence (or deck) first before using a paint sprayer. If you don’t own one, you can rent one from a home improvement store. Just be sure to let it dry a solid 24-hours before moving on to spraying.
You can see that my fence was so icky! You don’t even realize how dirty it is until you remove the gunk! It took quite awhile, too, because the fence is so long. And if you look closely, you can see that the there is two layers of fencing, so it took twice as long!

I’ll be honest with you: at this point in my fence cleaning, I was really unsure about the color I selected. I had chosen what I thought was a darker grayish color. But I began to second guess myself when I started to see the clean wood emerge. I almost scrapped my color choice and purchased a semi-transparent brown. So glad I went with my original decision!
STEP 2: Don’t Forget the Overspray
The great thing about this Wagner spray is that it has 55% less overspray than other paint sprayers. (Overspray is the fine paint mist that coats surfaces nearby). But less overspray doesn’t mean no overspray. So you have to plan for that by covering up anything nearby that you don’t want overspray to land on.
Once the fence dries, go ahead and lay down some ground cover like cardboard or newspaper. I actually forgot to do this step and you can see in the video of my fence painting that I accidentally spray the ground. It’s best to go ahead and protect all of the following areas when spraying your fence:
- Ground near the fence
- Adjacent walls or fences
- Nearby trees and shrubs
STEP 3: Unbox the Paint Sprayer (Here’s How to Use It)
I’ve used smaller hand-held paint sprayers many times before, which have worked well enough, but what I have found annoying is that most DIY models of paint sprayers require you to thin the paint with water.
Have you ever tried mixing water and paint to get the right viscosity?! By the time you get the right mixture, you could have almost finished your project with a brush or roller! No joke.
With the Wagner Control Pro 130, though, no mixing of paint and water–just paint! 🙂 And it comes with its hose, spray gun, a nozzle for spraying paint, and a tip guard for painting.
(TIP: If you’re staining your fence, you’ll need to order a spray tip that can be used for stain. Check here for these accessories).

To watch more about how to set up this paint sprayer, you can watch my YouTube video here. (Remember to subscribe, too!) 🙂
But to get started with using a paint sprayer for painting your wood fence, there are some prep steps you need to do before you start spraying! The video above walks you through each of these following steps to show you how to do it:
- STEP A: Prime the paint sprayer with water.
- STEP B: Prime the paint sprayer with your paint (or stain).
- STEP C. Test the spray gun (without the tip) to make sure that paint (or stain) is actually flowing through the spray gun.
- STEP D: Test the spray gun (with the tip) on a piece of scrap wood or cardboard to make sure it’s spraying properly.
STEP 4: Doing a Test Spray
As mentioned above, you’ll want to do a spray test on a scrap piece of wood or cardboard before paint spraying. It helps you to work out any kinks first so that you get the best results when you’re ready to get started.
You can see below that when I began my test spray, I got a few runs because I forgot to turn the paint sprayer on before spraying. As silly as it was that I’d forget to turn the sprayer on, mistakes do happen. That’s why spraying a few rows helps your real project all the better.
And of course….make sure you use a ground cover. 😉

STEP 5: Add 1-2 Coats of Paint
Once you’re confident that the paint spreads evenly and you’re ready to go, it’s time to spray! Honestly, you may not even need 2 coats of paint. I only did 1 coat of paint on my fence and it was plenty of coverage! But the second coat I only touched up some areas that I may have missed.
Overall, I used about 5 1/2 gallons of paint. I don’t know the square footage of my fence, but take into account the spray tip you’re using, as well. The spray tip that comes with the Wagner paint sprayer is the 515 tip, which is the largest. If you want to spray less paint, you’ll need a spray tip that puts out less paint.
STEP 6: Clean Up the Paint Sprayer
I’ve never enjoyed cleaning paint sprayers. However, it’s much easier when you use water-based products! It doesn’t have to be a total chore, especially if you just saved a boat-load of time by spraying paint versus using a paint brush or roller!
You’ll want to plan for about 20 minutes of clean-up time. With this paint sprayer, you’ll want to:
- De-pressurize the spray gun.
- Empty the left over paint back into the paint can.
- Clean out the hopper (tank) with fresh water.
- Once tank is clean, add fresh clean water.
- Run clean water through spray gun until it runs clear (without the spray tip).
- Prime the rest of the clean water through the small plastic hose until it runs clean.
If you’re using oil-based stains, clean-up will be a bit different, but with mineral spirits (follow the manual for info on how to do it).
Just click below to watch how I cleaned up this paint sprayer when I was doing painting my fence!
STEP 7: Add a Garden and Flowers!
After the fence was painted, I was inspired to keep going with this part of my yard! Isn’t it funny how projects inspire you like that? Once the fence looked nice, I could envision a garden in this weed-infested space.
I got hubby involved and we used the cultivator to help break up the hard clay earth and to remove the weeds. I know this isn’t the best way to remove weeds, but it’s the quickest way for me. With time on my hands, I could have laid down weed block fabric, or even cardboard to help kill the weeds. But the cultivator was faster (which I worry will create an even bigger problem with weeds!).
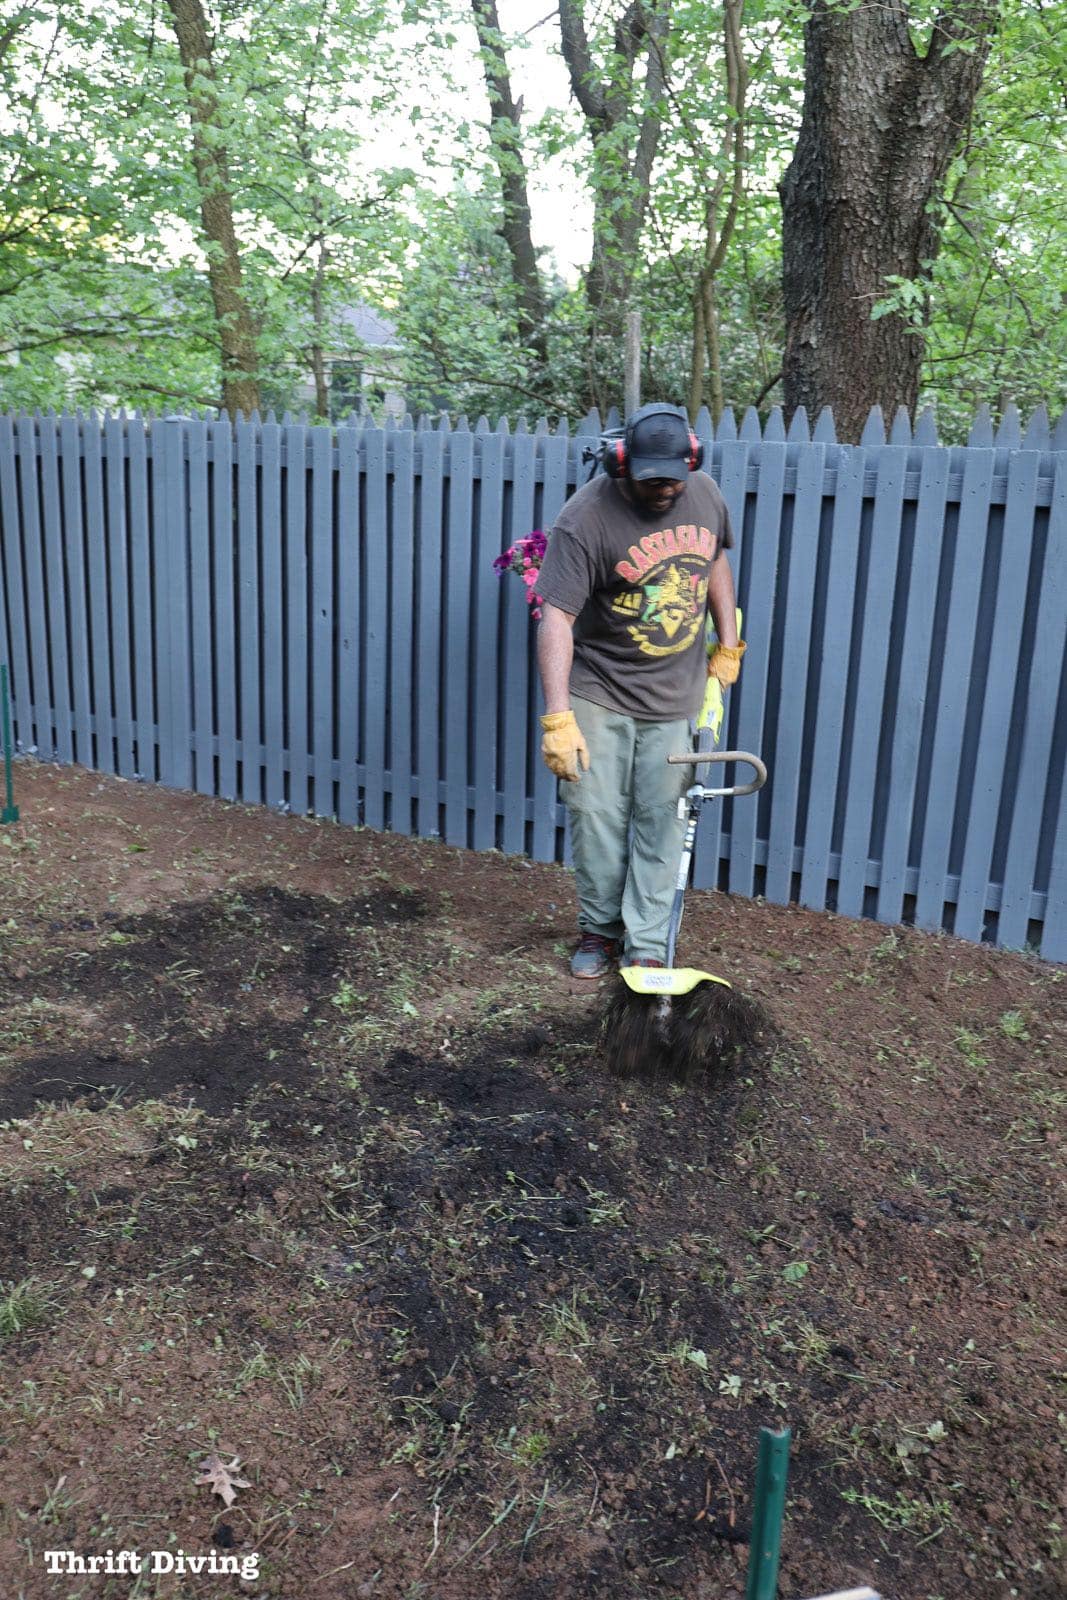
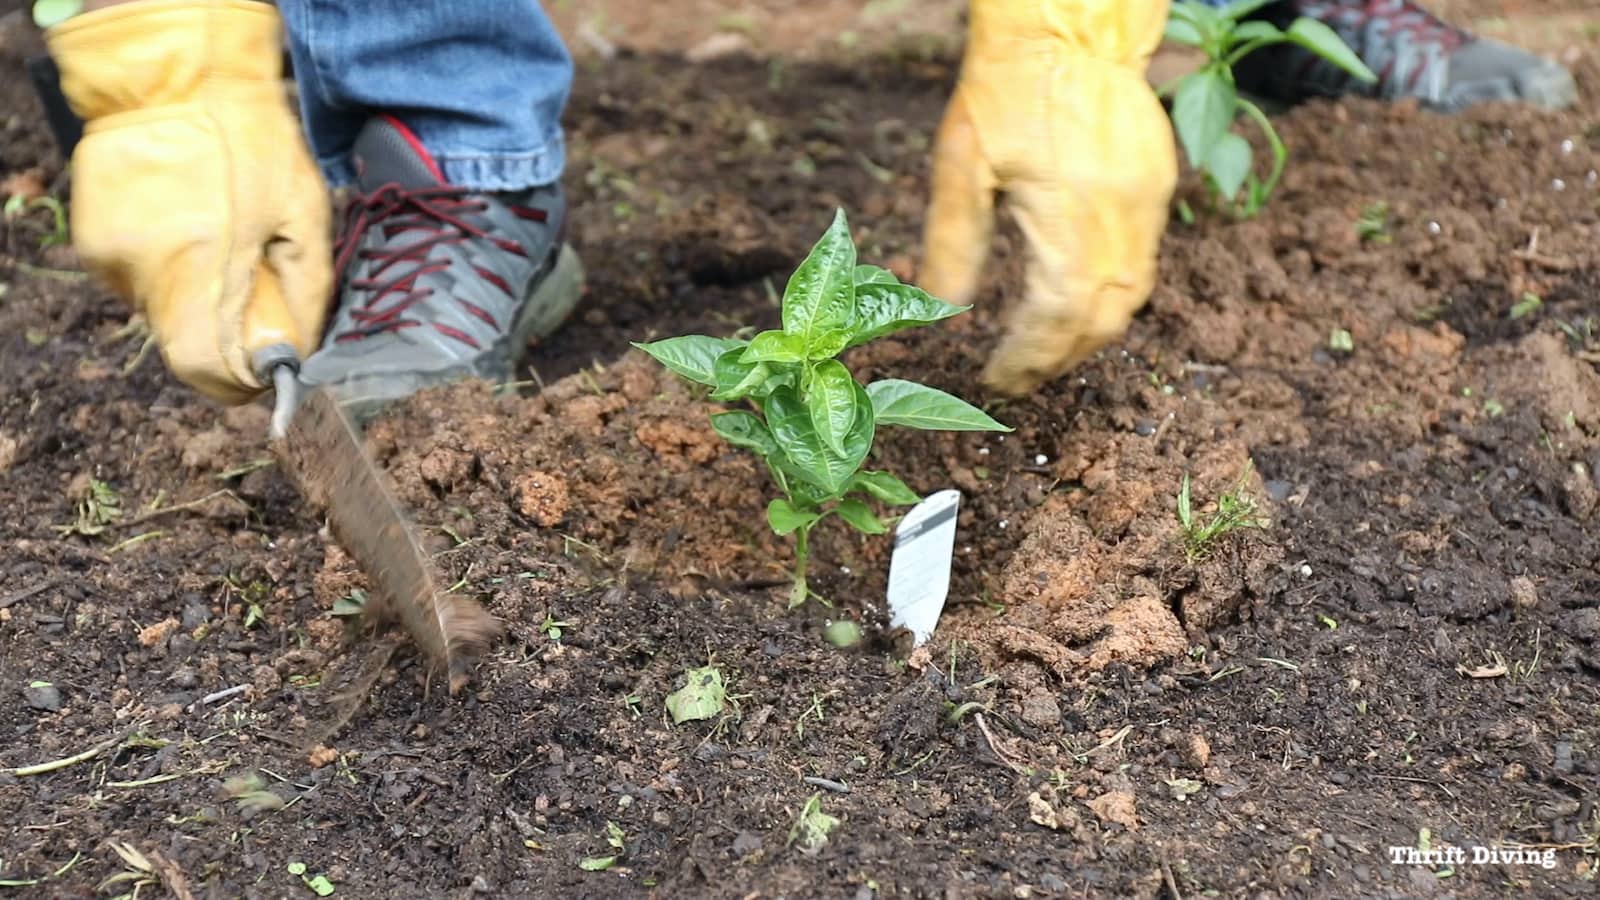
Later, I plan to buy some mulch chips to lay over this area to help prevent weeds. For now, there is just the soil conditioner that I bought to amend the clumpy clay in this area. Sure hoping that these little planties grow!!
So let’s take another look at how different this space looks!!
BEFORE
AFTER!
It’s silly to think that I was worried about the paint color! I think anything else would have been completely boring. This blue-gray “Flat Top” color jazzes up the space.
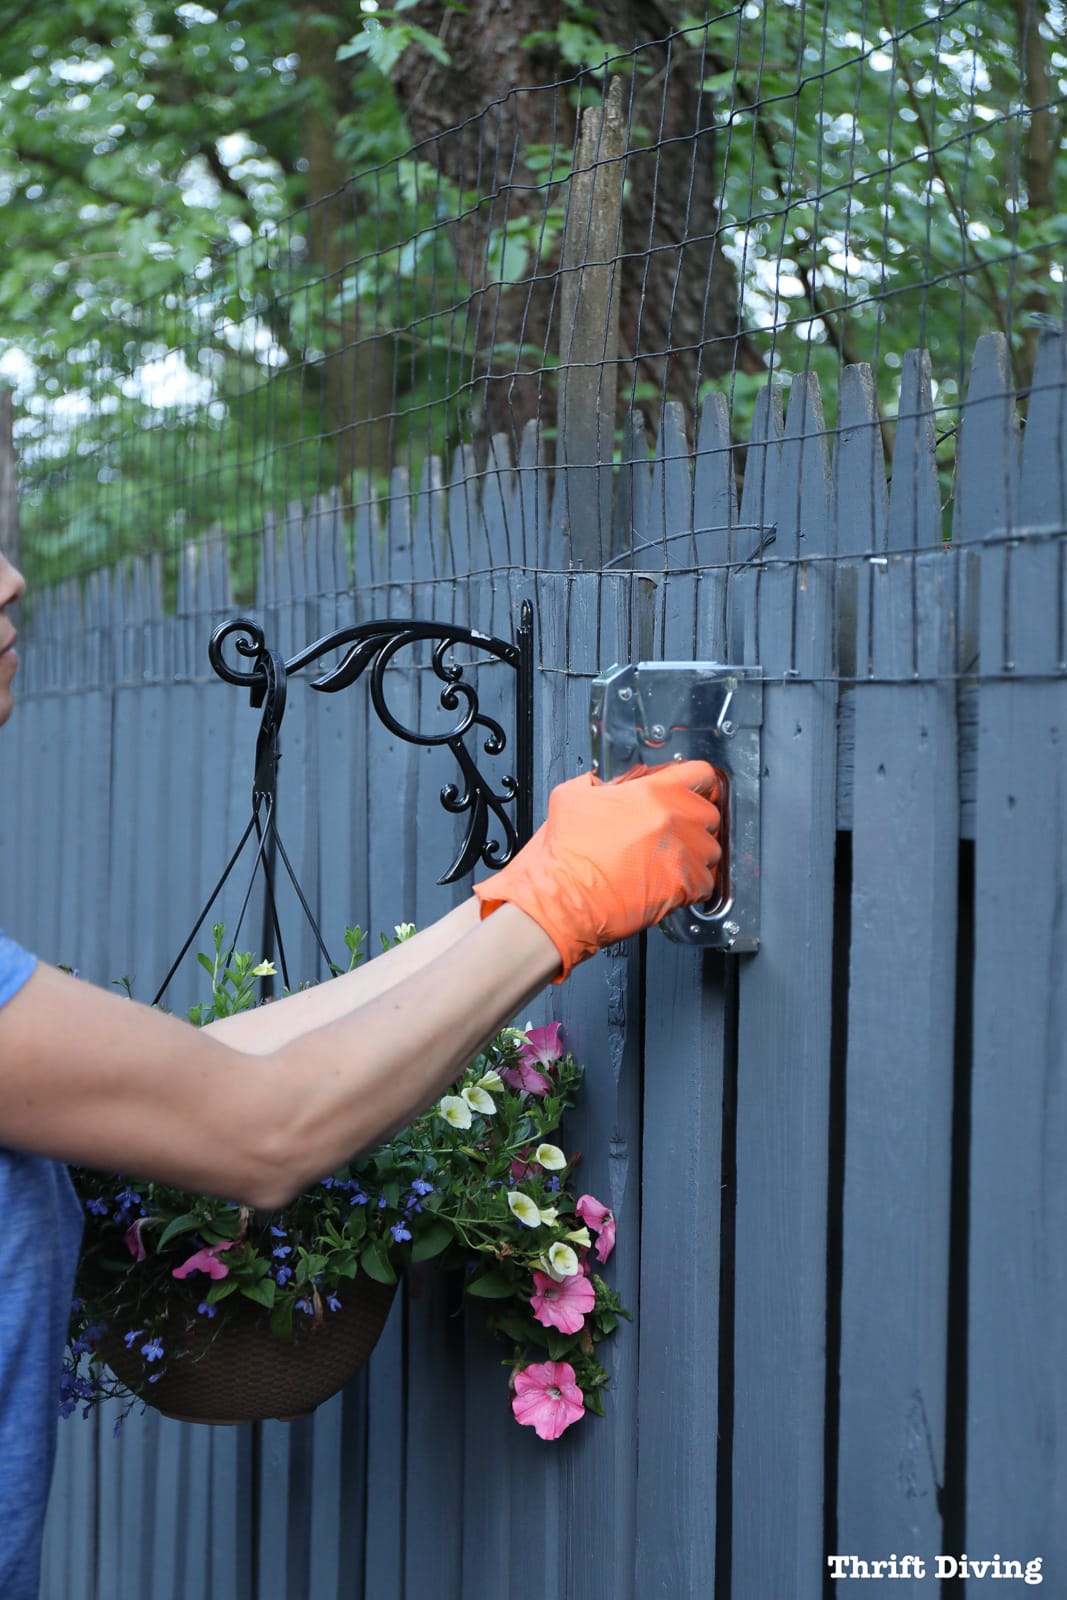
I also added a fence around the area to keep out animals like stray cats.

I also added a bit of fencing to the top of the fence were the cats like to walk across and then climb down. At least now I am hoping they take a detour around the garden and not try to go through it. I much prefer my veggie without cat hair on them. 😉

If you’ve got a fence (or a deck, or some other indoor or outdoor project) where the thought of using a paint brush or a roller breaks you out in hives, definitely consider using the Wagner Control Pro 130. It gets the job done much faster and the clean-up is pretty easy, too!
For more information about the Wagner Control Pro 130, visit Wagner online!
Love this project?? Click here to SAVE it!
![]()

Download the 5 freebies!

Thrift Diving inspires women to decorate, improve, and maintain their home themselves...using paint, power tools, and thrift stores! Use these 5 printables, checklists, and ebooks to get started!


Hi! I love the color! I have a question. I throughly pressure washed my fence until it was clean wood like yours. I chose a dark semi stain, & I didn’t like it so I painted over top it with a white color stain. This looks bad too & I want to use the color you used, can I paint over
A solid white paint stain with this color you use?
Hi Janel! Sorry you didn’t like your white color stain! I think you would be able to use the same color stain I used. It’s darker so you wouldn’t have to worry about it not covering the white. I would buy one can first and give it a try, as a test, just to make sure. And if it looks good, then go full steam ahead! 🙂 Good luck!!
Love the color! What is it called?
I really need to paint my garden fence! Thank you so much!
Thanks! Glad you like it! It’s called “Flat Top.” It’s the Behr House and Fence Wood Stain Solid Color product. Hope that helps!
The cans say stain so did you use paint or stain? I have a bare wood picket fence I want to paint white. Some say you need to prime first. I would prefer to do the least amount of work. Thanks!
Hello,
I love this color! May I ask you the name of it??!
Thank you.
Looks great! I love the color, and then the new bed of plants looks wonderful, especially the hanging baskets!
Thank you so much, Tenney! I am hoping I can maintain it over time! 🙂
Awesome Job!! We have to do ours. I have a question before we get started though, as we really didn’t trust the guy at Home Depot just because he didn’t sound confident in his answer. Anyways!!
When we put up our fence we stained it, however now we are have a sprayer and are hoping to paint it. What prep besides what you showed us do we need to do to the fence?
Thank you for ALL you do to help make my house a Home!!!
Good question, Laura! From what I know, you can paint over a stained fence. I would still pressure wash it to make sure it’s as clean as you can get it, and then do a test area to see how it looks. When you’re sure it’s the color you want, then full steam ahead! 🙂 Good luck!
I am also interested in Marlene’s comment, Did the paint spray on the other side of the fence? How would you do the top?
I peaked over the top of the fence and didn’t notice any problem with paint on the other side of the fence, like on the ground or anything, so that is good!! For the top, like I told Marlene, I didn’t worry about the tip of the neighbor’s fence since no one will notice. Her yard is full of trees and no one really comes out over there. Normally, though, you’d want to tape off with newspaper or something to prevent any overspray. I also angled the spray gun a little when I got to the top so that the overspray wouldn’t shoot out the top. Hope that helps! 🙂
Is the backside of the fence on your property? If not, did the paint spray through to the other side around the edges and how did your neighbor respond?
I enjoy your blog.
Hi Marlene! The paint got on the top of the neighbor’s fence, which I didn’t mind because the fence was old and discolored. She’s never notice the top of her fence being painted. Most of her yard is inaccessible due to trees, so no one will notice. But if I were you, or if I had another area to paint where the overspray WOULD be noticeable, I would probably tape newspaper to prevent any overspray. I also tried to tip the spray gun a little downward when I got to the top of the fence to help minimize overspray. My neighbor hasn’t said anything yet so I think it should be fine! 🙂
Beautiful color! Love the Cat Proofing step!!!(I have cats-they are nosey!!)
Yes, they are! Very curious little creatures. They used to bother me when I moved in and had to deal with them pooping in my yard. But over the years, I have started talking to them (even though they just run away), and it seems like now that I talk to them, they don’t leave me “surprises” like they used to. LOL
Super cute color! Especially nice with the bright pink flowers!
Thanks, Lyn!! I couldn’t be happier with the color! It is exactly what I envisioned! I was nervous about it when I saw the color in the can, but that wasn’t a good representation at all. Glad I didn’t give up before trying! 🙂