Painting and Stenciling My Exterior Door
When we moved into our home in 2010, the first thing I wanted was a door makeover.
Lots of door makeovers!
But it was too expensive!
Not just the cost of the door, but to pay someone to do it.
So I asked a friend to help me replace my kitchen exterior door (click here to read How to Replace and Paint an Exterior Door for that tutorial). Bless him!! Because I couldn’t have done it myself!
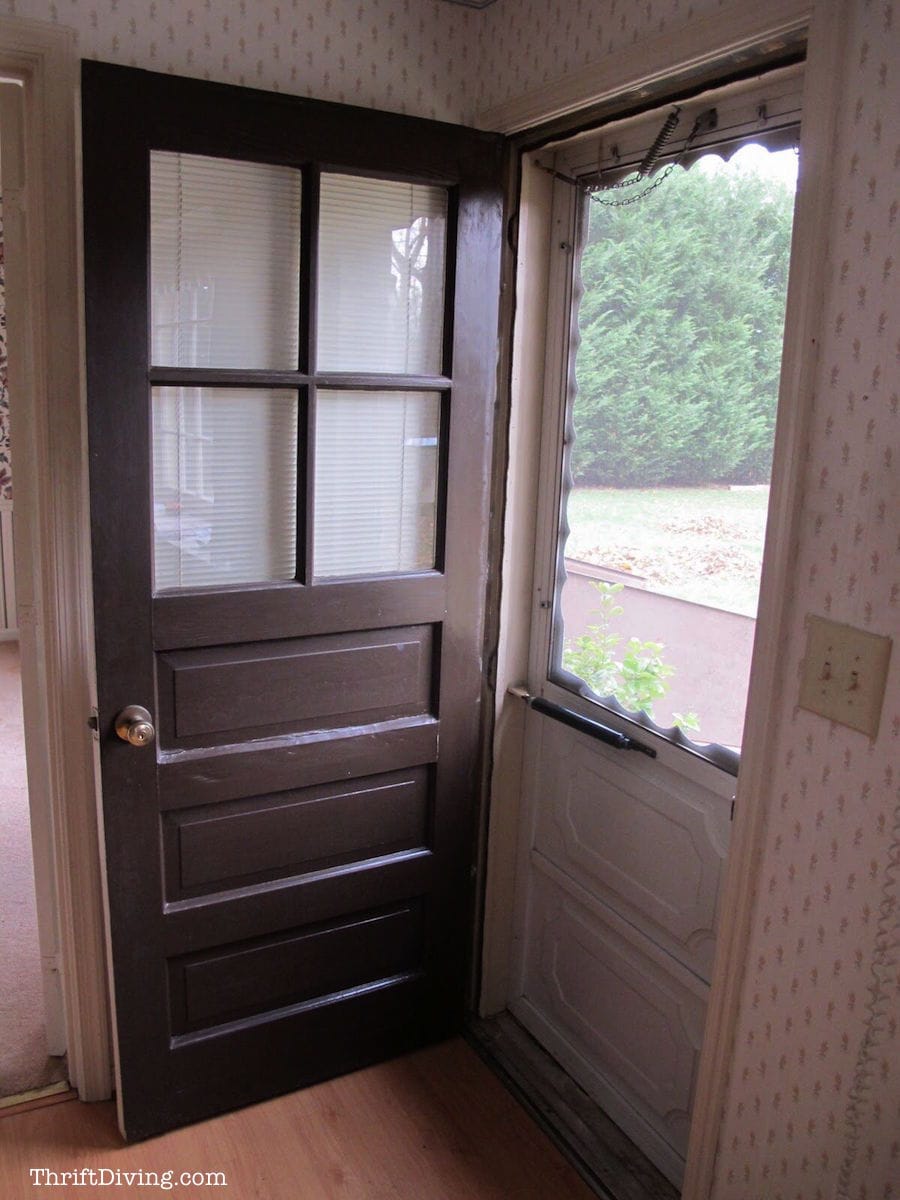
Here’s what my kitchen exterior door looked like.
(Post updated September 2016 to include video!)
BEFORE
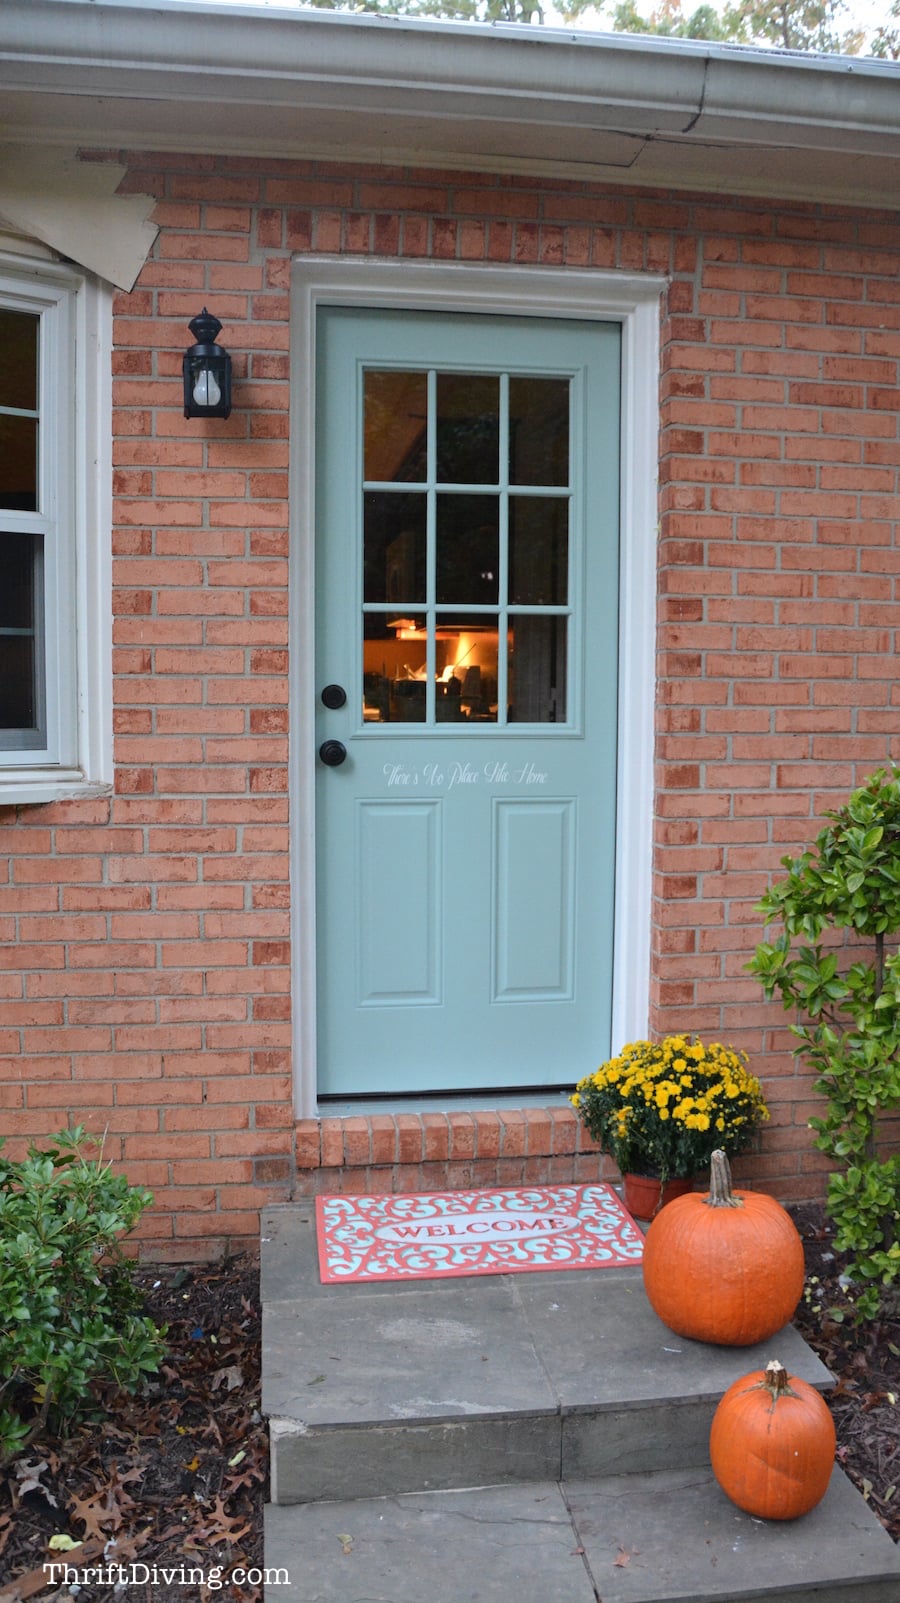
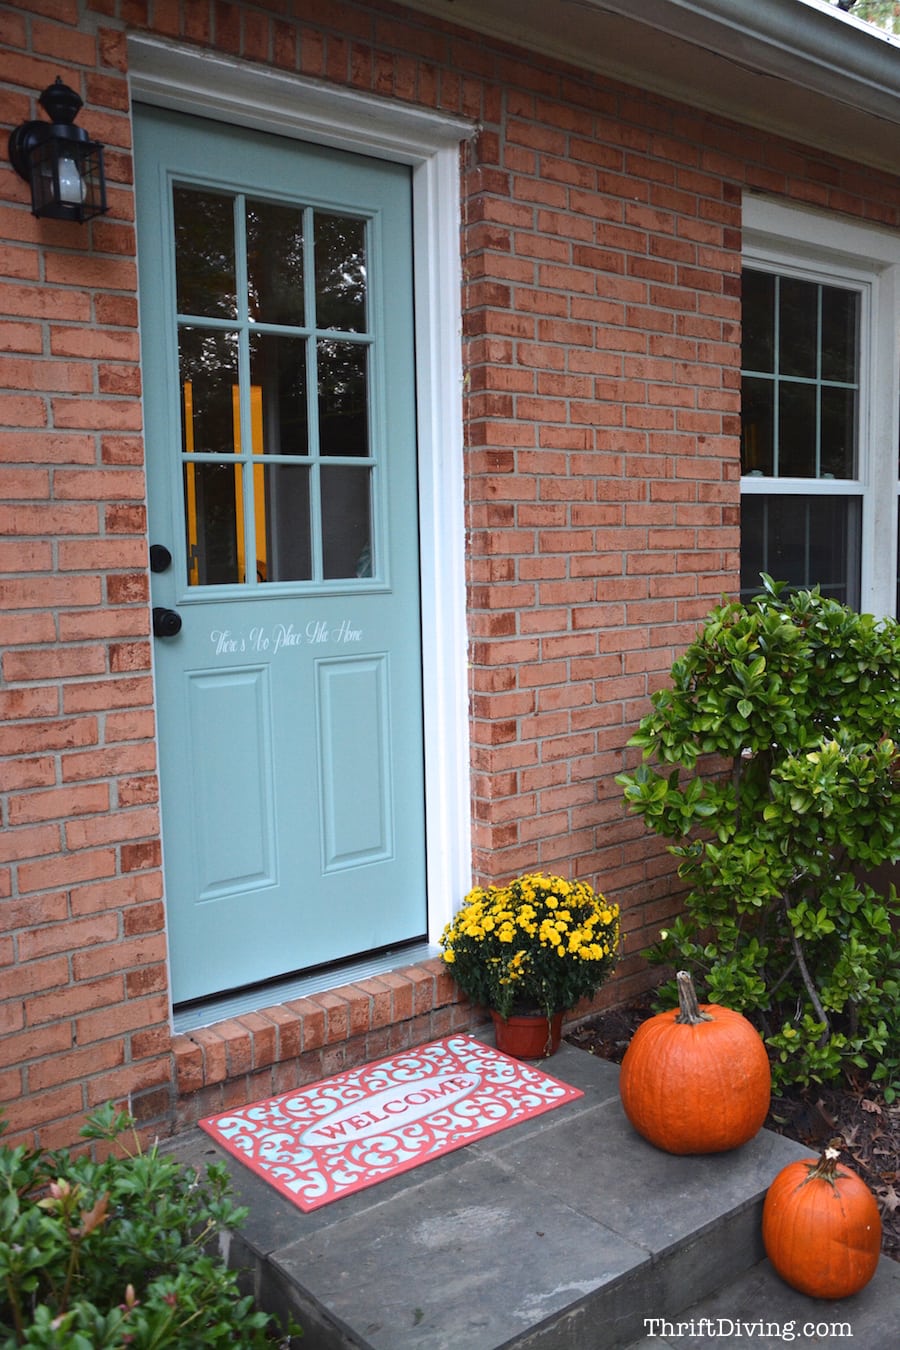
And after we were done installing it, I painted it and stenciled it, and this is what it looks like now!
AFTER!
Aside from materials you’ll need for installing the exterior door, this is what you need to paint and stencil it!
Materials
- Exterior paint (I used Behr Exterior in Quiet Teal)
- Paint brush or roller
- Primer (if you’re painting your old door; otherwise, your new installed door should already come primed)
- Stencil
- Painter’s tape
- Small foam brush
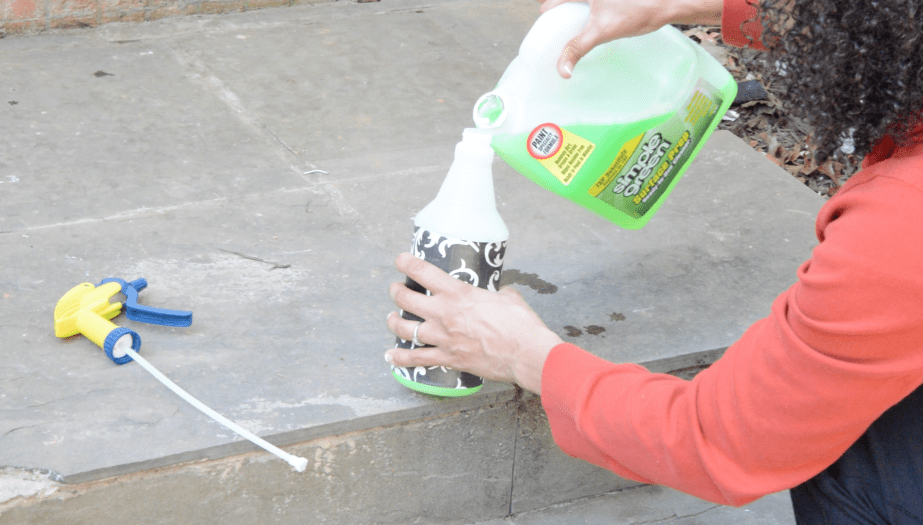
- Simple Green
- Paper towels or rags
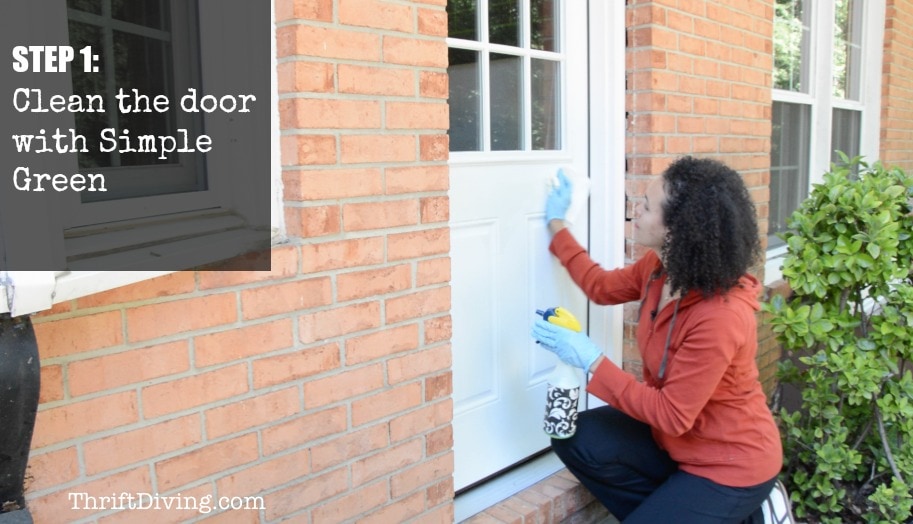
STEP 1: Get It Clean!
I’m notorious for trying to skip this part sometimes, but it really makes a difference in getting paint to stick! Clean it with Simple Green with is a great degreaser and cleaner.
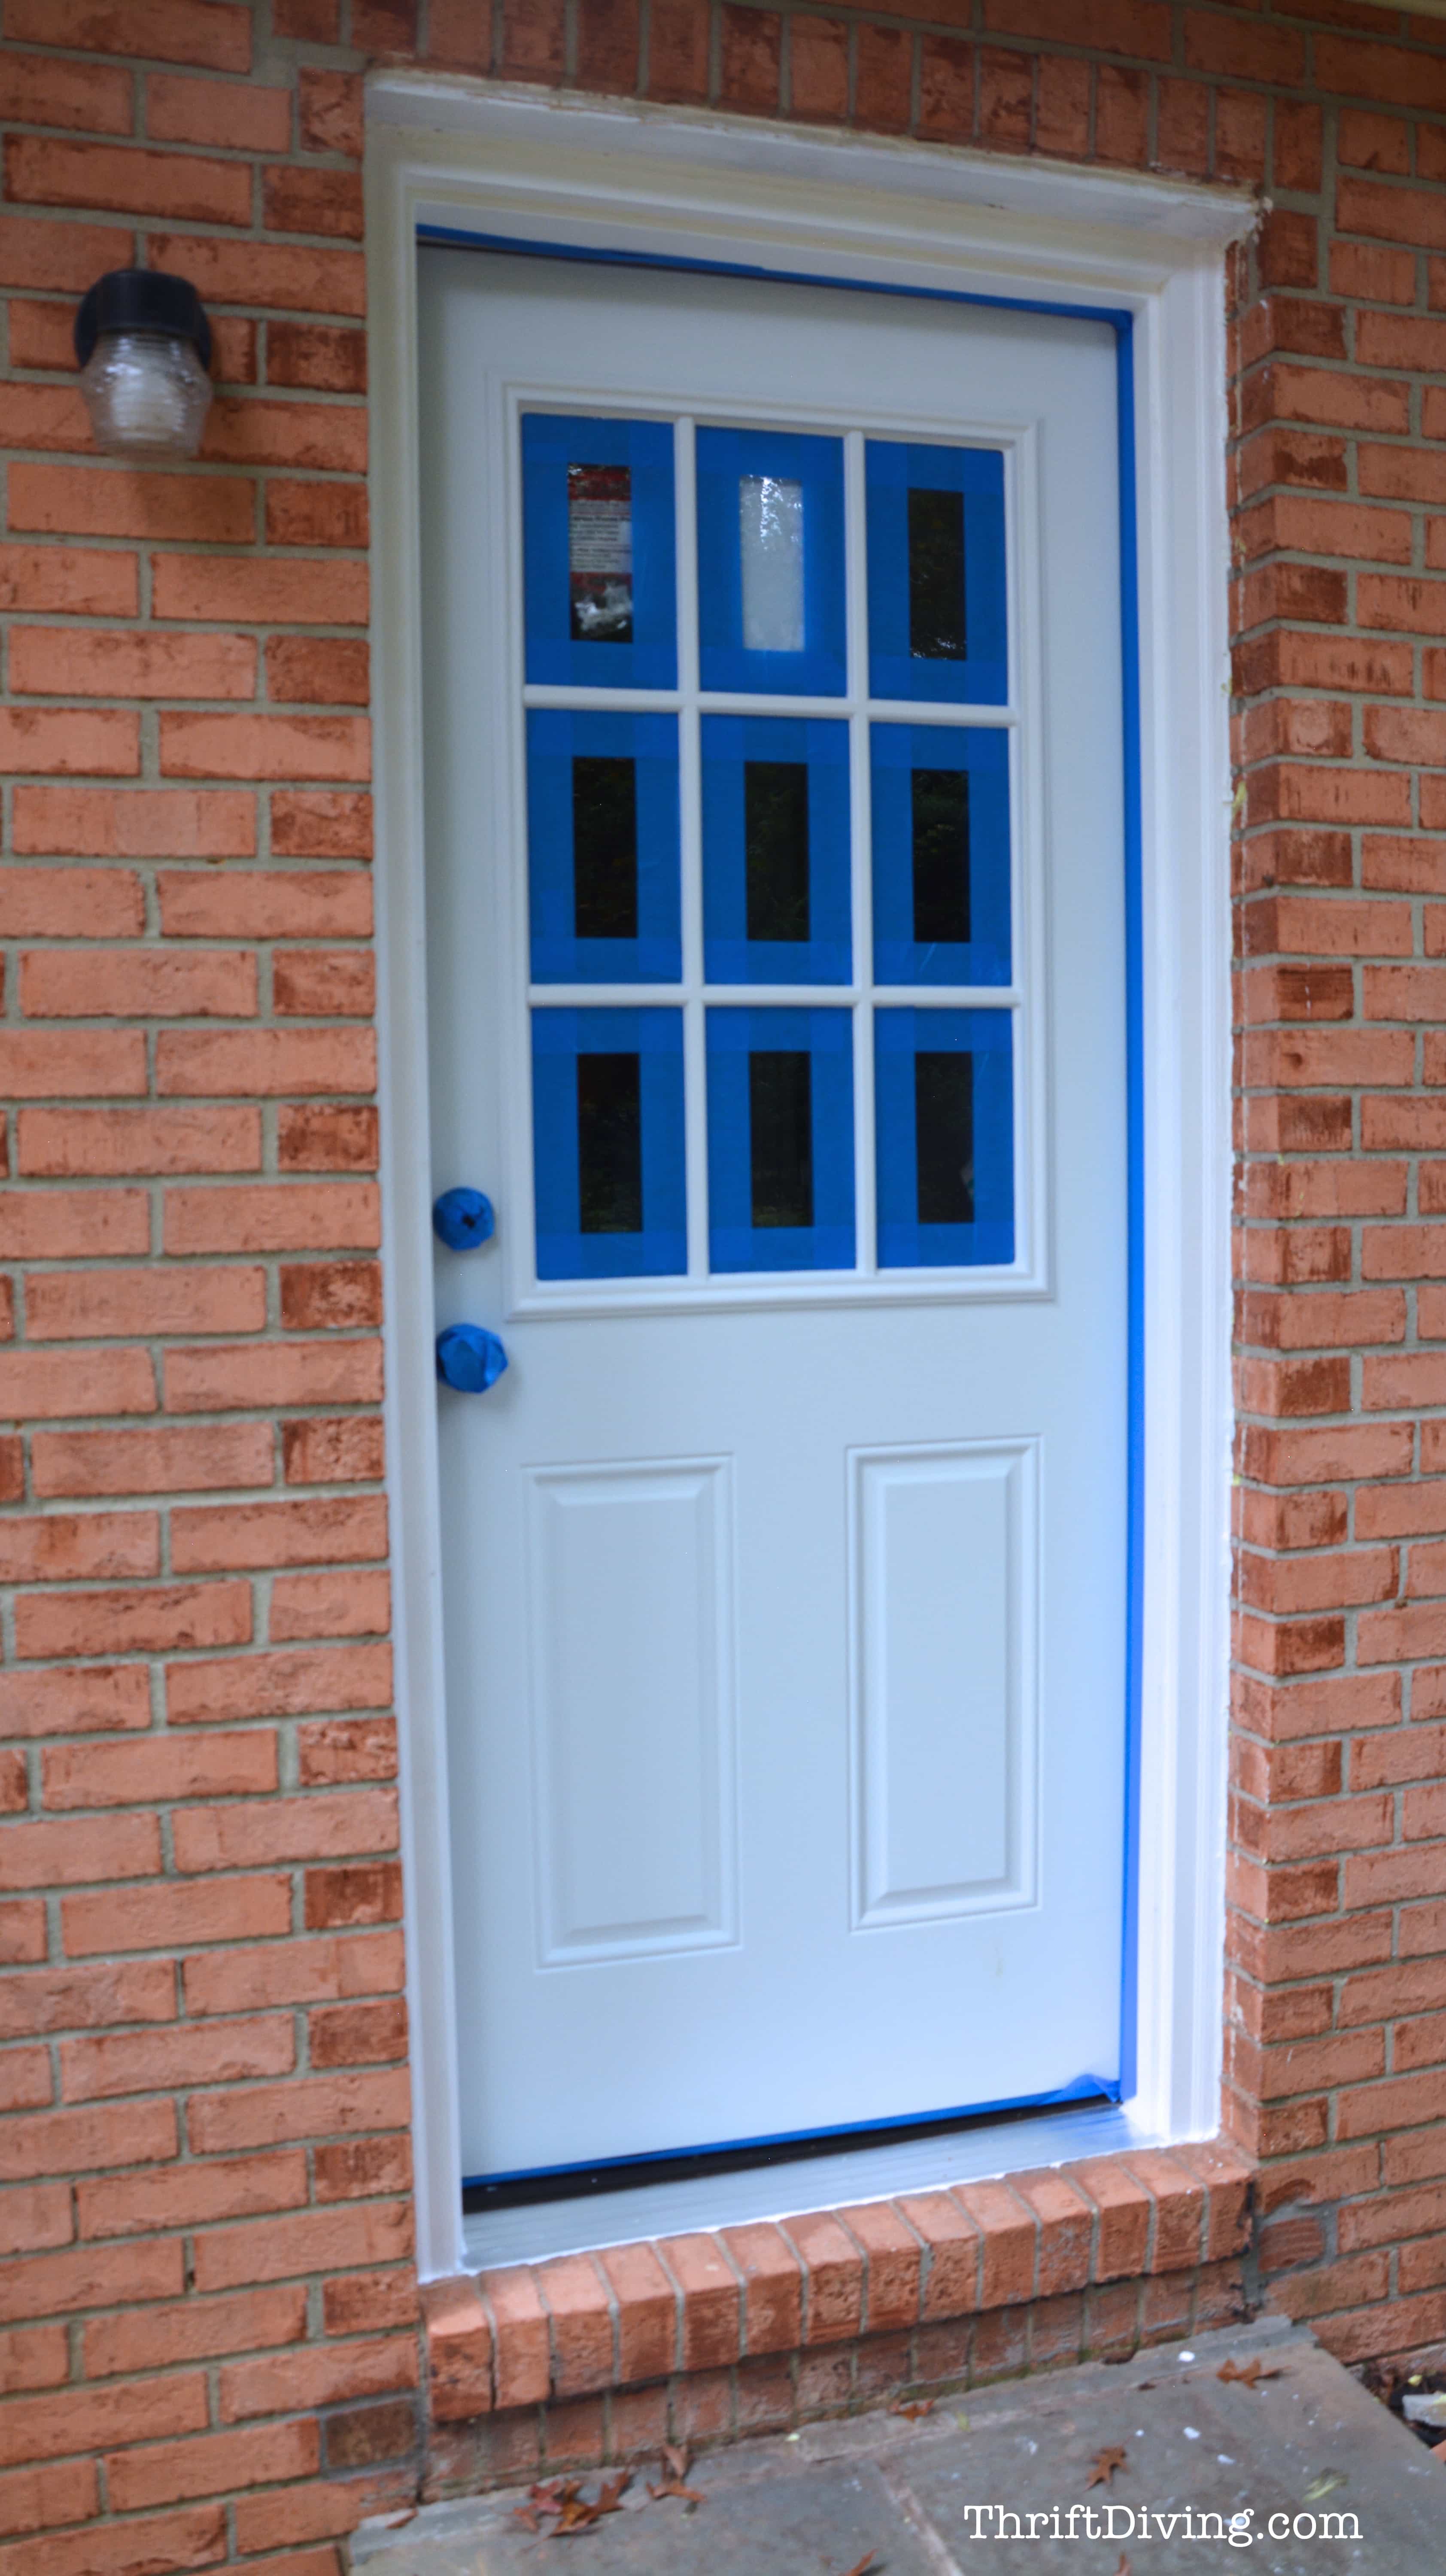
STEP 2: Tape Off Your Door
This is my least favorite part. But if it doesn’t get done, you’re left with a mess to clean off the windows. The better the tape job, the better the paint job!
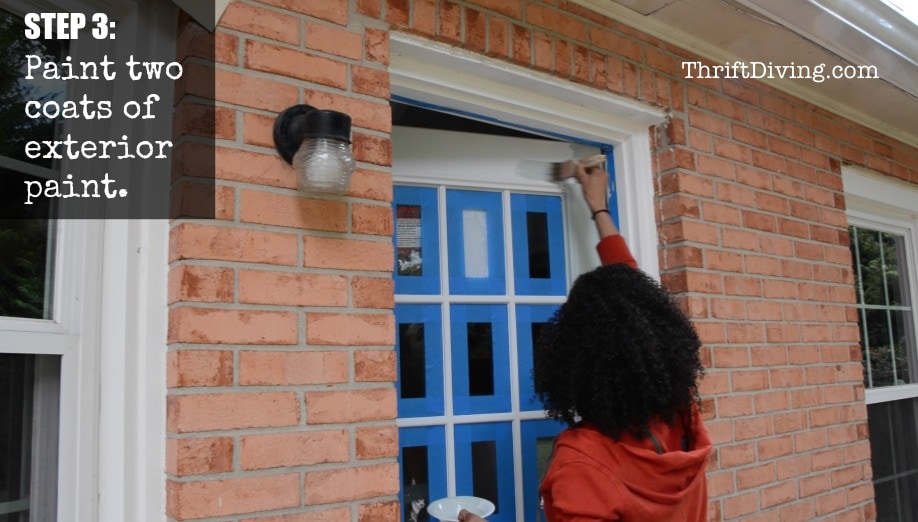
STEP 3: Put on Two Coats of Exterior Paint
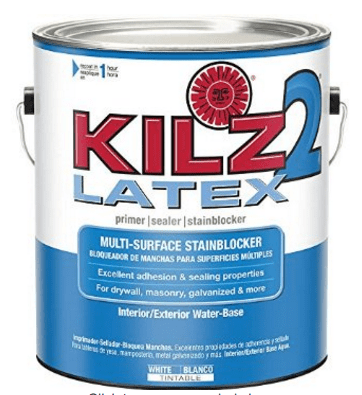
If you have to prime your door first, now’s the time to do it!
Be sure that you use a primer that says “Interior/Exterior.” I love using Kilz 2 primer.
You can use a brush or a roller, but you’ll definitely need a brush around the window panels.
Always put two coats of paint on for good coverage!
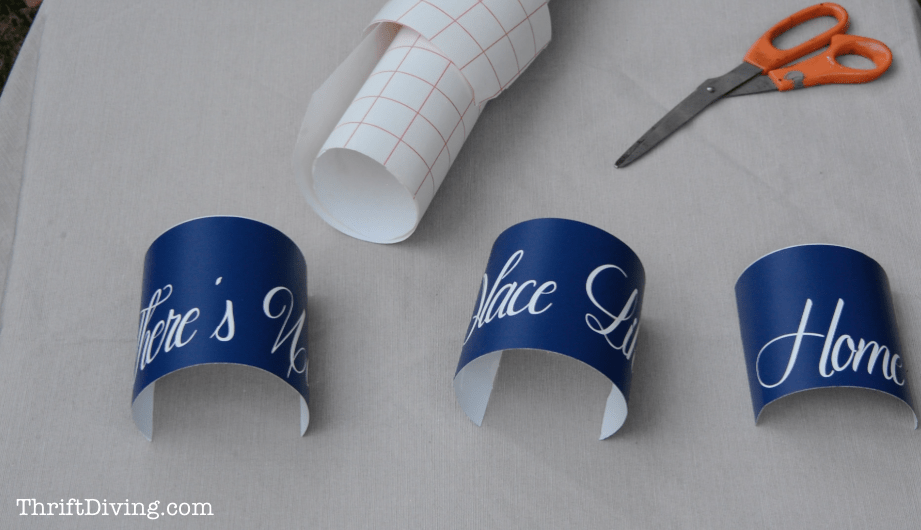
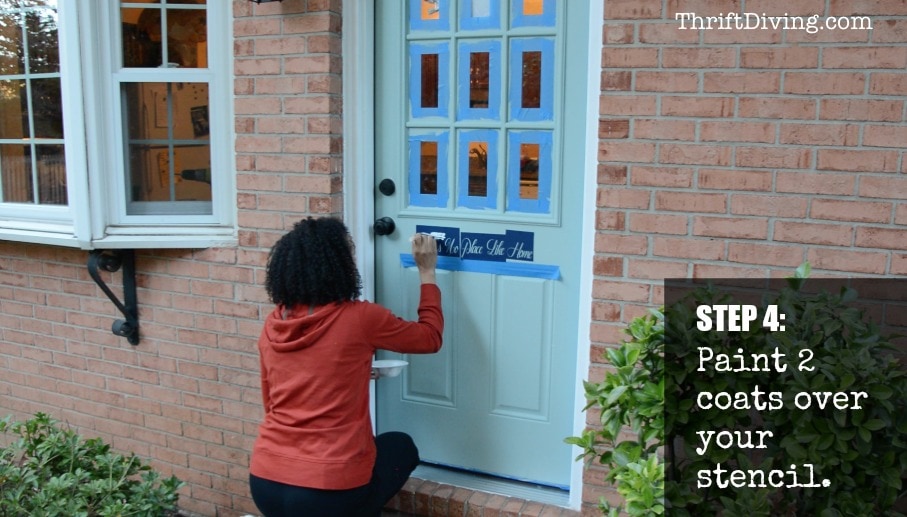
STEP 4: Cut Out a Stencil
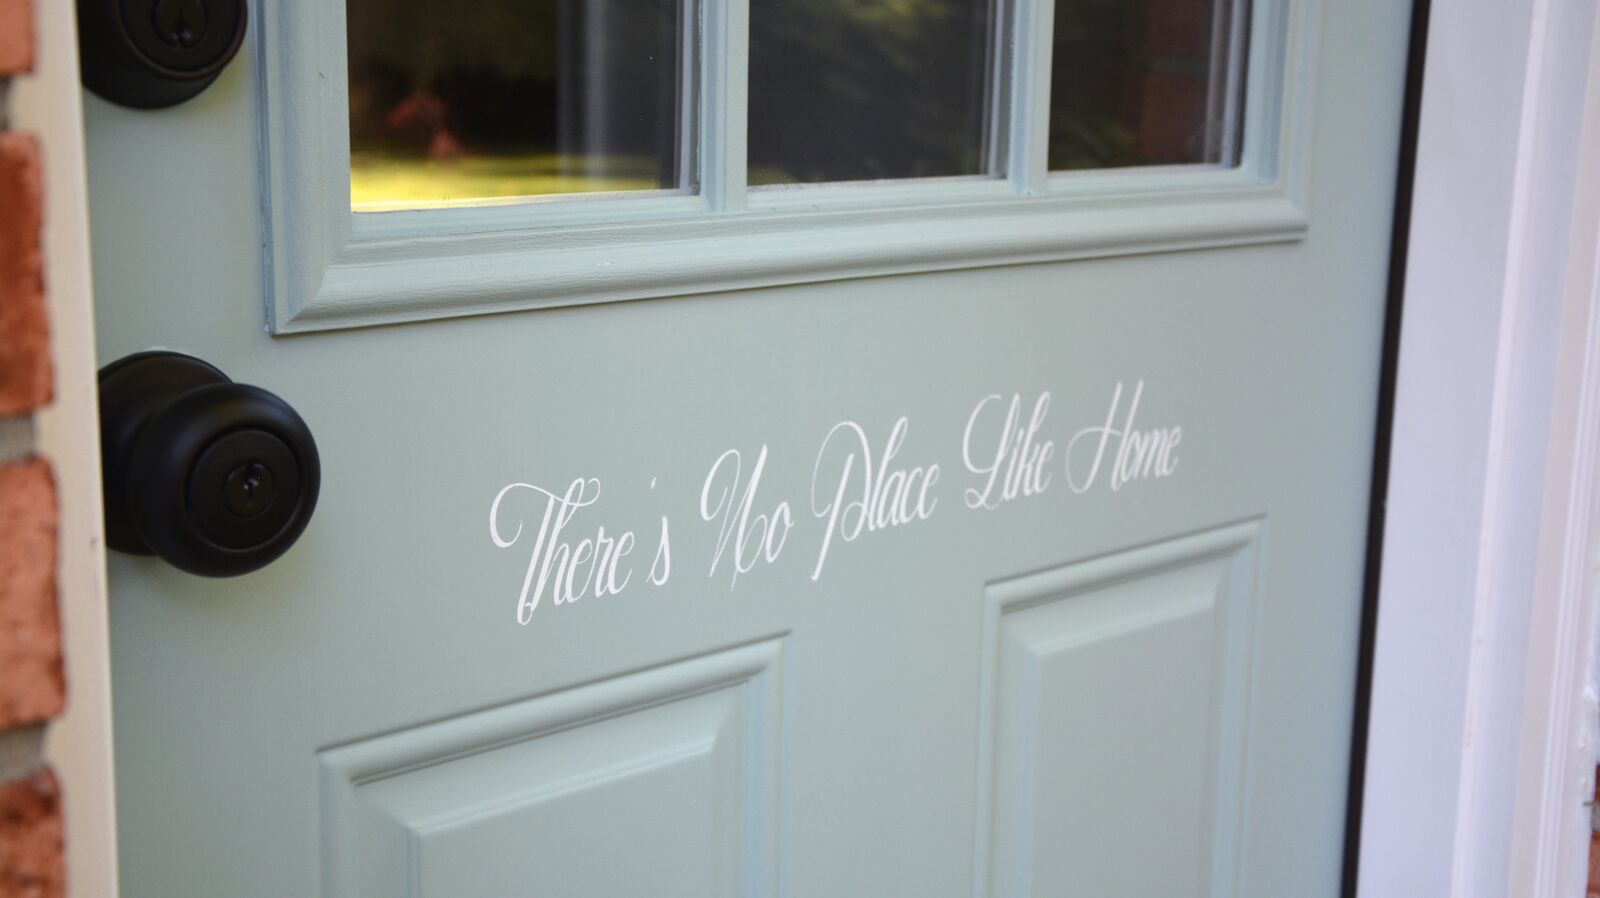
I used my Silhouette Cameo personal vinyl crafting cutting machine and transfer paper to cut out the words “There’s No Place Like Home,” but if you don’t have a Silhouette, you can buy a stencil, like these stencils.
STEP 5: Paint the Stencil on the Door
If you’re using your own vinyl stencil, you’ll need to use transfer paper to apply it straight. Otherwise, tape it to your door so it doesn’t move while painting.
Put 2 coats of paint over your stencil.
STEP 6: Remove All the Tape and Stencils
If you got some paint on the windows, just use a glass scraper with a razor blade to remove the bits of paint that may have gotten on the window.

And voila! You’ve got a beautiful new door!
Here’s the BEFORE again.
BEFORE
AFTER!
So what do you think?! Easy enough, right?
Before You Go!
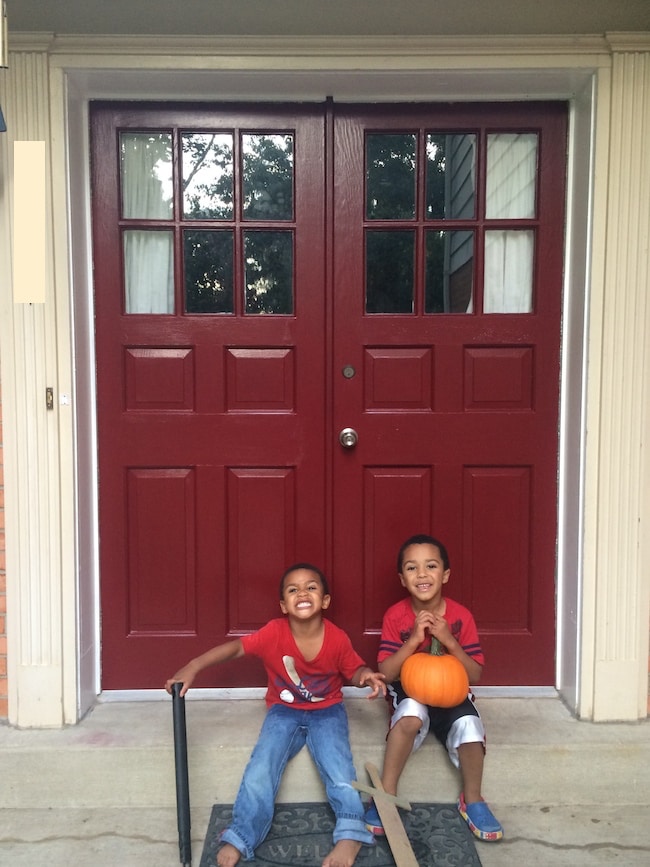
You might want to check out how I painted my front doors with a punch of color!
Have you ever thought about painting your exterior door for a DIY door makeover? Leave a comment below and let’s chat about it!

Download the 5 freebies!

Thrift Diving inspires women to decorate, improve, and maintain their home themselves...using paint, power tools, and thrift stores! Use these 5 printables, checklists, and ebooks to get started!
Wow! I have never seen this before. I bet there are some people out there who repaint and change the words every season. FUN!
Grant – Henderson has hope
Hi, Selina, I love the door. I’ve also thought of putting a saying on my door. It’s perfect, the lettering, everything. Have a great week. Linda @Crafts a la mode
Love the new color and stenciling your door with a pretty saying was genius! Super tutorial as always:) Pinned!
I love the teal door with the black tirm and stenciling… Beautiful and you are so clever and handy.
I love seeing your projects. You are such a clever girl! I am now going to attempt to paint my grandparents’ secretary which I now own. It is really dated and the paint will surely update it.
Thanks for all your great tips!
Love how it turned out and the stencil is awesome. I love the color of the door.
it looks nice, but it is a completely different door. The one you started with had four glass panes and the final product had nine . . . ???
Hey, Jill! Yes, it’s a new door! Because the project was so long I broke it into 2 posts: one post showing you the door replacement and the other one showing you the painting and stenciling.
Great job! Love the color, such a relaxing shade of blue. May you be blessed daily as GOD guides you! Thanks for sharing all your wonderful projects.
Hi, Judy! Thanks! I love the color, too! The brick is such a weird color, I was worried it wouldn’t work, but I’m glad it does!
You make it look easy, Serena, but I know that was a lot of work.
Our old front door had so many different layers of paint it was like the personal journal of our 53 year old house. It also had dated, criss-cross windows. I was happy to see it go.
Your door is beautiful. I love that color and your inspired quote. Which reminds me, I need to get my Cameo serviced. It started cutting random patterns. Weird, eh?
Wow, 53 years! Sounds like you could have recycled it into sone thing cool! What did you end up doing with it?