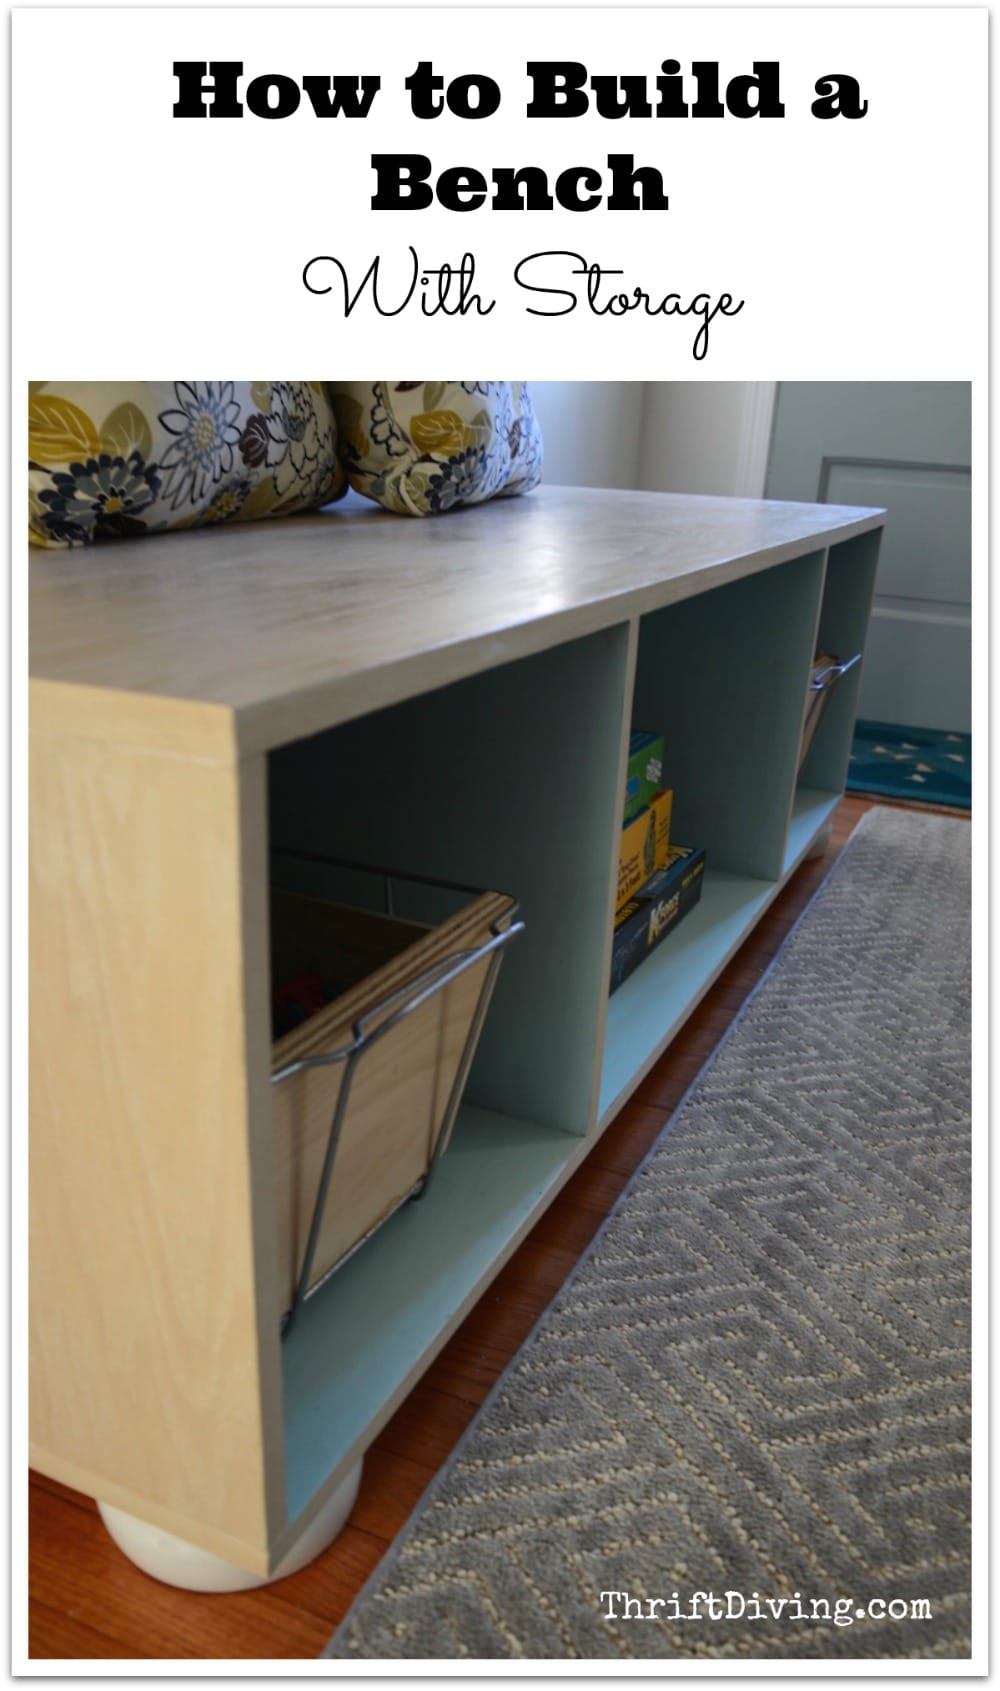
How to Build a DIY Bench With Storage
This post was sponsored by the awesome folks at Elmers, but the project and writing are mine! 🙂
Click here to pin this project for later!
As much as I love me some thrift stores, I love building stuff from scratch.
Even better, I love building stuff and then tossing in some repurposed stuff from the thrift store to make it even more unique.
That’s what I did for today’s project.
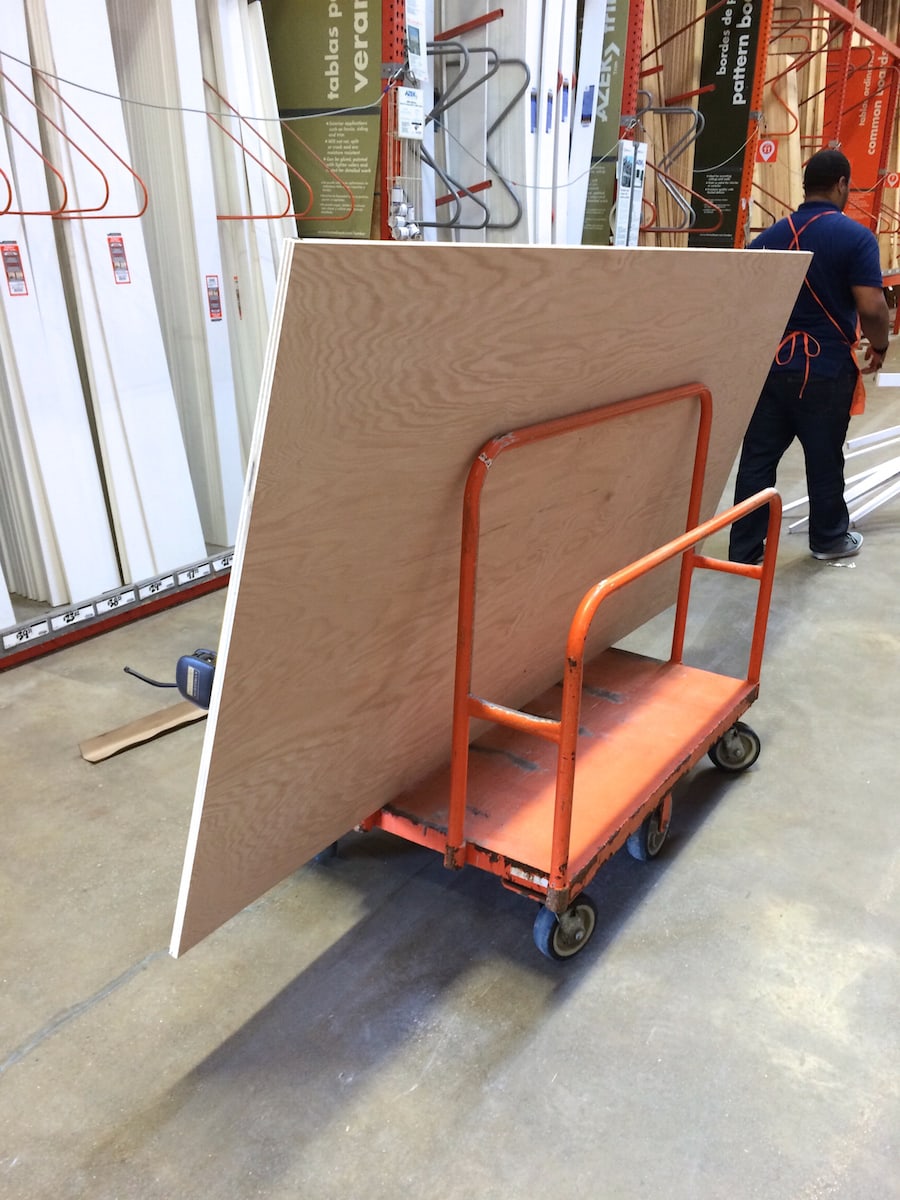
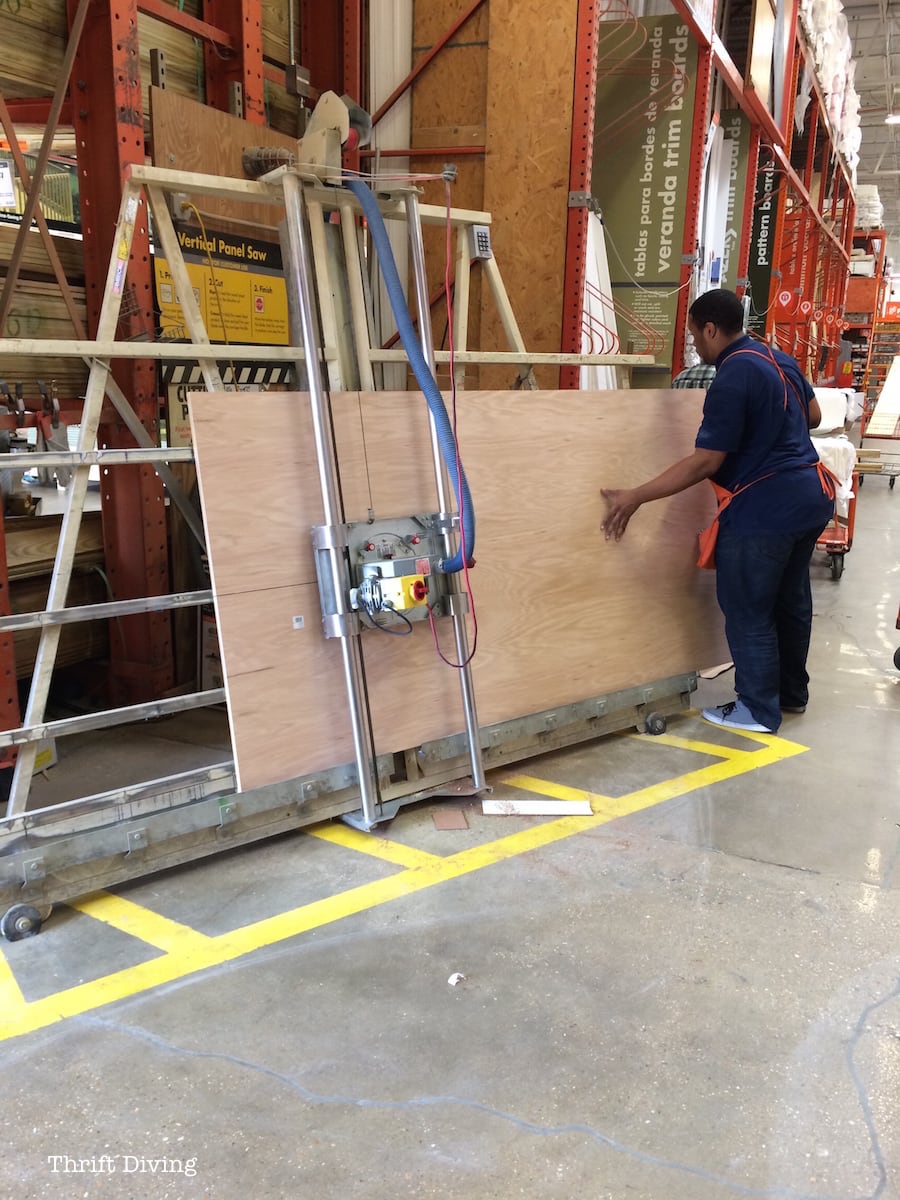
First, it all started with this big ‘ole hunk a’ wood.
BEFORE
I started off wanting to make a coffee table or something with storage for my cozy family room that I just made over.
Somehow it morphed into this bench with storage! LOL
Let me start off by saying, don’t let this post intimidate you!! As much as I love power tools, I have never built something this big. I usually build smaller crafts projects, like this DIY tablet holder that you can hang on your wall.
I was just going to wing it and see what I could come up with (how’s that for planning?? HA!).
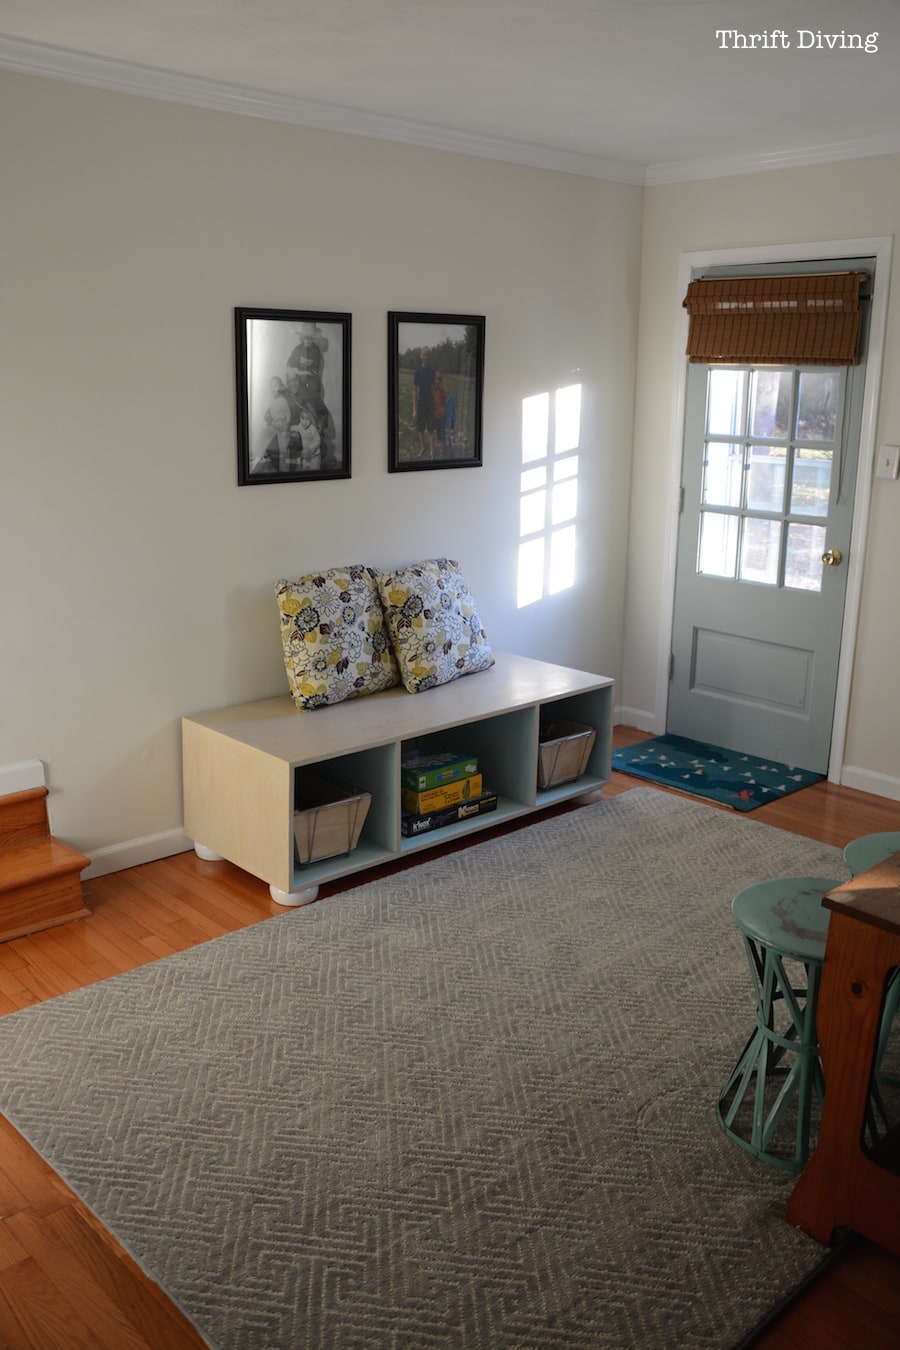
I really like how it turned out!
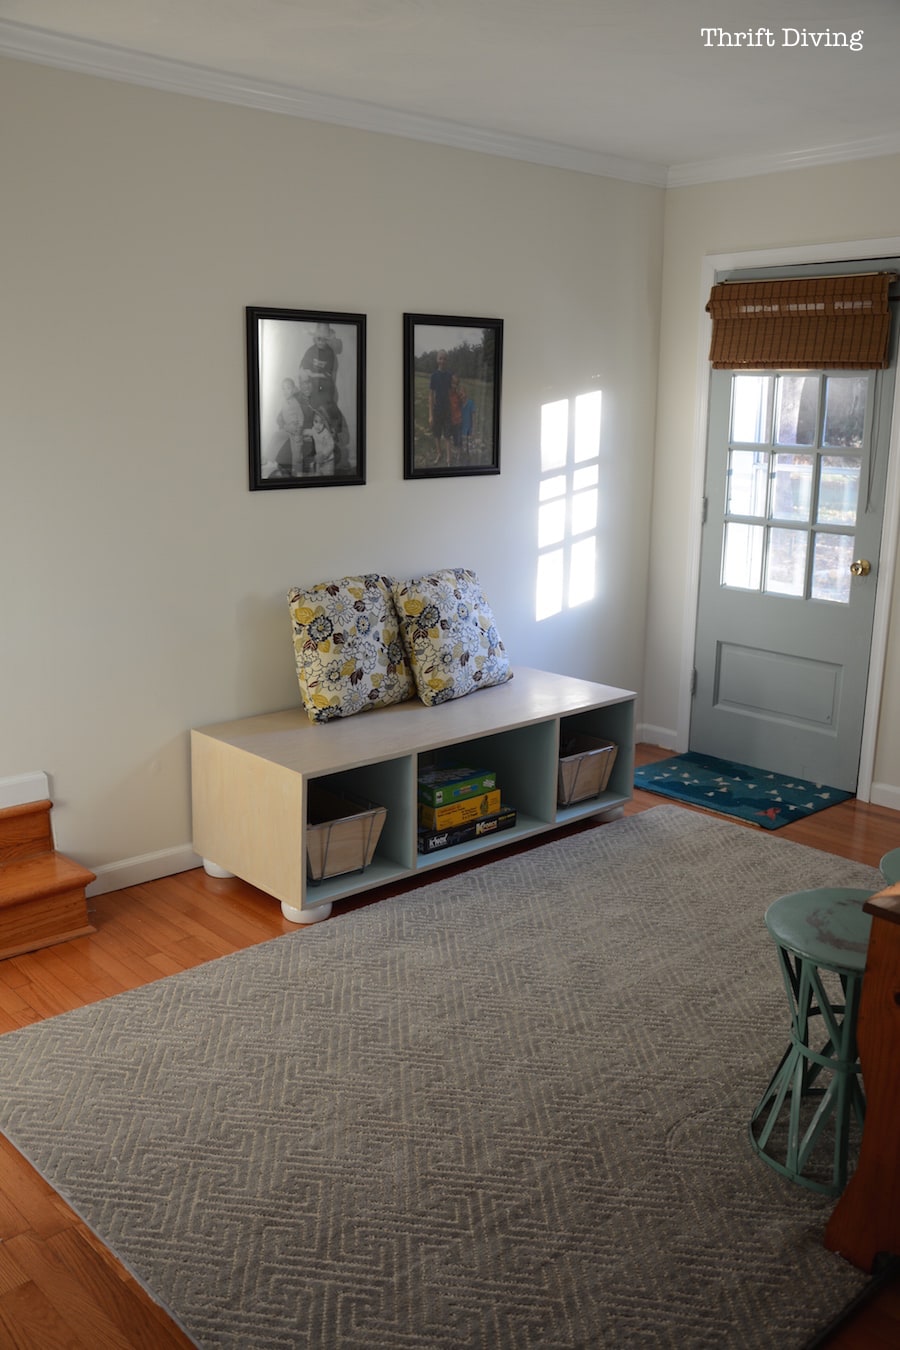
AFTER!
Using Wooden Bowls for Faux Bun Feet
When I build things, I usually choose birch plywood, but this time I chose oak because I loved the big grainy texture and wanted to keep the look of the wood. More on that in a bit.
I also used wooden bowls from the thrift store for bun feet!
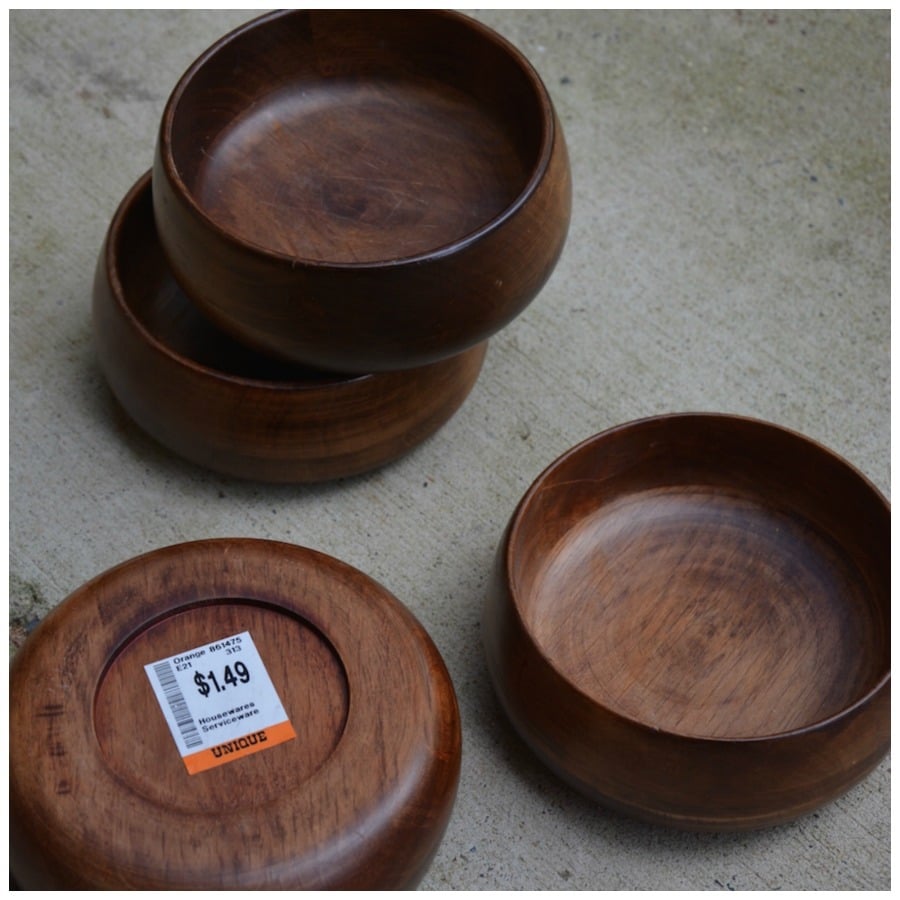
I bought them months and months ago and knew I’d use them for faux bun feet, and this was the perfect project to do it.
Have you seen the price of real bun feet?? At $11 a pop, you’re spending $40 on feet alone!!!!

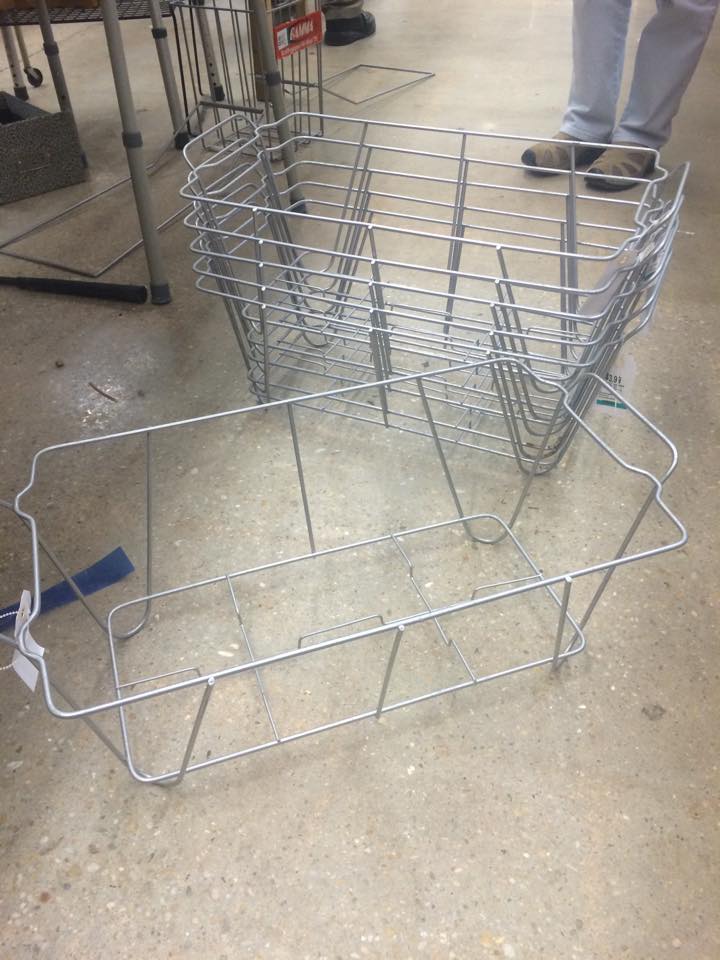
I also wanted baskets for the inside, but again, baskets are expensive, and I knew I’d need 2-4.
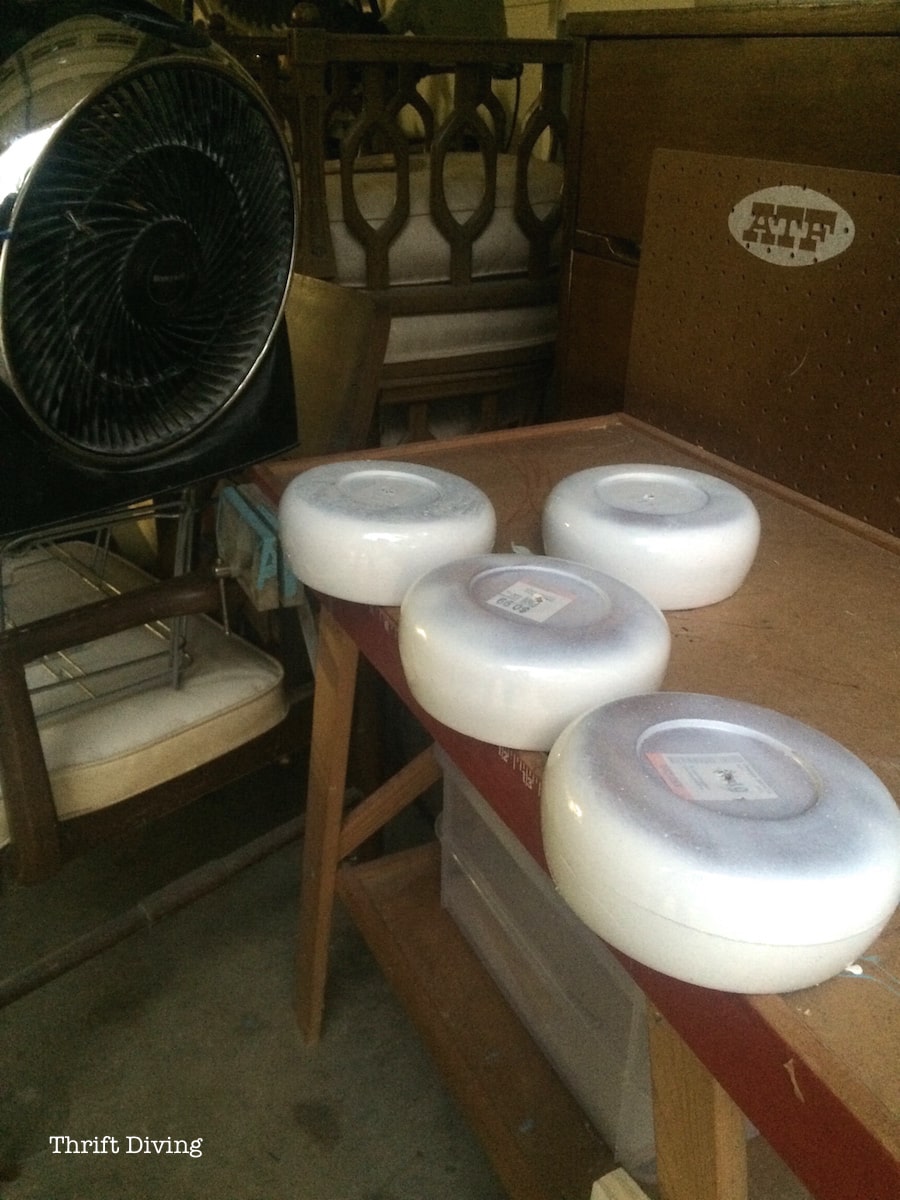
I had found these buffet warmers a whole year ago and someone on Facebook gave me the awesome idea to line the inside with wood, so I lined them with scrap wood I had lying around my garage and glued the pieces together with Elmer’s wood glue!
BEFORE
AFTER!
Okay…Now For the Deets
I’ll warn you…this is going to be a long post. So kick your feet up and learn everything that I learned about putting together this project! 🙂
Go Grab This Stuff
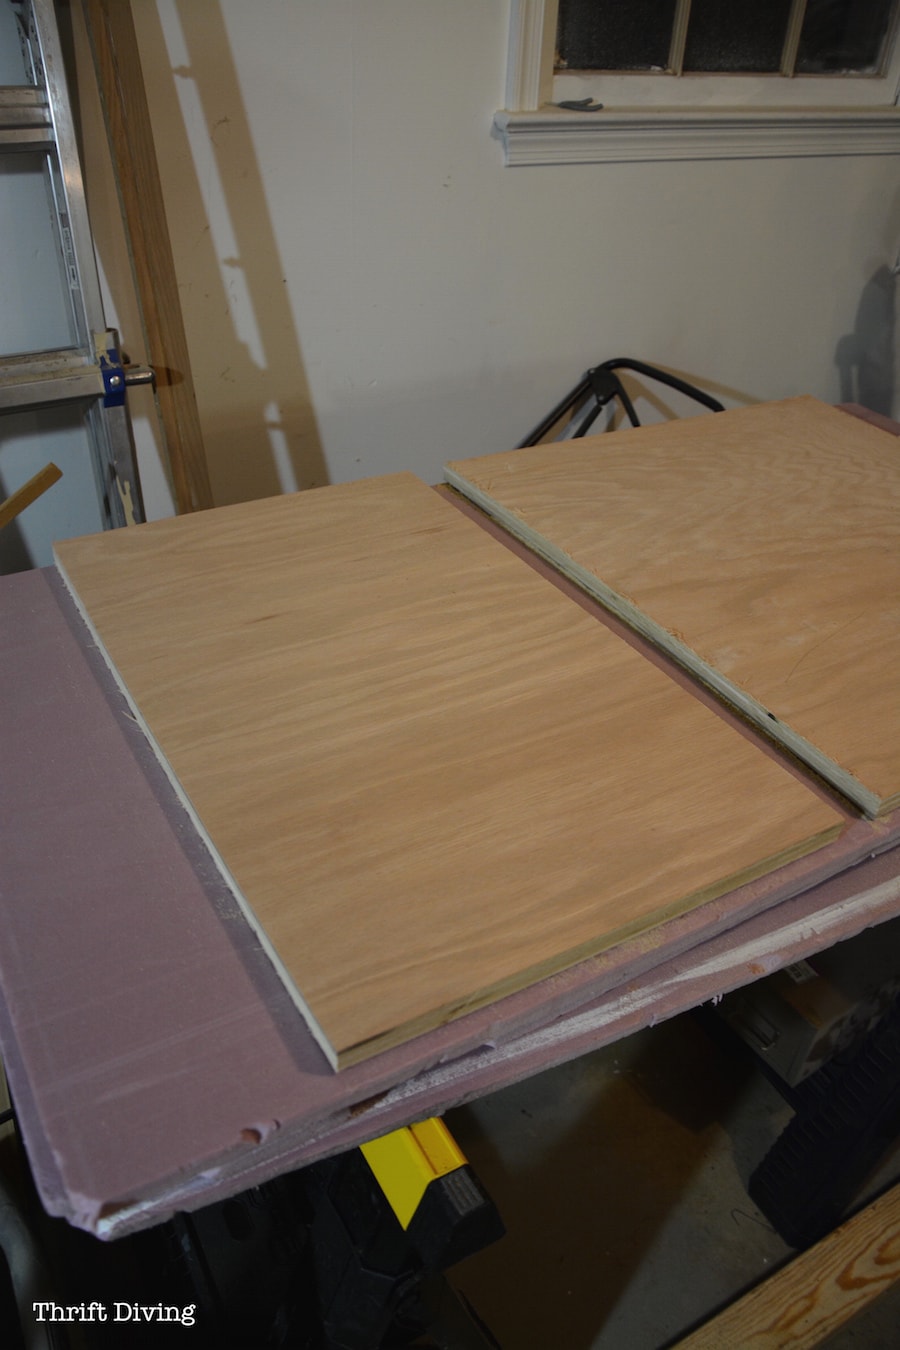
- 1 sheet of oak plywood (I used Purebond) 3/4″ thick. Have them cut it length-wise in half for you, like this.
- 4 bowls from the thrift store for faux bun feet
- 4 baskets (or buffet warmers if you can find them)
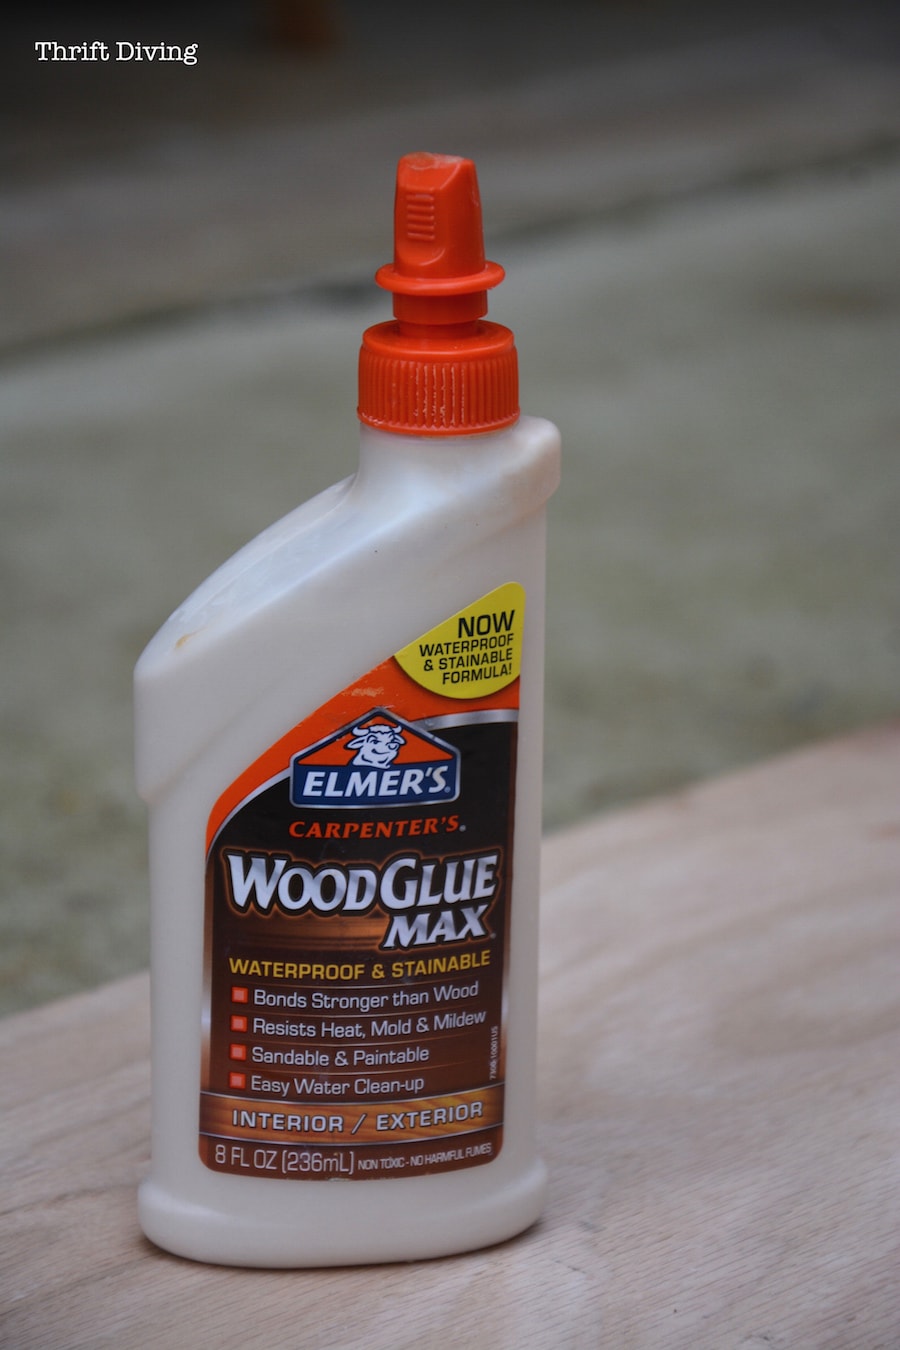
- Elmer’s Wood Glue
- Some power tools (I used a miter saw, circular saw, and jigsaw, but at the very minimum, you’ve got to have a jigsaw)
- Scrap wood for the inside of the baskets
STEP 1 – Get Cuttin’
Have Home Depot or Lowe’s cut your sheet of oak plywood length-wise. It comes in a 4’x8′ sheet, and there’s no way that thing is fitting in my van! The coolest thing is that if you know your measurements, you can get your wood cut close to size. If they measure properly, you can just assemble it when you get home!
Cut these sizes with a circular saw if you’re cutting the pieces yourself:
Top panel = 58 1/12″ x 2 ft
Bottom panel = 58 1/12″ x 2 ft
2 end panels = 14 3/4″ x 2 ft
2 inside panels = 14 3/4″ x 2ft
With the bowl feet attached, the bench measures 18 5/8″ in height.
STEP 2: Drill Pocket Holes
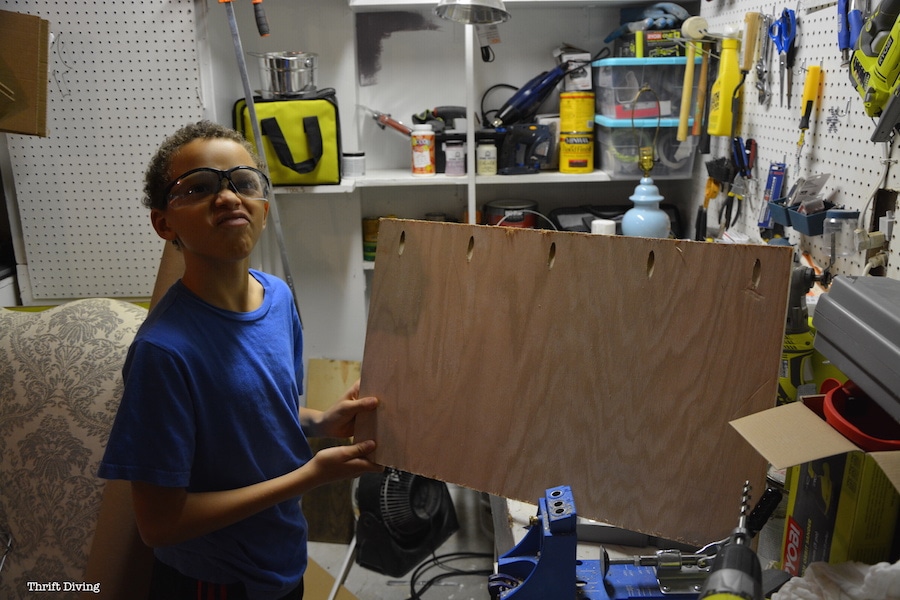
I enrolled the help of my 9-year-old to make pocket holes in the end and inside panels. (For the sake of time, I won’t get into details about pocket holes, but if you want more info on this, just email me!).
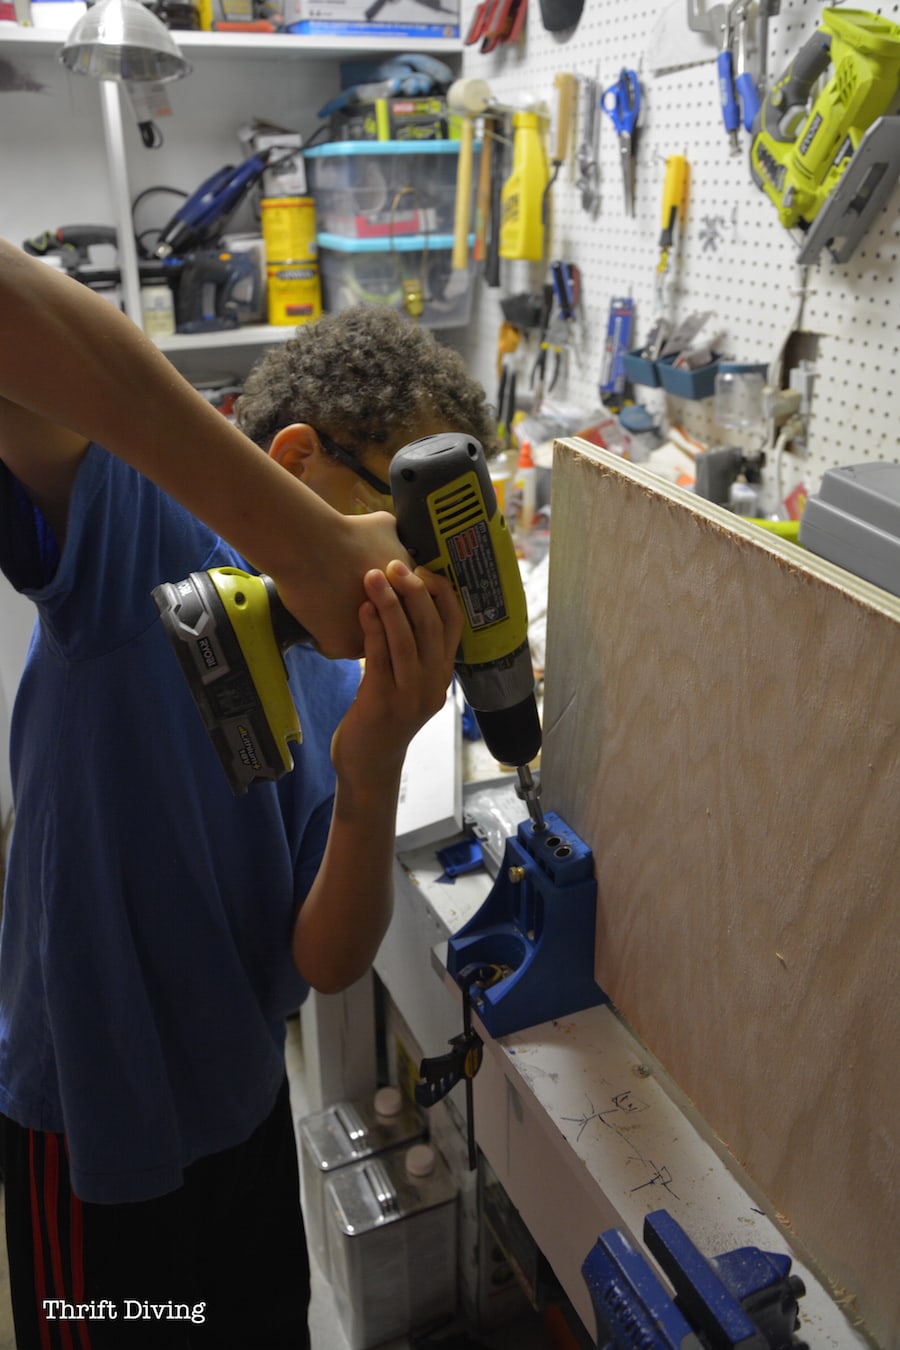
He was so proud of his work, but for the life of me, I couldn’t get him to take a picture without making a face. HA!
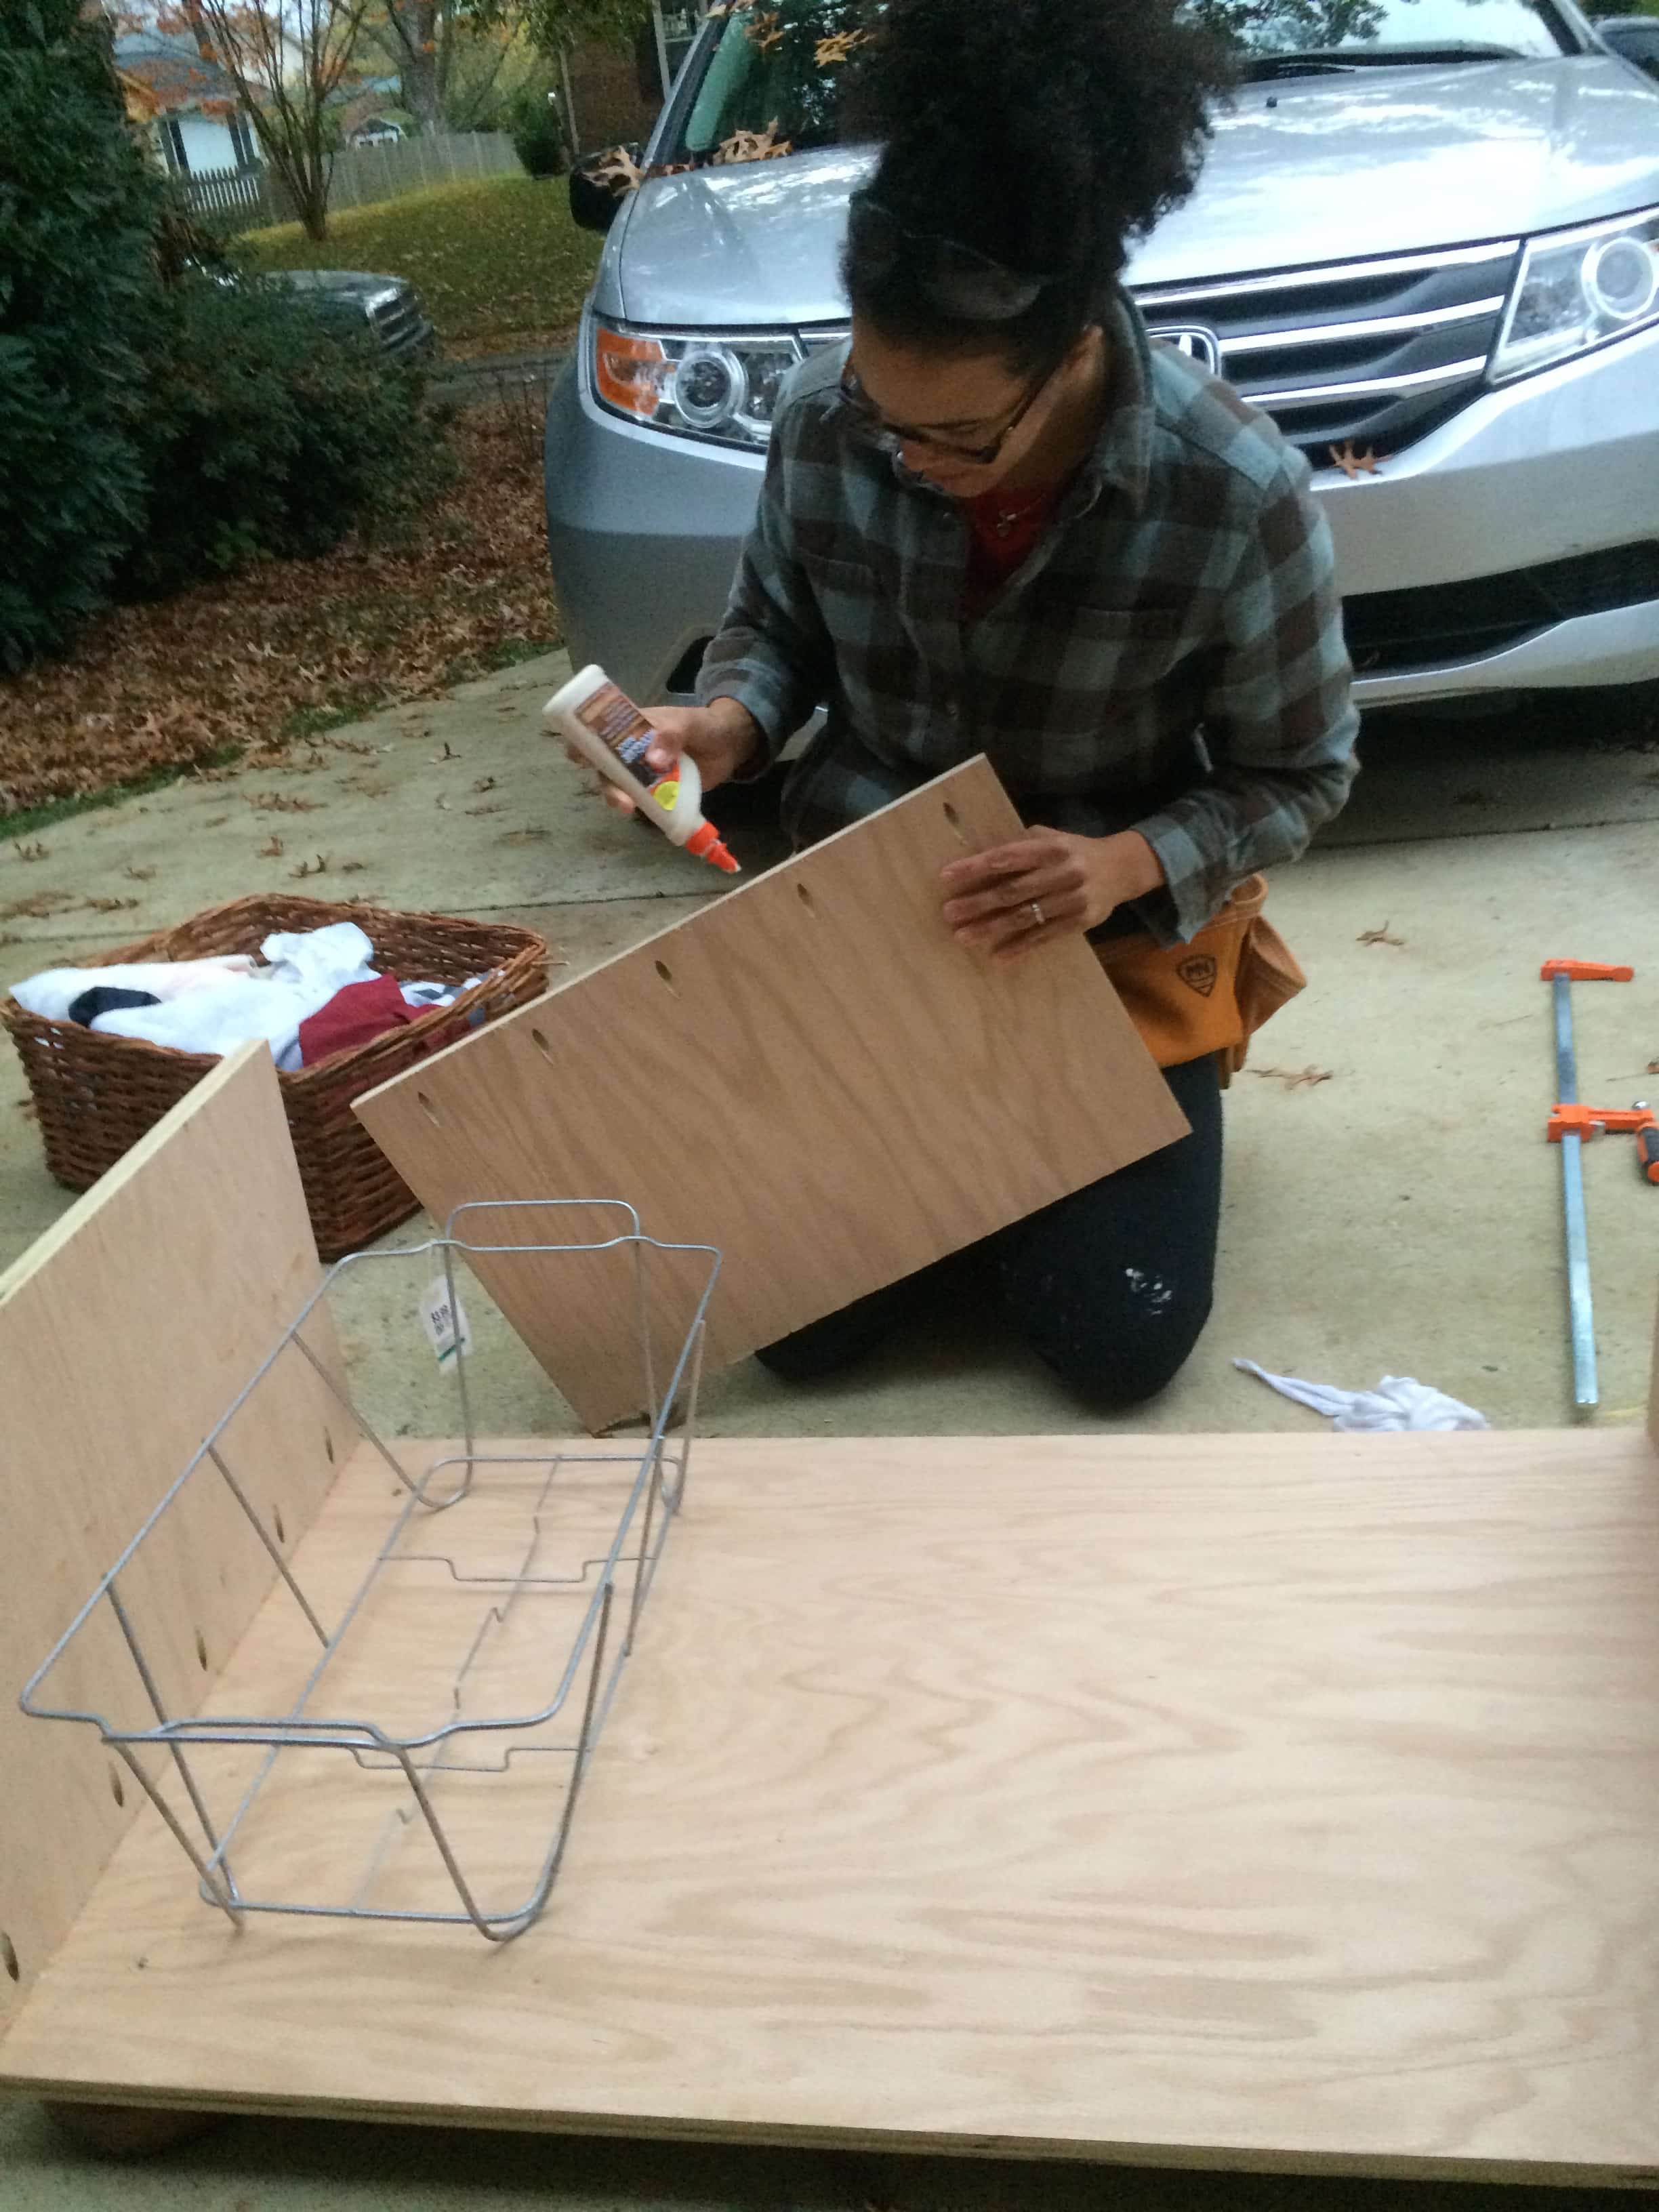
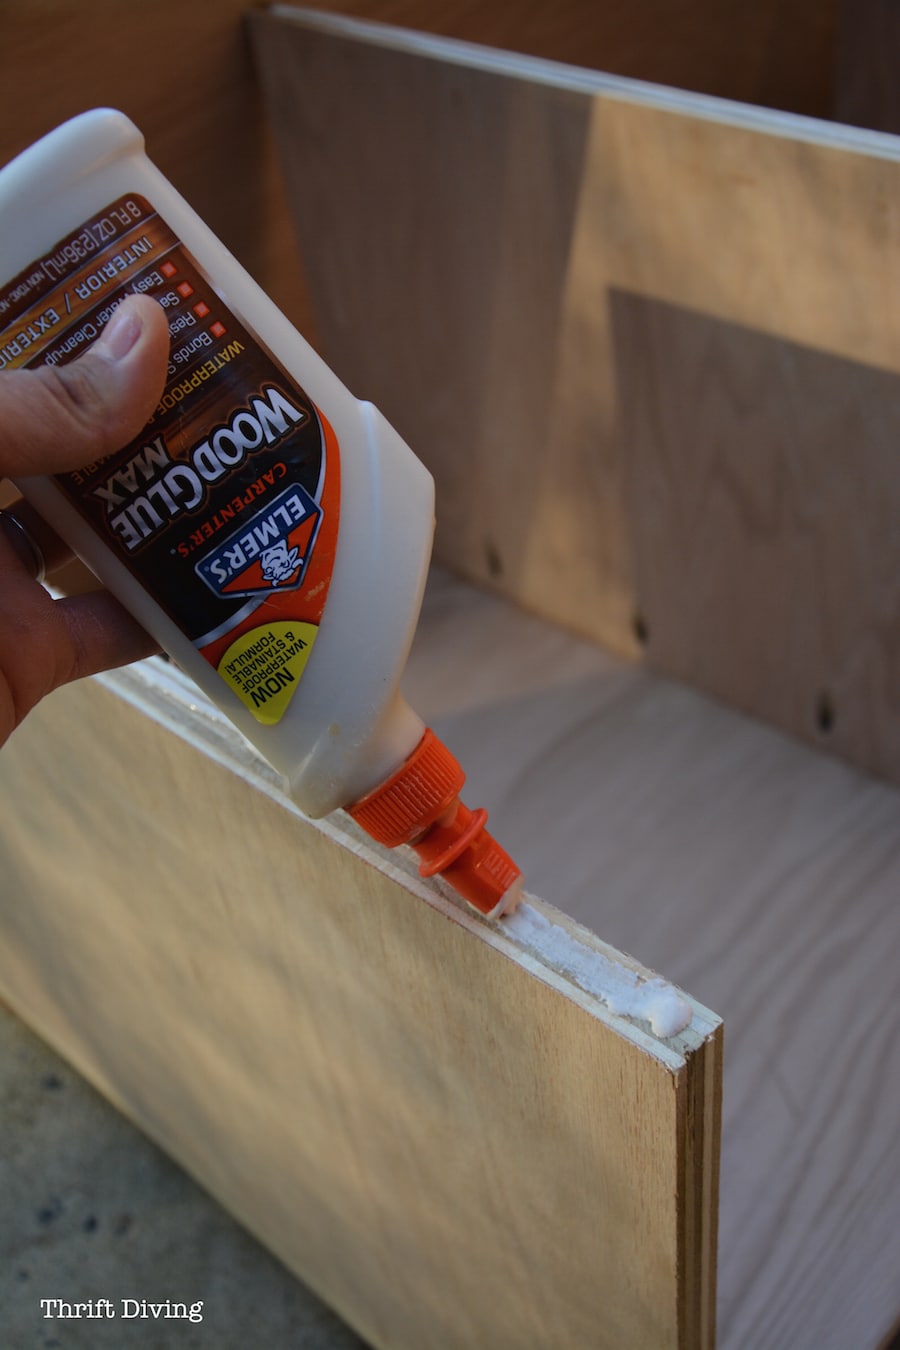
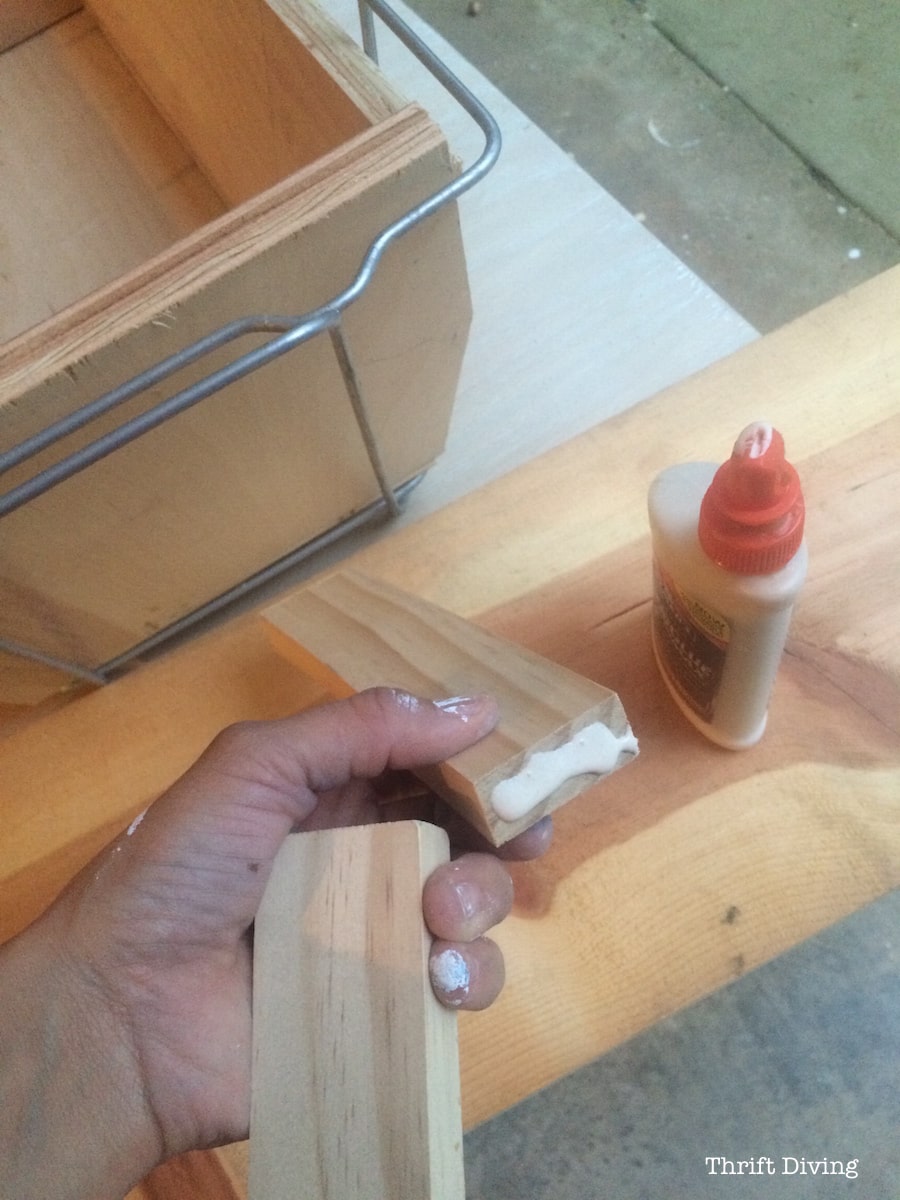
STEP 3: Glue Before Screw
When I’m working with wood, I always use Elmer’s Wood Glue to glue before screwing! I’ll usually let it set a few minutes before trying to screw or nail boards together. Not only does it help keep boards from getting shifty when trying to screw or nail them together, but it helps to create a stronger bond between the materials.
Just put a bead of wood glue along the edge and hold in place with a clamp to let it set for a few minutes before screwing in.
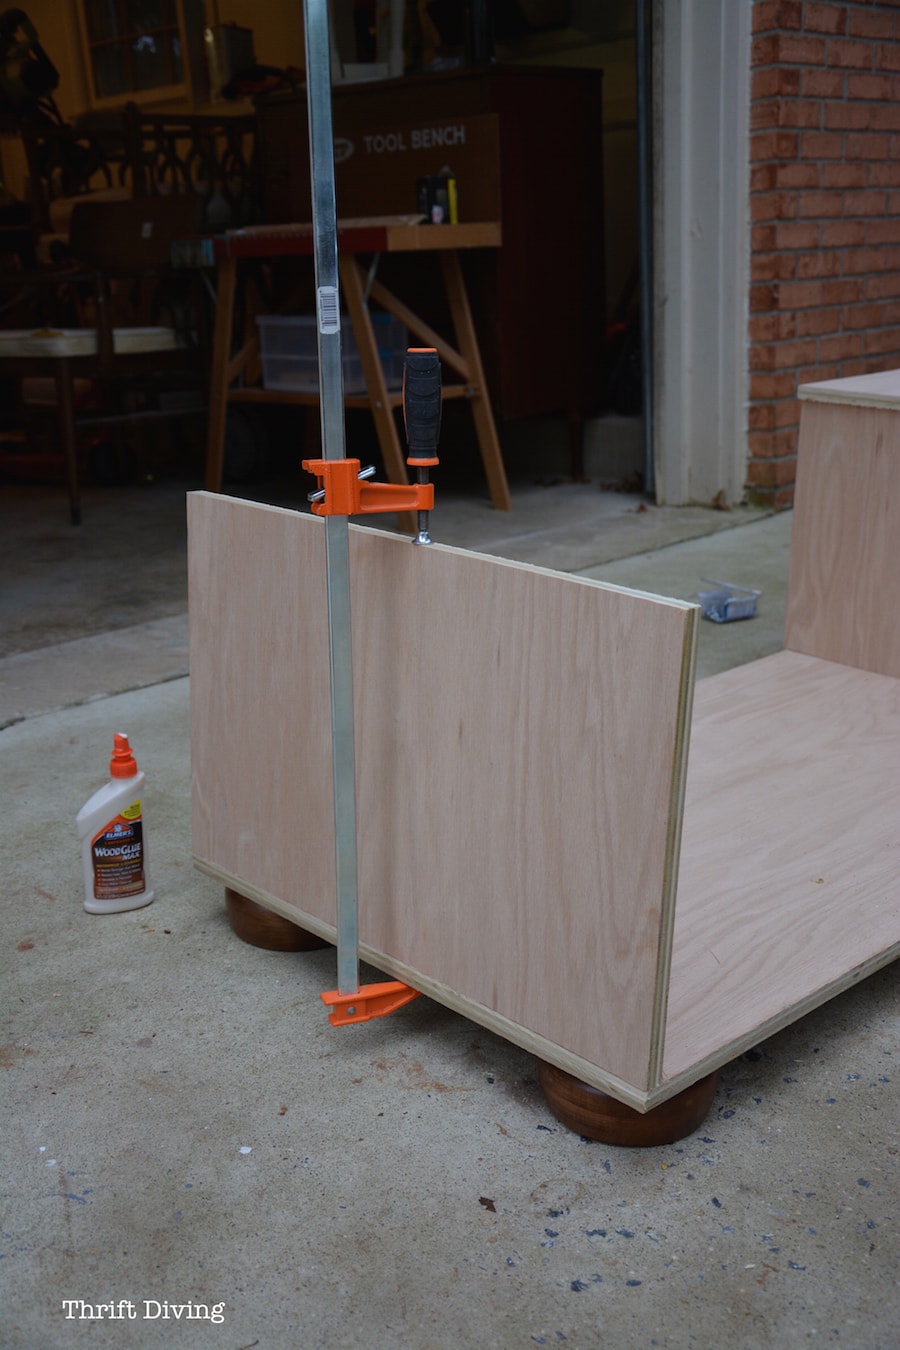
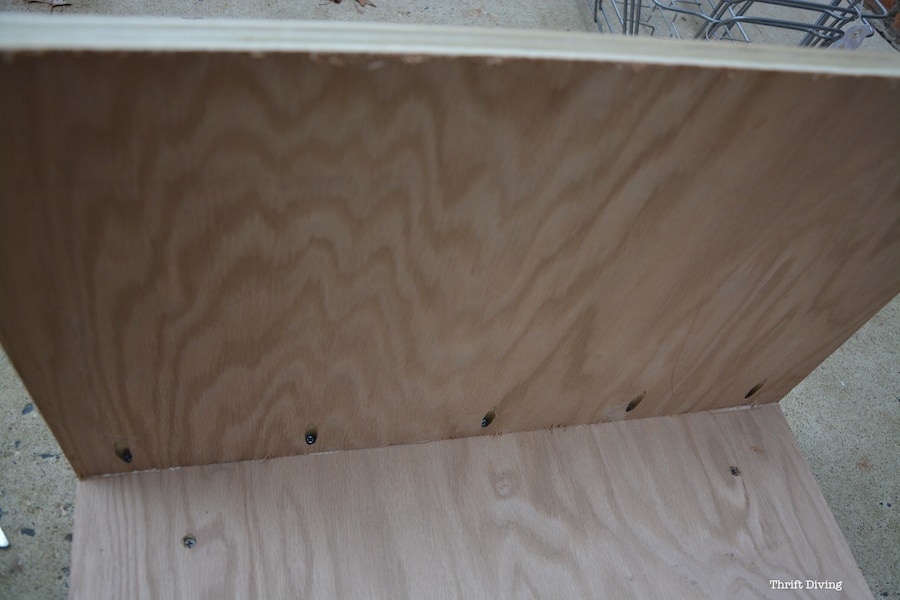
Here you see the ends are now glued in and pocket hole screws have been added, so those joints are suuuuuper tight!
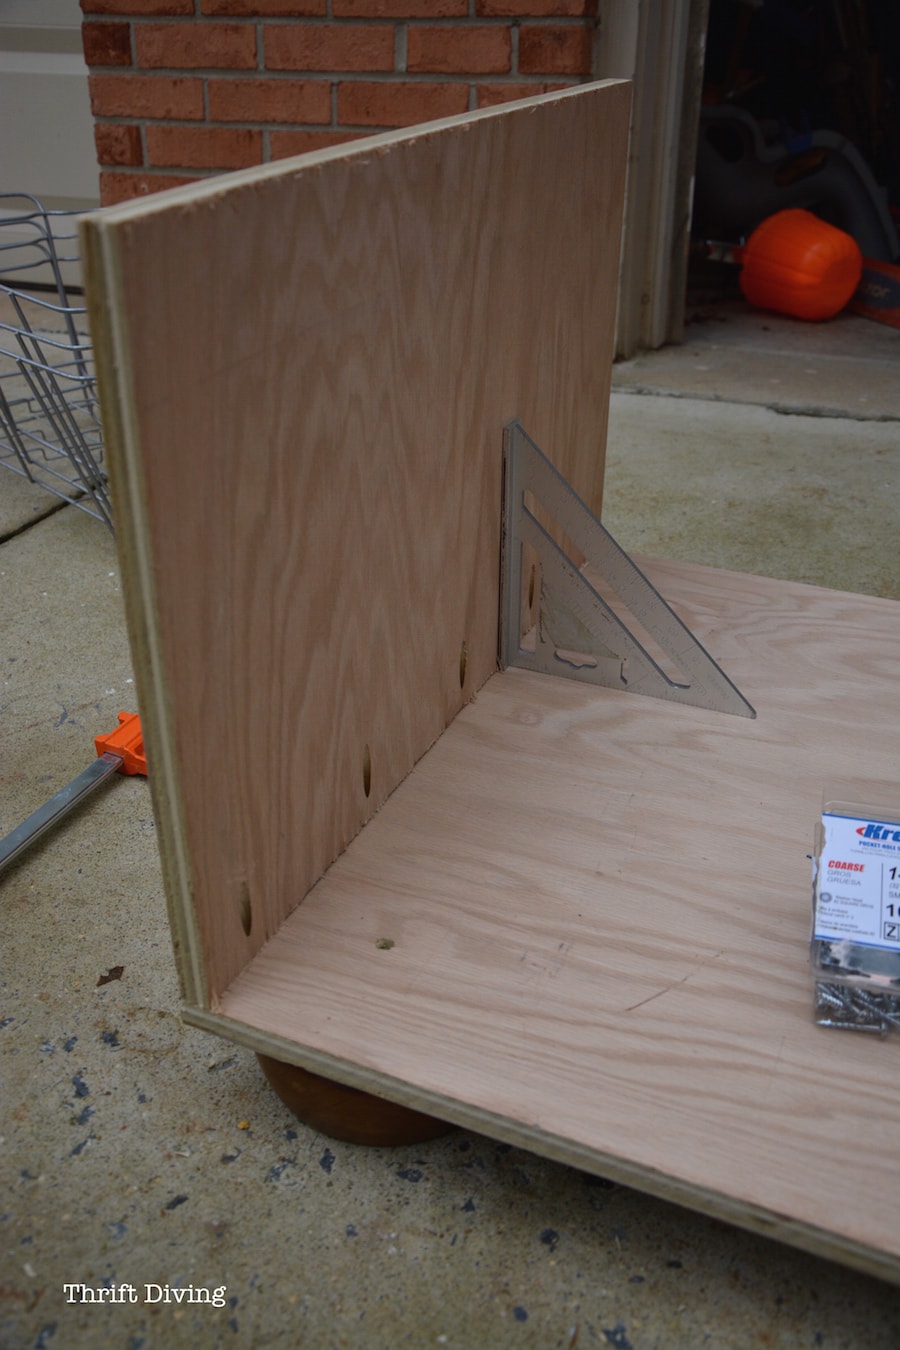
Just a little tip: it’s easy to make the sides lopsided. One of mine actually did turn out lopsided! HA! But if you use an empire square, you’re less likely to screw this up and get the sides as close to 90 degrees as possible.
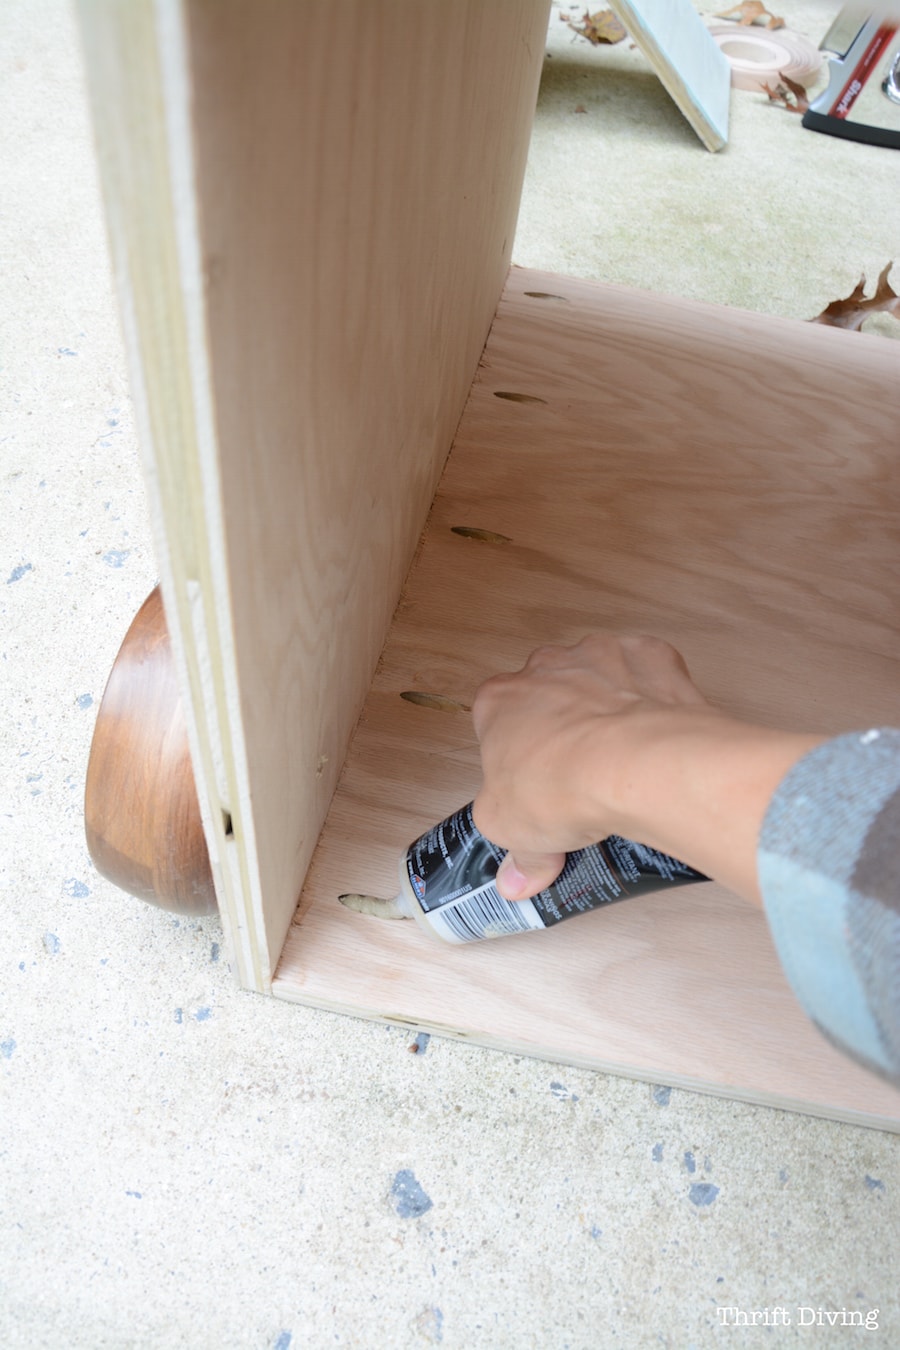
STEP 5: Topping It Off
Now it’s time to add the top panel.
I didn’t have a good idea how I was going to get the top on, so I just decided that wood glue on the ends and inside pieces would work, then placed the top on, and nailed it down with my brad nailer with 2″ nails, but you could use a regular hammer and nails, too.
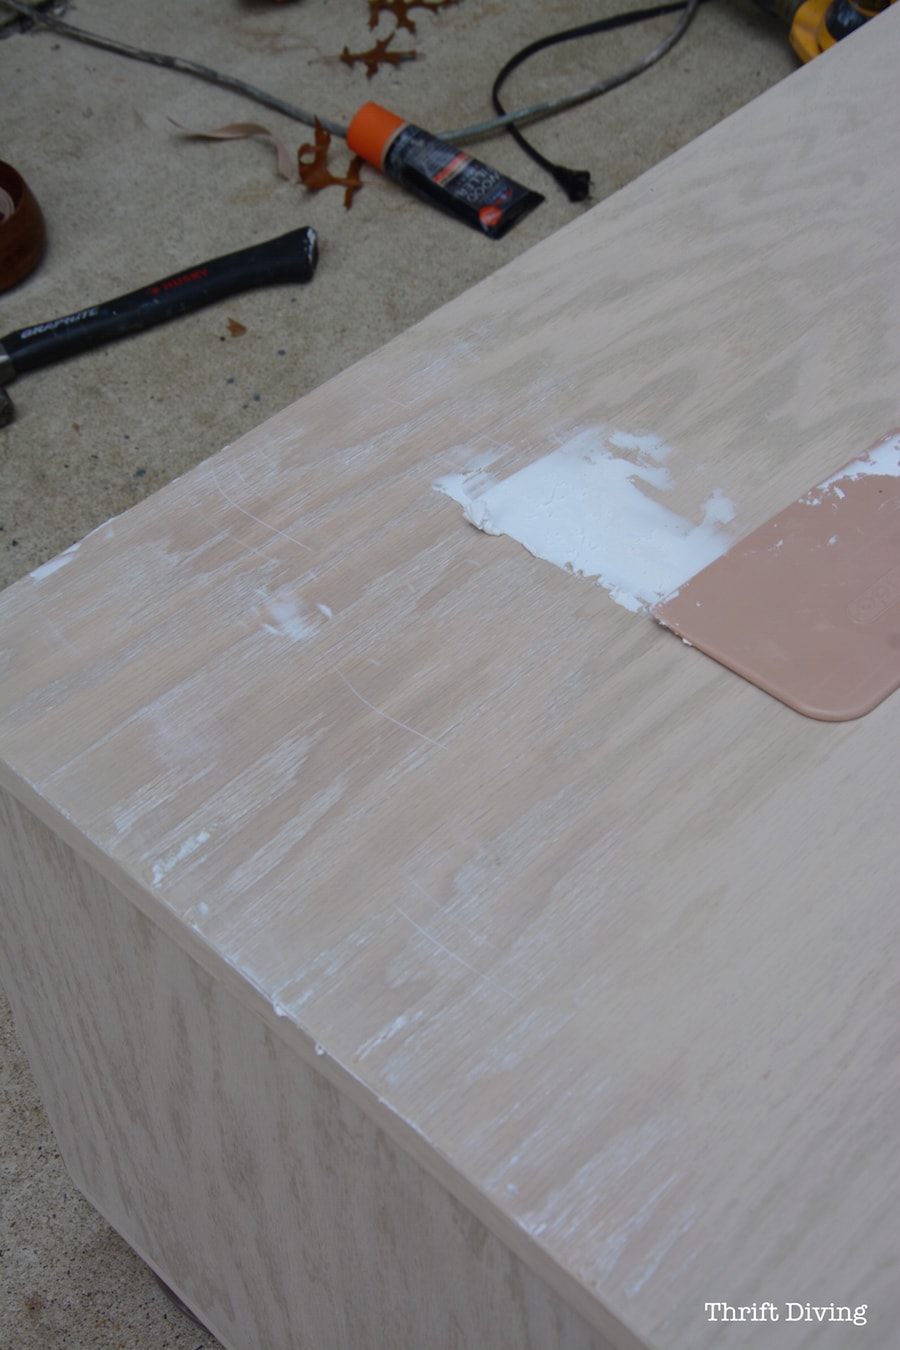
STEP 6: Time For Hole Filling!
I made pocket holes (I use a Kreg Jig to make easy pocket holes with a simple drill) so I can’t leave these exposed. Even if you use small nails or a nailer, you’ve got to hide the holes.
Elmer’s wood filler has always been my go-to for filling holes. It dries pretty quickly, and just sands smooth.
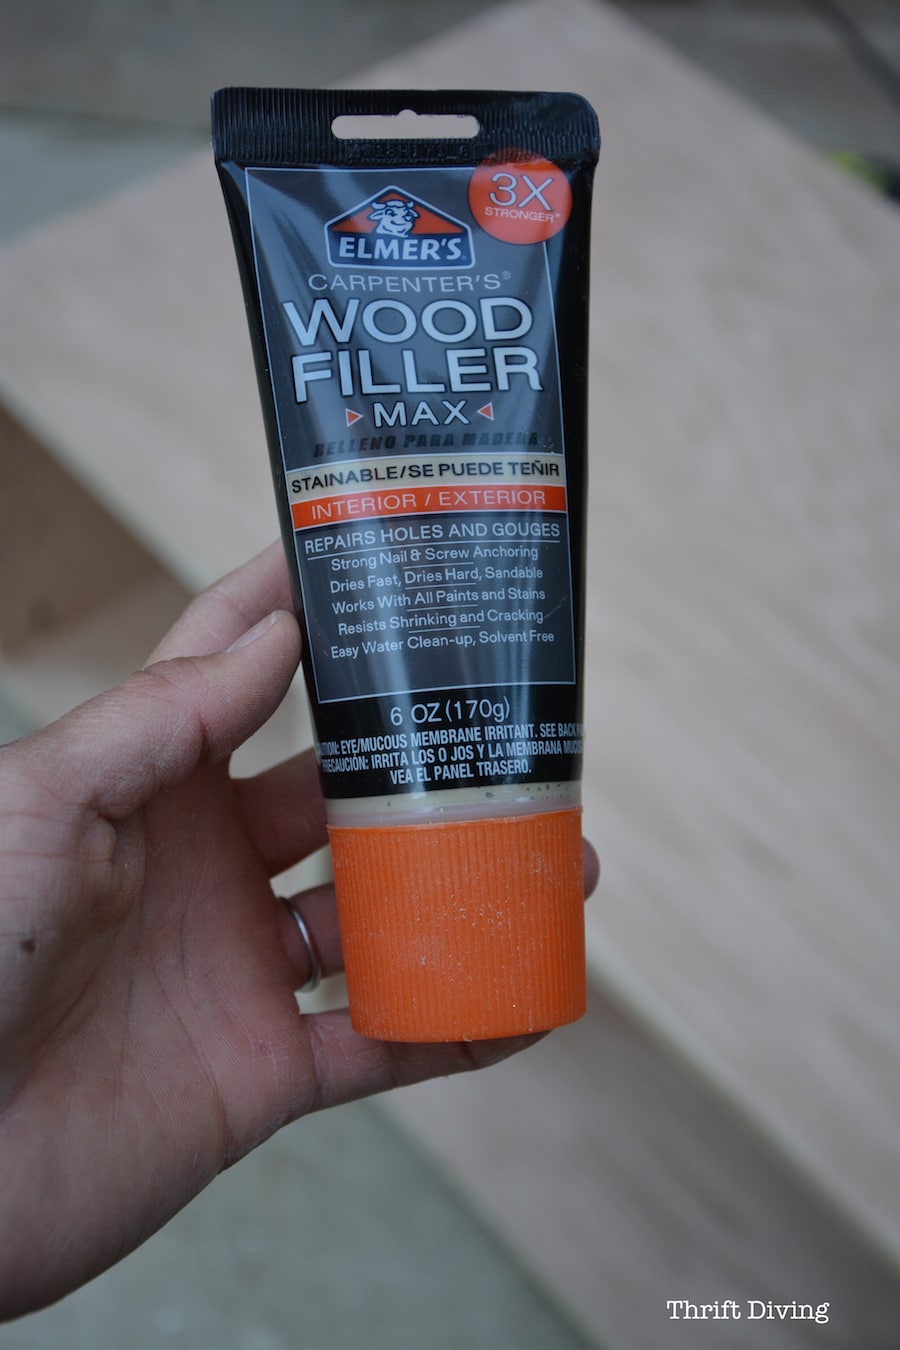
I filled each of the pocket holes and let it dry for a while before sanding.
STEP 7: Finishing Off the Edges
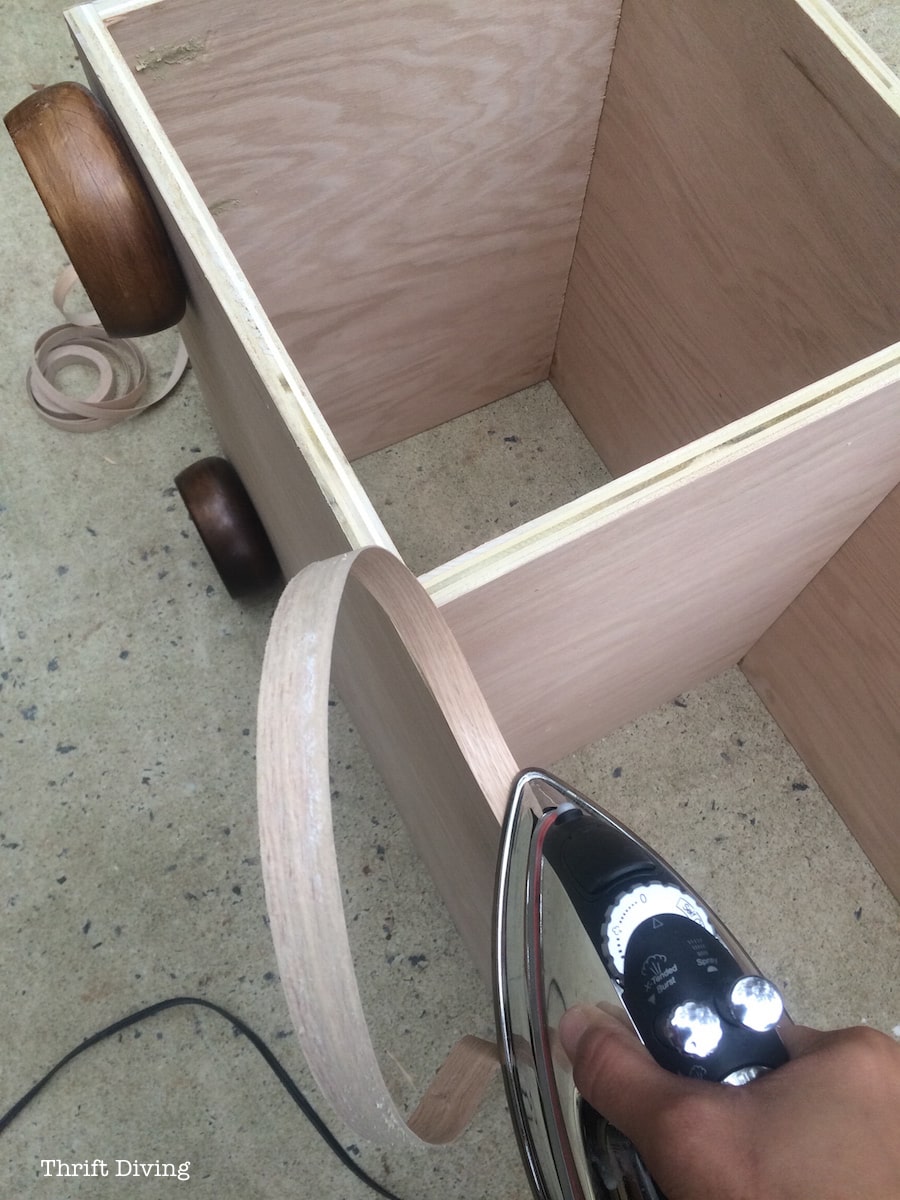
This stuff is the most magical invention for making a piece feel finished! It’s a roll of wood veneer that you iron onto the edge of your project to finish off the raw edges of your cut wood. Yes, iron. I looked hysterical ironing my project in my driveway. HA! And don’t think I didn’t burn myself at least twice!!
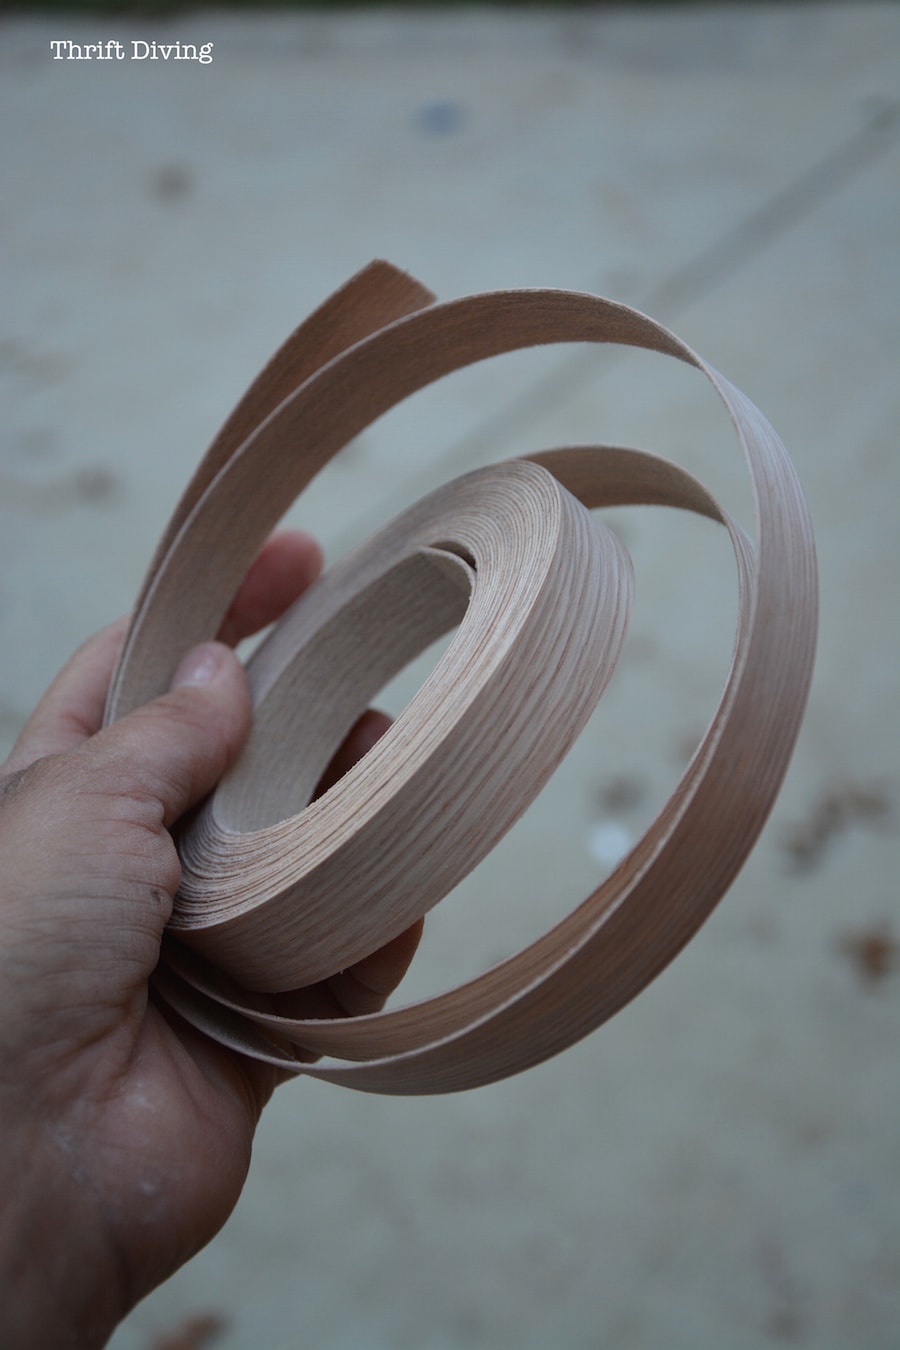
It’s 3/4″ wide, which was perfect for my 3/4″ thick oak plywood. Use a razor to shave off any overhang, though (I have a video tutorial coming for this later!).
(In this pic, you see that I’ve got the bowls on the bottom, but I later took them off to paint them. Save that step for last!)
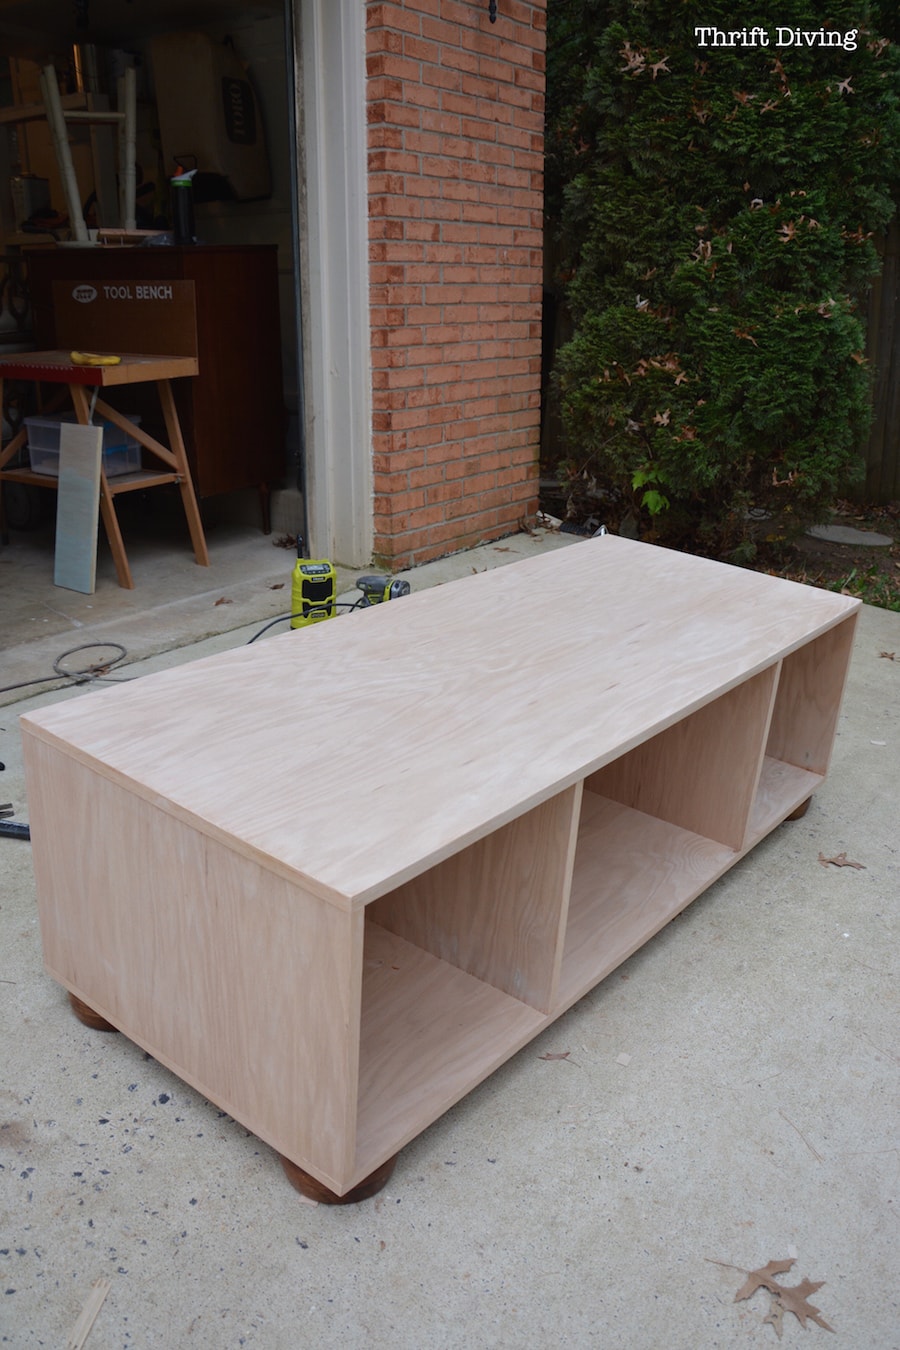
When the top was on and all the veneer edging was done, it looks like this!
Now it was ready for paint!
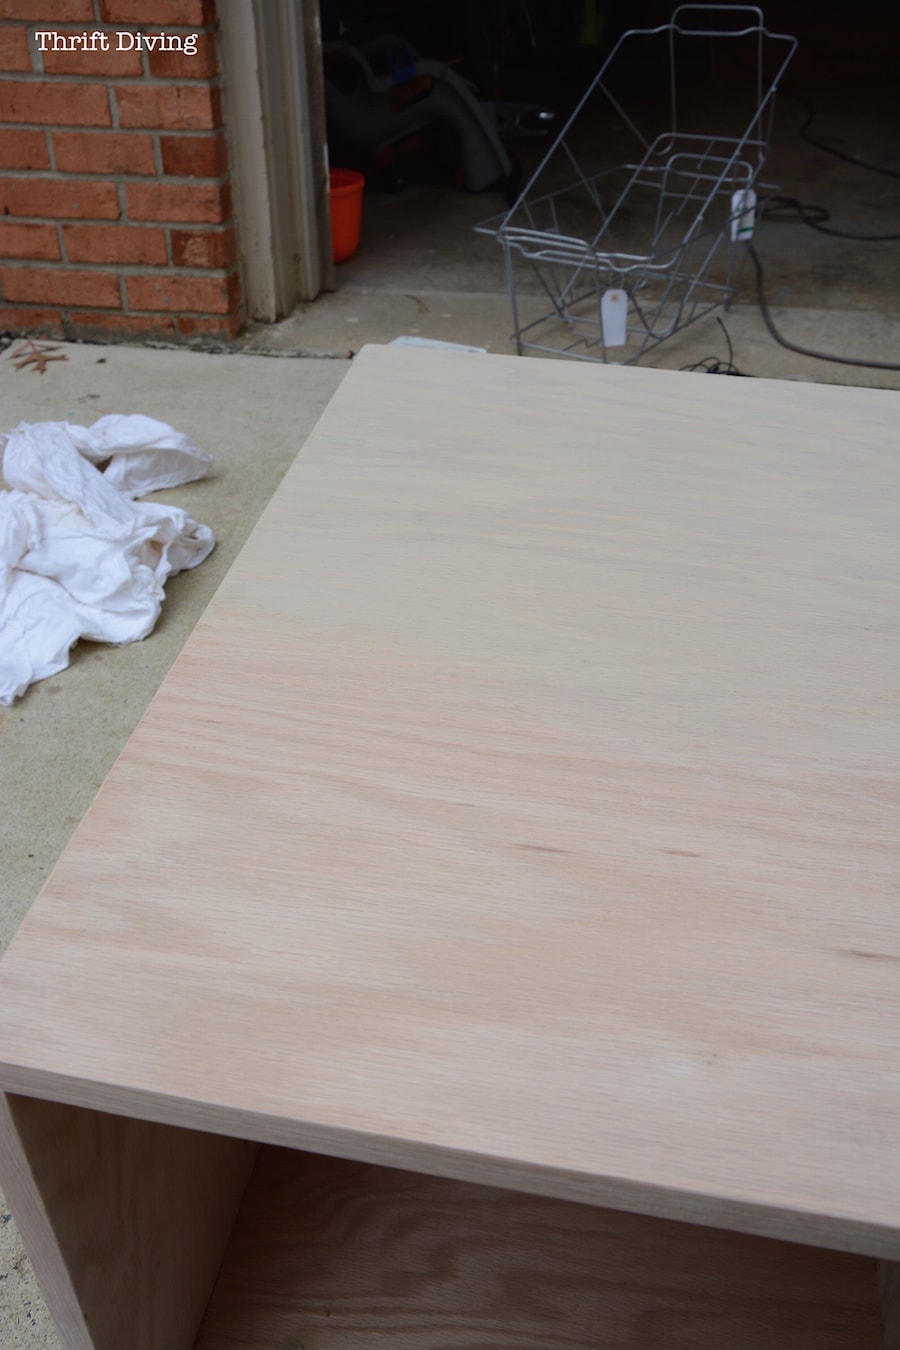
STEP 8: Give It a Good Wash and Wax
Remember I said in my recent posts about whether painted furniture is dead or not?
Well, it’s not.
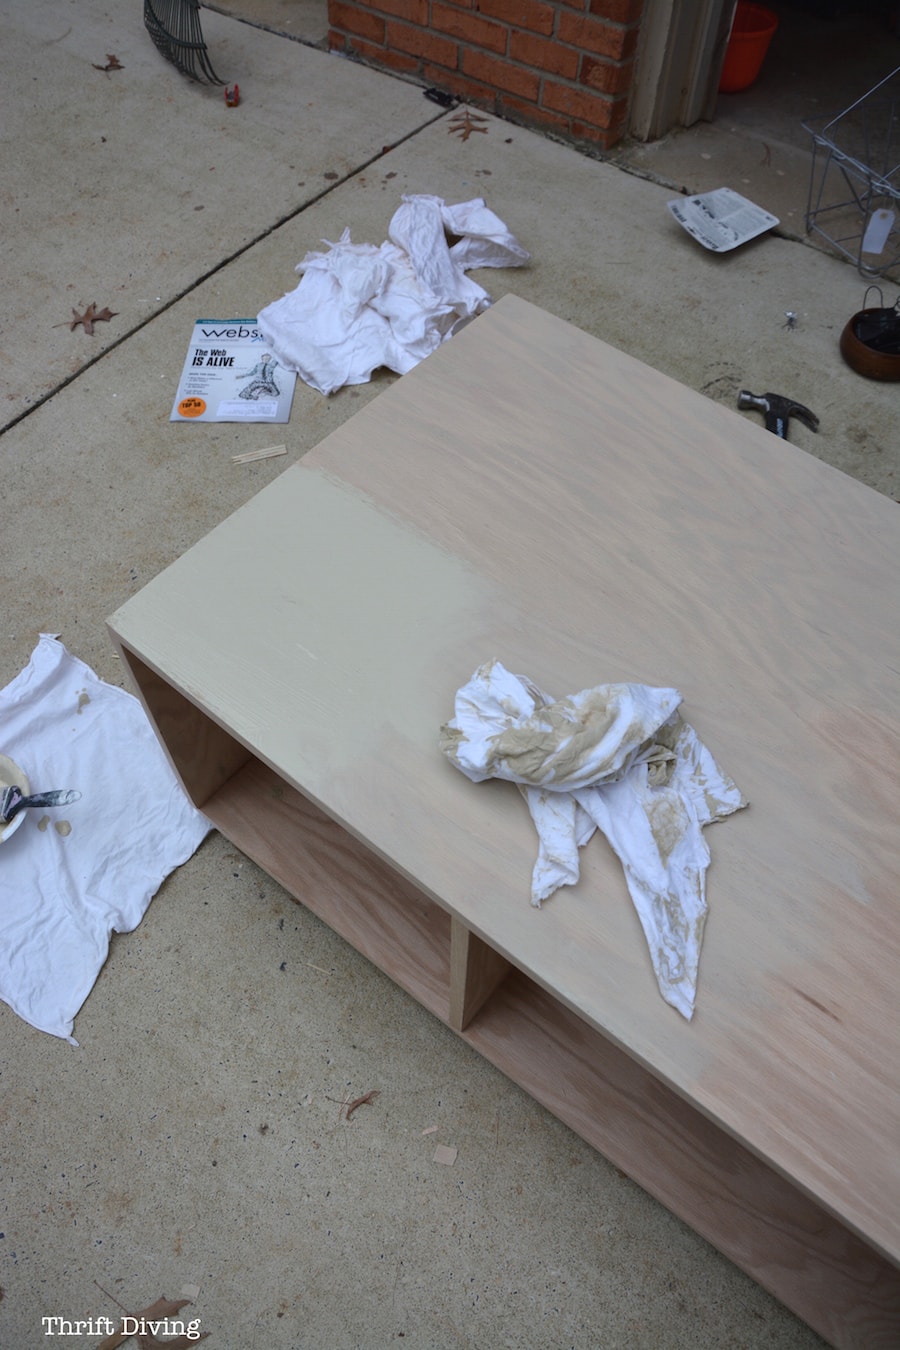
But I do love seeing the grain of wood. So I decided to give this piece a wash of chalk paint (I used Annie Sloan Country Grey) mixed with some water, then brushed it on, and wiped it off quickly. What’s amazing is that it still looks totally natural, but it’s still painted and has a different tone. :).
You can see the difference here.
It’s like wearing makeup when no one is thinking you’re wearing any!! ;).
Then I used liming wax dragging it perpendicular to the grain of the oak, pushing the white wax into the grain, and allowing it to settle into the grain so it would make that grain “POP” more. Goodness–my back and arms ached later that night, as if I had done 100 push-ups! Who said DIYing isn’t a workout?!
See the difference the liming wax made??
That white wax brings out the texture! LOVE that stuff!
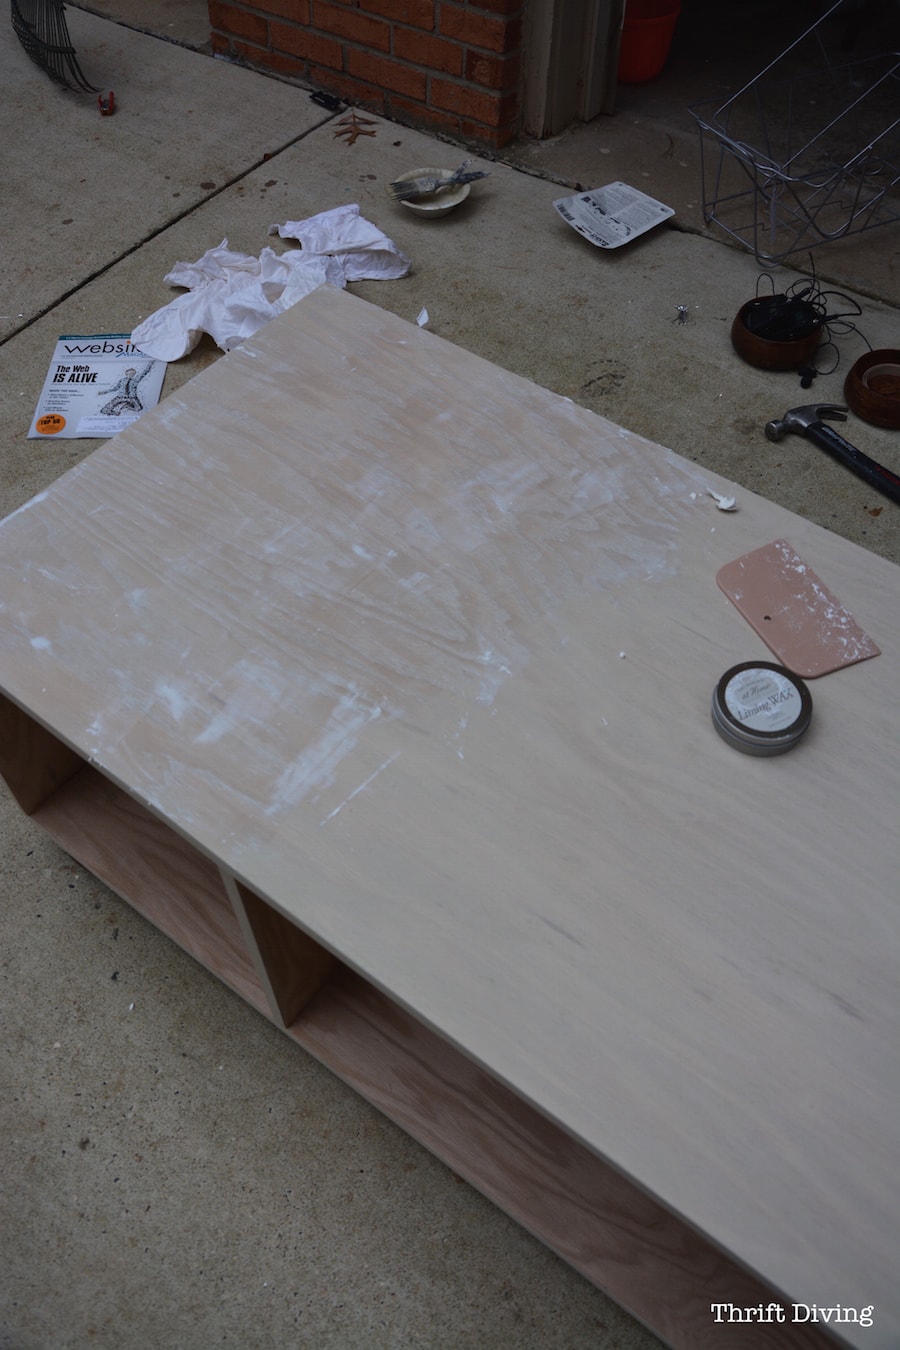
I wiped off the excess, allowed it to dry for a few minutes, and tried to buff it to a shine. It still looks a little spotty in some places, but I”ll figure it out!
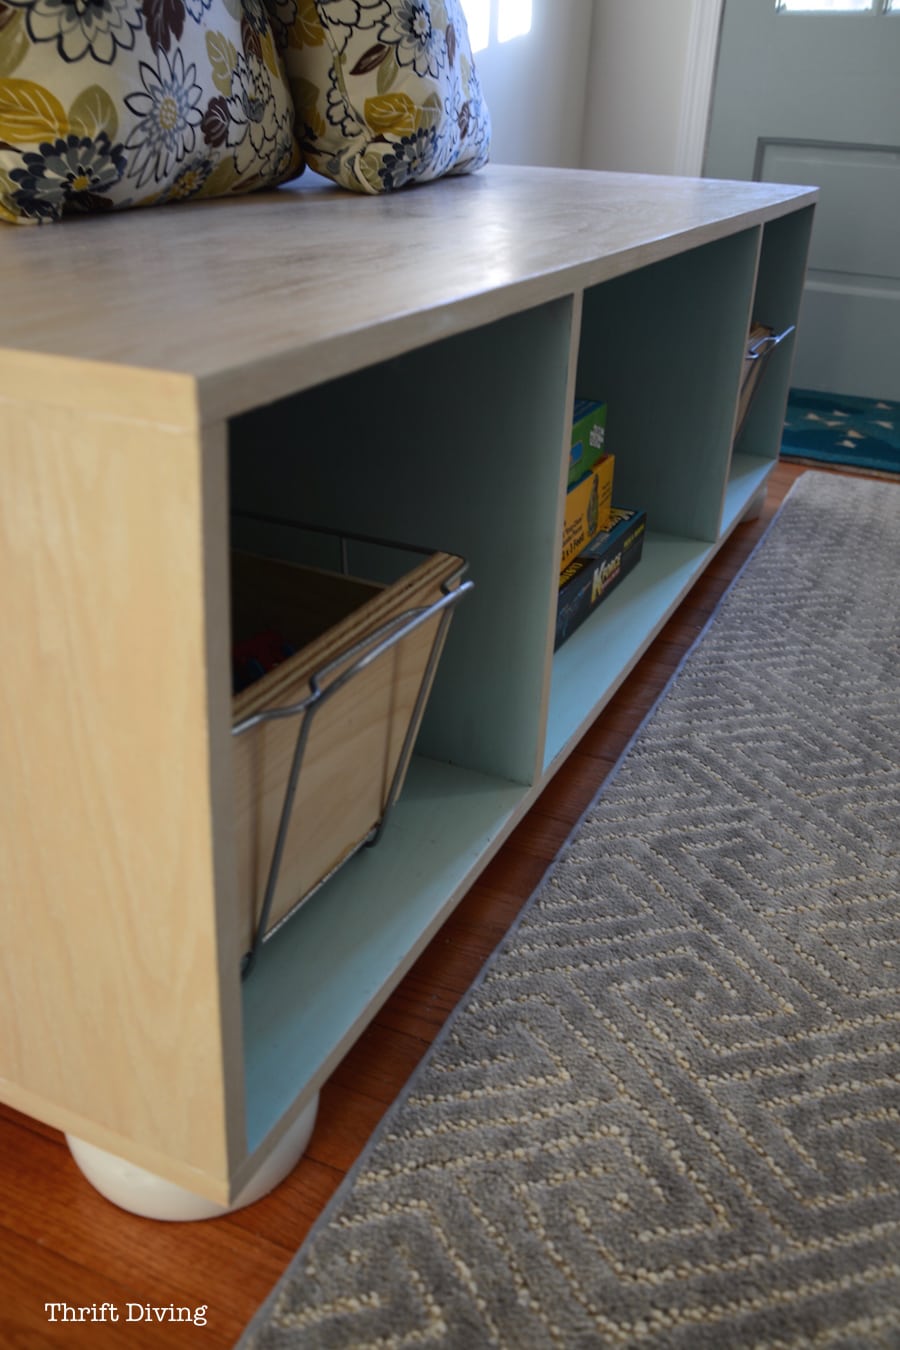
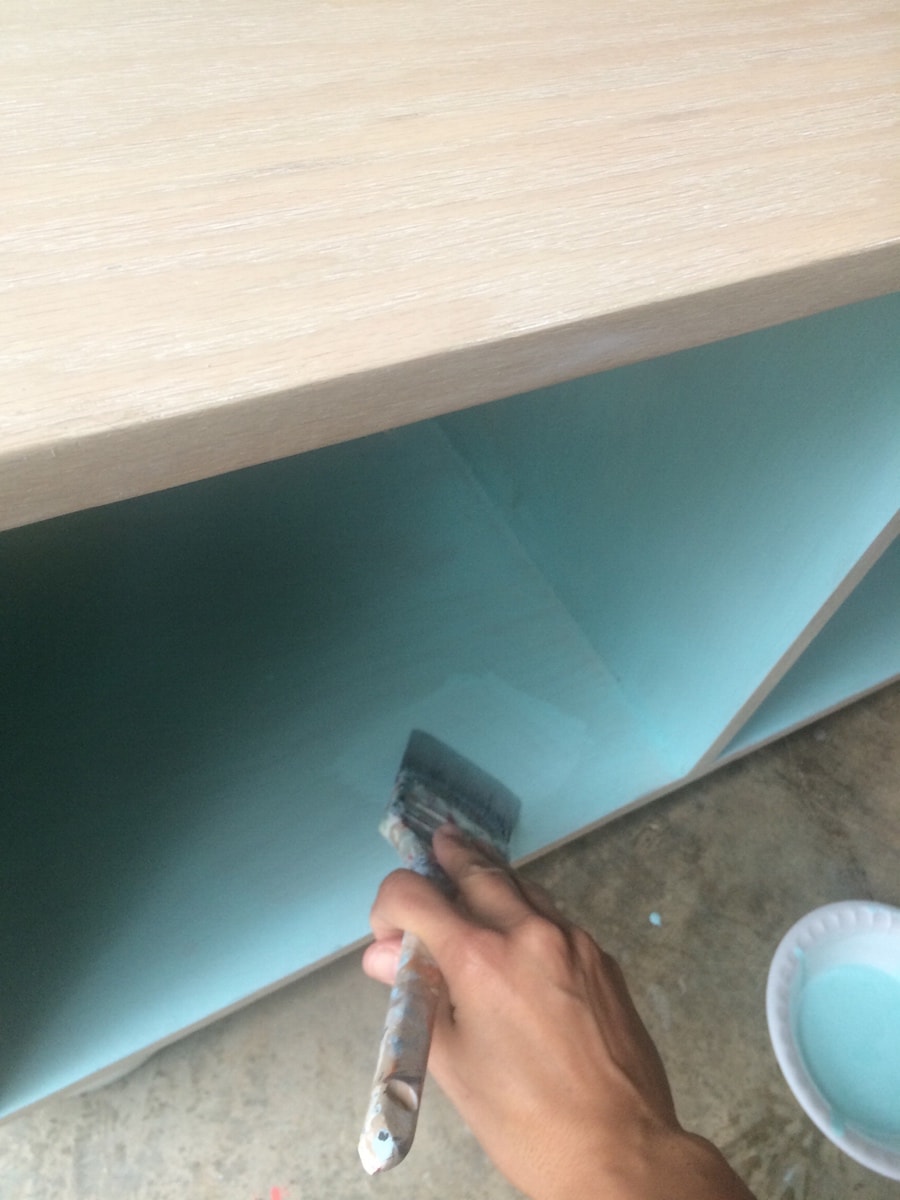
STEP 9: Go With An Inside “POP” of Color
I absolutely love turquoise, so I chose that for the inside! I did two coats of a light wash of Amy Howard Tick Tock.
Be sure to lightly sand and use regular clear wax.
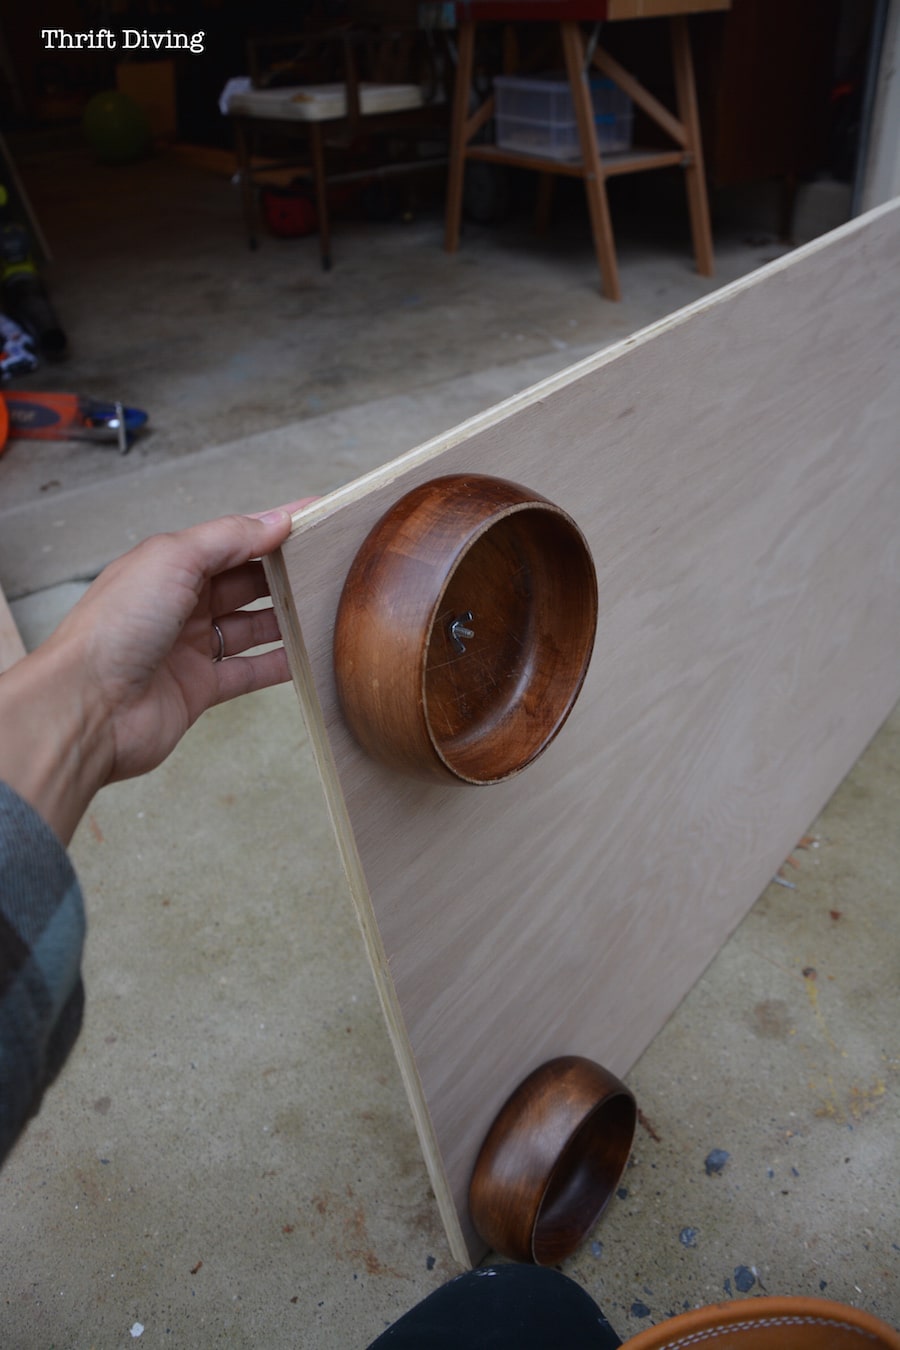
STEP 10: Let’s Talk Bun Feet
These wooden bowls from the thrift store are perfect for faux bun feet!
Just drill a hole in the middle…

…then drill a hole in the base of your bench and add them to the bottom with screws and wing nuts!
Whoever turns furniture over to know?? Nobody does (unless you’re selling it). For now, it will be our little secret…. LOL.
I did prime and spray them with glossy spray paint after I test-fit them on the bottom.
I was even too lazy to remove the stickers. LOL
STEP 11: The Baskets!!!
Okay, so this tutorial is already 1326 words….Did you even make it this far? 🙂 I hope so!
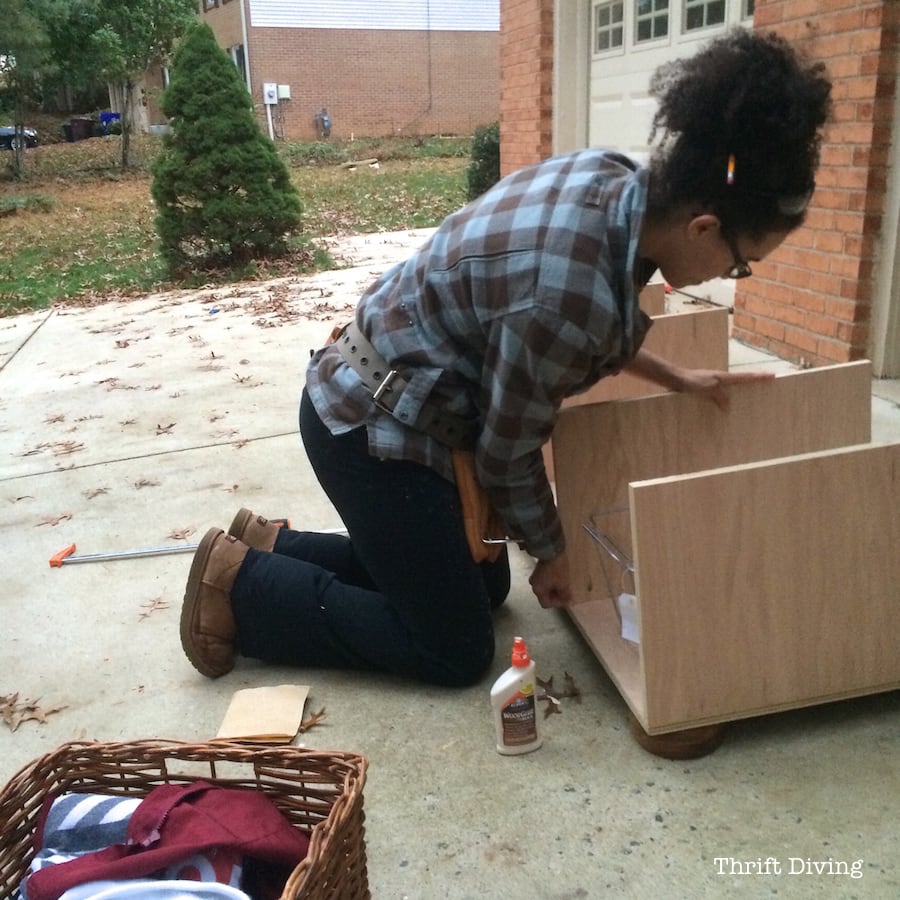
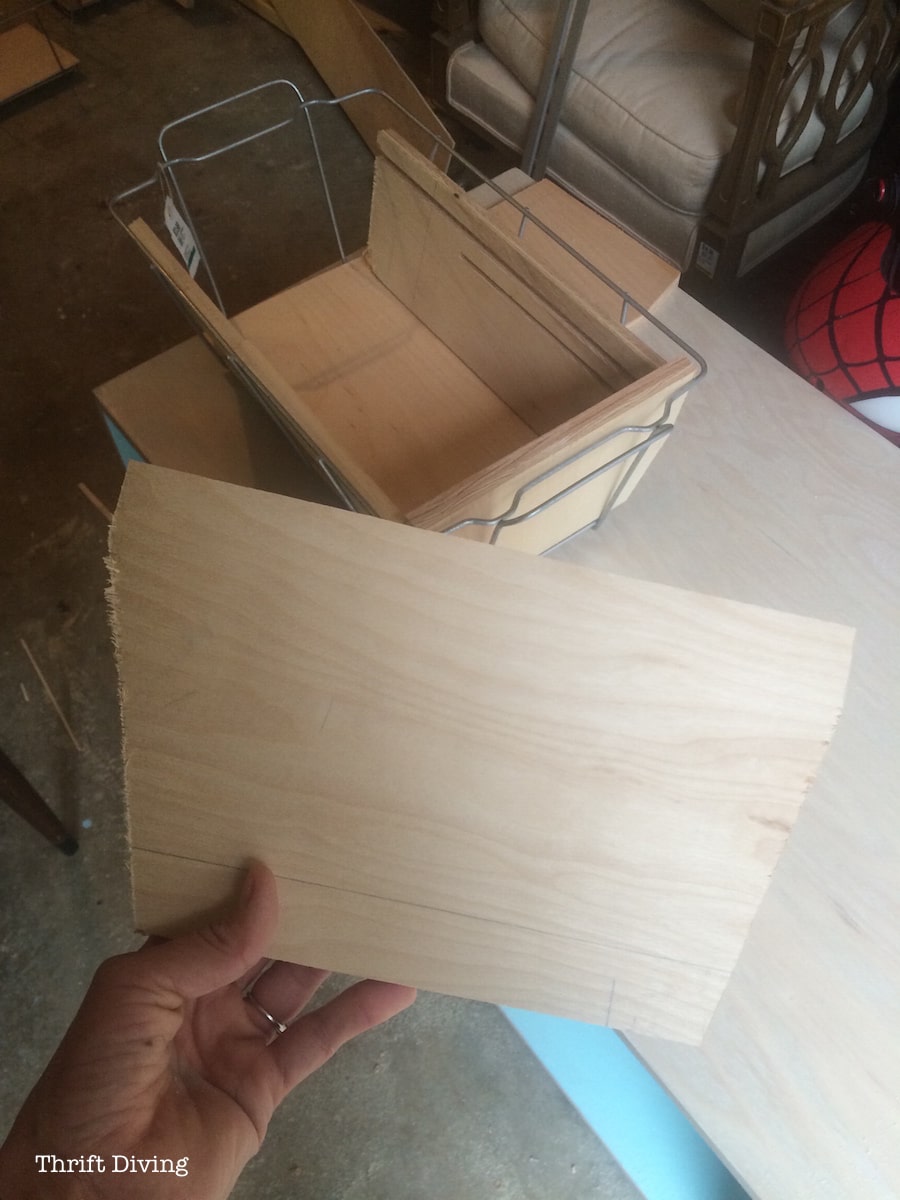
If you’ve got some cheap baskets, use those. Or if you can DIY your own baskets like I did, glue and nail pieces of scrap wood together like I did from my garage, and line the old buffet warmers.
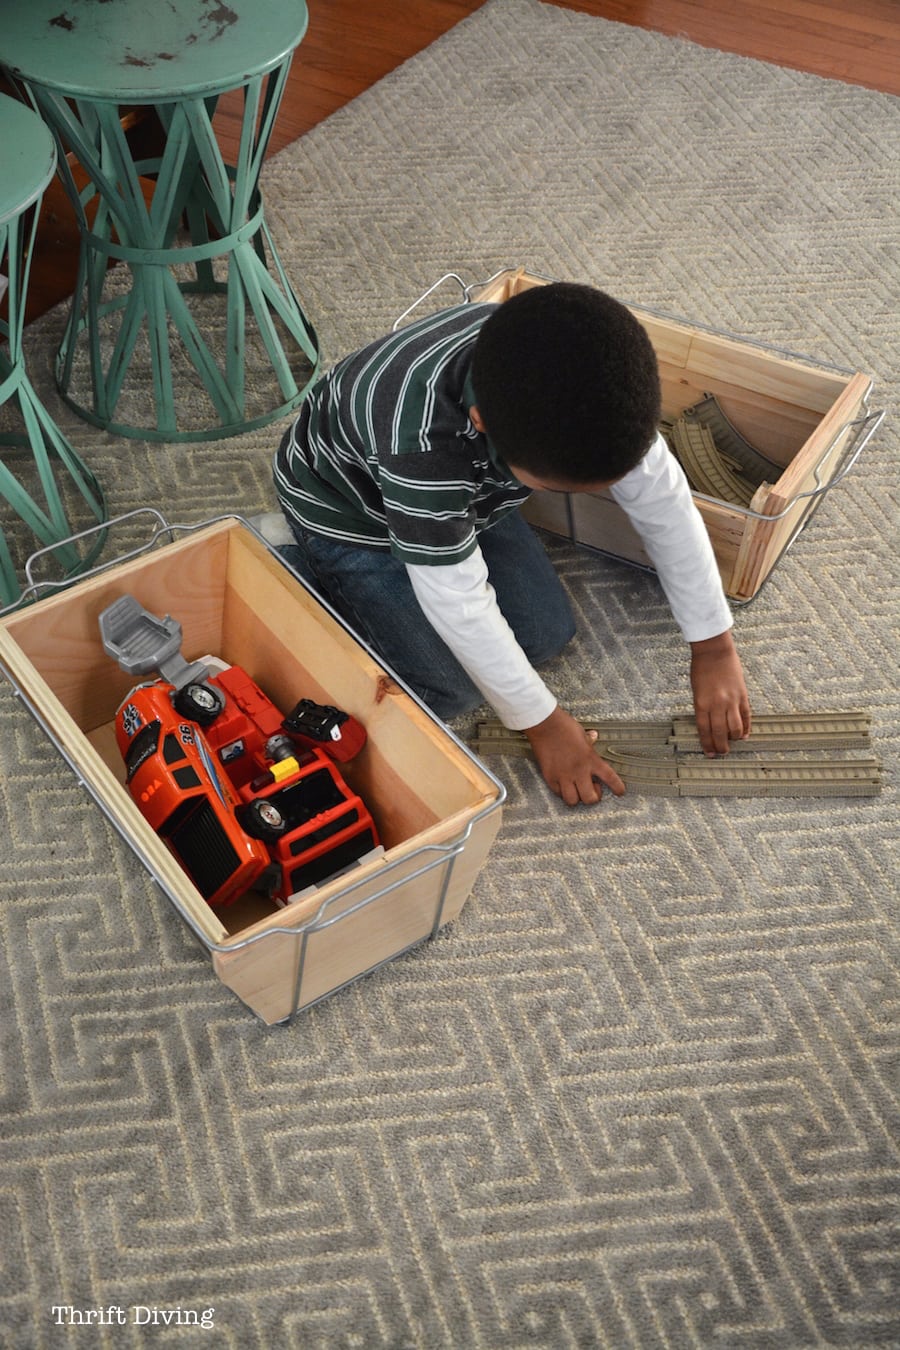
The only thing left to do is to get some soft pads to stick to the bottom of the warmer baskets so they don’t scratch the paint inside.
But Kojo thought they were pretty cool! They’re perfect for storing some of his toys!
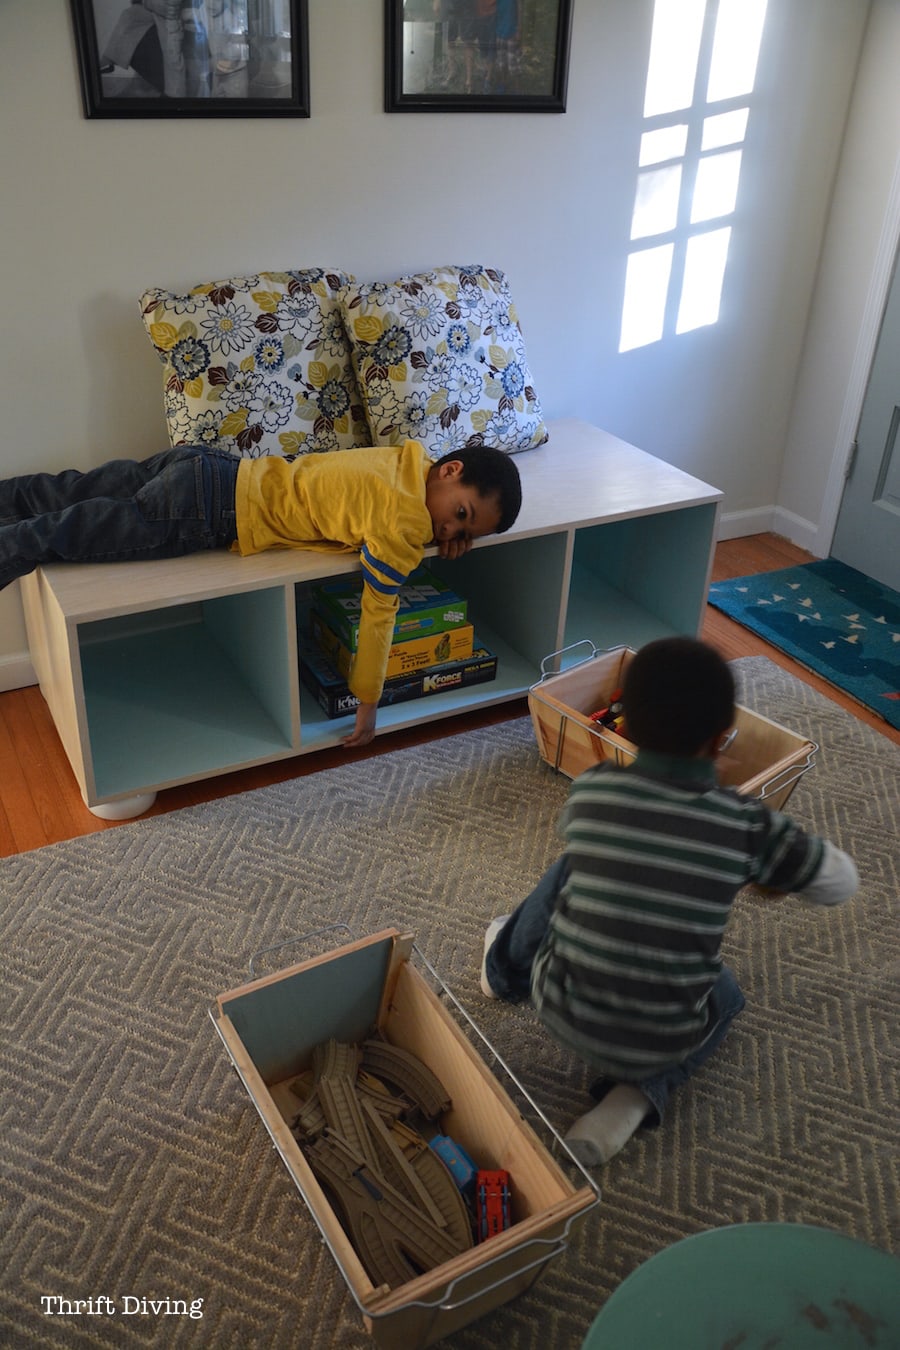
Let’s take one more look:
BEFORE
AFTER!
So what do you think?!?
I know it seems very basic, but you’d be amazed how many steps are involved in the most simple projects!!
And no one would ever know that my new bench storage has thrifted bowls for feet! HAHAHAH!!!!!!
Sign Up for Elmer’s DIY Community
If you want more projects like this, and more, sign up for Elmers’ newsletter for inspiration!

Download the 5 freebies!

Thrift Diving inspires women to decorate, improve, and maintain their home themselves...using paint, power tools, and thrift stores! Use these 5 printables, checklists, and ebooks to get started!

Oh…PS On another note, furniture feet tend to get dinged about a bit…. so if already a bit distressed, it doesn’t show up as much as it would on glossy white.
Great point!!
First of all, you are my hero!! …er, heroine?! is that better? :o) I have seen wood bowls before but never thought of using them for bun feet (which I love). Great thinking outside the box! Love your ingenuity as always. You build sturdy which is great since you have 3 boys. Or maybe you you build sturdy because you have 3 boys! Just smashing on this project, Girl!! I have an afterthought for you. I kept looking at the stages of production shots and thinking how it would look if you had painted the bun feet with a similar paint and then distressed them a bit to tie in with the other furniture in the room. They just seem to stand out a bit in that glossy white compared to the rest of the piece. I have never ventured into the suggestion comments on changing anything before because I understand the total busy, crazy household of 3 boys( dare I say, 4 including hubby, at times?) ….everyone else I know does. Plus a blog and DIY ventures! You are wonder woman. Anyway, if you feel so inclined, and you can play with the look online a bit, see what you think of a not so glossy finish. allowing a bit of wood to show on the bun feet so they still look great but look like the rest of the family furniture that has darker tones. Or not. Your house, your project. Just something that kept whispering to me when I saw the pics.
Hey, Debbie!! Great suggestion! You might see in the pictures that I had put the feet on first because I actually thought I was going to leave them as-is with the wood, and it wasn’t until the last minute that I decided to remove them and spray them. You’re right, they’re a bit glossy, especially when the rest of the piece has their natural wood peeping through. Great catch! I’ll keep that in mind if I ever get around to changing them! I could even totally remove them and add new ones. They’s so cheap and the thrift store forever has them in “stock”! LOL. Oh, plus I have 2 more still in storage! 🙂 Thanks for the compliments!!!
I am tinkering with the idea of renewing and ancient bookcase that my dear father-in-law (May He R.I.P.) had handmade into a storage bench. i will let you know if I can ever get to it and get it done. I am lucky in one aspect though, my nephew-in-law is an engineer and his wife’s father is a woodworker but I don’t know if I can snag them to do it for me.
—
The only tools I own are just an Orbital Sander and a hammer. And a whole lotta dreams so wish me luck!
Karen, offer to do something in exchange for them–I bet they would help! Could them a fabulous dinner! 🙂 LOL. And if you had one tool to get to add to your collection, get a jigsaw!!! They’re really easy to use and while they’re not great for accurate cuts for thick wood, you can still get by using one. Then I would recommend a circular saw. You can make a lot of great cuts with that!!
Serena, you have done it again! Looks wonderful, great job! I am especially impressed with your littlle willing helpers!! They are adorable!
Hi, Debra! Oh, you should have seen them in the garage one of the days I was working on this! Kojo had wood glue in his hair and Ohene was gluing scrap wood together making a wooden gun. LOL
LOL. I always enjoy seeing your children pitching in. Making memories! (messy ones but wonderful memories with their momma). When they are grown I bet there won’t be anything they won’t tackle. 🙂 My husband and I have 2 daughters and 8 sons, ages 14 to 39, most of them raised on the farm, and it is wonderful when you let them explore and learn. try and sometimes fail, learn to build a better birdhouse and trust themselves to get a job done. Nothing build confidence better than doing something and succeeding. My children and grands are all capable and confident and I think your little ones will be the same. With you as an example. I believe they will think outside of the box, follow their own lead and make things happen! You are building a beautiful home while building a beautiful family. Just wonderful.
OMG, 8 sons??!! You are the ultimate mother!! Add in 2 girls and wow, you’ve got a whole basketball team that could compete against each other! Amazing! Thanks for sharing!
🙂 I look forward to your posts.
Shuts a clever and thrifty idea to use the bowls. I have priced bun feel before and never made a project calling for them because of the cost. That is a great thrifty tip. The bench turned out fantastic.
Same here, Linda! Someone had mentioned on another project of mine (this project where I turned a jewelry box into craft storage) that I should have put bun feet on the bottom. It would have looked cute, but at that price….. Couldn’t do it! Here’s that project if you hadn’t seen it: https://thriftdiving.com/make-a-diy-craft-organizer-from-old-jewelry-box/
Looks great! Looks easy but I have not been brave enough to use power tools. I know I probably could do it , so i just have to work myself up to it! i always look forward to seeing what you do next!
Oh, Debbie, Debbie, Debbie! I wish I could come over to your house and hold your hand while you take your first cut! 🙂 I totally understand. Up until about last year I was deathly afraid of even touching a miter saw! But once someone showed me (physically showed me), I felt comfortable. I really want you guys (the readers) to get comfy with power tools, so I’m planning to do some content and videos to really help you guys start feeling comfortable. Once you take your first cut and you see that you’ve got all your fingers, you’re excited to do it again! 🙂
I just got out the dictionary and looked up clever, ingenious, and imaginative. They all had the same definition – “SERENA”!
You are such an inspiration.
Girl, i could not have said it any better,lol! I second that motion!
Thank you, Karen!! 🙂
Literally LOL’ed at that! HAHAHA! Thanks, Donna!! I was just glad I could pull those bowls and wire buffet warmers out of storage and put some of this “junk” to good use! 🙂 Thanks for the confidence-booster!!!
Girl! Get out of here. You could sell this. This is so cool and I haven’t seen anything like it. You could use it as a coffee table too. And maybe some pillows on top for in the bedroom at the foot of the bed. You are the bomb! I love it.
Hi, Sandy! I’m so glad you like it! It actually did start off as a coffee table for the front part of my family room, but then I decided I liked it better in the back of the room as a bench. Hubby even said the same thing: “Let’s put it in our bedroom at the foot of the bed!” LOL. I guess that means he likes it, too. I’ll have to build another one for the bedroom, maybe something a little more slim instead of 2 feet deep. Maybe 18″! I’m glad you liked it!!
serena, i just watched your friday confession from august 2014. it was amazing! you were just so honest and real. did it happen yet? the day job gone or are you still working on it? it really got to me because i sometimes feel like that also. please write back and let me know how it’s going. and btw, i watched it all the way to the end. peppi
Hey, Peppi! Yep, the day job is gone! It’s been 10 months now, if you can believe that! I lost my day-job in January. Hard to believe, and the best thing that could have happened! I plan to write all about it to update everyone on how it’s been going. There’s so much to say!!!
#1 – I had never heard of bun feet!
#2 – My brain exploded when you used wooden bowls for the bun feet!
#3 – I bow to your superior creativity!
#4 – Love the finished product!
Yes! Everything Linda said. I’ve never heard of bun feet but now I get it. Way to go using those wooden bowls. You’re brilliant.
You make it all look doable, but I know that was a lot of work. It’s pretty and practical and functional and original. You are having so much fun!
Hey, Alys! Yes, it was lots of work! I was actually going to do a post about that: the REAL amount of time it takes to do projects. All of my projects are never done in 1 day. Seriously, like 3 days!!! If not more, depending on what it is! I’m either slow, over-complicate things, or can’t find what I’m looking for to get the job done before the sun goes down and I can’t see what I’m doing or don’t have enough light to take pictures! LOL
Linda, you are awesome! Yeah, I had never used bun feet because they’re so expensive. I mean, $11 each, that’s a lot of money for a project! When I saw those bowls, the light bulb went off! 🙂 LOL Glad you loved it!!