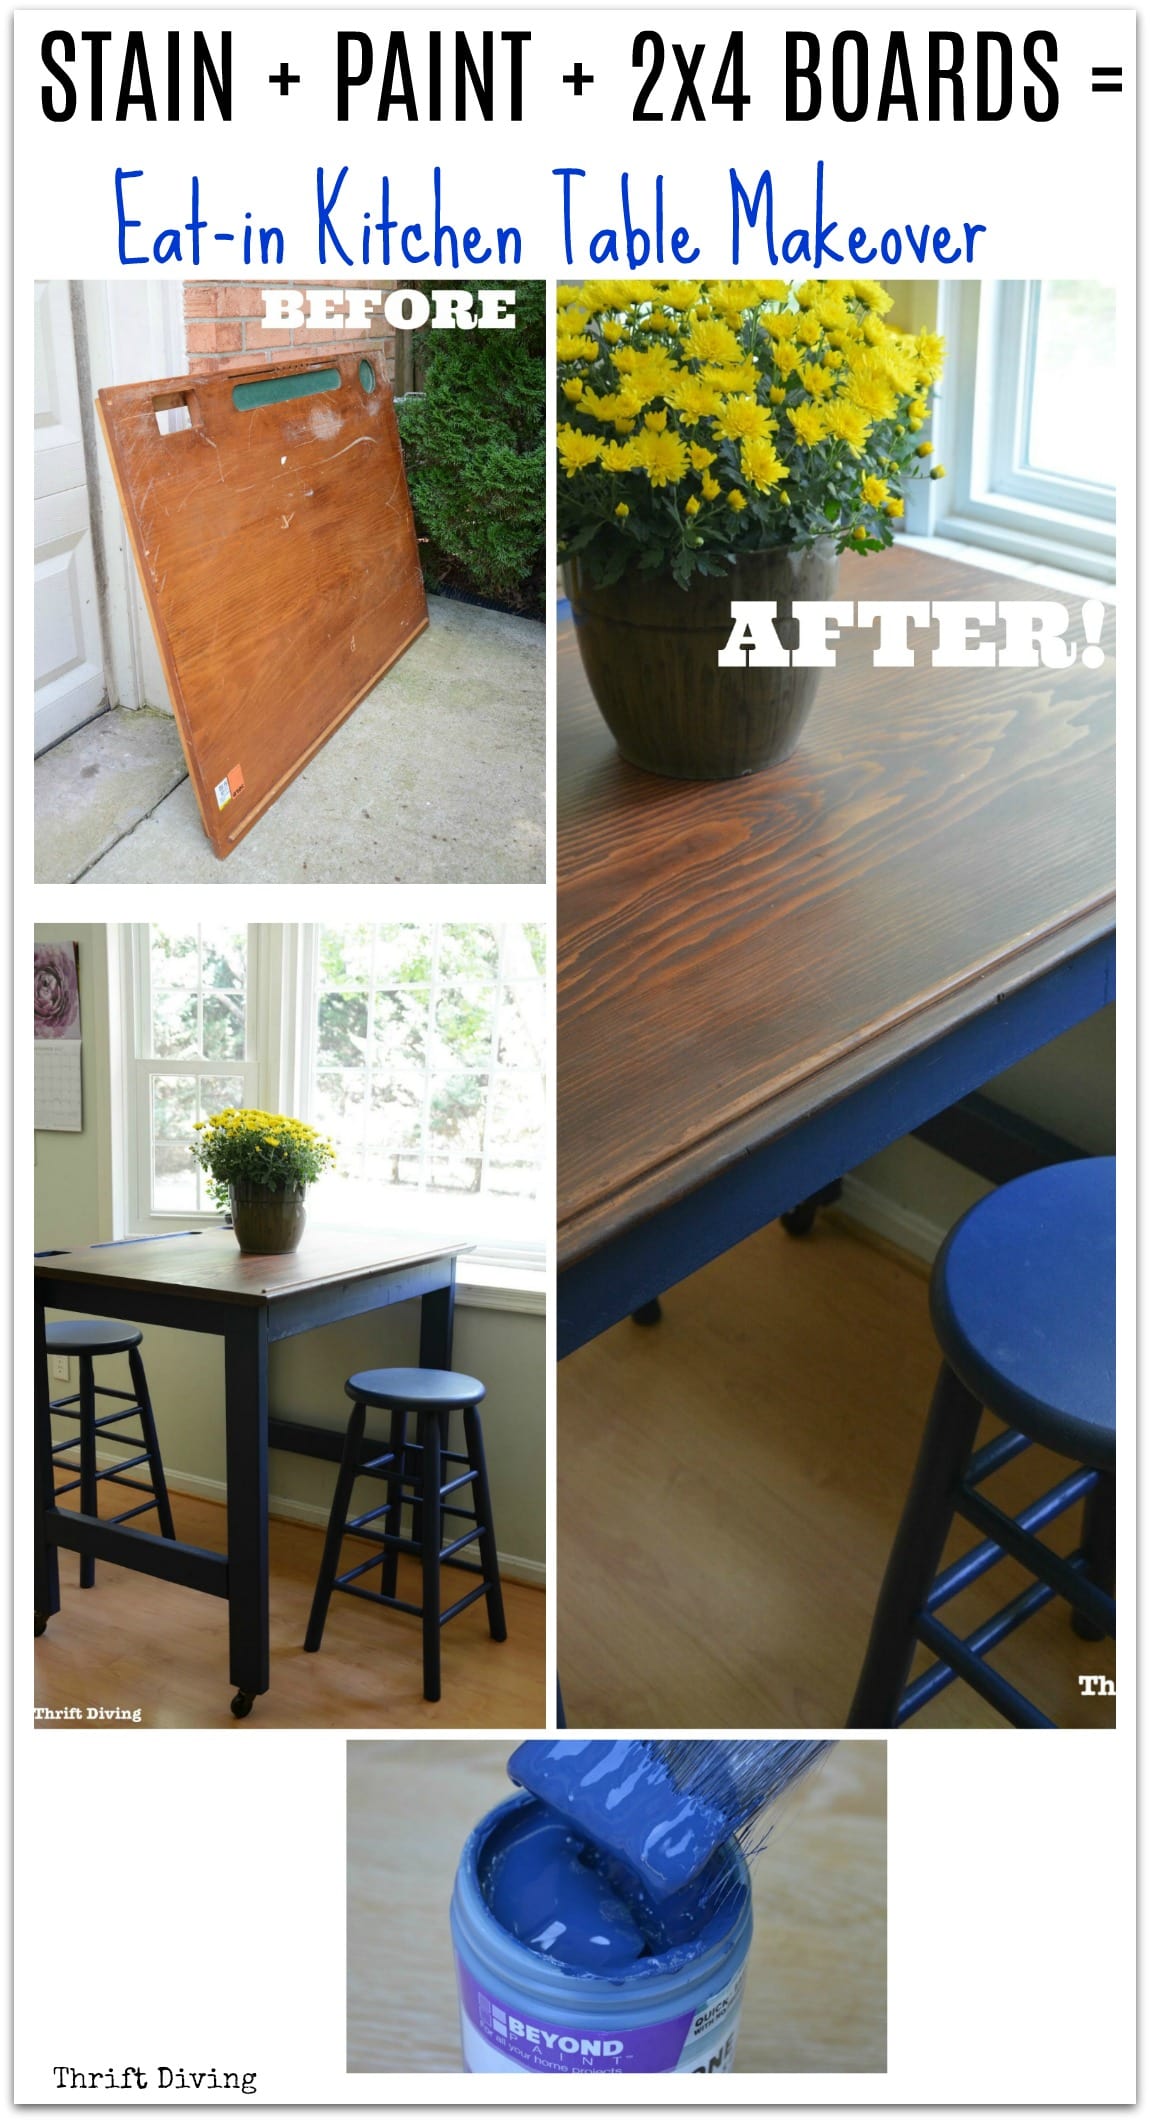
Eat-In Kitchen Table Makeover: BEFORE & AFTER
Eat-in Kitchen Table Makeover: Watch This Project in Action!
Click below to watch this eat-in kitchen table makeover using an old drafting table!
If you’ve been reading this blog for a few months, you’ll know that a few months ago I had turned an old drafting table from the thrift store into a chic, natural wood (solid oak!) workstation for my garage. I added unique caster wheels and fell in love with it!
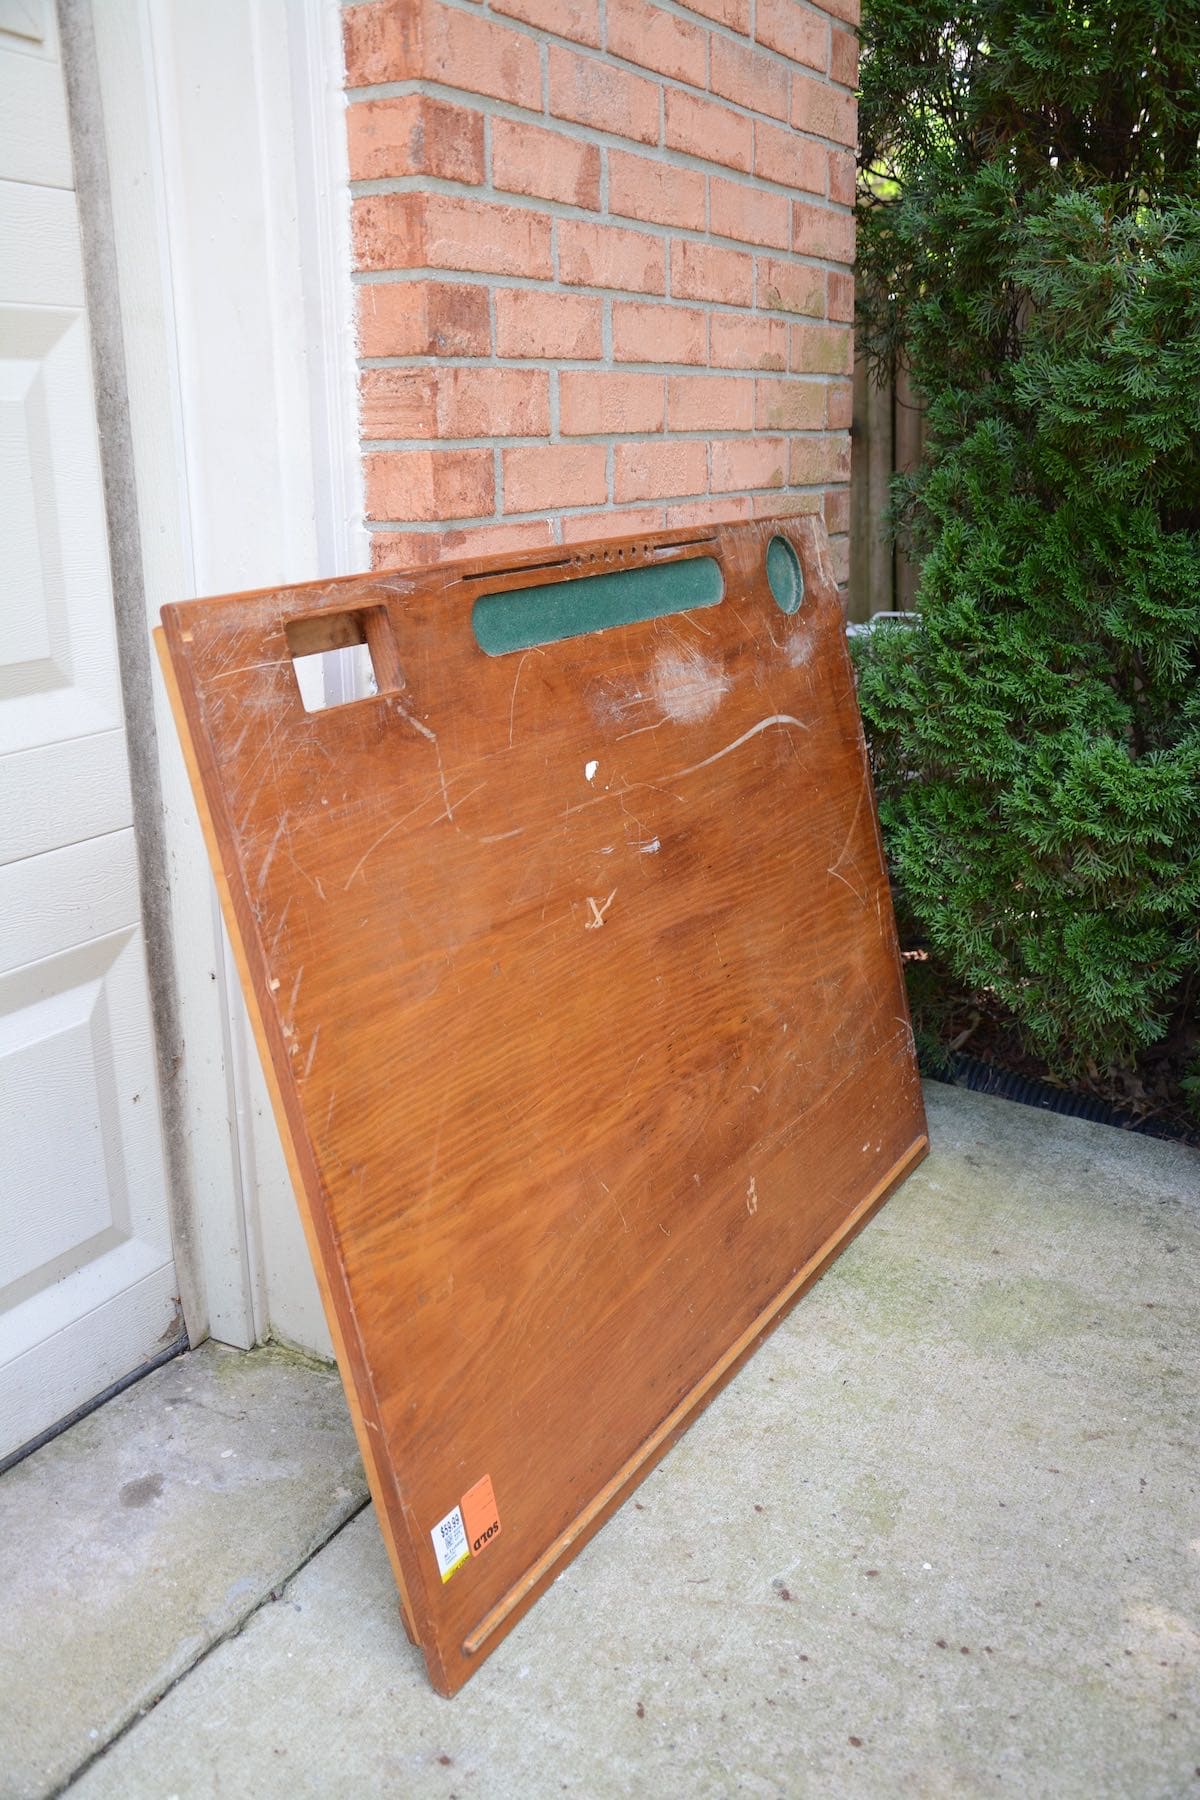
But if you’ll remember, I set aside the drafting table top.
Several of you asked if I was going to do something with it.
But of course, you guys!! 🙂 The question wasn’t if I was going to do anything with it, but rather, when.
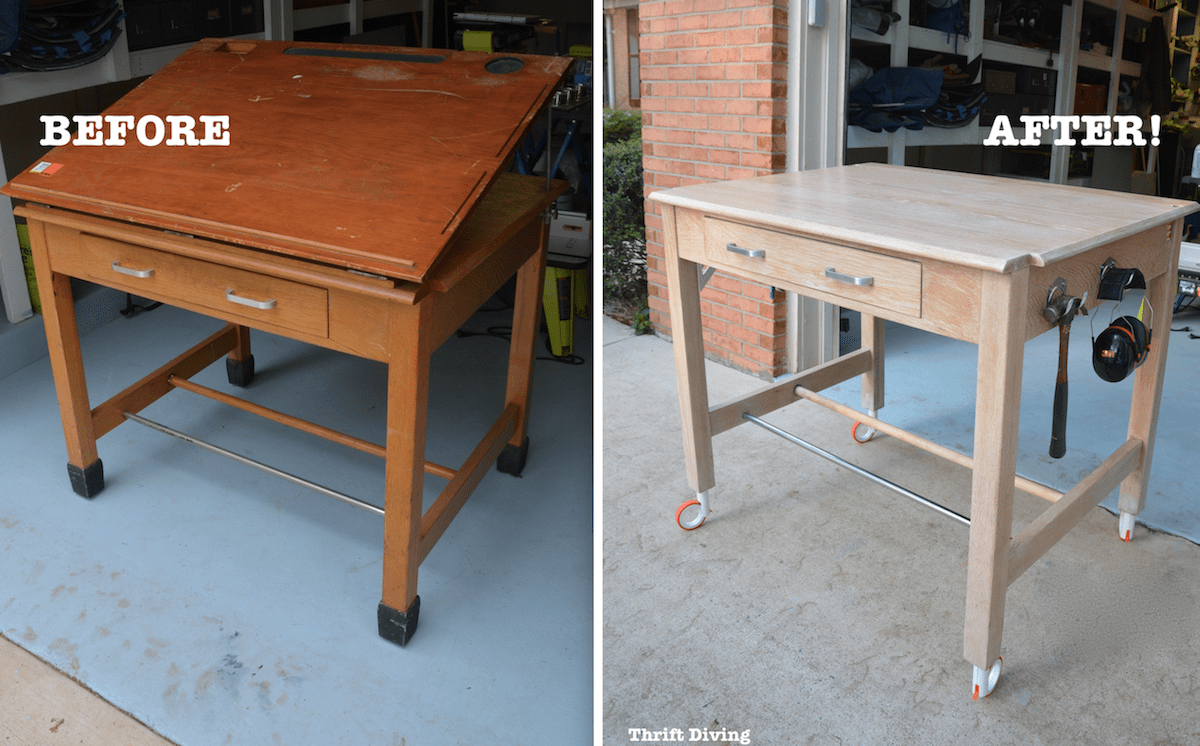
And that time was this week when I turned the old worn drafting table top into a DIY eat-in kitchen table! that looked like this:
This is what it looked like before I started the project.
BEFORE
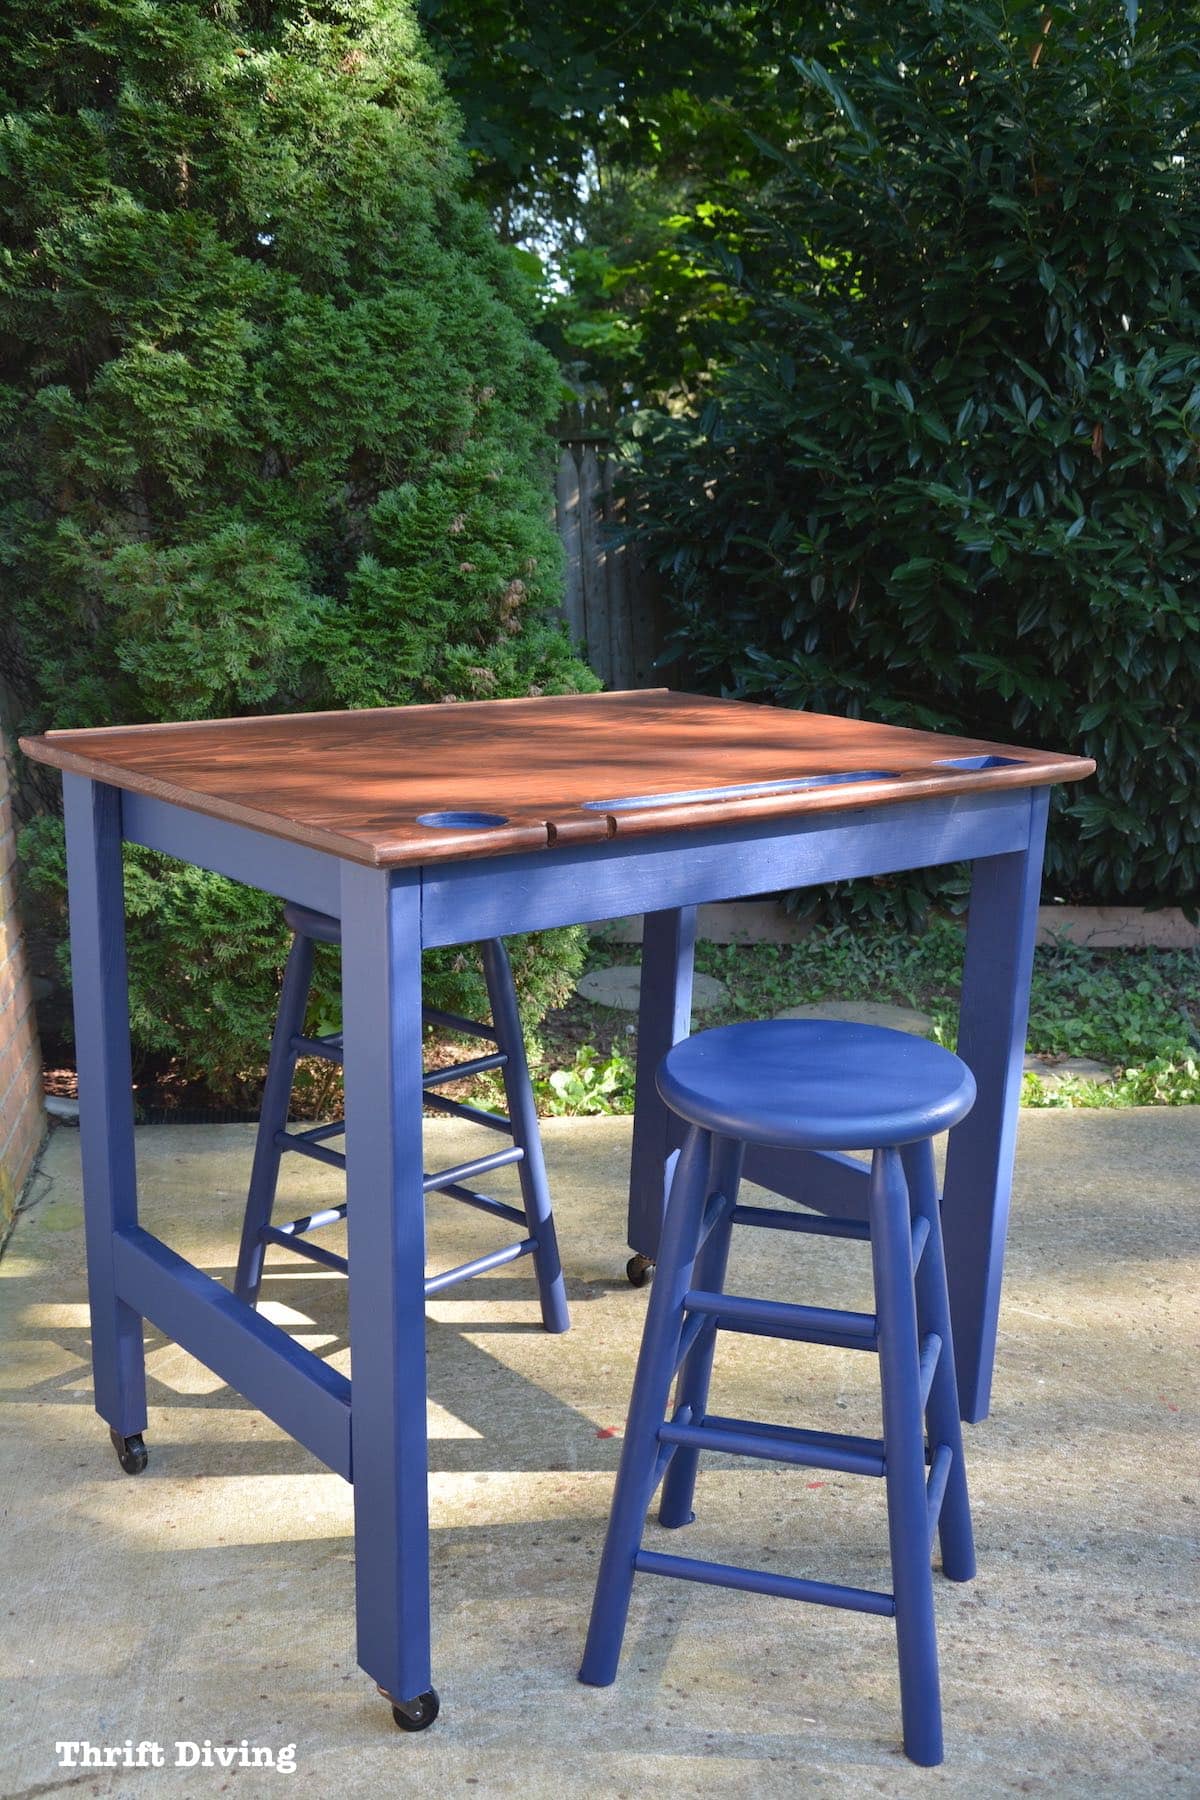
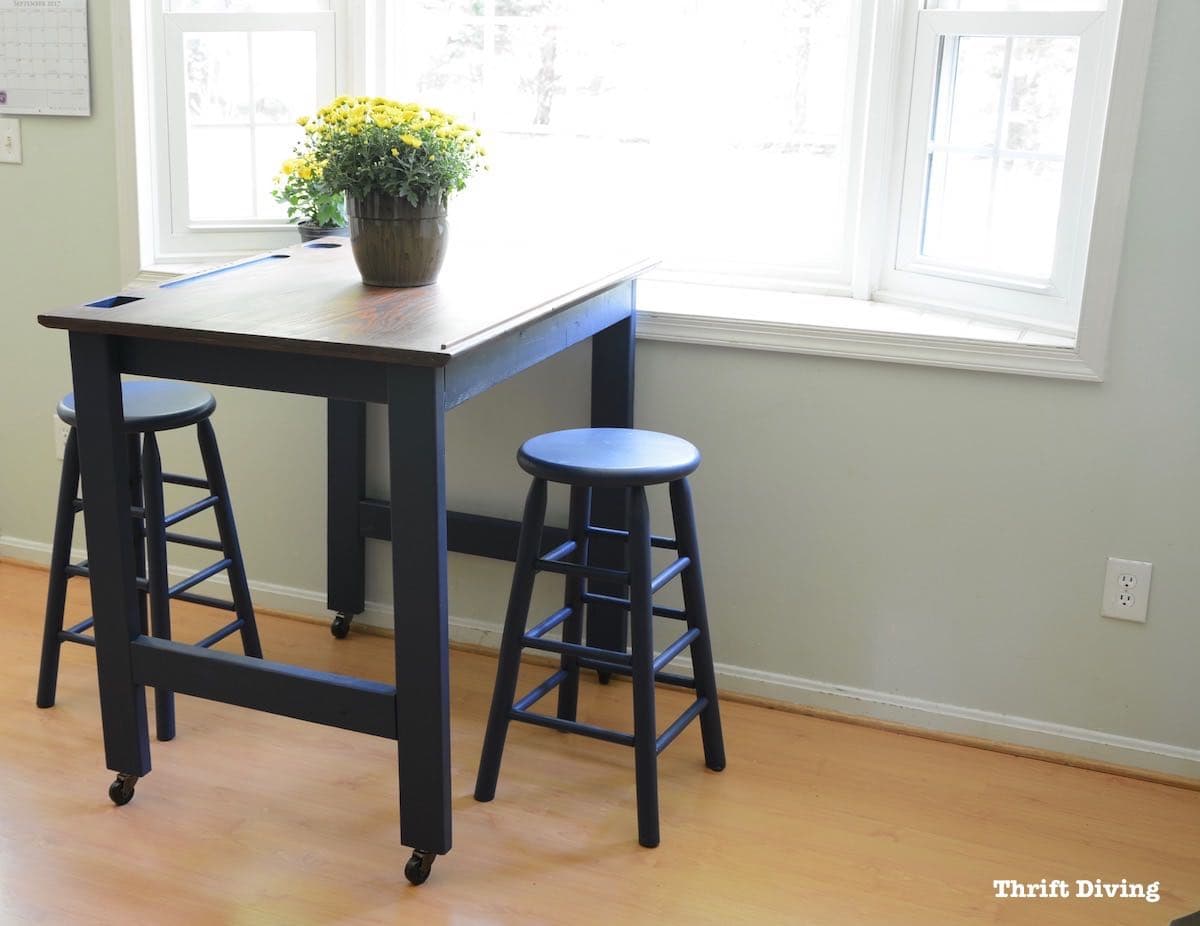
Afterward, it became this super cute functional eat-in kitchen table for the kids to eat and do their homework!
AFTER!
Those Yummy Wood Tones!
Let me start by saying that I’ve fallen in the “I love wood tones” camp now.
It doesn’t mean I am throwing away my paint brushes. No, ma’am.
But it means that if I can try to refinish something to bring out those yummy wood tones and wood grain, I’ll at least attempt it first–if I have the time and desire–especially if it’s “good wood.”
Looking at this old scratched up, beat up drafting table top, it’s hard to imagine anyone would consider that to be “good wood.”
But it was solid and heavy–not that cardboard stuff that big box stores sell and try to markup to make you think you’re buying top quality stuff! LOL
Nope–this table top was real wood (although I have no idea what species). I was going to at least attempt to refinish it back to life.
I was going to at least attempt to refinish it back to life.

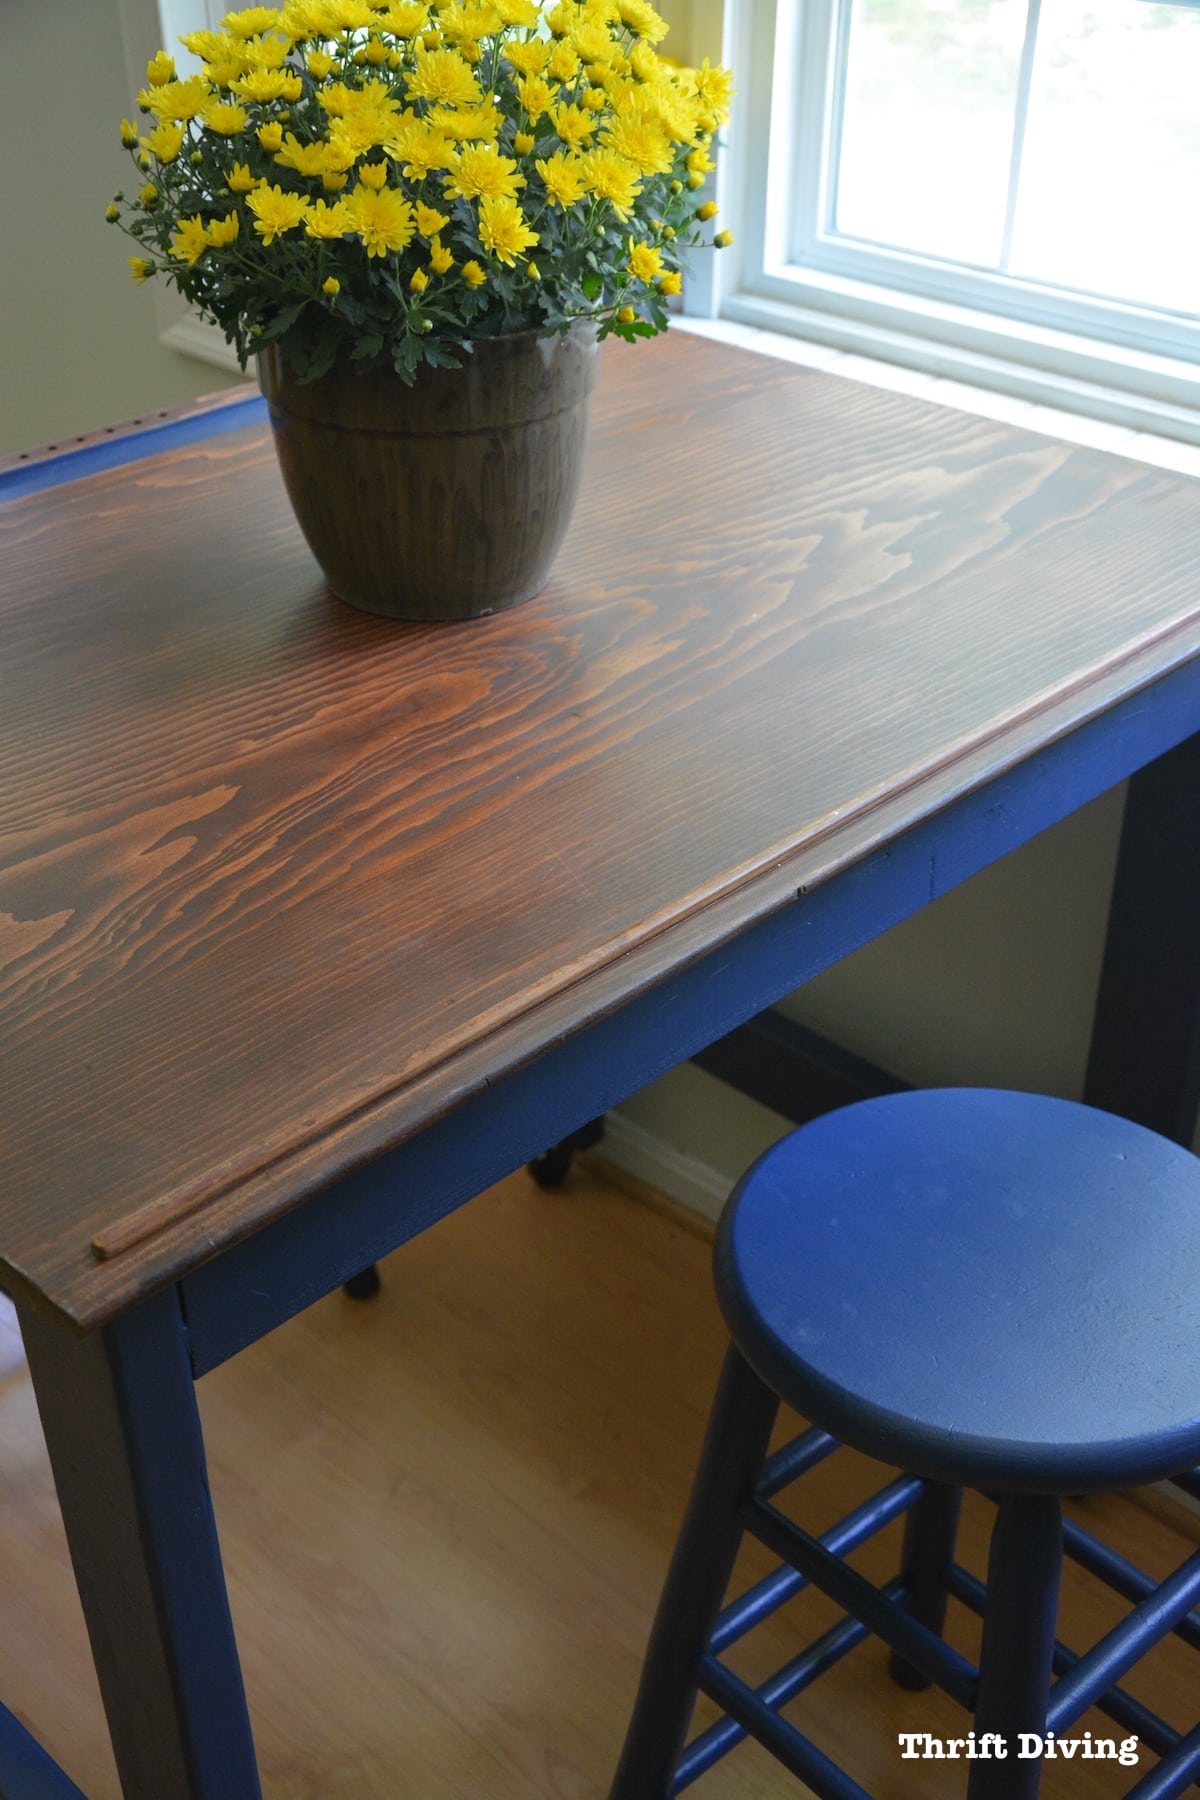
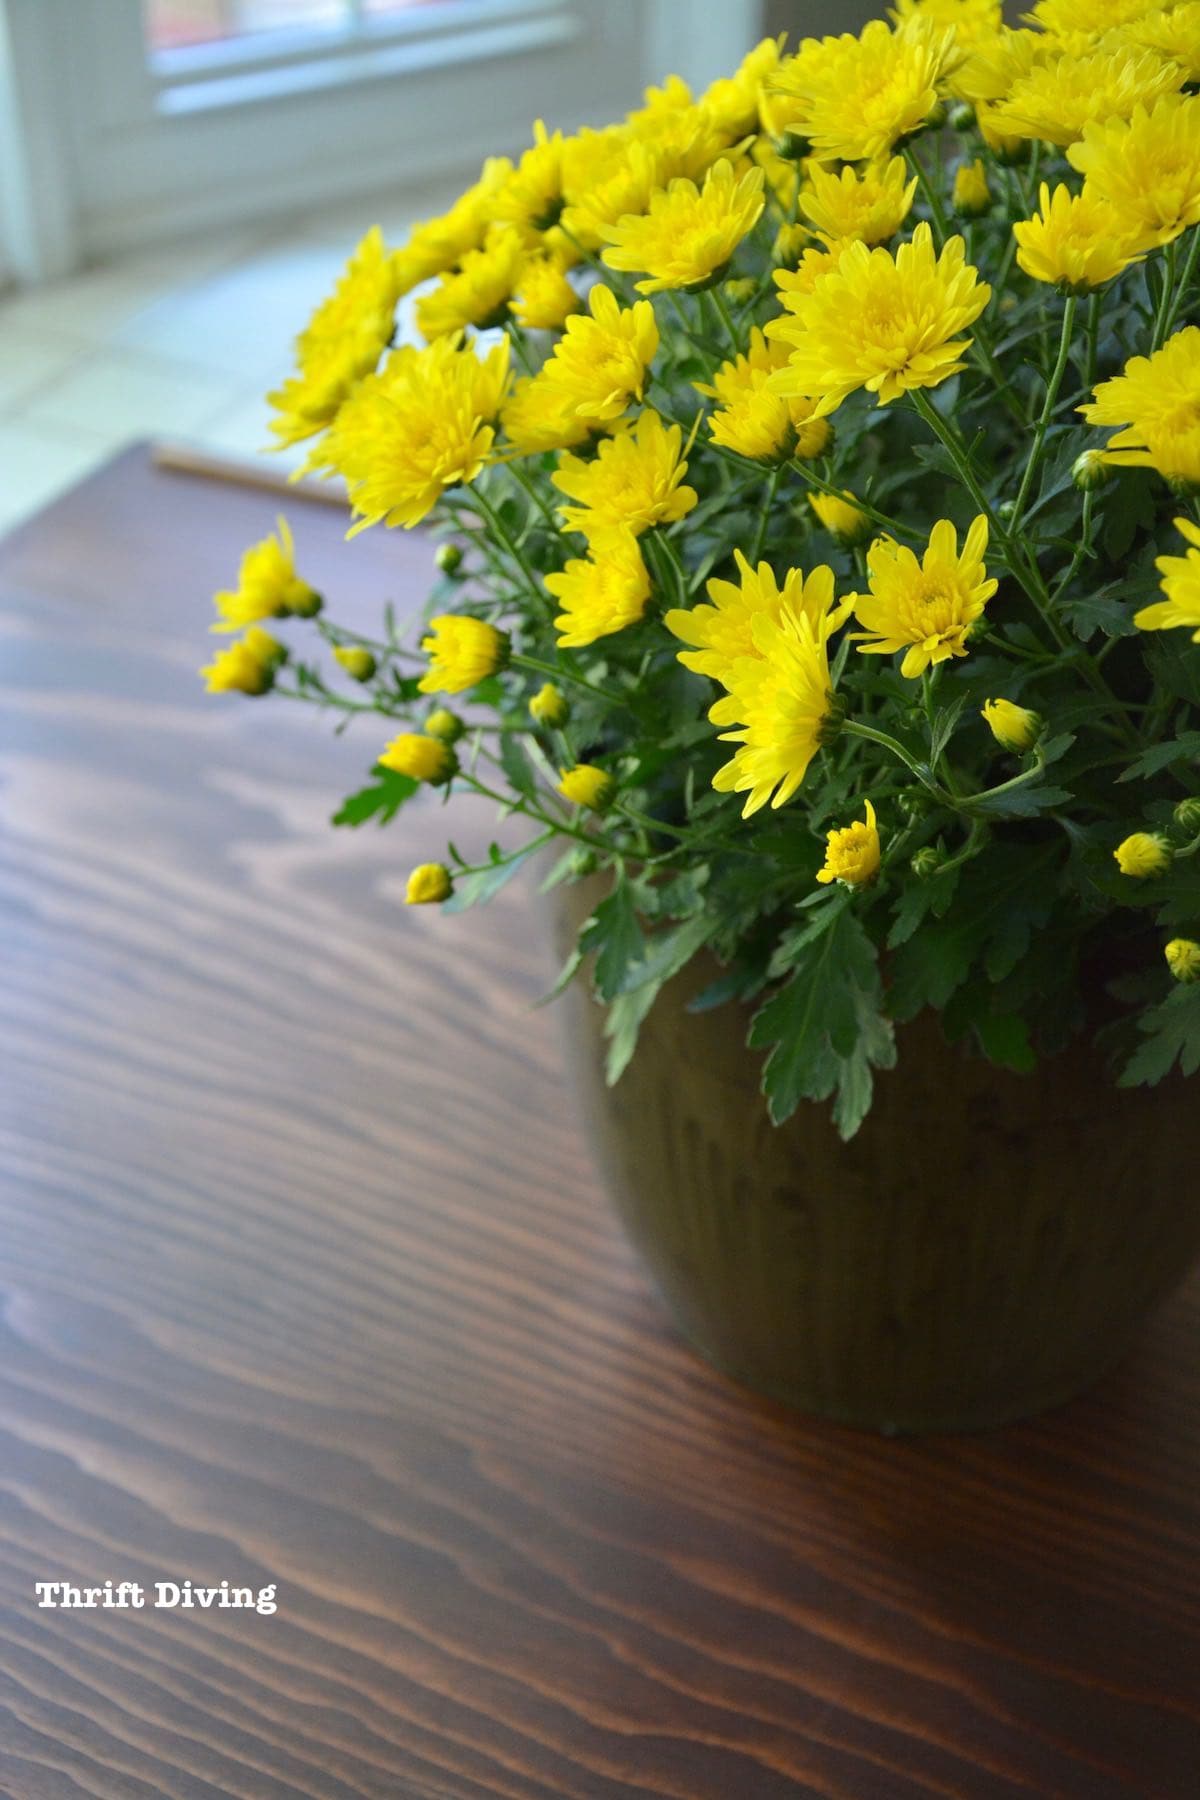
After refinishing the top, I saw what gorgeousness was lying beneath the wear and tear and I knew I had made the right decision to not paint the top!
Look at that grain!
Read next: When Should You NOT Paint Wood Furniture?
The stools were an old estate sale find that I picked up years ago, but over time, they got beat up. They were in perfect condition when I bought them, but over the years, they became sloppily painted or used as pedestals when I needed to spray paint something or test paint colors. Can’t you tell?? 🙂
Now it was time to give them a second lease on life.
BEFORE
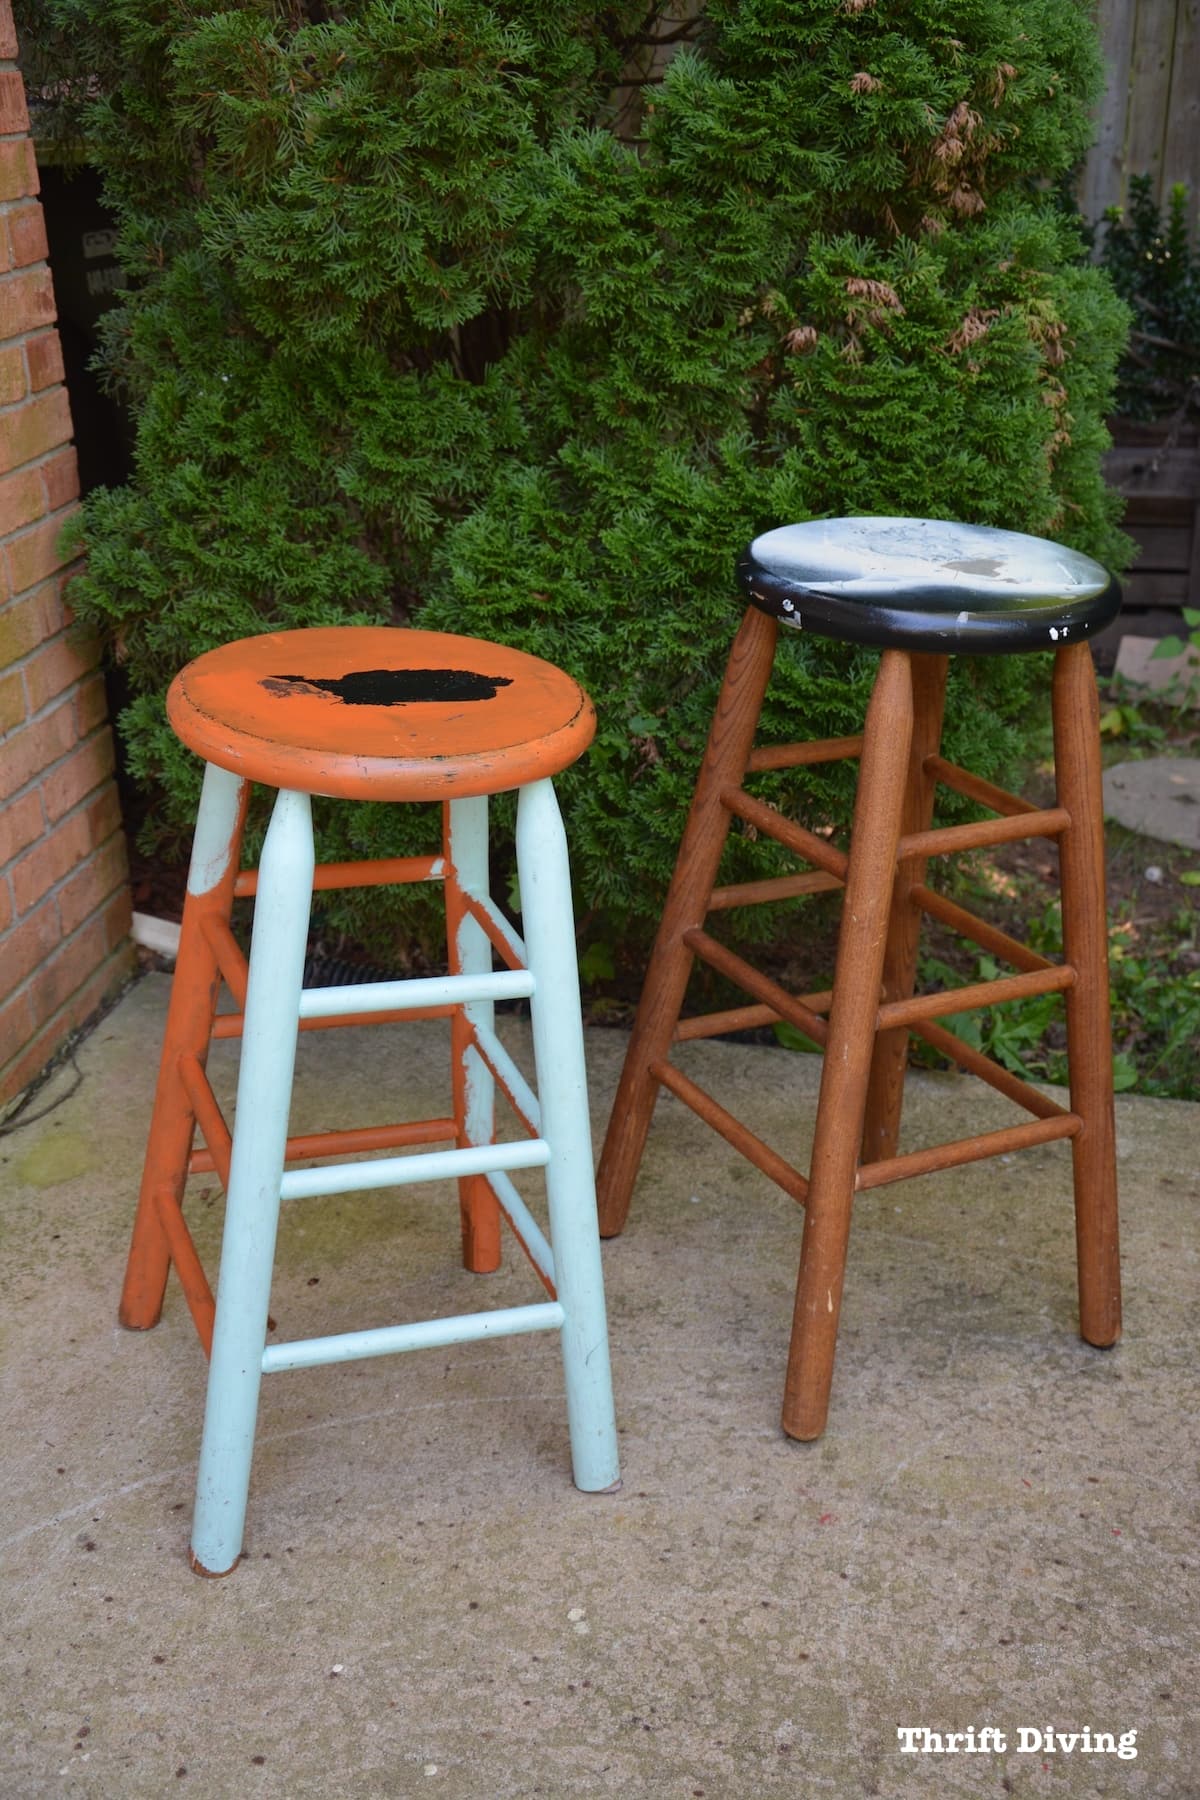
And yes, you can shorten barstools.
As you see above, the one on the right is the original height. The bar stool on the left I shortened years ago. But now, making DIY eat-in kitchen table, I needed both bar stools to be the same height and to fit comfortably under the kitchen table.
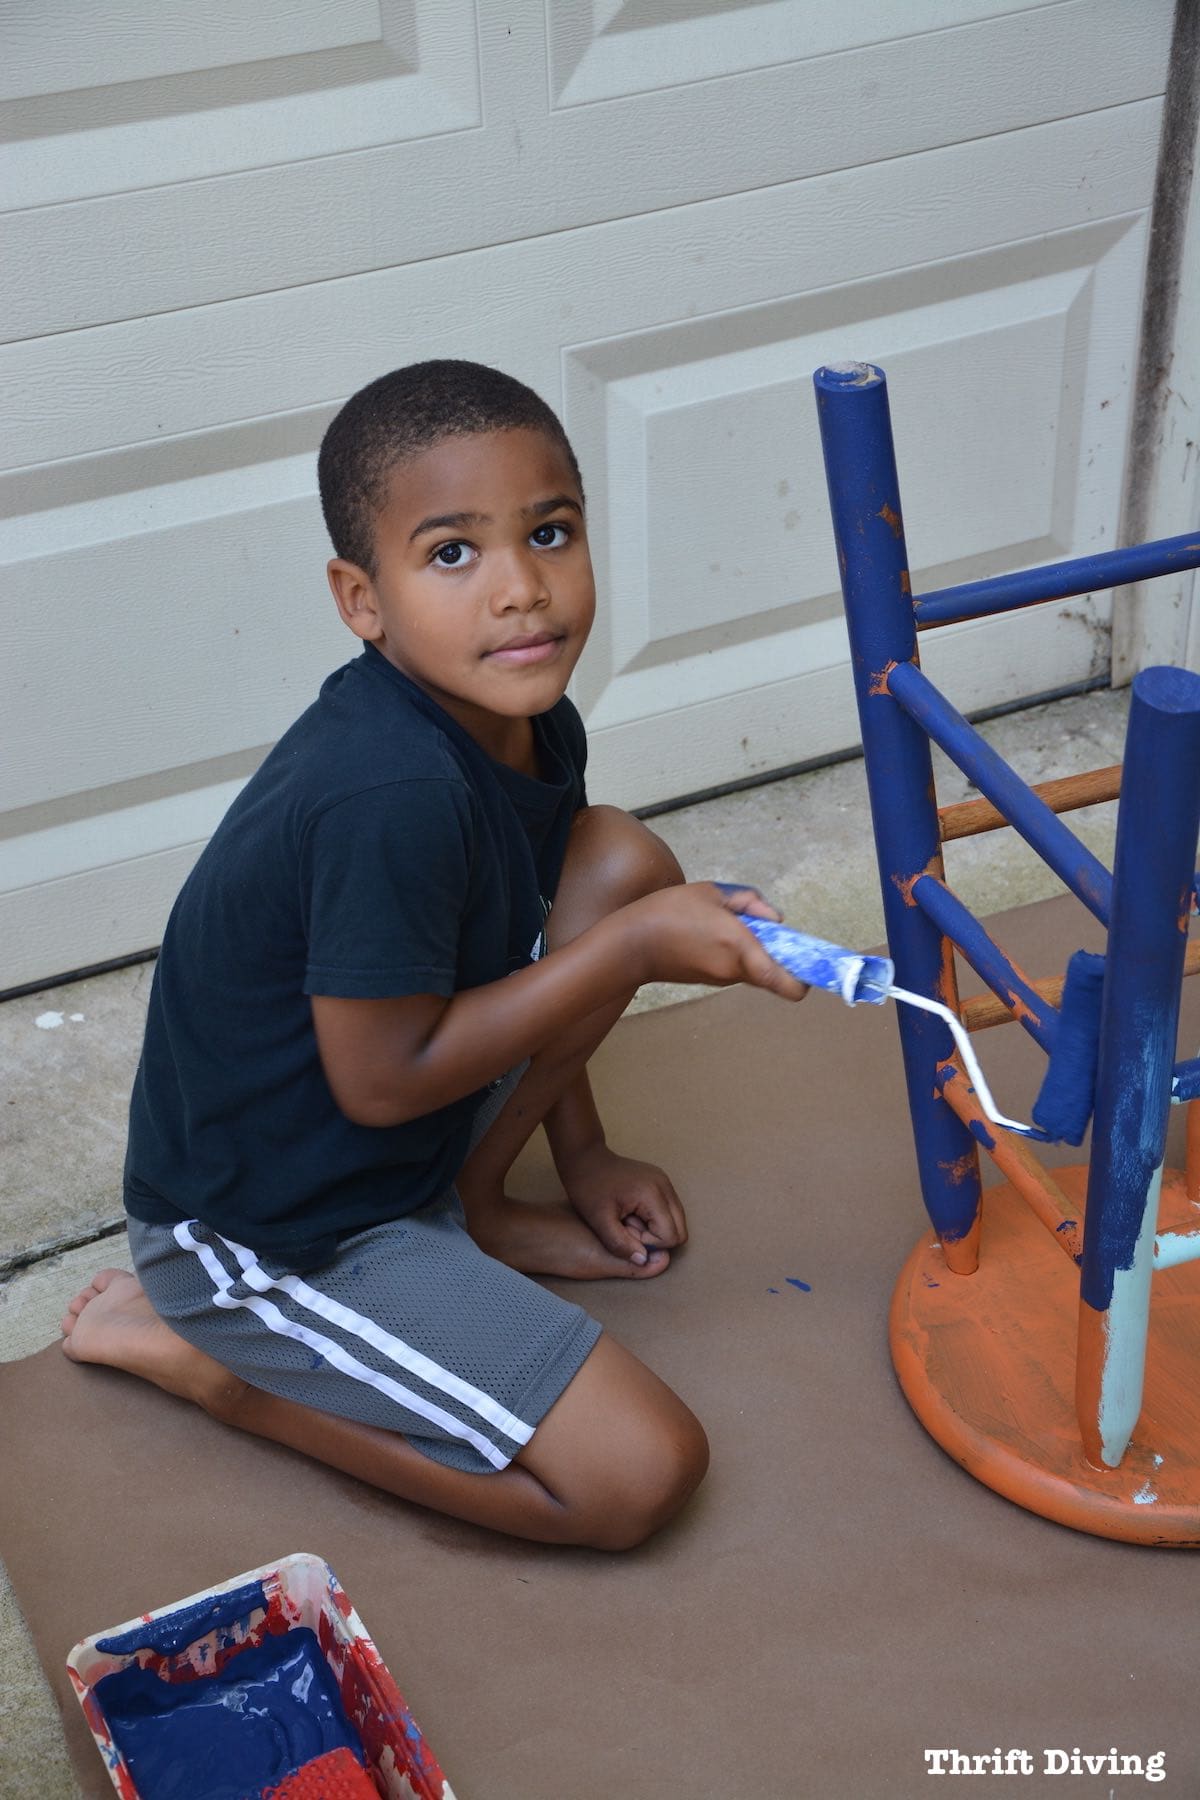
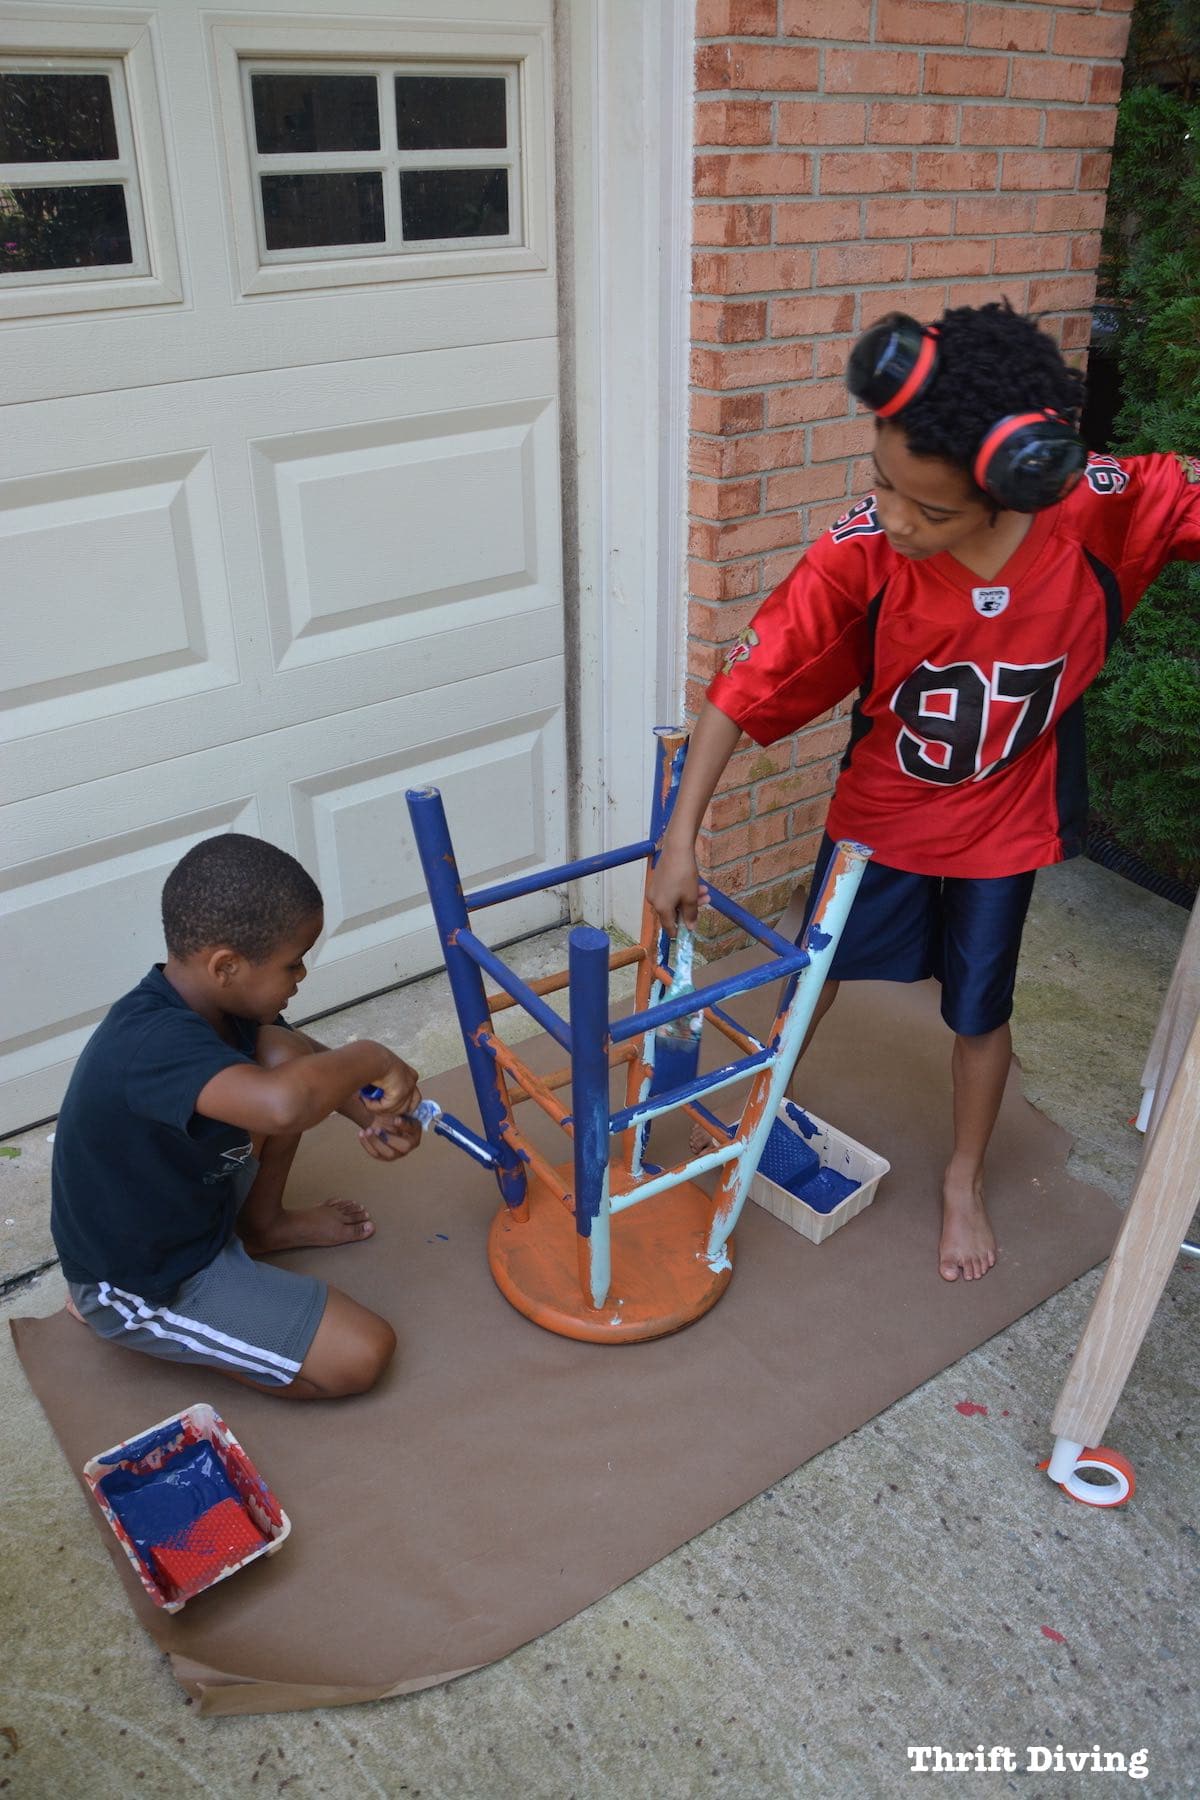
The fun part is that I got the kids involved! Little Kojo (who just started Kindergarten this week, by the way!!) and his brother, Ohene, painted one of the stools and I did the other one.
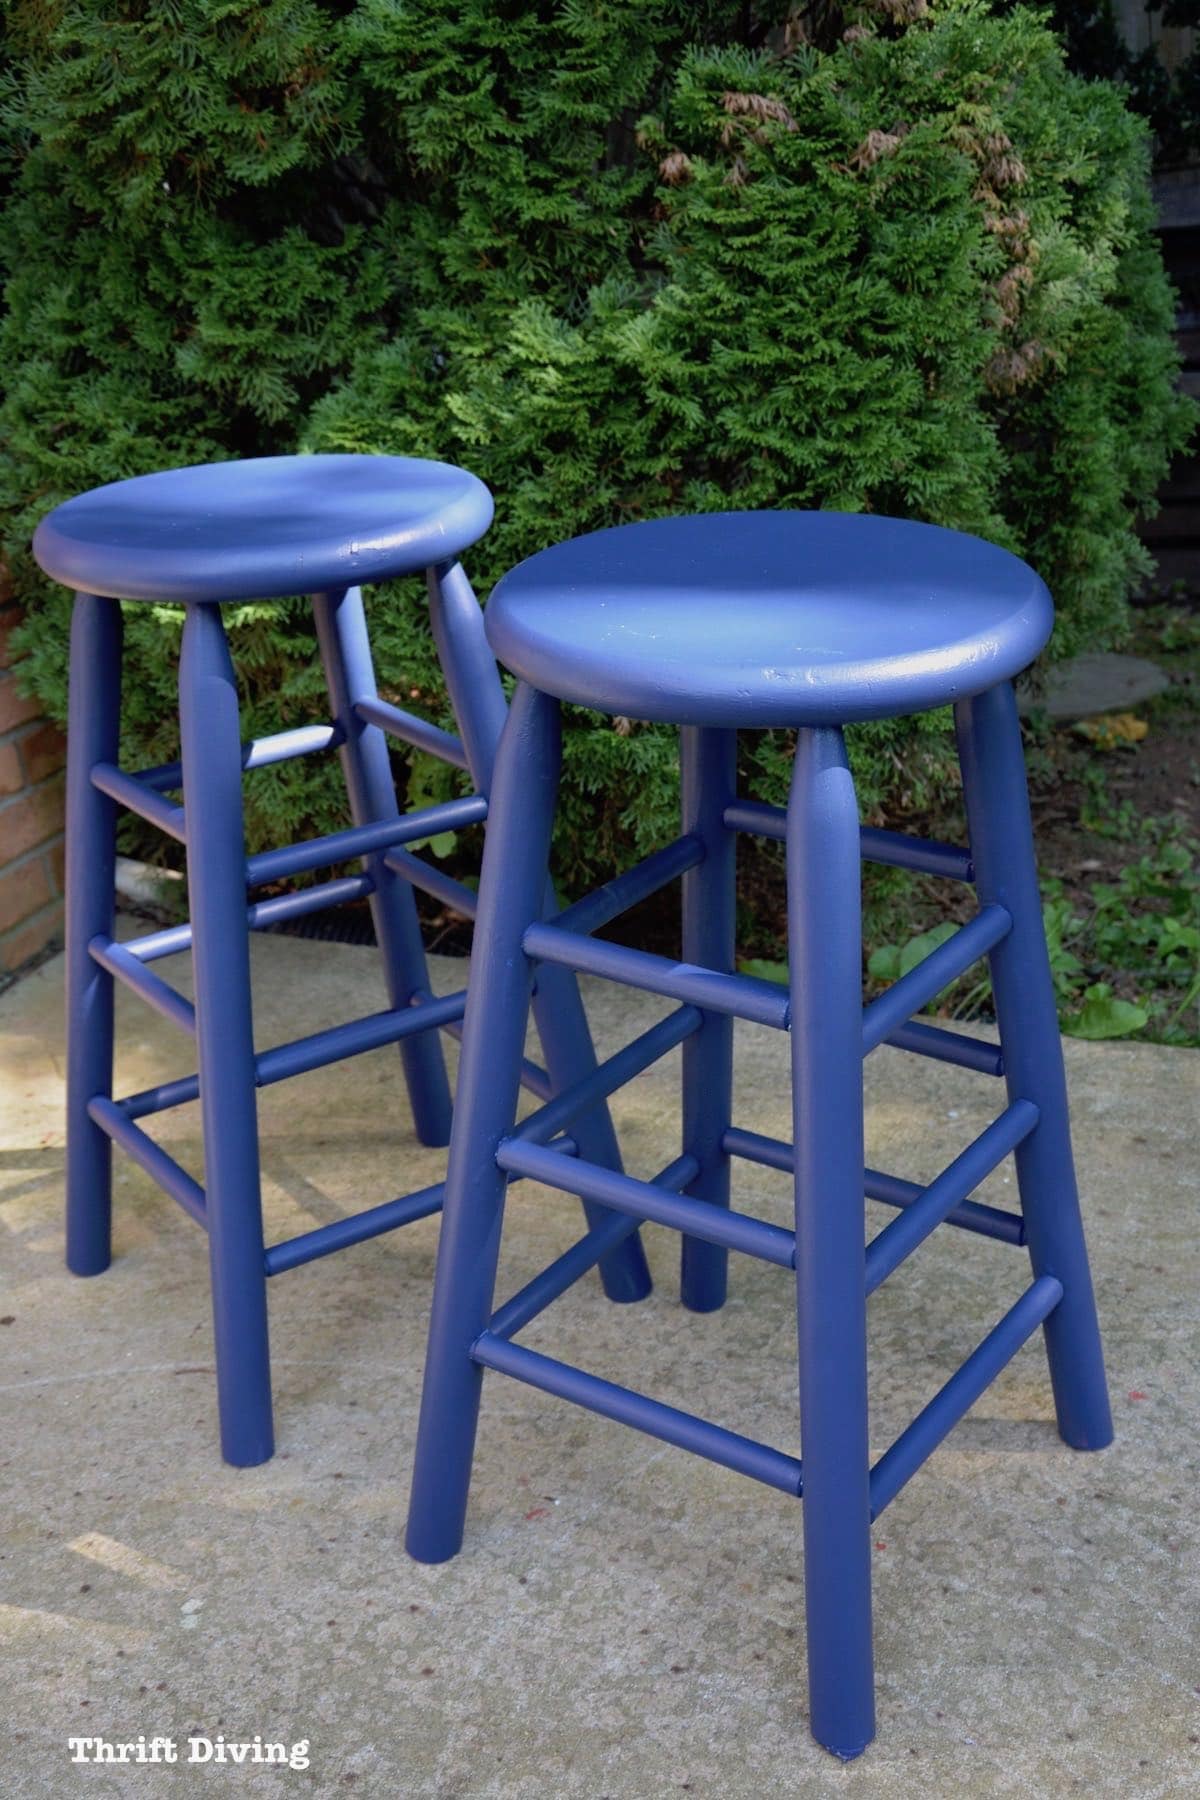
Overall, I was super excited at how the new eat-in kitchen table turned out!
The blue is very vibrant outdoors in natural light and I like how it complimented the mahogany stain on the eat in kitchen table top.
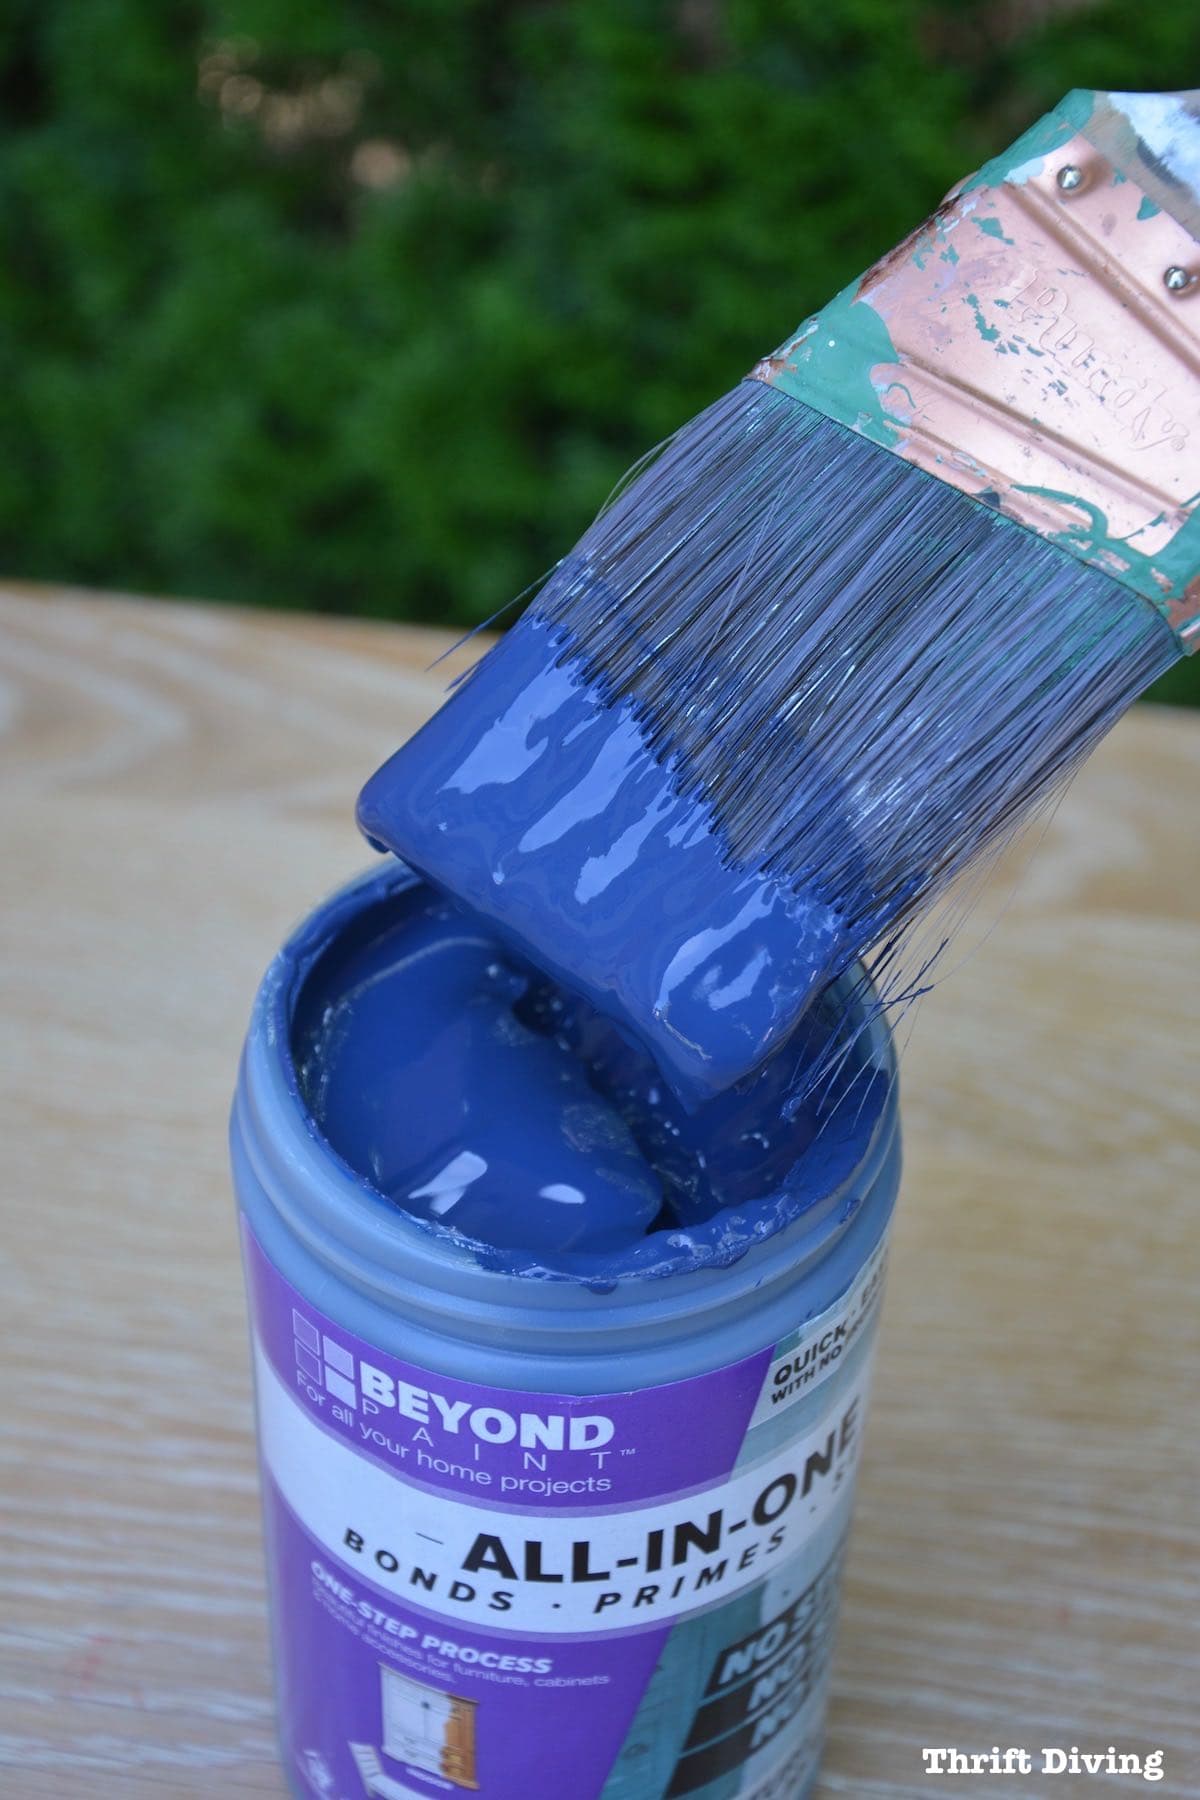
I’ve been using Beyond Paint on furniture pieces for the last several years (they’re awesome sponsors of some of my projects!). For this project, I told them I wanted to paint something this gorgeous Navy color, although I have no idea what it would be until the very last minute. LOL
Sometimes I just have to wait for inspiration to strike and after looking at that table top in the garage, I knew the Navy color would make an amazing table base color.
Isn’t it gorgeous??
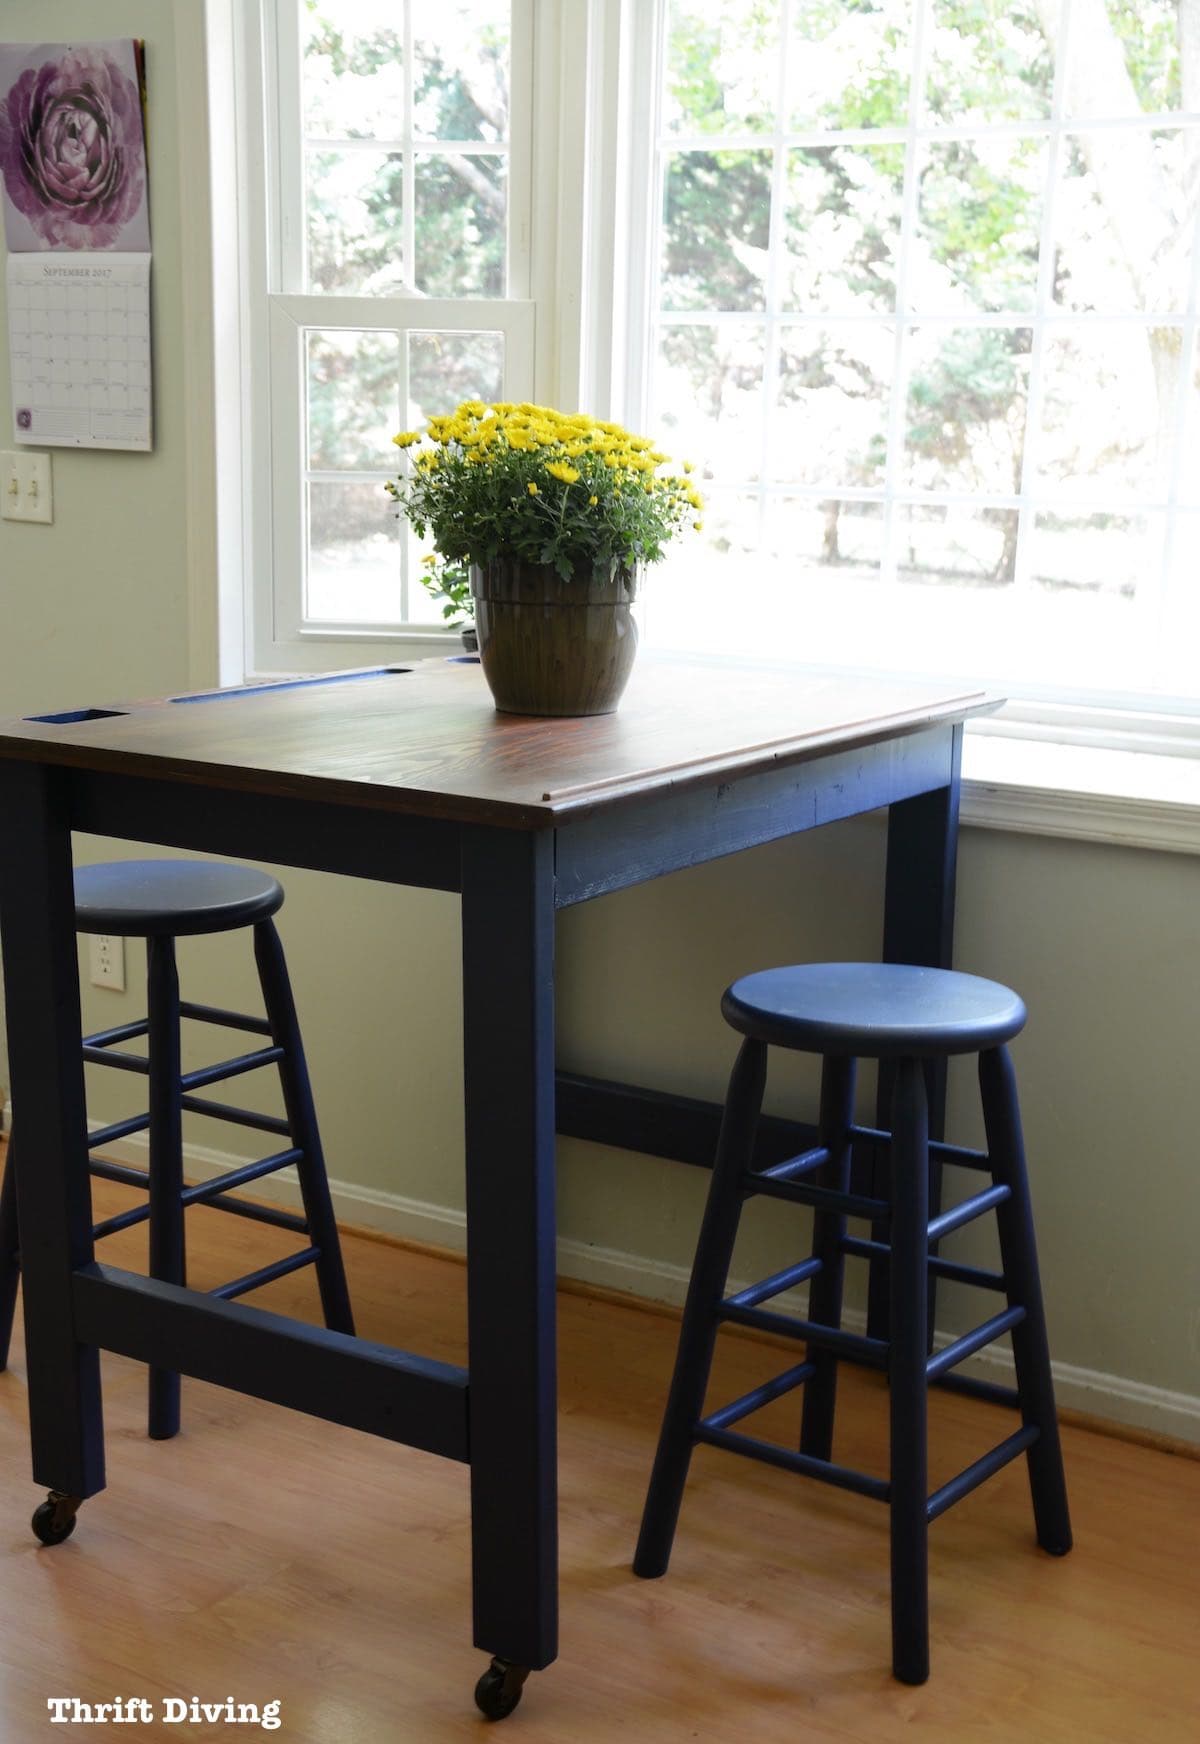
Inside, in the dim light of my kitchen (which feels like a dark cave sometimes, LOL), the Navy takes on a deeper color.
I Love Having an Eat-In Kitchen Table For the Kids!
It’s embarrassing to say but my kids usually eat on the steps, like a pack of puppies at feasting time.
They’re too messy to eat in the living room…and who wants to be away from the family in the lonesome dining room??
So the two step-down area of the kitchen that leads into my family room is where I’ve allowed them to eat in an attempt to contain their mess. But they don’t deserve to be sitting there all cramped up, scooping their food off their plates like animals (well-loved animals, of course….).
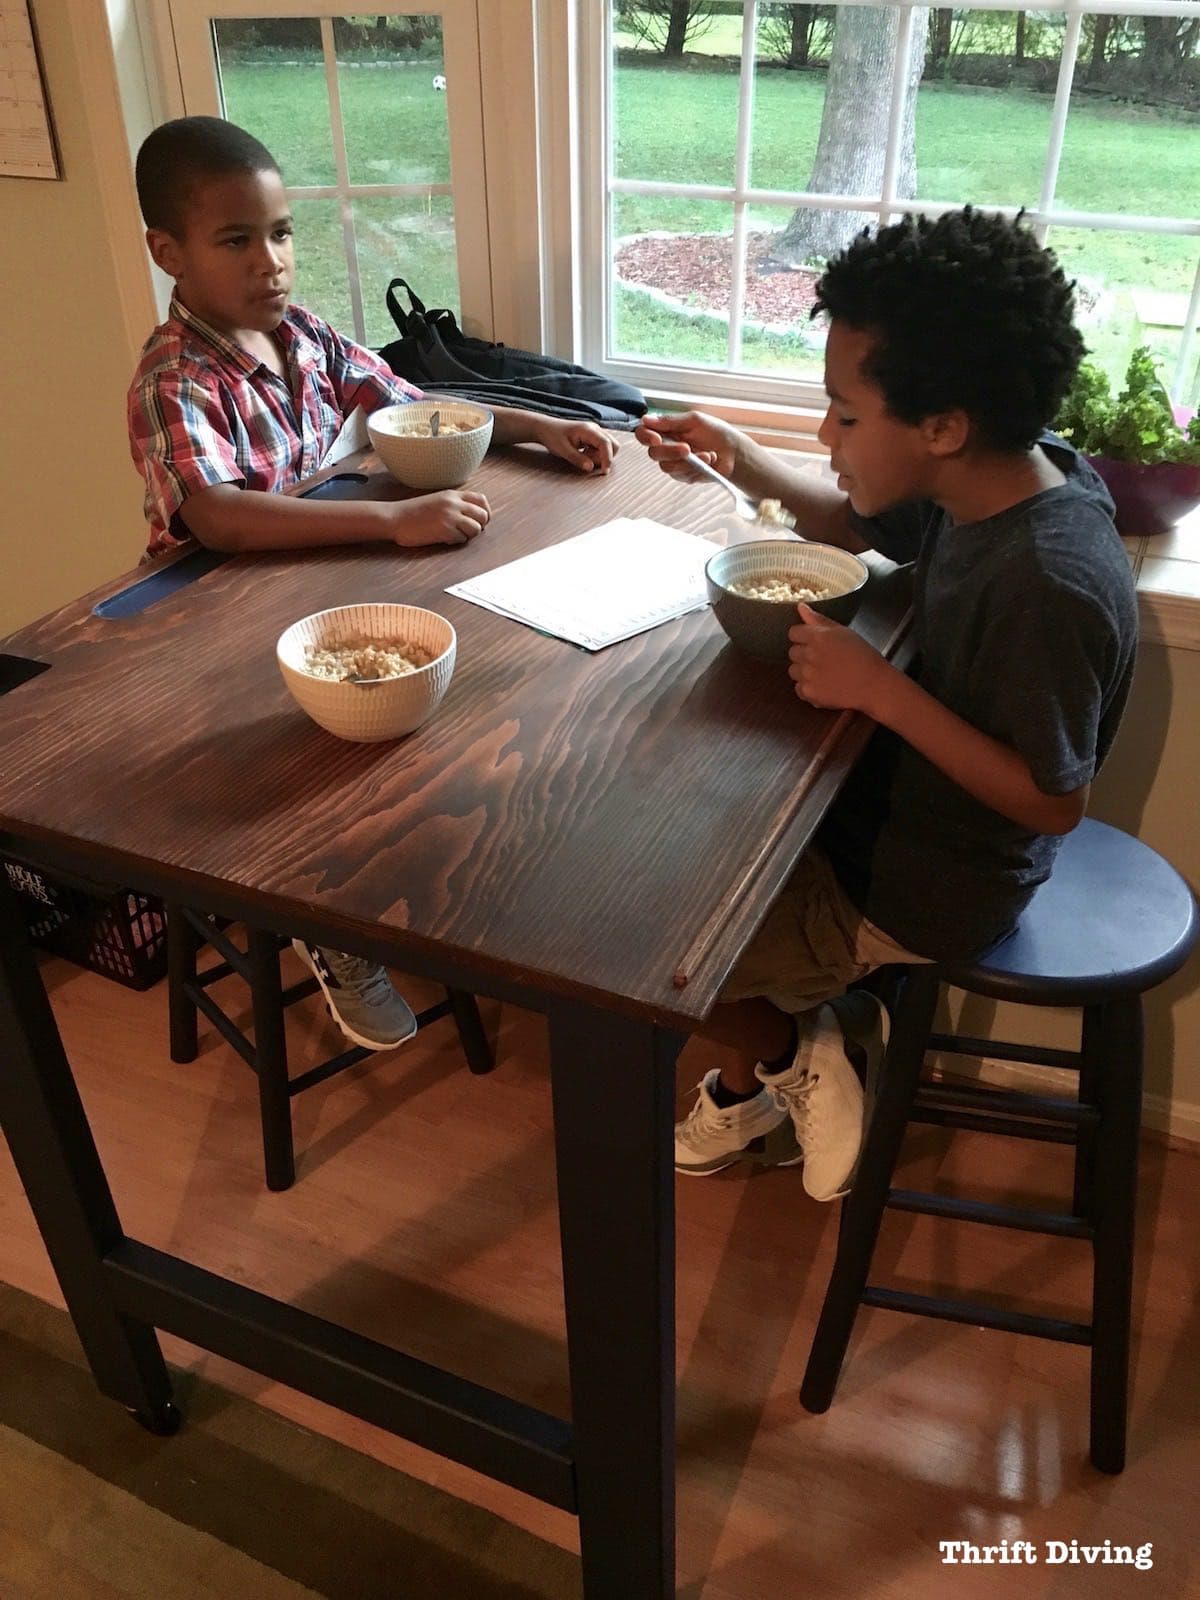
With school starting, I wanted them to have a place to eat breakfast in the morning, a place to do schoolwork when they come home, and a place to sit and have a conversation while hubby or I am cooking.
(They look waaaay too serious here, LOL).
I like that the eat in kitchen placement is right next to the window.
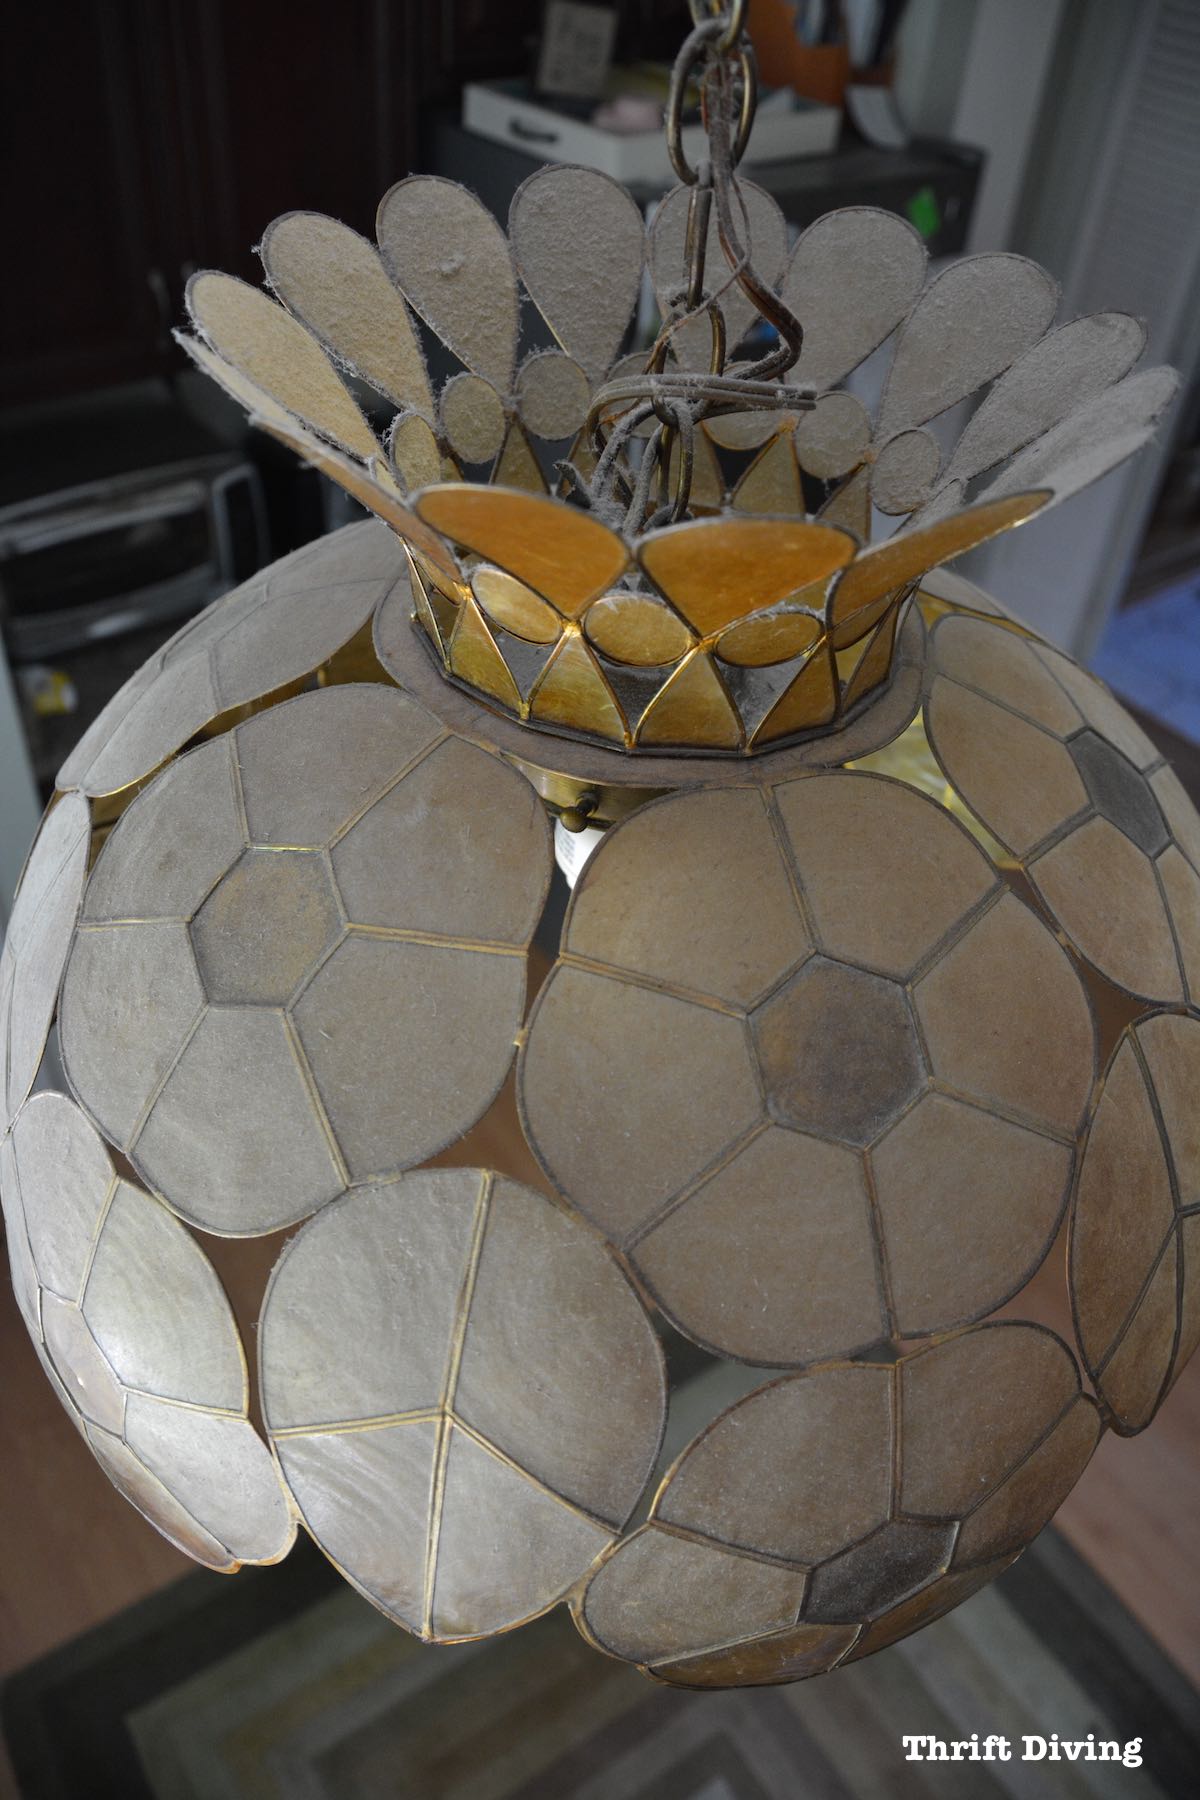
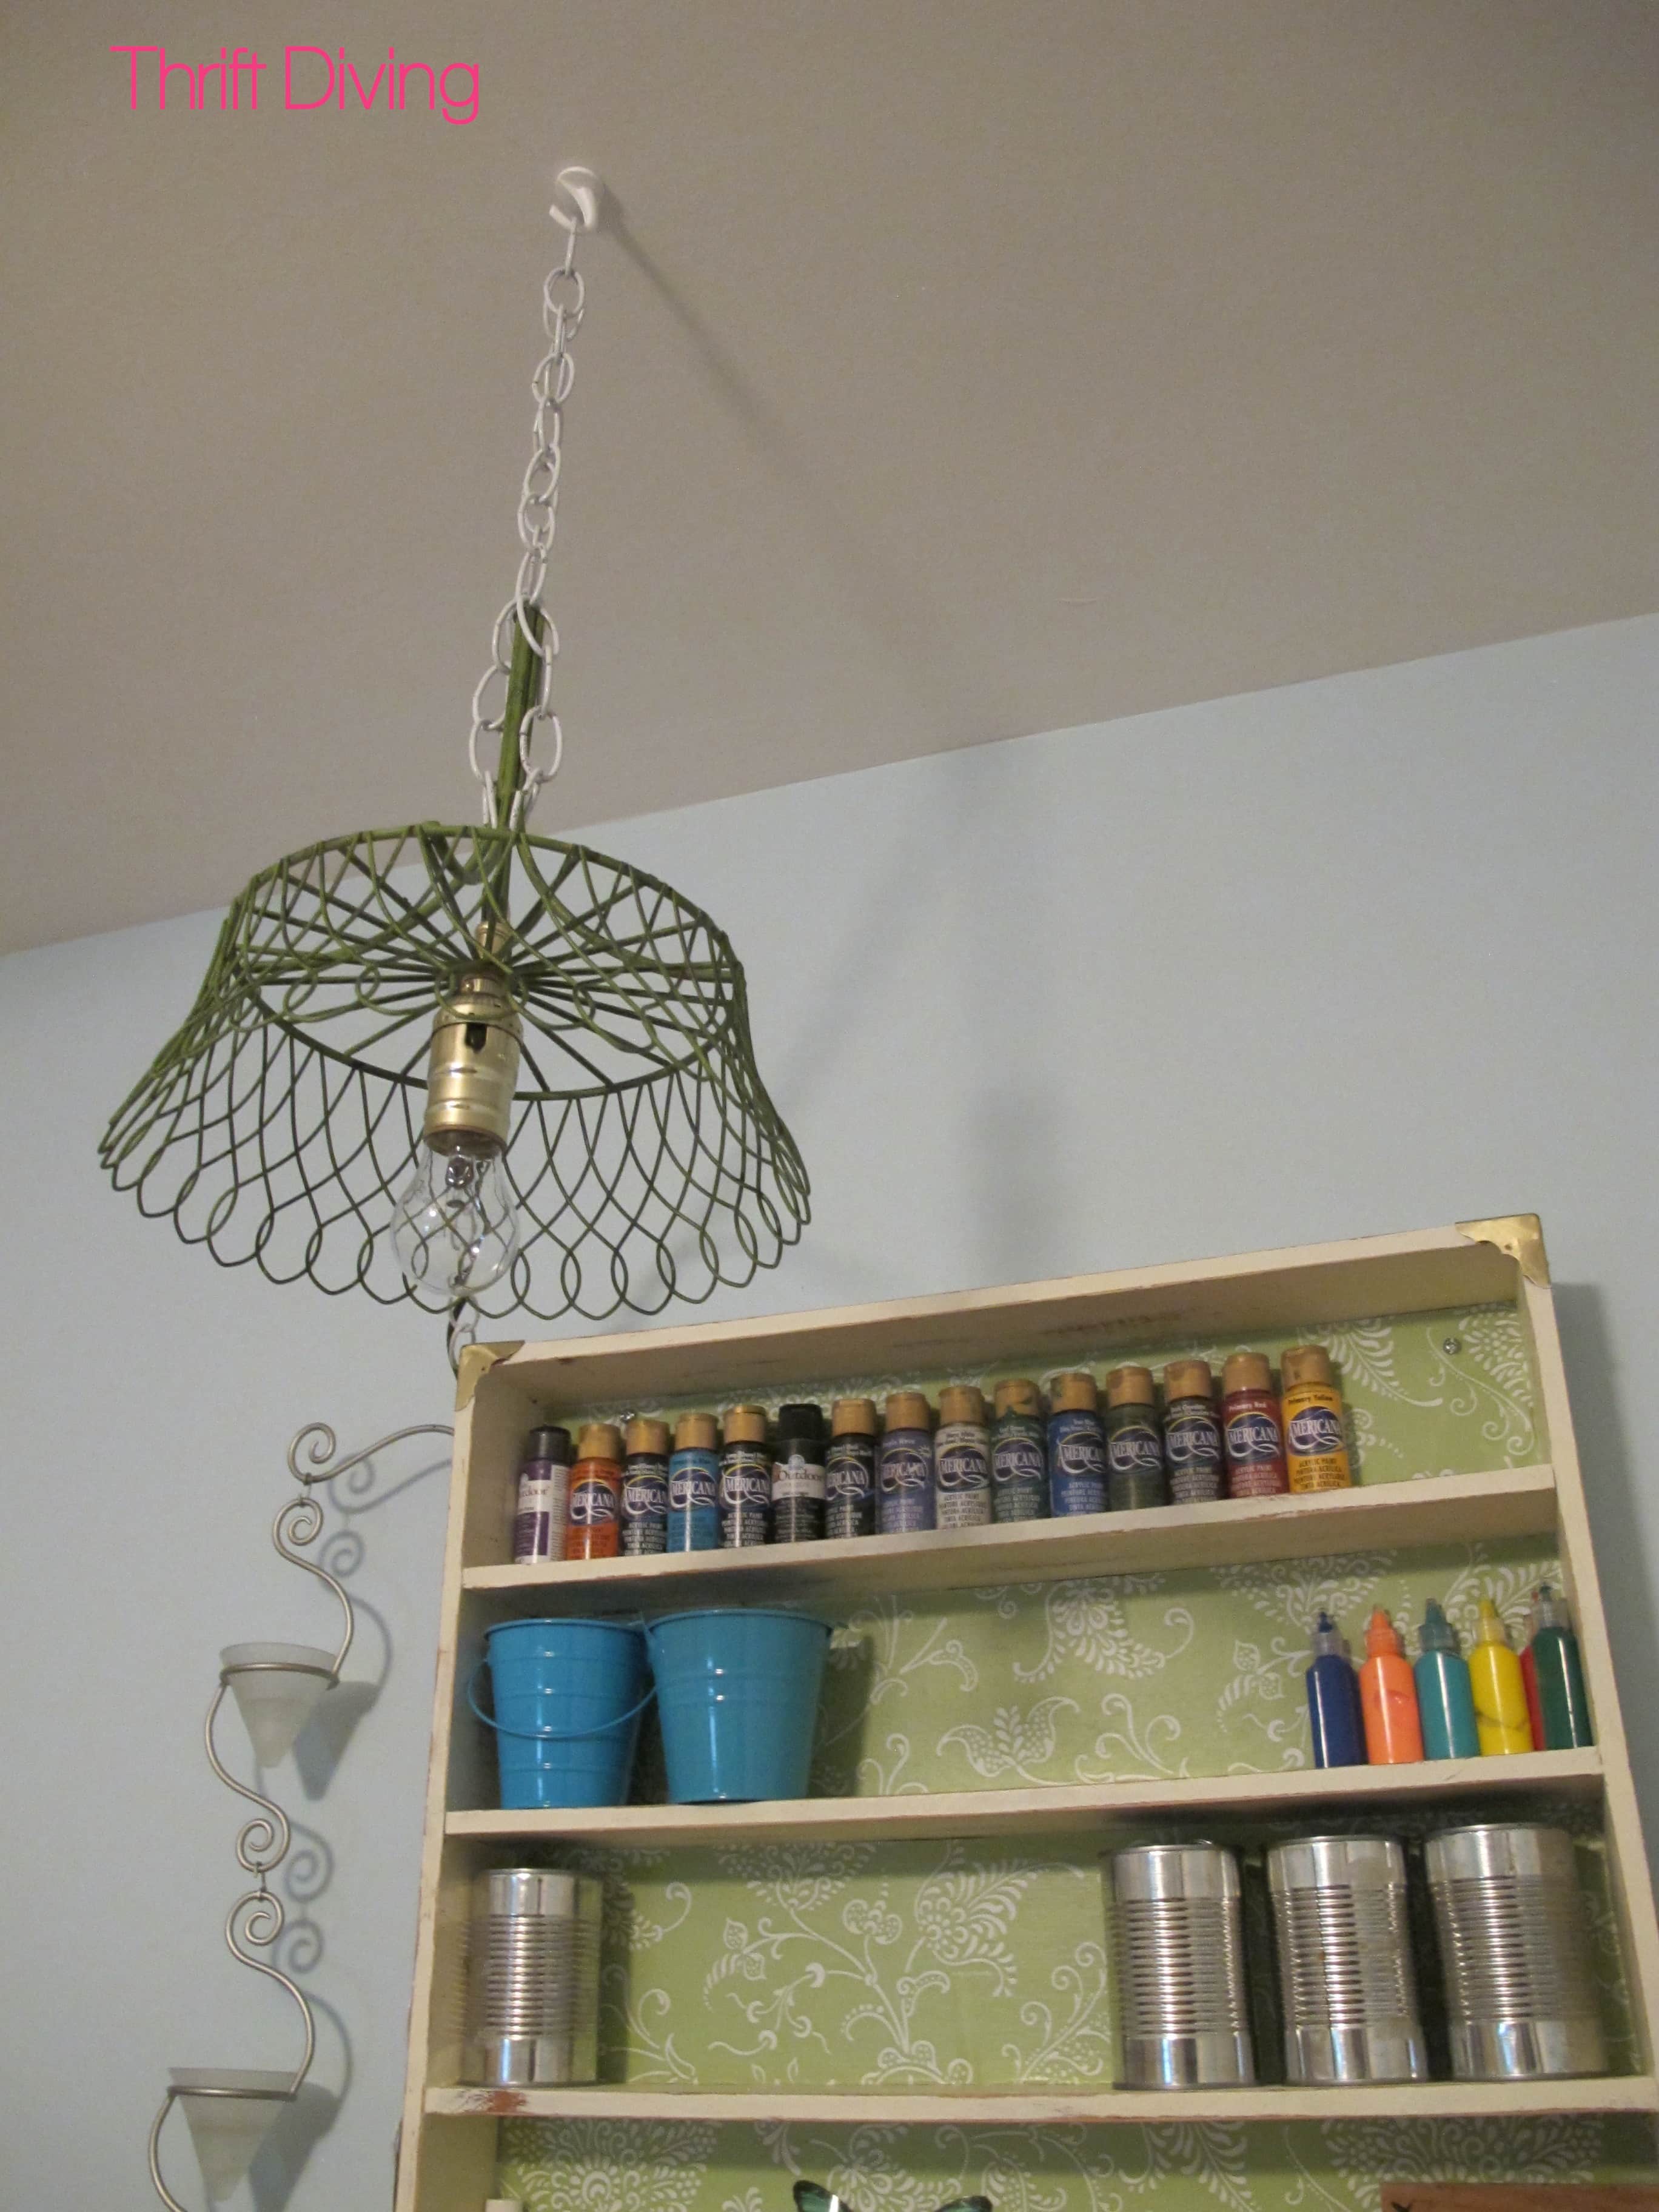
It’s right underneath this old pendant lamp that seriously needs a makeover or a replacement (much less a good wipe down!). LOL
Although I have done some things to the kitchen, it still needs a lot of sprucing up, such as a new pendant lamp, new ceiling lights, updated appliances, and new flooring. But those things will come in time.
Read more: How to Paint a Kitchen in Just a Few Hours
Next Steps for the Eat-In Kitchen Table!
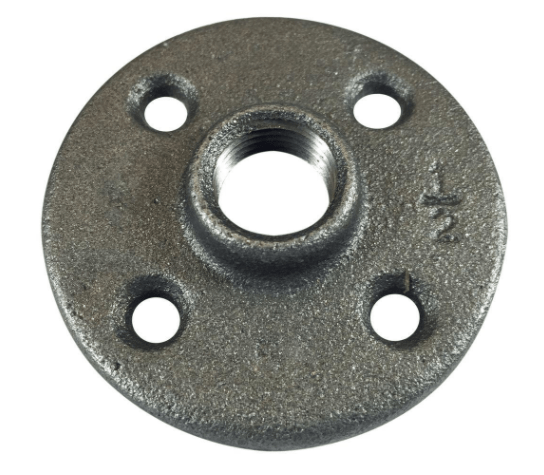
The only thing missing from this eat-in kitchen table (that is bar stool height) is a foot rest.
My friend who you’ve known as Thrift Store Pete suggested I add a metal pipe with a metal flange like this one, so that it lends to the industrial look, makes it look cool, and provides a comfy place for people to rest their feet when sitting.
I’ll have to head to the store to pick up those last materials. I also need a few more stools. Being a family of five, three of which are boys, two stools just ain’t gonna cut it. LOL
But otherwise, I’m considering this eat in kitchen table done!
Do you like this project? Click HERE to pin it and show it some love! Save this pin for later!
![]()
Get the Full Eat-In Kitchen Table Tutorial
This project was sponsored by Beyond Paint, with whom I love collaborating! I wrote up the full-length tutorial for this project over on their blog, which will be available next week!
I’ll be sure to keep you posted when the written tutorial is available so you can pin it for later!
So What About You?
Do you have an eat-in kitchen table in your kitchen? Is your kitchen a place where your family gathers to eat, do homework, and socialize, too?
Leave a comment and let’s chat about our eat-in kitchens!

Download the 5 freebies!

Thrift Diving inspires women to decorate, improve, and maintain their home themselves...using paint, power tools, and thrift stores! Use these 5 printables, checklists, and ebooks to get started!
Wow…this table looks amazing. Awesome makeover of the table.
Great reclamation! Good quality solid wood with character is hard to find these days. You mentioned a foot bar? I’ve always used the stool rungs for my feet and you kids probably will too. With a bar, the stools won’t fit under the table and may wander. Something to think about.
Hi, Karen! We use the stool rungs, too, but that it would be nice to have a metal pipe-type bar there. It also helps with supporting the legs. The drafting table that I took the top from had a metal bar and it looks nice and fits with stools, so I think it should be good! I just haven’t gotten around to it yet. Projects, projects, projects! 🙂
The Transformation is unbelievably amazing… The perfect use of colours give a very elegant look…The blue furniture is breathtaking and brings life to the room…Thanks for sharing this amazing post..Feeling Inspired!
Love that blue! The whole set looks awesome, I love that you didn’t get rid of the top and reused it. Thanks for sharing at #HomeMattersParty
that is an amazing table and diy!
b
Great makeover! I love the blue and what an interesting piece! Thank you for sharing on Merry Monday! Hope to see ya next week!
Kim
Table looks amazing… Love the colors! I’m a beginner to DIY… Wish I had your talent and confidence
Just lovely! Nice job!
I checked out Beyond Paint…love the Nantucket color and I’m always looking for nice paints, but at $29.95 for a pint! OUCH! I guess I wont be ordering it any time soon!
Serena, you have such a good eye and are so creative! The table is so charming! I too like the look of a painted base with a stained wood top. I enjoy reading about all your projects and thrifting! Happy hunting! PS your boys are adorable!
Aww, thanks, Donna! It’s so funny how I never really know what project I’m going to work on or how it’s going to turn out until I get started! HAHA. I’m glad that the vision comes to me. And yep, I’m like you–I love the mix of wood and paint. The best of both worlds!
Ummmm…I absolutely adore that lamp! Please please don’t paint it, I would cry lol. I see how it doesn’t fit with your space though so you do totally need a refresh! I myself need to convert three can lights to pendants but I’m too cheap to drop $20 per retro fit kit so I’m just waiting for someone to do a pendant light rewiring blog post ? I can’t wait to see how your space developes! We’re in the same boat with a lack of eat in space, my feral animals eat in the living room at our coffee table, I have the horribly stained carpet to prove it lol
Hey, Jessica! Funny you mention that about the lamp because someone years ago told me they loved it, too, which is one reason I had never changed it. HA! 🙂 Oh, and this post and video might help you with the wiring! 😉
https://thriftdiving.com/tutorial-how-to-make-a-diy-pendant-lamp/