Pantry Shelves and DIY Can Food Organizer With Hidden Storage Underneath
My pantry shelves were a hot mess before built new pantry shelves and built this awesome can food organizer! This pantry makeover couldn’t have come at a better time as I focus on fixing up my kitchen!
It was one of those places in my home that I’d cringe every time I’d walk into the space.
The whole family has a tendency to leave it gaped wide open, so the eyesore couldn’t be avoided.
So when RYOBI Nation mentioned their October theme was “Hidden Gems,” my brain started firing off ideas to incorporate the theme with my much-needed pantry makeover. (I do these fun sponsored posts and giveaways with RYOBI several times per year).
The kids also have a problem with getting into the cabinets.
When there are snacks and candy (heck–anything yummy, for that matter!), they take without asking, leaving crumbs and paper wrappers around the house.
So doing this project was going to kill two birds with one stone: pantry makeover and hidden storage from the kids!
DOUBLE WIN!
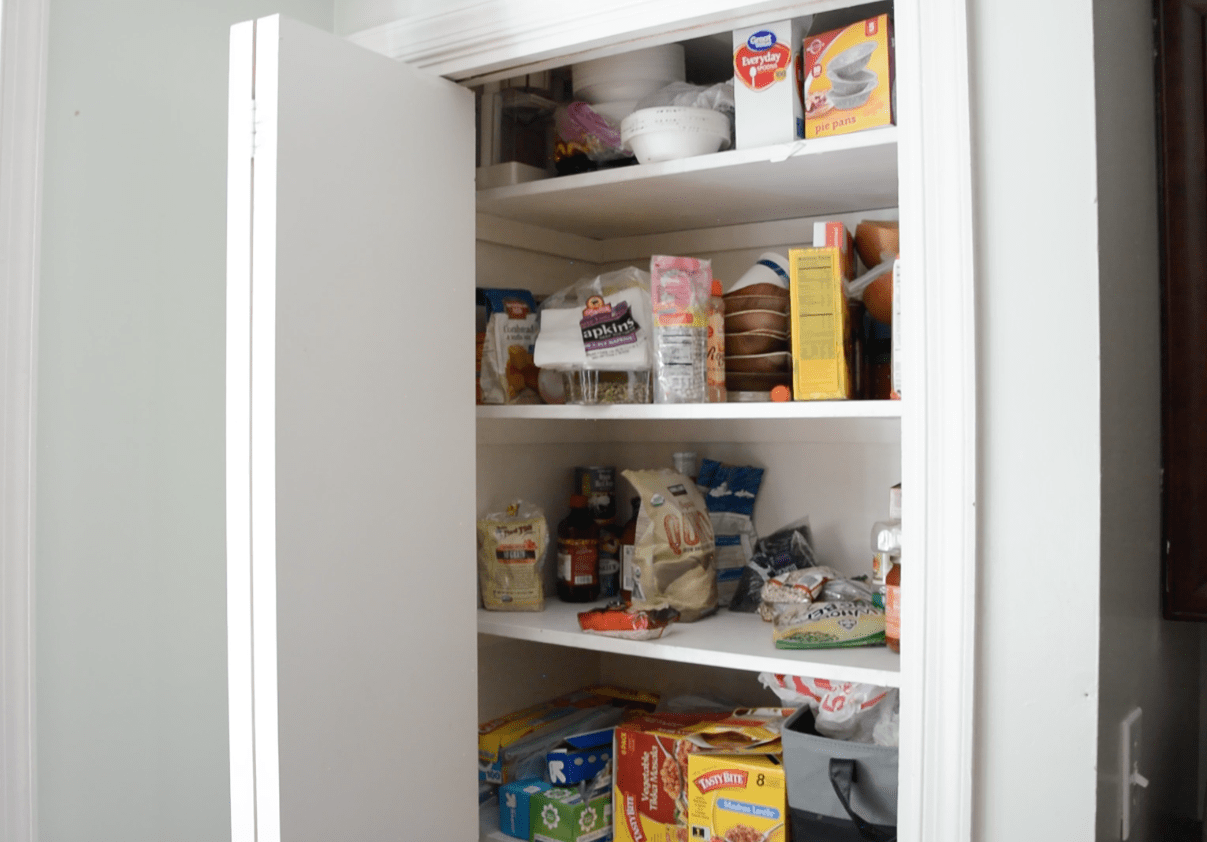
Here is what the awful pantry looked like:
(Keep reading to see how to enter to win $300 in RYOBI tools this month!)
BEFORE
What you can’t see in this picture is how horribly stained and in bad condition the pantry shelves were in!
Someone years ago got the idea to line and cover pantry shelves in contact paper, which is a great concept…except when the become stained, dirty, and just nasty, like these. I should have added new paint or lined them again, but I didn’t (watch this video to see how I stained the new pantry shelves).
And the troubling thing is that we needed to do a pantry makeover years ago, but left the pantry “AS IS” for nearly 7 years since we’ve lived here!
It’s one of those projects that just don’t ever get pushed to the top of the “Must Get Done!” list. There are always bigger fish to fry.
That’s why I was so thankful for this “Hidden Gems” challenge from RYOBI!
It was the push I needed to get this project done while creating some fun hidden storage!
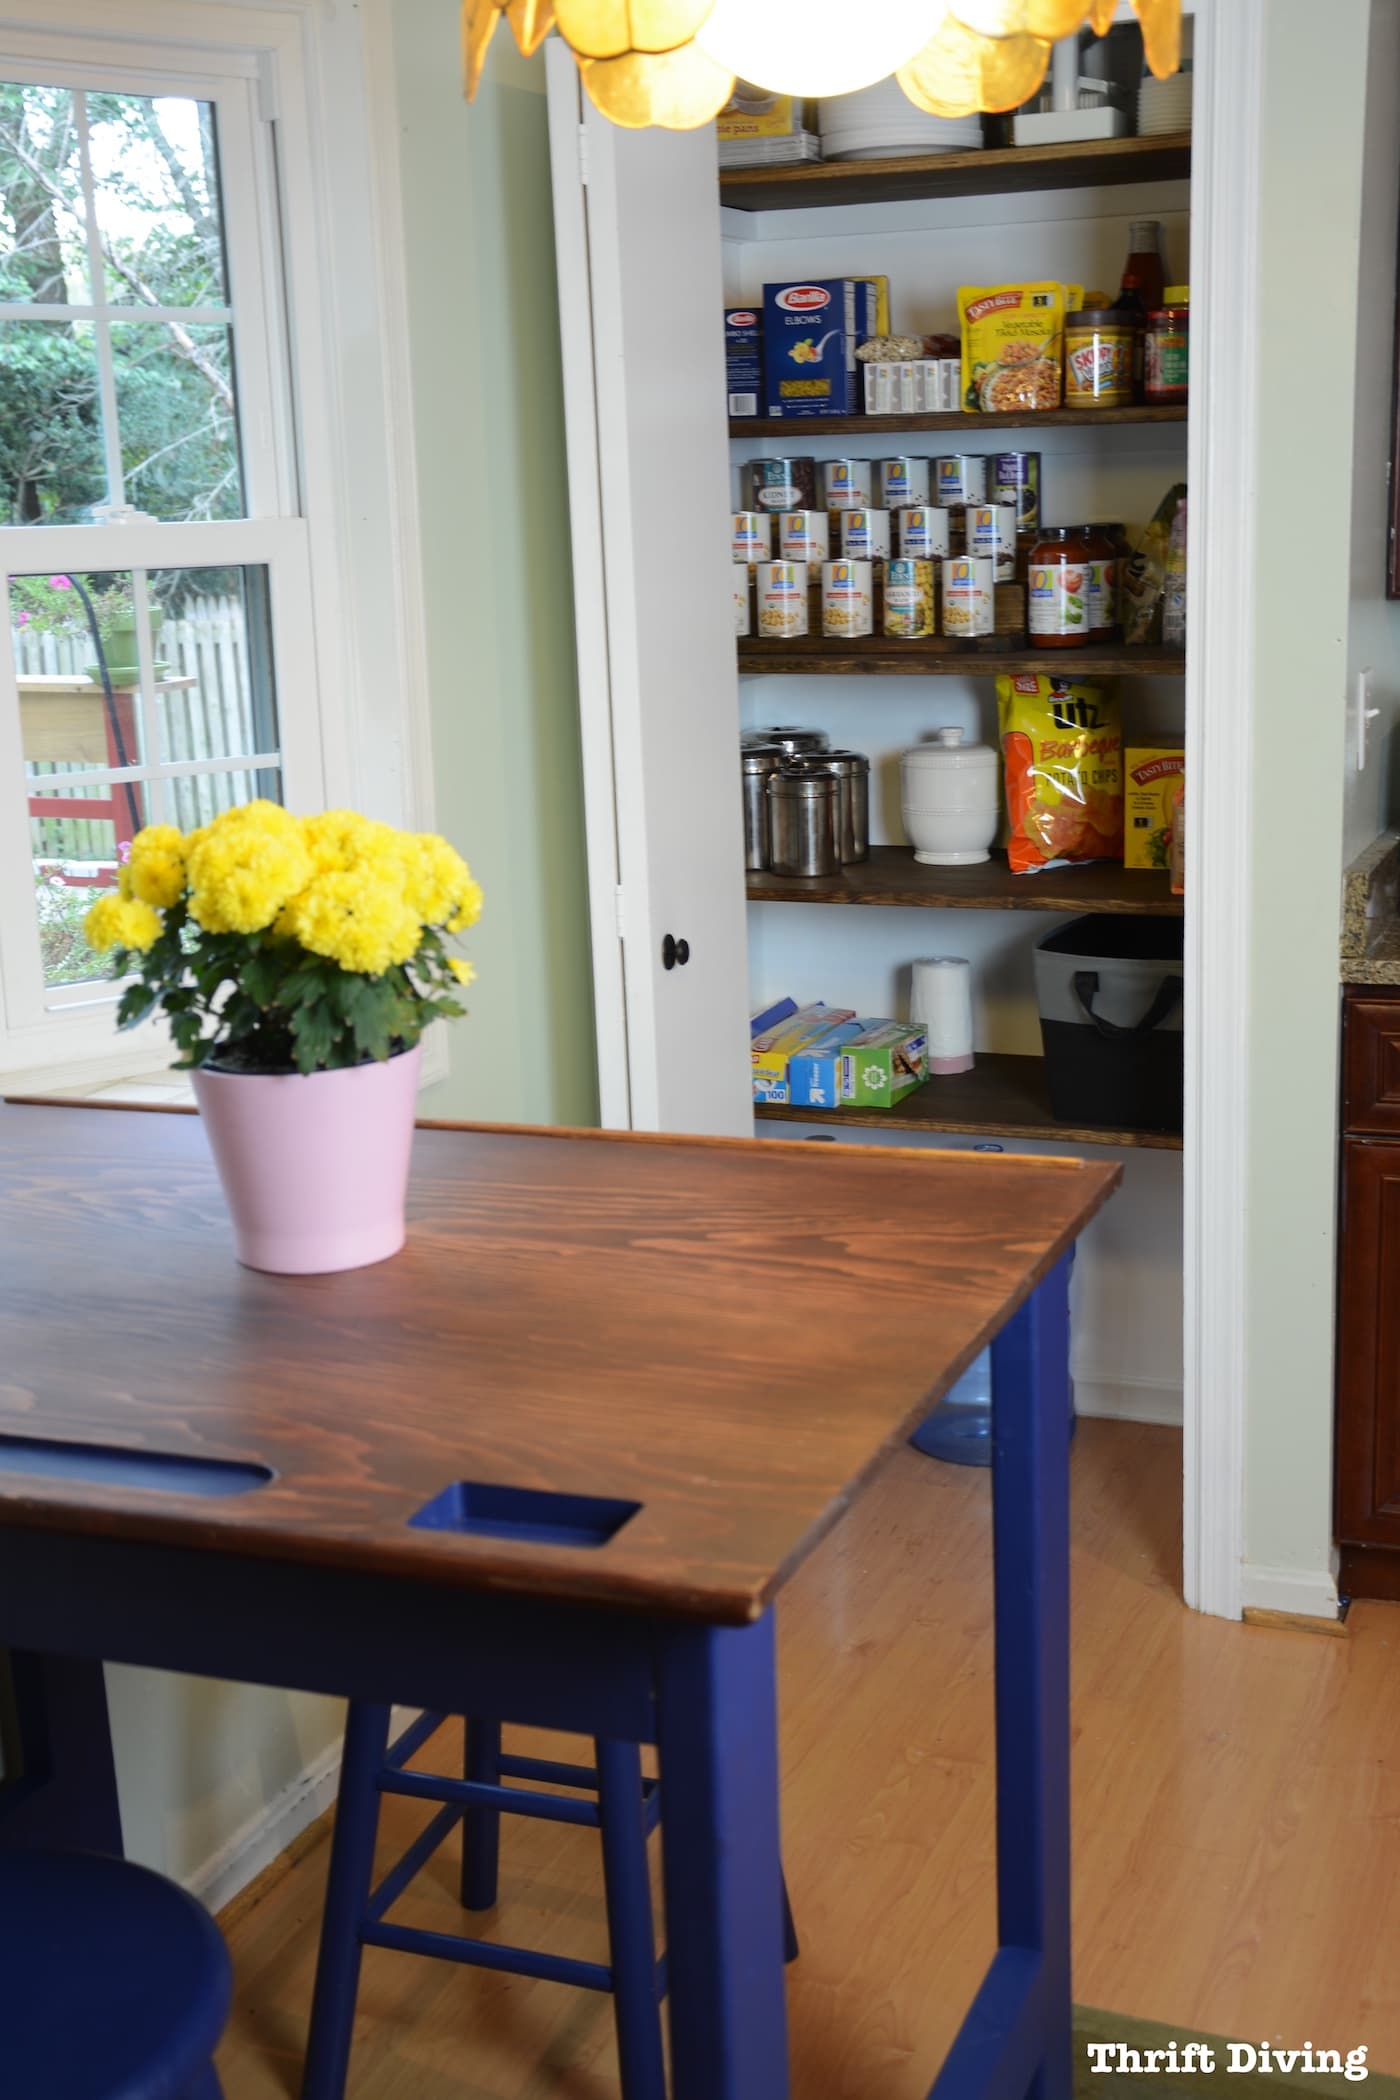
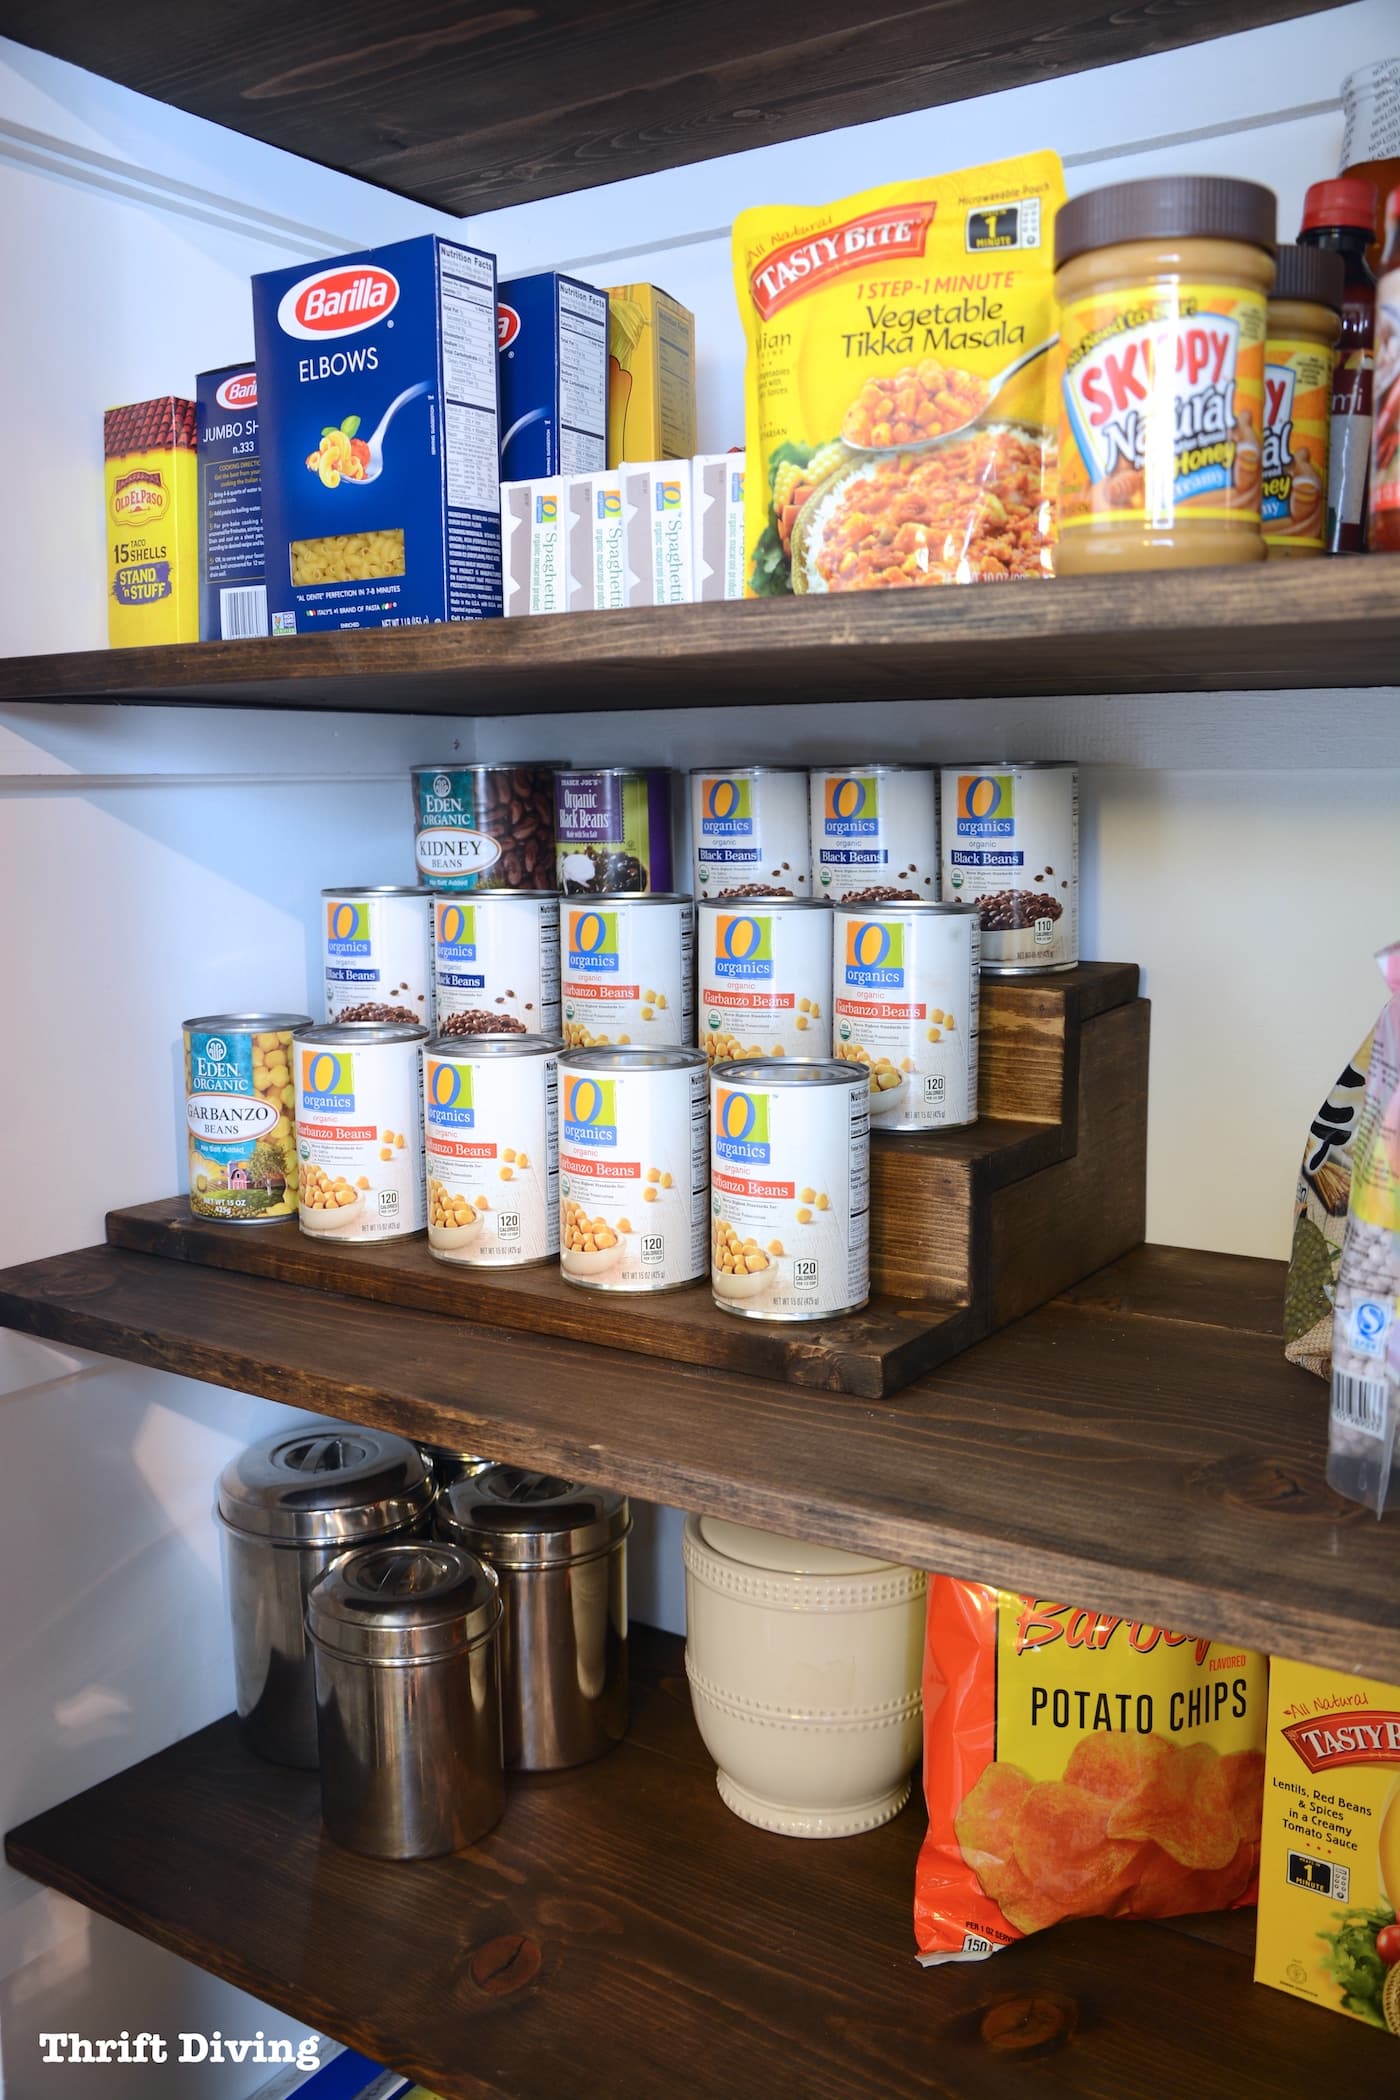
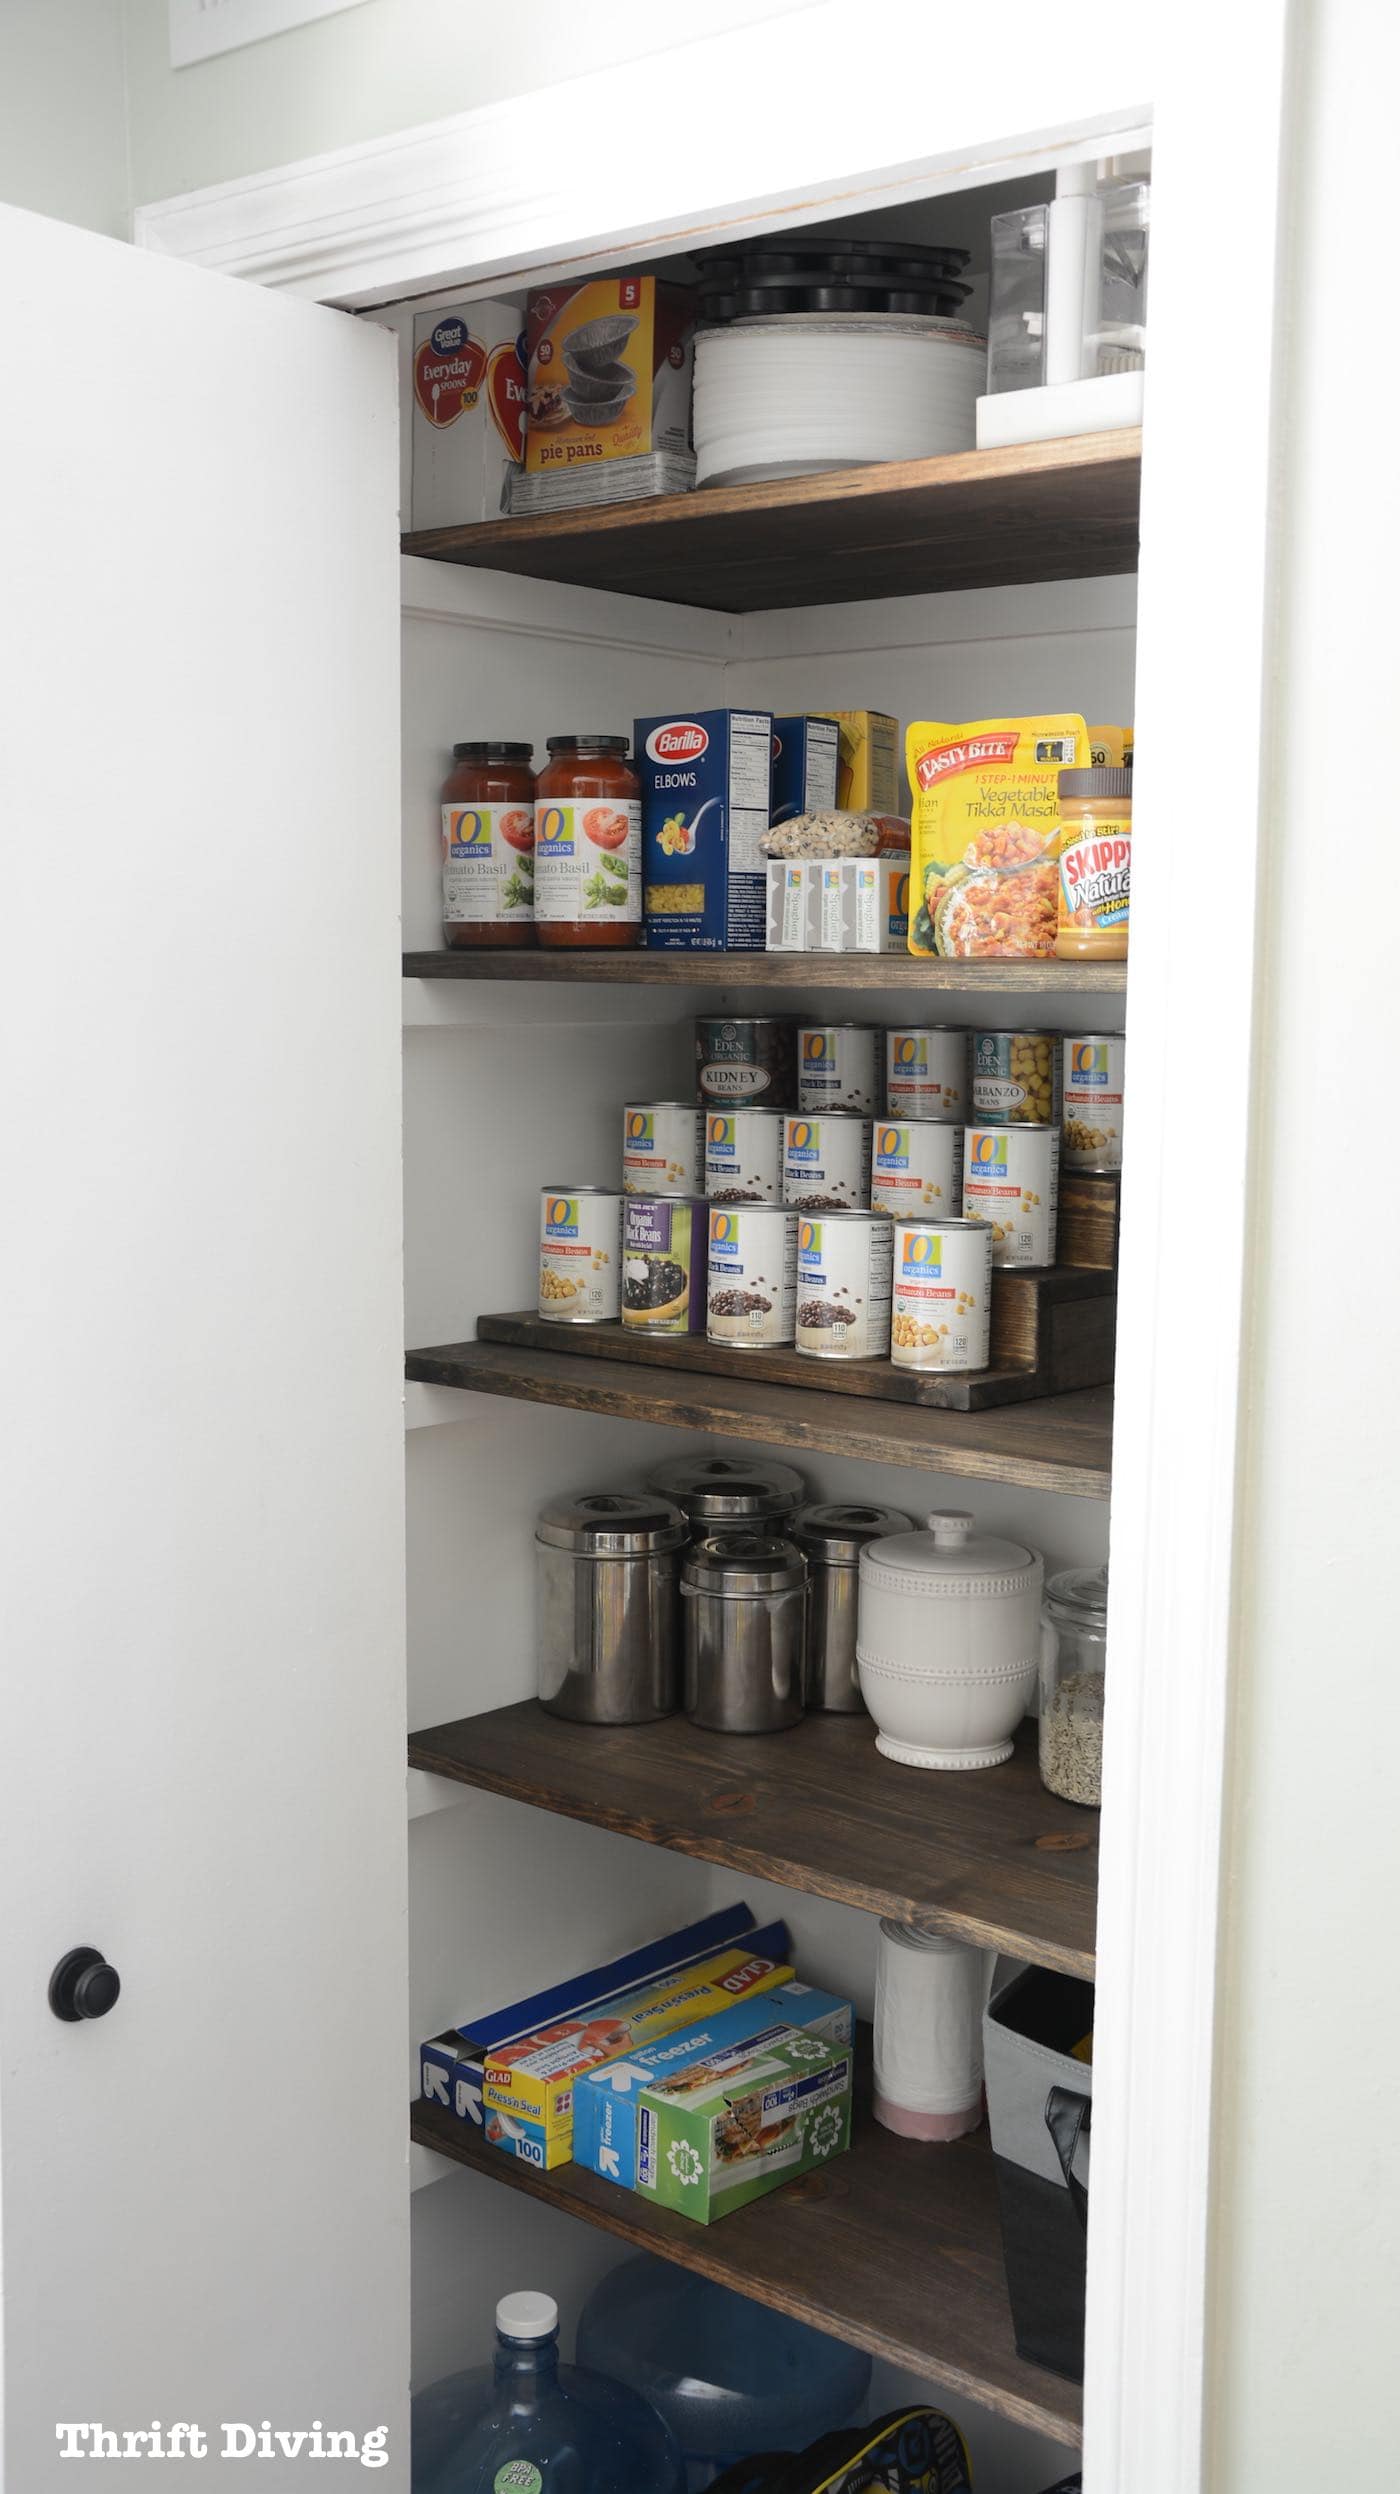
AFTER!
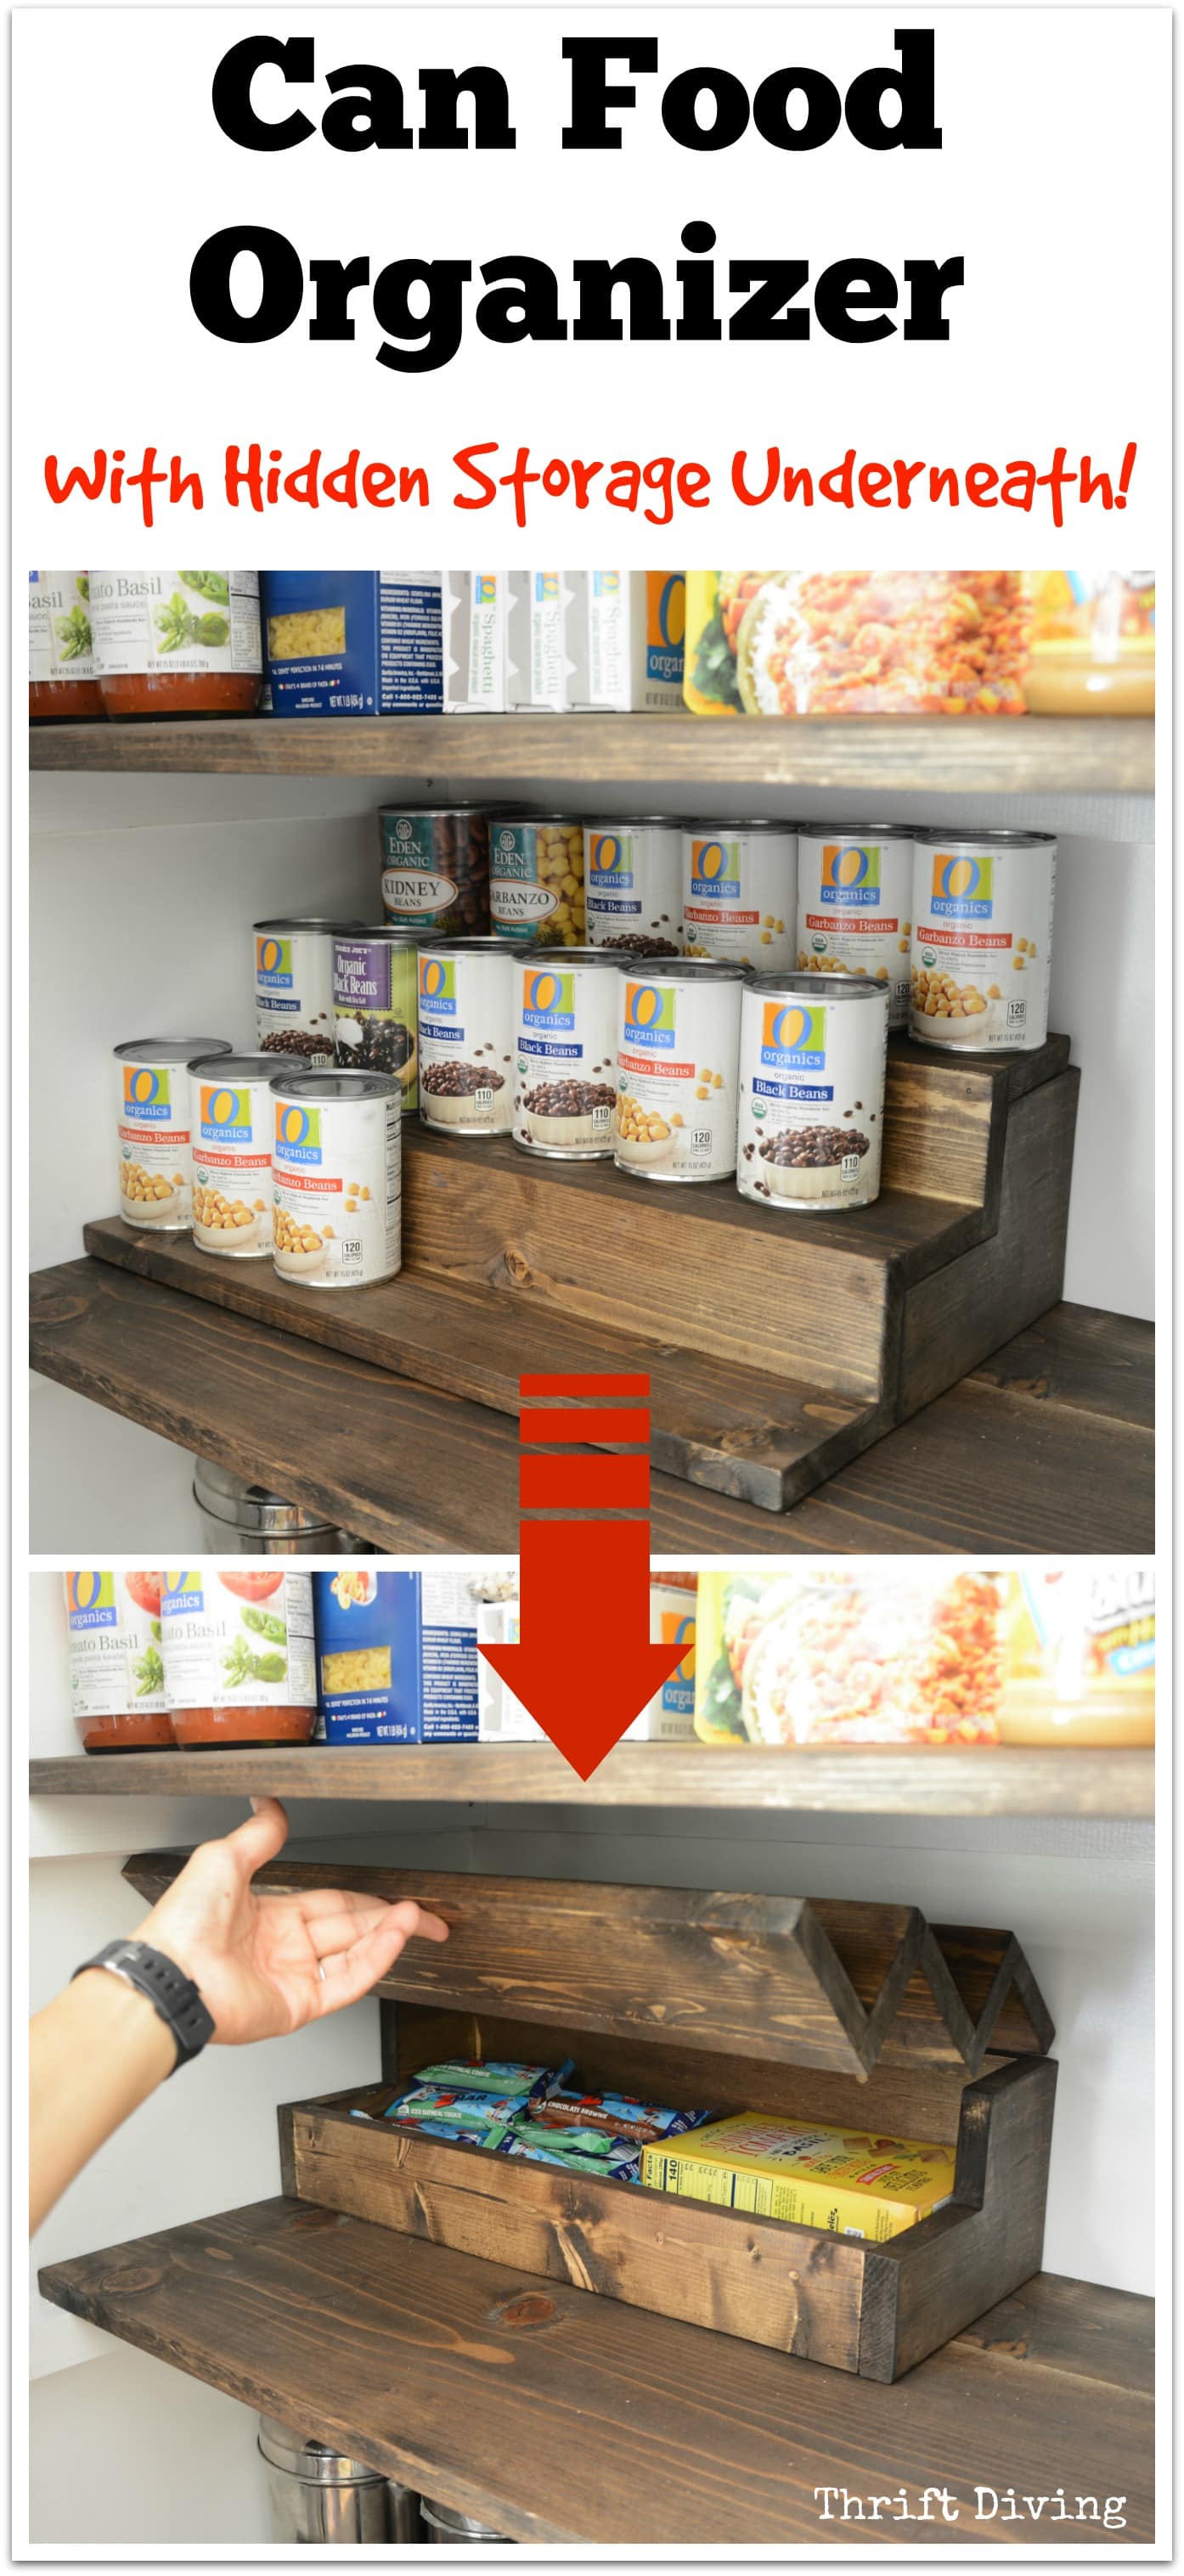
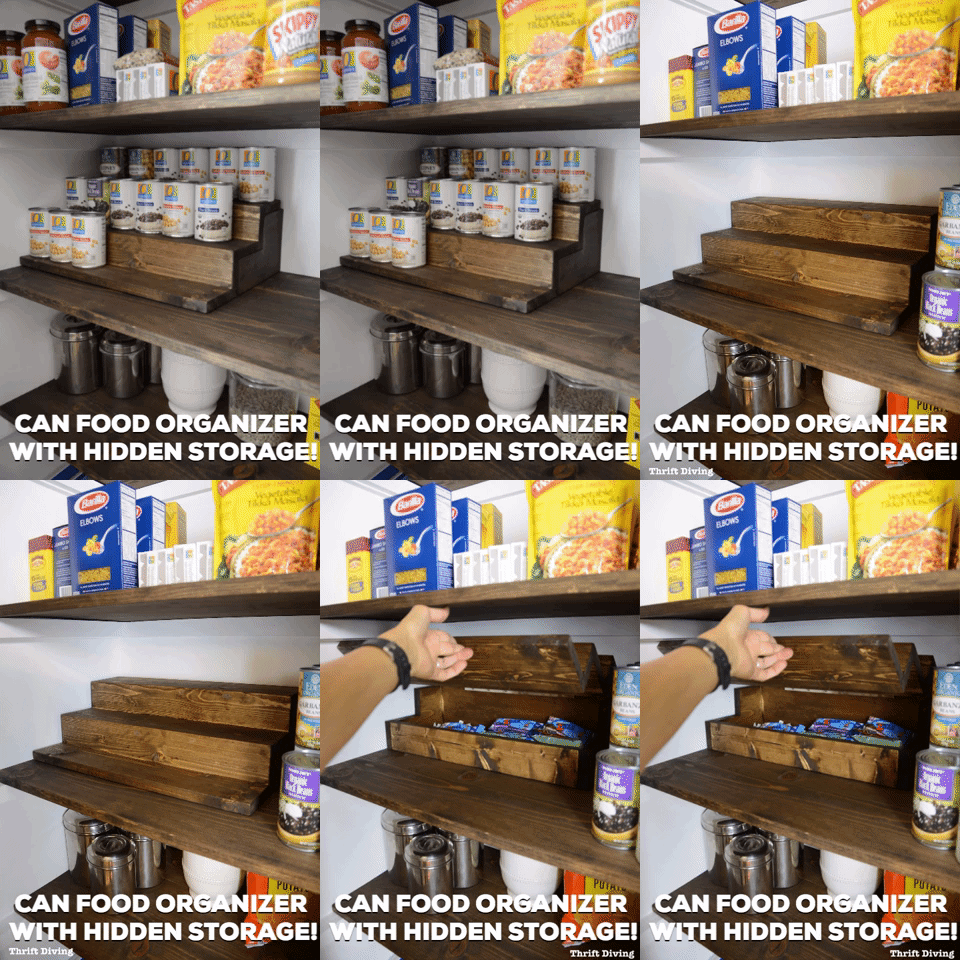
Now, there’s organization, along with a clever little DIY can food organizer!
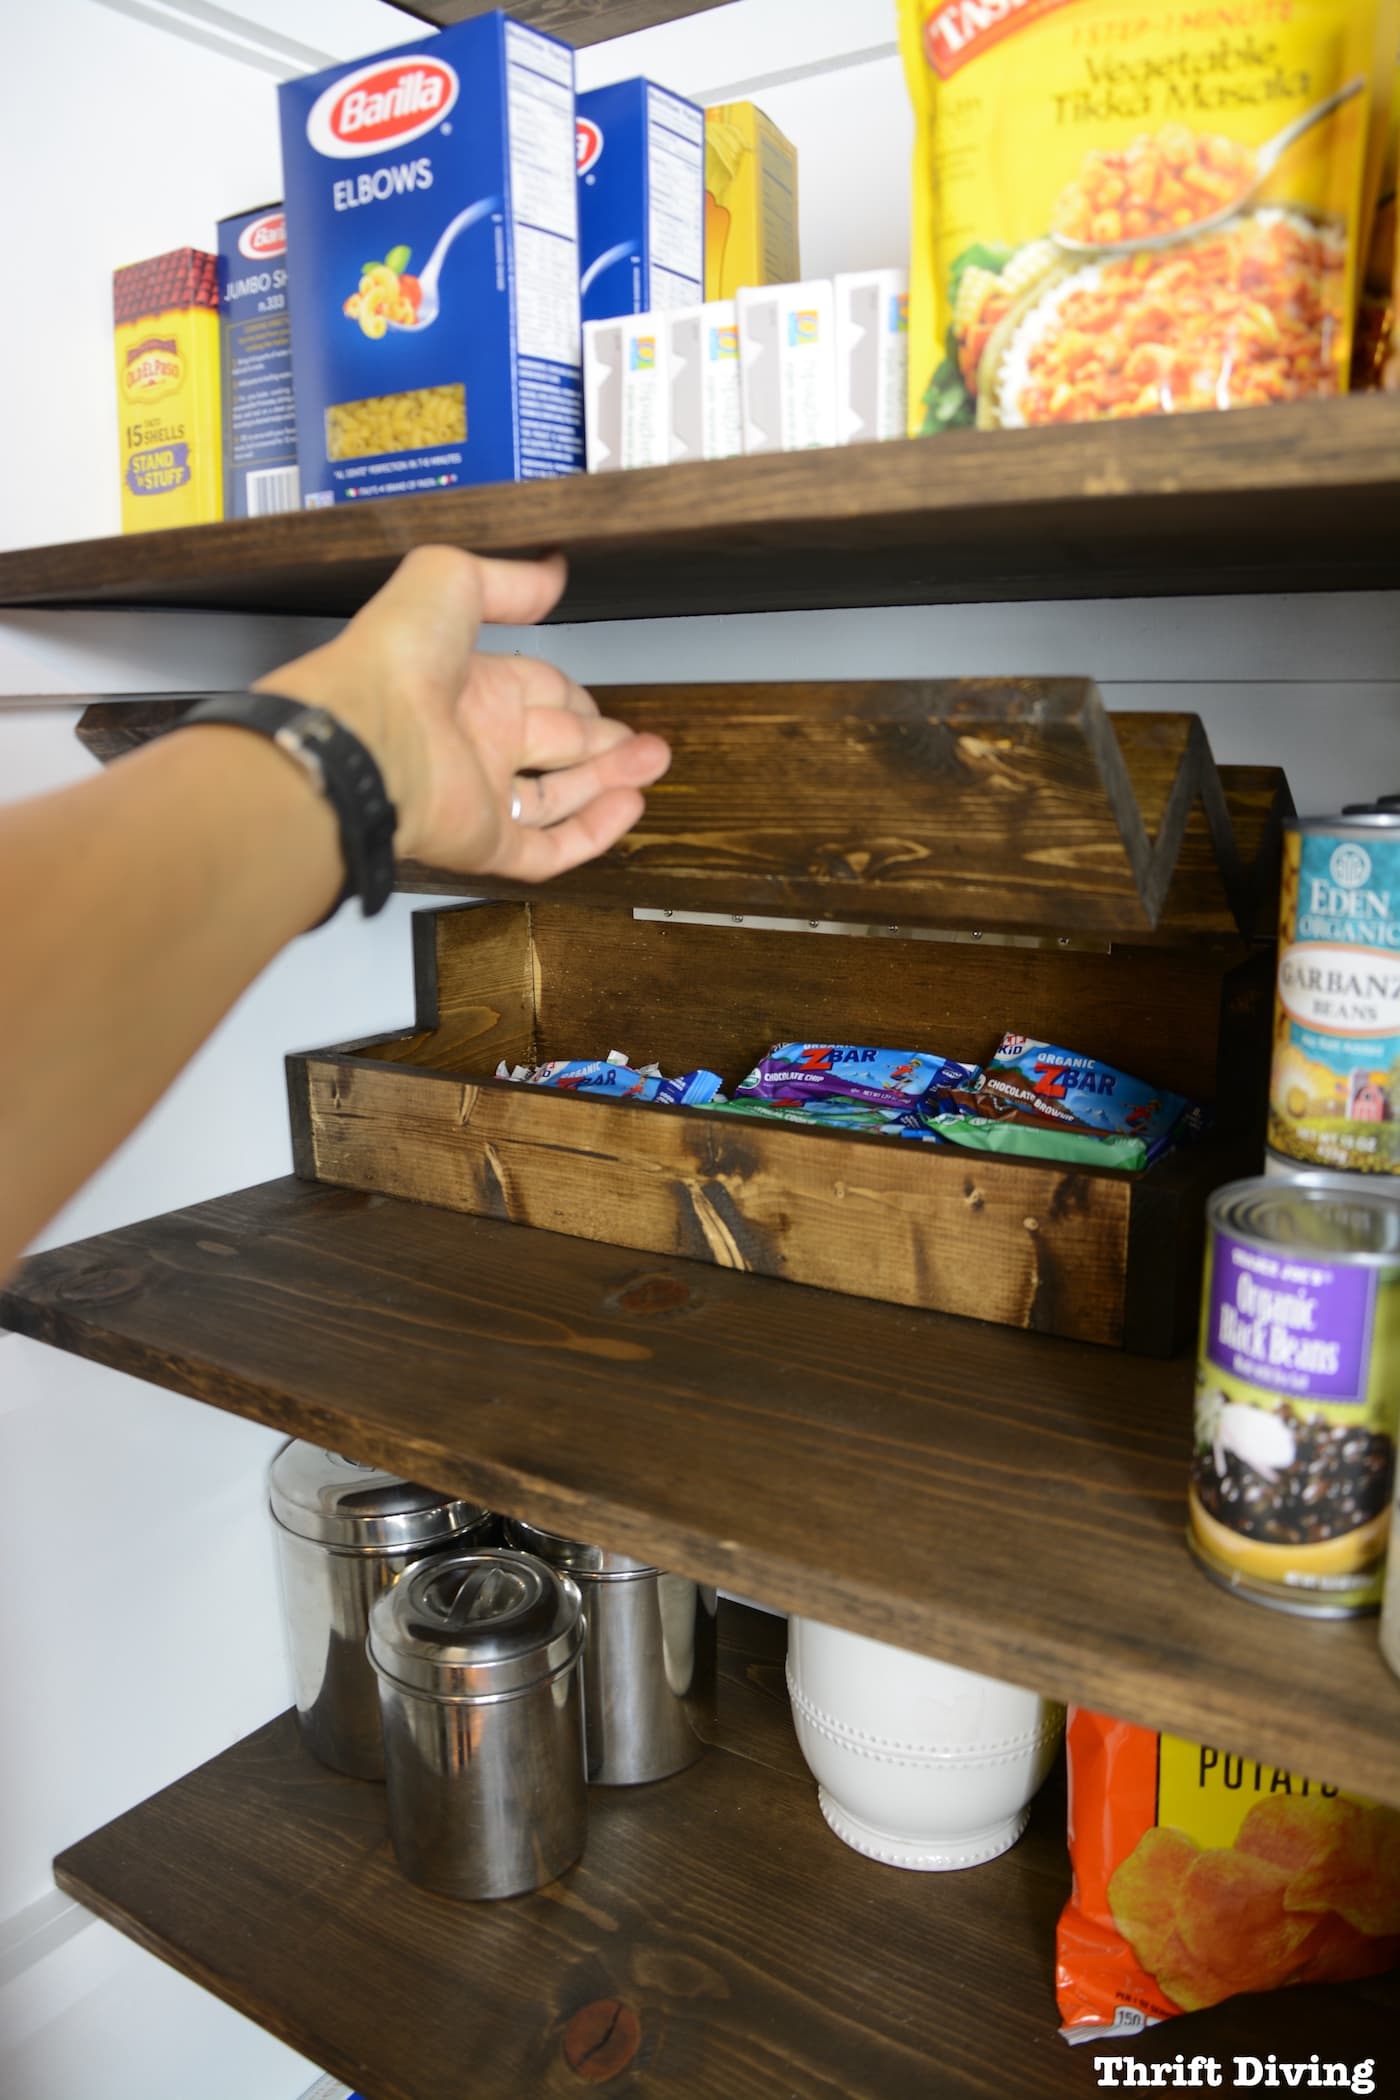
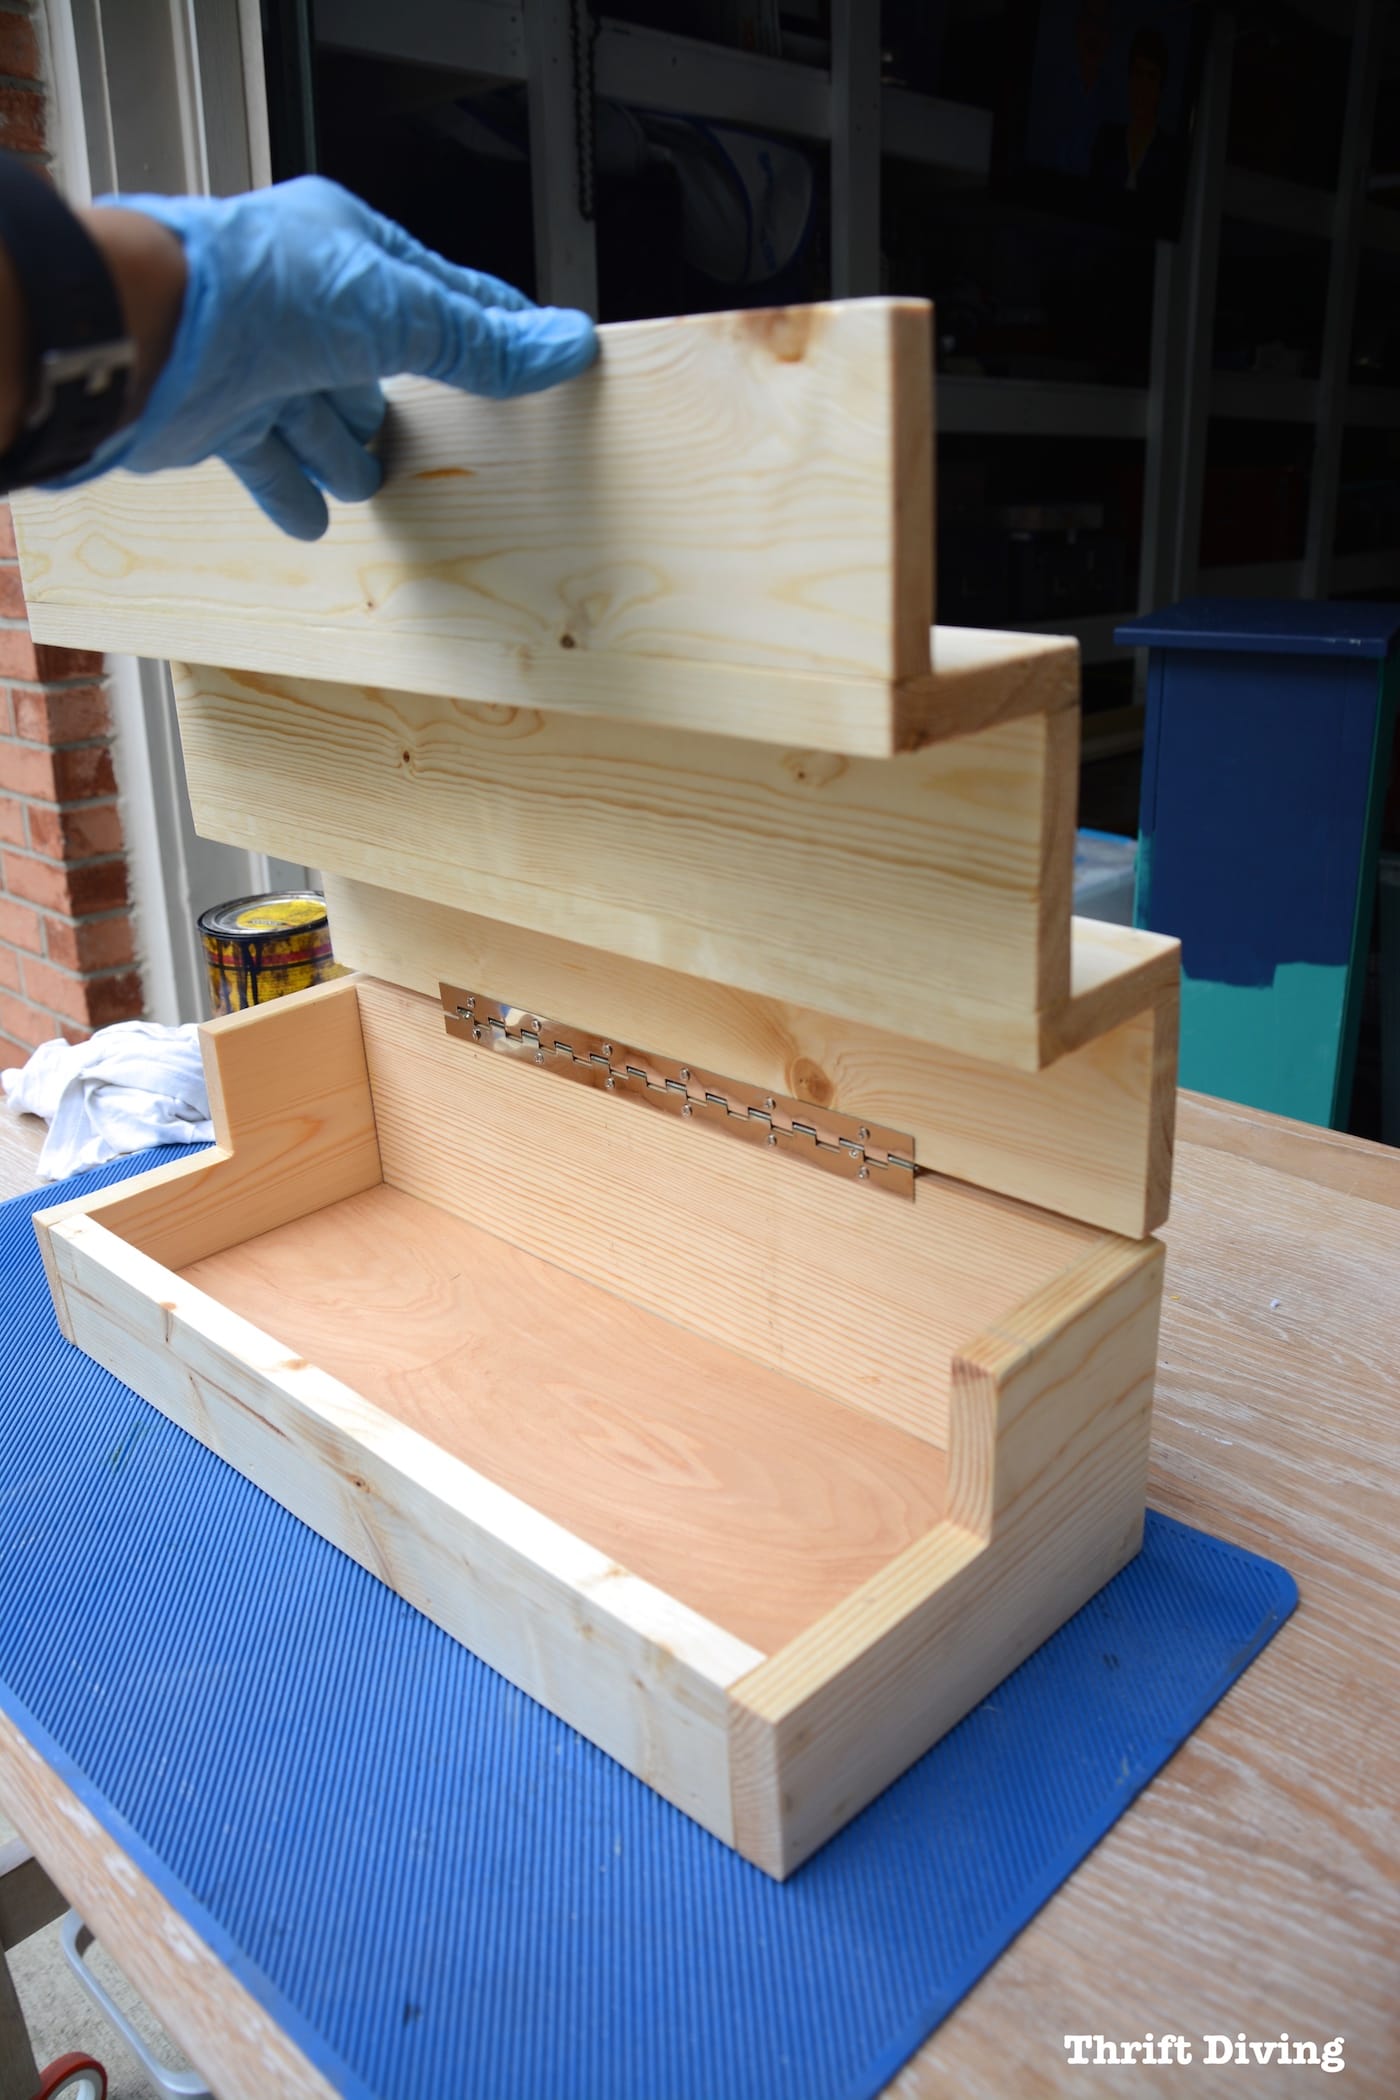
When you lift it up (after removing the cans, that is), there’s a storage box area underneath where we can hide snacks and candy from the kids!
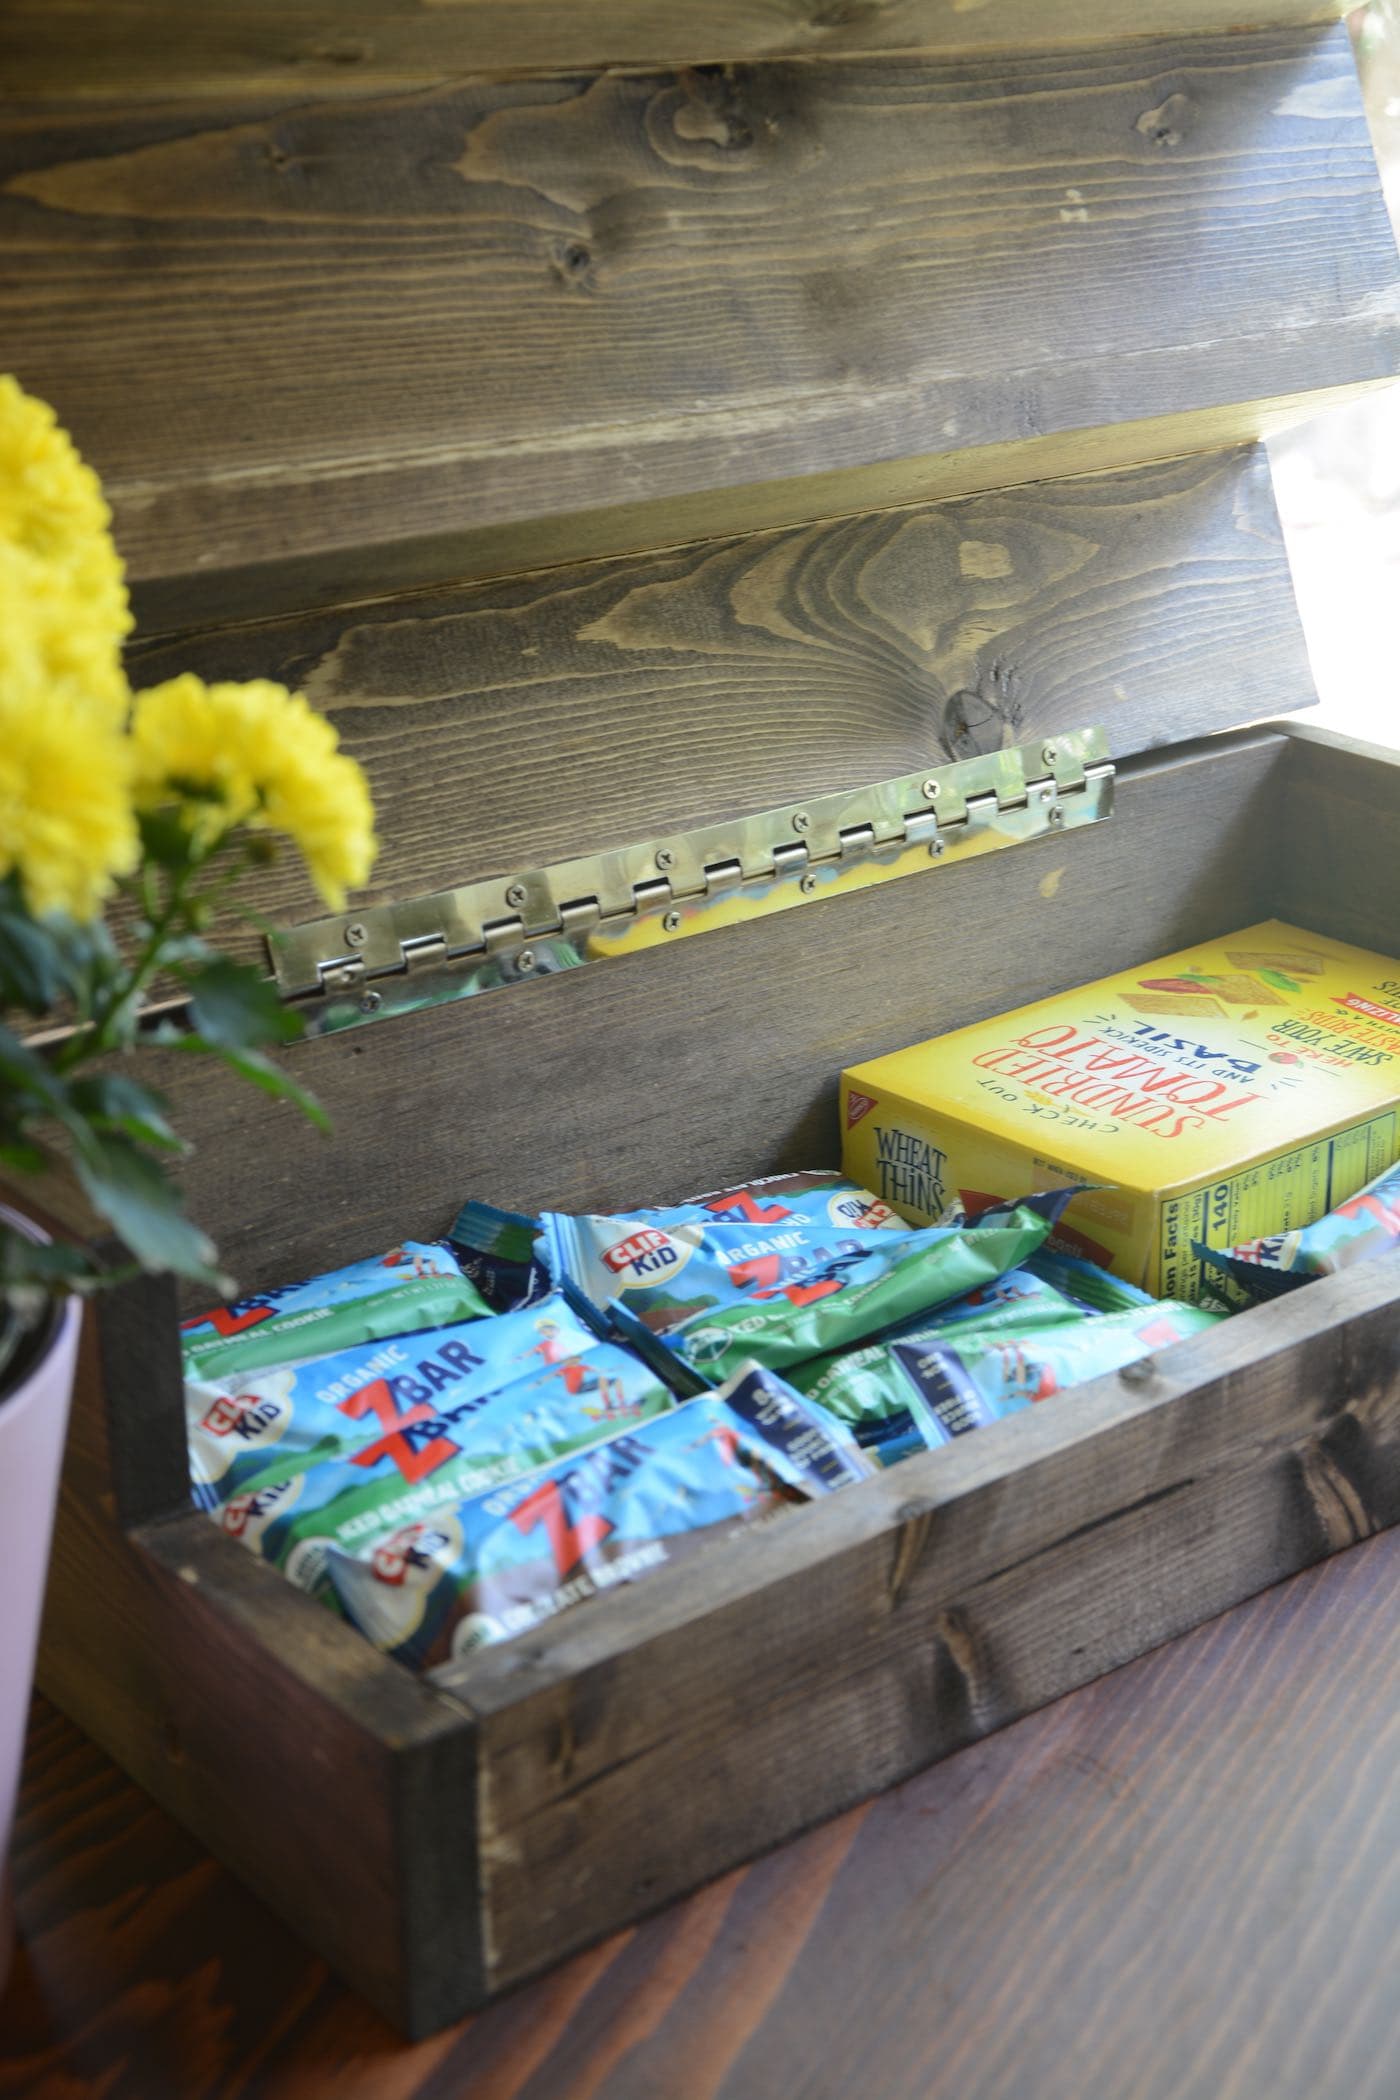
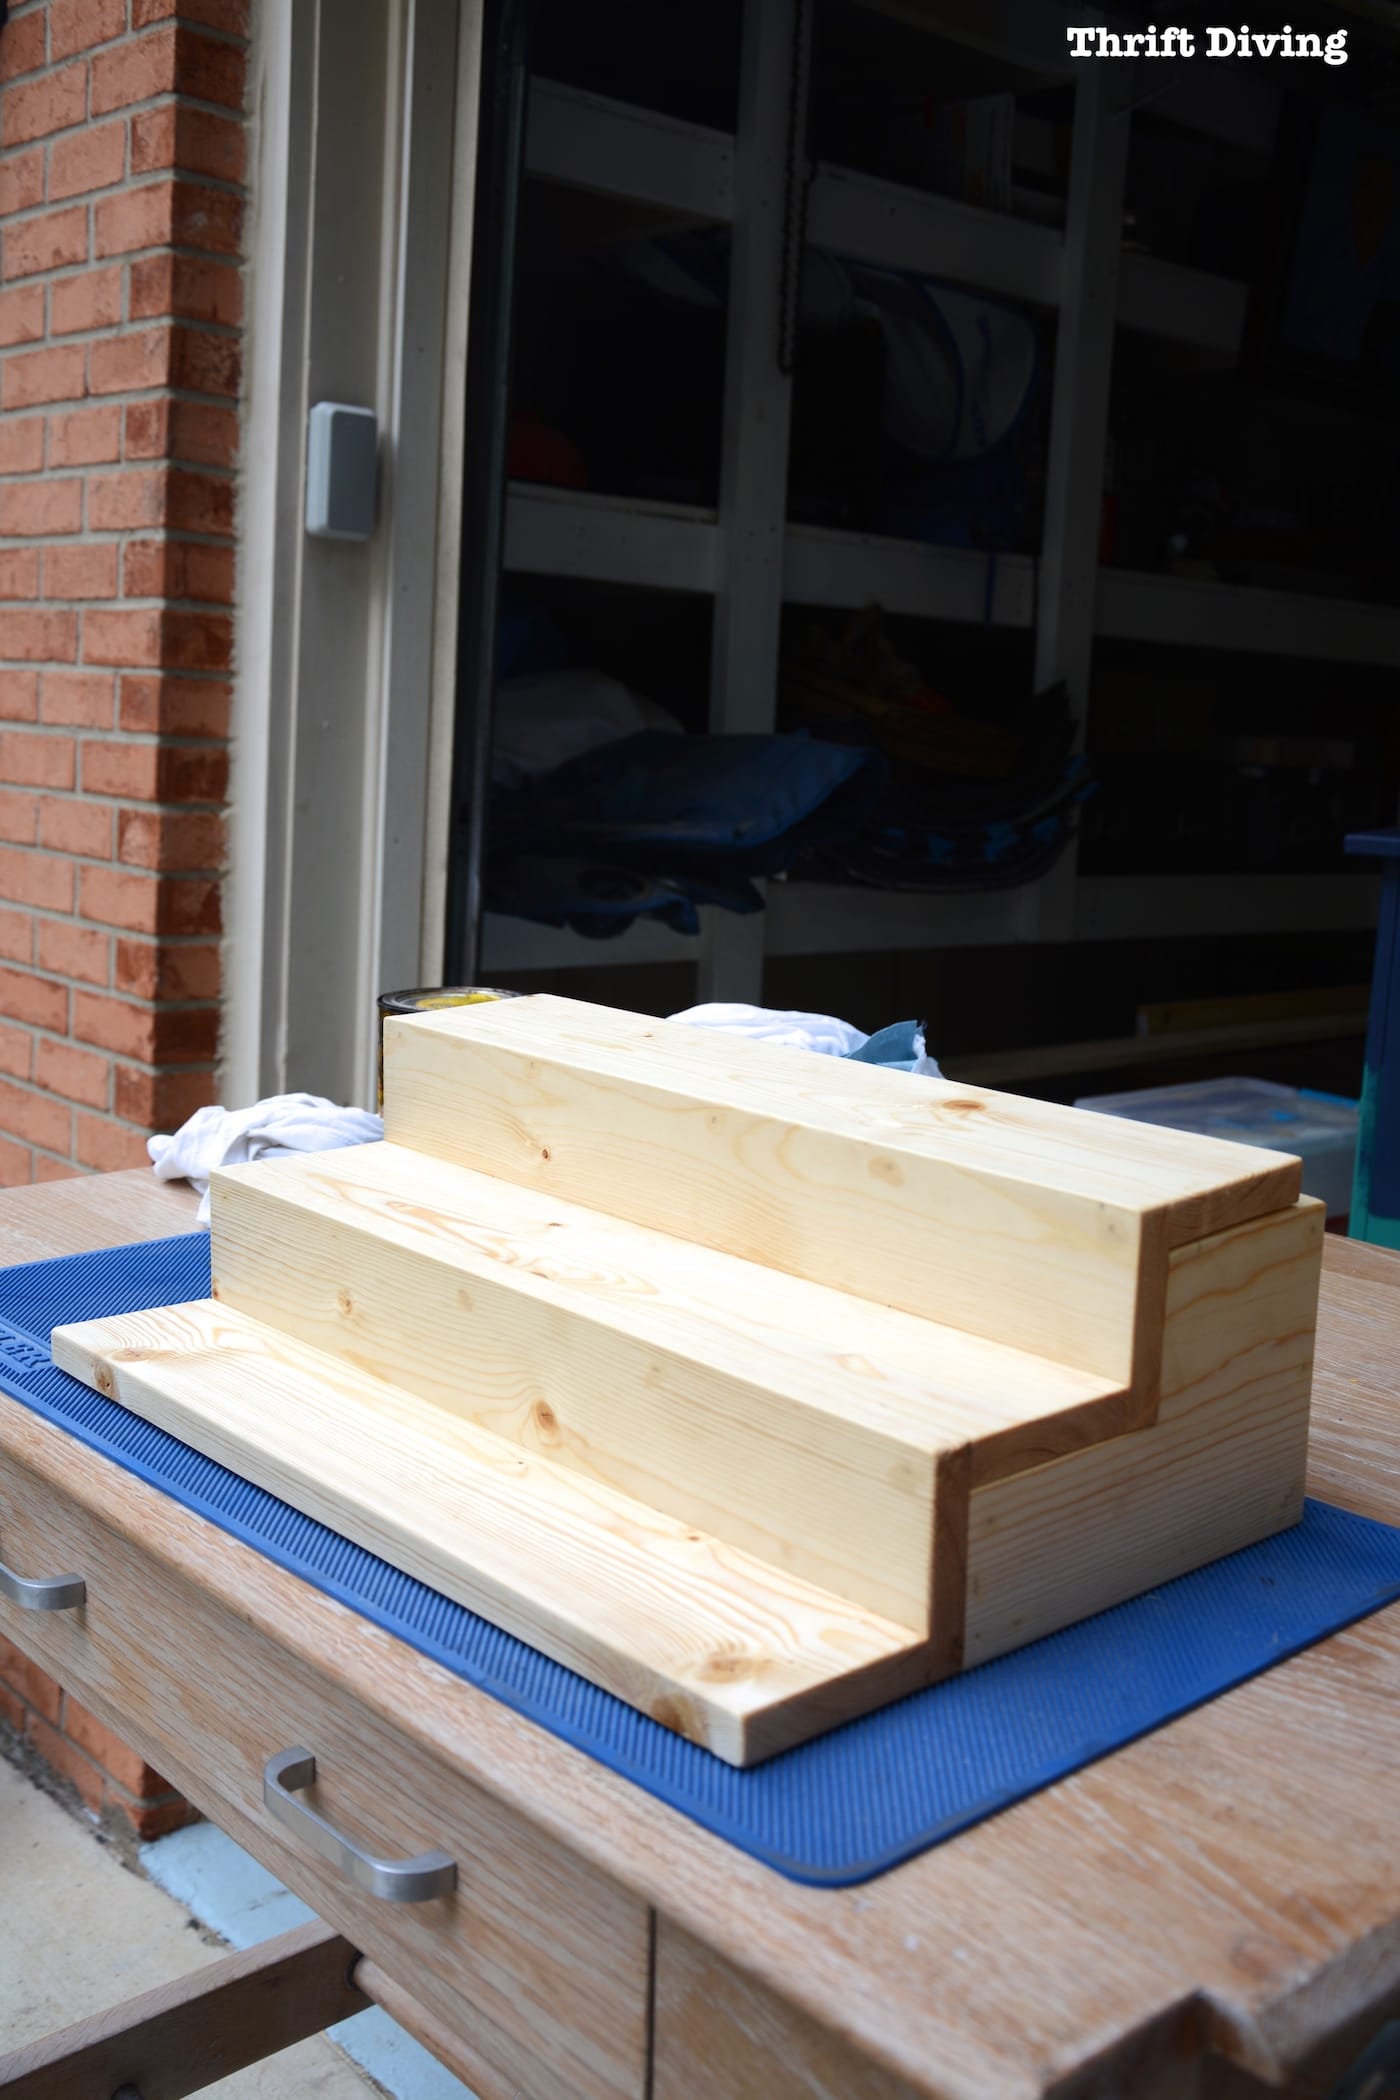
Here’s a look at this project without stain:
When the lid is opened, there’s plenty of storage to hide treats, money, and other small treasures that people wouldn’t suspect to be hiding inside of a can food organizer! HA!
Where the Inspiration Came From For This Can Food Organizer
I love my cell phone.
It’s like my own personal “pocket Pinterest” because when I’m out and about, I snap pictures of things my eye is drawn to–whether it’s color, style, anything. And often, I incorporate it into my creative life (like the time I was inspired in a public restroom and figured out how to tile your own table top with ceramic tile that resembled that restroom).
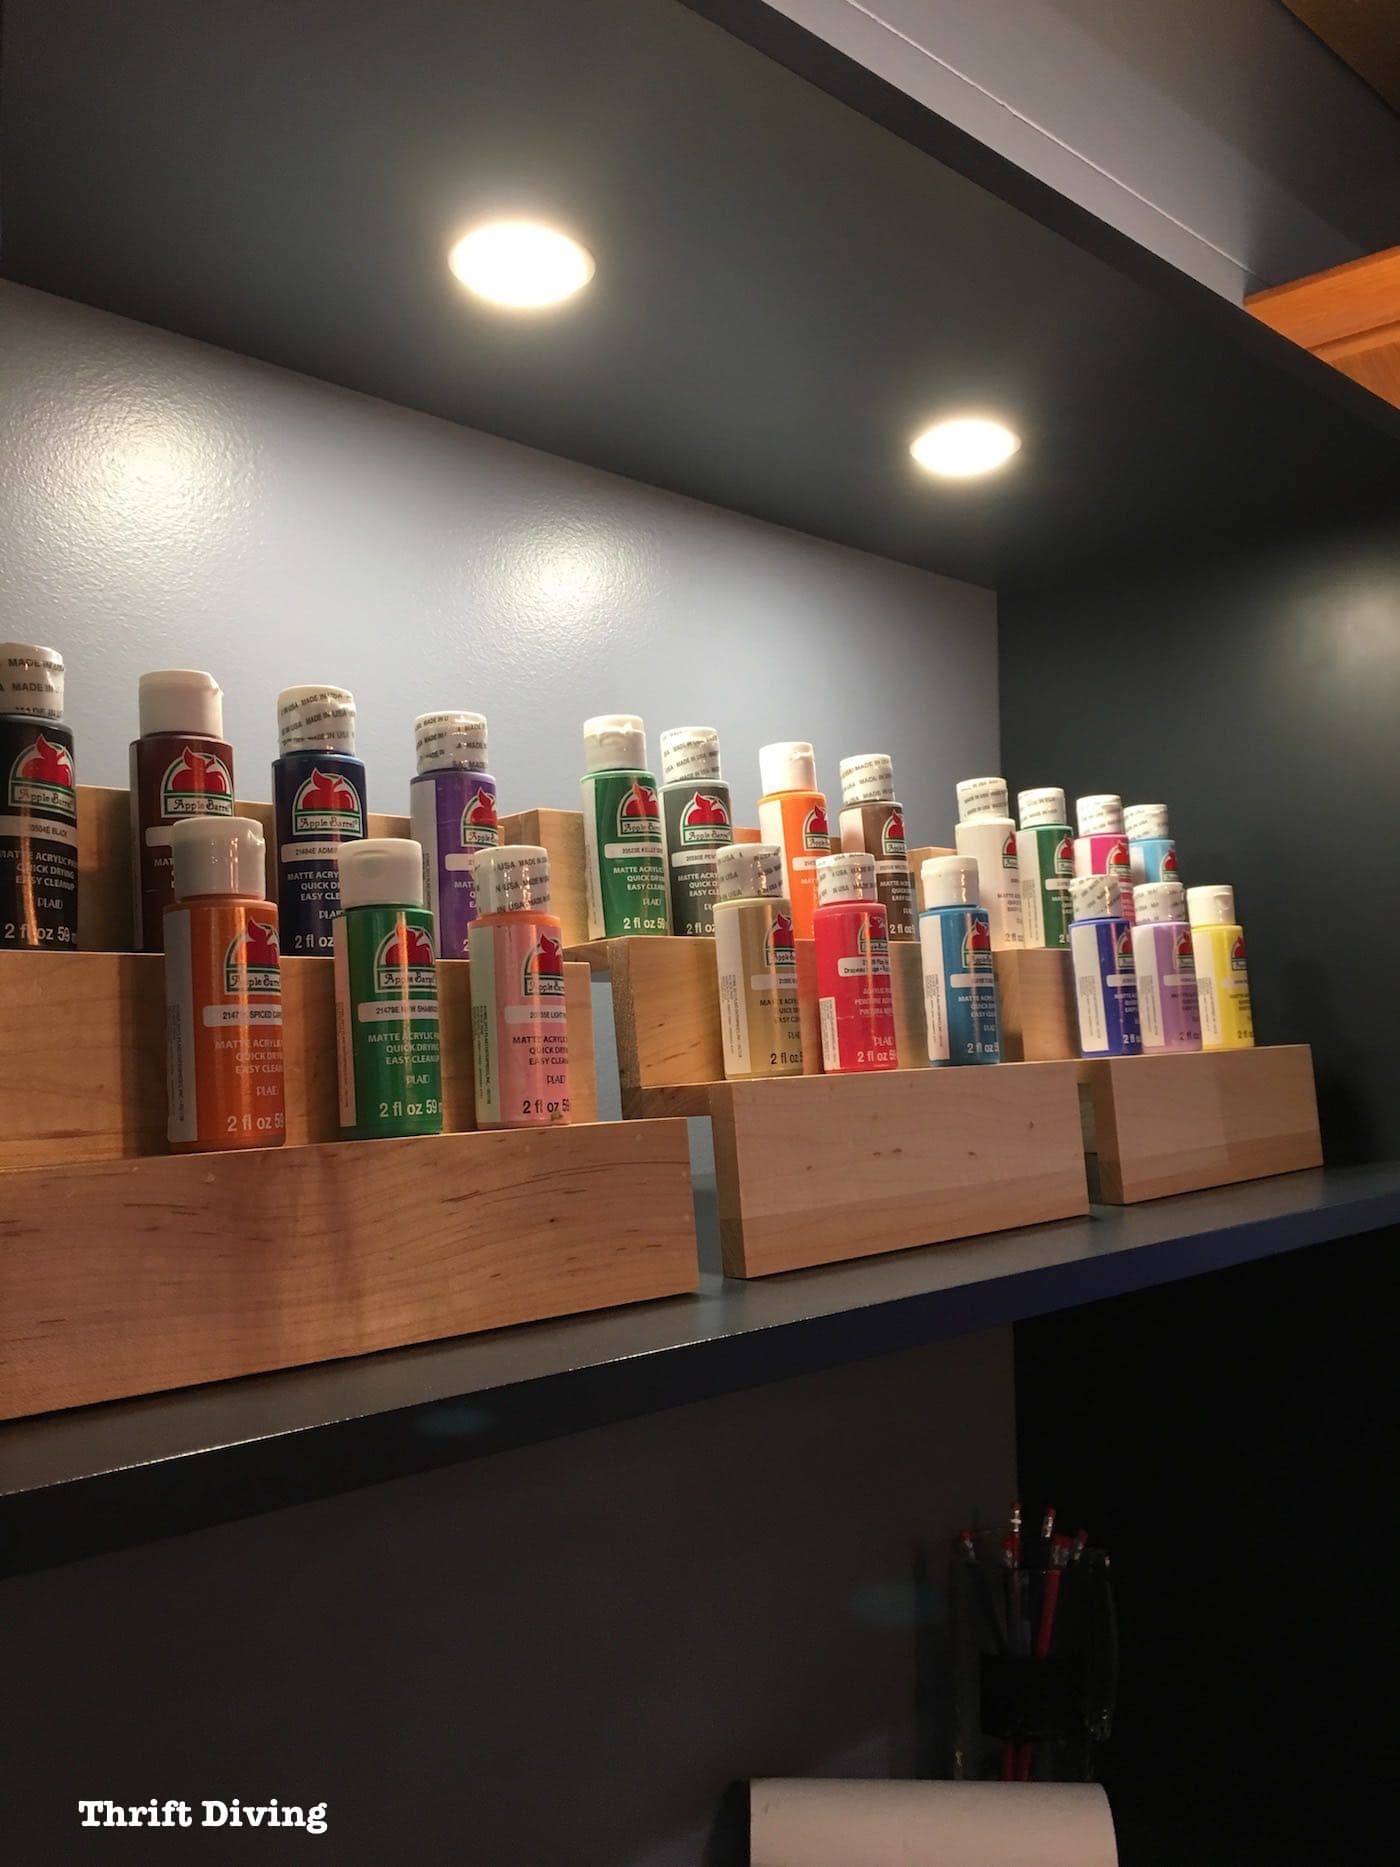
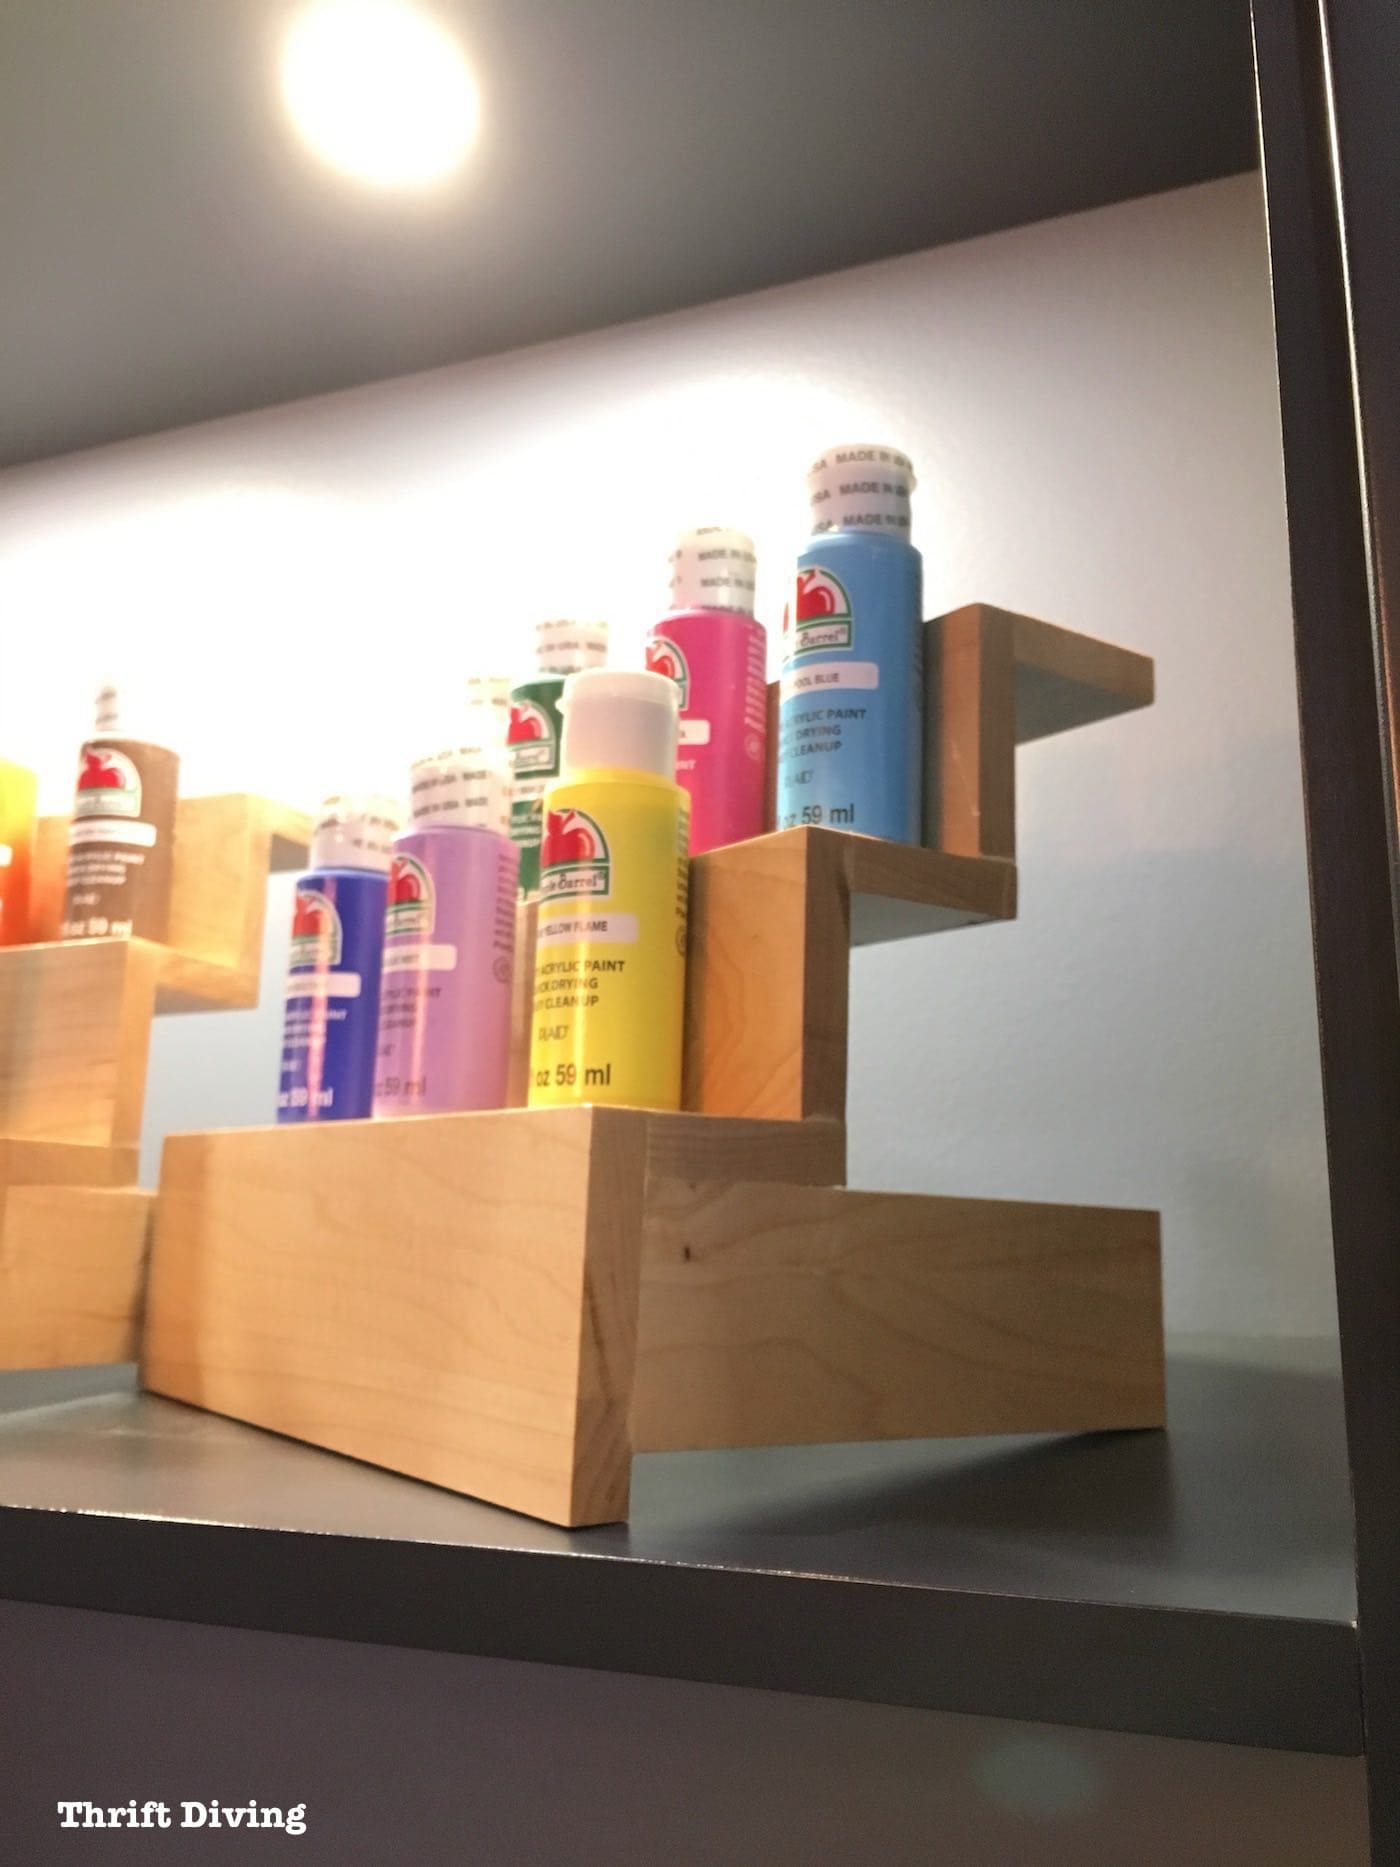
Last January I attended the Kitchen and Bath show in Orlando, Florida and saw little shelf display in one of the booths.
I was so inspired by it I took a couple of shots, knowing that one day I would do something similar.
It was such an easy way to organize and display craft paints!
Nine months later, when I started thinking about creating this can food organizer, that little shelf came to mind.
And when I decided to turn it into hidden storage, I figured out how to make the top hinged and to create an inside compartment.
Anyhow, I love this project!
Now we can see all of our canned goods on this can food organizer, and when lifted up, there’s a place to store things that we want to save for ourselves or keep from the kids. 🙂
And you don’t have to remove all the cans to lift it up. It just depends on how tall your shelves are. Hubby just lifts it up and I am the one that removes the cans first. It only takes a few seconds and isn’t a big inconvenience. 🙂
Why Should You Use Pre-Stain Wood Conditioner For Pine?
I wanted to add a note about the pine shelves in my pantry makeover and the can food organizer from pine.
Because of that choice in wood (it’s inexpensive and readily available at home improvement stores), I had to use pre-stain wood conditioner on it first to prevent the blotchiness which is very common when staining pine (because of how some parts accept the pigment and other parts don’t accept the pigment as easily).
I created this video to show you why you should use pre-stain, especially if you’re using pine to build panty shelves like mine or creating DIY projects with pine.
Read the Tutorial on RYOBI Nation
If you’d like all the details on how to make this pantry organizer with hidden storage, you can find it over on RYOBI Nation!
Thanks for reading!
Download the 5 freebies!

Thrift Diving inspires women to decorate, improve, and maintain their home themselves...using paint, power tools, and thrift stores! Use these 5 printables, checklists, and ebooks to get started!


Can in strip the paint and stain the original shelves you had in your pantry?
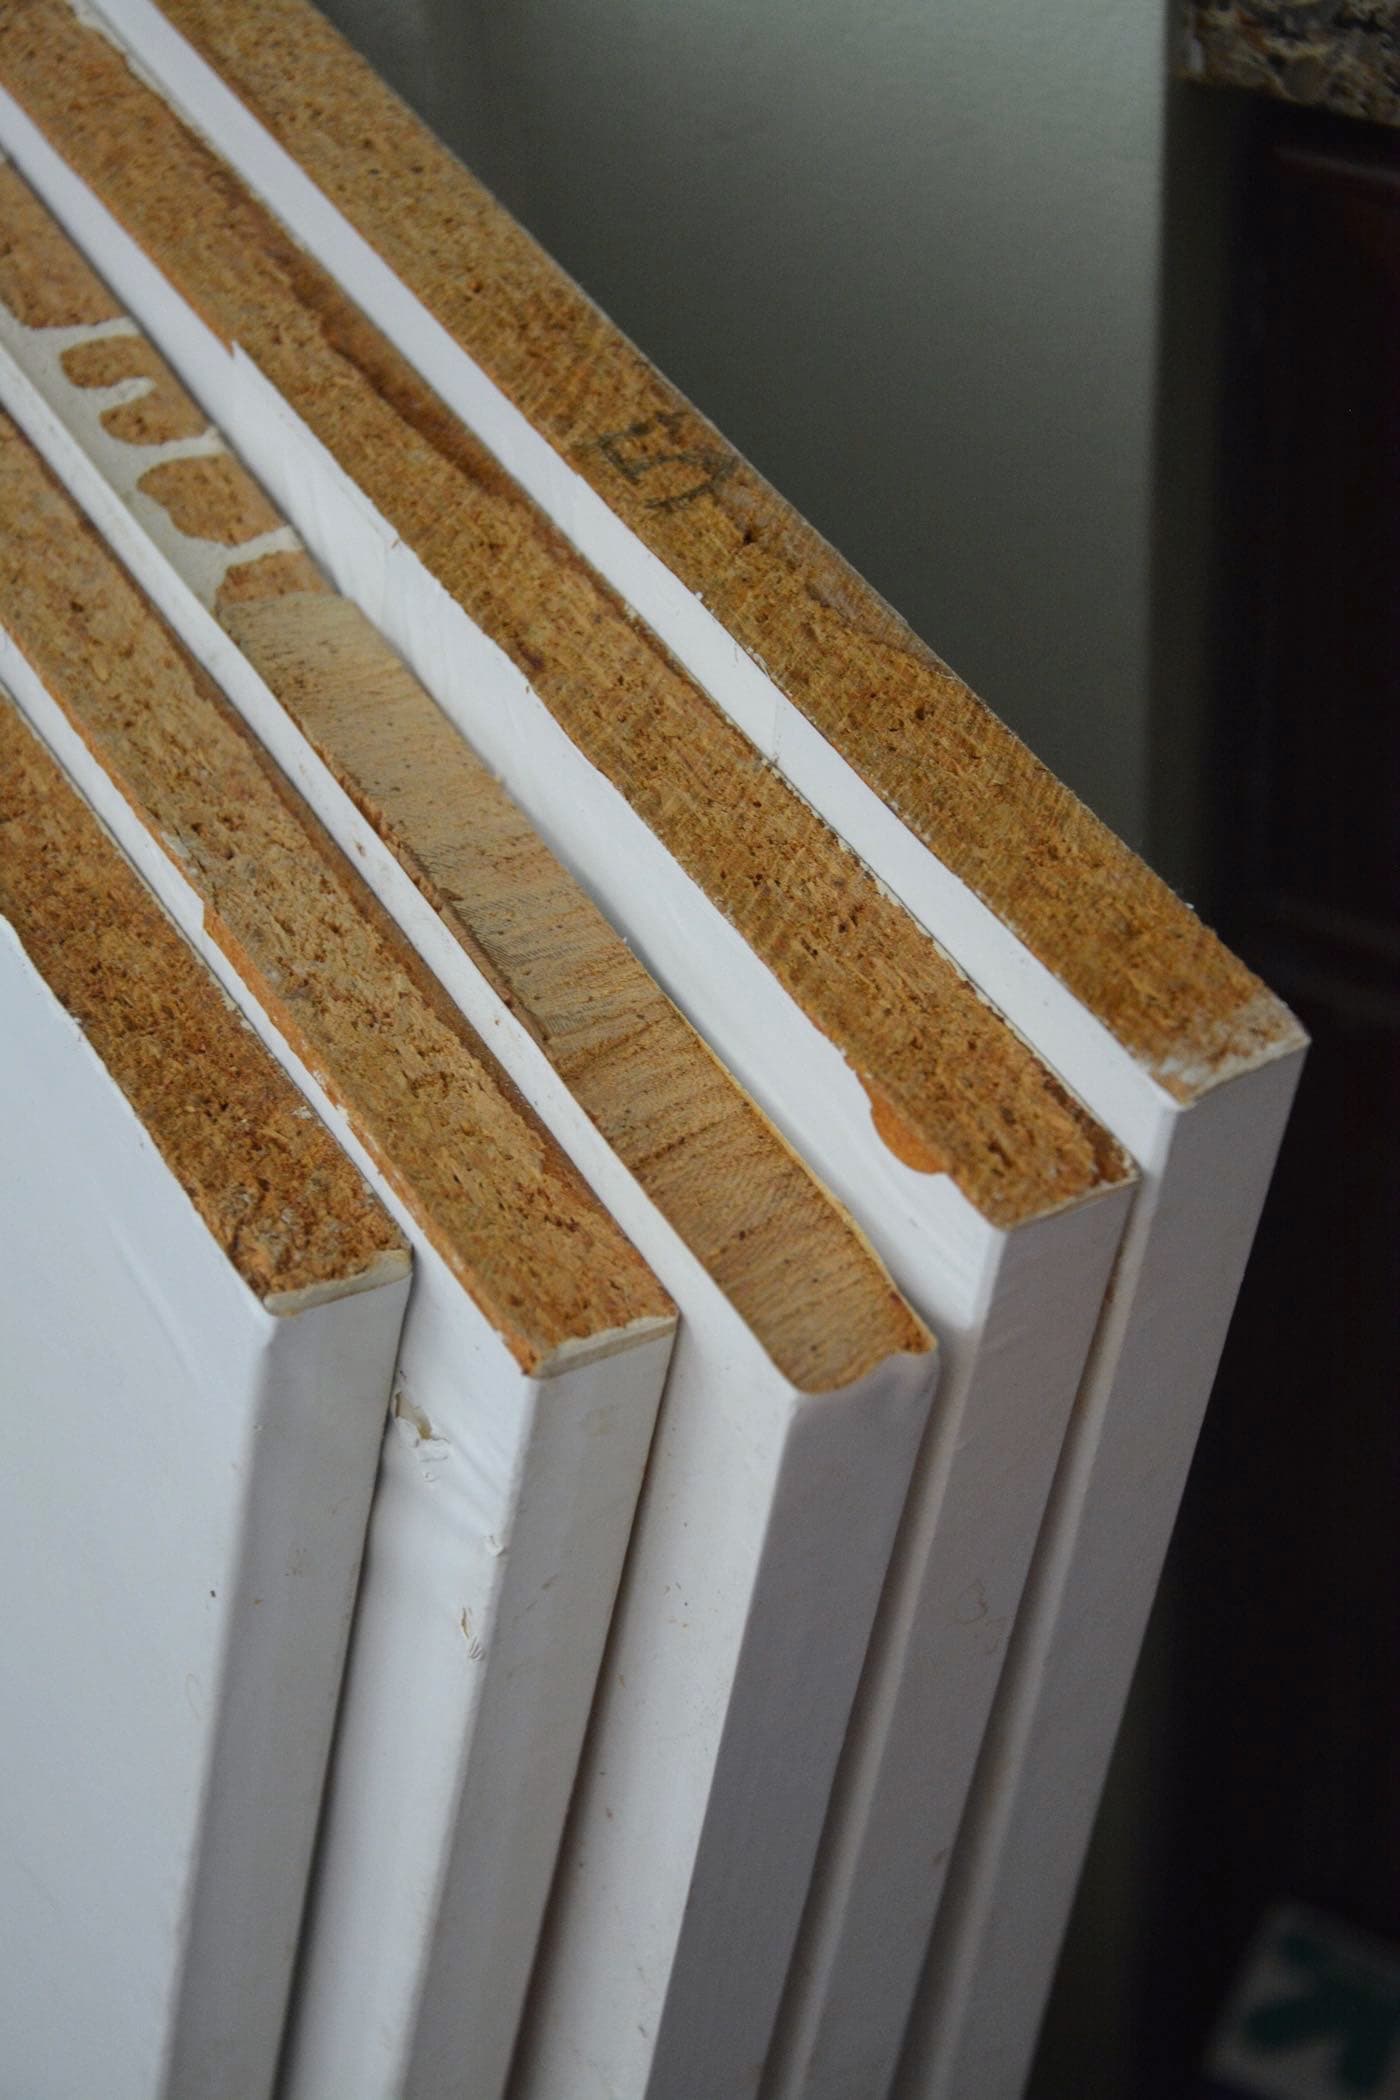
I wouldn’t have been able to do that with the original shelving because it was particle board with contact paper over it. It wouldn’t have worked. Better to cut make some new shelves. 🙂
Can you do one with one end open. Just make shelves the same length of the tin foil, wax paper etc and store them out of the way. That’s if one dose not have anything to hide ! I really love your ideas.
I would hide all my chocolate in there and not share it!
I would hide emergency cash or other valuables in mine.
I love it. I would hide my Reese’s. Maybe stick a $20 in there for emergency cash.
Serena,
I absolutely love your posts and videos!
I learn so much from you and you inspire me to try new things all the time. I had an idea for a change on your hidden storage if you make it again that you may want to consider, either do a drop down door on the front so you can slide the small things out that you store/hide in there or, a “door” on the side that when opened slides the inside out like a drawer. No one would know that it was there on either option and you wouldn’t need to unload it every time you wanted to access it especially if you used a push magnet latch for the front drop down door. Just a thought.
Thank you for all of your great ideas,
Wendy
I would hide snickers. Snickers are my favorite, my sisters favorite, and my moms favorite. We all love chocolate, but sometimes we need to hide it from each other or the stash just disappears, real quick.
What a great idea ! A chocolate hiding place is genius !
Serena, I live in a small RV most of the year as a traveling nurse and this project would be super in many of my already limited cabinets. I would likely put stationary and small office supplies in my secret stash!!! Also would make one for the bathroom for hair accessories and holiday items I use on occasion! Great website blog and videos – thanks!!!
I’d hide my Jellybelly Bellyflops in there– from myself! Out of sight, out of mind, and having to move a bunch of cans to get to them would prevent random impulse handfuls. 😉