BEFORE & AFTER: DIY Wooden Play Kitchen Makeover
I don’t do very many furniture makeovers for kids, but when I do, like this cute little DIY wooden play kitchen makeover, I love it! Usually, with these pieces, you can be a little more whimsical and adventurous, right?
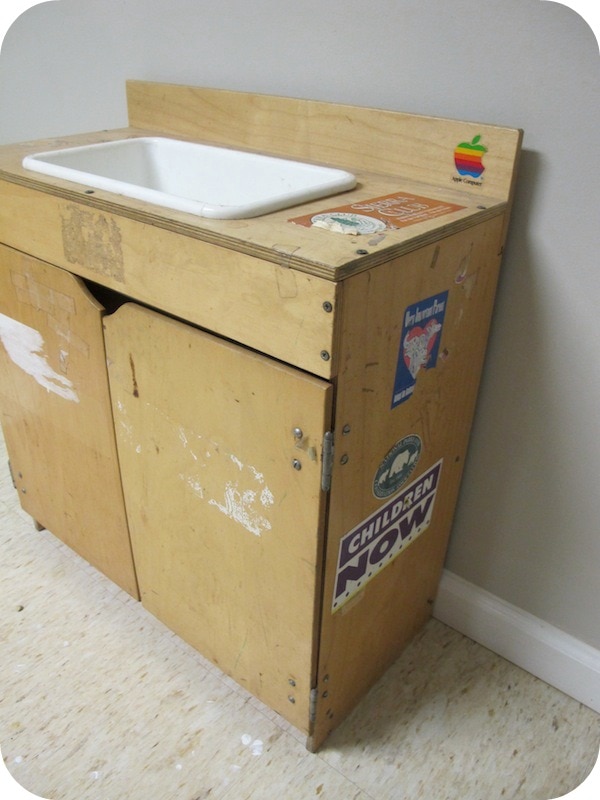
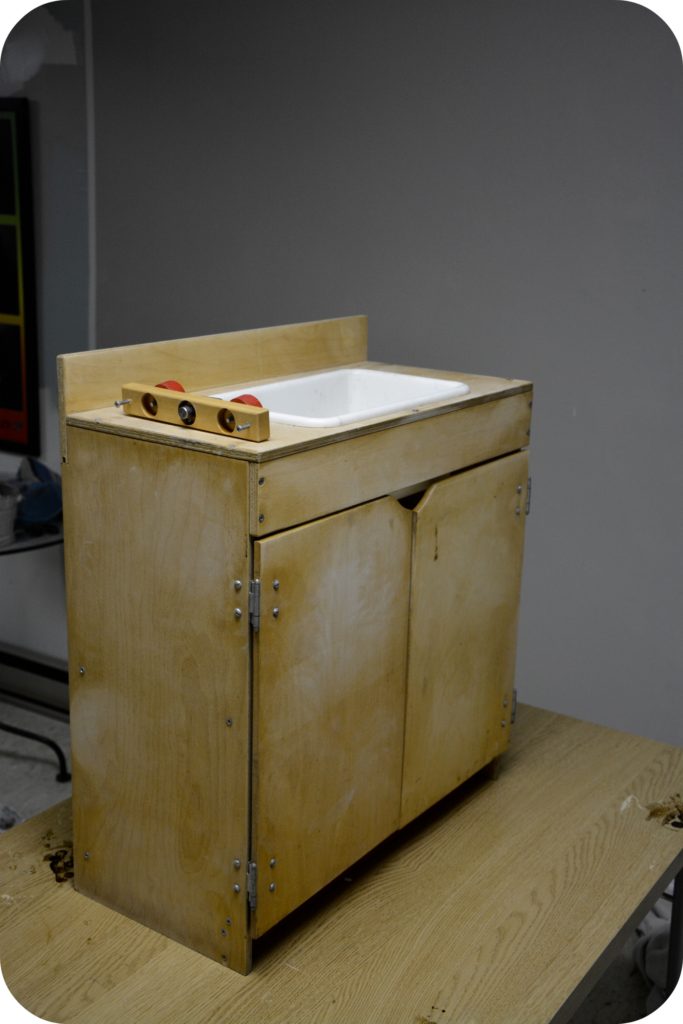
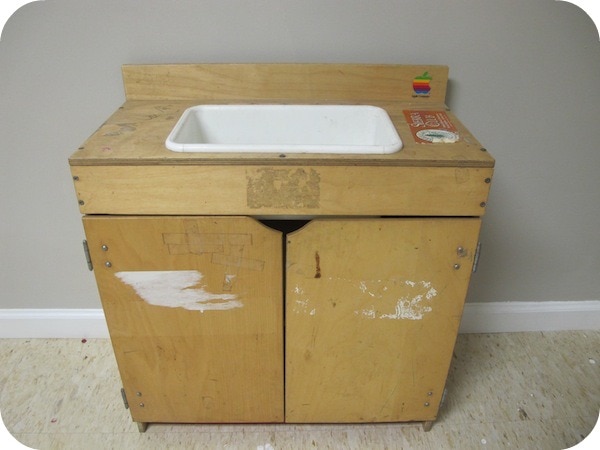
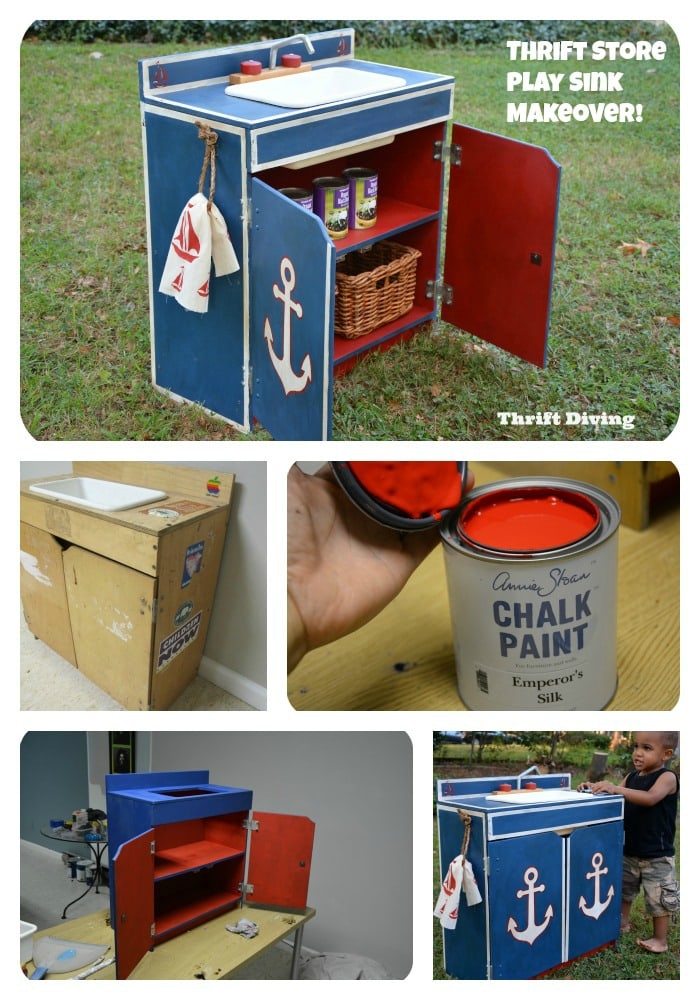
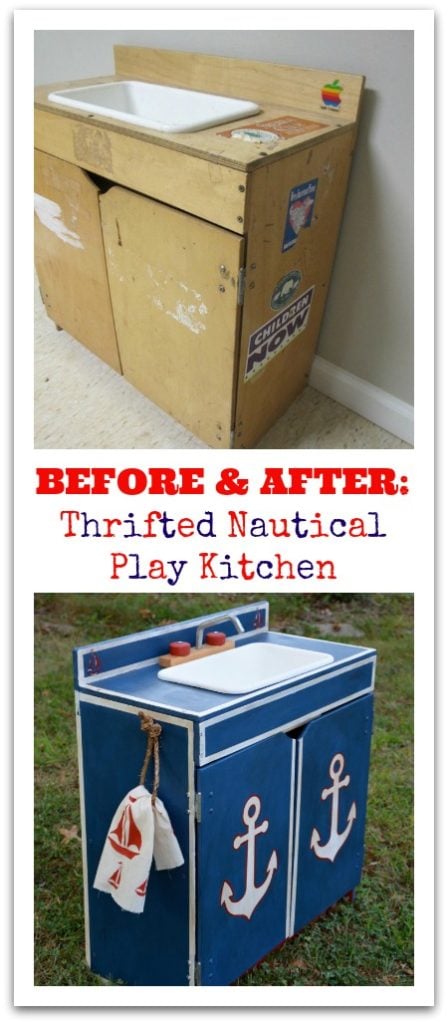
When I picked it up from the thrift store, this ugly little wooden play kitchen looked like this:
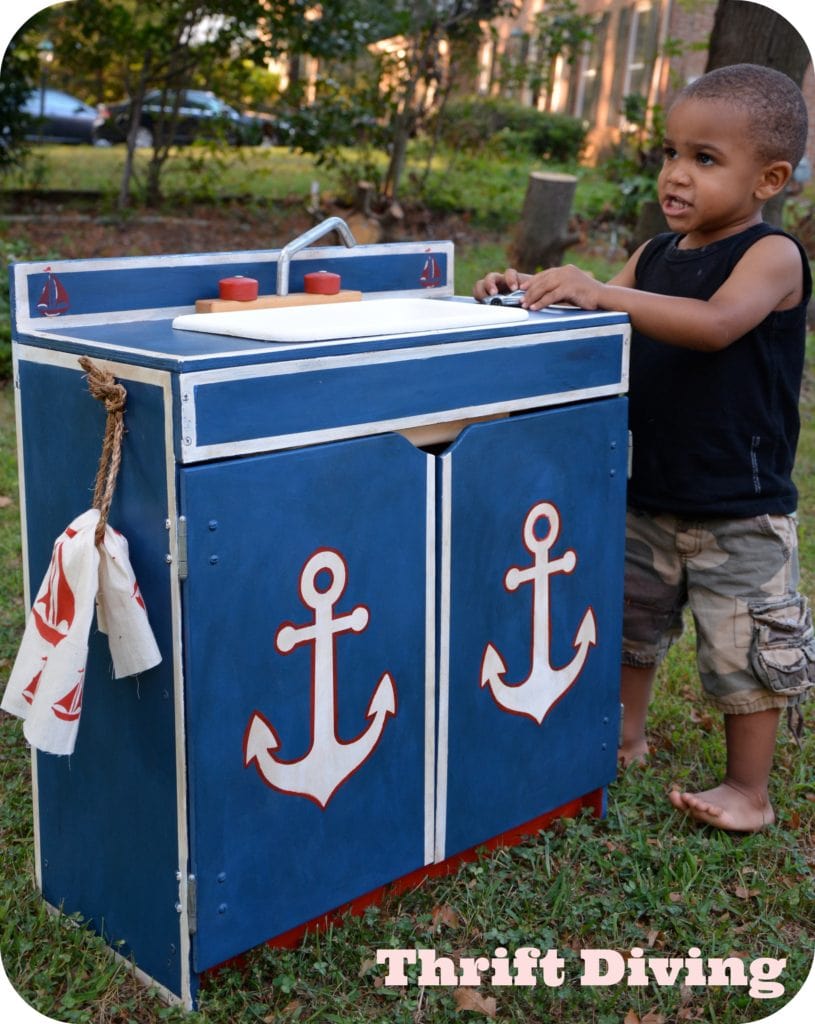
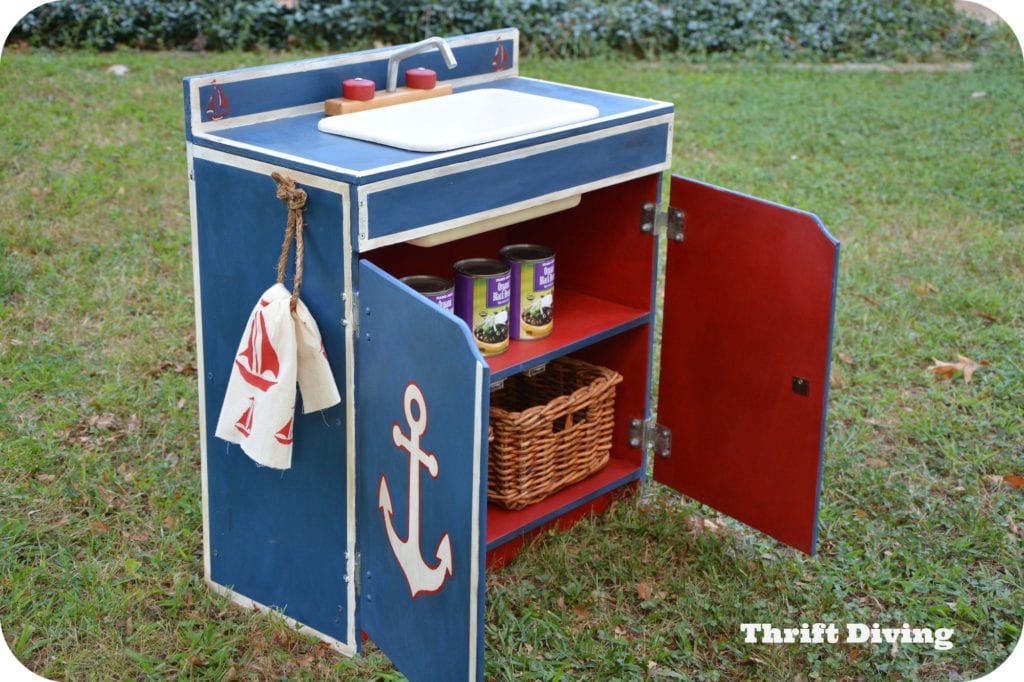
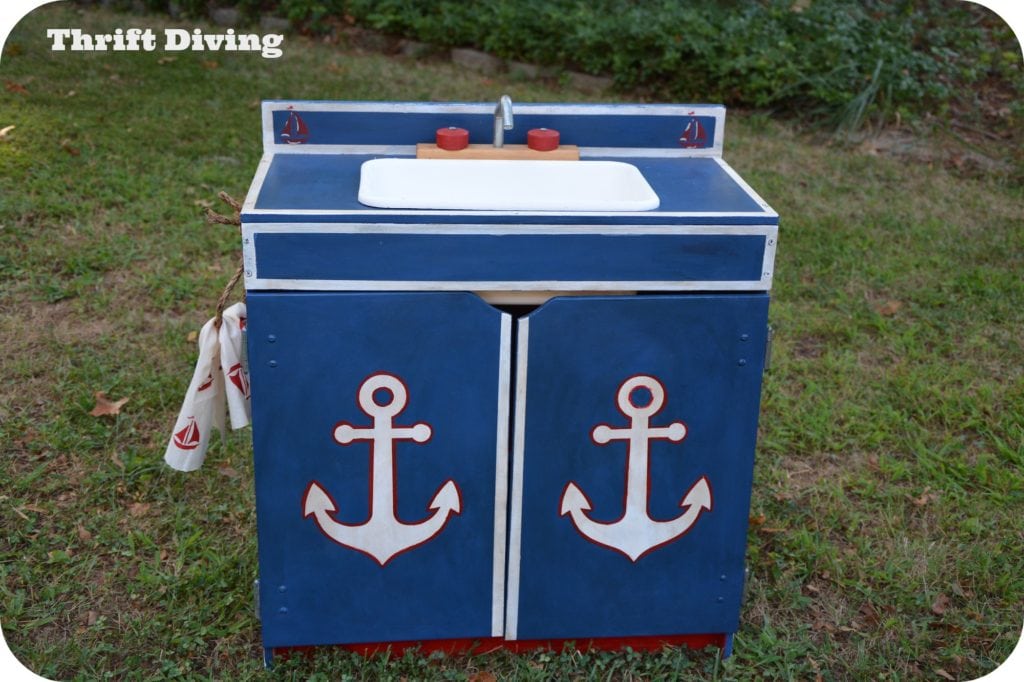
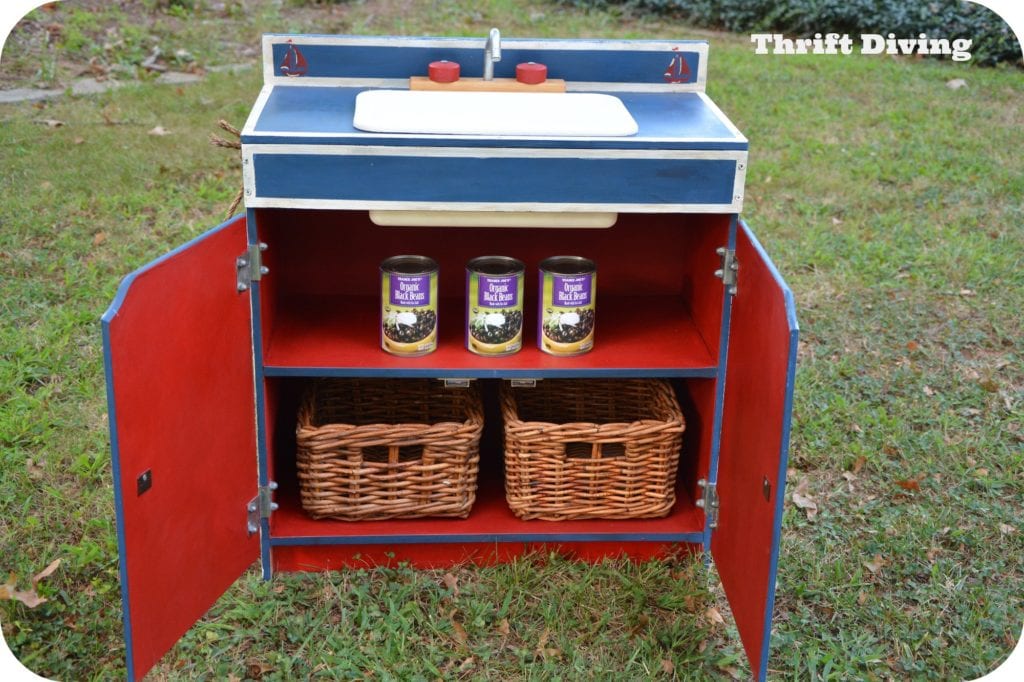
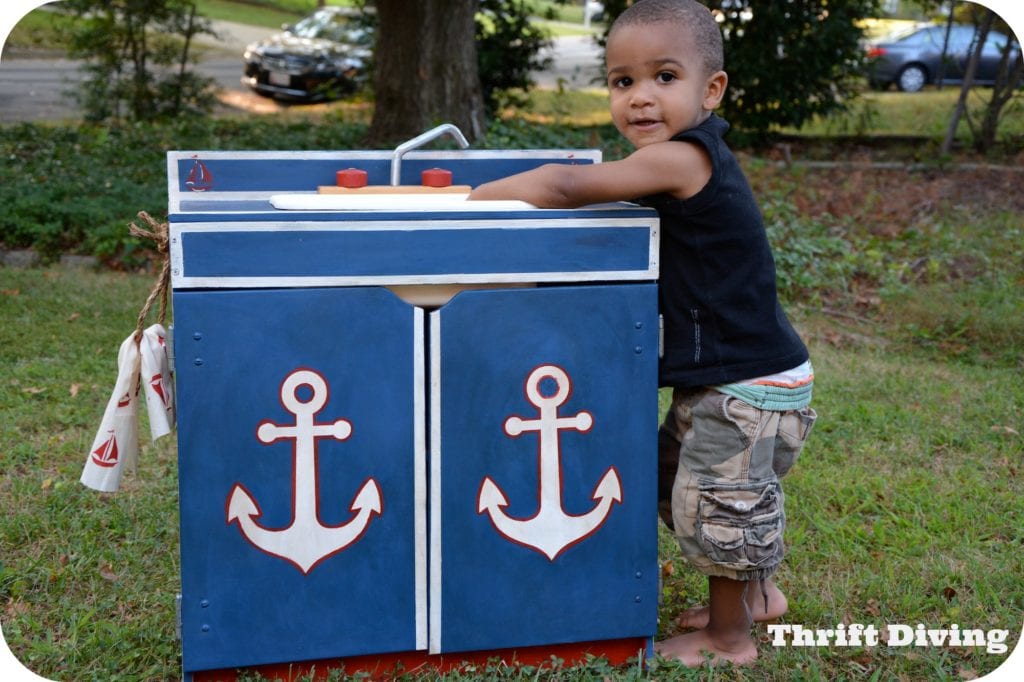
Well, here’s how it turned out!
I strongly feel that boys can play with wooden play kitchens, too, right?
It’s actually a slight miracle that I pulled it off and that I like it so much, because I was >THISCLOSE< to scrapping the whole project!
But I’m sooo glad I hung in there.
DIY Wooden Play Kitchen Makeover
The “red” and “blue” came from some girl’s outfit that I saw about 8 months ago at a family naming ceremony. I’m sitting there sipping my wine and in walks this girl wearing these brilliant blue pants and blood red shirt. AHA! Inspiration!! I discreetly snapped a pic of it, but for some reason, I can’t find the pic to show you. Grrr………
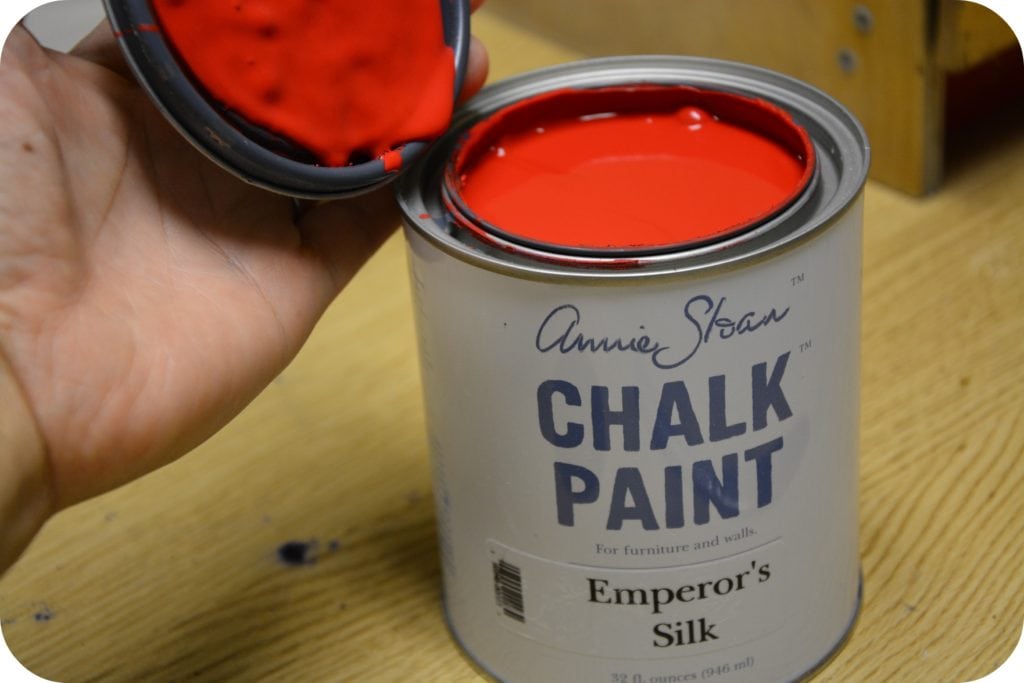
When I discovered this awesome Annie Sloan Emperor’s Silk, I knew this would be the red that would bring my inspiration to reality! Mixed with Napoleonic Blue, and I’ve got a recipe for major cuteness.
Related: What’s the Best Paint For Furniture?
(I participant in the Amazon Services LLC Associates Program and other affiliate advertising programs designed to provide a means for me to earn fees by linking to Amazon.com and affiliated sites).
This wooden play kitchen was a bit more “expensive” than a similar wooden kitchen makeover that I did for only $2.50, but heck–$7.00 is still an awesome price!
First thing I did was remove the years of nasty stickers that accumulated, with my awesome HomeRight Heat Pro Deluxe II heat gun. That thing is awesome.
Then I sanded it down a bit. I normally don’t sand, but this surface needed it.
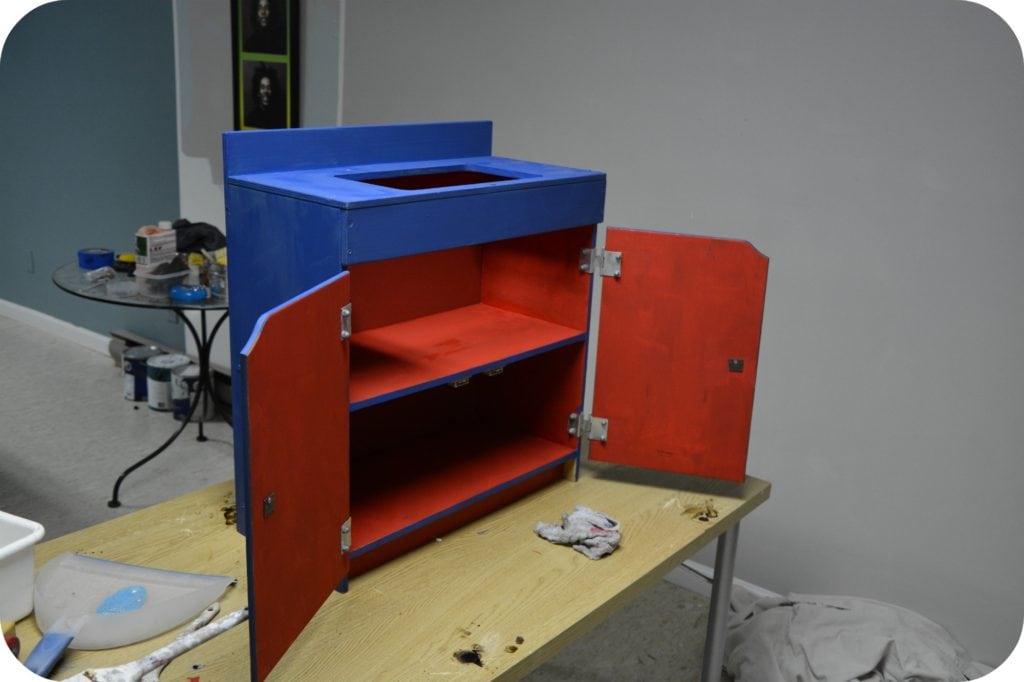
But I’m not kidding when I say that I almost scrapped this project when I first painted it and saw it looked sorta like Papa Smurf! HA!
What to Do When You Lose Your Creative Streak
By all means, consult your Daddy. Otherwise known as GOOGLE, who basically owns you 🙂 I knew it needed some “oompf” so I Googled “red” and “blue” and suddenly, I kept seeing these nautical-themed outfits. I realized that I could do a nautical theme and totally rock this piece! I don’t think I have seen a nautical theme kid’s furniture. So…why not??
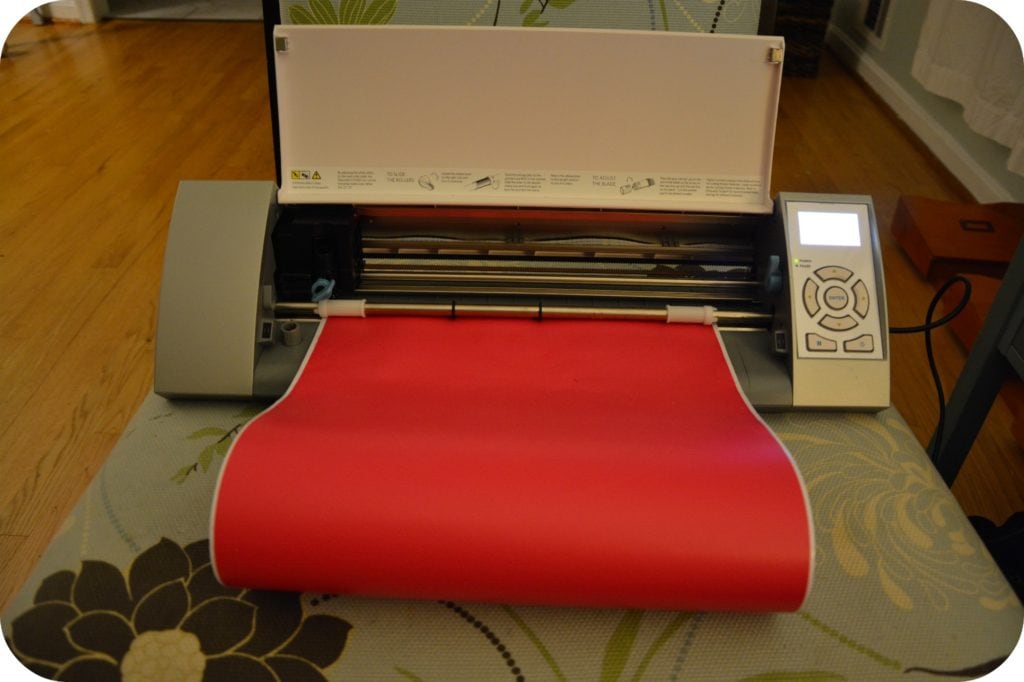
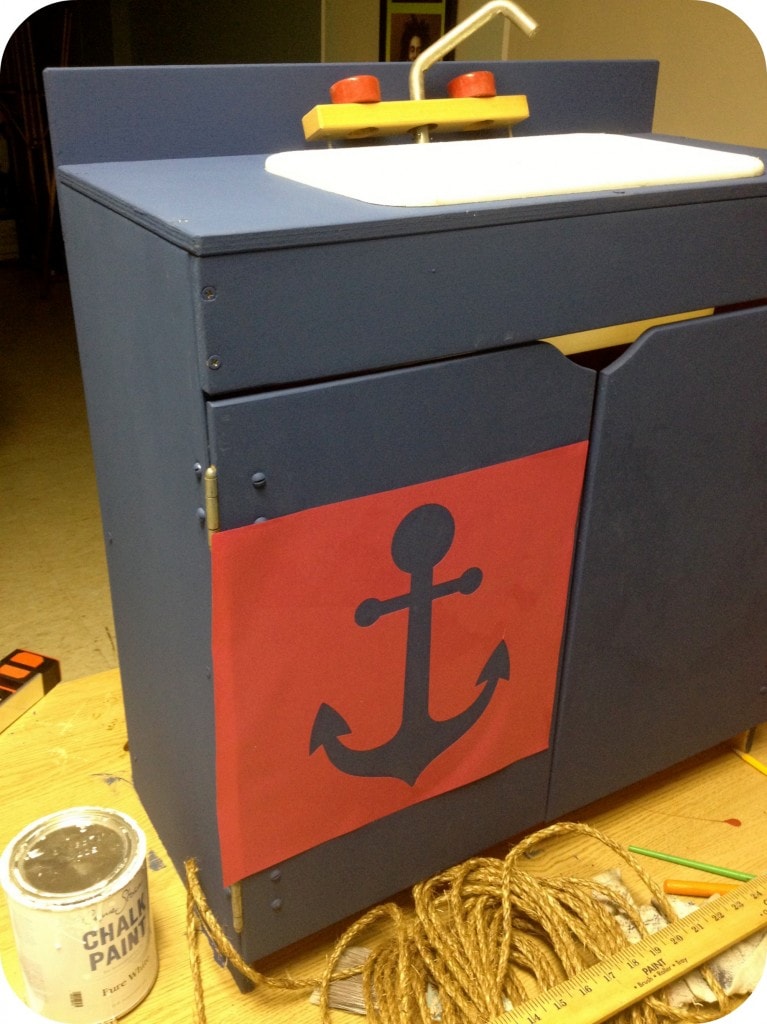
So I pulled out my Silhouette Cameo which cuts vinyl that you can use to make stencils very easily (amongst many other cool tricks I have yet to discover).
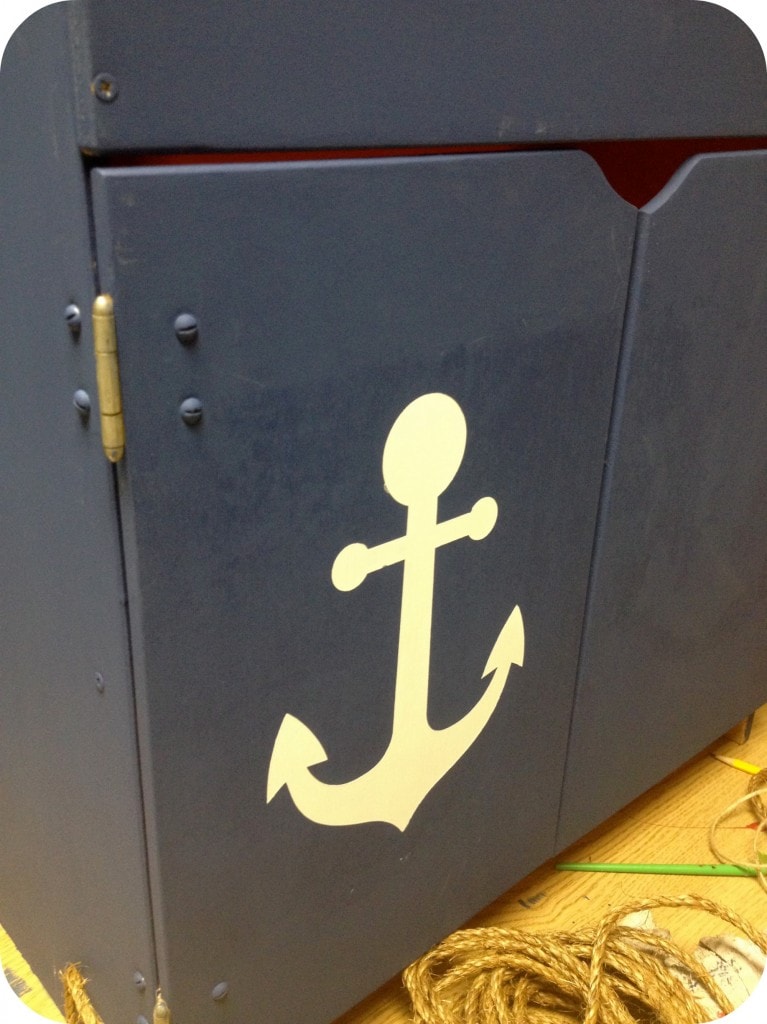
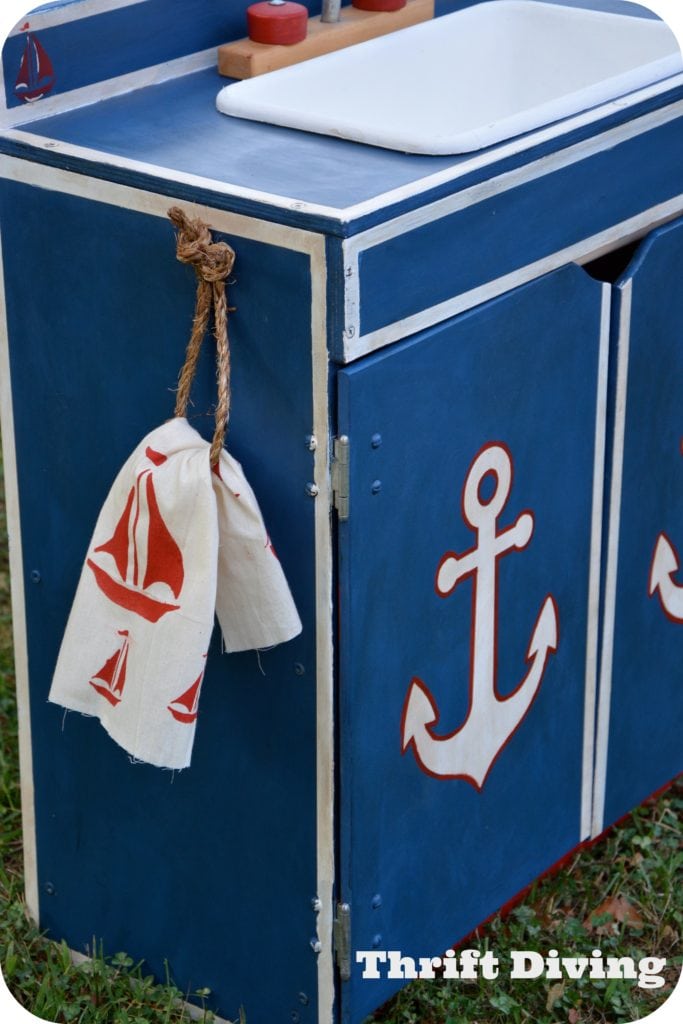
Next, I cut out some anchors to use as stencils on the front.
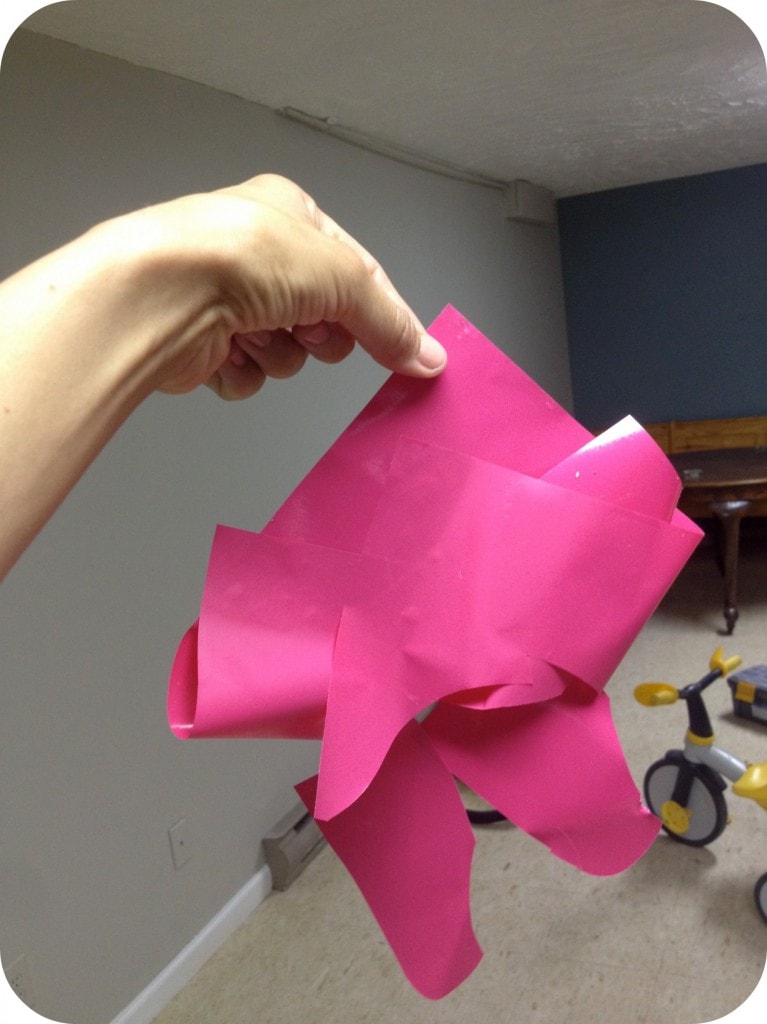
The stencil worked really great! You just have to be mindful to get it on there properly.
….because if you don’t, the vinyl ends up a warped piece of crap you can’t use. 🙂 And vinyl ain’t cheap! It sticks to itself like you wouldn’t believe!
No Time For Perfection!
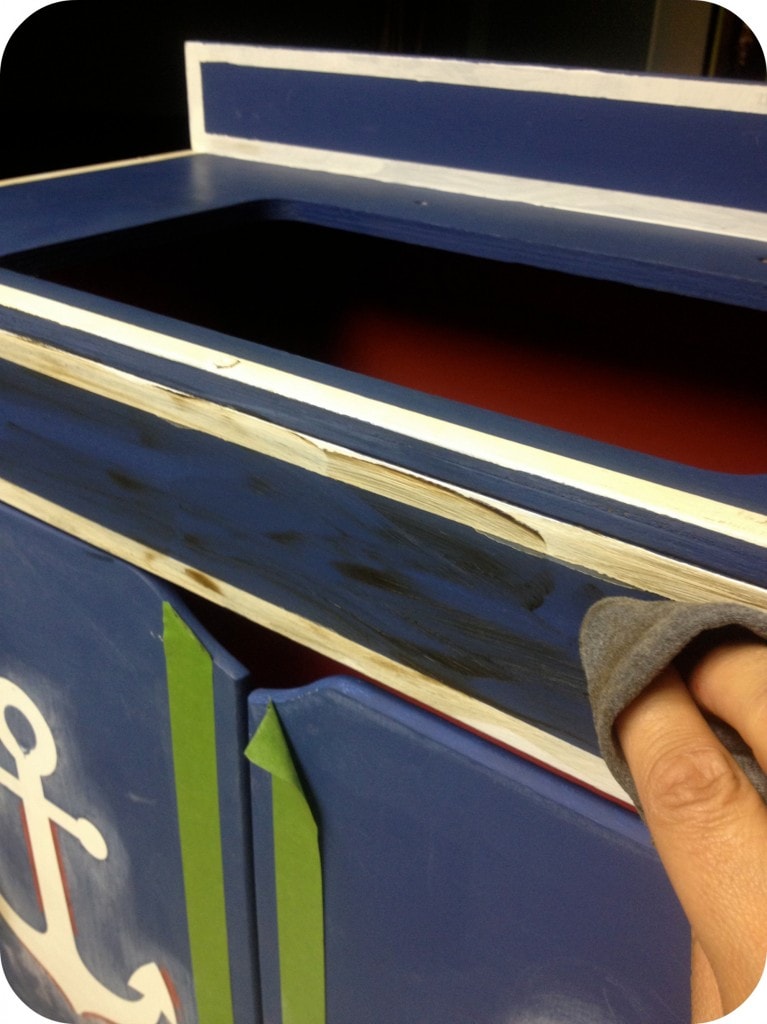
Next, I outlined the anchor in red. Sorry, I didn’t get pics of it, but I basically just free-handed it. I wasn’t too happy with the free-hand results, but you know what?? I’m not perfect. And I’m not going to pretend that my projects are, either. In fact, I wanted this piece to be a little “DIRTY” and not-quite-so-precise.
I decided to add white paint trim all along the edges on top and then use dark wax to muddy it up a bit. Who needs crisp perfection?
I showed a friend of mine preliminary pics of the project, and she had the nerve to point out faults! (Did I mention she’s not crafty ONE BIT??).
‘Nuff said. Keep it movin’…..
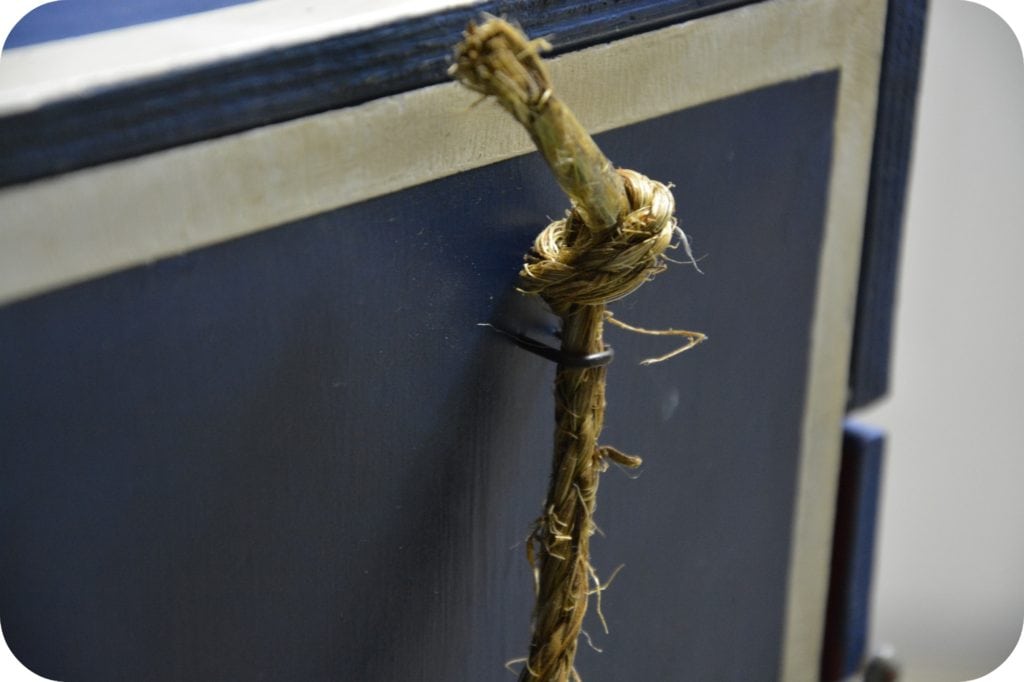
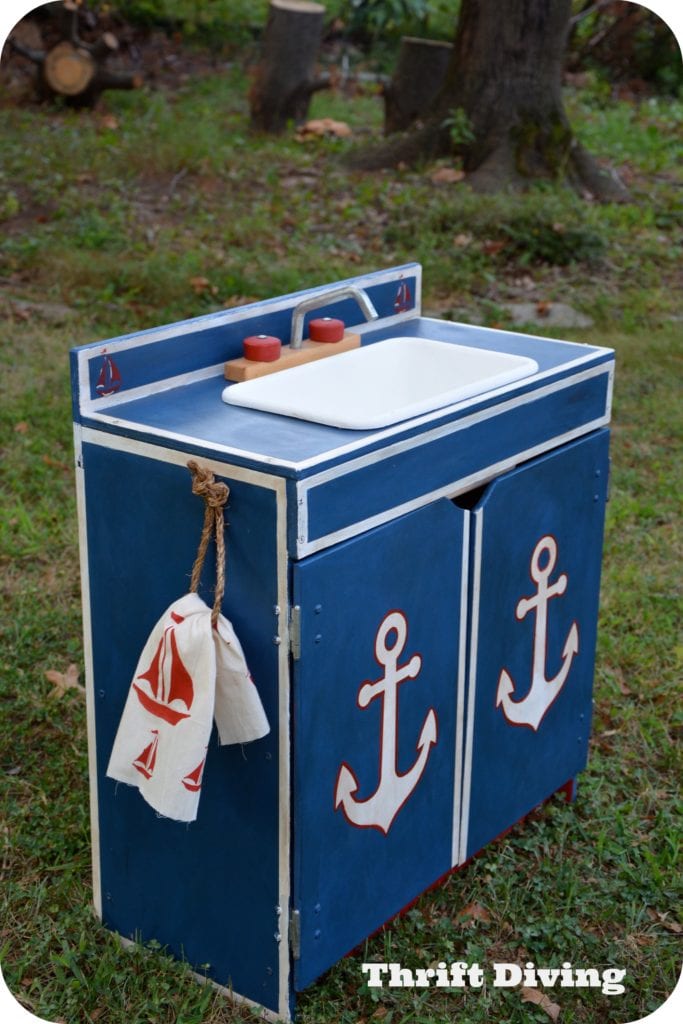
I really wanted to pull in some rope somewhere, so I decided to just add a little bit to the side, to hold a DIY dish towel.
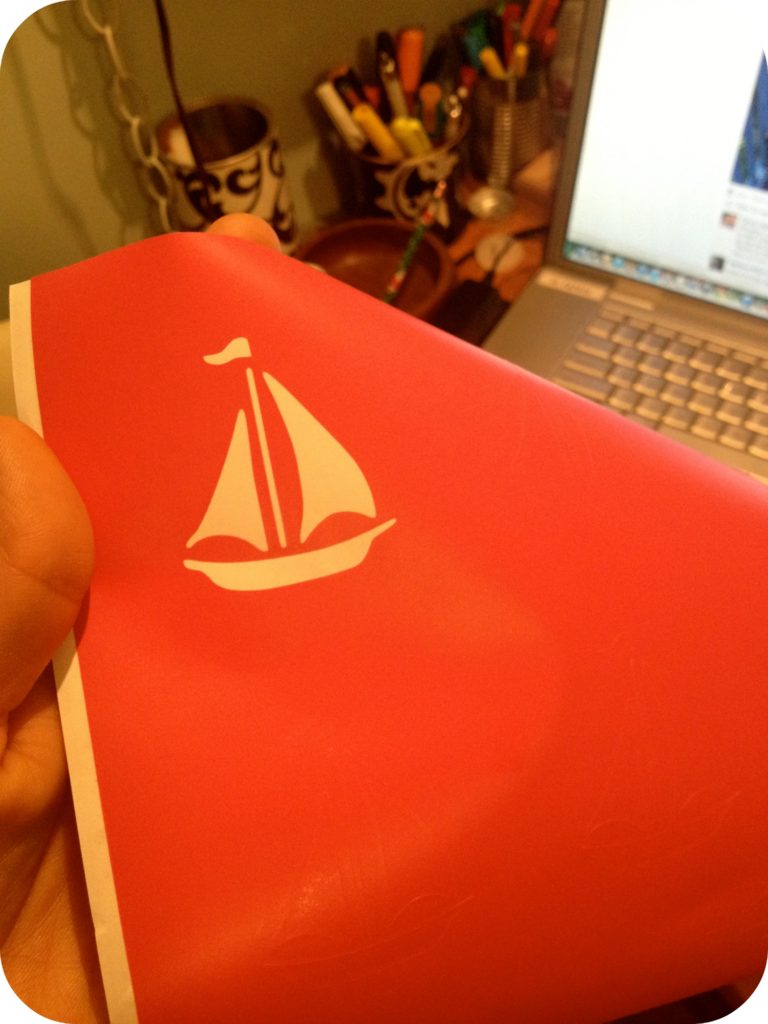
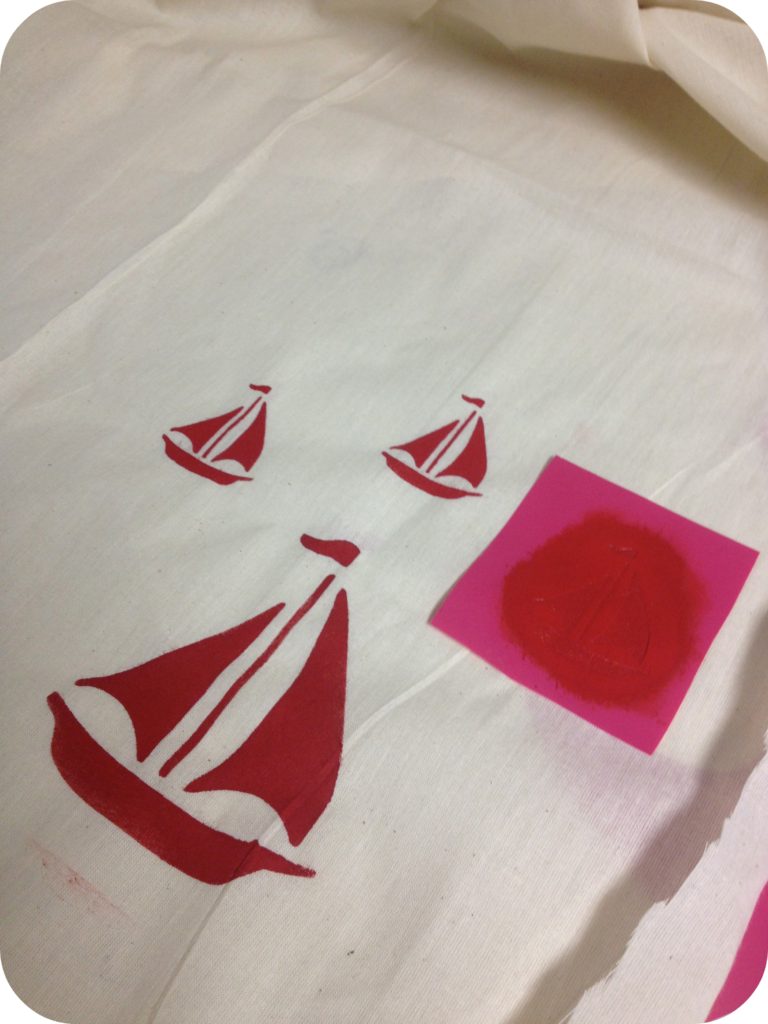
Next, I decided I would DIY a little dishcloth to hang from the rope. So I pulled out my trusty Silhouette Cameo again and cut out a sailboat to use as a stencil. Then I stenciled some boats onto a scrap piece of cloth.
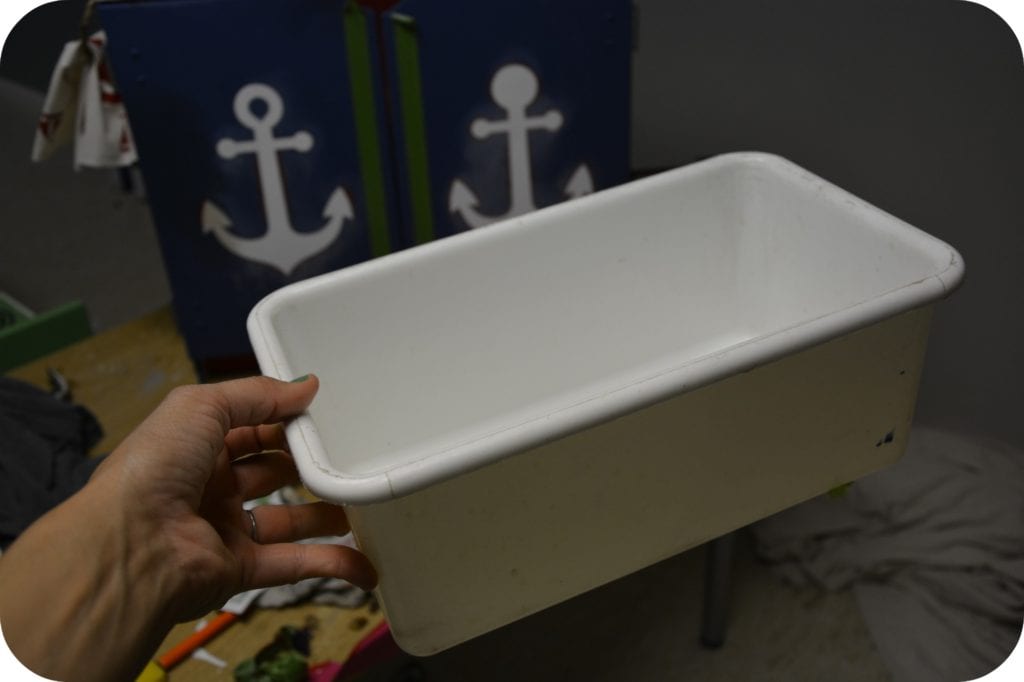
Last, but not least, I painted the handles a cleaner red (not shown) and painted the plastic sink bucket that goes inside the sink. It was pretty worn.
Overall, I would say it was DEFINITELY a successful project!
What do you think?!?!?!
BEFORE
AFTER
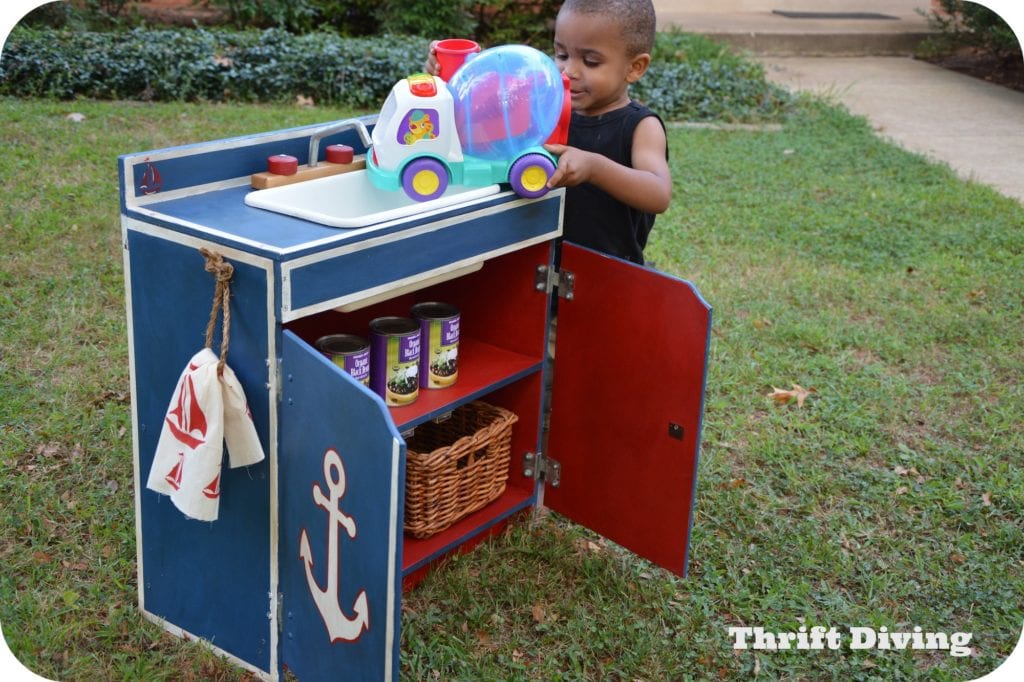
And all I had were Trader Joe’s Black Beans! HAHAHA.
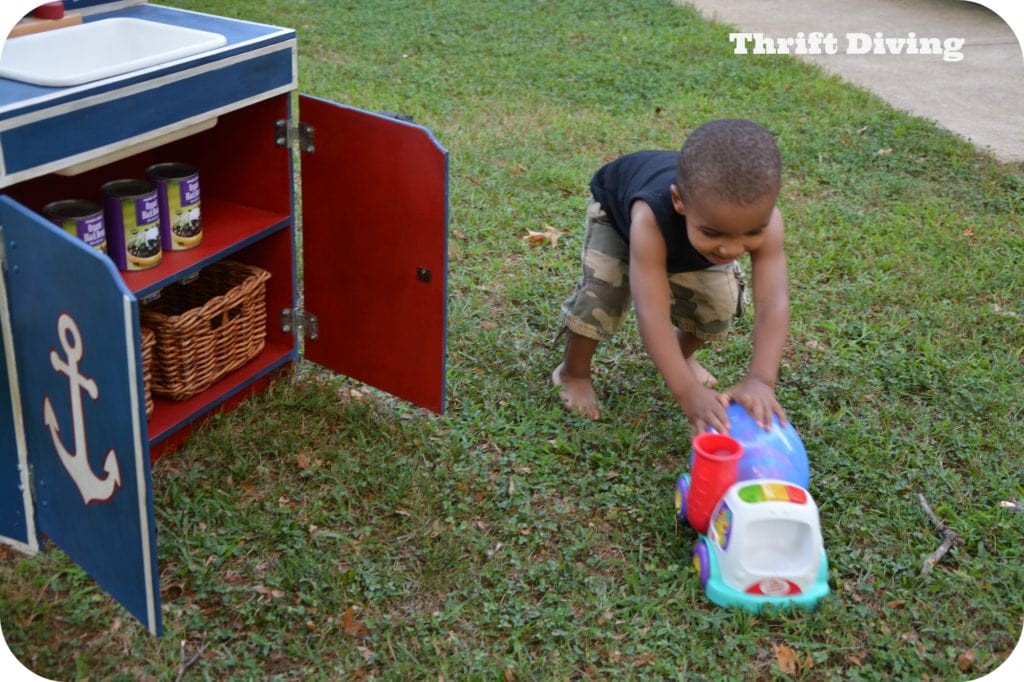
I guess someone lost interest….. LOL
Here’s another look:
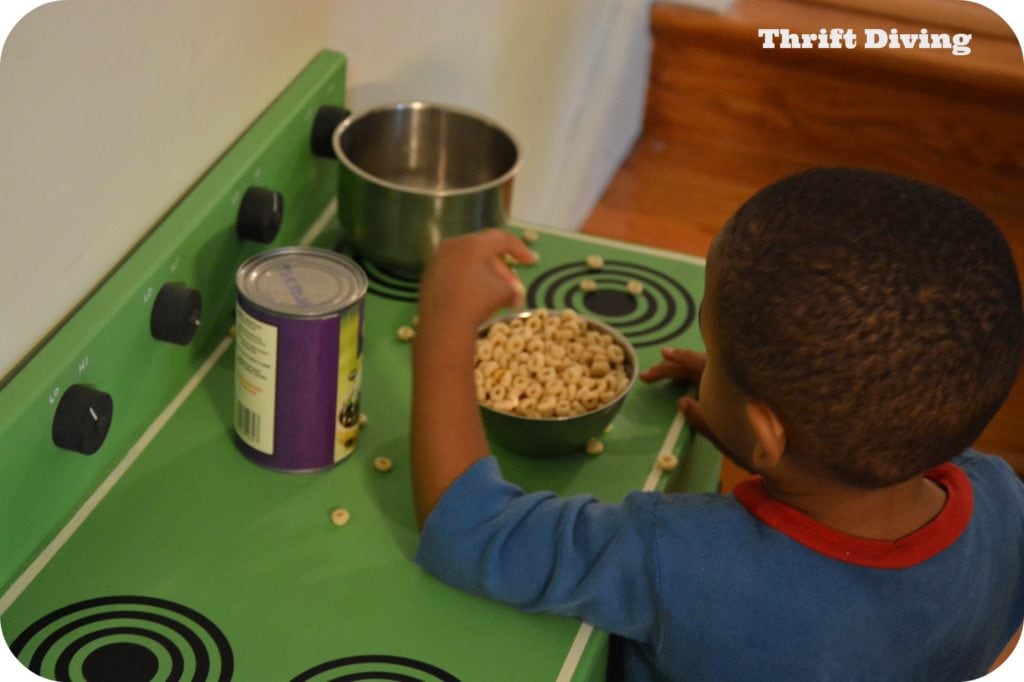
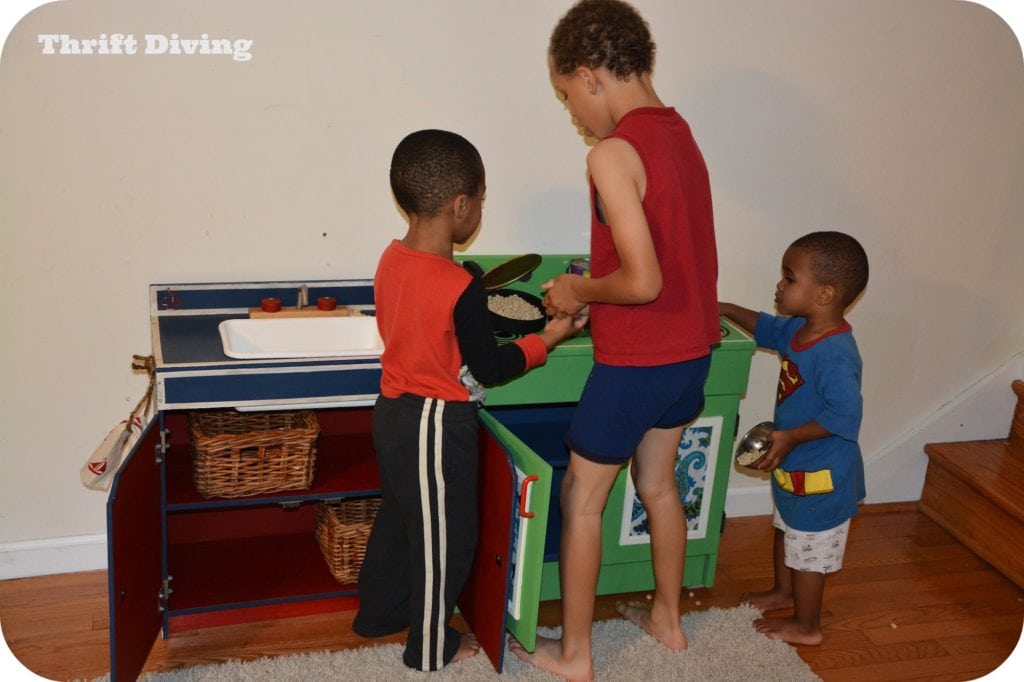
And then my boys made me breakfast….BEANS and CHEERIOS. How sweet it that??
And who cares if the two projects don’t match? When you’ve got 3 cute boys playing “cooking” with Cheerios, nothing else seems to matter.
My oldest son must like it because he asked me, “Mommy, you’re not going to SELL it, are you?”
So what do you guys think?!?! Do you like it?
Check out these other DIY projects for kids!
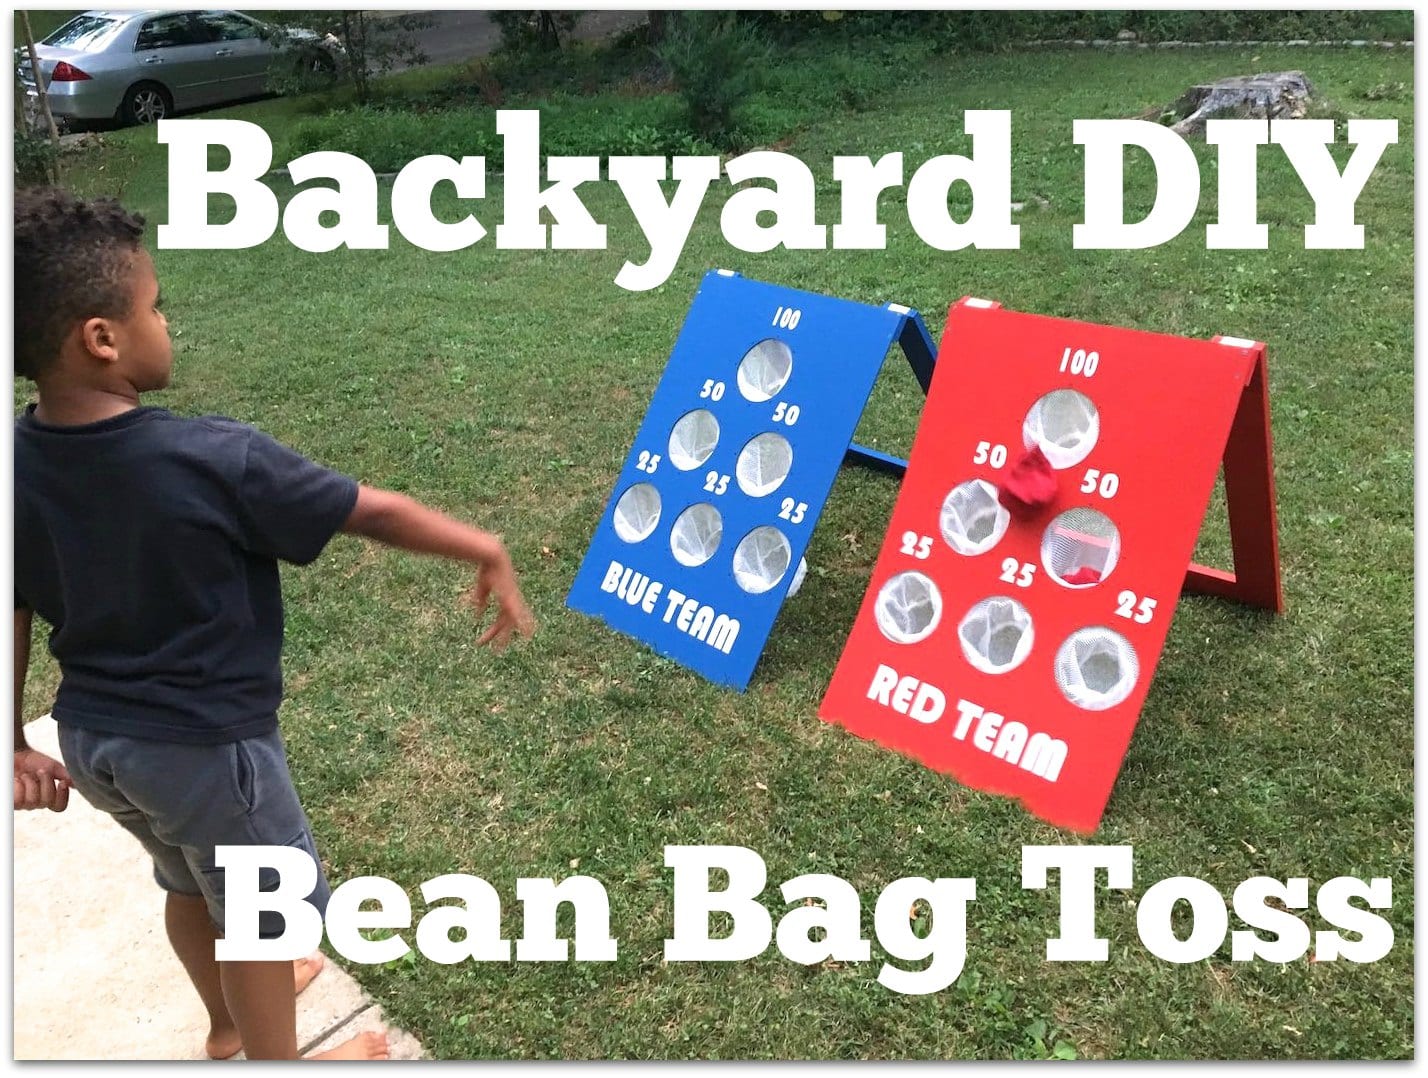
- How to Make a Backyard Bean Bag Toss
- How to Make a Superhero Shield
- How to Get Kids to Listen and Limit Electronics
Download the 5 freebies!

Thrift Diving inspires women to decorate, improve, and maintain their home themselves...using paint, power tools, and thrift stores! Use these 5 printables, checklists, and ebooks to get started!




Wow, you did a really beautiful job. It looks fantastic.
Thank you, Bella! I appreciate it!!!!
I LOVE it!!! I love nautical themes, and you did this just perfectly! 🙂
Thank you, girl! You know, I never really considered nautical themes before, but the combo of red and blue and white, it can be pretty crisp! I think I have found a new love 🙂 Thanks for commenting!!!
I have always wanted to feel brave enough to restore a piece like that! Looks like a Cameo makes this much easier!
Erinn, my advice is to just do it and let the inspiration come as you work on it. I never really know how I want a piece to look until I am in the midst of it. Go ahead and give it a try! 🙂 And yes, the Cameo is such a great tool. I admit it’s not cheap. But when you want an exact cut-out, it’s the next best thing since sliced bread. LOL Thanks for your comment!
Great insight on this project. I really like the color selection. Thank you so much for the before and after.
Tk, you’re welcome! Thank you for being a reader and for leaving a great comment! I thrive off of the comments. LOL
It looks so awesome. I like that you went with a different than normal theme. I get tired of all kids toys looking the same.
Yeah, that’s the thing–maybe I just don’t notice, but I really haven’t seen any nautical theme stuff for boys. It just seemed like a perfect “solution” to my crazy red and blue inspiration. LOL. Thank you for commenting!!
That looks like it came from pottery barn kids! I love it!!! Oliver and Owen will take one thank you! 🙂
Awww….I think baby K is the one that lends to the Pottery Barn feel! He’s such a little model. LOL. And yes, Oliver and Owen can come by any time to play with it! As a matter of fact, we’re in need of a play date with Sherray and Ian!
So cute!! Your so talented!!! Wanna be u!! I follow u each day and enjoy so much your funny sense of humor. BTW, don’t let friends steer you wrong. I have one just like it. She doesn’t have a crafty finger in her bod but tells me where I screw up all the time. lol I would love to have the Cameo machine but way too pricey. But with me just ordering 2 new stencils it could pay for itself. Not sure if I am smart enough to figure it out though…… Thanks again for making our world a little better, the cheap way. Or should I say the thrifty way… Love to u
Lisa, your comment is sooooooo nice! *blush blush*. It means a LOT to me 🙂 Thank you for being a reader and supporting my passion for blogging and creating on a small budget 🙂 And in case you missed it, other people have commented that you can use contact paper for stencils. I think that’s a good idea for a cheap solution. The Cameo is pricey. If you’re looking for something easy and quick and very precise, then go with the Cameo. And you are DEFINITELY smart enough to figure it out! I was lost when I started using it. And I STILL don’t know how to do nearly a quarter of all stuff it can do! LOL
Cute project! Cuter kids! Some little girls will scoop those ‘cookin’ little boys right up!
Thank you, Karen!!!
Very cute. I love kitchen play areas. Kids really seem to gravitate toward them.
I think I am addicted to play kitchens now! HA! Now I just need a play fridge and I’ll be good to go. LOL Thanks for commenting, Splendor!
FYI – You can use contact paper to cut your stencil!! So much cheaper!!!
Cute project!! I always LOVE to see your stuff!!
Awww….thank you, Kathy! I love hearing from you!