How to Make a DIY Pendant Light: DIY Lighting
How to Make a DIY Pendant Light: DIY Lighting
Sometimes you just get attached to things and can’t let them go, and in those time, you just upcycle it into awesome DIY lighting!
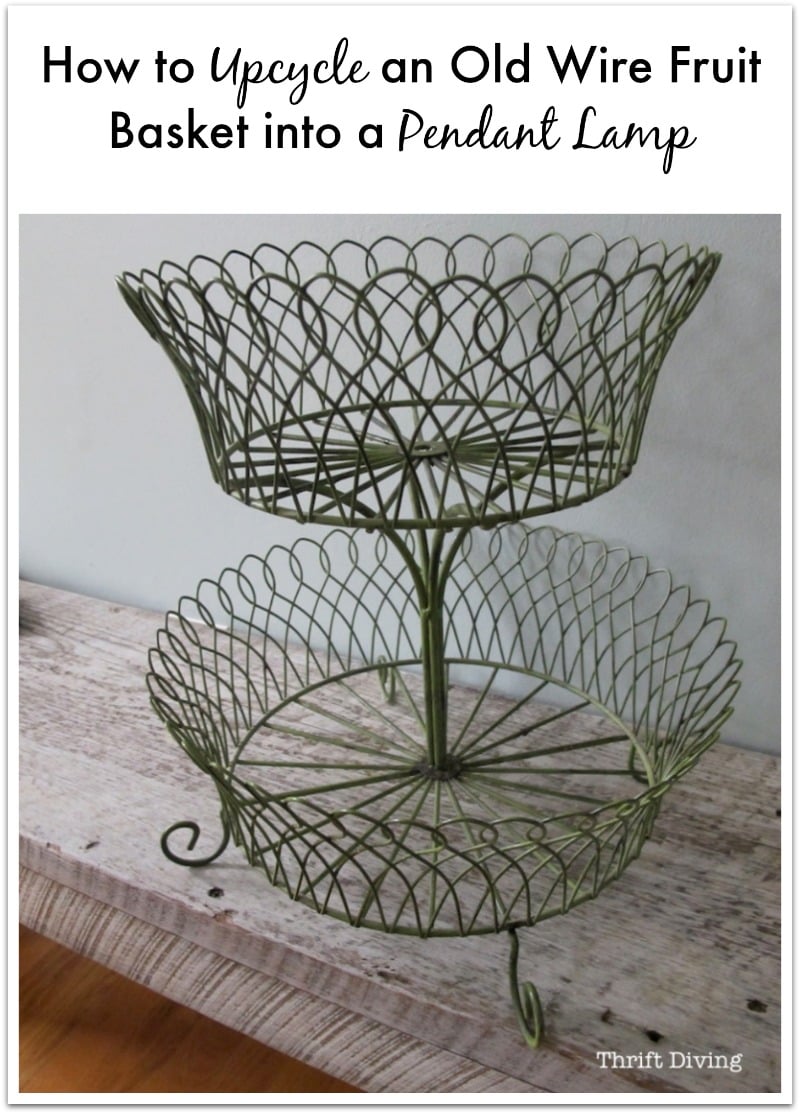
Even when they’re all broken up. That’s what happened with this Crate and Barrel fruit basket I had bought about 10 years ago.
Isn’t it cute?
“Life” got the better of it and it just snapped in two! Oh, the heartbreak!
Broken! **sob sob**……
BEFORE

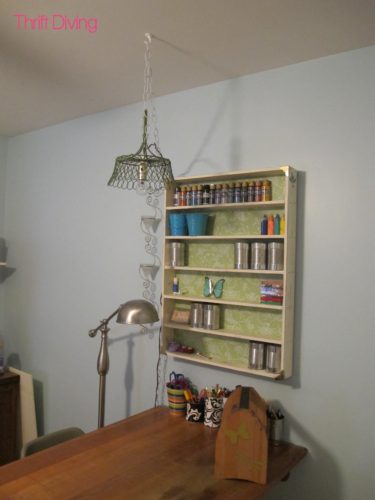
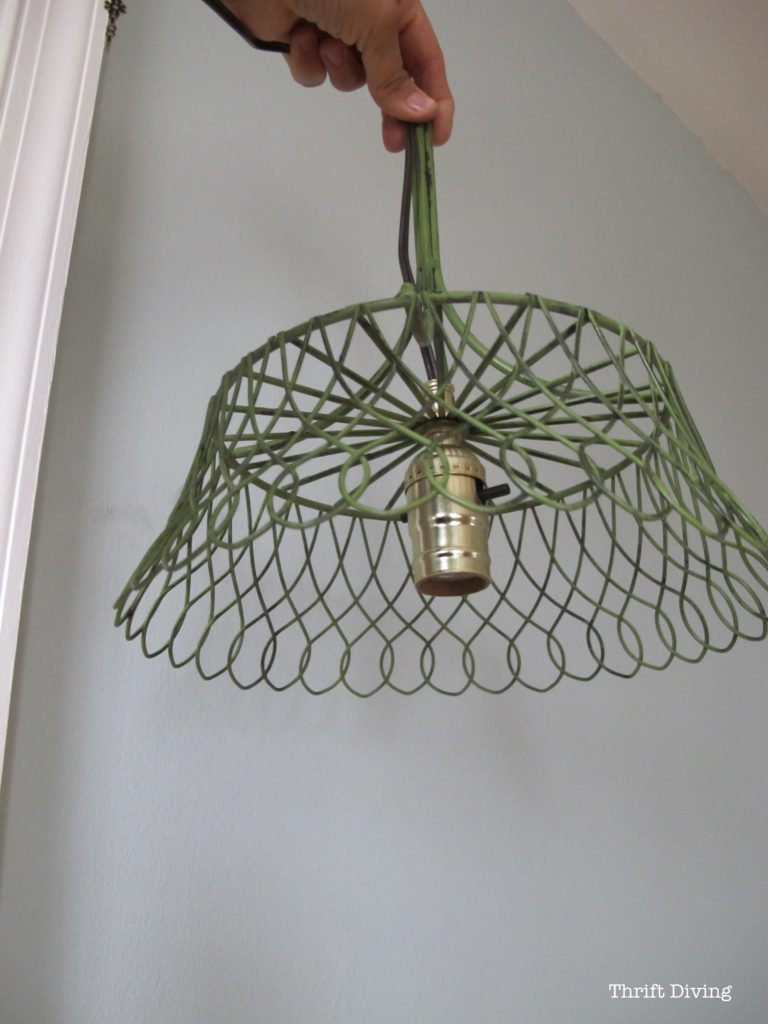
AFTER!
Hanging about my vintage drafting table in my thrifted craft room!

I knew that the bottom part, which was intact, could still hold our yummy fruit….but I immediately thought, “PENDANT LIGHT!!!” when I saw the top part.
And yes……there she is!!!
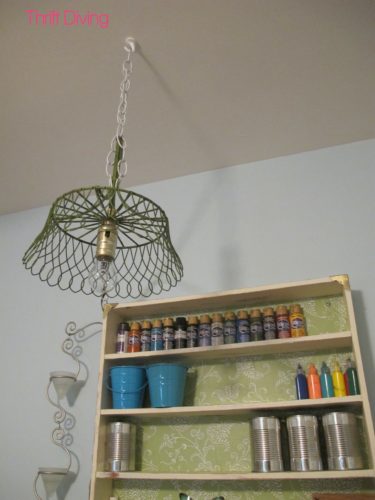
Check out how cool the ceiling looks when I switch on the DIY pendant light? AMAZING, instant ceiling art. HAHAHAH
Wouldn’t that be cool in a kid’s room or something? Maybe even with a colored light!

How to Make a DIY Pendant Light: DIY Lighting
STEP 1: Gather your materials.
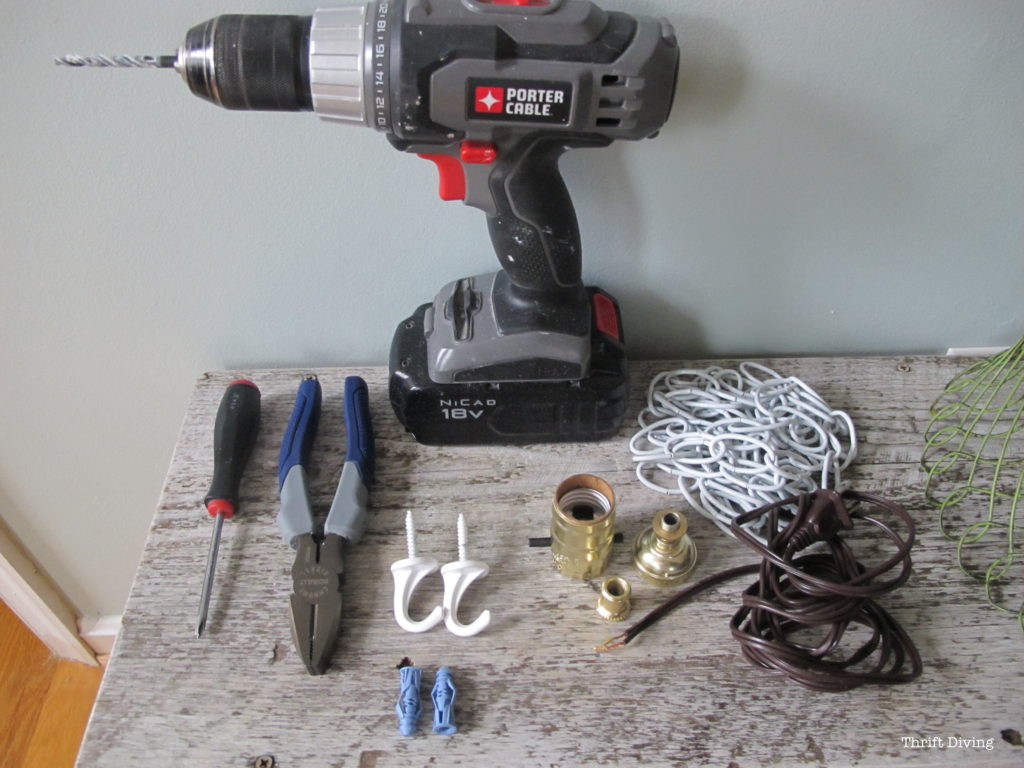
For this project, you’ll need the following materials:
- A light kit. You can order a lamp kit
 on Amazon for about $10. That’s where I got mine.
- A lamp kit. This will allow you to hang your pendant lamp from the ceiling.
- A chain. I got mine from the Home Depot for about $0.99 a foot, and I bought 8 feet. I probably could have used a bit more, maybe and extra foot, but it depends on the height of your ceiling. And you can totally use something more decorative, like this heart link cable which is super cute!

- Pliers. PLEASE don’t try to pull apart chain links with your teeth. 😉 LOL
- A screw driver. You’ll need it when you’re attaching the lamp cord to the base of the lamp screws.
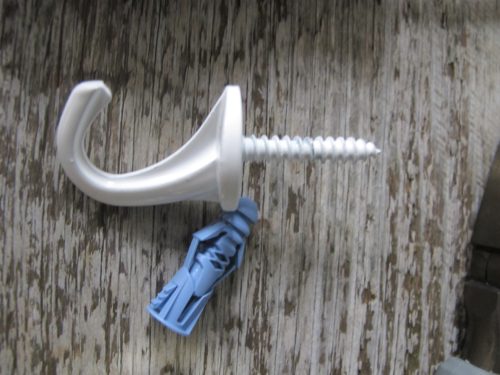
- A drill (not pictured). When you attached your swag hook, you’ll need to drill a hole for the anchor. Also, if the object you’re using doesn’t currently have a hole at the top, you will need to drill one. I’m going to assume you know how to drill wood? If not, grab someone handy. Google some other videos on how to drill metal or other objects you’re considering turning into DIY pendant lamps.
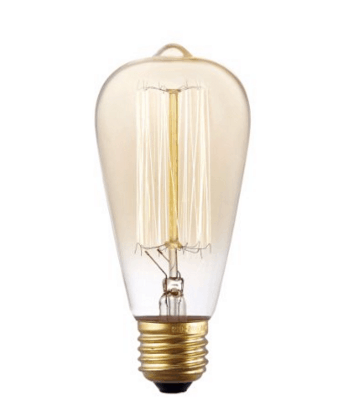
- A light bulb (but, of course!). Vintage Edison bulbs are great for these types of lamps, even though I didn’t have one at the time.
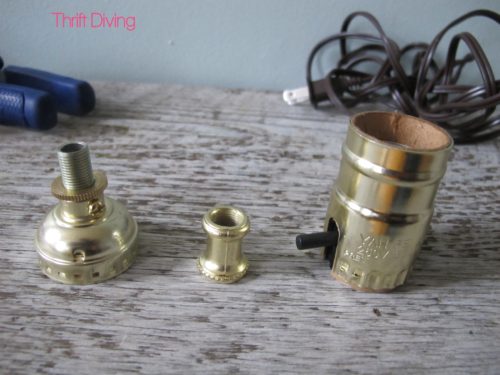
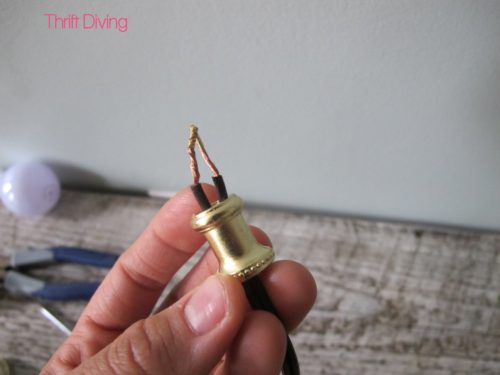
STEP 1: Locate the metal prongs.
Take your lamp cord and locate the 2 metal prongs at the end of the wire.
STEP 2: Thread the lamp cord.
The prongs will through the top cap piece of the lamp kit. It doesn’t matter which way you insert it.
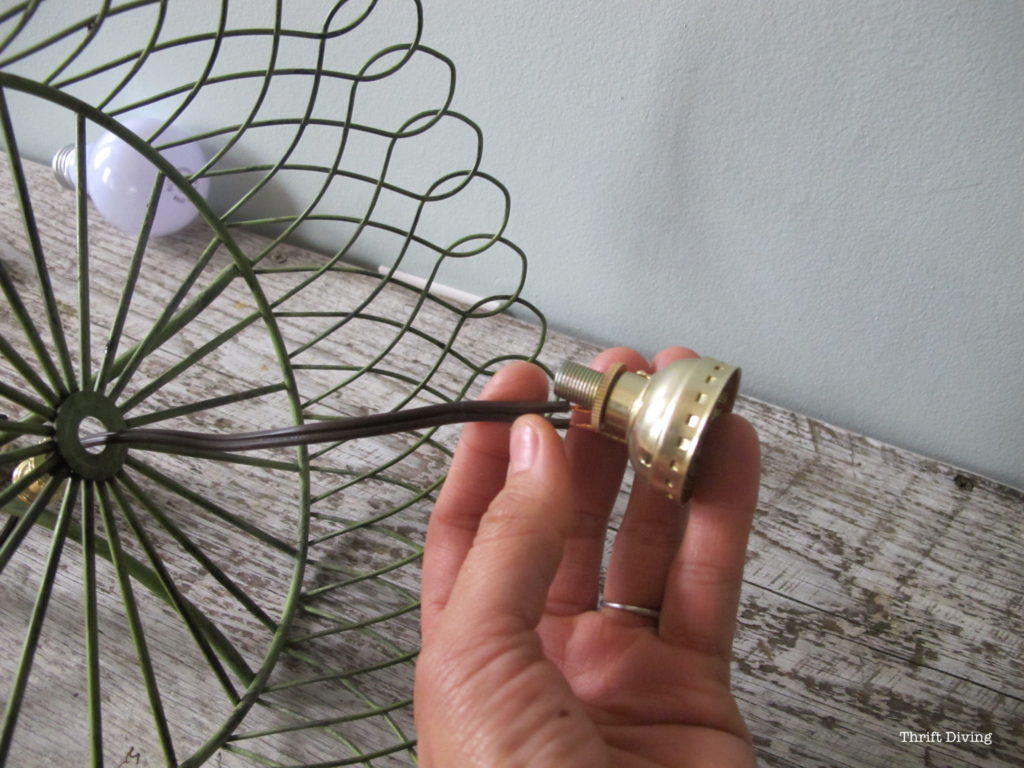
STEP 3: Insert the lamp cord through the top of the pendant light.
NOTE: If you’re DIY pendant lamp needs a hole drilled, now’s the time to do it. I recommend the Ryobi 18V ONE+ drill. It’s super easy to use and the battery works with all Ryobi ONE+ tools!

STEP 4: Thread the lamp cord to the piece that comes off of the lamp base.
Hard to explain, but if you watch the video above, you’ll see what I mean! Those wires that are sticking out there, pull them through to give yourself some slack.
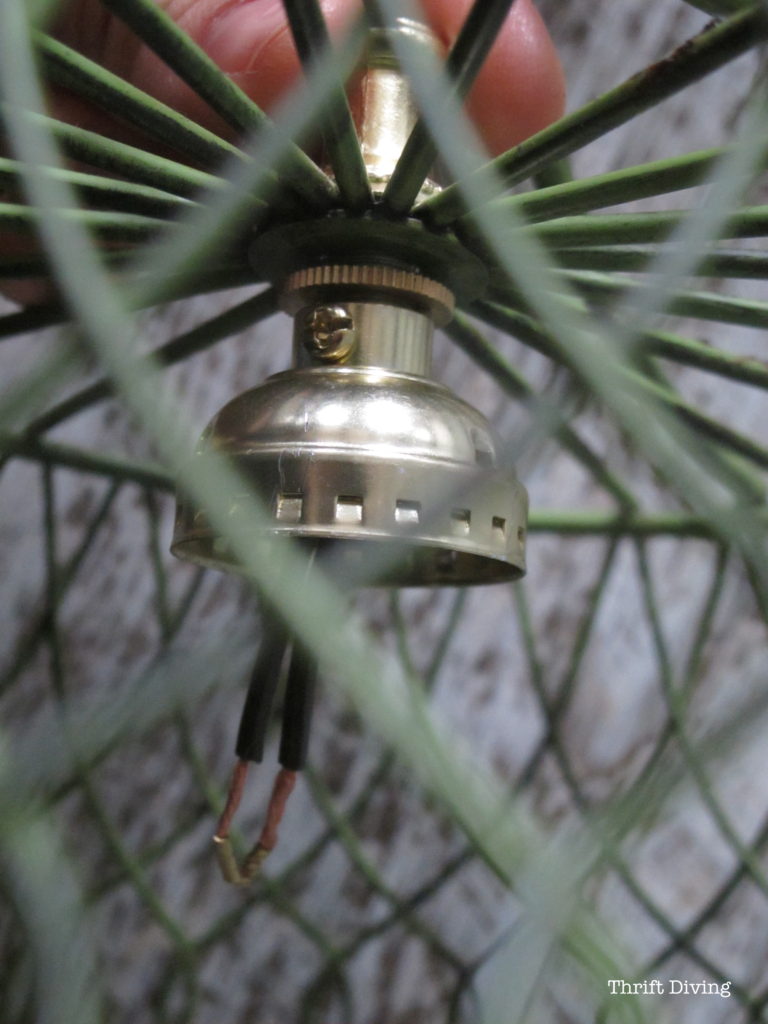

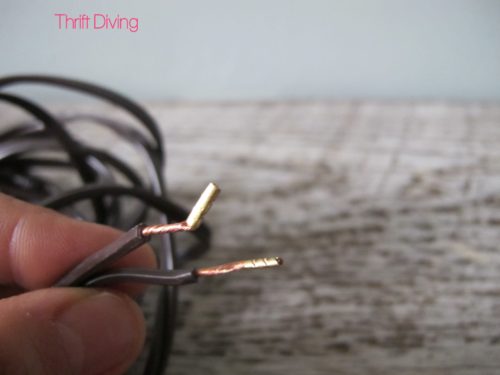
STEP 5: Bend the wires at the end of the lamp cord.
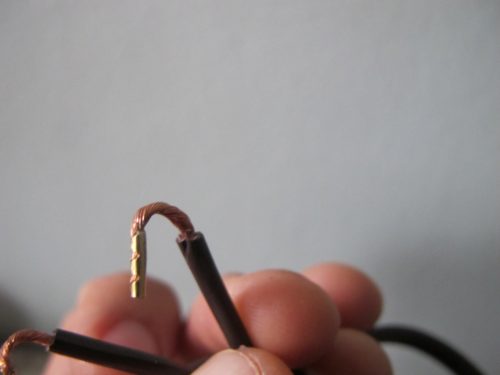
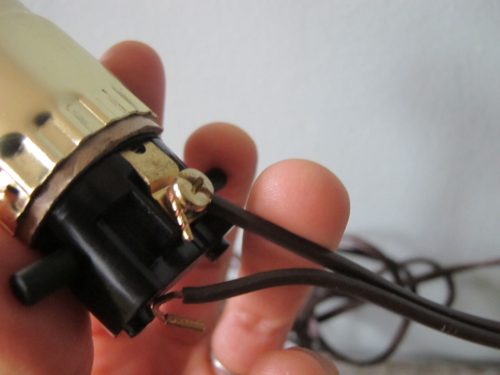
STEP 6: Attach the wires.
Using your screwdriver, loosen the gold screw and the silver screws on the lamp base and then cup the wire underneath the screw and tighten to hold in place. NOTE: If your lamp doesn’t work, switch the wires; you’ve got them on the wrong screw 🙂
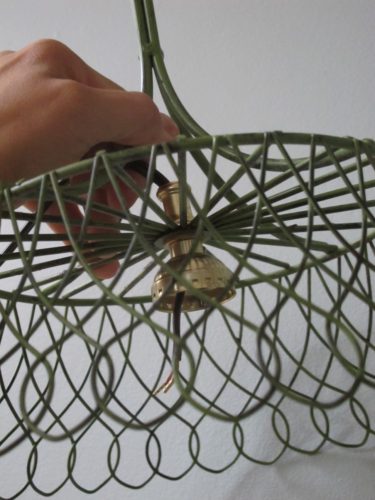
STEP 7: Slide the black switch up inside of the lamp base that will hold the light bulb.
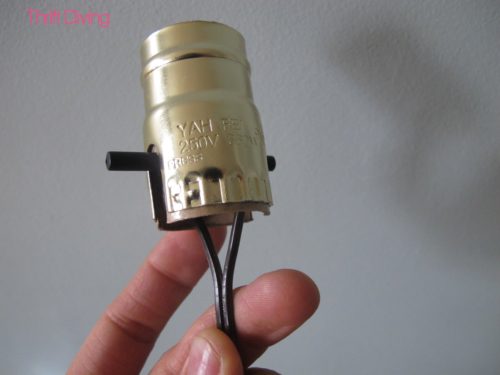
STEP 8: Attach the lamp base to the cap, and–VOILA!–you’ve got a new DIY light!

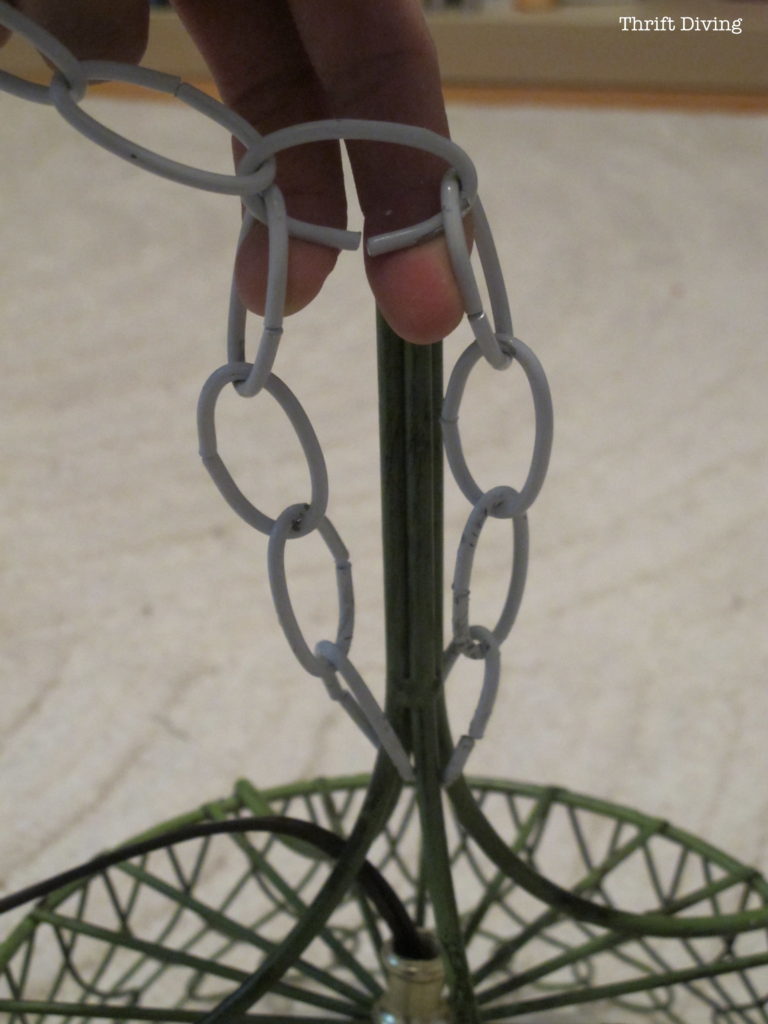
STEP 9: Attach the chain.
Here is where you will want to use your pliers to pull apart the chain links. They’re tough to get open! Also, make sure that you’re lamp is balanced. I hooked the chain so that each side had the same number of links and we all positions equality. Otherwise, it will be off-balanced.

STEP 10: Now go brag to your friends!
They won’t believe you were so crafty 🙂
And there ya go!
A really cheap way to add something interesting to your decor, so that when people come over, they can’t believe you hung a–GASP–fruit basket from your craft room ceiling. Oh, and hubby still keeps shaking his head at me, asking, “WHY did you make that? I still don’t get it….”
No, dear, you never will. It’s a DIY thing 😉
If you like this project, click here to pin it!


Download the 5 freebies!

Thrift Diving inspires women to decorate, improve, and maintain their home themselves...using paint, power tools, and thrift stores! Use these 5 printables, checklists, and ebooks to get started!

I’m much older and haven’t crafted. Earlier this year just your positive attitude gave me encouragement to try to make a simple door wreath. It turned out quite nice and I’m proud of it. My husband and grown kids liked it. I’m proud of you to do what you feel you’re called to do. My concern is that your husband doesn’t back you. That will make a difficult living situation, especially the more you grow and become popular!! Again, if you were here I would be hugging you. God bless and carry on showing even ‘older’ women they can do this!! Thank you.
Hi, Diane!! So sorry for the delay in responding! I’ve been traveling a lot. Glad I didn’t miss this comment! Oh wow, you will have to send me a picture of your door wreath! 🙂 YAY! Good for you getting started with crafting! You’ll see that it will make you very happy tapping into your creative side. As for not getting support from hubby, you are right. He supports me in that he stays home with the kids when I have travel, which people remind me often how great of a husband he is for doing that. But I do know that his negative comments at times, when I am looking for positivity, sucks at times. I just try to find my best support here in the Thrift Diving community and with my blogger friends! 🙂 Thanks for your kind comment!!! Hope you’re doing more crafting, too!