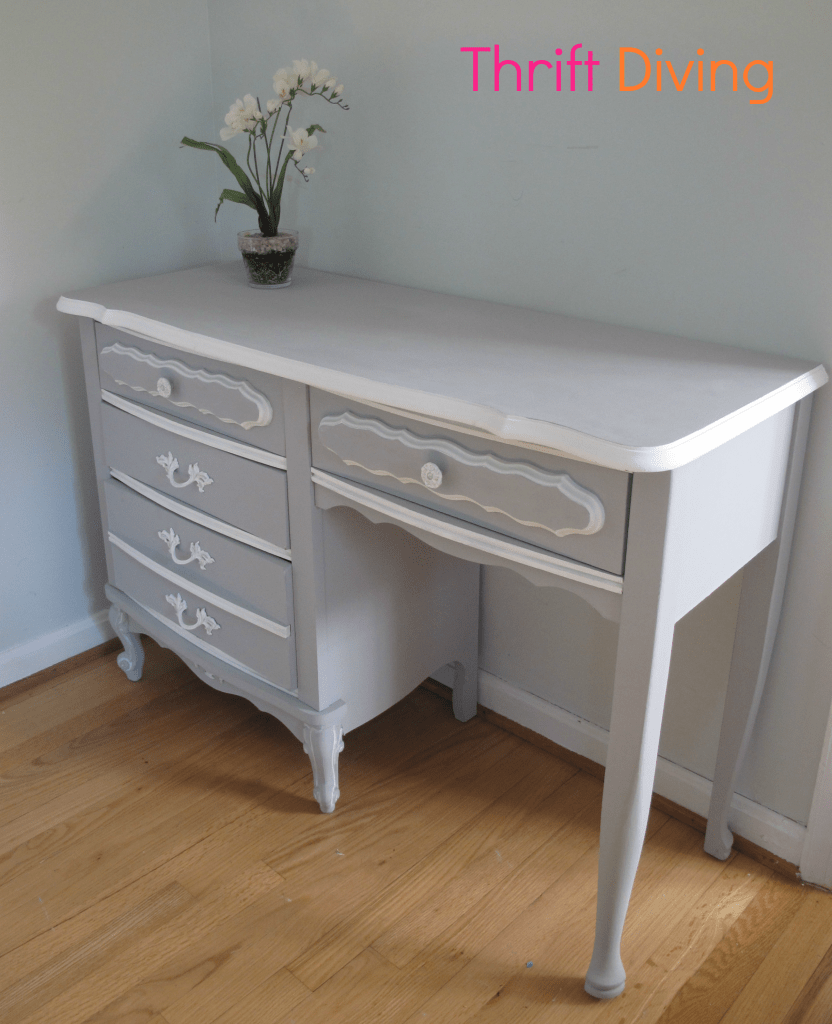
The Makeover of a French Provincial Desk
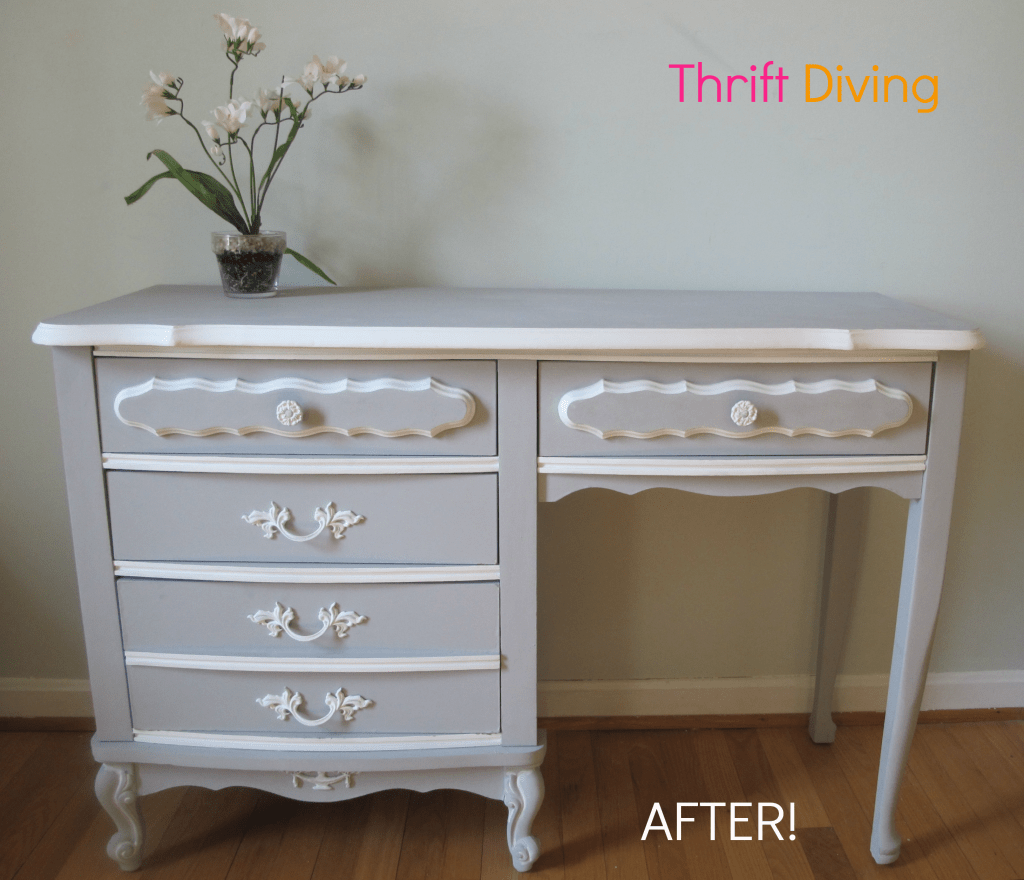
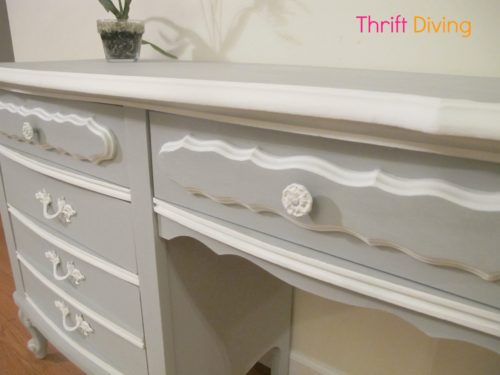
I absolutely looooove the combination of grey and white, and I’ve been dying to make over a piece of thrift store furniture with this color combo for quite a while.
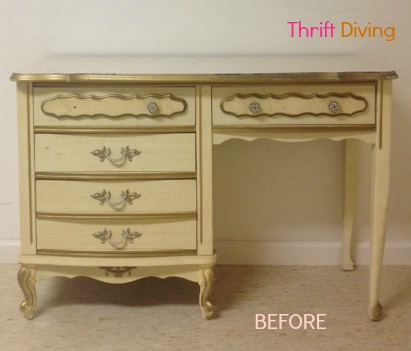
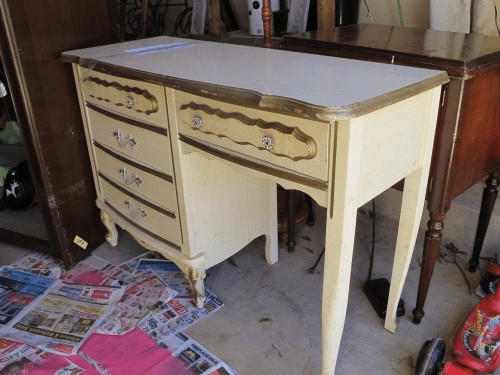
Enter: this beat-up (but cute style!) French Provincial desk that I picked up at my favorite thrift store.
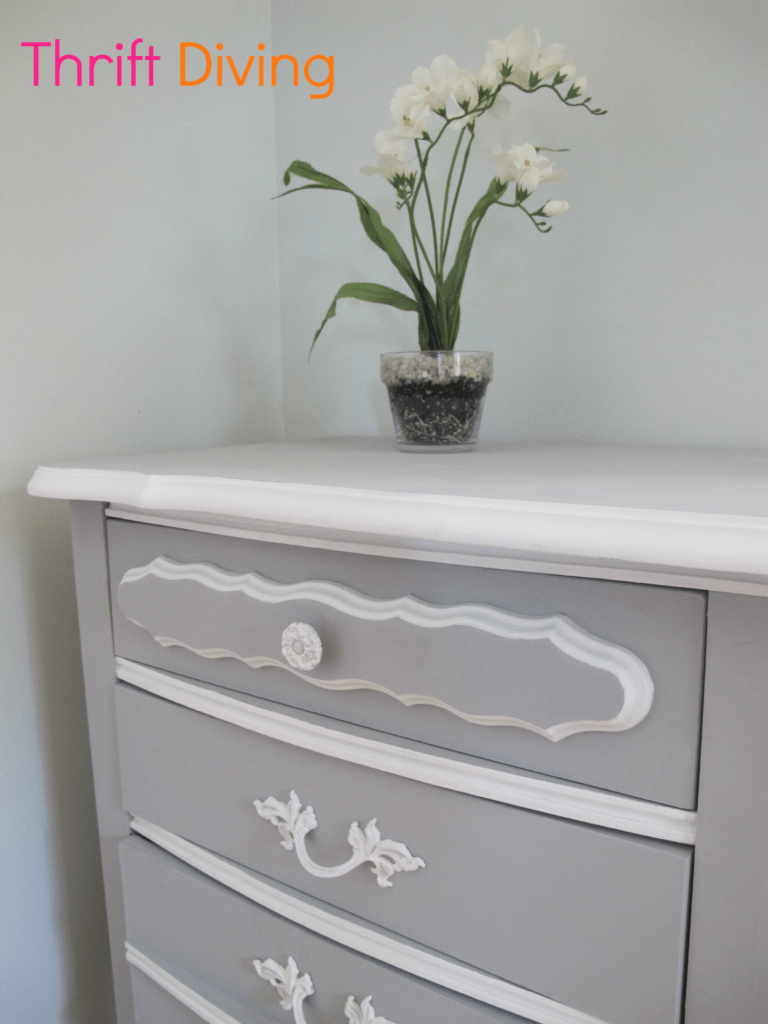
Isn’t it amazing what paint can do?! With this type of transformation, who would ever need to buy NEW??
You know that when you shop thrift stores for furniture to make over, you know it’s always a toss up about whether it will require a nip here…..a tuck there…..and sometimes, a whole face lift!!
Thankfully, this desk wasn’t a total “face lift” but it did throw me for a loop with a few things that ended up eating away a lot of my time!
Don’t you hate when projects go like that?? What you thought was going to be a quick, easy, satisfying project ends up turning into the project that needs to just “END, already!” so you can move on to something else.
Yeah, well, that was this project.
Do You Ever Paint the BACK of Furniture??
I know….”Who’s ever going to SEE it?!” is what you’re probably thinking. That is what I used to say, too. But ever since I decided that I may try my hand at the ‘ole “entrepreneurial thing” (read: selling some of my stuff on Craigslist and at flea markets, which hasn’t happened YET; just gearing up), I decided that it’s unacceptable (and UGLY!!) to leave the back and bottom untouched.
When I found this French Provincial desk, this is what the back of it looked like: covered in thick, torn cardboard MDF-type boards. It looked horrible!!
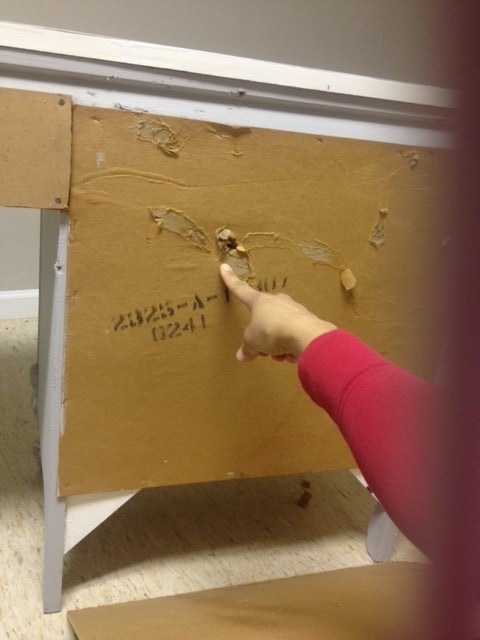
Even though it’s the BACK, seriously, would you want to see this when you turned the desk around?? I wouldn’t! It would be a nasty reminder of the “old” that’s just sitting under 2 layers of paint. And, sorry, but when I make over furniture, I want to erase any thought of the nastiness that used to be 🙂 It needs to look as fresh and clean as possible. NOT with old holes in the back, like this one! LOL
First, I thought I would just remove the back and put on new backs.
I tried to remove the staples that were holding the back on, but they were huge and long and my tools–well, I may as well have been using a toothpick to pry the staples out! LOL
So I decided to cover over it with a whole new panel and just leave the existing old backing on. No one would even know! (well, unless they find me blabbing it here…..).
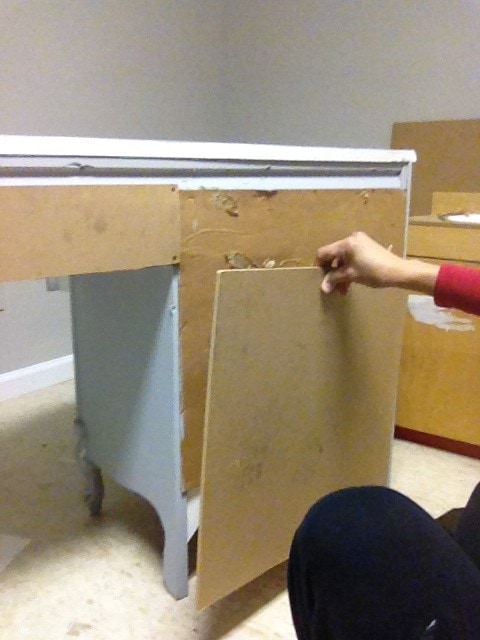
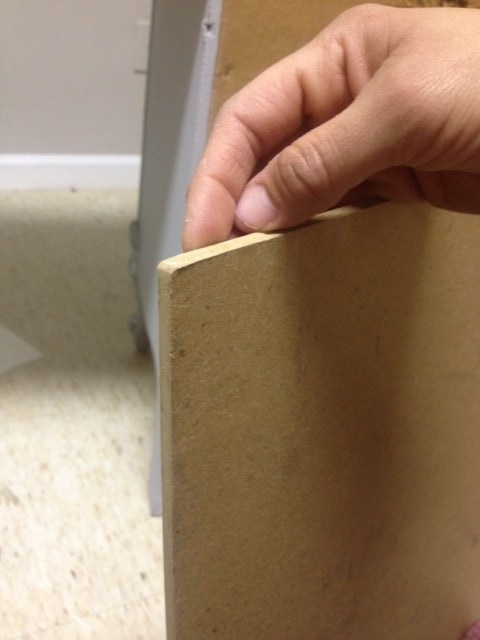
See those panels??
Um…..guess where I found them?
ON THE SIDE OF THE ROAD!
Yep! Hubby, me, and the kids were driving along and I saw about 6 of these MDF boards just SITTING on the side of the road, in the trash pile. Hello!!!! Pull over! Pull over!
Hubby sucked his teeth and complained, but when I’M the one driving, he has no choice but to oblige! And wouldn’t you know, a couple of those boards came in handy for this project!
**sticking my tongue out good-naturedly to hubby**
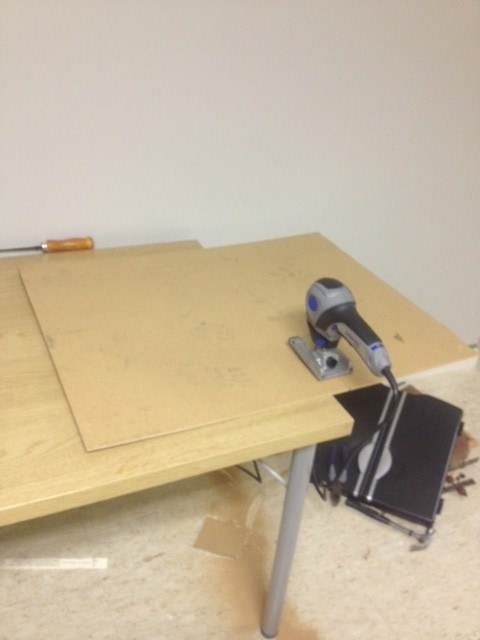
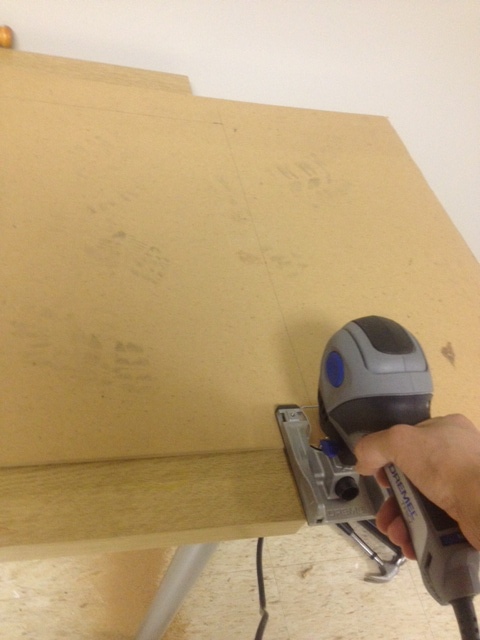
I used my little Dremel Trio rotary tool to cut the sizes I needed. At the time, I didn’t own a circular saw, which would have been super easy. So I settled for the Trio. Now that I’ve got my circular saw, I’ve been doing all kinds of projects I wouldn’t have been able to otherwise do, like when I turned my toddler’s changing table into a desk!
Anyhow…
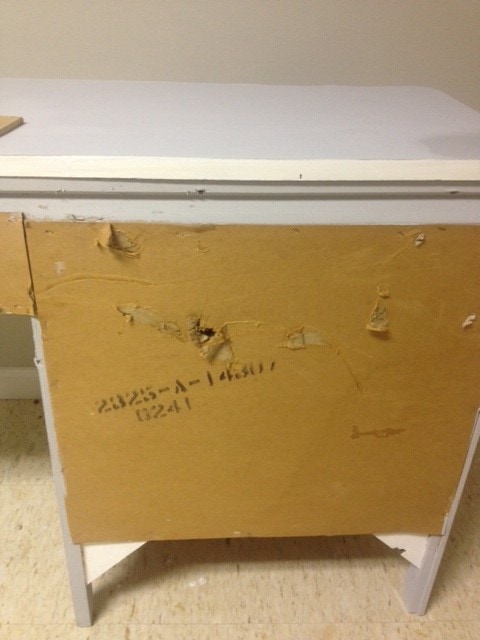
I nailed the panels onto the back. It looks a bit “not even” but that’s because I was trying to go directly over the existing pieces, and those were a little crooked to begin with. Oh well, it doesn’t have to be PERFECT. (Later, I got an awesome Ryobi brad nailer, and let me tell you, that baby makes nailing eaaassssyyy!!)
But even THIS is a major improvement over the holey back.
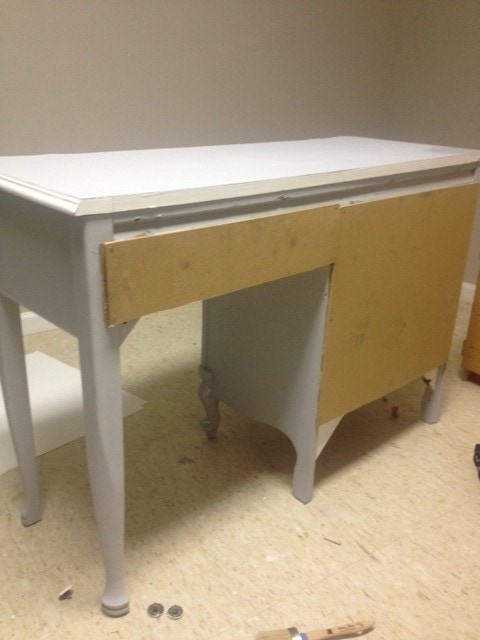
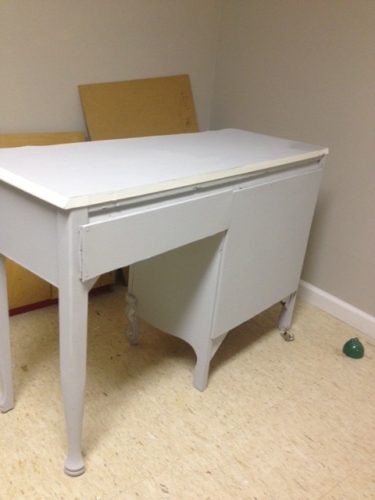
With a coat of paint, it blends in with the rest of the body without being an ugly eye sore. Again, it doesn’t have to be perfect; but at least it’s an improvement, right??
Drilling New Holes
Don’t be afraid to drill new holes for your hardware. Sometimes you want to reposition them, or maybe you just need to rework it, the way I needed to do.
It’s super-easy to do.
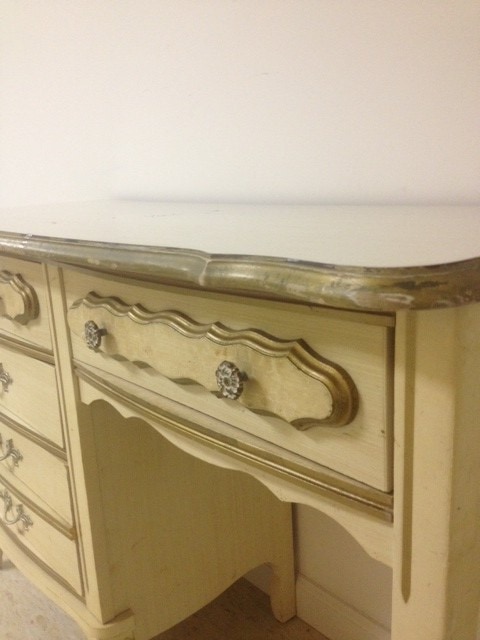
This French Provincial desk had 2 knobs on each top drawer, but because one was MISSING, there were only 3 knobs when there should have been 4. (See the missing knob on the left drawer?)
Two knobs….
Now there’s only one….
I used Wood Filler![]() to cover the existing knob holes, then drilled a hole in the center to create just one knob hole.
to cover the existing knob holes, then drilled a hole in the center to create just one knob hole.
When the wood filler was dry, I sanded it down to blend into the wood.
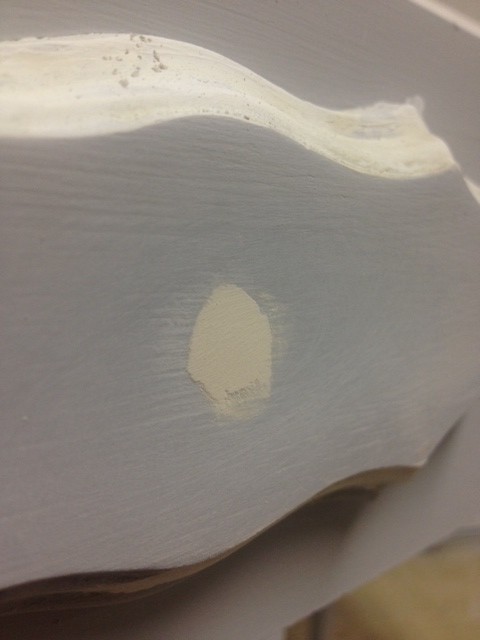
I drilled a new hole in the center and just used 1 knob for each top drawer. PROBLEM: solved 🙂
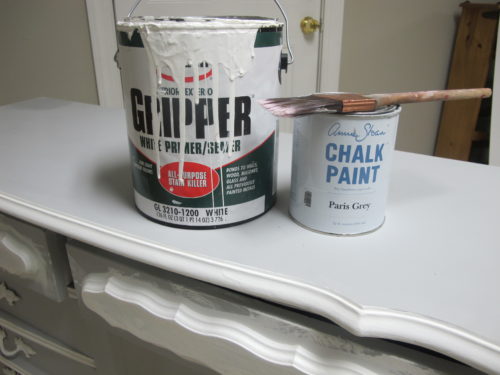
Pass Me the Primer, Please!!!
You might be wondering if you need to use primer on furniture before painting it. Generally, the answer is NO. Most furniture paints today, such as Annie Sloan Chalk Paint, or some of these other best furniture paints, are formulated specifically to use on furniture and don’t require primer first. However, with that being said, sometimes you do need a good ‘ole can of primer if you need a stain blocker or your paint isn’t adhering to the furniture if there is silicone or some other substance that is preventing the paint from sticking.
I love Annie Sloan Chalk Paint and have used it for many pieces of furniture, because it sticks to everything, apparently.
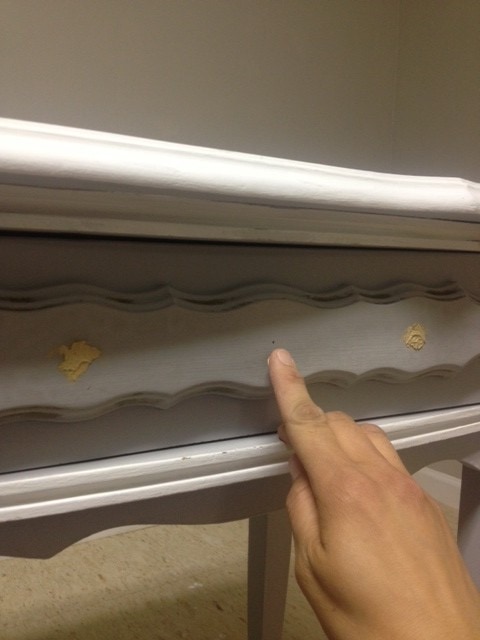
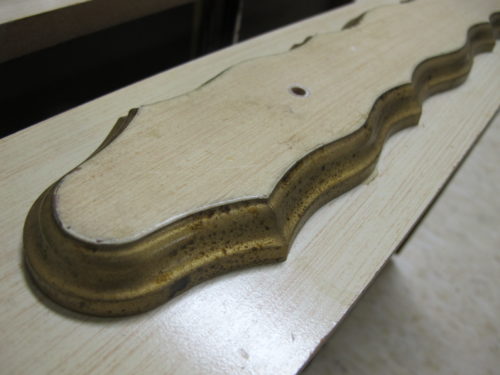
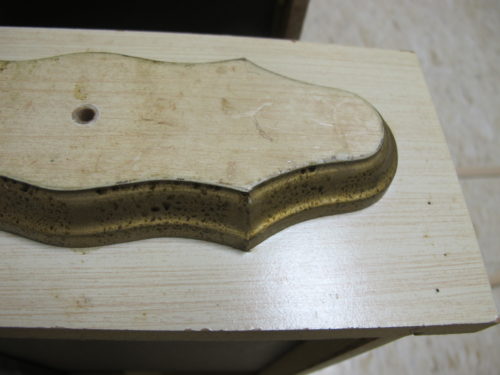
But one thing it DOESN’T do is act as a stain blocker, and that what an issue I ran into with this French Provincial dresser.
You see these drawer fronts?? They were horribly stained and no matter how much cleaning I did, and how many coats of chalk paint I used (I painted at LEAST 3 or 4 coats of white over that gold trim part), it wasn’t sticking well. There must have been some stains or something on it because the paint was beading up with each coat. In order to get the paint to stick, though, I whipped out the good ‘ole primer and slathered on a coat. Worked like a charm!
Head’s up–sometimes you will get problems with paint sticking, or with old stain bleeding through. I wrote an entire blog post about the 10 Most Common Furniture Painting Mistakes and How to Avoid Them. Be sure to check it out!
So back to this post… 🙂
So to reiterate, you don’t necessarily have to prime, but if you run into an issue with your furniture paint not sticking, try some primer.
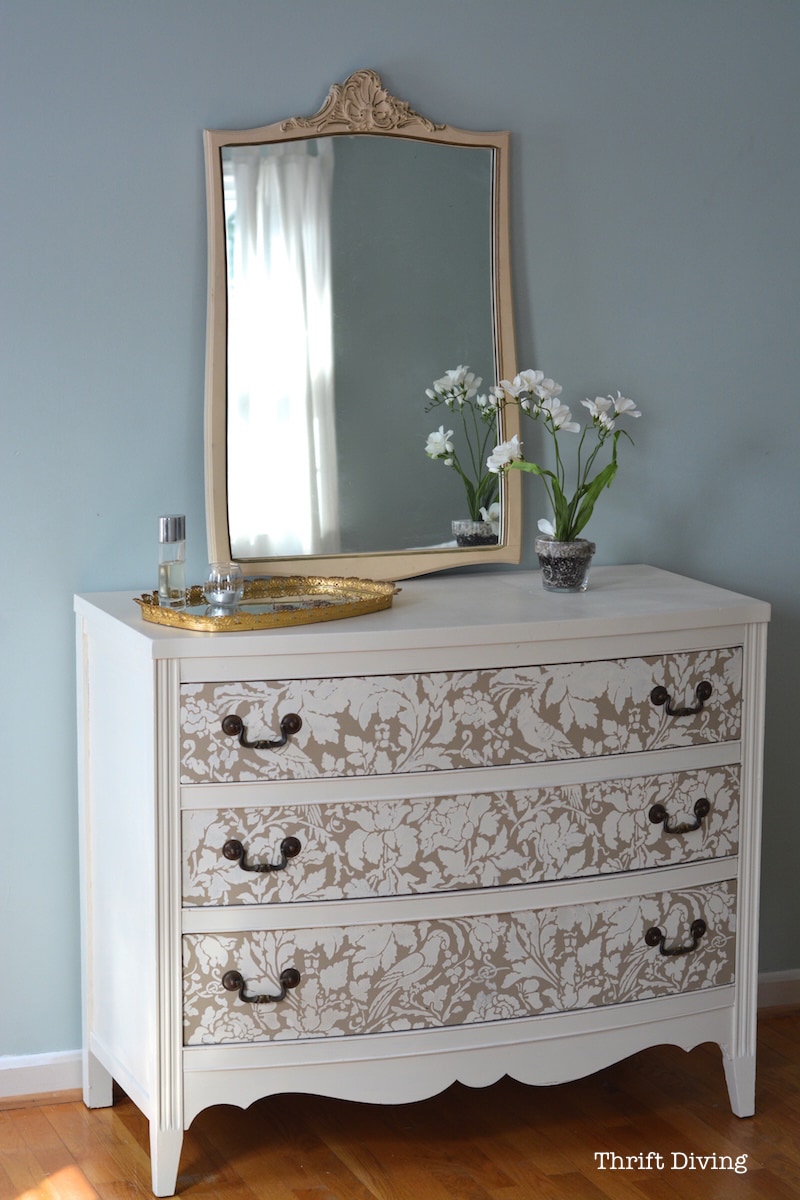
I didn’t have to prime the entire dresser, just the gold.
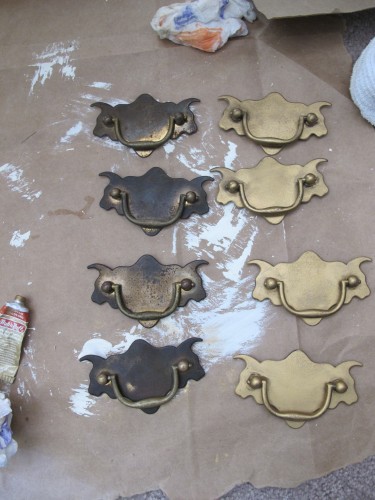
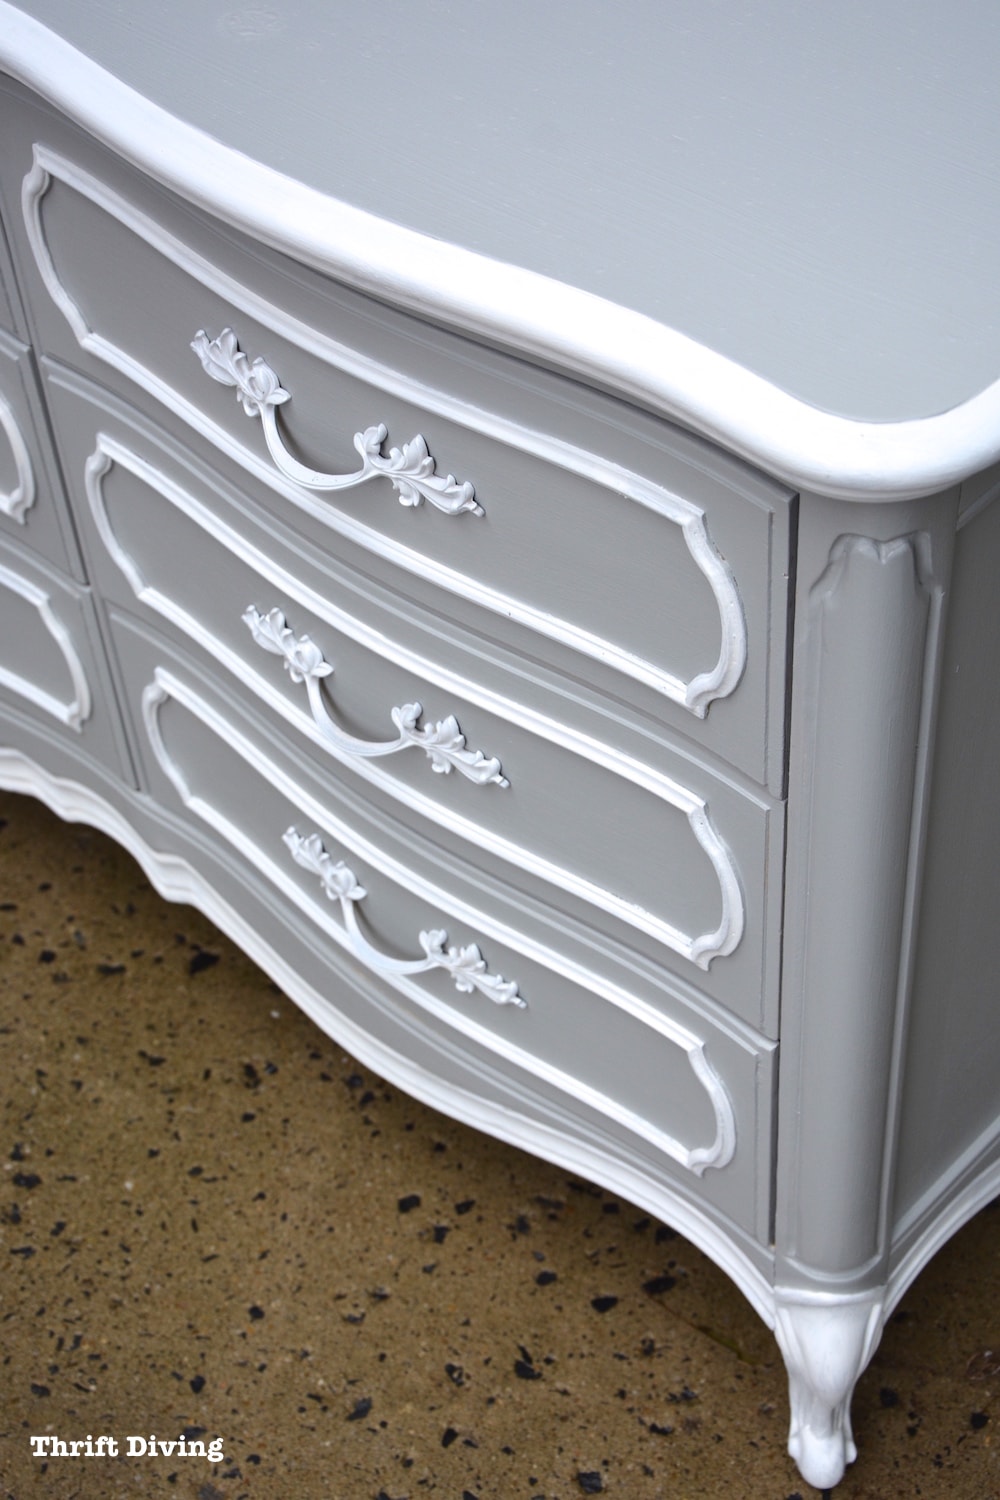
I kept the existing hardware because it had such a nice shape. I just painted them white, too.
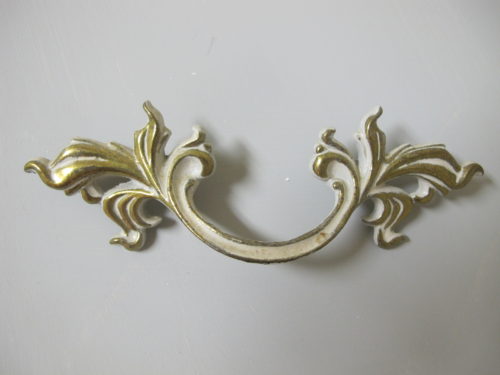
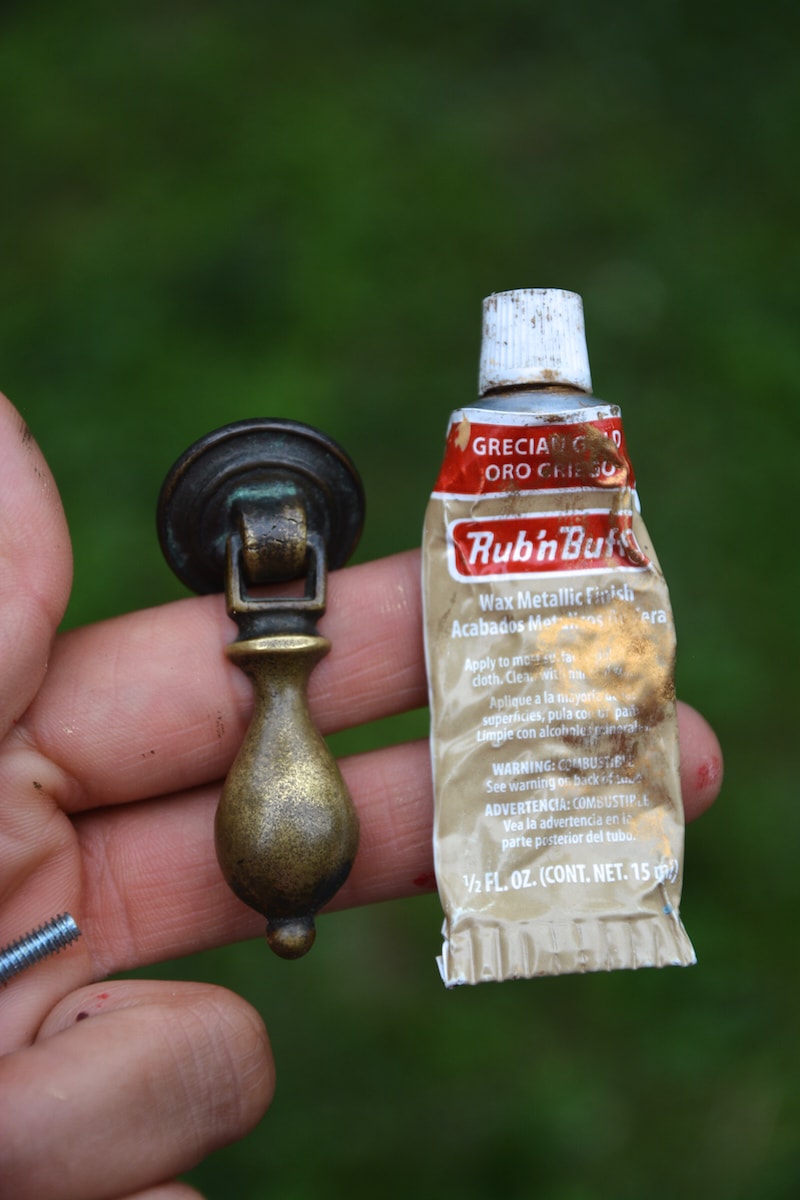
However, if you want to refinish the French Provincial handles or knobs gold, try using some Rub n’ Buff metallic wax finish. It works wonders on handles that are tarnished and that need a refresh. If you’ve never bought knobs and handles, they can be expensive. So reusing your old ones, and just refreshing them with Rub n’ Buff, works extremely well!
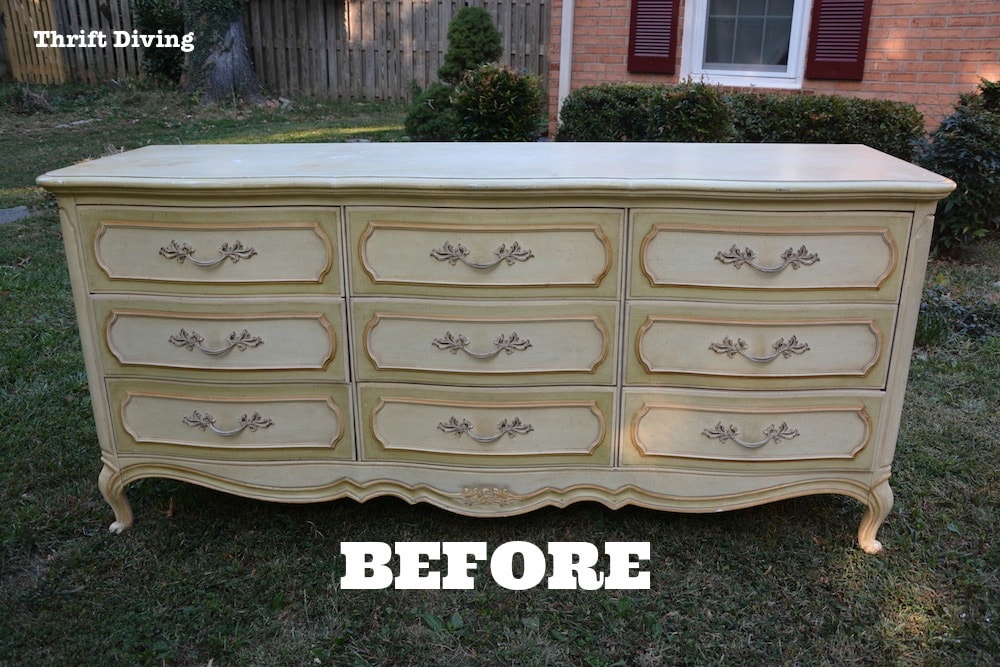
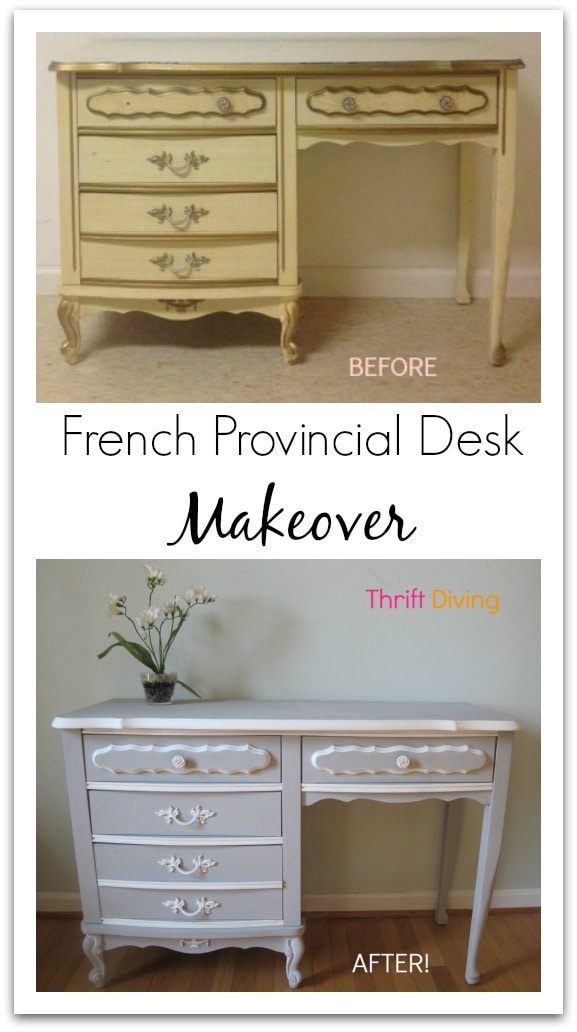
So let’s take a look at what it looked like “before.” It’s such a beautiful style of furniture that many little girls in the 70’s and 80’s had! It’s become fashionable again, and is pretty good quality. So if you have a set that a parent passed down to you, or you’re passing it down to your daughter, you can refresh it.
BEFORE
AFTER!
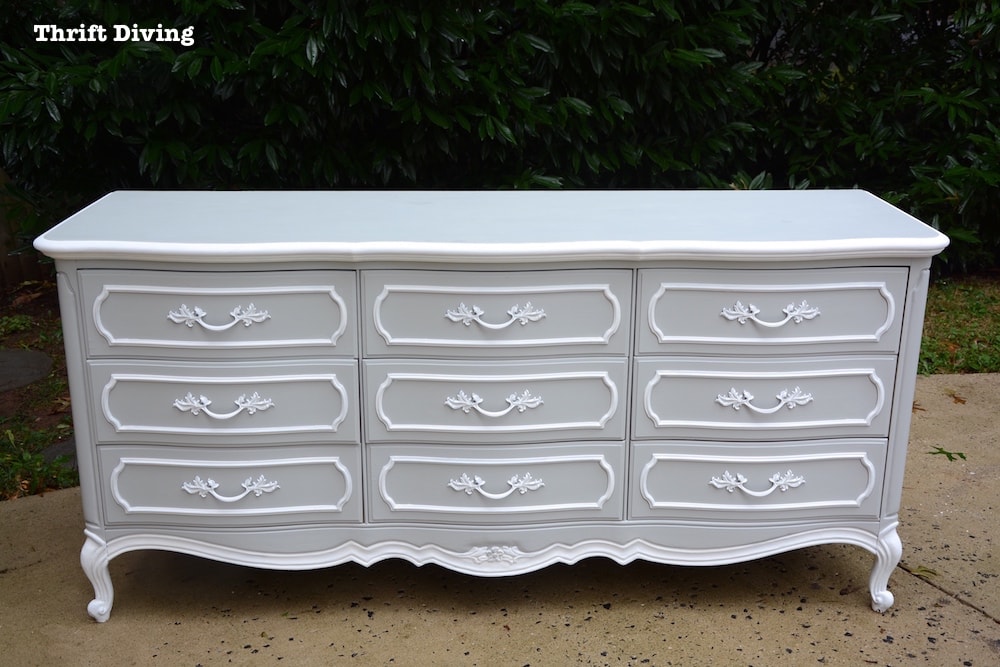
And here’s another French Provincial dresser makeover that I painted for my mother-in-law. Yes, same gray and white. 🙂 What can I say?? The gray and white combination looks fabulous! You’ll definitely want to check out this dresser because there was some repairs with wood filler that I needed to make to the top before I painted it. You’ll want to check that out if you dresser has surface imperfections, too.
Lessons Learned
It’s true that with each project you learn a little something more than you did before you started. With this project, I learned that:
1) Sometimes primer will be needed if you’ve got areas that need stain blocking. Primer will never completely go out of style, so be sure to have a can nearby if you need it.
2) Sometimes hiding a flaw is just as good as correcting it!
3) It’s okay to hoard trash you find on the side of the road because one day, you might just need it. Just don’t go crazy with your hoarding. 😉
What are some of YOUR Lessons Learned from doing projects? Please leave a comment!

Download the 5 freebies!

Thrift Diving inspires women to decorate, improve, and maintain their home themselves...using paint, power tools, and thrift stores! Use these 5 printables, checklists, and ebooks to get started!


Hello. Beautiful work! Did you prime just where the bleed through was? Or did you prime the entire desk before painting with ASCP? Thanks!
Hey Kristin! I only primed where the bleeding through was happening. The other parts were fine! 🙂 Thank you!!
Thank you, Anais! Mine didn’t have a built-in pencil holder. Can you send me a pic of it? I might be able to help you once I see it! Email me thriftdiving at gmail dot com. Thanks!
This is lovely great job!! I have a similar desk, did your desk have a built in pencil holder like a place where to put your pencils? Mine does and it gets in the way to take off the hardware since it’s close to the screws and built in, what do you recommend?
thanks
Hi there….I actually have this same exact desk purchased from Value Village for $8. Still haven’t done anything to it, but you have inspired me to start working on it.
Hey there Pearlette! Wow, $8?? You can barely get a burrito from Chipotle for that amount! LOL What a steal! I’m glad that you were able to be inspired! Email me a pic of your desk when you’re done. I’ll love to see it!!
Oh my goodness! I love it! I cannot wait until we have a bigger place and I can actually try my hand at something like this. I love that you redid the back too. 🙂
I love your desk Serena. Wish I drive to your flea market and buy one of your projects like this desk.