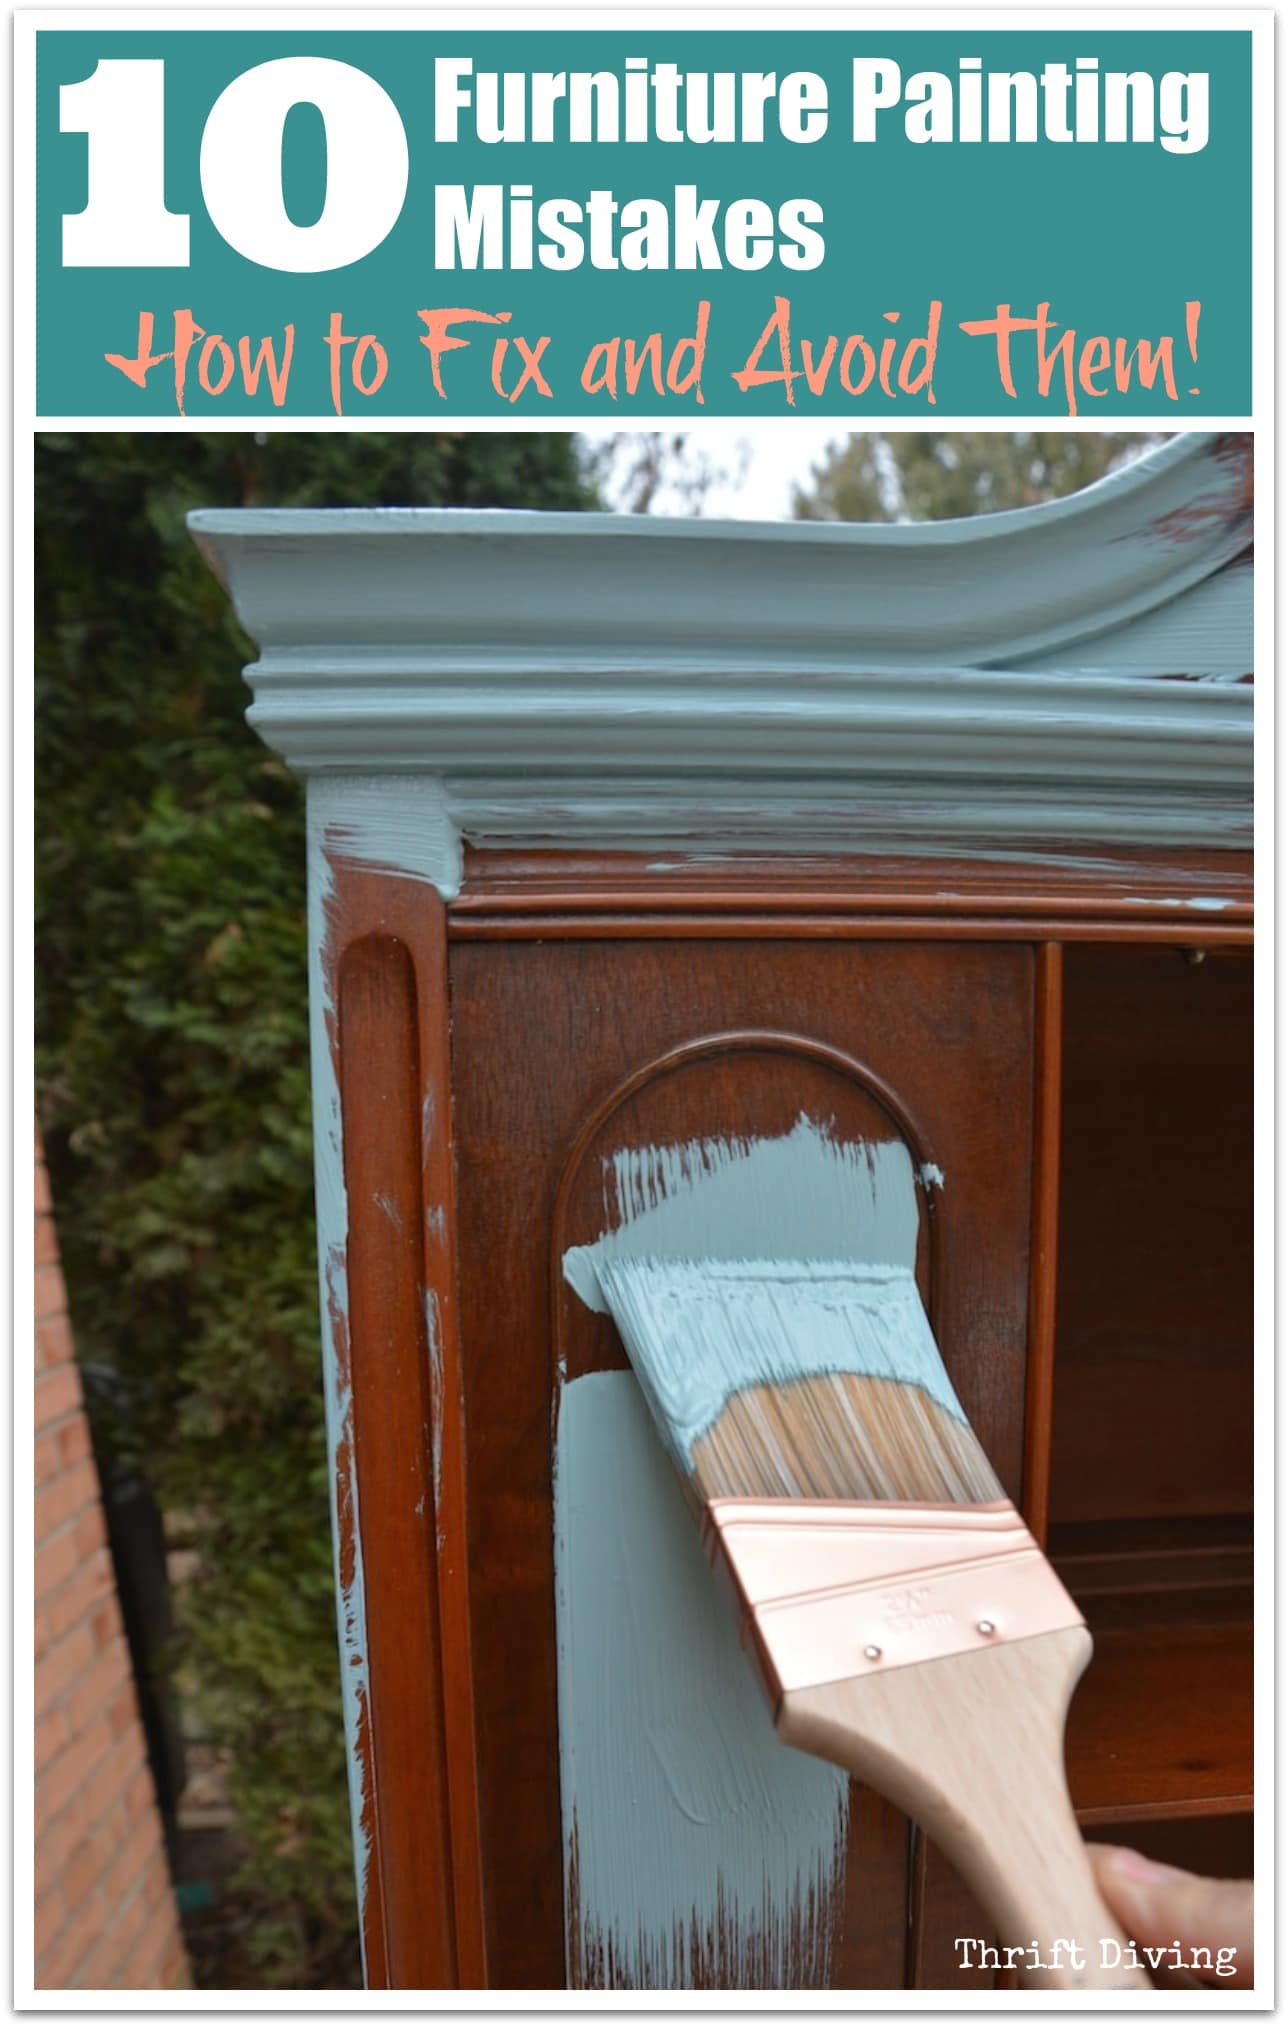
10 Common Mistakes When Painting Wood Furniture
Table of Contents
Mistake #1: Paint Drips and Runs
Mistake #2: Brush Strokes
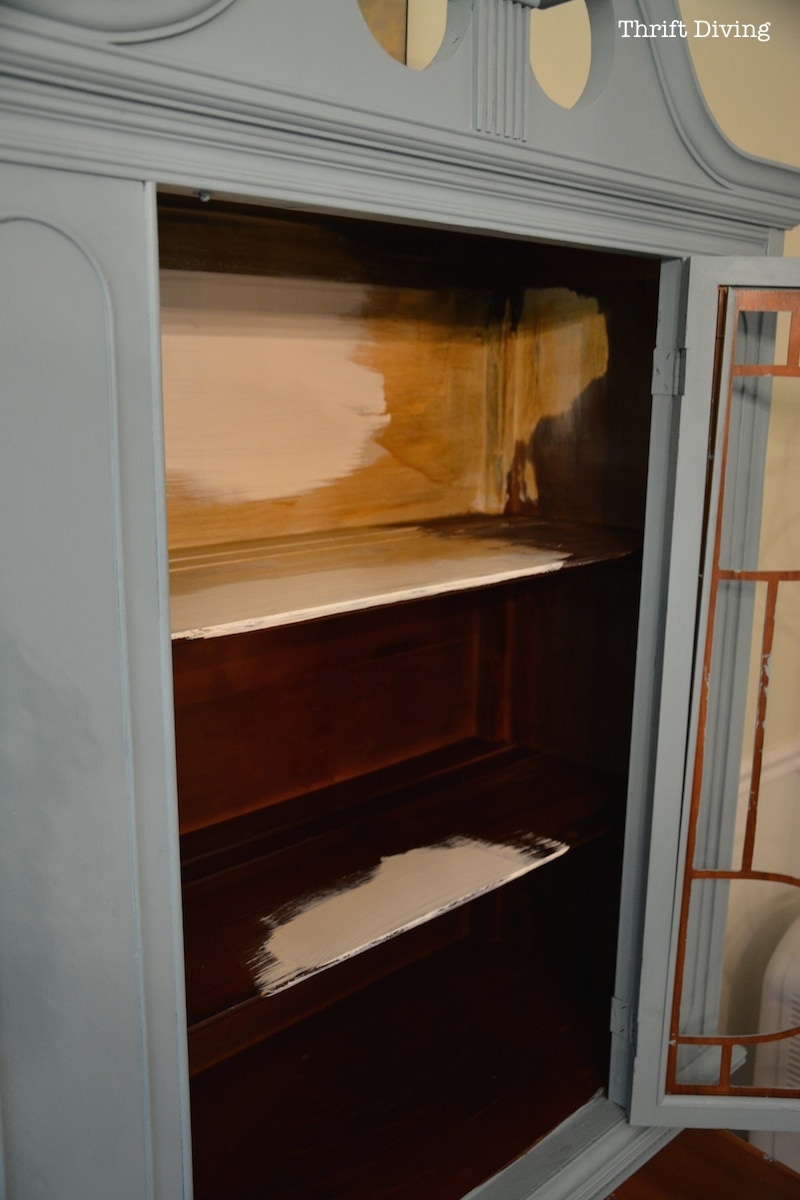
Mistake #3: Old Stain Bleeding Through
Mistake #4: Chipped Paint
Mistake #5: Peeling Paint
Mistake #6: White Paint is Turning Yellow
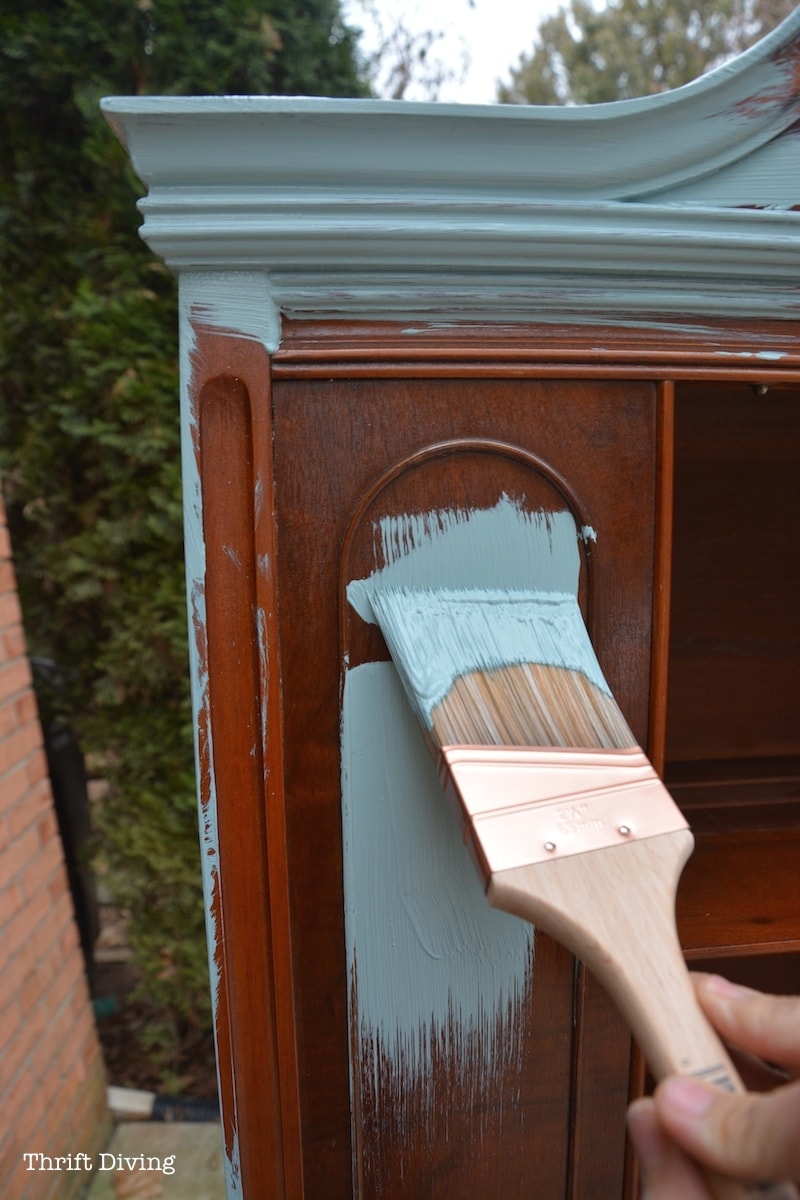
Mistake #7: Missing Spots
Mistake #8: Paint Looks Spotty (Poor Coverage)
Mistake #9: Wet Paint is Getting Dirty
Mistake #10: Chose the Wrong Color
Materials Needed for Painting Furniture
- Furniture paints
- Paint sprayer
- Synthetic paint brushes
- Natural bristle brushes
- Rubber bands
- 220 grit sandpaper
- Wood filler
Mistake #1: Paint Drips and Runs
Causes of Paint Drips and Runs |
How to Fix It |
|---|---|
| Paint is too watery. |
Thoroughly stir the paint, mixing in the thick pigments from the bottom. If it’s still watery, leave the can off for about 20 – 30 minutes to thicken up the paint.
|
| Too much paint on the paint brush. |
When you overload your paint brush, too much paint gets slathered on your project. This can create runs. To prevent overloading your brush, place a rubber band around the paint can to off-load some of the paint without “gunking” up the rim of the can. Or very lightly off-load some of the paint along the side of the can. And only load enough paint to cover the tip of the bristles, not the entire bristles.
|
| Not holding your paint brush properly. |
When painting along edges where runs tend to occur, hold your paint brush on the same side as the edge and gently pull the bristles over the edge.
|
| Not rotating your work. |
Turn your work often or walk around your painted furniture to look for runs before they dry. Use an old lazy susan or rotating TV stand to hold your projects and allow you to easily spin/rotate them.
|
| Painting without enough light. |
Turn on as many lights as possible when painting (or paint outdoors during day hours) so that it’s easy to see drips and runs. Smooth them out as soon as possible to blend them in before paint dries.
|
| You’re using spray paint. |
Spray paint is infamous for drips and runs! To prevent spray paint drips and runs, keep the spray paint can at least 8″ away from whatever you’re spraying, keeping it constantly moving to prevent a build-up of too much paint, which is more likely to run. Do several coats of light spray instead of one coat of thick, runny paint.
|
So let’s say you follow all these precautions but you still have a few paint runs. If the runs are still wet, and you’re using furniture paint, use your brush to smooth them out. If you’ve got runs with spray paint, use a rag and gently blot the runs with a lint-free rag. Add a light coat of spray paint over the blotted area to cover it up.
If you find them after your painted furniture dries, you’ve got to wait until they fully dry and then sand them out with 220-grit fine sandpaper. This is easy to do with most furniture paints (especially chalked paints, which sand very easily). Spray paint is a little harder, but it can be done.
After you sand out the drips carefully, use a paint brush to touch up the spot. (With spray paint, cover the sanded area lightly to try to blend it in). Don’t sand too much or you’ll sand down to the original surface you’re trying to cover. If that’s the case, do a light touch-up, let it try, and then come back to see how well it’s blended in. If it’s noticeably different than the rest of the surface, add more touch-up coats. Once it’s fully try, you might have to do a full additional coat over the entire side in order get the paint to match. (Now you see how important it is to get those drips before they dry??). 😉

Mistake #2: Brush Strokes
Causes of Brush Strokes |
How to Fix It |
|---|---|
| Brand of paint. |
Some brands of paint have more noticeable brush strokes than others. For example, Beyond Paint (see above) is formulated to work best with rollers, not brushes. If you use a brush, you’ll notice brush strokes.
|
| Paint is too thick. |
Most paint will thicken up when left exposed to air. Some people like their paint to become thicker because they like the look of brush strokes, as mentioned above. However, to correct this problem, add a little bit of water and mix well. Most brands of furniture paint will allow a bit of water. Read the paint’s instructions and check their website to make sure that their paint can be thinned with water.
|
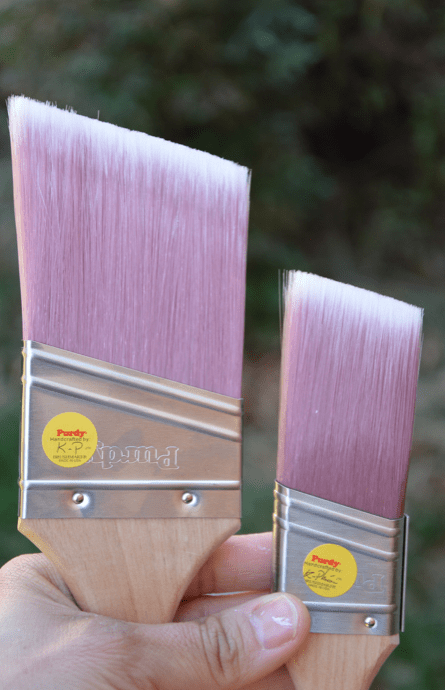
| Type of brush. |
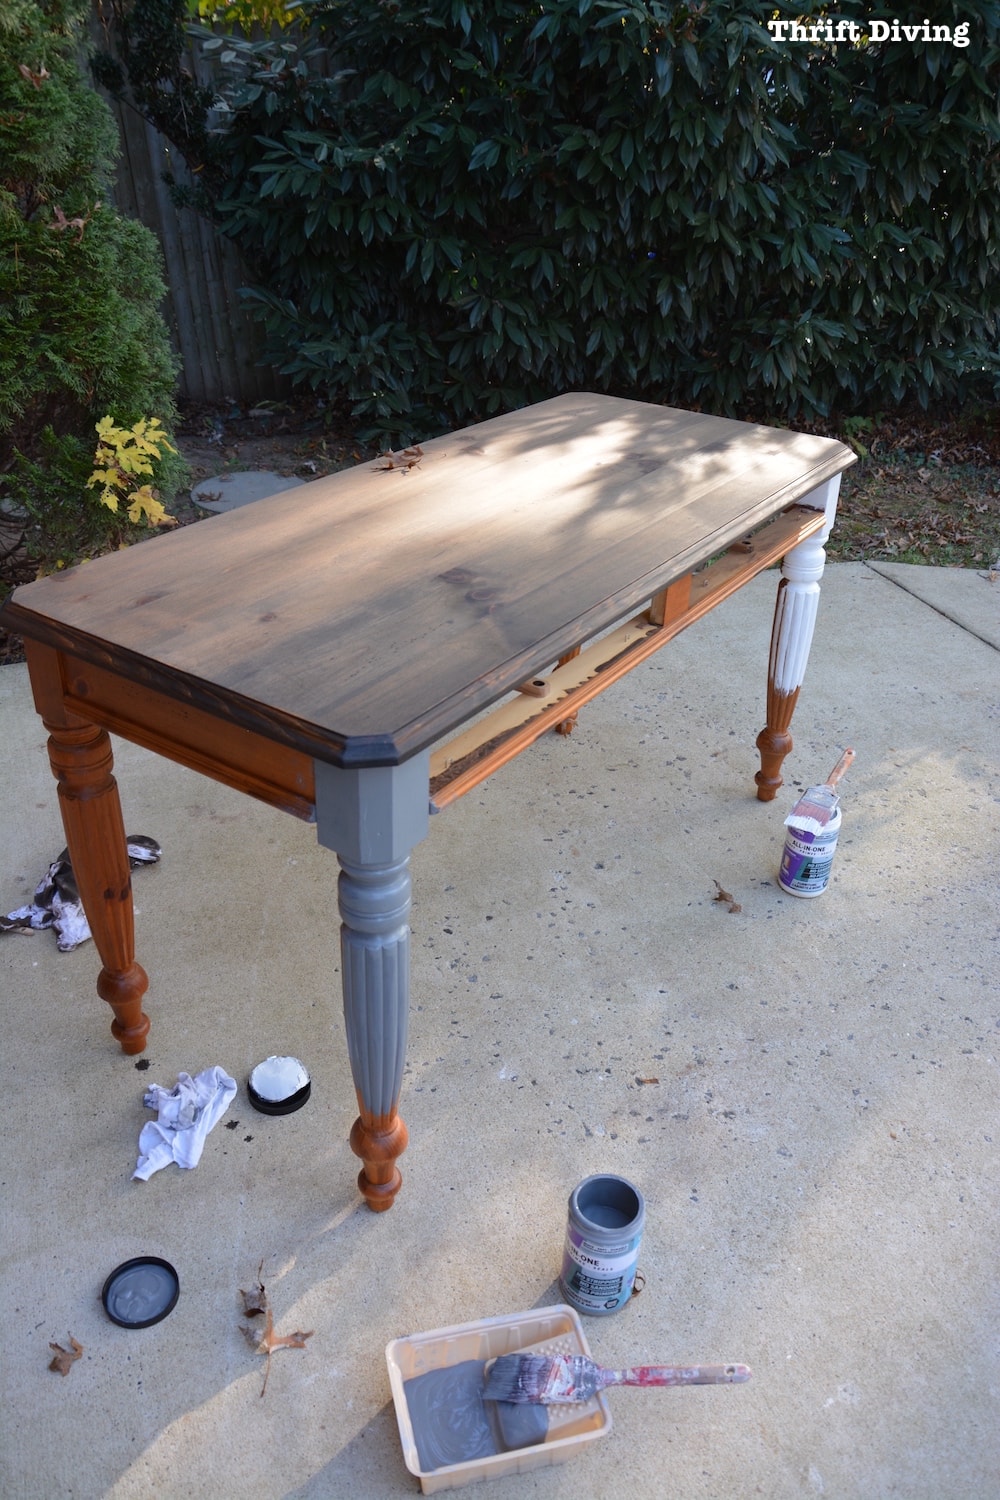
Synthetic brushes, like nylon brushes, (my favorite brand is Purdy), give a smoother finish. Natural bristled brushes, such as the china chip brushes, are m ade of hog hair and give more of a textured finish. If you’d prefer very few brush strokes, aim for synthetic bristled brushes. If you want a nearly flawless finish, try using a paint sprayer! See how I used a paint sprayer on a table base here.
|
| You haven’t sanded yet. |
Chalked paint after it’s dried, when sanded with 220-grit sandpaper, creates a nice smooth texture. Let the paint thoroughly dry and then carefully smooth out any remaining texture with sandpaper. Use two coats. Be careful not to sand down through the two layers of paint to the original surface you’re painting over.
|
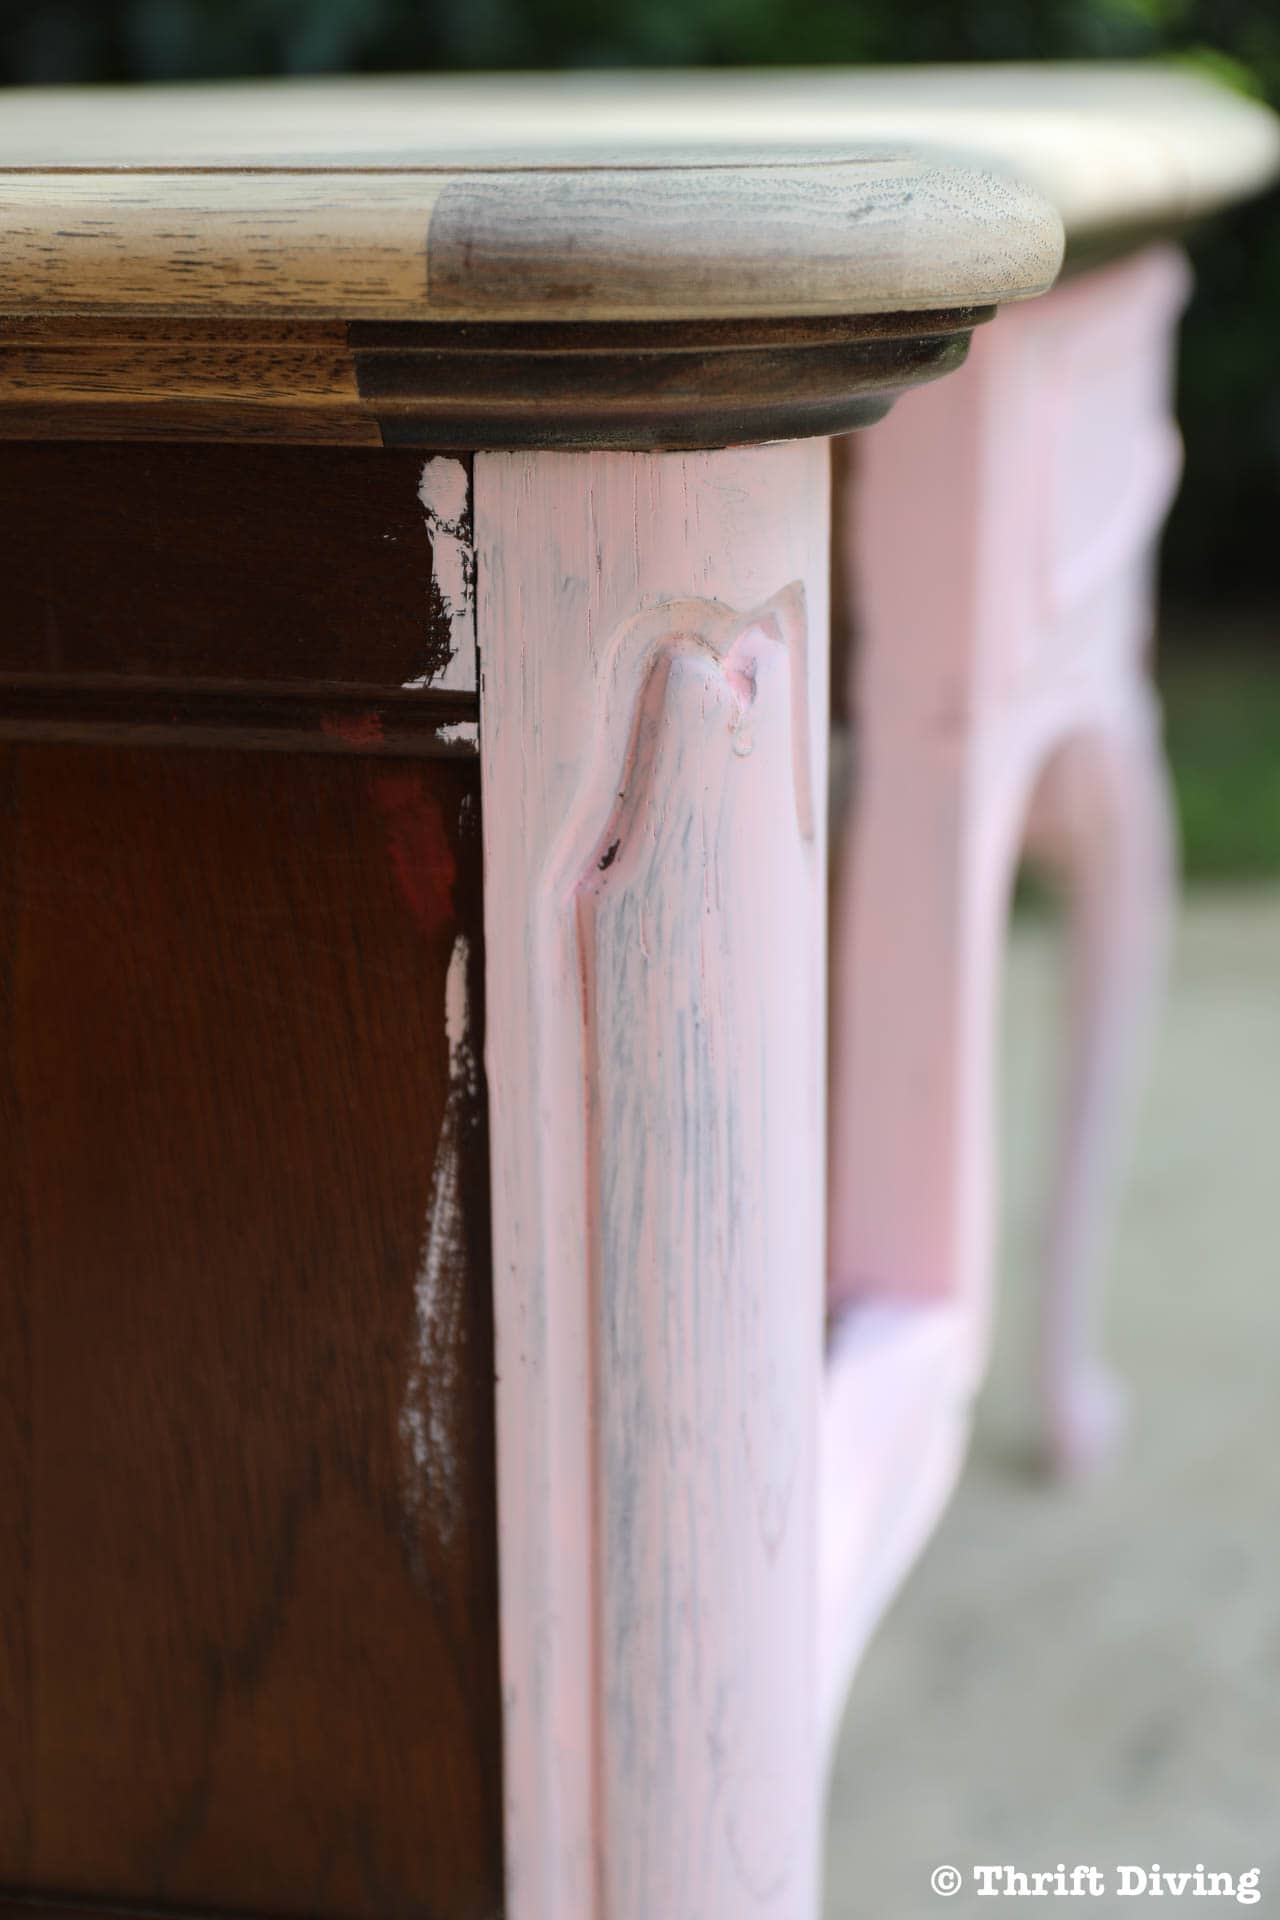
Mistake #3: Old Stain Bleeding Through Paint
Causes of Paint Bleeding Through |
How to Fix It |
|---|---|
| You sanded first. |
Most furniture paints don’t require you to sand first. But if you do sand, removing the finish from the wood could expose the stain underneath, allowing it to bleed through your paint. Do a test area and see how the paint looks if you skip sanding.
|
| It’s a mahogany stain. |
Mahogany-stained furniture (and other hardwoods) is notorious for bleeding through paint because of the aniline dyes. Aniline is a coal-tar distillation product (learn more about aniline dyes here). To fix the bleeding, you’ll need to use an oil-based spray primer such as KILZ. Be sure to do this outdoors while wearing a mask with good ventilation. Add 1-2 coats and let it thoroughly dry before painting. Another solution is to use a dewaxed shellac (also known as sanding sealer) over the mahogany, let it dry thoroughly, and then paint.
|
| You’re trying to paint it a light color. |
If there is a piece that you can’t seem to get the tinge of red/pink to disappear, try painting your furniture a darker color. The bleeding through will be less noticeable.
|
Mistake #4: Chipped Paint
| Causes of Chipping | How to Fix It |
|---|---|
|
Paint didn’t dry between coats.
|
After painting the first coat, you need to let the paint dry for about 1-2 hours before adding a second coat. Follow the instructions on the back of the paint can to know how long the manufacture recommends waiting in between coats. But it should definitely be dry to the touch. If you try to paint another coat before it dries, it can chip off. |
|
Didn’t clean the furniture first.
|
You wouldn’t put makeup on a dirty face, would you? 🙂 You also shouldn’t paint a dirty piece of furniture. Use Simple Green, which is a degreaser that removes any surface dirt, dust, or grease that could prevent good adhesion. |
|
You used the wrong paint.
|
Latex paint that you use on your walls isn’t the same as furniture paint. While some people do use wall paint for their furniture, you’ll get better results when using furniture paint. It’s formulated to stick to many surfaces and is a “heartier” paint than wall paint. If you use wall paint and are getting chips in the paint, see section below “It hasn’t cured yet” for instructions on how to fix this chip. |
|
Used the wrong painter’s tape.
|
Paint that hasn’t fully cured can easily chip off if you use a painter’s tape on it (for example, if you’re doing stencils or other designs that require painter’s tape). Don’t use the blue or green painter’s tape. It’s might pull off the paint. Instead, use this sensitive surface tape by Frog Tape which is made for surfaces that aren’t quite cured. (It’s perfect for walls, too!). |
|
It hasn’t fully cured yet.
|
As hearty as furniture paint is, you have to let it cure before you start your painted furniture. If you notice chips in the paint or the top coat, it could be because you started using it before it’s fully cured. Paint, on average, takes about 2 weeks to fully cure. Top coats can take about a week to dry for light use, and take about 3 weeks to fully cure before heavy-duty use. |
|
No top coat or wax was used.
|
Not every brand of paint requires a top coat. Some brands like Beyond Paint and Mineral Fusion paint have built-in top coats. Other paints, such as Annie Sloan chalk paint and most chalked paint requires wax or a top coat. If something is used for light-duty use, sometimes you can skip wax or a top coat. But furniture for heavy-duty use like kitchen cabinets, table tops, etc., should have a few layers of top coats. |
|
You didn’t sand or prime.
|
Now….most furniture paints don’t require you to sand or prime. Some people prefer to do a light sanding before painting, and if it’s a super dark piece of wood, they may prime just to help with coverage. However, as mentioned above, if you use a wall latex paint, you have to sand and prime first. Otherwise, the paint just doesn’t stick well. In other works, if you use a furniture paint like these, sanding and priming is optional. If you use a wall latex paint, then sanding and priming is recommended. |
Mistake #5: Peeling Paint
Causes of Peeling Paint |
How to Fix It |
|---|---|
| Wrong paint was used. |
I don’t care what some people say: regular wall latex paint just doesn’t perform as well as furniture paint. We can have debates about that, but from my experience, regular wall latex paint is “gummy.” The shinier the sheen (e.g. eggshell, semi-gloss), the more gummy it is. Over time, that “gummy-ness” can cause the paint to peel off. To fix this, you can lightly sand with fine 220-grit sandpaper and try to spot fix (see Mistake #4 for instruction on fixing a chip or imperfection). Or you can strip off the existing paint and use a paint formulated specifically for furniture.
|
| Skipped sanding and priming. |
If you do decide to use a regular wall latex paint, it’s recommended that you sand and prime first to get a good adhesion. If you skip these steps while using regular latex wall paint, you’re more likely to experience peeling. Furniture paints are generally very flat and chalky (due to some of them, due to their calcium carbonate component), so those don’t ever peel. A few of them have top coats built into them, such as Mineral Fusion and Beyond Paint, but in my experience, those don’t peel, either.
|
| You’re using this furniture in a “high traffic” area. | Again…if you decide to use a regular wall latex paint, only use this type of paint on pieces that won’t get a lot of “traffic” and heavy-duty use, such as dining room tables, chairs, desks, coffee tables, etc. Furniture such as decorative benches, shelves without a lot of use, and other pieces, will be less likely to peel (or chip!) because there’s not much touching them and disturbing the paint.
|
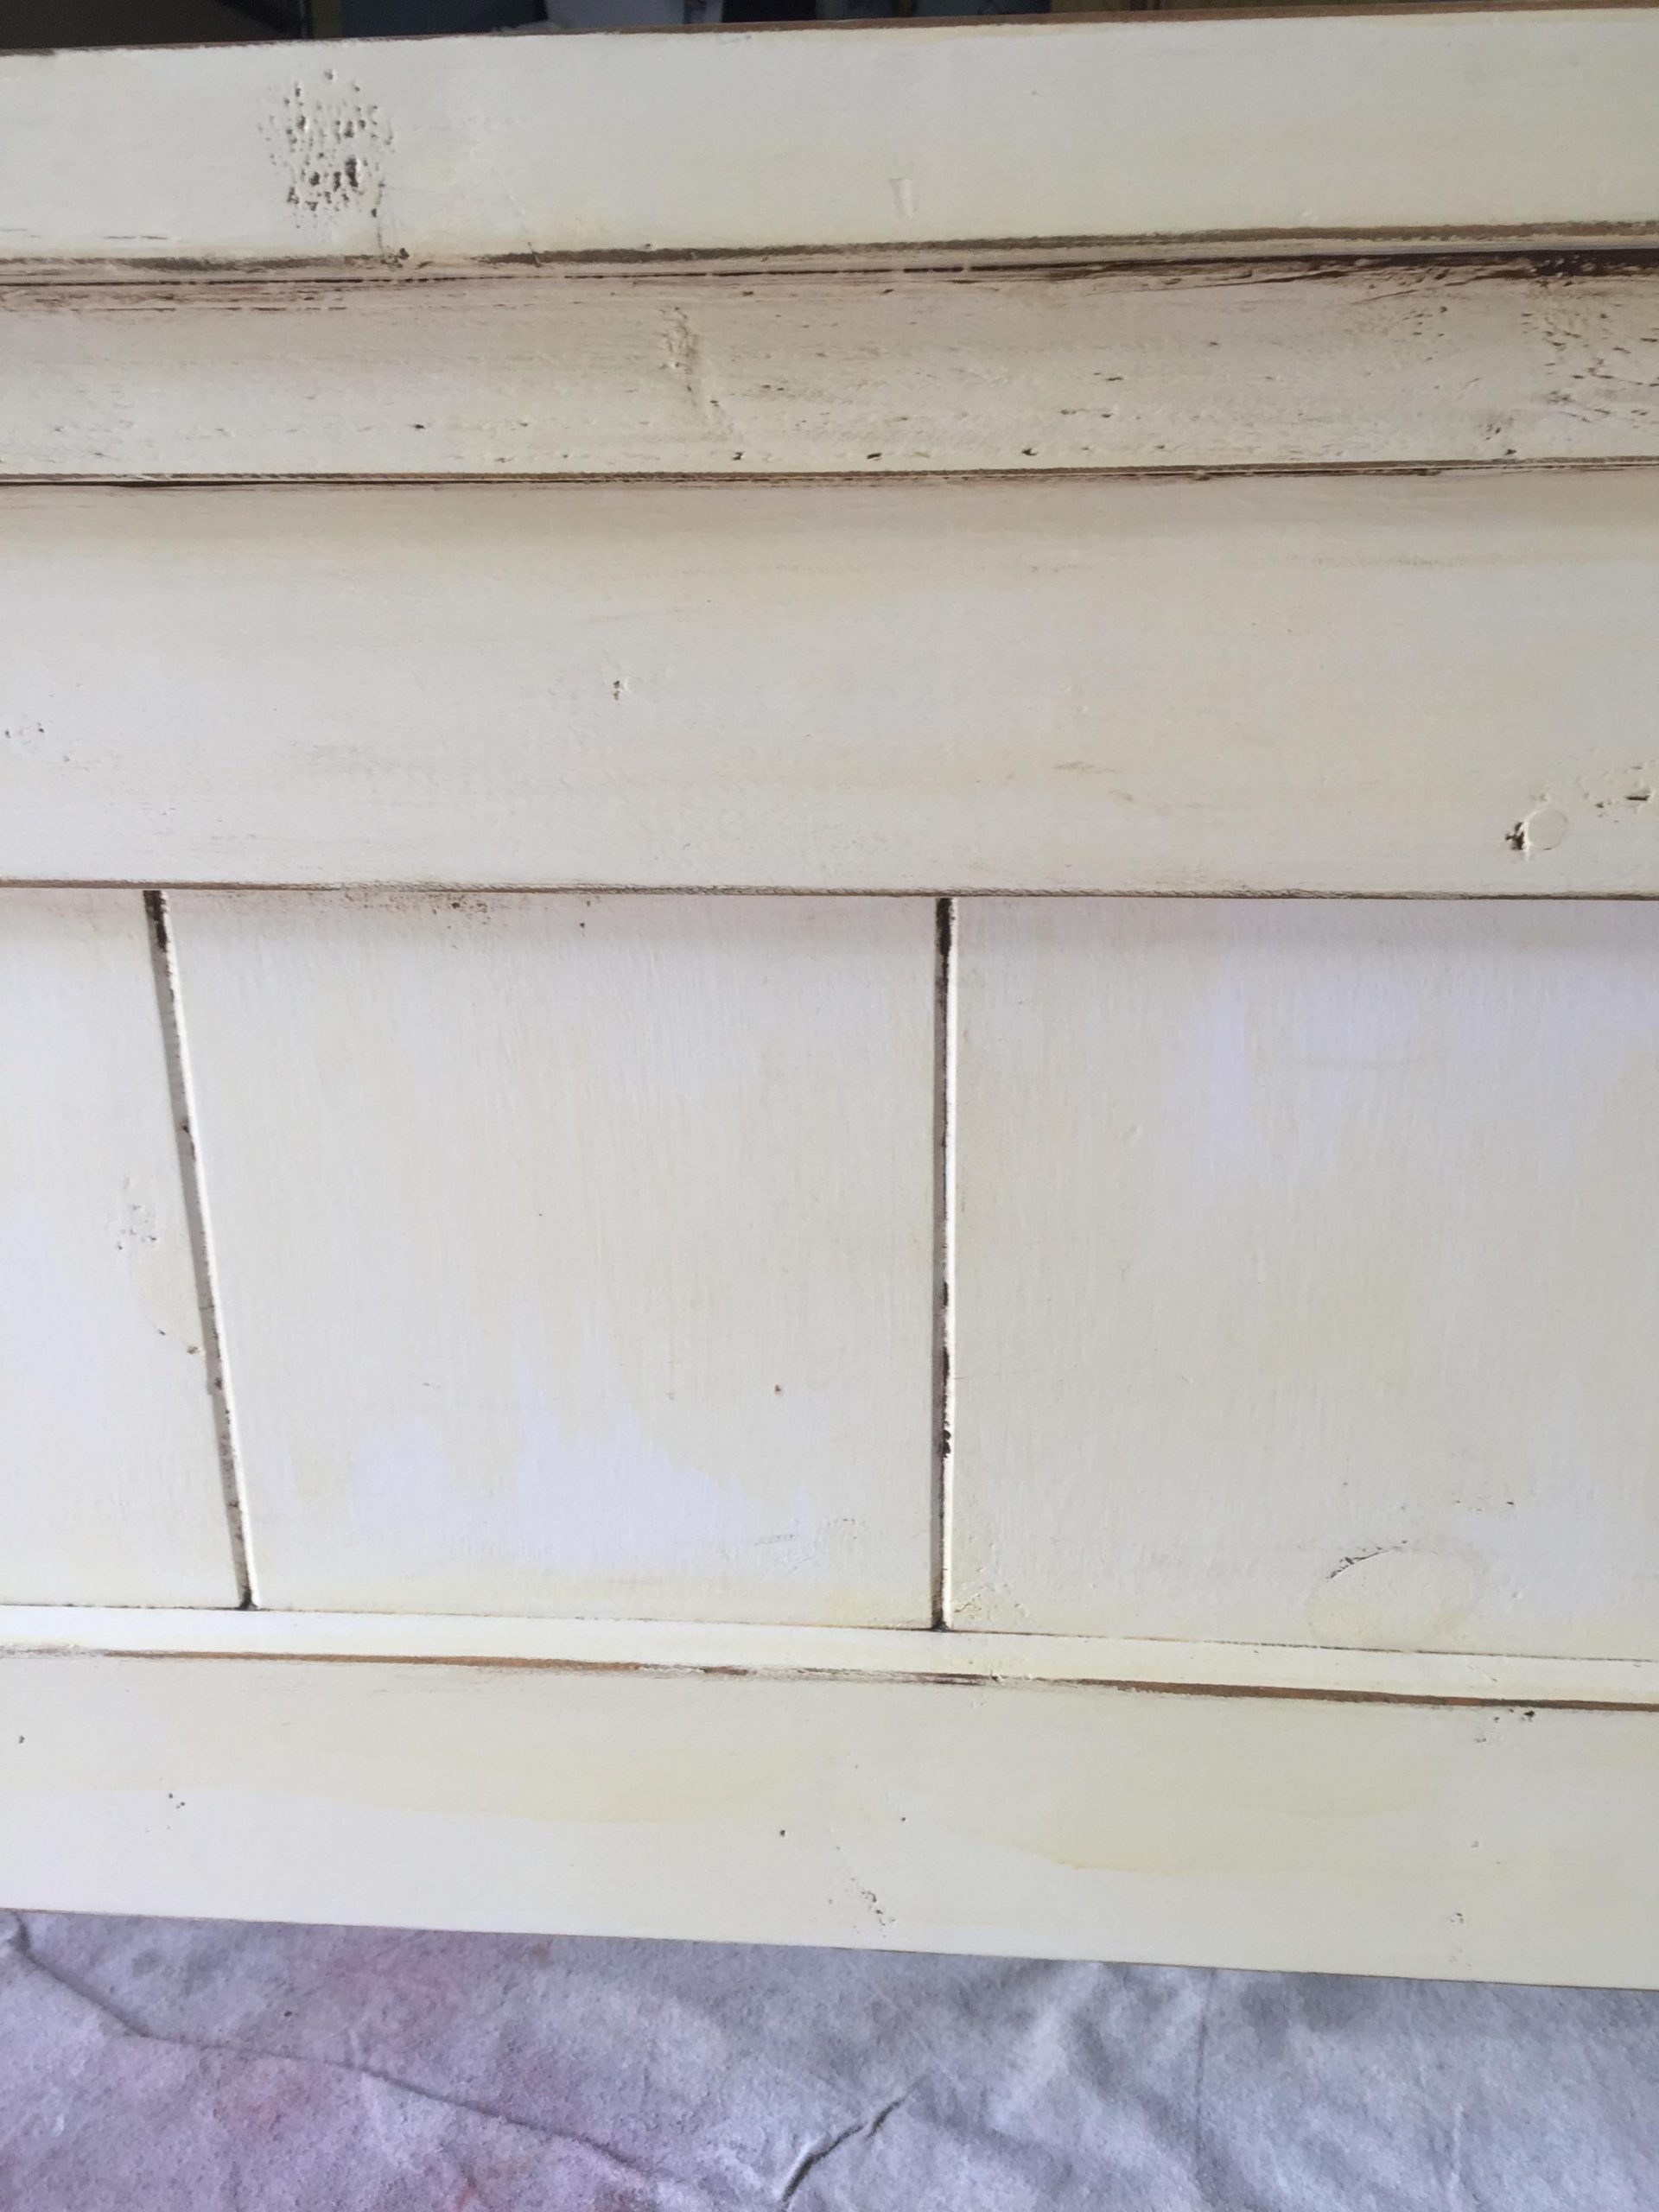
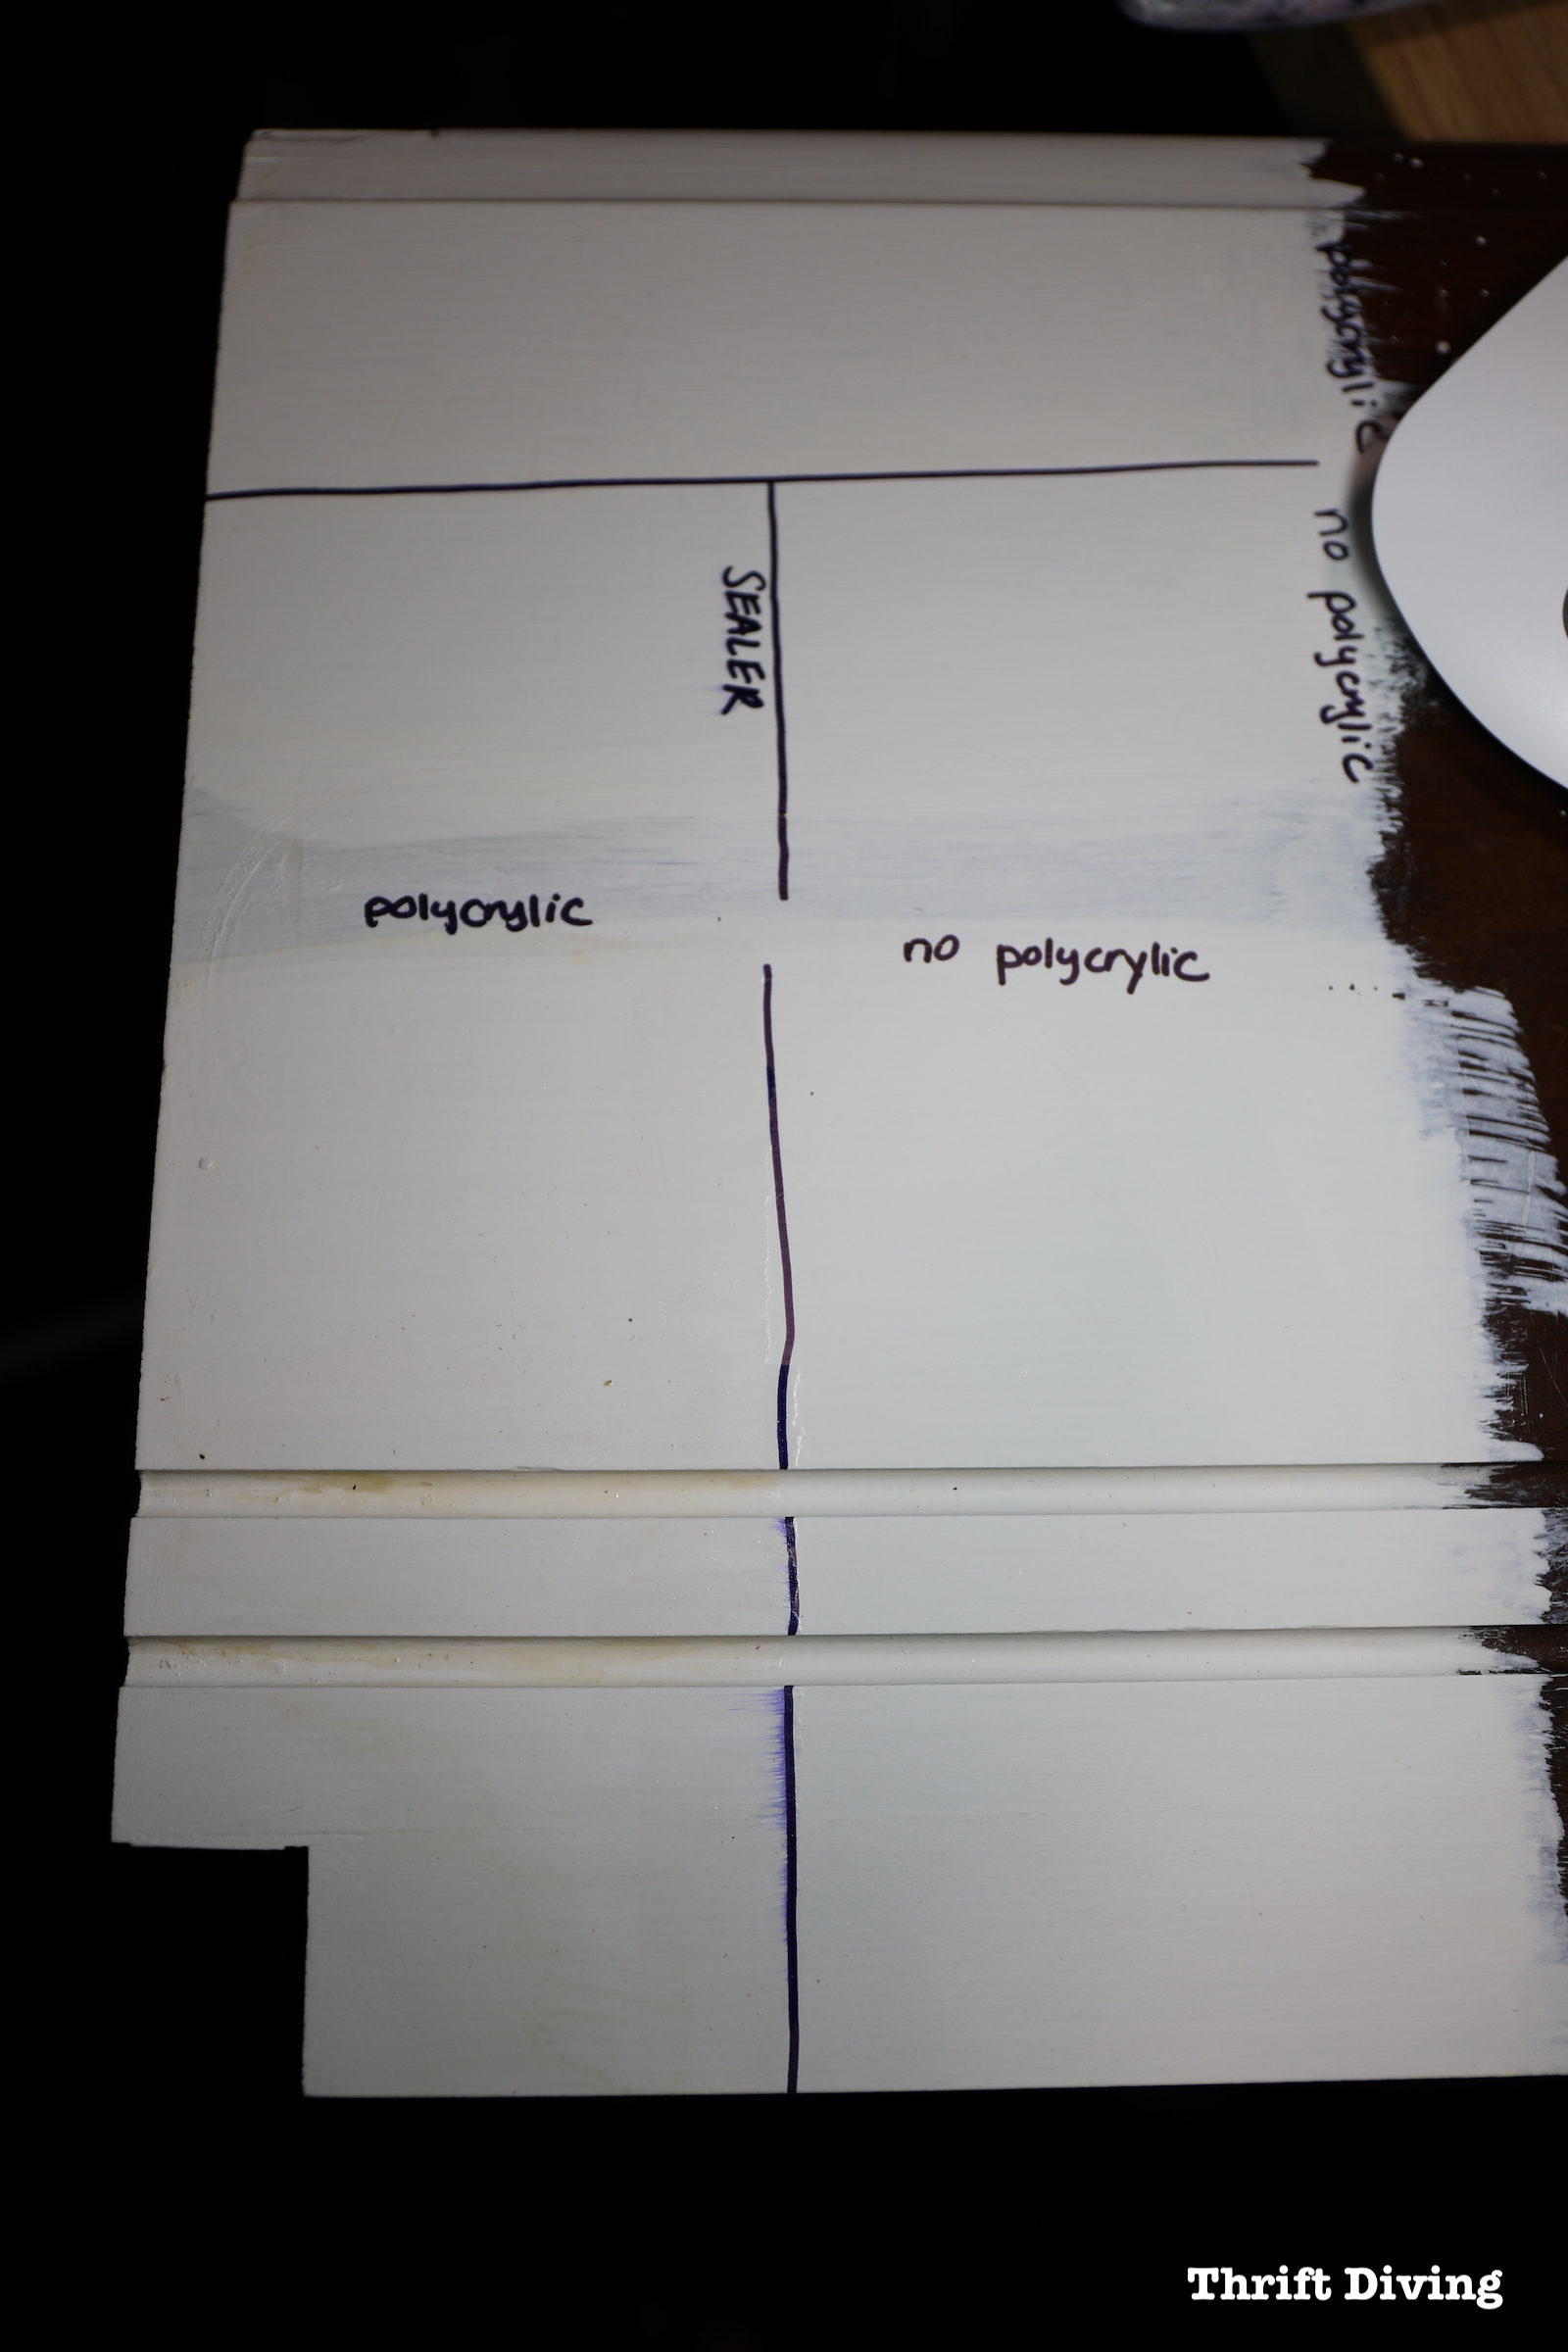
Mistake #6: White Paint Is Turning Yellow
Causes of White Paint Turning Yellow |
How to Fix It |
|---|---|
| Top coats tend to cause yellowing. |
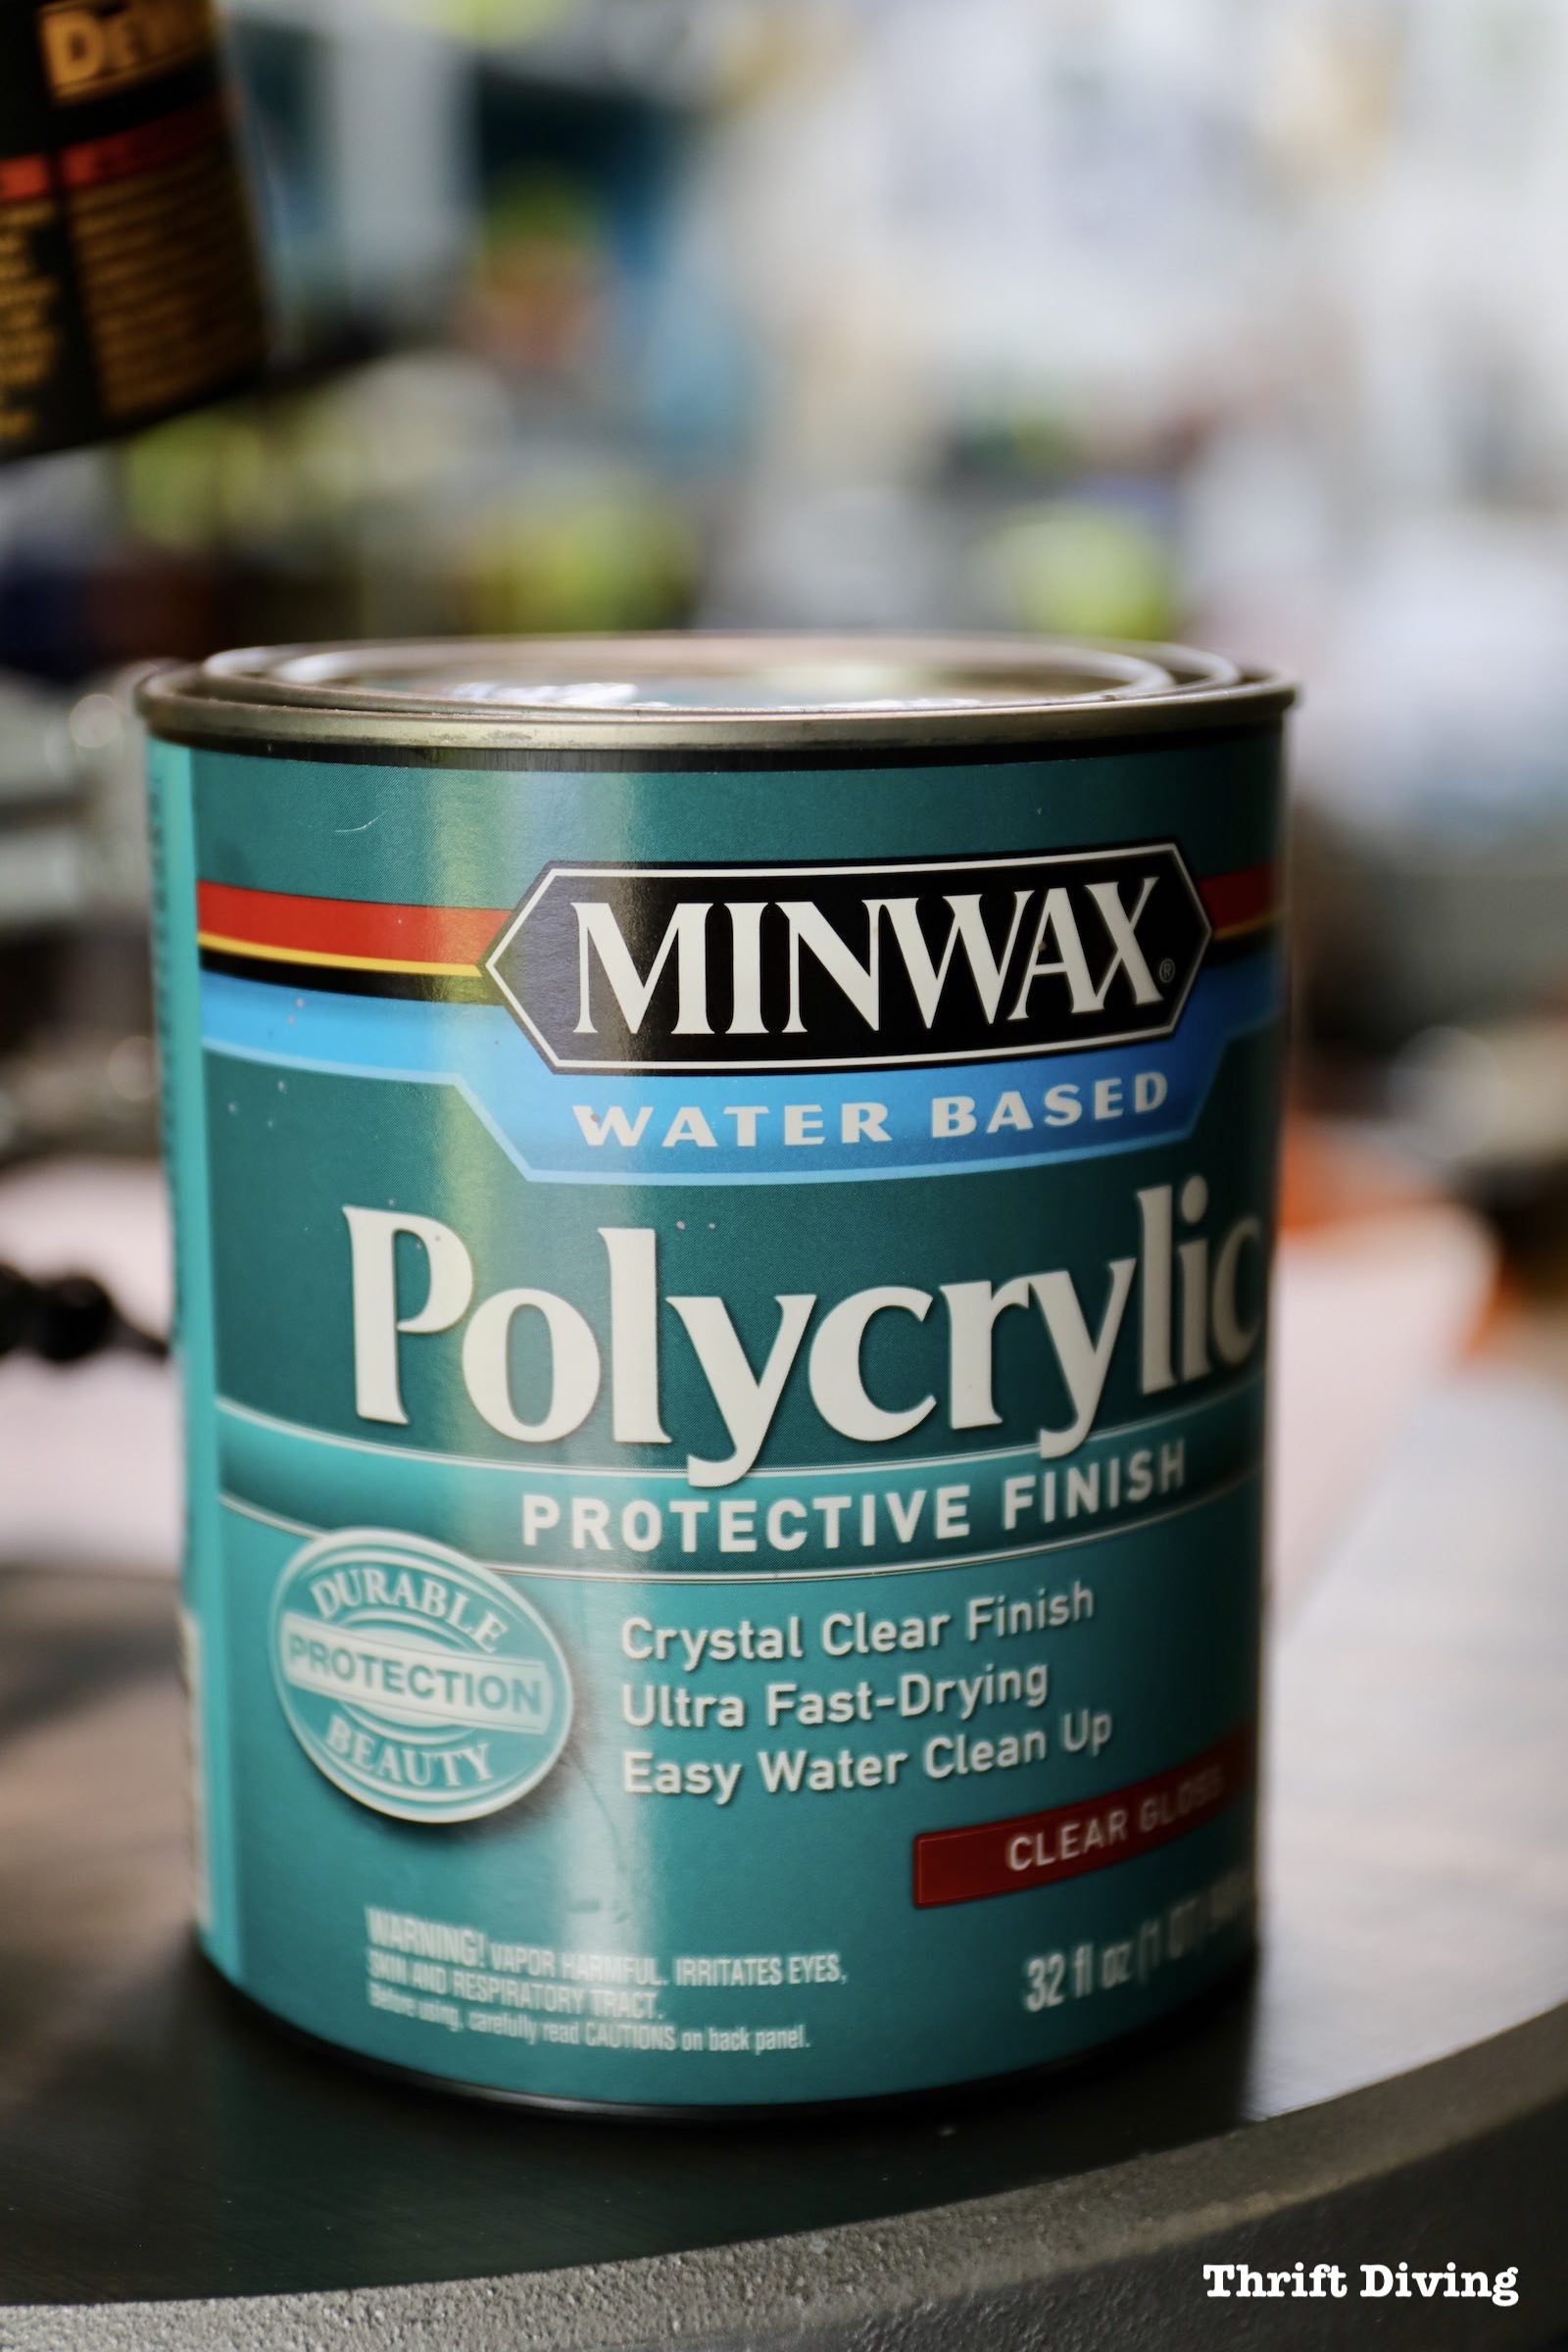
Oil-based top coats over white water-based paint are guaranteed to fail. However, even water-based top-coats from your local big box store can cause white and light-colored paints to yellow, even slightly. From my experience, I noticed the yellowing immediately, although some claim that water-based top-coats, such as Minwax Polycrylic, didn’t cause yellowing for them. If you notice that your white or light paint color turned yellow (and it gets even more yellow over time), then you’ll have to paint over it. Use a fresh coat of white or light-colored paint from a furniture painting brand that sells their own top coat as part of their paint line that is specially formulated not to turn your paint yellow. Lastly, try a brand of paint that has a topcoat built in, like Mineral Fusion brand of paint or Beyond Paint. These are self-sealing paints that have a bit of sheen to them and don’t require a top coat, but offer one as part of their line of products in case your furniture pieces needs extra protection, and it won’t yellow.
|
| White naturally yellows over time. |
According to this article on the General Finishes website (another brand I love to use), white paint naturally yellows over time. They also report that chalked paint is more porous than acrylic paint, which affects how much yellowing occurs. This is where it would be helpful to do a test area on your piece in an inconspicuous area to see how your chosen paint and top coat will act before painting the entire piece. Also, you might choose a different color if any amount of yellowing is unacceptable.
|
Mistake #7: Missing Spots

Causes of Missing Spots |
How to Fix It |
|---|---|
| You started painting right-side up. |
Turning your piece over and starting to paint from the bottom up allows you to more clearly see the underside of your furniture. Keep it turned over and add your required number of coats. Once dry, turn your furniture over and start painting the upright side. This will also save you back-ache because you won’t have to bend over to paint underneath your furniture.
|
| You didn’t rotate your work. |
Rotating your furniture while painting can be difficult if you’re got a big or awkward piece. In those examples, you’ll need to walk around your piece, looking for missed spots, in bright light so you can see everything. For smaller pieces, buy a lazy susan to spin your work easily. You can even make one yourself with two pieces of this round wood and a lazy susan turntable hardware mounted in the middle.
|
| You had no system. |
As mentioned, starting from the bottom and working your way to the up-side of a furniture piece is a great system for painting furniture. But you should also develop a system for painting the rest of the furniture, too, so that you never miss a spot. For example, when painting a chair, 1) bottom, 2) legs, 3) sides, 4) up-side front, 5) back. Whatever system you develop, stick to it each time so you won’t miss a spot.
|
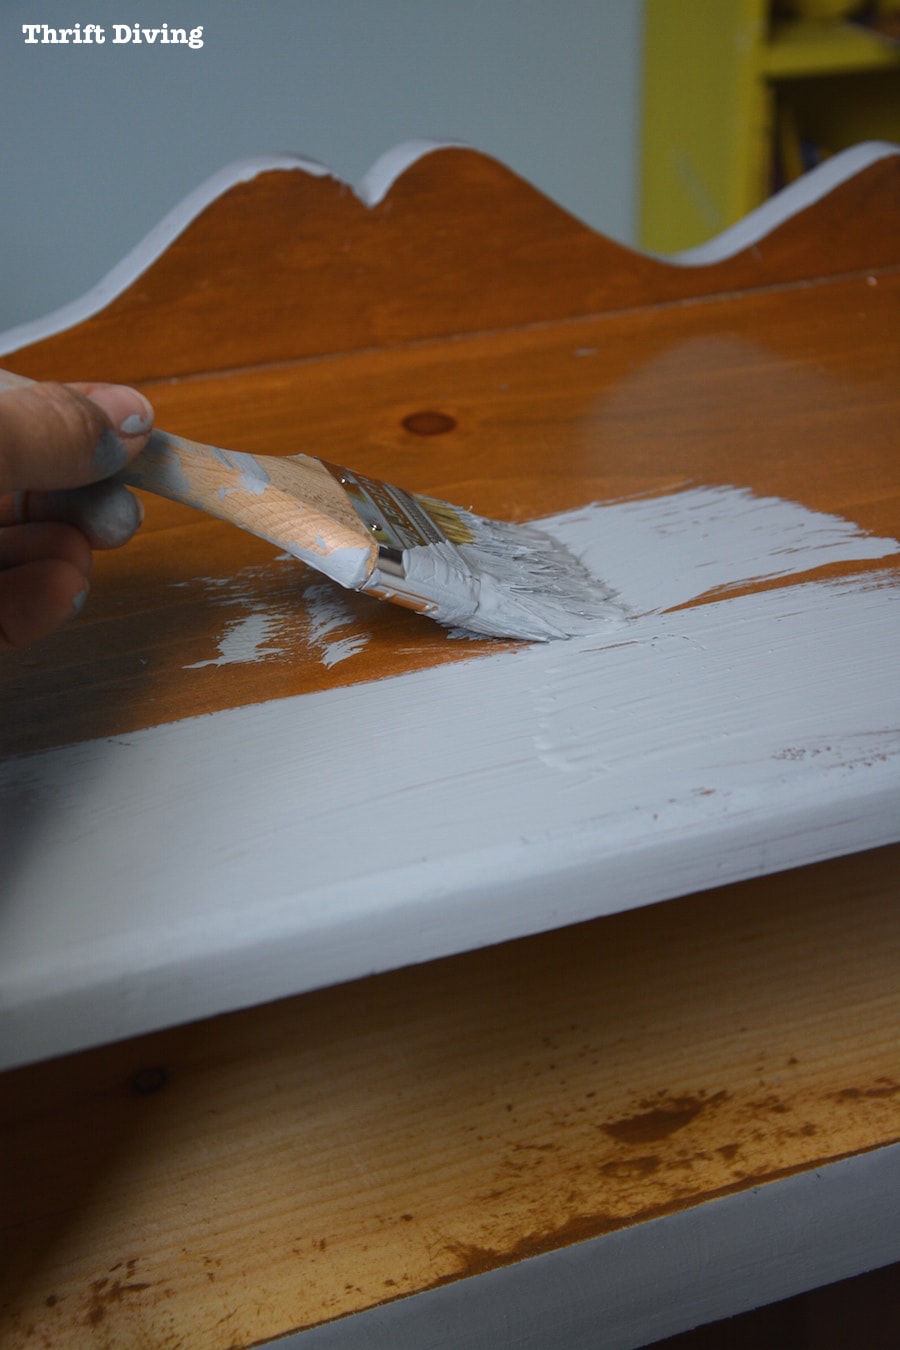
Mistake #8: Paint Looks Spotty or Poor Coverage
Didn’t add enough coats; wood is dark and you needed more coats or primer; quality of the paint—which ones give you better coverage?
Causes of Spotty Coverage |
How to Fix It |
|---|---|
| The Wood is very dark. |
When painting very dark wood, it’s normal to see it showing through much more easily than if you were painting a light-colored wood. In this situation, keep adding more coats of paint. The more coats, the better coverage you’ll get. Do a test area in an inconspicuous spot first to determine how many coats you’ll need for coverage. If it’s more than two coats, you may want to lightly sand, add a primer first, and then do your two coats of furniture paint.
|
| The brand of paint. |
Some brands of paint are thicker than others and has better coverage. In my experience, a couple brands that had really thick one-coat coverage potential was Mineral Fusion paint and Black Dog Salvage. Of course, there are tons of furniture paint brands. Test different ones to see which performs best for you.
|
| You only added 1 coat. |
Although, as mentioned above, that some brands allow 1 coat of paint (depending on what you’re painting), most brands of paint requires 2 or 3 coats. If after the first coat it still looks spotty, no worries–the second coat is usually the one to cover it all up.
|
| Paint is too thin. |
I mentioned above that some brands of paint are naturally thicker or thinner. However, it is possible for you to have added too much water to thin out a paint, leaving it very runny. If paint is too thin, leave the top off for about 30 minutes and allow it to thicken up a bit before painting.
|
| Old stain is bleeding through. |
The spotty and poor coverage you may be experiencing could be bleed-through: when old stain bleeds through your fresh coats of paint, no matter how many layers. See Mistake #3 on how to fix this.
|
Mistake #9: Wet Paint is Getting Dirty
How many times have you painted something and the next thing you know, the fresh coat of paint you just painted suddenly has flecks of dust, dirt, pet hair, leaves in it (even worse–flying insects?!)?? Yep, this happens to me all the time whenever I attempt to paint outside in my driveway (where I typically do my projects). Here’s why it’s happening and how you try to prevent it:
Causes of Wet Paint Getting Dirty |
How to Fix It |
|---|---|
| You’re painting outdoors. |
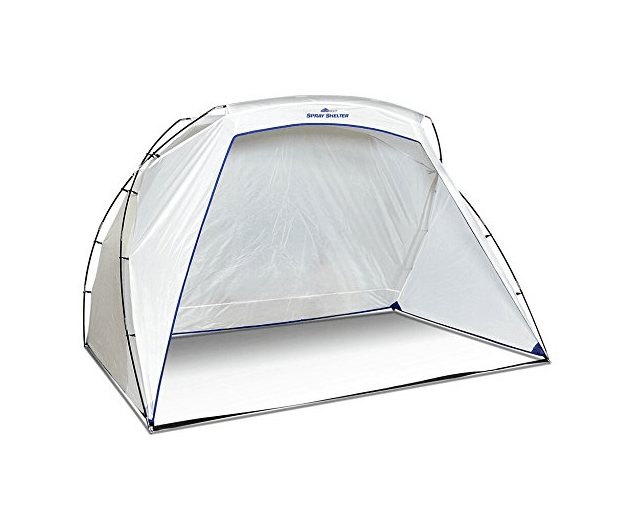
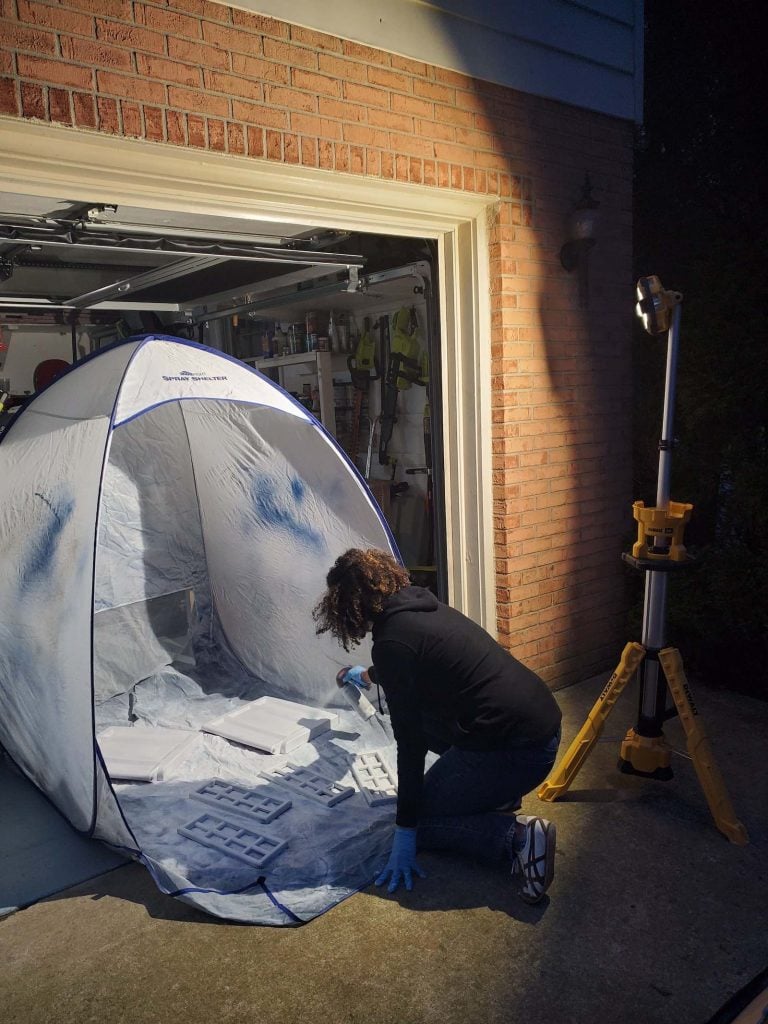
If you weren’t aware, it’s totally safe to paint indoors. It used to be that paint had lots of fumes and it was something best left for the outdoors. That’s not the case now. Many furniture paints have little to no VOCs (volatile organic compounds) and can safely be done indoors. But just because it can be done indoors doesn’t means you’ve got the space to do it indoors (or even want to paint indoors). When painting outdoors, use a Spray Shelter like the one I own, which is a quasi-like small tent that will protect your project from falling leaves and other debris. It also is great for spray painting and will protect your lawn from that neon pink you’re using. 😉 (FYI, it comes in a large and a small size).
|
| You’re painting indoors. |
Painting indoors, as mentioned above, is perfectly fine. But if you’ve got AC units or heating units blowing, dust or pet hair can be circulating and fall on top of your project. Either temporarily turn off the air conditioning or heating unit (if possible, or if you notice it’s an issue), or create a makeshift shelter to protect your surface (the Spray Shelter can be used indoors, too, if you have enough space).
|
| You’re waiting for it to dry on its own. |
Got a blow dryer? I know this sounds counter-intuitive to the previous solution of turning off the AC or heating unit if you’re noticing a lot of surface dust. But this method of drying your project quickly doesn’t seem to mar up the surface of paint. This is actually a great way to speed up the drying time on your painted projects (don’t use a blow dryer to speed up drying for top coats or other visible surfaces; you’re sure to dirty them up). A blow dryer set on COOL is perfect for drying the surface quickly. Don’t use the WARM or HOT setting because this can crack paint as it’s drying. (As me how I know this….).
|
If you do notice that your surface has become dusty or dirty, try to remove the pesky object with small tweezers while the paint is still wet. Then, using a small paint brush try to dab on paint to fill in where the blemish occurred. If the paint has already dries, use some very fine sandpaper to sand out the blemish and dirty, then touch-up. If the touch-up paint doesn’t blend in very well, you may want to add a fresh coat to the surface to hide the imperfection.
Mistake #10: Chose the Wrong Color
Even though I have been painting furniture for years now, it doesn’t mean I am immune from being indecisive about what color to paint furniture. Believe me, it happens to everyone! On this 1980’s desk makeover several years ago, which I bought from the thrift store, I wasn’t sure if I should paint the body of the desk white or gray.
I had already sanded and re-stained the top, but when I started with the gray, I just wasn’t feeling it. It just didn’t look right. Have you ever had that feeling, too, when doing projects? So I put the gray paint brush down and started with white paint on the other leg. It was perfect!
If you’ve ever experienced using the wrong paint color, keep reading.
Causes for Choosing the Wrong Color |
How to Fix It |
|---|---|
| You skipped doing your research. |
It’s important to research different color schemes before getting started so you know what you like and what looks good before you start. Start a board on Pinterest with all your favorite furniture makeovers and draw inspiration from them. This will save you money because you’ll only buy paint colors that you already know look good on furniture.
|
| You skipped doing a test first. |
Before starting a furniture painting project, use a test board to try out the color combinations before getting started. Some brands of paint sell small sample pots to allow you to test paints before ordering full-sized pints and quarts. Also, if you’re stenciling your furniture, use the stencil on a scrap piece with the colors you’re using, to see how you really like it. Seeing colors together will give you a better idea of how it will look once completed. You can also do an inconspicuous area on a piece of furniture. Don’t rush this process. 🙂
|
Want to Learn More??
- Understanding Wood: 7 Things You MUST Know Before You Refinishing or Build Your Next Project
- What’s the Best Paint For Furniture?
- 10 Clever Questions to Repurpose ANYTHING (Even If You’re Not Creative)!
- What’s Your DIY Fear? 12 Biggest DIY Fears and How to Overcome Them

Download the 5 freebies!

Thrift Diving inspires women to decorate, improve, and maintain their home themselves...using paint, power tools, and thrift stores! Use these 5 printables, checklists, and ebooks to get started!

Hi! I have several questions and I hope I am in the right place. I bought a $50.00 eight foot oak table that I intend to redo into a farmhouse style table. I am completely overwhelmed. My most immediate question is I have put one coat of primer on, and it is not very even and I am not sure how much to try to takeoff.??? before I put a second coat of primer. And I don’t know why I could not use the orbital sander as this is going to take forever. if anyone has any thoughts, I would appreciate it. Thank you.
I chalk painted a very old dresser I liked the paint look but the sealer coat ruined the whole thing it just looks wet and splotchy. Can I fix it by chance? I only did top of dresser and 1 drawer . This was my first time ever painting anything at all but now I want to cry.
After painting a whole cabinet over, I noticed there were a few strands of dog hair under the paint. I had made sure to be super careful, but somehow just the top of the cabinet has the issue. Do I have to sand down this part and restart? I tried seeing if the hair was close to the surface, but ended up chipping the paint. Thankfully I only did one layer of paint so far and it will need another layer anyways.
Hi Alexandra! I think since you only did one coat of paint so far, you’ll still get good results for the second coat, which should cover the chipping. If it’s a deep chip, I would try to cover that area first by carefully covering it with a spot of paint (to fill it in). Let it dry, and then do your second coat. Or, you could use a little bit of wood filler to smooth out that chipped area, sand it smooth with fine sandpaper, and then add your second coat. It should be fine either way! It just all depends on how big this chip is. 🙂 Good luck!
I painted a table with fusion mineral paint, and it was lovely. I then put an oil based wipe on poly over it. Now the top looks kind of like an orange peel. Ugh! Do I need to strip it and start over? Thanks!
Hi Lisa! I think it if looks crappy, you may need to start over. Fusion mineral paint already had a built-in top coat in it. For added protection, you should use their water-based top coat that is part of their line of products for best results. Sorry that happened to you! I’ve always known a wipe on poly to be best used on wood projects and not painted projects.
Great tips! I made the mistake of painting a chalk board of mine without sanding or priming it. I used white primer as the paint which has worked on normal old wood in the past but it did not work so well on something that already had a layer of paint on it. I will start over and sand it this time before I paint it!!!
So many great tips and fixes! Thanks for sharing!
Thanks for the great tips for painting wood furniture! And so happy you shared at Tuesday Turn About… You will be featured this week at the party!
Thanks for all the great tips and solutions! I use and love Purdy paint brushes, also.