A Mid-Century Modern Chair Makeover- PART 1
I have a big goal for 2016: to turn my garage into a pretty, functional workshop for myself.
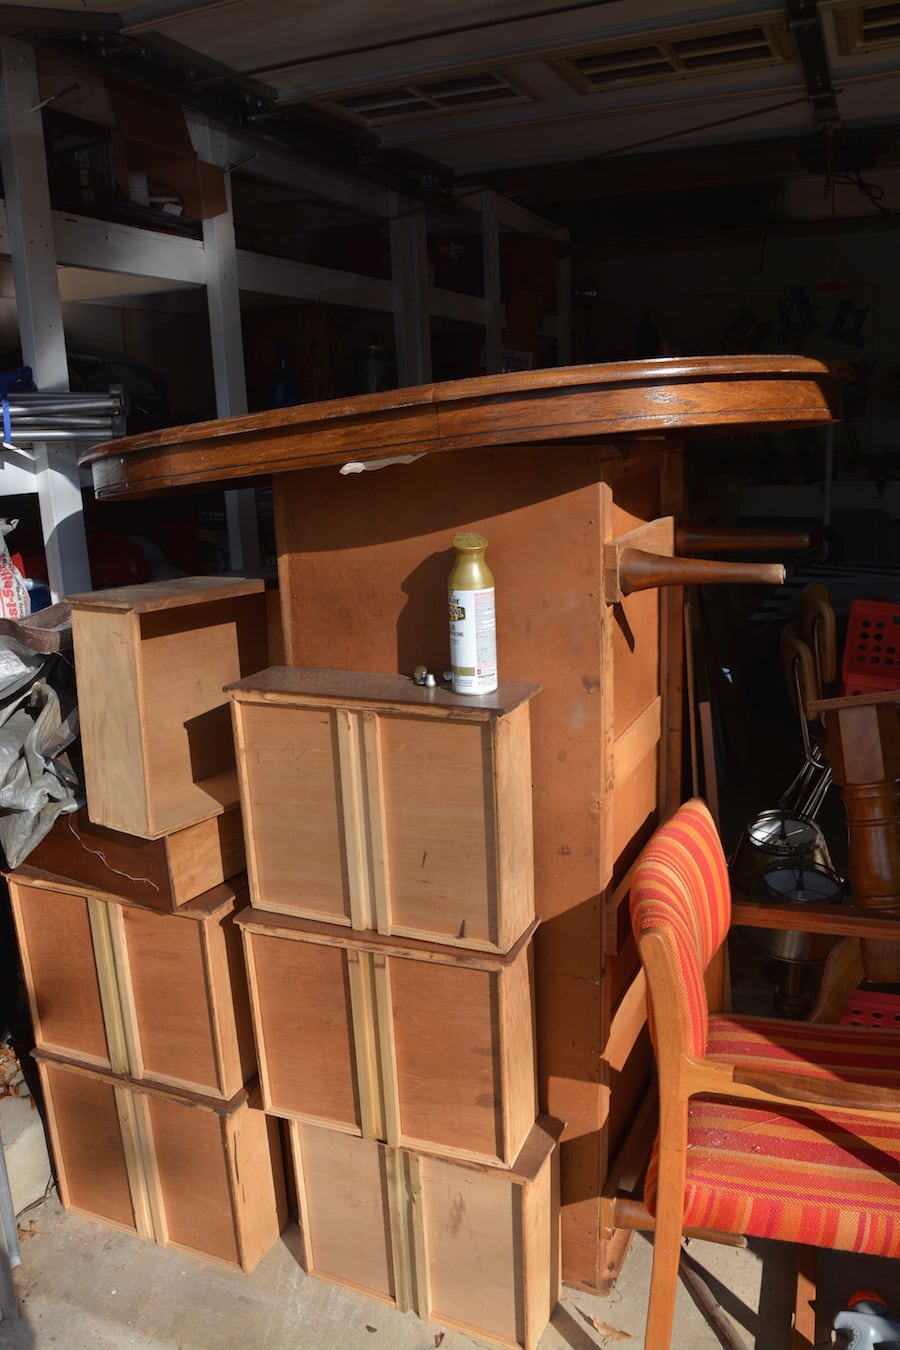
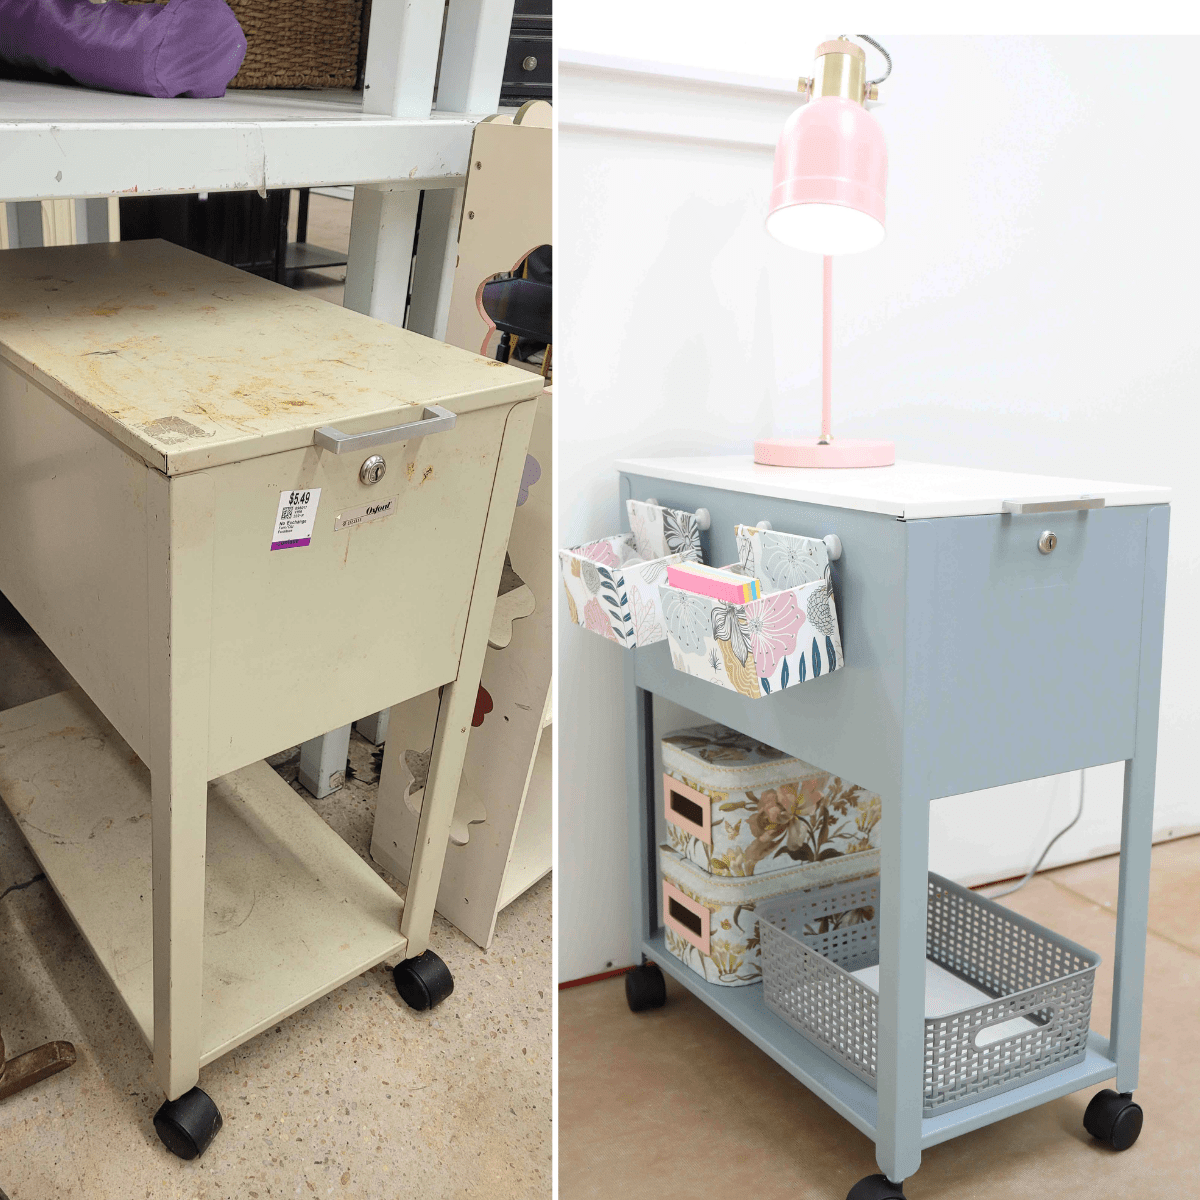
You might think I’m crazy to make such a lofty goal, especially when the “BEFORE” looks like this:
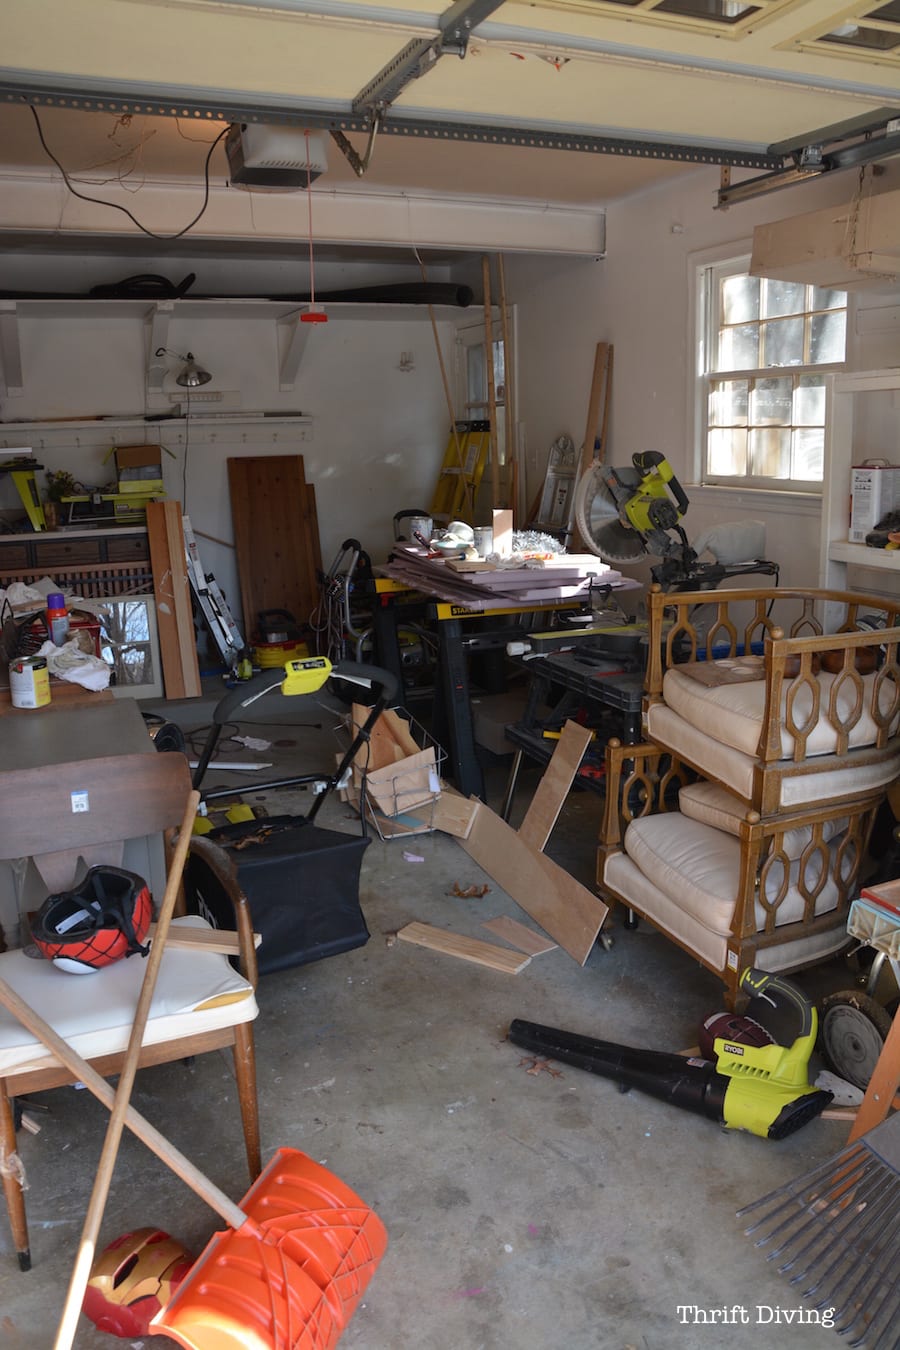
….or hey…..like this (how can one move around in garages like this, anyhow?!):
I walked out into the garage the other day and realized that before I can create a pretty garage, I have to get all the stuff out! (insert forehead slap here).
And the only way that is going to happen is to start tackling each furniture project piece by piece, so that I can either decorate my house with it, donate it, or sell it.
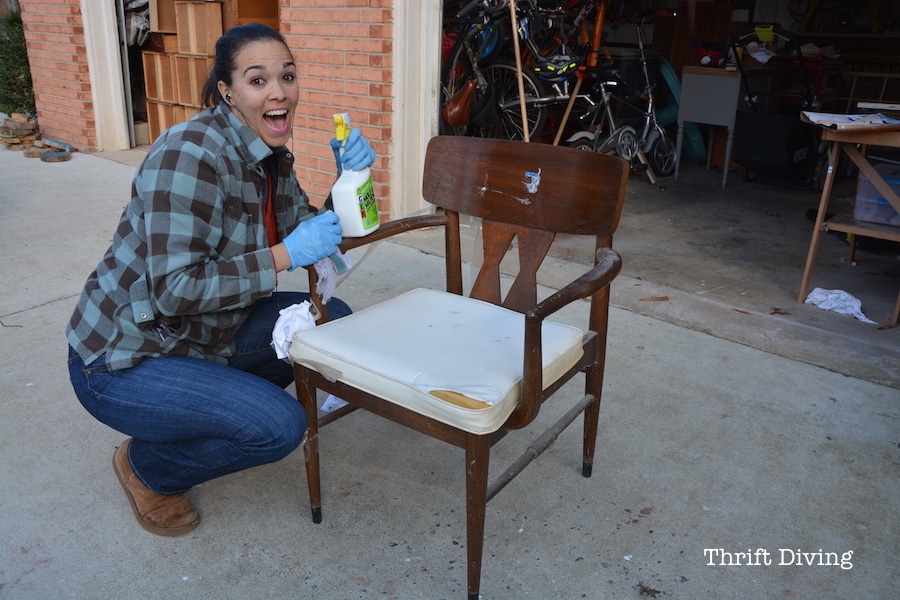
So let me introduce you to my mid-century modern chair.
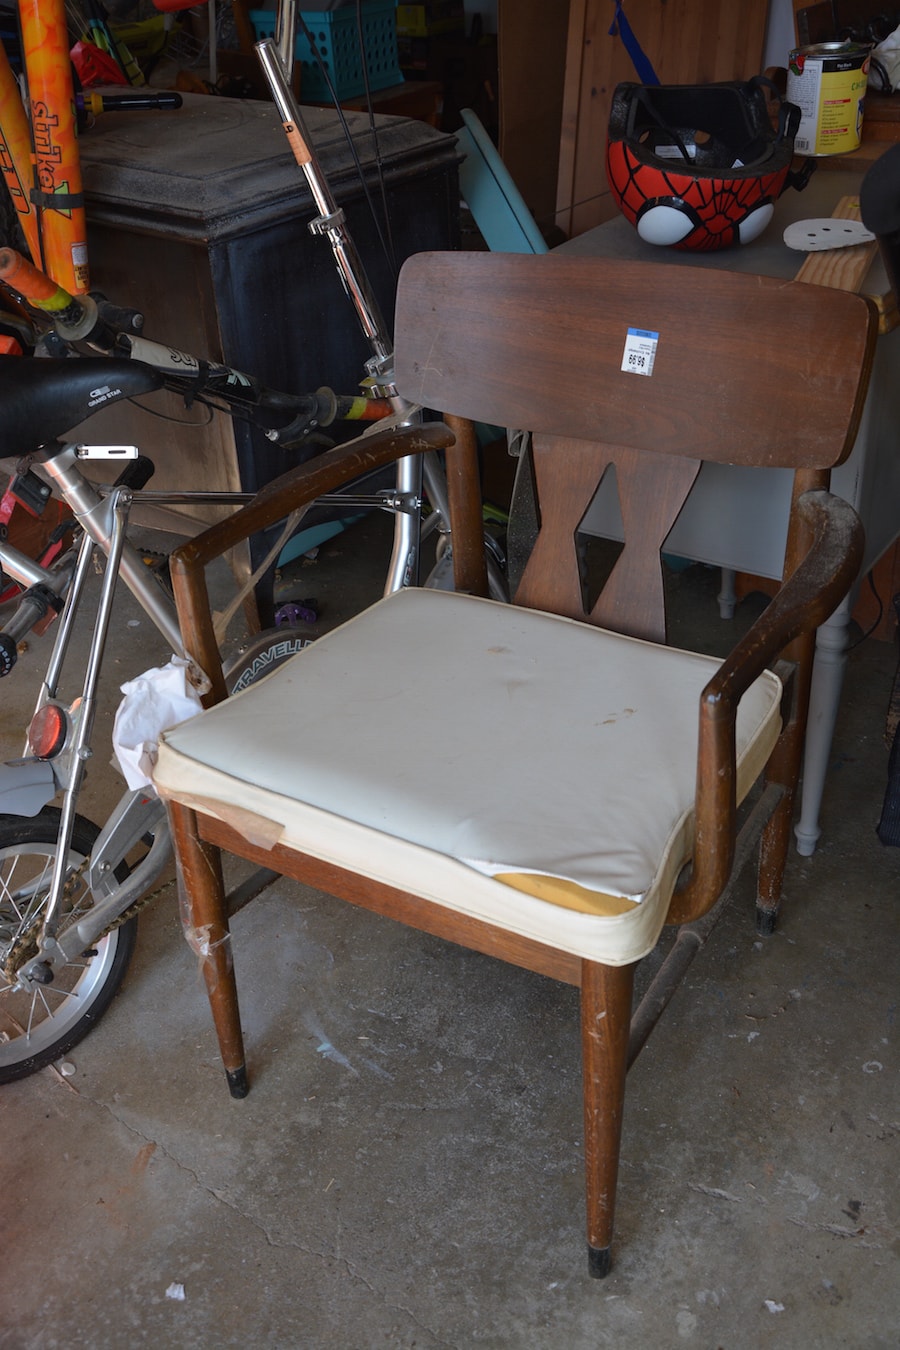
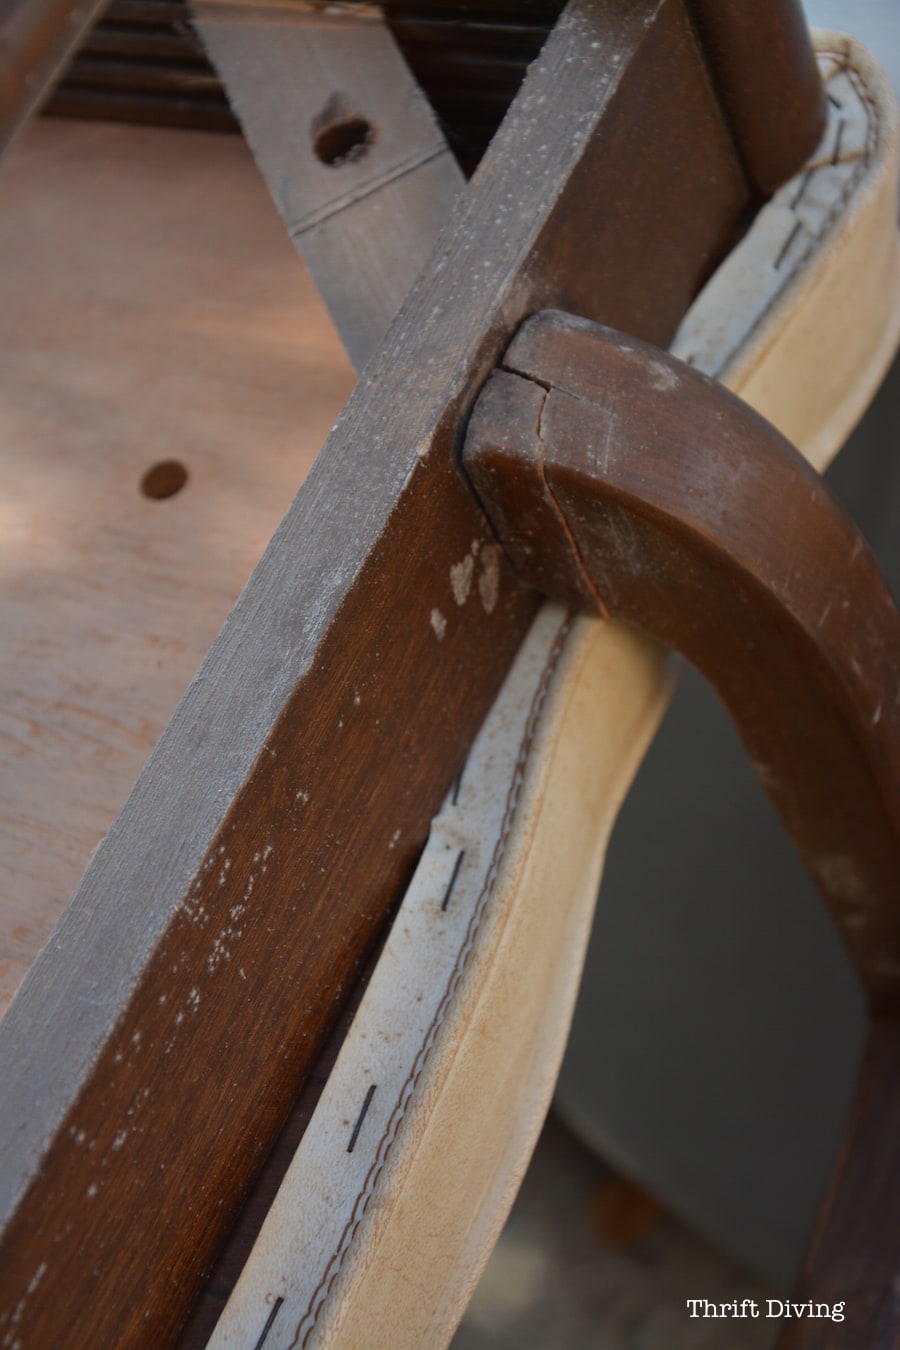
I had found it at Value Village well over a year ago. And even though it was broken/loose in one armrest, for $6.99, how could I pass that up?? So it came home with me.
To Paint or Not to Paint? That is the Question….
I ask myself this question every time I work on a project now. The reason why is because I’m developing a much greater appreciation for beautiful wood.
And let’s face it–not every piece of furniture should be painted.
An awesome mid-century modern piece like this needed to be stripped.
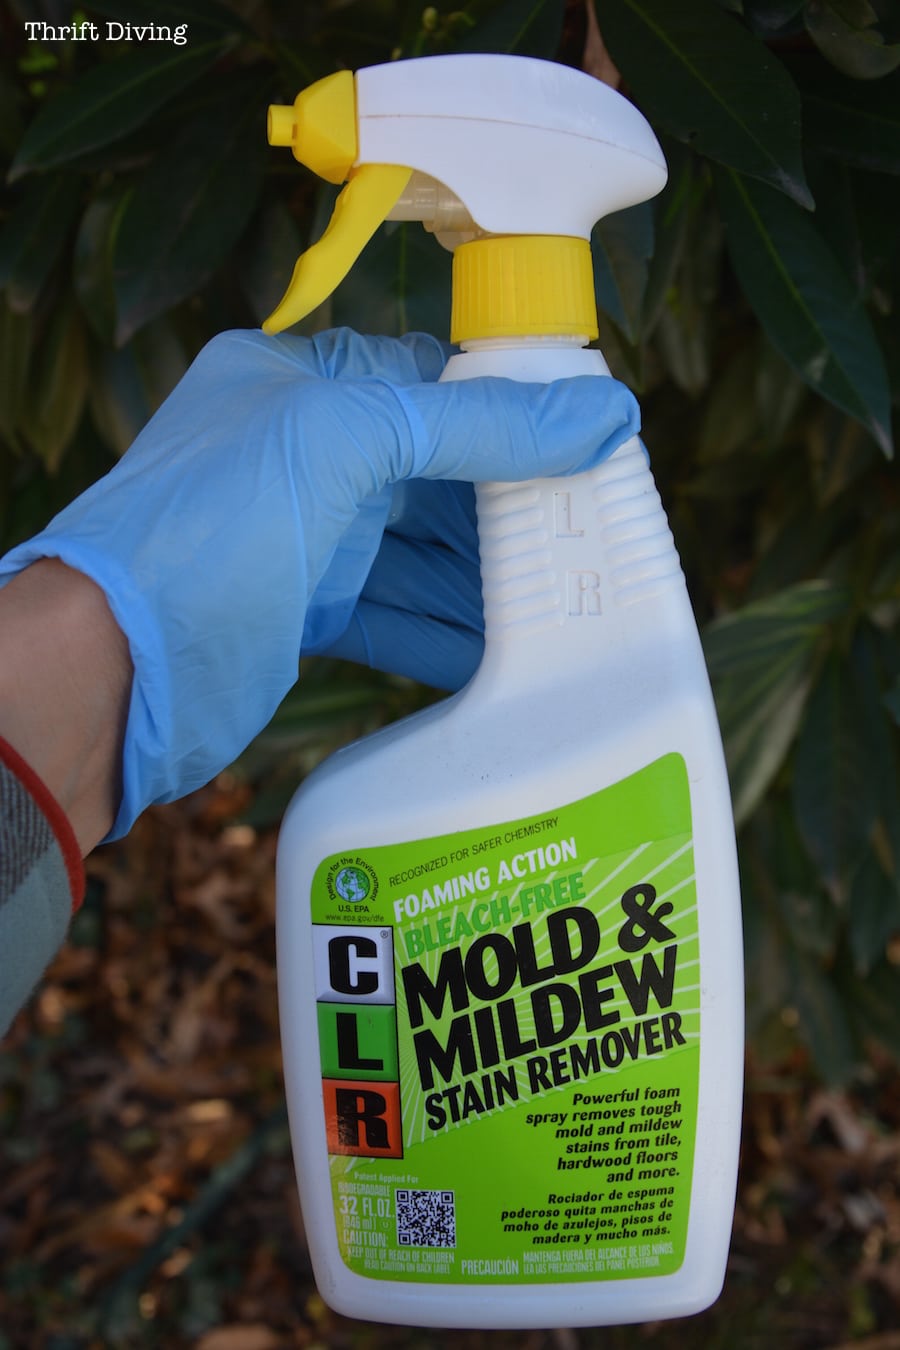
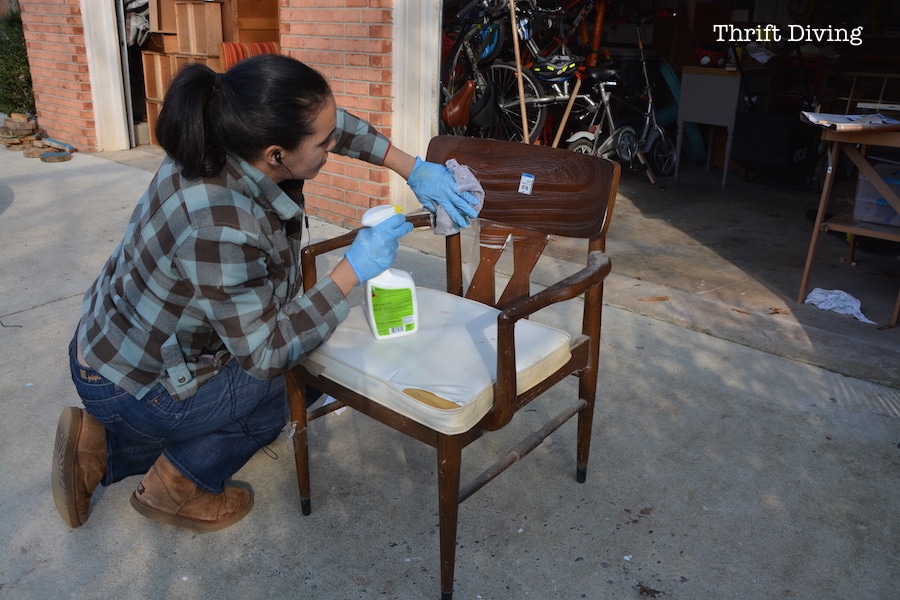
But first, I had to get rid of that nasty “garage gunk”!

I had some mold stuff lying around and decided this would do the job. I tend to leave furniture in the garage for wwaaaaayyyy too long! And it starts to develop ickiness. Does anyone else’s garage do that?? I think I need a dehumidifier for that area!
Sanding is HELL!!
I’m going to just go ahead and admit it–when you’re sanding a piece with a lot of curved edges, it’s hell!!
I used my little handheld sander and just worked over one arm and was like, “Um–no….we not doing this.” What a PITA.
I even pulled out my orbital sander and sanded the back, but it tends to leave swirly marks behind, and I didn’t want swirly marks on this.
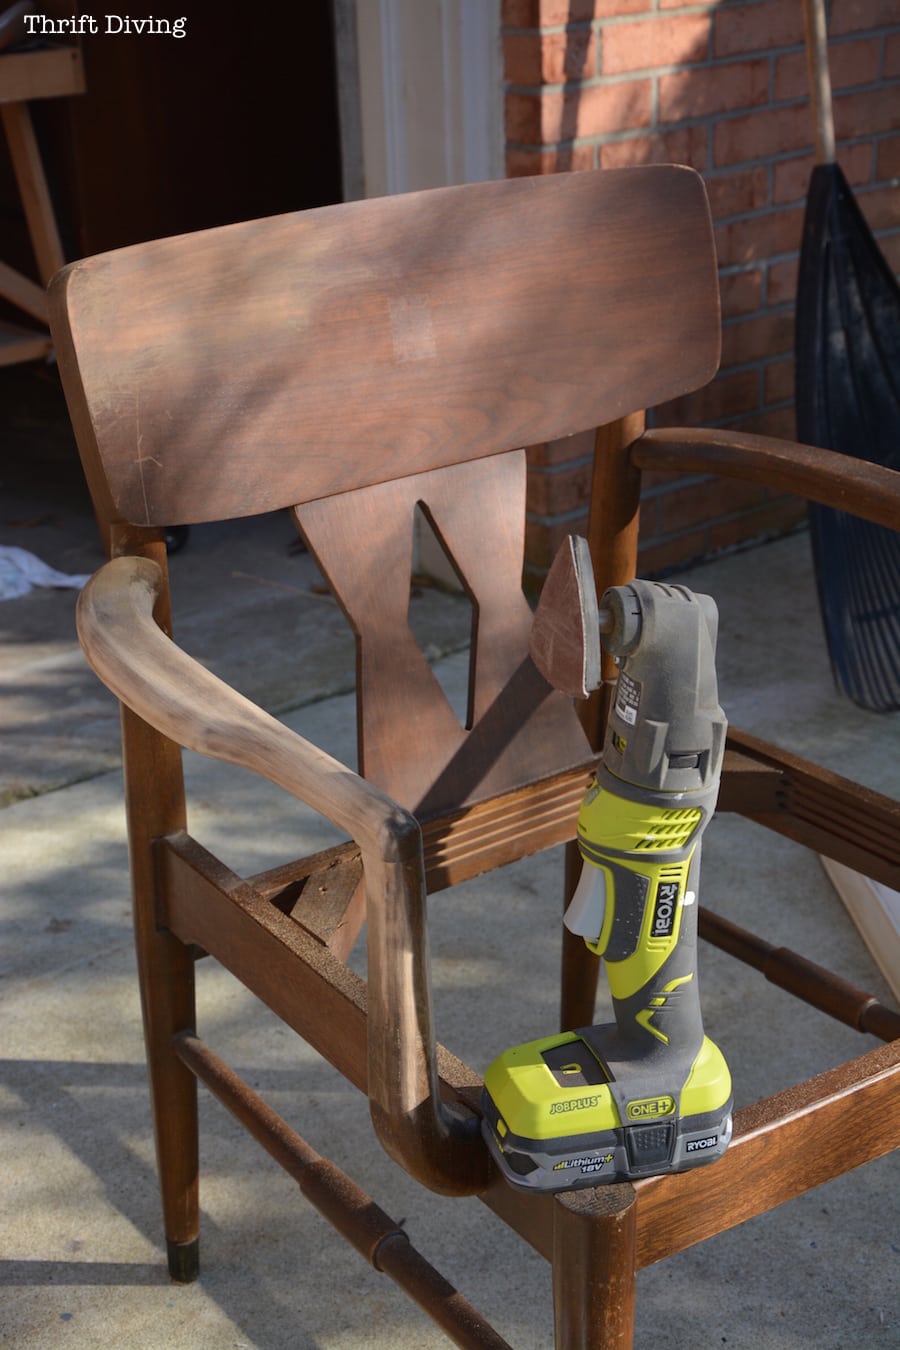
I’d much rather strip it and let the chemicals do the dirty work.
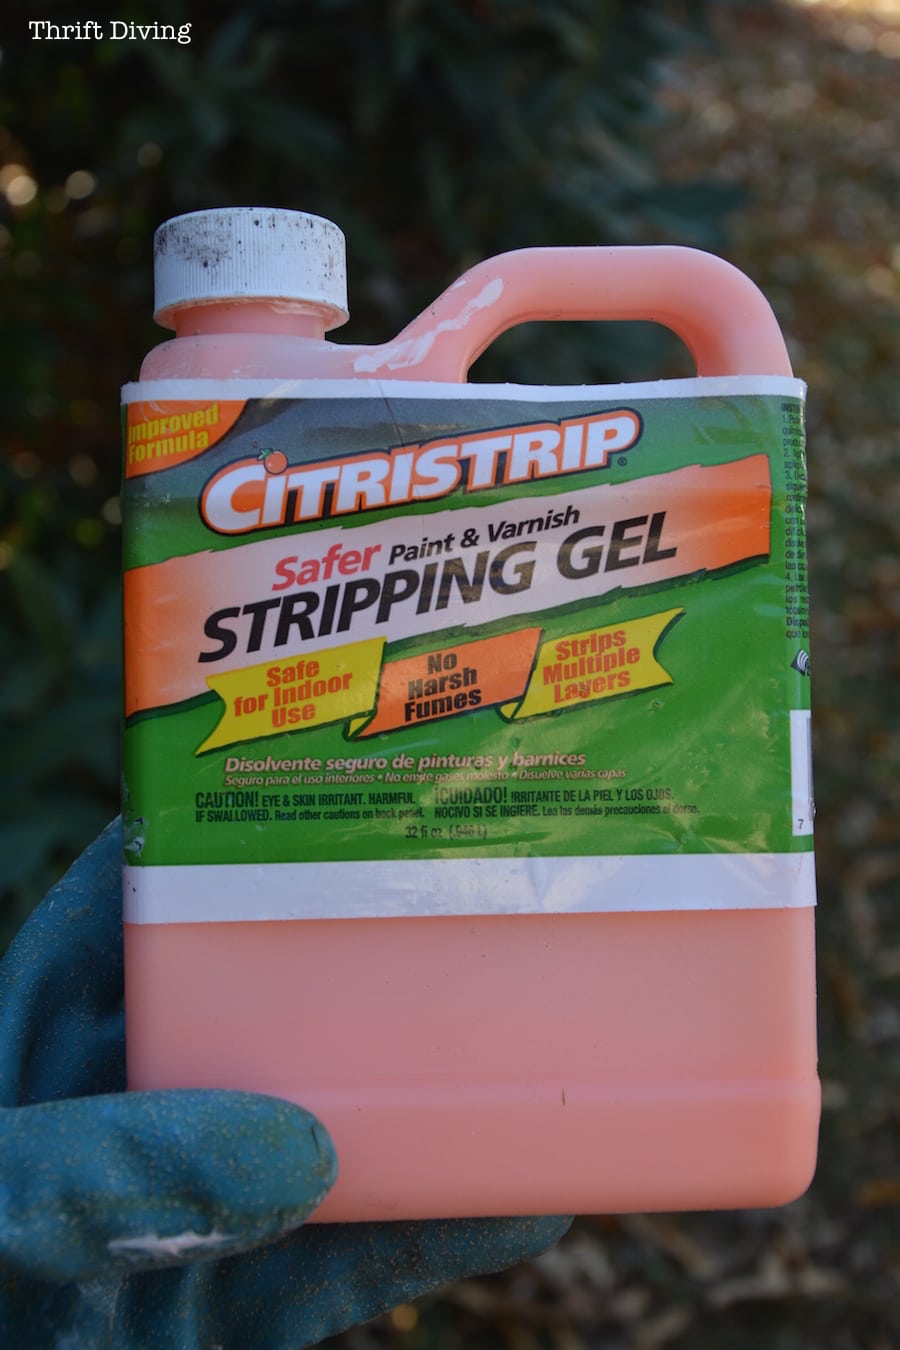
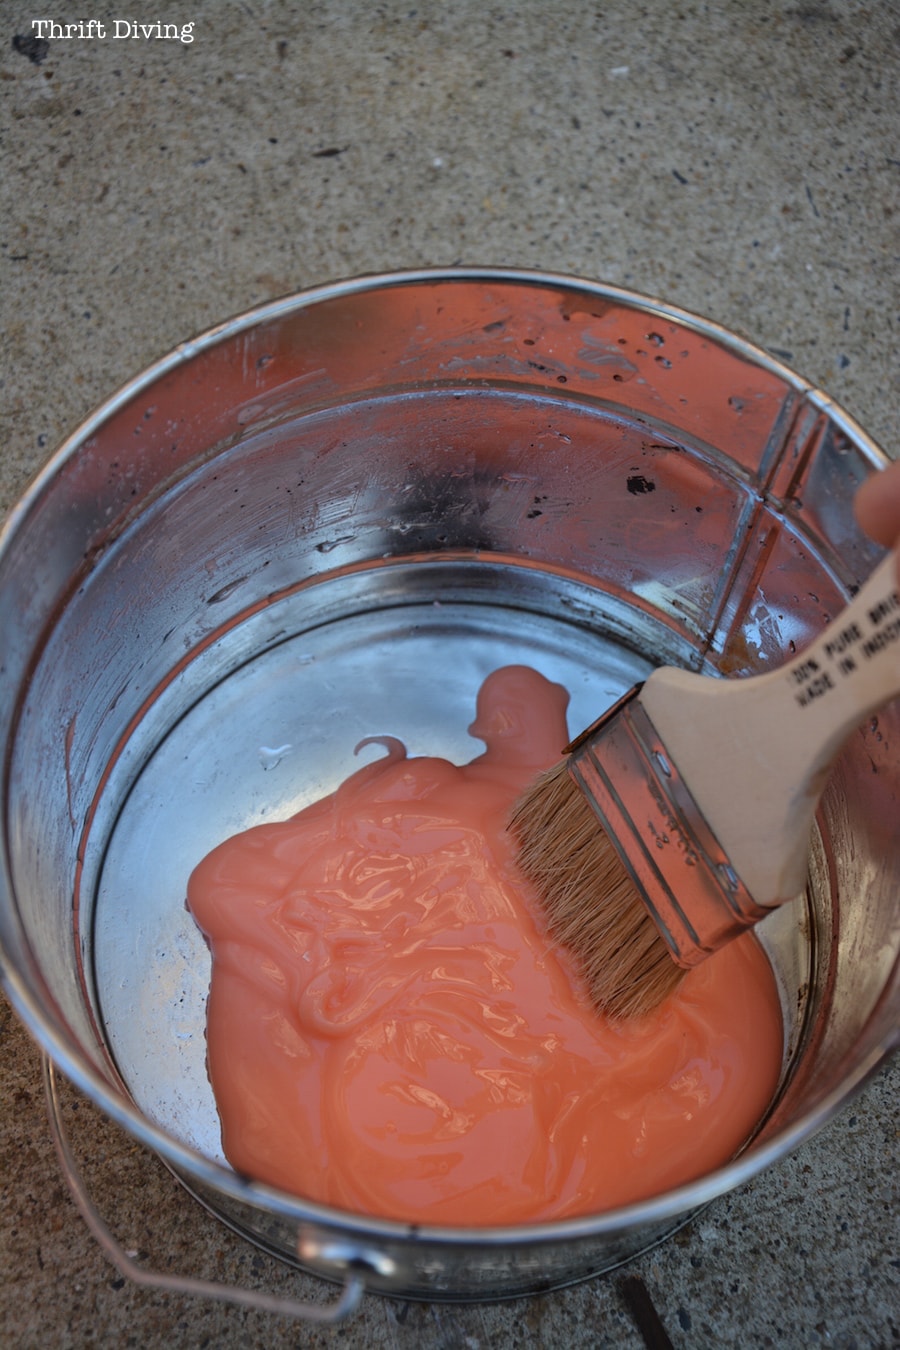
I had used Citristrip before and I love using it because it stays wet/damp for at least 24 hours. So you can start a project and come back to it the next day. How genius is that?!
But you have to make sure you use a metal bucket for it. If you use a regular plastic container, it will eat right through it! Trust me on that. I speak from experience, my friend. LOL
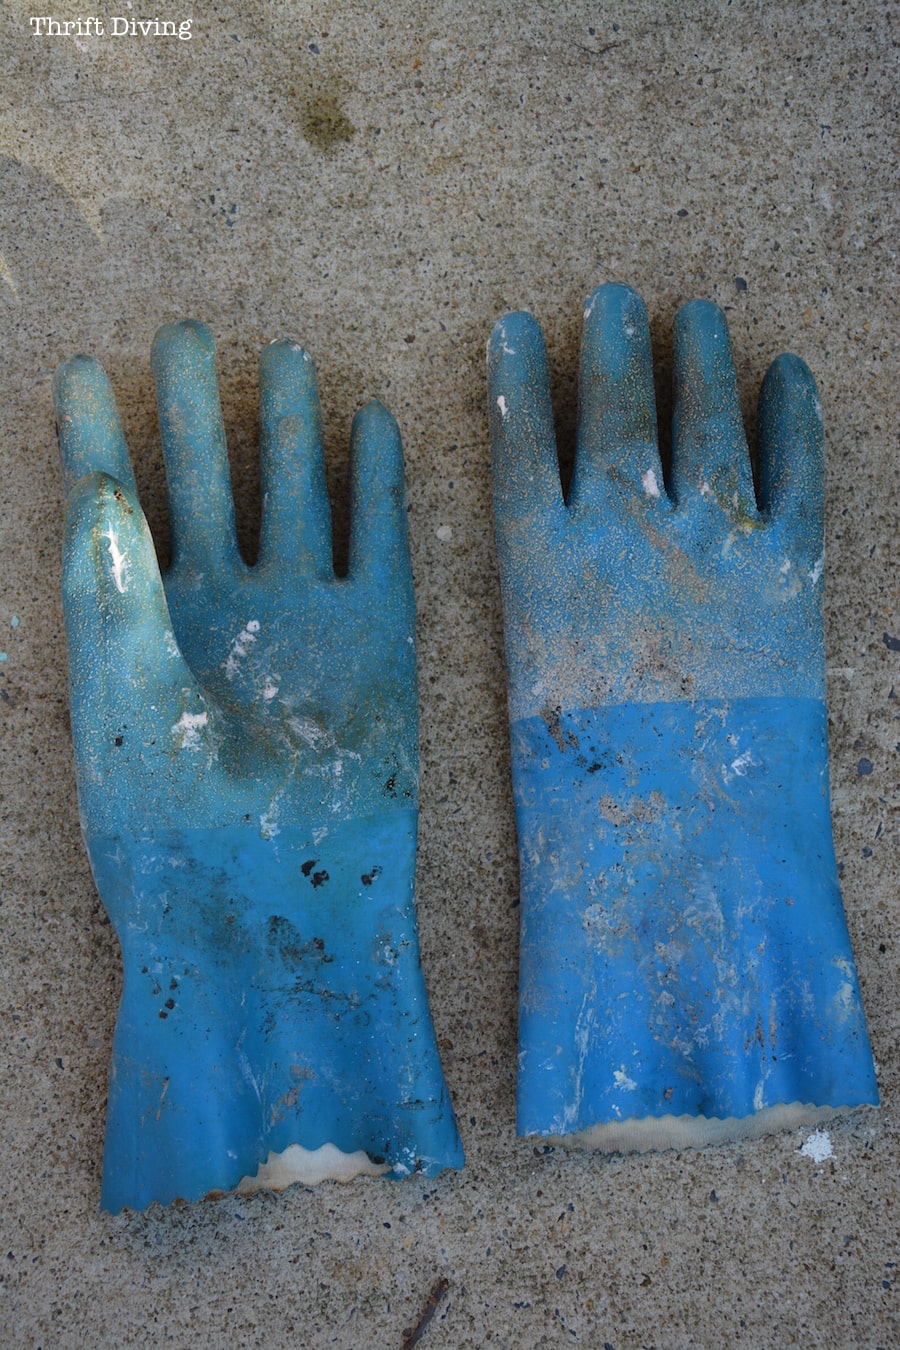
And don’t forget the chemical resistant gloves!!
Mine are all beat up now, but they still work! 🙂 Stripper will eat right through regular gloves and burn your hands, so you gotta stay protected!
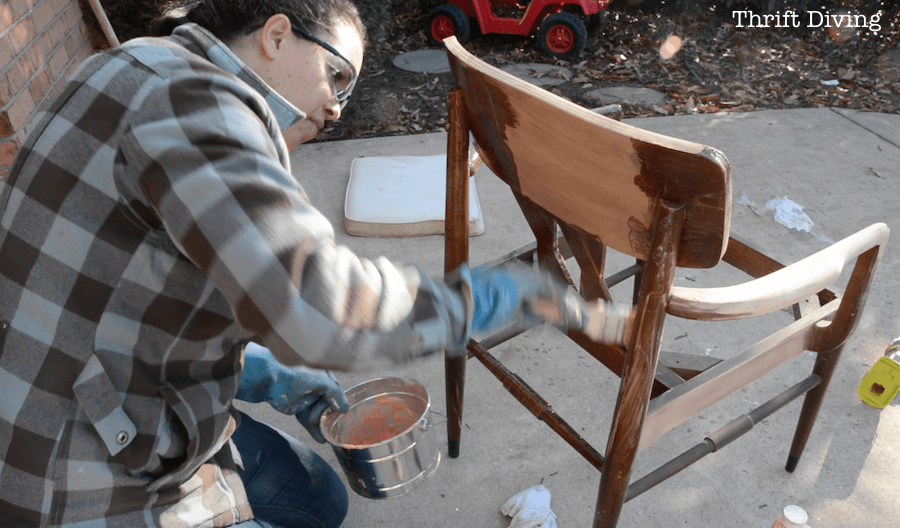
And don’t forget the eyewear! Imagine having a fleck of stripper burn the living crap out of your eyeballs! Um, yeah, no thanks. I’ll take the sexy work glasses instead.
I used an old paint brush and just slathered it on and let it work its magic.
That’s the beautiful thing about stripper.
Within minutes, you start seeing the old finish crackle and disintegrate right in front of your eyes!
(But be smarter than me: have something underneath to catch any drips. Since I was outside in the driveway, I just wiped up any small splatters. But it’s smart to have down a painter’s drop cloth underneath, or paper bags, or something).
And while it’s nasty and leaves a huge mess, there’s nothing as satisfying as stripping!!!
Look at that gunk come right off!
Normally you should use a plastic putty knife (not a metal putty knife, so you don’t gouge your wood) to gently remove the old varnish and stuff, but I didn’t have one around. So I just used an old wood shim.
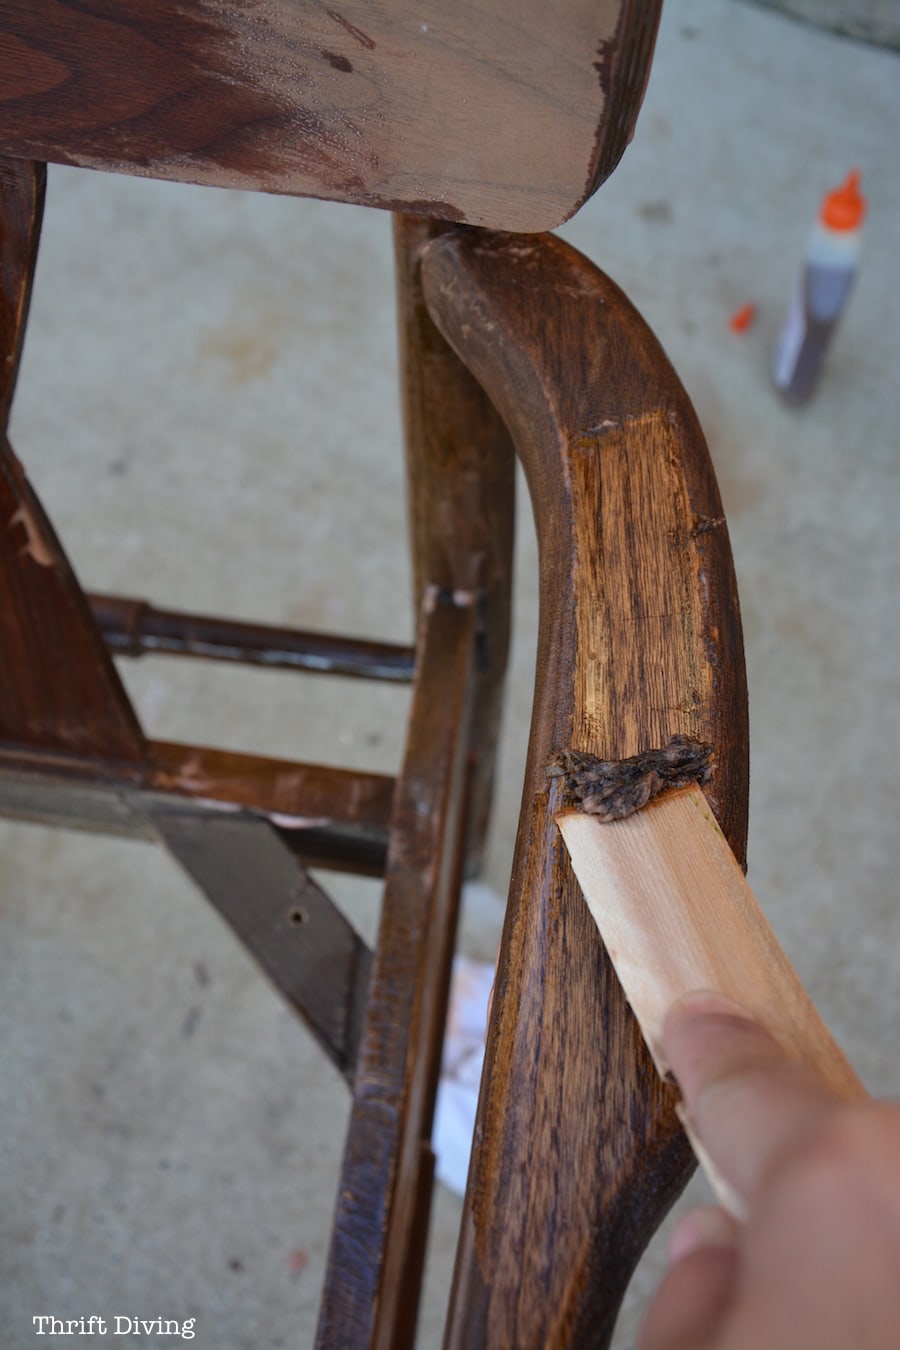
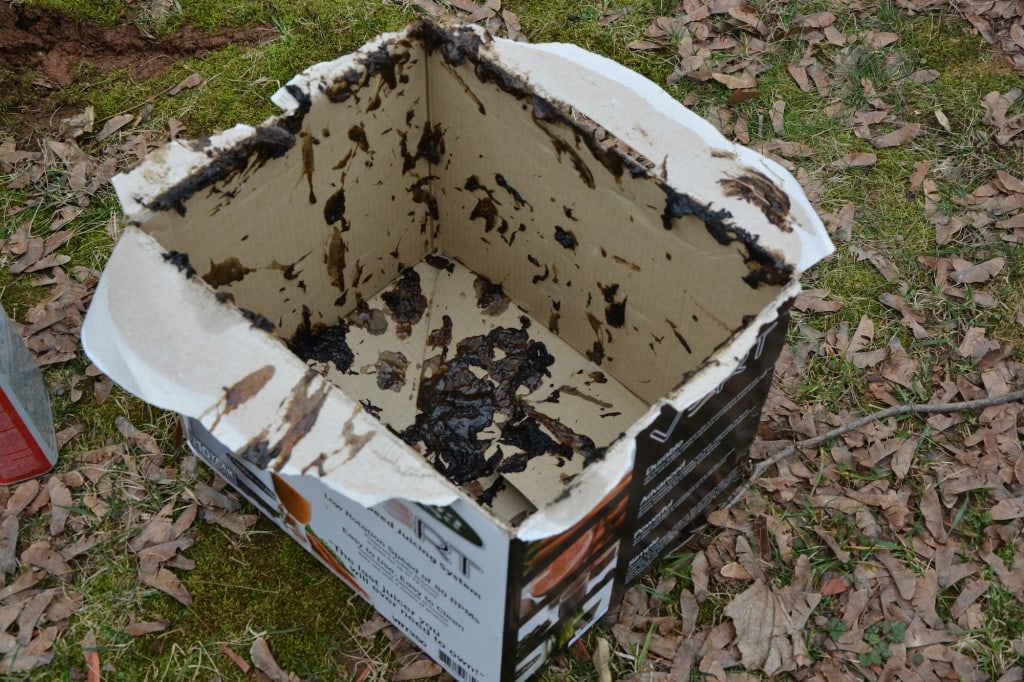
The stuff you scrape off is really gunky. So make sure you’ve got an empty box or an empty milk container to use to clean off your putty knife or wood shim as you’re stripping.
Don’t Forget the Wired Brushes!
Thank God for wired brushes. Seriously. I have stripped furniture using my kids’ old toothbrushes, yo! Sometimes you have to get creative, you know what I mean?
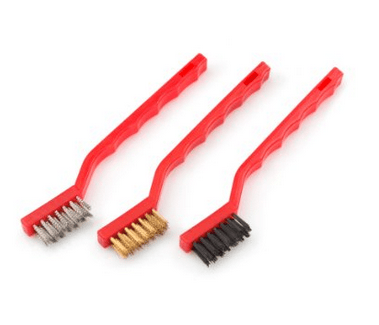
I used wired brushes with some paint thinner on them next to get into the nooks and crannies of the chair.
Next, I wiped it all down with a wet towel and left it to go to the bus stop to pick up my babies.
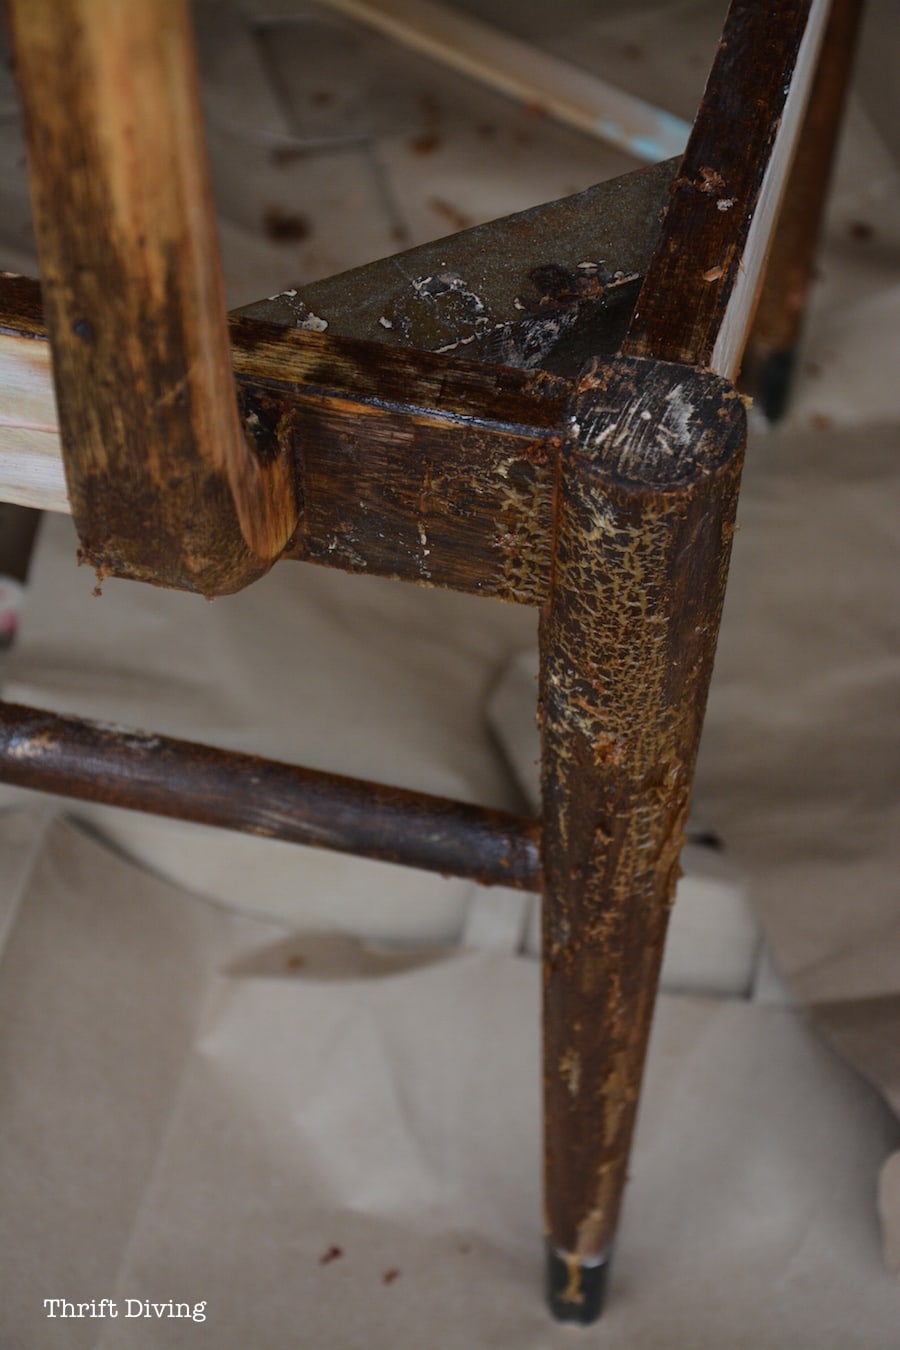
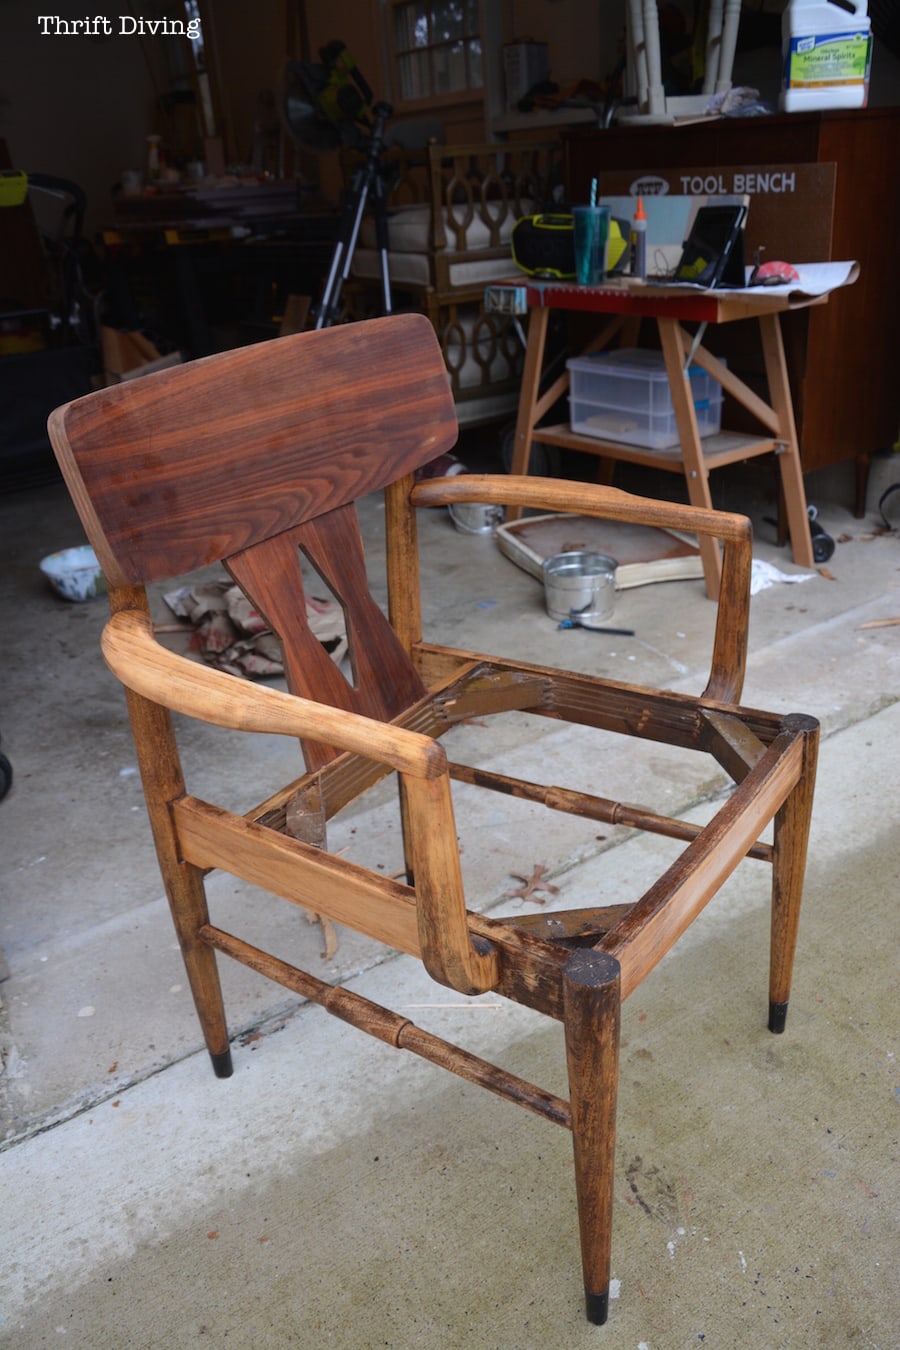
Weird Wood Tones?
One thing that shocked me with this piece is the different wood tones.
I’m not a wood connoisseur, so I don’t know if there was a structural or aesthetic reason it was made this way.
I’m not sure how it will affect the final “AFTER,” because whatever stain I use I’m sure the different shades will look different.
Got any ideas on why two different woods were used??
In Progress!!
If You’re Just Scrolling…..
You won’t find the “AFTER” shot. Sorry to disappoint you folks–there isn’t one. Yet. :).
You’ll have to come back next week for that.
It’s hard for me to finish a project all in one go (are you surprised?? Bloggers must work in chunks of time, too!).
Plus, with stripping, after wiping off the stripper, you want to let it thoroughly dry and then wipe it down with mineral spirits.
So it’s sitting in my garage waiting for mineral spirits, more drying, and then sanding.
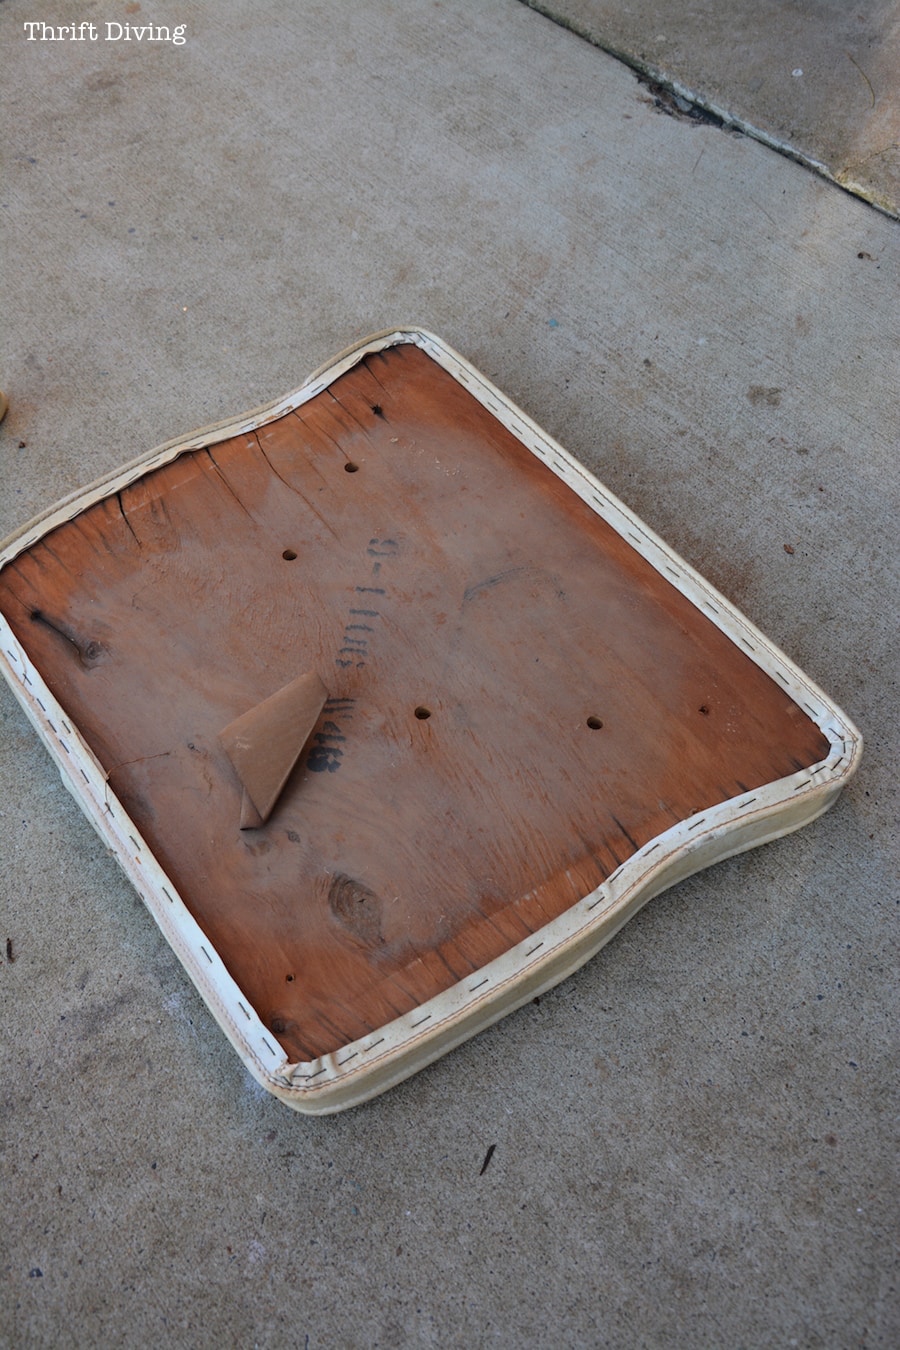
Cutting a New Seat
Thank God for power tools.
And the fact that I’m not afraid to use them.
Because this seat that came on the chair needs a new piece of wood cut.
That shouldn’t cost more than a few bucks, I think.
Oooh, and what do you think about black faux leather?! Wouldn’t that look amazing? But I’m not sure if my sewing machine (or my patience at sewing piping!) could handle that… We shall see!
The “AFTER”
So next week I’ll have the “AFTER” for you! I figured cutting this project into two posts will save you “scroll fatique”….at least, a little bit, right??
It’s not like this one isn’t just over 1,000 words….
(You know how I do!)
UPDATE Later….
So I was able to FIX my mistakes, and the chair turned out amazing!
Click here to see the “AFTER” and tutorial on how I saved this mid-century modern chair makeover!!!
I was a little shocked it turned out so well! 🙂

Download the 5 freebies!

Thrift Diving inspires women to decorate, improve, and maintain their home themselves...using paint, power tools, and thrift stores! Use these 5 printables, checklists, and ebooks to get started!
I would never have the patience for a project like this, but have tremendous admiration for anyone (You) that would. We have a mid-century dining table and chairs purchased from a local antique and vintage store and I love it!
We’ve been using my husband’s bachelor’s table for twenty years, but always had to extend it with card tables, then camouflage with tablecloths for holiday guests. This new (old) table has two leaves and came with six chairs. I feel like I won the lottery.
I know that whatever you do, it will look gorgeous. I love the wood on the back of the chair.
Serena,
I hate stripping furniture. I usually only do 1-2 projects a year.
It’s really weird about the wood tones, eh? that will be a challenge.
good luck!
gail
Hey Serena, awesome chair. When I was stripping furniture, many moons ago, I had to do it in the garage for maximum ventilation. Unfortunately, at that time strippers hat the worst chemical smell around. I’d get very sick for a week after stripping a project. StilI haven’t stripped anything in a very long time. One of the things I would use for very intricate designs was steel wool, it always shaped to the space. Thanks for sharing another awesome project, can hardly wait to see the finished piece. Love ya’ A very Merry Christmas to all and a Wonderful New Year!!
I am in awe of your subscribers … so much excellent advice! They (and you) all rock! The denim needle was the only thing I’m familiar with.
I’m also an enthusiastic user of profanity, so it was fun seeing that here, too! lol
When I was in high school (never you mind how many decades ago!), I stripped and refinished a drop-leaf desk I was given. I used a refinishing kit that didn’t include any type of stripper. I’m not even sure they existed “back then.” The sanding was tedious, made even more so by my OCD tendencies! But I got it done, and it looked super.
Re: your garage-turned-workshop project, all I can say is THANK GOD you’ve got a whole year!! lol
Merry Christmas!