Why I Used a Butter Knife to Reupholster a Thrift Store Chair (PART 1)
I’ve never reupolstered a chair before.
No–wait, I’m lying.
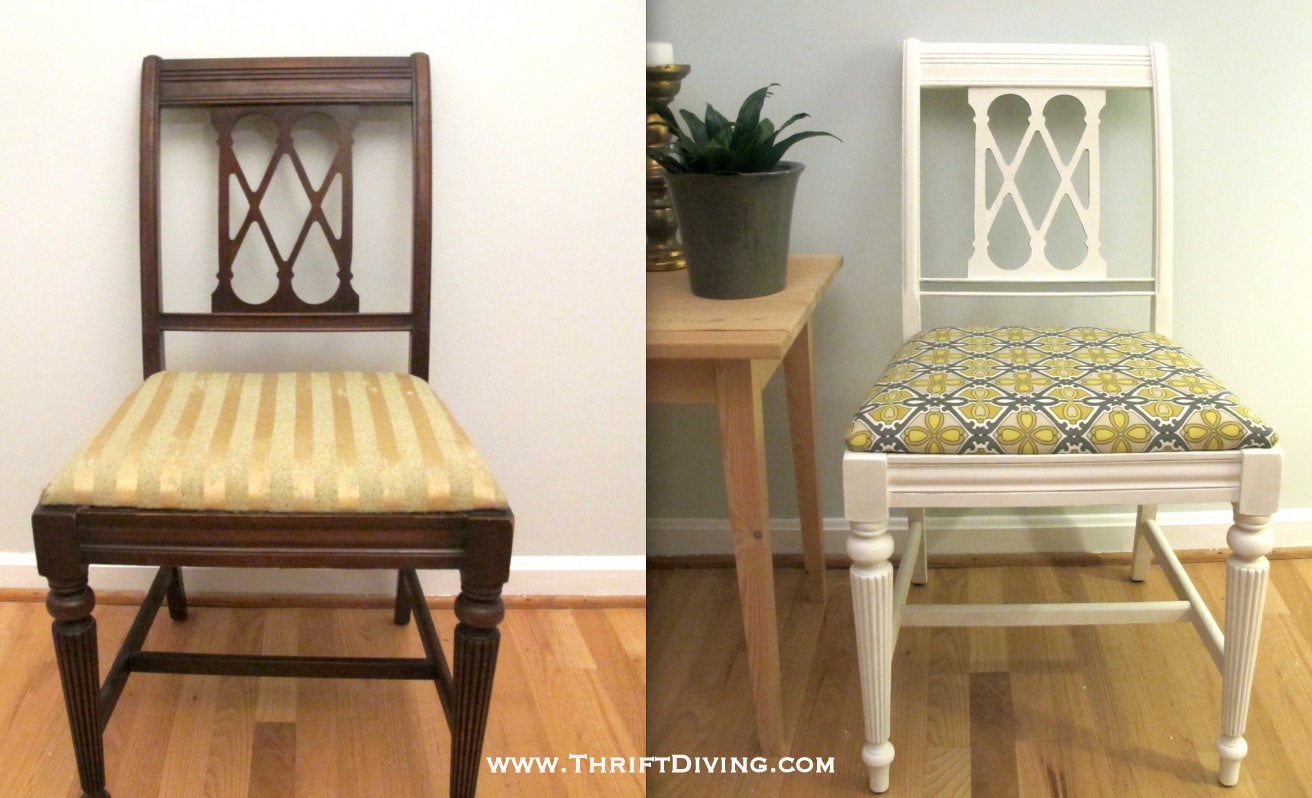
I did reupolster this yard sale chair last year if you count unscrewing the seats and slapping on some new, pretty fabric. Simple, right?But this vintage thrift store chair project I started this week??….um, yeah. Now we’re moving into bigger territory: furniture tacks!padded arm rests!stuffing!
Honestly, guys??
I was totally unprepared!
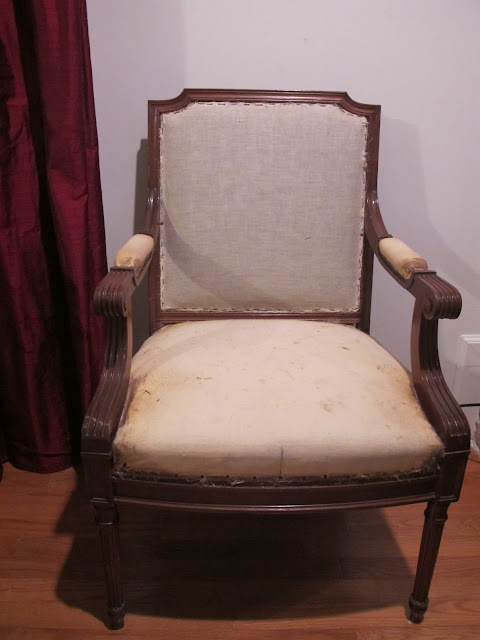
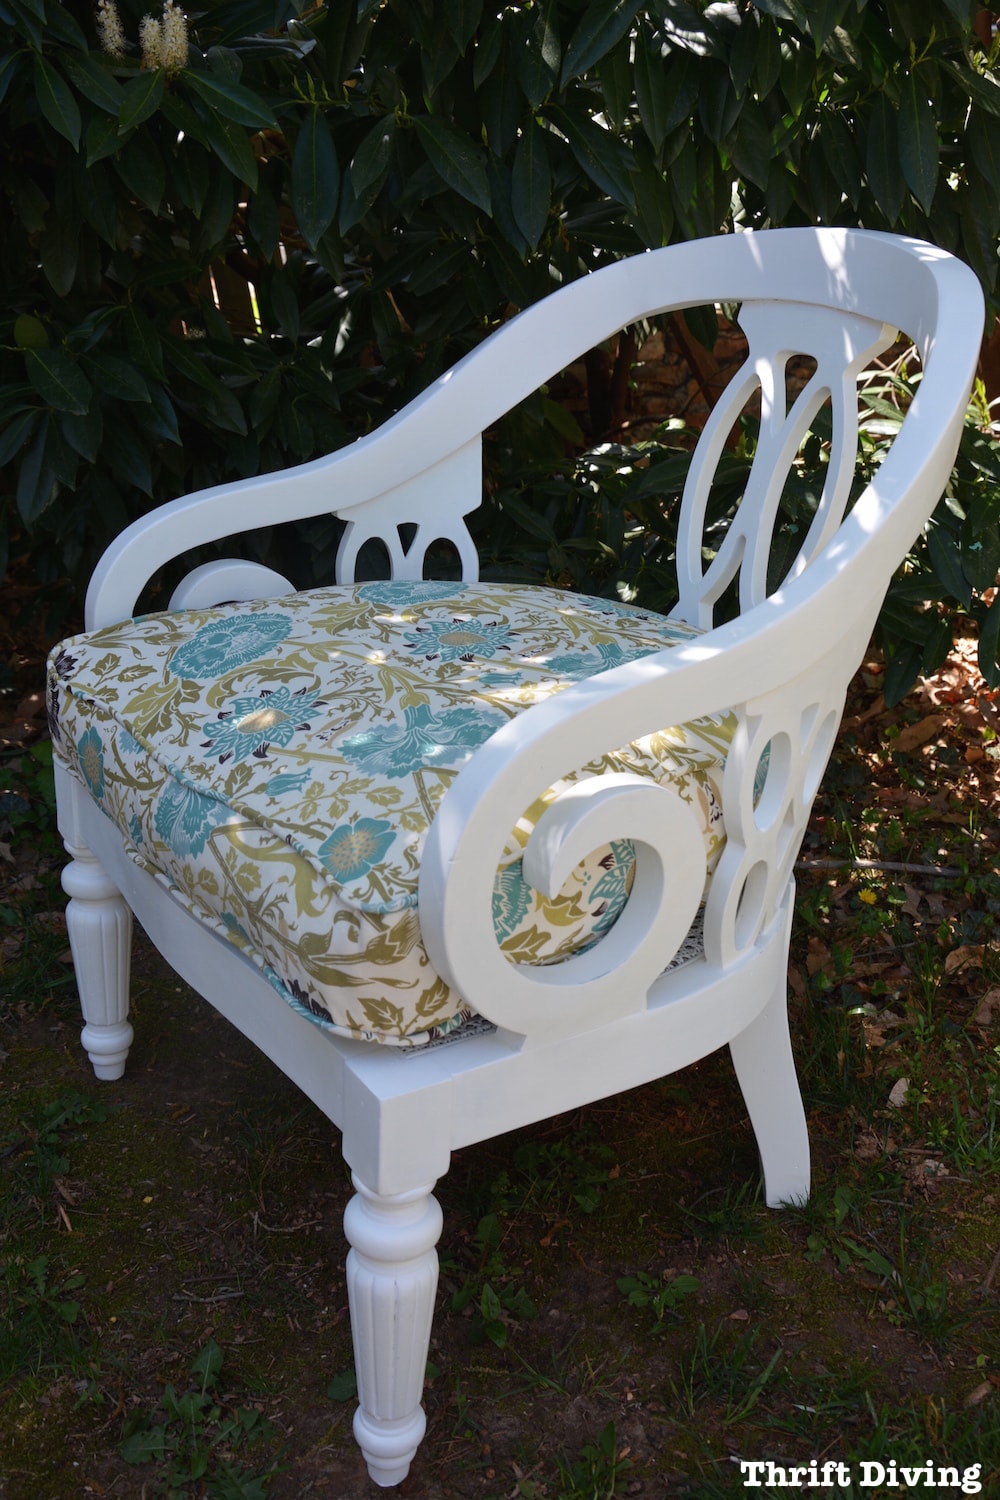
Remember this chair from my Upcoming Projects?
(UPDATED: Click Here to See the “AFTER” Pics of This Chair! It Looks Amazing!)
This week, I decided to start this reupholstered chair project as a surprise birthday gift for a friend who’s turning 40 this weekend (shout-out to my girl Hakimah!). I won’t bore you with all the details of why I won’t be surpising her with a sexy, zebra- printed accent chair. (But I will tell you if ya really wanna know; just ask!)But what I will tell you are a few lessons I learned this week in my mad dash to start and finish my first REAL reupholstered vintage thrift store chair!
TIP #1: Put down the butter knife!
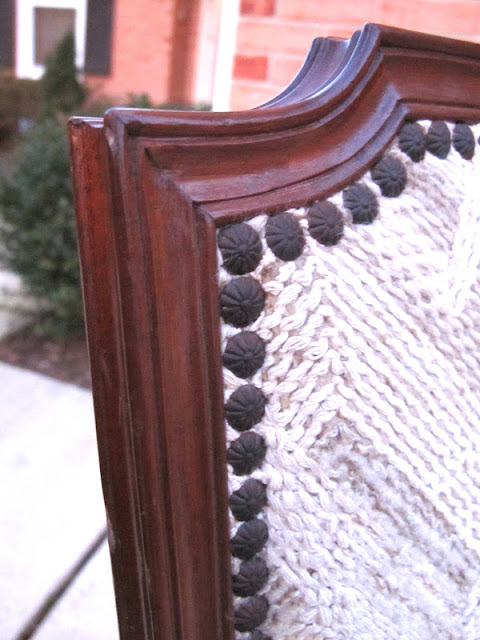
Butter knives are for slathering butter on your bread–not for removing rusty, old furniture tacks from a vintage thrift store chair! (They’re also not screw drivers, nor crow bars. HA!) If you’re going to take on an upholstery project, don’t skimp on the tools you need. Using the wrong tools (especially make-shift tools like butter knives), and you’re not only more likely to damage your piece, but you’re going to make the process that much harder. Here are a few you’ll need. Check Home Depot; their prices might be a little less expensive than a craft store:
| FAIL! Removing a whopping 338 furniture tacks with a butter knife. |
- Tack hammer – (check Home Depot; usually cheaper there).
- Rubber mallet – (check Home Depot; about $8)
- A tack remover – (about $4)
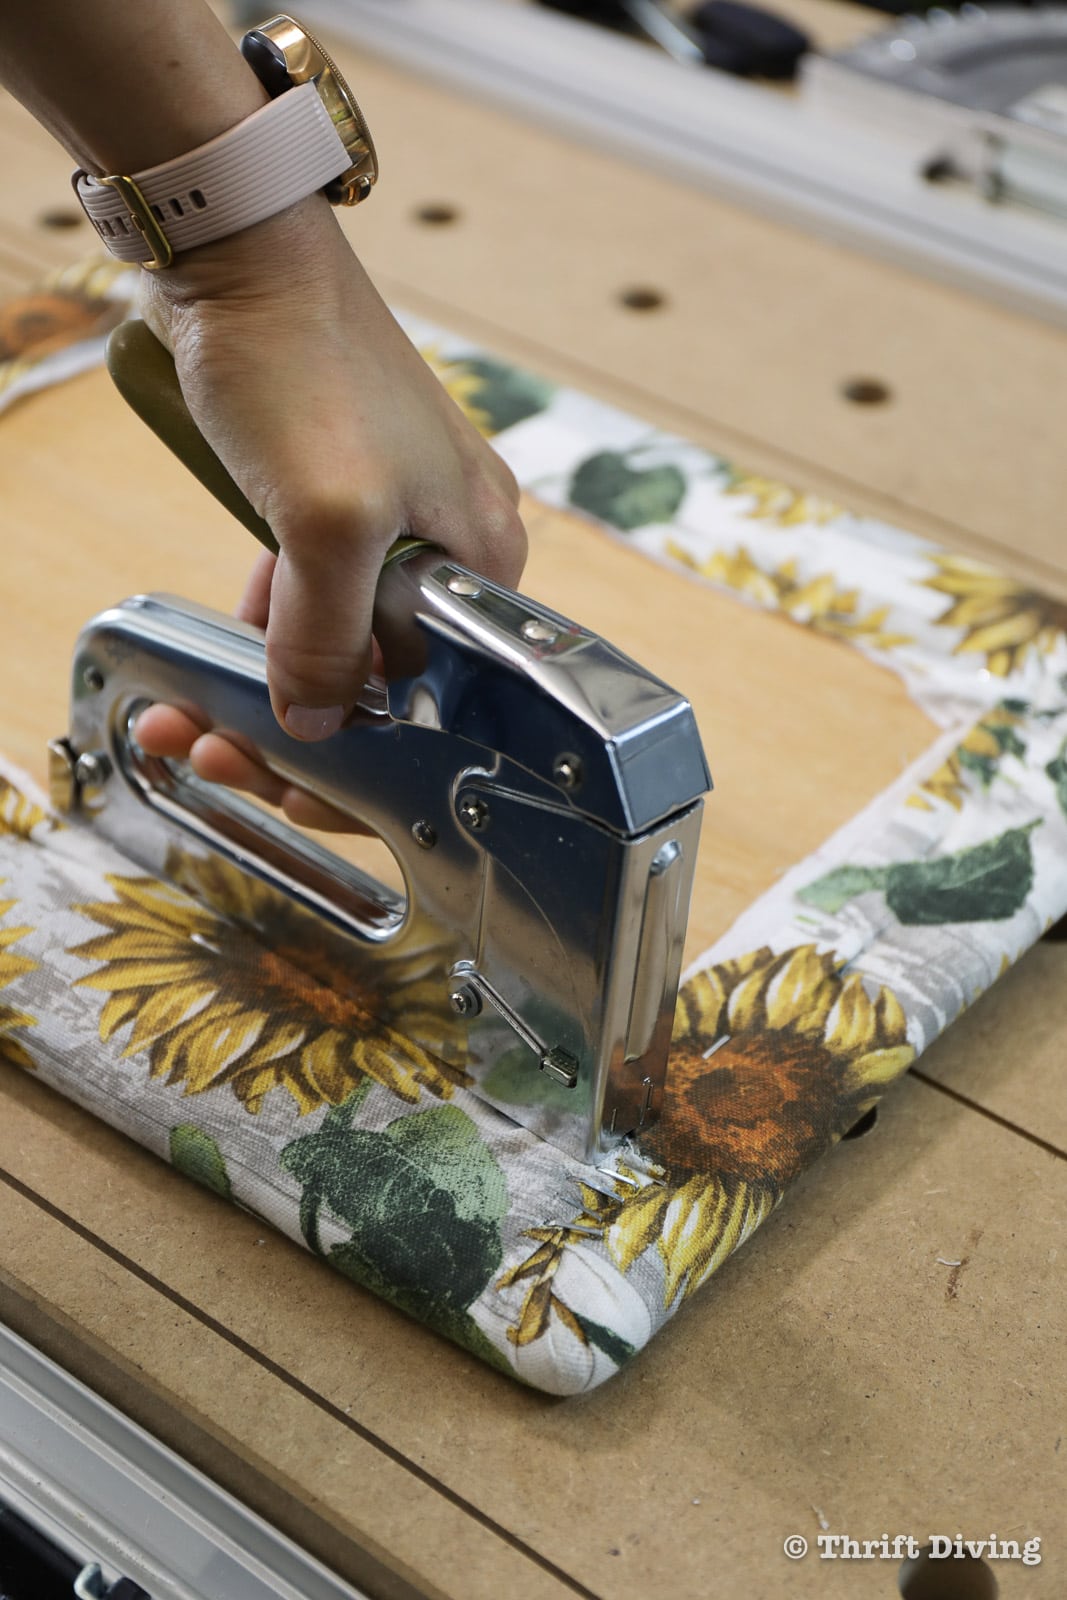
- A staple gun – (about $15)
- A staple remover (not the kind from Office Depot!)
- Scissors for cutting away fabric
- Upholstery pliars
TIP #2: Don’t underestimate your upholstery project.
Sometimes we find something we love and we can’t get past how bad ass it is. We know it has “good bones” and just needs some new fabric, stain, paint–you name it. But don’t underestimate your upholstery project, however. Have you considered the time it will take it make over? What about the cost of all the supplies? That chair you see above, I bought it for $60. A bit more than I would normally pay for a thrift store score, but you know how I feel about impulse buying at thift stores, and well, I.had.to.have.it. However, figure in about at least $20 for some awesome fabric……$25-$30 for new furniture tacks (since I couldn’t spray paint and reuse the old rusty ones that kept breaking in half as I attempted to remove them with a butter knife, lol)…….and we’re now looking at least $100 to complete this project. I’m okay with that–but you may not be. Just be aware of all those details before you start.
TIP #3: Estimate the fabric you need BEFORE you go to the fabric store.
Common sense, yes? Then why do I do this EEEEVVVEERRY time I need fabric?? On a whim, I’ll go to the store and see some fabulous fabric that would look good for ___[insert project here]__ and I will either not buy enough or I’ll buy too much. There’s nothing worse than multiple trips to the store for more fabric. They may even be sold out! Plan better: estimate the amount of fabric you need….buy 10% extra for mistakes…and save yourself the headache.
TIP #4: Take a “BEFORE” picture before you get started.
In fact, take lots of “BEFORE” pictures!! You’d think you’re smart enough to figure out how to put something back together, but if you’re like me, you suck at it. If you’re confused about how the fabric will go back on, detailed “before” pictures will help. In fact, I wholehearted recommend “before” picture taking on every DIY project you tackle that requires removing something and putting something back together, otherwise, you will end up like hubby and I last year when we decided to play DIY Electricians and replace the kitchen lights and couldn’t figure out how in the world to put it all back together again (slapping my head).
TIP #5: Keep the old fabric covering as a pattern.
You’re going to be tempted to toss out those nasty pieces of fabric you just removed. But why try to re-create the pieces you will need? Use the old fabric you’ve removed as a pattern for the new upholstery pieces. Just be sure you don’t damage the old fabric when removing it. And leave enough for seam allowances (usually 1/2″ to 1″).
| Use old, removed pieces as the pattern for your new fabric. |
NOTE: I’m sure there are more tips, and supplies you will need, depending on your project, but that list will at least get you started. Check out DIY Reupholstery Supply, where I am planning to buy some of the tools and supplies I will need. I’m not affliated with them at all; just a place I found online that seems to carry lots of cool stuff. They also have free online HOW TO VIDEOS on upholstering furniture, like how to use a staple remover, etc. I will be checking them out, for sure!!
| Broken furniture tacks need pliars to remove. Be careful not to damage delicate surrounding wood. |
| These are NOT reupholstery tools! |
| The padded arm rest. See all that splintered wood?? Yep, from not using the correct tools! |
| Was making progress on the back part…….. |
 |
| All the outter fabric removed. |
Looks a little dingy, but have no fear–I’m confident it will be beautiful!
Download the 5 freebies!

Thrift Diving inspires women to decorate, improve, and maintain their home themselves...using paint, power tools, and thrift stores! Use these 5 printables, checklists, and ebooks to get started!




I definitely agree that it is a good idea to have an idea of how much the project will take before starting. I was working on reupholstering my couch. I got half way before I realized I couldn’t do it all. I ended up letting a pro finish the cushions while I finished upholstering the frame.
Pretty nervous about starting a simliar project! (A) I don’t know where to get the black meshy stuff that goes on the bottom of the chair. (B) I’ve only redone chair seats, nothing with tacks.
Would you mind checking out the photos and letting me know your opinion? The tacks are HUGE. I don’t know if this is a good project for a beginner, but the post explains value, etc.
https://viewfromthepiedmont.com/2016/09/29/my-roadside-chair-discovery/
Those are awesome chairs, Kate! You could totally do this. I just did a quick search for you and it looks like you can get some here: http://www.joann.com/utility-fabric-upholstery-underlining/10173300.html
Pull out the old tacks and reuse them! 🙂