How to Make Your Own T-Shirts With Cricut Infusible Inks
This is a sponsored conversation written by me on behalf of Cricut. The opinions and text are all mine.
Cricut provided the Cricut Air 2 and some supplies for this project, but all opinions are my own.
Every now and then I like to put down the power tools and get a little crafty. I don’t get that opportunity often. Which is why I am drooling over making my own printed t-shirt, which I’ll show you in this post.
If you’re a crafter, just hearing the word “Cricut” is liable to initiate a drool-induced craving. If you’ve ever used one, you’ll know why: it cuts anything and everything under the sun (depending on which model you buy), from vinyl for iron-ons and appliques, to cardstock for cards and crafts, to thin wood, to leather, to fabric for sewing and quilting, and….and….did I miss anything??
I’ve always used my Cricut for cutting vinyl for really crisp stencils. If you’ve ever used store-bought stencils, you’ll know that you can never get a totally seepage-free stencil because the paint tends to bleed underneath. But with vinyl, it results in clean lines and edges 99.9% of the time, which is why I love them.
Cricut reached out to me to see if I wanted to try out their Cricut Explore Air 2. Well, of course, I would! I’ve been wanting to make a vinyl iron-on shirt with the continent of Africa, so I thought this would be the opportunity!
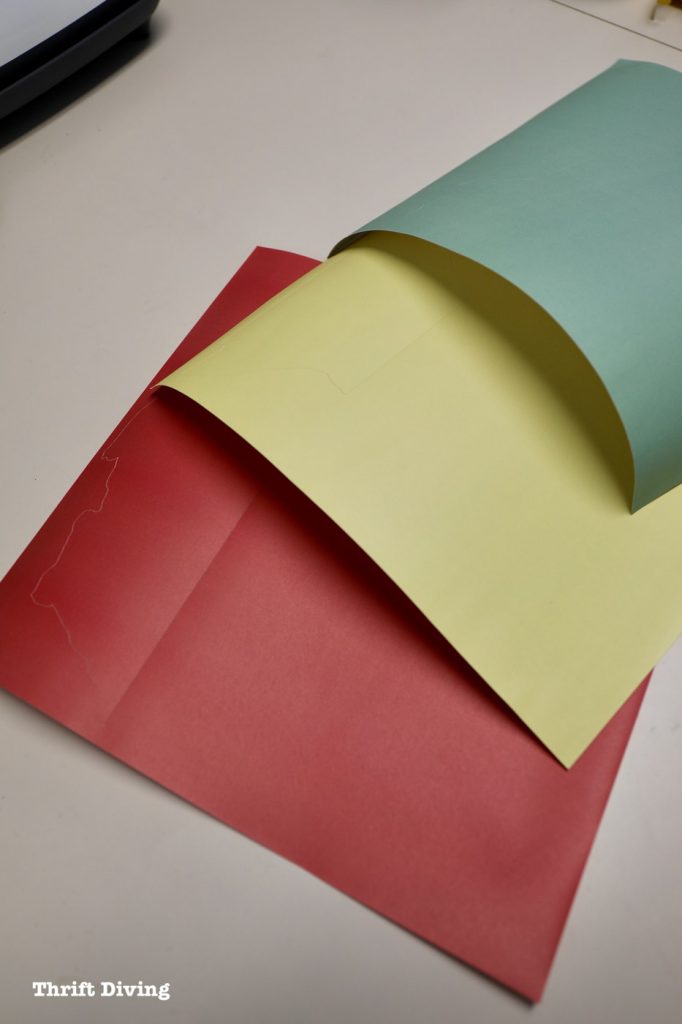
I headed to Michael’s store to look for some red, yellow, and green (and black, of course–everyone needs black!). But while there, I stumbled upon the Cricut line of Infusible Inks.
GASP!
Wait–so you’re saying there is a new product (it just came out this past summer) that will infuse ink into a Cricut blank tee and there will be no cracking, tearing, or chipping of iron-on vinyl?? Okay, I had to try this!
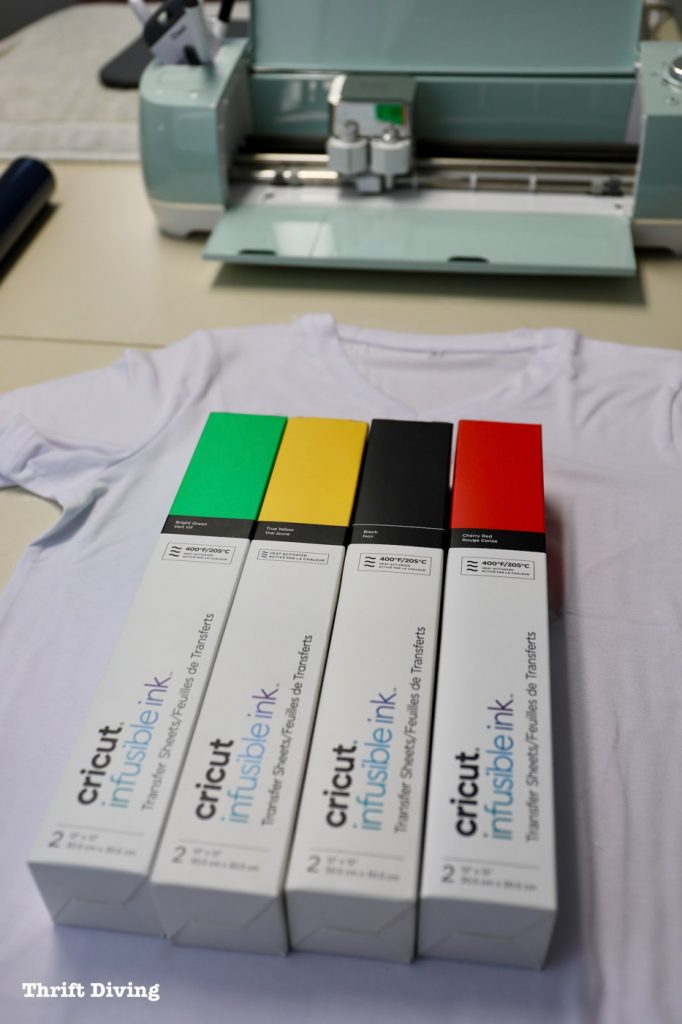
I actually bought a whole bunch of them. And while it’s always expensive to buy a “whole bunch: of anything when you see a “buy one get one 50% off” sale, it’s enough to make you feel like you’re a contestant on Supermarket Sweet or something: just toss as much of it as you can into the cart because you’re getting a deal!
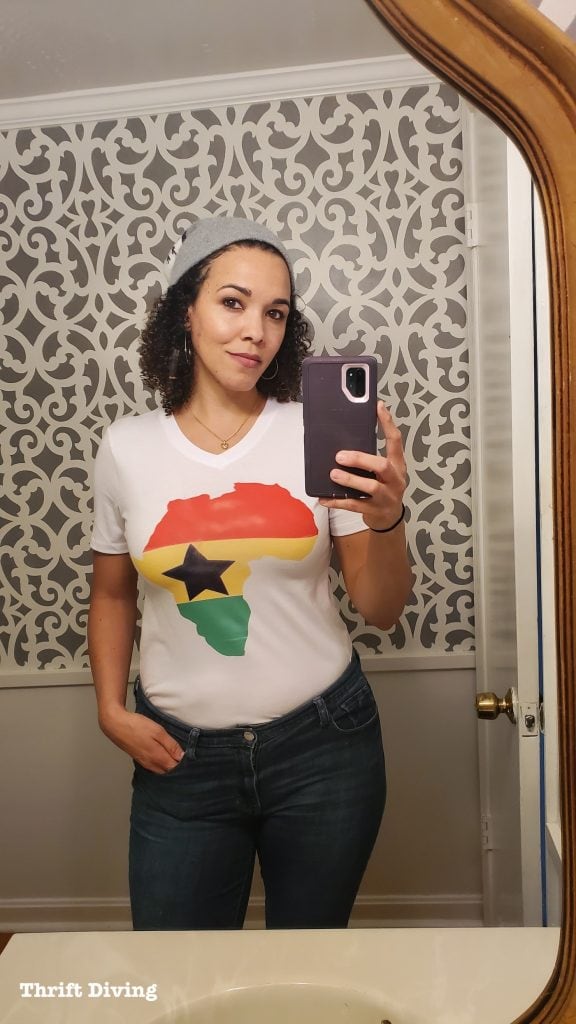
And with a few sheets of infusible ink paper, here is what I was able to create for my very first infusible ink tee!
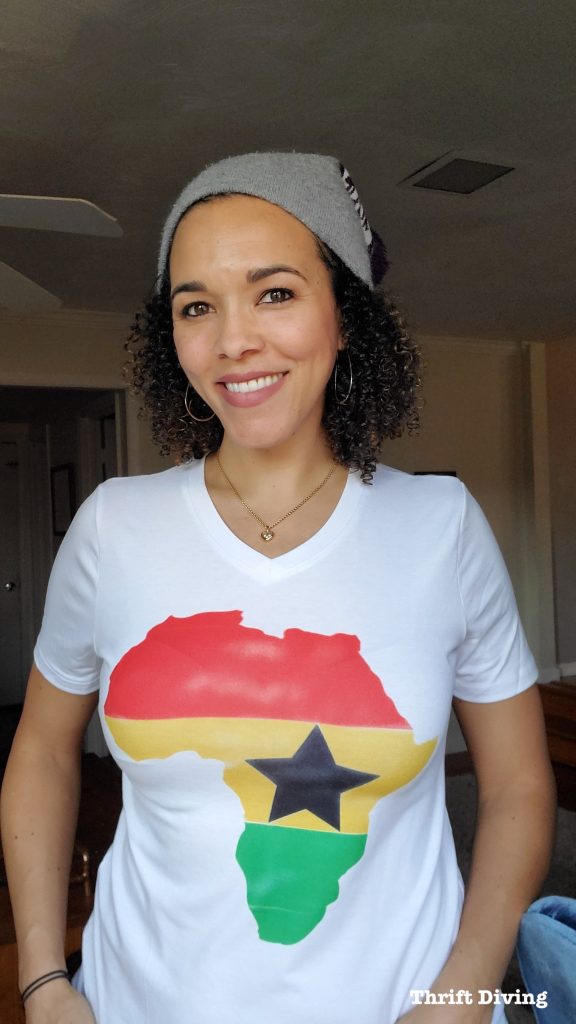
If you’re wondering if there should be light areas within the design, the answer is no. LOL. That is what you call “an error turned opportunity.” Since this was my very first time using infusible inks, I wasn’t sure how much pressure was required when heating the design onto the tee.
But as hubby described it, it looks “vintage.” I actually think it looks pretty cool this way!
Anyhow, here are the materials you need to create a tee using the Cricut Infusible Inks.
Materials
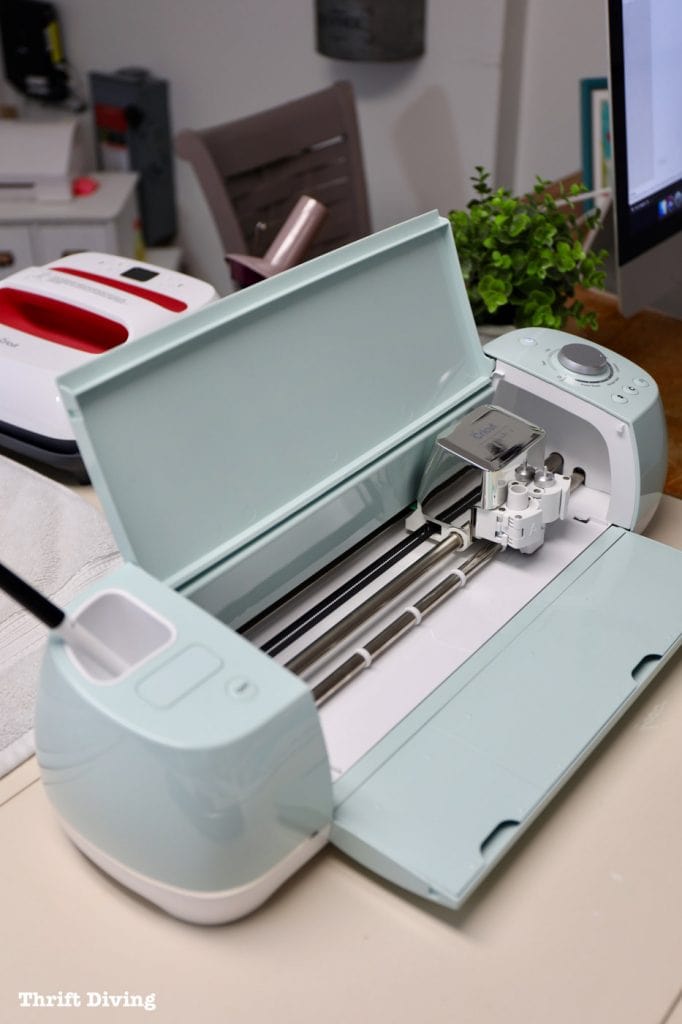
- Cricut Explore Air 2
- Infusible Ink paper
- Butcher paper (a couple sheets come in the Infusible Ink packs, but it would be helpful to buy more).
- Cricut heat press
- Cricut heat mat
- Scissors or paper cutter
- Lint roller
Let’s walk through the steps for creating this project!
STEP 1: Open Cricut Design Space
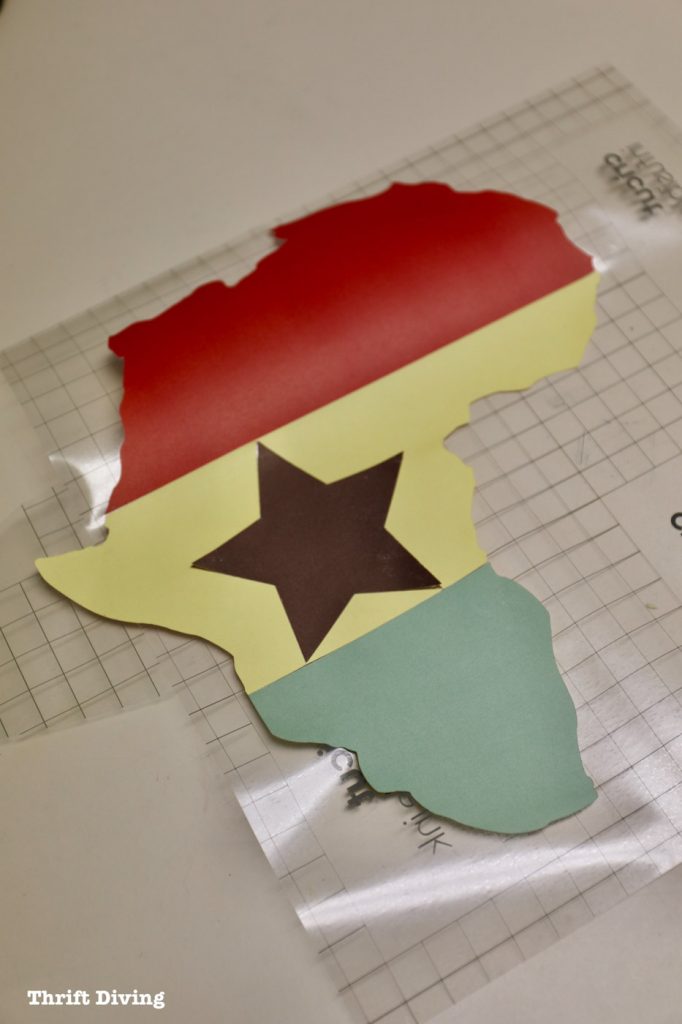
Cricut uses a web-based software for creating designs called Cricut Design Space. You can upload your own designs and you can purchase designs within the Design Space. I searched for a picture of Africa and found this one for only $0.99.

There were two challenging parts to this project: 1) figuring out how to slice the continent into three sections (watch this tutorial), and 2) making sure all the slices were of correct proportion so that they all fit together when cut out on the Cricut Explore Air 2.
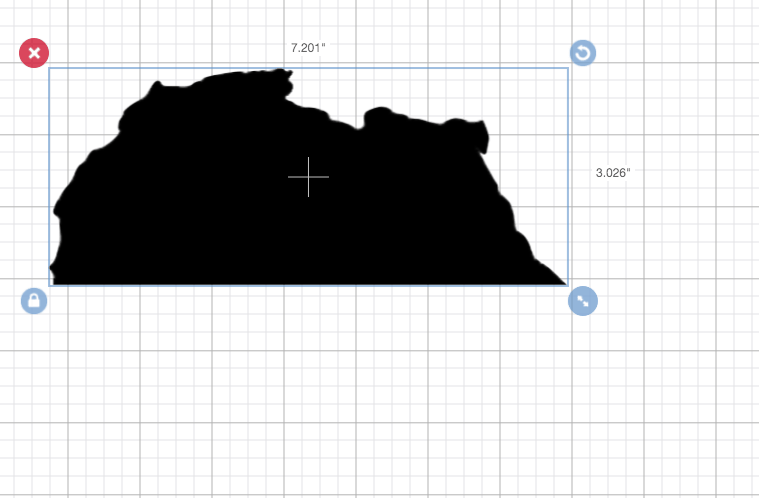
IMPORTANT: When cutting designs for infusible ink, be sure to select “mirror image” when preparing the design for cutting!
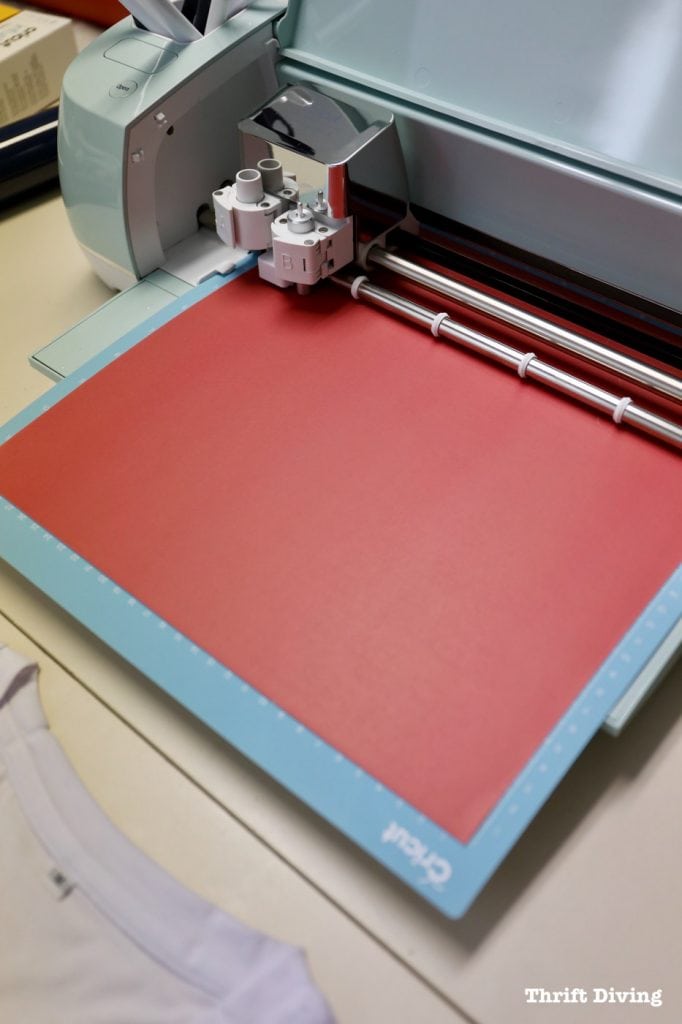
STEP 2: Insert the Infusible Ink Paper
Infusible ink paper should be placed on the sticky mat that comes with the Cricut with the ink facing upwards. You have to be very careful not to have oils, water, or other contaminants on your hands or else you’ll destroy the ink. And if the ink rubs off, that’s one less spot of ink you’ll be able to transfer to your project. 🙂
STEP 3: Cut, Then Peel, the Infusible Ink
When using a Cricut, the correct material has to be selected so that the machine knows how to cut it properly. I love how Design Studio walks you through the steps in make sure you get a good cut. They also have a list of all the materials, so choose the one that matches your project.
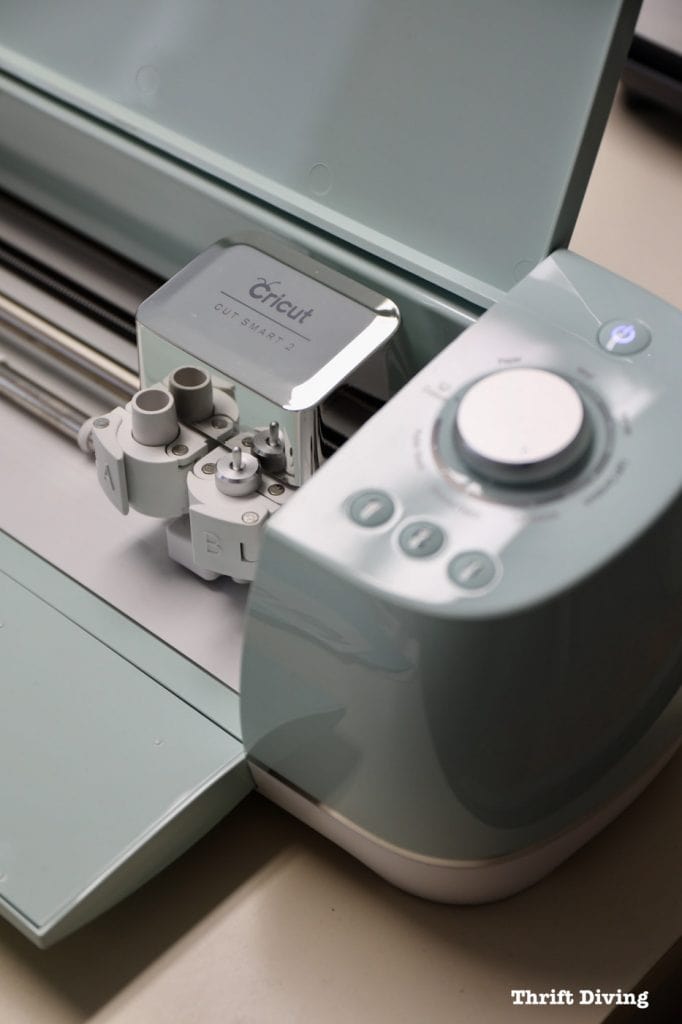
The Cricut Explore Air 2 has a listing of options on the dial when selecting the material you’re cutting. You’ll need to select the option that says “Custom.”
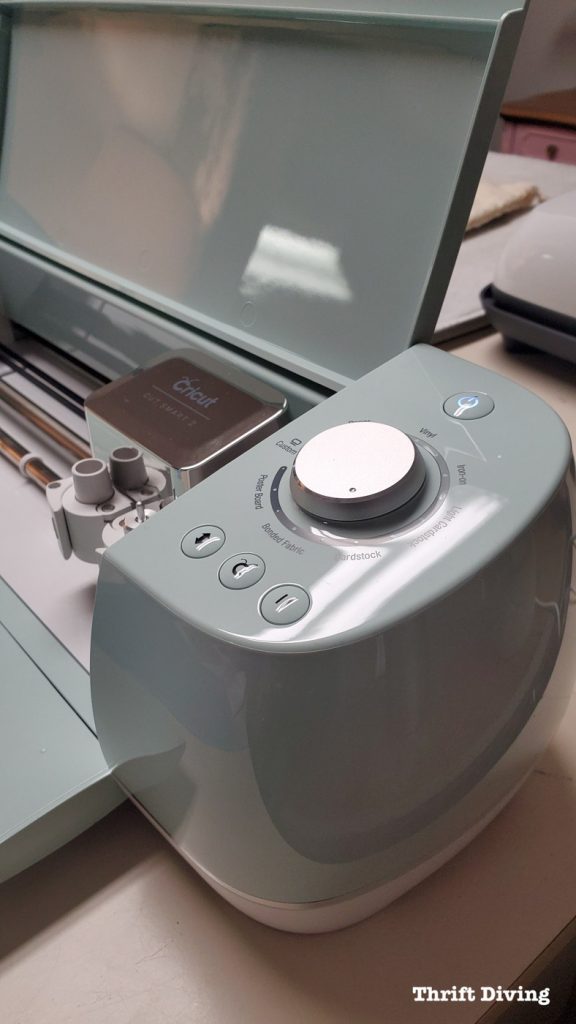
“Custom” will bring up an option for a drop-down menu of all the materials. Select the “Infusible Ink Transfer Sheet.”

I had to cut each section of the continent separately. You can barely see, but there’s a nice, crisp cut in those sheets! Here’s a tip, too: it’s also helpful to only use the amount of infusible ink sheets you’ll need. Use a paper cutter to trim the sheets to the amount you’ll need and be careful with the rest so you don’t mess up the ink!
You’ll want to peel the excess infusible ink sheet away from the design, leaving only the design on the transfer plastic sheet.
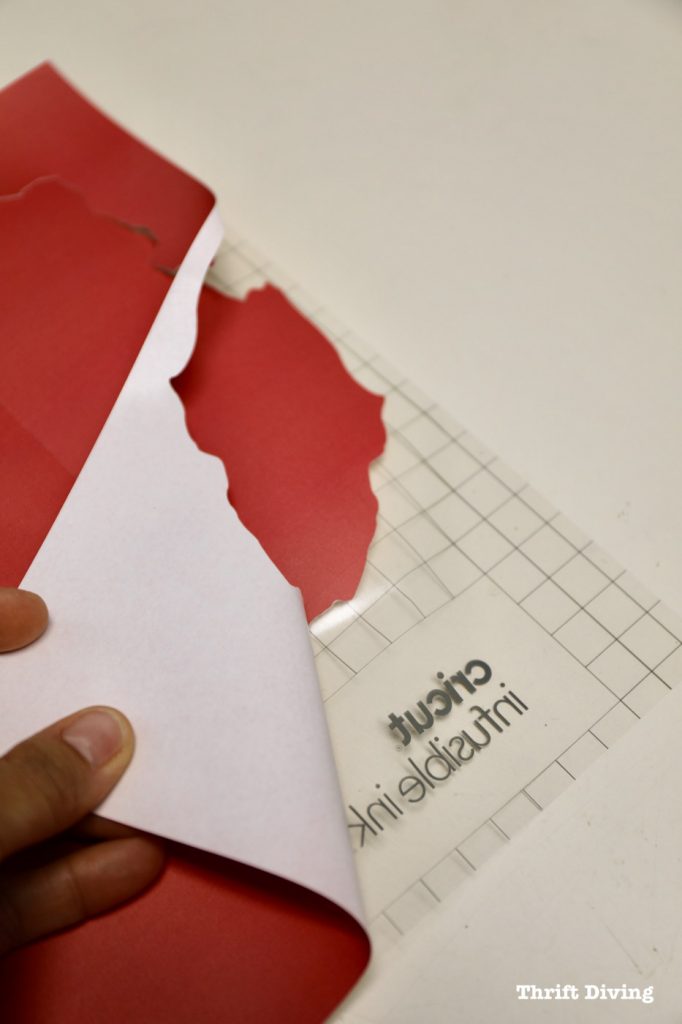
Here is where things can get tricky: in order to correctly apply the transfer sheet:
- You must cut the design backward using the “Mirror” option in the cut settings when preparing the design for cutting.
- You must “slice and set” a design when overlapping any elements of infusible inks. This tutorial is great for learning how to do this.
- All of the infusible ink elements of your design must be on 1 plastic transfer sheet and heat-pressed together and not on top of each other. This is where the “slice and set” technique is really important. The designs are thick and heavy and easily peel away from the plastic paper to all fit on 1 sheet.
So basically, my Ghana, Africa design required me to cut another yellow piece so that the black star was cut out from the design, instead of overlapping it.
STEP 4: Prepare the Blank Tee
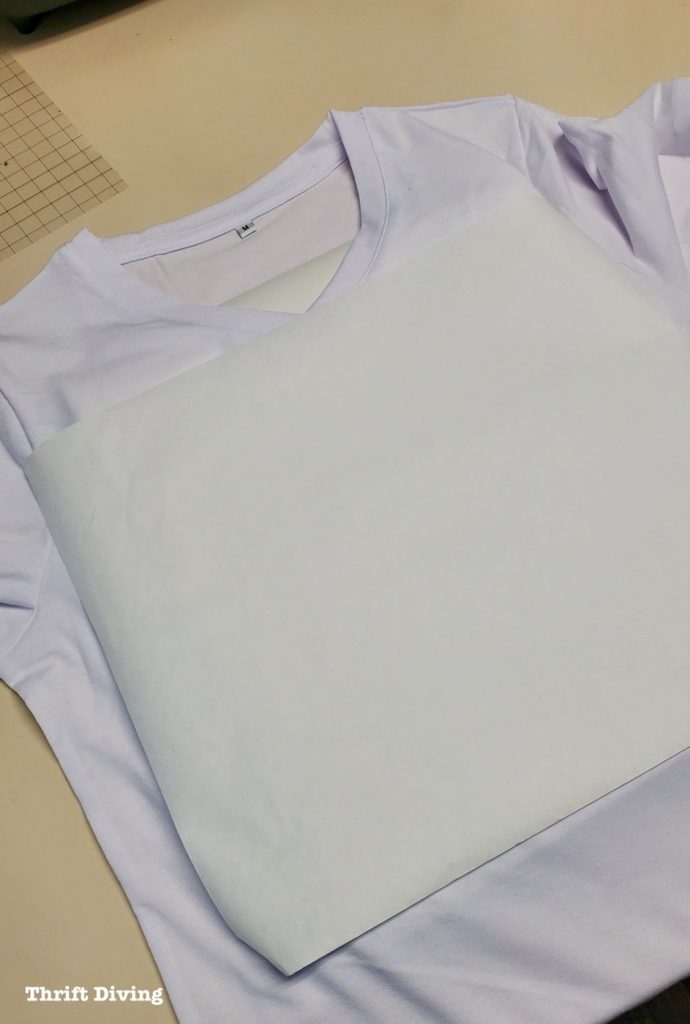
You don’t want the inside of the tee to bleed, so inside of the tee, place the Cricut heat mat and about 4 sheets of butch paper (or heavy cardstock).
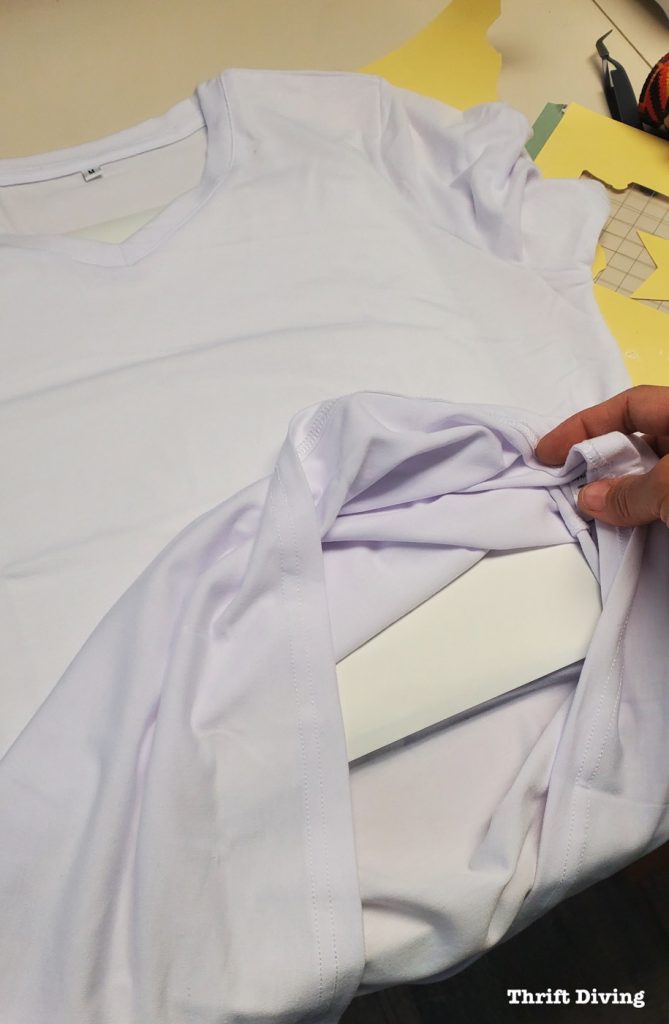
Next, you’ll want to use a lint roller on the blank tee where the design will be placed. This helps to ensure that no lint or particles will interrupt the flow of the design or leave spots.

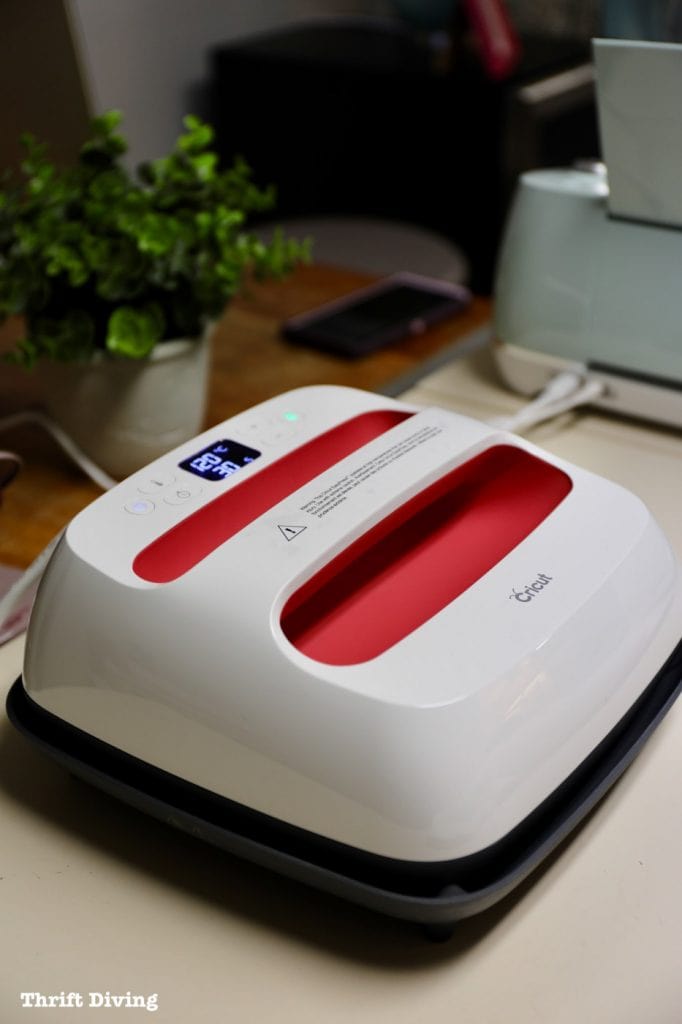
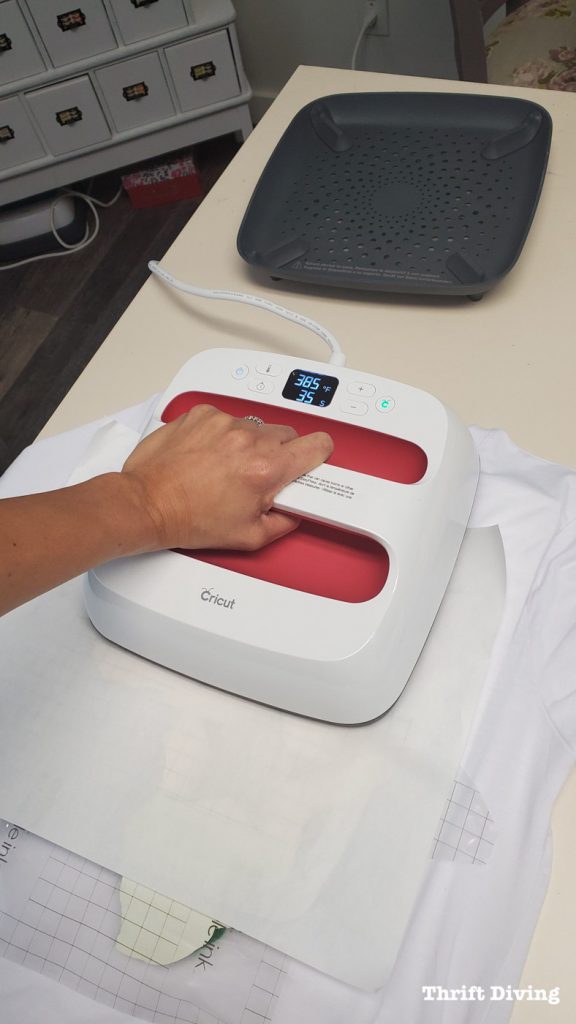
You can use an iron, but why would you?? The Cricut Easy Press 2 (I also have the original Easy Press that I bought 2 years ago) is soooo easy to use when doing iron-ons! It can get much hotter than a clothing iron and has a built-in timer so that you get the timing just right for the best results. I would definitely recommend the heating pad to protect your tabletops and get even heat distribution.
Then you’ll want to place a sheet of butcher paper over the area that will be inked. You’ll want to use the Cricut Heat Press 2 to heat the area for 15 seconds over top the butcher paper at 385 degrees (check to see the times recommended if you’re using a different heat press or do a test garment first).
Remove the butcher paper sheet on top and then place your design face-down on the blank tee.

My Africa design was just a little too big to comfortably fit under the Easy Press 2, so I had to heat it in sections at 385 for 40 seconds. Be careful with this because you don’t want the infusible ink sheet to shift and mess up your design.
I peeled off the butcher paper slowly and revealed the inked tee underneath. But I also realized that I hadn’t quite held the Easy Press in place firmly enough because the red ink didn’t completely transfer to the tee. I placed the sheet over the design again and did another 40 second press and the design was a little more rich in color.
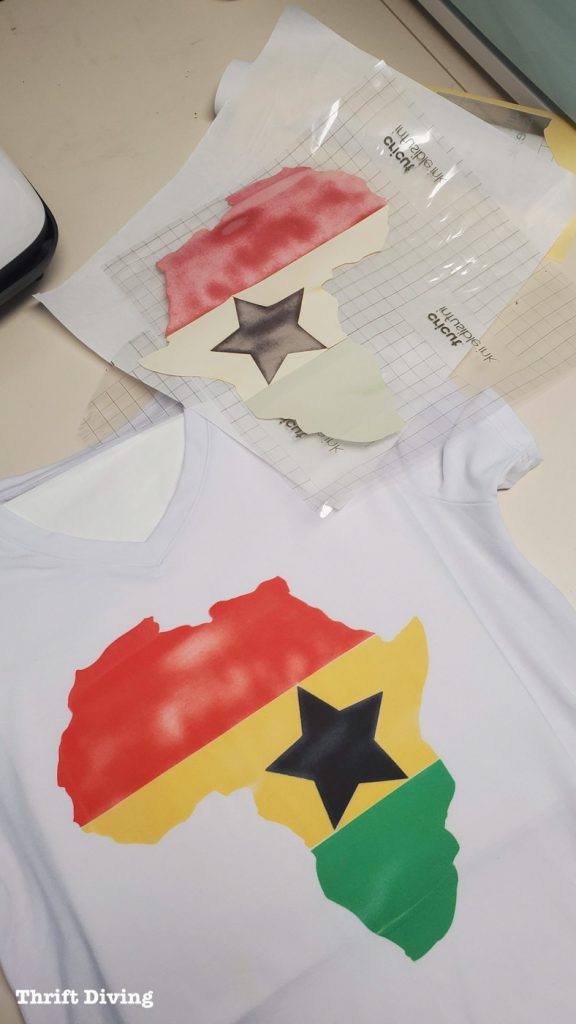
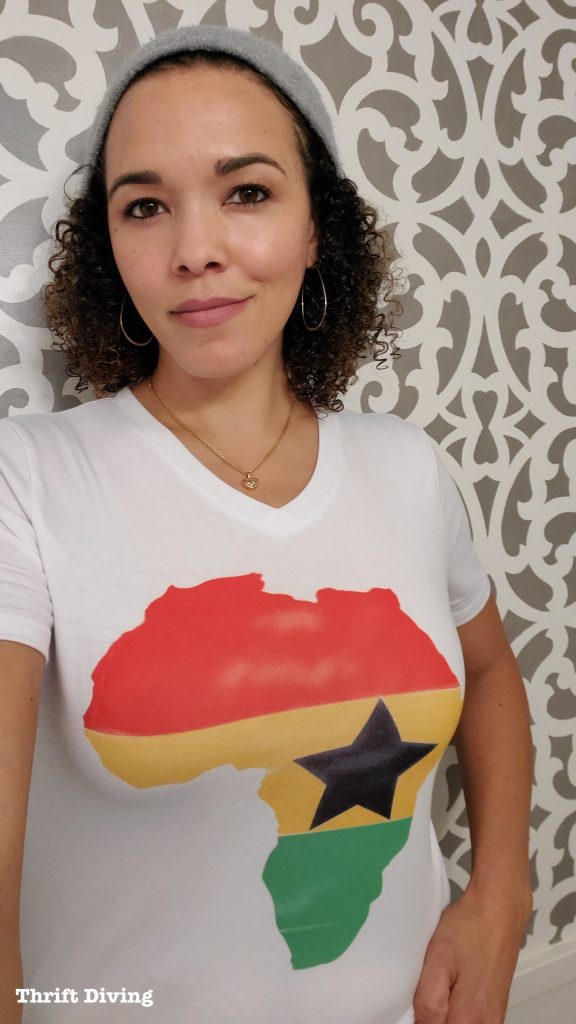
When I showed my husband, he had a great word for it: vintage. He was right! I think it actually was a “goof” that added a bit of character to the shirt!
I’m really excited to see what else I can create using the Cricut Explore Air 2 and infusible inks! For now, I’m enjoying my “vintage” Ghana, Africa shirt. 🙂
Have you ever tried the Cricut Explore Air 2? If not, definitely add this to your “Must Have” list! Try the infusible ink sheets, too. They’re a lot of fun, have vibrant colors, and take “custom tees” to a whole new level. 🙂

Download the 5 freebies!

Thrift Diving inspires women to decorate, improve, and maintain their home themselves...using paint, power tools, and thrift stores! Use these 5 printables, checklists, and ebooks to get started!