How to Install Interior Window Trim (Tutorial + Video)
This interior window trim tutorial is sponsored by Arrow Fastener.
I don’t know who told me that finishing off the interior of my very own “she shed” would be a quick process. But I do believe they were lying to me.
Projects I was sure was going to take 2 weeks took literally 2 months.
I felt myself growing weary (ummm….”she shed” burnout, perhaps??), growing impatient, and just wanting to “move in” and get my workshop and office space pretty, coordinated, and organized.
But this interior window trim project lit my soul on fire again over the weekend.
Not only did it take 2 days so I could enjoy the “quick win” (I couldn’t stomach another “2 months” long DIY project!), but it felt great whipping out the Arrow Fastener brad nailer, along with my jigsaw, and creating what felt like a very seamless project! (Minus the $20 window trim board I accidentally destroyed with inaccurate measurements–oops!).
Look how amazing these windows look and the progress I have been making in my “she shed”!
BEFORE
IN PROGRESS!
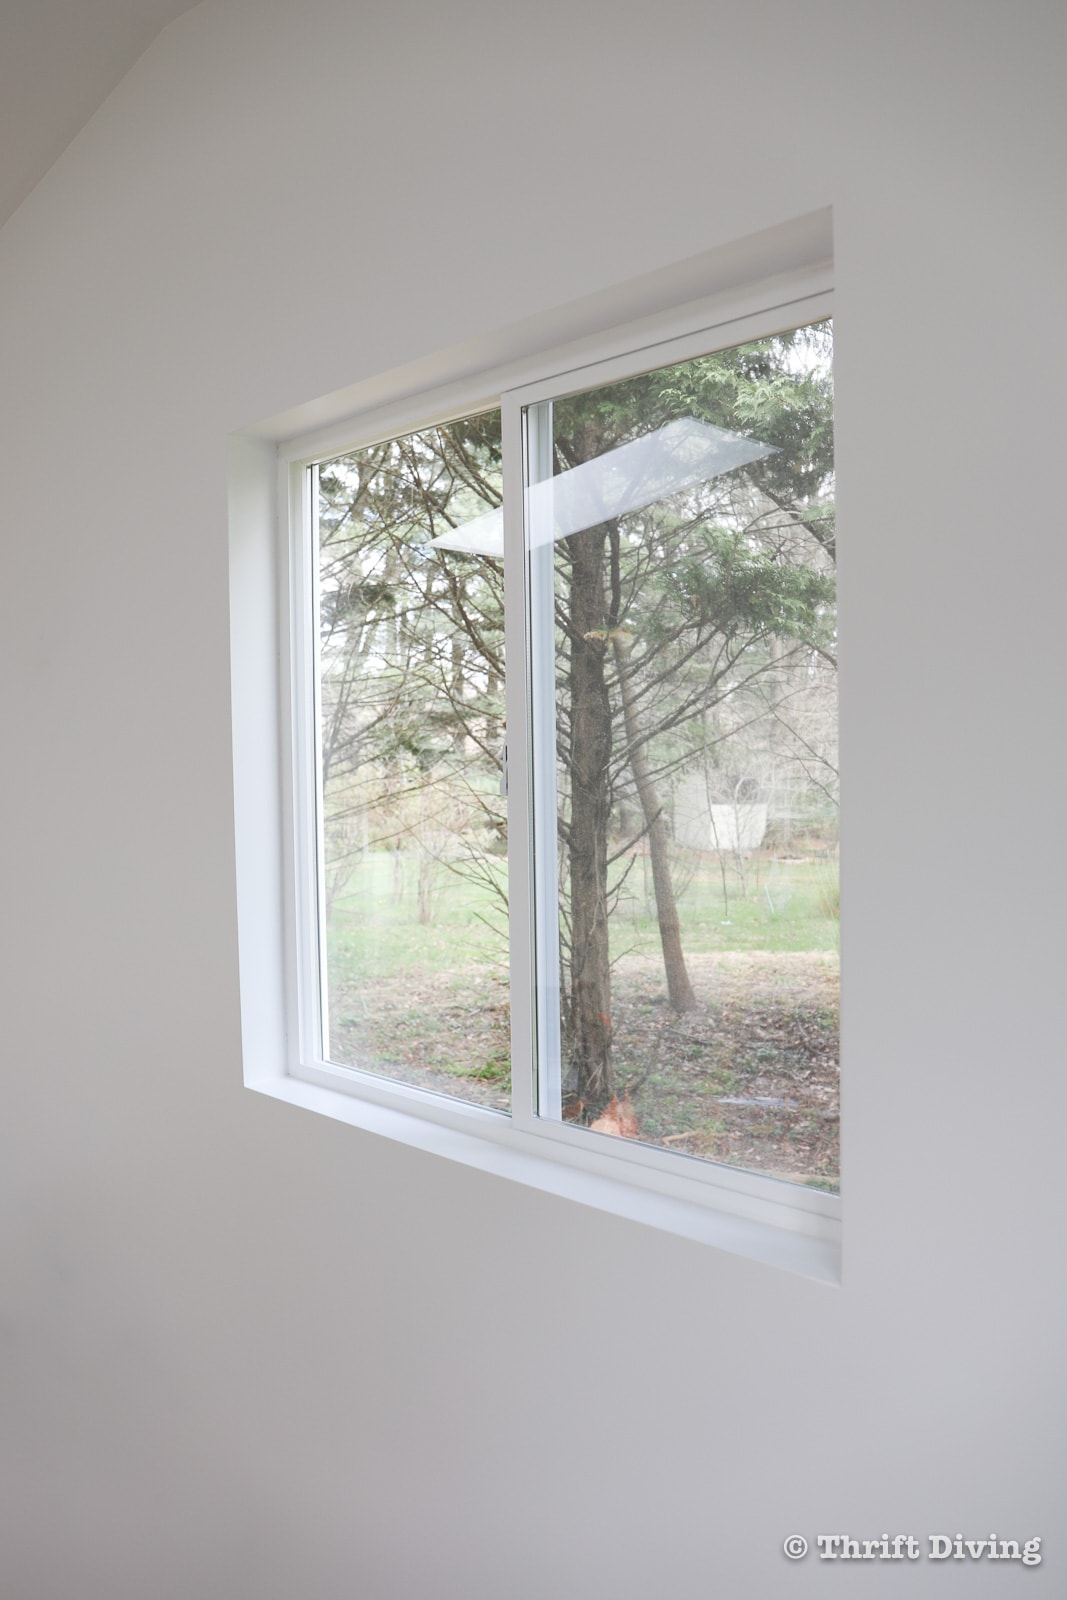
Window with No Window Trim – BEFORE
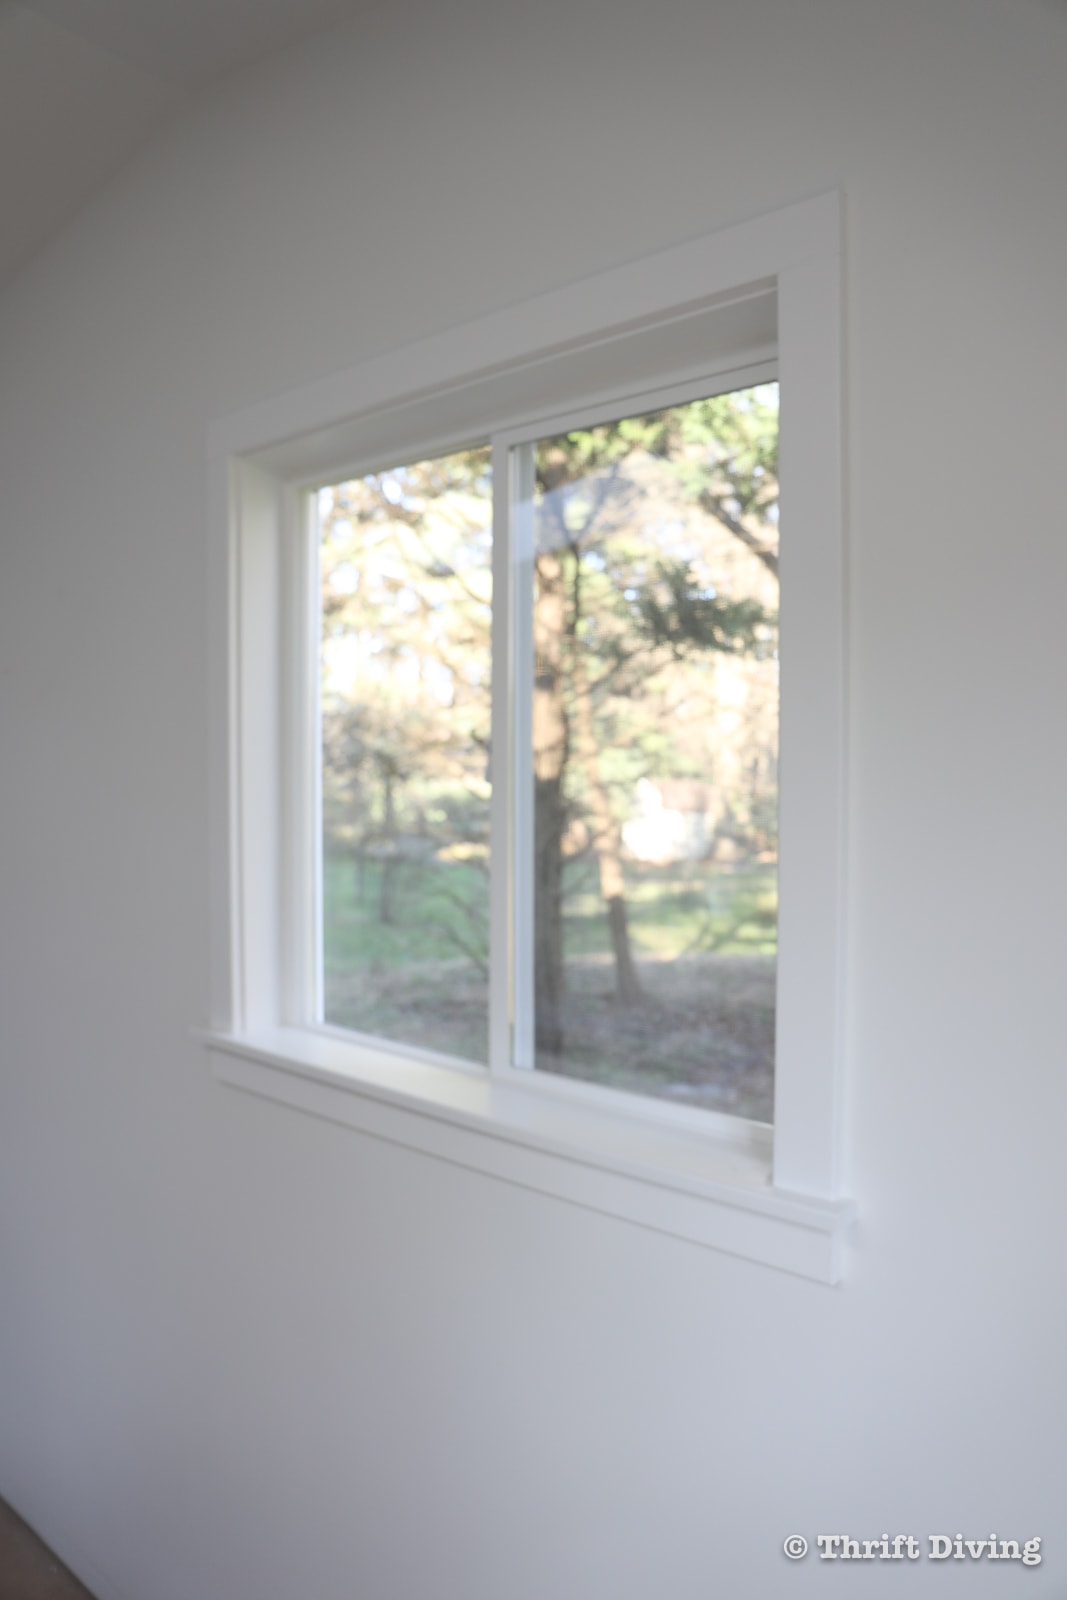
Pretty Window With Window Trim! – AFTER!
Let’s jump into how I actually installed window trim to turn these bare windows into modern, finished windows!
Tools and Materials for Interior Window Trim
For this project, there are the tools and materials you’ll need to get this project done:
- Window trim
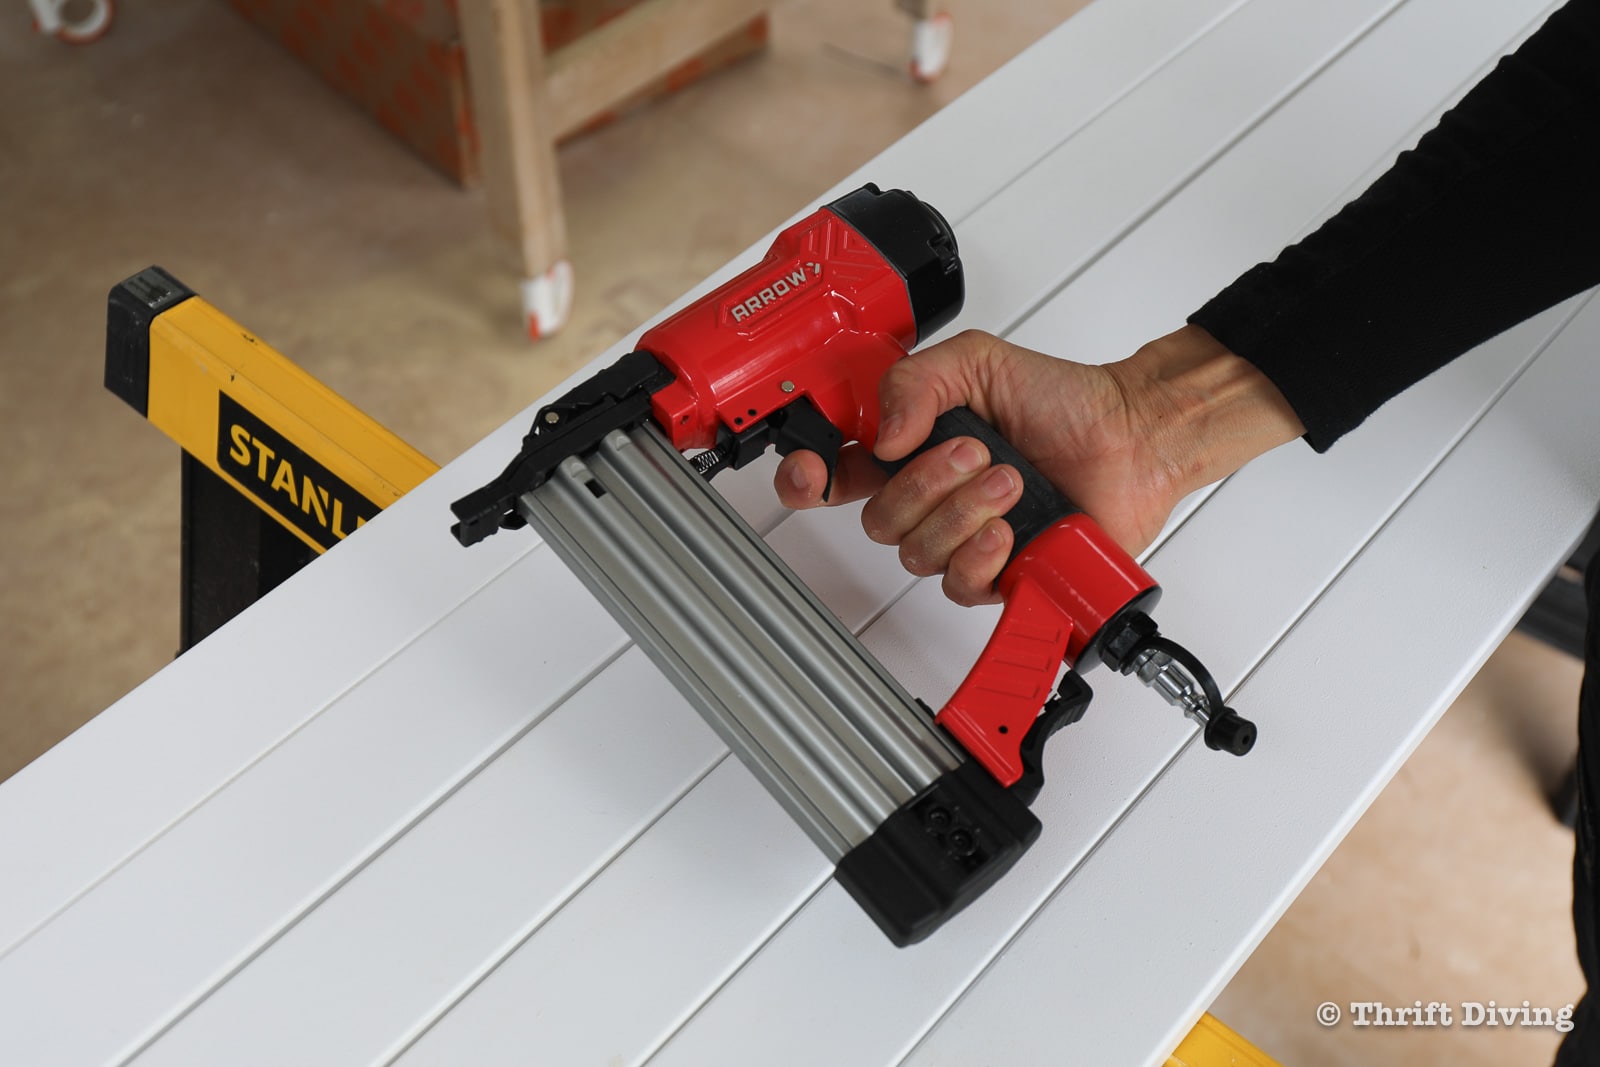
- Arrow Fastener pneumatic brad nail
- Arrow Fastener 18 gauge 2″ brad nails
- Air compressor (I love California Tools quiet air compressor)
- Jigsaw or other cutting tool
- Speed square (optional)
- Semi-gloss paint (I prefer bright white for interior window trim, but you can use any color you’d like).
- 4″ roller
- Roller tray
- Paint brush
- Tape measure
- Fine 220 – grit sandpaper
- Wood filler
- Trim/molding interior caulking
- Nail set (optional)
- Small level
- Construction adhesive
- Nail set
- Hammer
- Painter’s tape
- Dust make
- Safety glasses
Watch This Project in Action!
For those who love to watch and learn, here’s the YouTube video of this project. Enjoy!
How to Easily Install Interior Window Trim Yourself
Okay, let’s jump into how to make your windows look finished with trim!
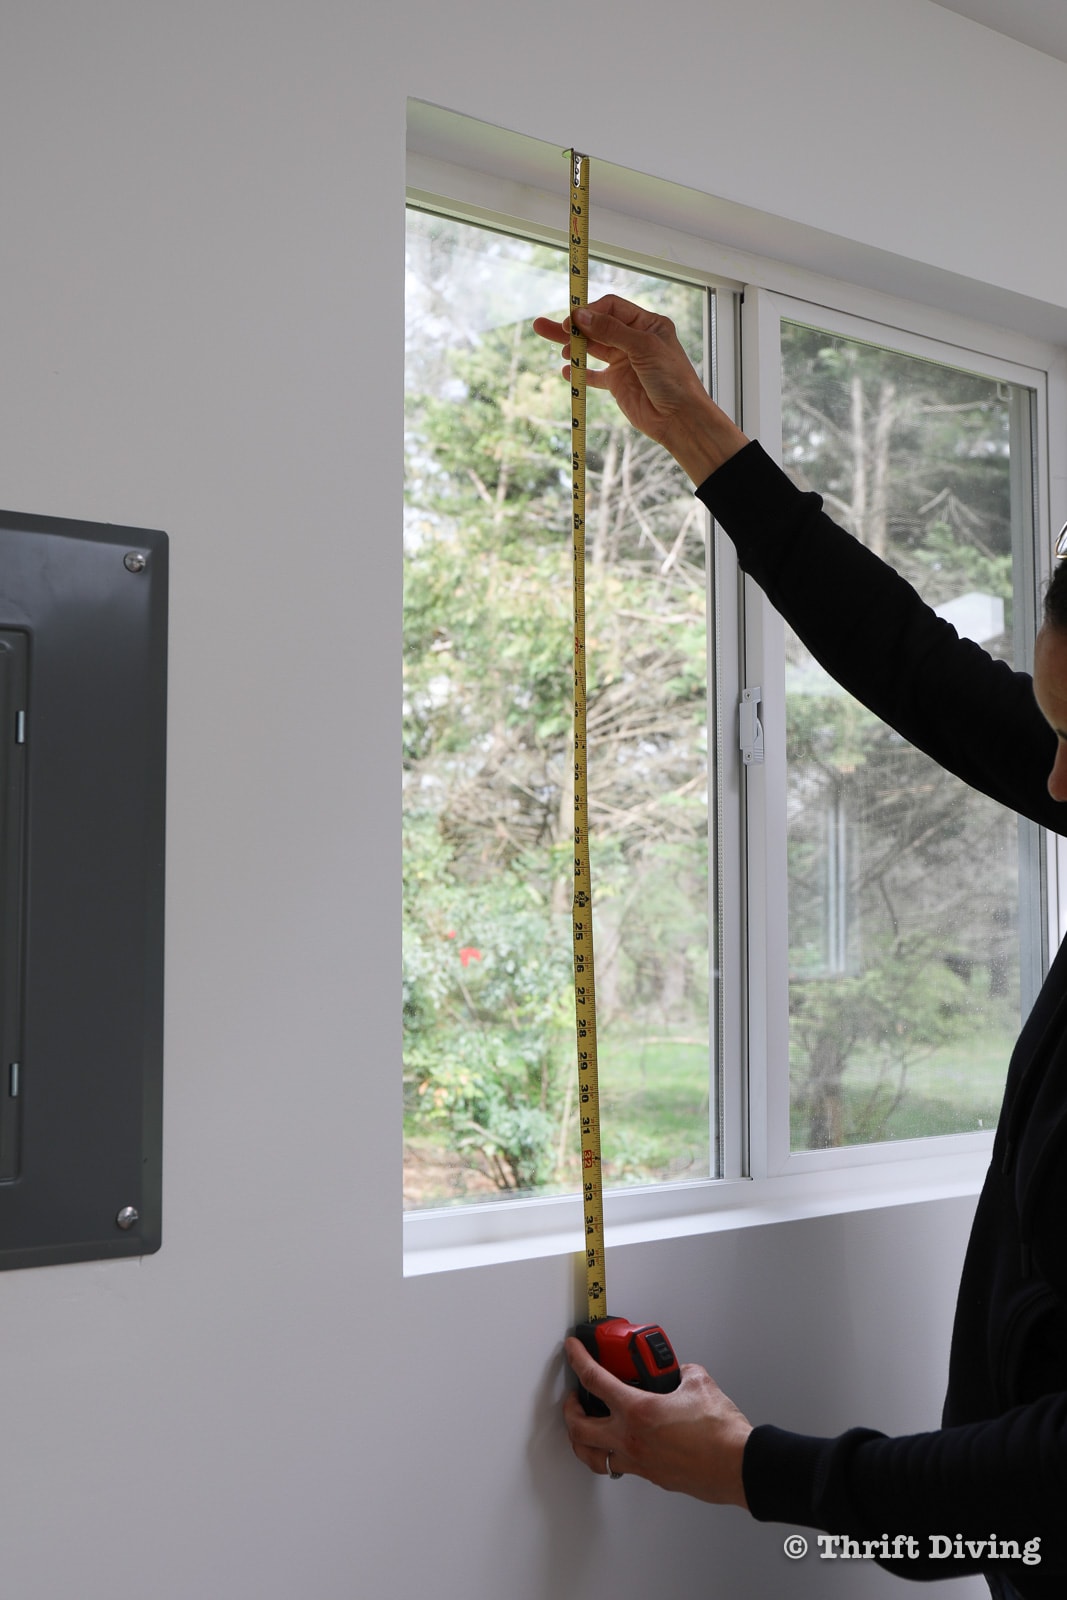
STEP 1: Take Measurements
For this step, I took a rough estimate of the width and height of my window so I could figure out how many feet of trim I would need. For this step, precision isn’t that important. You just need an estimate so that you buy what you need. Oh–and always remember to buy extra. I guarantee you’ll need it! 😉
For this project, based on my measurements of about 36″ x 36″ x 3″, and needing several pieces to go around each window, I needed about 100 ft of trim.
STEP 2: Pick Your Trim: What’s the Best Window Trim?
The home improvement stores will drive you crazy with the amount of decorative trim and molding they’ve got available! And they don’t tell you much about which window trim to use or not. Here are my general rules of thumb as I know them to be true:
- Primed wood works in all conditions and is universally accepted as a great window trim for most rooms and most homes. But it can be expensive at about $2.50/ft.
- MDF that has been pre-primed is a great choice for rooms that ARE NOT wet. Don’t use primed MDF window trim in kitchens, bathrooms, basements, or any place else where water could touch it. It will swell up and it’s not pretty. 😉
- PVC trim is an excellent choice for wet locations in the home. Personally, I much prefer it because it’s waterproof. I exclusively buy PVC trim when I’m installing baseboards in my home. If there are any spills or floods, your drywall will be ruined and can grow mold potentially, but your baseboards will be perfectly fine and won’t need to be replaced and won’t warp.
- You can get fancy with trim and go traditional with lots of detail, or you can do a more modern trim that has very little detail (and might be flat). This is the style I picked for my “she shed.”
TIP: Keep in mind when buying window trim at the home improvement store, you can cut only the amount you need at the cutting stations located in the aisle. However, you’d better know what size you can fit into your vehicle. 😉 I know that I can fit a max of 10-feet of trim in my minivan, with the center console removed. However, if you can cut it shorter based on how much you need, you’ll save yourself the extra headache. This is where good planning comes in handy.
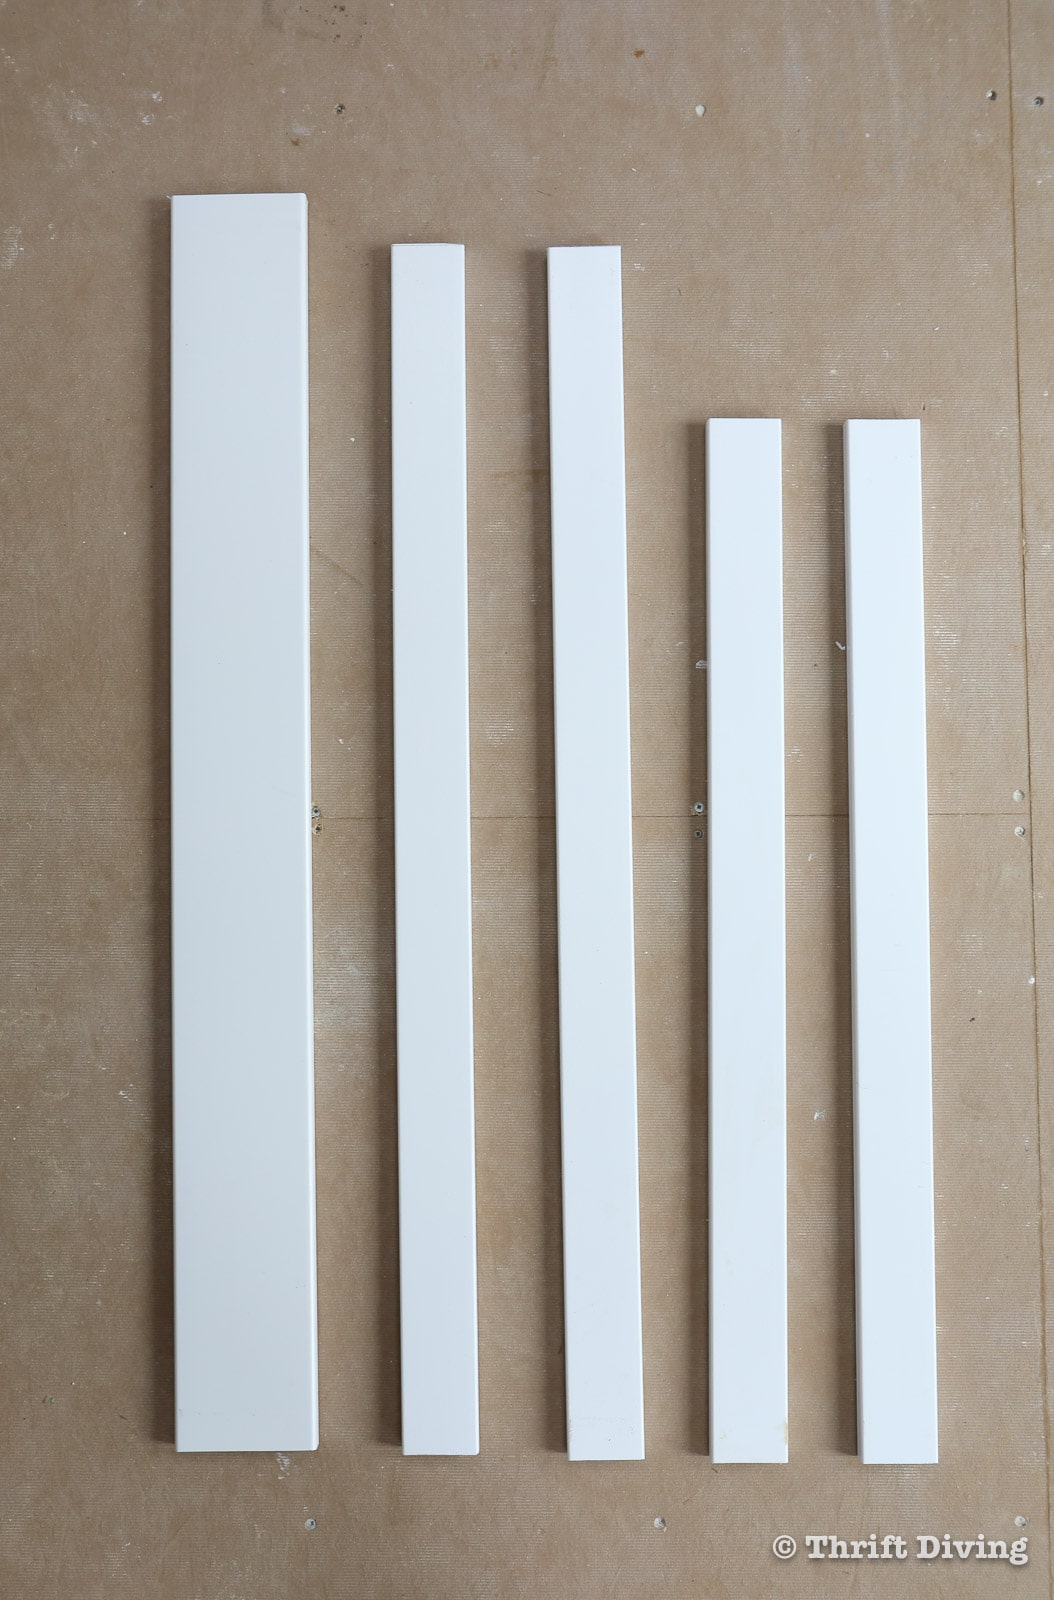
FYI, I knew that I would need the following pieces, so I used my measurements to figure out approximately the length of each piece so that I bought the right amount of trim, plus an extra 10% for mistakes.
- 1 window ledge (stoop)
- 1 header above the window
- 1 apron below the window ledge/stoop
- 2 casings for each side of the window.
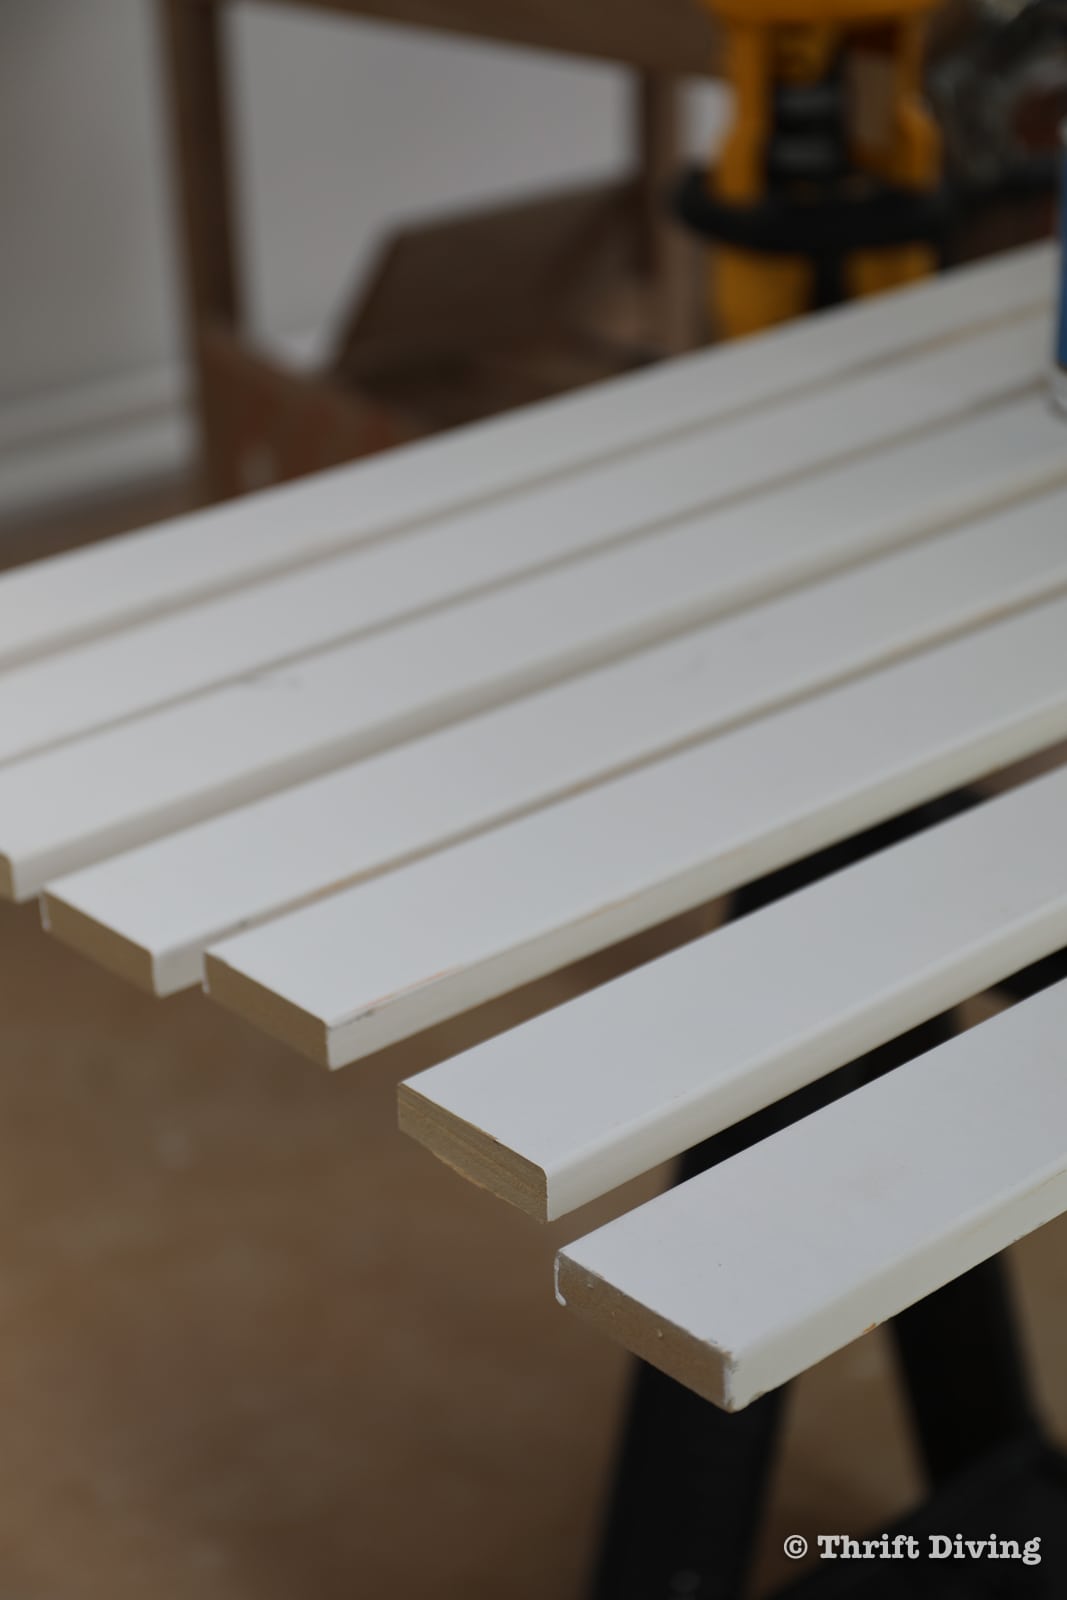
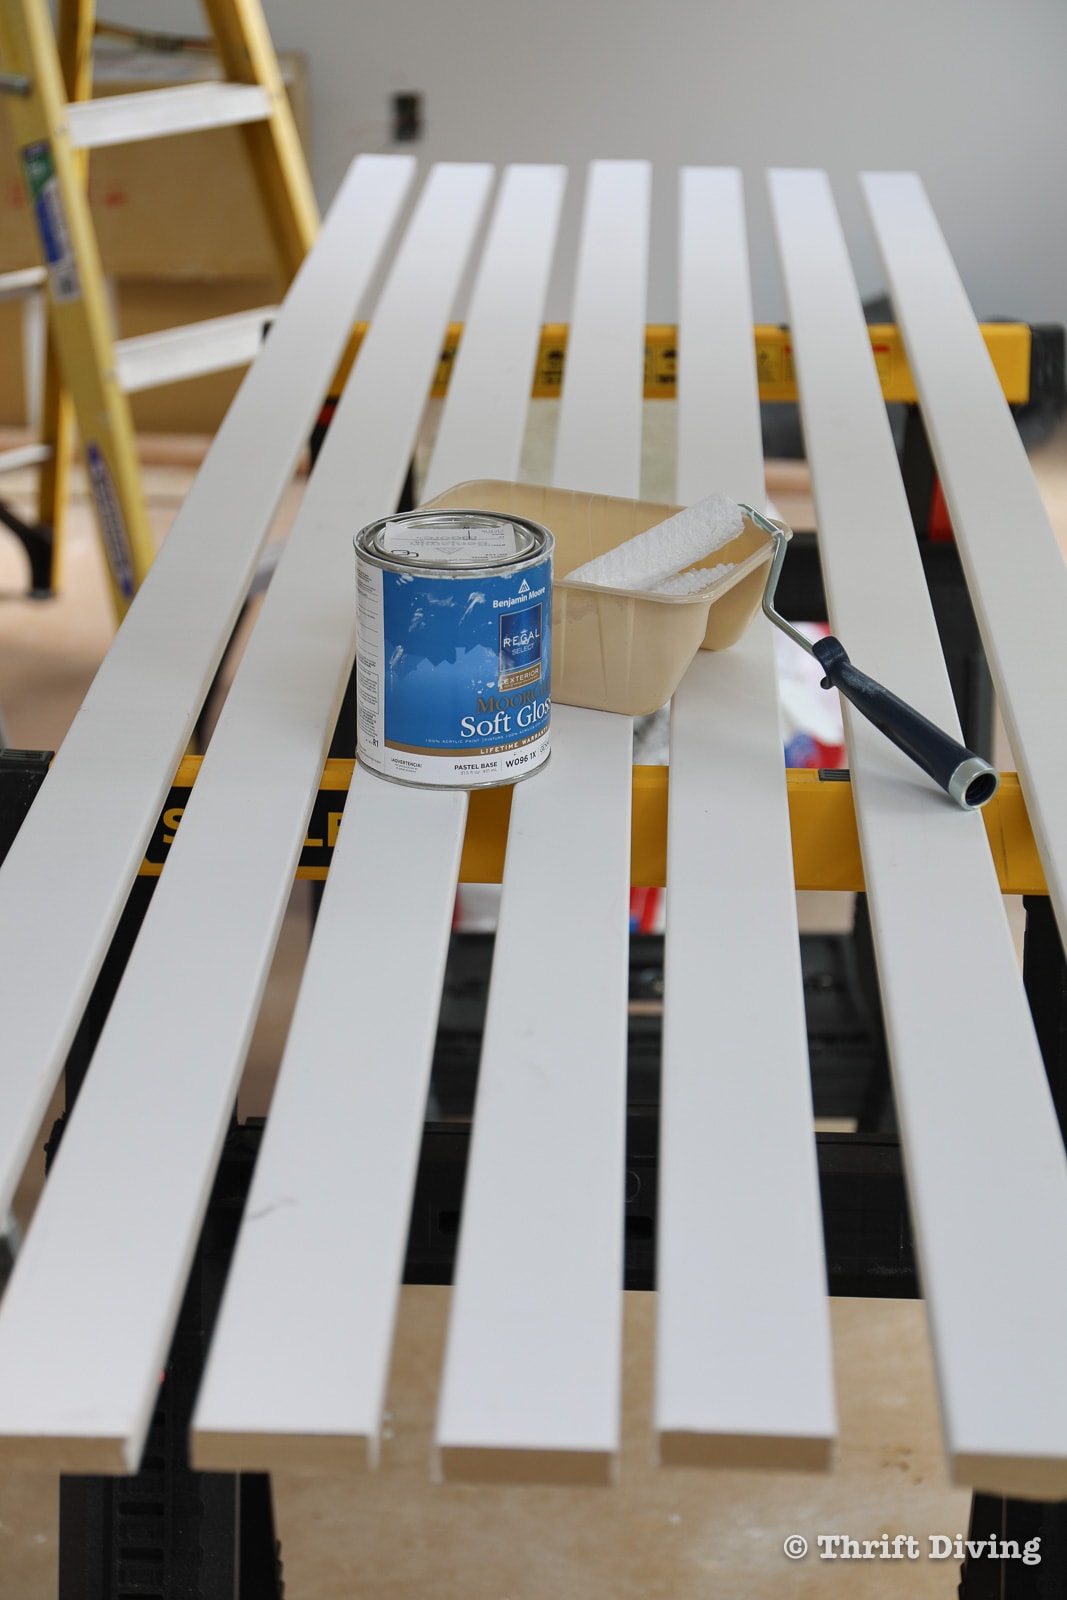
STEP 3: Paint Two Coats of Semi-Gloss Paint
When you install window trim, the trim you buy will most likely already be primed. Some of them may already be painted, too. Makes your job easier! But it will increase the price if it’s pre-finished.
In my case, the window trim was primed, so I needed to add paint. The best paint to use for window trim (and baseboards, too) is semi-gloss. These areas tend to be touched often (ummm…..ya got kids??), along with being banged into. Semi-gloss paint, which is shiny and tough, can take a beating much more easily than a satin finish paint.
I love bright white semi-gloss paint, but you don’t have to go white. Be creative, if you choose. For me, I’m a plain ‘ole vanilla trim girl. 🙂
As for painting it beforehand if necessary, it’s easier to paint trim when it’s on a sawhorse than it is when it’s on the wall. Ask me how I know…. 😉
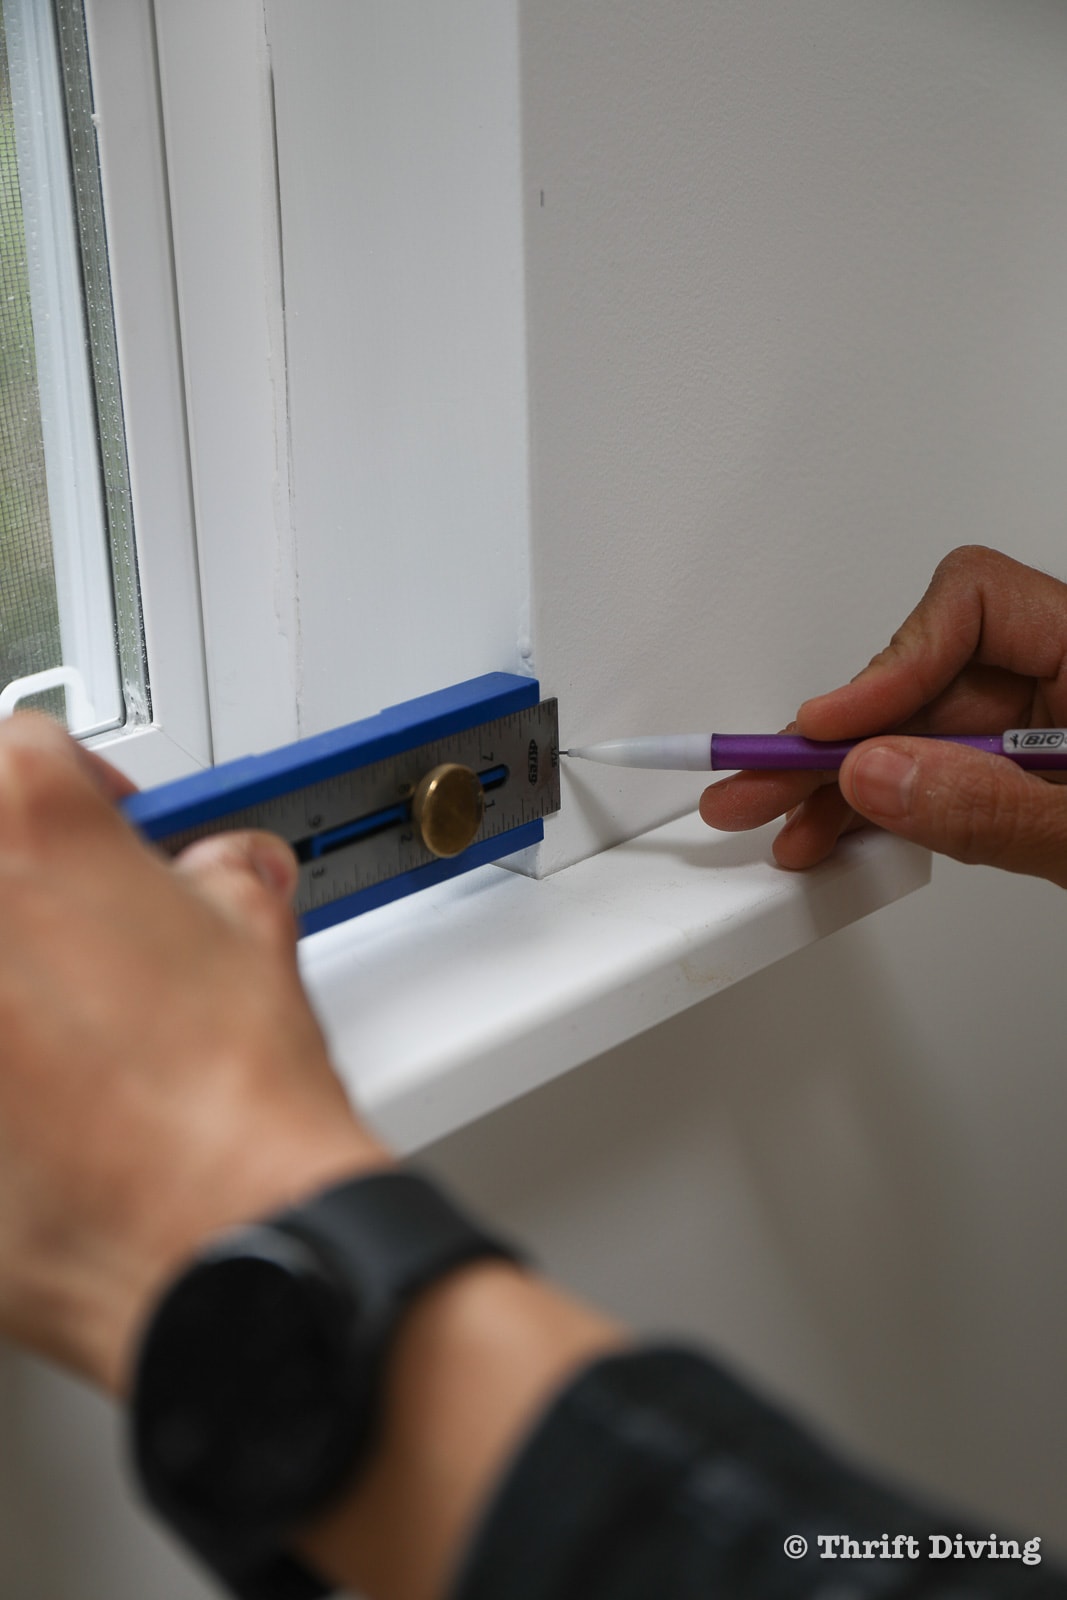
STEP 4: Take Precise Measurements and Make Markings
Now that the trim has been painted and is dry, it’s time to make your cuts. But each window has to be precisely measured first. And don’t assume that each window will be exactly the same. I’ve made this mistake before and have cut all my pieces at once, only to find out–uh oh!–I’m off by 1/2″…..1/4″ there….
So it’s best to measure window by window and measure and cut as you go.
You’ll want to measure the following places:
- The inside dimension width.
- The inside dimension height.
- The inside dimension depth.
- How wide you want the window ledge to extend to the sides.
- How wide you want the window ledge to extend to the front.
- The height of each window casing will need to be from the window ledge.
You’ll also want to make 1/4″ measurements around the window. This is where the side casing pieces and the top header will be aligned so that the window trim will be 1/4″ offset.
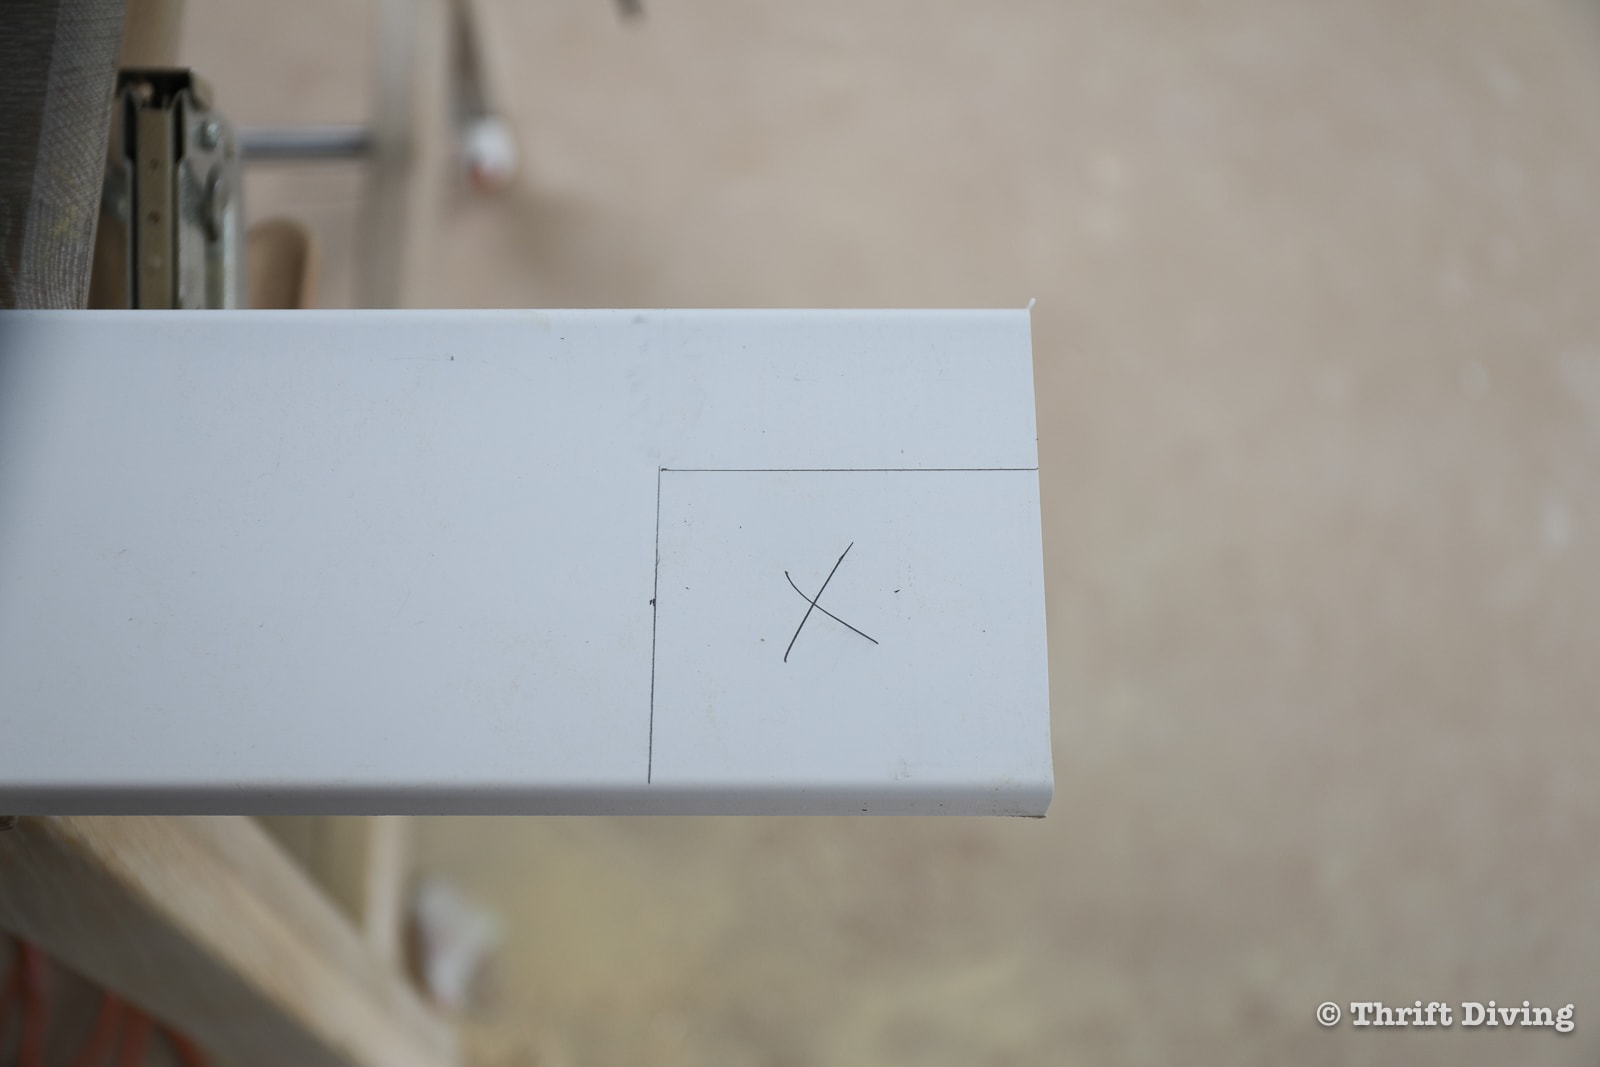
STEP 5: Cut and Install the Window Stool (Window Ledge)
First, we’re going to cut the window stool (which I’m calling the “window ledge.”). With your measurements, you’ll be able to cut out the excess, which I’ve marked with an X.
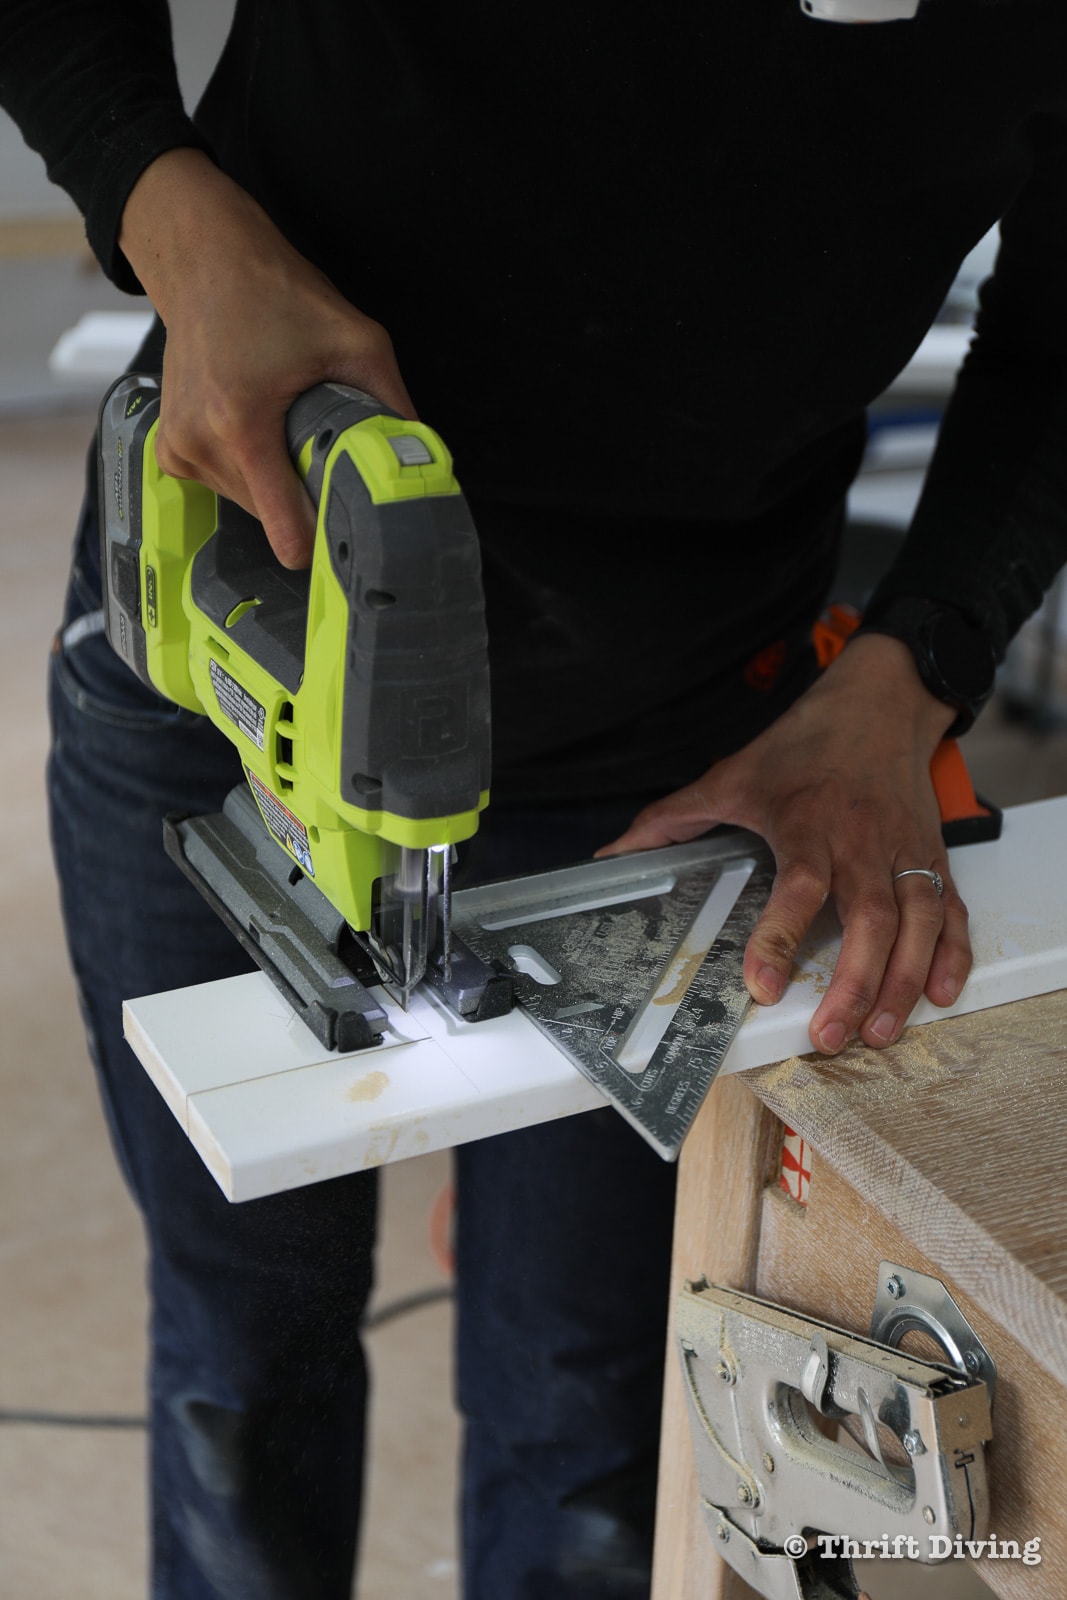
Use a jigsaw to cut this excess away. If you need help with learning to use a jigsaw, use this tutorial on How to Use a Jigsaw: The Easier Tutorial EVER For Newbies!
TIP: When you’ve never installed window trim before, it’s easy to make a mistake with your first cut. I did that very thing. 🙂 Use some scrap paper and draft out a template with measurements first so that you can be sure you understand how to cut each piece. I like using “X’s” when laying out a project so that I know which is the waste material.
With the waste material cut out, the window ledge slides right into place at the bottom of the window. Make slight adjustments as needed with your jigsaw, but be careful not to cut off too much.
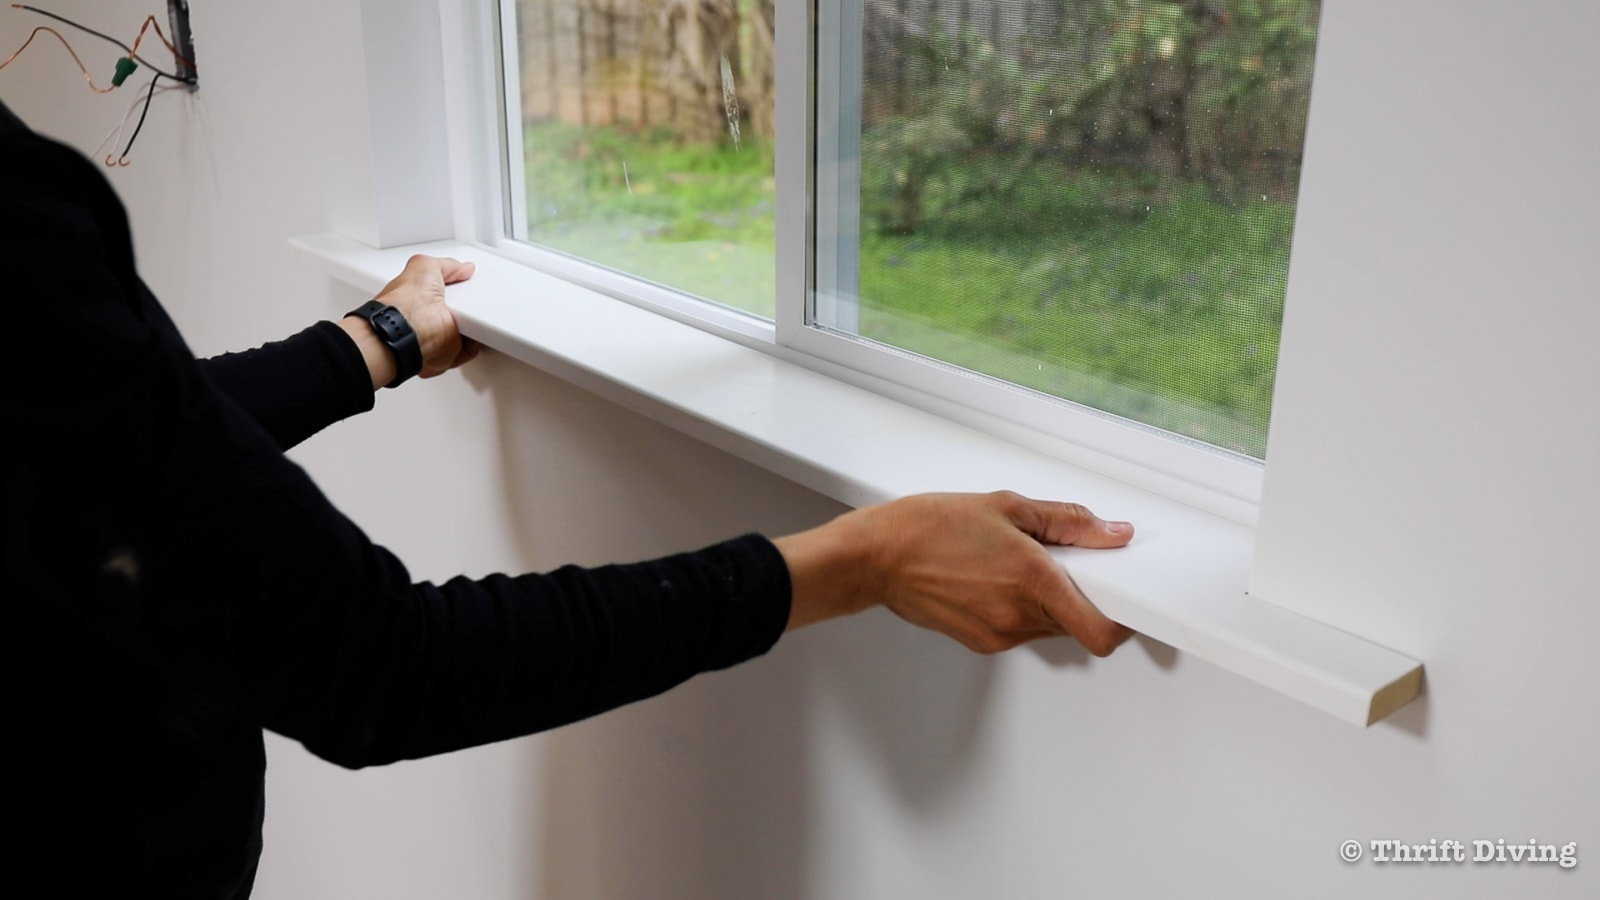
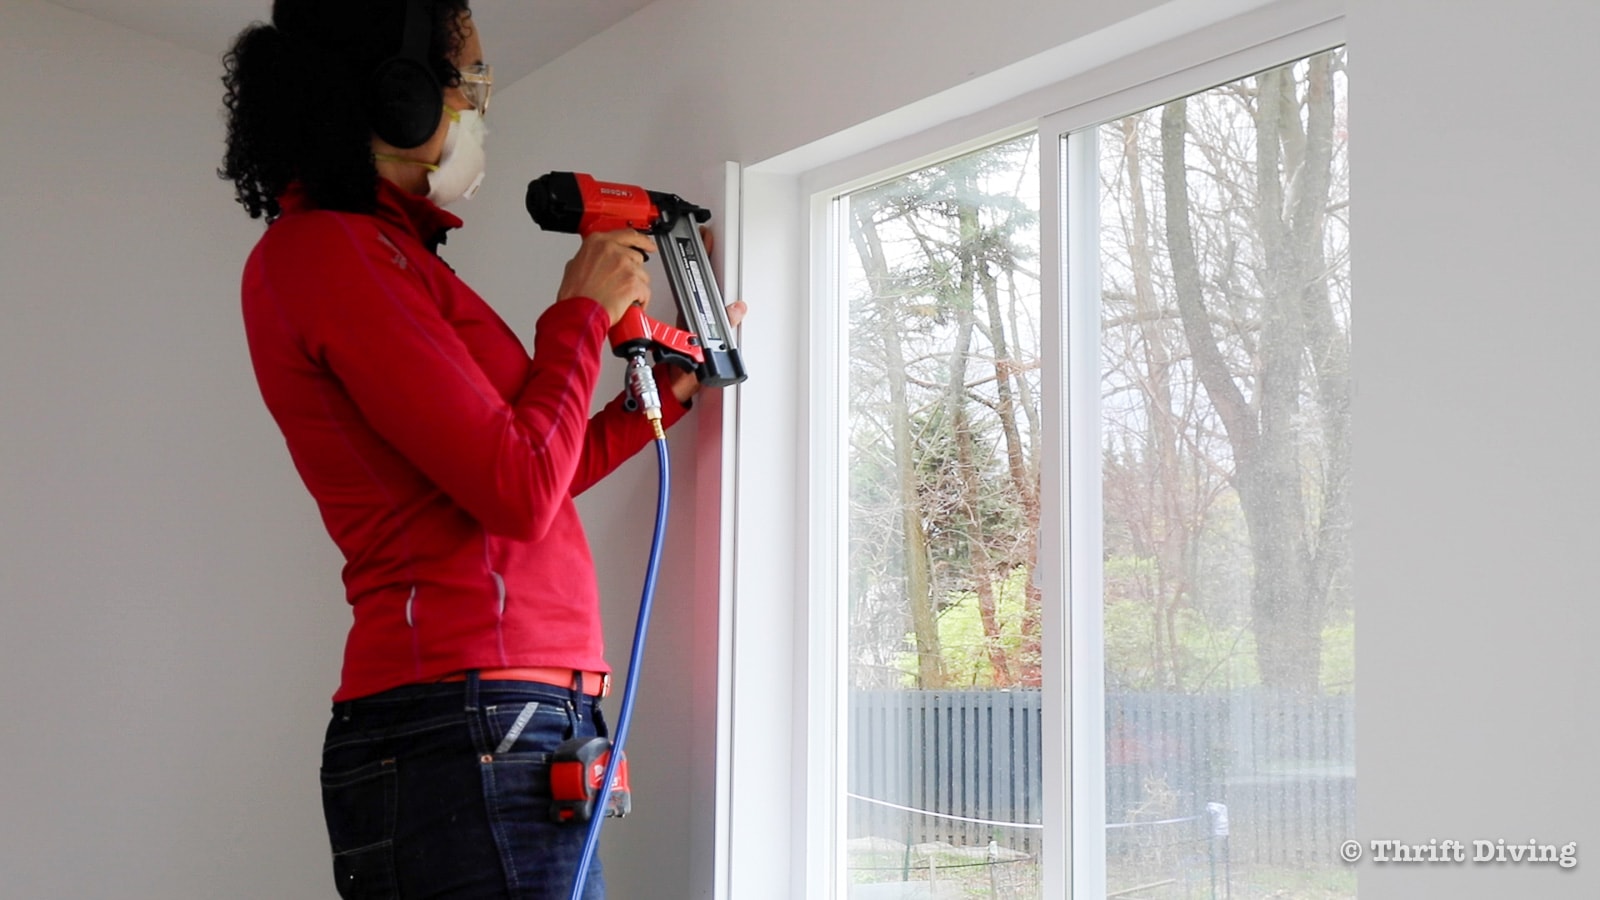
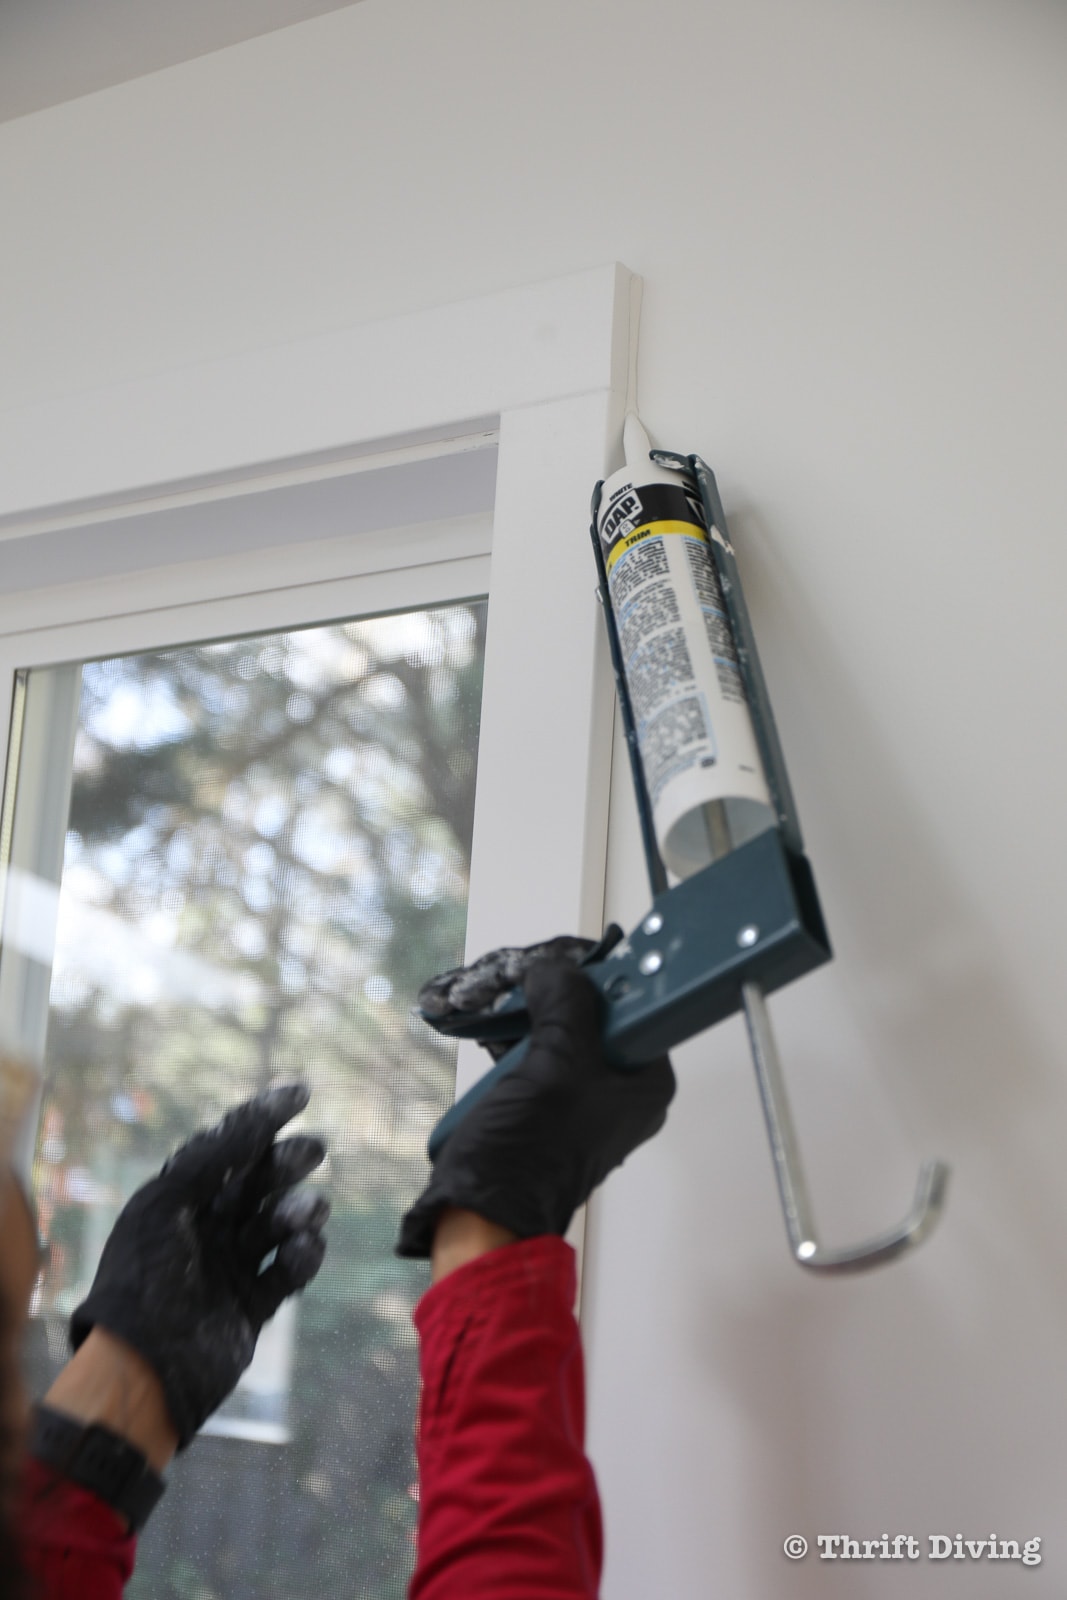
Use construction adhesive on the bottom of the window ledge first, and then using your Arrow Fastener pneumatic brad nailer, secure the window ledge at the edges and evenly spaced nails along the ledge.
STEP 6: Cut and Install the Casings (Side Pieces) for Each Window
Now that the window ledge is in place, take precise measurements for the left and right side window casings. Measure up from the window ledge to where the 1/4″ mark is above the window.
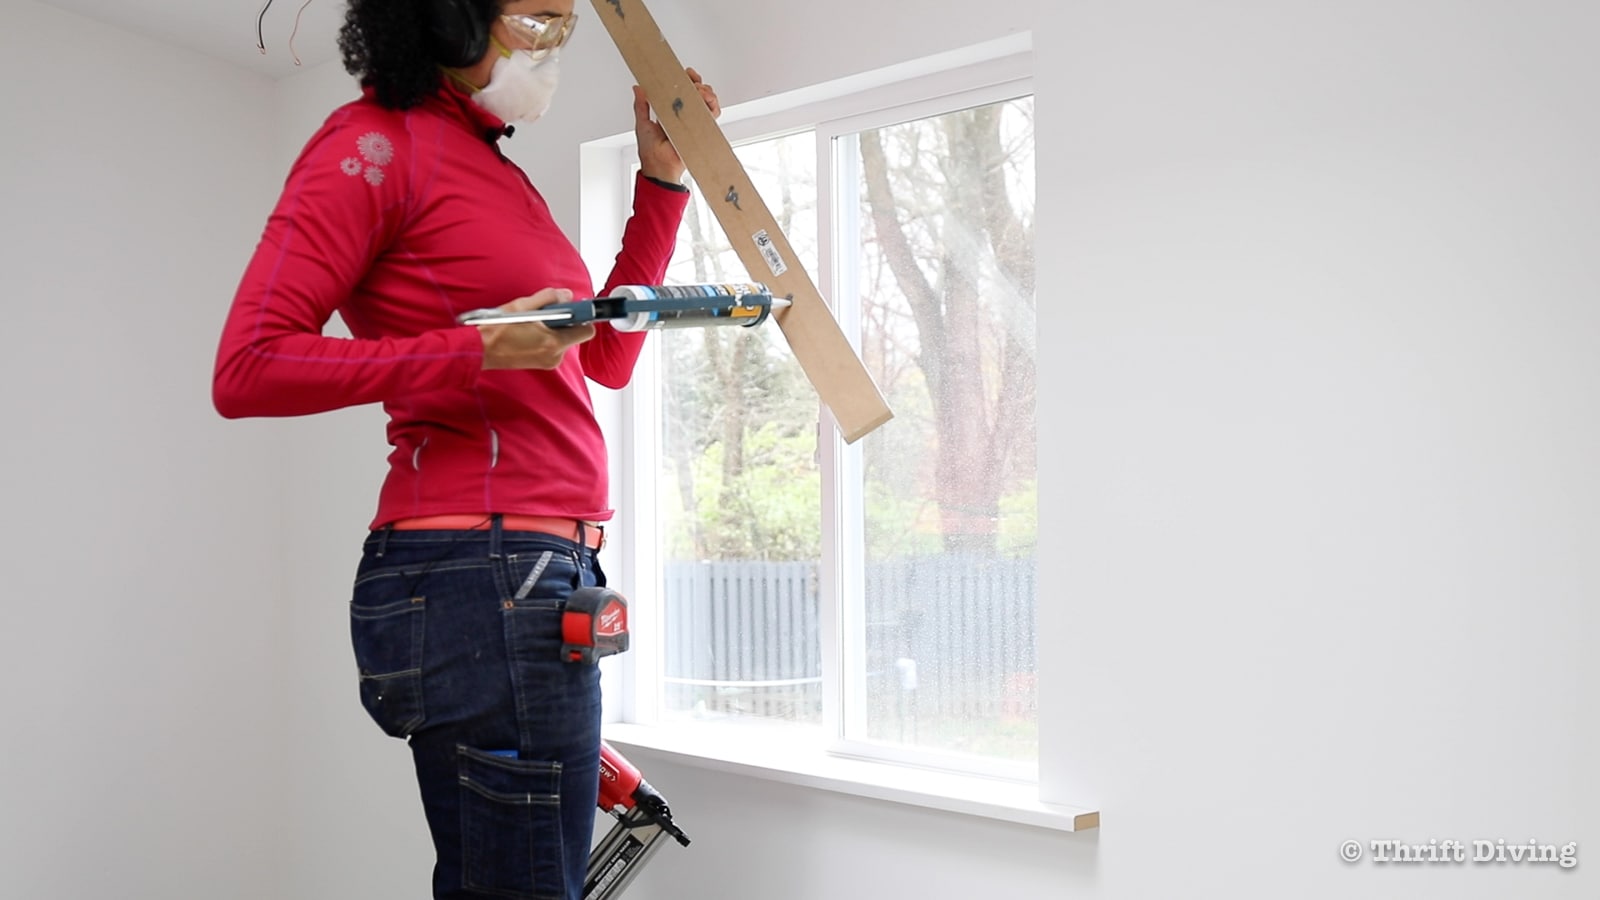
Use a jigsaw with a speed square to keep the jigsaw straight.

Use construction adhesive on the casings, as well, before securing.
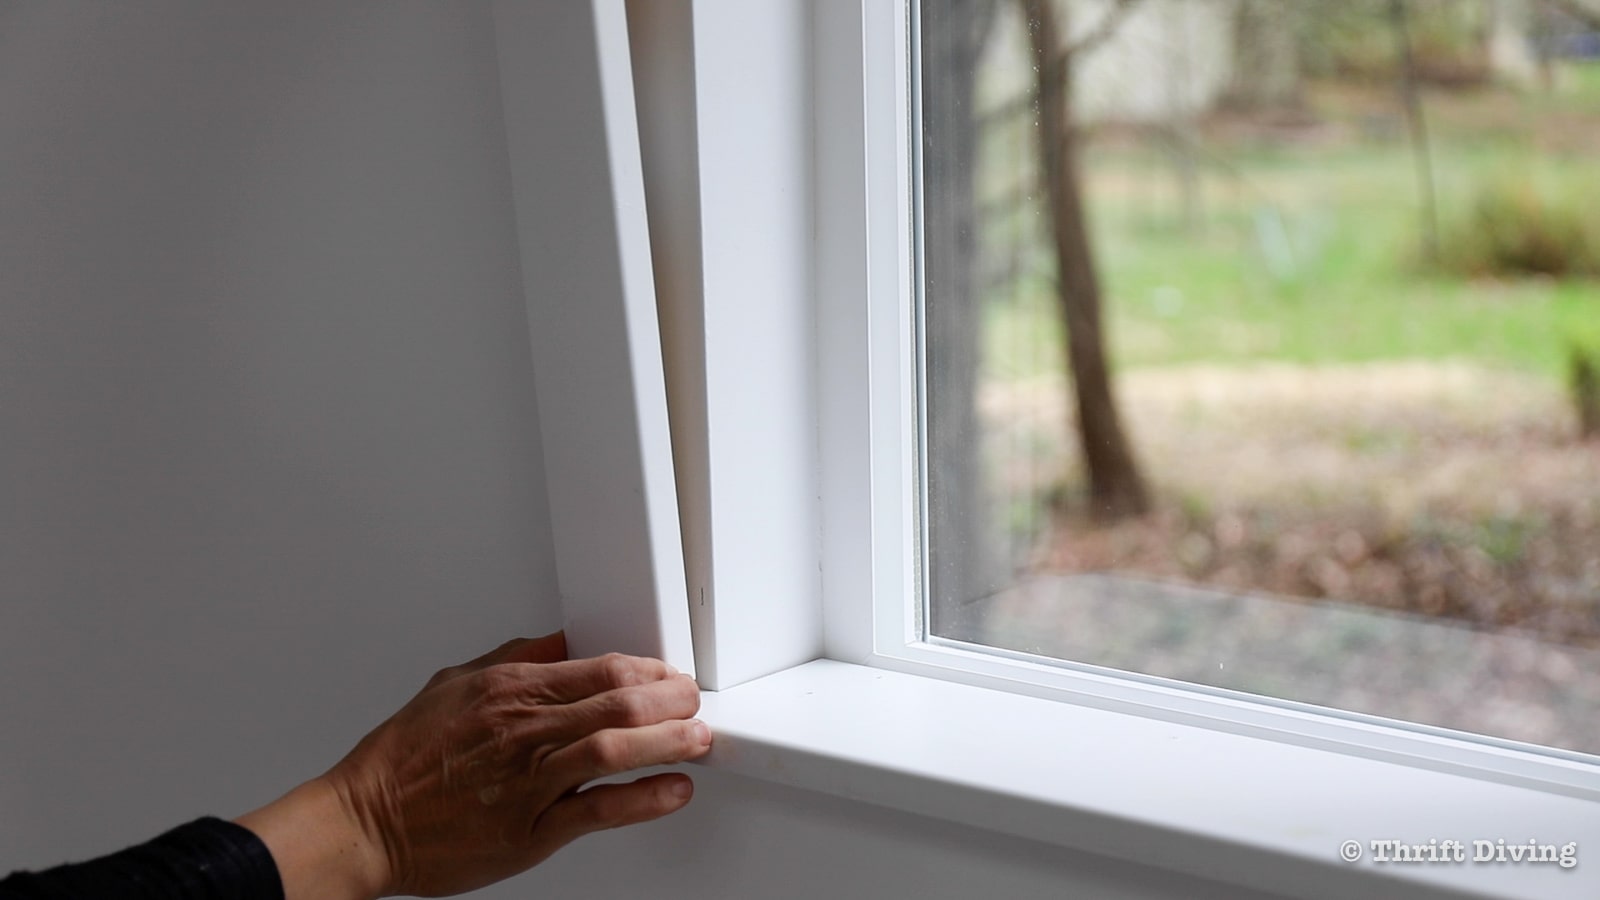
Line up the casings with the 1/4″ markings around the window.
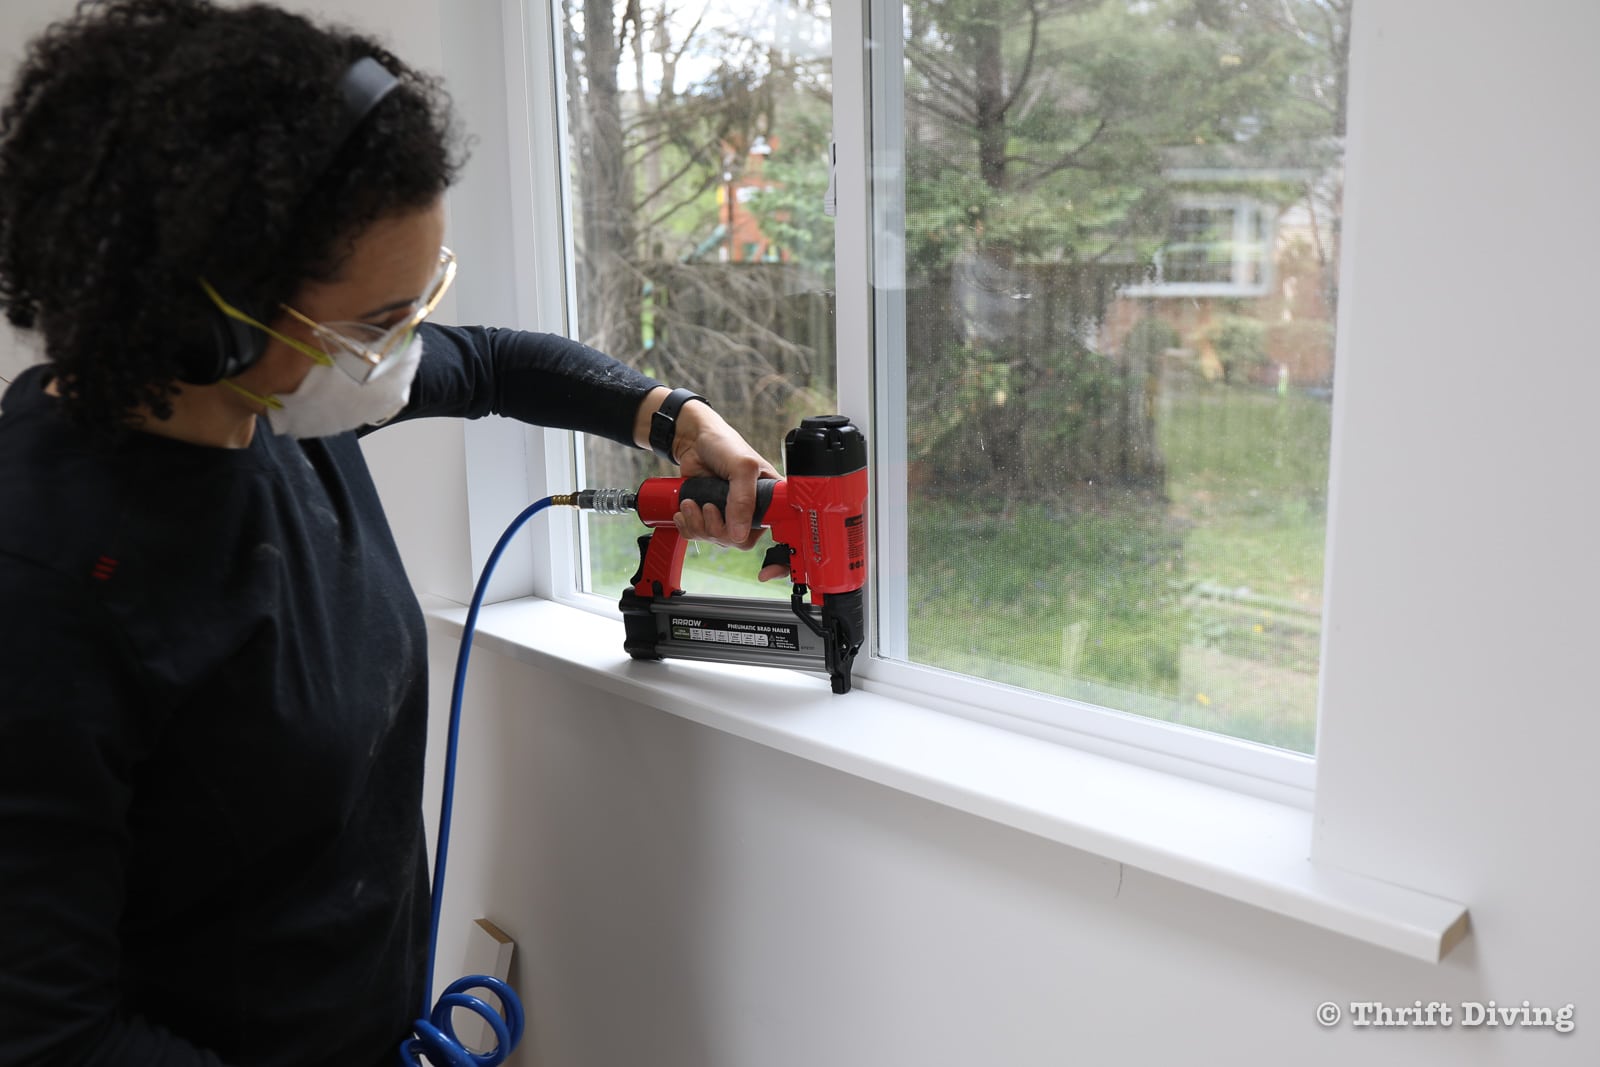
Secure in place with a few brad nails. Be sure to use safety glasses when using a brad nailer, by the way.
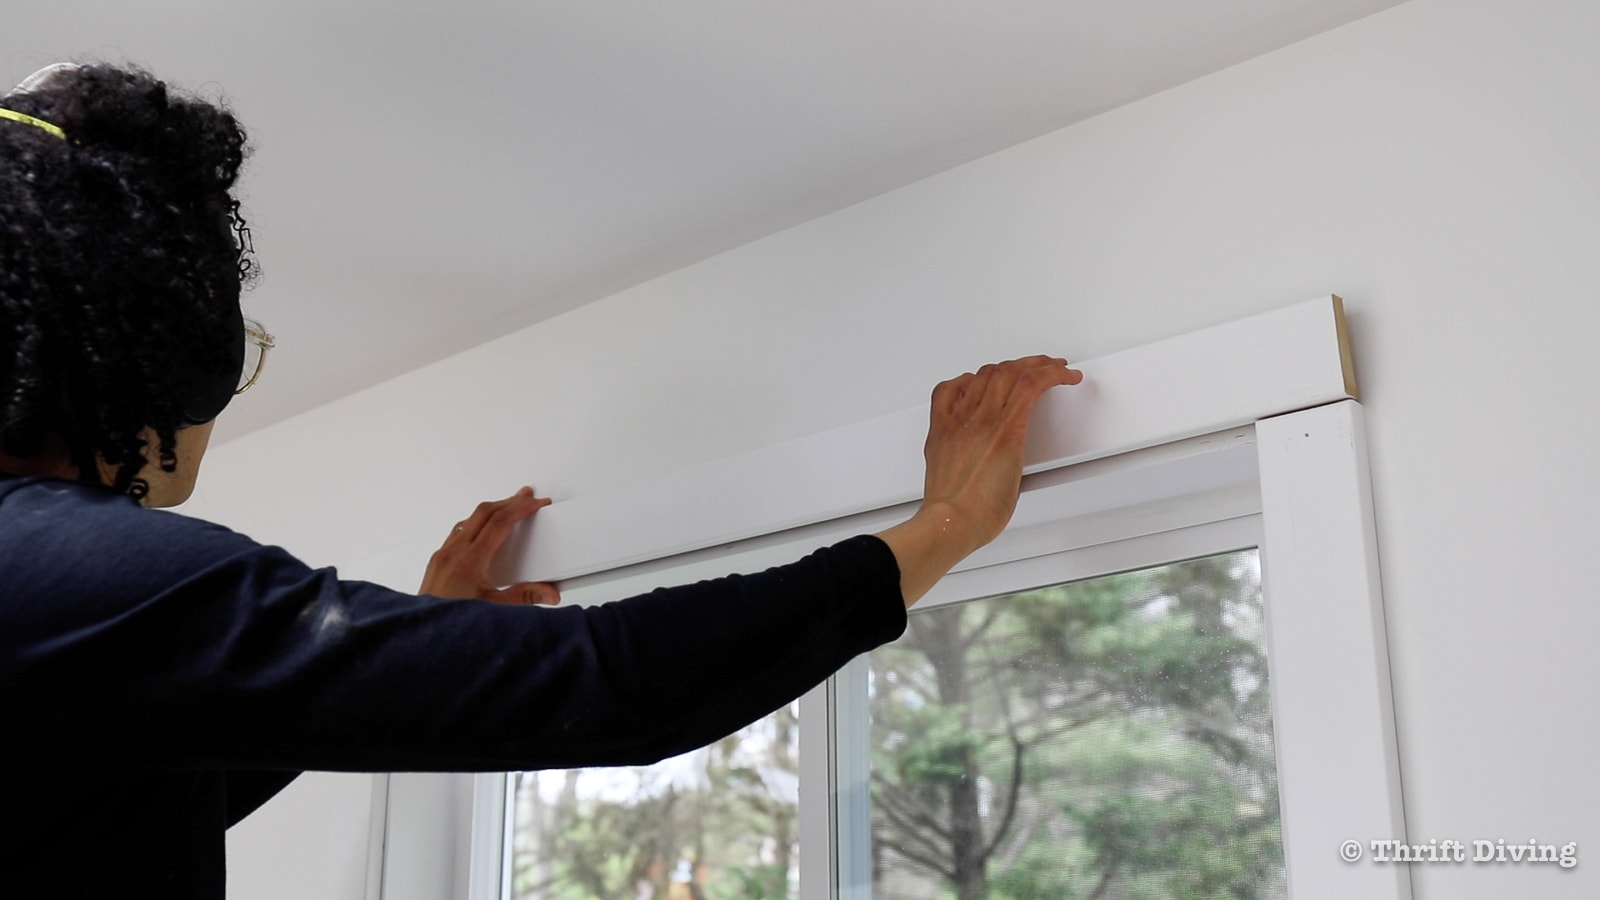
STEP 7: Cut and Install the Top Header for Each Window
I like to cut the header after the side casings have been installed because at that point, I can take the exact measurement of the width and cut my header exactly.
Use construction adhesive and brad nails, as well.
You might get some ugly gaps, especially if your measurements or cutting were a little off. Not a biggie. Caulk or wood filler are your friends in this case. I truly believe that no one’s projects are perfect–not even professionals who have been in business for 40 years! We all make mistakes. 🙂
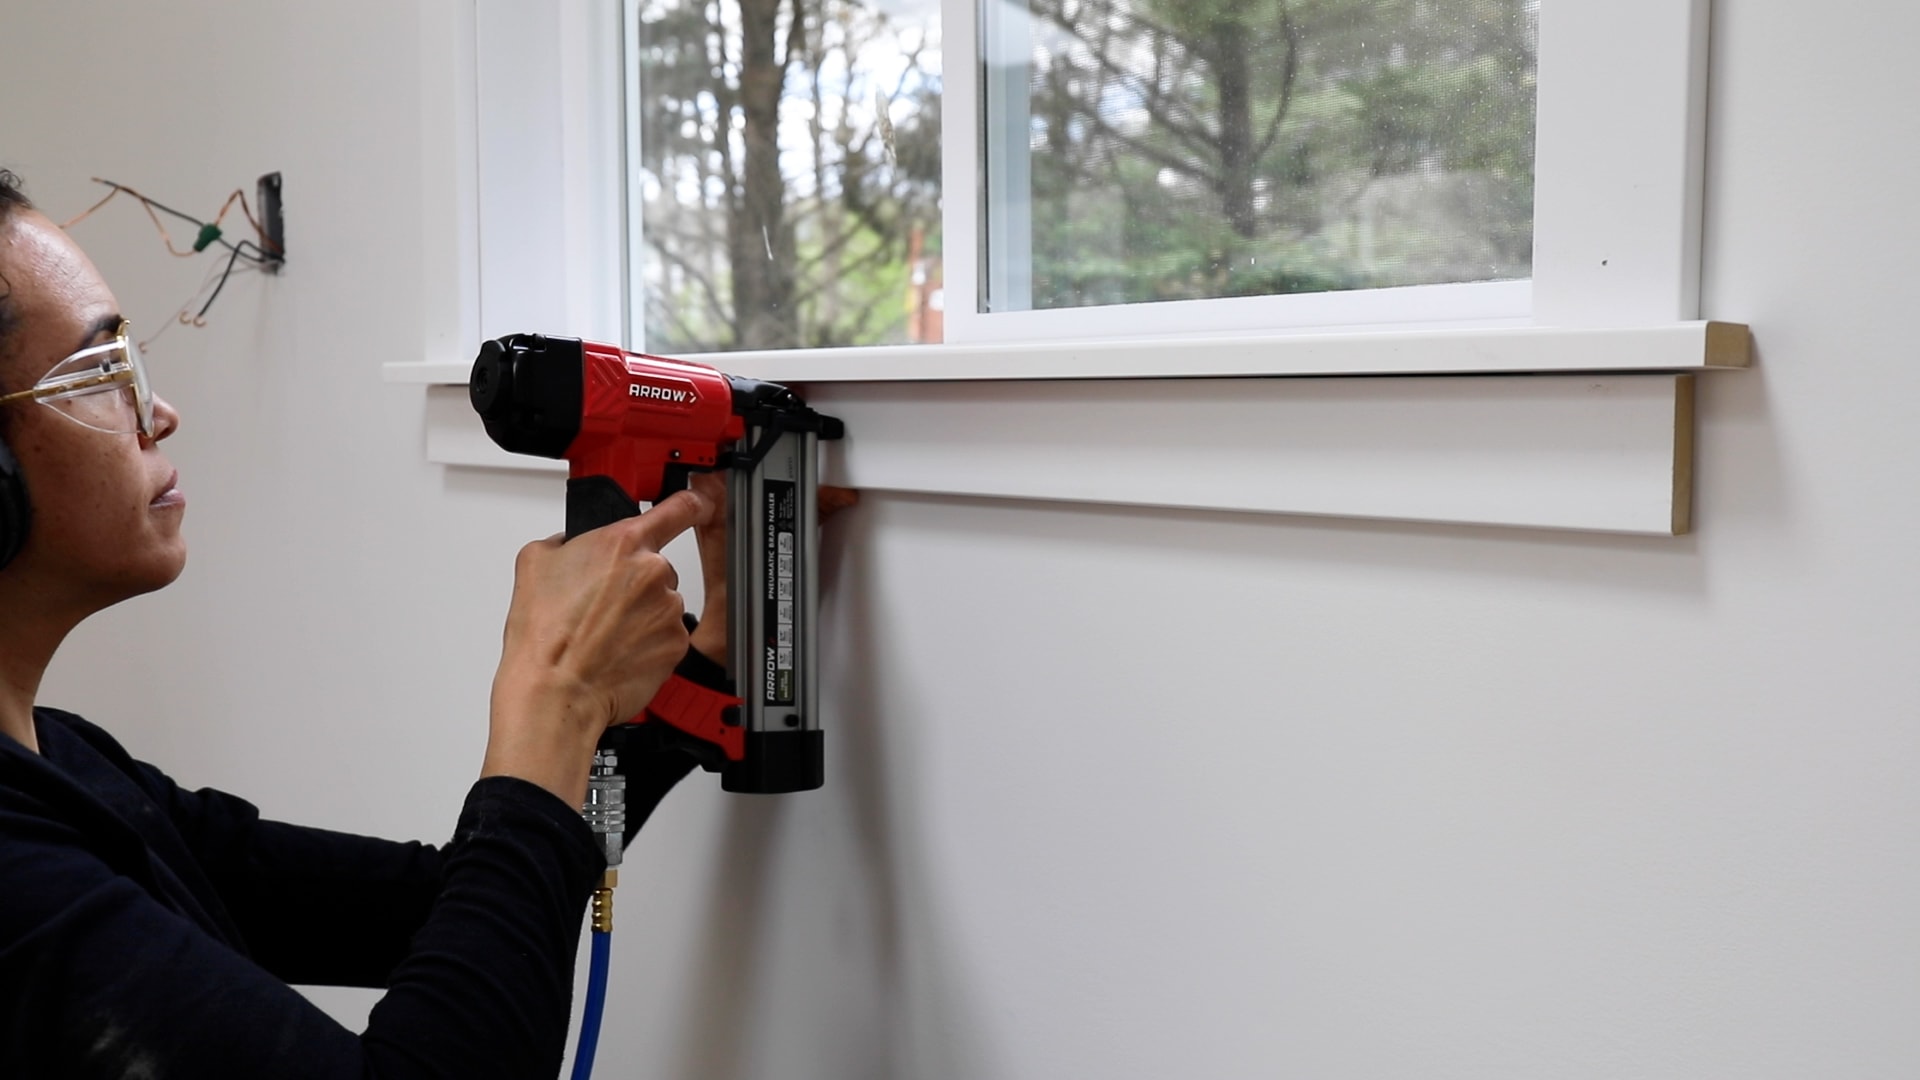
STEP 8: Cut and Install the Bottom Apron
Below the window ledge there will be an apron. The width of the apron should be the exact measurement of your header. However, if your casings are a little crooked, there could be a difference in length. Again, no worries. Any discrepancy is likely minor. Just use the measurement of your header and cut your apron to the same measurement.
Add construction adhesive and secure with several brad nails.
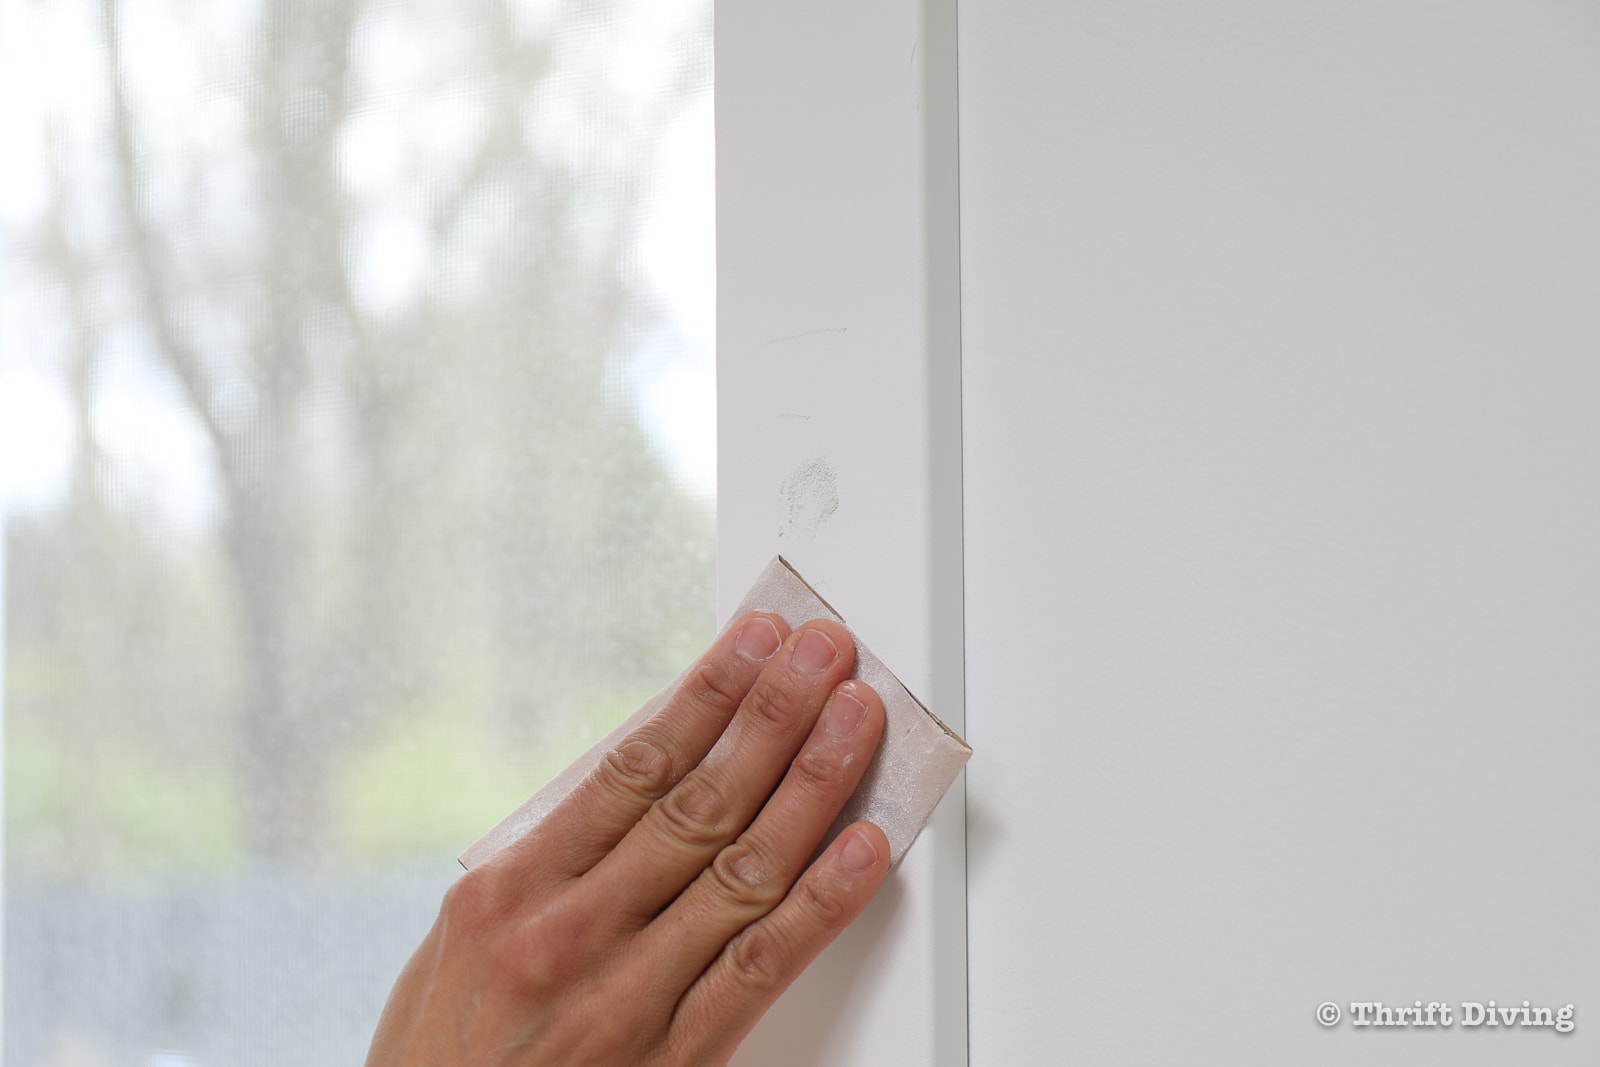
STEP 9: Fill Holes and Gaps with Wood Filler
For any nails that didn’t get inserted below the surface of your window trim, use a nail set and hammer to set the nail below the surface.
Fill all the nail holes with a bit of wood filler. Let it dry and then sand smooth with fine 220 grit sandpaper.

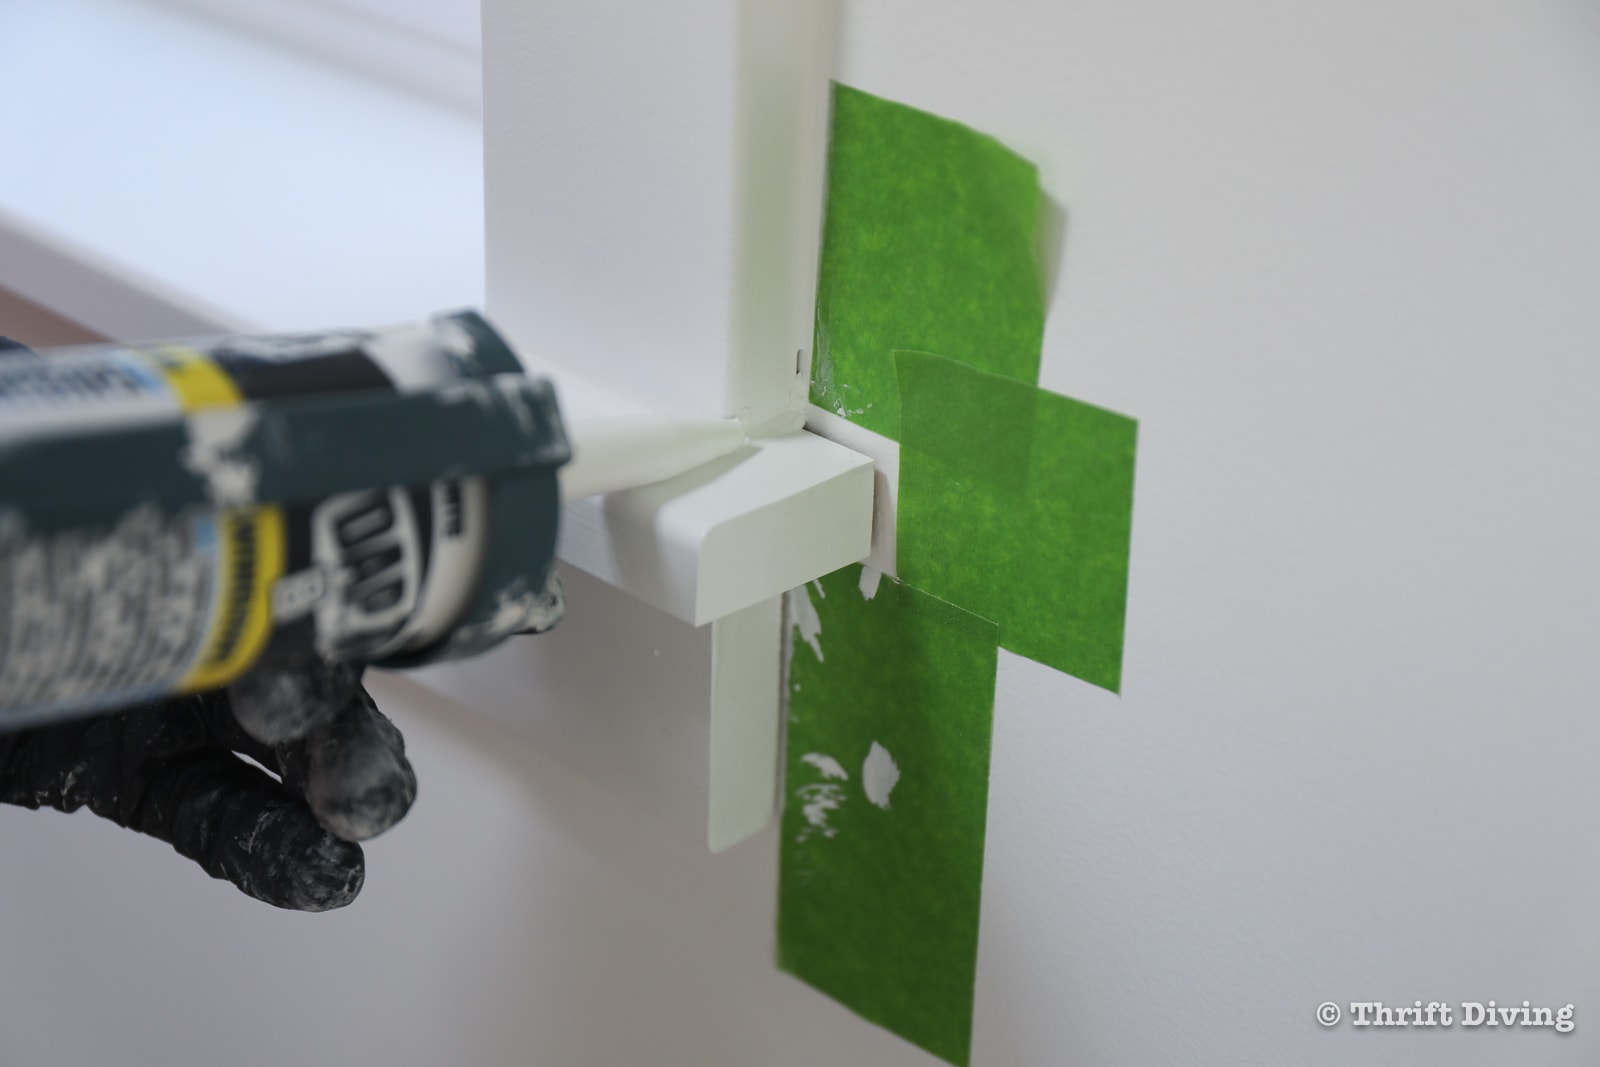
STEP 10: Caulk Around Window Trim
If you’re wondering where to caulk around the window, here are the areas that I caulked for my windows:
- Around the entire outer frame: top, sides, and bottom.
- On the interior side of the trim.
- Along the gaps/seams where the window ledge meets the window.
- Where the metal/plastic frame of the window meets the drywall.
- Basically, every part that has a seam that needs to blend in.
Here are a few tips I found helpful when caulking after installing window trim:
- Buy caulk that is specifically made for window trim and molding. I used Dap Trim molding, which you can find from the big box stores. This type of caulk is paintable after about 30 minutes. Some caulks are not paintable, or are only for exterior applications. Read the label carefully.
- Only cut a TINY TIP off of the caulk tip! If the tip is too big, too much comes out when you squeeze the trigger and it gets super messy.
- Use painter’s tape, if necessary, for a clean line when caulking.
- Use a light finger to run over the caulk to finish it off. A heavy finger will cause it to spill over and out and it will get very messy.
- Clean up your fingers or gloved hands as you work to keep things neat.
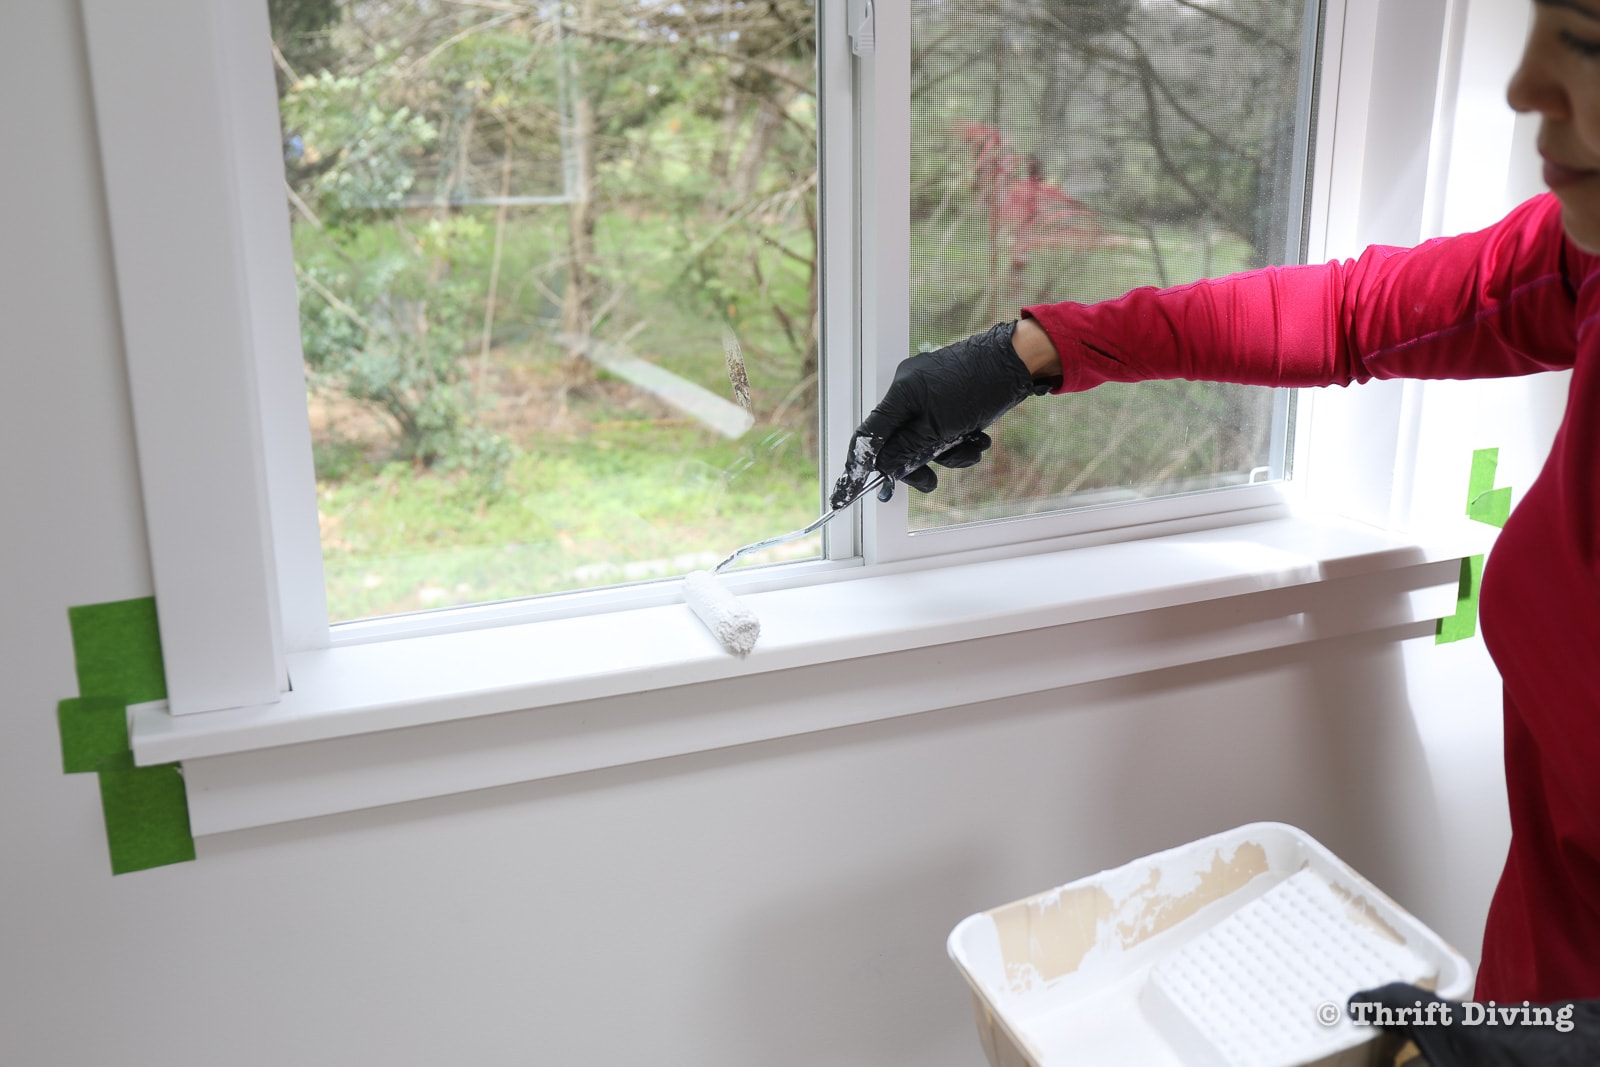
STEP 11: Add a Final Coat of Paint
As I mentioned before, the trim caulk is paintable after 30 minutes. I had painted another coat prior to caulking, but after filling the nail holes. You can choose to do it this way, or choose to paint after you’ve caulked. Either way, you’ll need that last finishing coat for your window trim to be finished and ready!
BEFORE
Here’s how my “she shed” windows looked “before.” While they were nicely finished off by the drywallers who had trimmed the inside with drywall, the outside of the windows lacked personality and looked really bare. Plus, I wanted a deeper window ledge for plants!
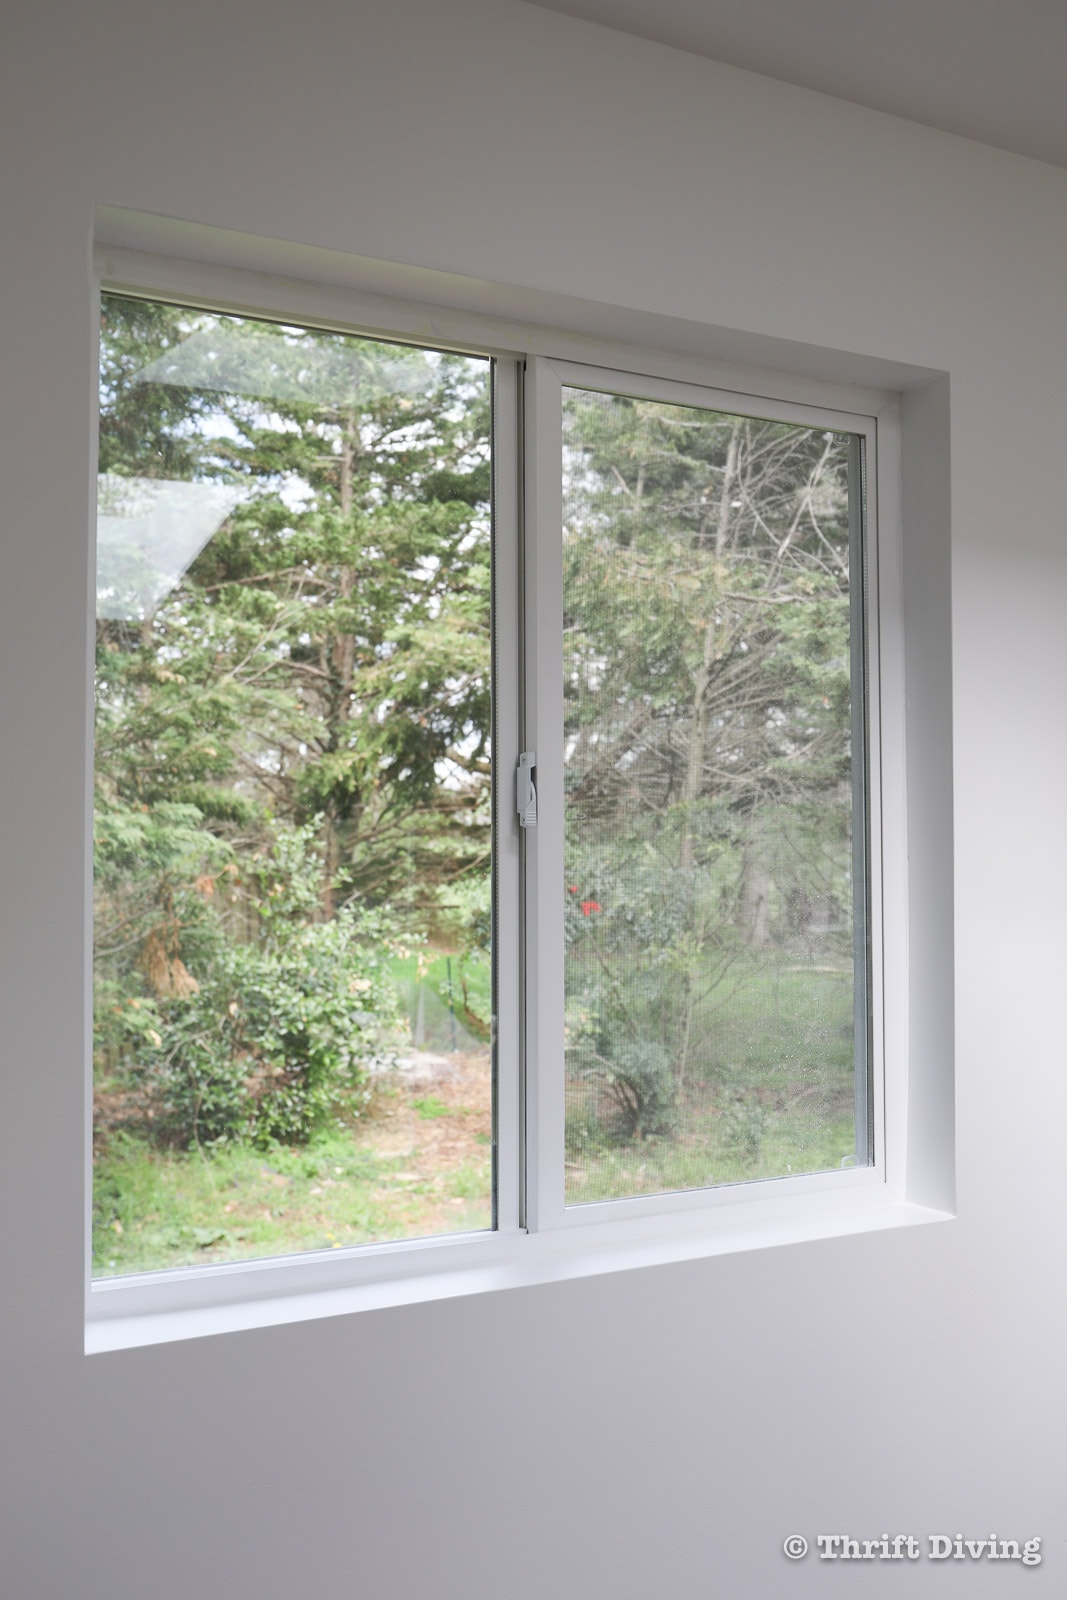
AFTER!
Now, the windows look polished and beautiful! I can’t wait to buy some plants and get this place completed!
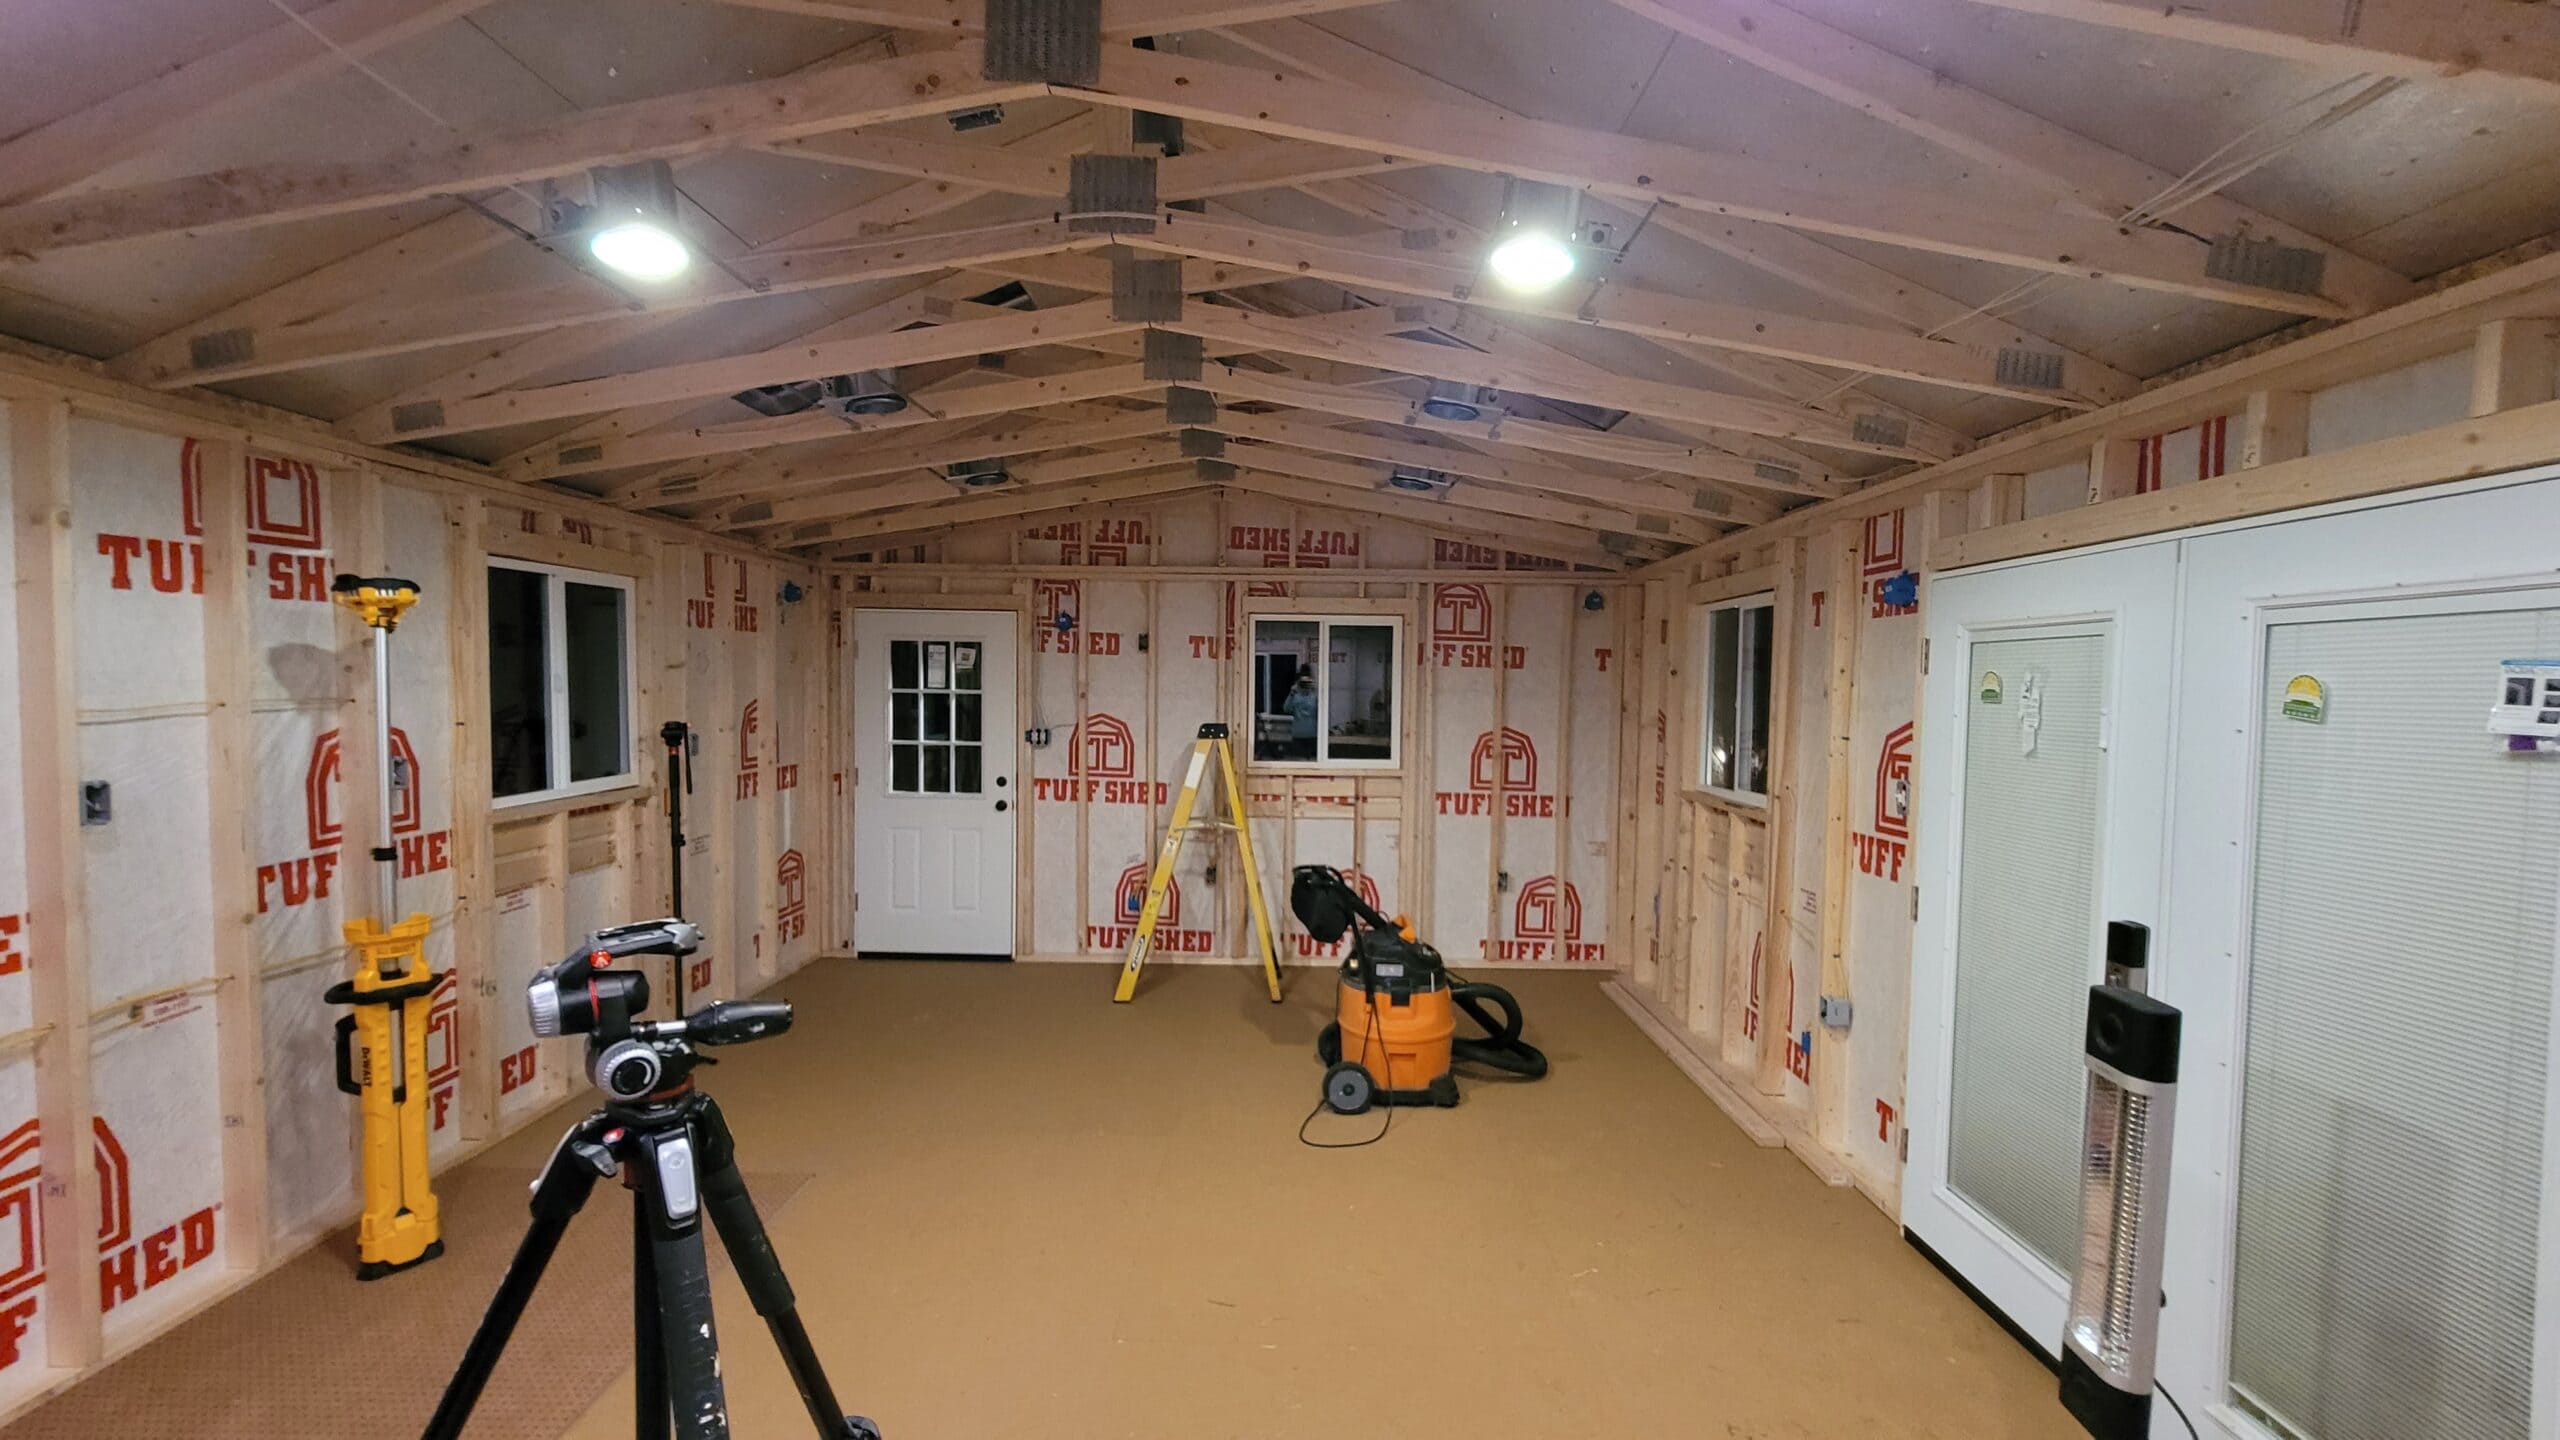
How It Started…
Here’s a quick look at how my shed looked several months ago after I finished up installing my own electrical wiring.
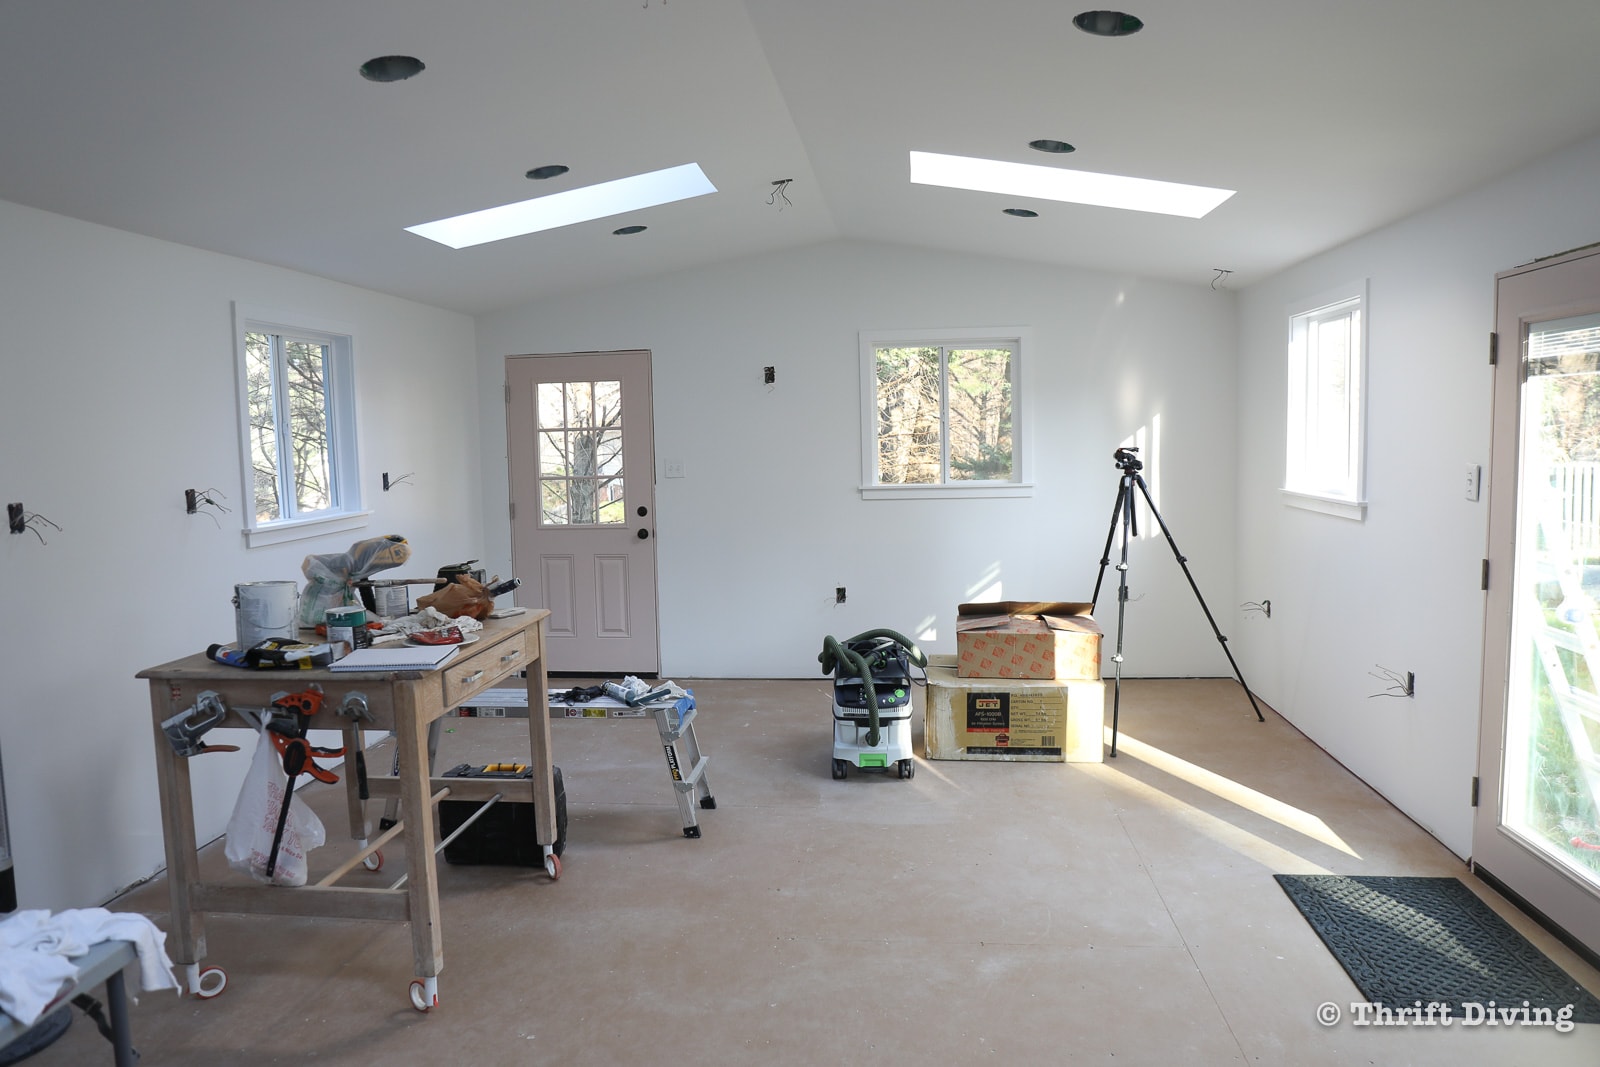
How It’s Going!!!
While I’m still waiting to do the flooring, I can’t be any happier with how light and airy my “she shed” feels after drywall, paint, and new, installed window trim! It’s finally looking like the space I always envisioned it would be. 🙂
Love this post? Click here to save it on Pinterest!
![]()


Download the 5 freebies!

Thrift Diving inspires women to decorate, improve, and maintain their home themselves...using paint, power tools, and thrift stores! Use these 5 printables, checklists, and ebooks to get started!


You Always do a nice job, no matter what project. The windows looked nice/ok. The trim work you do on them make a Huge difference. Once again another Greta “job”.
Awww, thank you, Kathy! I appreciate that so much!