DIY Photo Collage on Wood Using Photo Transfer Medium
Today’s DIY photo collage on wood using photo transfer is brought to you by RYOBI Power Tools. All opinions, project ideas, and thoughts belong to Thrift Diving.
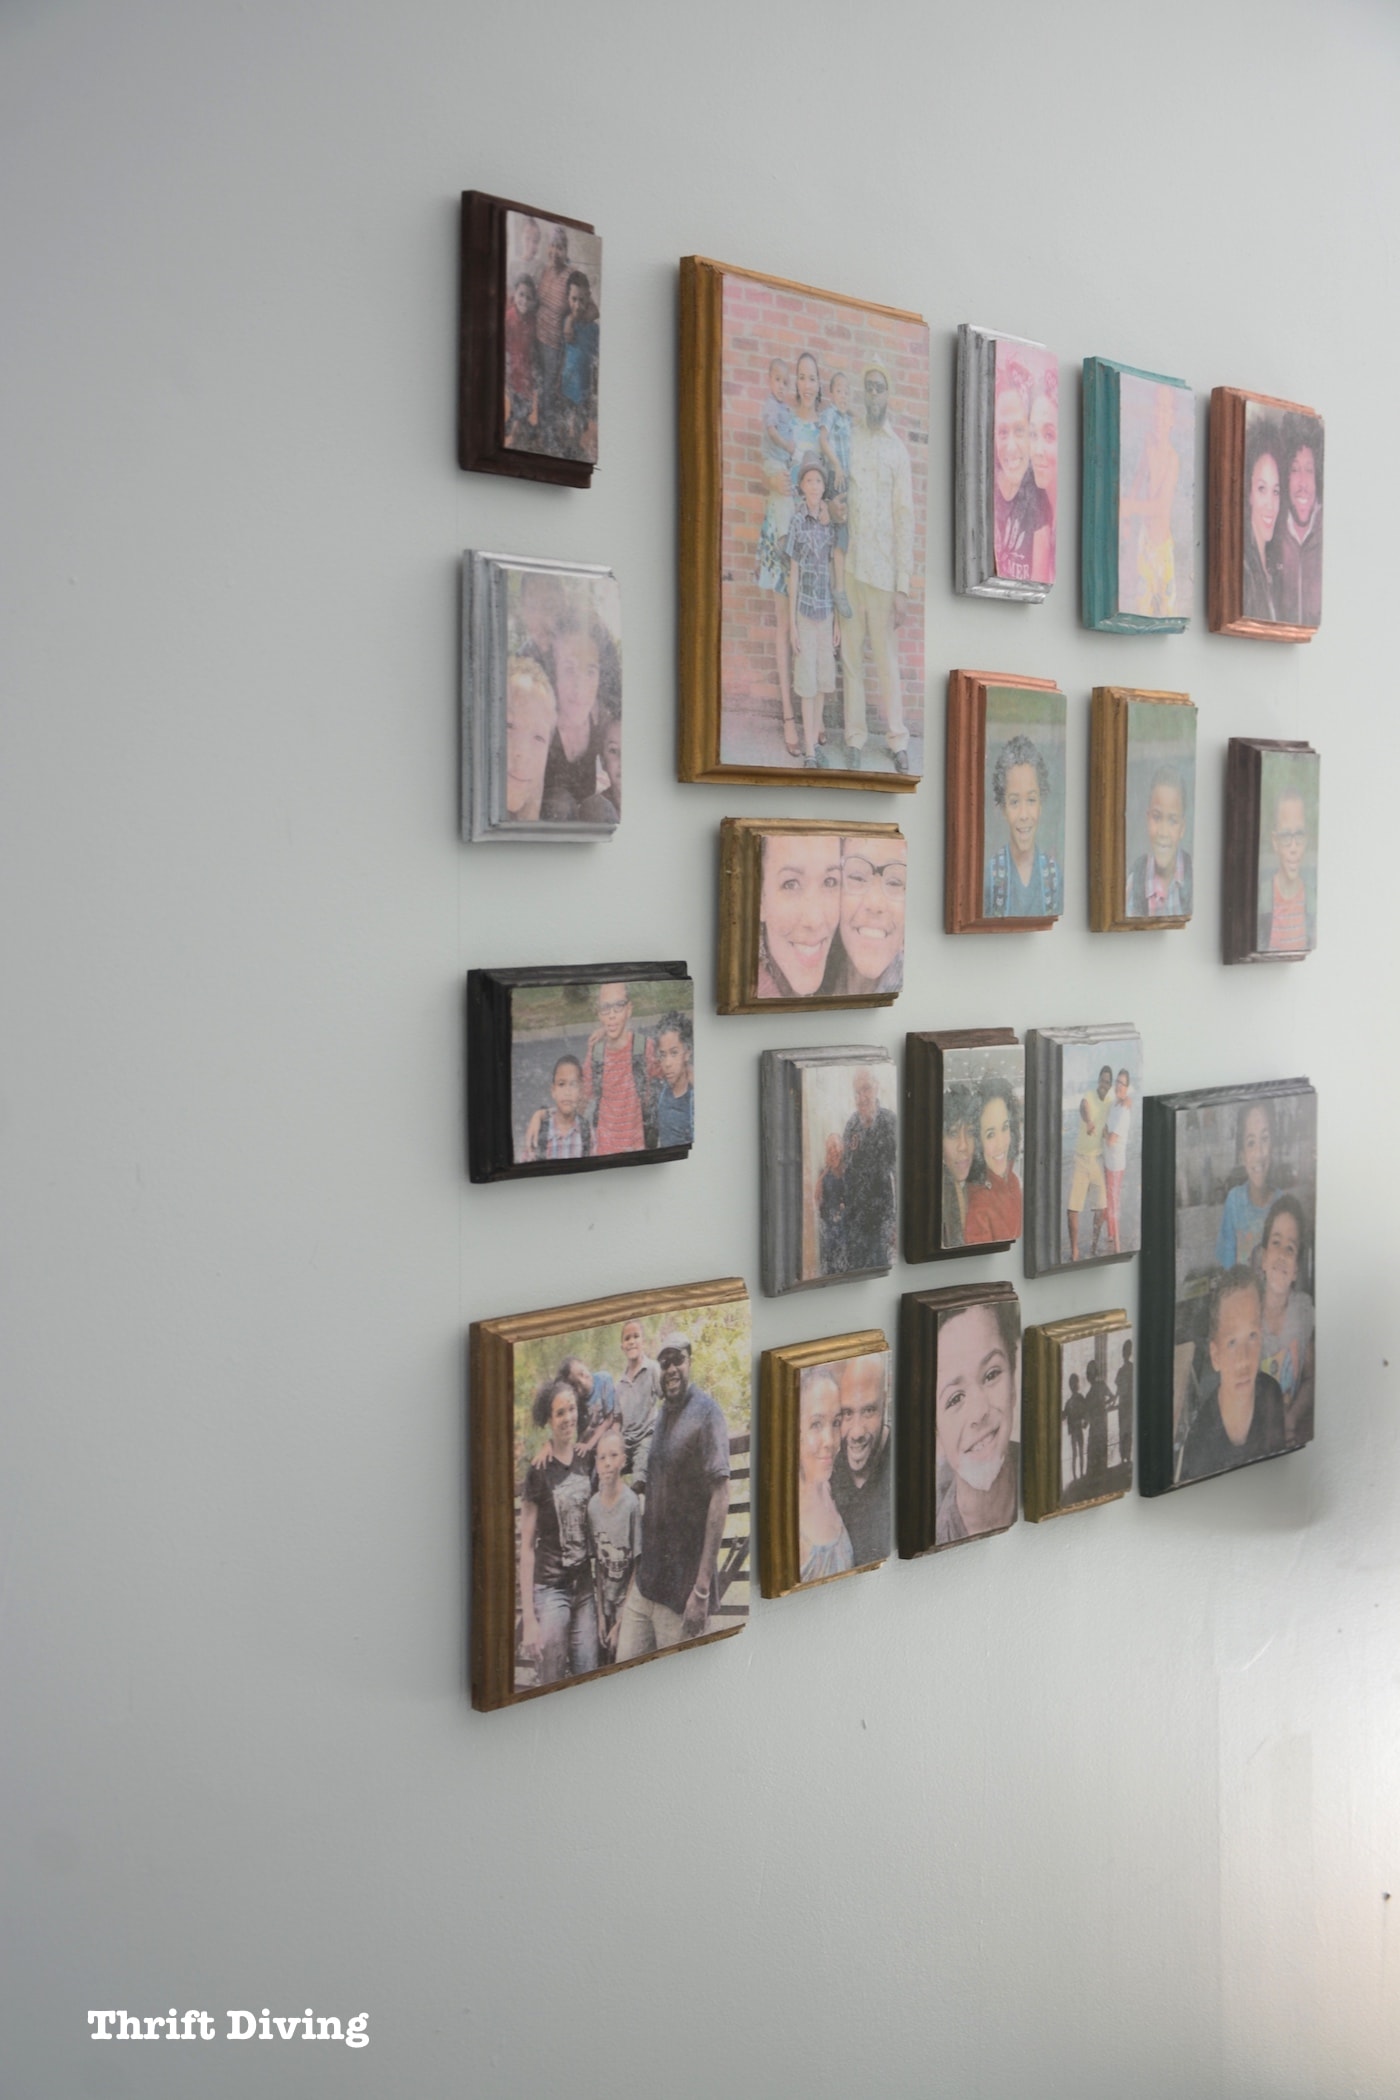
I love this DIY photo collage on wood that I created on my wall recently!
But let me explain to you how ironic this is: I’ve got at least 100,000 pictures and videos of pictures stored digitally, and only a handful of the pictures are printed. My walls are generally pretty bare, actually.
Isn’t that insane??
I’m the woman who snapped so many pictures at a family gathering once that distant relatives at the event had thought I was from the local newspaper (not kidding; this actually happened).
But getting them off of the camera and out of the external hard drives is something at which I have sucked.
This month, though, I’m beaming over my latest RYOBI Nation project: a DIY photo collage on wood using photo transfer medium!
(Click here to get the full-tutorial for this project).
I am a RYOBI Nation Partner and at various times throughout the year, I get to collaborate with them on projects that force me to think outside of the box while using power tools.
So this month, the challenge was to think of creative ways to display my pictures.
As much as I love thrift stores, thrift store picture frames weren’t creative enough.
I’ve got a lot of scrap wood lying around, so I decided to try my hand at photo transfer onto pieces of that scrap wood.
The result is a fun little photo collage on wood!
Click here to get the full tutorial on how to create a photo collage on wood!

Since I have never done a photo collage on wood before, especially using photo transfer medium, I struggled a little bit. LOL
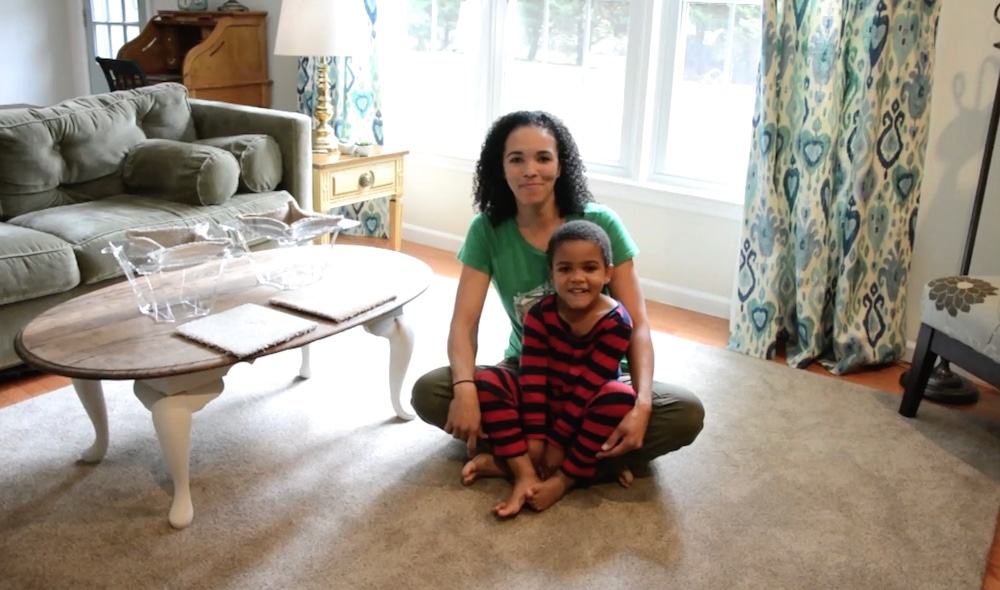
But overall, I’m pleased that I was able to create a wall that included all the people I loved: my husband, kids, mom, sister, niece, nephew, grandfather, brother-in-law, mother-in-law, and even my best friend, Hakimah. 🙂
I am sure I left a few people out, but that’s what great about having a big wall and using scrap wood–I can expand it very easily!
How to Create a Photo Collage on Wood
The tutorial for how to create a photo collage on wood is over on RYOBI Nation for their “Picture This” theme this month.
Click here to access step-by-step instructions: How to Create a Photo Collage on Wood Tutorial.
![]()
How to Win $300 in RYOBI Power Tools
What prize do YOU most want to win this month?? If you enter below, you can win $300 in RYOBI power tools–you get to decide what you want to win! How awesome is that??
 TO ENTER:
- Visit RYOBI Nation to view the step-by-step instructions for this project (sign up for a free RYOBI Nation account if you don’t already have one), and,
- Leave a comment below and tell me how you have creatively displayed pictures in your home.
- BONUS: Pin this project on your Pinterest boards!
![]()
Download the 5 freebies!

Thrift Diving inspires women to decorate, improve, and maintain their home themselves...using paint, power tools, and thrift stores! Use these 5 printables, checklists, and ebooks to get started!

I need to be better at displaying photos of my boys. In the past, I would order canvas prints when there was a groupon or deal. But even when they are on sale the add up. For the past three years, I put on my “to do list” to make scrapbook pages or make the a photo book for each of my babies and every year I do not make as many as I should.
This idea is great. I hope to one day find the time. Thank you for sharing!
I use cork boards the glittery ones to hang pics on. Make photo albums. Pictures are life moments frozen in time. I love finding new ways to display them. I really want to try this a very unique and low budget way to display photos. I just started a decorating company. Saving for tools. Winning would be great.
To get my pictures off my camera and phone I either print them off at home or go to one of the local big box stores and print off any photos I want larger than an 8×10. I have picked up collage frames from dollar stores, yard sales and clearance isles from the big box stores. I did one for each of my kids, my (ex) husband and myself and had them in our family room.
I love utilizing a traveling hard drive. It allows me to free up space on my phone, computer AND camera into a centralized location. But the best tool I have access to is the Google Storybook app. It not only creates mini traveling collages for me, but it also provides free, easy to use access to the tools necessary to create mini albums with designs AND sound effects! It’s so simple that even a child (or aging adult) can create a memory masterpiece! And if I was given the opportunity to I add some tools to upscale my DIY creativity, I truly believe my memories will embark on a storybook journey.
Wonderful project. I just need the tools. Hopefully I will win some.
Thanks
Colleen
I’ve put pictures in special picture albums but that’s as creative as been. I like the idea of the photo transfer medium and am dying to try it!
Pictures have never been displayed creatively. Maybe in frames on the wall, but just one or two. It’s never cool like printed on wood!
It’s not really creative, but I print pictures and then put them on clipboards which I hang on the wall. I use decorative mats and ribbons as accents.
That looks great! I’m not very creative with pics on the wall, so this is a great idea. I have traditional pictures hung on a hall wall, and on a ledge of the stairwell. So far that’s it. 🙂
I’ve attached picture frames to a wooden ladder I have 🙂