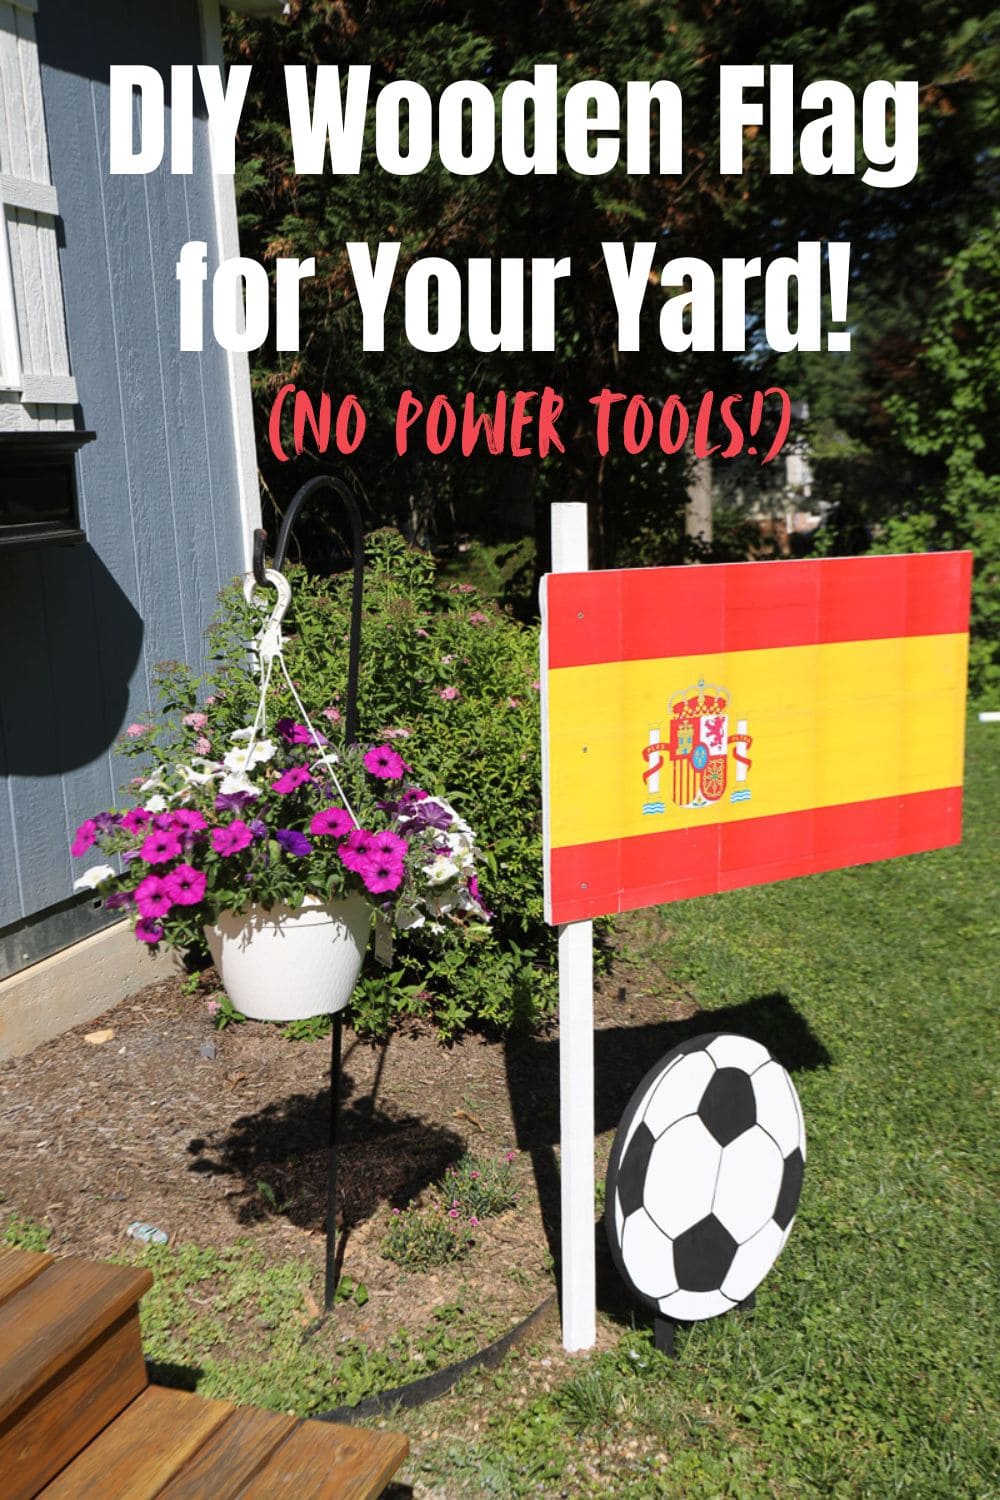
How to Make a DIY Wooden Yard Flag
This project is brought to you by Arrow Tool Group.
The Big Game is the hottest event that every football fan will be tuned in for! My son is an avid football fan (or, as I call it, soccer) so we already have our TVs ready to watch!
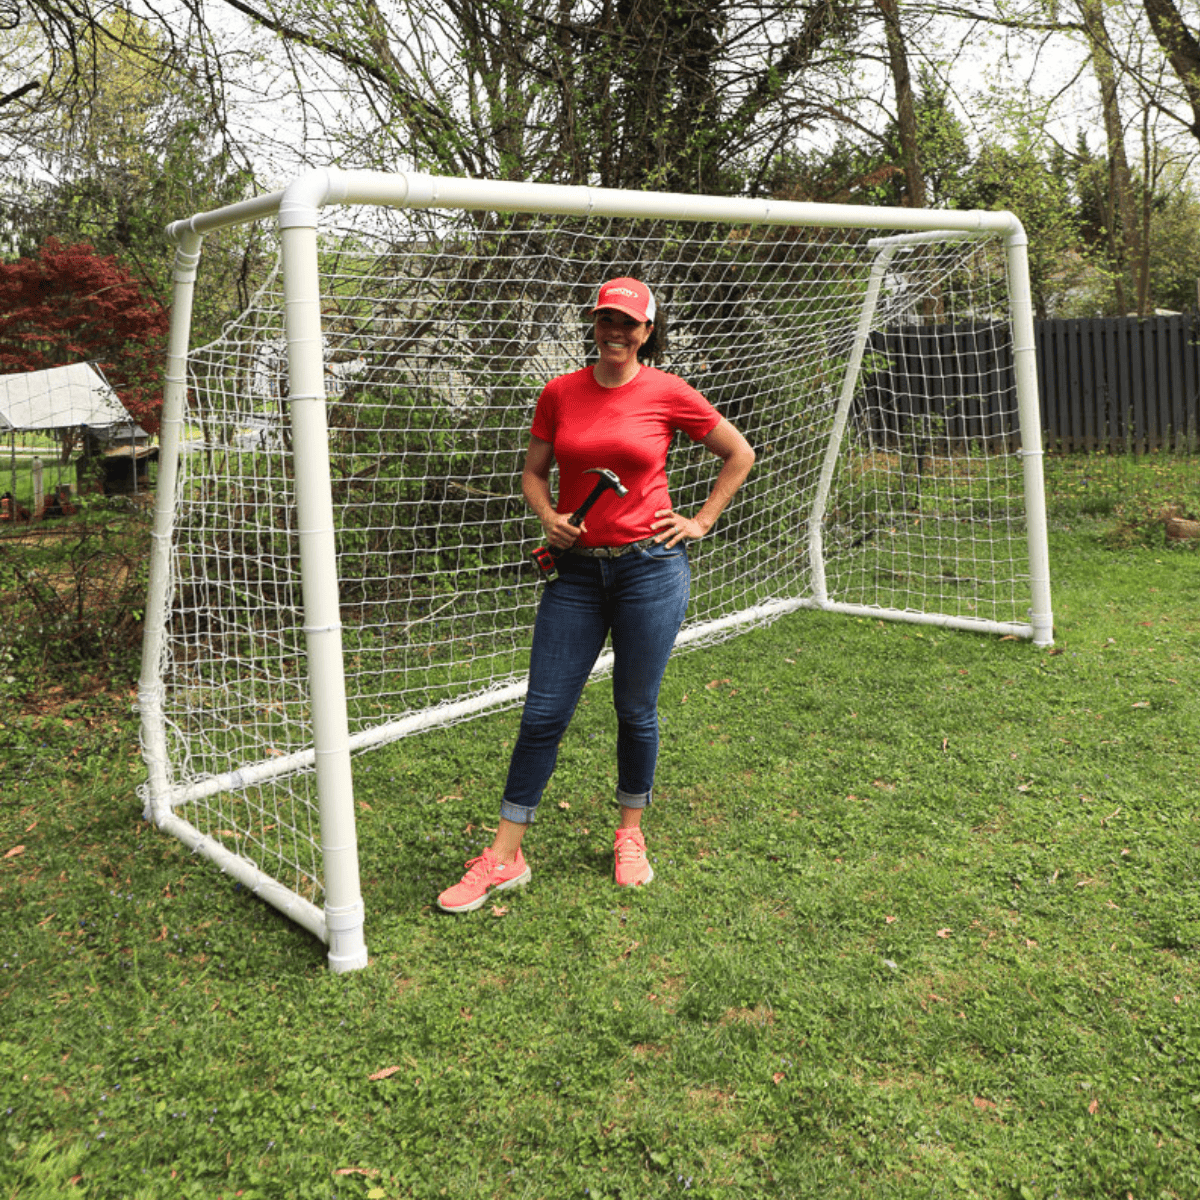
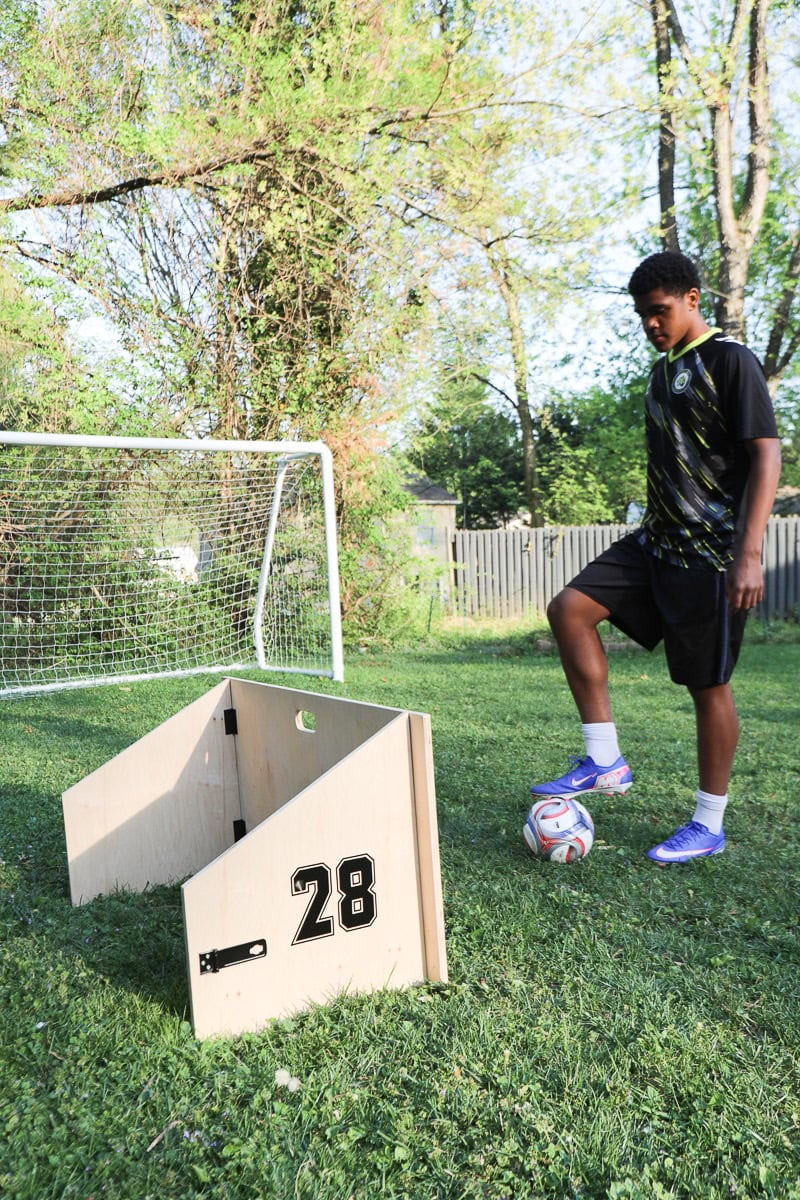
To get ready for the excitement, my son and I already made a large 12′ x 6′ soccer goal for our backyard, along with some training rebounders. Now that the game is here, we’re rooting for our favorite teams with these football team flag yard signs! They’re super easy to make, don’t require power tools (just a few of my favorite Arrow tools), and a home printer. You don’t even need to have any creative painting skills! This is a project that you’ll love to do with your kid to cheer for your favorite team (and let all your neighbors know who you’re rooting for! 🙂
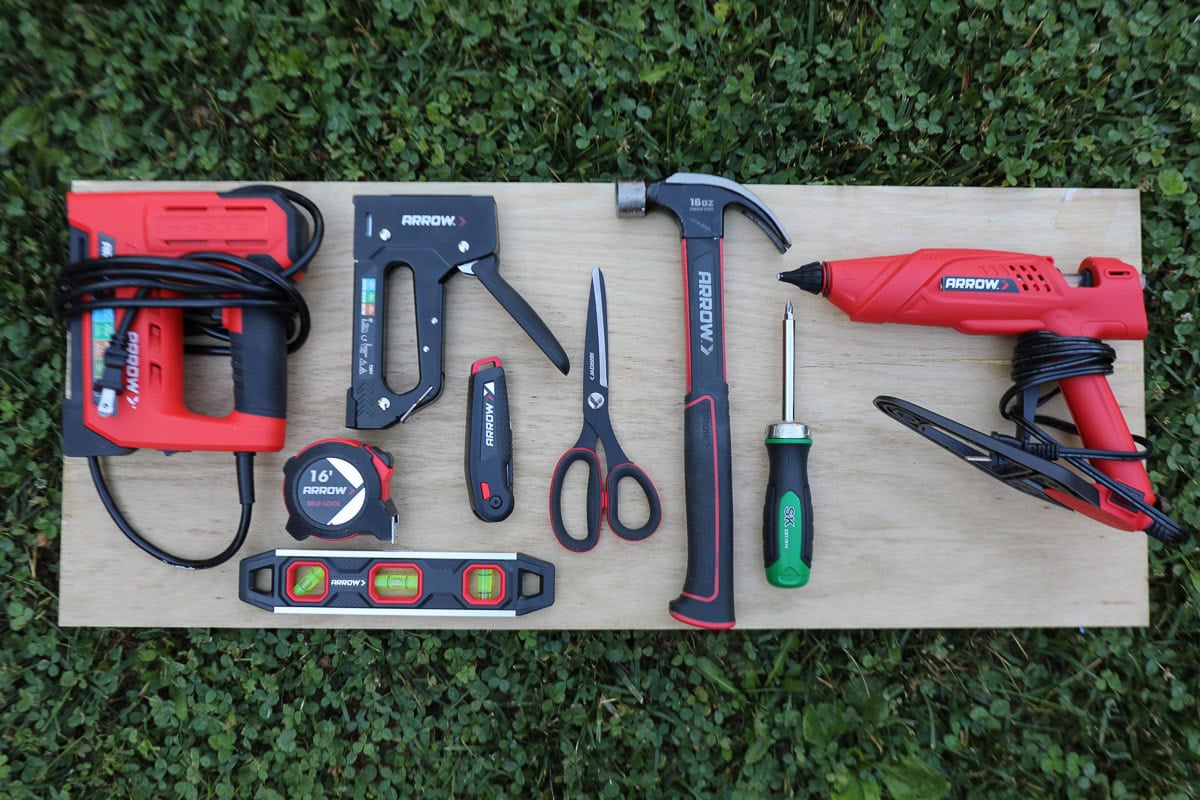
The coolest thing about this project is that it requires NO power tools! I wanted to make something that even the most novice DIY’er or crafter could make this project, especially with their kids. Here’s what you need:
Arrow Tools
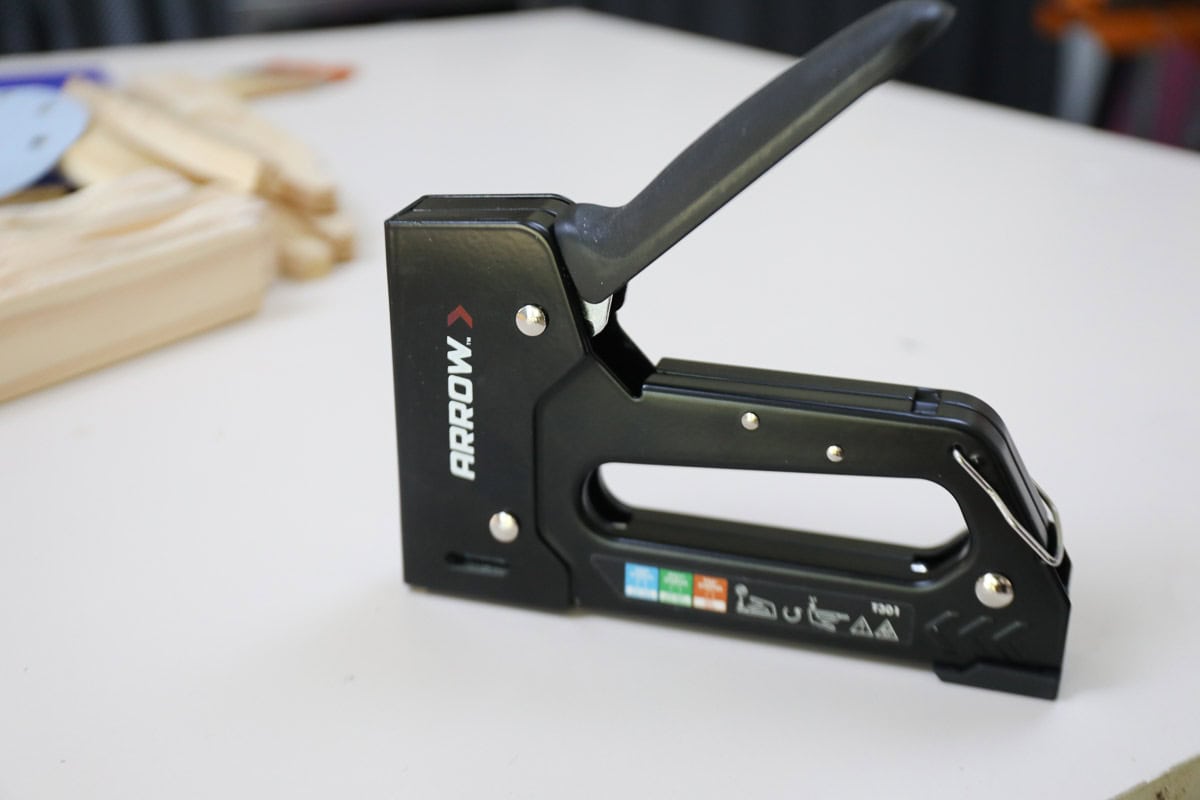
- Stapler (I love the 5-in-1 electric stapler, but you can also use the T301)
- Arrow glue gun
- Arrow 8″ scissors
- Screwdriver
- Hammer
- Level
Materials
- Lowe’s Yard sticks (15 each)
- Large wooden paint stirs (14 each, if you can get them free of charge at the paint section).
- 5/16″ T50 Arrow staples
- Wooden garden stake (size: 5-foot)
- 3-4 exterior screws (1-1/4″ long)
- Small garden stakes for smaller flags (optional)
- ModPodge decoupage sealer (Matte finish)
- Glue sticks
- Wood glue
- Sandpaper
- Digital picture of your favorite team flag printed with your home computer
- Primer (spray and/or can)
- Exterior paint (for yard flags or signs that will be exposed to the elements)
- Craft paint & paint brushes
- Brayer (roller) or a credit card for smoothing trapped bubbles
STEP 1: Create Your Wooden Flag with Yard Sticks and Paint Stirs
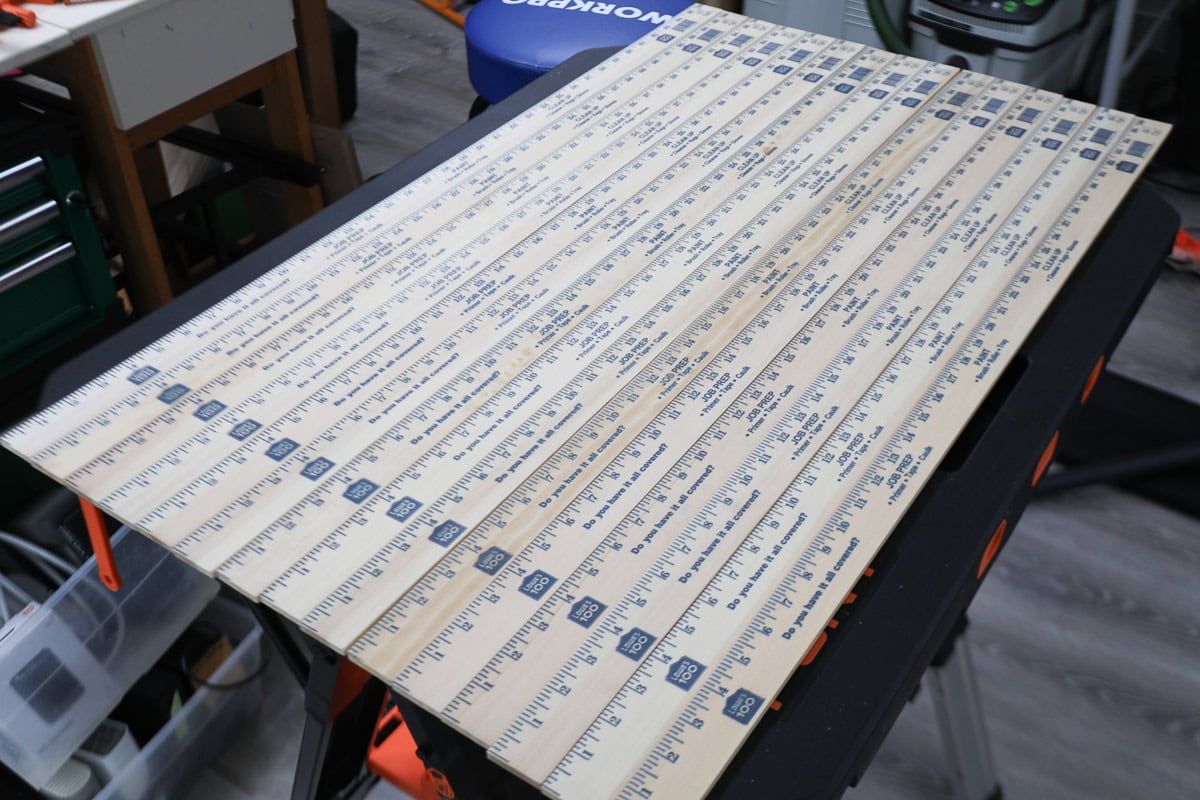
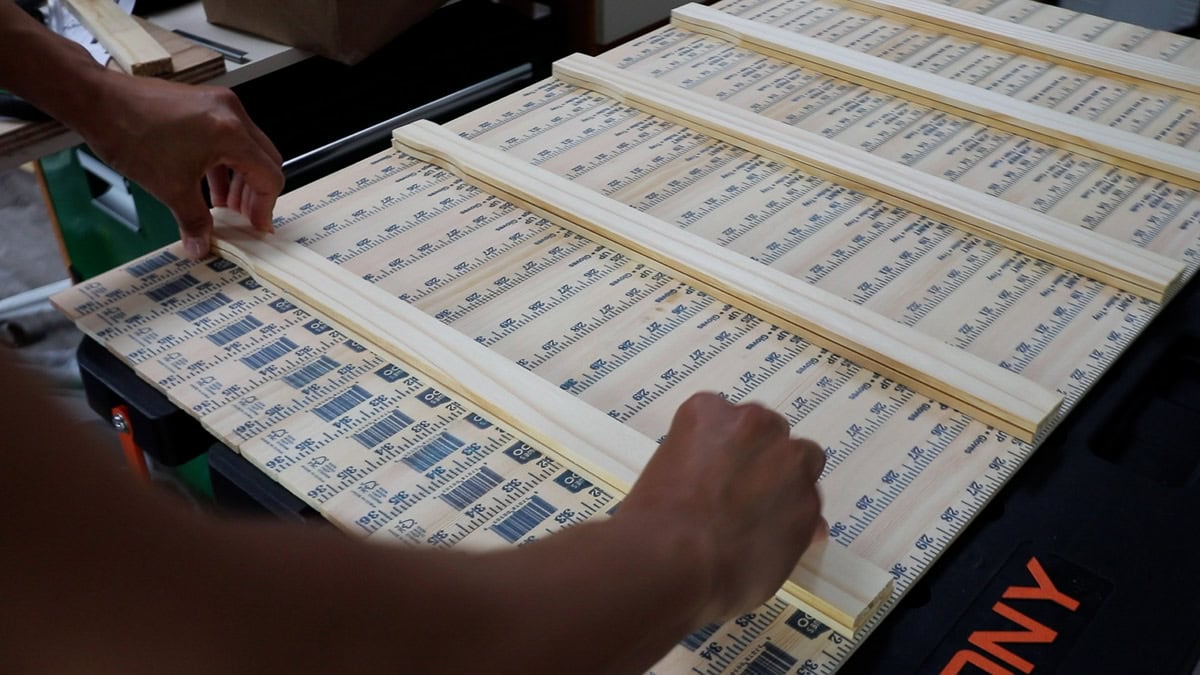
Yard sticks and paint stirs are perfect for crafting because they’re pre-cut and allow you to do so many projects without having to worry about cutting small strips (or lugging large pieces of wood home!). I prefer the Lowe’s brand yard sticks because they’re printed; the Home Depot yard sticks are engraved and will create unnecessary texture in your wooden flag.
Line up your yard sticks on a flat surface, making sure the ends are even. For most flags, you’ll need 15 yard sticks, although keep in mind that some country flags may be more square, so you’d need to trim them down with a jigsaw.
I was making the Spain flag, so 15 yard sticks were perfect for my rectangular flag.
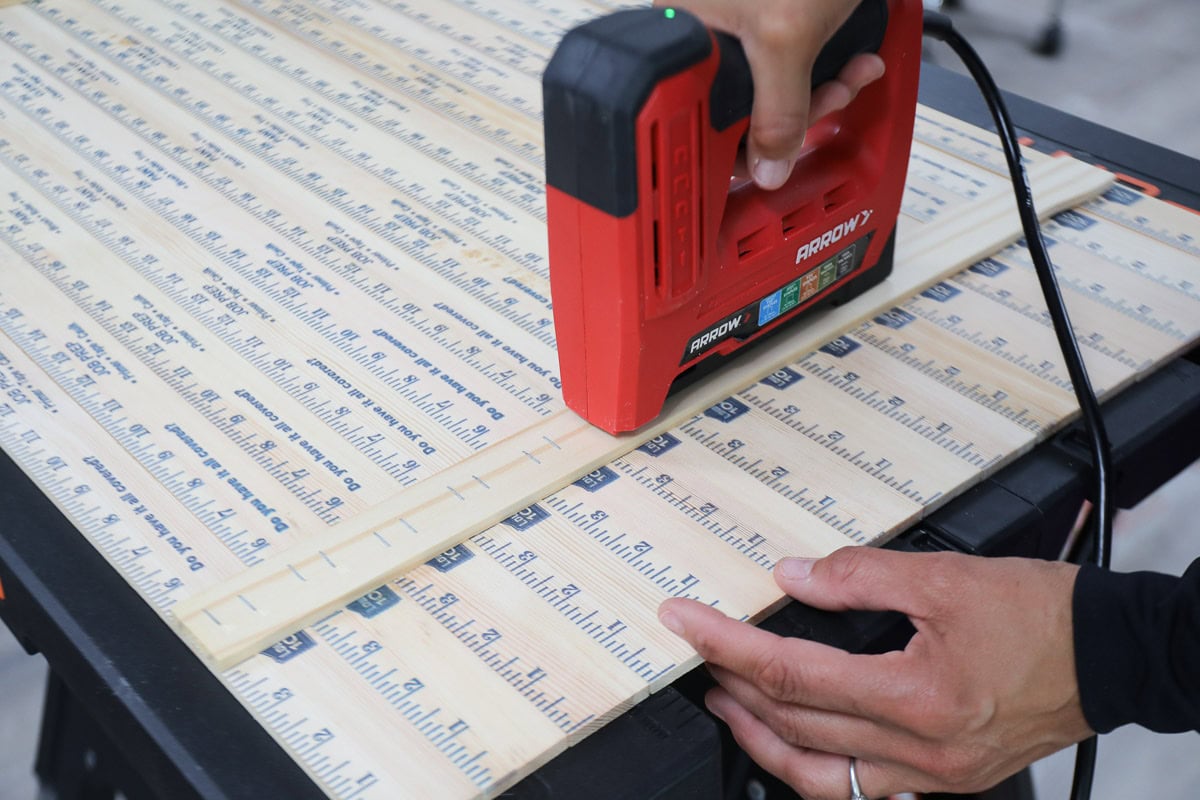
Use large paint stirs as braces on the back, securing it with either the Arrow 5-in-1 electric stapler (my favorite) or the manual Arrow T301, which both use T50 staples. The perfect staple size is 5/16″. You want them to secure the braces, but not shoot through the front of the wood.
You’ll need 14 large paint stirs. If you can’t get that many free of charge, there are 21″ wooden ruler sticks you can buy that come in a 3-pack for about $1.50.
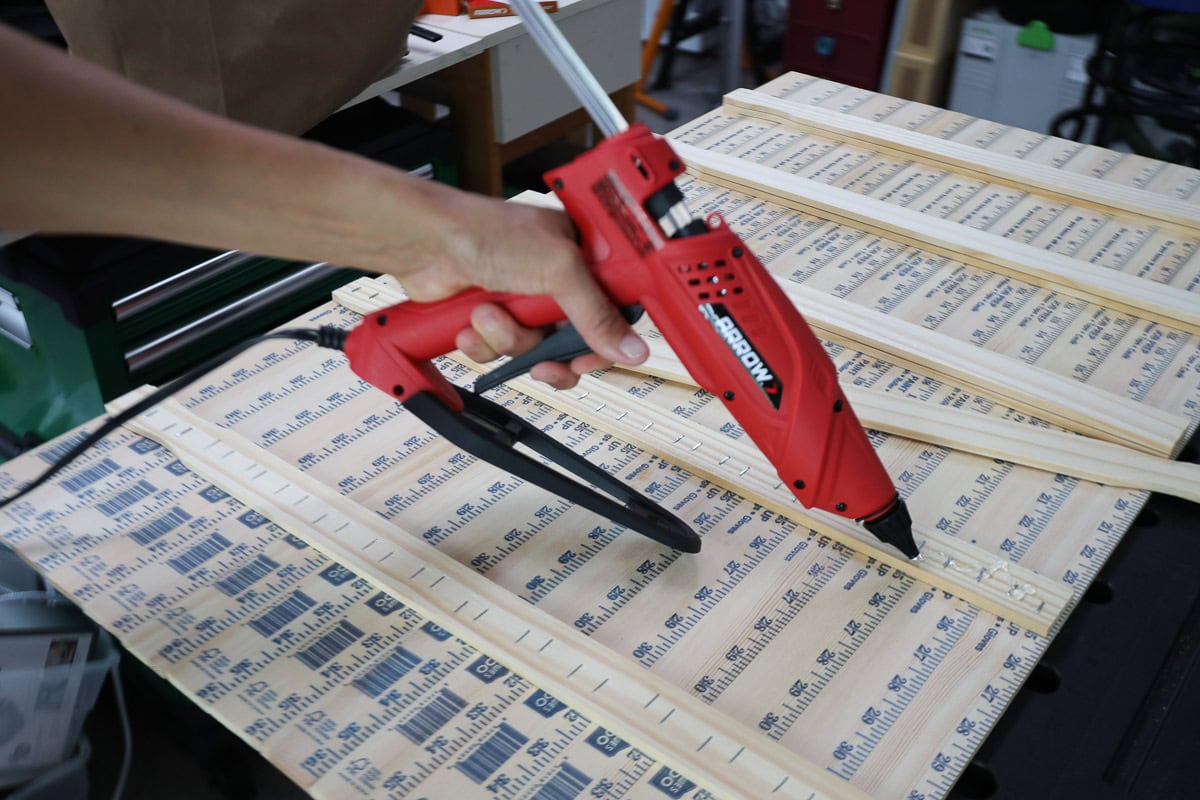
STEP 2: Hot Glue Paint Stirs to Hide the Staples
This step isn’t completely necessary, but I like the idea of using hot glue to attach another set of wooden paint stirs to hide the staples. I’m using my Arrow GT300 glue gun with larger glue sticks since this required a lot of hot glue!
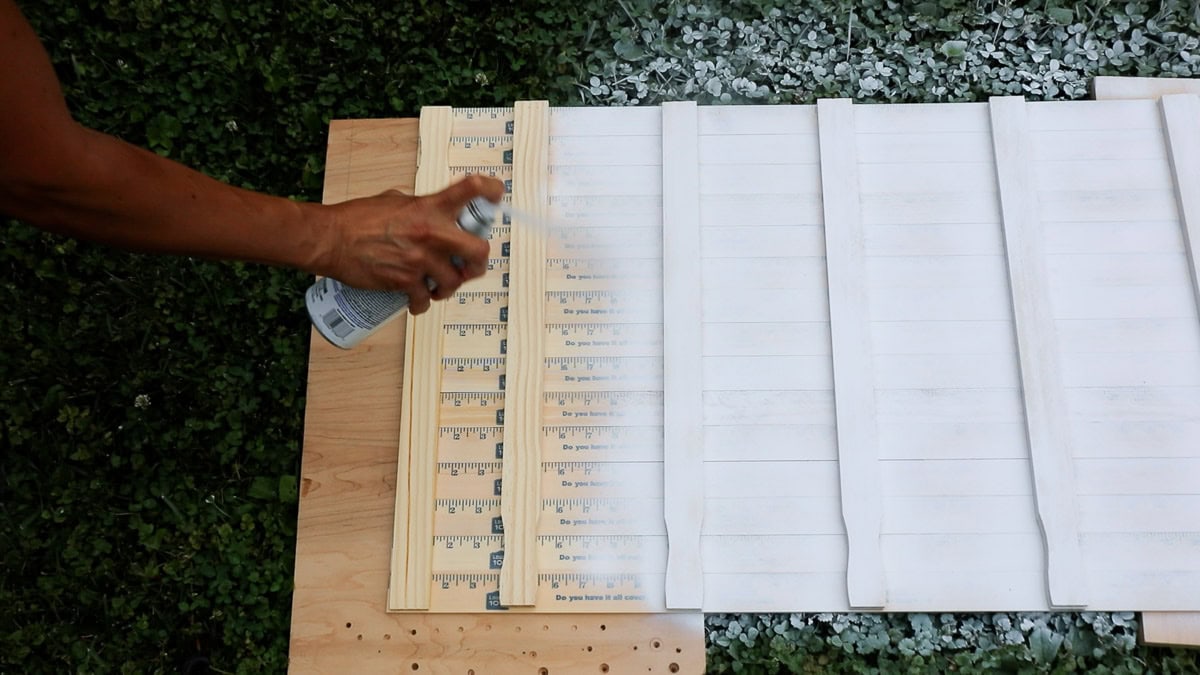
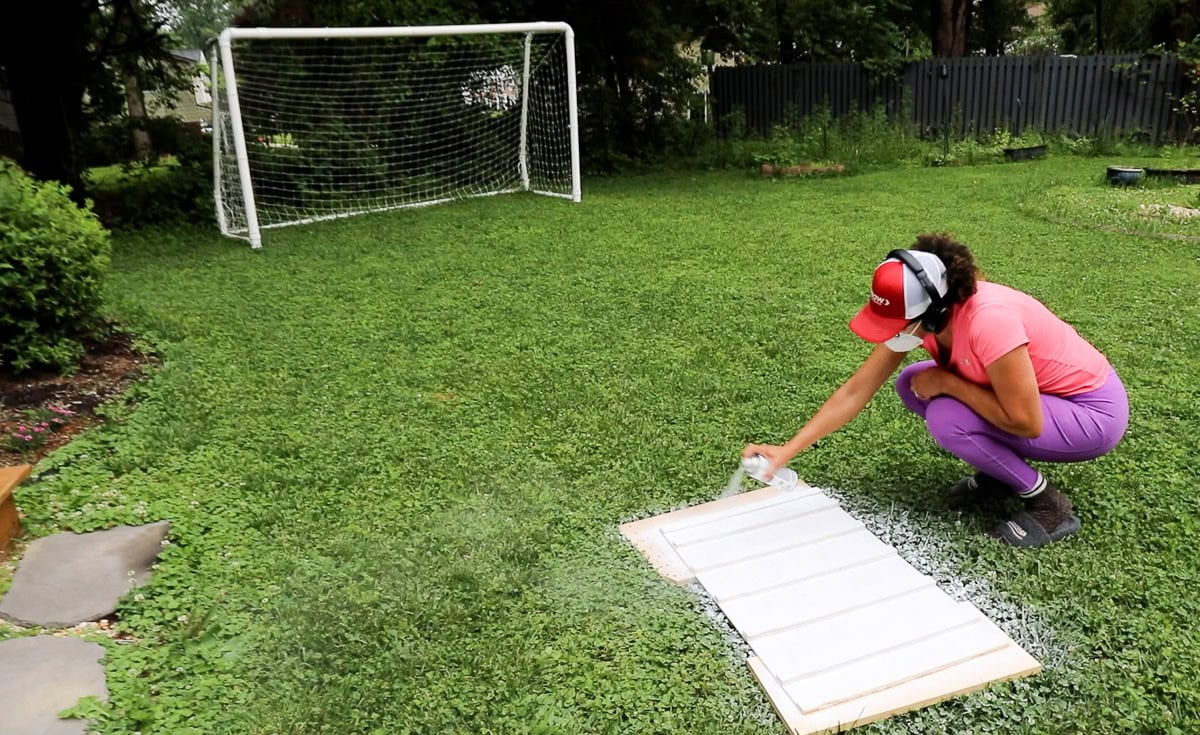
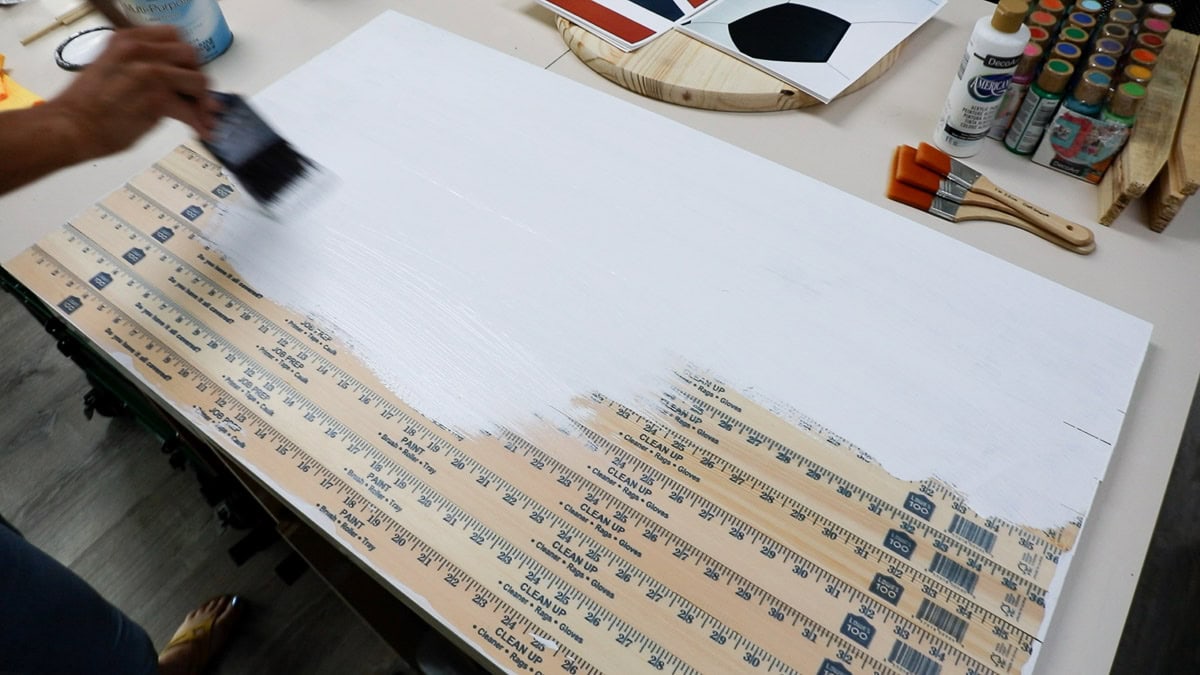
STEP 3: Prime the Yard Stick Flag
Spray primer is easy to use, but it’s so lightweight that it requires a couple coats. I used spray primer first, let it dry, and then applied a coat of primer from the can with a paint brush for perfect coverage. Since these are Lowes’ printed yard sticks (not engraved), the printing was easy to cover up.
STEP 4: Blow Up a Larger Image of Your Favorite Team’s Flag
Now that the yard stick flag is drying, we can start to prep and print out our favorite team’s flag. My son says that Spain, England, and France are fan favorites (including his), so I decided I wanted to make a wooden Spain yard flag! Here’s how you can blow up a larger image of your favorite football team’s country flag:

How to Enlarge Your Favorite Team Flag
A) Find a free flag image at Pixabay.com. Download the image you’d like to use for your DIY wooden yard flag.
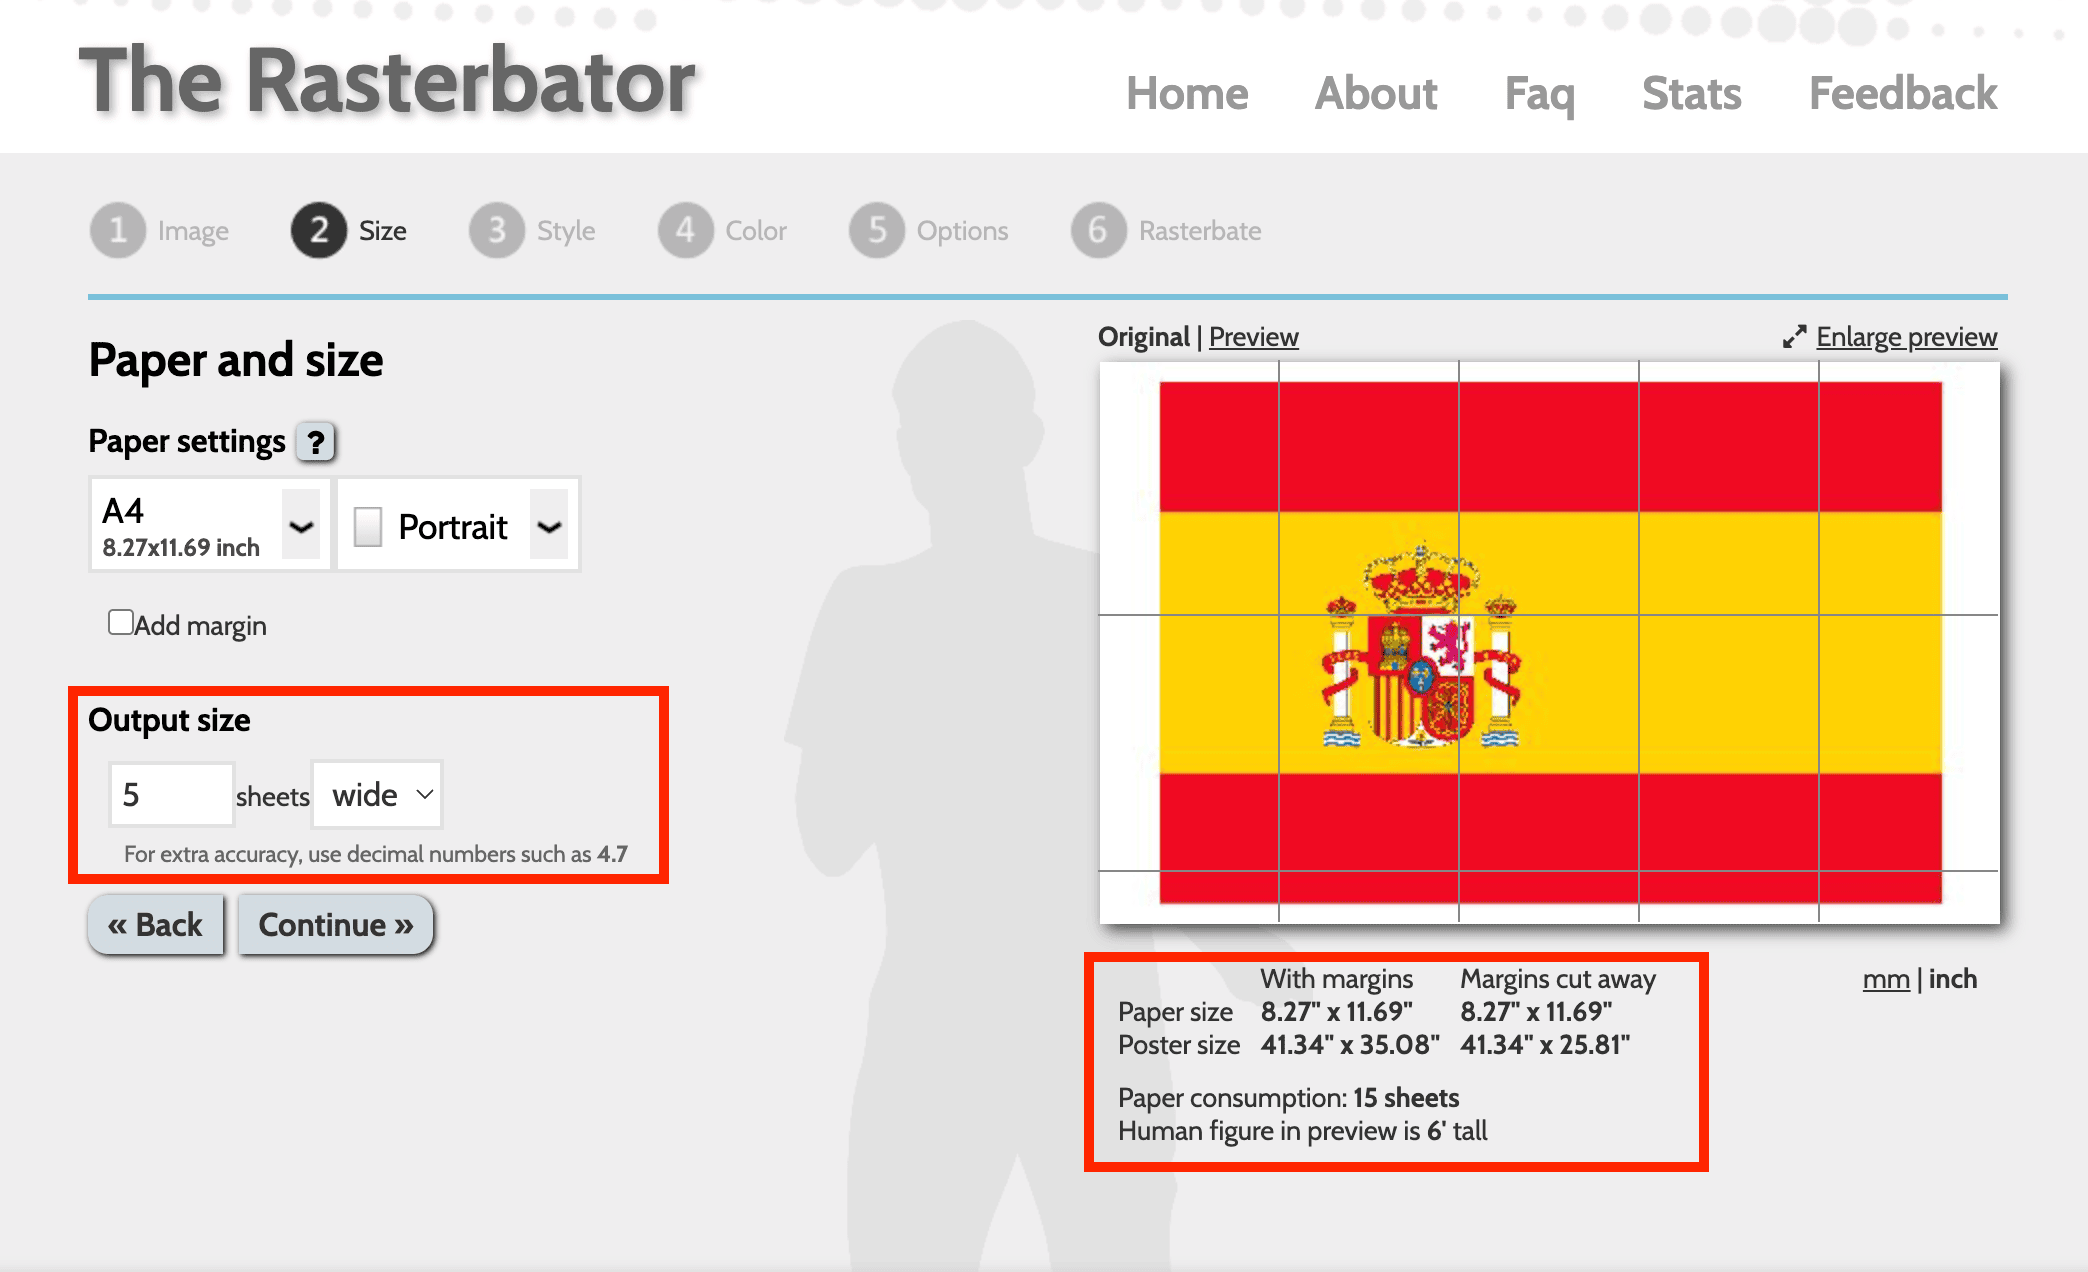
B) Go to Raserbator.net and click on “Create your poster.”
C) Upload the free flag image from your computer.
D) Don’t change the paper settings if you’re using regular printer paper.
E) Uncheck “Add margin” because you will be cutting away the white space anyhow.
F) Underneath the flag preview, click on “inch” (or you can keep it to “mm” if you use the metric system).
E) Change the “Output size” to determine how many sheets wide your flag will be. The preview and size will change
Once you click “Continue” after you’re happy with these settings, The Rasterbator will create a 15-page PDF file that you can print at home.
TIP: Use high quality paper. If you can’t print it at home, pay a few dollars to have it printed at FedEx or Staples.
For this project, with our 15 yard sticks, we needed a flag that measured a little wider than our 21″ x 36″ so that we had a little left over the edges to trim them. You can CLICK HERE to download my PDF copy of my Spain flag.
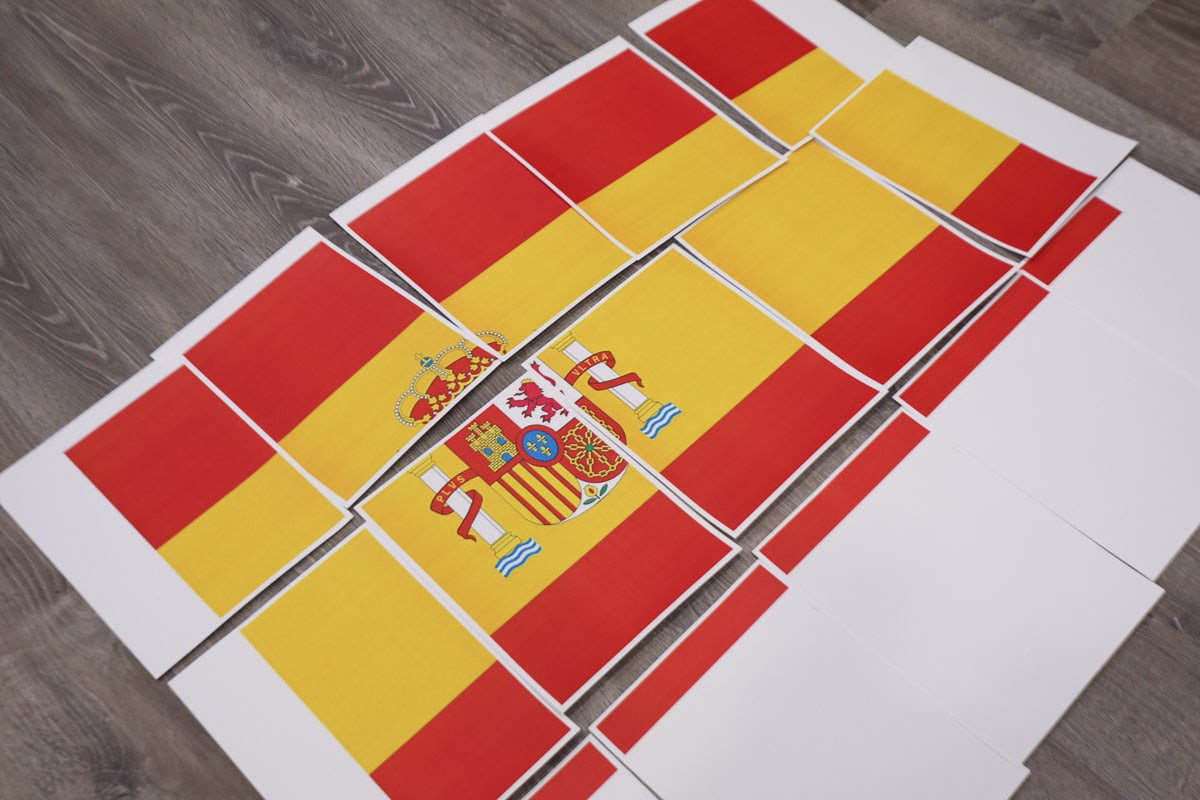
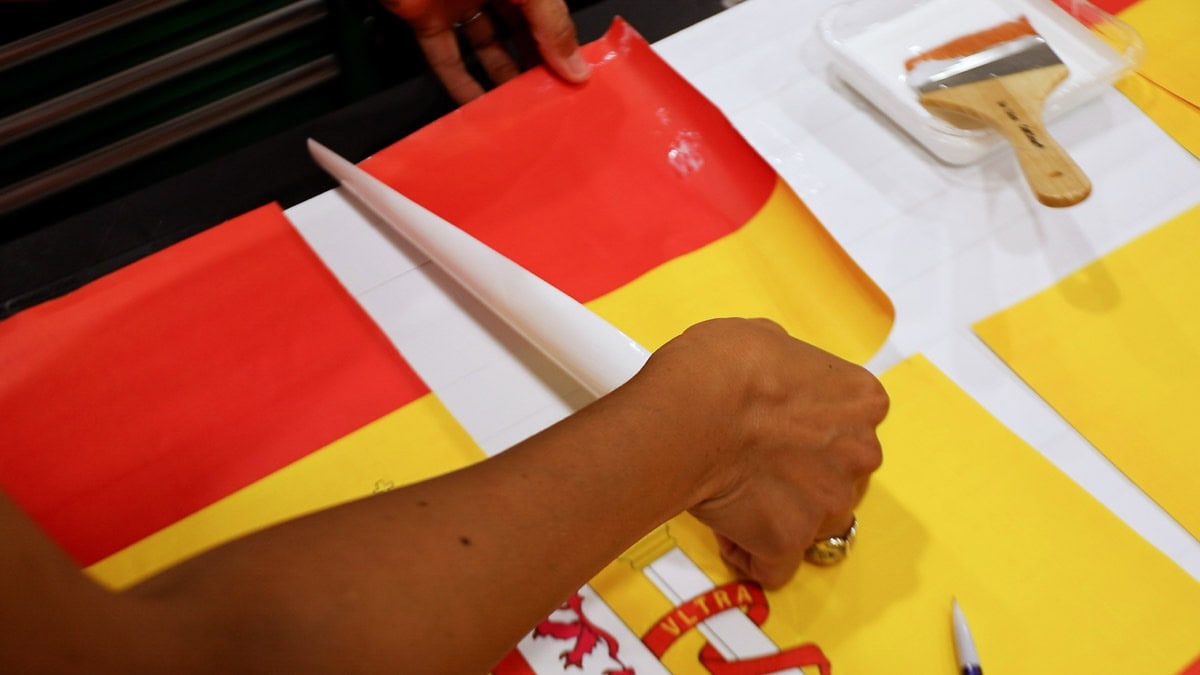
STEP 5: Trim the Excess from the Flag Image and Glue to the Wooden Flag
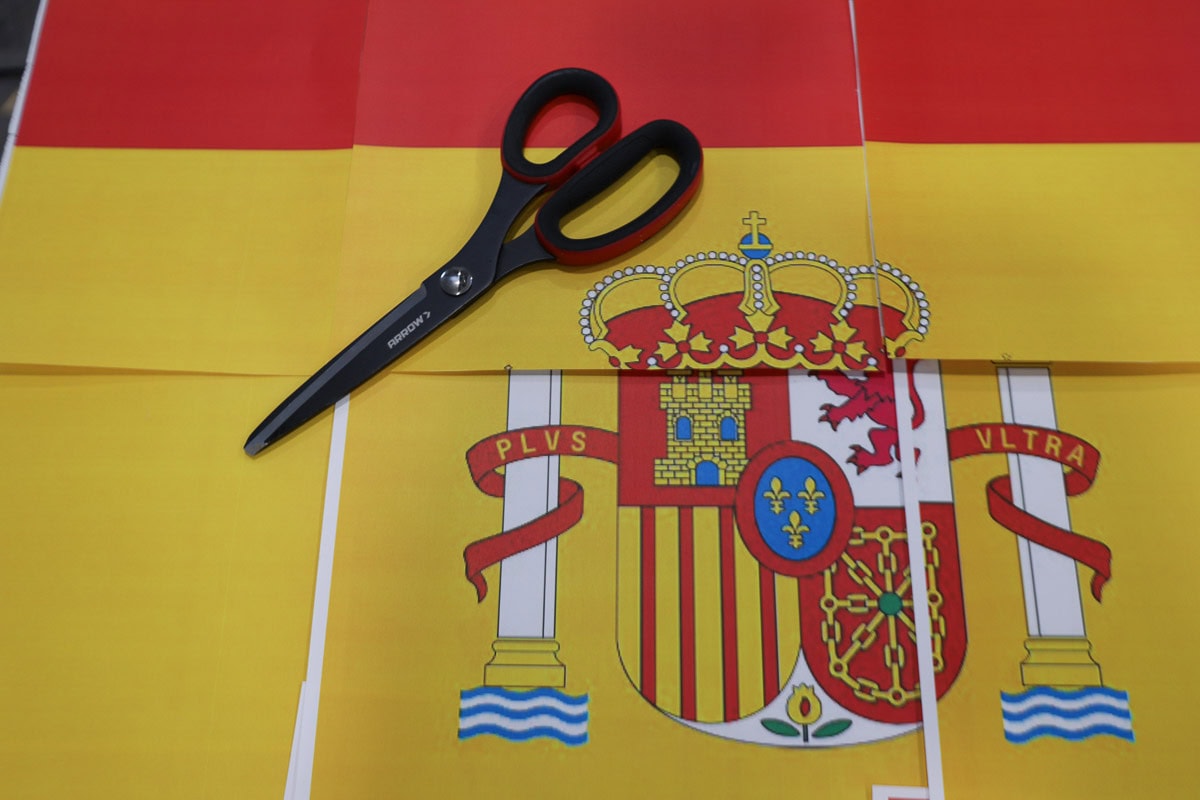
Use your Arrow scissors to trim the excess paper away from your flag image. Be careful not to cut into the image. Dry-fit the image of the flag first to test where each piece of paper will be placed, making sure that the printed flag covers the entire wooden yardstick flag. Once you start trimming the excess paper, you may notice that the pattern shifts a little bit, but this isn’t a huge problem–just cut carefully!
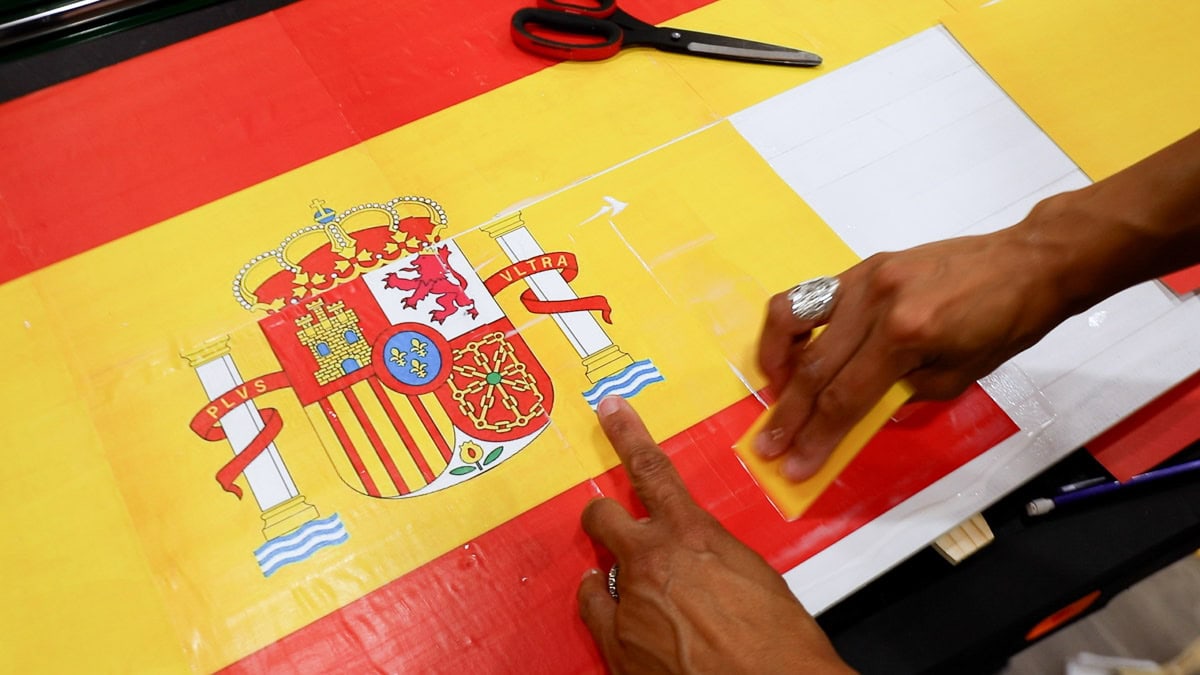
STEP 6: Glue Flag Poster to the Yard Stick Flag
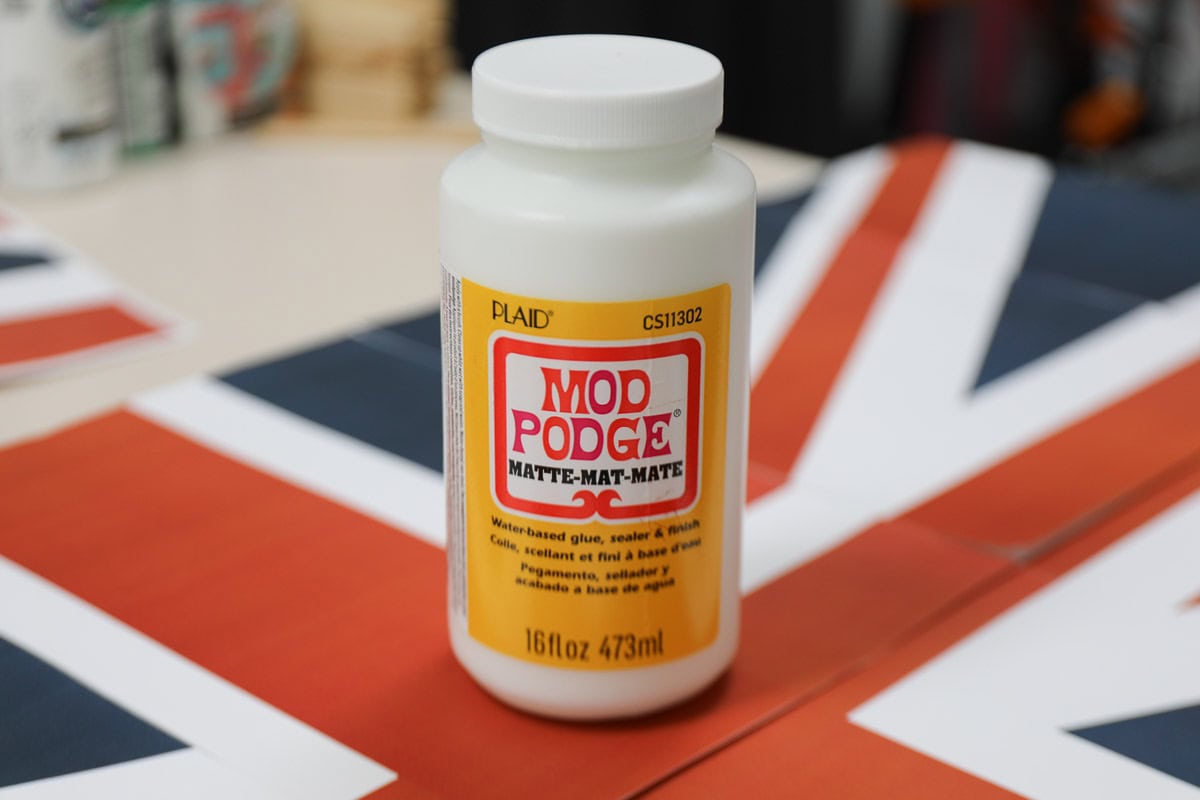
Every craft room needs a bottle of Mod Podge. This stuff is perfect for gluing paper to the insides of drawers, gluing fabric to wood, and so many other uses. It also serves as a sealer, so once you’ve glued your paper down, you apply a coat to seal the top.
To get started, apply a layer of Mod Podge to the back of each piece of the paper flag. Carefully position each piece of paper, using a brayer (roller), or a credit card or other smoother, to remove the bubbles. It’s nearly impossible to remove all bubbles, but the more bubbles you can remove, the better results.
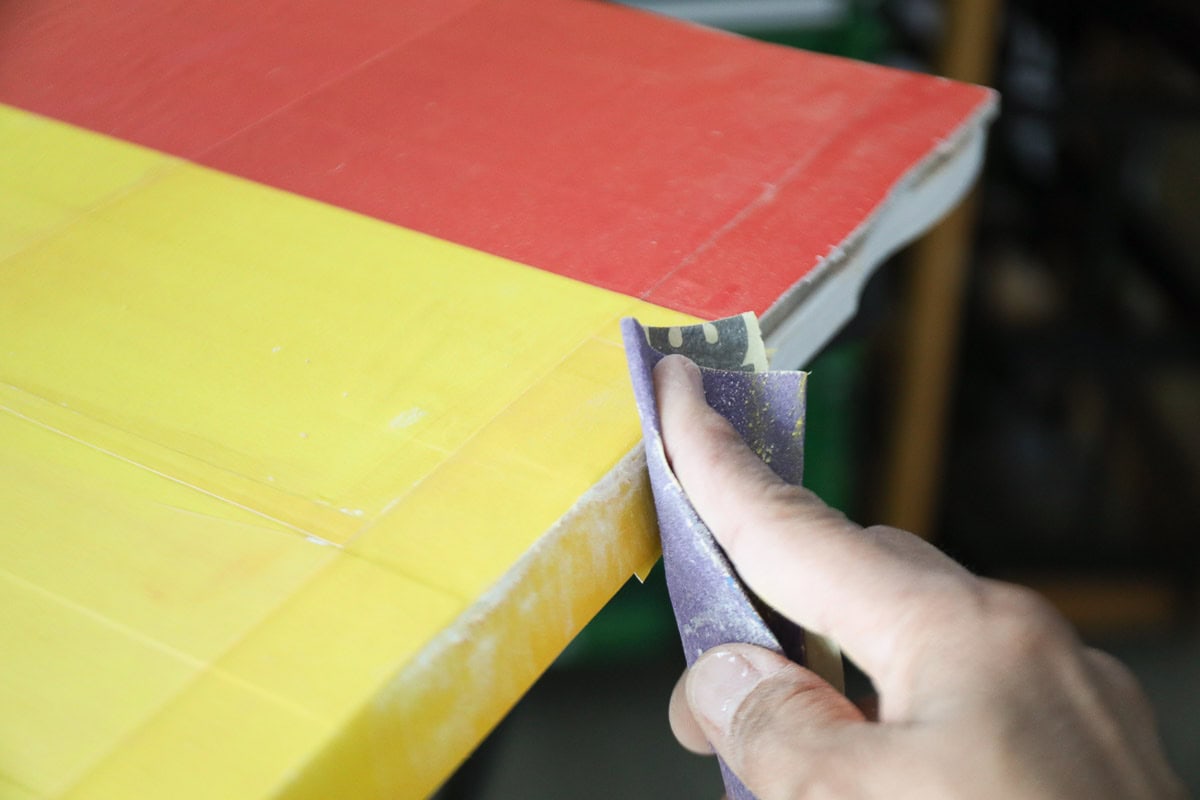
STEP 7: Carefully Sand Excess Paper From the Edges
I have this wonderful trick I use when gluing paper to wood. The trick is that the paper should be wider than the edge. Once the ModPodge (or spray adhesive) dries, use 150-grit sandpaper at an angle and very carefully sand off the edge of the excess paper at a 45 degree angle. It will always leave a crisp edge to the paper along the edge.
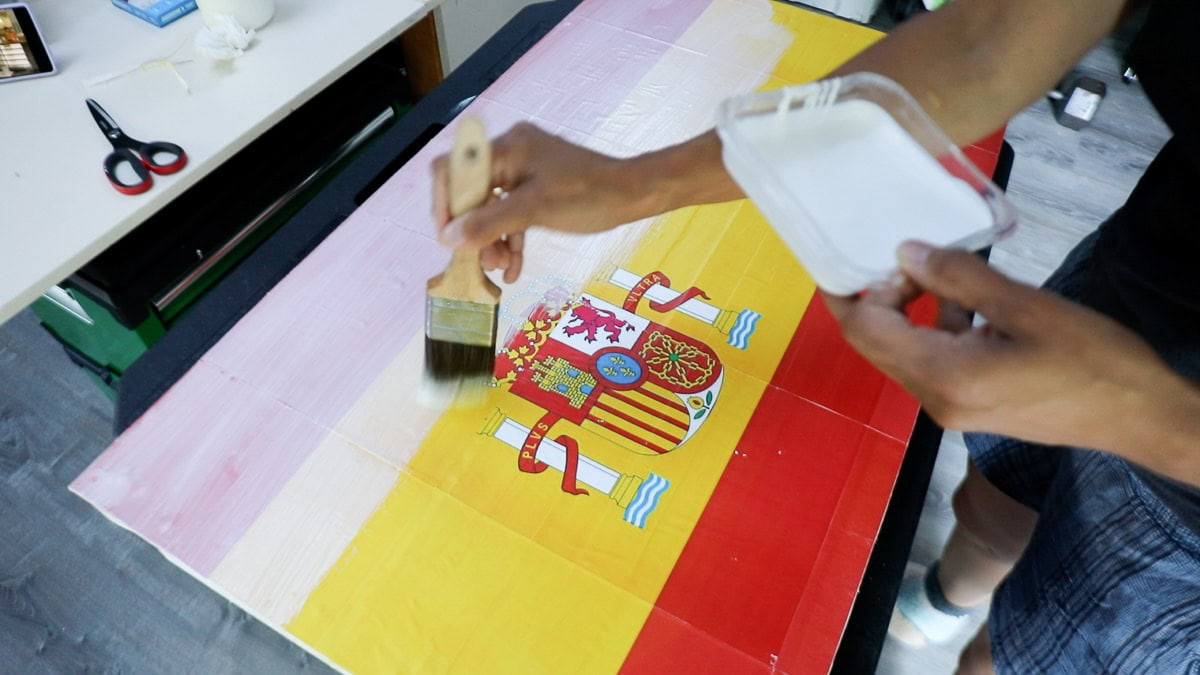
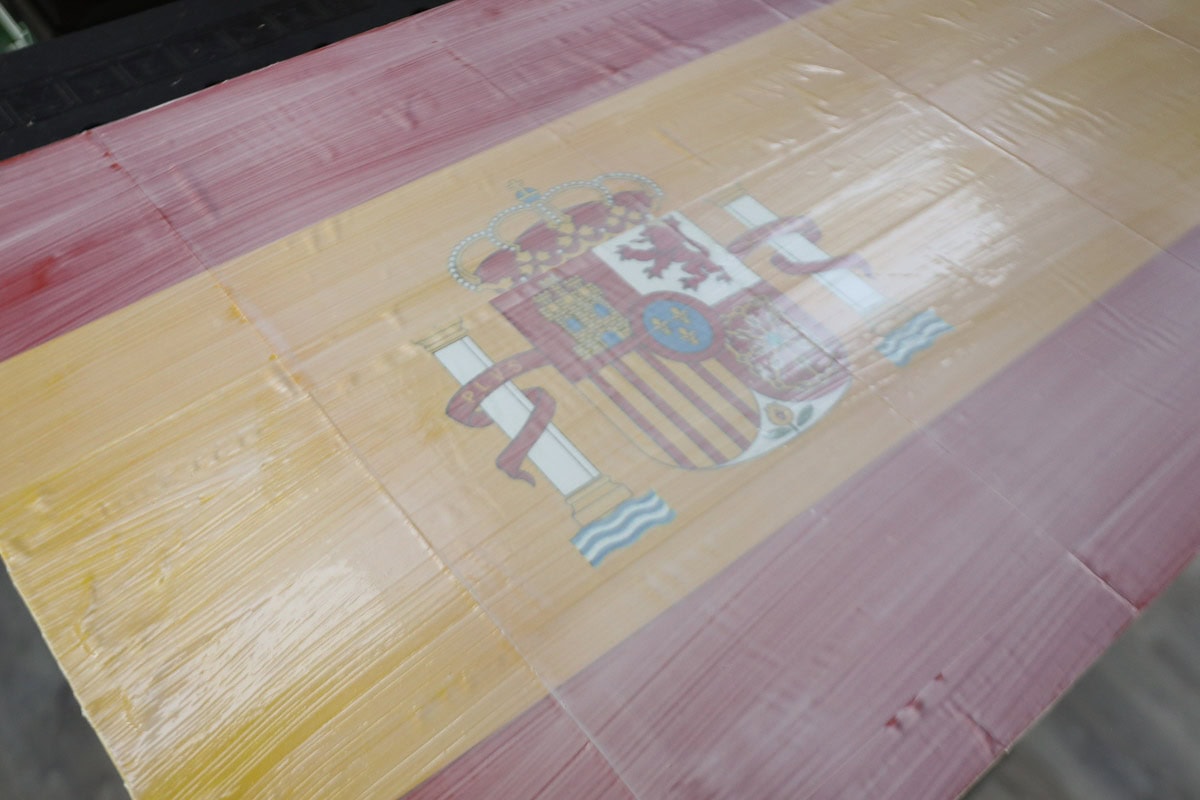
STEP 8: Apply a Layer of Sealer to the Flag
Protect the flag by applying a layer of ModPodge sealer with a paint brush. It will look milky white, but this is normal and will dry clear. This is why I love the matte finish and not the glossy, because the matte finish will help to hide any bubbles. It’s impossible to get out every bubble, but the matte finish won’t accentuate them.
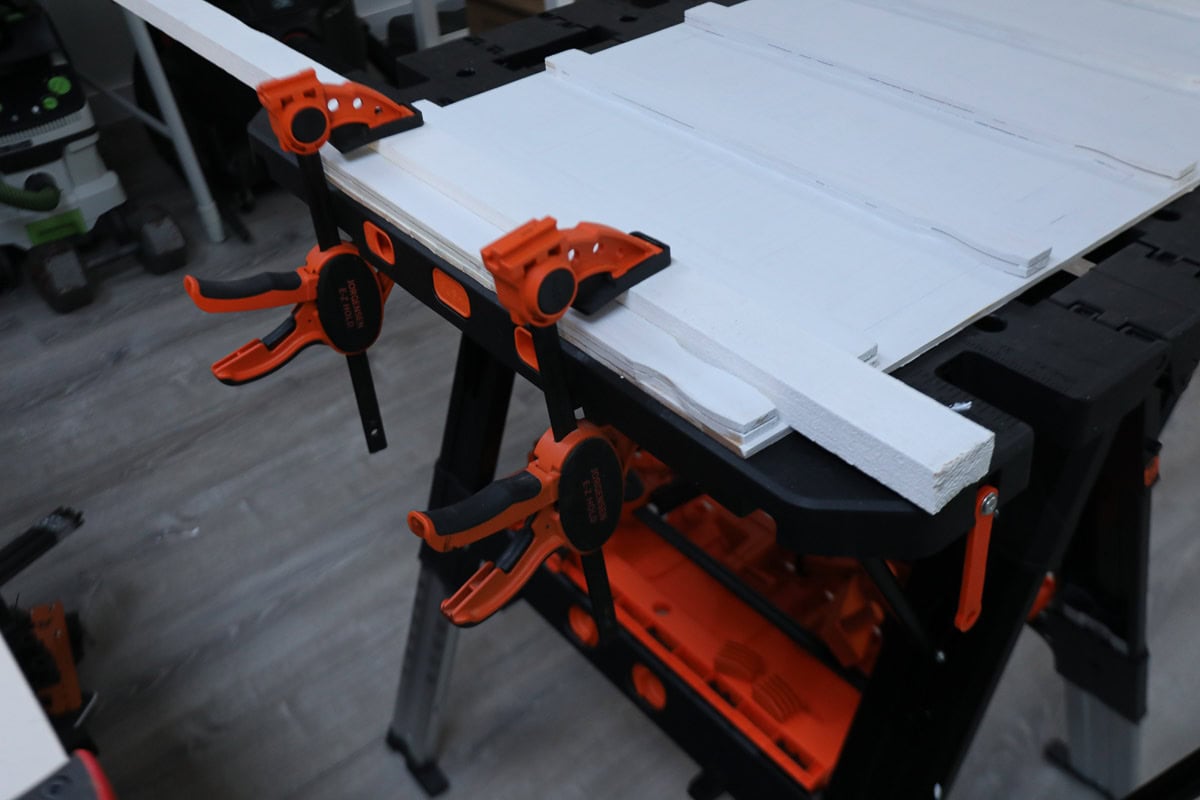
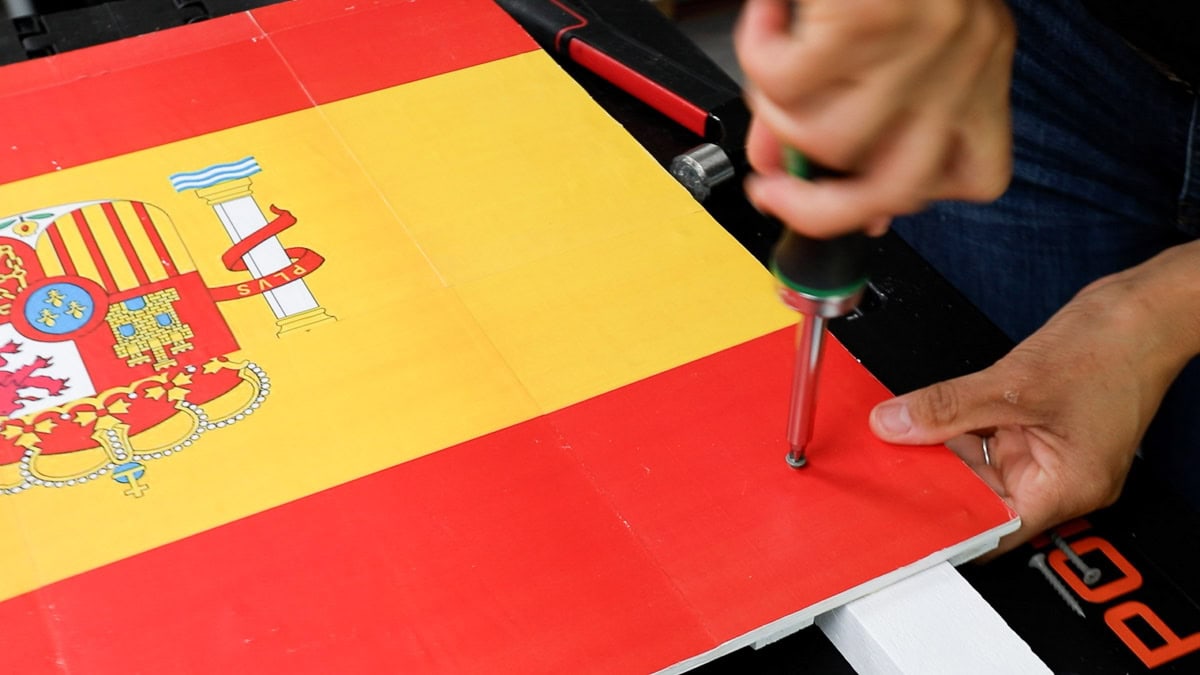
STEP 9: Paint and Secure the Wooden Flag to the Garden Post
I’m using 5-foot garden stakes to serve as the flag post. I used craft paint on them, but since they’re outside, a good quality exterior outdoor paint would be best. You’ll only need one garden stake.

Once they were dried, I glued and clamped the painted garden stake to the back of the wooden flag and clamped it.
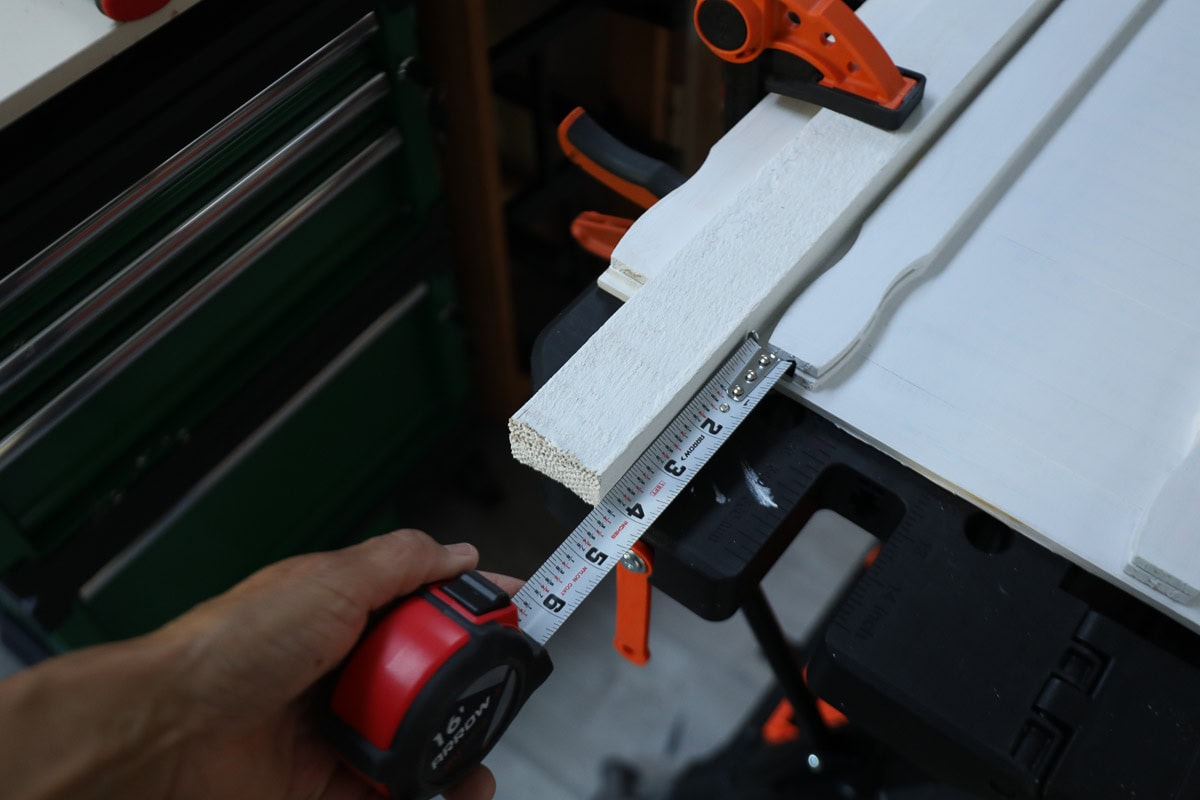
I used my Arrow tape measure to make sure that the top of the flag post was about 4″ long.
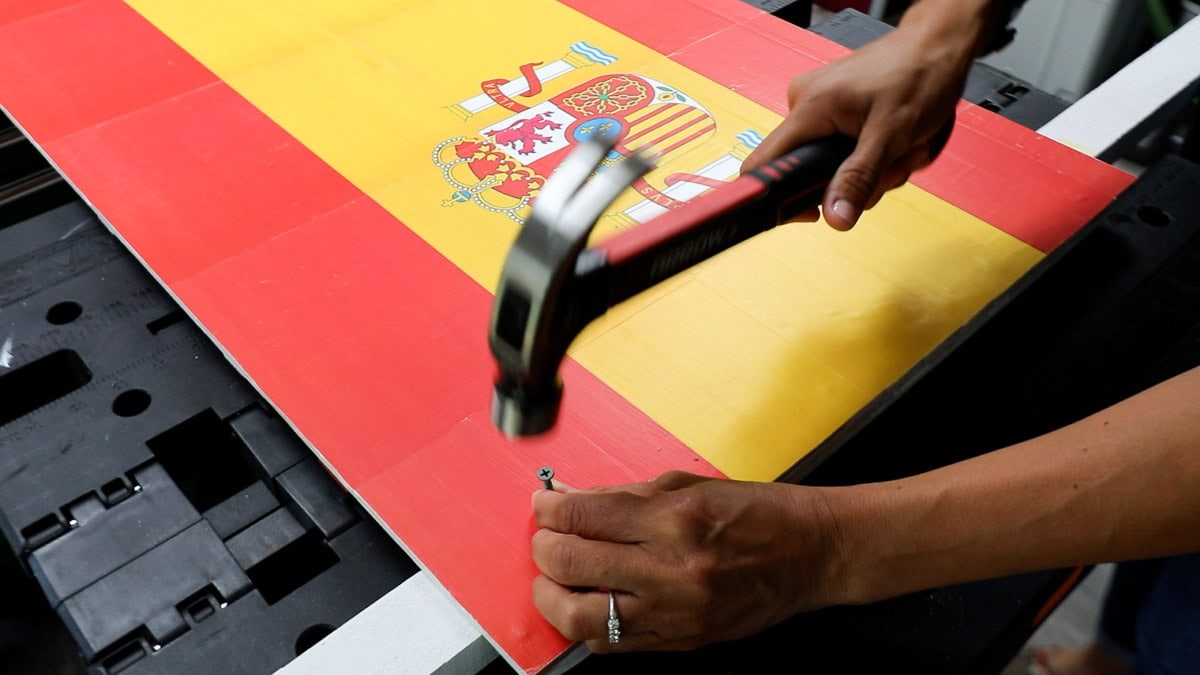
If I did this project over again, I would have screwed the yardstick flag to the garden post first, and then glued the paper to the flag to hide the screws. But this is how DIY projects work–sometimes you don’t realize it until after you’ve moved on. HA!
I used my hammer to tap in exterior screws, then used my SK screwdriver to secure the flag to the post. I don’t think it’s too much of a big deal, but for the next wooden yard flag, I would secure it first, then glue the paper to hide the screws.
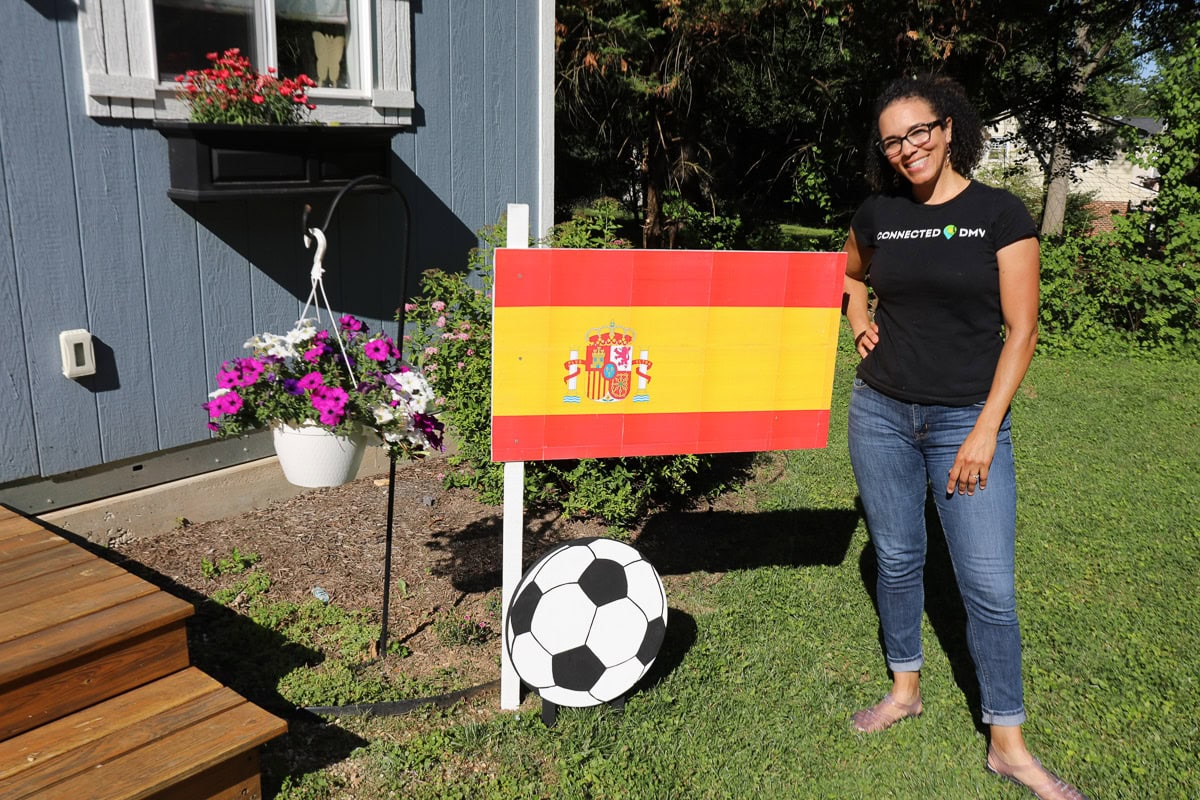
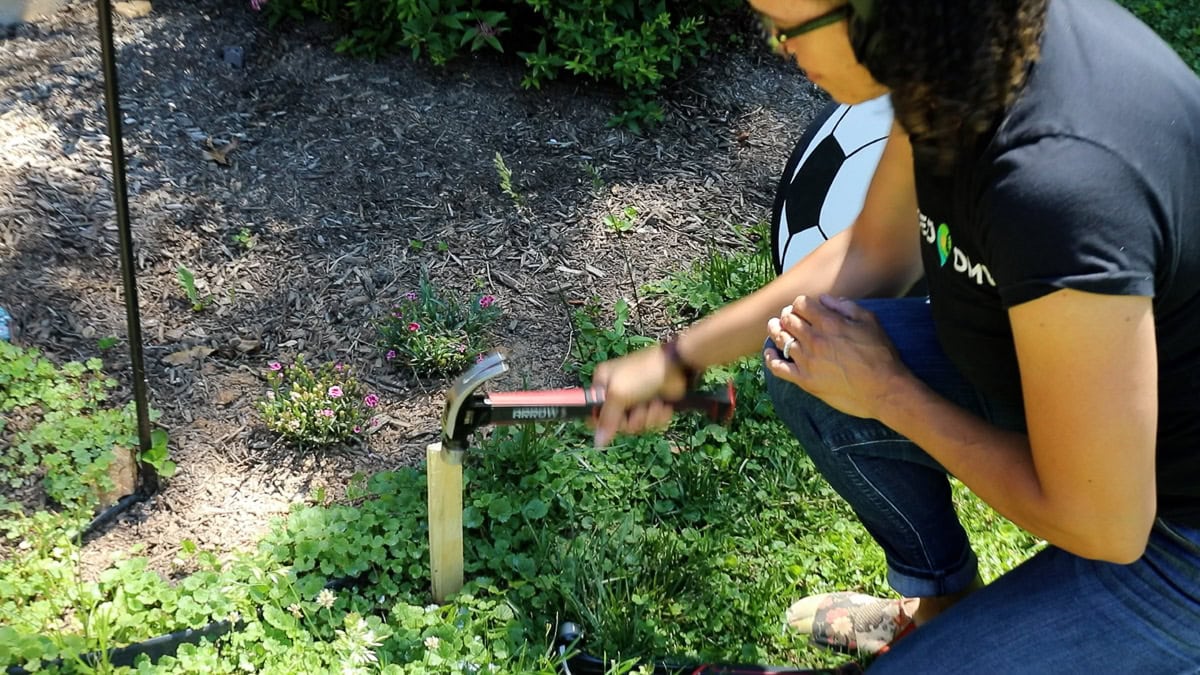
STEP 10: Mount the DIY Wooden Flag Sign in the Yard
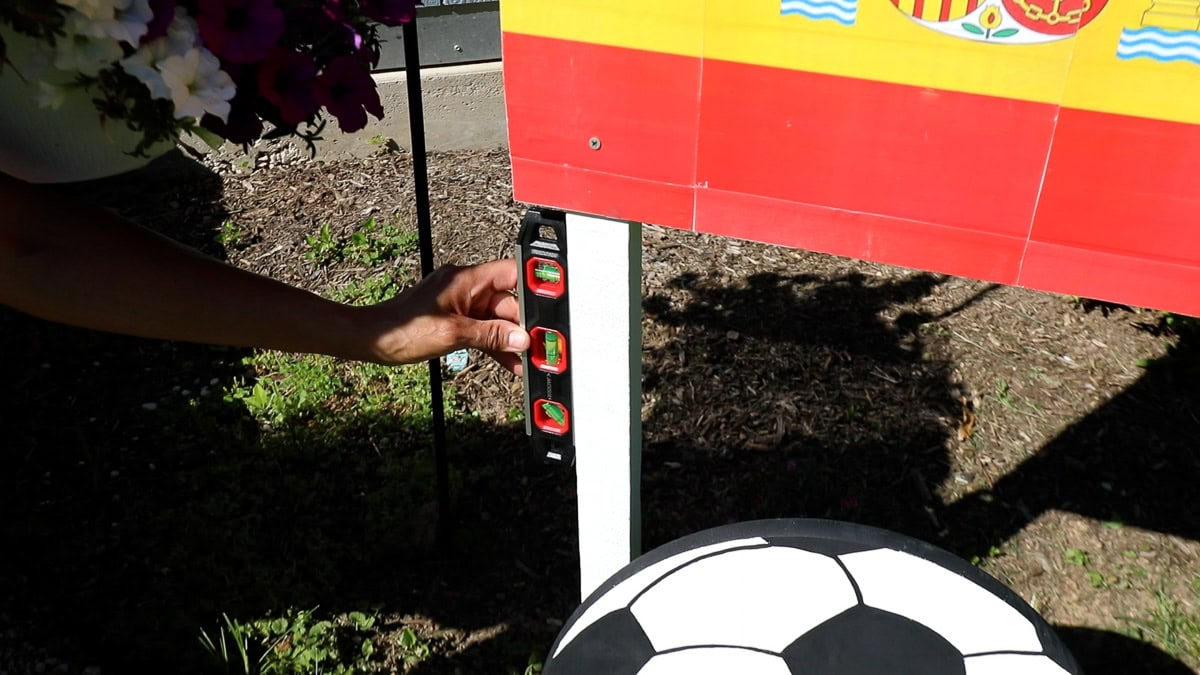
If you have a power drill with an auger attachment, you can easily drill a hole for the garden stake. Otherwise, use a garden stake and hammer to pre-dig a hole for your flag. Wiggle the stake around to create room. Sit the flag in the hole, and use your hammer on the top of the garden post to further drive the post. Use a level to ensure it’s straight and plumb.
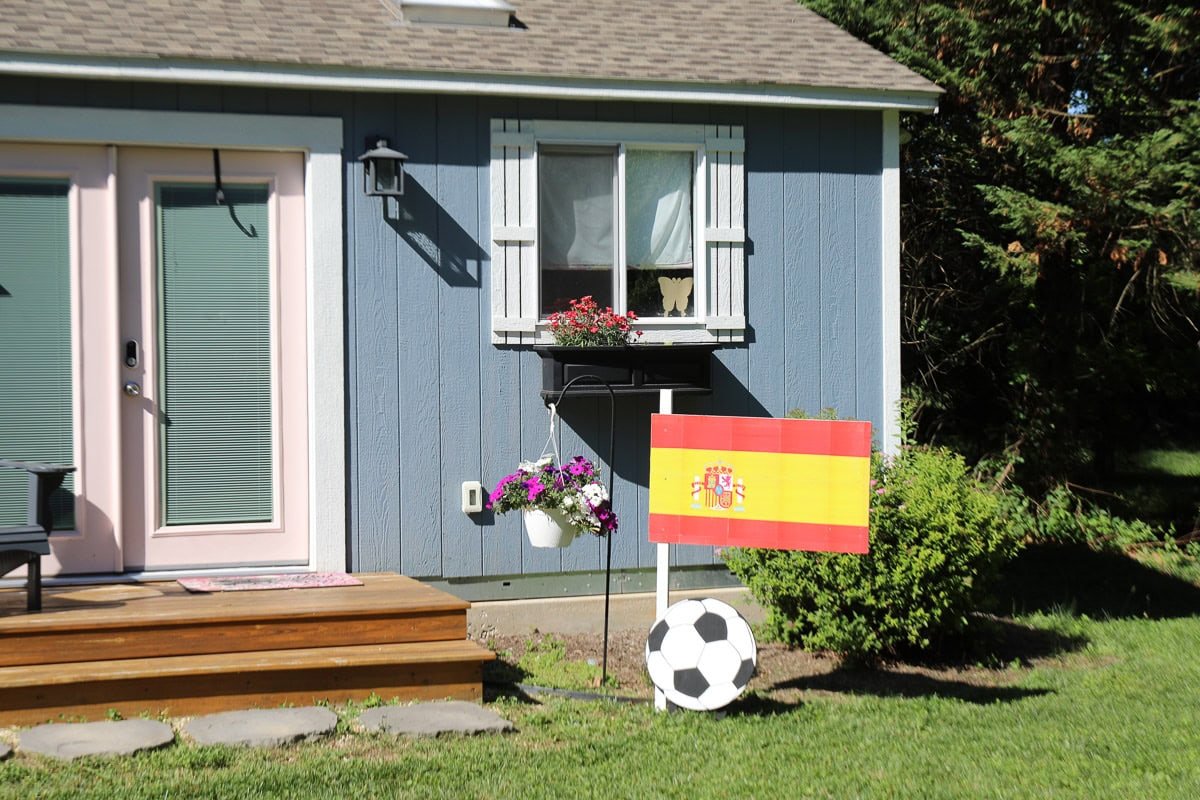
This is such an easy project that you can do with your kids to show support for their favorite football (soccer) team during the Big Game that’s coming!
Bonus Yard Sign!
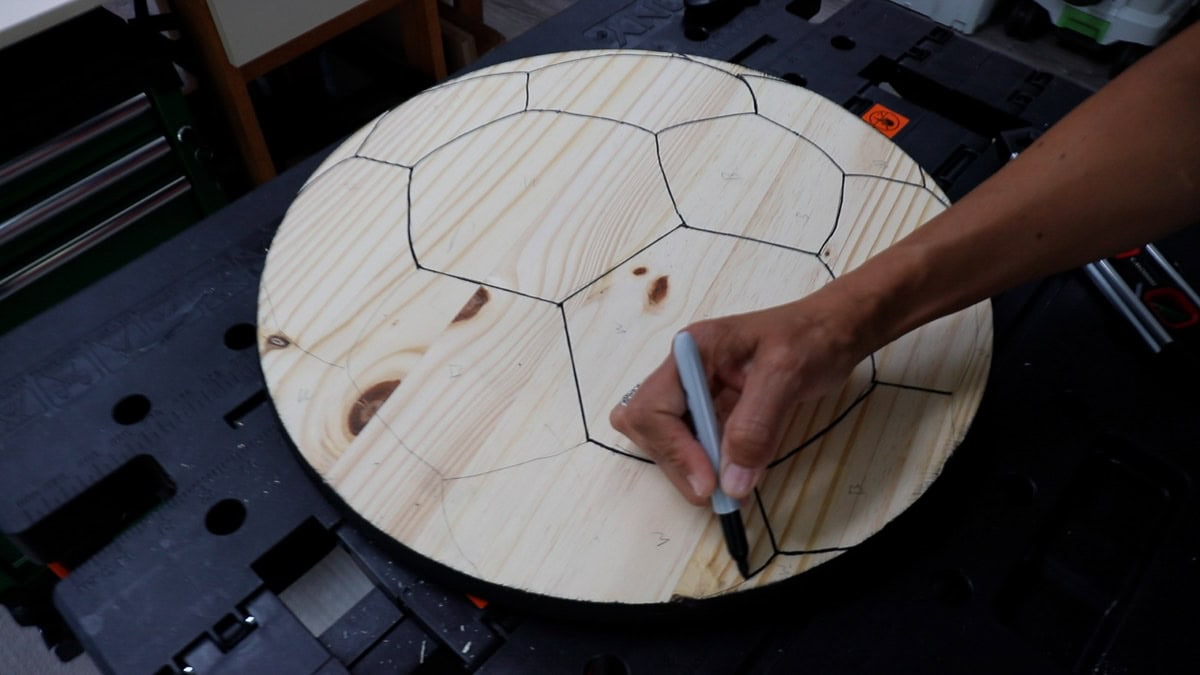
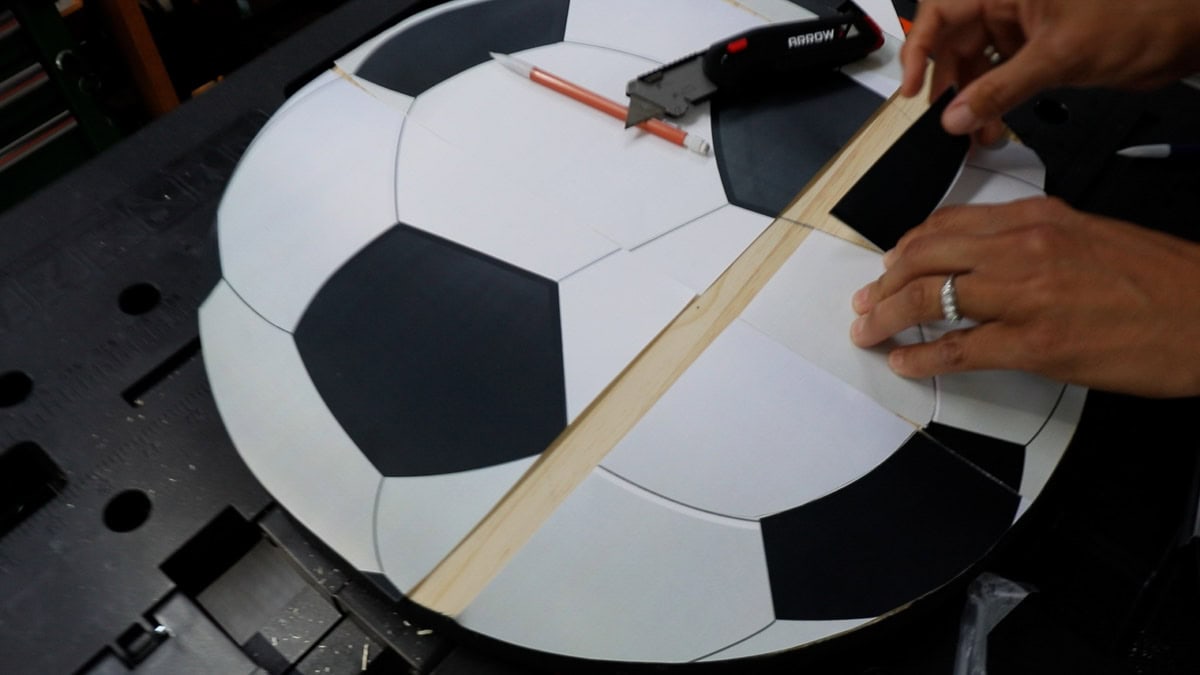
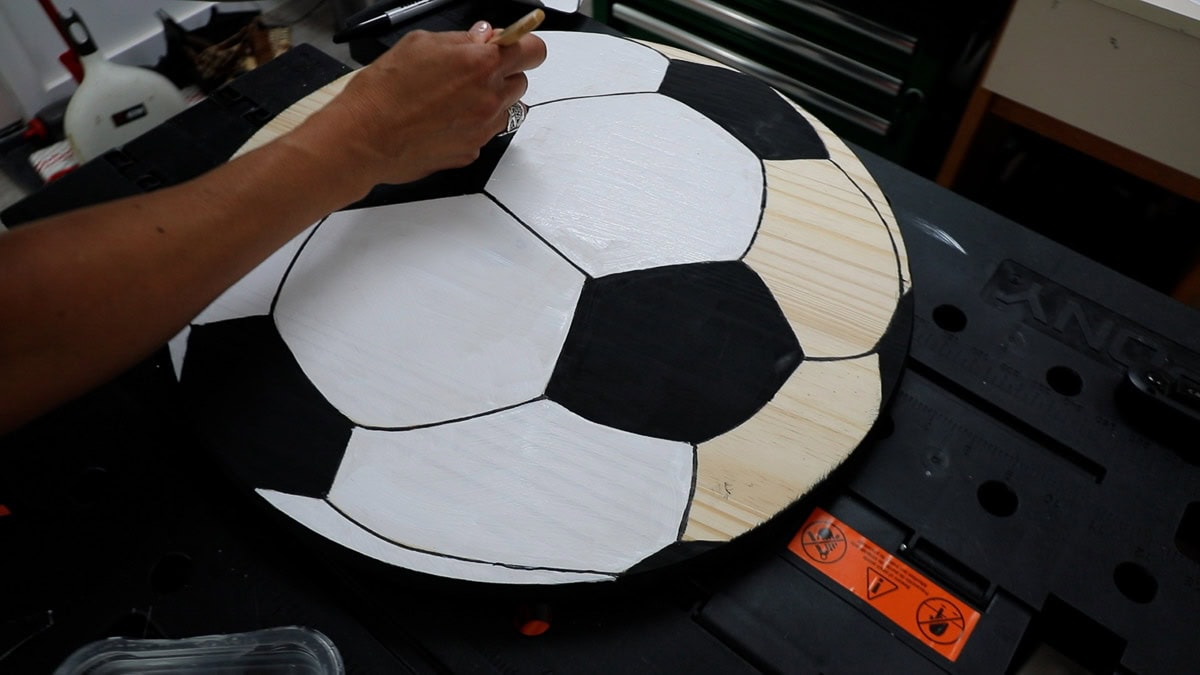
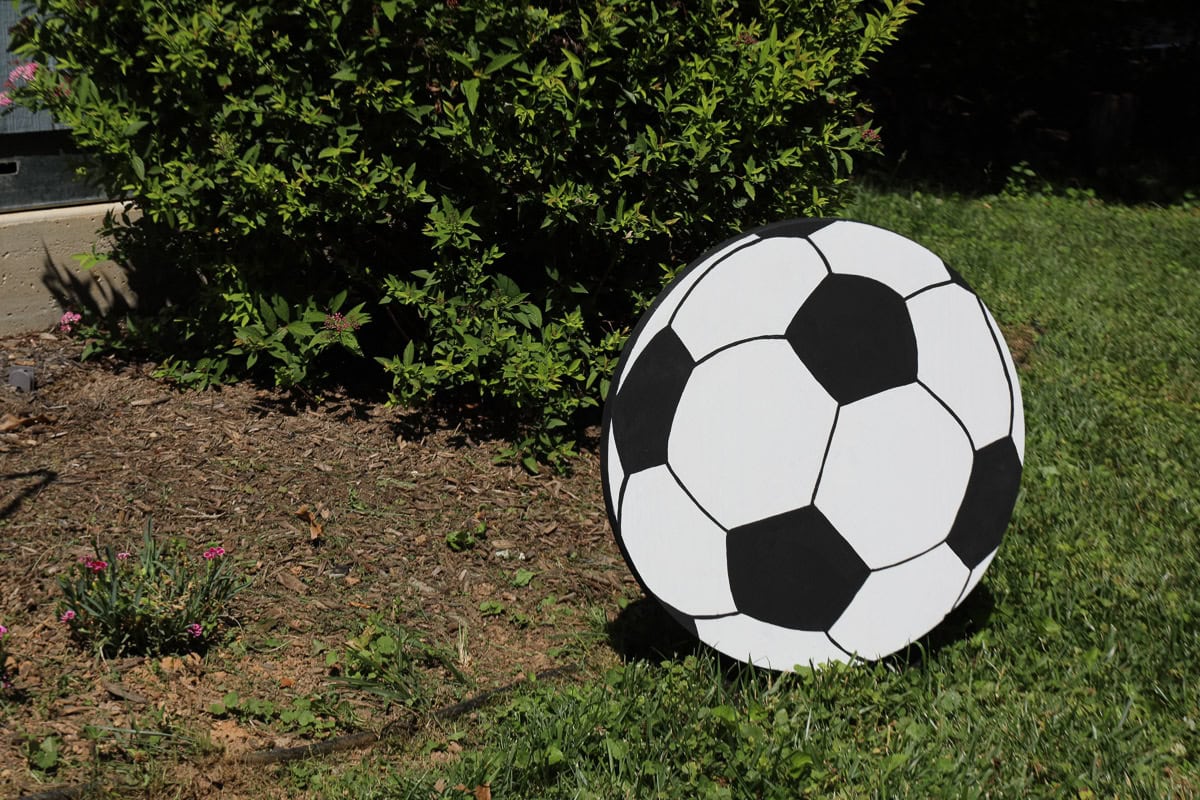
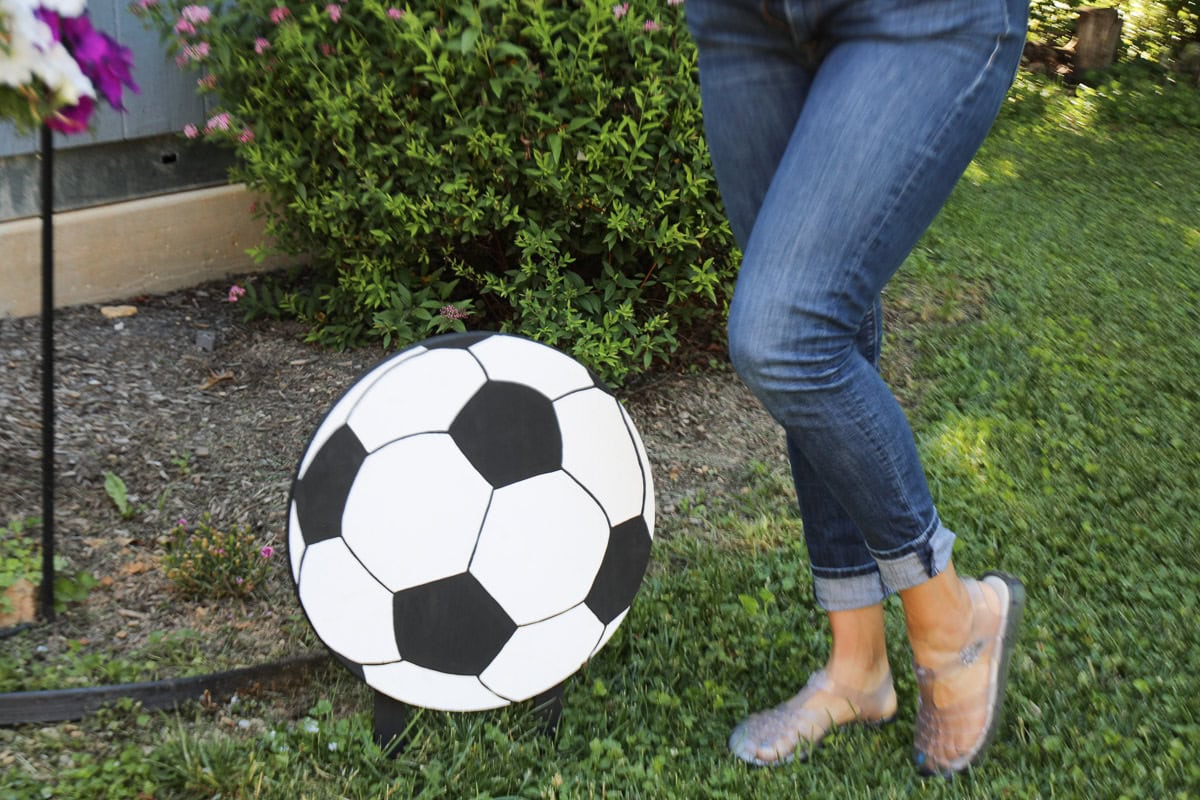
I wanted to make a DIY soccer ball yard sign, too! I bought a pre-cut round piece of pine and painted a soccer ball on it. I had blown up an image of a soccer ball, laid it on the pine board, and cut out a piece of the soccer ball pattern, tracing the shapes onto the round pine wood with a pencil, then a Sharpie.
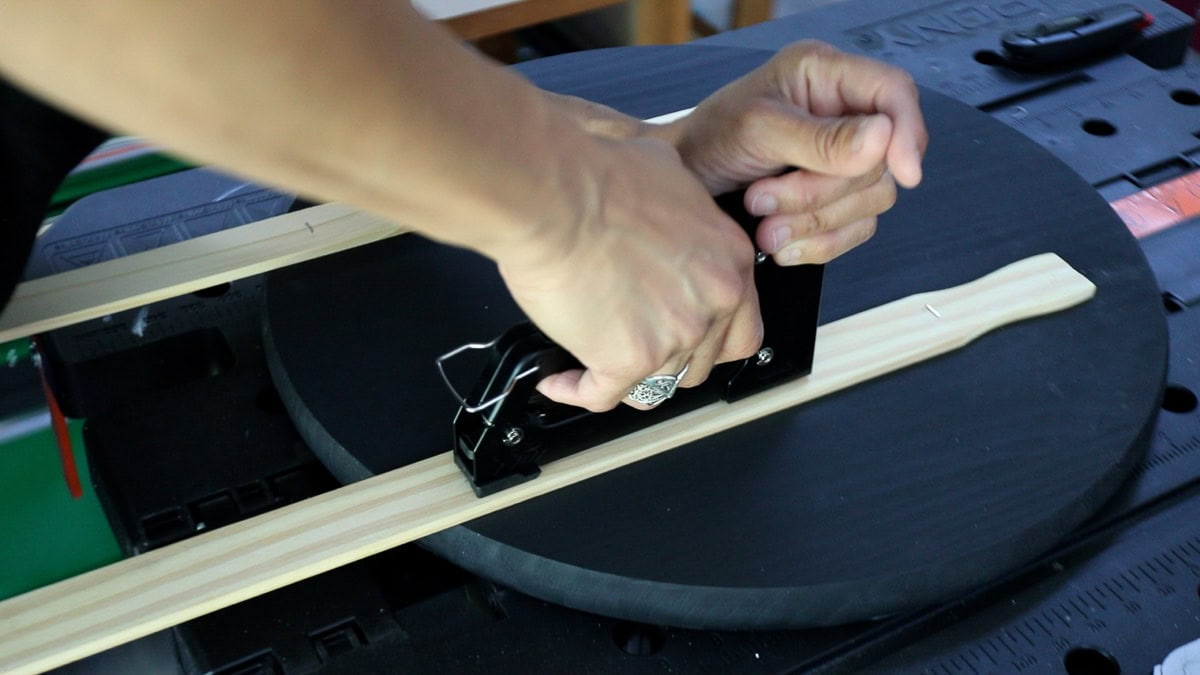
I used my Arrow T301 stapler and 1/2″ T50 staples to secure paint stirs to the back.
Another Fun Idea!
For your next birthday party, make several of these yard sign soccer balls and hot glue a large letter to each soccer ball to spell out your child’s name! What a great way to welcome guests to a soccer-themed birthday party. 🙂

Arrow Go for the Goal!
As you get ready to cheer on your favorite team, be sure to check out these other Arrow “Go for the Goal” projects, including How to Make a PVC Soccer Goal and How to Make a Soccer Rebounder.

Download the 5 freebies!

Thrift Diving inspires women to decorate, improve, and maintain their home themselves...using paint, power tools, and thrift stores! Use these 5 printables, checklists, and ebooks to get started!