How to Reupholster the Back, Sides, and Outside of a Wingback Chair
This post is brought to you by Arrow Fastener. All opinions and project details are my own.
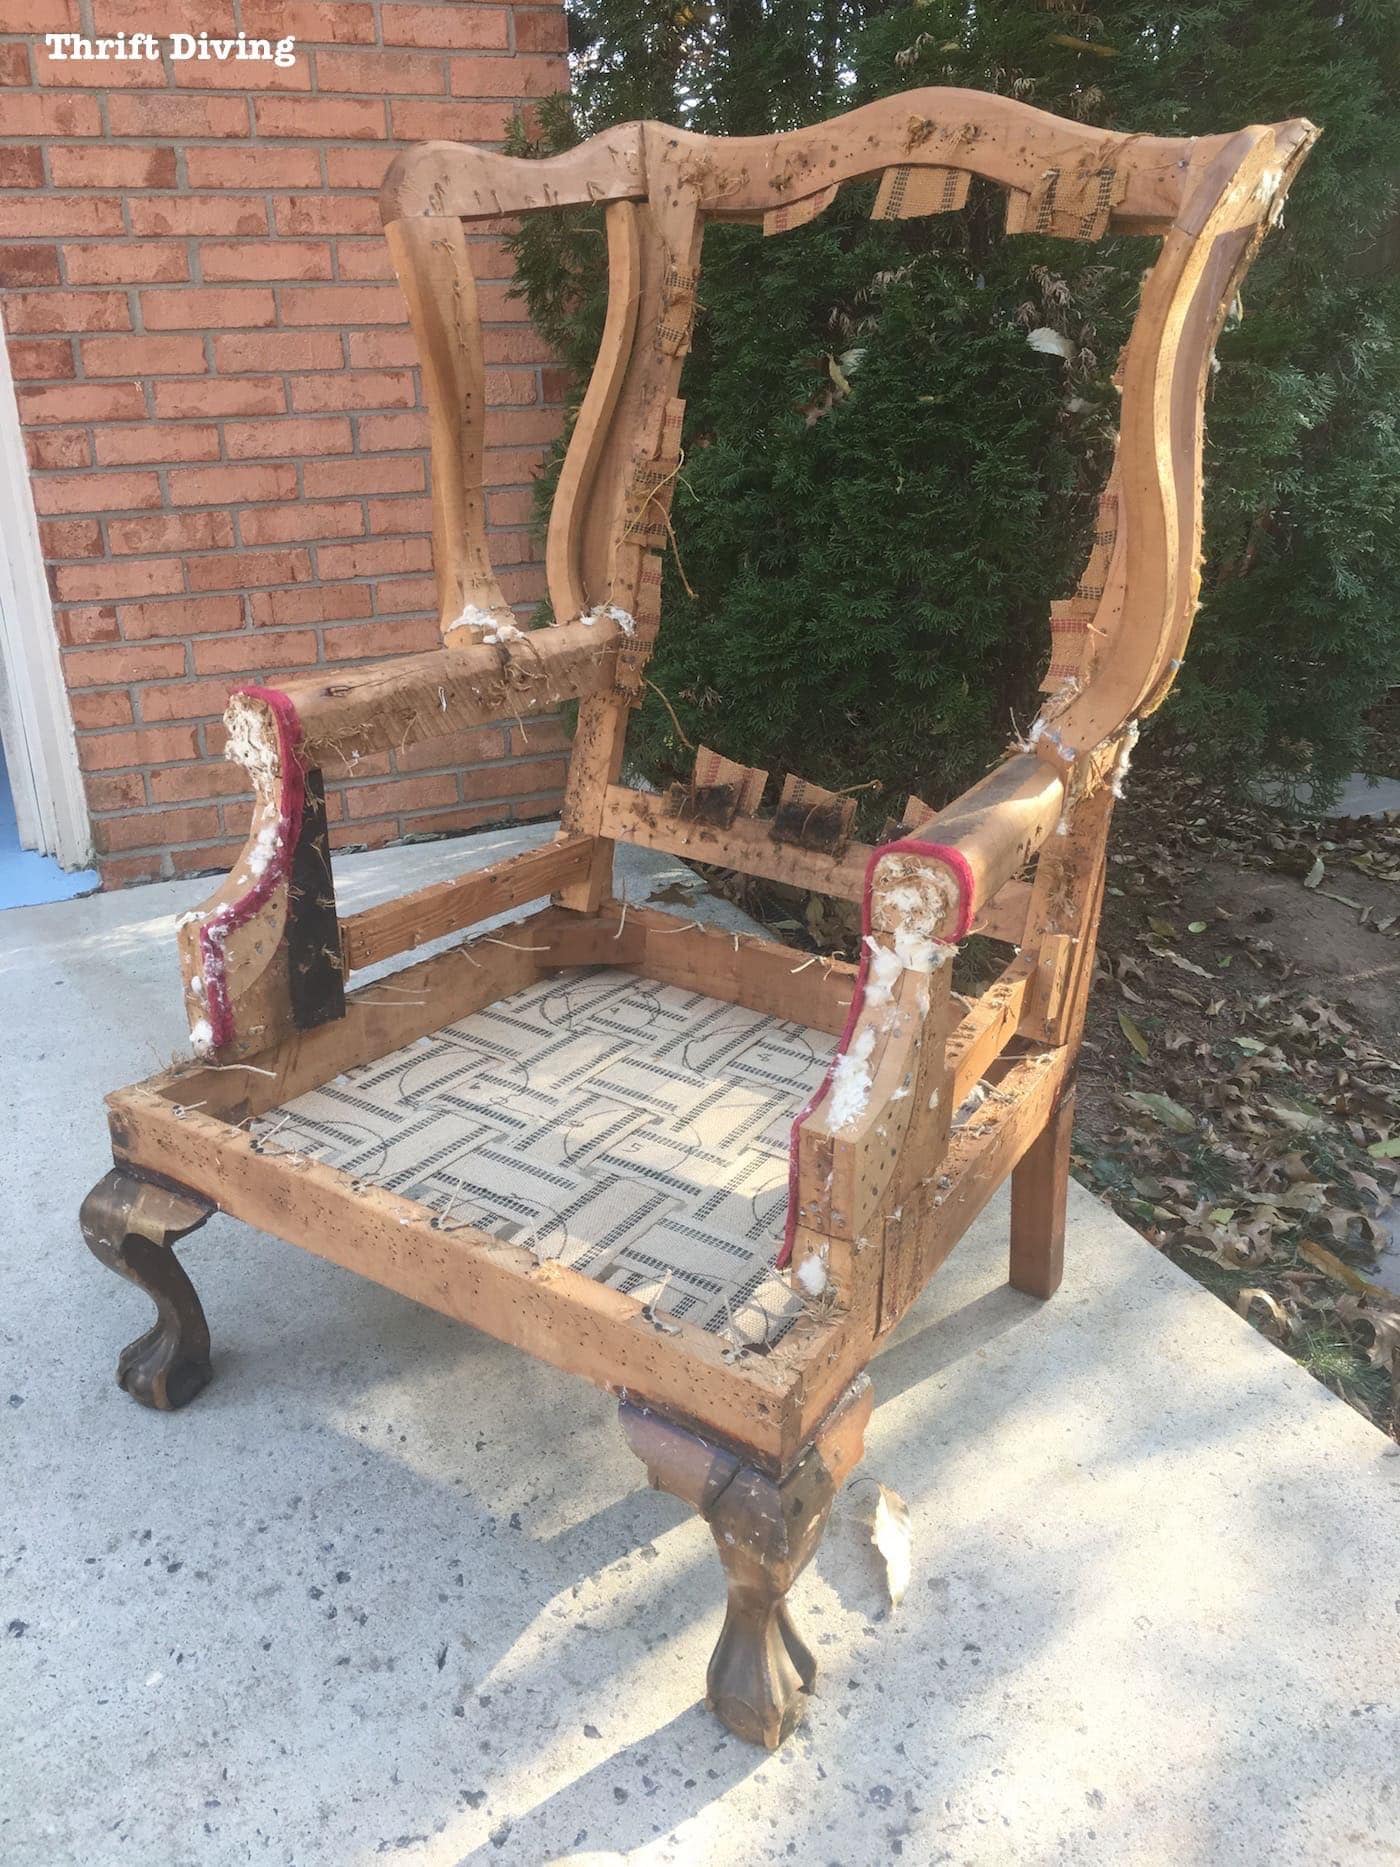
If you’ve been following my upholstered wingback chair series, you’ll know that it took a whole lot of upholstery classes and a bunch of materials to take this $60 chair from my favorite thrift store…..

…and tore it down to the bare studs….
…..and finally got to the point recently where I was ready to finish off the inside of the wingback chair and complete the outside!
Believe me when I say that this was not an easy process. But it was one of the most rewarding and something that I don’t regret one bit, despite the heaps of money I sunk into upholstery classes, new fabric, and upholstery notions.
Later, I will share step-by-step how I did the entire chair, but in this post, we’re focusing on how I finished off the inside back of the chair and the outside of the chair. I ran out of fabric so I still need to finish off the seat cushion, but that will come soon in the final video of this series.
For now, let’s jump into the materials needed for this step in the chair makeover.
Materials
(I participant in the Amazon Services LLC Associates Program and other affiliate advertising programs designed to provide a means for me to earn fees by linking to Amazon.com and affiliated sites).
- Fabric
- Arrow Fastener PT50 pneumatic staple gun (you can buy it here on Amazon)
- Air compressor
- Air compressor hose
- Air compressor connectors
- Genuine Arrow Fastener T50 Staples
- Cotton batting (by the roll)
- Dacron batting
- Flex-grip (aka, Curve ease)
- Staple lifter
- Cording
For this part of the reupholstering, I was trying out the Arrow Fastener stapler. It’s pretty affordable at about $33, but you’ll need an air compressor with all the right connectors and hose attachment. It uses the T50 staples, so if you already have a T50 hand stapler, you won’t have to buy all new staples.
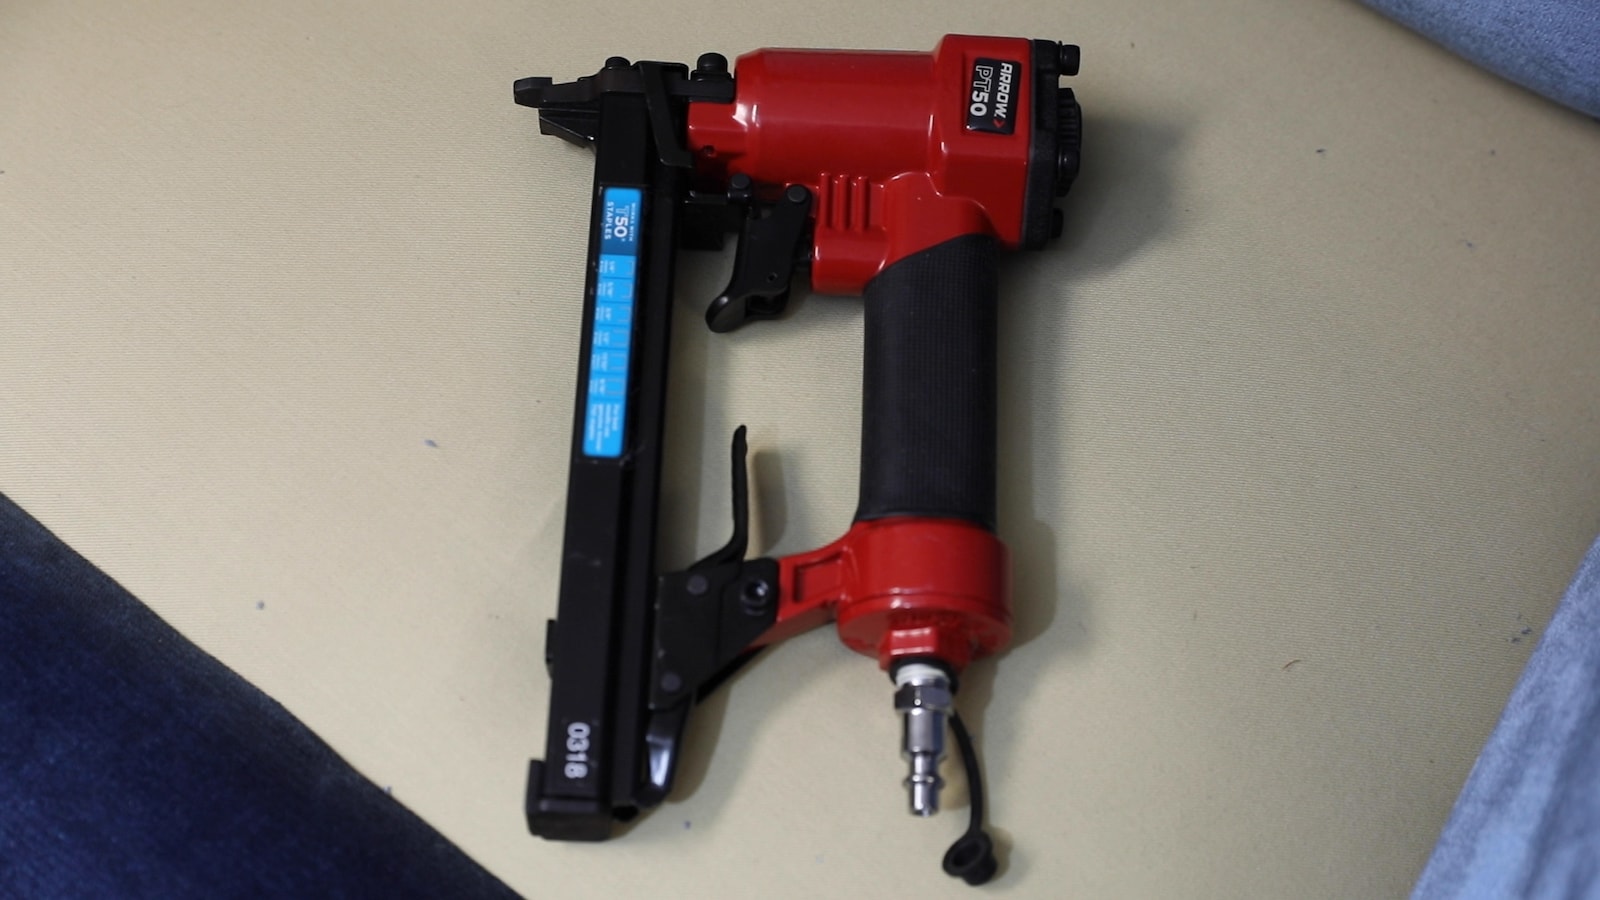
For this pneumatic staple gun, you definitely need an air compressor. I have this air compressor which isn’t as loud as other air compressors I have used.
You’ll also need a hose and connectors, which you can find HERE and HERE.

How to Reupholster the Back and Outside of a Wingback Chair
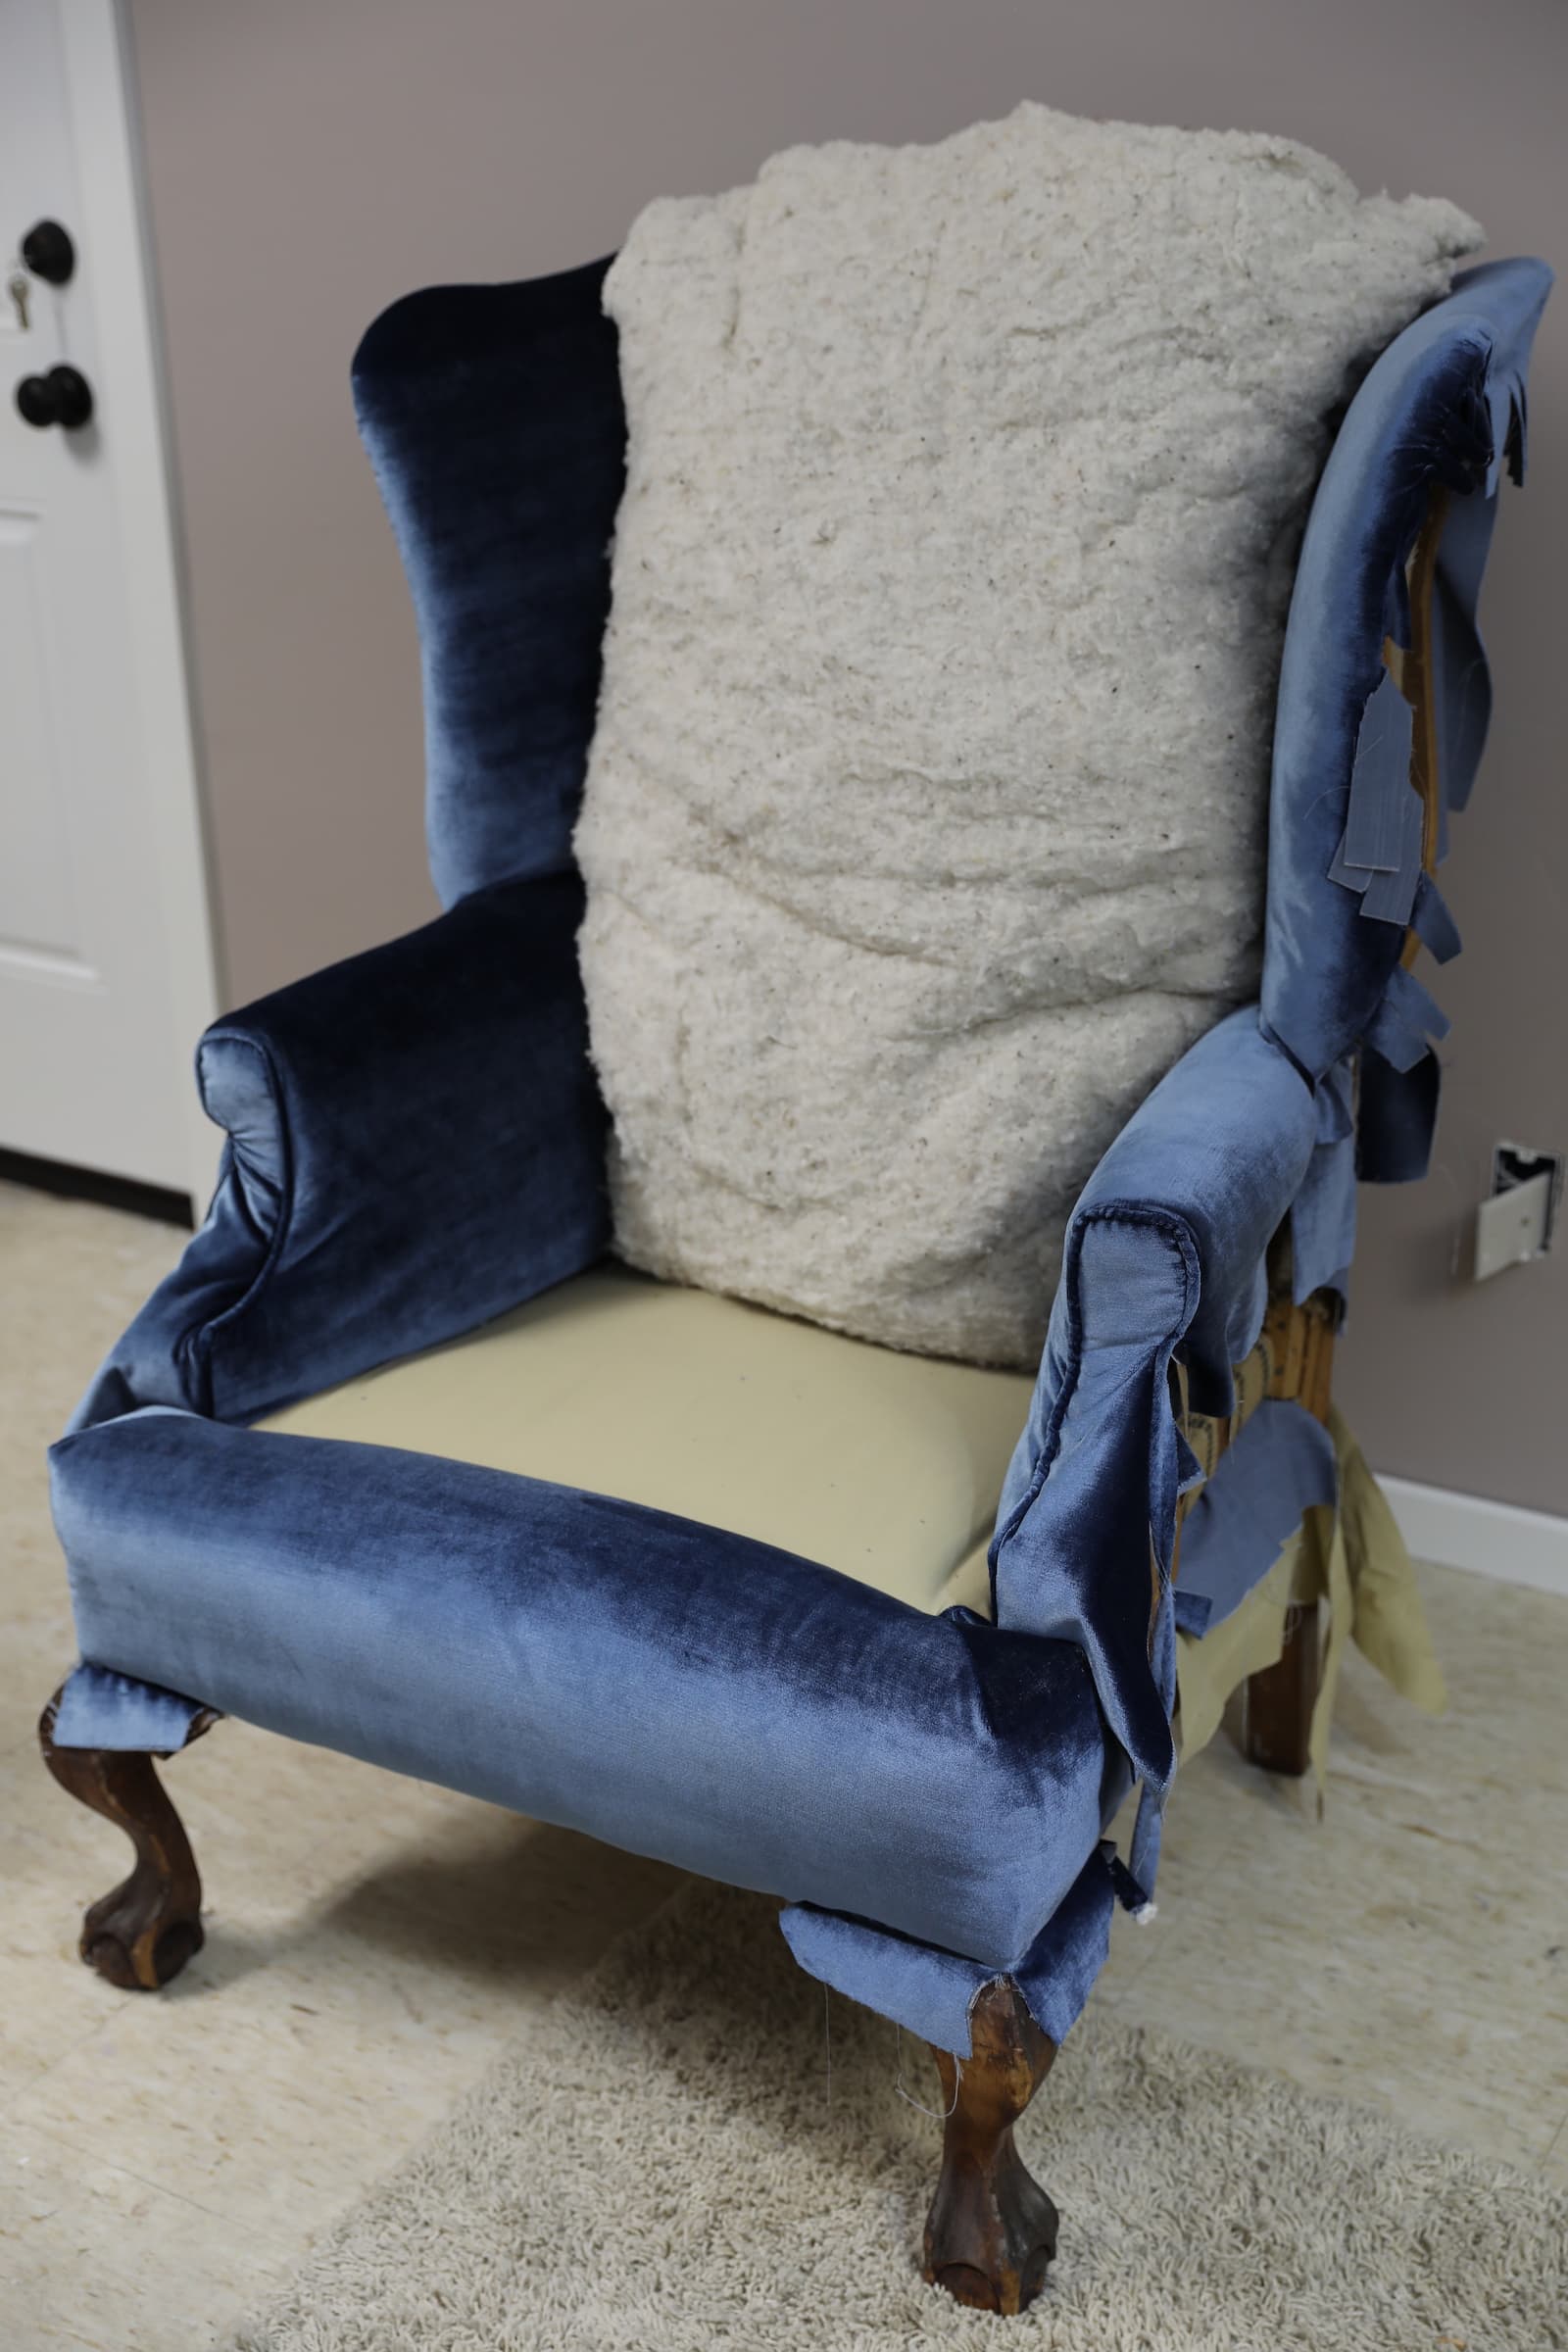
STEP 1: Cover the Back with Layers of Cotton Batting
This wingback chair has coconut fiber on the inside (which replaced the horse hair that was originally in the chair, which I stapled into place along the edge of the chair. Two layers of cotton bat were placed over the coconut fiber, followed by a layer of dacron.

The dacron was gently tucked into the sides of the chair.
The edges of the dacron and cotton batting were rolled under along the edge to create a smooth, rounded edge.

STEP 2: Center the Fabric on the Back and Temporarily Staple in the Middle
One important lesson I learned with this wingback chair makeover was to center your fabric to the center of your chair when placing fabric. You can see the small “V” that I cut in the fabric to indicate the center. I matched that “V” up to the middle of the chair and stapled once. I pulled the fabric tight on the bottom and place another temporary staple on the bottom.
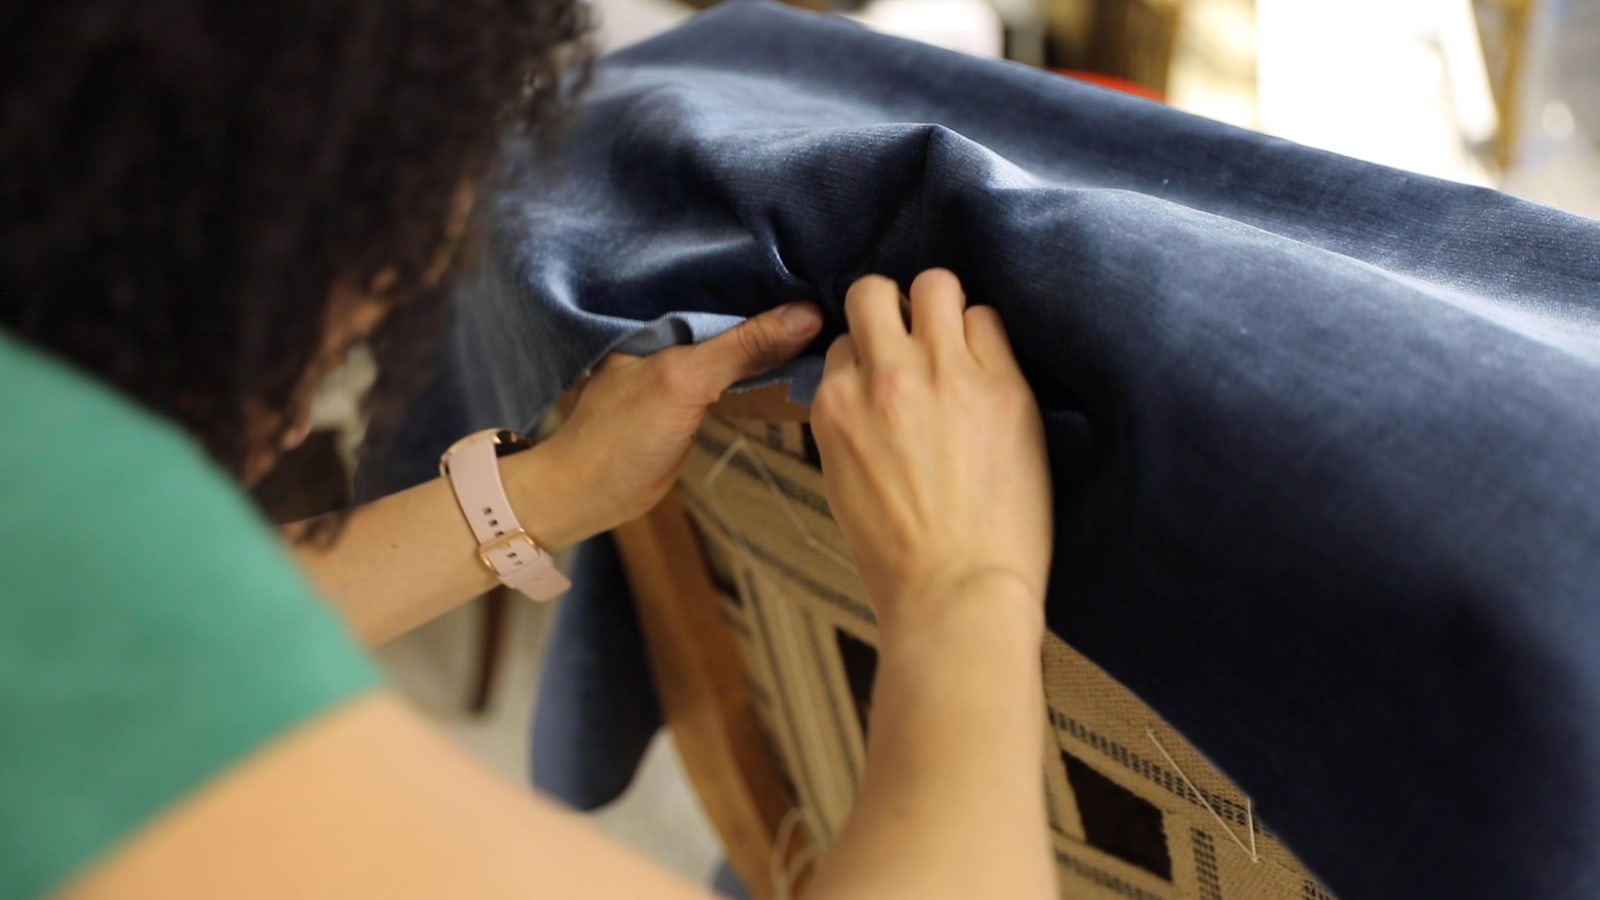

STEP 3: Pull Tightly to One Corner and Make Necessary Cuts
The temporary center staple helped to keep the fabric in place so that I could pull it taut and begin fitting the fabric at one corner at a time.

However, while you’re pulling it tight, you also have to be mindful of where the fabric will need to be cut in order to fit the fabric around and through the chair. It’s pretty difficult to take a big square or rectangle of fabric and make it fit without making slits where necessary. So I used my hands to stuff into the cracks of the chair, determining where the fabric would need to fit, and then carefully snipped the fabric to fit through those areas. You have to be very careful with these snips of the fabric because if it’s snipped in the wrong way, you may not get a good fit, and the snips may be visible on the finished chair. Watch the video tutorial to learn more about how I made these snips.

Once the fabric was strategically cut, I pulled it taut and stapled it into place, making sure there are as few wrinkles as possible.
STEP 4: Attach Burlap, Cording, and Curve Ease
Before attaching the cording and curve ease, I stapled burlap to the outside wing.
Not all chairs have cording, but this one did and I thought it looked good with it. So I sewed cording (you can watch this video to see how the cording was made) and stapled it onto the curve of the outside wings of the chair.
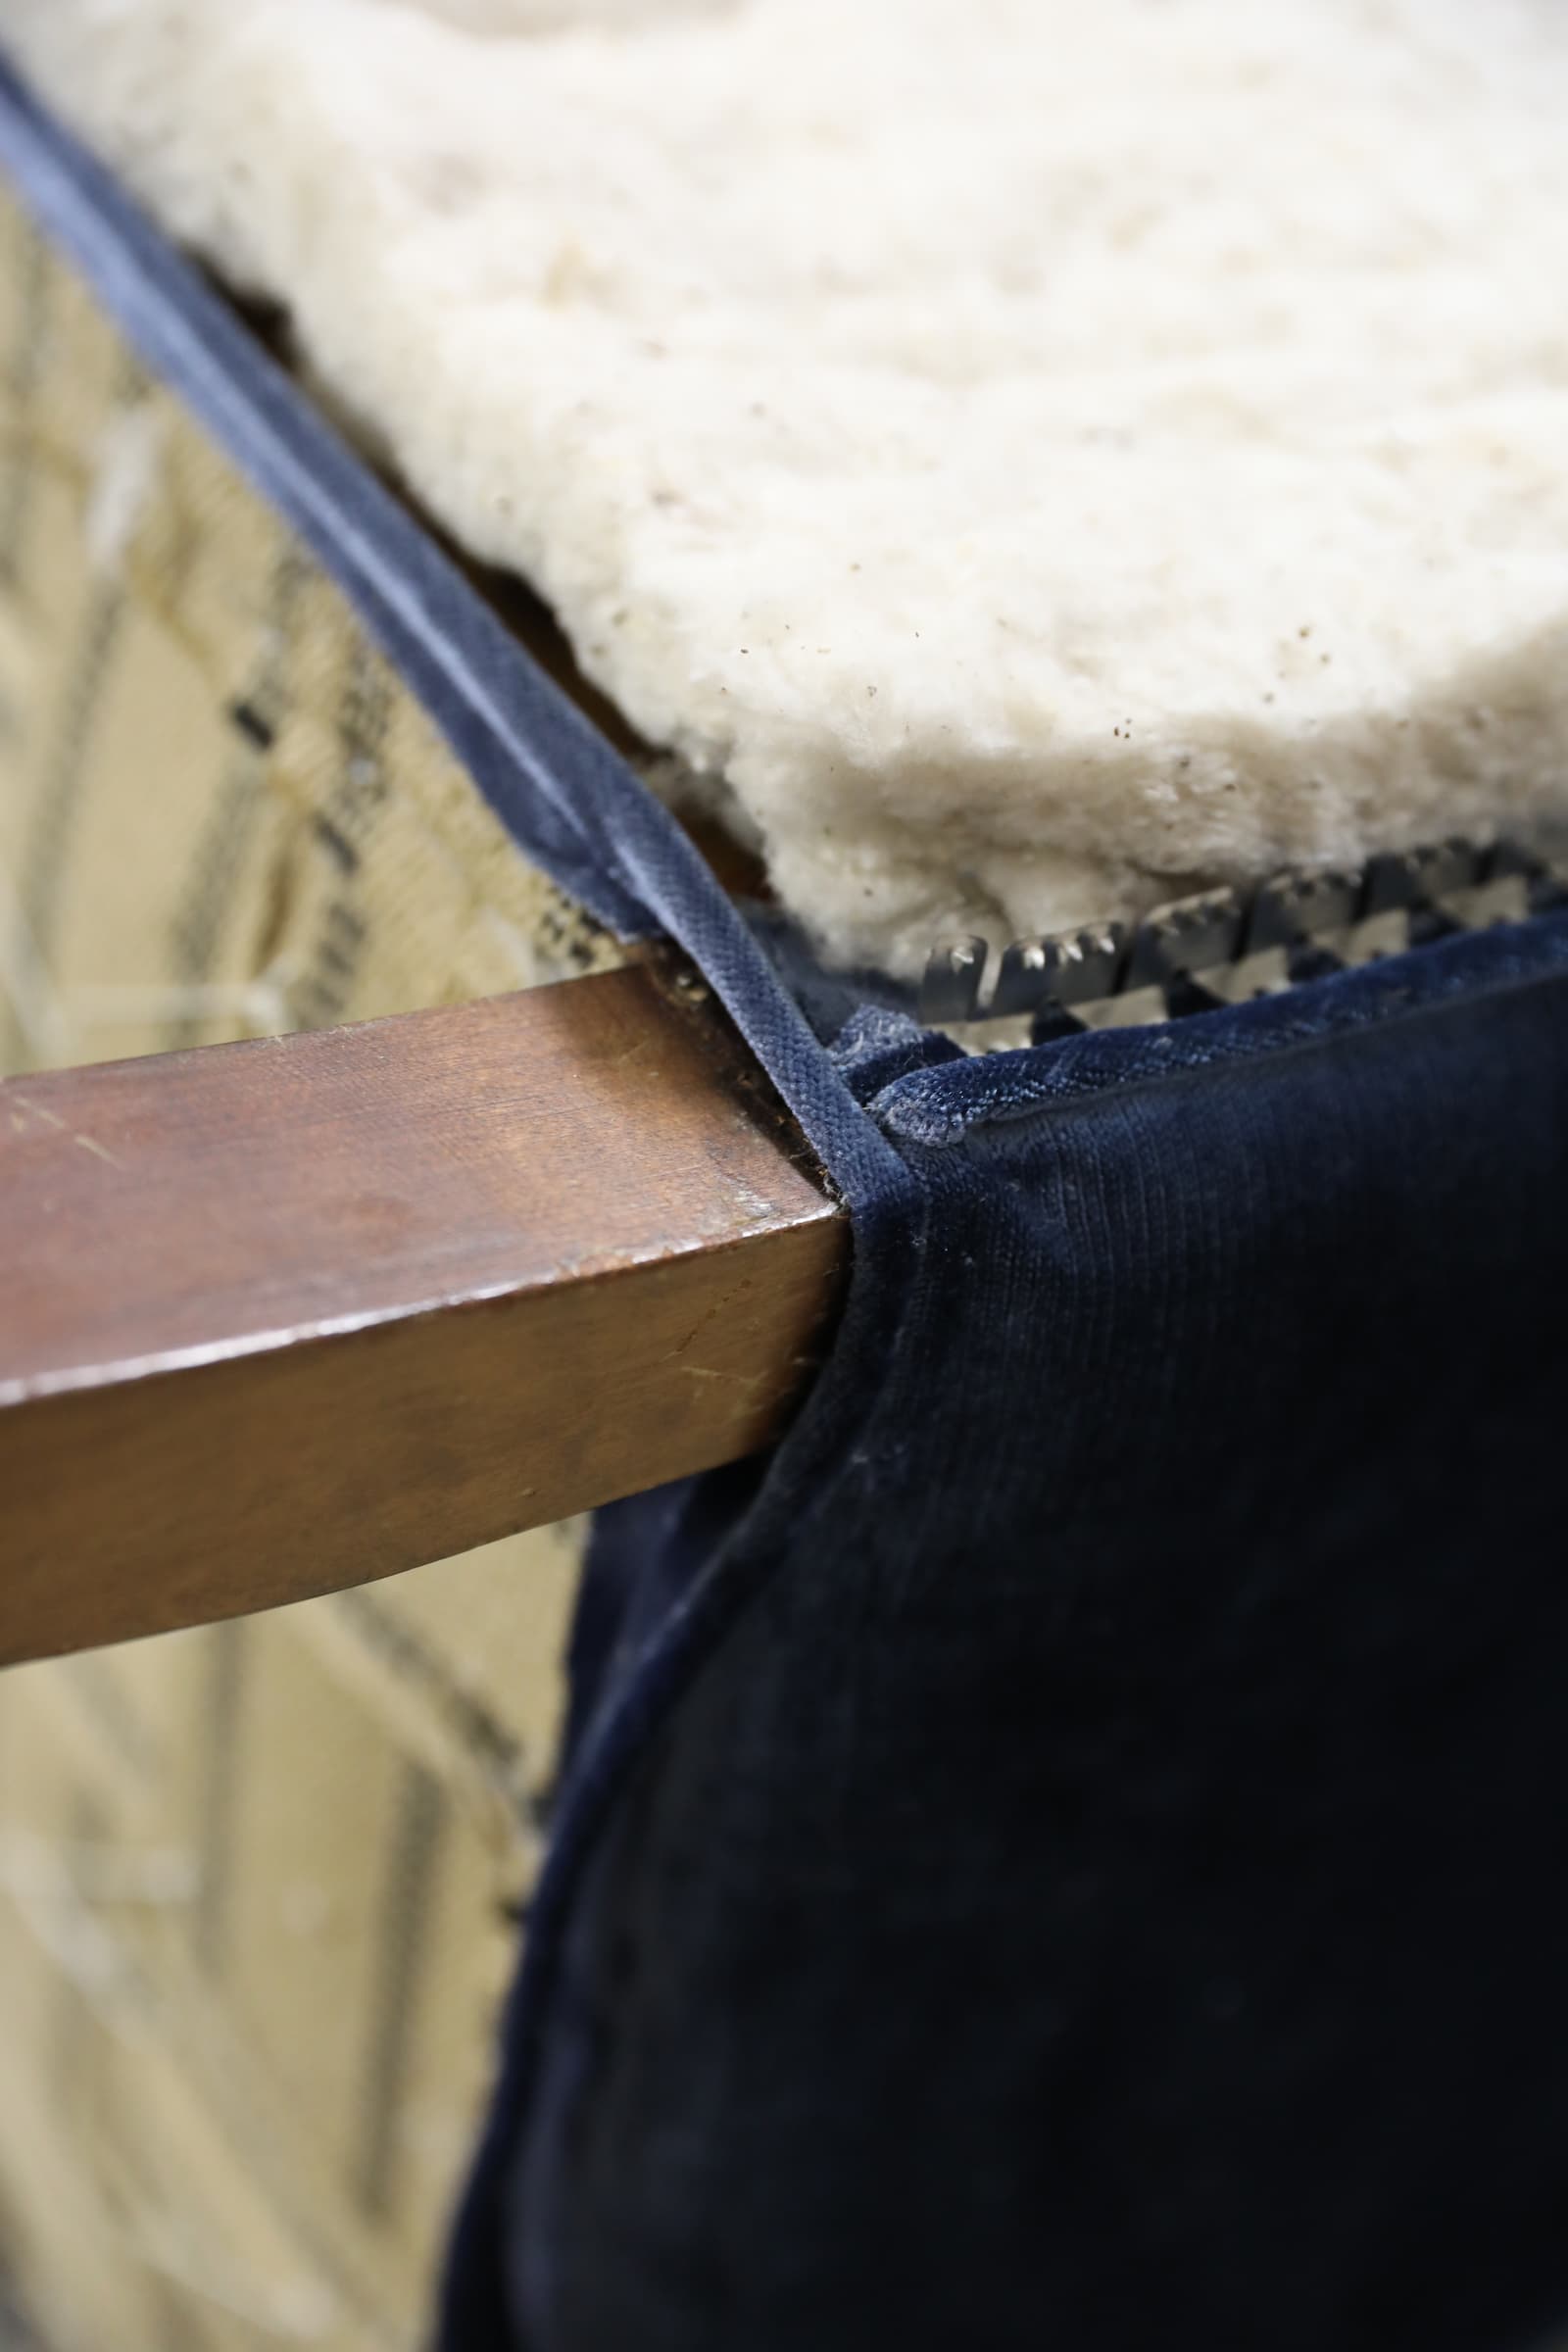
Next, I followed with attaching the curve ease to the outside wing, which will help attach the outside fabric to the wingback chair.

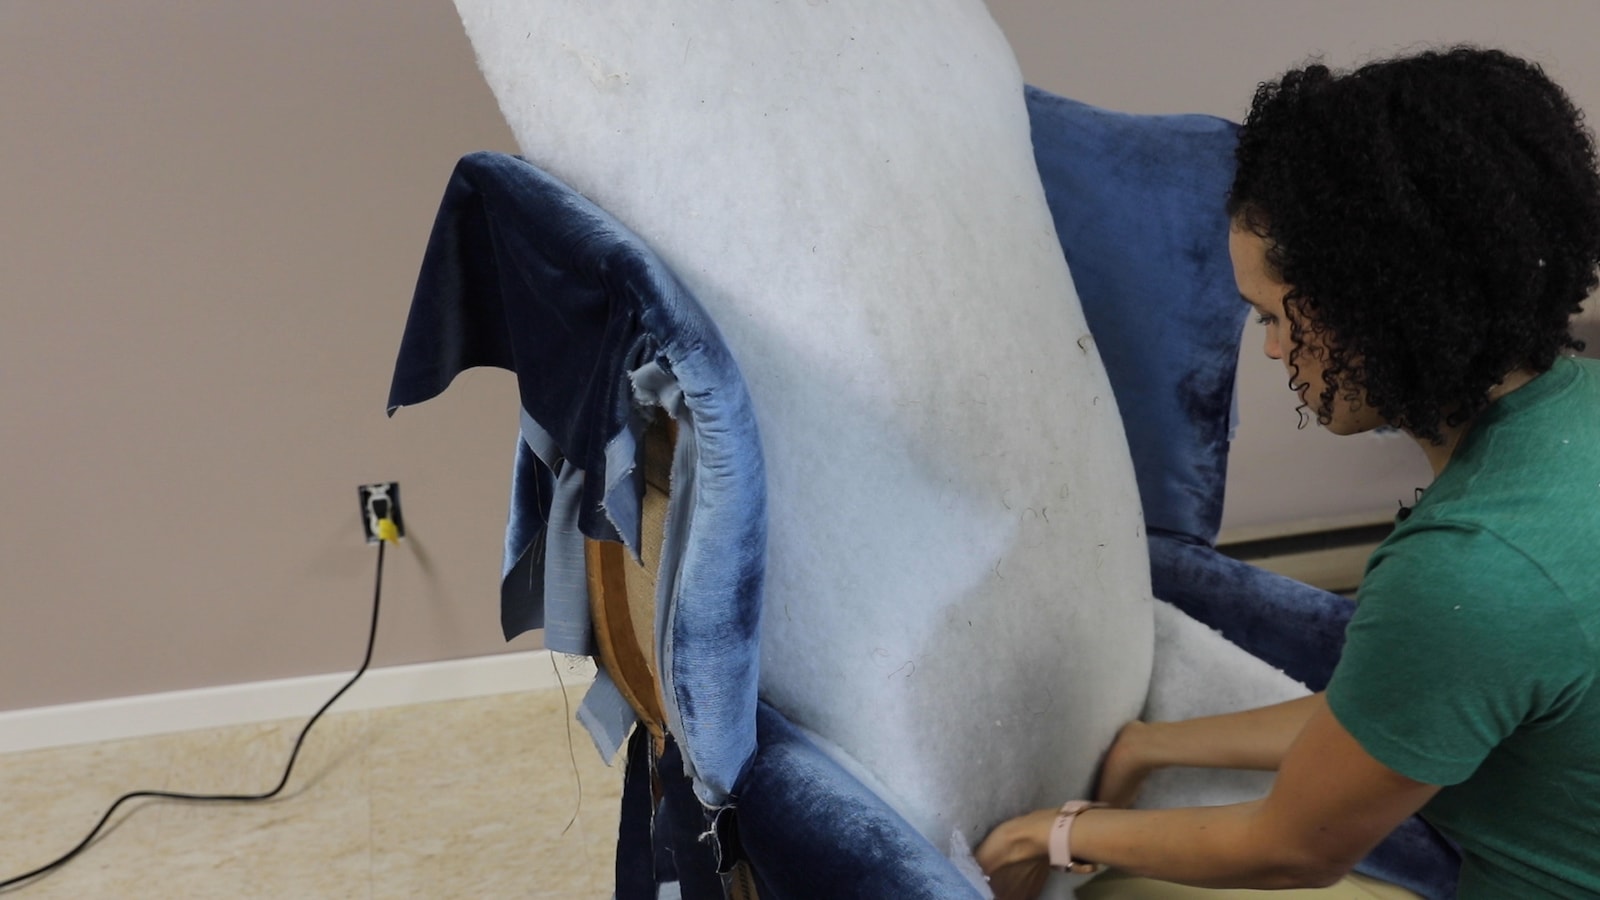
STEP 5: Cover With Cotton Batting and Fabric
Once the Curve Ease and cording have been attached, I laid down a thick layer of cotton batting.

When I draped fabric over the outside wing, I used a piece of chalk to lightly rub over the curve ease, outlining the shape of the chair.
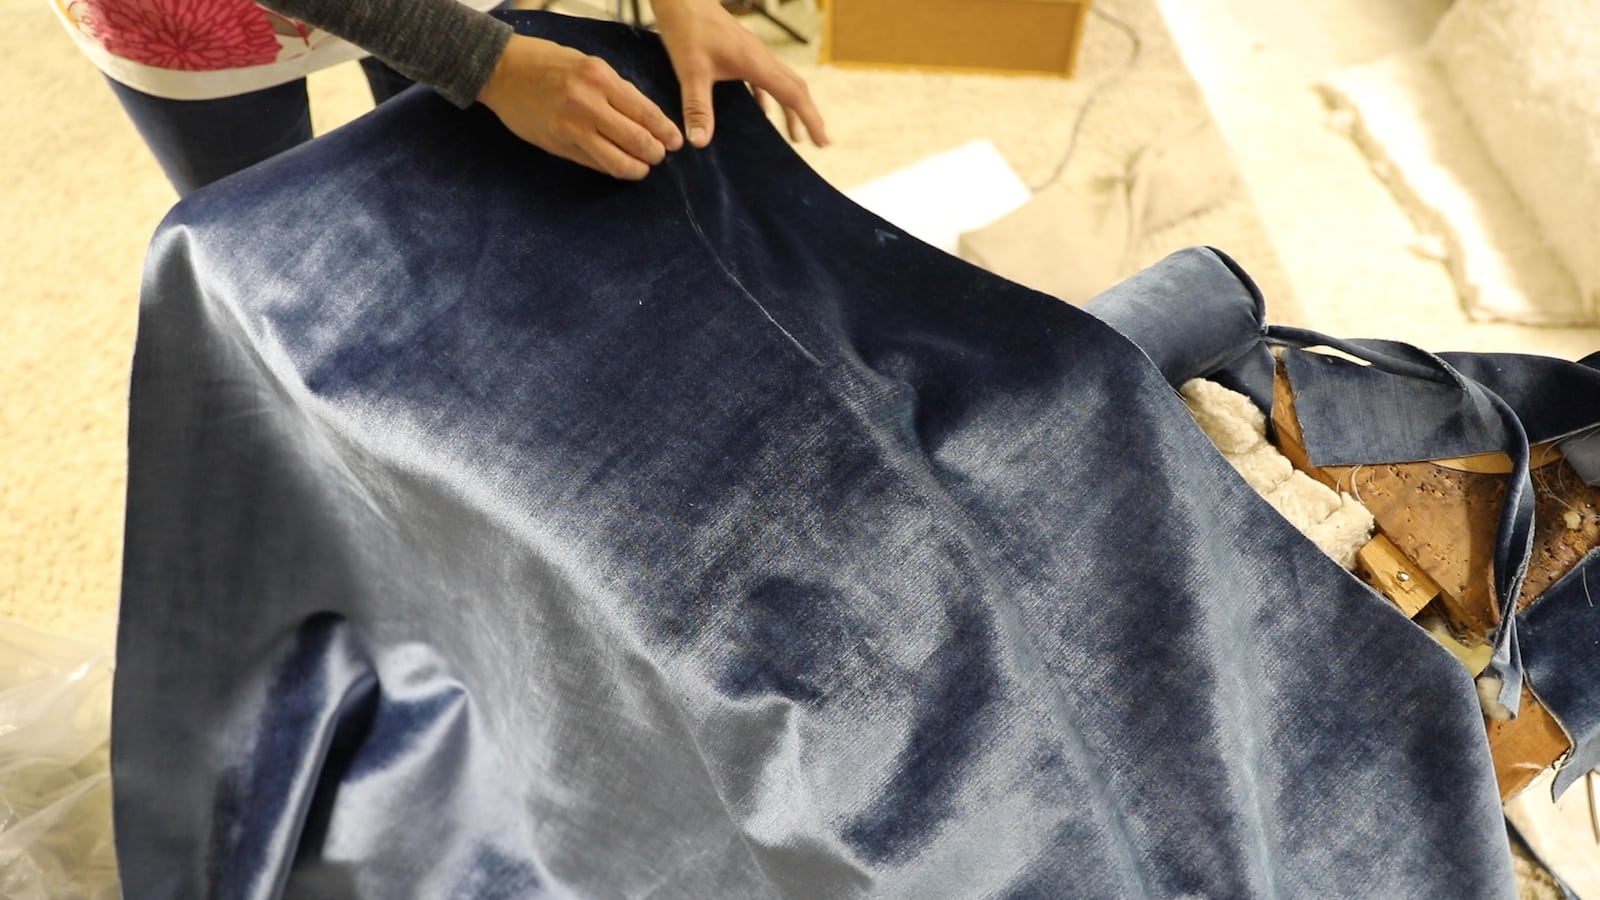
I trimmed the fabric 1/2″ – 5/8″from the chalk line and then gently pushed the edge of the fabric into the curve ease, closing it with my fingers to pull the fabric taut, and then followed by tapping the curve ease with a mallet to further close it.

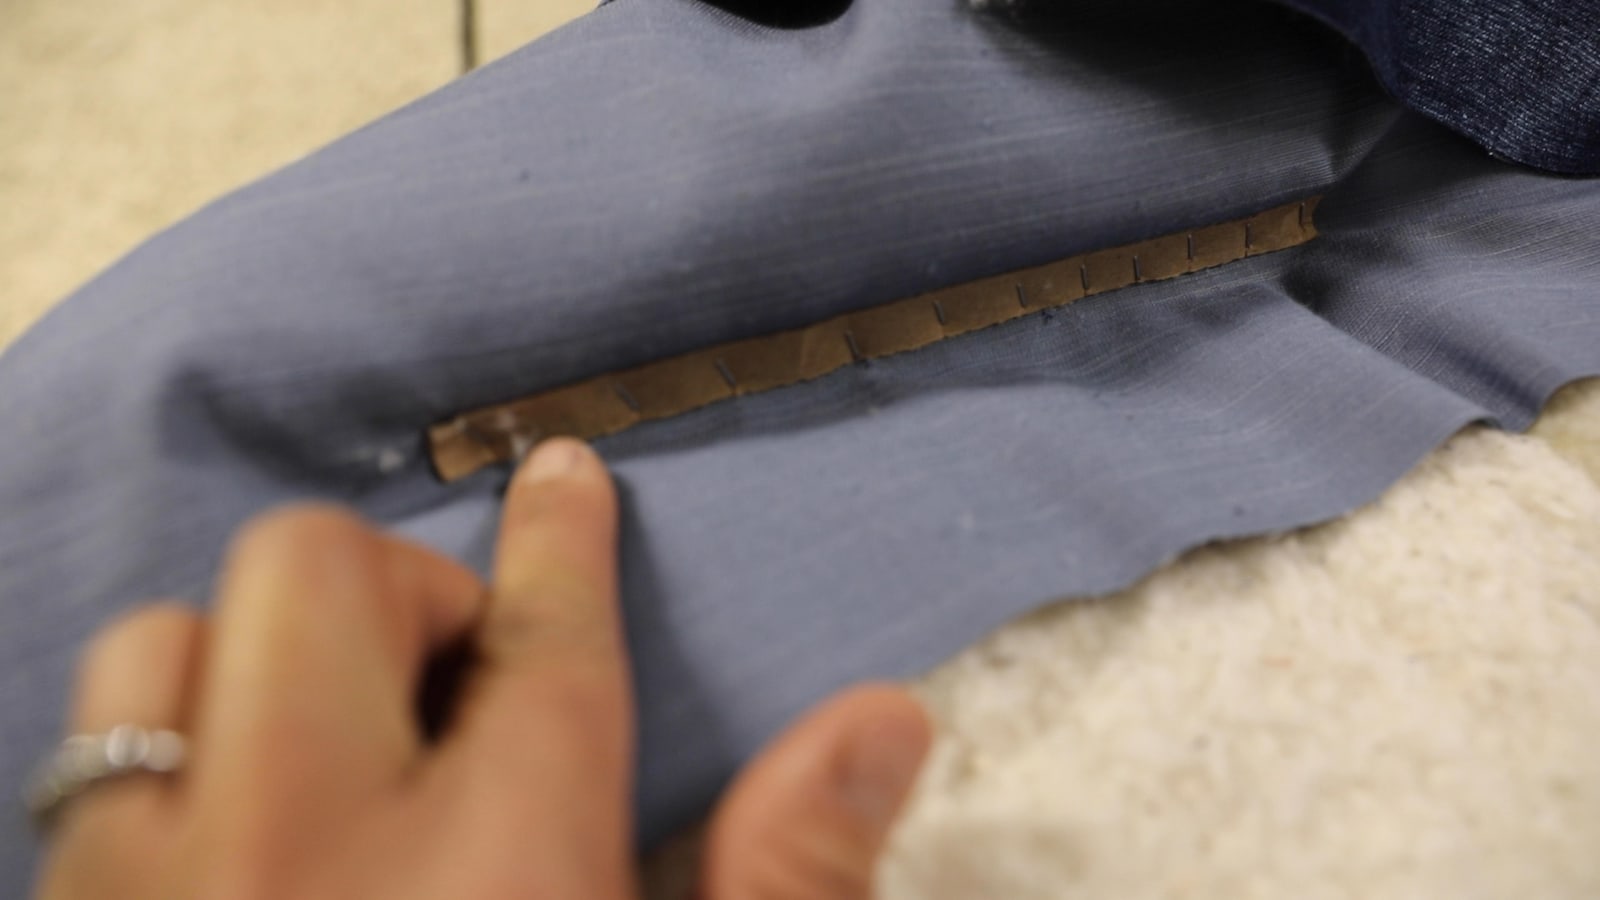
STEP 6: Finish Off the Outer Arms
The outer arms are finished off like the outer wings. However, the only difference is that the cording from the arms is brought down and snaked along the edge of the arms, tacking it into place first. Once that is done, the burlap, curve ease (along the curve of the arm), cotton batting, and fabric are put into position.

To keep the fabric rigid and structured the arm, a strip of cardboard is tacked into place under the arm and then the fabric is flipped down out the outer arm to finish securing to the chair.
STEP 7: Cover the Back
The back of the wingback chair is worked in the same way: burlap, cording, curve ease, cotton batting, and fabric.


Around the back legs, however, I had to take special care because cording was to cover needed to be stapled in first before the fabric was stretched over the cording to cover it up. So just be mindful of all it all comes together at those special points along the bottom and back legs of the chair. I had to look back over a lot of “BEFORE” pictures and footage I filmed when I was tearing down the wingback chair in order to remember how it was all supposed to go back together. That’s why I highly recommend you take tons of pictures and videos as you deconstruct an upholstered piece of furniture so you can remind yourself of how it all goes back together.
STEP 8: Reupholster the Seat Cushion
This is the step I couldn’t complete because I ran out of fabric. Yikes! Never a good thing when you’re in the middle of an upholstery project, right? So that part will have to come later.
For now, I’m thrilled at how the chair is turning out! I think it looks fabulous! I think I’m going to make this my knitting chair. Now I just need a matching upholstered footstool, too. 😉
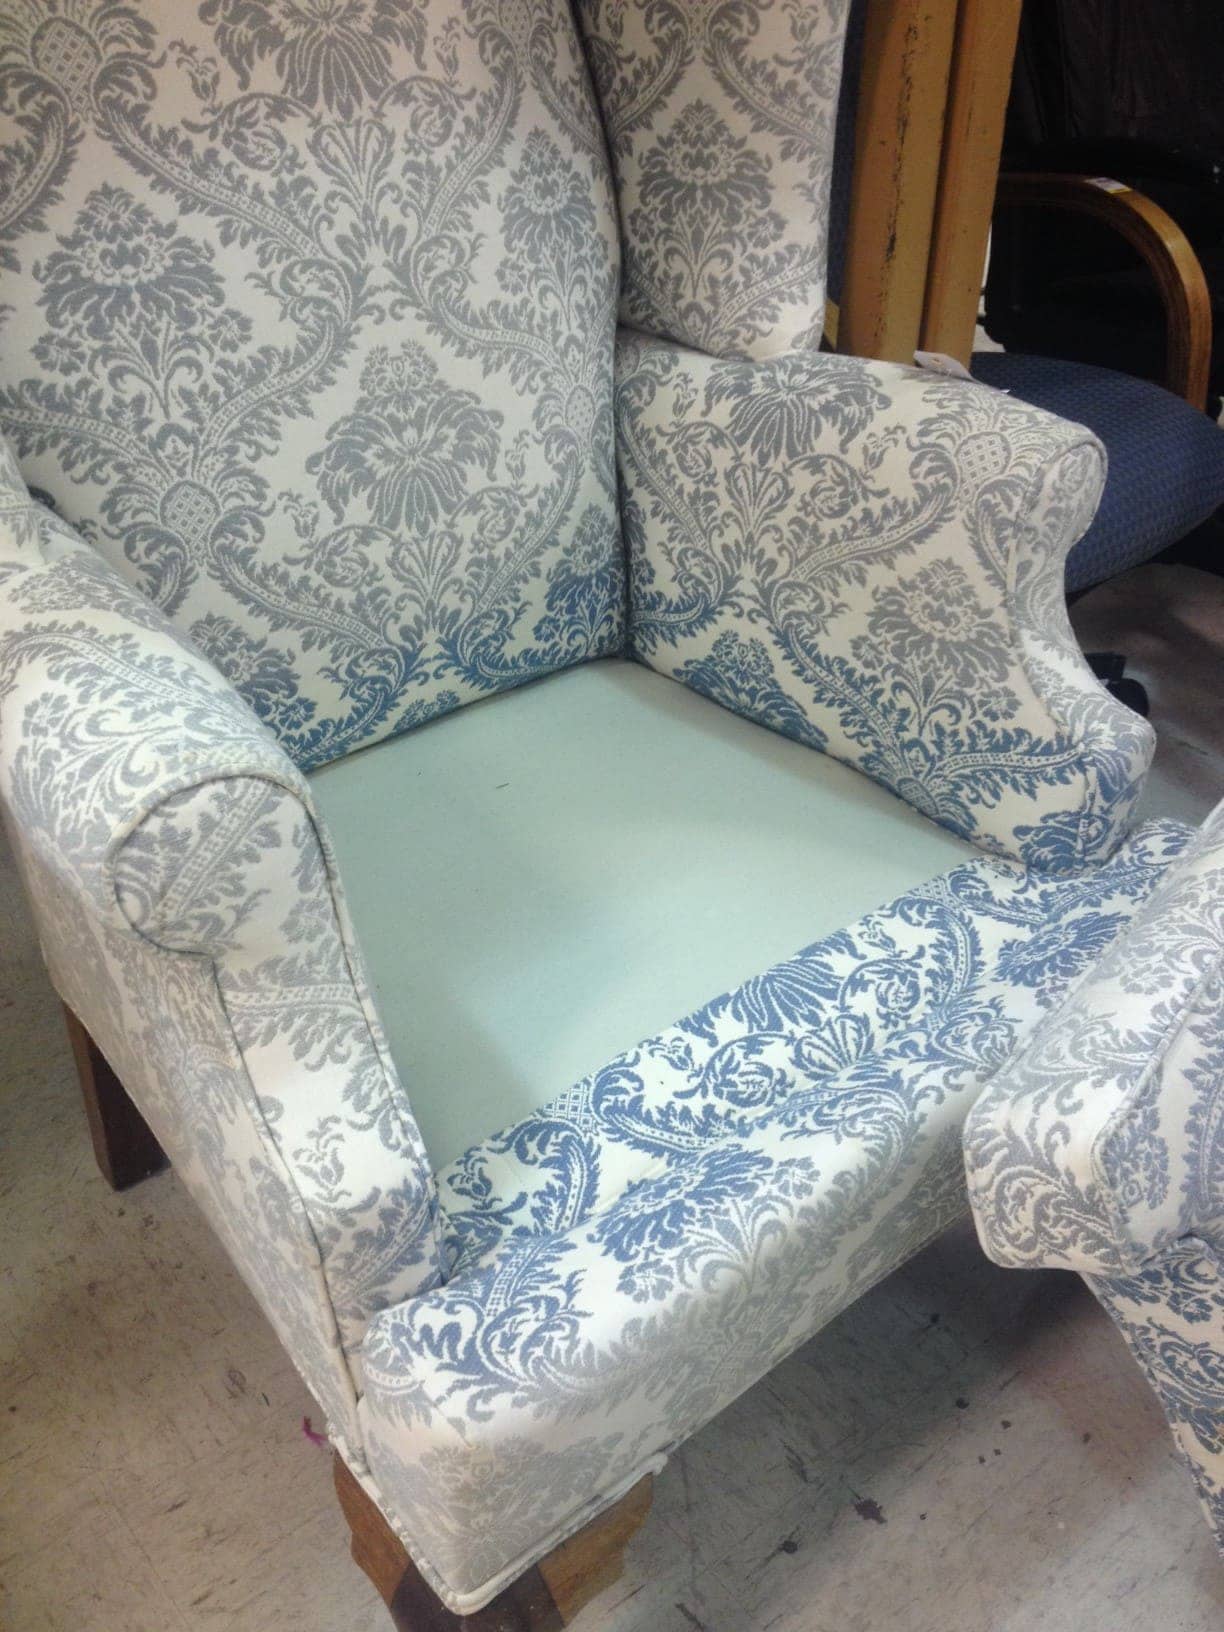
Here’s another look at where this chair started:
BEFORE
While it was a nice fabric, it was clearly bleached out from the sun and smelled quite…..old.
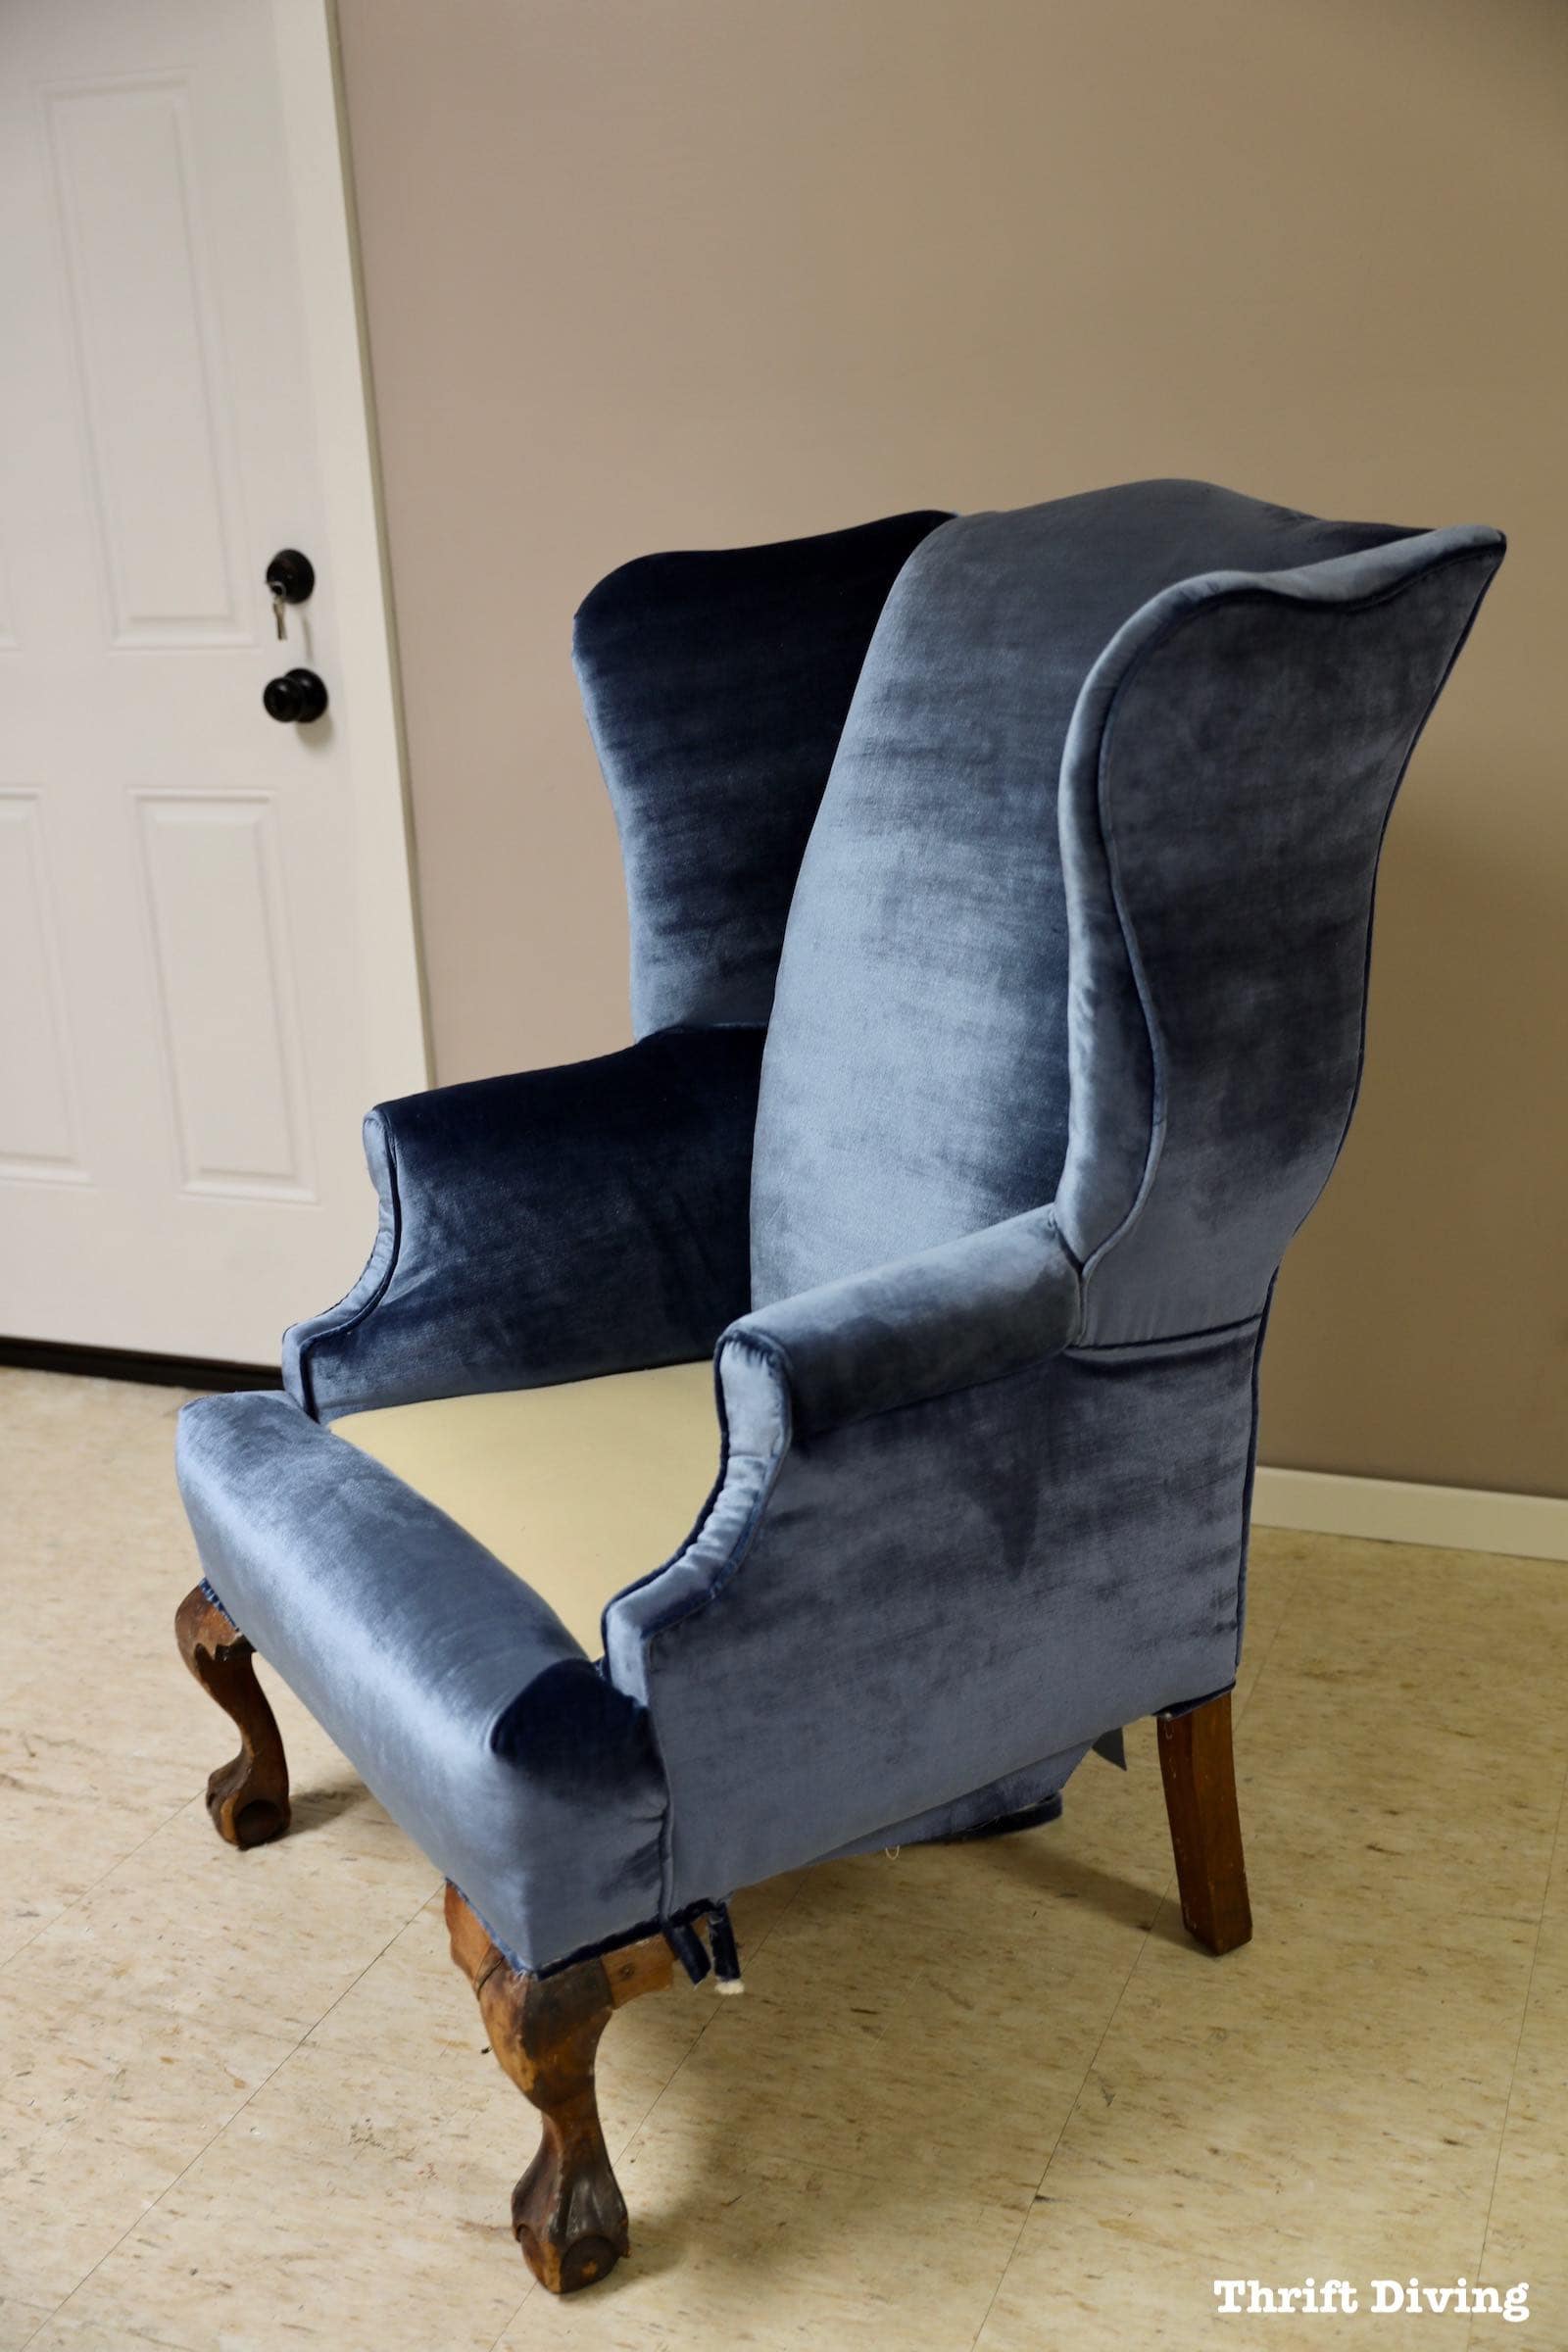
Almost Finished!
Now, it looks rich and luxurious! I really love it and can’t wait to finish off the cushion. Stay tuned for the final part in this reupholstered wingback chair makeover series!
A big thank you to Arrow Fastener for letting me finish this part of the wingback chair makeover with their PT 50 pneumatic staple gun!
Be sure to check out Arrow Fastener online for more info about their fastening and stapling tools!

Download the 5 freebies!

Thrift Diving inspires women to decorate, improve, and maintain their home themselves...using paint, power tools, and thrift stores! Use these 5 printables, checklists, and ebooks to get started!
Enjoyed the wing back series, especially the mistakes.
This looks amazing! You are giving me motivation to work on some of the chairs projects I have waiting.
Wow you really did it! All of your pictures are so helpful. This definitely shows what a challenging project recovering a wing chair can be. The chair looks great and your post definitely made me think …. I’m just getting into DIY but I really enjoy all of your painting and furniture makeover posts. Keep up the good work.