BEFORE and AFTER: Planting a Blueberry Bush Garden in My Yard!
This post about planting blueberry bushes is sponsored by Troy-Bilt. All opinions, project ideas, and sweat labor are my own. 😉
Let’s just put something out there: I’ve been known to have a black thumb. I joke that it’s a wonder my kids have thrived because I had a history of neglecting anything that needed food or water.
So when I got the idea to plant blueberry bushes, I worried that I’d do something wrong. Would I plant the blueberries in the wrong part of the yard? How far do you have to space blueberry bushes? Would they thrive in my clumpy clay soil? How do I even make my soil acidic (which I had read that blueberries love).
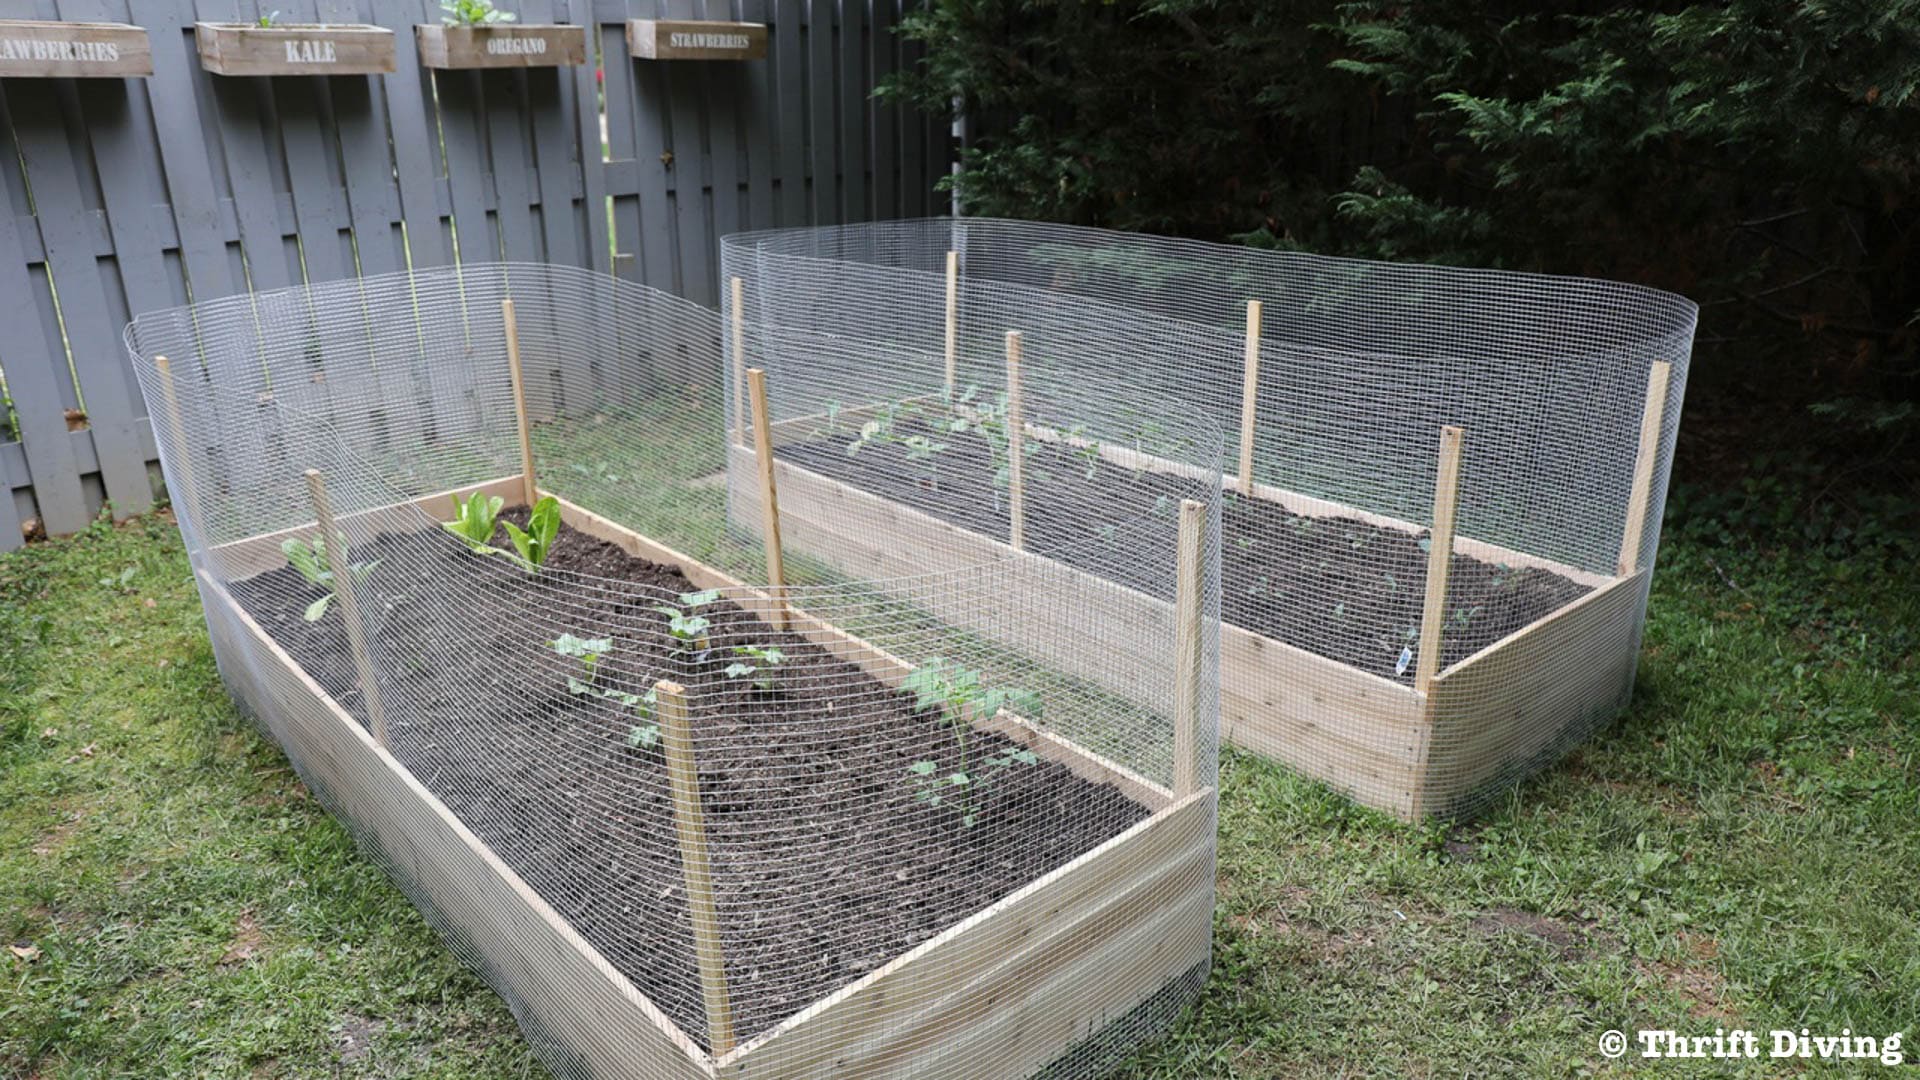
Last year I built raised garden beds, wrapped in a protective fence, with yummy kale, lettuce, tomatoes, and–gasp!–I even got a single sweet potato! It was the most rewarding experience to walk into your garden and pick what you were eating for dinner that night.
Surprisingly, my thumb started turning from this sickening shade of black into a pale shade of greenish-yellow. This spring and summer, I am hoping it keeps turning green. 😉
Troy-Bilt challenged five bloggers and me to flip our yard: we’d have $250 and one cart at The Home Depot to load up on materials for a project. Well, that’s a lot harder than it sounds! Have you seen those bags of soil?? One cart can get filled up–snap!–like that.
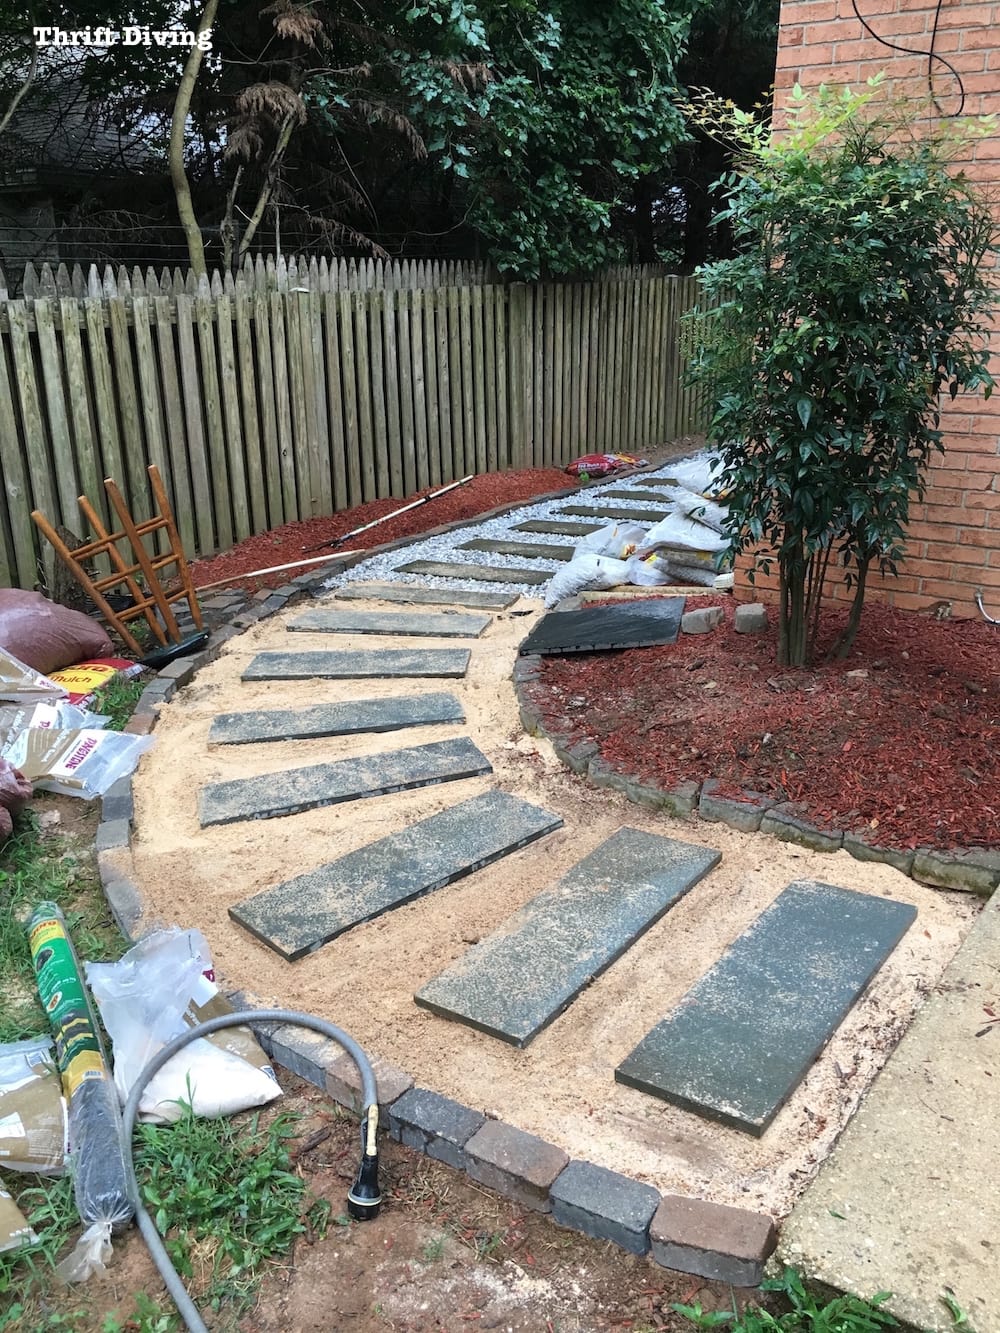
This discarded part of my side yard that separated my yard from the neighbor’s yard was the perfect area to flip: it was 4-feet wide and about 15-feet long. Great for planting a row of blueberry bushes! Plus, I was tired of this part of the eyesore yard–not to mention it was a litterbox for the stray cats!
Pin this post for later
Watch this project on my YouTube channel
BEFORE

AFTER!
After planting the blueberry bushes, adding some pops of color, stones for a little path, and seating for one, you’ve got a pretty place to take a load off and enjoy nature!

Watch on YouTube: I Planted Blueberry Bushes!
Click here to subscribe to my YouTube channel for more DIY projects and videos!
Now let’s jump into the materials you’ll need for your own blueberry garden!
Materials for Planting Blueberry Bushes
(Links include Home Depot affiliate links)
- Troy-Bilt Colt FT XP garden tiller
- Gasoline
- Fuel stabilizer (if using gasoline with ethanol)
- Soil conditioner
- Pine needles or peat moss
- Fencing to keep outdoor
- Netting to keep out birds
- 4-ft. garden posts
- Tin Snips
- Shovels
- Wheelbarrow
- Decorative bricks (optional)
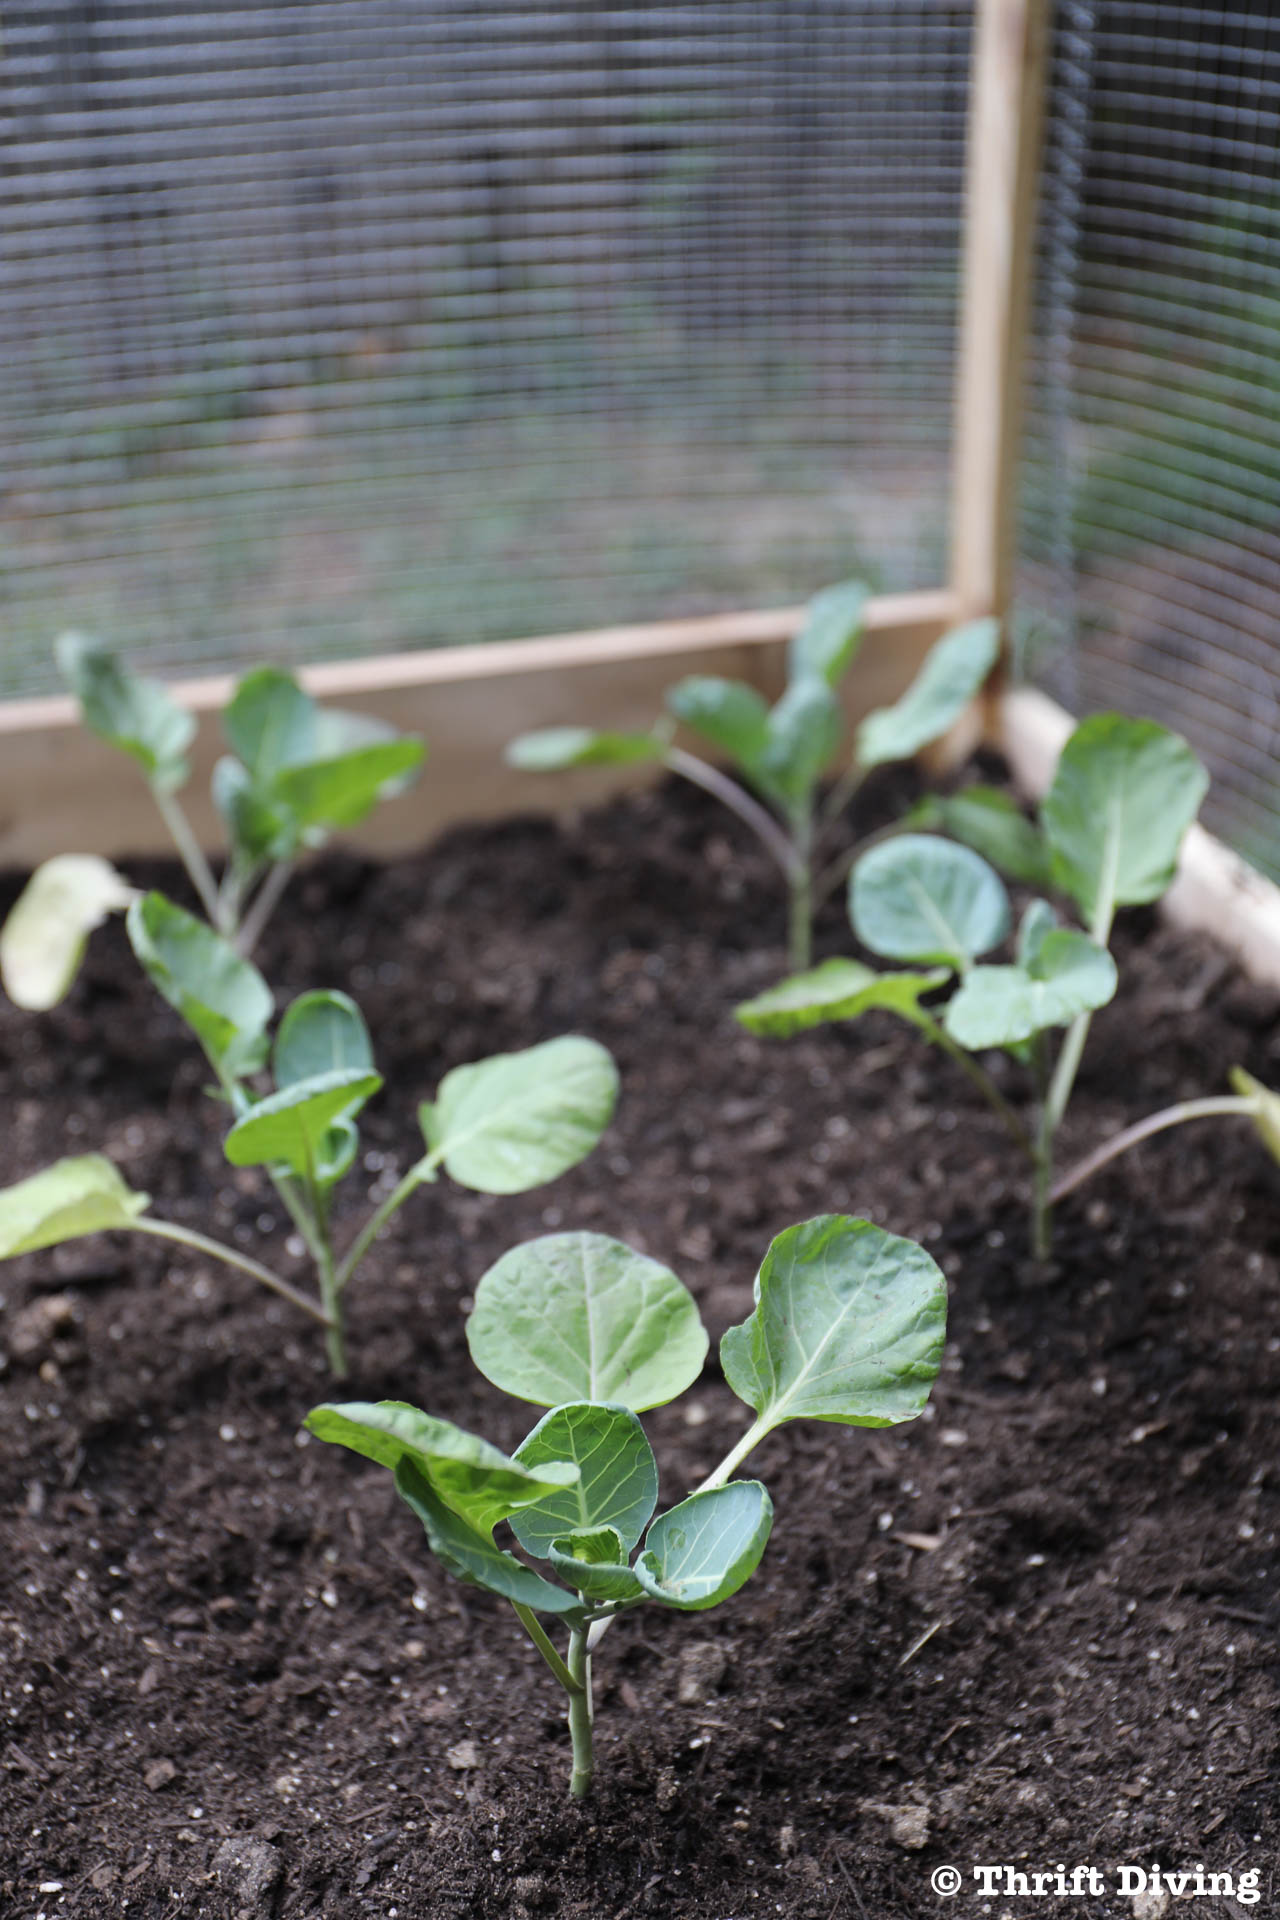
STEP 1: Choose the Variety of Blueberry Bushes to Plant
It’s mind-numbing the amount of variety of blueberry bushes! Since I am a novice gardener, I had to go in search of the information about the varieties of blueberry bushes. The reason why this matters is that some of the variety need more pruning than others, and some varieties have different growth heights. Some of them are self-pollinating, and other varieties need to be planted in groups with other blueberry bushes with a spacing of 4 ft to 8 ft apart for pollinating reasons.

The Home Depot had a few varieties of blueberry bushes at the store. I ended up buying the Northern Highbush variety, which may grow anywhere between 5 feet to 9 feet. Yikes! It will require more pruning every season, but this website has some good info on blueberry bush varieties and how to prune blueberry bushes. I’ve got some reading to do! But here is what the label on my blueberry bush said:
- Maturity: Fruit ripens mid-season
- Exposure: Plant in full sin
- Water: Prefers moise, well-drained soil
- Height: Grows 4-6′ tall
- Space: Space 4-8′ apart
- Hardiness Zone: USDA Zone 4 (-30 degrees Fahrenheit) to Zone 9 (20 degrees Fahrenheit)
STEP 2: Find Full Sun to Plant Blueberry Bushes
My backyard gets very little sunlight in certain areas because of a huge oak tree. But this front side yard is bright and sunny for most of the day. With blueberry bushes, you should look for a place to plant that gets full sun. My side yard was perfect!

STEP 2: Remove Any Roots or Large Rocks
This area between the two yards had some old roots from old shrubs. With hubby’s help, we pulled up those old roots. You’ll want to do this before you begin tilling this garden area. The same is true for any big rocks that could get in the way of the tiller.
STEP 3: Till the Hard Ground to Break Up the Soil
I’ve used small cultivators, which are perfect for small areas. But they take forever! I used a small cultivator to put in my DIY fire pit seating area and it took me a whole day to break up the earth in order to create the pea gravel path!
This heavy-duty Troy-Bilt Colt FT XP front-tine garden tiller literally took 15-20 minutes to till the entire area! It has a 24-inch till area, so this 4-ft wide area only required about two passes a couple of times.
Breaking up the soil and removing the weeds is important so don’t skip this part. You’ll also need a wheelbarrow and some shovels to remove the loose soil that is broken up. Don’t leave those weeds in the garden area.

STEP 4: Mix in Soil Conditioner or Compost
Here in Maryland, we have a lot of clay soil. Dig that stuff up and it’s orange, clumpy, and damp! I found some organic garden soil to dump on top of the area and then tilled it into the existing soil. I’ll be honest that I don’t know if this was the best soil to use, but at this point, I believe anything is better than the orange clay!
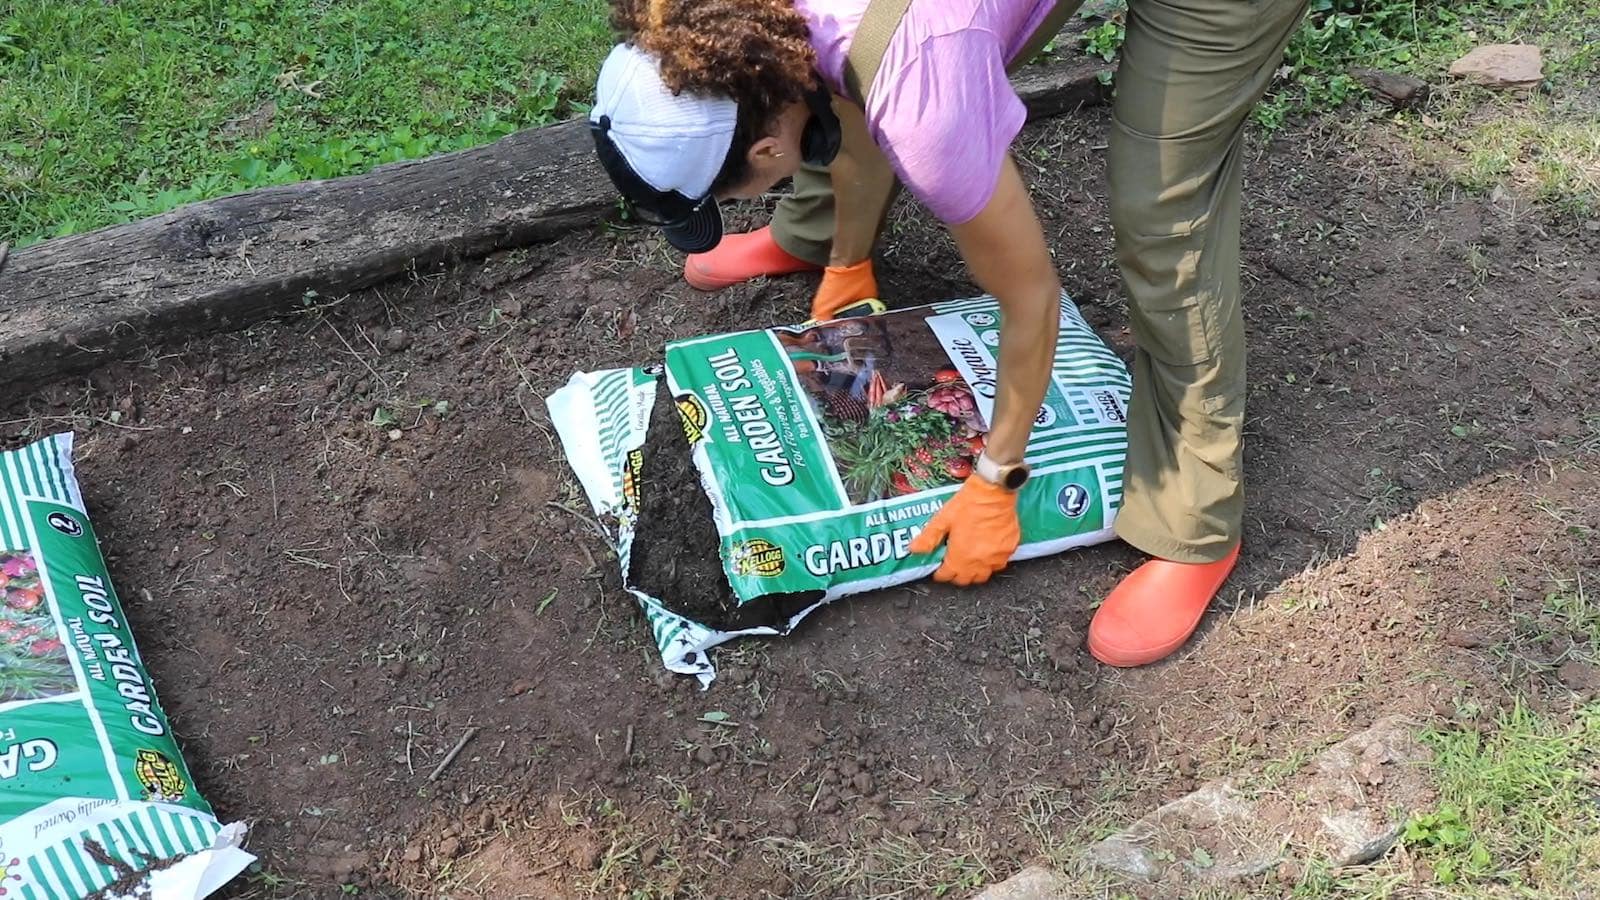
After dumping it out, I used the tiller to go back over the area a few times to mix it all in.
One thing that was confusing was knowing at which point I should add something to make the soil acidic. I worried that I should have mixed something in sooner, instead of just applying something to the top to make the soil acidic for the planted blueberry bushes. Since this is my first experience with planting blueberries, I’ll have even more research to do!


STEP 5: Space Out the Blueberry Bushes 4 to 8 Feet Apart
After tilling in the soil conditioner, I spaced out the blueberry bushes about 5 feet each. It’s recommended to separate them 4 to 8 feet apart. Before getting started, it makes sense to lay them out so you know exactly where to plant the blueberries!

STEP 6: Dig a Hole Twice as Wide and as Deep, Then Plant Blueberry Bushes
This is the step that always unnerves me. I worry that I won’t dig a hole wide enough, deep enough, or that I’ll do something wrong and the plants will die. Ekk! I think it’s the history of my “black thumb.” I think we did okay with these blueberry bushes!
One tip that I learned from a landscaper was this: when you pull the bush out of the plastic pot, break up the rootball with your hands a bit, or use a utility knife to slice some of the roots before planting.
Once the bush goes into the group, just pat down the loose soil that you fill in around the plant, eliminating all the air pockets by packing it down. Then, be sure to add

STEP 7: Add Decorative Edging to Your Blueberry Garden
This section of the garden that was separating our yard from our neighbor’s yard had these horribly rotten cross ties. I didn’t even know that is what they were called. Someone on Instagram mentioned that they had creasote in them, which Websters Dictionary describes as: “a brownish oily liquid consisting chiefly of aromatic hydrocarbons obtained by distillation of coal tar and used especially as a wood preservative.”
Those things had to go! They look like they’d been there for years. Leaving them for this makeover was not an option. But they were heavy as sin. Hubby was at work so I had to use my shovel to leverage them to move them out of the way!


STEP 9: Cover in Pine Needles to Make the Soil Acidic
This is a step that I actually didn’t do when filming the planting of my blueberry bushes, but I do plan to gather up some pine needles from under a huge pine tree on my property, and I’ll create mulch for them! This will help the soil to become acidic, I have learned!
STEP 10: Wrap Metal Fencing to Keep Out Deer
We have a ton of deer in our neighborhood! I’m talkin’ driving through the neighborhood at 10 p.m. and seeing 5-6 of them crossing the street like they own the ‘hood! LOL. The lady that lives next to me actually feeds the deer. I used to shake my head at that, but she explained to me once that by feeding them (corn feed, I think), it keeps them away from her plants. Okay, I guess she’s got a point!
Still doesn’t mean I am not going to protect my newly planted blueberry bushes! I got some of these garden stakes to put two of them around each plant. They easily go into the ground just by pushing on them. If I hit a rock, I just moved it a bit to the side.

Next, I used some metal fencing to wrap around each plant. I used a pair of tin snips to easily cut the fencing to size and then folded the metal prongs in on itself to get it to stay in place. They’re just sitting on the soil and are easy to lift up if I need to access the blueberry bushes.


STEP 11: Cover in Protective Netting to Keep Out Birds
At the time, I didn’t cover the blueberry bushes to protect them from birds. But later, I went back out and used some mesh to wrap around the metal fencing. I simply tucked the mesh into the fencing around the bottom. I am hoping it keeps out the birds!
STEP 12: Add Some Color and Other Edible Plants
Flowers make me happy! So do grape vines.

Let’s have another look at what my side yard looked like with all its weeds. This was a part of the yard that I have disliked stepping into because the stray cats would poop over there, plus it wasn’t inspiring at all.
BEFORE

AFTER!
Now with the blueberry bushes, along with the pops of color, and a chair, it’s a relaxing place to sit in the morning before the sun starts to beam down into this part of the yard. I reused some stones that I had removed when I put in my DIY fire pit seating area and walkway. The fence still needs a good pressure washing, but that will come when I’m ready to pull out the pressure washer. For now, we’ll just overlook the dirt and green tinge on the fence. 😉

I still have a bunch more to learn about planting blueberry bushes. I have heard it will take a couple of years to really see anything happening with them in terms of fruit. But that is okay–I’m a patient, novice gardener. If the blueberry bushes simply live even without abundant blueberries, that will be much more successful than having them die. Am I right? 🙂
Love this post? Click here to save it!


Thanks to Troy-Bilt for sponsoring this amazing project and flip this side of our yard into something relaxing and wonderful!

Download the 5 freebies!

Thrift Diving inspires women to decorate, improve, and maintain their home themselves...using paint, power tools, and thrift stores! Use these 5 printables, checklists, and ebooks to get started!
Good luck with those blue berries! Pine needles will help acidify your soil but likely won’t be enough on their own. That big tree stump looks like a perfect spot to add a painted tic-tac-toe board or even checkers!