
BEFORE and AFTER: Reupholster a Mid-Century Modern Chair
Someone asked me recently, “Serena, what’s your style?” and I didn’t how to respond. After some thought, I decided that “I have no idea” is synonymous with “eclectic.”
But even if I don’t have a particular style to which I gravitate, I have a clear affection for mid-century modern furniture makeovers, since I have done several mid-century modern dresser makeovers on this blog.
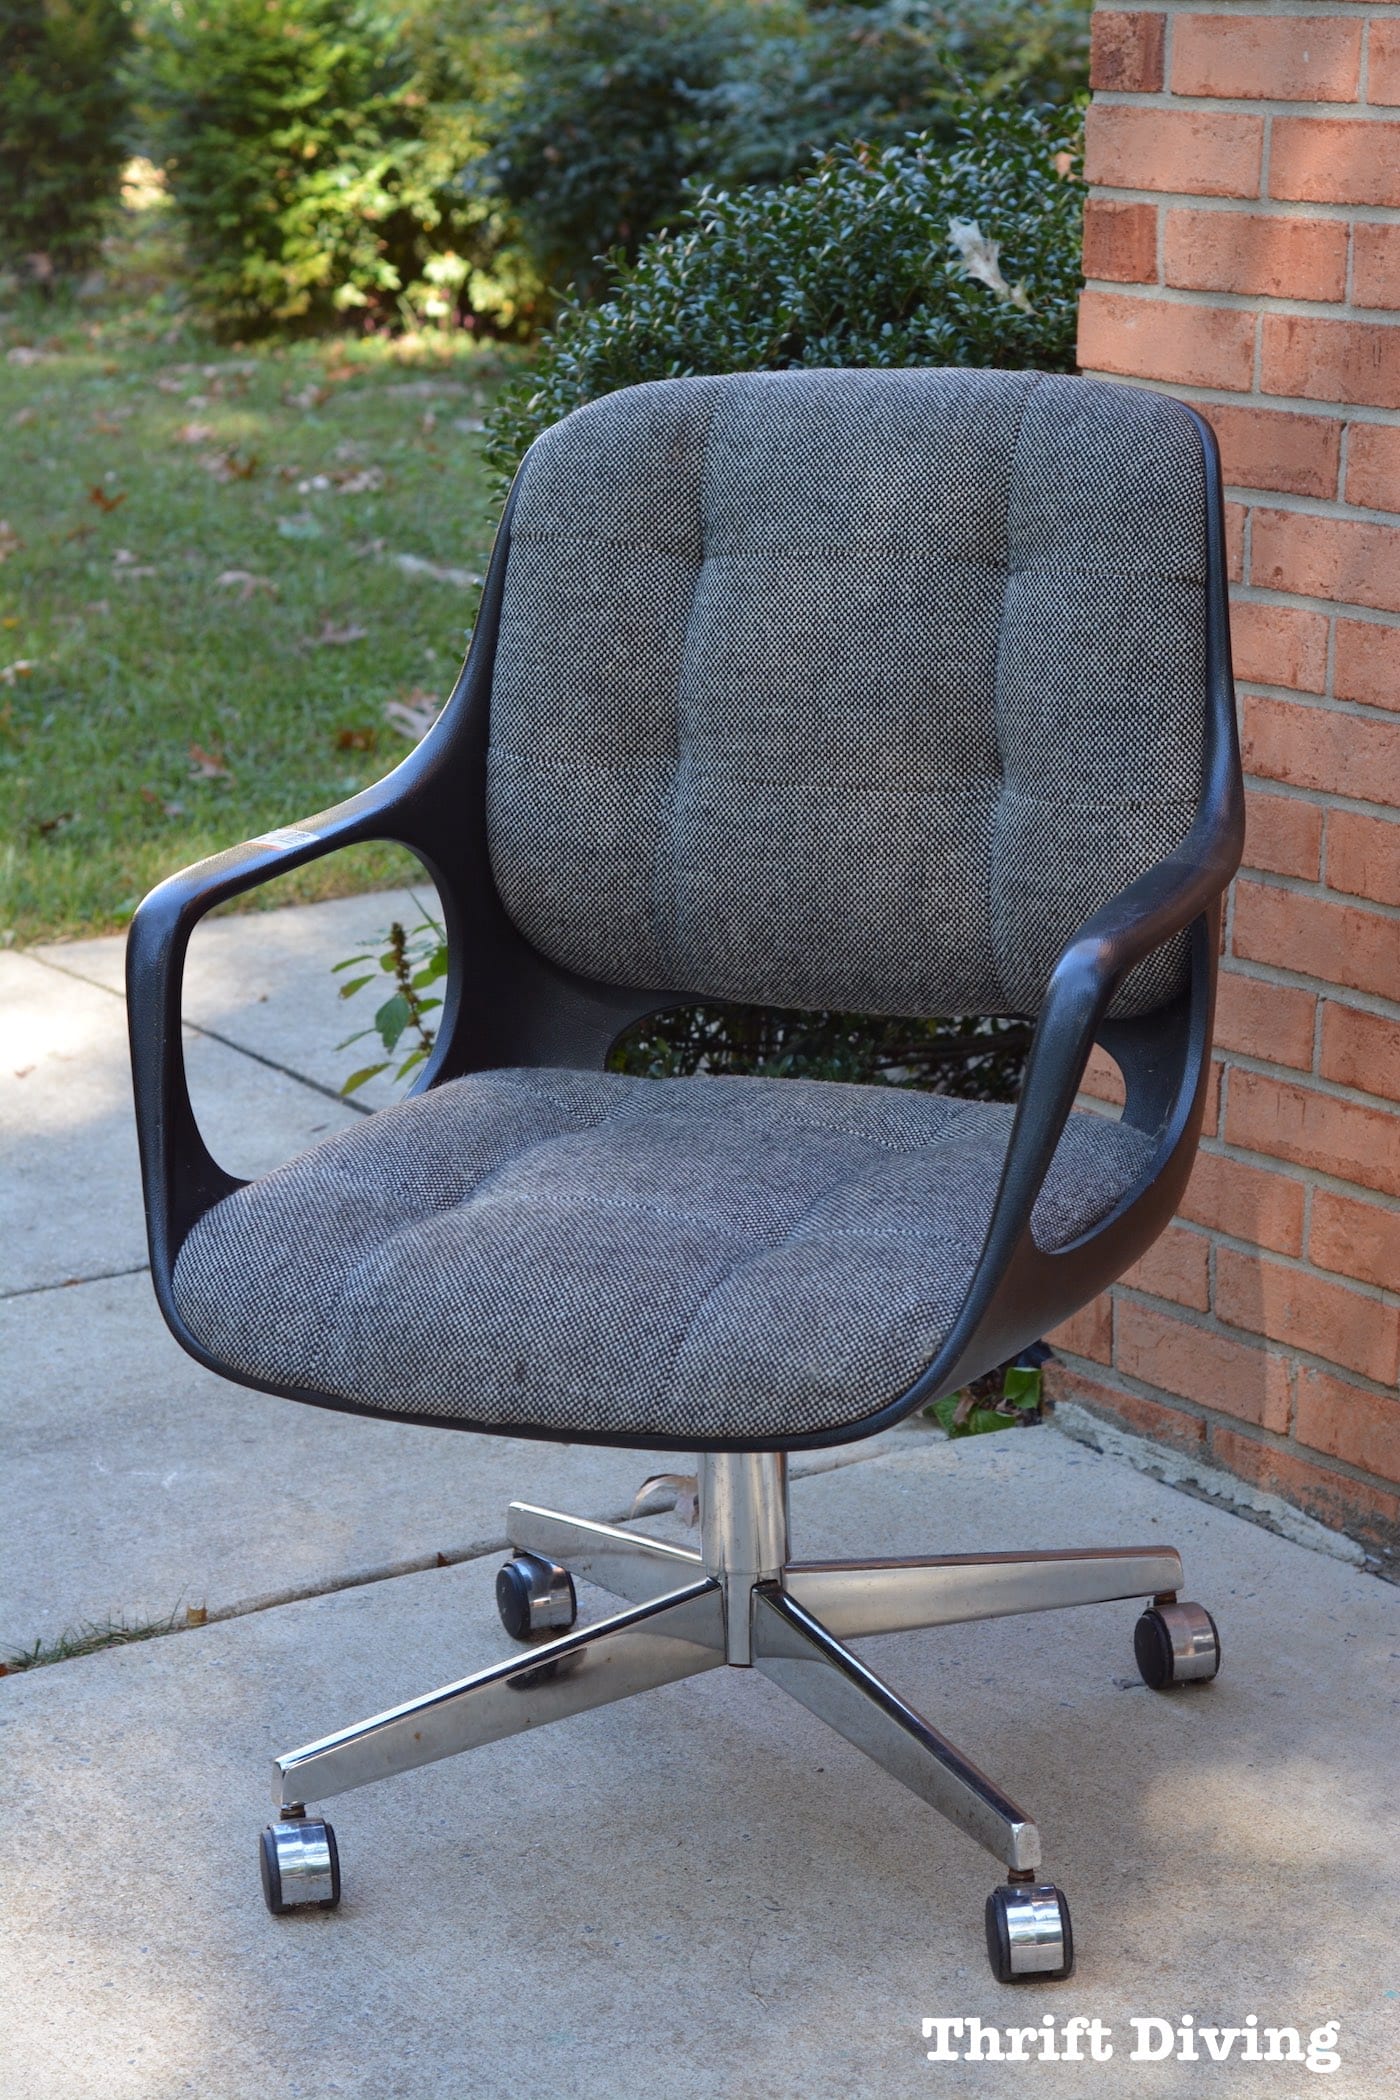
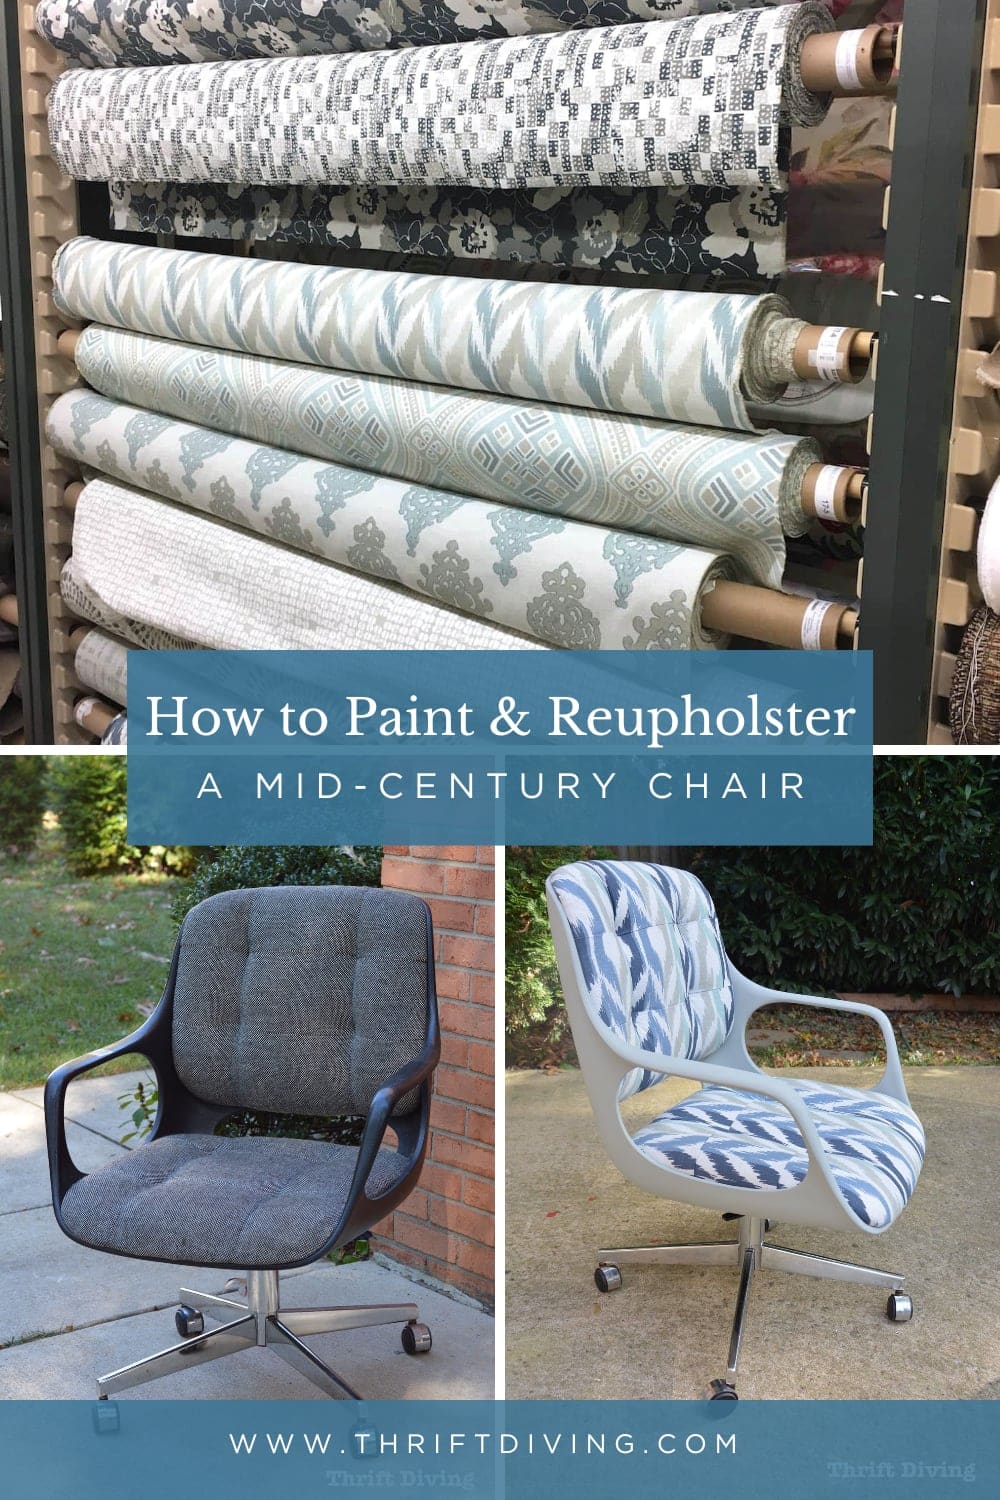
And now I’m adding to my collection with this Chromcraft vintage swivel office chair that I found at the thrift store for under $10.
It was in great condition, with the exception of the dirt stains on the cover.
At first, I thought I’d simply clean it up, but after closer inspection, I realized it needed more than that–it needed a total reupholstered makeover!
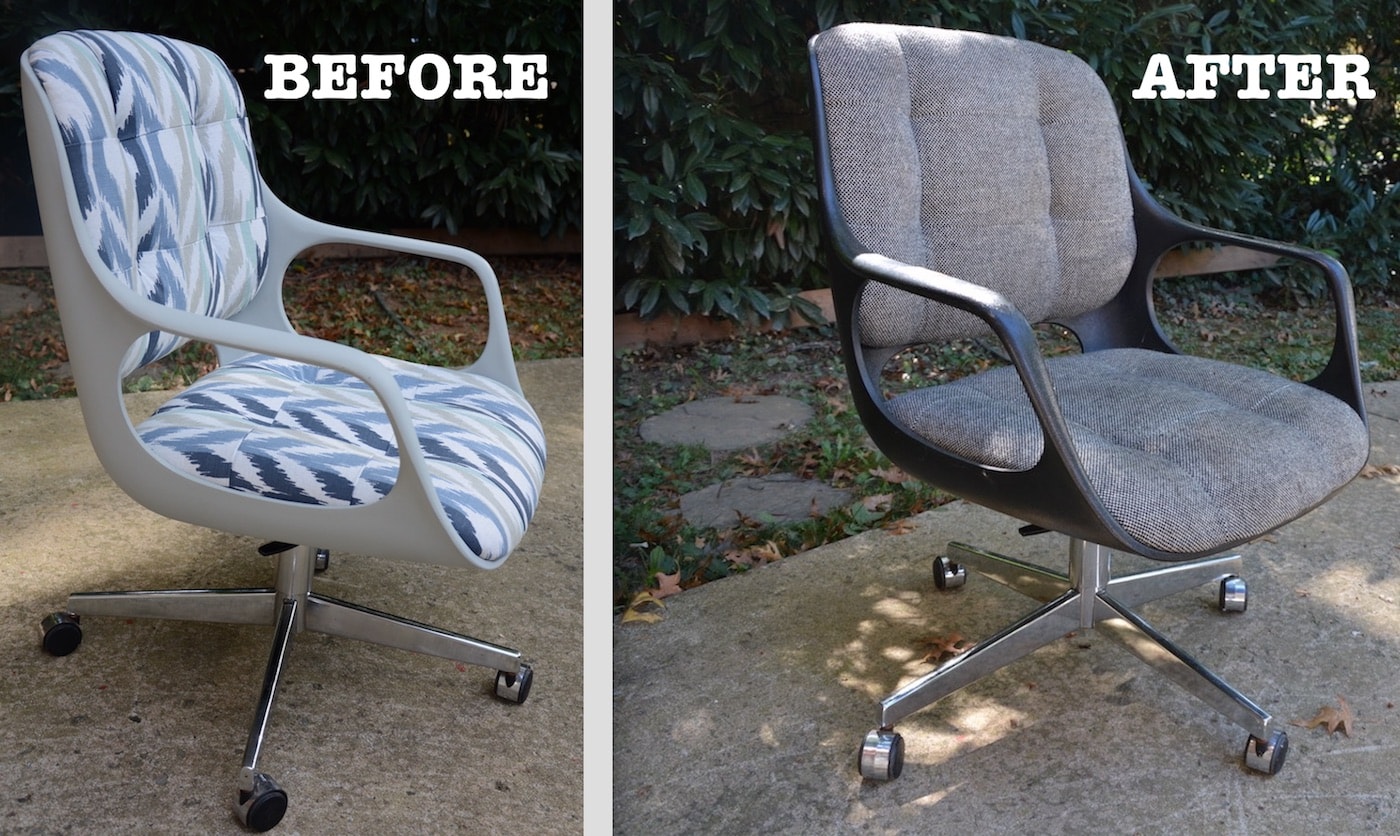
BEFORE
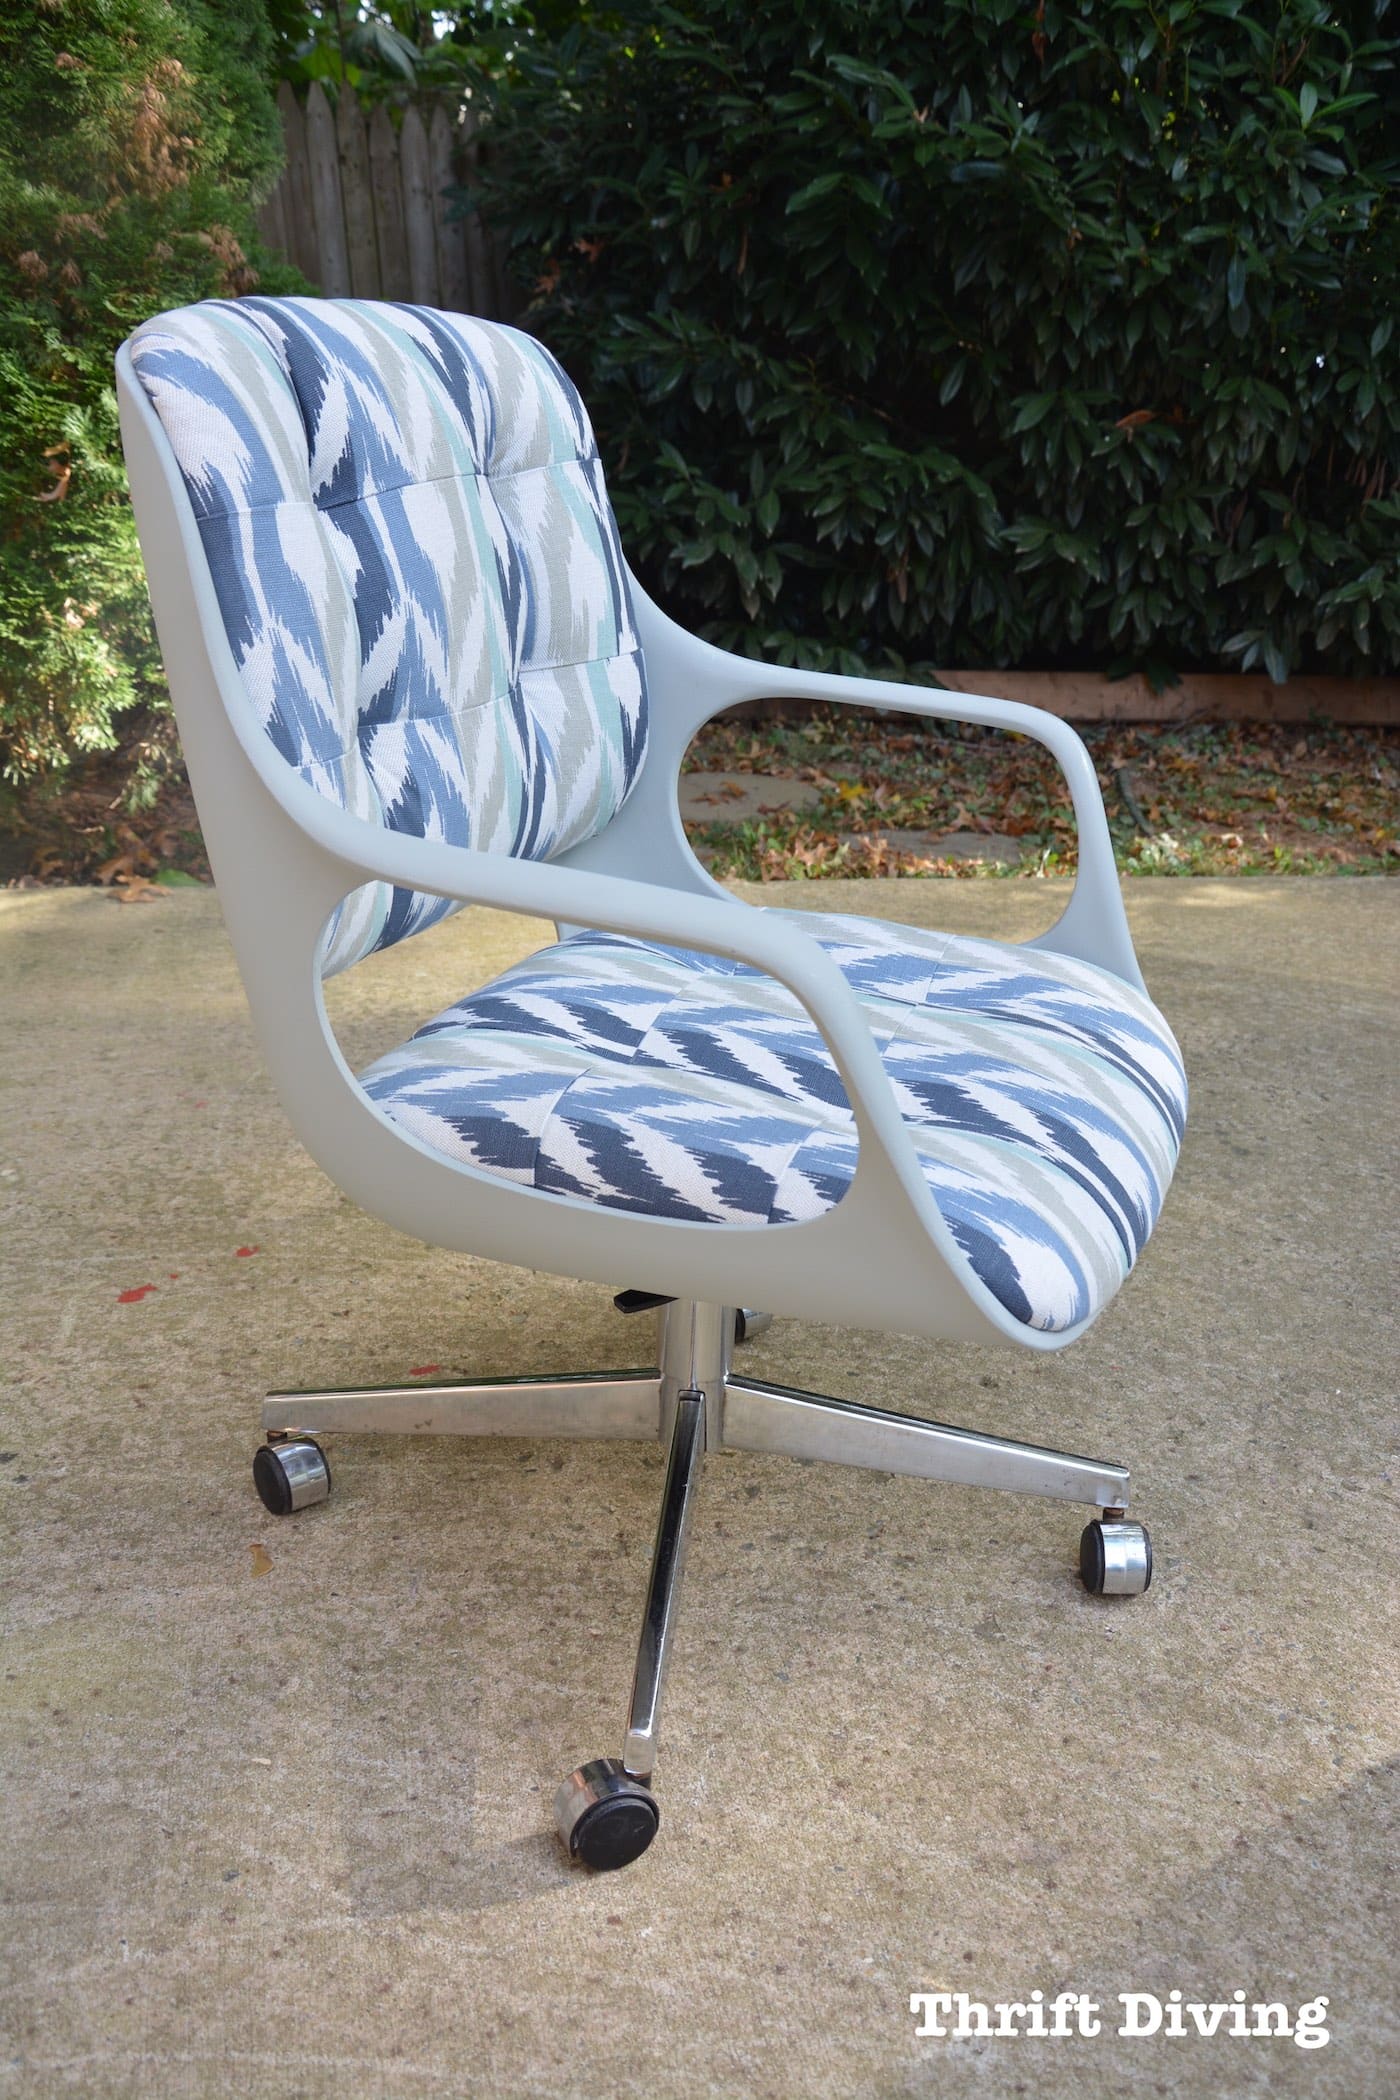
AFTER!
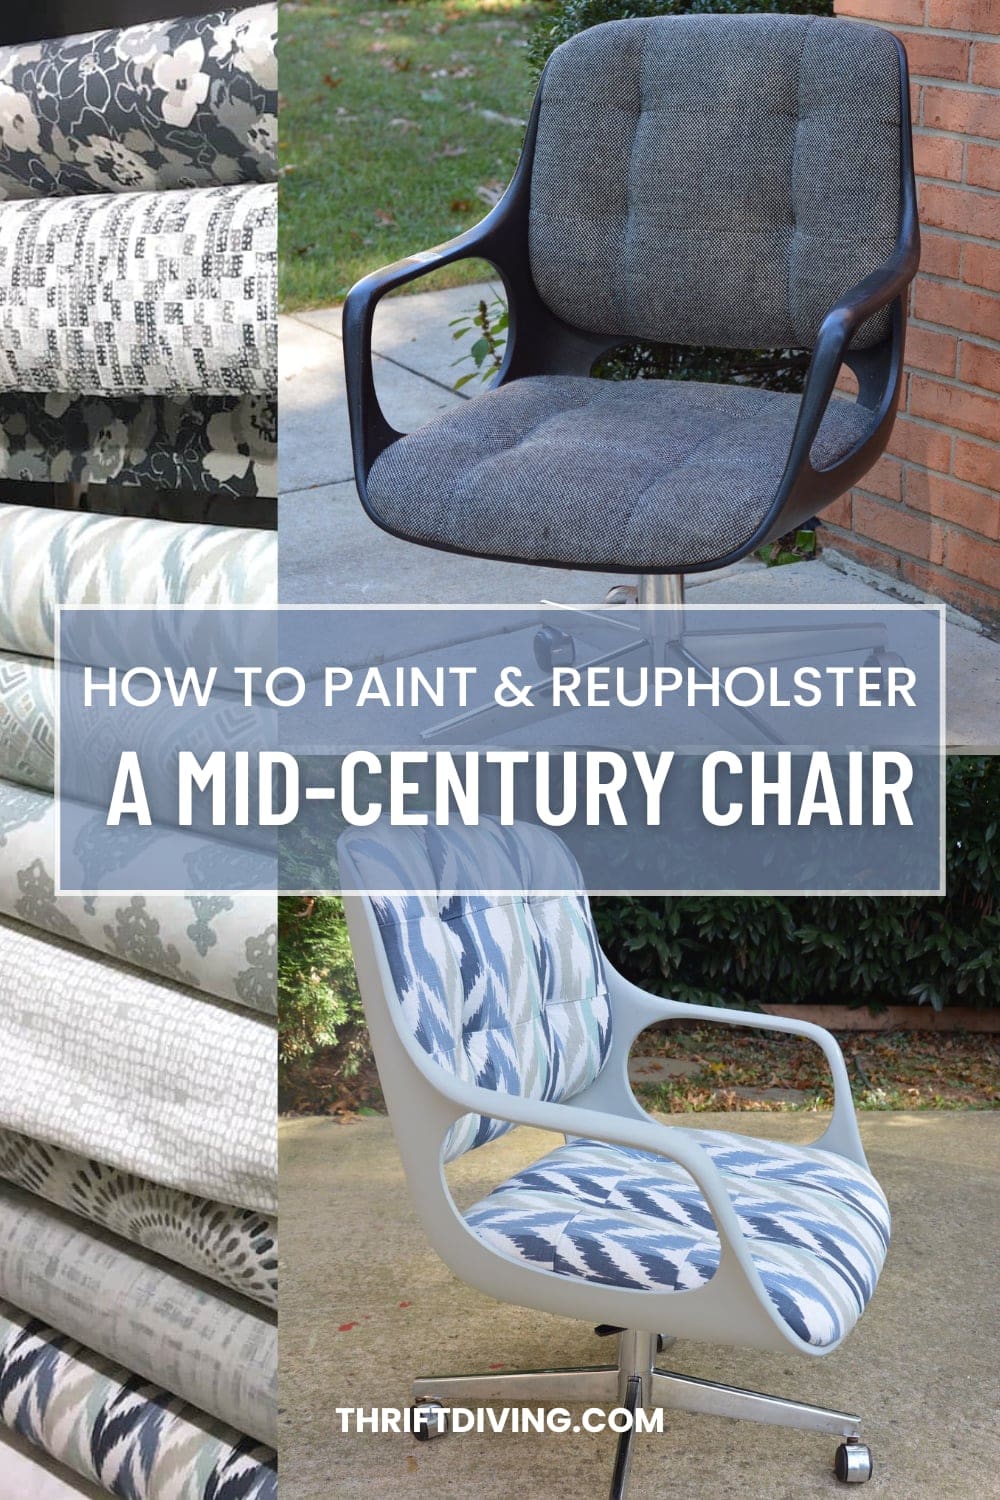
Click here to save this on Pinterest.
Let’s start with the materials I used:
(Note: Some of the links below are affiliate links, which means if you shop through those, the companies will pay me a small commission and doesn’t cost you anything extra. Shopping through these links helps to support my blog and is a way of saying “thanks!” for my valuable content and DIY projects! Thank you in advance!)
Materials
- Scott Living Tarrazo Distance fabric from Hobby Lobby
- Salvage Dog “Galvanized” Furniture Paint
- Paint brush
- Stapler
- Batting
- Thread
- Sewing machine
- Tufting bias
STEP 1: Remove the Old Fabric
This is the part I hated most about reupholstering this mid-century modern chair: removing the old fabric. It was dirty.
I tend to like holding onto the old fabric to use it as a template for the new fabric.
But you don’t have to.
I am taking a reupholster class and the teacher will teach me how to take accurate measurements without having to keep the hold pieces. But whatever works for you–whether saving the old pieces as a template, or measuring–is up to you!
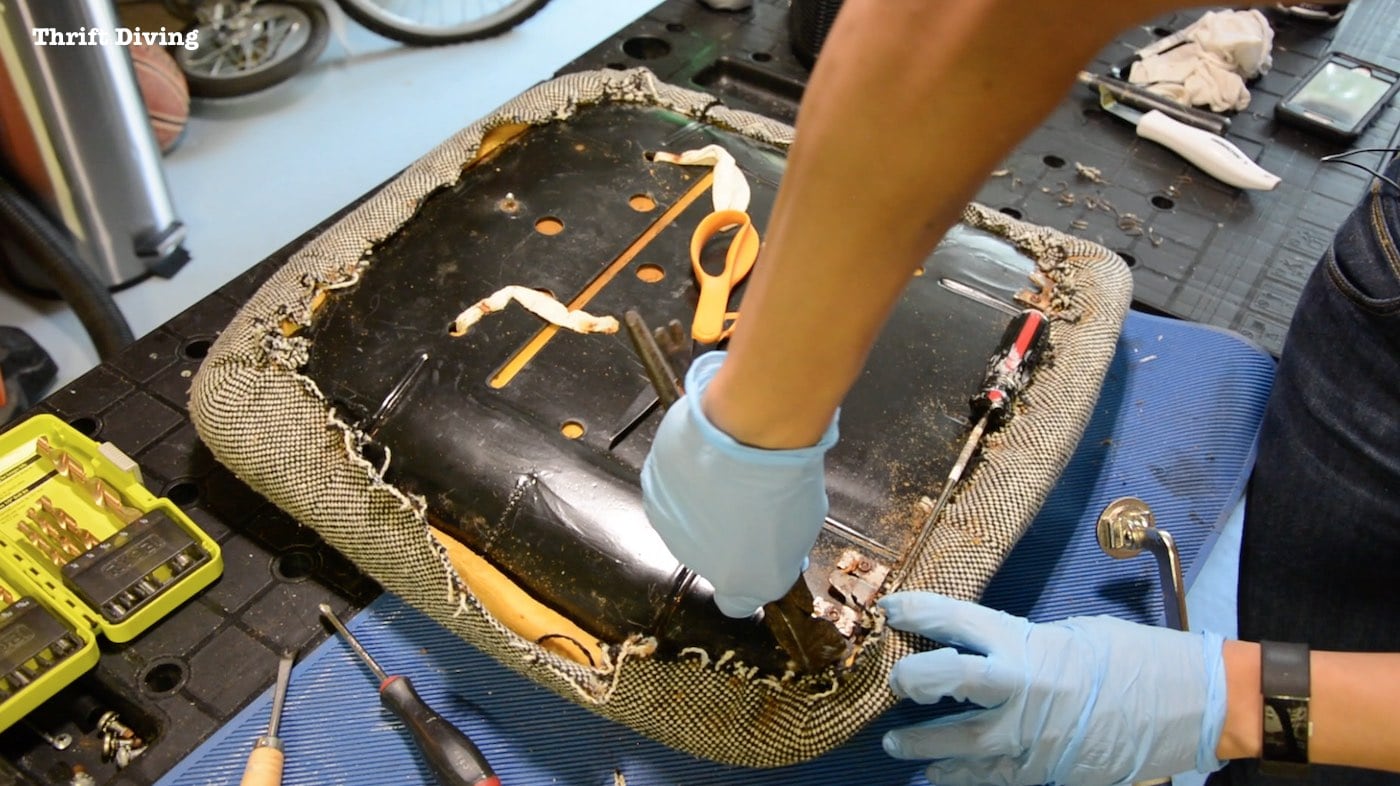
I discovered that the old cushion, while in one piece, was flaking off and disintegrating a bit underneath the fabric.
I thought about replacing it, but to do that would have been time-consuming (waiting for a replacement) and probably costly!
Whenever possible, use the old materials, but if they’re super disgusting, by all means–replace it!
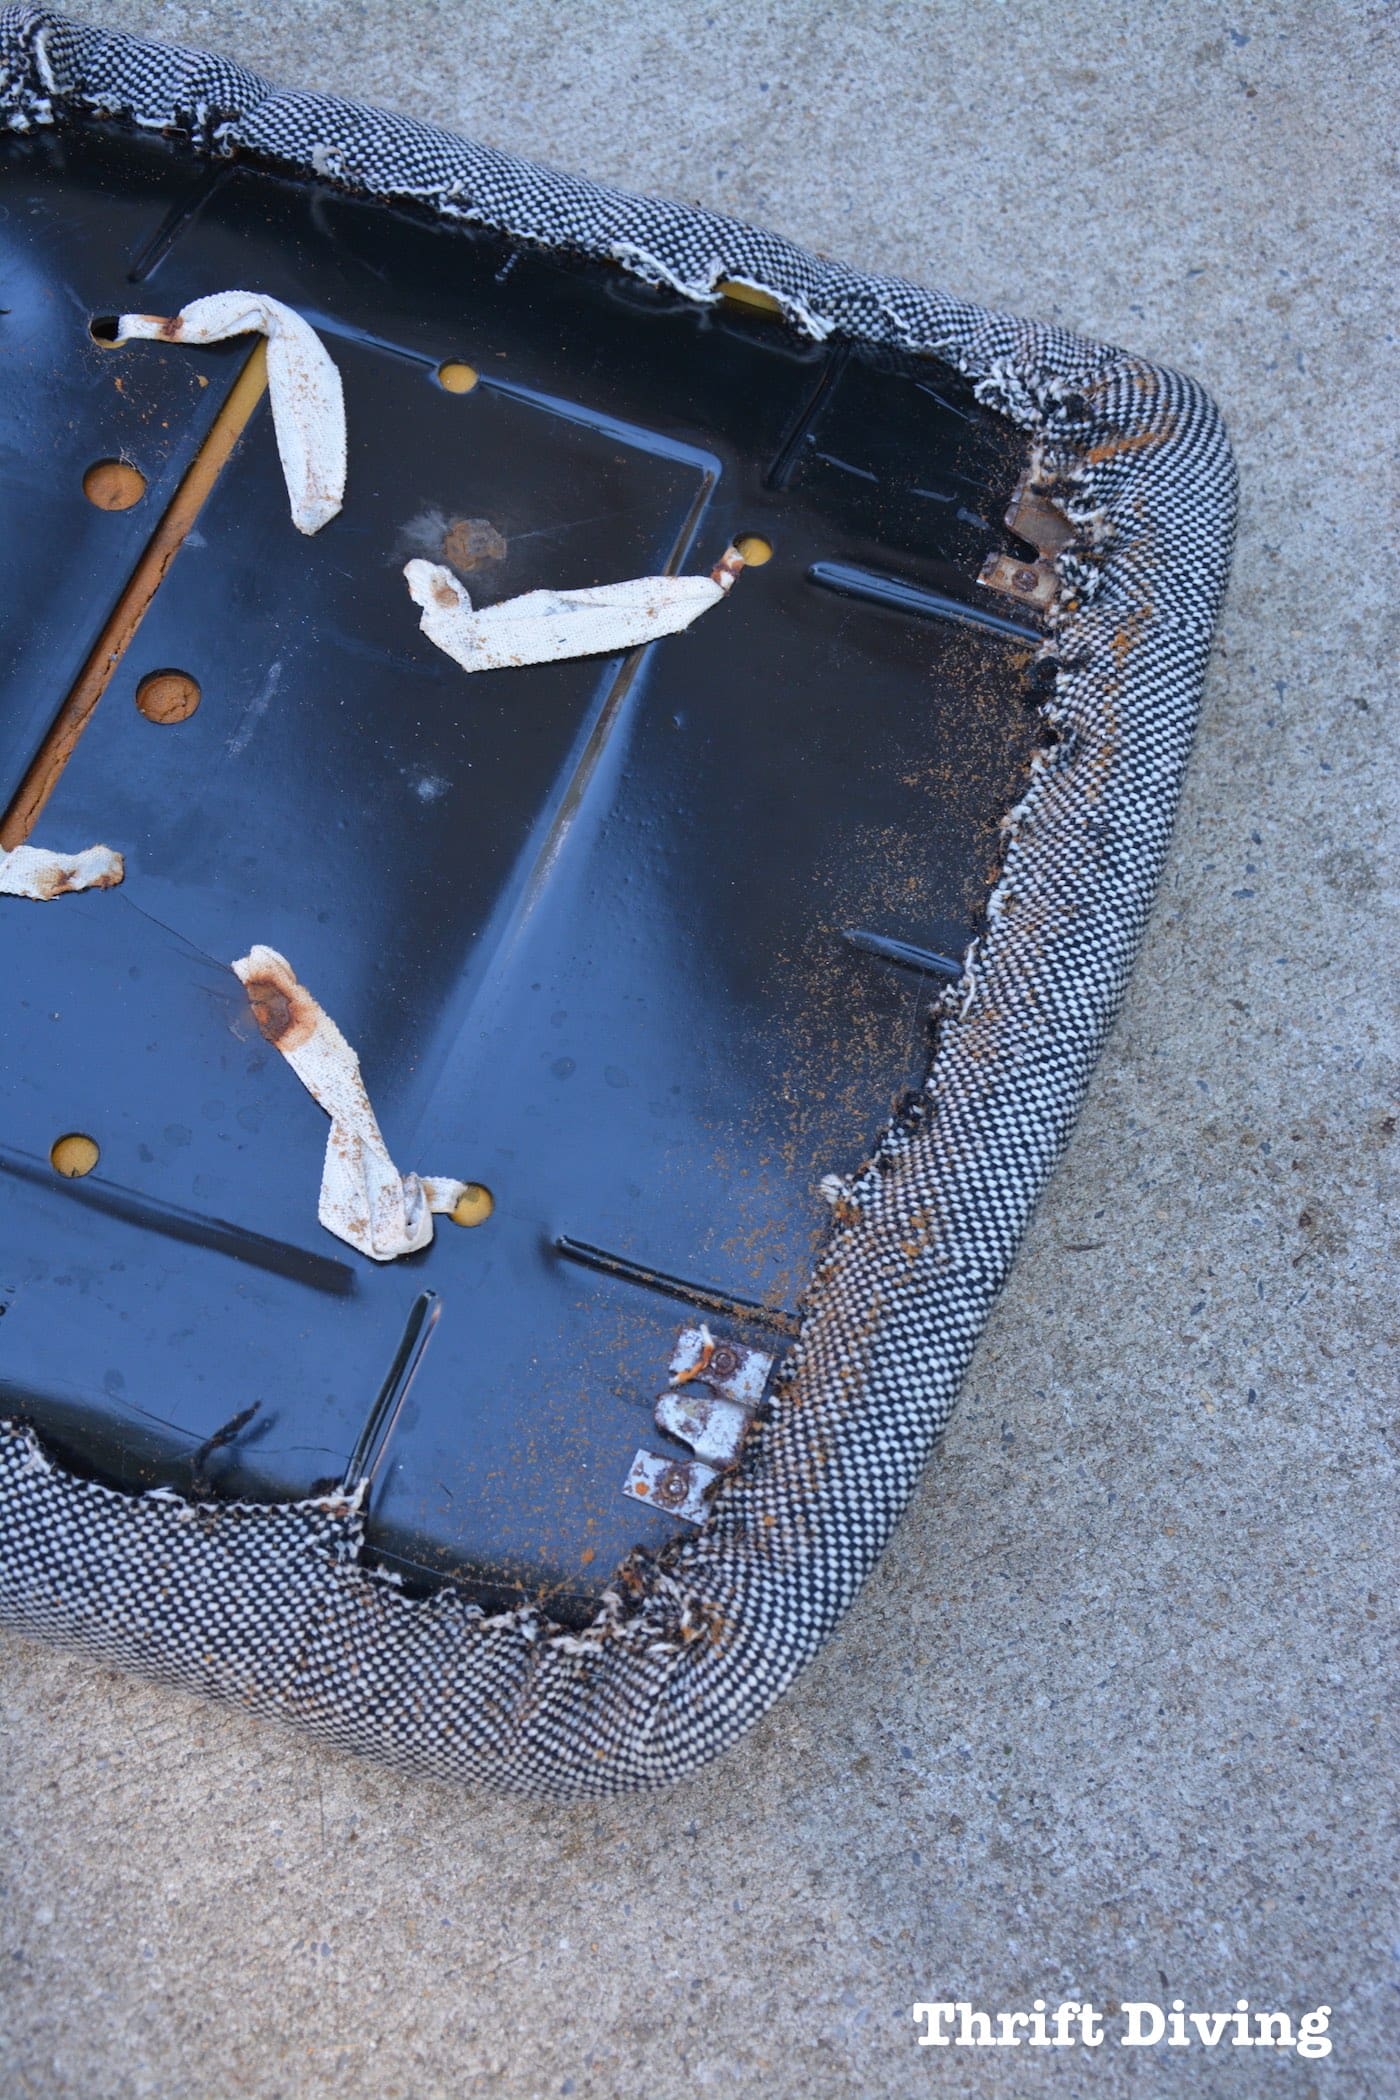
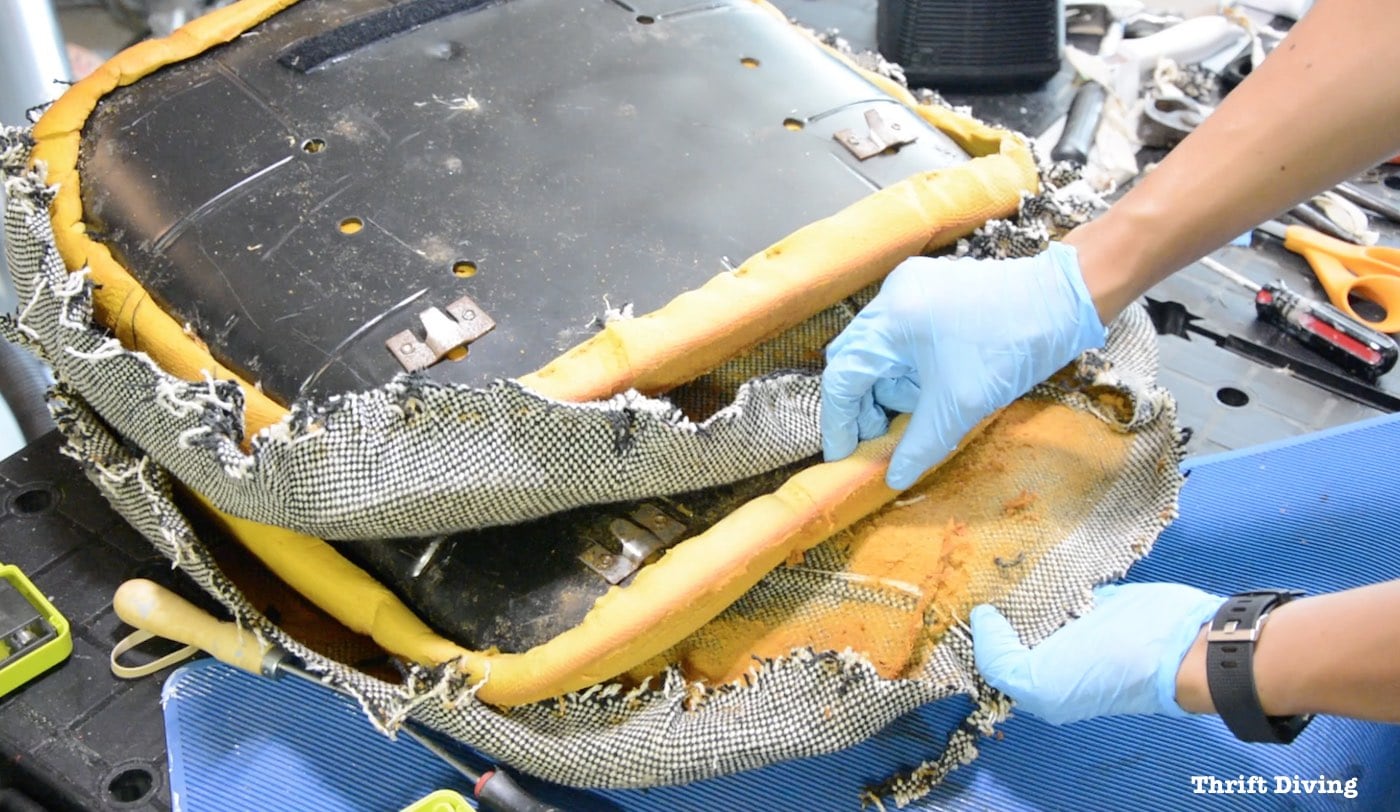
So I sucked it up and decided I’d reuse the old cushion, as long as it didn’t have any mold, stinky-beyond-reasonable odors. LOL
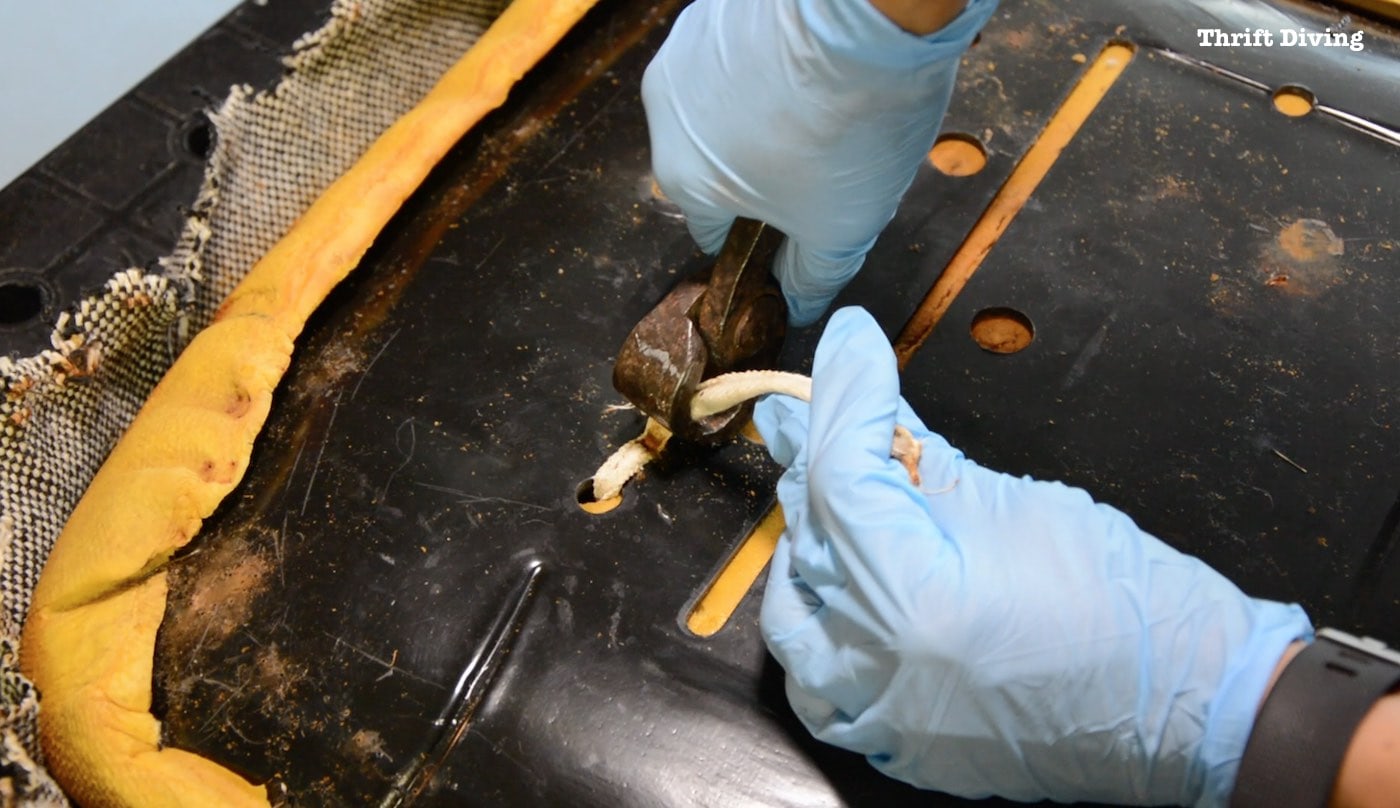
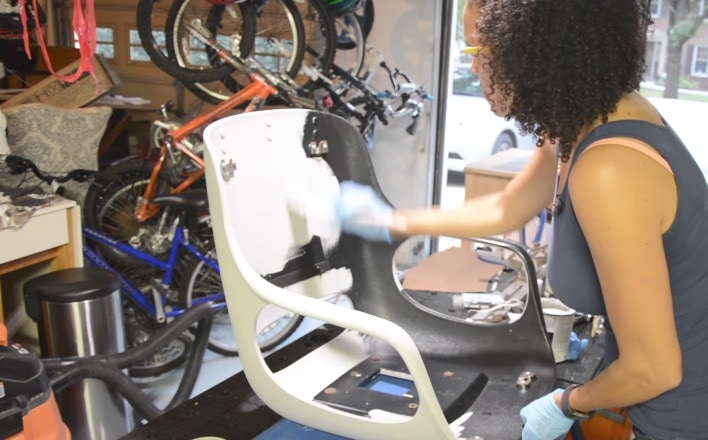
STEP 2: Paint the Body of the Mid-Century Modern Chair
This Chromcraft vintage office chair was so funny–once the cushions were removed, it looked like a car seat!
Does it not??
It’s probably the same type of plastic, too!

I cleaned it off and added a coat of Black Dog Salvage in the color “Galvanized.”
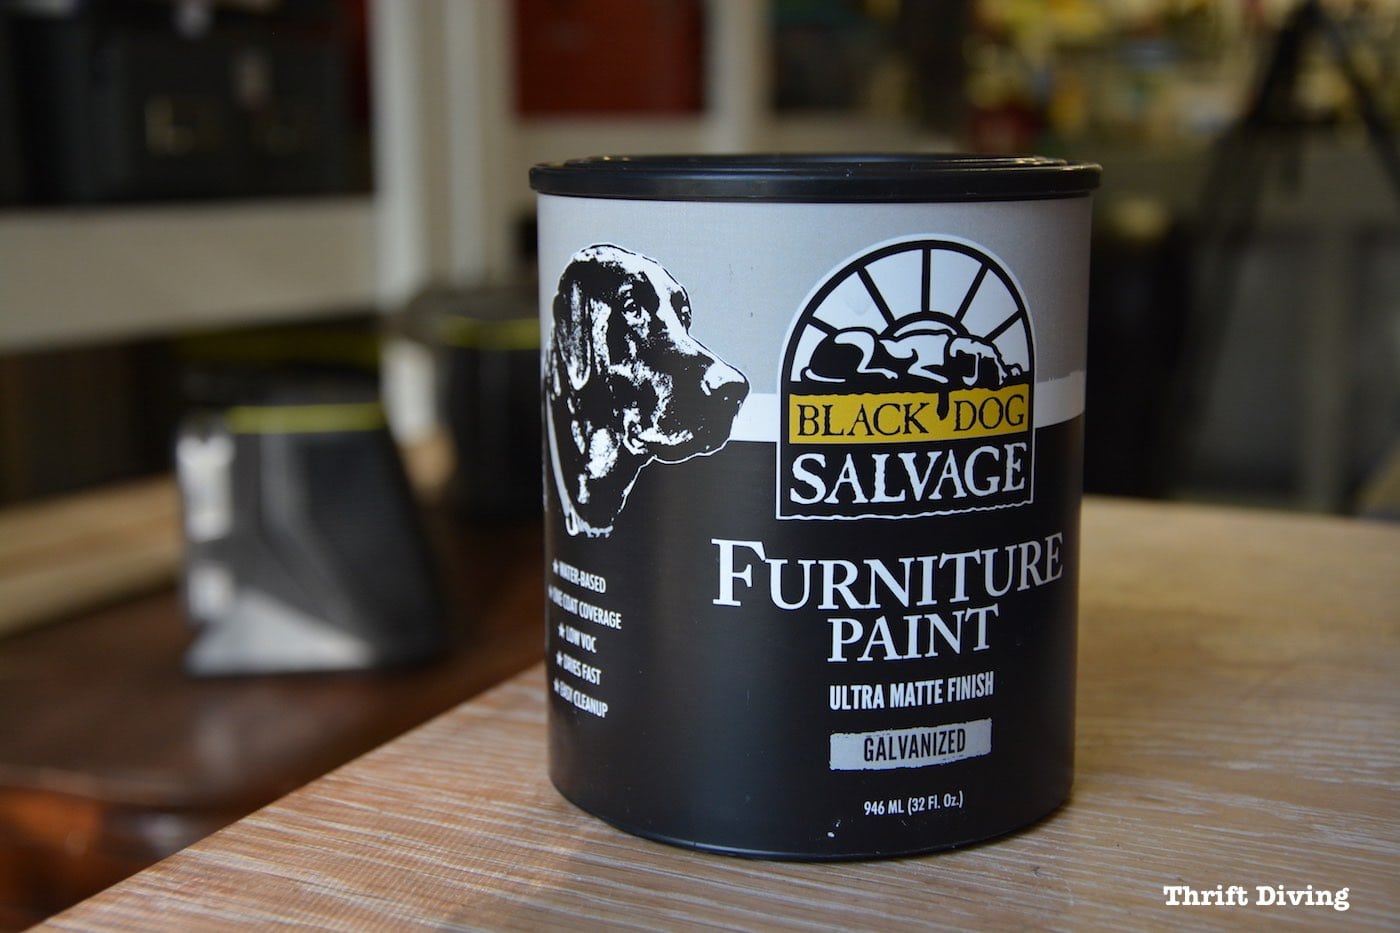
I loved how smoothly this paint went on. I had picked it up at my local woodworking store.
RELATED: What’s the Best Paint For Furniture? (Read the PROs and CONs).
STEP 3: Measure and Sew New Cushion Covers
Here’s where this project started turning into a heap of hot mess. LOL
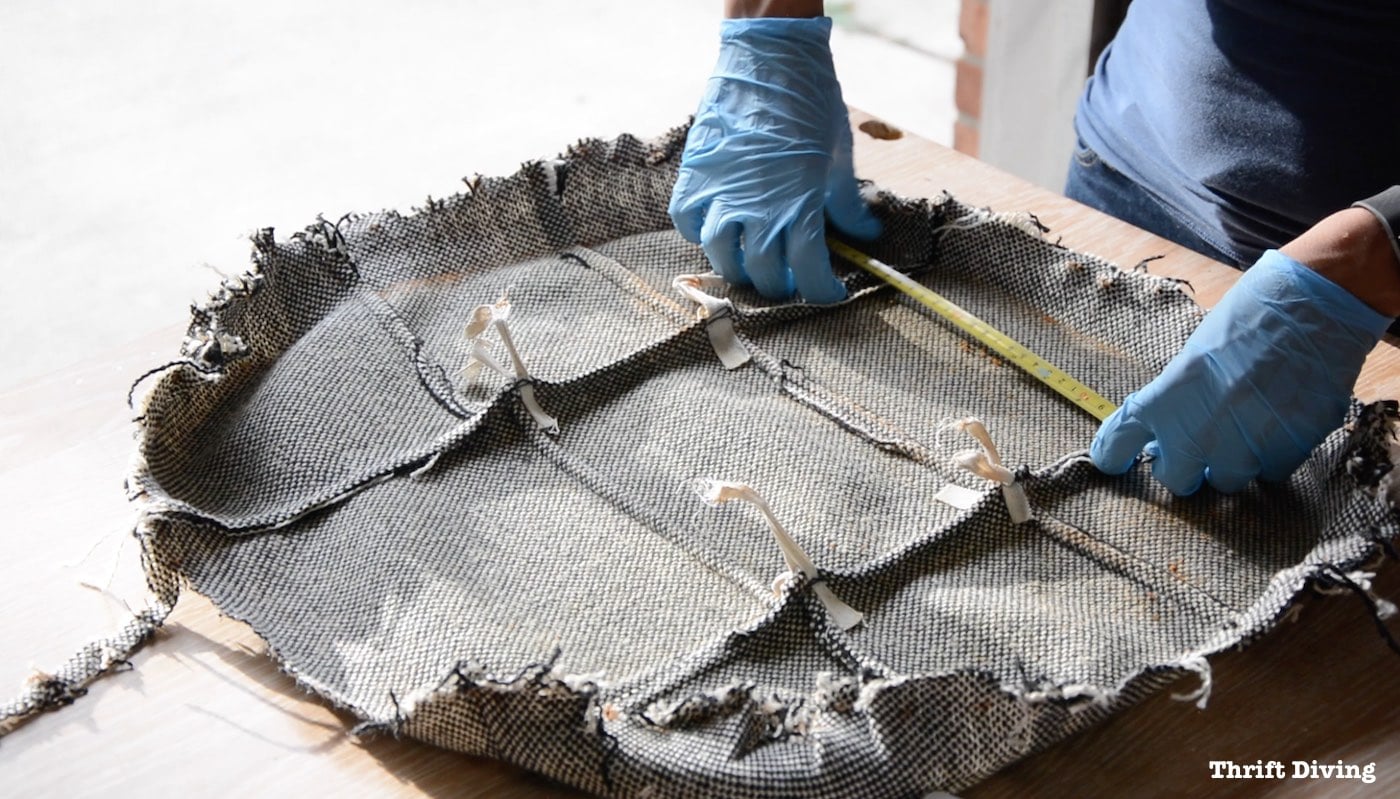
So I took what I thought were good measurements, only to find that the seat cushion pieces I sewed together were too small.
There ya go when you’ve measurement incorrectly….
I wasn’t sure at first what fabric I wanted on this chair, but the Property Brothers’ fabrics at Hobby Lobby stood out to me.
I love me some blues and grays and greens.
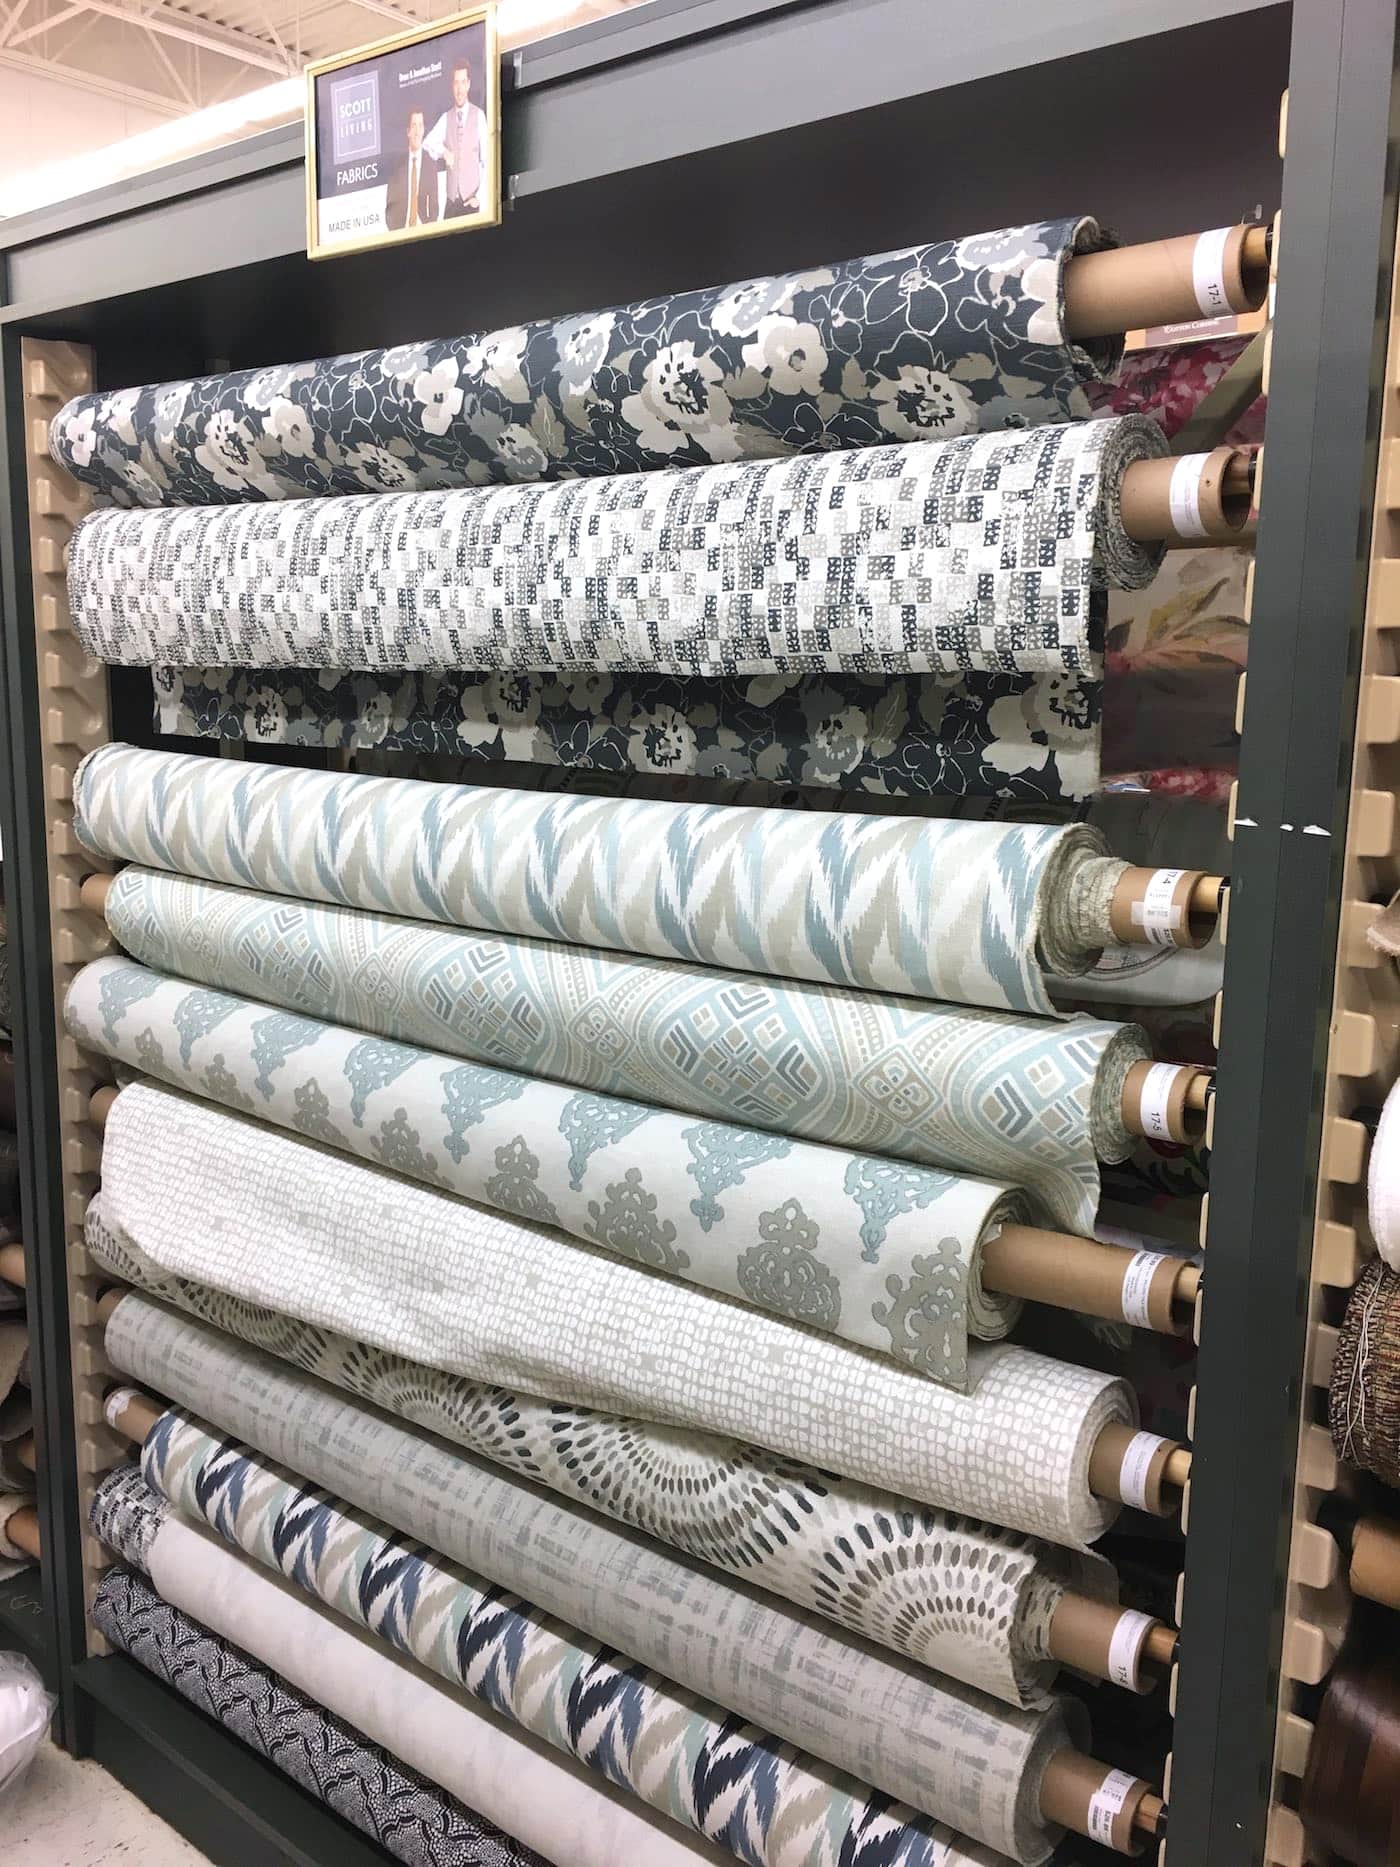
I decided to go with the Scott Living Tarrazo Distance fabric.
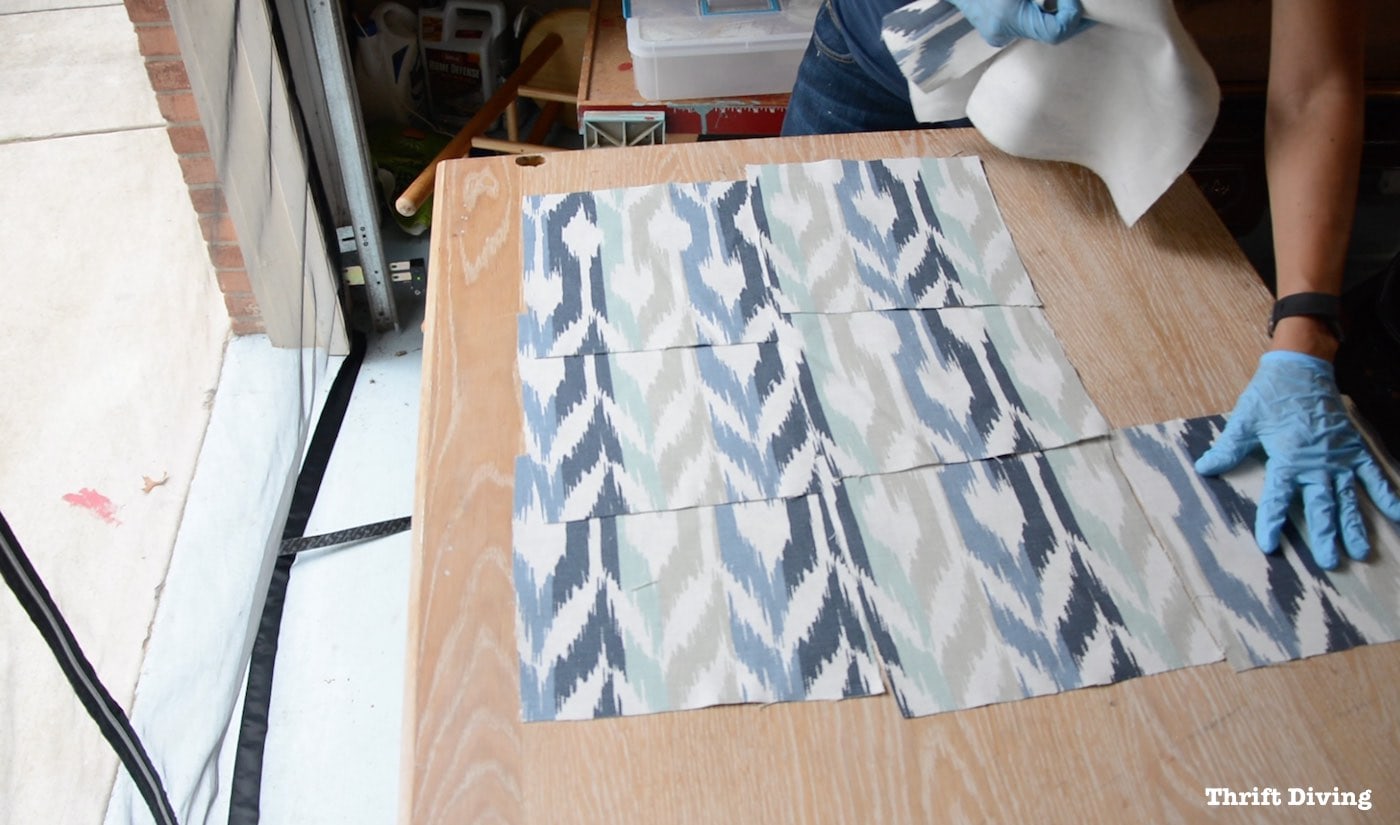
But I knew it would be challenging because when upholstering, you’ve got to be a magician whenever matching up patterns; otherwise, you’ll have a hot mess of mismatched pattern. LOL
In all my years of self-taught sewing prowess, I have never attempted to match patterns, but I didn’t want this chair to look like a mish-mosh (is that a word??) of pattern.
Plus, what good is life if you’re not continuously pushing yourself to learn new skills??
So I took my time laying out nine pieces that all “matched” up as closely as I could.
I’ll also admit to you that I screwed up here, big time.
One of the cushions I didn’t measure properly and totally underestimated how large I would need this piece to be.
So guess who ended up having to match and cut 9 more pieces to fix her mistake?? (insert eye-roll here).
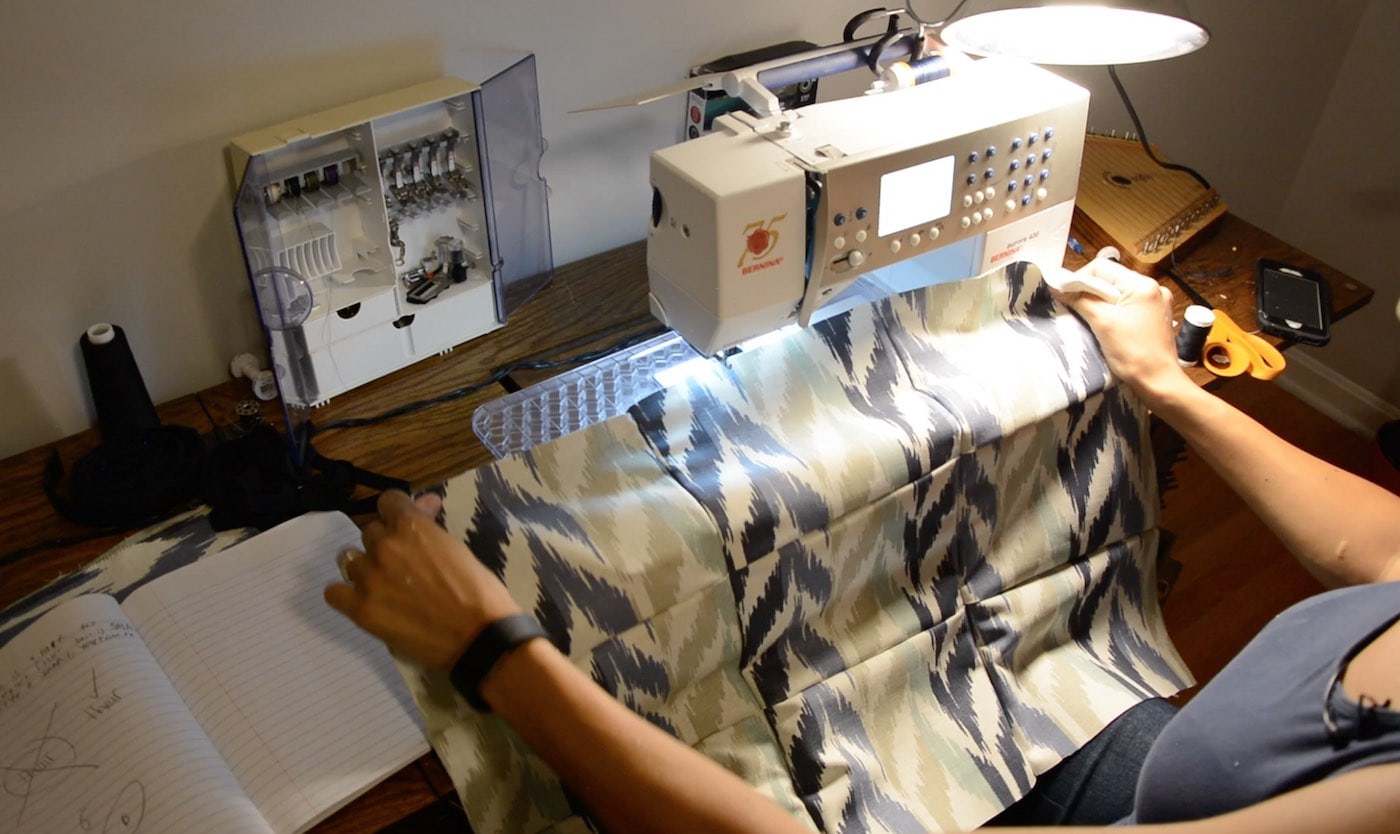
But it gets worse, my friend.
Not only did I sew one of the two cushion covers too small, but I also accidentally stapled one of the covers onto the wrong cushion.
The easy solution would have been to simply remove the cover and place it correctly, but as you’ll see, I was using a stapler that was unforgiving with the staples. There was no removing it!
Which meant I ended up having to re-sew one of the cushion covers for second time. Arrrrgggh!
Just watch here in the video. So frustrating!!
STEP 4: Cover the Cushion With Batting and Fabric
Anyhow, in the midst of all that “wrong cover” chaos, I covered the cushions with a layer of batting.
This step wasn’t necessary, but honestly, I was turned off by this nasty cushion (that resembled cornbread–HA!) and I wanted the batting to be another layer of protection against the old cushion.

I laid it over the cushion and used my scissors to poke holes where the tufting tape would go through.

With my cover lying face down, and the layer of batting underneath, I pulled the tufting tape through.
If you recall from the old cover, you can see the tufting tape at the seams where the 9 pieces of fabric were sewn together.
When I sewed the new covers, I also sewed on the new tape.
Because the back of the seat and bottom were a hard plastic, I needed to pull out my RYOBI crown stapler in order to get staples through it.
I don’t (yet) own an upholstery gun, and while this crown stapler can be used for upholstery, I wouldn’t recommend it only because these staples are impossible to remove once they go through the wood or plastic (this was the reason I couldn’t remove the accidentally stapled cover). I would recommend the crown stapler for projects you know you won’t need to be moving the staples, not projects like this.
At this point, I couldn’t mess up anymore because there was no way of removing these staples!
I pulled the tape taut and secured them with the crown staples.

I flipped the cushion over and started pulling the sides and corners, smoothing it out.

I used the same stapler to secure the fabric. Again, I had to get it right or else I would be screwed since I couldn’t remove the staples from the hard plastic if I messed up and needed to reposition anything! Yikes! The stress….

STEP 5: Replace the Cushions
Thankfully, even with the blunder of putting the wrong sewn pieces on the wrong cushion, I was able to slide the reupholstered cushions back on. It looked pretty good despite having to re-do one of the cushion covers.
That’s DIY for ya!

STEP 6: Lightly Sand the Chrome Base
The chrome chair base was a bit rusty, so I took some 800-grit sandpaper (which is suuuuper fine) and sanded out the discoloration without scratching up the metal.

A Final Look!
And while I do love the look of the black and gray (I’m sure it was a hot chair in its day!), I wanted a new look for my chair.
Thrift Store Pete said he would have reupholstered the mid-century modern chair in vinyl, which would have looked nice, but that’s a bit too manly for me.
I wanted a pretty chair instead.

AFTER!
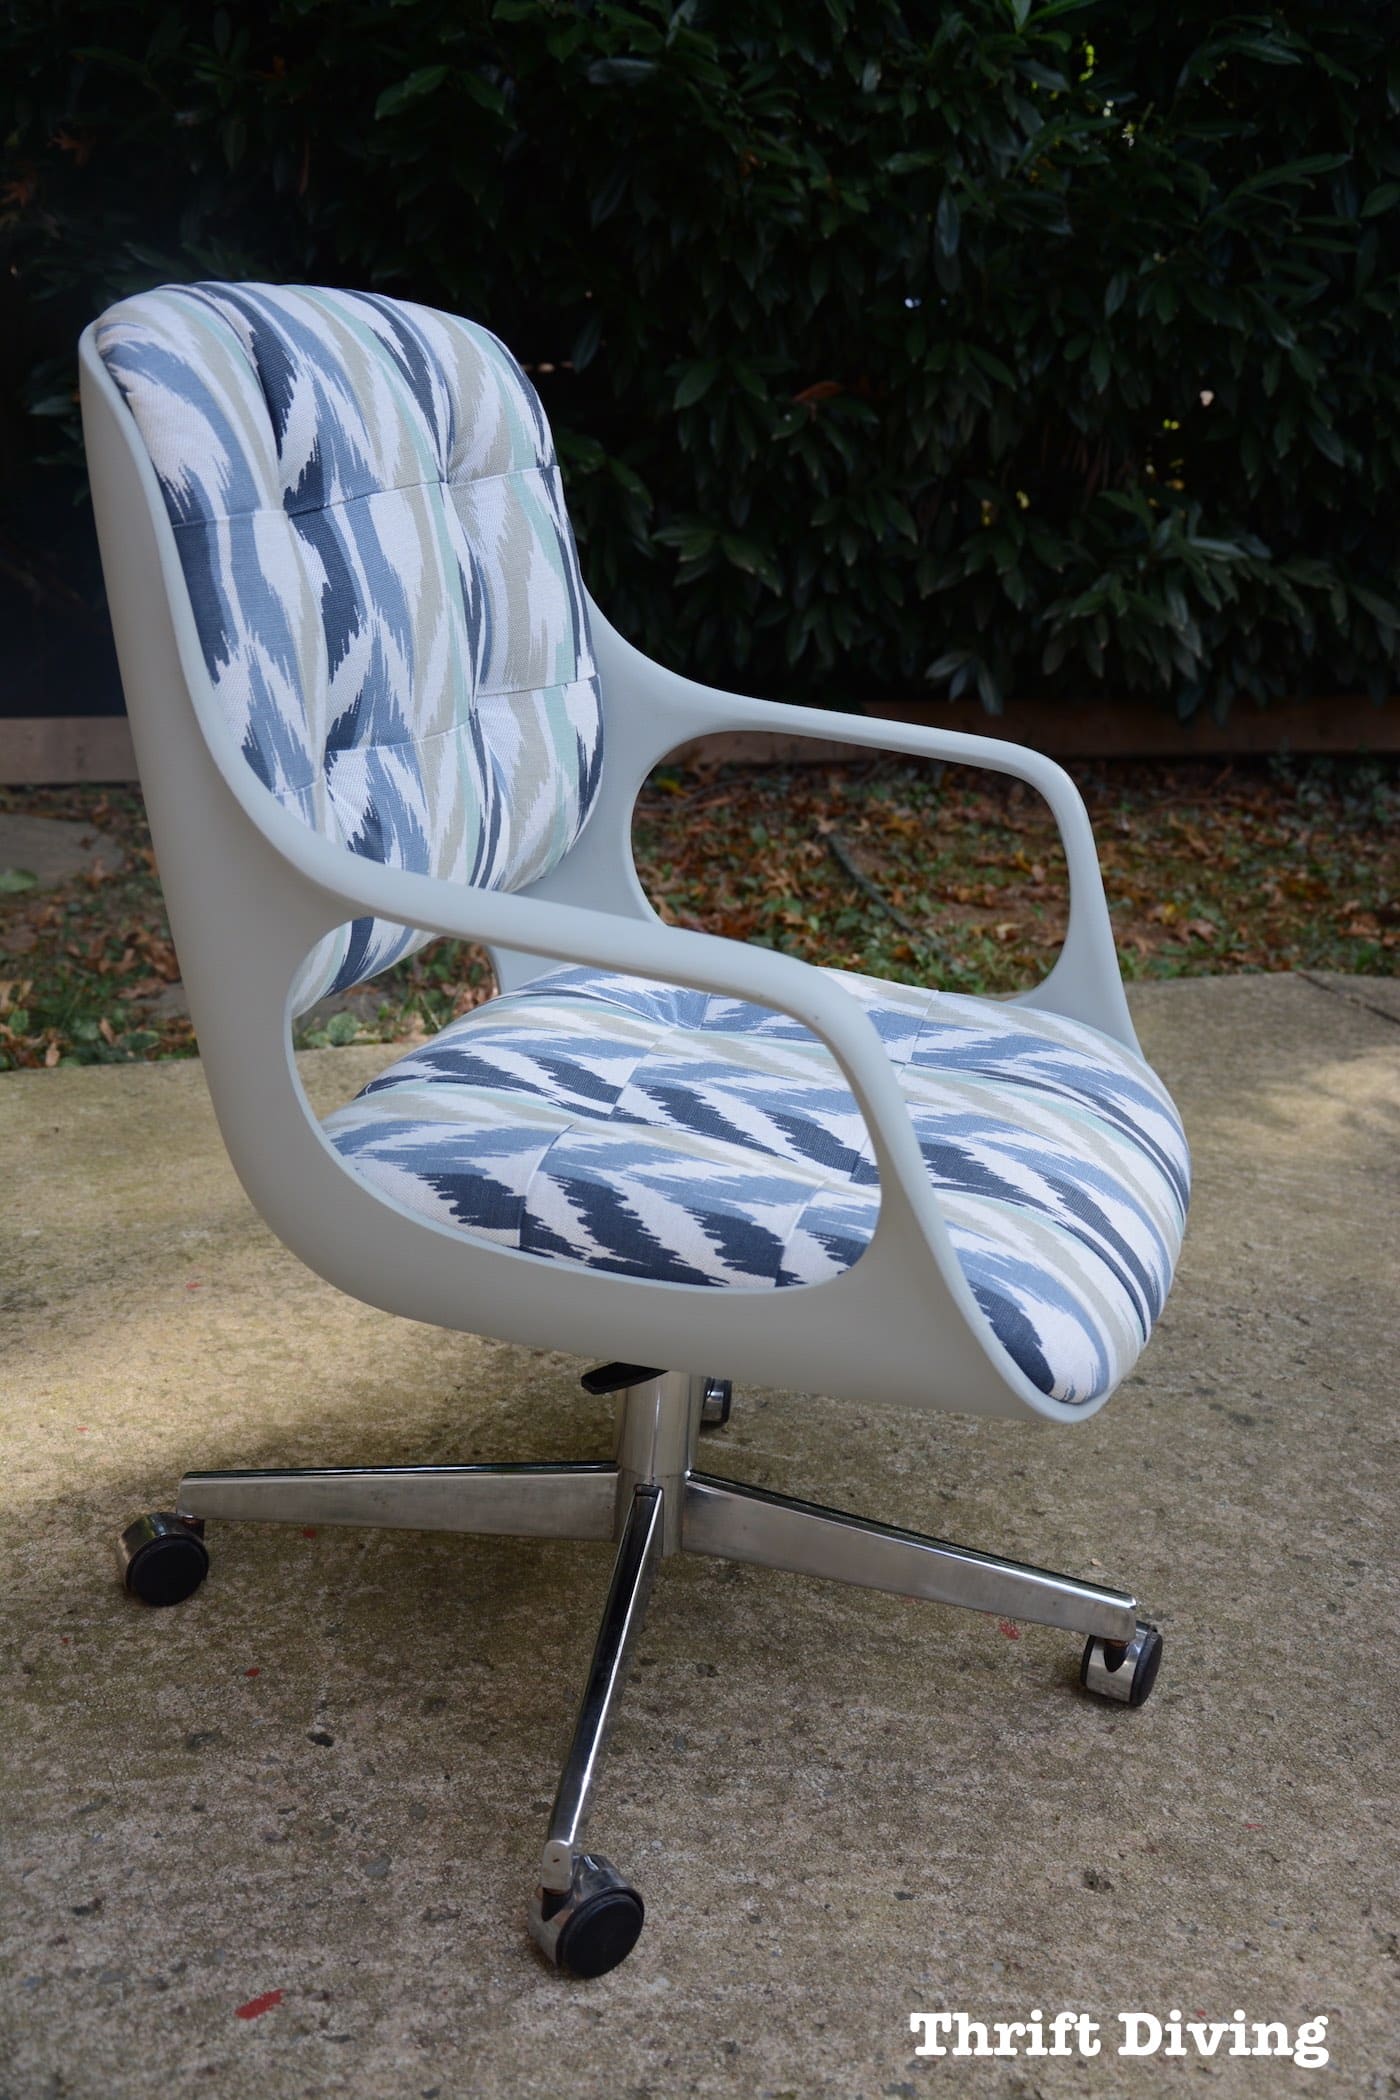
BEFORE

AFTER!
I like that I can still see the texture of the chair through the Black Dog Salvage Galvanized furniture paint!
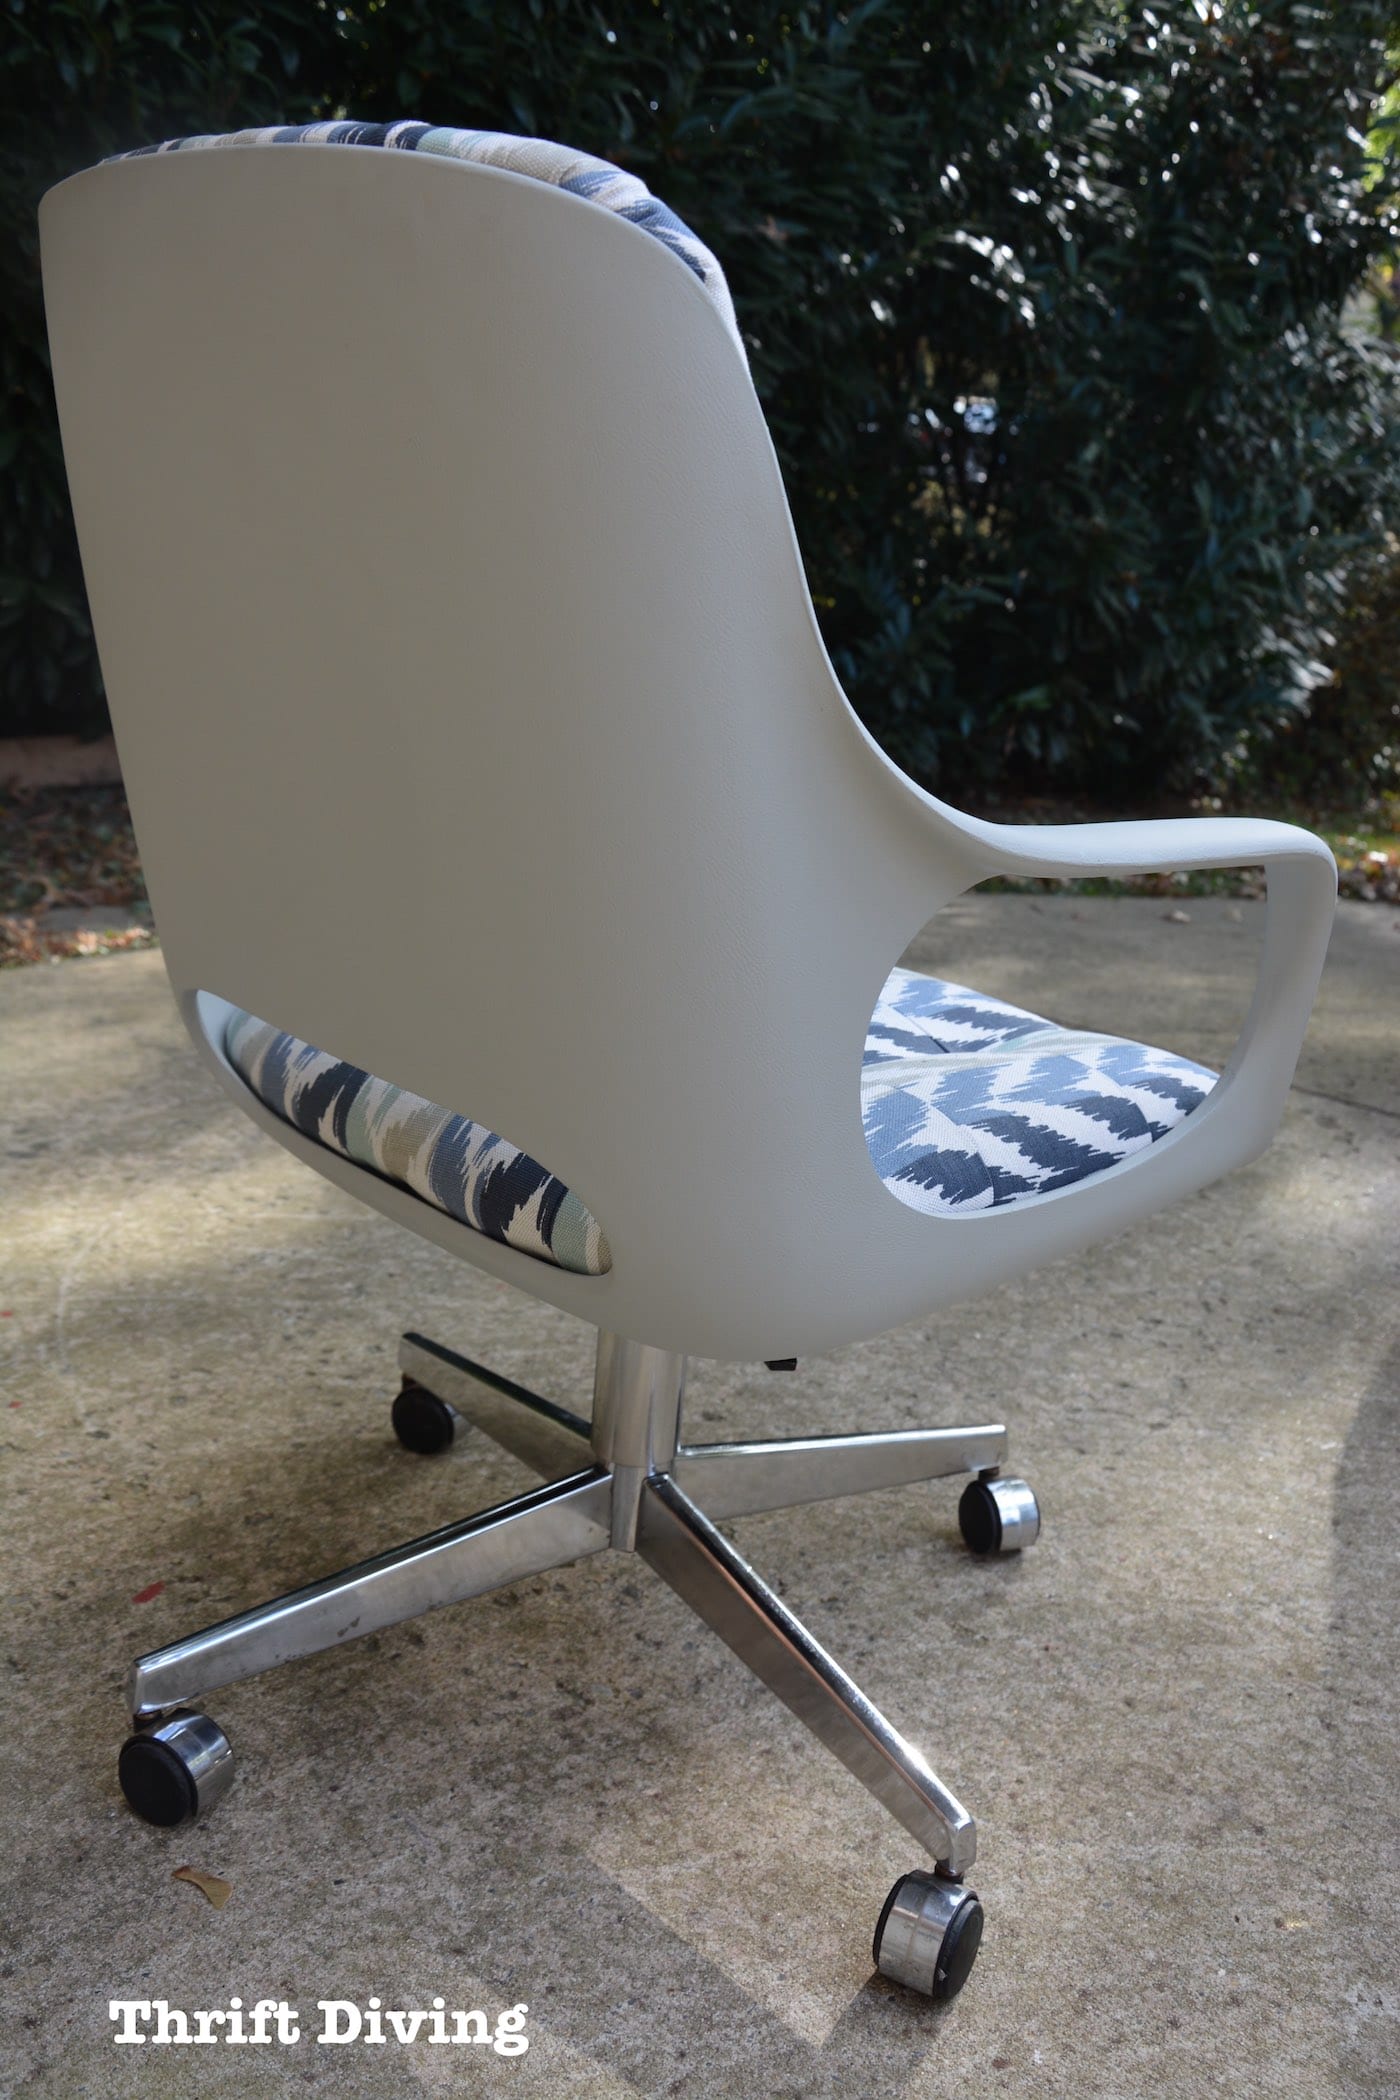
At first, I didn’t care for the chair, actually.
I felt the gray paint was too monochrome with the gray in the fabric. But after some thought, I decided that I liked it.
Although, I would still love if the chair were re-painted white so that the fabric stands out more.
Overall, though, I do like the chair!
I’ll likely be using it when I finally get my basement area converted into a larger sewing/crafting space for me!
So what do you think?? 🙂

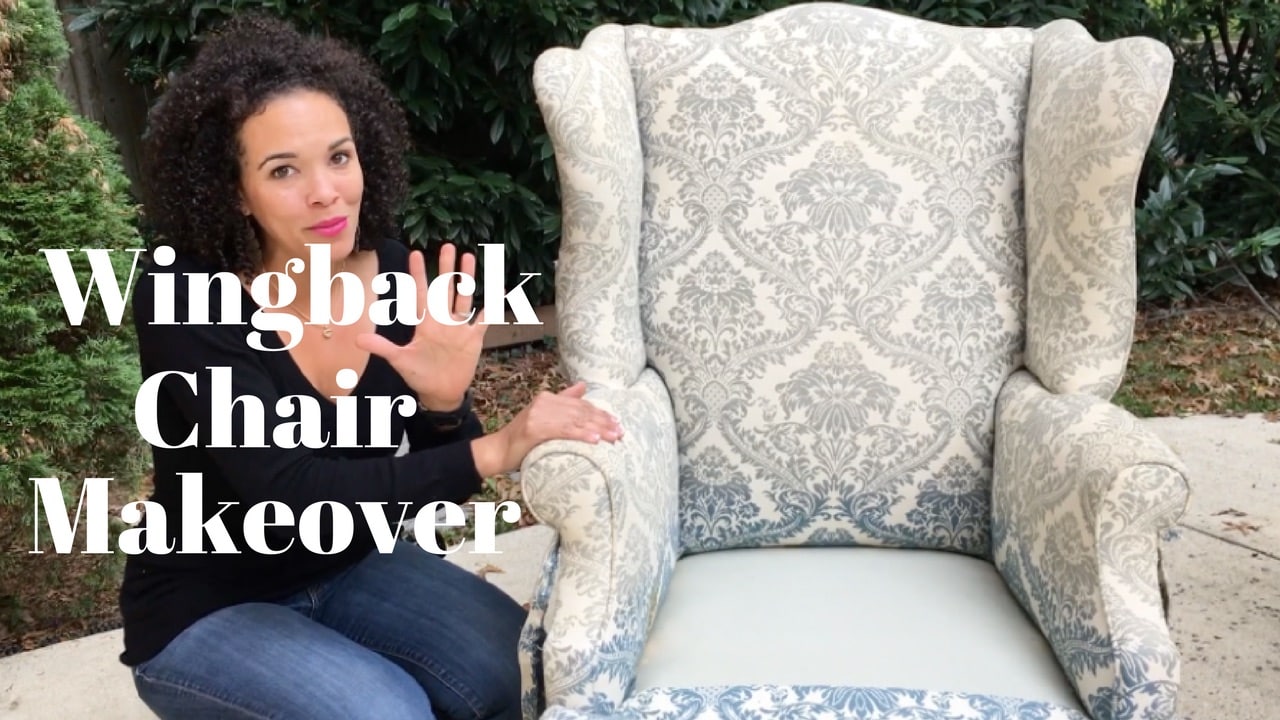
Wingback Chair Makeover – PART 1
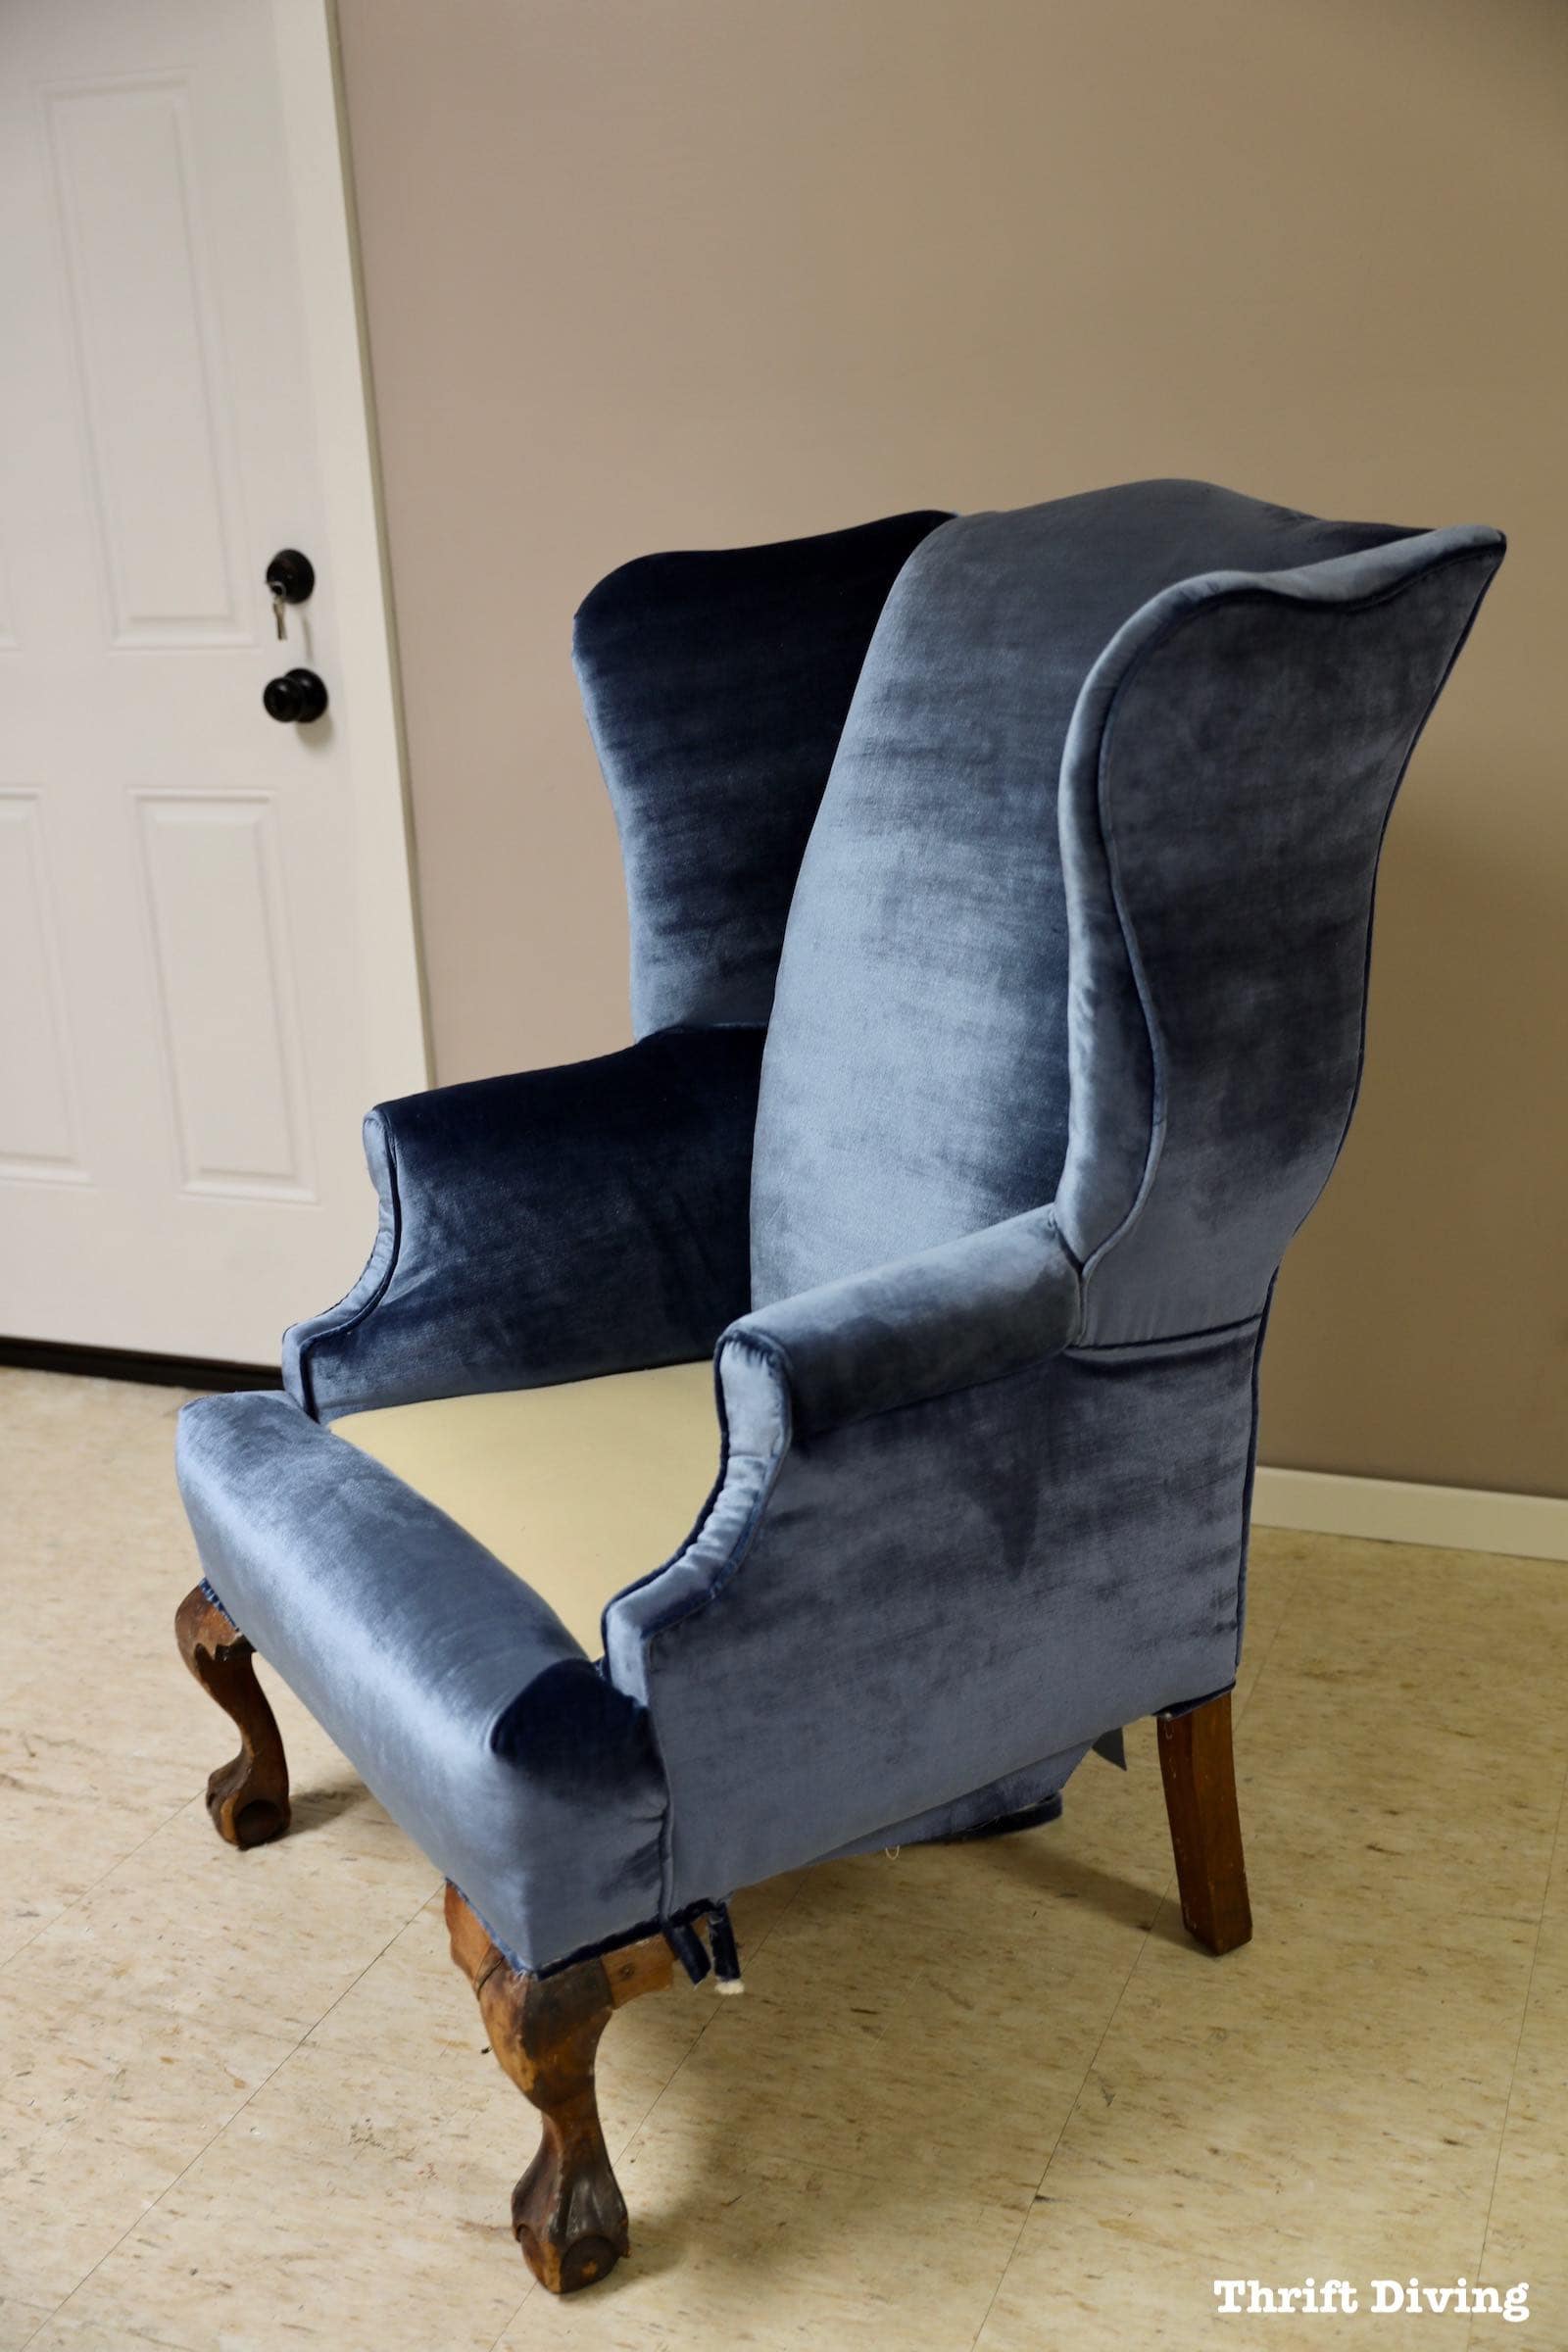
The next reupholster job I’m working on is this wingback chair from the thrift store that was $60 and heavy as sin!
See in Part 1 how I start tearing down the chair, section by section!
Be sure to subscribe to my YouTube channel so you don’t miss Part 2!

Download the 5 freebies!

Thrift Diving inspires women to decorate, improve, and maintain their home themselves...using paint, power tools, and thrift stores! Use these 5 printables, checklists, and ebooks to get started!
Serena, You are one amazing lady! You take on projects I wouldn’t touch and make them beautiful. You are my DIY hero!
Hi, Elaine!
YAY! I love being a DIY hero! I tell ya….it’s really about pushing yourself to learn new things. I find it so exciting to learn to do something that once felt scary or impossible, and then conquering it! Maybe not MASTERING it, but being able to do it when it once couldn’t, is what life is all about. 🙂 Thank you for the awesome comment!
I think you did an incredible job on this chair. I also like the paint that you used to paint the plastic part of the chair. Did you have to prime it first?
I love the color of the chair and the fabric. I have recovered a couple of office chairs (backs and seats). However, I didn’t have any patterns to match. It was years ago, but sure made those chairs usable for a long time. The office chairs were bought at a university auction dirt cheap. The material was remnants and also very inexpensive. I had more time and energy when I did those projects. I’m not sure I would have the time these days.
Nice job!
Lol, you crack me up Serena. Have sewn for many years but never any reupholstering have lots of fun . Since have gotten older arthritis and problems from carpal tunnel my hands don’t work well at all, have no strength and can’t make hands do what brain tells them. Dressing myself has gotten to be problem in some cases. Have no feeling in fingertips, aaarrgghh. Typing on this gadget is getting harder for me. Have to go back to do lots of editing constantly.
You do such a great job of showing us what to do and not to do. Your sewing skills are pretty darned good I’d say, that’s how we learn, making mistakes, trying different solutions. Go for it girl.
Am sitting in a chair similar to yours, got it fromHabitat few weeks ago for$7 and is pretty clean.Had to put pillow on seat to raise me up enuf.
Will be following you on your reupholstering that wing chair so until then have great weekend
Wonderful job and love the fabric and paint color you chose! You amaze me with the projects you tackle and do such great work! You’re so smart and talented Serena!
The chair looks amazing. You did a great job. I remember my mom taking an Upholstry class and reupholstering a couple of chairs. I should look into a class for myself. Keep up the great work.
The upholstery place i used to volunteer at used an air compressor for the staple gun.
Yes!! I literally JUST bought one tonight on Amazon! LOL 🙂 I’m taking an upholstery class right now, working on that wingback chair, and it’s the one that the teacher recommended. Can’t wait to get it this weekend!
If this was your 1st upholstery job, you could’ve fooled me!!! Cuz despite your mismeasurements or not realizing you put on the “other” cover, it looks grrrrreaaat! I love the fabric and color you chose for the base as well!!! And dont let me forget your step by step teaching skills are on point!!!! Thank you for sharing!!!! You’re my Shero!!
Thanks, Maria! The real test will be how it holds UP! Because the fabric on the bottom is a bit too small (due to my error), I worry that once I start to really use the chair, the fabric will come off around the short edges. I hope that’s not the case because, with that nailer, I can’t take that fabric off. LOL. I’d have to rip it off and sew a whole new cover. That ain’t gonna happen. LOL.
Nope, this isn’t my first upholstered project. I’ve several before, but this is only the second one where I had to sew pieces together like this. Although I’ve been sewing for years, I’m not used to measuring and showing fabrics for chairs. It’s a great skill to have, though!!
Congrats on buying your 1st air compressor!! Lol i don’t but my boyfriend got one from harbor freight (open box for $40) and its a decent size (and loud lol). If the fabric does come off, now you will have the air compressor and nail gun to staple and play with.. lol!!! & that wingback is going to come out awesome!!! I also sew, i did 2 match jobs (both curtains and as you said “argh” lol), never did a complete upholstery job but i assisted on a few different ones at different stages so it was a great experience for me… one day i will do my own start to finish project 🙂
This is the one I bought, Maria! This is my affiliate link on Amazon: http://amzn.to/2yMMji6
It’s the one the instructor recommended. I already own a compressor but it’s a big ‘ole pancake one from RYOBI that’s more suitable for other jobs–not small ones like carrying this to upholstery class. Can’t wait to play around with it!
All this talk of reupholstering….I am going to challenge you to complete your own upholstery project! Within 90 days….aaaannnddd GO!
If you have never sewn before, you did an excellent job! In truth, I like a challenge, but I don’t like touching other peoples old grody things. Like the schmutz that you found under the cushion and under the foam. Ewwwwww. But, all that aside, you did a really great job. Very good! But I missed the cost of the paint and the cost of the fabric…. and how many days did it take you complete this project?
I have so many projects here to do, that old adage about never being able to die, that describes me! Oddly enough, as I write to you, I have my bottom sitting in a chair just like that…except it was brand new when it was given to me, and hmmmmmm it could use a face lift too! How long did you take on this project? You have me thinking now too!
Pat, you are so right! I HATE touching the old upholstered stuff! It’s just so icky! LOL This isn’t my first sewing project, but as many stupid mistakes as I made with that cover you would THINK it was my first project! LOL. I taught myself how to sew out of college and I have made many of things. I haven’t sewn chair covers often, though. Maybe once or twice before…although I have done a couple of reupholstered projects that have just required a staple gun.
Hmmm….time…I rushed through this project, so I think it took about a day and a half, off and on (not all day). The fabric was about $20 a yard and I probably used 2 yards trying to match up the patterns (and fixing the silly errors). LOL
You should definitely do your chair! Do you sew?
I think you did and incredible, professional job! It looks amazing!
Thank you so much, Lisa! 🙂