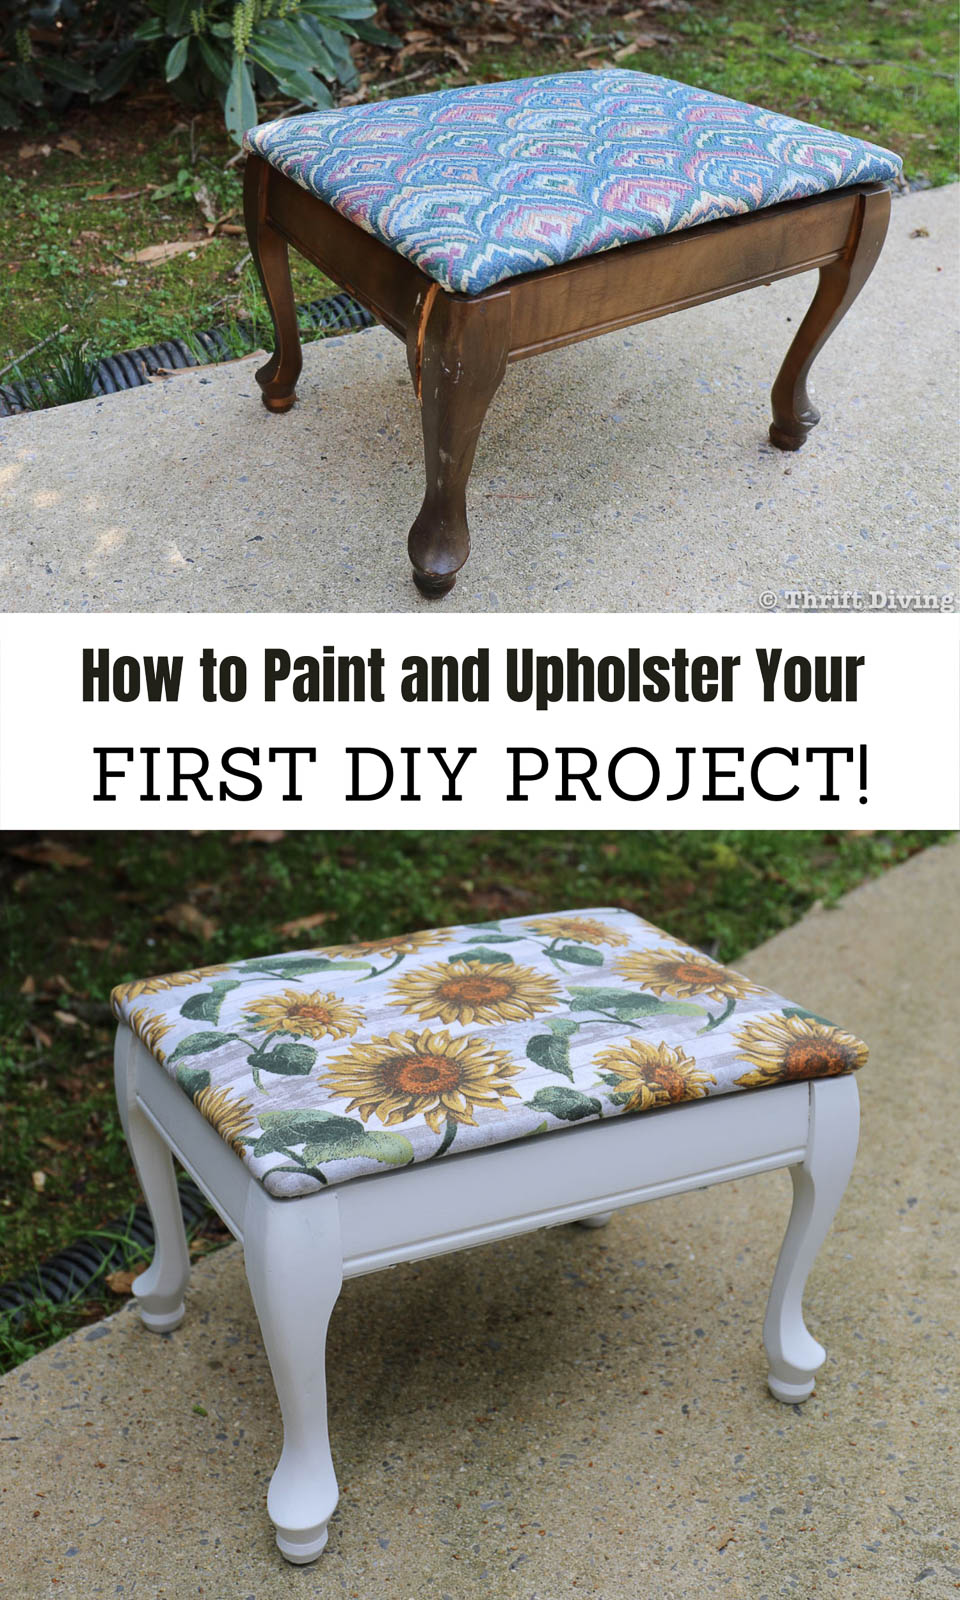
How to Paint Furniture and Reupholster Your First Project!
This post is sponsored by Arrow Fastener.
I remember how nervous I was, as a beginner, to paint furniture and reupholster my first piece from the thrift store! I had no idea how to get started, and it felt overwhelming to know which tools I really needed for each project.
Now that I’ve got many years under my belt with painted furniture makeovers and I took a rack of upholstery classes, it’s time to pass that info along to you, my friend. I have always said that crafting is like therapy. I feel most happy when I’ve got a project going. And I want to make sure that you’ve got the know-how to move along in your DIY journey, too. 🙂
(Want to see one of my favorite furniture makeovers? Check out my $40 china cabinet makeover from the thrift store!).
So in this post, I’m going to share with you, step-by-step, everything you need to get started with your very first painted furniture project and reupholstery project! Whether it’s a dining room chair or a small stool, you’ll feel confident after reading and watching. If there’s anything I have missed, or if you have questions about anything, please leave a comment or question below.
Are you ready? Let’s get started!
Click here to save this on Pinterest!
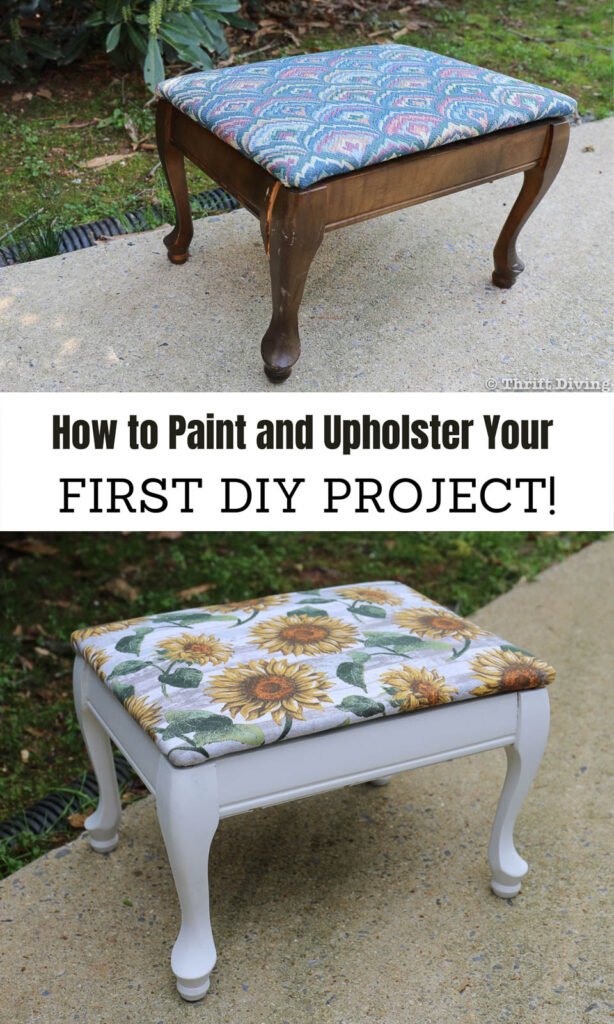
How to Paint and Reupholster Your Very First Piece of Furniture!
Before I jump into the tools and materials you’ll need to paint or reupholster your very first DIY project, let’s cover something very important: picking your first piece of furniture. If you pick the wrong piece, you could be setting yourself up for disappointment or you may get easily frustrated. Here’s how to navigate picking the right project.
Watch This Tutorial!
How to Pick Your Very First Furniture Makeover
The mistake that many people make is choosing for their first project being either:
- Something really big.
- Something expensive that they’d feel really bad if they “ruined” or didn’t like it.
A piece of furniture that is too big is going to feel overwhelming and could be expensive (because the more paint and materials you may need to buy). It might also take way too long, and if you’re just starting out, you need quick and easy projects that won’t take up the entire month.
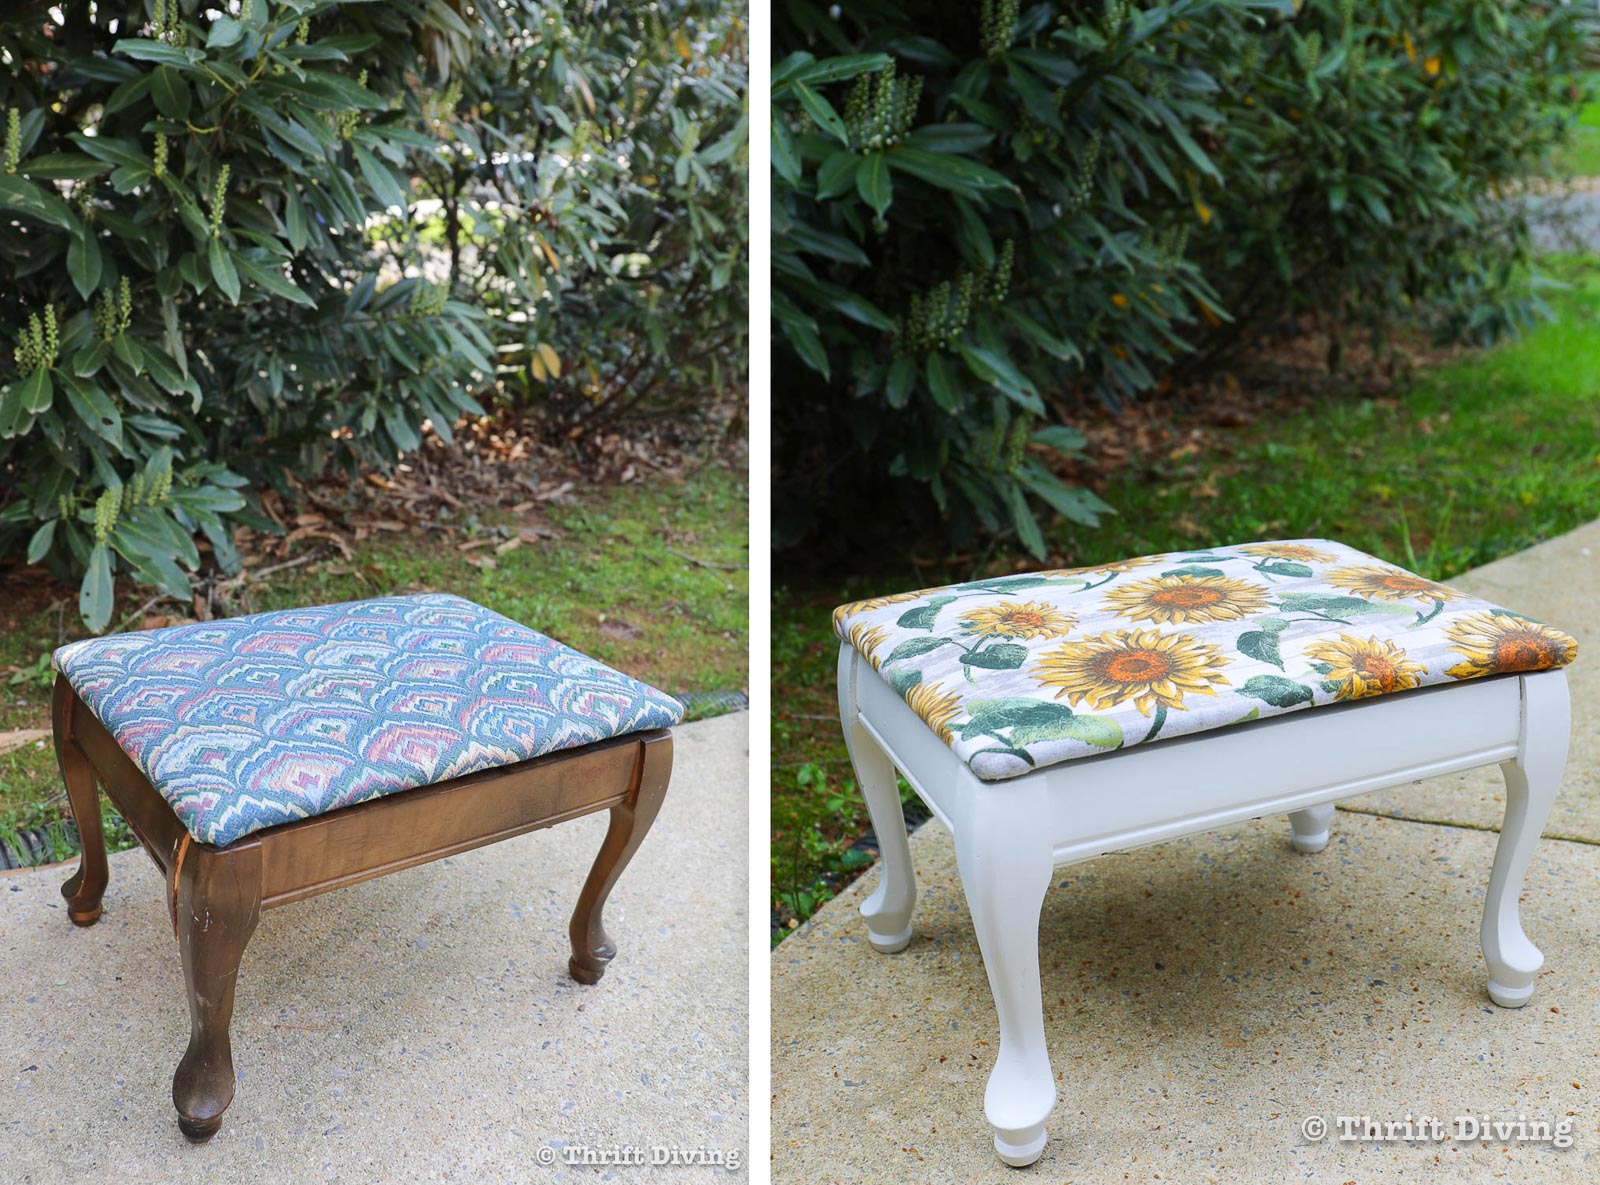
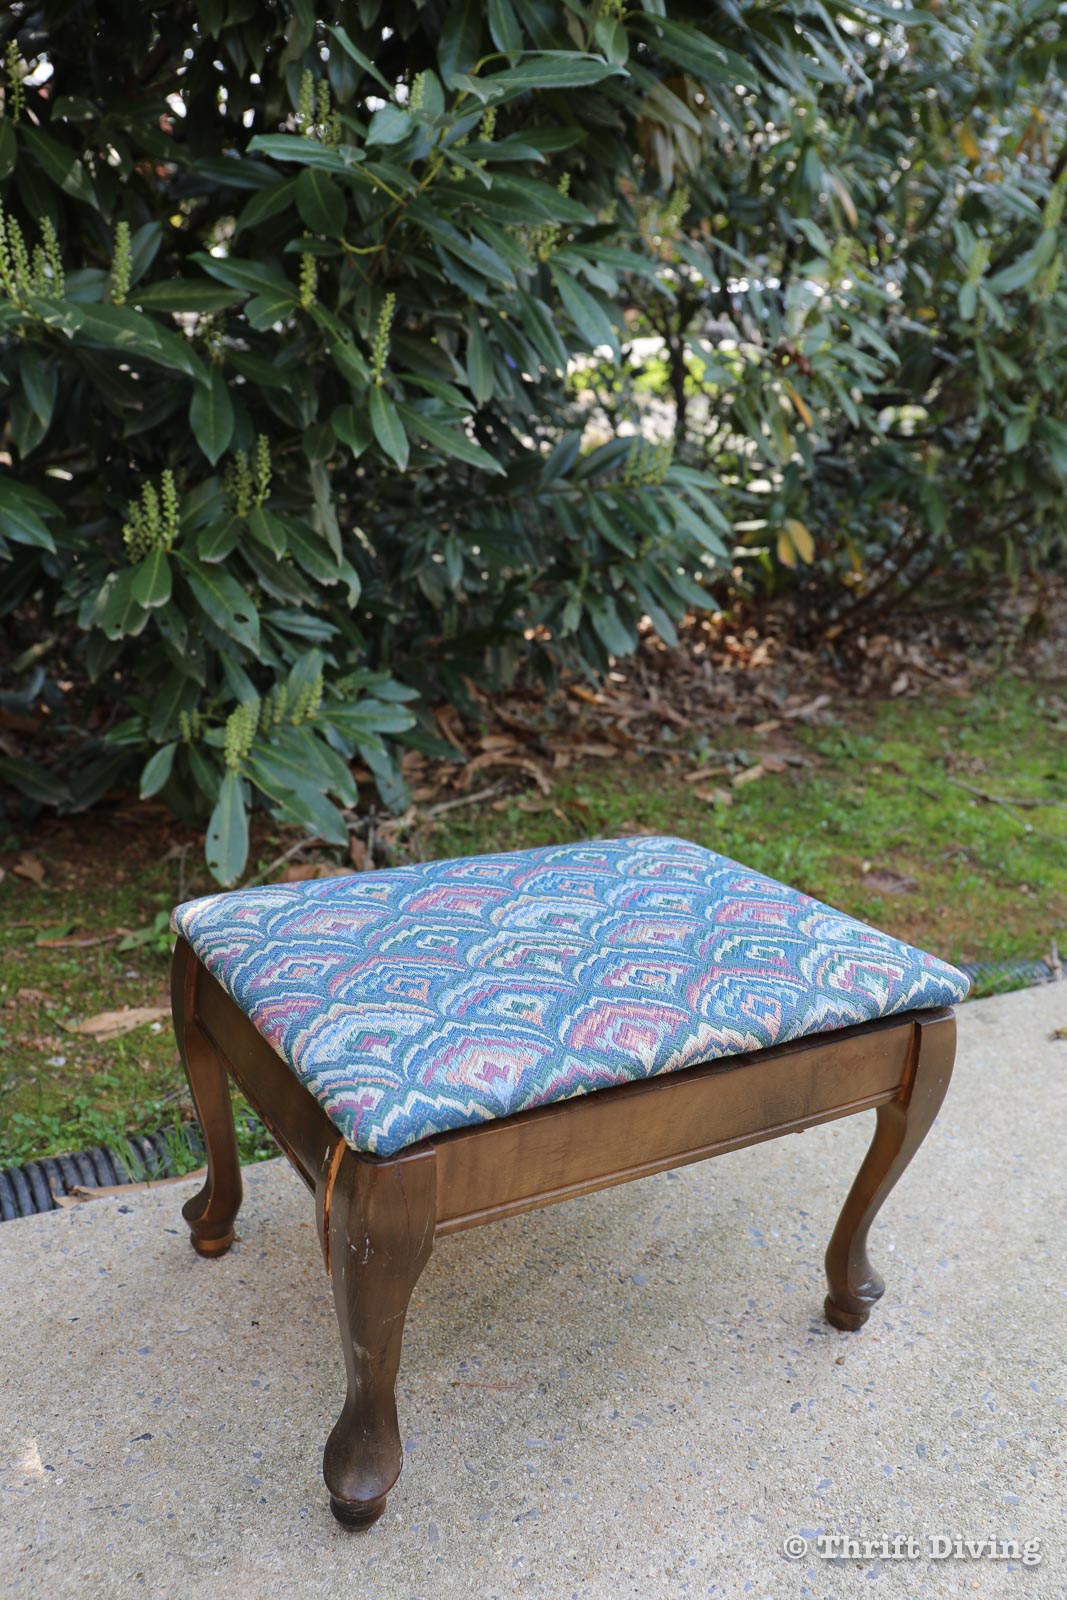
BEFORE

If you’re a newbie and just starting out with painting and reupholstering a project, definitely pick a project that is:
- Small enough to pick up. It should be small enough that you can easily enough to fit on a table top (that could be done at your kitchen table, for example), such as a dining room chair, small stool, a simple end table or night stand.
- Cheap, not valuable. Don’t let your first project be something that could ruin a collectable or a valuable piece of antique furniture. (Check out this post on When Should You NOT Paint Wood Furniture?)
- In good condition. Furniture makeovers that require a lot of repairs or stripping, sanding, or priming could be too tedious. Choose a project that’s in relatively good condition.
- Something you don’t mind practicing on. Don’t pick of project that your heart is set on turning into the replica of something you saw in HGTV. Pick something that will allow you to experiment and get comfortable painting and reupholstering furniture. If it doesn’t “turn out” as you expect, you won’t be disappointment. Disappointment could cause you to give up this wonderful hobby too soon! 🙂
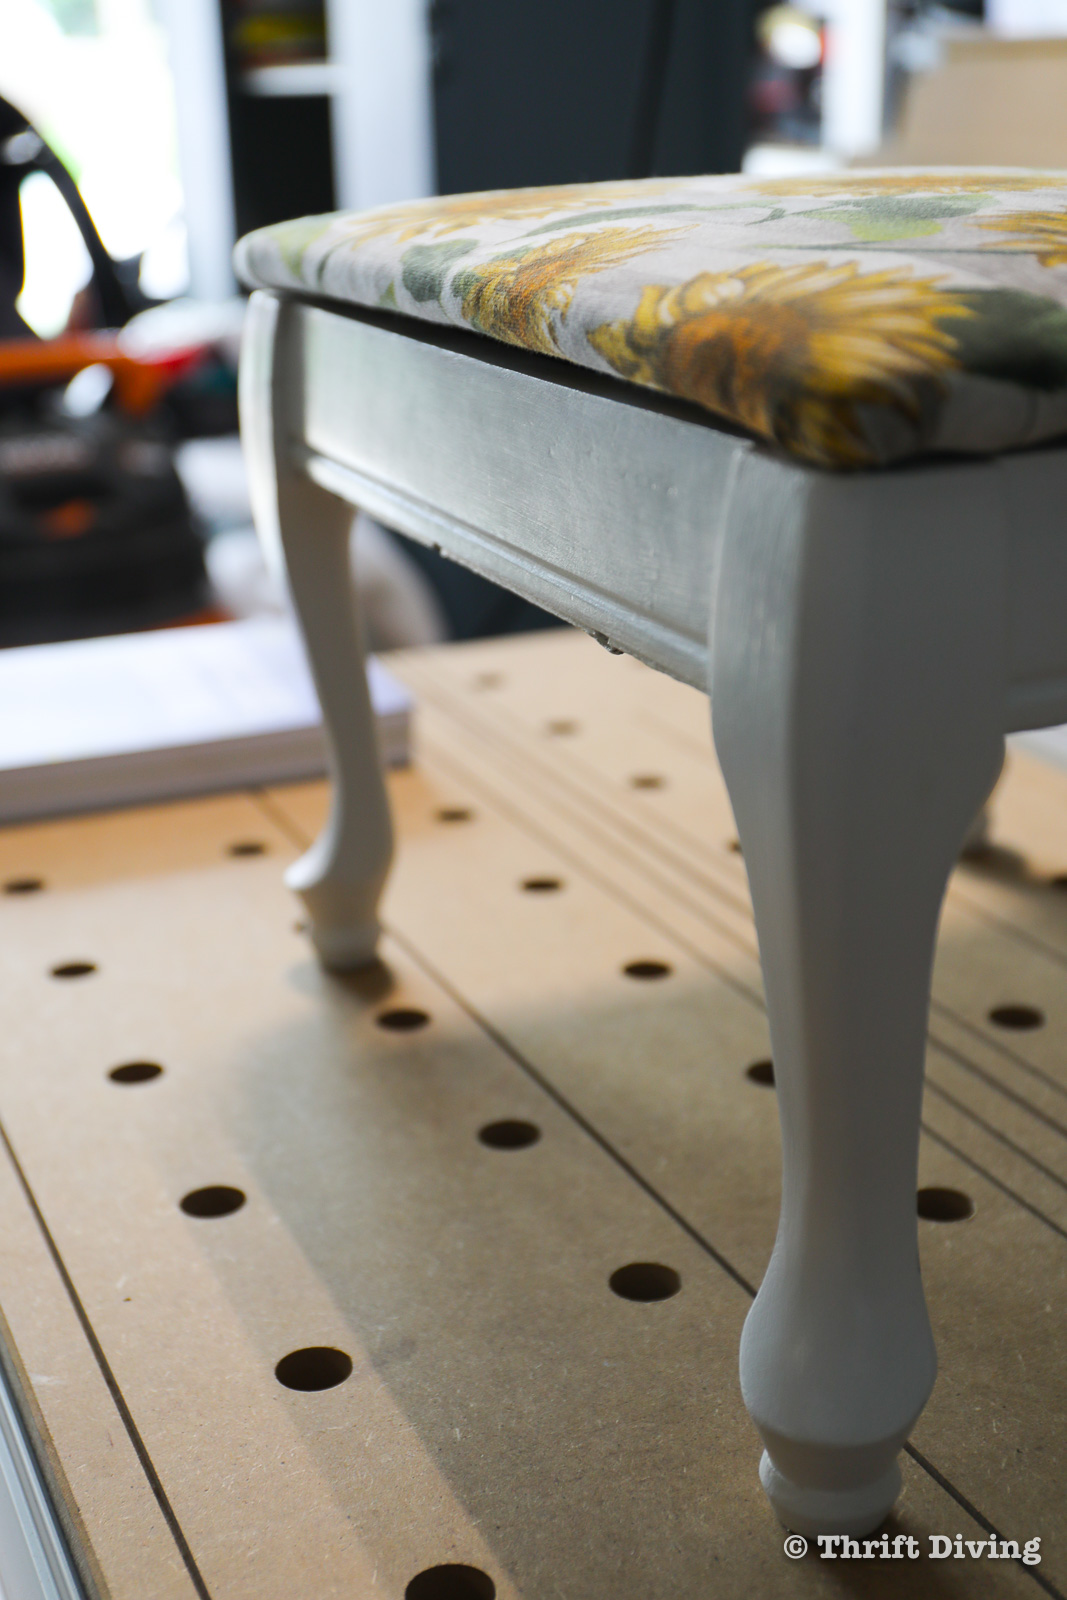
For this tutorial, I chose a simple stool that a blogger friend had given to me that belonged to her mother-in-law. A small project like this is perfect for a first project because not only will it look fabulous with paint, but the upholstery doesn’t take too long and would give you an opportunity to practice many DIY skills!
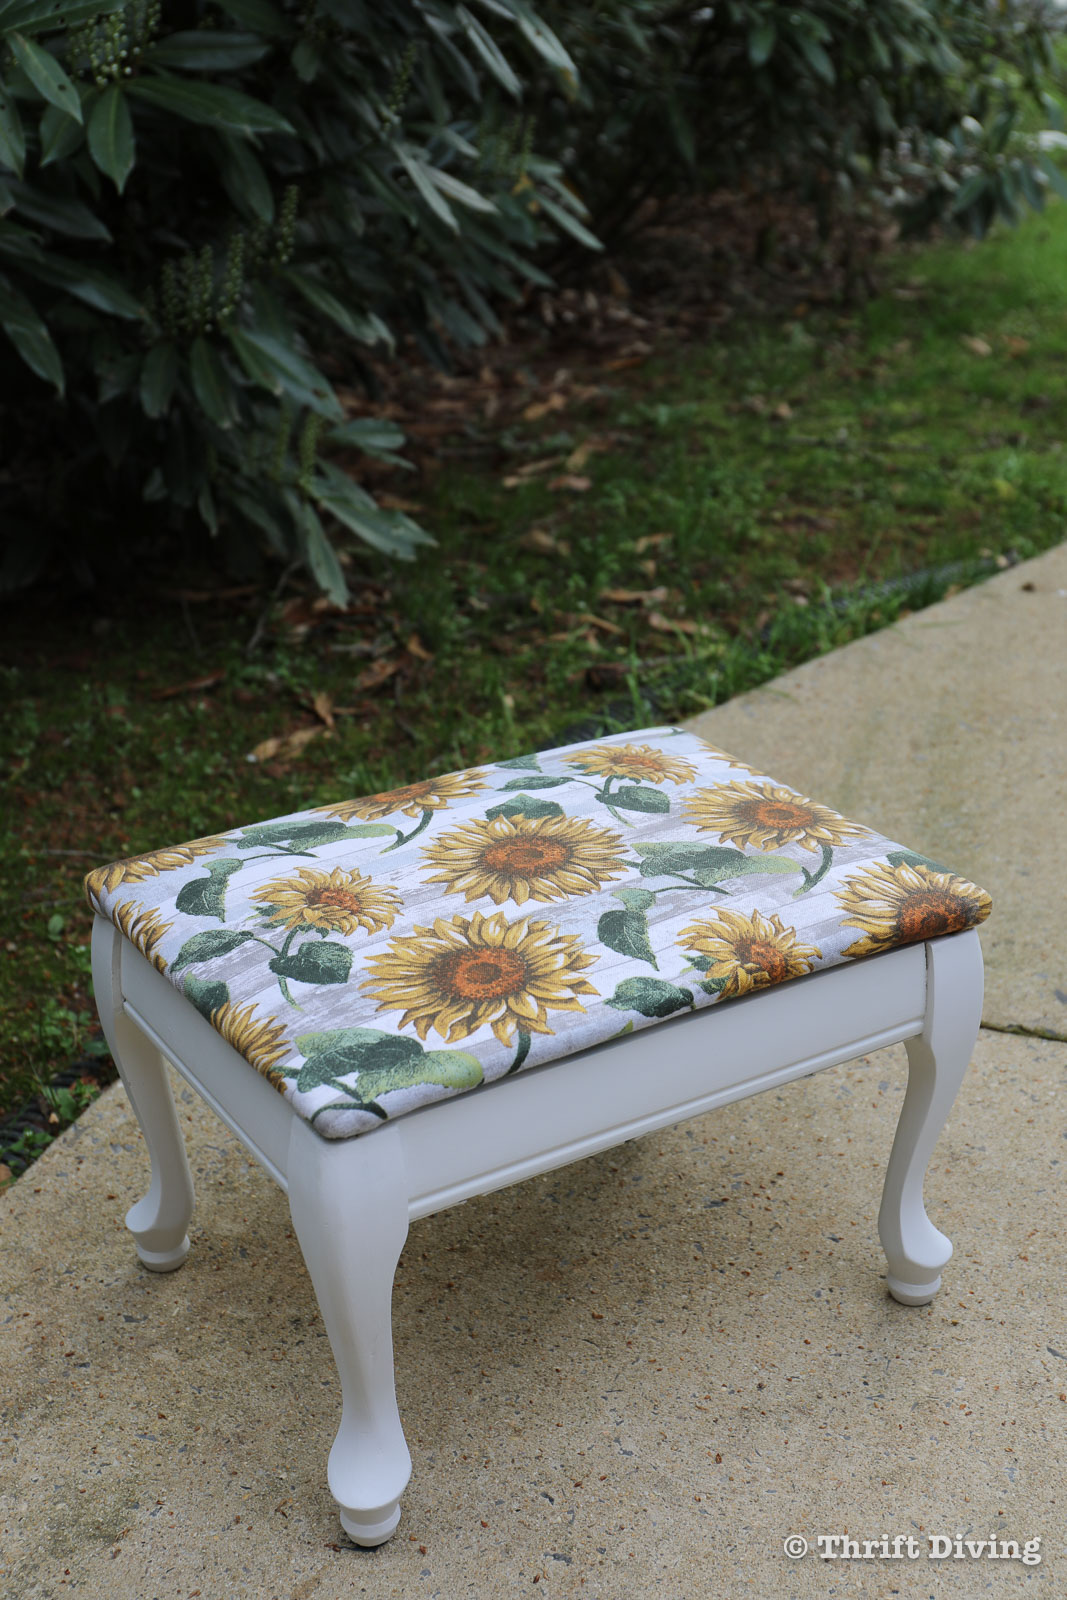
(FYI….this cute little is headed to my mom’s house as a gift for her bedroom makeover, adorned with sunflowers all over the room!)
AFTER!
Now That You’ve Picked Your First Piece of Furniture, Now What??
Yay! You’ve selected your first piece of furniture! What’s next?
Well, you’ve got to figure out what materials you need. Typically, a piece of furniture will dictate the materials you will need. But in the wonderful world of furniture painting and upholstery, there are some common tools and materials that every DIY toolbox should have. Let’s break them down here:
Basic Furniture Painting Tools and Materials
(Links may contain affiliate links).
- Furniture paint (Check out this blog post on Which Furniture Paint is the Best?)
- Synthetic paint brush (for a smooth finish)
- Clear wax (I like this brand of clear furniture wax).
- Top coat (optional, although I like this top coat)
- Simple Green cleaner or vinegar and water
- Towels/rags
- Old bowls and stirs
- Wood filler
- 150-grit sandpaper
- 220-grit sandpaper
- Screw driver or power drill
- Clamps (optional, but recommended)
Basic Upholstery Tools and Materials
(Links may contain affiliate links).
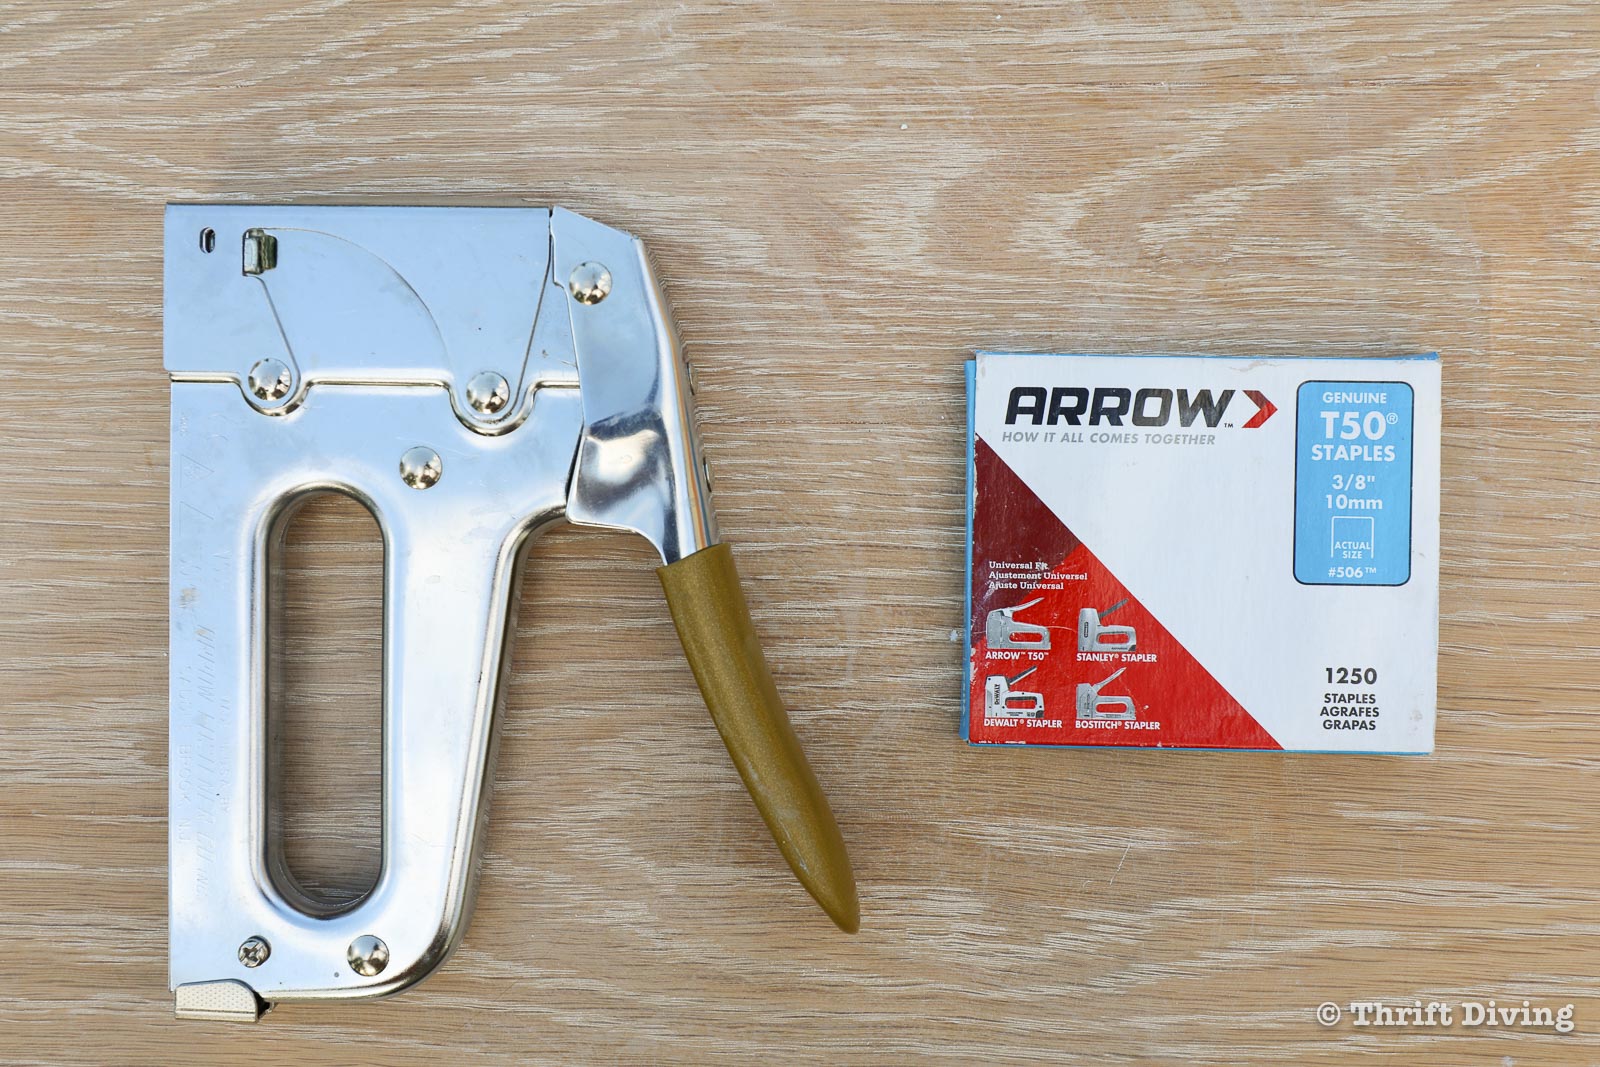
- Arrow Fastener T50 stapler (for simple reupholster projects, such as chairs and stools)
- Arrow Fastener staples (T50 staples in a variety of sizes, including 3/8″)
- Pretty fabric (the amount depends on your project. I bought this fabric from Joann Fabric).
- Staple lifter (or staple remover)
- Lining (optional)
- Batting
- Scissors
- Tack hammer
Where Will You DIY Your First Furniture Makeover?
Space is an issue that a lot of people have when getting started with furniture painting and upholstery! The beautiful thing, however, is that furniture paints are non-toxic and can be used indoors. Even at your dining room table. (Just put some paper down to protect your surfaces).
I typically paint furniture in my driveway (which makes for interesting looks and comments from my neighbors), and for upholstery projects, I work out of my basement for larger projects, but for smaller projects like this, the driveway and garage are great places to work on a project.
If all you have is your family room or a small patio or balcony, just be sure to cover up the floors, and see if you can carve out a corner or section that will house your project over the few days it may take you to complete it.
Getting Started with Your Very First DIY Project!
Now that we’ve got a few things squared away regarding what type of project you should pick, what tools and materials you’ll need, and where you’ll be doing your first DIY project, let’s jump into some step-by-steps that will help you in your DIY journey!
STEP 1: Thoroughly Inspect Your Furniture
When you inspect your furniture, you’re looking for a few things, including:
- Repairs and fixes that will need to be done.
- A list of tools and materials you’ll need.
- Bed bugs, roaches, or anything else that could be living in or on your furniture. As nasty as that sounds, when reupholstering old or used things, inspection must be part of the game, my friend! Listen to my podcast episode with a “bug guy” who broke it down about how bed bugs can hide in furniture. You can also watch our conversation on my YouTube channel.
Make a list of what needs to be done and what materials and tools you’ll need. You’ll also want to take special note if your furniture is chipped, or if it could be a mahogany stain, which can “bleed” through your furniture paint and cause projects. Check out this blog post on 10 Furniture Painting Mistakes and How to Fix Them for more information about how to determine and fix “bleeding” furniture.
STEP 2: Fix All of the Repairs
It would be great if we could jump into every furniture makeover and just focus on the fun stuff, like picking out fabric and paint colors. But sometimes, there’s some prep work that must go into a piece of furniture before you “get to the good part.” And that includes repairs.
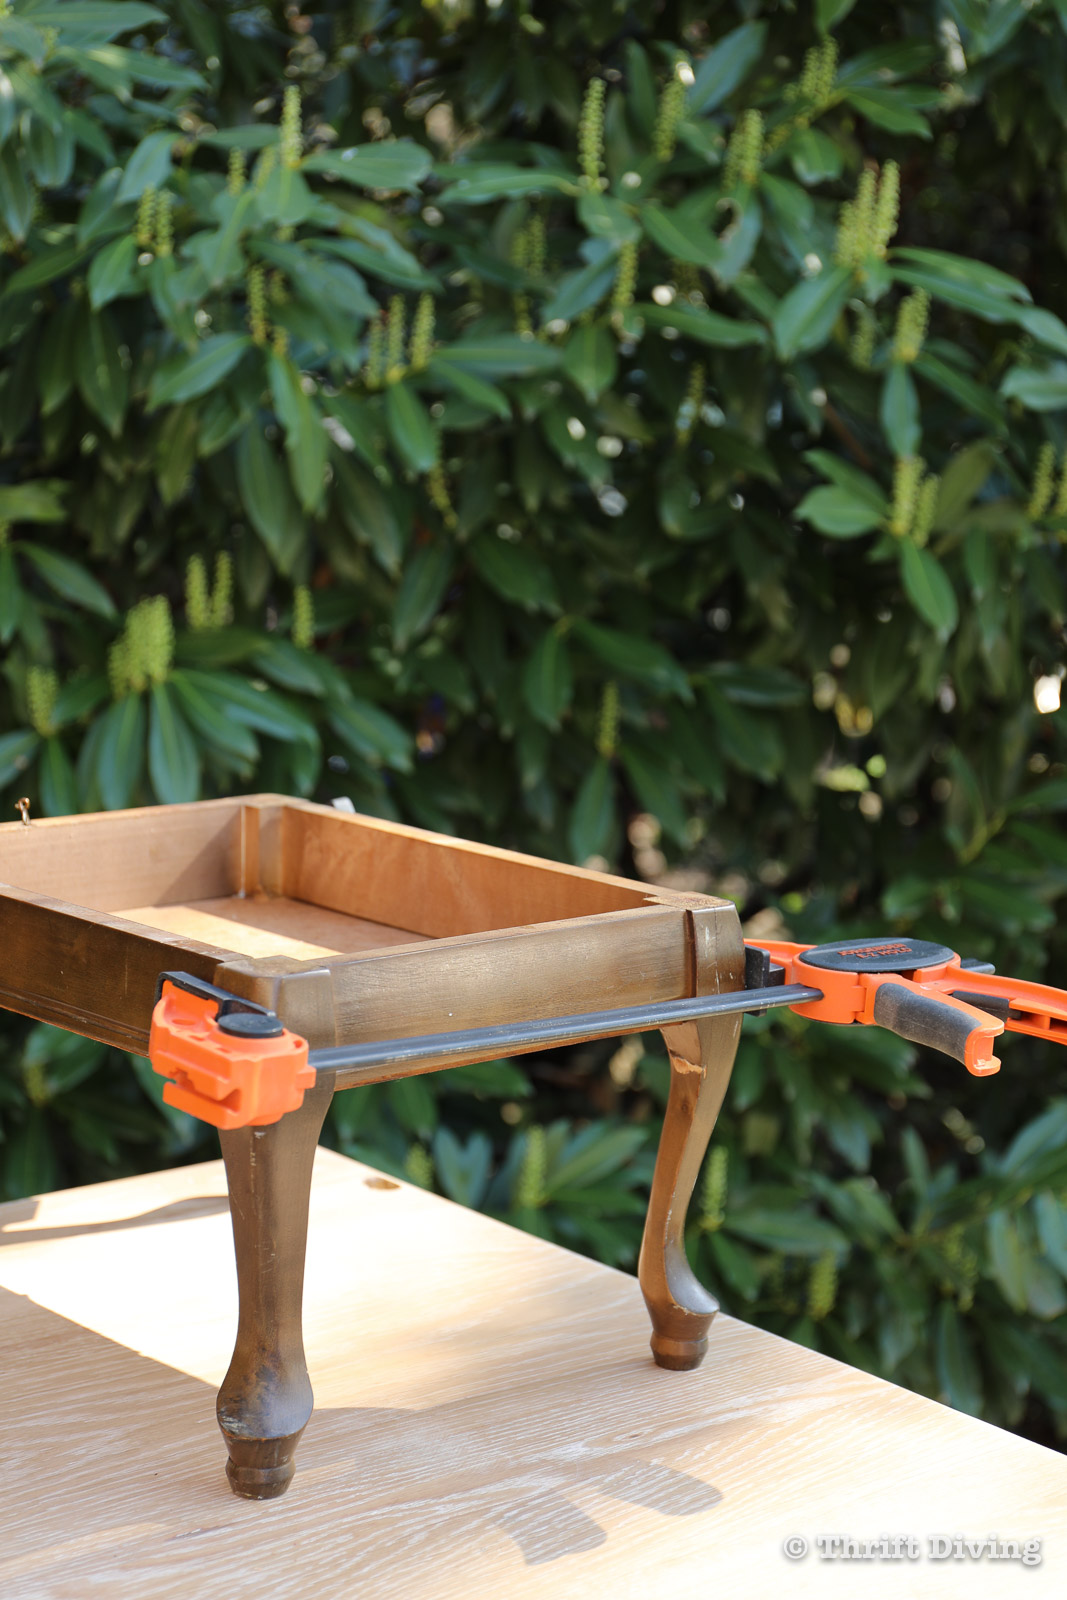
Before moving on with your very first furniture makeover, fix everything that is broken. Often times, good ‘ole wood glue will suffice, such was the case with this small wooden stool. It had a crack in its leg which just needed some wood glue and clamping.

Wood glue dries very fast. But sometimes it’s best to fix the broken wooden parts on one day, clamp the wood, and just start again tomorrow. A good 24-hours would solidify that glue.
STEP 3: Clean Your Furniture
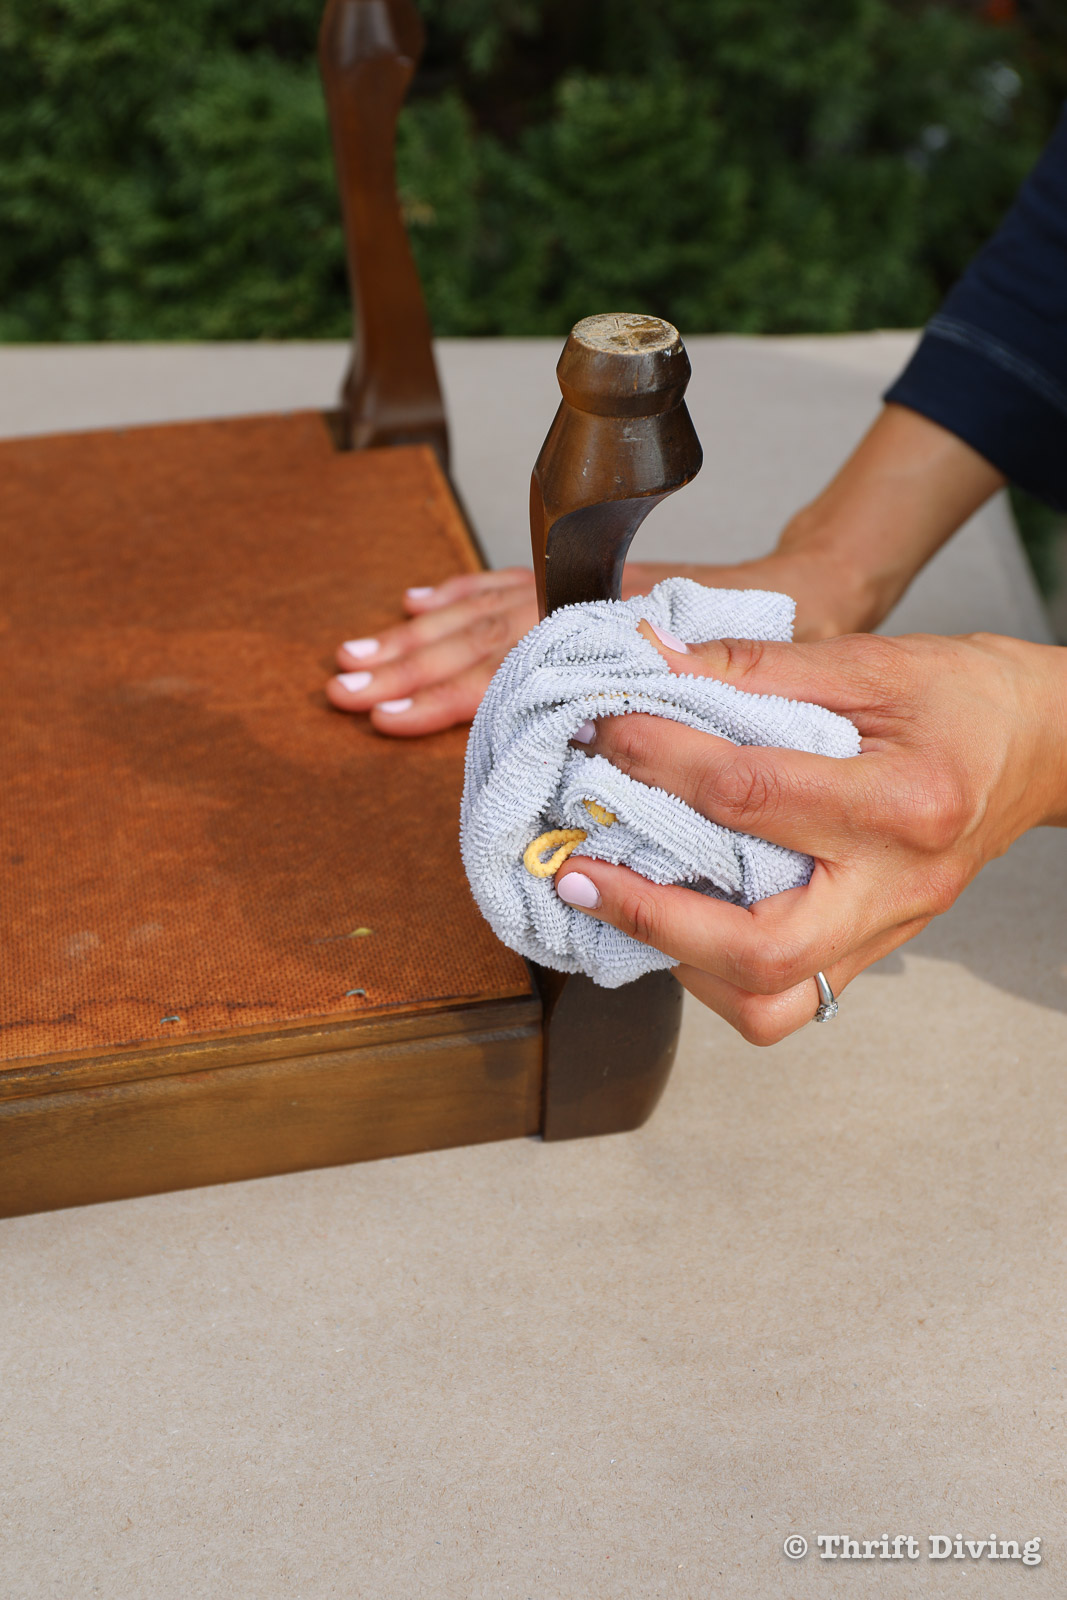
There’s nothing worse than trying to paint dirty furniture. Believe me–I’ve tried. 🙂 Either the paint doesn’t stick well….or you end up contaminating your paint with dirt and grime. Neither is recommended!
Using a soft cloth, wipe down the furniture with either Simple Green, which is a degreaser and is excellent for prepping pieces before painting (it’s good for cleaning walls before painting, too). Or use a mixture of one part water, one part vinegar. Use a clean wet towel for a final wiping down, and let the furniture air dry.
STEP 4: Take Your Furniture Apart
I’ve also tried to paint and reupholster furniture while the furniture was fully assembled. Not smart on my part! 🙂 It’s always a good idea to remove any parts that can be removed. If you’re painting a small cabinet, remove the cabinet hardware.
For this small stool, I removed the upholstered seat from the base so that I could work on each piece separately.
TIP: Always put your hardware and screws in a baggie! They are so easy to drop and misplace. It has happened to me more times than I care to admit. 😉
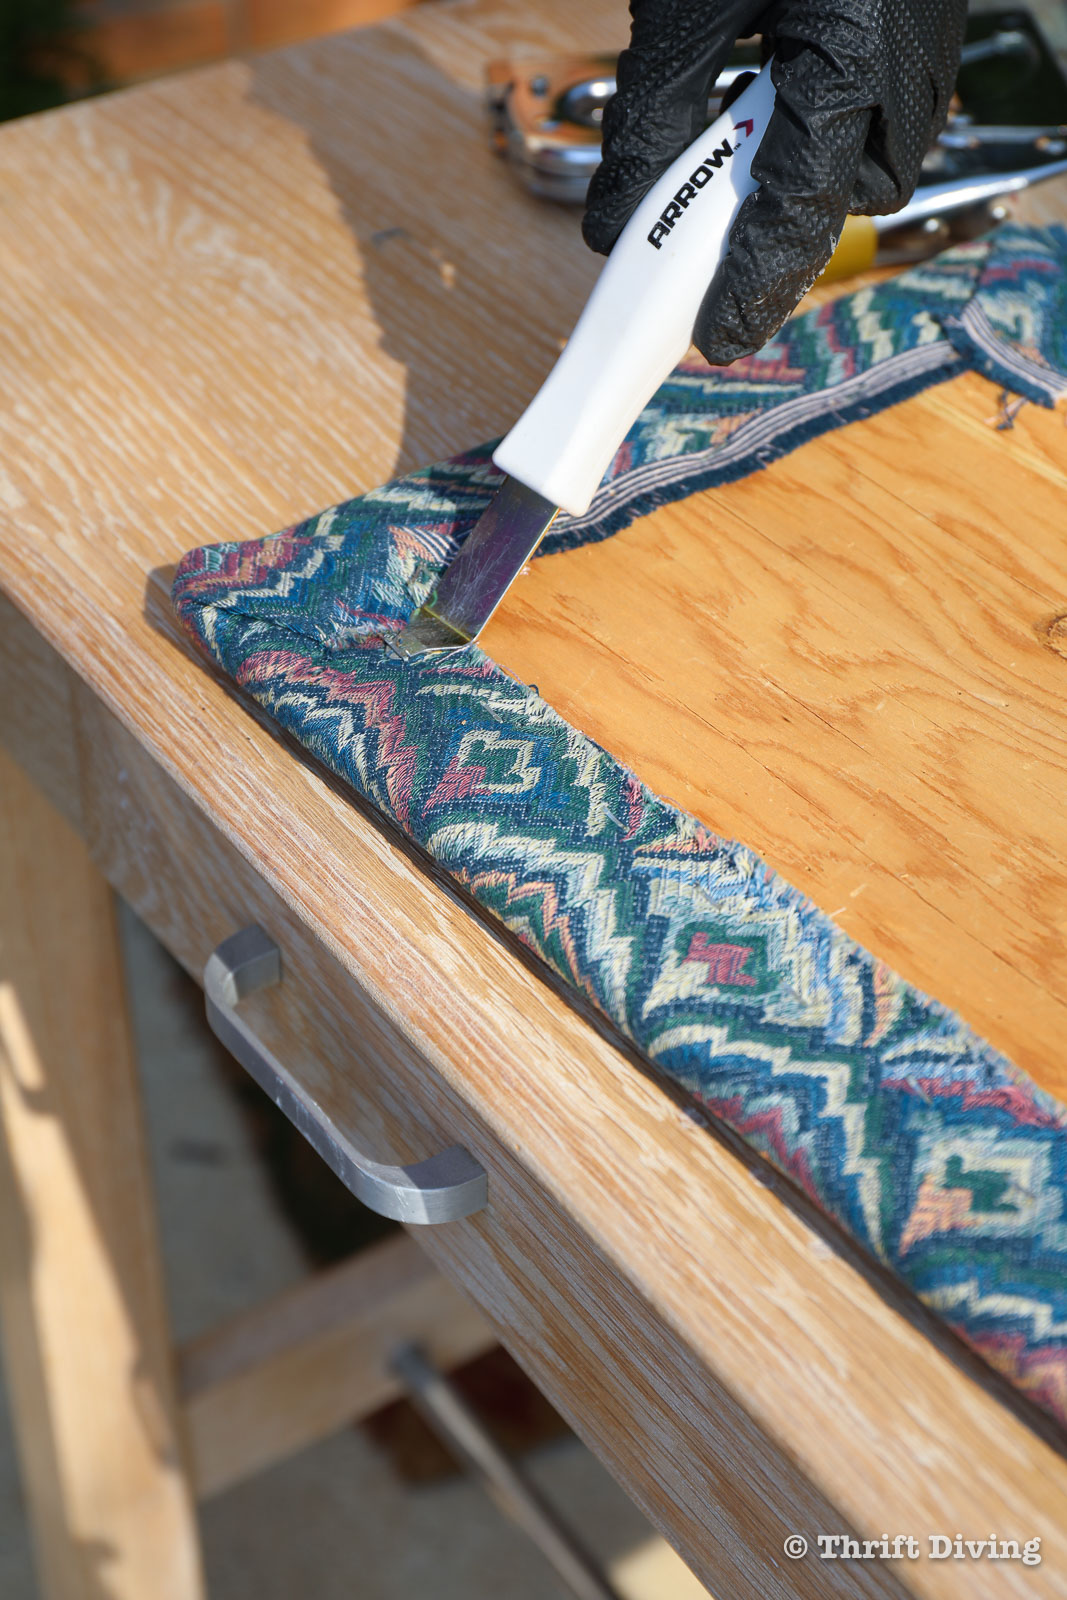
If your furniture has an upholstered part, remove all the layers of the upholstery materials with a staple lifter. You might be wondering if you should save or reuse any of the old materials. Here’s what I think:
- YES, if you are removing upholstery materials that are still in good condition, have no odors, aren’t worn, or are from a home of a family member or friend that you trust to be bug-free.
- NO, if the old materials are worn, dirty, stinky, are from a thrift store, or are from a home of someone you don’t know, definitely get rid of any and all old materials.
STEP 5: Reupholster Your Furniture
Reupholstered furniture usually has wooden parts, which are very hard, covered with layers of soft parts to make them comfortable. Once you remove all the soft parts, you’re left with wood that is usually in good condition and doesn’t need to be replaced.
For this stool makeover, I reused the wooden seat and added new layers of softness:
Cut and Staple New Batting
Batting comes in varying thickness, and the batting that I used for this stool makeover was pretty thick. Because of its thickness, I trimmed the corners so that when folded over, the thickness would be minimized.
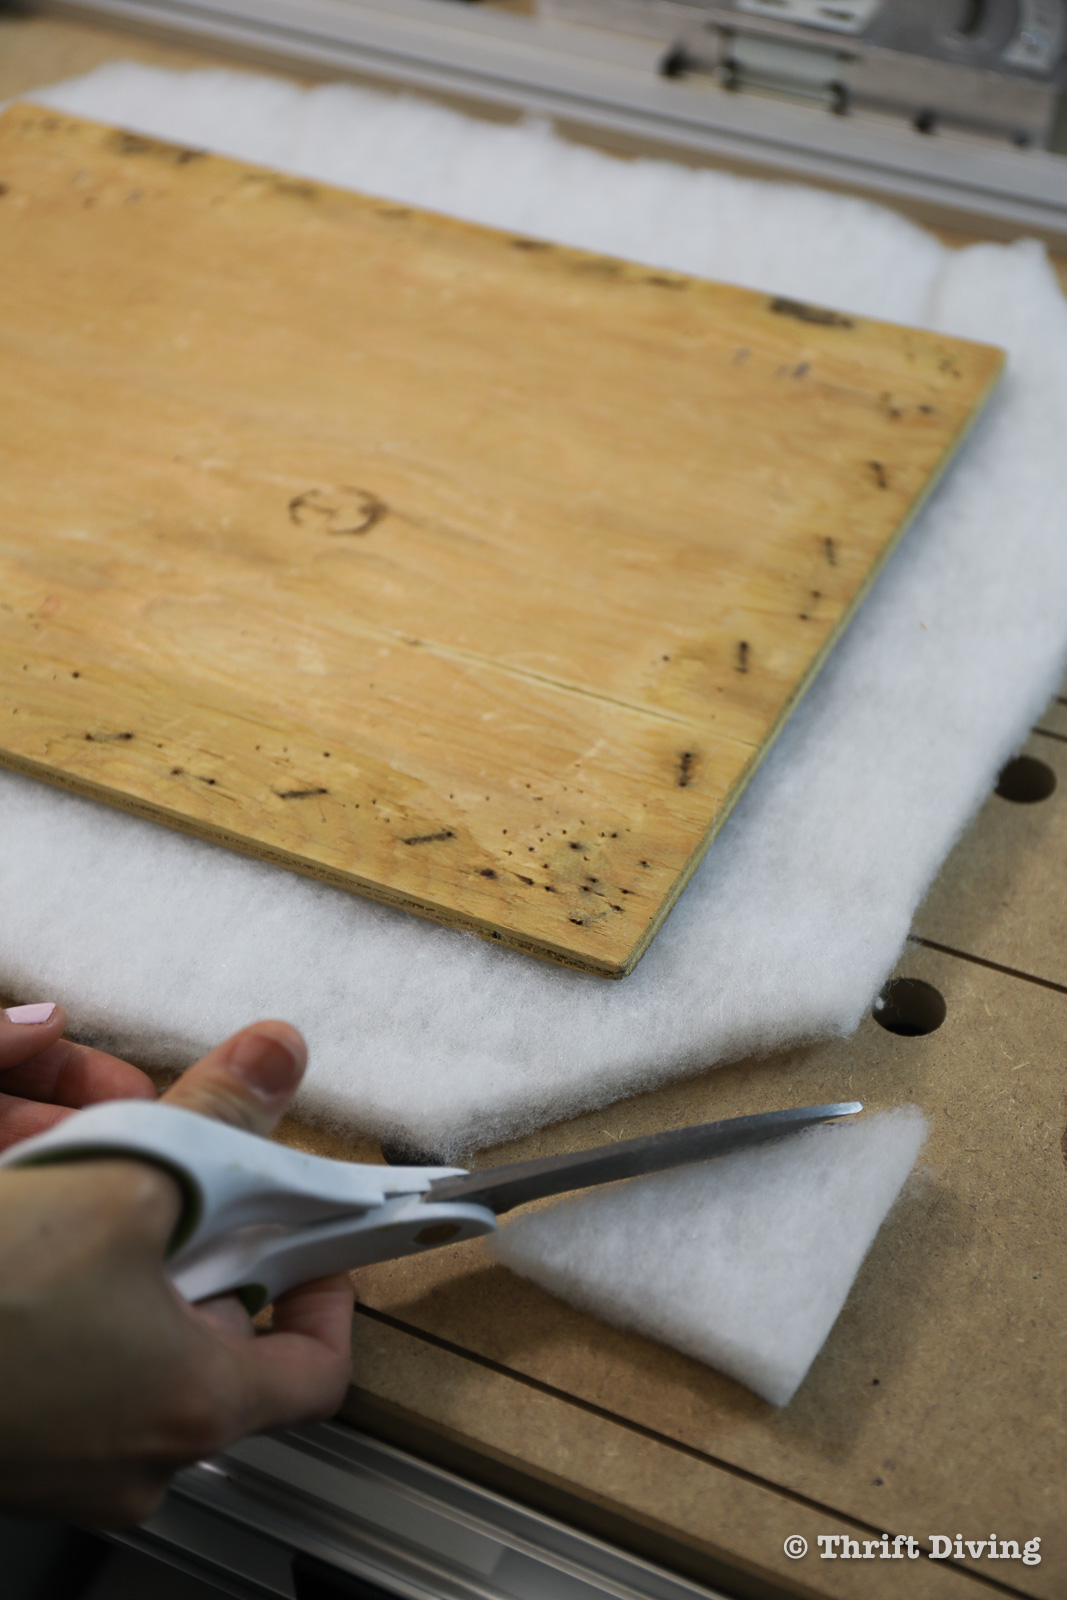
Secure the batting into place, and if necessary, trim some of the additional bulk from the batting after it is stapled into place.
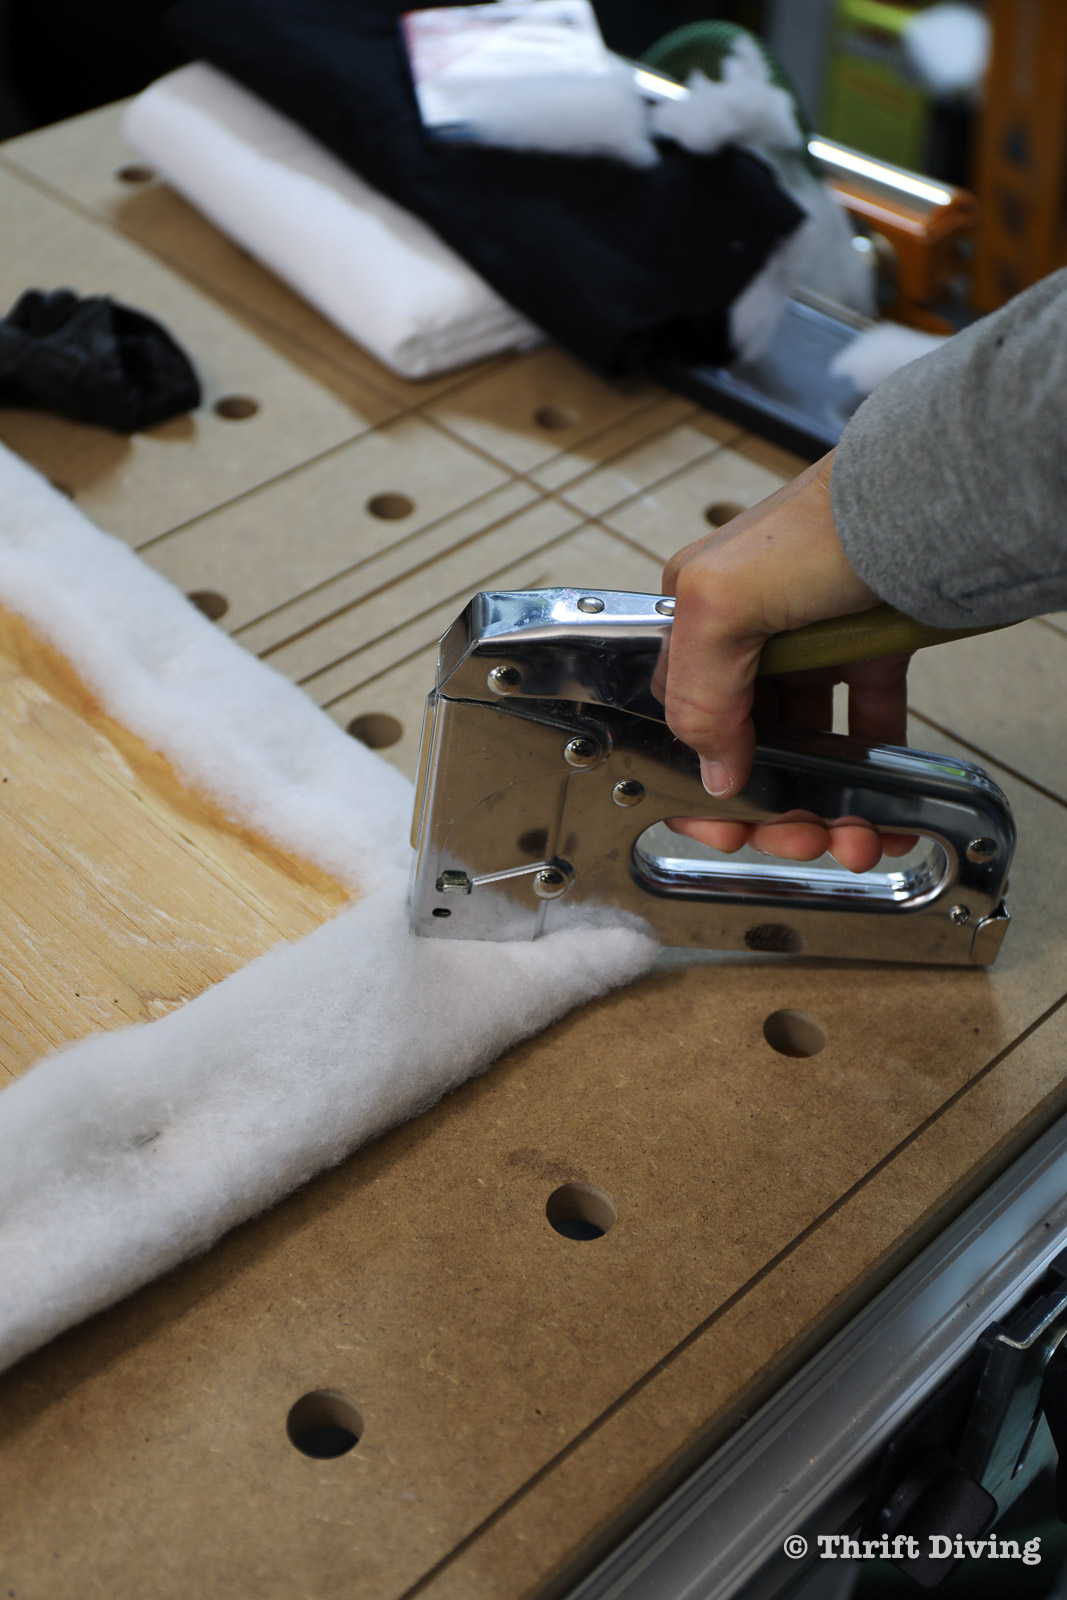
Add Soft Lining Fabric
Lining fabric isn’t always required when upholstering. I have reupholstered dining room chairs without lining, so it’s optional. But if you’re looking to increase the softness, adding layers helps.
Using my Arrow Fastener T50, I stapled the lining fabric into place, trimming the corners like the batting, and securing into place with several staples.
To get tight and secure corners, pull and fold, then staple. Check the “right” side of the chair to make sure that the fabric looks tight and clean, not sloppy.

Attach Your Pretty Fabric
Upholstering chairs and stools are pretty simple when you keep a few rules in mind:
- When reupholstering, always find the center of your fabric and the center of your chair or seat (or project that is being reupholstered). Make sure they always match up and then secure with a single staple.
- Pull to the corners after you’ve secured the center with a staple.
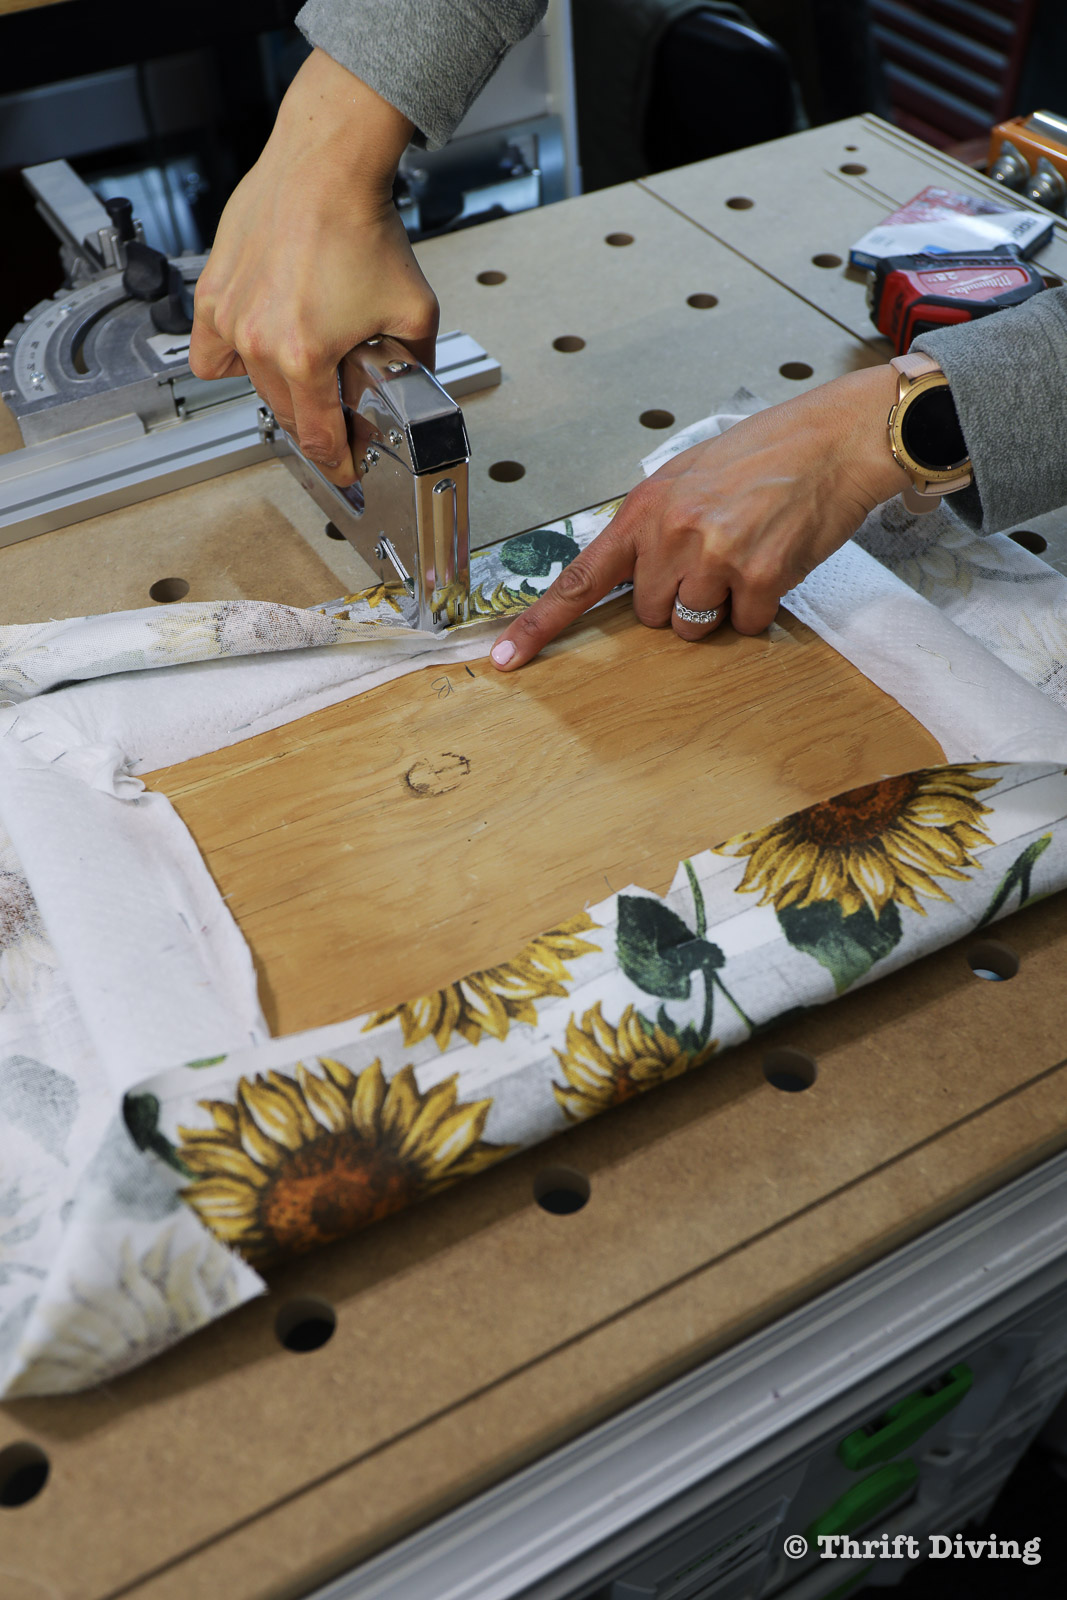
Adding a single staple to the center and pulling to the corners, I learned in upholstery class, is essential for keeping your fabric centered. That is especially important when working with fabrics where you want a certain motif to be placed in the center of your project. The center staple keeps it centered and in place, so as you’re pulling to the corners to remove the excess wrinkles and fabric, your fabric won’t shift.
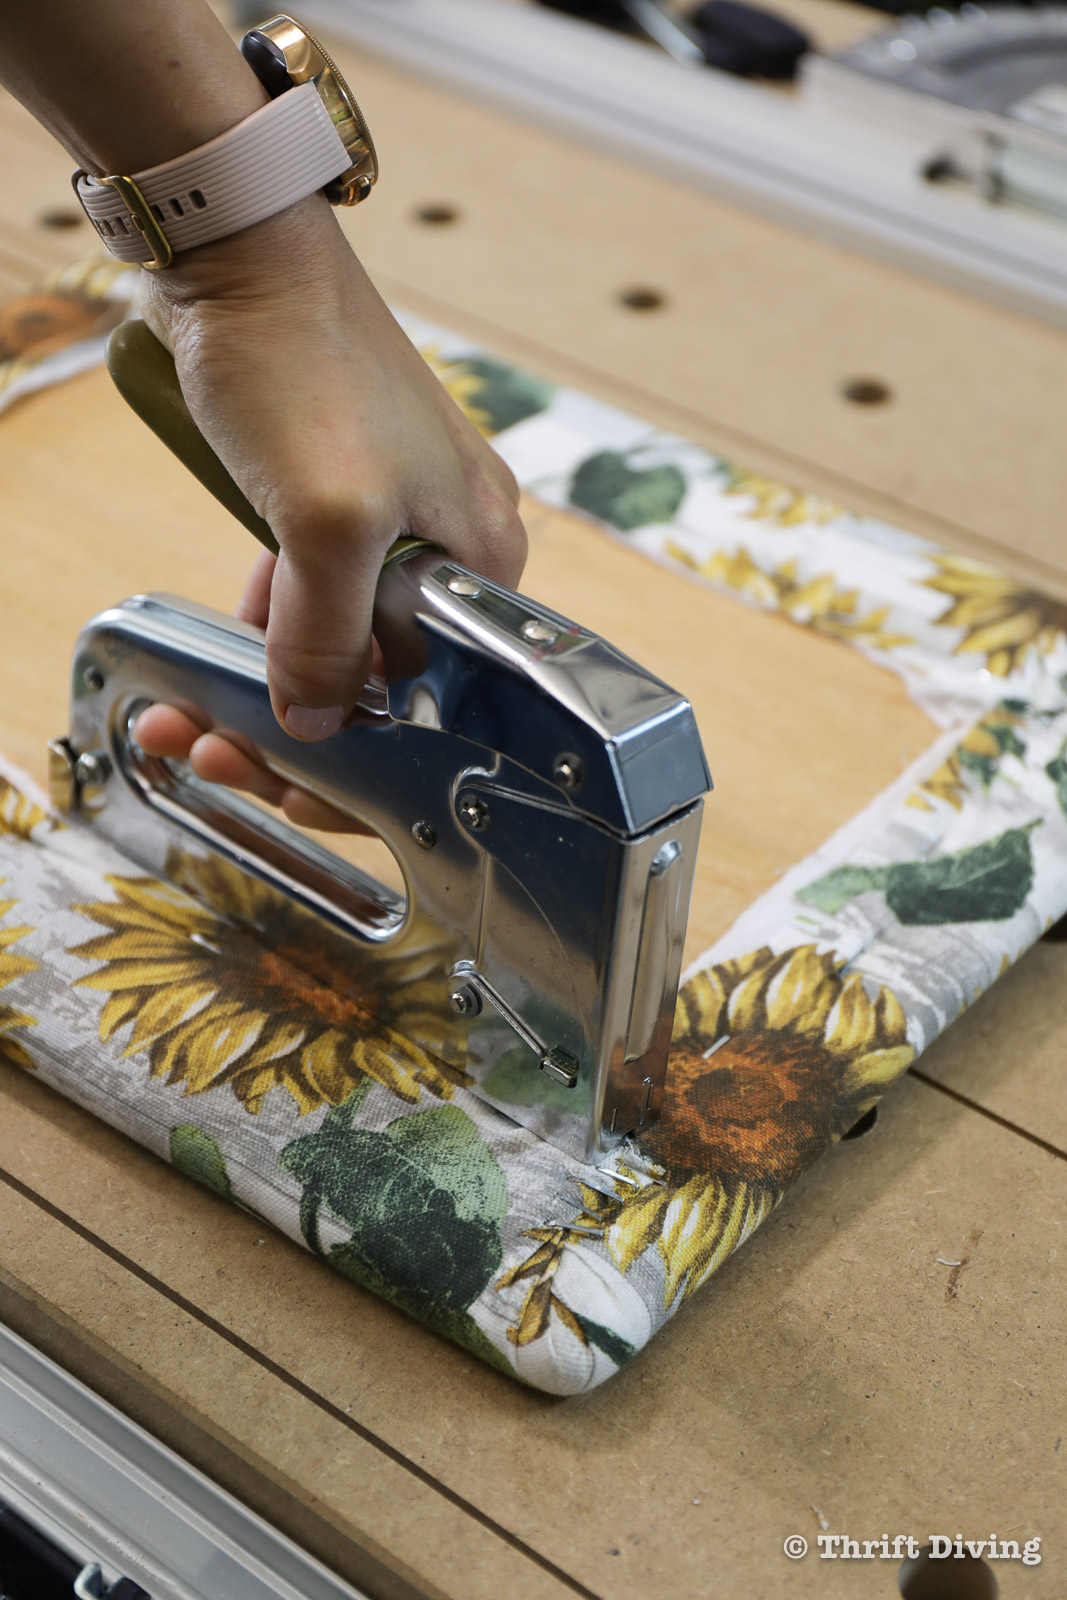
To get crisp and clean round corners, trim off the excess fabric, leaving enough to grasp, and pull tight. Work the fabric in folds neatly over the corners and secure in place with staples.
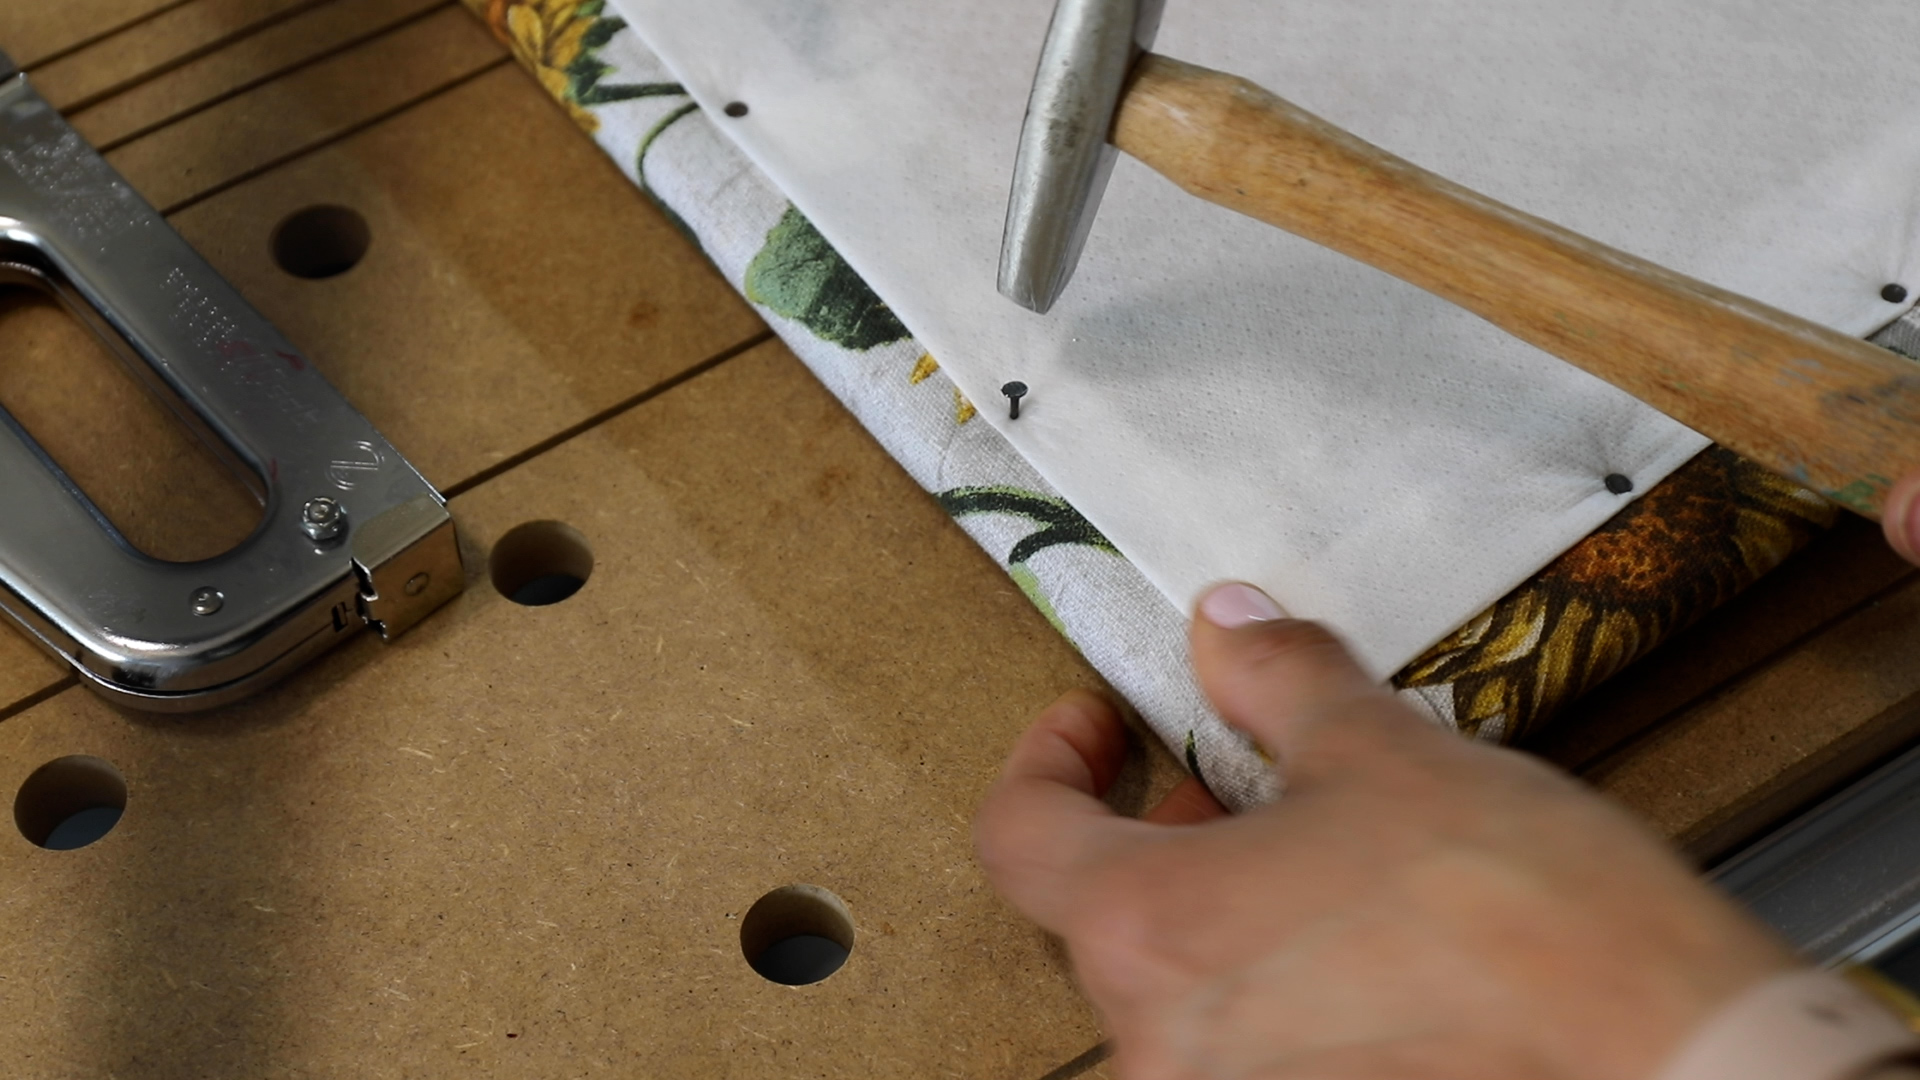
Add an Additional Lining
Some upholstered projects may have a lining to cover the raw edges of the fabric. Cut a piece of lining fabric, fold it under along the edges, and tack into place with a tack hammer. You may also use staples.
Next up is painting the rest of the furniture! If you’re doing a stool makeover, or a chair makeover, like me, you may want to paint the furniture, and once dry, reattach the seat.
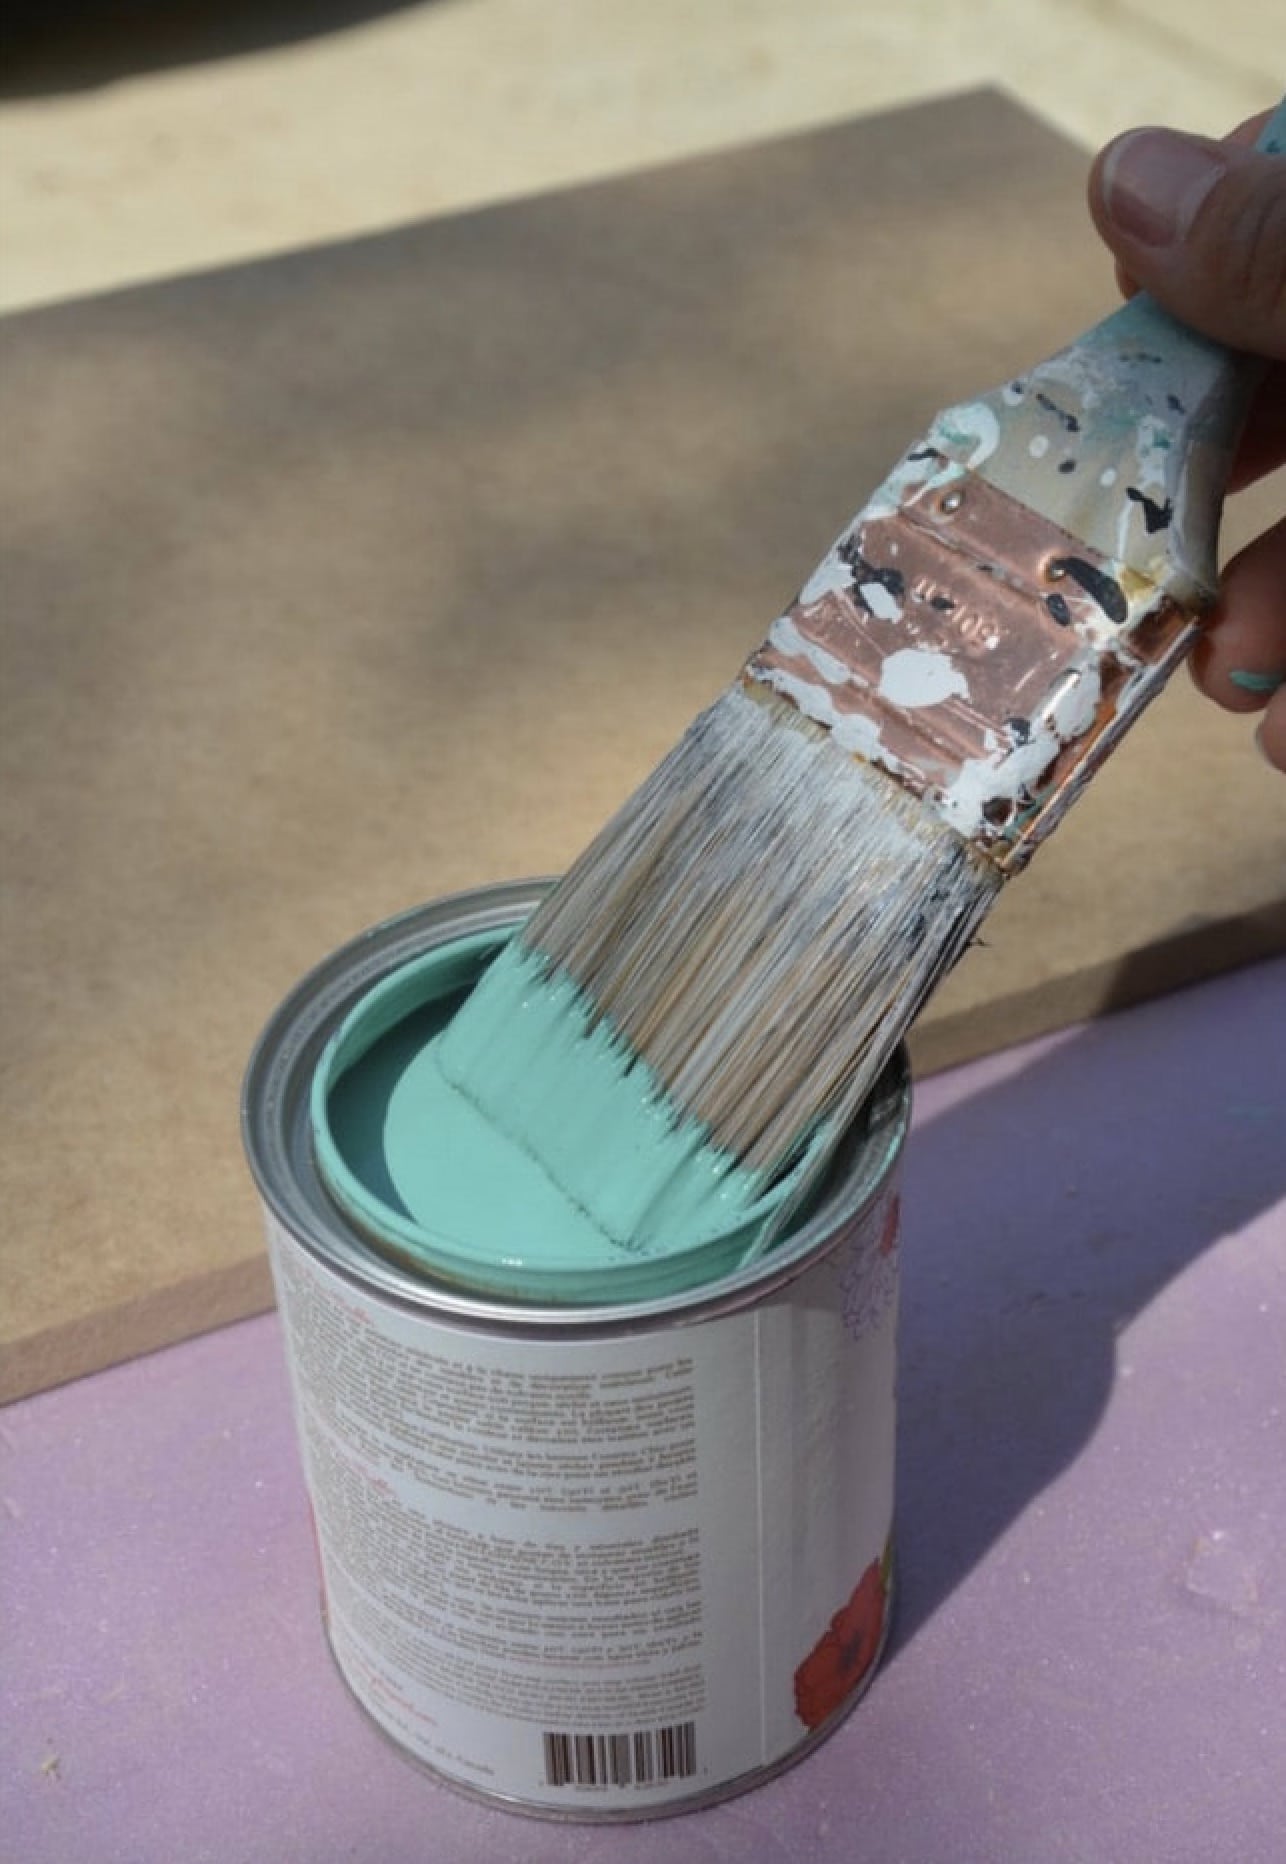
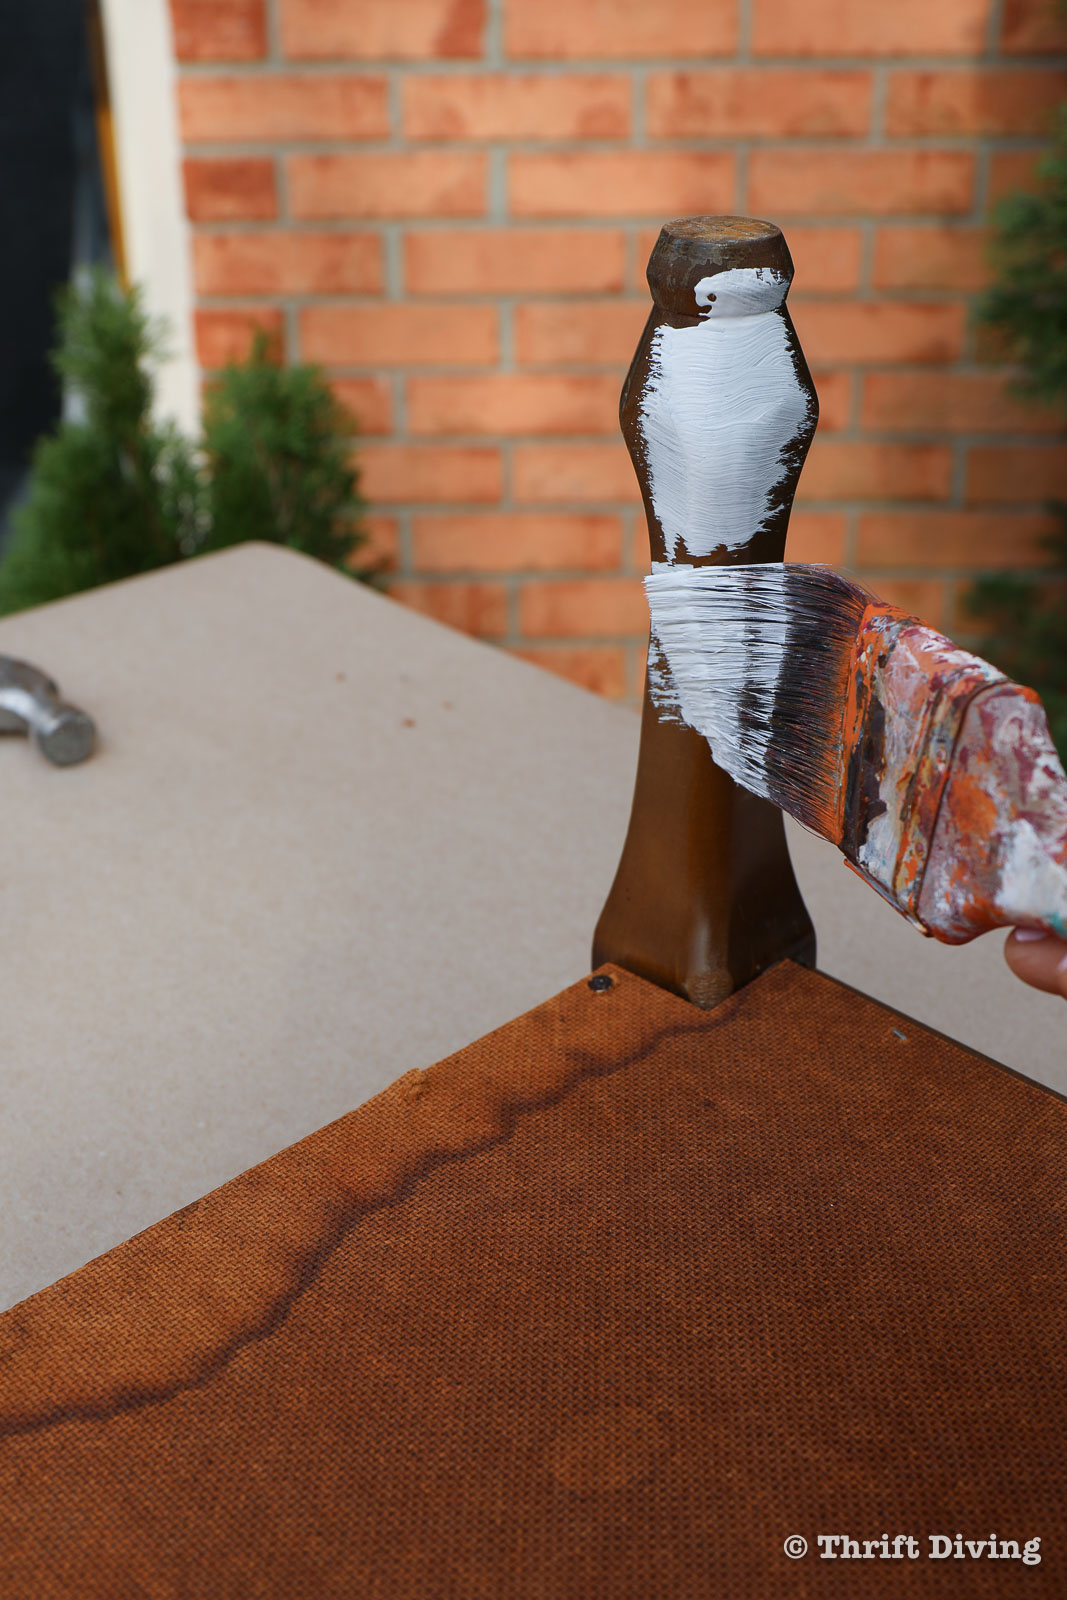
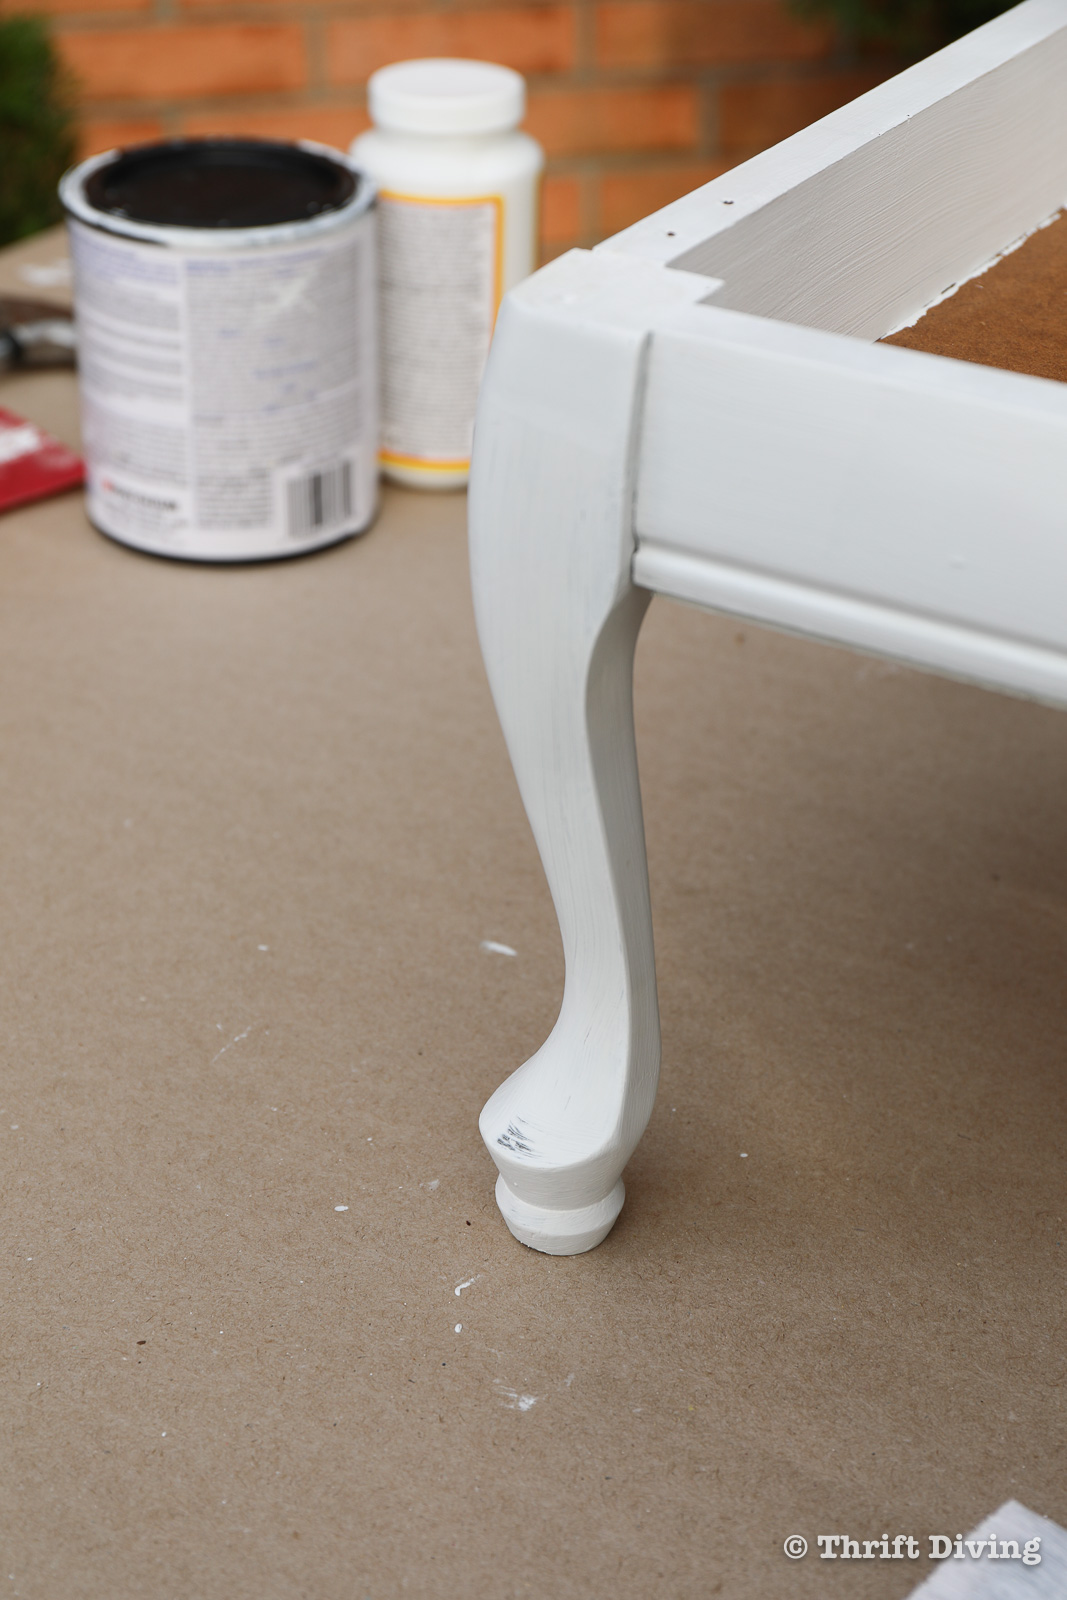
STEP 6: Paint Your Furniture
I love, love, love painting furniture! I know that there are people who love “good wood” furniture, but sometimes it’s just too brown, or too “heavy” for the light and airy look of your space. (Check out this post on when you should not paint wood furniture).
There are usually some common questions people have about painting wood, so I’ll briefly cover them, but for more extensive answers, check out the post on 10 Common Furniture Painting Mistakes.
Do You Have to Sand Furniture Before Painting?
- YES, when the furniture is badly chipped, or has areas where the wood is gouged and needs to be filled with wood filler and sanded smooth so that the paint can cover those repaired areas. Also, if the wood surface is “pocked” and bumpy, you should sand it to smooth it out before painting so that your painted surface will also be smooth.
- NO, most furniture paints do not require sanding because the paint sticks on many surfaces. And even if you did decide to sand it, you would only need to do a scuffing up if it’s in good condition; you shouldn’t have to sand it down to the bare wood.
Do You Have to Prime Furniture Before Painting?
- YES, if your furniture paint has stains that keep coming through the new paint, or if the old stain is bleeding through the new paint, or if you’re painting very dark furniture and no matter what, the dark furniture keeps showing through the new paint. Also, some surfaces that have silicone on its surface will not accept paint. In this case, a good oil-based spray primer can work wonders in those cases. Lastly, if your furniture piece will get a lot of wear and tear, like a dining room table, kitchen cabinets, kitchen chair, etc., then priming with a bit of sanding can help with the longevity of the paint.
- NO, if your furniture is in good condition and accepts the new paint well and won’t get a lot of wear and tear, such as furniture that doesn’t get a lot of items placed on it, or people rubbing against it.
Now that you know whether or not you need to sand or prime, let’s talk about a few tips that I find helpful when painting furniture.
- Turn your furniture upside down before painting so that it’s easier to paint the bottom and you’re less likely to miss areas.
- Use two coats of paint, always. Furniture paint usually doesn’t look that great with one coat. You’ll need two coats for better coverage. Let the coats dry a couple hours in between.
- There are lots of great brands of furniture paint for those who want to paint furniture. Find the one that you like best. Check out this post on some of my favorite best furniture paint.
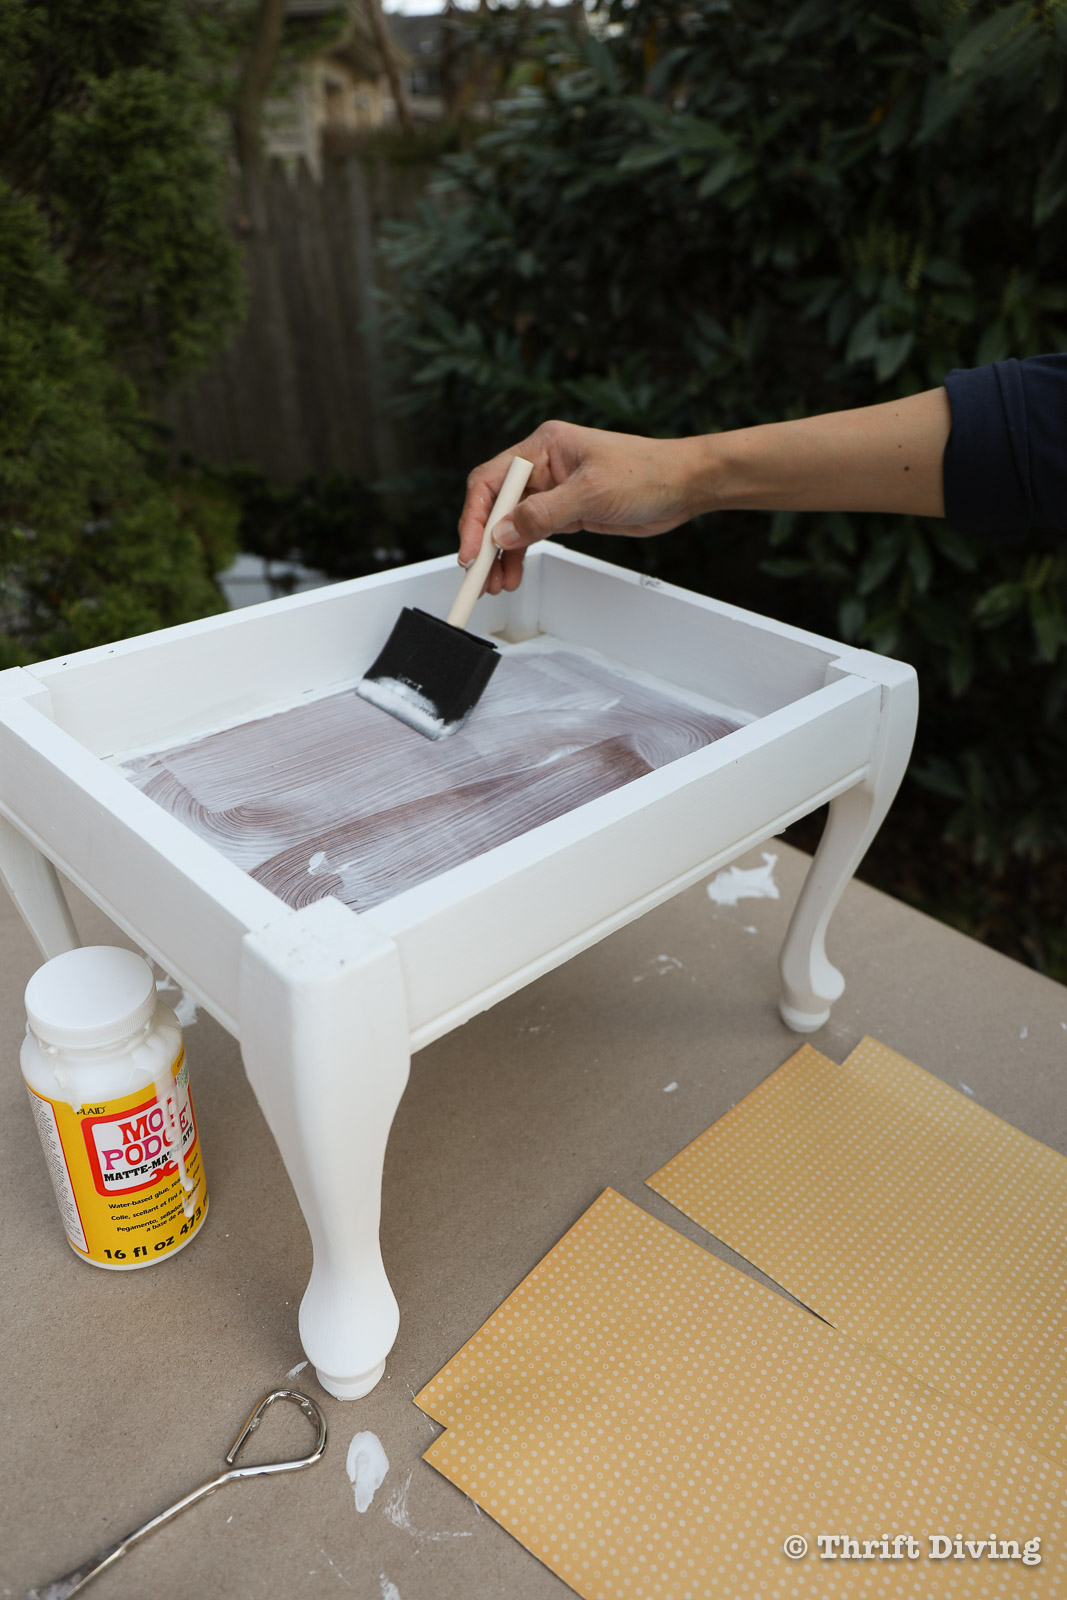
STEP 7: Paint and Decorate the Inside of Your Furniture
There’s nothing worse when you paint furniture but leave the inside bare. Try adding paint, fabric, or even scrapbook paper.
I used Mod Podge to glue scrapbook paper to the inside, laid paper cut to size, and then used a brayer to roll over the fabric to try to get out as many bubbles as possible.
STEP 8: Sand Your Paint Smooth
This step isn’t required, but is always a nice added touch when painting furniture. After your two coats are dry, use some very, very fine sandpaper to sand your paint. Now, I had to say that this step won’t work if you’re using brands of paint that have top coats mixed into them. Those paints tend to be a bit shiny due to the top coat and won’t allow for sanding.
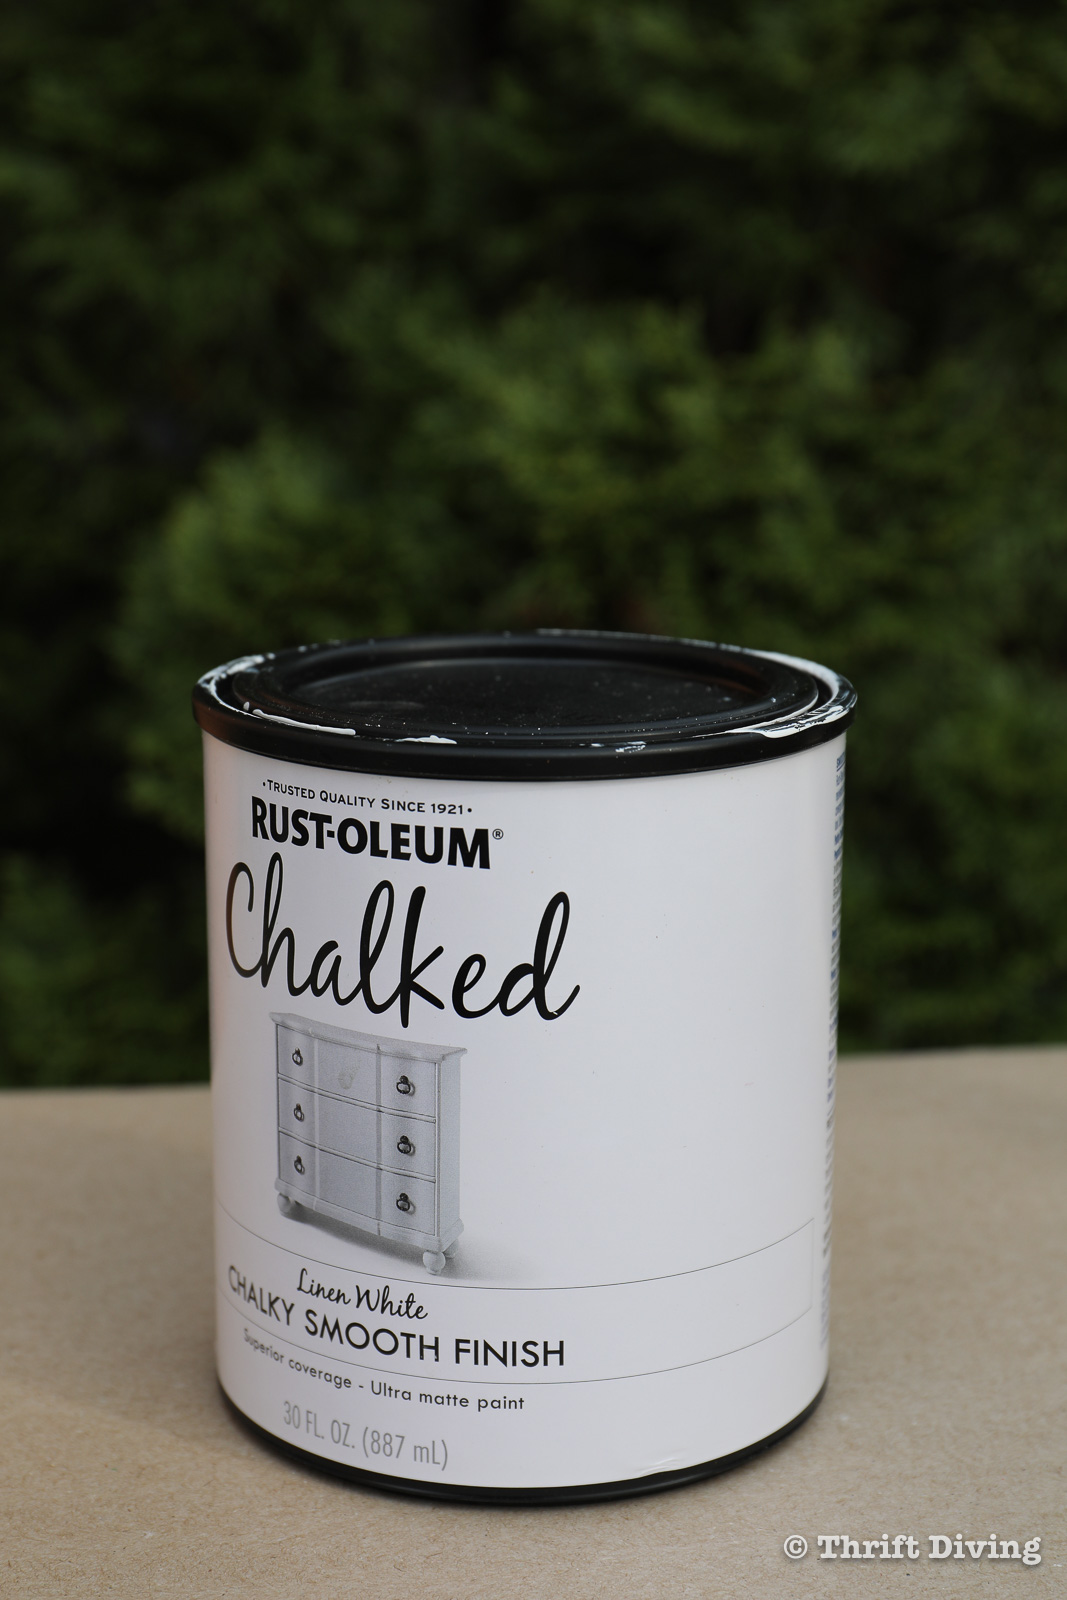
However, if you’re using a chalk-based paint (like the one I used below), these paints can easily be sanded smooth.
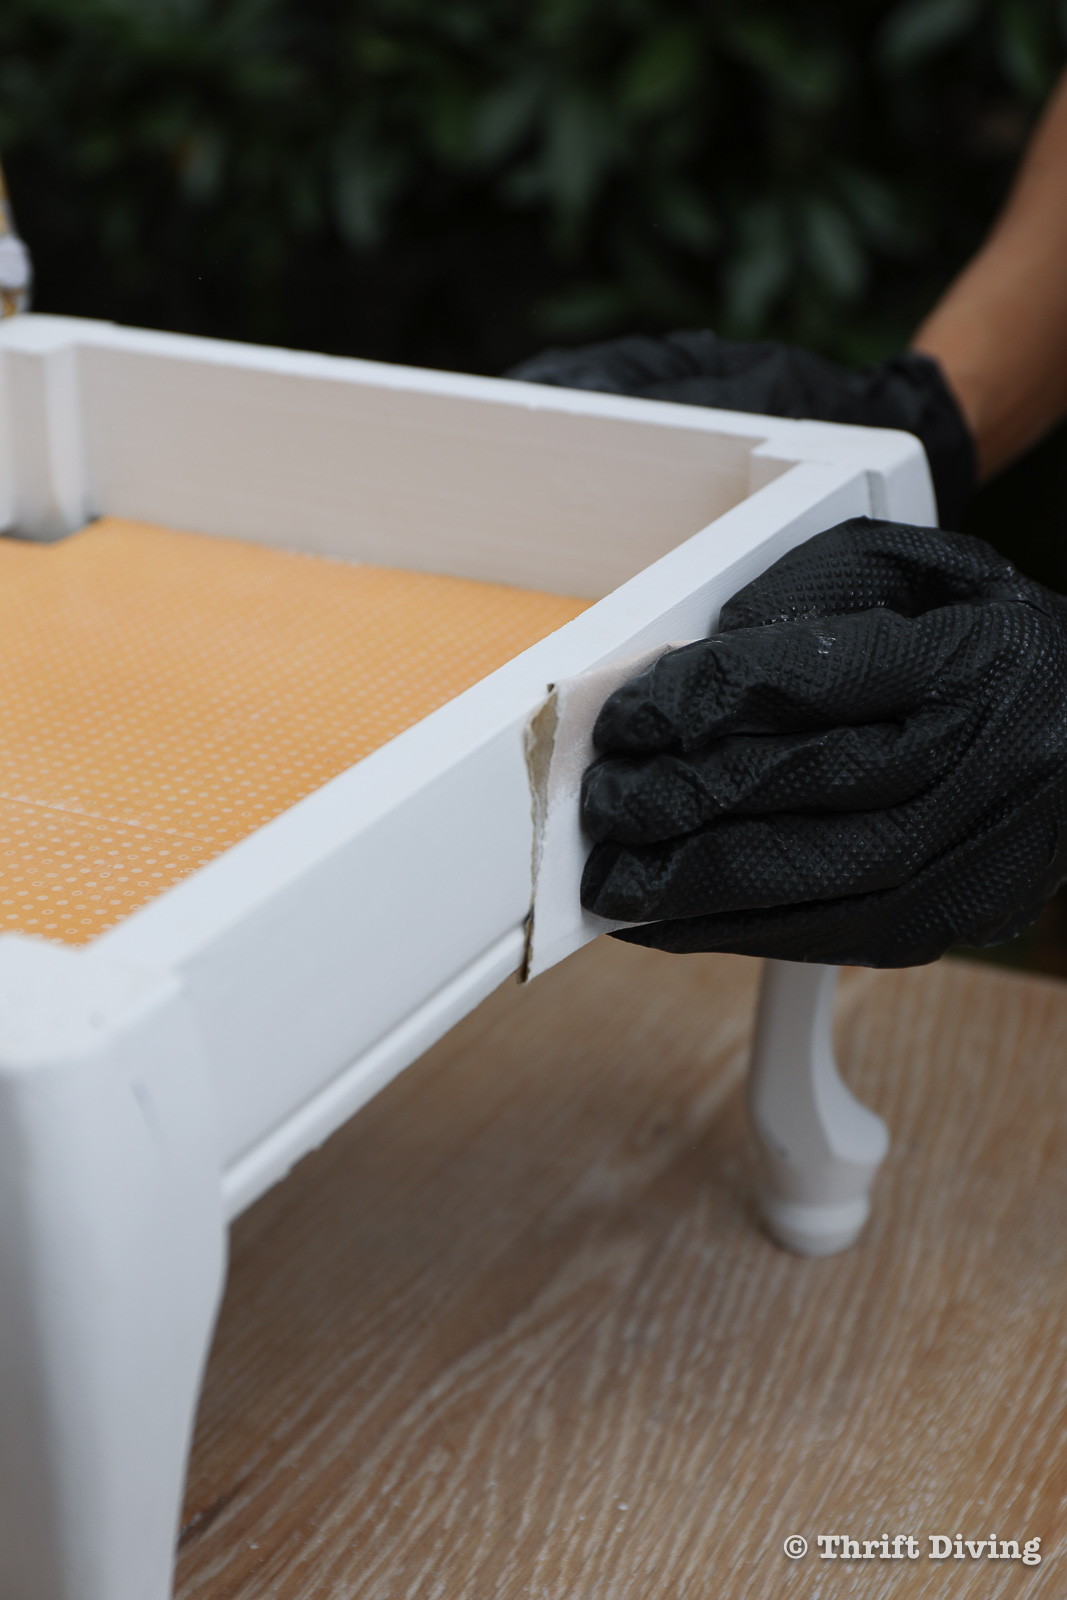
The reason you’d want to sand them is because they can show brush strokes after the paint dries. That’s not a bad thing; in fact, some people prefer brush strokes so that if they use a clear wax followed by a dark wax over the paint, it can create a beautiful aged look.
However, some people like the look of “no brush strokes” (me, me, me!). A light sanding allows you to gently remove those brush strokes, and it leaves in its place a smooooooth surface. It feels wonderful! But you also have to make sure that you’ve got enough coats of paint on the furniture so that any light sanding won’t rub away too much paint.
If you’re going for a distressed, shabby chic look, then sanding is definitely what you want to do! But instead of being light with it, you can get a bit more aggressive, using your sandpaper to remove the paint along the edges and other places that would naturally wear.

STEP 9: Wax Your Furniture
I love the feel of furniture wax over sanded chalk paint! It feels soooooo good to the touch. You can also use a top coat to protect your paint; some furniture paint brands make their own line of top coats that work well with their paints (such as Fusion Mineral Paints). But I like a good ‘ole furniture wax that wipes on…dries in a few minutes…and buffs to a nice shine.
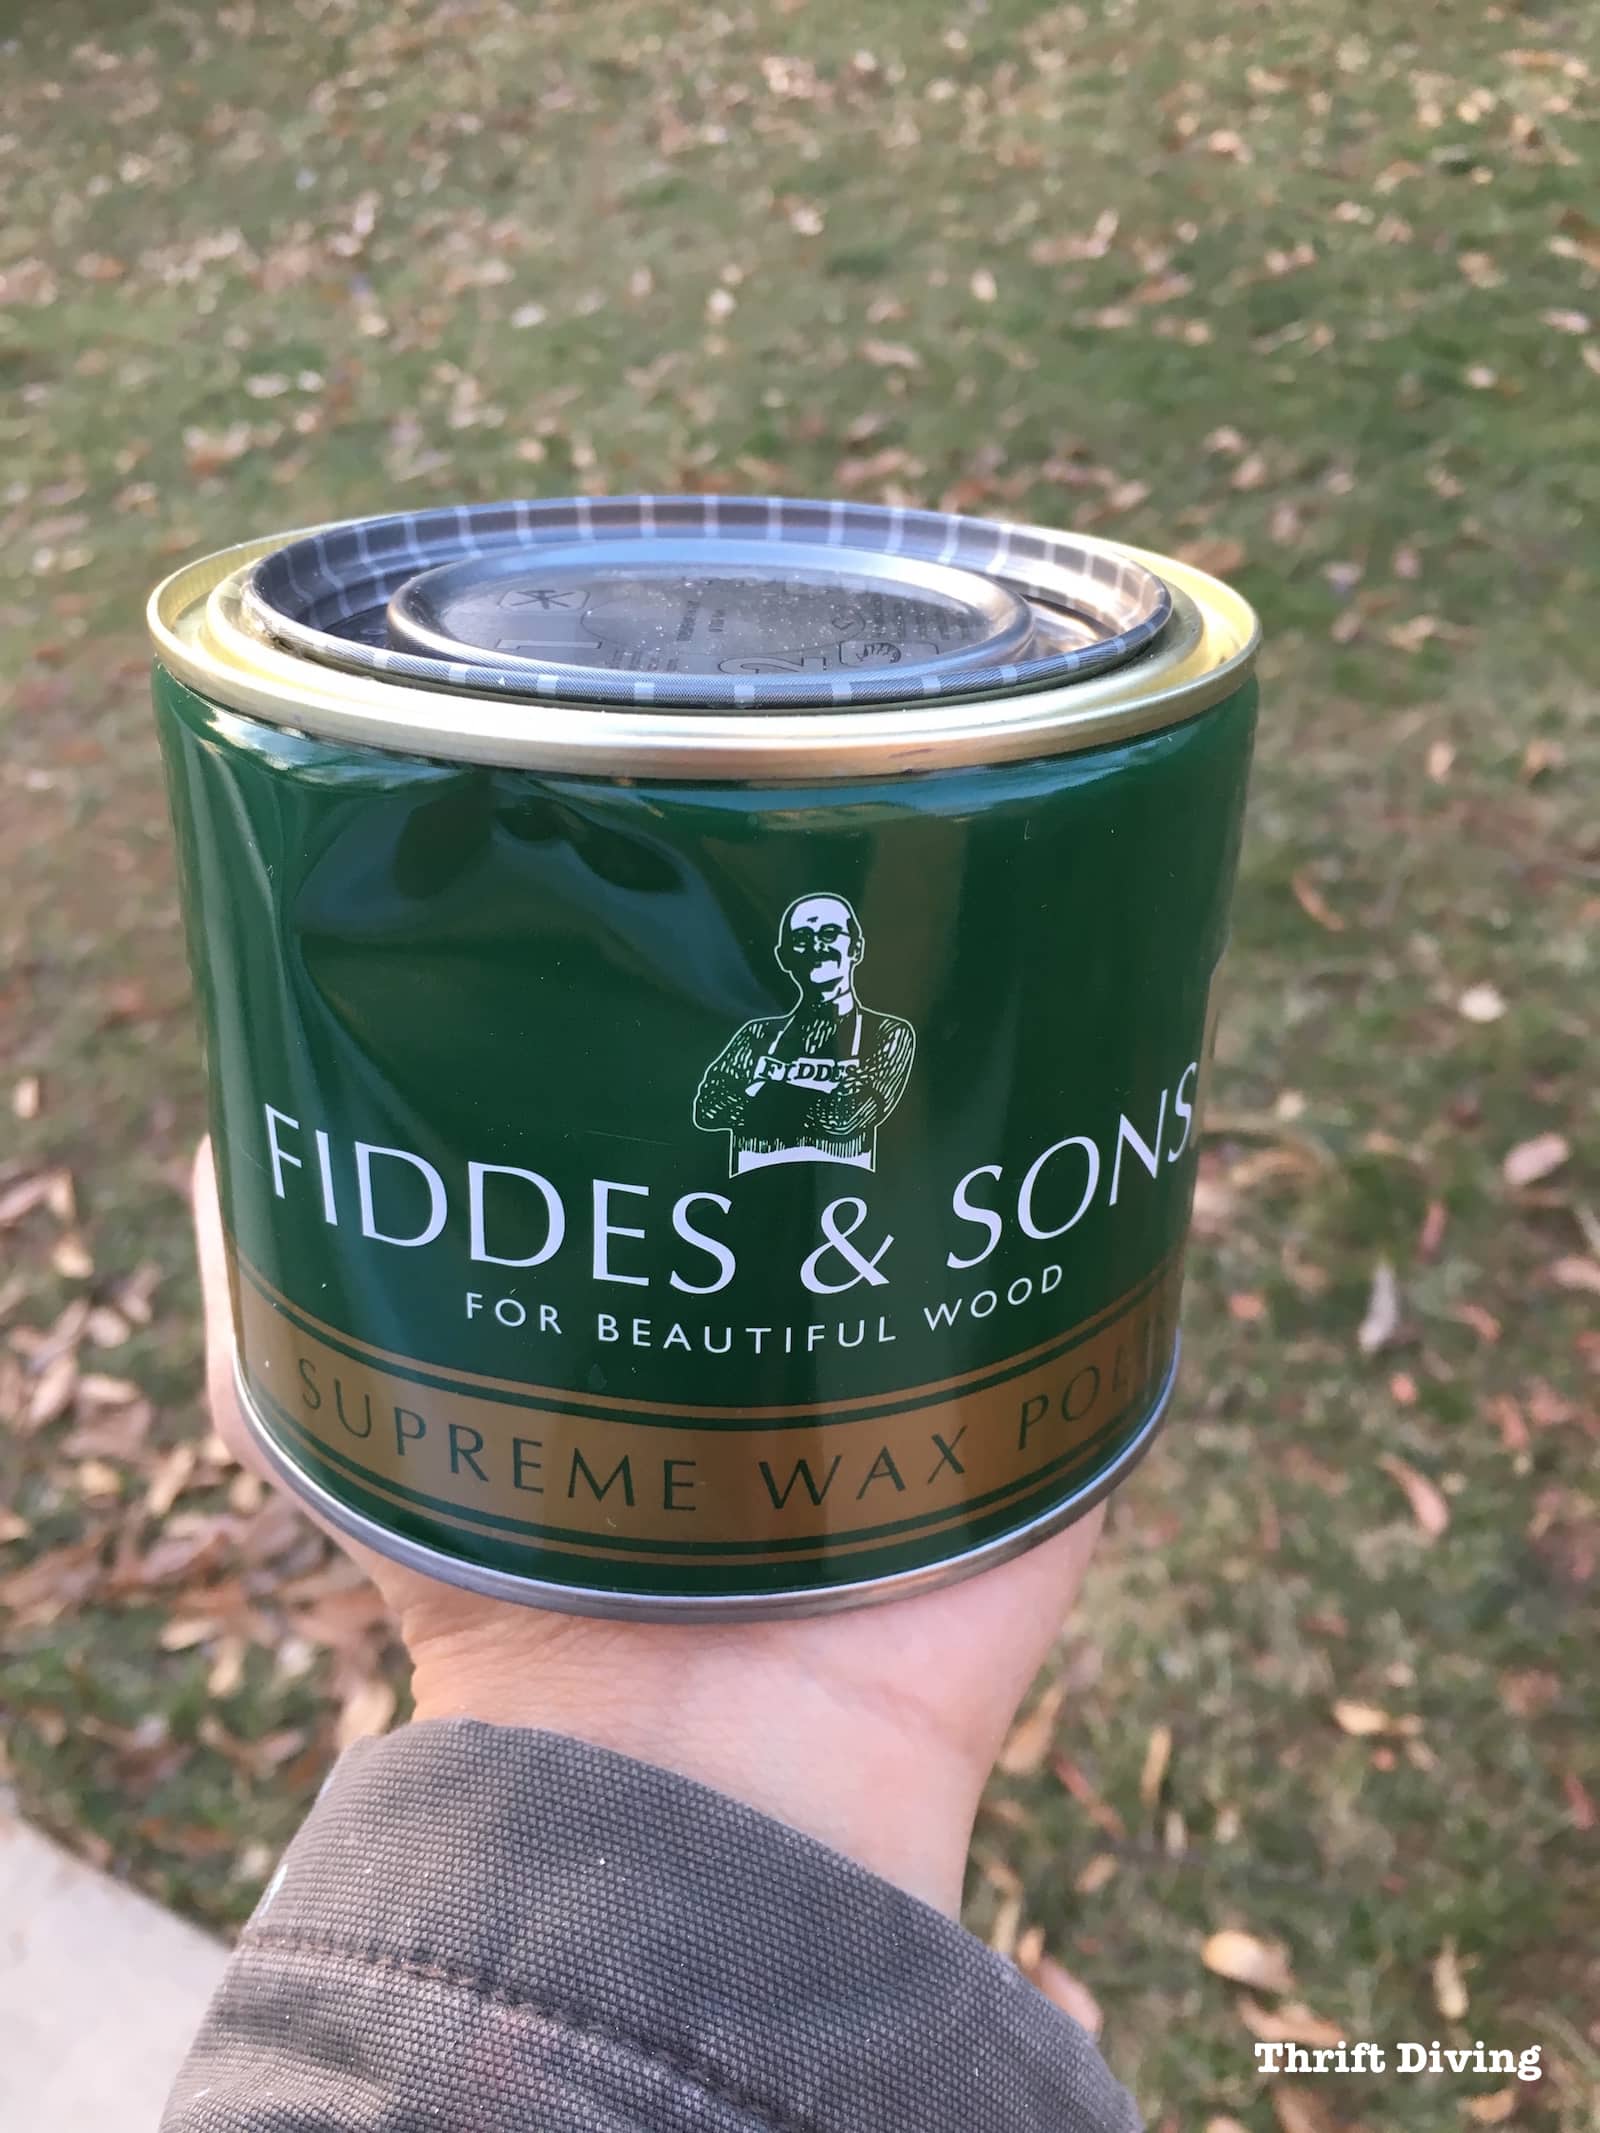
To apply the clear furniture wax:
- Apply some clear wax to a lint-free cloth. Don’t overload it.
- Apply the wax to the painted wood.
- Let it dry for 3 minutes.
- Use a clean, lint-free cloth to buff it to a shine.
You’ll be left with a painted surface that looks and feels wonderful! Re-apply the wax as needed, specifically every 6 months for surfaces that get a lot of “traffic” like dining tables, coffee tables, etc.
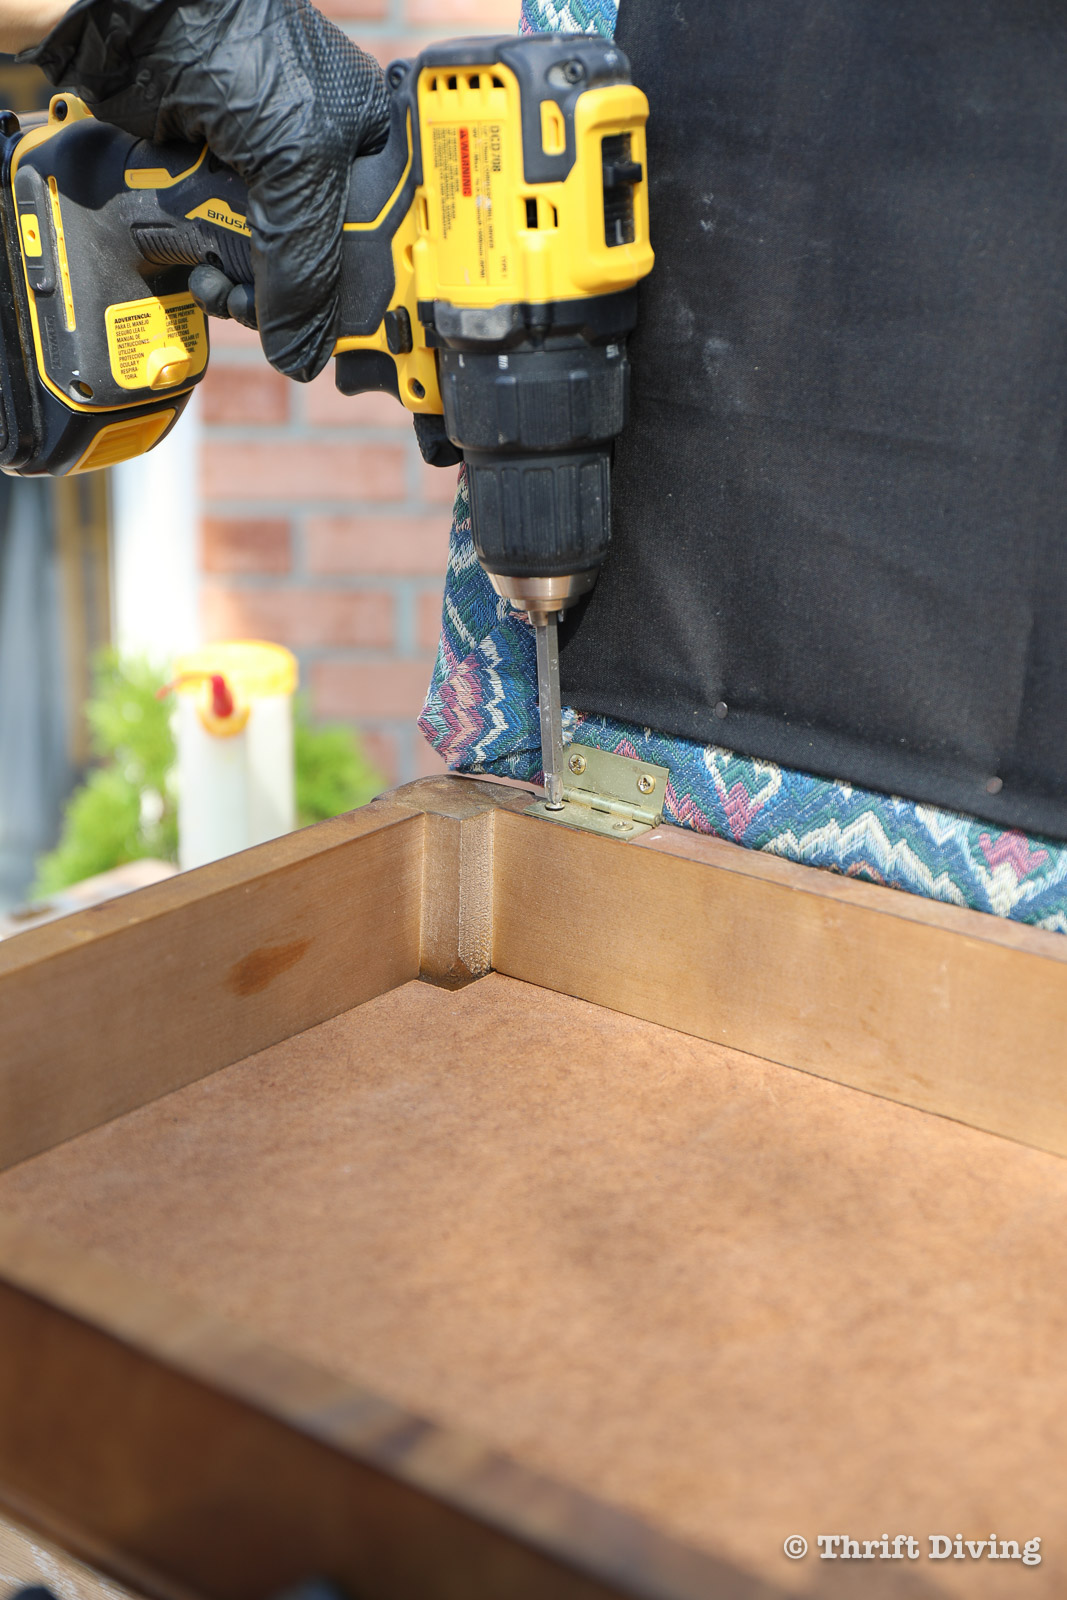
STEP 10: Reassemble Your Furniture
Now that everything has been done, it’s time to reassemble your furniture! This is where it comes in handy that all your hardware is in a little baggie, eh? 😉 I can’t tell you how many times I have lost screws or other hardware because of carelessness.
With the hinges back in place, this piece looks amazing!!!
How Much Did This DIY Project Cost?
Let’s take a look at the cost breakdown of this project:
- Stool – Free, since a blogger friend gave it to me.
- Paint – $20 but since I only used a little bit of the can, the “real” cost was much less, only a few dollars.
- Fabric – I bought this at Joann Fabric, 1 yard, which was more than enough, about $15.
- All the other materials I owned already.
How Long Did It Take?
It’s hard to say how long this project actually took, because of course I am filming and snapping pictures as I go, which adds lots of time. But for someone not recording or capturing images, you can easily get this project done in a weekend or less. Actually, I’d say about 4 hours. But a weekend is perfect! 🙂
Still Nervous to Try Your First DIY Project?
It’s okay to feel nervous about getting started with DIY! But with the right project and the right tools and materials, and a little bit of time on the weekend, you can totally get done a cute project for very little money! It just takes practice and the willingness to make a few mistakes along the way. That’s how we’ve all learned! 🙂
BEFORE
AFTER!


And the beautiful thing about DIY is that you can take things that people think no longer have value and turn them into amazing pieces of furniture that people love. I know for a fact that my mom is going to totally love this new footstool with storage!
So are you a newbie who wants to learn how to paint furniture? What is the first project you’d like to tackle? Leave a comment below and let’s chat about it!
Love this project?? Click here to save it!
![]()

Download the 5 freebies!

Thrift Diving inspires women to decorate, improve, and maintain their home themselves...using paint, power tools, and thrift stores! Use these 5 printables, checklists, and ebooks to get started!

Hi Serena,
I watch your upholster the little hinged bench yesterday or maybe the day before. Very good video and you taught me how to do the corners from the middle then pleating the bulk neatly to avoid sloppy corners. I’ve done several upholstery projects over the years but I have never liked my corners and I did not even know your secret of pulling the fabric up on fours sides, stapling first in the middles before pulling to corners for the staples on each side of the anchored middle. Nor had it occurred to me to repeatedly do the pinch plucking testZ All valuable! HOWEVER- What I’m really interested in today is the work table you were using. The one with the round holes and looks like metal measuring sticks are attached? Are the holes for clamping material?
Wondered about your table below your footstool project and what it does for you?
Can you share brand, model and size? I ask because I recently bought a miter saw and need something to put it on so I can learn how to use it.
I have little interest and absolutely no room for a long miter saw table.
I’ve recently acquired a circular saw and the miter saw because I want
to get over my fear of circular bladed power tools. I’m okay with my multi-tool, my electric handsaw, my shrubbers, drills, recip saws but not circular saws. Many projects you and my other favorite power tool ladies do— I’m “a’feared” to do.
Sorry to go on! Can you tell me about your table please? I need a lightweight table, preferably a folding table I can carry from crowded garage- through the house to the back patio where I have room to work.
Do you have power tools and hand tool education videos? I’ll check your playlist.
Really appreciate your videos! Simona MacAngus
It’s so cute! What a great way to give an old piece new life.
Hi Sue! Sure thing. I think the one that you should look into is the Arrow Fastener TacMate T50X stapler. (https://arrowfastener.com/tool/t50x/) They’ve got a few other push-staplers, which you can find here:
https://arrowfastener.com/tools/#filter=.staple-guns
I don’t have the E21, but I just looked it up. It looks pretty cool! Let me know how you like it! 🙂
I loved this video. Very in formative. Can you tell me what model staple gun you refer to for those of us with no grip strength? I was also looking at a cordless stapler – Arrow’s E21 Cordless Electric Staple Gun. Any thoughts on that tool?