How to DIY When You Have NO Time and NO Energy
Let’s face it– when “life” gets in the way, what’s the first thing to go (besides taking care of yourself)?
YOUR PROJECTS!
It’s so frustrating because as creative people, creating is our life’s blood, isn’t it? And to not have time or energy to get it done takes away a small piece of joy in my life.
So here’s how I combat it. And hopefully these 10 steps to will help you move a project from “it’s been sitting here for 6 months” to the “I’m DONE, baby!!” file :).
STEP 1: Create a “Master Project List”
It’s time to get real about why you really have no time or energy to finish your projects. Or rather, why you THINK you have no time or energy. I bet that part of the reason is that you’re overwhelmed! You’ve got a list a mile long, and you don’t know where to start. Right?
Okay, first–make a list of all the projects you’ve been wanting to get done. Everything that you can think of. Because, how are you going to know what you need to get done if you don’t even know what needs to get done? Yep. That’s a genius statement right there. You have my permission to quote me. 😉
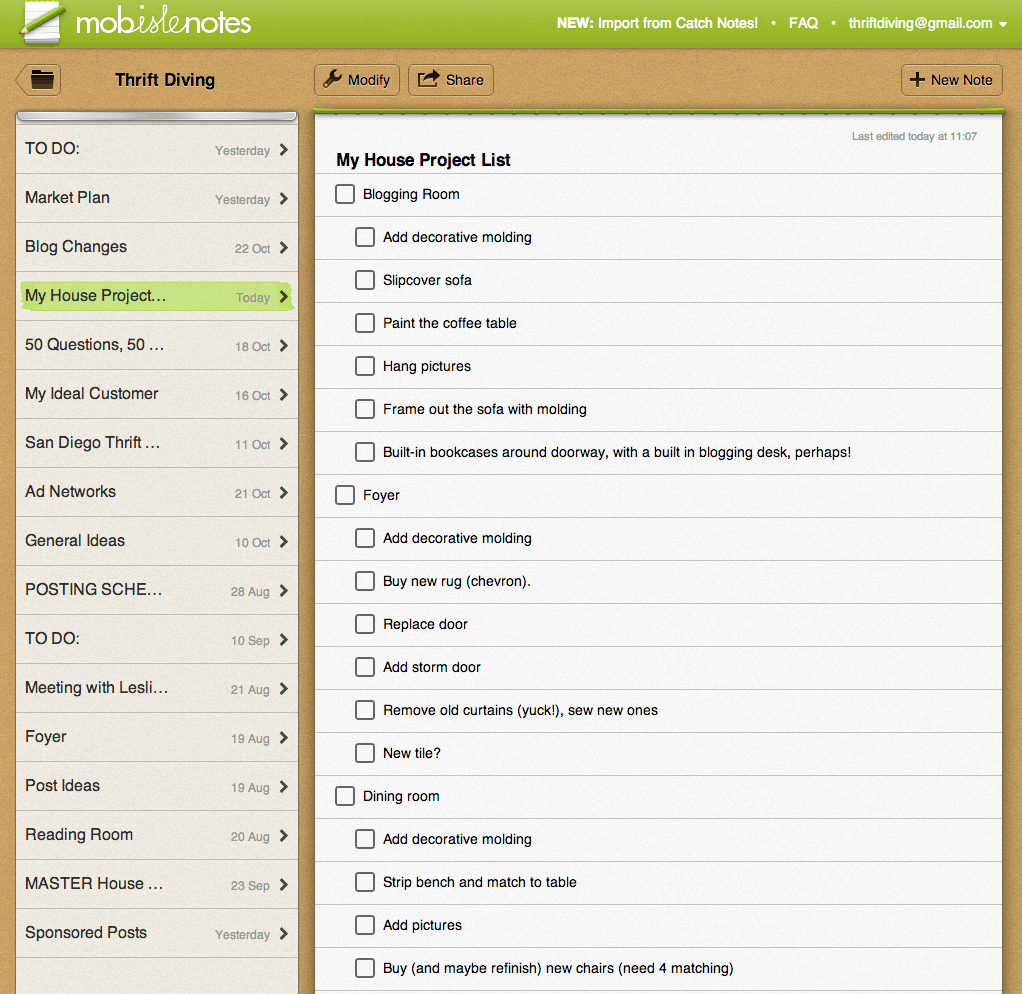
You need an easy way to keep track of your “Master Project List.” I’ve used apps like Mobisle Notes, Click Up (my favorite), Notions, or even Google Docs for making to-do lists. Use the “free” versions of these apps. You can create sub-projects within your project in some of the apps. I consider it like a “brain dump” so that you get it out of your head and on to “paper.” (Hey, I actually do still love to use real notebooks!). Here’s a sample of a House Project List I had once created. You’re not going to believe how long your list is! But doesn’t it feel awesome to get everything out of your head and onto a real list?
STEP 2: Pick a Project….But Pick the RIGHT Project.
Come on…I know you have a gazillion projects on that list. But which one would yield you the biggest results? Getting done the guest room for your mom to come and stay with you? Setting up a craft room for yourself so you can spread your stuff out and see where everything is? One of them has to be at the top of your “Gotta Knock This Out” list. Choose a project that you’re excited about and think you would actually want to finish, but that you just haven’t gotten around to, for whatever reason. For me, this is what I have been wanting to tackle {{{insert dun-dun-DDDDUUUH dramatic effect here}}}:
…it’s my “hot mess” garage!
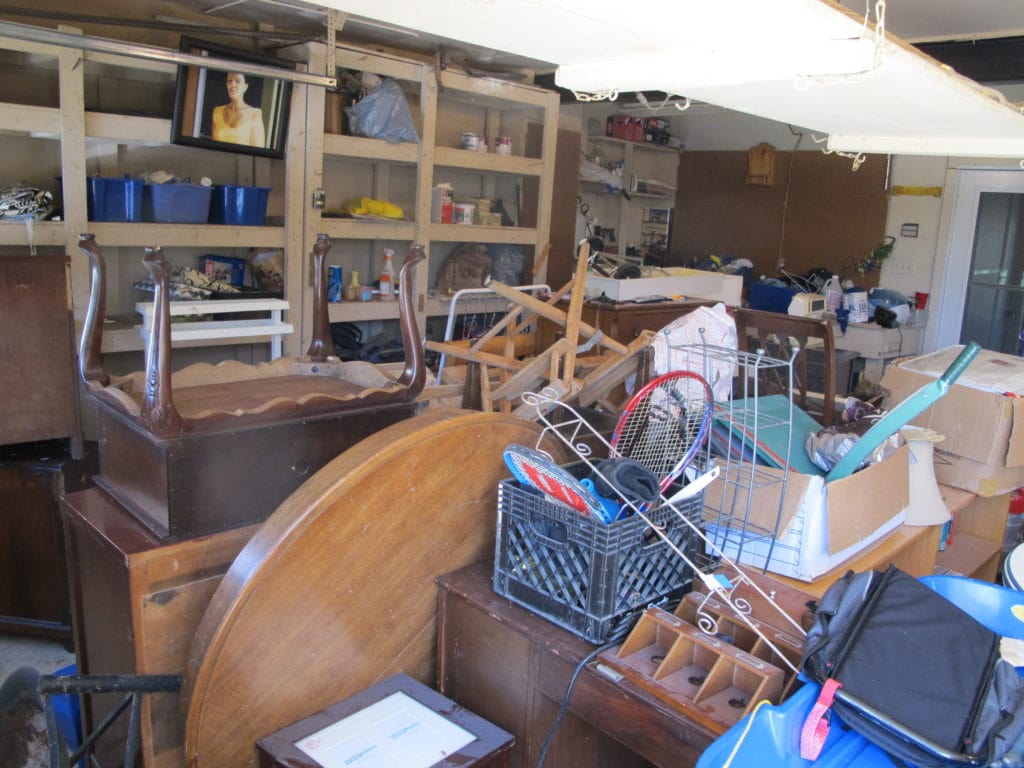
It has steadily gotten worse over the 3 years we’ve lived here. I’ve stuffed it full of thrift store furniture and items I clearly have nowhere else to put. Now, I want to transform it into a garage workshop for me so I can dibble dabble in power tools and learn how to install some decorative molding around the house. (Oh, and did I mention I have lofty goals of building a play house for my boys some day? Yep. Some day 😉
STEP 3: Forsake all other projects.
Now, mentally “X” out every other project on your list. Yes, I just gave you permission to STOP worrying about all the other crap you just listed. Don’t you feel better? 🙂 Focusing on just one project at a time (like how we do in my 30-Day Room Makeover Challenges) gives you the ability to give it your entire attention so you’re more likely to get it done instead of worrying about all the other things you “have” to do!

STEP 4: S-P-E-L-L I-T-O-U-T
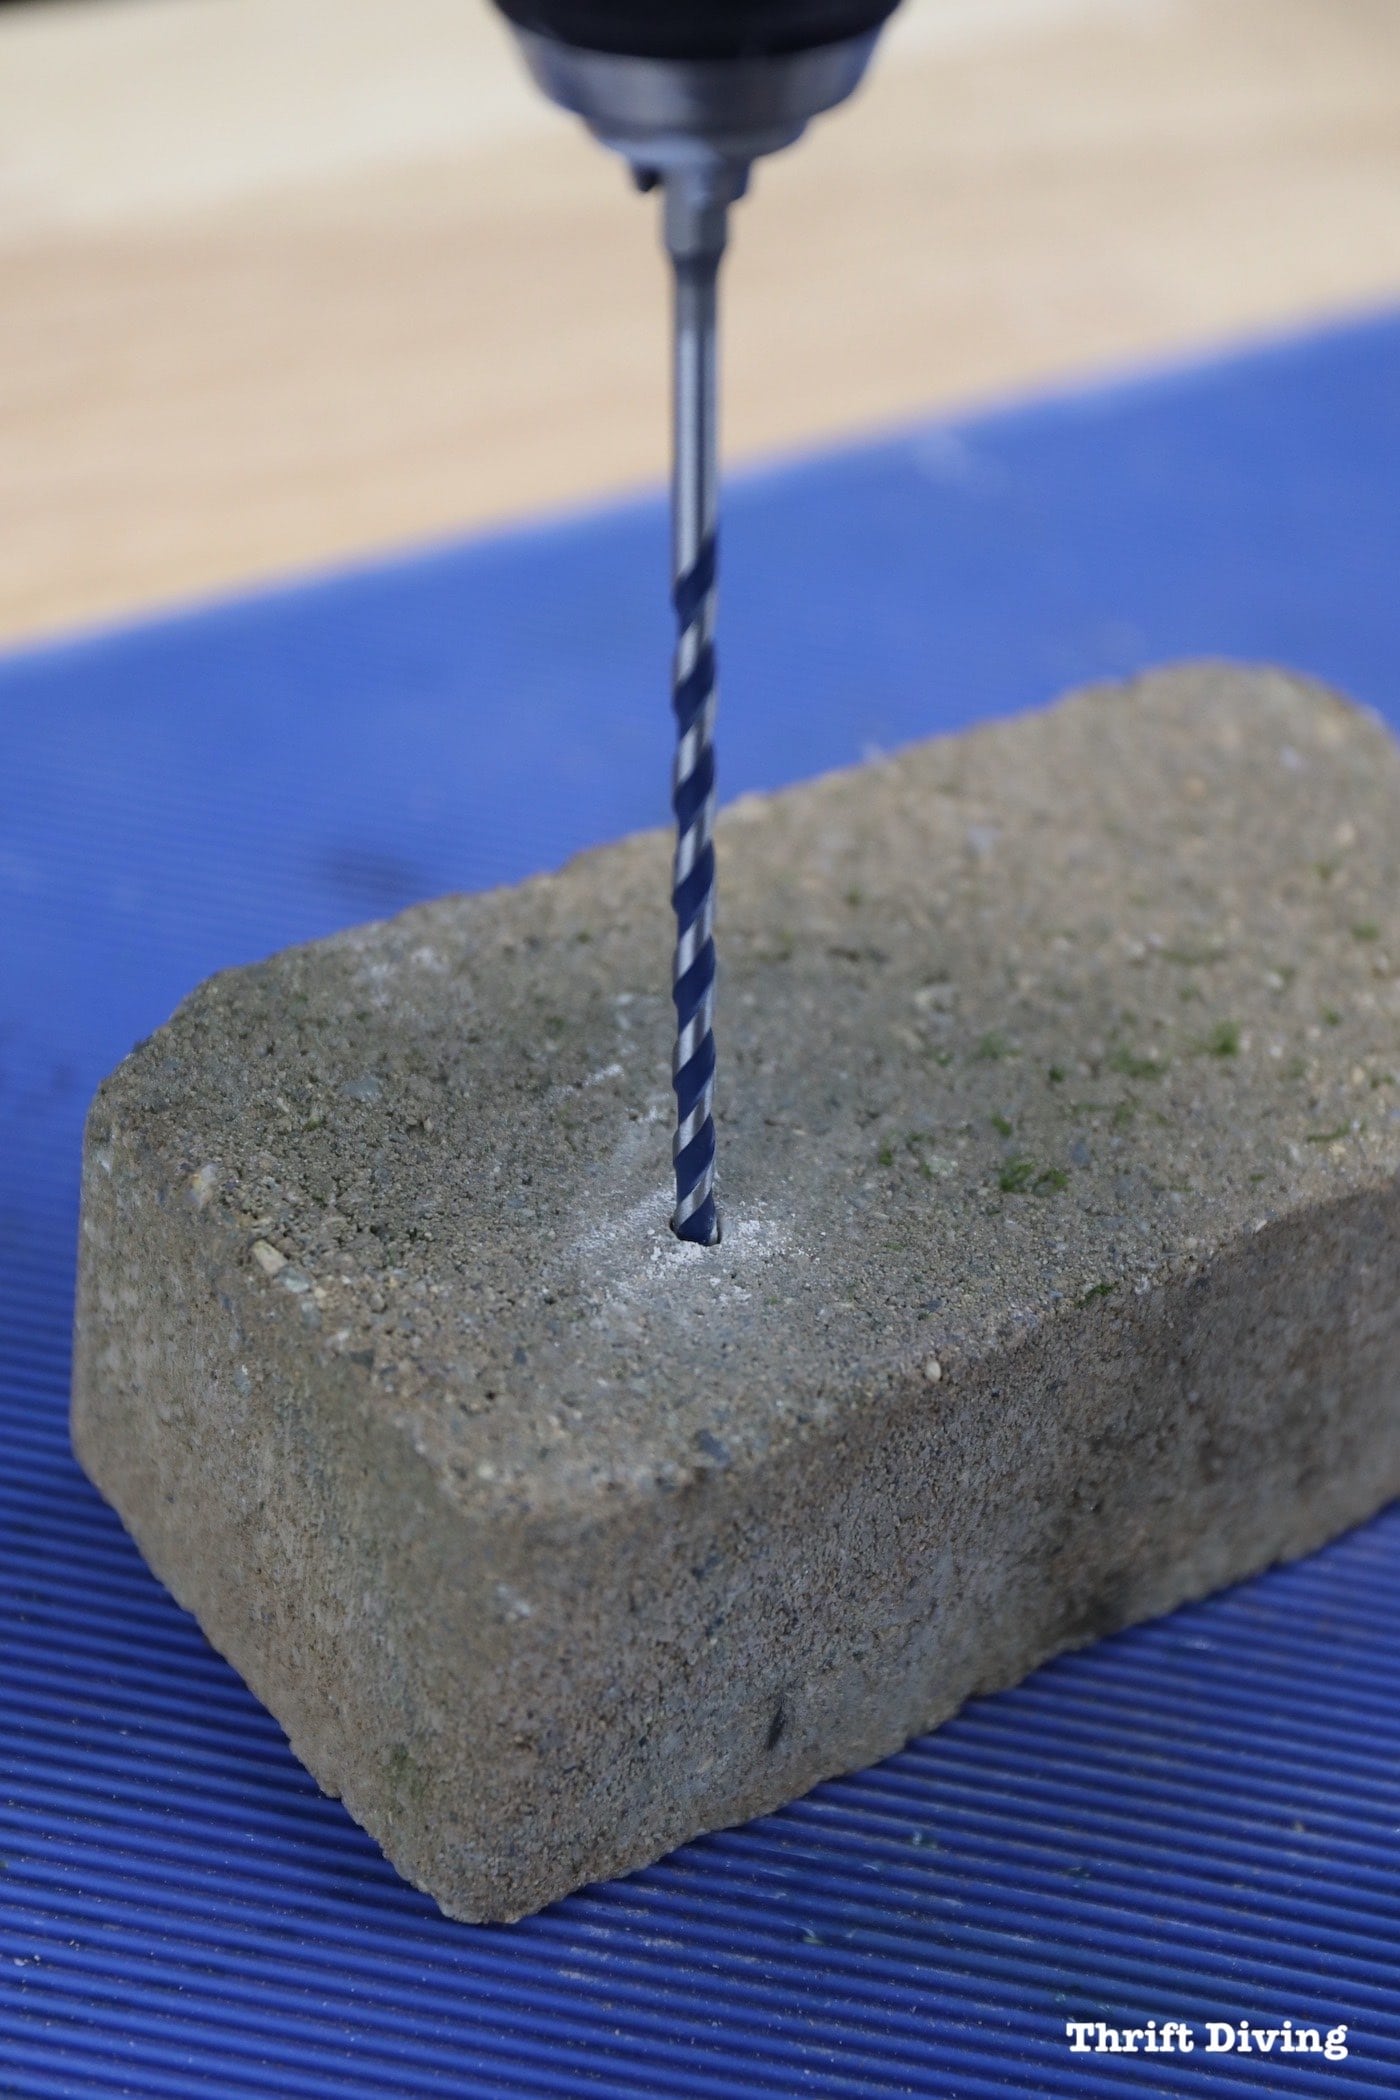
Yes, you know how to spell. But do you know to to clearly spell out your tasks? That’s a whole different story! I’m talking about listing every imaginable task that you can think of for your project. I bet you there are things you never even considered. For example, in my garage, I know I need to fill the holes in the wall….prime it….and paint it. Dude, that’s 3 steps! If I only put “Do the walls” then clearly I’m not spelling out every step involved.
Why does this make a difference, you ask?
Because when you’re doing a project, it’s easy to kid yourself about how much time something will take when you lump it all together. You may think it will only take you 1 day to “do the walls,” but when you spell out what “do the walls” really means, you may find you’re looking at a WEEK! Yikes!
So, be sure to list detailed steps so you don’t miss a beat :). And you can always add more steps as needed!

STEP 5: Make Home Depot Your Best Friend!
Or Lowes….Either one. You’ll need a list of materials for your project. Identify what you need and buy it before you get started. Wanna know why this is so important??? Because if you start working on a project and you forgot to get the ___[insert random object you forgot!]_ guess who’s going to get derailed? You’ll risk losing your “mojo” because you don’t have what you need to continue. And 2 years later, your project will still be sitting there, staring you in the face. Noooooo! We must prepare 🙂
Start by adding to your list all the materials and tools you’ll need for your project.

STEP 6: Don’t Go Broke!
It’s time to figure out a project budget. Have you ever heard of “scope creep”? Meh–probably not. Well, in DIY-land, there is something I call “cost creep.” It’s the idea that you think a project will cost $X number of dollars, and then by the time you get done, it actually costs $XXXXXX. It happens! You think you’re going to go with the “economy” sink for your bathroom makeover, and then suddenly you’ve upgraded to the vanity that’s etched in 14K gold. LOL.
That, my friends, is “cost creep.”
To prevent “cost creep” list prices for every single material, tool, object you need to do your project, and then vow to not go over that budgeted amount!
STEP 7: Bribe Your Friends!
If you’ve got awesome friends, especially DIY-friendly ones, you won’t have to bribe them much. Maybe pizza and beer? Hey–works for me. Ask them to come and help if you know that you won’t be able to do it on your own. Plus, extra hands make things go faster! I’ll probably end up working on my garage alone (waahhh!), but I will enlist hubby to help clear out some of the old furniture there.
STEP 8: Deadlines, Baby….Deadlines!
Want to know a surefire way of sabotaging your project? Not setting a deadline. Here on Thrift Diving my readers and I have started doing 30-Day Room Makeover Challenges, where we pick just ONE room in our house and totally focus on it for 30 days. If you don’t believe me that it works, see my laundry room makeover and my kids’ bathroom makeover as proof that you can be a DIY rockstar with a deadline looming over your head!
STEP 9: Kids….? What Kids?!
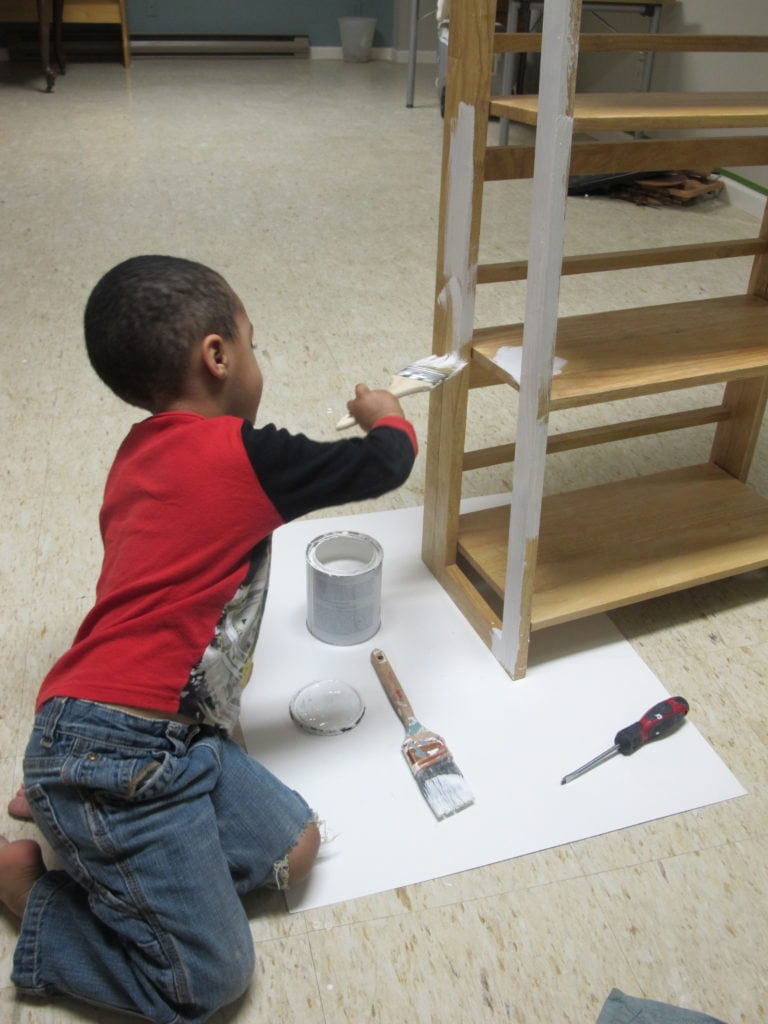
Find a place to shuffle your kids off to while you’re working on your project. As much as I love my three boys, they were rowdy at times when I would do projects and would get in the way while I worked. If you can swing it and you’ve got young kids or grandkids, invite them kids to “help” by giving them a project to do along side of you with their own paint brush, tape measure, and “tools.” They’ll love it! Here’s my 4 year old who used to help me out! (Now, at the age of 15, he wouldn’t dare “help” without a dollar sign attached to it. HA!).
When I had young babies, I used to use a backpack carrier while I worked on projects (when it was safe to have him on my back). My “baby” is now nearly 14, so he’s quite content to play soccer on his iPad while I’m busy doing projects. But younger kids need lots of attention. Strap them on and get moving! Trust me–they’ll fall asleep. 😉

STEP 10: Skip To It!
Okay, now get to work! You have to take the plunge and carve out time in your busy schedule, and STICK TO IT. You’ve got all the tools, materials, etc. If you’re a night owl, carve out the time for your project and put it on your calendar from 8:30 p.m. to 10:30 p.m. four to five nights a week, or whatever feels doable. Heck, even just an hour a night is something more than what you may be getting now!
You may have to go back and adjust your project deadline if you find 2 hours a night isn’t enough time for getting your project done. Do NOT forsake sleep to accommodate. I used to do this all the time, and it was simply unhealthy. Instead, you might find an hour after you get home from work. Or perhaps you can go to bed early and get up at 4 a.m. and put in an hour before hitting the shower before work. No matter what, carve out that time. Otherwise, something else will eat up your precious DIY time!
But Remember….Don’t Compare Your Projects to Others’ Projects!!!
Don’t compare your progress and projects to what you see some content creator on YouTube or Instagram doing! Many of these people have whole teams of people helping them create content and get projects done (or, they’re professional DIYers who have literally all day to work on projects, especially if they have no children).
The point is, don’t use someone else’s projects as a measure of your own projects. Okay?
Good. Now go. Your DIY projects are waiting for you.
So tell me….after reading this, what project you’re going to now complete?

Download the 5 freebies!

Thrift Diving inspires women to decorate, improve, and maintain their home themselves...using paint, power tools, and thrift stores! Use these 5 printables, checklists, and ebooks to get started!


Awesome job! I remember the days of having my kids strapped to me while trying to get things done! 🙂
I found you when I was laying around recovering from a cold all weekend. I can’t wait to get started on all my projects! Teacher here, and five more days until I get my hands dirty in sawdust and paint! Thanks for the tip on that list app!!!!
Haha, your garage is cracking me up! I’ve got mine half done and I’m not quitting until I see it through this time! 🙂
Deadlines work best for me too. Always. Blogging about it keeps me honest too.
We all experience DIY burn-out sometimes. Your tips will help get us back on track. Right now I’m working on a the front foyer – labour intensively stripping off 50 year old wallpaper. But I have a deadline which always helps me get things done.
I love how you have your son strappped to your back while you are paiting!!
You are very creative and love DIY projects. Do them now while you are young and healthy. Recently,
I have developed health issues. No longer can I do my painting and crafting. Forget sewing! I am very satisfied with my past projects. I am in a new season of my life.
When we first moved into our house, I took the renovated single car garage as my office/craft room/tv den/whatever because it was separate from the bedrooms and it had the biggest closet. Of course, that was when we thought we had our youngest out of the house and off at college…but then she came home, along with her apartment full of stuff. Suddenly, our downsized house was overstuffed and overstressed. For ages, I’ve wanted to swap her room and my craft room so that she has the big walk in closet for all her (thrifted!) clothes, makeup, shoes, etc. I’ve put it off because there’s so much stuff in both rooms that it just seems overwhelming. Instead of looking at it as a million projects in one, breaking it down into single projects just might get me over that hump and on the downhill slide into a decluttered, organized craft room. Thanks for the tips!!!
You can do it! I am still overwhelmed in my house too. But one project at a time will help us reach our decorating goals!! 🙂 good luck, and that’s sooo much for taking time to read and comment!