BEFORE & AFTER: My Pretty Master Bedroom Makeover!
My master bedroom makeover has evolved since we moved in nearly 6 years ago. It was laden with wallpaper in every crack, crease, and crevice of this old 1973 home. I know it takes time…..so finally, I have created a bedroom makeover that I have always envisioned!
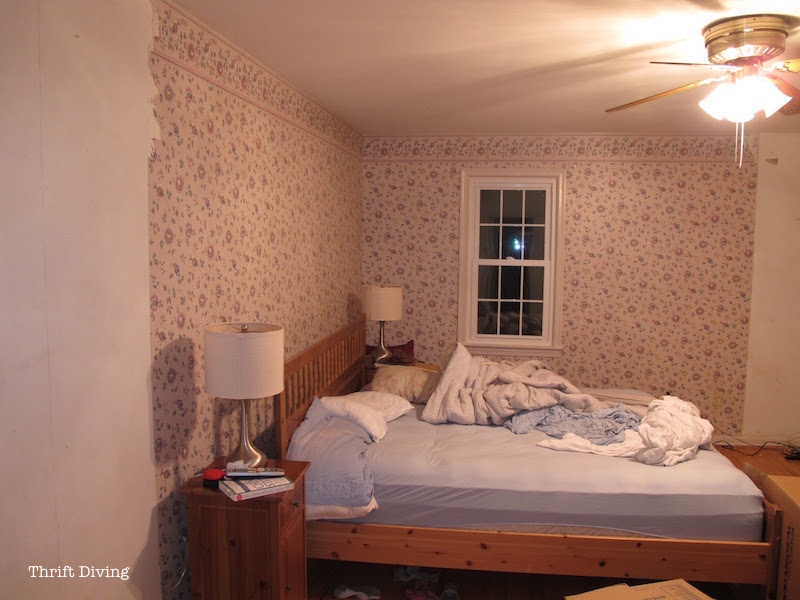
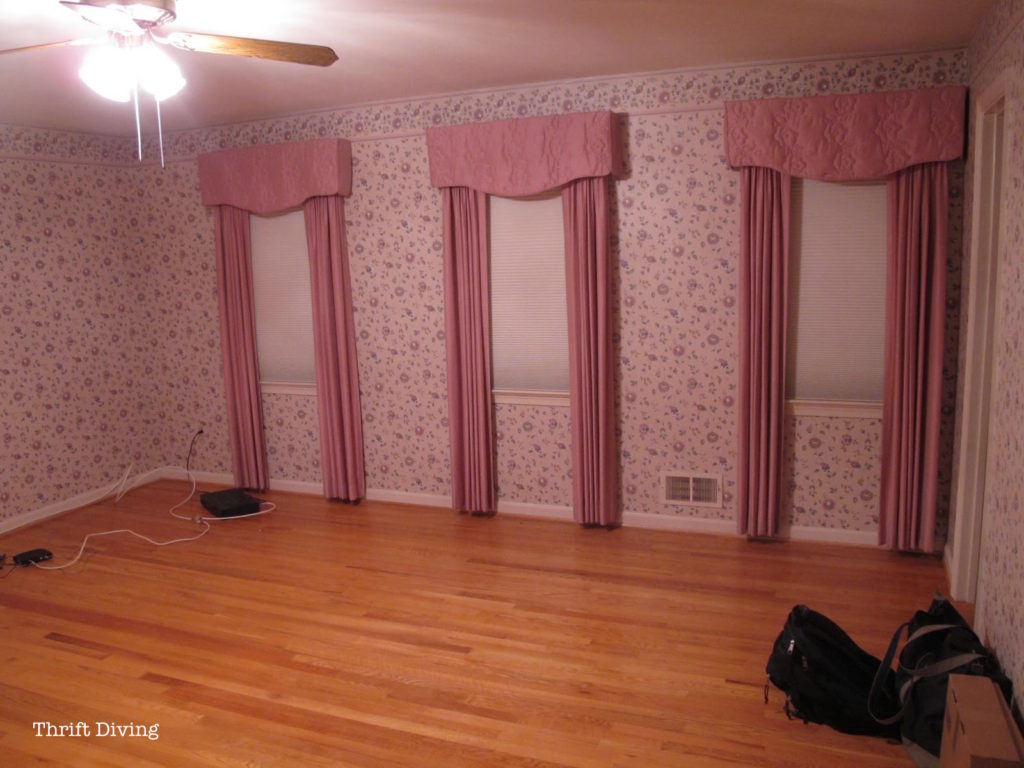
When we moved in, though, this is what was waiting for us. Sexy throwback curtains and all.
BEFORE

BEFORE (back when intercoms were hot):
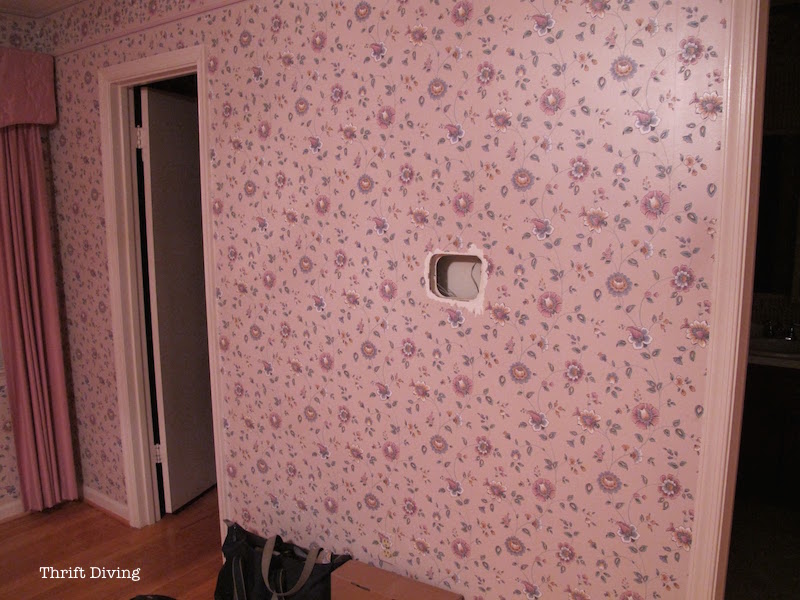
We worked to remove the wallpaper, which was torture. I wouldn’t wish it on my worst enemy! LOL
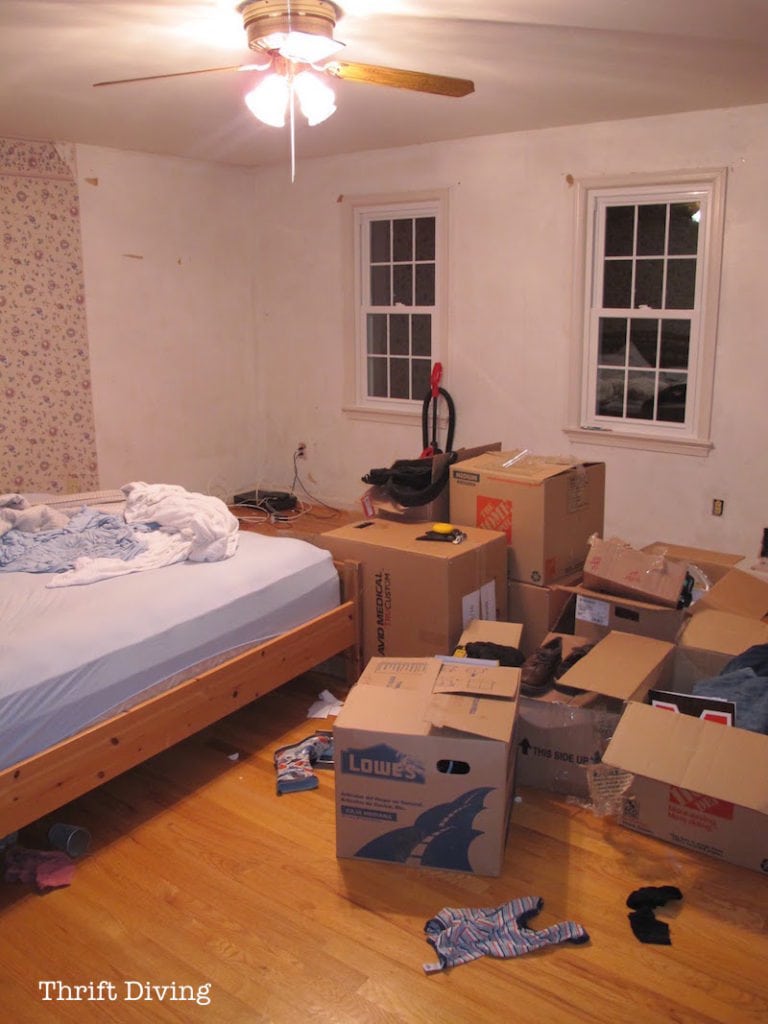
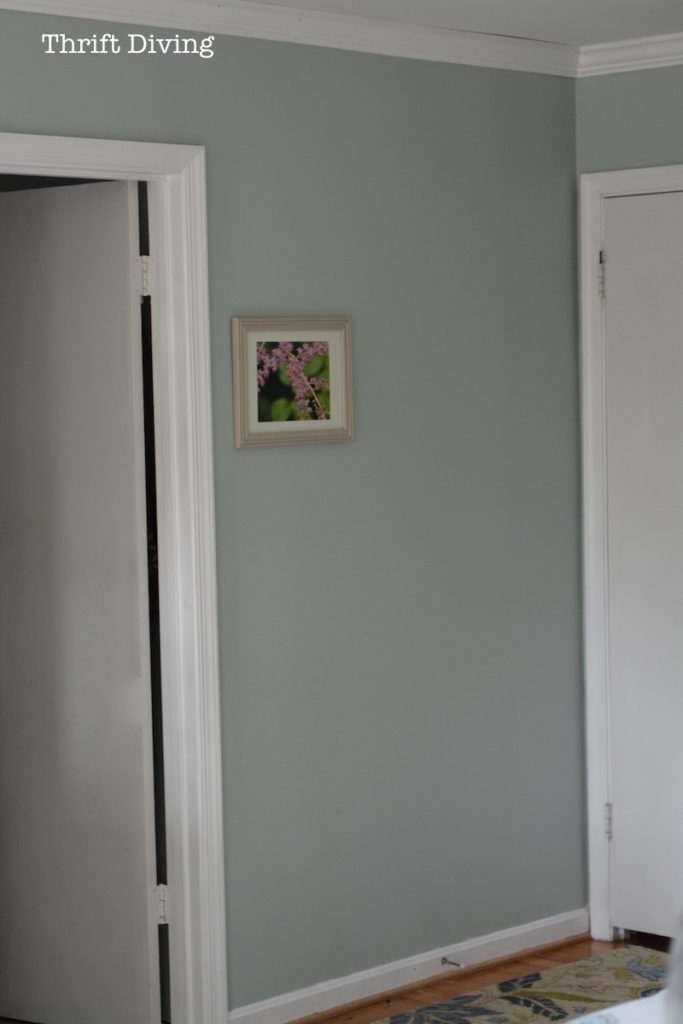
….and when we were done with our “mini” bedroom makeover, this is what we were left with, which is virtually how our room had looked for years: BARREN

It needed something more: a large carpet, some wall art, new bedding, Sherwin Williams Rainwashed, paint for the cheap IKEA pine wood….and crown molding!
(And P.S……we’ve been rockin’ the same ‘ole IKEA furniture since 2002. Yes, my friends, we’ve owned this bedroom suite, despite its falling apart. HA! Who said IKEA doesn’t last……….pssh!)
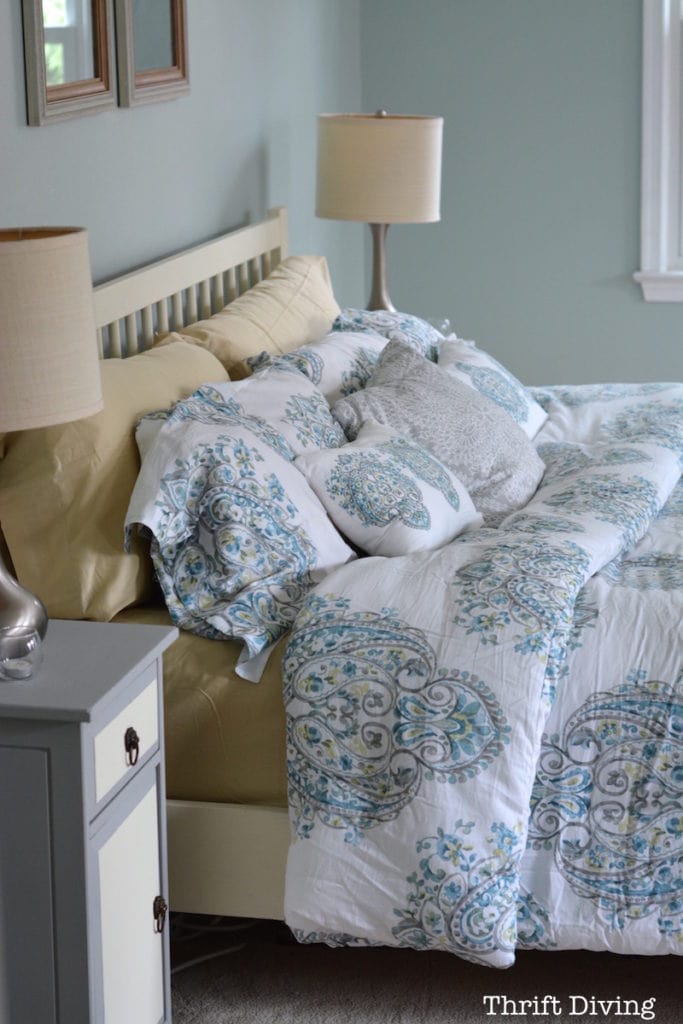
With some fresh white furniture paint and new bedding, it was starting to come together!
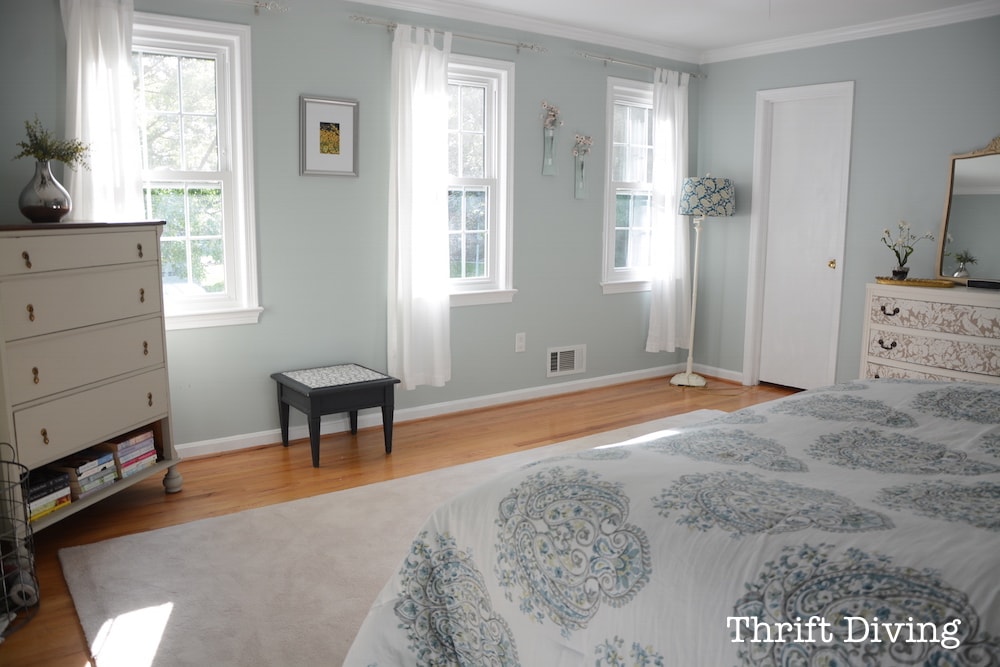
AFTER! – BEDROOM MAKEOVER
My Bedroom Makeover With New Carpet to Warm the Floor
Not only was our bedroom boring, but it was cold. Literally cold. It’s housed right over the garage, and if you know anything about bedrooms over garages, more often than not, you’ll get frozen in the colder months. Walking to the bathroom was like performing an act in the circus: watch the woman tiptoe on ice, ladies and gentleman!
Temperatures are starting to warm up, but I finally had time and money to upgrade our barren bedroom to something that felt more “homey” and warm.
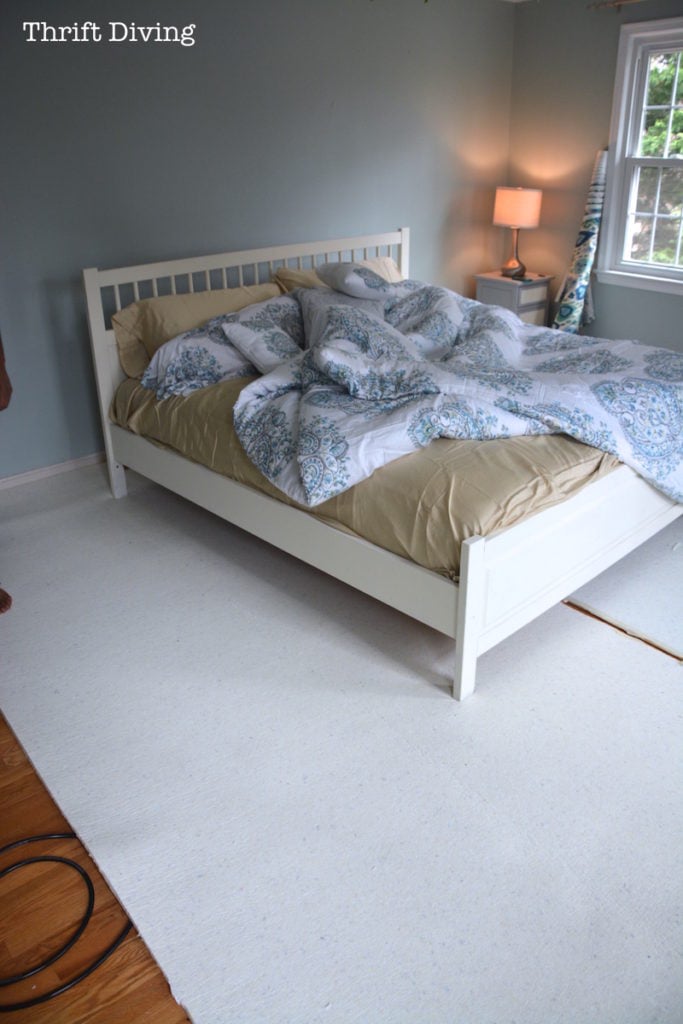
The first step in creating my bedroom makeover was starting with was new carpet.
My bedroom is so large (almost 17′ x 17′) so buying a remnant from Carpet One was within budget at nearly $400. I bought a huge 12 ‘ x 12’, and it came with a carpet pad. Pretty plush, actually.
You should definitely consider Carpet One for remnants.
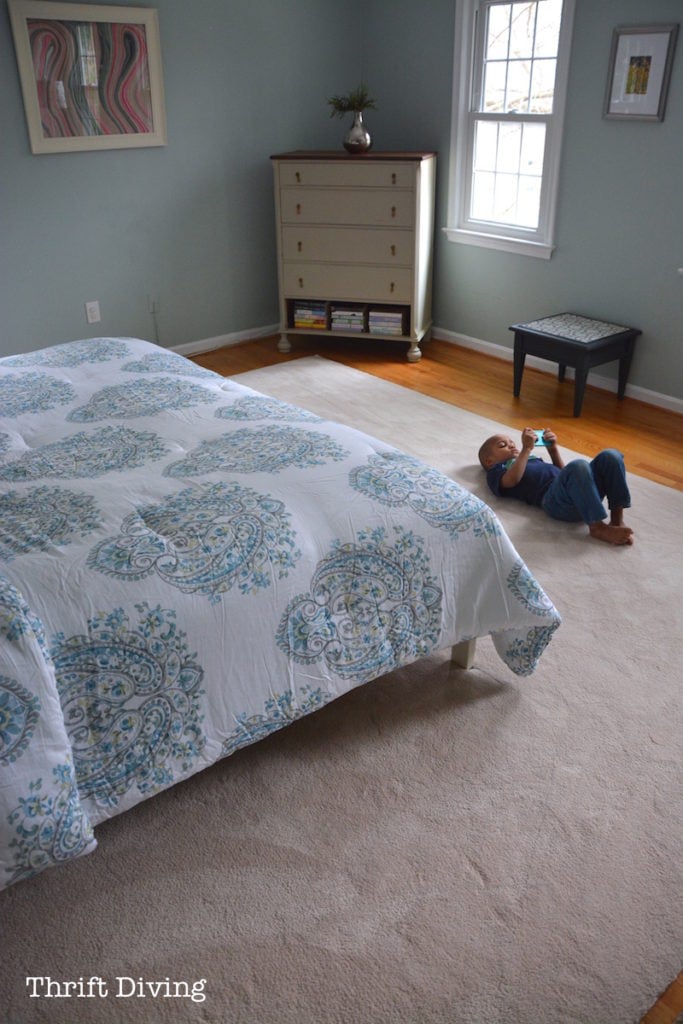
I bought a floral runner for the entry to the room, for about $200. Altogether, I spent a little over $600 for flooring. Money well spent when my feet hit these babies first thing in the morning!
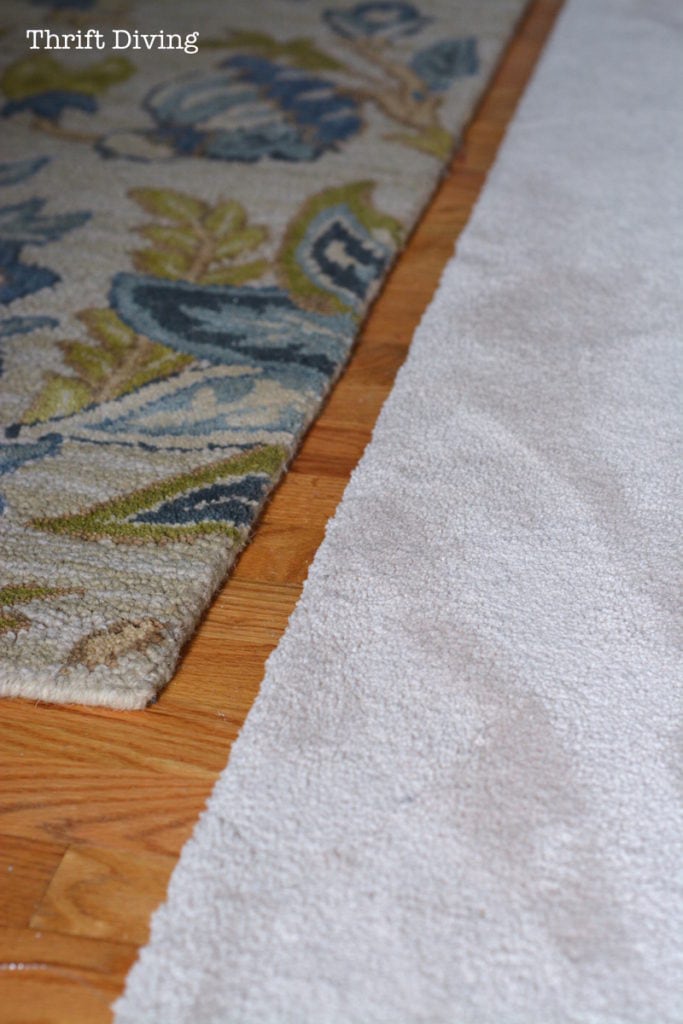
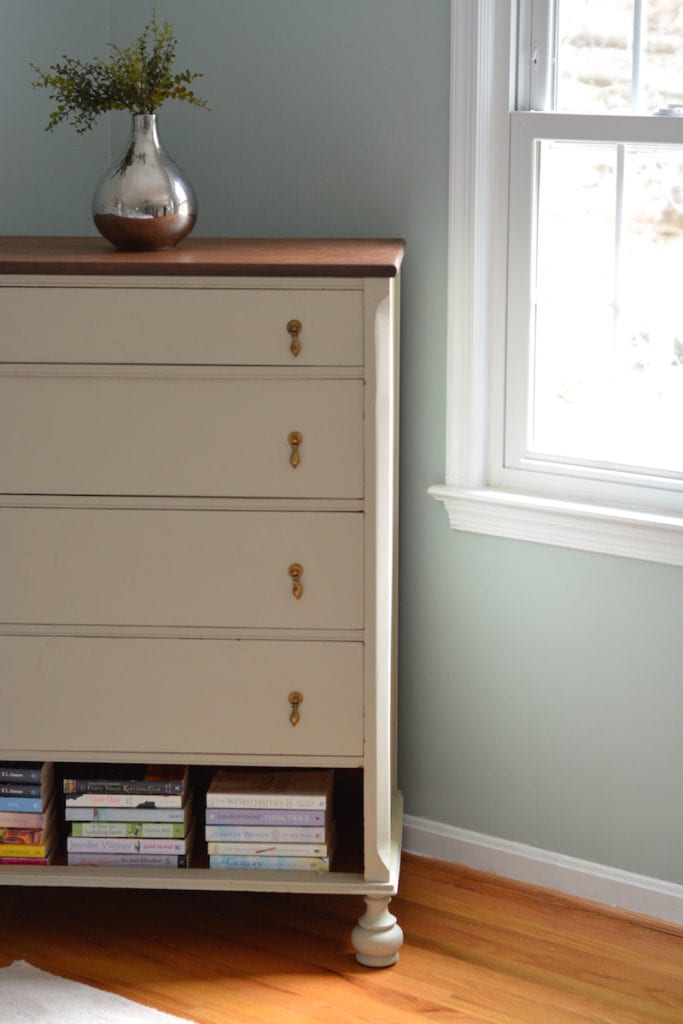
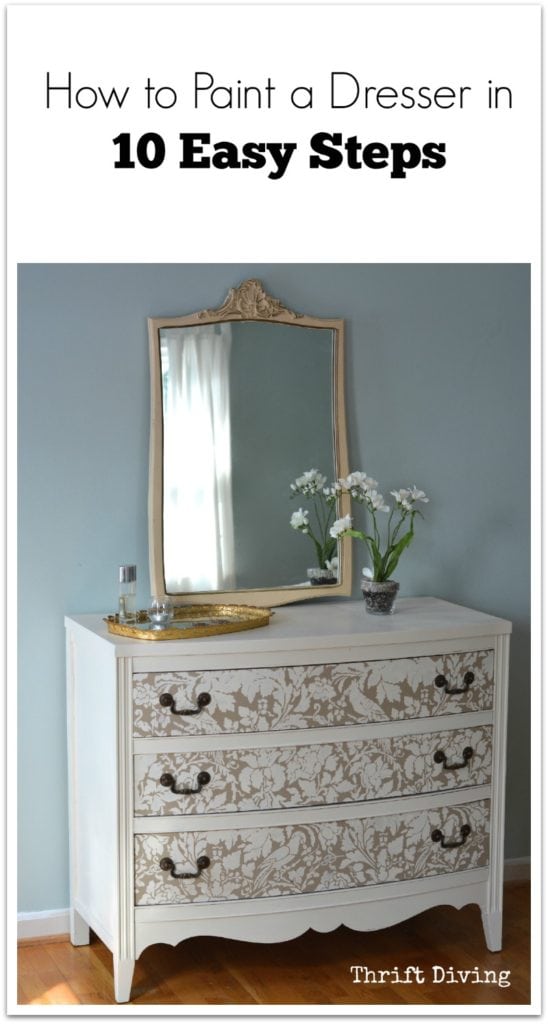
I thought the runner pattern would “clash” with my thrifted vintage dresser makeover, but it doesn’t, thankfully!
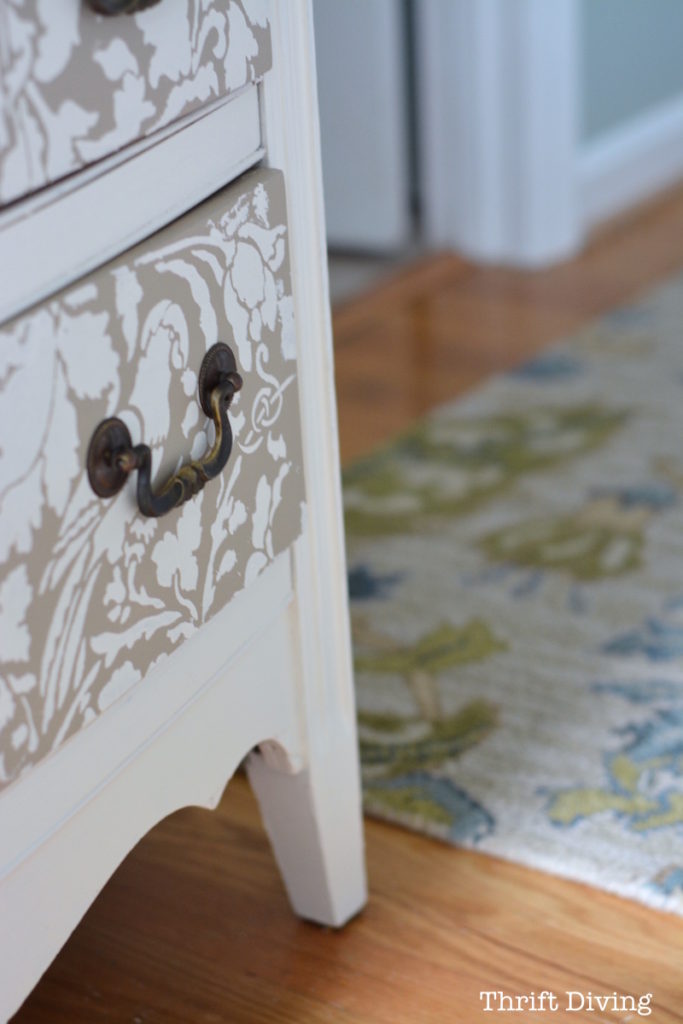
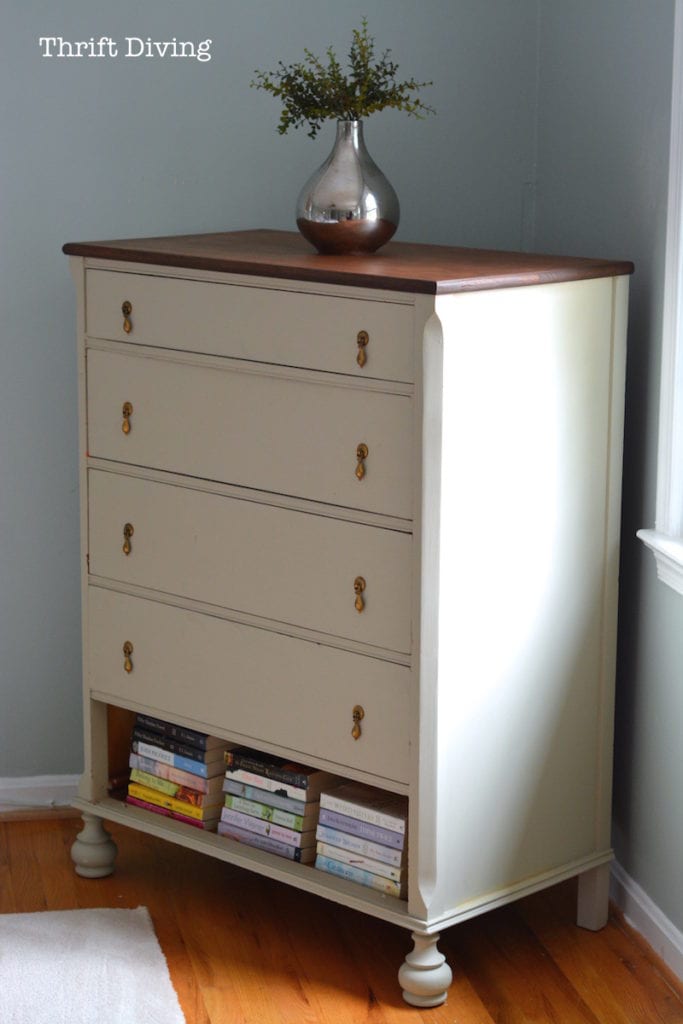
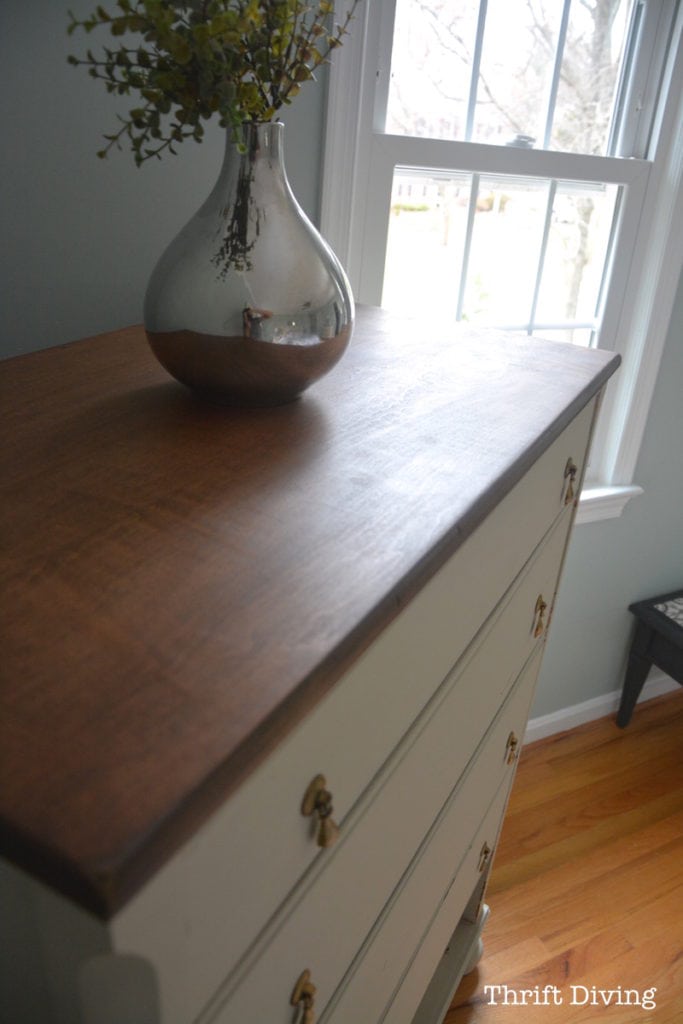
I also really love the pretty vintage dresser makeover I did for hubby’s clothes!
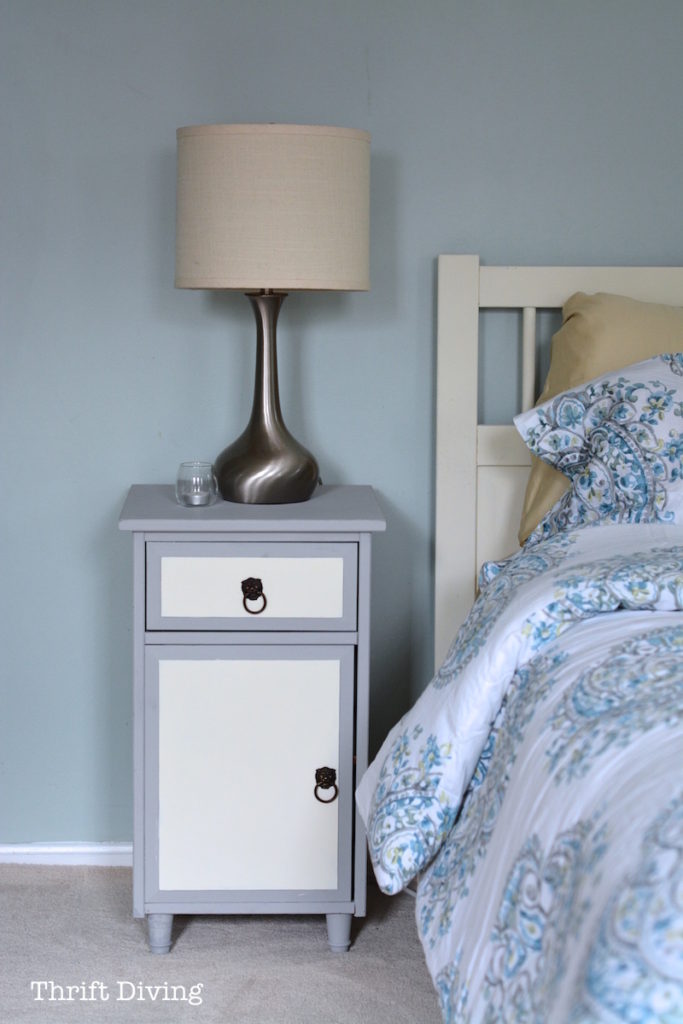
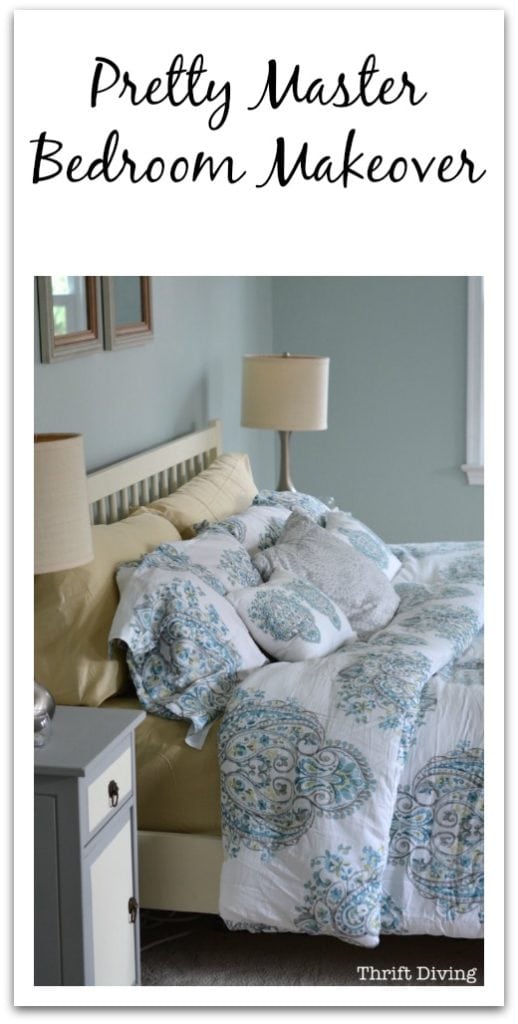
And with the new bedding and painted nightstands, it looks great! My son loved my bedroom makeover, too!
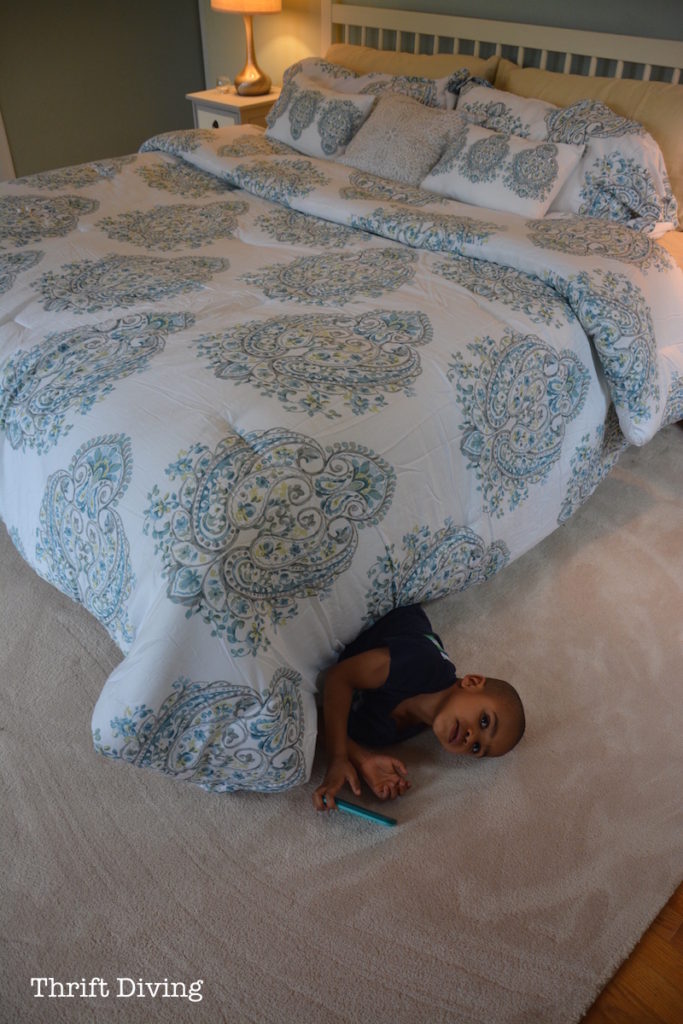

I love that my room feels so cozy! It’s the light-hearted, airy kind of bedroom I’ve always wanted but never had. (The bedding was by Nicole Miller from Home Goods, but you can find Nicole Miller bedding on Amazon using my affiliate link, from which I may earn a commission).


BEFORE

Before, my master bedroom had cold hardwood floors, outdated wallpaper, and old curtains.
Later…I Made Over Our Ikea Bed
After a while, our bed got really messed up and we needed to update the paint, so I painted our king-sized Ikea bed, which you can see here in the YouTube video.
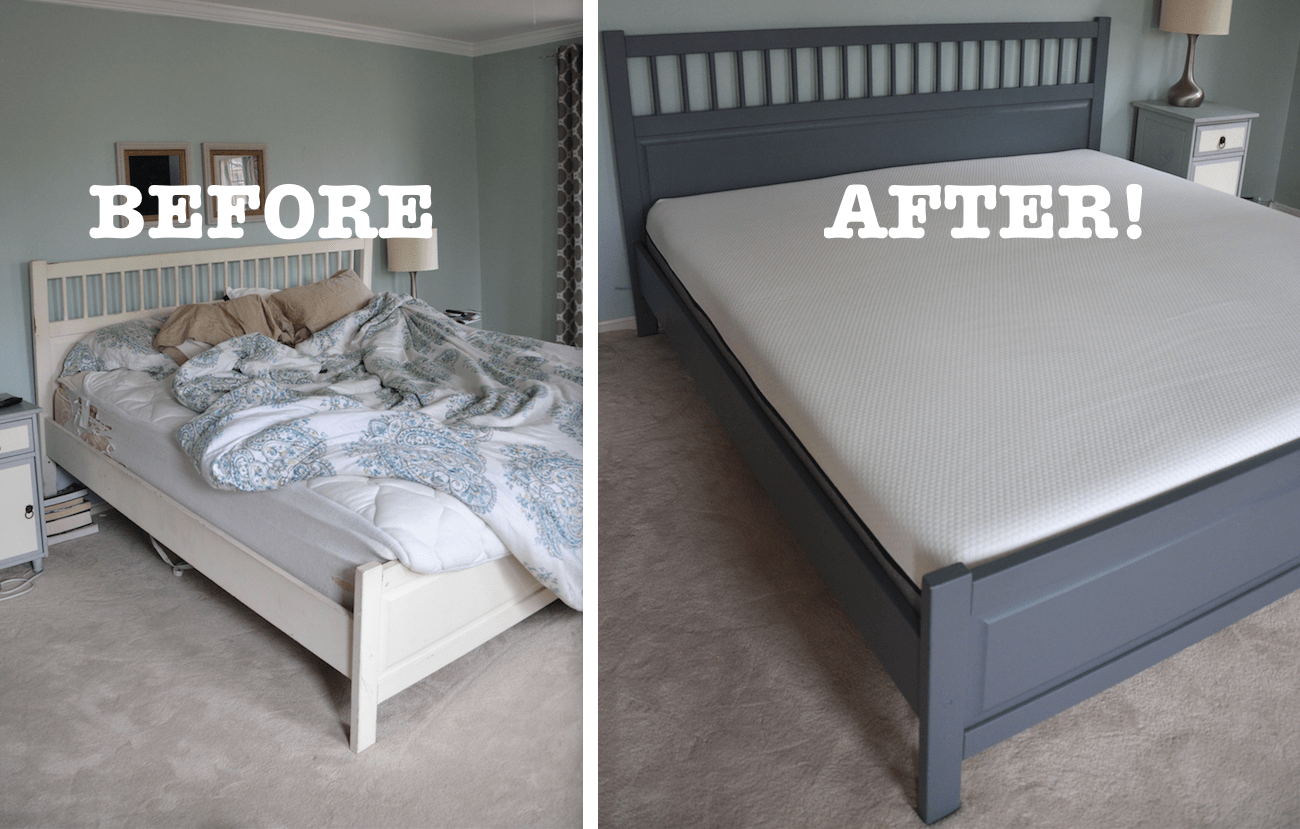
But overall, with all the changes I’ve been making, my new master bedroom makeover looks beautiful!
(P.S. If you love the bedroom makeover paint color, click here to see my post on Sherwin Williams Rainwashed, which is my absolute most favorite color ever, hands-down!)
See the Other Parts of This Bedroom Makeover
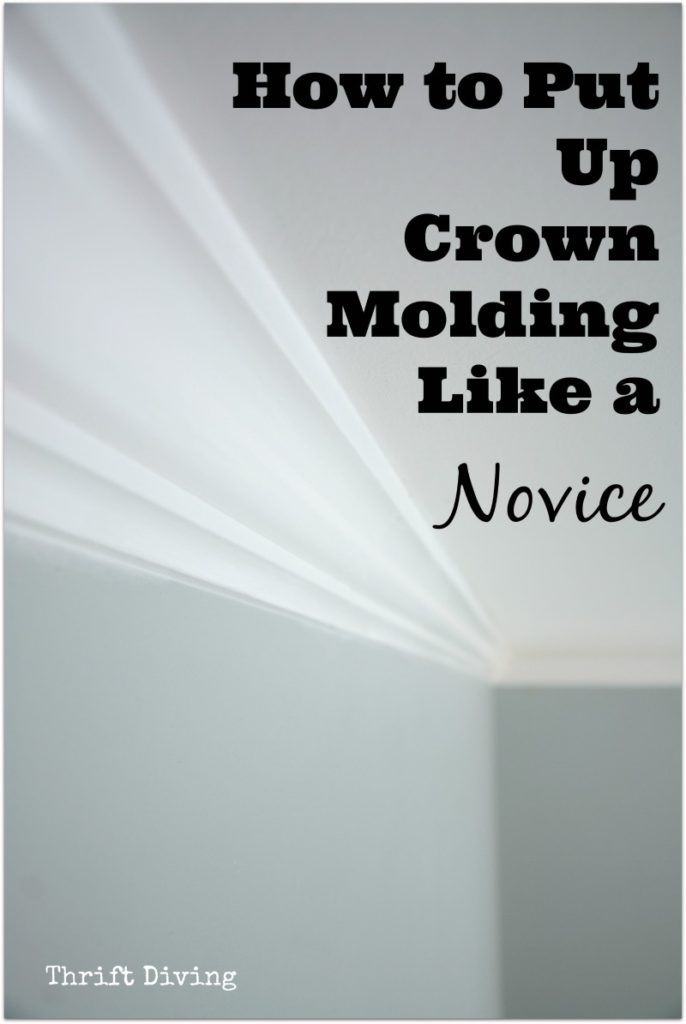
One of the prettiest parts of this bedroom makeover was learning how to put up crown molding. You can check it out below:
How to Put Up Crown Molding Like a Novice
This post includes a 52-page guide to help you do it on your own!
How to Paint a Dresser in 10 Easy Steps
So what do you think of my master bedroom makeover? Leave a comment below and add to the discussion!

Download the 5 freebies!

Thrift Diving inspires women to decorate, improve, and maintain their home themselves...using paint, power tools, and thrift stores! Use these 5 printables, checklists, and ebooks to get started!

another beautiful job and a couple of cute kids, too.
did you try rubbing the sticky drawer with a candle? i did that when i started using some of my husband’s “heirlooms”. of course i’m pretty old. but i liked the design of the curtains. they might be useful as a pattern or as yardage if they have a good lining in them. have you ever made fabric roller shades? depending on their condition the shades might make a good base there. Love your ideas, blog and energy!
I love the new look in your bedroom! It’s so bright and airy! And yes…. the carpet is definitely an improvement over a cold floor! #client
Thanks, Sharon!! That’s what I love most about my new bedroom: the bright and airiness of it! I just realized that the new carpet helps the sound of the creeeeeeks down, too! WOO HOO! Love Carpet One!
Beautiful color choices! So peaceful!
ps – here in Ohio we hate cold winter floors too!
Yes, you said the right work, Noel: PEACEFUL! That’s how it feels! I’ve been sleeping so much better in there since redoing the room. Not that I slept BAD, per se, but it feels more cozy with the pillows and the texture of the bedding and the new carpet under foot….ahhhhhh….. Why did I wait so long to show my room some love?!
Serena, you out did yourself!!!! It looks awesome!!!! And your two munchkins are adorable!!!!
Those are my little guys, Ohene and Kojo! They love it, too! Thanks so much, Susan. The room FEELS awesome, too! I still have to finish the crown molding (caulk) and I have some finishing touches on the dresser, but for the post part, the room is done. Didn’t want it cluttered or anything, so I’ll stop while I’m ahead. LOL
Can you Pleeeeeease come to my house and make it look beautiful???? I’m getting better at seeing things in a new light since following you, but you are the queen!
Awww…Ruthie, you’re too kind. 🙂 Thank you! I wish I could come help you!! Where do you live? You never know….. 😉
The ‘sparks’ were probably nails you were shooting hitting nails in the framing. No biggee. Not much electrical up there.
Ahhhh……I was worried, Anna! I didn’t know what wires could be up there. I was freaking out a little. LOL
I love your bedroom, we are in the middle of redoing our bedroom hope it turns out as nice as yours. I have a four poster bedroom set in solid cherry wood can’t decide if it should be painted or not. I want the room to feel light and airy and am afraid that leaving the bed dark won’t give me that effect.
Yep! I say PAINT it! That is, if you’re not going to regret it :). I wasn’t planning on painting my bed, either, but if I hadn’t, the room wouldn’t have felt so airy. Your bed sounds like it makes the room look heavy (not that I can SEE that, but it sounds heavy). I would paint it and go with nice light and airy colors! 🙂
It’s gorgeous!! I love the color on the walls. Use a stud finder (cheap ones at the Big Box stores), so you’re not hitting electrical wires! EEEEEK!! Thank goodness you didn’t hurt yourself. It looks fabulous hon! Reminds me of a gorgeous old home I saw when we used to live in Maryland. The master looked the same. Another good one under your belt Miss DIY!
Hey, Keisha! Wait, where did you used to live in MD? Cool! I’m in Silver Spring, in case I hadn’t mentioned it. As for the stud finder, I have two!! One is my Ryobi Phoneworks stud finder, which allowed me to mark off all the studs. The other one had a special feature where it will alert you of wires/metal, but I still wasn’t sure if it was giving me accurate info on whether it was a wire or just metal. But another reader said it was probably nails I was hitting in the studs. I hope so!!!!
Great job. Very elegant.
Thanks, Margie!!
He didn’t complain? What a keeper! Seriously. =]
You made your bedroom into a real room. I love the calm colors too. (High five on the crown trim!).
No!! He didn’t complain! I felt bad asking him to help out the other day, especially, because he had bad allergies and he goes to bed early so I kept having to wake him up. LOL.
NO WAY, he didn’t complain! I was so happy about that!! It’s like FINALLY he’s understanding that this is just what I do. I think he’s learned to accept my crazy DIY obsession! 🙂 And I love what you said: “you made your bedroom a real room.” You said it perfectly! When we moved in here, I did JUST ENOUGH to make rooms livable (i.e. NO wallpaper), but I never DECORATED them and made them feel like real rooms in a real home. Sadly, the rest of my house is this way, too. It’s only because of my blog and awesome readers that I have started to really transform my house. It wouldn’t have been possible without you guys cheering me on. Seriously!!!! So, thank you!!
You make me smile. 🙂
And do not forget that you inspire other people to go ahead and turn their rooms into “real rooms”, too.