DIY Photo Collage on Wood Using Photo Transfer Medium
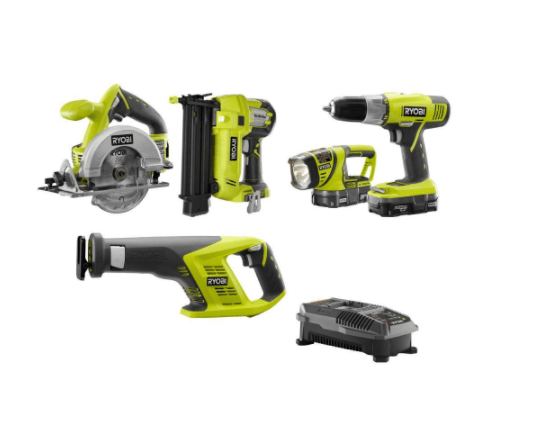
Today’s DIY photo collage on wood using photo transfer is brought to you by RYOBI Power Tools. All opinions, project ideas, and thoughts belong to Thrift Diving.
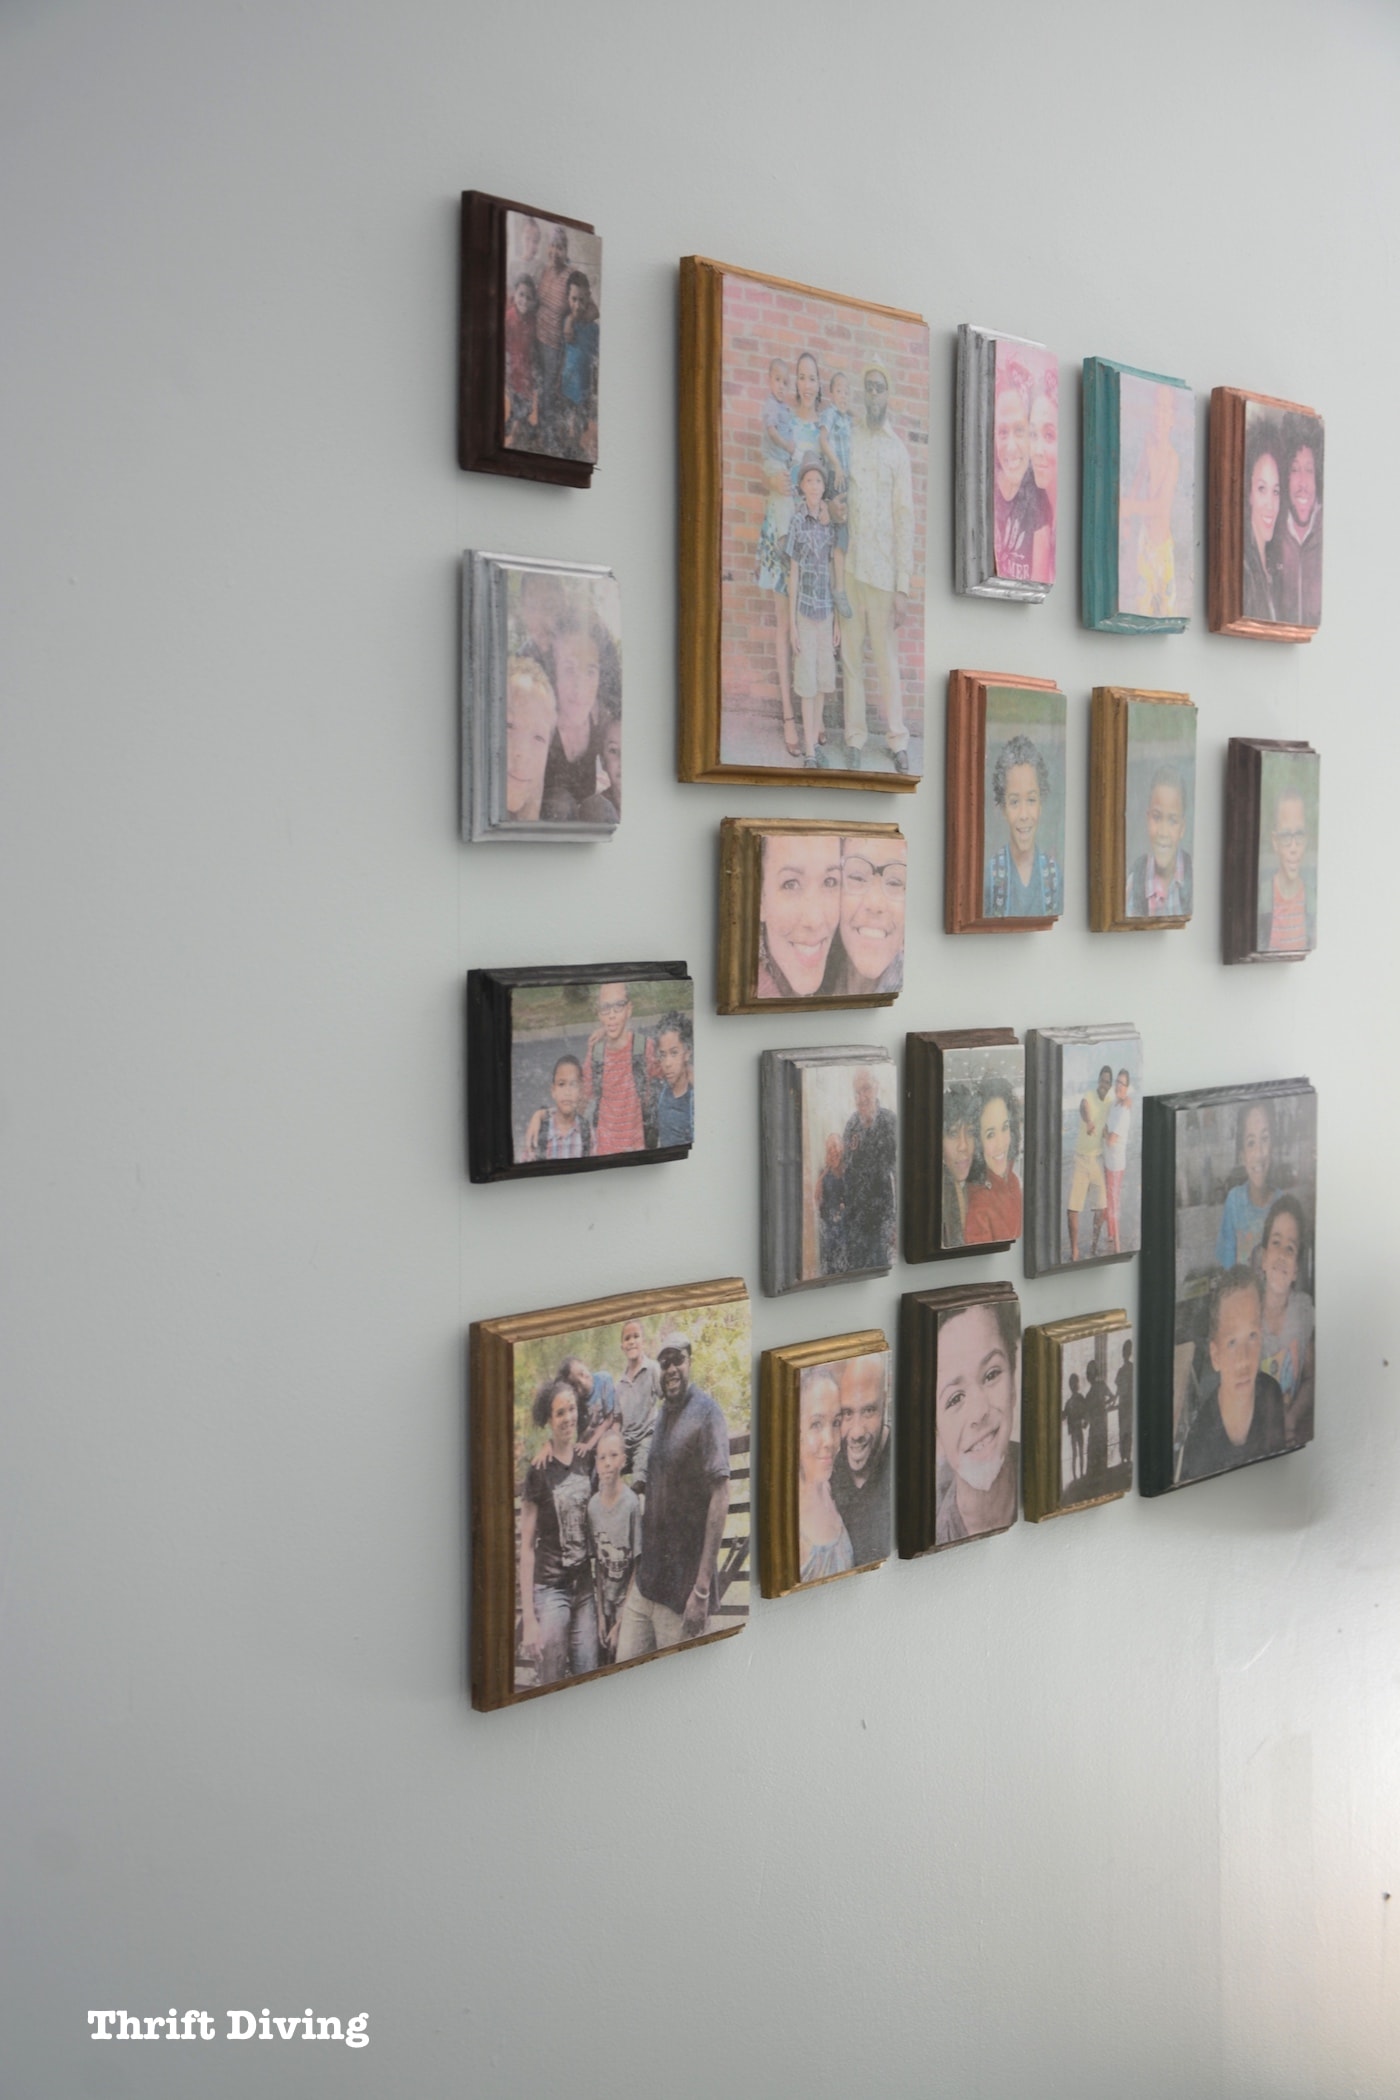
I love this DIY photo collage on wood that I created on my wall recently!
But let me explain to you how ironic this is: I’ve got at least 100,000 pictures and videos of pictures stored digitally, and only a handful of the pictures are printed. My walls are generally pretty bare, actually.
Isn’t that insane??
I’m the woman who snapped so many pictures at a family gathering once that distant relatives at the event had thought I was from the local newspaper (not kidding; this actually happened).
But getting them off of the camera and out of the external hard drives is something at which I have sucked.
This month, though, I’m beaming over my latest RYOBI Nation project: a DIY photo collage on wood using photo transfer medium!
(Click here to get the full-tutorial for this project).
I am a RYOBI Nation Partner and at various times throughout the year, I get to collaborate with them on projects that force me to think outside of the box while using power tools.
So this month, the challenge was to think of creative ways to display my pictures.
As much as I love thrift stores, thrift store picture frames weren’t creative enough.
I’ve got a lot of scrap wood lying around, so I decided to try my hand at photo transfer onto pieces of that scrap wood.
The result is a fun little photo collage on wood!
Click here to get the full tutorial on how to create a photo collage on wood!

Since I have never done a photo collage on wood before, especially using photo transfer medium, I struggled a little bit. LOL
But overall, I’m pleased that I was able to create a wall that included all the people I loved: my husband, kids, mom, sister, niece, nephew, grandfather, brother-in-law, mother-in-law, and even my best friend, Hakimah. 🙂
I am sure I left a few people out, but that’s what great about having a big wall and using scrap wood–I can expand it very easily!
How to Create a Photo Collage on Wood
The tutorial for how to create a photo collage on wood is over on RYOBI Nation for their “Picture This” theme this month.
Click here to access step-by-step instructions: How to Create a Photo Collage on Wood Tutorial.
![]()
How to Win $300 in RYOBI Power Tools
What prize do YOU most want to win this month?? If you enter below, you can win $300 in RYOBI power tools–you get to decide what you want to win! How awesome is that??
 TO ENTER:
- Visit RYOBI Nation to view the step-by-step instructions for this project (sign up for a free RYOBI Nation account if you don’t already have one), and,
- Leave a comment below and tell me how you have creatively displayed pictures in your home.
- BONUS: Pin this project on your Pinterest boards!
![]()
Download the 5 freebies!

Thrift Diving inspires women to decorate, improve, and maintain their home themselves...using paint, power tools, and thrift stores! Use these 5 printables, checklists, and ebooks to get started!
Since my grandchildren were born each year before Christmas I make a book of the things that happened during the year using Snapfish or Shutterfly as Christmas gifts.
I have a photo wall going up the stairs but it is very dated. I would like to try something like this to update.
We currently have a rotisserie style photo frame that allows us to rotate photos over time. While this works well, it is small in size and lacks the showcase effect that your project has. Thanks for sharing this project.
Well I printed my pictures and bought a cork board I hung the cork board on the wall and put them on the board (with pins)randomly (I know that it might seem like it would look ugly but It turned out super well) and I am obsessed with it.
I usually print them out and mod podge them to canvas…. I would love to use wood but I don’t have tools to use…. Love your creativity…
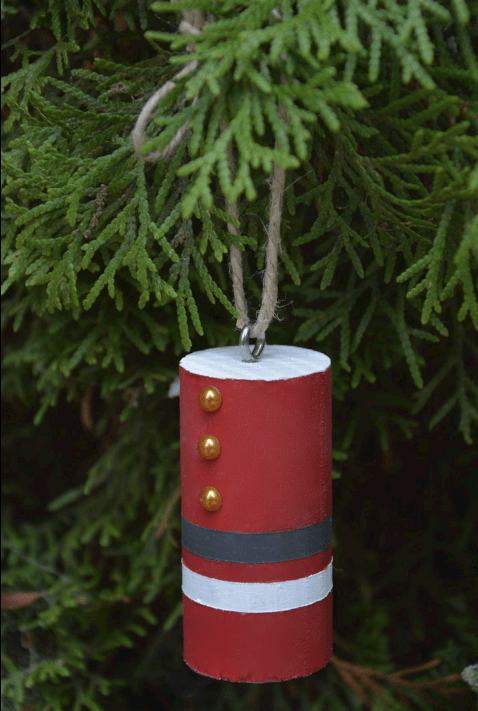
I take the photos from my camera and use picture transfer medium to make ceramic Christmas ornaments. I haven’t tried doing them on wood. This could be a good project for those flat wooden ornaments from the craft store. Thanks for the idea.
I love the idea of the wood collage. I like making Christmas ornaments using photos from my camera, and would like to try this on the flat wood ornaments from the craft store. Thanks for the idea, Serena
I’ve pasted on a printed picture onto wood plaque and covered wih a glossy resin. I also did a project with my girls where we modge podged pictures from our printer onto a painted canvas and modge podged over it again. Same came out really good, some ok.
This looks great! I’m usually try to print off a batch of photos of my girls every couple months. I’ll gift the photos to my parents and hang them all over my house. I have a wall in my master bedroom (linked) where I have a bunch of 4″x4″ of my favorite pictures of the five of us (like my very own instagram wall in real life) and update some of those each time I print off photos.
I currently don’t do anything quite creative like this tutorial. I only place my photos in those photo books from Shutterfly. Not creative, but it gets the pictures off my phone and gives me more space to take more photos!
I am admittedly terrible about this. Most of them are on my phone and computer. A few are printed and in frames. Nothing creative. Love this idea.