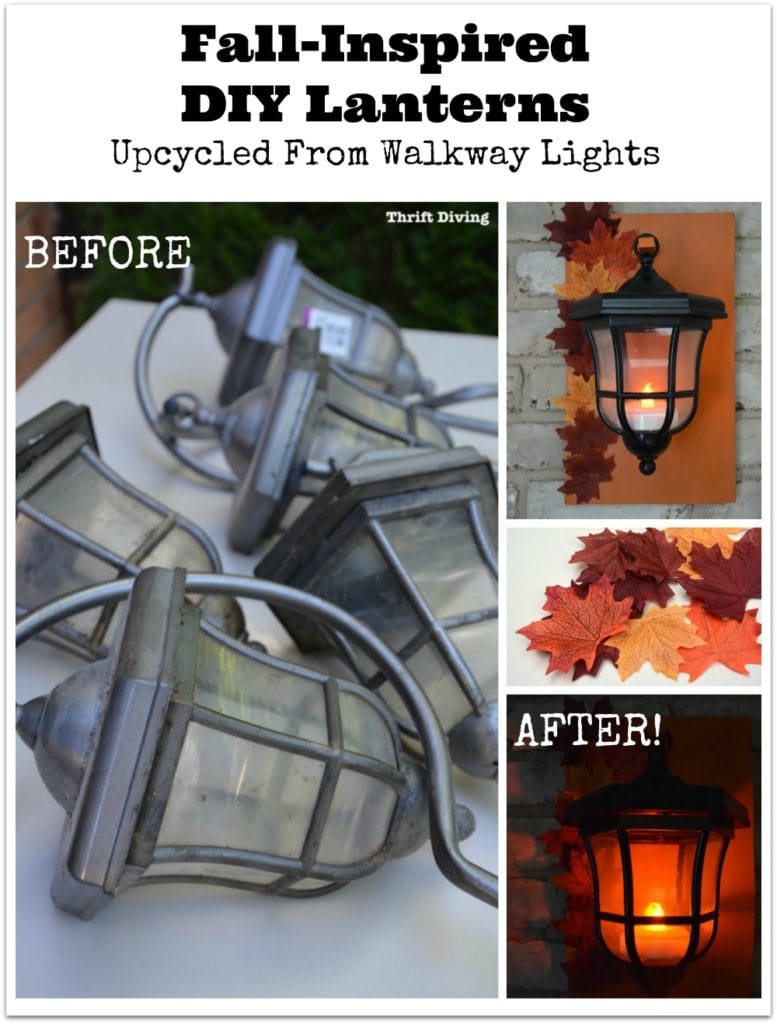
DIY Lanterns Upcycled From Thrifted Path Lights
I’ve done really good with curbing my “buy-and-hoard” tendencies at the thrift store. But when you find thrifted path lights like these, and then upcycle them into fall-inspired DIY lanterns, I have a renewed appreciation of my “buy-and-hoard” ways.
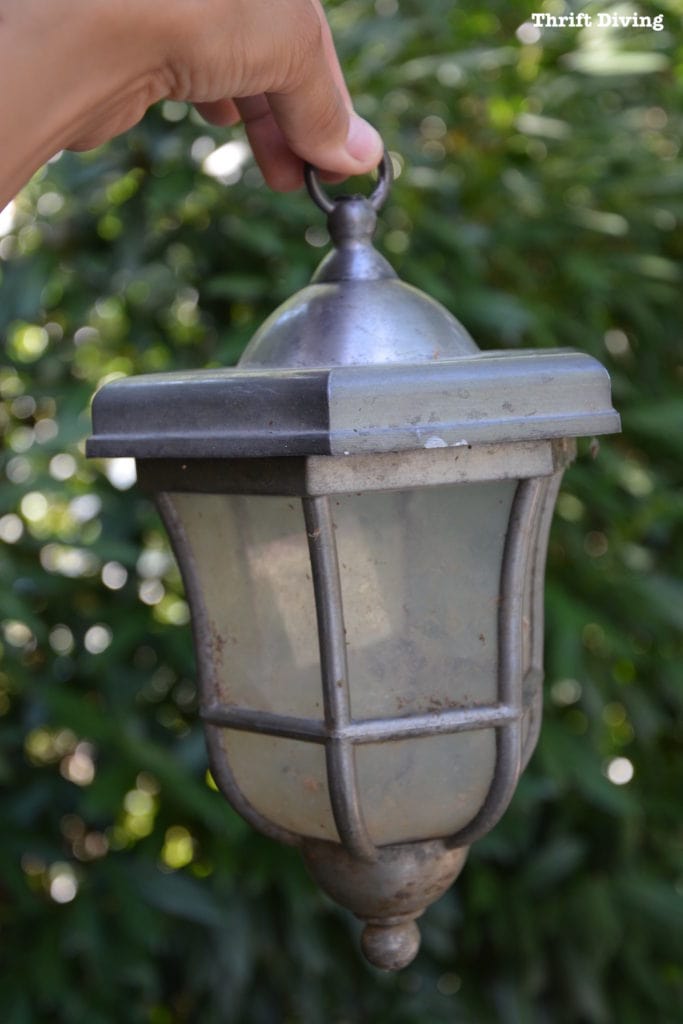
I bought these old path walkway lights many months ago from the thrift store.
I gasped when I found them because I knew how amazing they could be once you get past the dirt and discoloration.
BEFORE

They were hardwired. I didn’t think I’d ever use the wires. I considered replacing the light bulbs with solar- powered lights, but I decided I would rather upcycle them into something else.

AFTER!
Now, they’ve become fall-inspired DIY lanterns for my family room fireplace!


See More of My Lighting Projects
How I Made DIY Lanterns From Thrifted Path Lights
It’s funny how I almost walked right past these pretty little things.
And you can see why I would.
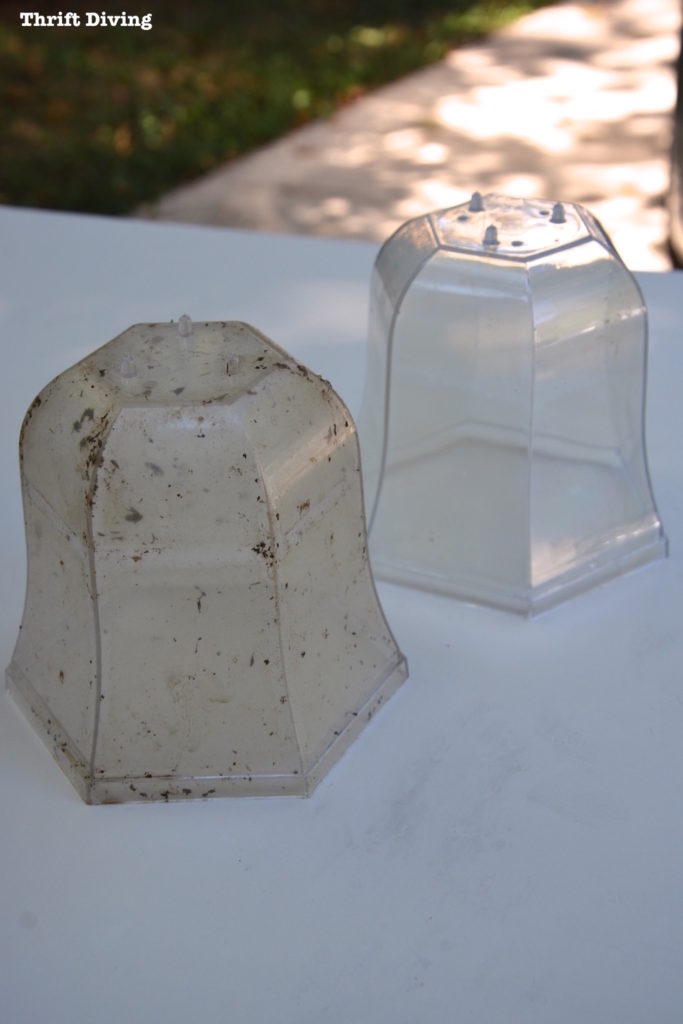
They were very dirty, filled with cobwebs, bugs–you name it. They were disgusting!
But you know how we thrift divers do.
Dirt doesn’t phase us. It just means someone else saw the dirt and walked right past them. 🙂
The first thing I had to do was get rid of the cord and light bulb. I like the fact that I could hardwire these at a later time if I want to.
For now, however, I just cut the cord and pulled out the bulbs.

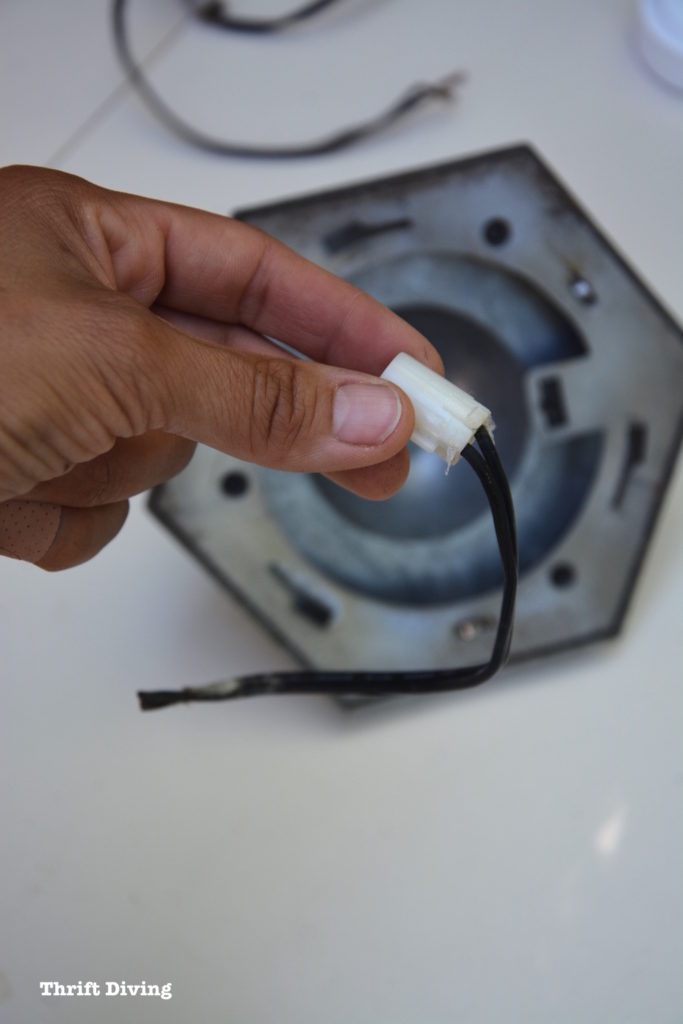
This step was the ickiest.
I’m pretty nasty in that I don’t always wear gloves when cleaning and stuff.
But this.
This was much too filthy. I had to unleash my inner “girl” and not let the cobwebs and bug debris touch me while I cleaned them. 😉
A little bit of soap and water made a huuuuge difference!
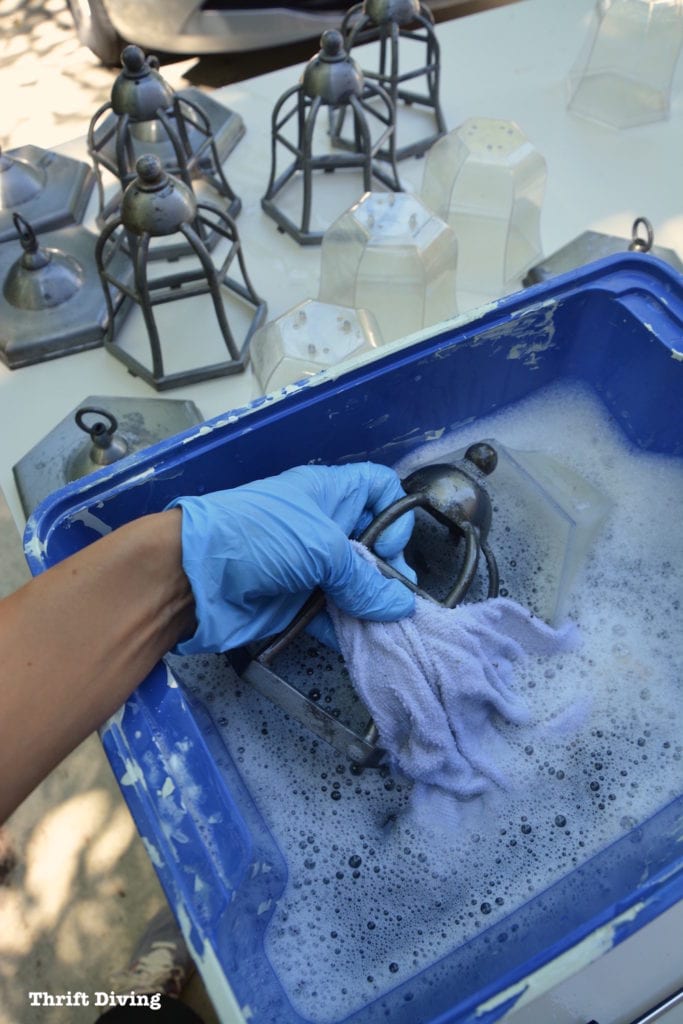
Crazy, right, what soap and water can do!
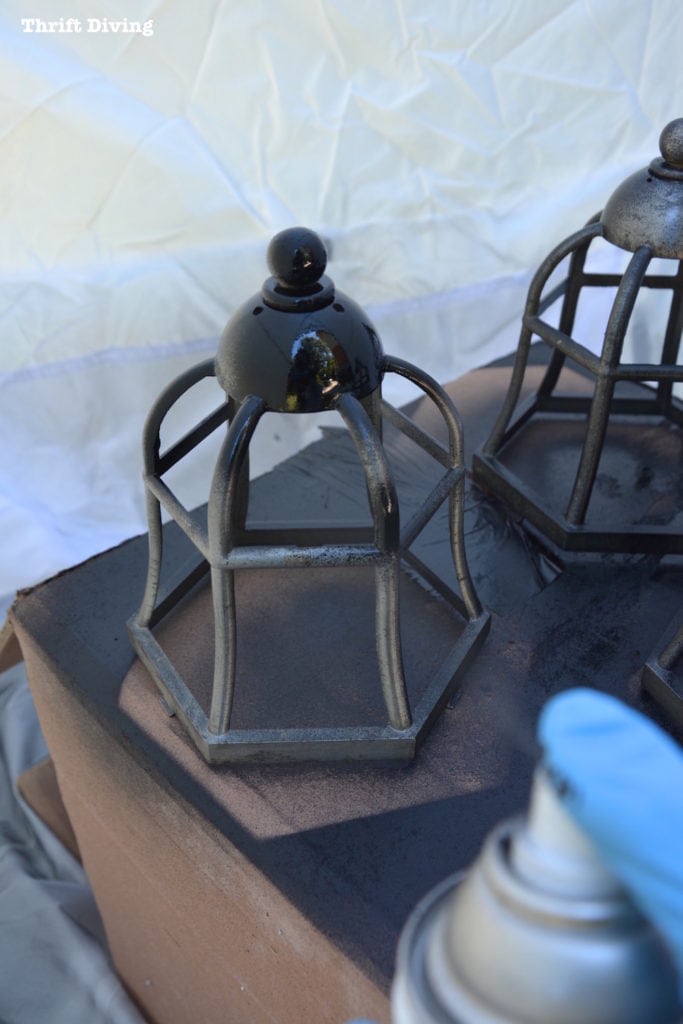
Now that the walkway lights were cleaned up, they were ready for spray paint.
I really didn’t want to go and buy spray paint. I like to just use what I have, if possible. DIY materials add up!!
So….black it was!
Plus, don’t you just love the look of black lanterns and lights? Maybe I’m just traditional at heart. 🙂
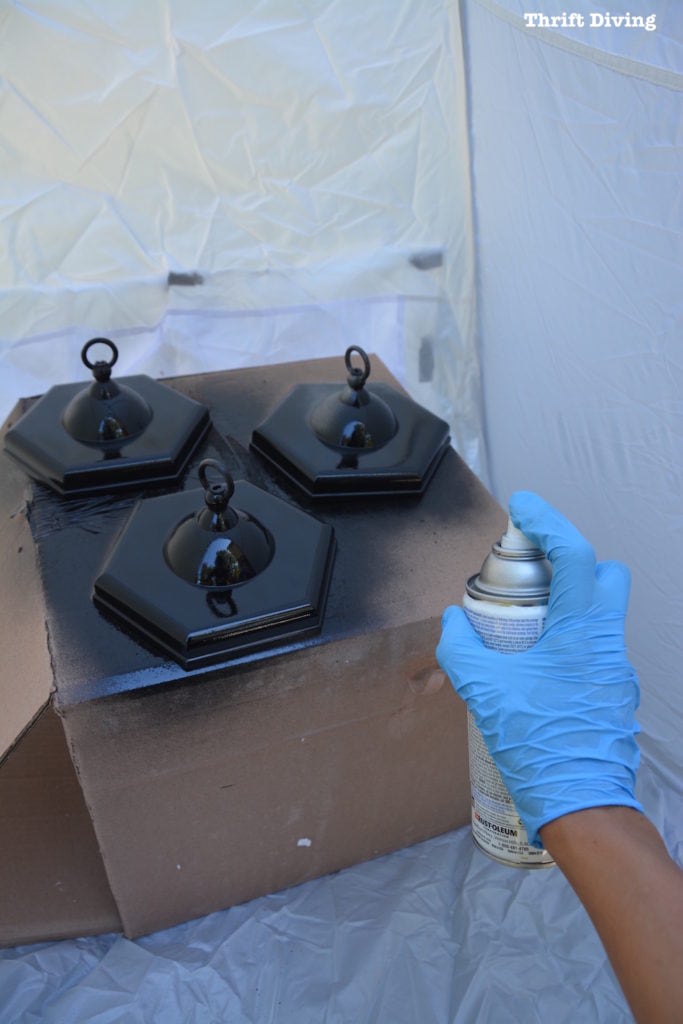
I loved how “new” they looked afterward!
The hard part was waiting long enough for them to dry.
I kept picking them up, trying to decide how I was going to display them, which left fingerprints all over the paint. Grrrr….

Building the DIY Lantern Holder
So in my mind, I envisioned the path lights as new hanging lights.
I considered getting some rope and stringing all five of them through, but I wanted something more fall-inspired.
The first thing I need to do was cut a piece of wood. Don’t ask me the size. I have no idea.
I just eyeballed it and cut with my jigsaw! LOL. I just knew it needed to be large enough to nicely frame the lantern.
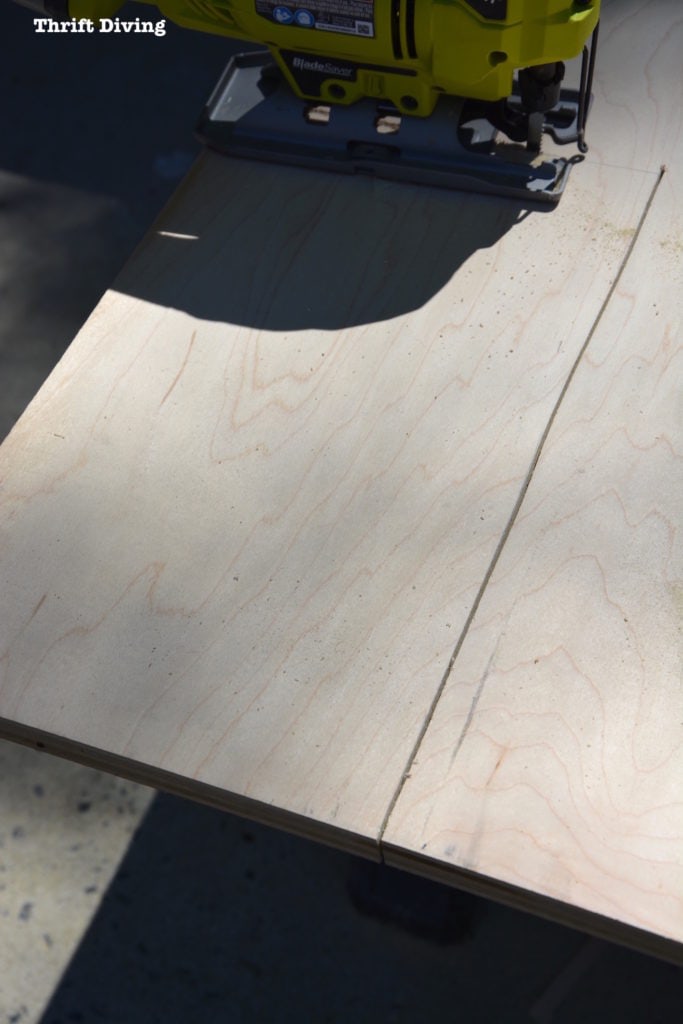
Once I had the boards cut, I needed to figure out how to hang the lanterns from the wood.
The easiest way was to cut a small “stem” and insert it into a hole.
This was the challenge part!
Ugh!
Using power tools to cut small pieces is tough because you’ve got to have a good clamping surface so it’s secure. You don’t want your fingers holding these small parts!

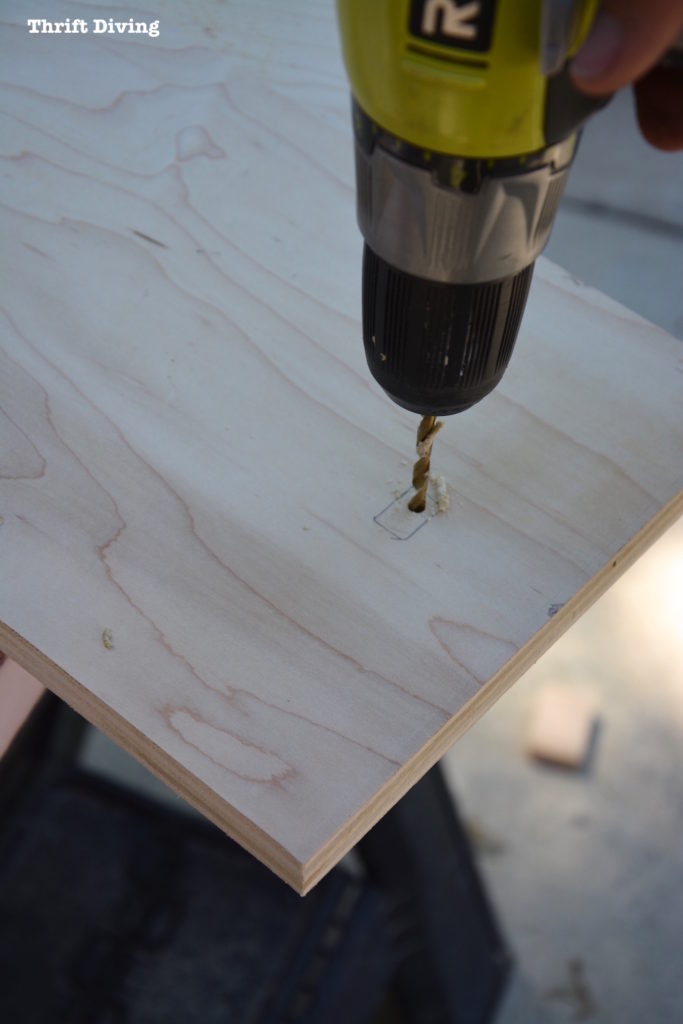
After I outlined the stem, I used my power drill to drill a small pilot hole.
Whenever you’re using a jigsaw and cutting out shapes in the middle of wood, you always have to drill a pilot hole so that you can insert your jigsaw blade in order to start cutting.
Sorry, folks, I didn’t get a picture of me doing the jigsaw cutting!
It was tough cutting such a small rectangle! Sometimes you get so consumed with a project, you forget to take pictures. LOL
But here’s how it looked once I inserted the stem into the wooden lantern holder.
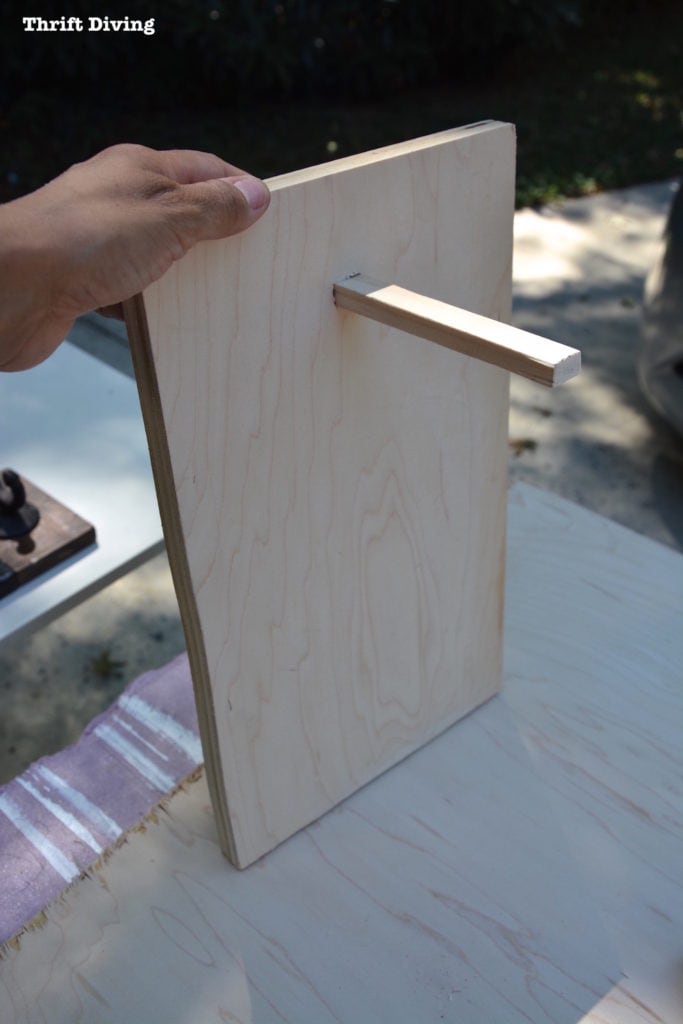
It was a pretty snug fit, which is good, so it won’t fall out.
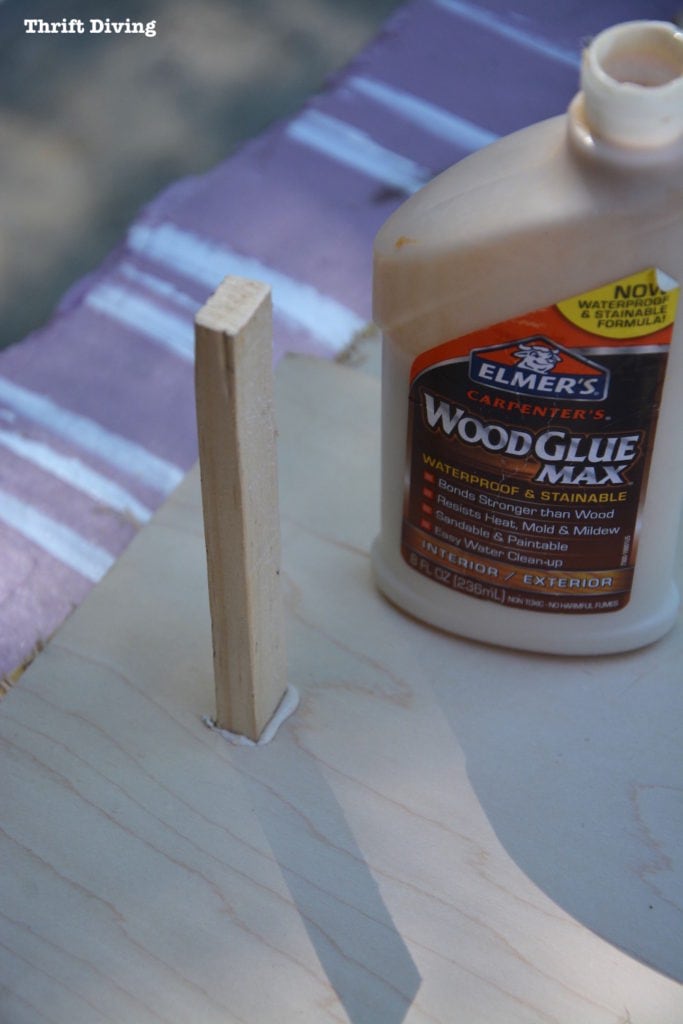
But I added some wood glue, too, just in case!

How Should I Decorate It?!?
It never fails.
I always run into some kind of challenges with my projects!
The challenge here was figuring out how to decorate it.
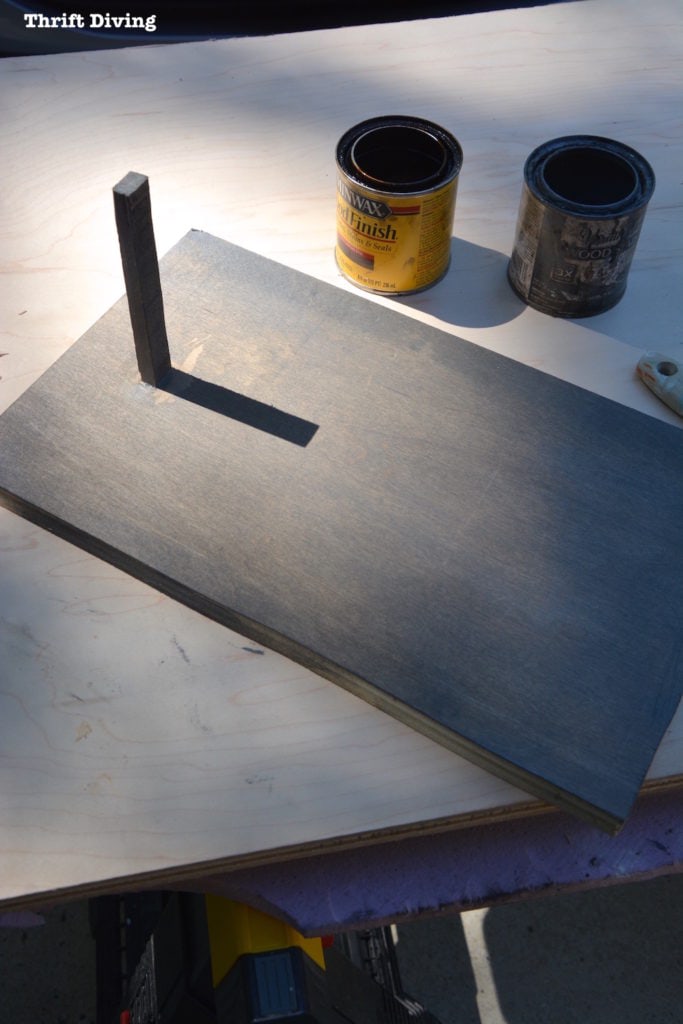
In my mind, I imagined something rustic with stained wood.
Buuuuut, after layering on some stain, I was like, “Huh-huh. This ain’t gonna work.”
First of all, the smeared wood glue around the stem part left a big ugly blotch.
Plus, the stain was just….BLECH.
Sometimes you just know in your “DIY gut” that something doesn’t is all wrong.
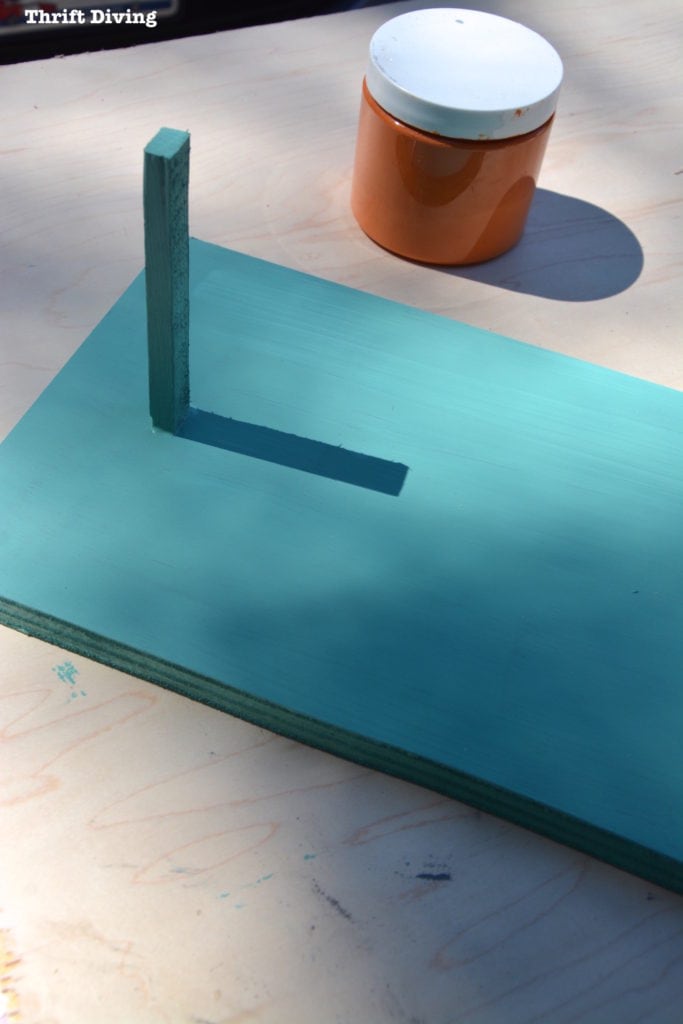
Then…. I decided to paint it turquoise.
If you’ve been reading this blog for any amount of time, you’ll know that I’m obsessed with turquoise!
I mean, everything could be painted turquoise and I’d say it’s not enough!
But it just wasn’t the right look for these DIY hanging lights.
Again, my internal “DIY gut” shouted, “Nope! Not this color, Serena!”

Let’s do orange.
I’m totally not an orange kind of chick.
But the orange was speaking to me.
And I realized it would be a great fall-inspired look for the upcoming seasons. I don’t usually do a lot of seasonal projects or crafts, but I really wanted to do something different.
So off to Attempt #3 to decorate these DIY lanterns! LOL
(….See?? This is proof that DIY is totally trial-and-error!)
How to Make Paint Look Aged and Textured With Steel Wool
For those of you that love chalked paint, you’ll know that you can create an aged look with dark wax, right?
Well, here’s a technique that I figured out some time ago to create a similar aged and textured look with steel wool!
But when you add two coats of paint and then take steel wool over it, you’ll notice that it starts to darken the paint color. I wanted something seasonal and rustic-looking.
See how it changes the paint?
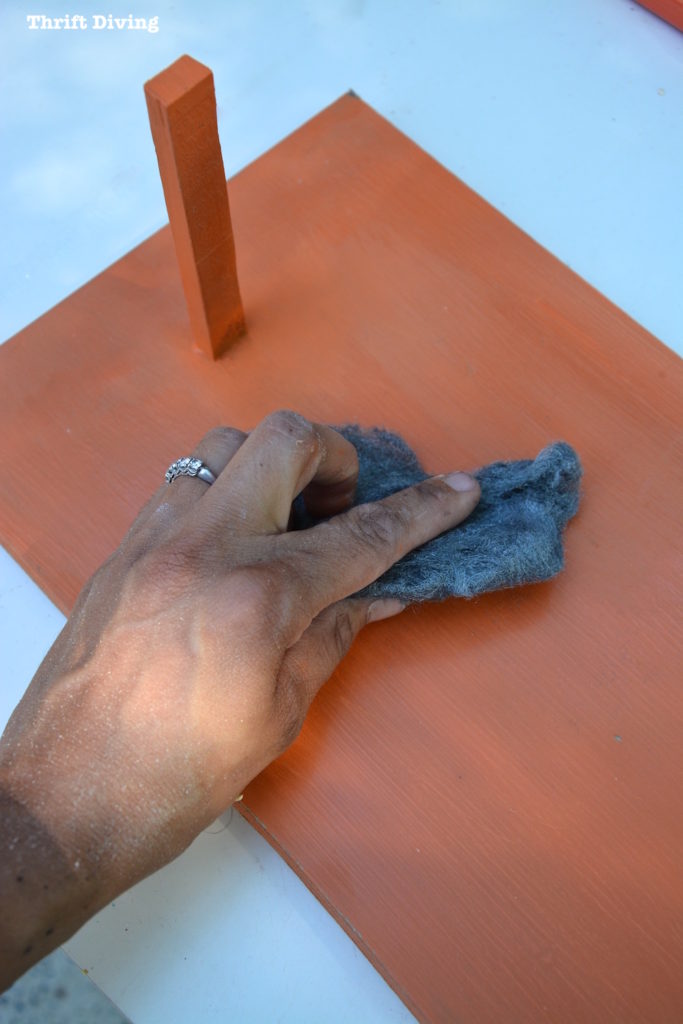
You’ll start seeing the brush strokes from the brush more clearly.
And here’s where it gets really exciting.
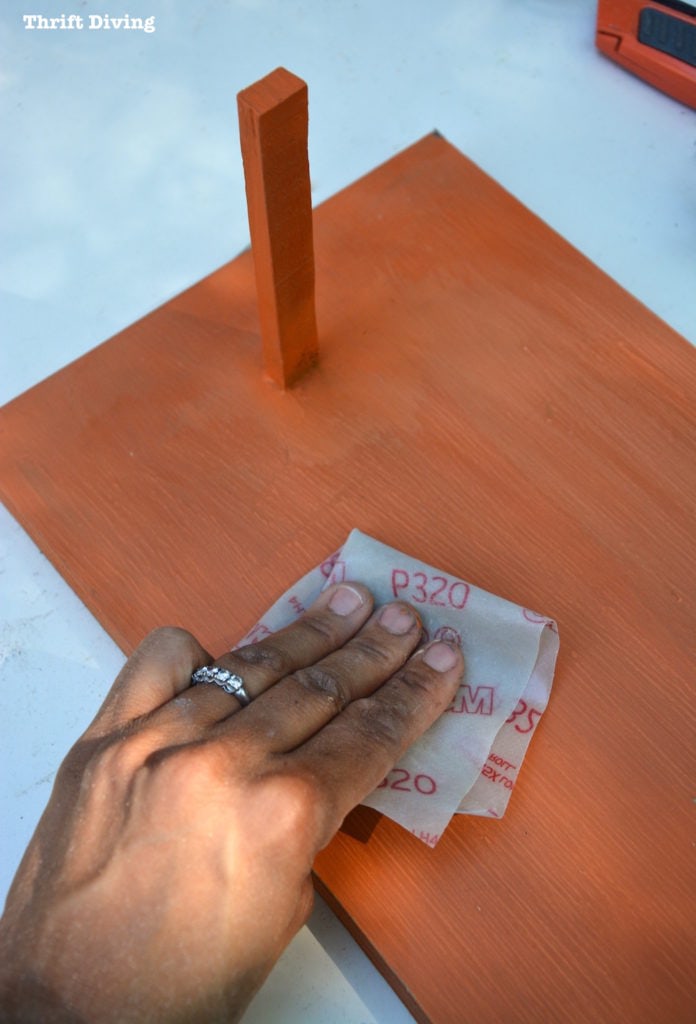
After using the steel wool, follow with a very fine sandpaper, sanding lightly in the direction of the grain and paint strokes.
It will start to lighten the brush strokes while leaving the dark gray in the cracks!
See the texture starting to come through?
Once you add a layer of wax, you’ll really start to see how your piece of wood (or furniture) looks aged and has some texture from the steel wool!

These looked perfect now!

Here is a close-up of the subtle texture!
LOVE!

Repurposed Faux Leaves!
But the DIY lanterns were still missing something….
I loved where I was going with this look: fall-inspired.
What says fall more than faux leaves??
This month I’m participating in The Home Depot Halloween Style Challenge and they sent me a goodie box of things. Well, in that box were these decorative faux leaves.

Well, I snatched those babies up real quick, put them in a baggie to save them for when inspiration hits.
Sure enough!
I decided to hot glue them onto the side of the DIY lanterns!

Next Problem: How to Hang Things on Brick Without Drilling?
When I was doing my patio makeover during the summer and wanted to hang art on my patio brick walls, one of my Facebook readers had a solution.
She suggested I buy these ah-mazing brick fasteners that require no drilling or fancy hardware (and no damage to the brick!) for hanging things from your brick (up to 25 pounds).
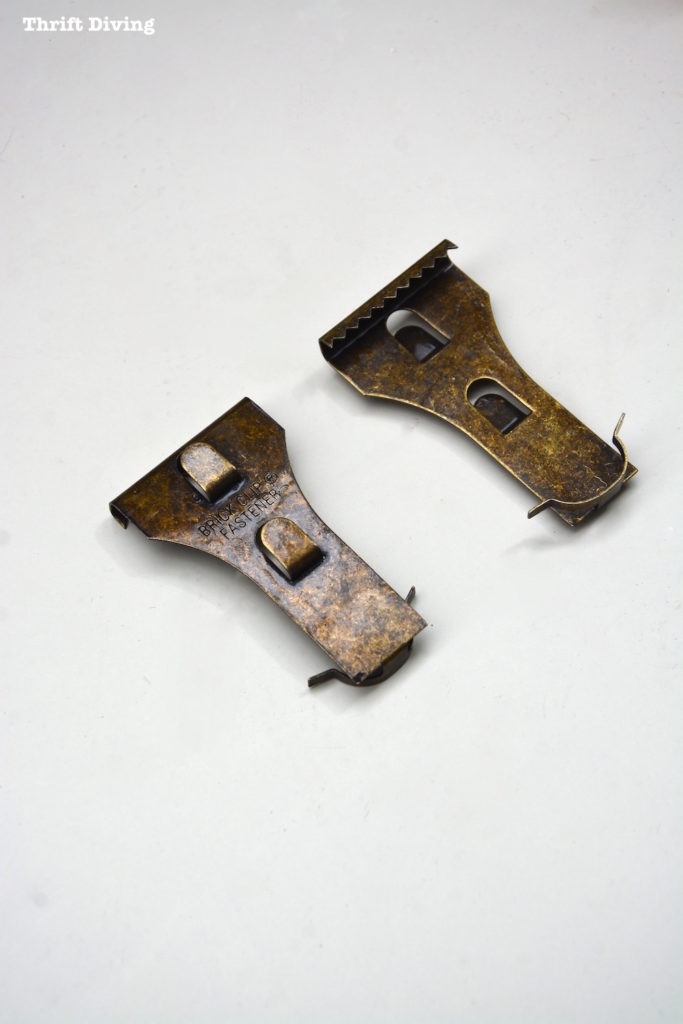
They literally just clip on to your brick and –VOILA!–you can hang pictures, lanterns–anything!–without any special tools.
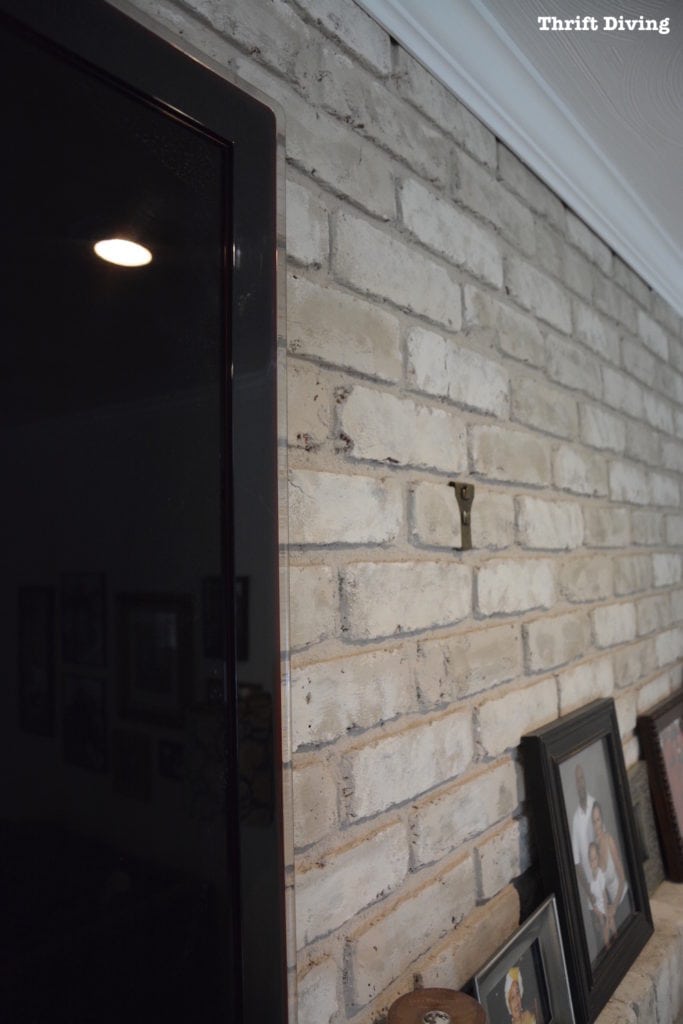
You just have to make sure your brick has enough of an exposed edge in order to clip it on like this:
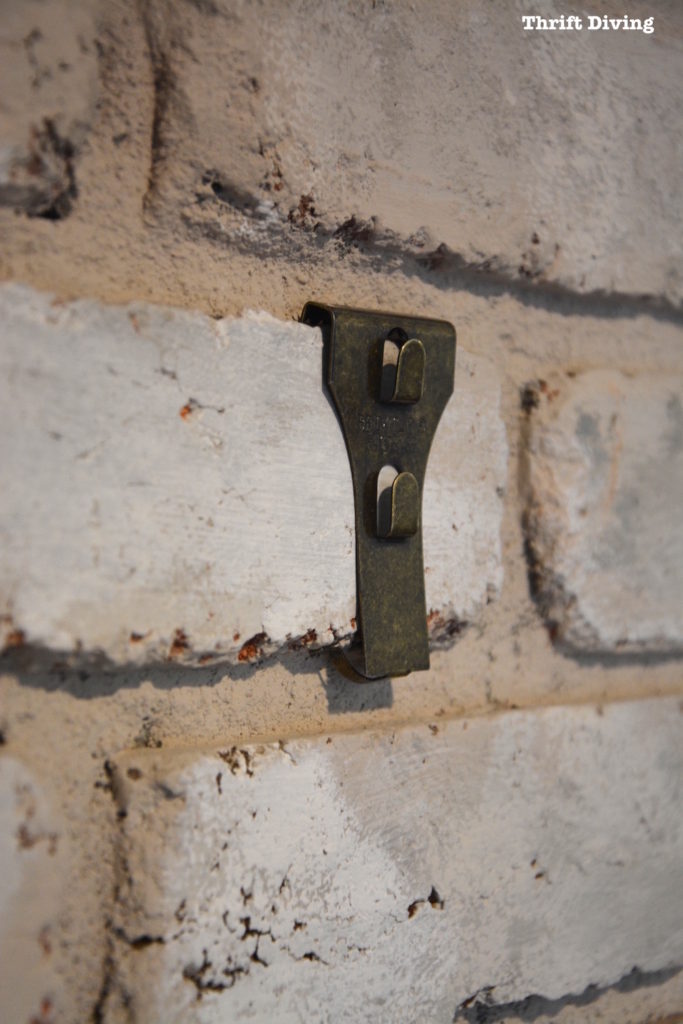
The hard part is that you have to really push to get it on there, but once it’s on, it’s very secure!
I made sure that the brick fasteners were equal in distance from the left and right side of the TV where they were going to hang.
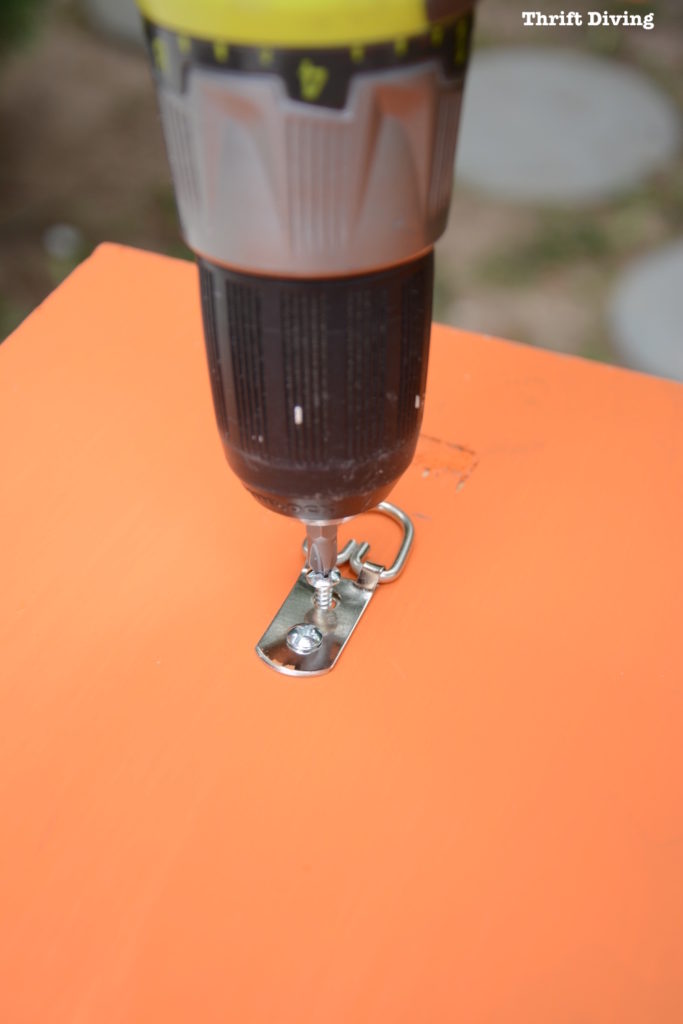
I added a couple of large D-Ring hangers on the backs.

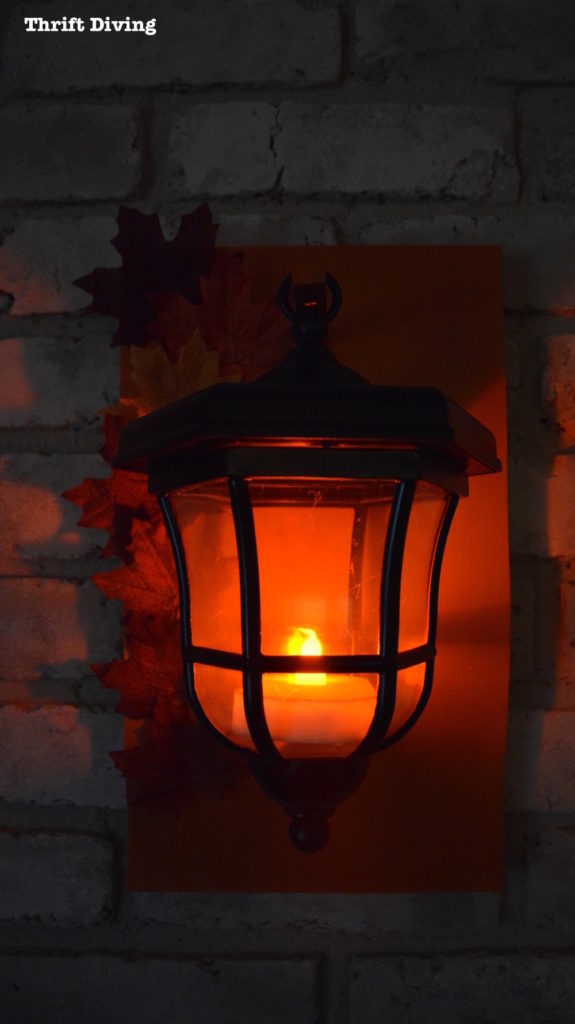
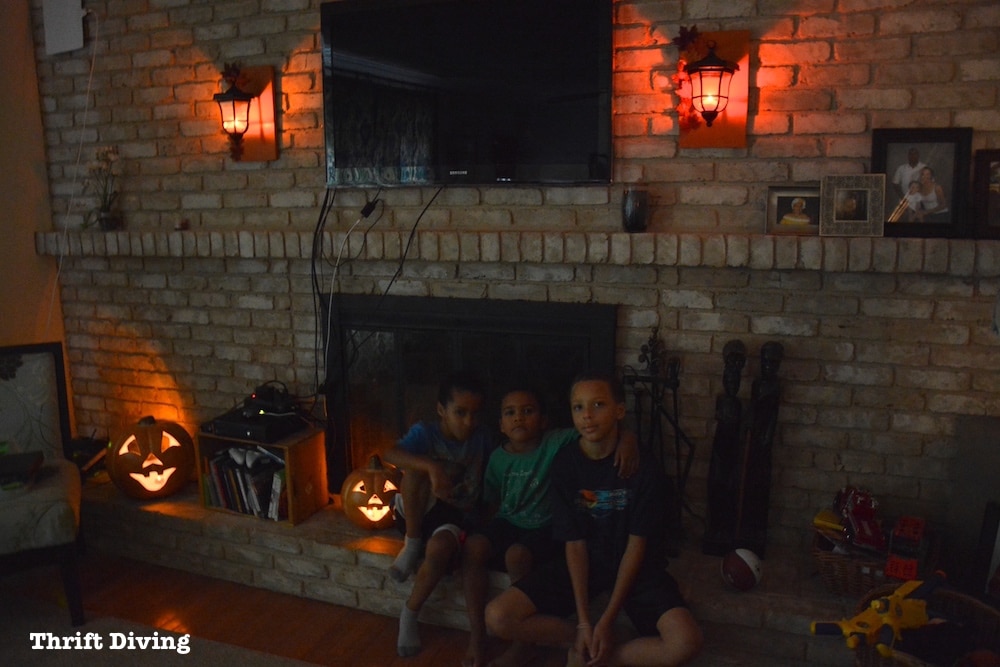
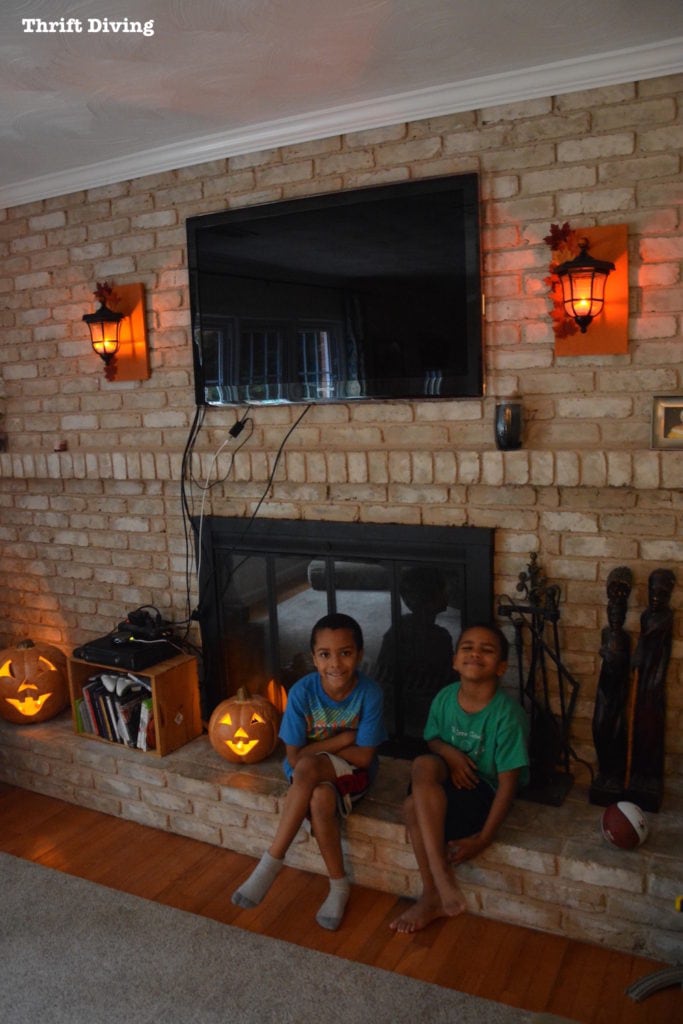
And…..Ta-Da!! Fall-Inspired DIY Lanterns!

I picked up a couple Halloween lights from The Home Depot, which are perfect! They change colors, like red, blue, green, which the kids will enjoy.
I’m not even going to pretend that my TV wires aren’t there, so I just left them in the pic. HA! Ain’t nobody got time to be hiding TV wires for a picture. This is real life, folks! LOL
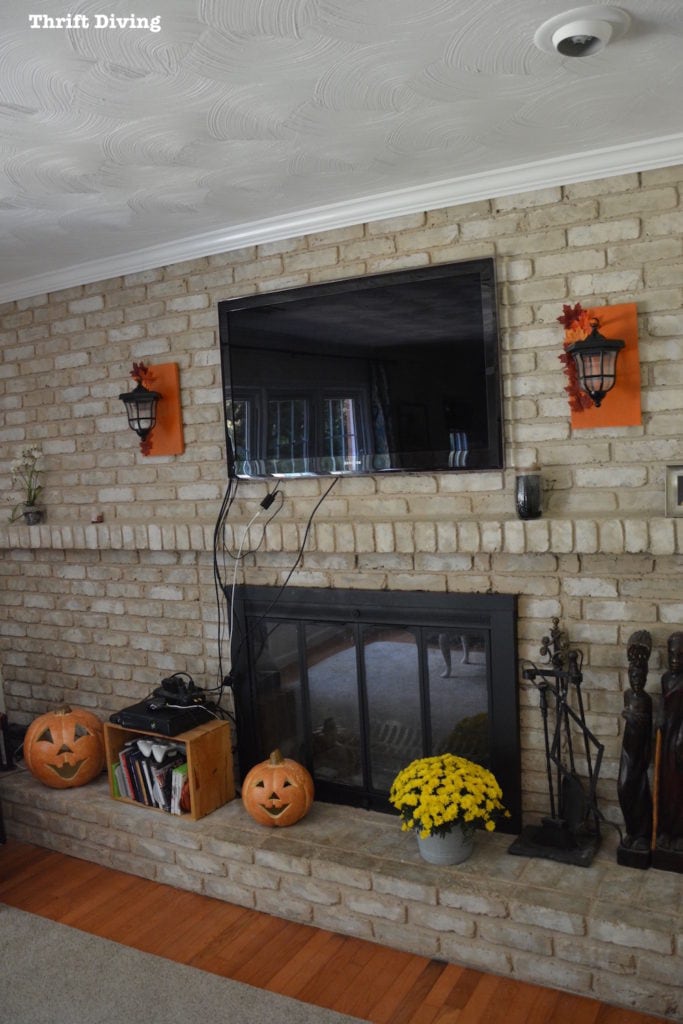
The kids absolutely loved the upcycled path light DIY lanterns! They said it made the family room look cozy. 😉
And who doesn’t want their kids to feel like their home is cozy, right??
My middle son the lights and the brick remind him of Harry Potter. HA!
I guess it does have a somewhat “ancient” and magical feel, huh? Like a dungeon!
I’m so happy with this project! Makes me want to do more seasonal projects!

If you’ve enjoyed this project, considering PINNING it for later! 🙂
![]()
Do you love doing seasonal projects?

Link Party:
Download the 5 freebies!

Thrift Diving inspires women to decorate, improve, and maintain their home themselves...using paint, power tools, and thrift stores! Use these 5 printables, checklists, and ebooks to get started!


Wow! Just fantastic!
What fun the lanterns are. I think I would be tempted to leave them up all year.
Amazing transformation! The lights looks wonderful as wall lights and I love those brick hooks you used. Thanks for sharing on Merry Monday.
This is a great project! Love it.
Love it! Great job, Serena! Thank you for sharing, you are one of the features at the Make it Pretty Monday party at The Dedicated House. Here is the link to this week’s bash! http://www.thededicatedhouse.com/2016/10/make-pretty-monday-week-194.html Have a lovely Fall week. Toodles, Kathryn @TheDedicatedHouse
I can see these with different colored backgrounds, and this is such a a cute idea. The only difference I’d make would be to have the leaves on the right side for the one hanging to the right of the fireplace. Being ocd about details drives me nuts sometimes.
I agree with you Doober, as well as those exposed electrical cords…would drive me bananas!
If you have a better solution for TV cords on a brick fireplace, Juanita, I’d love to hear your suggestion! 🙂
Doober, good point about the leaves on the right side! LOL I didn’t think about where I was hanging them until AFTER they were hung on the fireplace, and then I realized, “Oh shoot, I should have hung the leaves on the other side.” 🙂
You’re so thrifty Serena! This is my kind of deal, and I would have bought them as well!
Your lights turned out so cute, and I love those brick hangers. (IF only I had a brick house-I have stone)
great job!
pinning, and shared on facebook
gail
Thank you, Gail! 🙂 That’s right! You’ve got a $5 budget, right?! 🙂 Glad you like it! This was such a fun project! Thanks for pinning it!
I can’t tell you how much I love your project. I have some dead solar lights that I just can’t part with because the shape is so unique. I was going to try to replace the solar panel but I found new cute ones on mega clearance and felt it was fate to buy new lights. I’ve been looking for a way to repurpose the old ones somehow and I think I’m going to try your project. Thank you!
YAY! I’m so glad that I was able to give you an idea on what to do with them! Send me a picture. I would love to see how they look: serena at thriftdiving dot com.
This is a fabulous tutorial to make these gorgeous lamps. But what I love most about this post–and your blog in general–is that the information you put up here can be used towards so many other, different DIY projects! I learn something new every time and I love it. Keep up the awesome work!
Awesome, Catherine! I’d love to know what info you found most useful in the post! Because if you found it useful, others probably did, too. I may even be able to do a more in-depth about it, too! 🙂 Thanks for the feedback!!
I have some basic woodworking skills, but it is always helpful to have reminder tutorials about less-utilized skills like cutting a hole to fit a peg, showing texture through the paint, sealing with wax (all I know is shellac because that’s all my parents ever used). Also, I know you said that you have mentioned the brick hangers before, but I must have missed that one and it’s fabulous to know I might be able to hang something on my faux brick porch front without making holes.
Yep, I mentioned it before, but not front and center. I should do a single post on it because it’s such a great thing for hanging stuff! Glad that I could tell you about it! Like I said, I just learned about it myself and it’s the BEST thing ever! 🙂
LOVE this project, and you can change it up just by painting more wood pieces in different colors and add embellishments for different holidays or seasons..
Those boys are so stinkin’ cuuuuutte!
On a side note, has your head been in the paint and stain buckets for too long? Your gut is shouting at you, and orange is speaking to you?? I’m worried for ya, lovey!
Exactly, Linda! That’s what I was thinking, too. I can just make different panels for different seasons! 🙂 LOL about the orange speaking to me! I don’t think I have ever painted ANYTHING orange! But it worked!