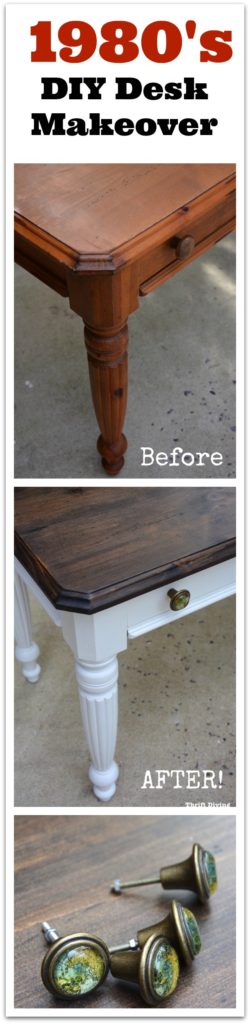
BEFORE & AFTER: A DIY Desk Makeover From the 1980’s
This before and after desk makeover is controversial–you either love it or you hate it. Personally, I love it! I do love natural wood, but sometimes natural wood just needs a little sprucing up, like this DIY desk makeover from the 80’s!
Watch This DIY Desk Makeover in Action!
I struggled with this DIY desk makeover when I got started because not every piece of wood furniture should be painted.
In fact, after I found it from the ReStore for only $40, I posted it on my Thrift Diving Facebook page and asked people, “Should I paint this desk or not?”
People had some great ideas, like creating a game table…going metallic…painting the body and staining the top…
Some people suggested I leave it “as is.”
And I was seriously considering doing just that: leaving it “as-is.”
But there’s this moment when your piece of thrifted furniture is sitting in front of you, and you’re in the brink of a day’s worth of sweat and effort, and you think, “What’s my gut telling me to do with this piece of furniture?”
My gut on this one said, “Keep it classy and classic, girlfriend.”
But in the midst of having these serious one-on-one conversations with my gut, I had one fleeting moment where I thought, “Oh, but the wood grain is so pretty. Maybe I should just leave it alone….”
Eerrrrch!
Hold up.
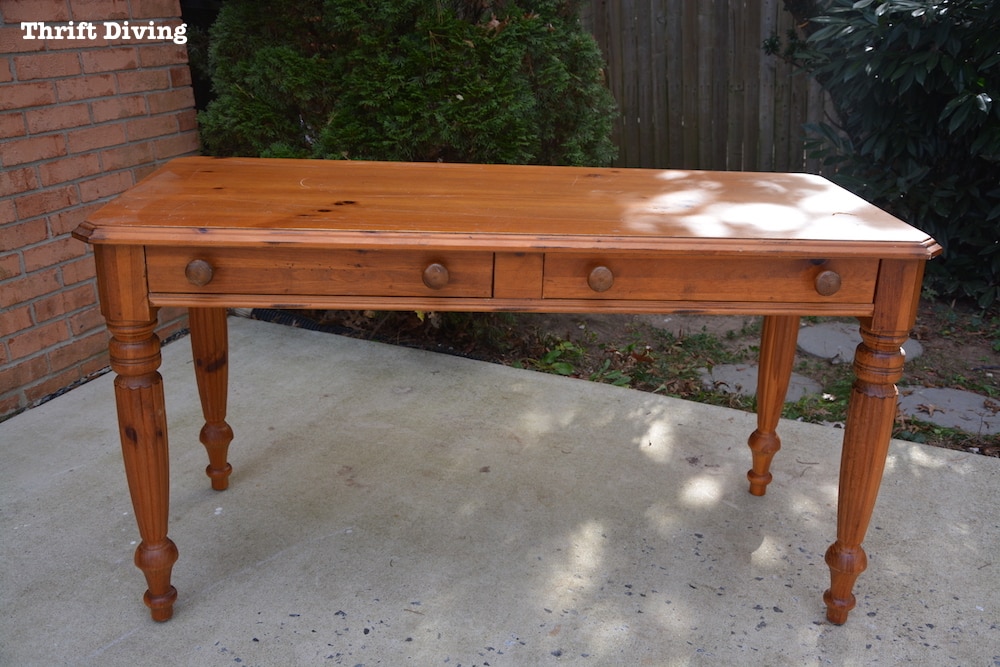
Let’s take another look at this $40 thrifted desk.
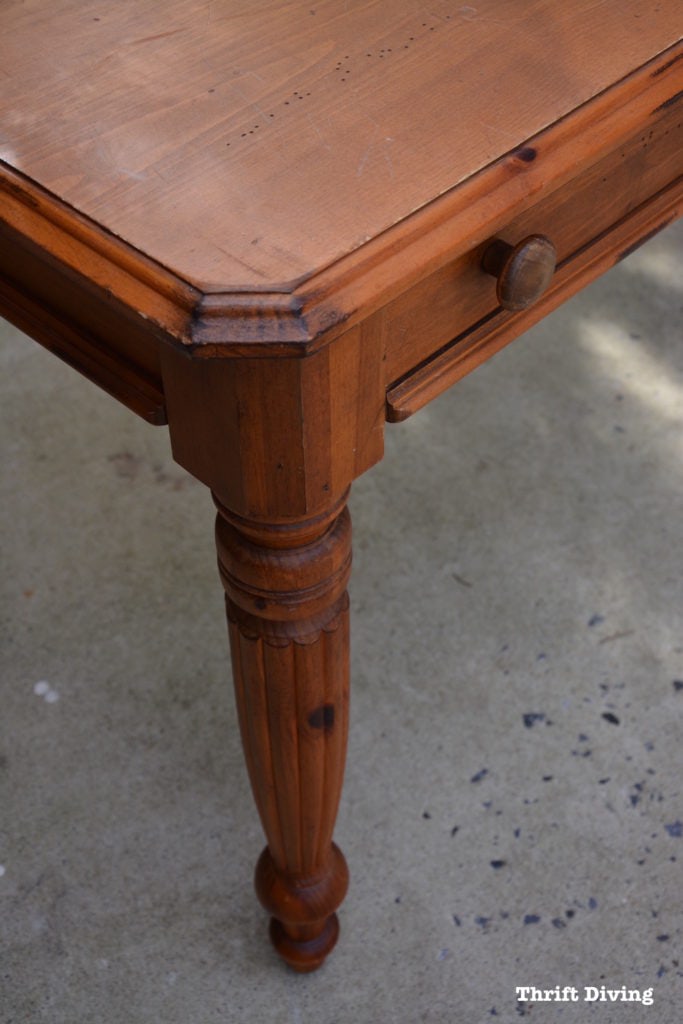
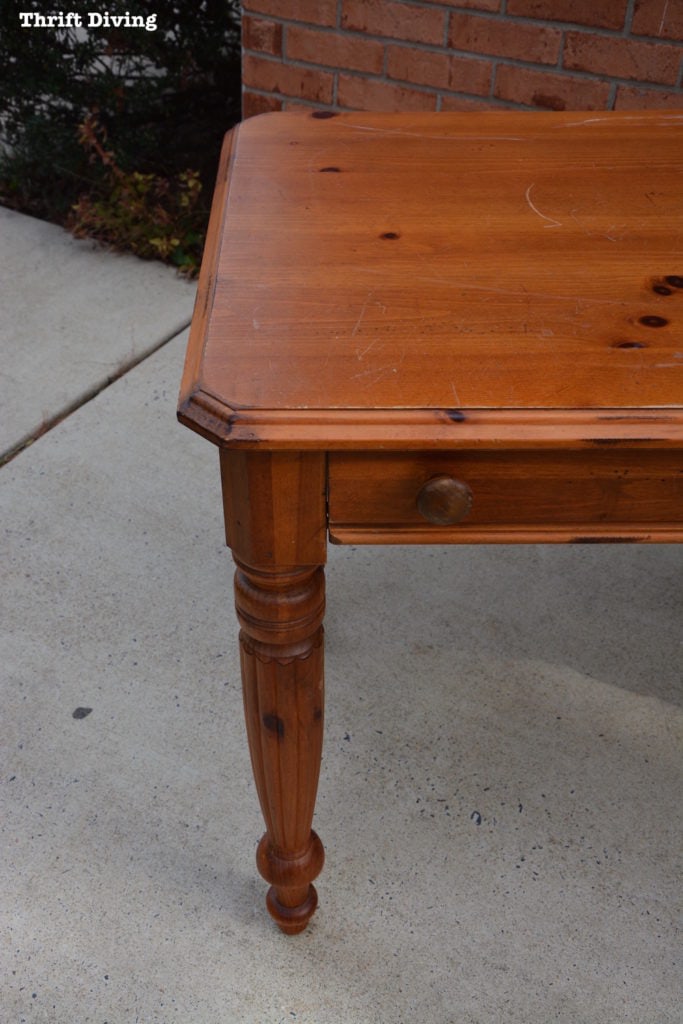
BEFORE
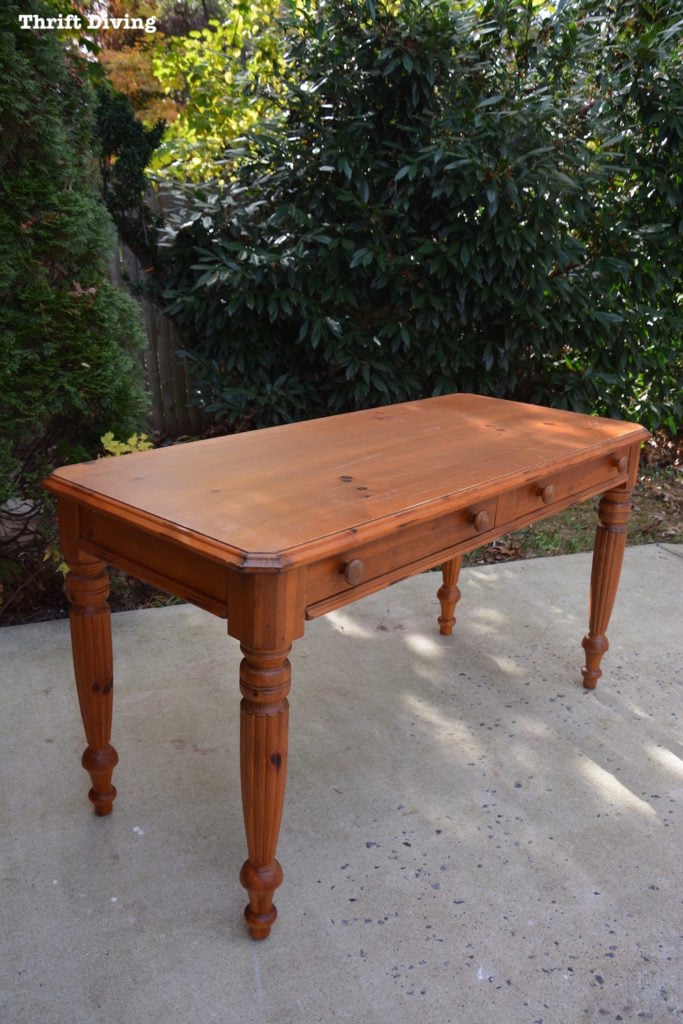
Please tell me, dear reader, would you have left this piece of wood furniture untouched?
Don’t answer that.
It wasn’t until I was looking at a picture of it and the realization hit me:
It’s the color O-R-A-N-G-E!
And if you’ve been reading this blog for any length of time, you’ll know that I generally hate orange.
Yep, you can throw in dated, orange wood tones into that category, too.
Yes, it had great bones…great legs… Call it sexy, if you want.
But the color was all wrong.
What this beauty needed with an upgrade to the 21st century. 🙂
Now, seeing how it looks after I got my hands on it, I can’t believe I was even considering not painting and restaining it!
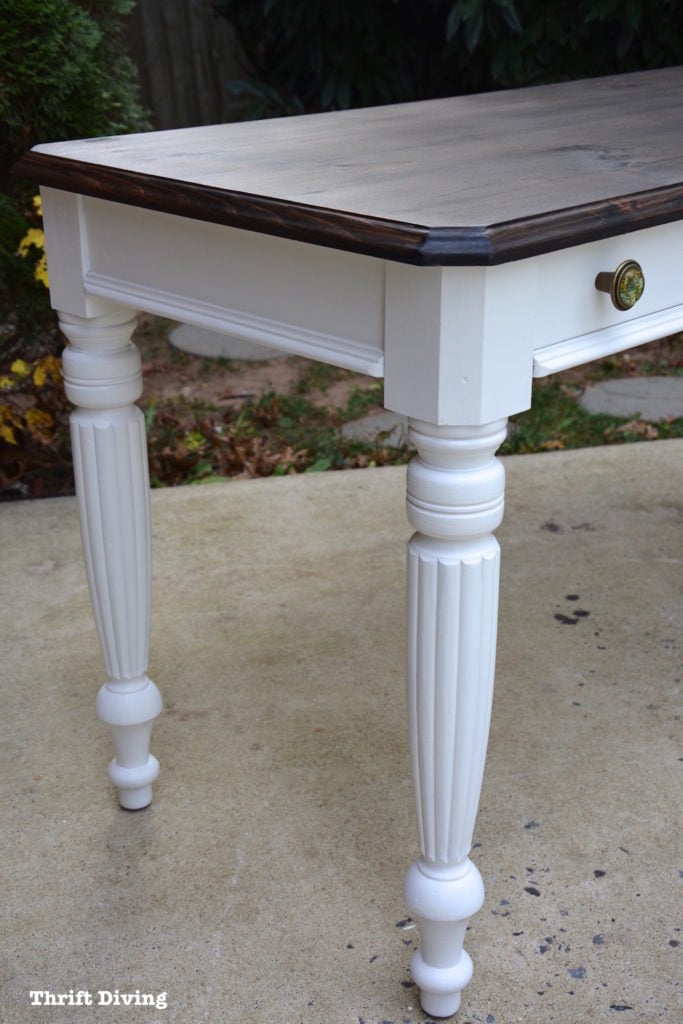
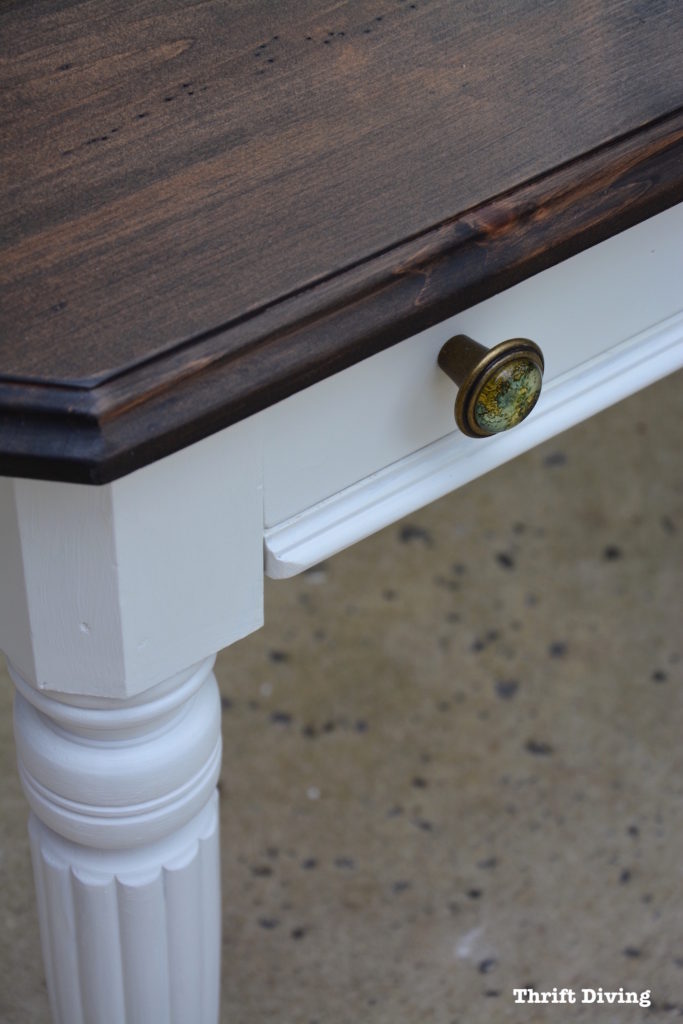
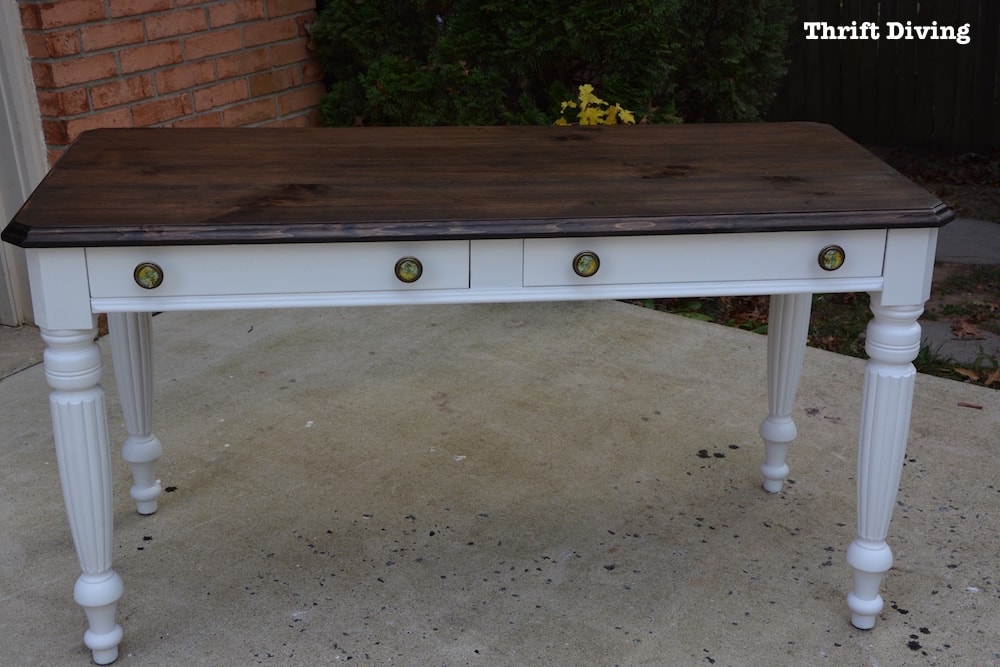
AFTER – DIY Desk Makeover!
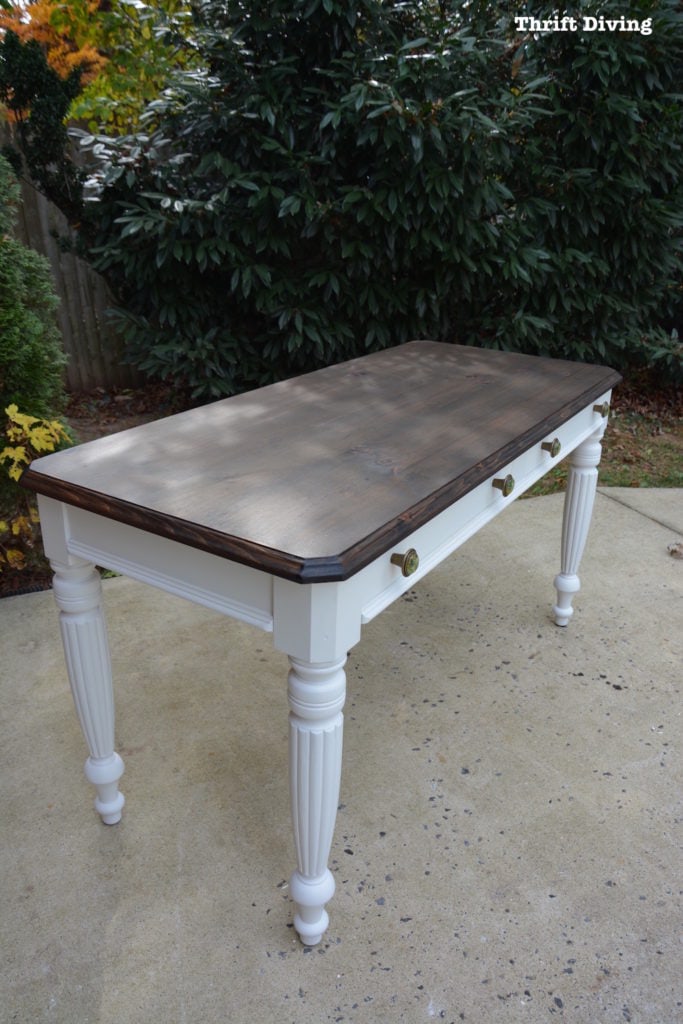
Sometimes we hesitate when deciding how to refinish a piece of furniture, but if you stop and think, look it over, and ask yourself, “Can I see this in my house??” you’ll come to the right answer.
Now…..let me show you how I completed this DIY desk makeover from the thrift store!
Go Grab These Materials
I participant in the Amazon Services LLC Associates Program, an affiliate advertising program designed to provide a means for me to earn fees by linking to Amazon.com and affiliated sites.
- Orbit sander with 60-, 100-, and 220-grit sandpapers
- Beyond Paint (Bright White)
- Wood stain (I chose the darkest I had on hand–a mixture of Minwax Jacobean and Espresso)
- Paintbrush or small roller
- Natural bristle brush for stain
- Lint-free towels
- Dust mask
- Gloves
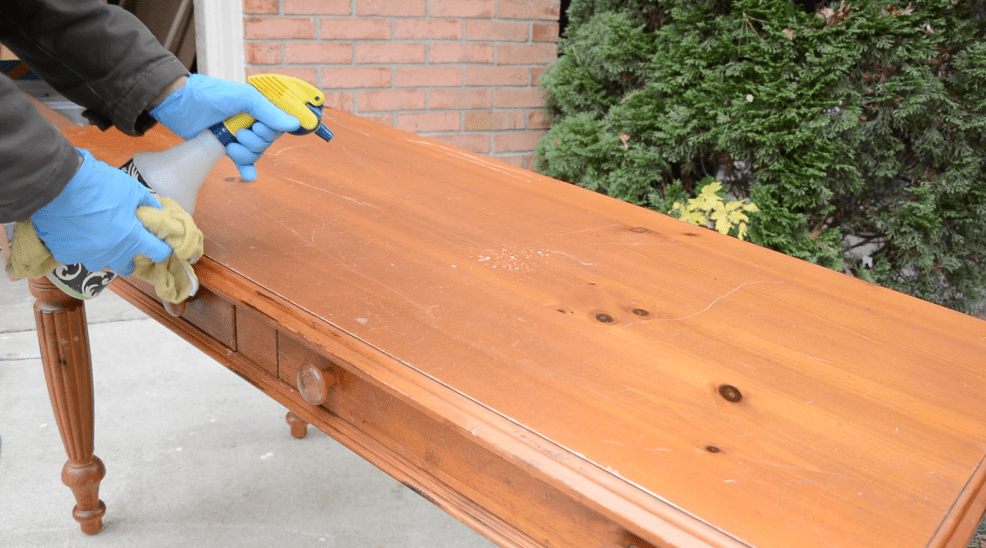
STEP 1: Clean, Baby, Clean!
With all furniture makeovers, you’ve got to clean them first. Even though I planned to sand the top, it’s always a good idea to wipe down the whole thing. I use Simple Green for cleaning down my furniture makeovers.
STEP 2: Get Your Sand On
I’ve used chemical strippers before, yes. And while there’s something so satisfying about scraping the gunk off of wood, have you ever seen the mess it makes??
So usually, when I want to strip something, I break out the ‘ole sander and sand it down.
Related: How to Strip Furniture and Stain It: A Complete Guide
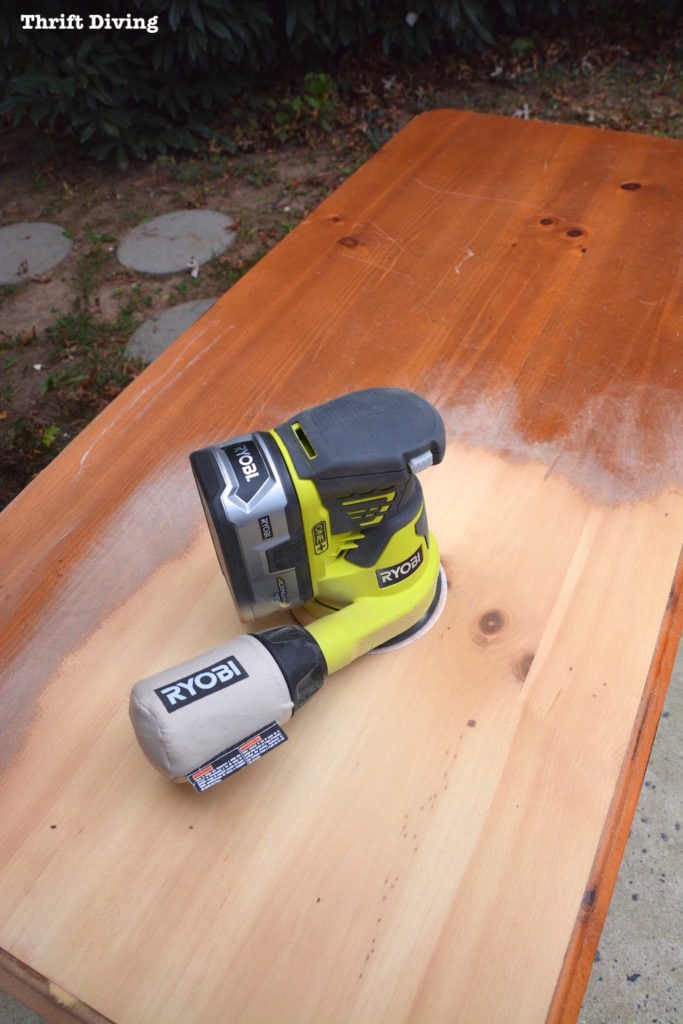
But there’s a method to the madness: start with 60-grit sandpaper and, then work your way down to the 100-grit (or P150-grit), then finish it off with a 220-grit sandpaper (depending on the type of wood, you may be able to stop at the P150-grit sandpaper).
While I may not have done it for this project, your final sanding should be by hand.
(Working from one grit to another grit helps to minimize swirly marks from using an orbit sander).
Take your time when sanding edges, cracks, and crevices!
Wipe all the dust off with a tack cloth to get all the dust off before re-staining and painting.
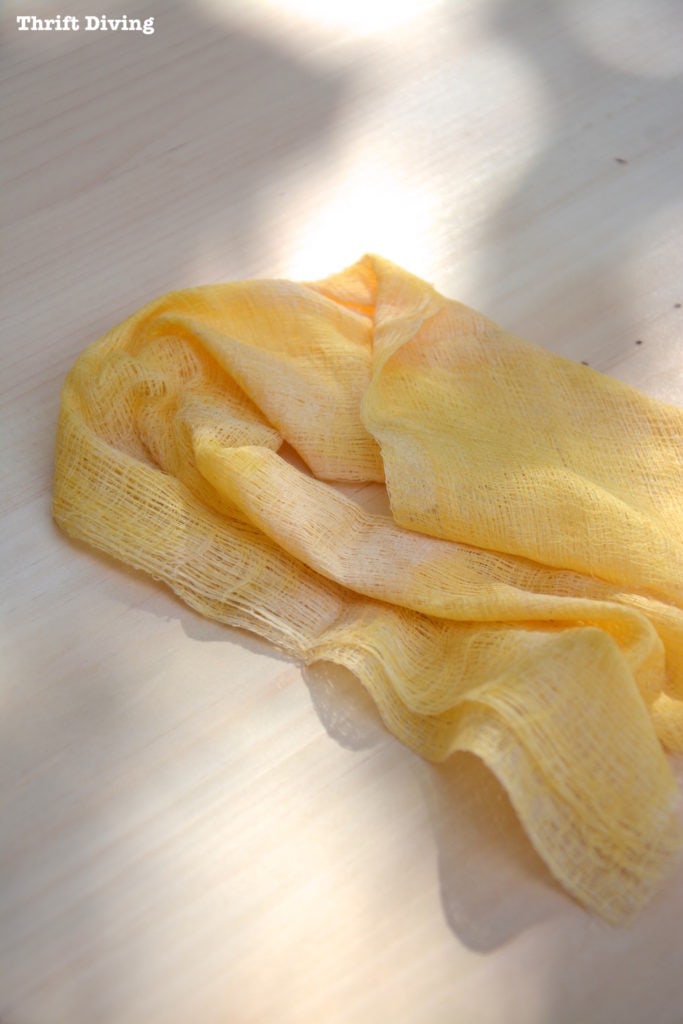
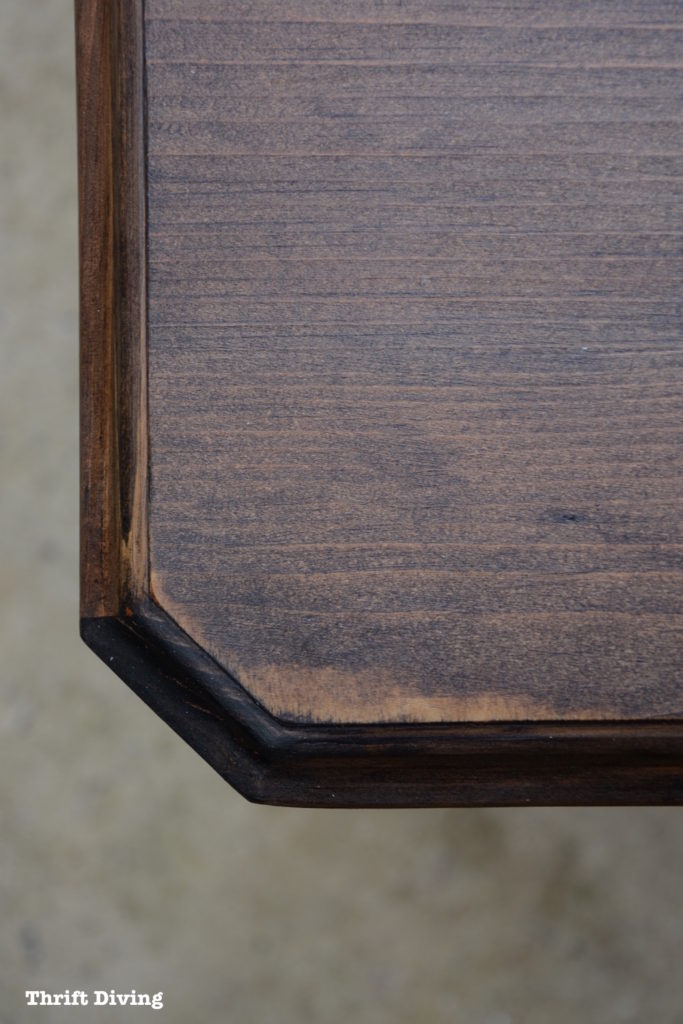
STEP 3: Wipe On….Wipe Off
When I re-stain something, I usually apply it pretty liberally, then wipe off immediately with lint-free cloths.
It usually isn’t as dark as I would like, so I do a second coat.
Keep in mind that stain has pigments that sits on top of the wood (the stain doesn’t soak into the wood). So after one coat, there’s not much more you can add in order to change the color. If anything, you’ll get a slightly darker color, but it won’t be much darker.
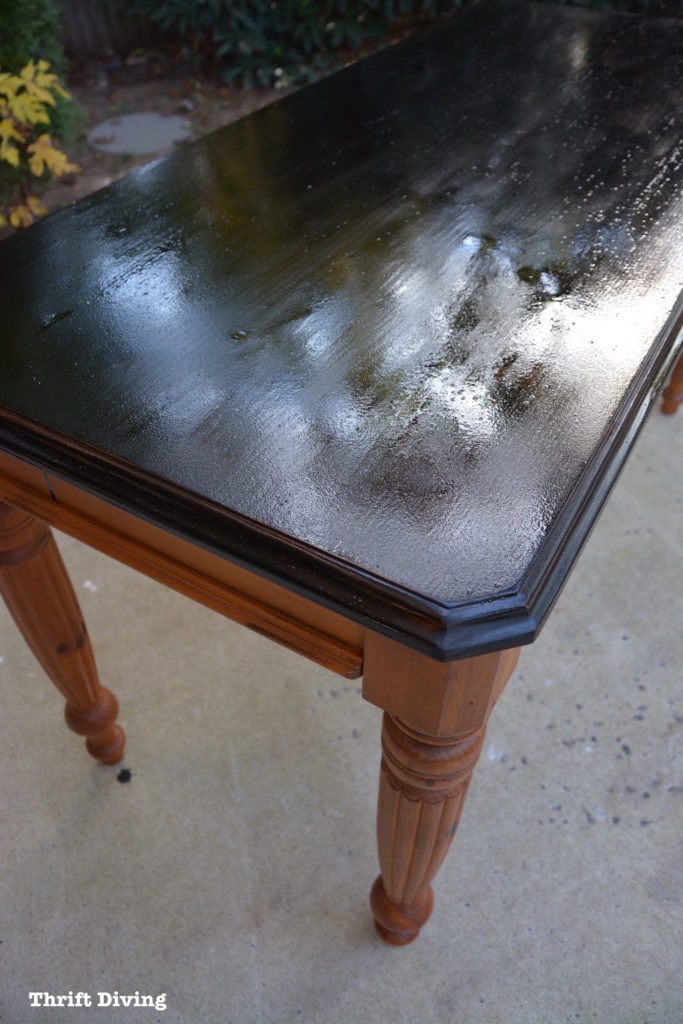
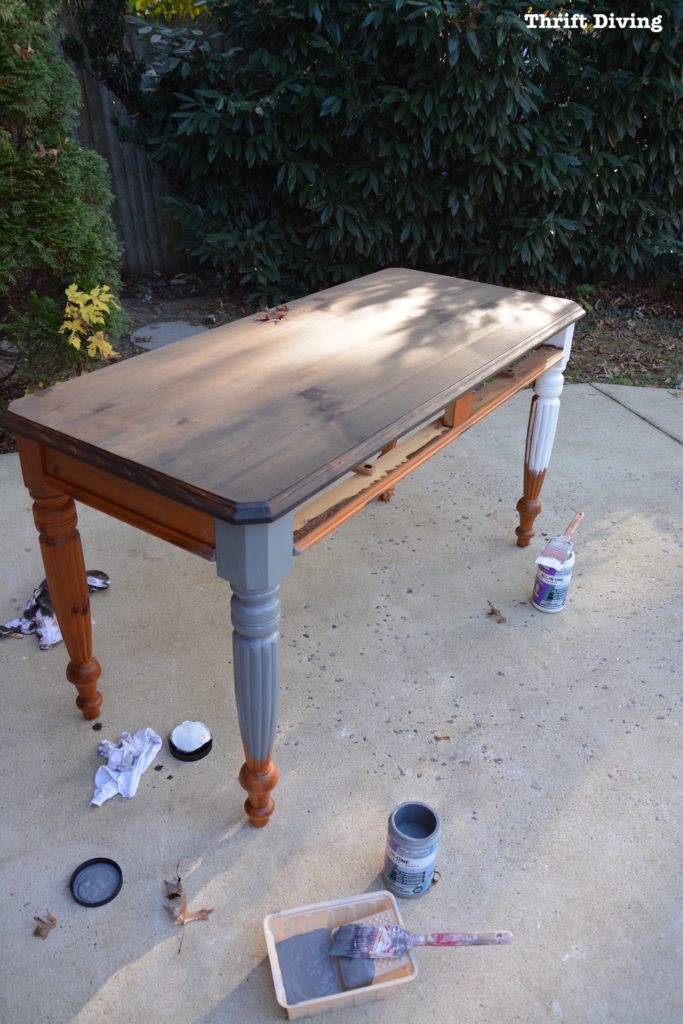
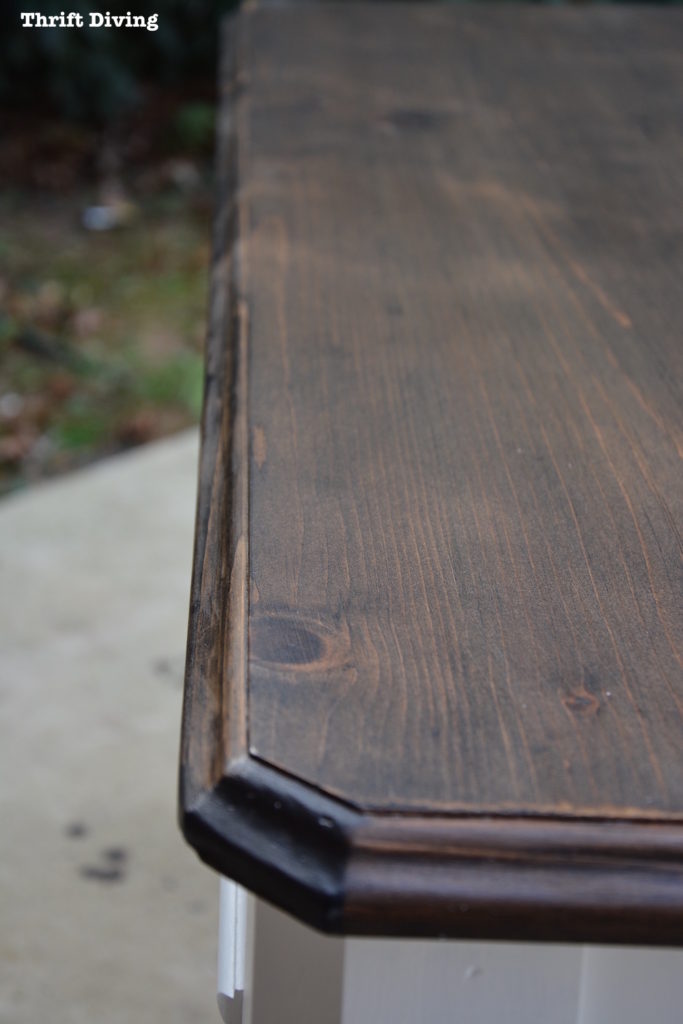
Here’s how it looked with the stain wiped on.
I don’t recall exactly the shade of stain I used, but it was the darkest I had on hand, which was likely a mixture of Minwax Jacobean and Espresso.
Wipe the stain off with lint-free rags.
STEP 4: Break Open the Paint
I save painting for last.
That way, if any stain has dripped onto the body, I can wipe that up easily before painting. If you paint first, you risk ruining your beautiful paint job!
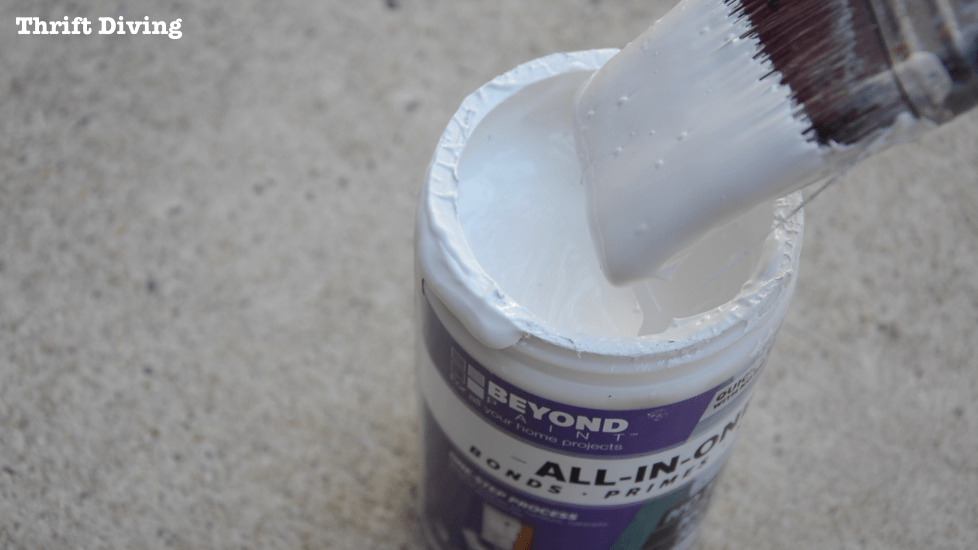
For this project, I used Beyond Paint in the color Bright White.
I’ve used this paint on many other projects and have grown to like it more and more each time I use it.
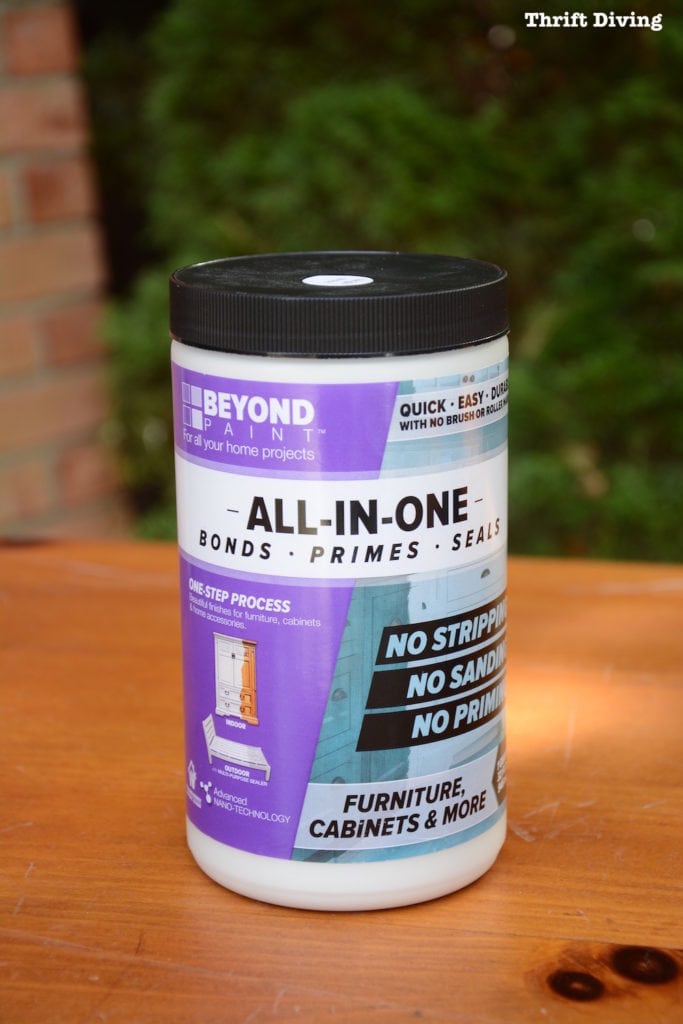
When using Beyond Paint, you won’t have to strip, sand, or prime your furniture (as long as it’s in good condition and doesn’t need any prep work). It also works on not only wood, but plastic, masonry, glass, and many more surface areas.
This piece of furniture was perfect in that it didn’t have any gouges to fill with wood filler…and it didn’t need any other prep other than wiping it down first!
(TIP: If you’ve got bleed through, where the old stain is bleeding through your paint, you’ll have to add a coat of clear sealer to the furniture first, to create a barrier between the old bleeding stain and the new paint. Once the sealer is dry overnight, then you may try painting your furniture again).
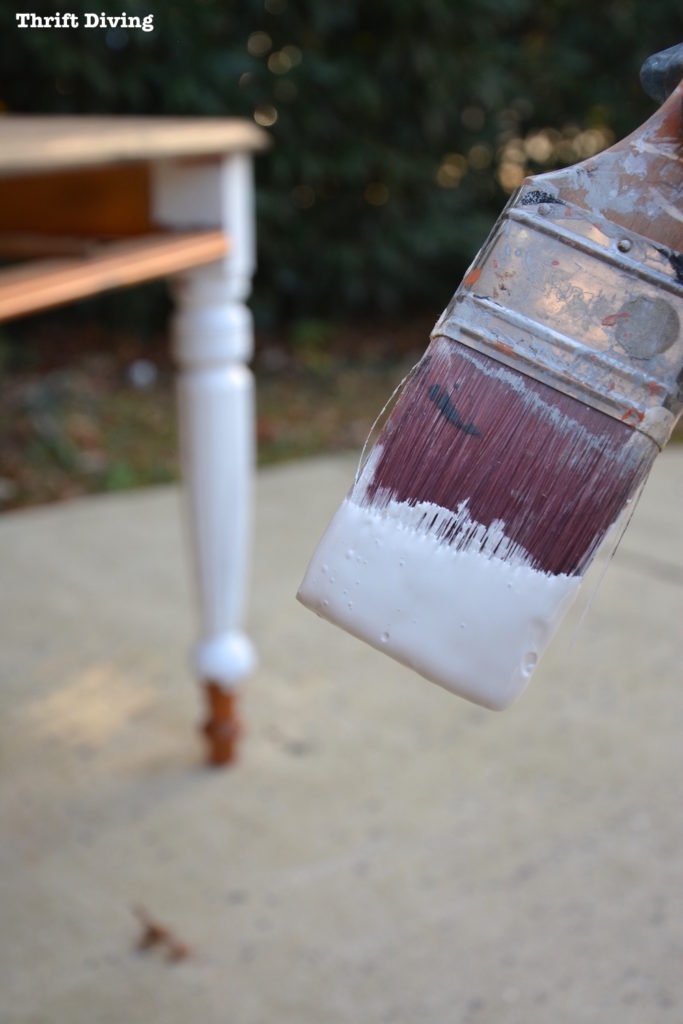
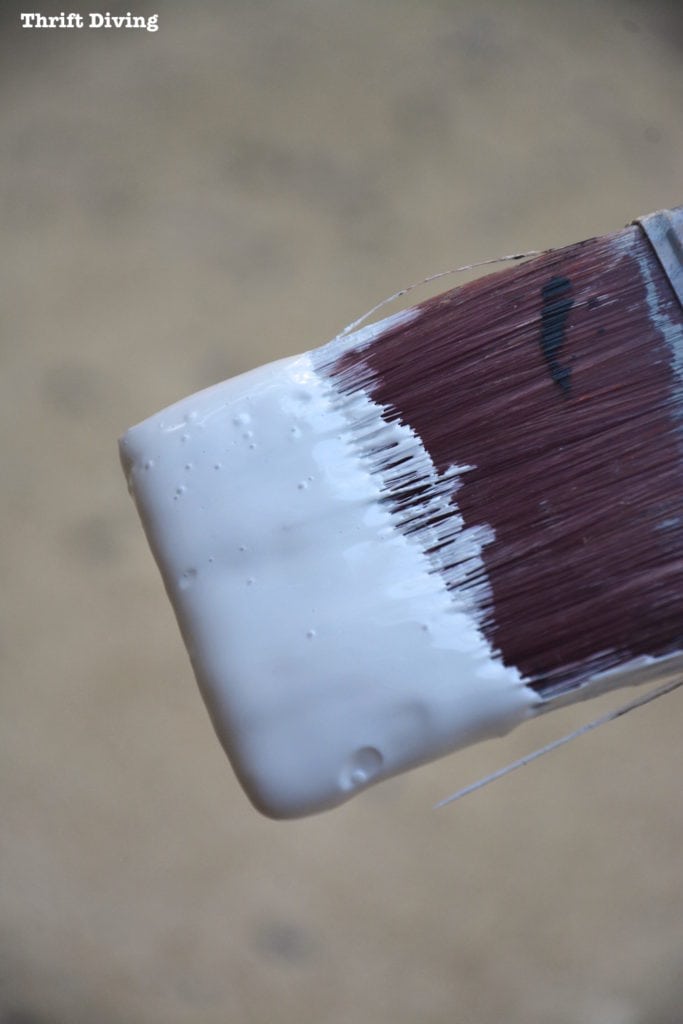
It’s Got “Spreadability”
If you’ll notice, this paint isn’t a drippy-drippy kind of paint.
I’ve always said it reminds me of custard, in a good it’s-making-me-hungry-kind-of-way. 🙂
As soon as you put it on furniture, you see how smooth it goes on, whether you’re spreading it with a roller or using a paint brush on intricate areas.
I find that it’s one of the most spreadable paints I’ve used, which is why I like using it, especially when I’m trying to get a project done quickly!
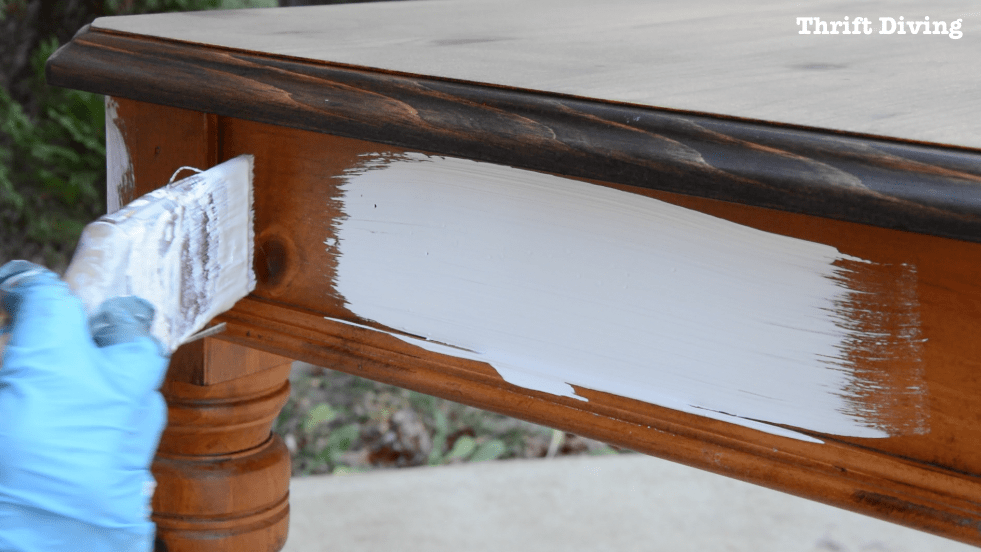
Typically, when using Beyond Paint, they recommend using a paint roller so it minimizes brush strokes. When you get to corners, you can use a paintbrush to smush the paint into those cracks and crevices.
However, since this desk body was full of so many angles and cracks and crevices, I decided to use the paintbrush instead.
The DIY Struggle is Real!
Even after you’ve decided to paint a piece of furniture, sometimes what happens is that you can’t decide what color to choose!
HA!
This happened to me during this project, too. 🙂
I thought maybe I would want to paint it with Beyond Paint Pewter, so I did a little test.
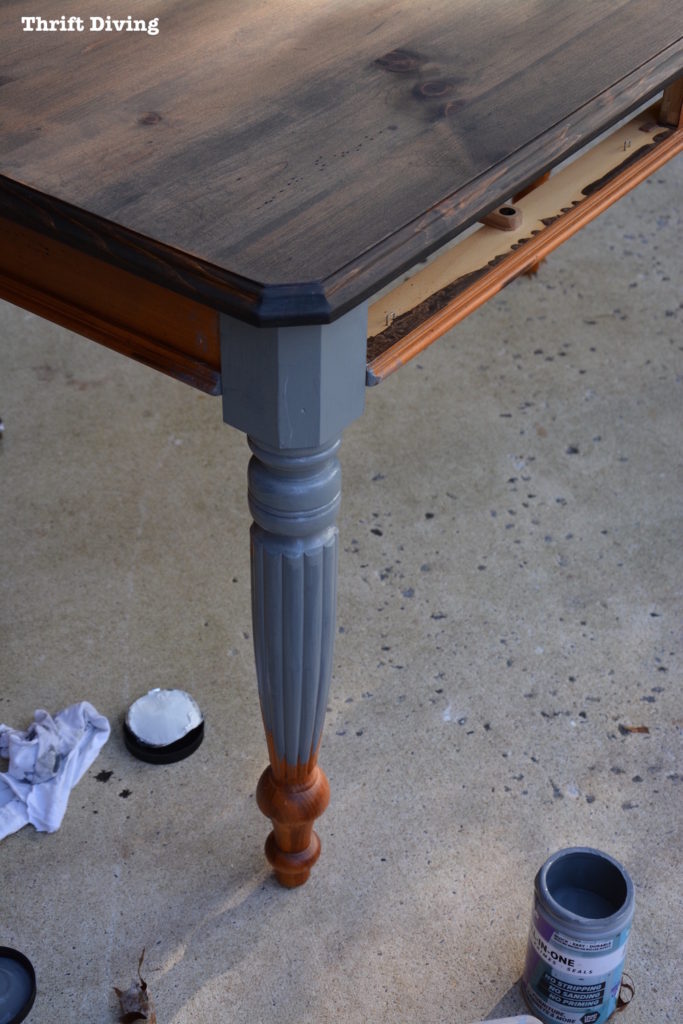
Why not paint one leg each color? 🙂
Whichever color “grabbed” me, I would go with that color.
So you see which color won, right??
I loved the Pewter, but the white made a world of difference, especially with the stained rich top!
BEFORE
AFTER!
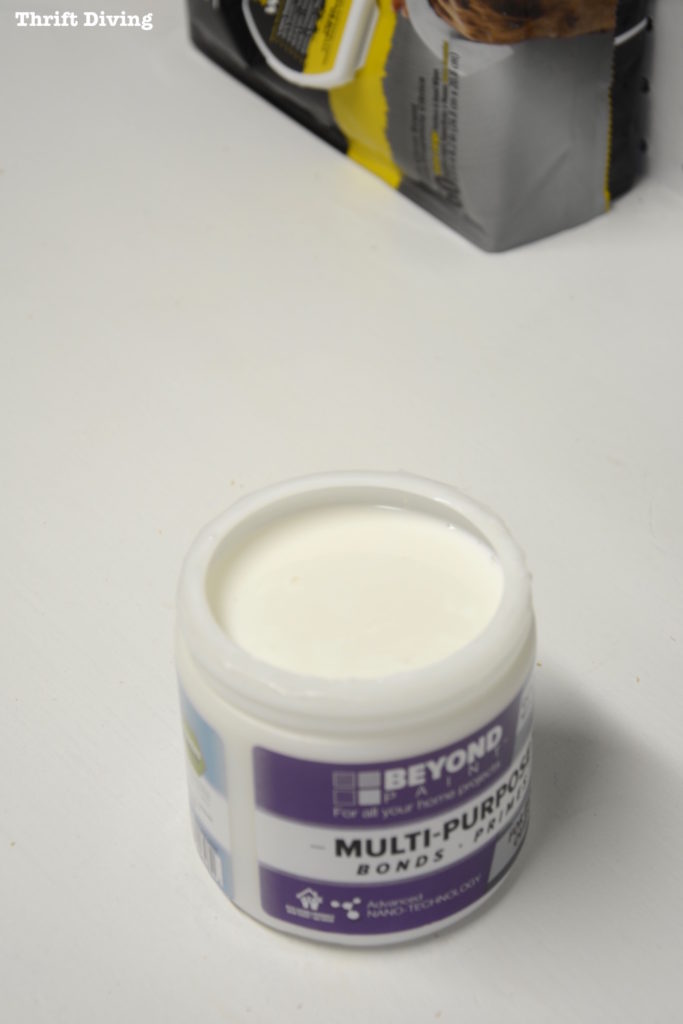
STEP 5: Protect That Top!
Most likely, my kids will be sitting at this desk using our new laptop, drawing–you name it.
So I definitely wanted to seal the top.
Beyond Paint makes a sealer, so I used that on the top. I decided not to seal the body because the paint is self-sealing.
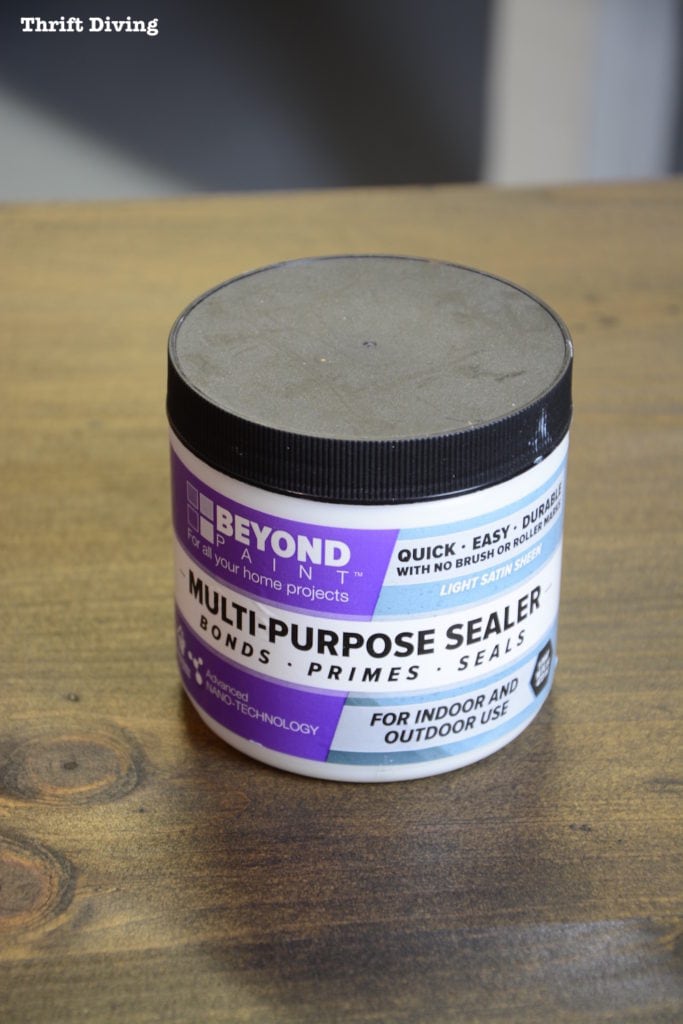
You can also use a roller to apply the sealer, but I used a paint brush because I wanted the top super smooth.
It goes on very milky, but it dries clear and satiny! Just make sure to use light coats because if you don’t, it may dry milky.
My camera battery died in the middle of applying the sealer, so, unfortunately, I don’t have a picture of that step!
But it’s really easy.
I waited until the first coat dried and then added a second coat.
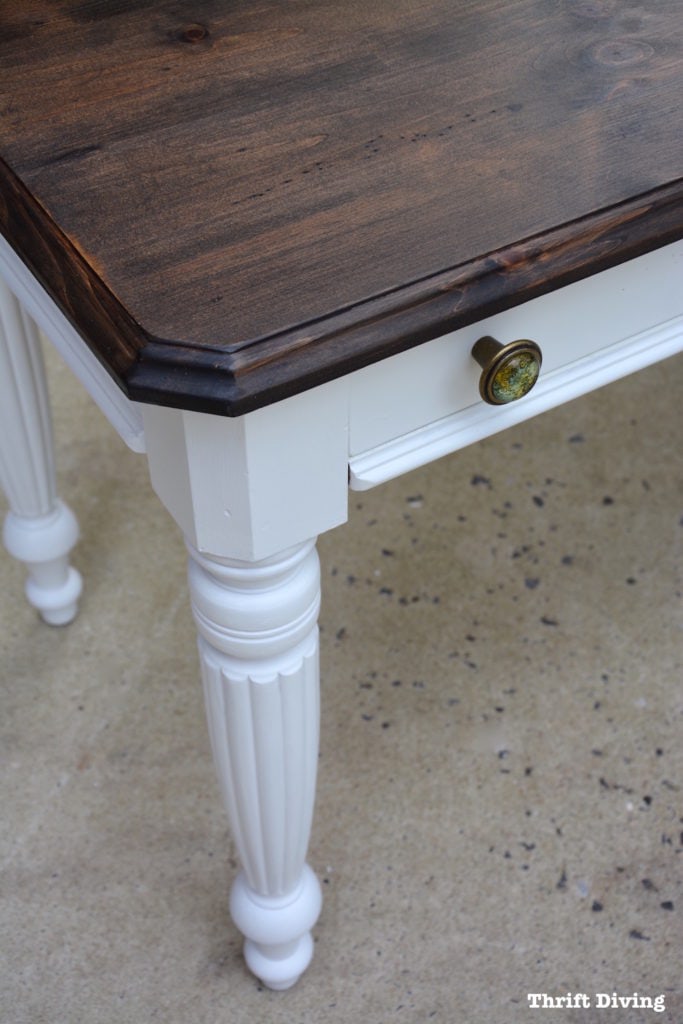
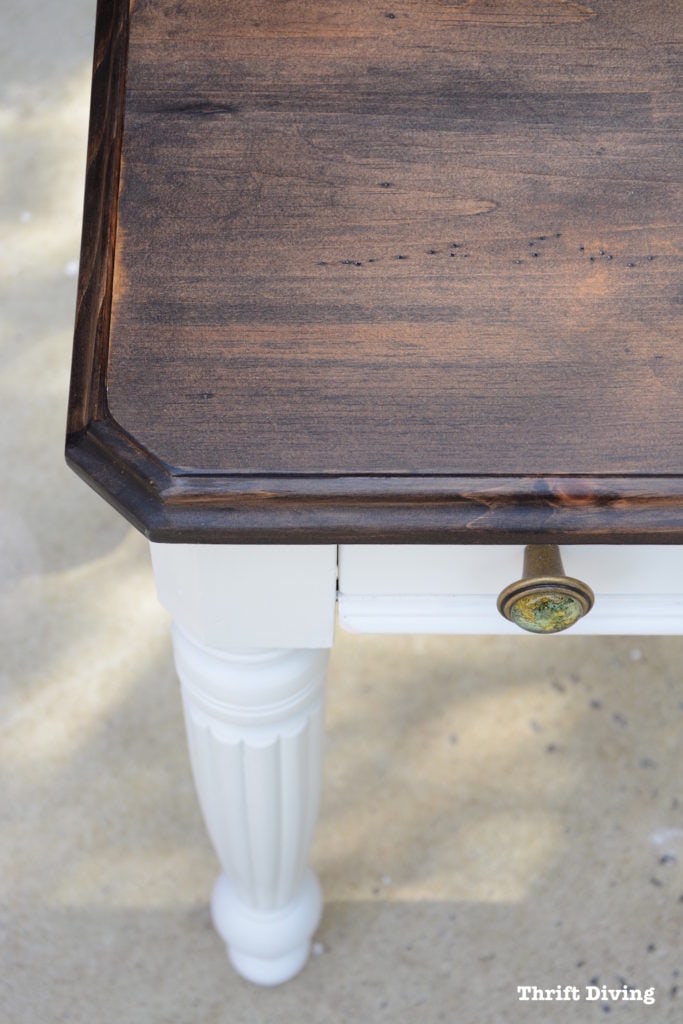
STEP 6: Pick Out Pretty New Knobs!
I’ve been wanting to use these Old World glass knobs with vintage maps for the past 2 years since I found them!
But you know how it is–you can’t use knobs until you’ve found the perfect piece for them.
A classy knob for a classy desk. 🙂
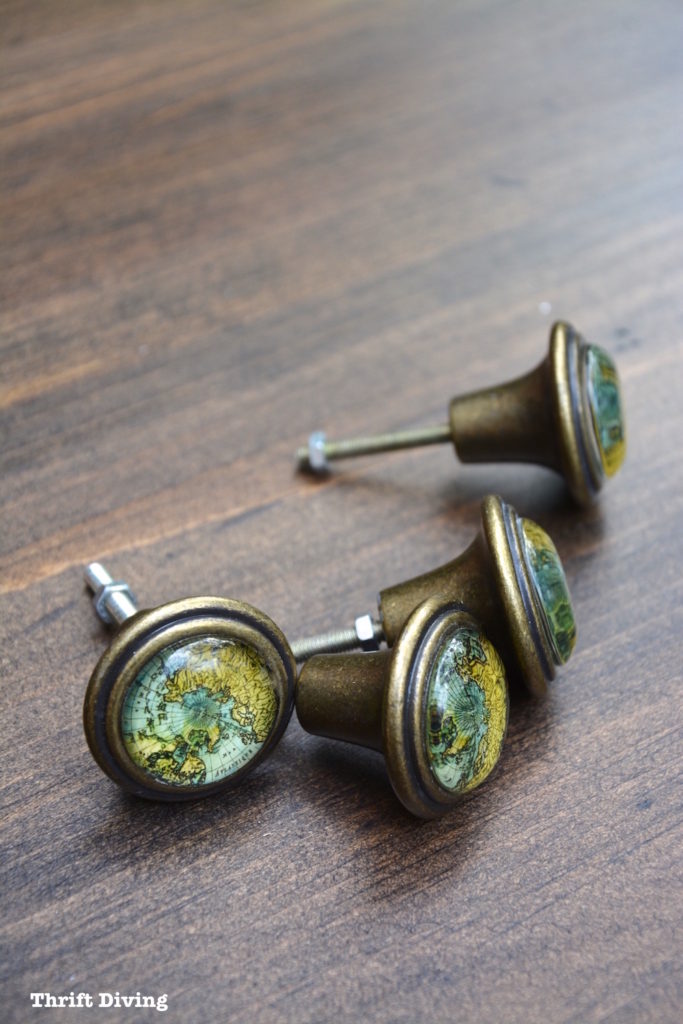
I think these knobs look great!!
Updated, not too flashy, and lends to the classic look of the desk!
The Pitfalls and Mishaps
Yep, these things happen, folks!
I can’t lead you astray to make you think this project was perfect. 🙂
Guess who got a little too Orbit Sander Happy?
As a result, I took a bit too much off a couple ends, down to the “meat,” which doesn’t take stain very well.
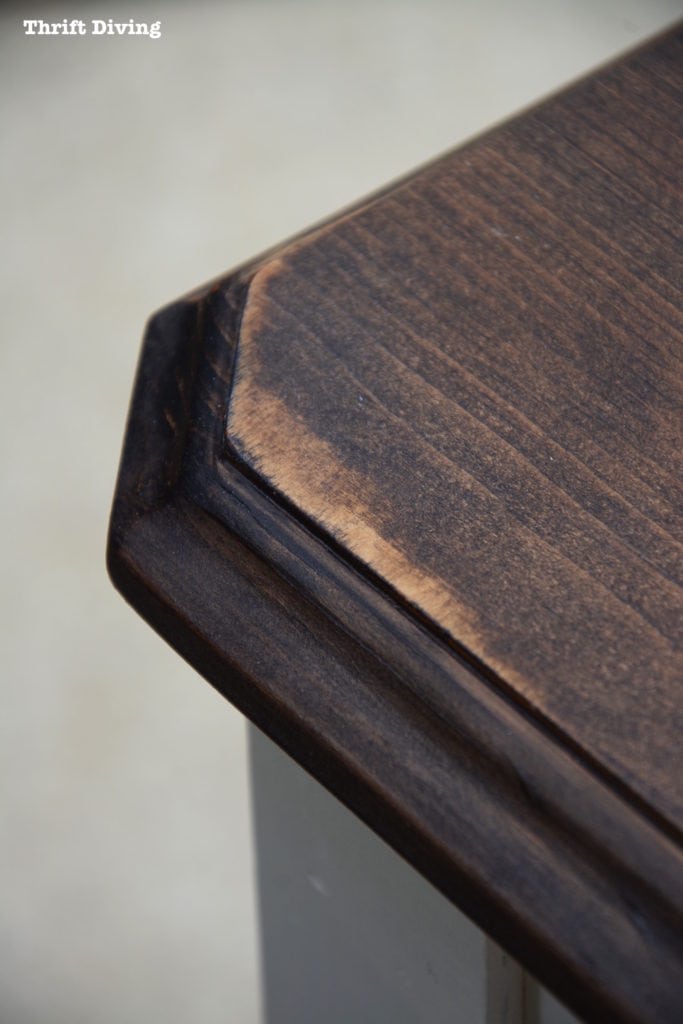
BUT….I choose to look at it as….oooohhhhh…just a little bit of inadvertent distressing. 🙂
Just be careful with that orbit sander! LOL
Overall, it still looks fabulous, I think!
BEFORE
AFTER!
BEFORE
AFTER!
I decided to put the desk in our “computer room.” My middle son uses it to play computer.
You can see how I created the DIY wooden wall photo collage here.
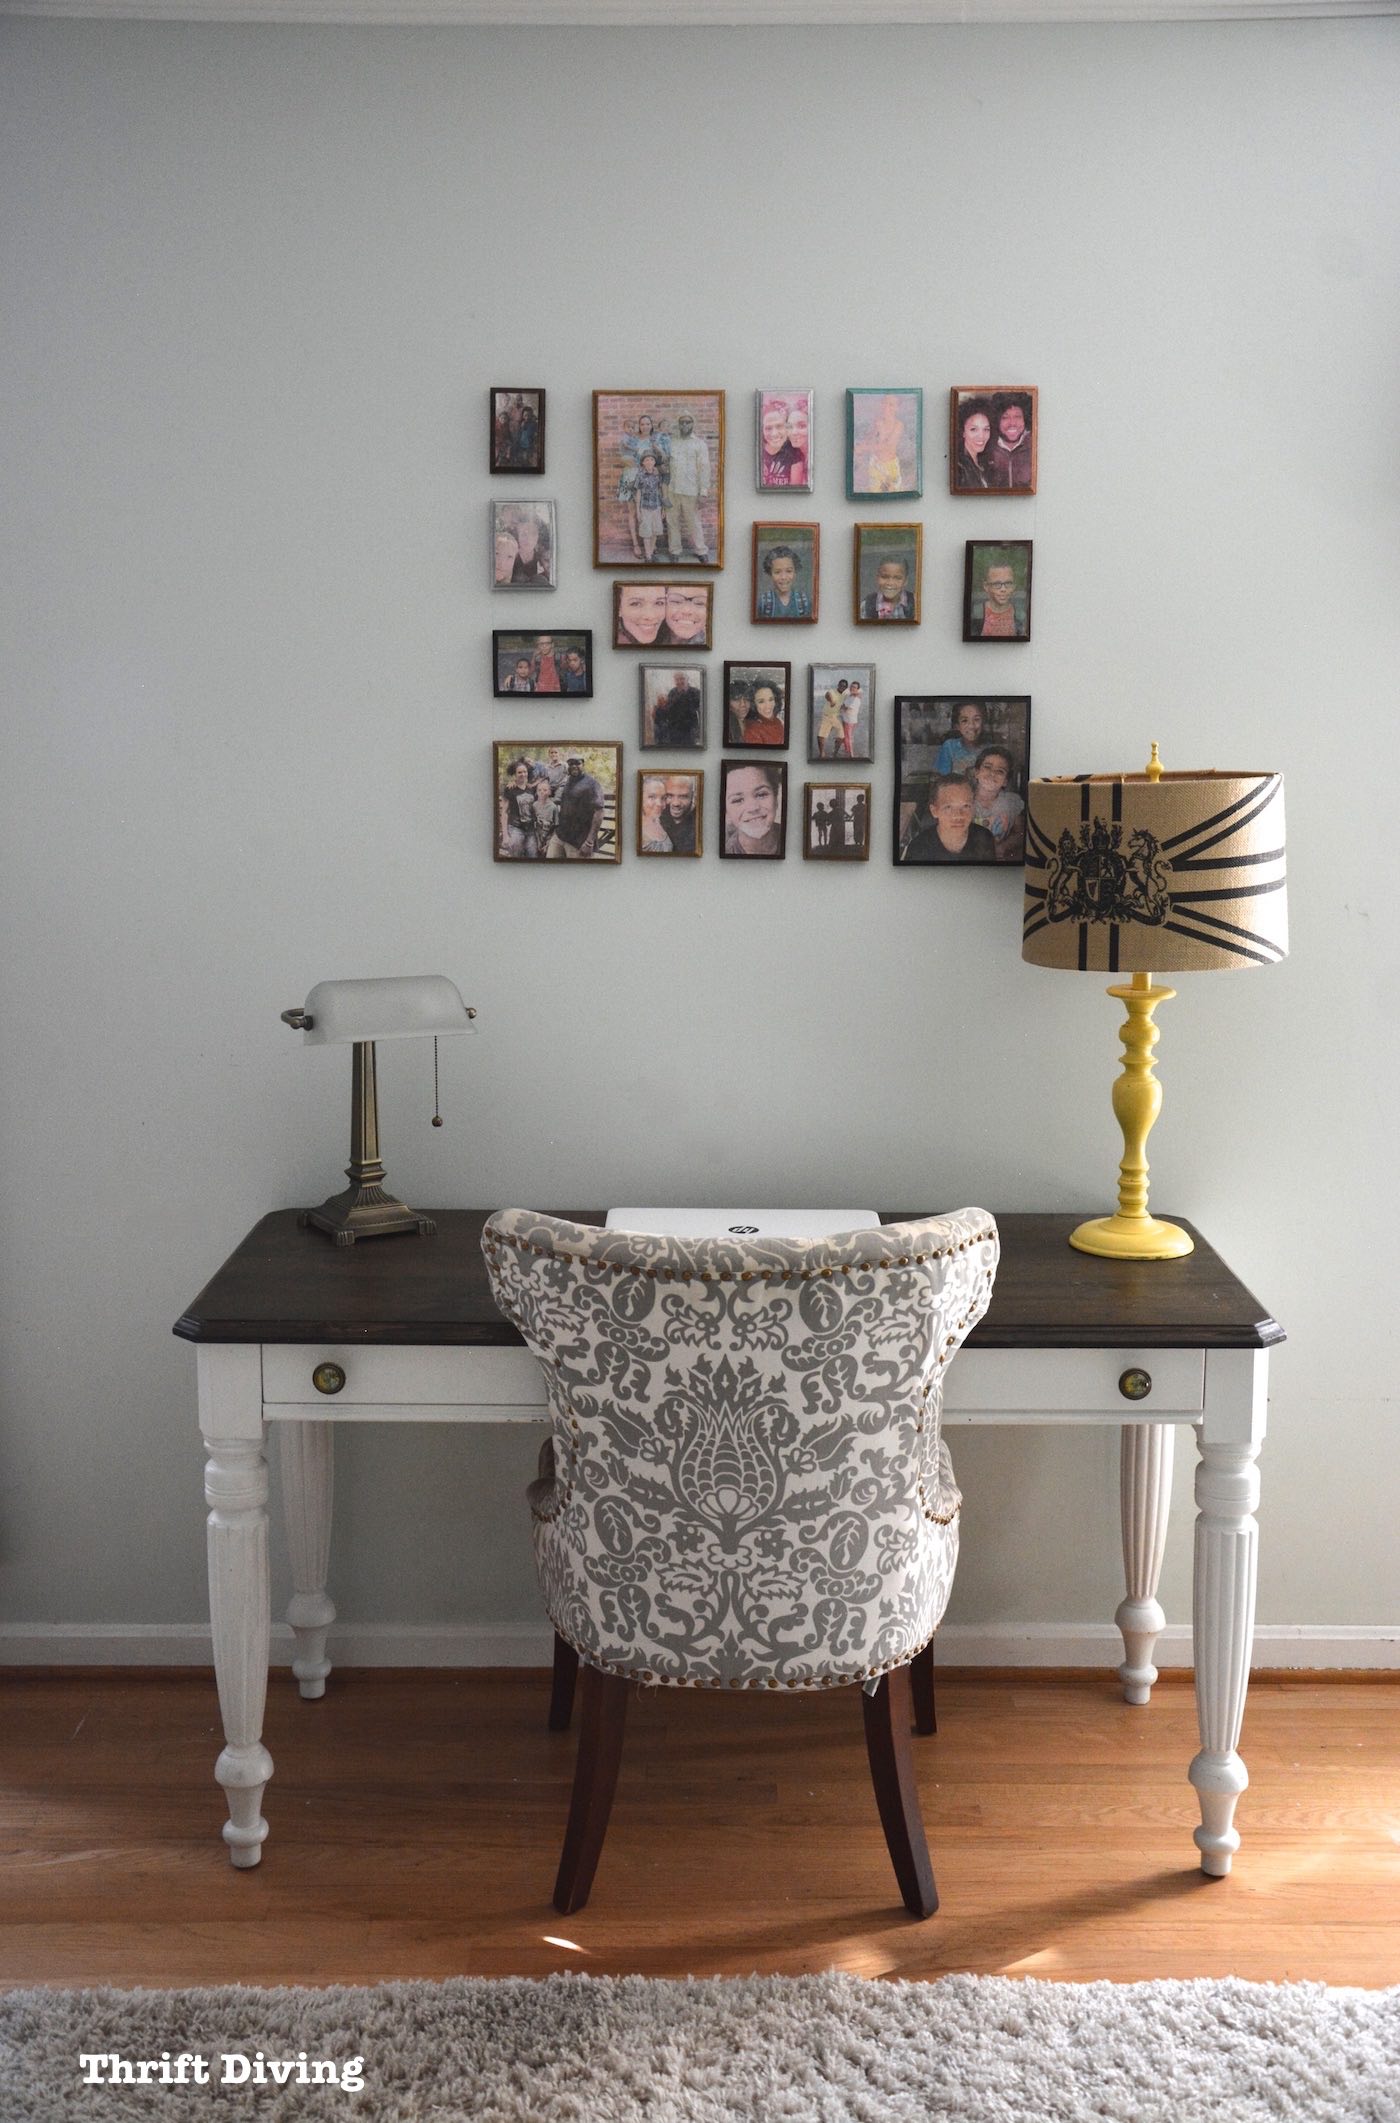
For now, I’m just glad that it’s one less piece of furniture in my garage!
I’ve been working on cleaning up the garage, painting the garage floor, and trying to turn it into a pretty workshop.
So what do you think of this DIY desk makeover?? A good decision to get rid of that orange wood, right?! 🙂
Enjoyed this post? PIN IT here!
![]()

Download the 5 freebies!

Thrift Diving inspires women to decorate, improve, and maintain their home themselves...using paint, power tools, and thrift stores! Use these 5 printables, checklists, and ebooks to get started!

Looks great! I may not be around for a while, facing neck and spinal surgery after the holidays if I can make it that long. I was just diagnosed with Interstitial Cystitis (IC) as well. Seeing a Breast Specialist the 30th.
That desk was one terrific find at one terrific price! And you have made it classy and unique. Great buy! Great RE-do! (And I just love the REstore, don’t you?)
Thanks, Julia! I do love the ReStore! I find they’re a bit pricier, but they have great stuff. I think it’s a step up from the thrift store, so I wouldn’t mind paying slightly higher prices there. SLIGHTLY is the keyword, though. ;). This desk, though, was right on point at $40! Most desks are about $100 there and up!
Absolutely LOVE it! Excellent choice and now a really beautiful desk/table!! Ok before, but stunning now.
Thank you, Linda! It cleaned up nicely, I think.
Nice job on the desk! You probably already know, every other week Hobby Lobby sells their hardware for half price. Just have to hit the right week. Here’s a knob that’s very similar for half the price: http://www.hobbylobby.com/Home-Decor-Frames/Decorative-Accessories/Knobs-Pulls/Antique-Brass-Metal-Knob-with-Map/p/107694
🙂 Kat
Yes, they have the best hardware sales! I’ve picked up some good stuff there on a 50% off day! And OH COOL, I didn’t realize they had the Old World map ones! YAY! Those ones are great! Thanks for that link!!!
This looks so great!!!
Thank you, Haley! 🙂
Good decision on the desk make-over, the desk looks great! Love the drawer knobs!
Thanks, Tammara! Glad you like it!
I love it ! Love Thrift Diving, you are such an inspiration?
That’s what I aim for, Diane! 🙂 If I can inspire at least one person with what I do, then it’s a successful project! 🙂 Thank you!!
That is a great desk!. Your final choice of color, stain and knobs were perfect. Good job!
Thanks, Pam! I love how it all comes together at the end! So funny I found those knobs! I was worried about which knobs to choose, but–VOILA!–I already had some on-hand! It’s like the DIY stars were aligned!
Love how you transformed the desk. I too hate orange. Love the contrast with the stain and the paint.
Loved what you did to the desk
The light and dark looks Fabulous
Like All your projects
you do a Great job !!!!
Thank you for sharing
If I don’t get back to you latter Have AWonderful Christmas with your Family