Save An Ugly Dresser: A Chic Dresser Makeover
Watch This Project in Action
Creative people like you and me have this thing for taking furniture when it’s offered to us and hoarding it until the perfect opportunity to pull it from the dungeons of our furniture stash (otherwise known as THE GARAGE) for a beautiful makeover!
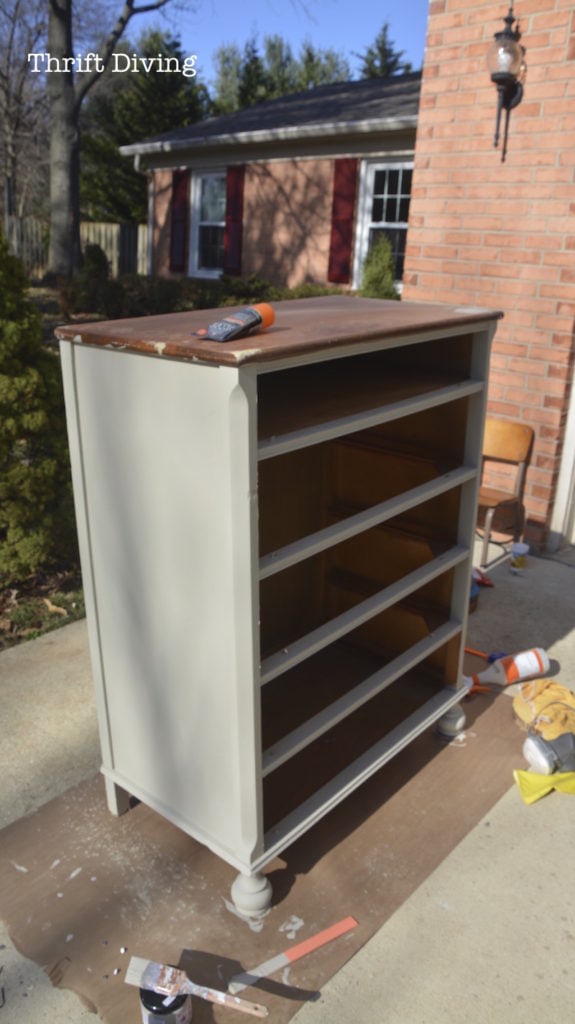
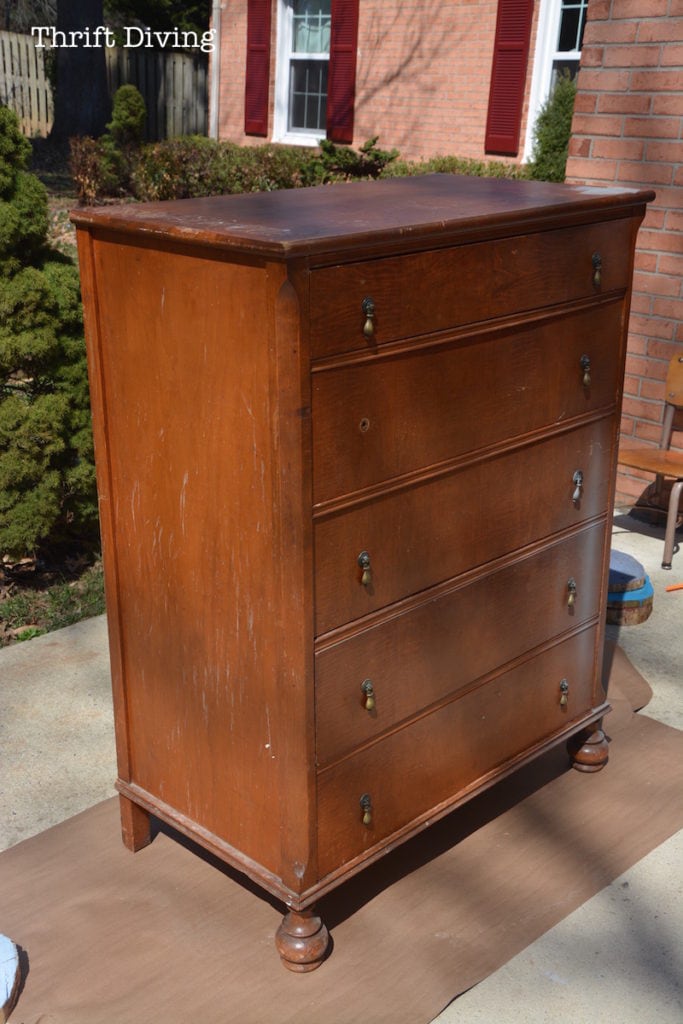
This is exactly what happened to me and this ugly dresser. It sat in my mother-in-law’s house for eons, mostly taking up space, until I swiped it. I had no idea when and where I would use it, but I knew it could be beautiful!
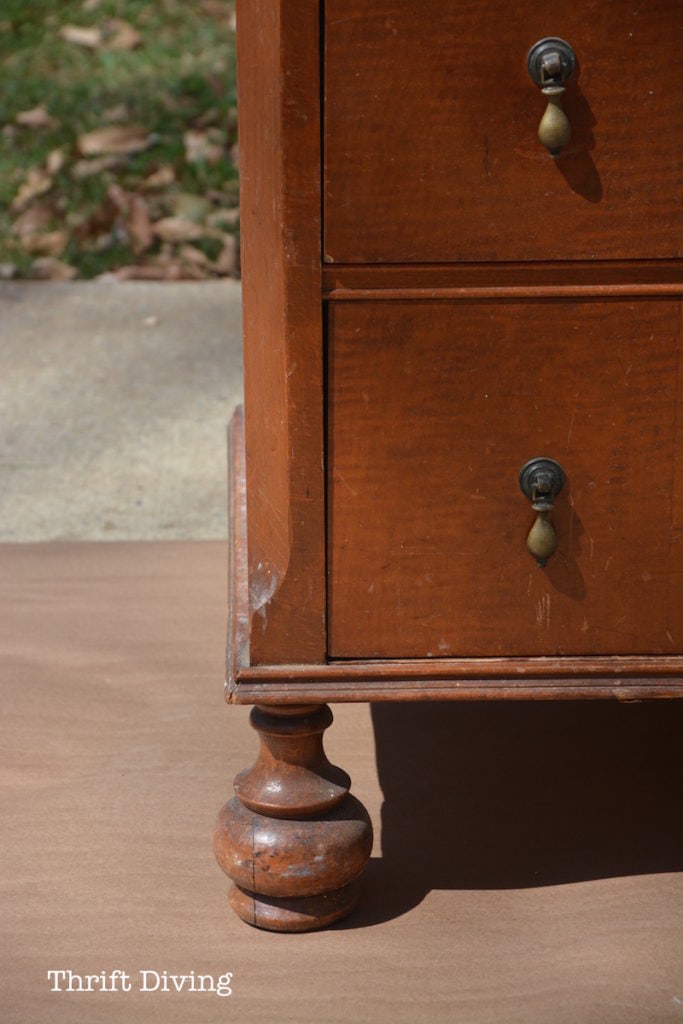
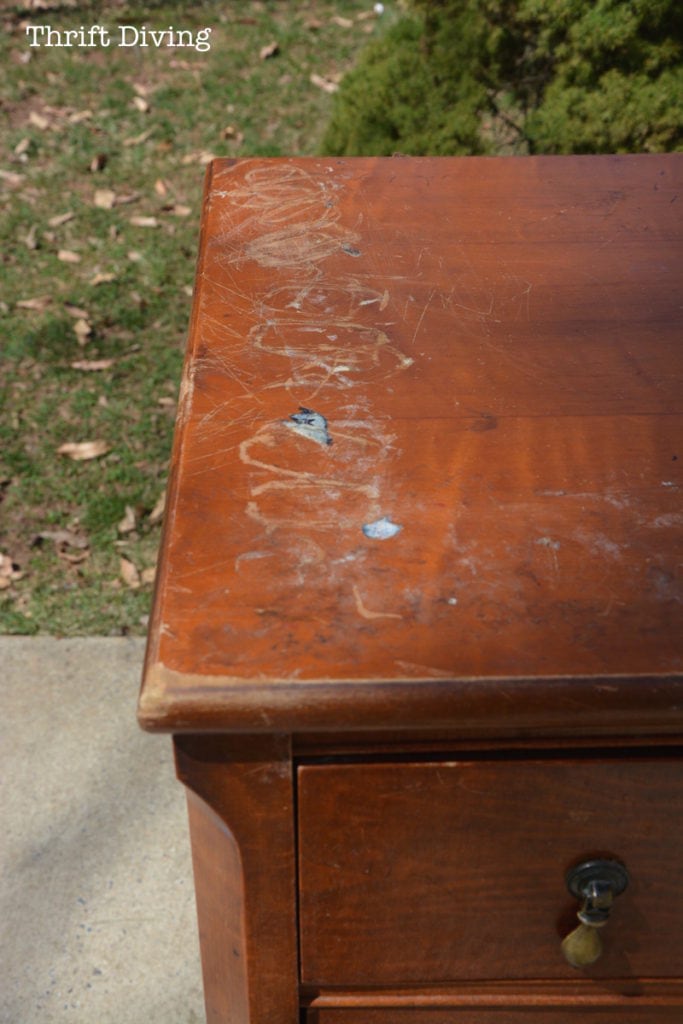
It started in such bad shape, especially the damaged top!

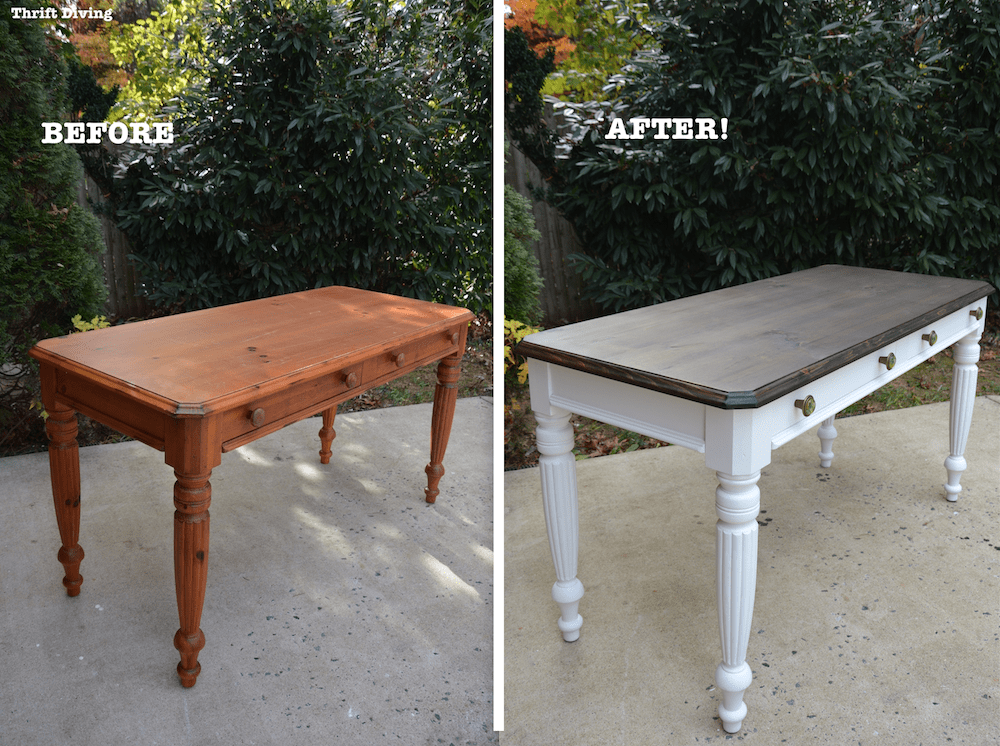
It has really pretty feet, though!
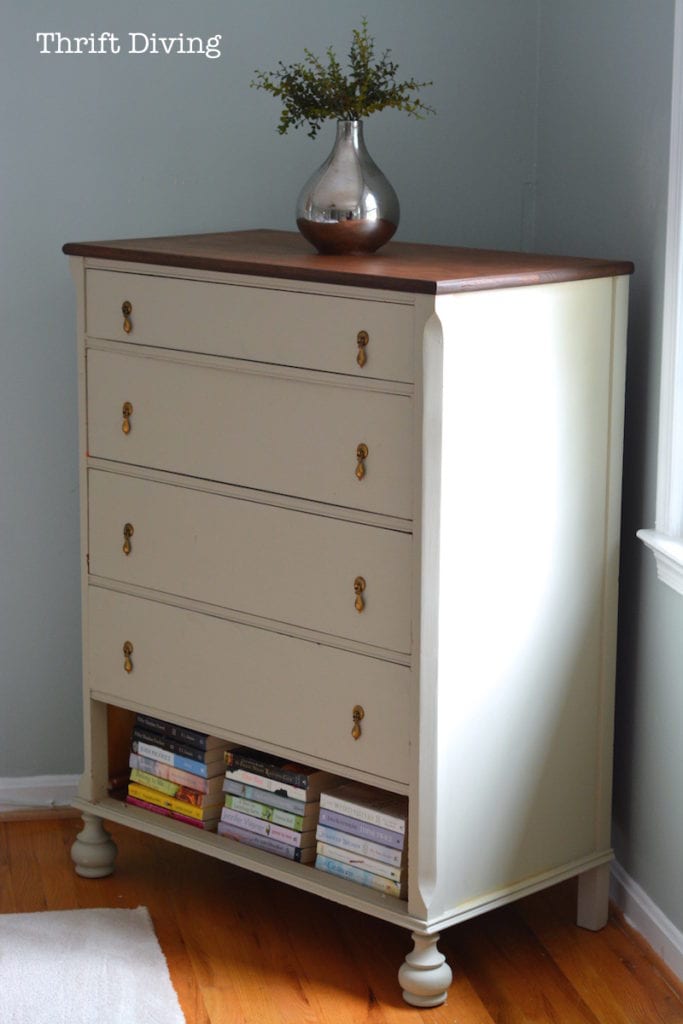
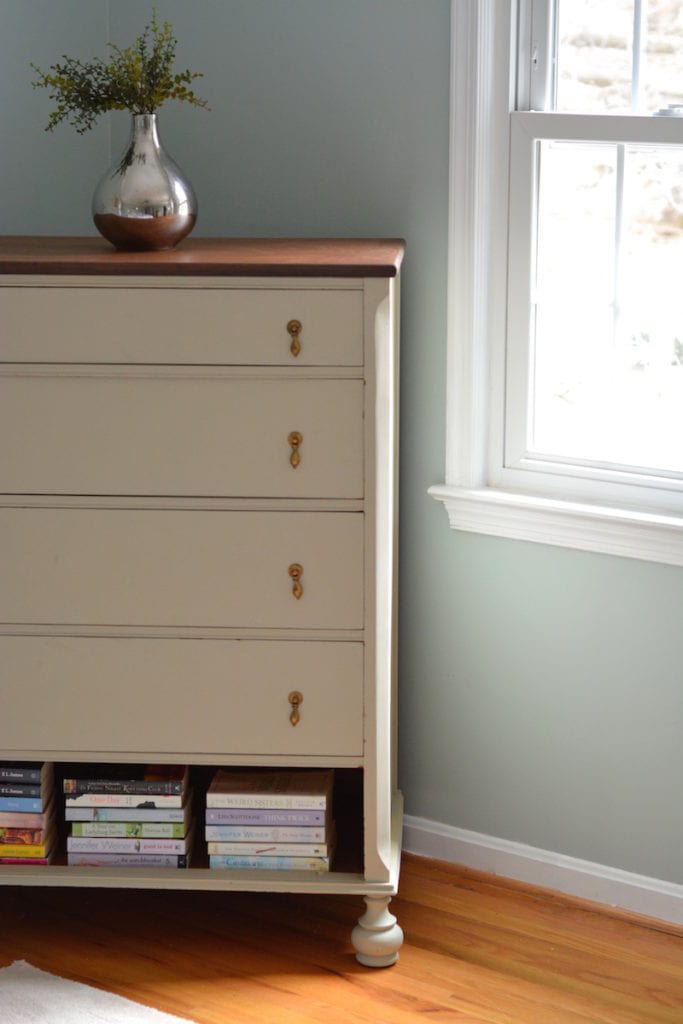
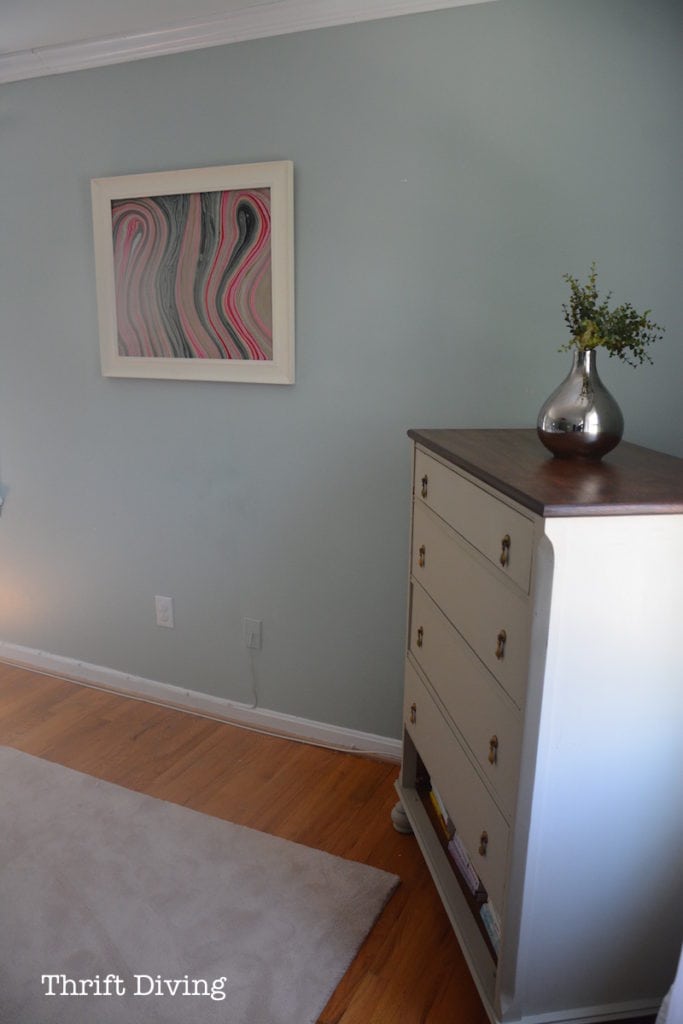
AFTER!
BEFORE
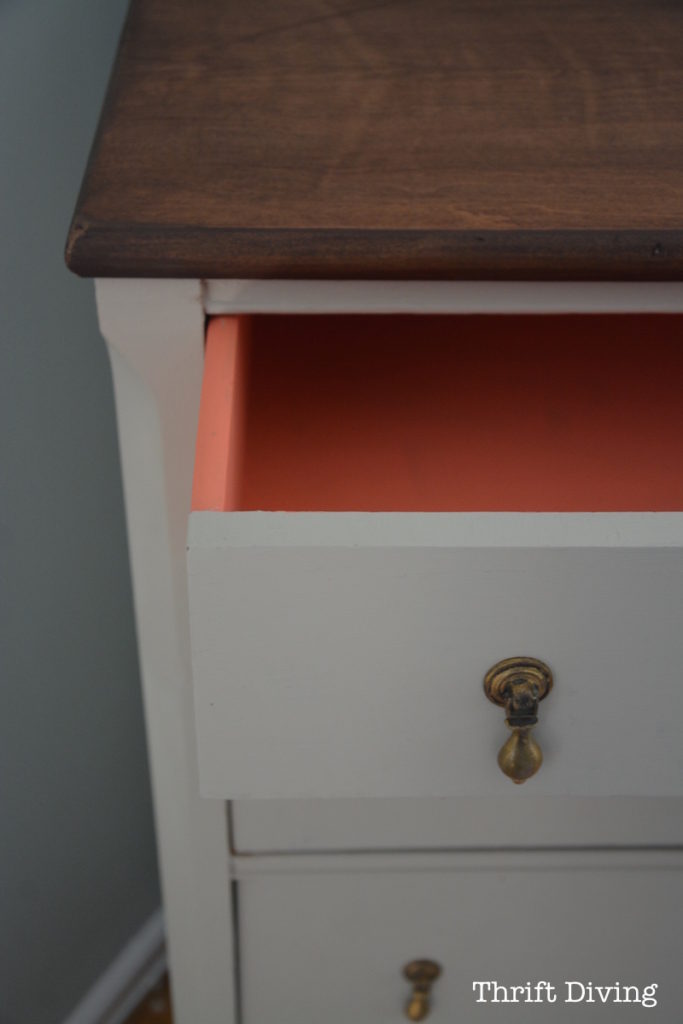
AFTER!
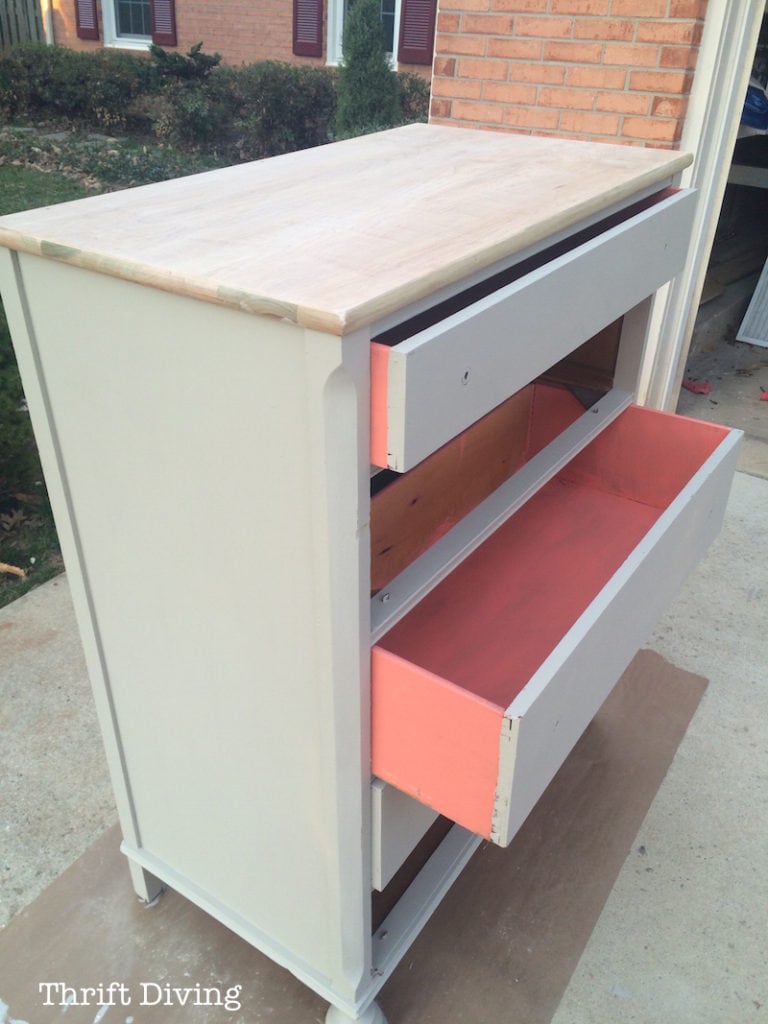
I used Shabby Paints Cali Taupe and Coral Paradise.
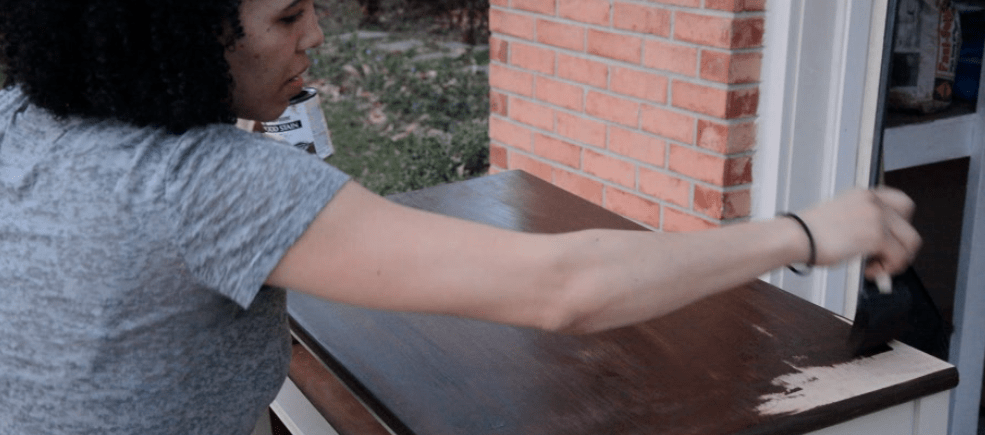
I didn’t plan on sanding and re-staining the top. But that’s usually how my projects work: I get started, then something inspires me, and I go in another direction. That’s what so awesome about DIY!
I had started on the body first only because I used wood filler to fix a chipped corner and needed time for it to dry first. But after I finished a coat on the body and saw how it looked with a wooden top, I fell in love with the look! (See my vintage buffet makeover with a painted body and stained top, too. I love that look!)
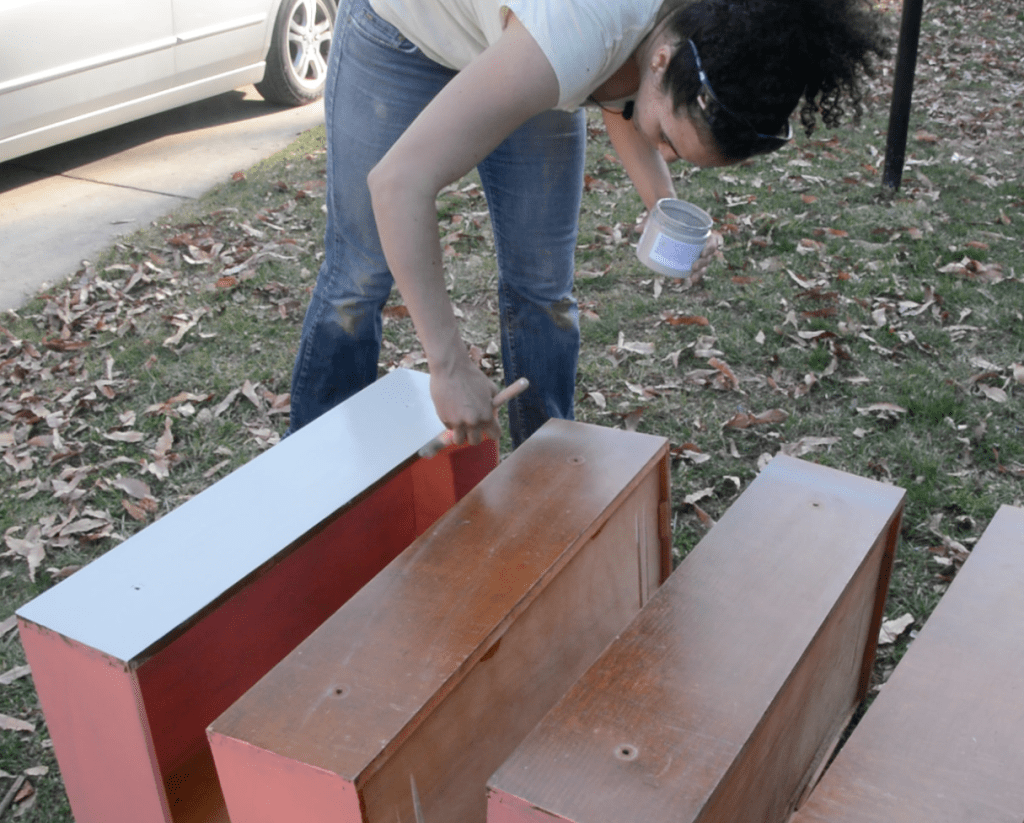
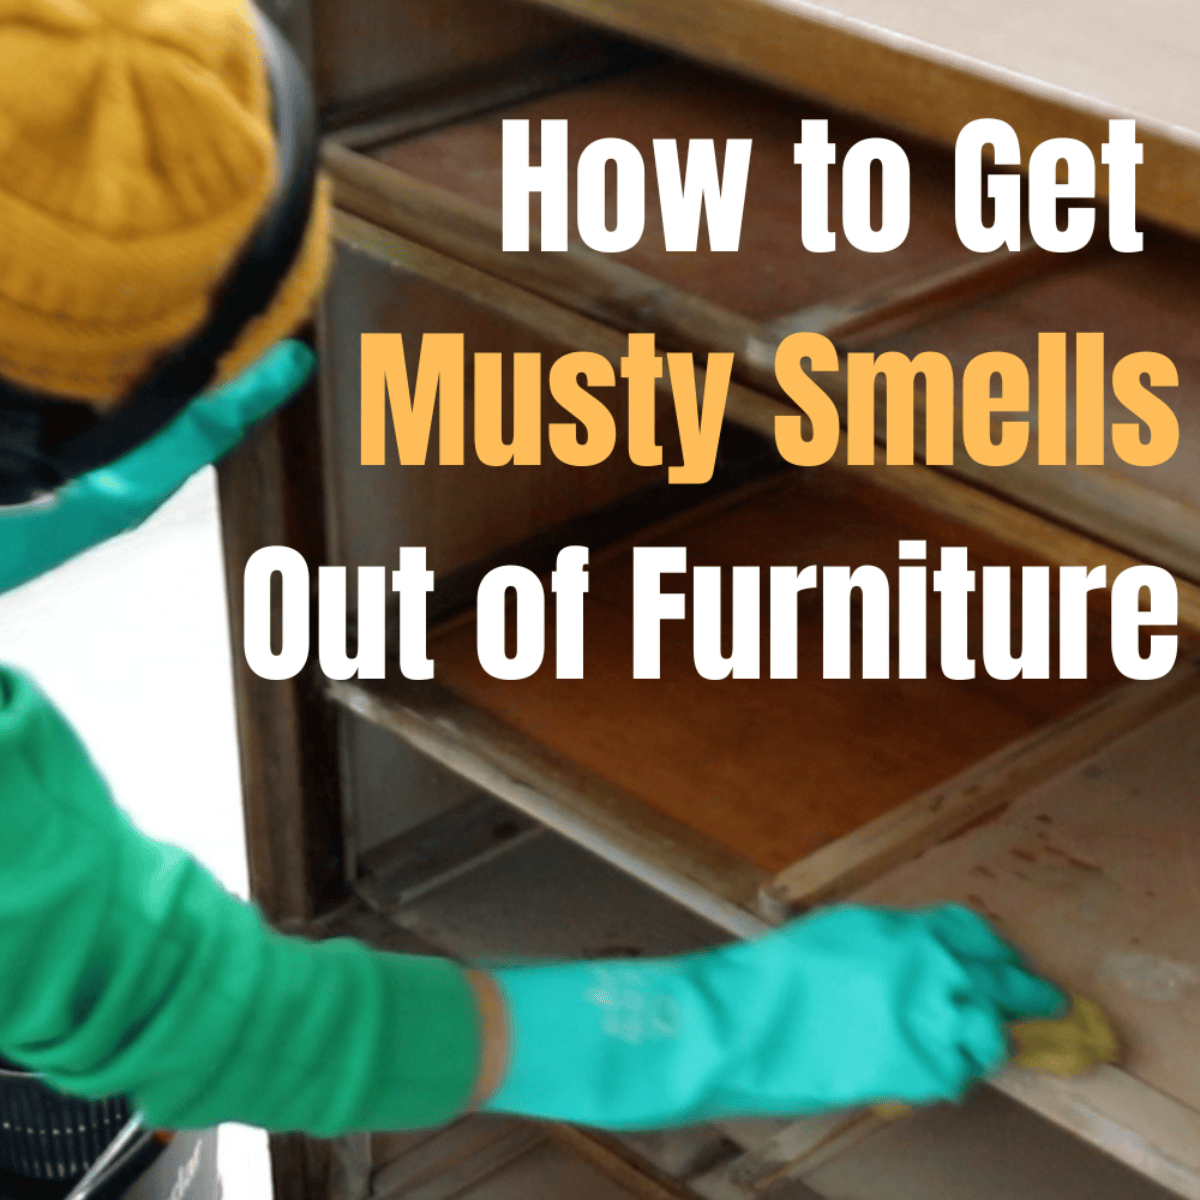
I use my Ryobi orbital sander for smoothing out surfaces. If you’ve got a small surface like a dresser top, using an orbital sander is definitely an alternative to stripping it with chemical stripper. Just make sure to use a 3M respirator mask like this one, and not the little paper one! (FYI: This respirator will also block odors from spray paint, too! I hate spray paint smells!).

Look at that fresh and clean top!
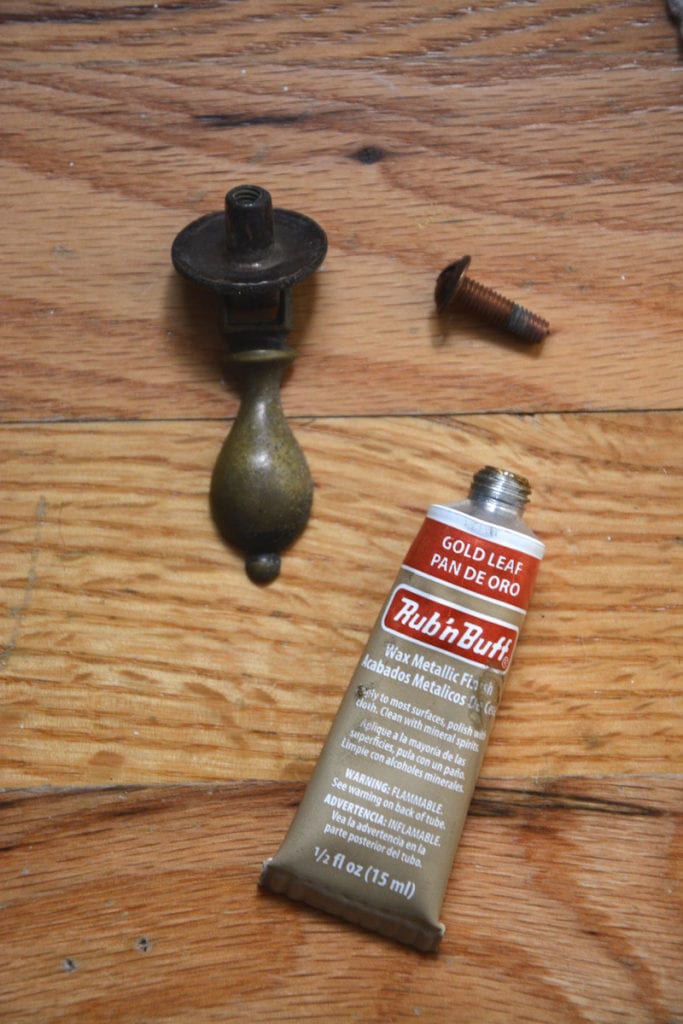
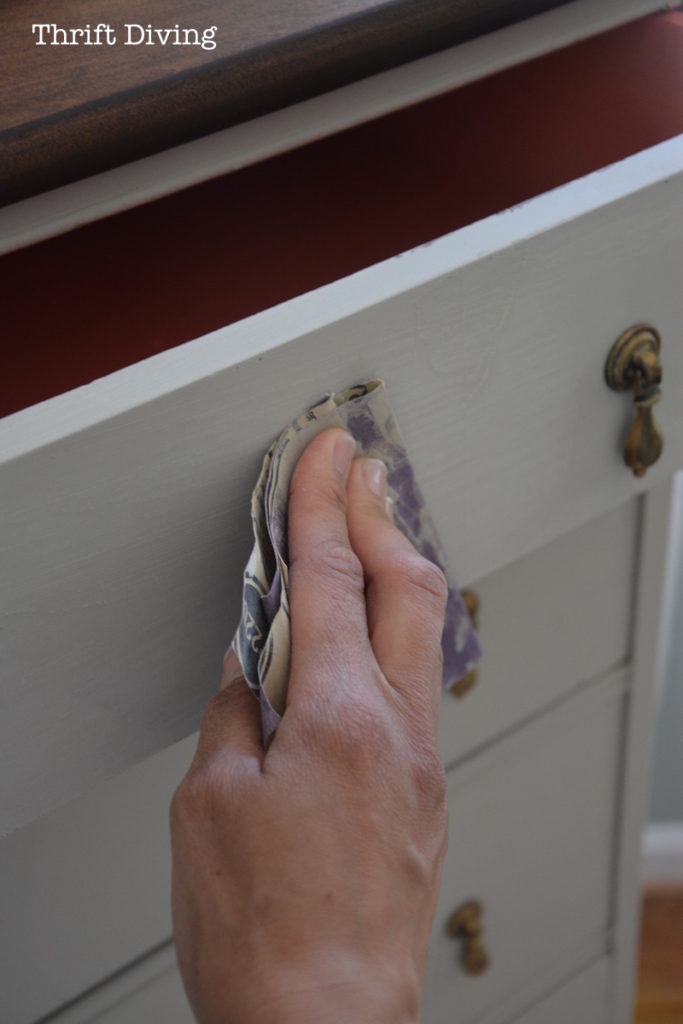
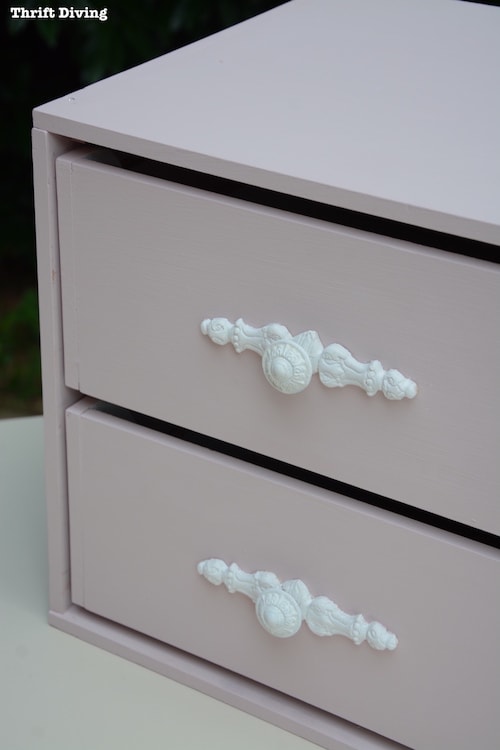
I love Rub n’ Buff for changing the color of hardware. When it’s tarnished and you want something a little more “cleaned up” or to change the color to a golden color instead of tarnished, or to give it some depth, Rub n’ Buff is a great option. I decided to keep the original hardware. I loved the teardrop shape. (See just how Rub n’ Buff can change hardware and how it’s awesome with crafts).
I used a foam brush to apply stain (can’t remember the color!–just whatever I had on hand), and then wiped off the stain with a lint-free cloth. Watch my video on how to strip and stain furniture.
If you want your piece to feel smooth, use 220 grit fine sandpaper to smooth it out. I’ll admit that I don’t usually complete the last steps of sanding or waxing or protecting furniture, unless it’s going to be heavily used. I just hate these steps! Is that a lazy DIY’er or what?? I don’t recommend doing as I do. Better to do as I say: sand and protect your work. LOL
Here’s another look: BEFORE
AFTER!
Have you ever rescued something ugly lately and brought it back to life? Tell me all about it in the comments section!


Download the 5 freebies!

Thrift Diving inspires women to decorate, improve, and maintain their home themselves...using paint, power tools, and thrift stores! Use these 5 printables, checklists, and ebooks to get started!

Hey girl, you did a total transformation on that piece. I swear I thought u added feet because I didn’t even notice them on the before piece. That color totally brought this baby to life! I love it! congratulations on whatever is going on behind the scenes with you. Embrace that success girl you worked hard for it and deserve it without a doubt!
Heather, thank you! Yeah, you can definitely see the feet more now! And yes, there’s something awesome behind the scenes! I’m actually traveling right now on location for it! 🙂 I can’t wait to share with you what it is! 🙂
Serena, You are a true miracle worker. Great job.
Thank you, Debra!
I love what you’ve done with this piece, Serena. It’s clever that way you created an open shelf at the bottom for the boys books, too. It looks fresh and new. There is nothing like a sturdy piece of wood furniture brought back to life.
That’s my favorite part–the books at the bottom! THank you!!
Very nice! I’m working on an old bureau for the Ugly April Makeover Challenge and your stained top/painted bottom just might be the ticket!
Thanks for all the cool inspirations!
Sophia
Woo hoo! I can’t wait to see it!
Beautiful transformation! I’m so glad you kept the original hardware–I love those tear-drop pulls because the remind me of furniture my grandmother had. I just never come across those anymore. I wonder why that is? Maybe I’m not looking close enough. Anyway, your dresser is wonderful!
Bambi
That’s a good point–I don’t see those kind of pulls, either! I bet you could probably Google them and find them. I’m going to see if I can find them! I love them, too. Thanks, Bambi! 🙂
Love this! I have some inherited furniture that I need to makeover. You make it look like it is something that I can do. Thanks!
You definitely can, Becky! Give it a whirl and see how it turns out! 🙂 Send me a picture when you’ve done your first piece!
Another wonderful transformation!!
Thank you! 🙂
Very nice! You are such as inspiration to my and my house.
That’s awesome, Lakeisha! What projects have you been completing?
Gorgeous!!
Thank you, Kelli! It’s a huge improvement over the big ‘ole Ikea dresser we had in there!
Gosh, what a beautiful change.
Thanks, Debbie! There’s something so awesome about painted bodies and stained tops! It just looks rich, doesn’t it?! 🙂